jonomisfit
Club Retro Rides Member
Posts: 1,788
Club RR Member Number: 49
|
|
Oct 21, 2022 15:44:57 GMT
|
Slight sojourn from working on the escorts engine. the floor in the garage getting in a poor state, causing a lot of dust  P1060966 P1060966 by jono_misfit, on Flickr So i made the workshop very untidy cluttered again 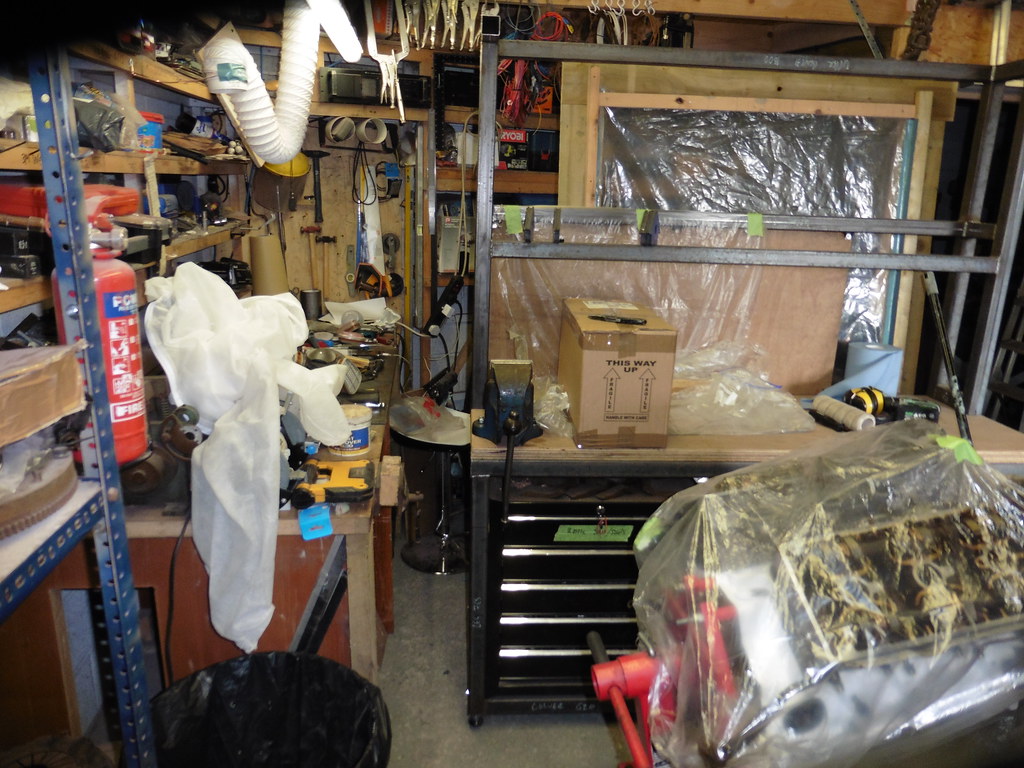 P1060964 P1060964 by jono_misfit, on Flickr put a sealer over one half of the floor, let it cure, then got a first coat of PU floor paint down  P1060965 P1060965 by jono_misfit, on Flickr I was going to put the escort outside, but rather than do that (as its raining) i put it up on the rally stands.  P1060967 P1060967 by jono_misfit, on Flickr I'll paint the missed patches once the rest of the floor is dry. I forgot how high the stands are. The previous times i've put them on, i'd used the spit to lift the shell.... it turns out you have to lift the car really high.... really high.  P1060967 P1060967 by jono_misfit, on Flickr  P1060968 P1060968 by jono_misfit, on Flickr on the plus side, access under the car is great  P1060969 P1060969 by jono_misfit, on Flickr I had to a dodgy maneouver using the jack and some blocks of wood to get it lifted. I'll definitely need to make an adaptor for the car or jack to allow it to be lifted safely in the future. |
| |
|
|
|
|
|
|
|
Oct 21, 2022 22:48:39 GMT
|
|
You needto fit some massive air jacks to it... :-)
|
| |
Last Edit: Oct 21, 2022 22:48:57 GMT by fatboydw
|
|
jonomisfit
Club Retro Rides Member
Posts: 1,788
Club RR Member Number: 49
|
|
|
|
|
That would definitely make it easier getting it up G.
Or fit a lift.
|
| |
|
|
Darkspeed
Club Retro Rides Member
Posts: 4,878
Club RR Member Number: 39
|
|
|
|
Or weld up some shorter stands...... I was very tempted to fit sill stand points to the Litton chassis for the full rally rep look (without having the rally rep look!) but the works cars only had one point which to me would look odd - no pun intended.  |
| |
Last Edit: Oct 22, 2022 8:15:01 GMT by Darkspeed
|
|
jonomisfit
Club Retro Rides Member
Posts: 1,788
Club RR Member Number: 49
|
|
|
|
|
That is always an option!
From a working on the underside of the car perspective the height is great.
I think I'll end up making a jack adaptor though.
Those strattoses, (stratti?) Look awesome.
|
| |
|
|
jonomisfit
Club Retro Rides Member
Posts: 1,788
Club RR Member Number: 49
|
|
Oct 23, 2022 21:08:21 GMT
|
|
I was hoping to get the second coat of paint on,but its taken 48hrs to get touch dry rather than the 8 it's meant to.
Probably a bit cold in the workshop.
Will try and get second coat on during the week
|
| |
|
|
jonomisfit
Club Retro Rides Member
Posts: 1,788
Club RR Member Number: 49
|
|
Oct 25, 2022 20:14:55 GMT
|
Because I didnt have enough things on the go, I decided I need to start sorting some issues on the milling machine. It has a truly monumental amount of backlash at the moment, about 50 thou. The main reason I want to sort this, is I have another workshop project in mind and it likely needs the mill working properly for it. Plus, when I'm finding the issues I can measure some key features on the mill beds. It needs a clean!  P1070015 P1070015 by jono_misfit, on Flickr and in bits.  P1070016 P1070016 by jono_misfit, on Flickr this X lead screw has most of the issues.  P1070017 P1070017 by jono_misfit, on Flickr I thought the nut would probably be worn or the threads worn... but they're not too bad really. What is an issue is the adjustable collar (which likely sets the back lash) has a broken retaining screw and I cant get it out. Meaning i'm going to have to do something to get it out..... Y slide and nut 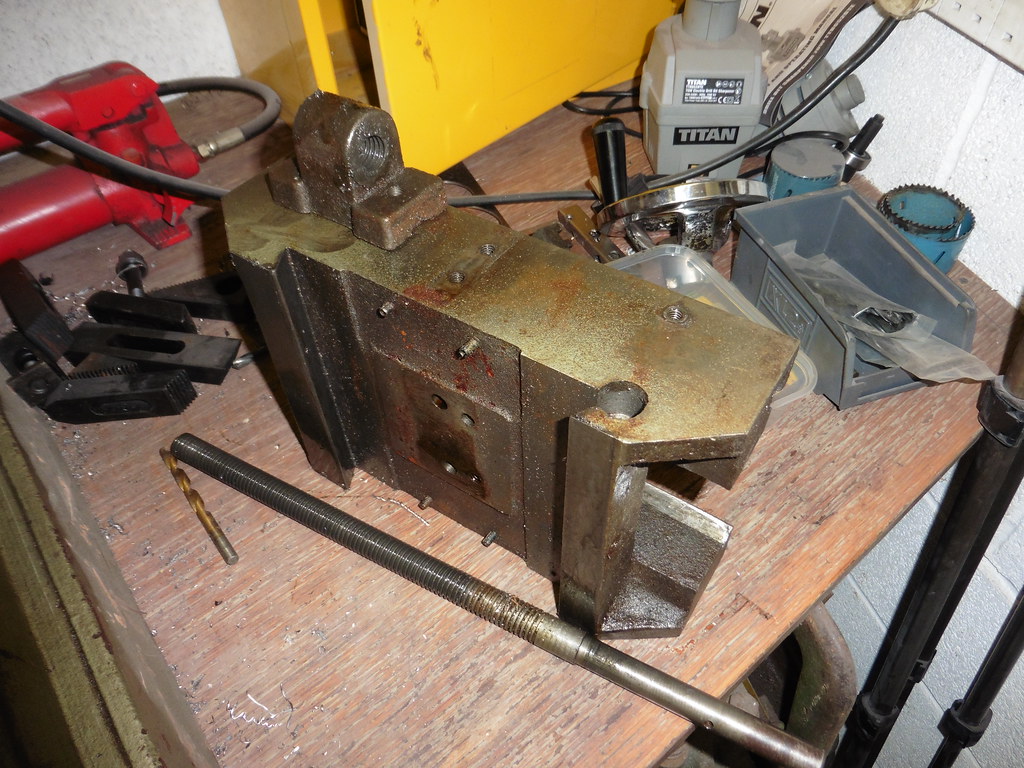 P1070018 P1070018 by jono_misfit, on Flickr I thought the nut would be brass, but its (badly machined) cast Iron. In terms of wear it looks in fairly reasonable condition. The ways are still nicely showing the scrape marks. I gave the rust areas a buff with some cleaning solvent and very fine scotchbrite as I could feal how raised the rust was and was making the ways tight.  P1070021 P1070021 by jono_misfit, on Flickr cleaned up the Y nut. Rough casting  P1070022 P1070022 by jono_misfit, on Flickr At the end of the day I also put the second coat of floor paint on. First coat was just over half a can to do the floor area, which wasnt enought. Second coat was 1 and a bit cans. Looking a much better covering.  P1070024 P1070024 by jono_misfit, on Flickr old v's new  P1070025 P1070025 by jono_misfit, on Flickr I also went for a slightly lighter colour (light grey v's the old was battleship grey) I'll give it a few days to cure then take a look over it. |
| |
|
|
|
|
|
Oct 26, 2022 10:34:51 GMT
|
|
Nice work! It makes a big difference with new paint. I was in two minds whether to paint my garage floor or not, I decided to go with just a sealant for the concrete, but a the paint helps with spreading the light more.
/David
|
| |
Last Edit: Oct 26, 2022 13:54:44 GMT by davidno1
|
|
|
|
|
Oct 27, 2022 11:05:02 GMT
|
I also went for a slightly lighter colour (light grey v's the old was battleship grey) I'll give it a few days to cure then take a look over it. So it's now ocean grey? :-) |
| |
|
|
jonomisfit
Club Retro Rides Member
Posts: 1,788
Club RR Member Number: 49
|
|
Oct 27, 2022 13:06:40 GMT
|
|
Haha, pretty much!
Meet the new grey, same as the old grey.
|
| |
|
|
|
|
jonomisfit
Club Retro Rides Member
Posts: 1,788
Club RR Member Number: 49
|
|
|
|
Today was a short day. Finished cleaning up the mill and started reassembly. Y axis lead screw refitted  P1070031 P1070031 by jono_misfit, on Flickr cleaned up the thrust bearings  P1070033 P1070033 by jono_misfit, on Flickr refitted and gib adjusted  P1070034 P1070034 by jono_misfit, on Flickr mill bed cleaned up and refitted  P1070035 P1070035 by jono_misfit, on Flickr x axis bearing blocks and handles refitted, and gib adjusted  P1070036 P1070036 by jono_misfit, on Flickr This is the side that had the stuck pin (which was really a borken off drill bit) that had been mullered. I cleaned it up, redrilled it and tapped it for a countersunk bolt. I machined the thread off some of the bolt so it also acted as a shear pin.  P1070036 P1070036 by jono_misfit, on Flickr I need to take it back out and remove another couple of threads to get the bolt to sit down further. Bolted the vice back on and trued up to the x axis travel. I've also gotten fed up with swarf getting in the ways, so made a way cover.  P1070038 P1070038 by jono_misfit, on Flickr Set up a piece of stock in the vice and gave it a mill in different directions / axis. Works so much bettter than before. Play is significantly reduced, all the slides / handles are much smoother. A decent improvement. I then shuffled things round in the workshop  P1070039 P1070039 by jono_misfit, on Flickr so I can get into the floor on this side  P1070040 P1070040 by jono_misfit, on Flickr brushed hoovered the floor  P1070041 P1070041 by jono_misfit, on Flickr Got the morris up as high as I can on axle stands  P1070042 P1070042 by jono_misfit, on Flickr Then painted the floor and worked myself towards the door so I could get out..... which worked great... except i forgot to turn off a light so had to ninja myself across shelves and racks to get it turned off. I got there though  Will give it a week to cure off, then a second coat to do. Which will then leave the machine area to paint, but i may reconfigure that first to try and get more space. |
| |
|
|
jonomisfit
Club Retro Rides Member
Posts: 1,788
Club RR Member Number: 49
|
|
Nov 20, 2022 21:32:44 GMT
|
Paint Had dried to dropped the car down on the floor and started moving things round again. New painted flow has already massively reduced the dust from the floor!  P1070060 P1070060 by jono_misfit, on Flickr cleaned the new bench, then did what I should have done when I built it and put varnish on the wood so it doesnt suck up and oil  P1070063 P1070063 by jono_misfit, on Flickr and started the paint in the machine area  P1070077 P1070077 by jono_misfit, on Flickr |
| |
|
|
jonomisfit
Club Retro Rides Member
Posts: 1,788
Club RR Member Number: 49
|
|
Nov 25, 2022 20:02:53 GMT
|
|
|
| |
|
|
jonomisfit
Club Retro Rides Member
Posts: 1,788
Club RR Member Number: 49
|
|
Nov 26, 2022 20:17:21 GMT
|
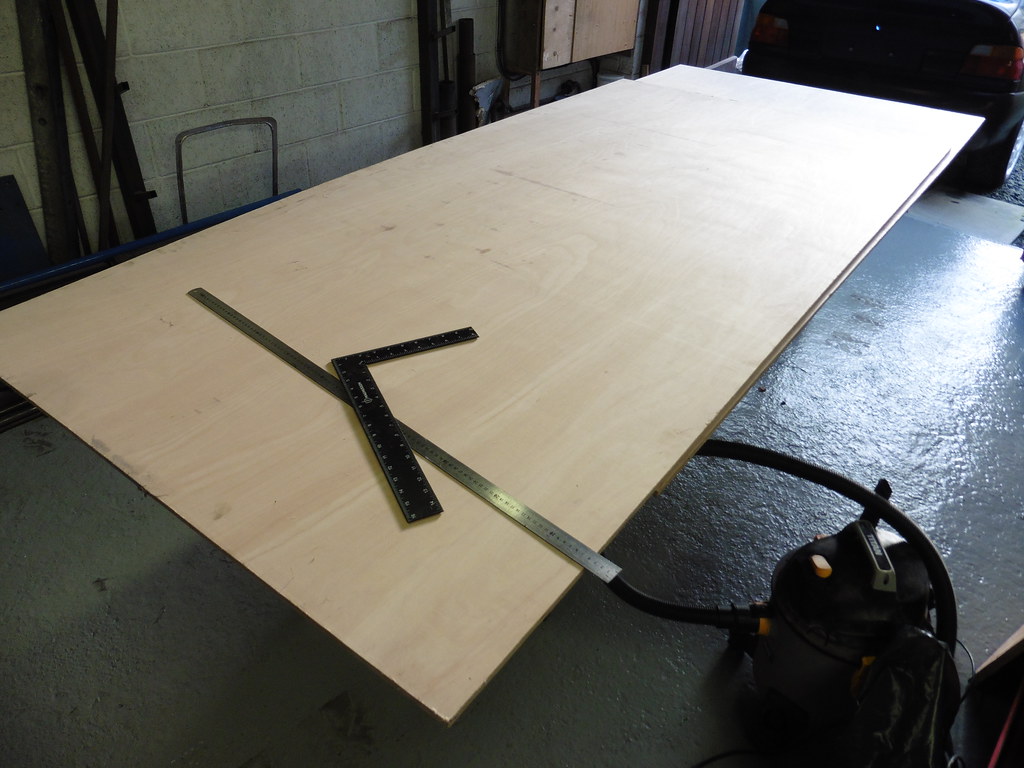
I was going to get back to the escort engine today, but instead got carried away on the cabinet. internal divider added  P1070092 P1070092 by jono_misfit, on Flickr 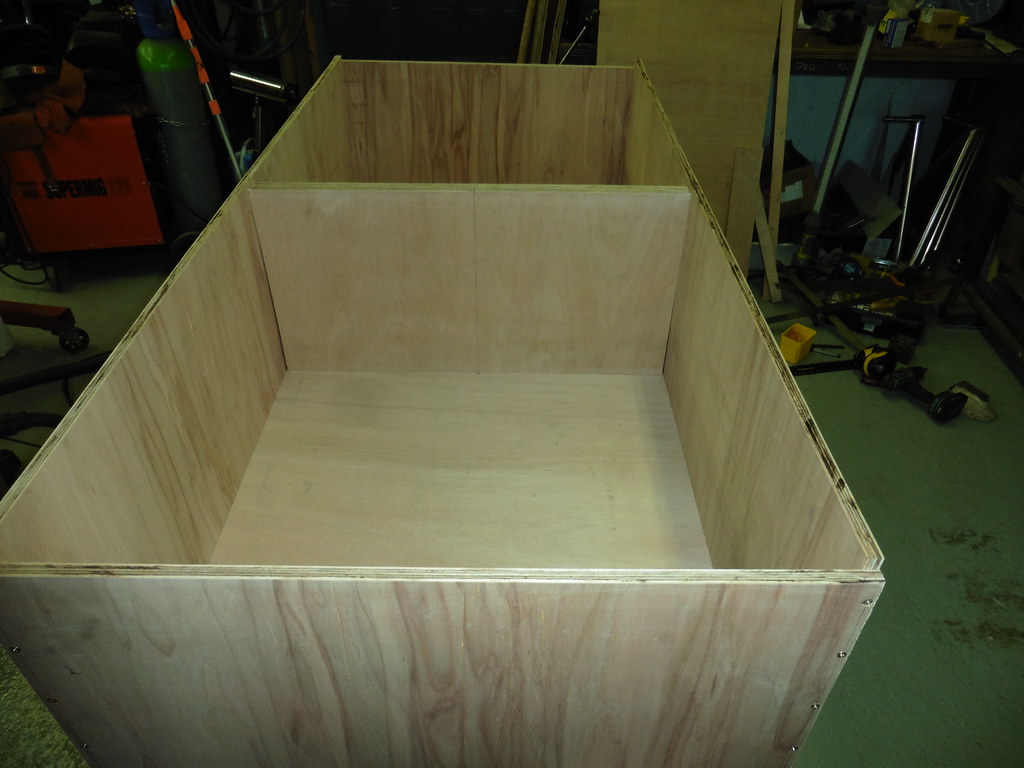 P1070093 P1070093 by jono_misfit, on Flickr put in place and checked for the doors 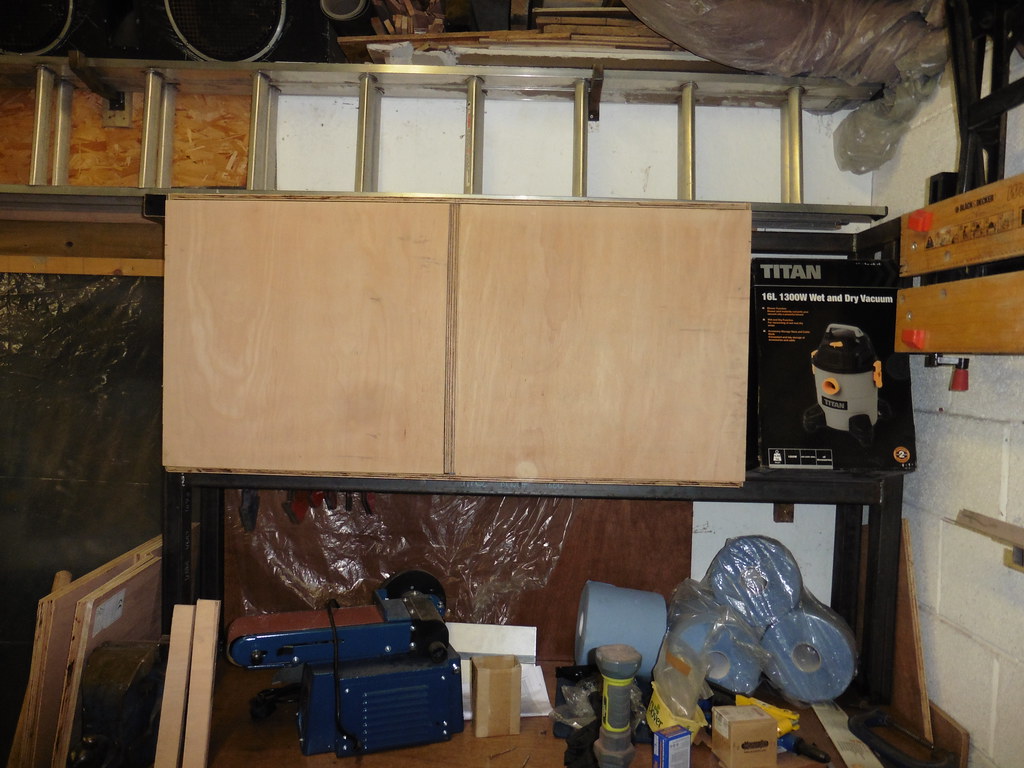 P1070094 P1070094 by jono_misfit, on Flickr adding the hinges  P1070095 P1070095 by jono_misfit, on Flickr screwed in  P1070096 P1070096 by jono_misfit, on Flickr door open  P1070097 P1070097 by jono_misfit, on Flickr added fixings to hold it to the bench, isued stainless steel bolts (as thats all i had in the right size) so gave them a dip in copper ease first  P1070098 P1070098 by jono_misfit, on Flickr  P1070099 P1070099 by jono_misfit, on Flickr doors adjusted 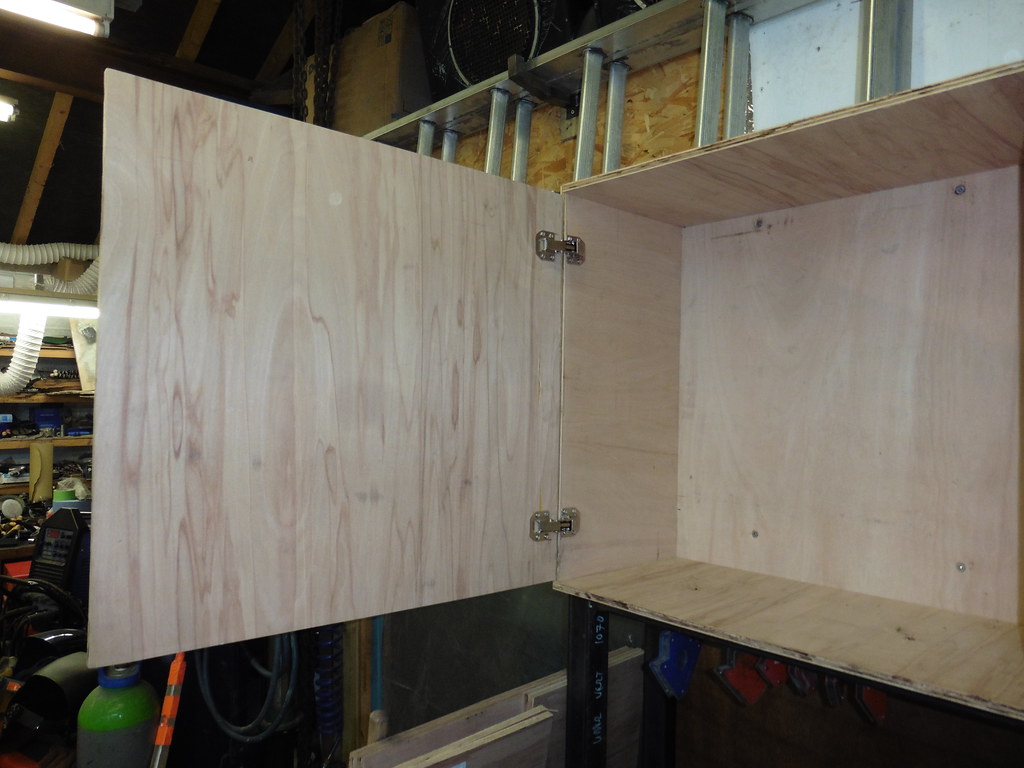 P1070100 P1070100 by jono_misfit, on Flickr  P1070101 P1070101 by jono_misfit, on Flickr  P1070102 P1070102 by jono_misfit, on Flickr Added some shelves  P1070103 P1070103 by jono_misfit, on Flickr The added these boards in the remaining space. The intent is I will use them to hang tools from most likely. 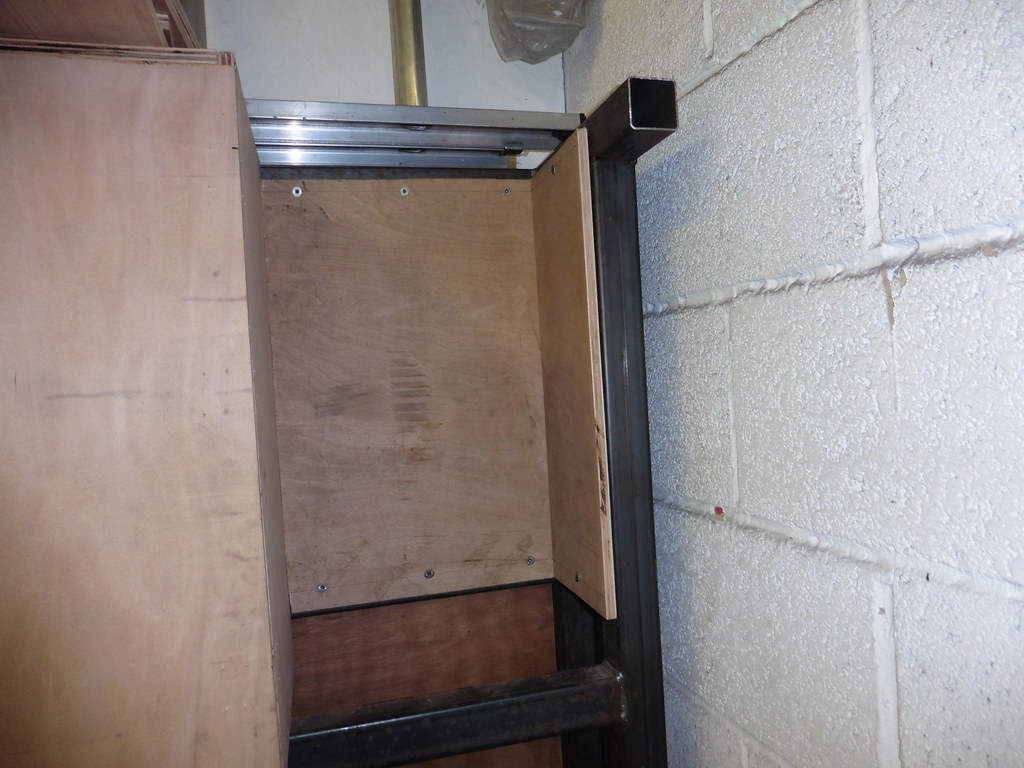 P1070104 P1070104 by jono_misfit, on Flickr Then added in a five way extension block to the back board  P1070105 P1070105 by jono_misfit, on Flickr and a light on the rail  P1070106 P1070106 by jono_misfit, on Flickr There will be a junction box on the back face that these go into which will then have a plug in extension so the bench can be plugged in whereever I move it to. |
| |
Last Edit: Nov 26, 2022 20:19:19 GMT by jonomisfit
|
|
jonomisfit
Club Retro Rides Member
Posts: 1,788
Club RR Member Number: 49
|
|
|
|
I was back on with operation sort the workshop today. I think i'll start with this....  P1070107 P1070107 by jono_misfit, on Flickr Start emptying shelves and bench top.... to somewhere  P1070108 P1070108 by jono_misfit, on Flickr stripping out old wood worm filled shelves  P1070109 P1070109 by jono_misfit, on Flickr  P1070110 P1070110 by jono_misfit, on Flickr Cut some bits of 18m ply, extra storage unit will go here  P1070111 P1070111 by jono_misfit, on Flickr  P1070112 P1070112 by jono_misfit, on Flickr start screwing the cabinet together  P1070113 P1070113 by jono_misfit, on Flickr fitting into position  P1070114 P1070114 by jono_misfit, on Flickr I had to very slightly releave the top to clear two beams, but this was taking 10mm out the corner and doesnt break through into the cabinet. afixed to the wall  P1070115 P1070115 by jono_misfit, on Flickr  P1070116 P1070116 by jono_misfit, on Flickr start fitting strips to support shelves  P1070117 P1070117 by jono_misfit, on Flickr and fitting the shelves  P1070118 P1070118 by jono_misfit, on Flickr The lower one the shelve is screwed down onto the support strips, and i've also put screws through from the sides to pull the carcass together solid  P1070118 P1070118 by jono_misfit, on Flickr and marked out for more shelves. They are close together as they are sized for the stanley fatmax organisers i have  P1070119 P1070119 by jono_misfit, on Flickr |
| |
|
|
|
|
|
|
|
|
What are the hinges you've used on the cabinet doors called? They look like just what i'm after!
|
| |
|
|
jonomisfit
Club Retro Rides Member
Posts: 1,788
Club RR Member Number: 49
|
|
|
|
|
They're just listed as 90 degree cabinet hinges.
I got cheap Chinese ones, but screwfix sell them as well.
|
| |
|
|
|
|
|
|
|
|
|
|
Nice work with your cabinets! It makes a big difference to get more organised in the garage, makes life easier.
I have also got a bunch of Stanley boxes for keeping small stuff in, have had them for years and never gotten around to build a holder/cabinet for them.. Should add that to the list.
Best regards,
David
|
| |
|
|
jonomisfit
Club Retro Rides Member
Posts: 1,788
Club RR Member Number: 49
|
|
|
|
I took today off as I had some holidays to use and I wanted to push on with the cabinet work. it was a short day though as child_misift was ill shelf mounts cut and screwed in  P1070120 P1070120 by jono_misfit, on Flickr  P1070121 P1070121 by jono_misfit, on Flickr shelves added and storage boxes in position  P1070122 P1070122 by jono_misfit, on Flickr I've purposely made the shelves only just deep enough as I had visions of knocking the box to the back each time with full depth shelves and them being a pain to get to. just high enough, and a bit of extra width should I want to put anythign down the sides  P1070123 P1070123 by jono_misfit, on Flickr my lin bin mount sheet turned up so fitted it  P1070124 P1070124 by jono_misfit, on Flickr they go in like so  P1070126 P1070126 by jono_misfit, on Flickr put the rest of the fixings in and fitted the bins  P1070127 P1070127 by jono_misfit, on Flickr then started on the cabinet doors one  P1070128 P1070128 by jono_misfit, on Flickr and the other  P1070129 P1070129 by jono_misfit, on Flickr I could have done with a track saw or table saw to the doors as the seam between them is a little uneven as it was just cut using a cricular saw free hand doors open  P1070130 P1070130 by jono_misfit, on Flickr why are there two different types of hinges used..... so I can fit some more bins to the door and the door with them on opens over centre so access to the bins at the back isnt impeded.  P1070131 P1070131 by jono_misfit, on Flickr plenty of room between them  P1070132 P1070132 by jono_misfit, on Flickr I'll make some other holders for the doors too, for tape and other bits. Next session may be a few weeks away |
| |
|
|
|
|
 P1060966 by jono_misfit, on Flickr
 P1060964 by jono_misfit, on Flickr
 P1060965 by jono_misfit, on Flickr
 P1060967 by jono_misfit, on Flickr
 P1060967 by jono_misfit, on Flickr
 P1060968 by jono_misfit, on Flickr
 P1060969 by jono_misfit, on Flickr
 P1060966 by jono_misfit, on Flickr
 P1060964 by jono_misfit, on Flickr
 P1060965 by jono_misfit, on Flickr
 P1060967 by jono_misfit, on Flickr
 P1060967 by jono_misfit, on Flickr
 P1060968 by jono_misfit, on Flickr
 P1060969 by jono_misfit, on Flickr


