|
|
|
Apr 14, 2021 15:17:17 GMT
|
|
Hi Gazzam,
I saw the first entry of this thread and my first thought, (obviously other than beautiful car,) was this will probably be a "cheque book" restoration so didn't really look in again,
How wrong I was, (lesson for future,) this is brilliant,
Your work ethic and skill levels are amazing, your abilities are to be admired,
Definitely looking forward to seeing future updates,
Nigel
|
| |
BMW E39 525i Sport
BMW E46 320d Sport Touring (now sold on.)
BMW E30 325 Touring (now sold on.)
BMW E30 320 Cabriolet (Project car - currently for sale.)
|
|
|
|
|
|
|
|
|
|
I almost bookmarked this just on the strength of the thread title, but not knowing what to expect.
Reading through, bloody incredible work!
|
| |
|
|
|
|
|
|
|
|
I lift my hat to the commitment and craftmanship (and afford to learn that craftmanship) you're putting into this.
After finding all this bodge under the paint I would have probably ran away screaming like a maniac and hiding in a fridge in Minnesota for the rest of my life.
Really looking forward to see the progress on this.
|
| |
|
|
|
|
|
|
|
|
Love this. You're a wizard mate.
|
| |
|
|
theoldman
Part of things
 
Posts: 179  Member is Online
|
|
|
|
|
11/10
This defines the Built not Bought ethos.
|
| |
|
|
|
|
|
|
|
|
Excellent work and thank you for sharing it with us....why was I not surprised to see that you are in Australia...."Can do" attitude is characteristic!
|
| |
|
|
maf260
Part of things
 
Posts: 533
|
|
|
|
|
Wow! Great attitude, even better results.
|
| |
|
|
gazzam
Part of things
 
Posts: 741 
|
|
Apr 15, 2021 12:20:52 GMT
|
Geez, they only make welding helmets in one size, you guys are going to have to tone down the compliments. Still its great to have praise from people who know what they’re talking about. It’s very encouraging. Thank you all. Anyway back to the project. Now that the tonneau was back in place the channels for the boot seal could be put in. These were were made by folding strips into a u shape and then stretching the edge to put a curve into it. 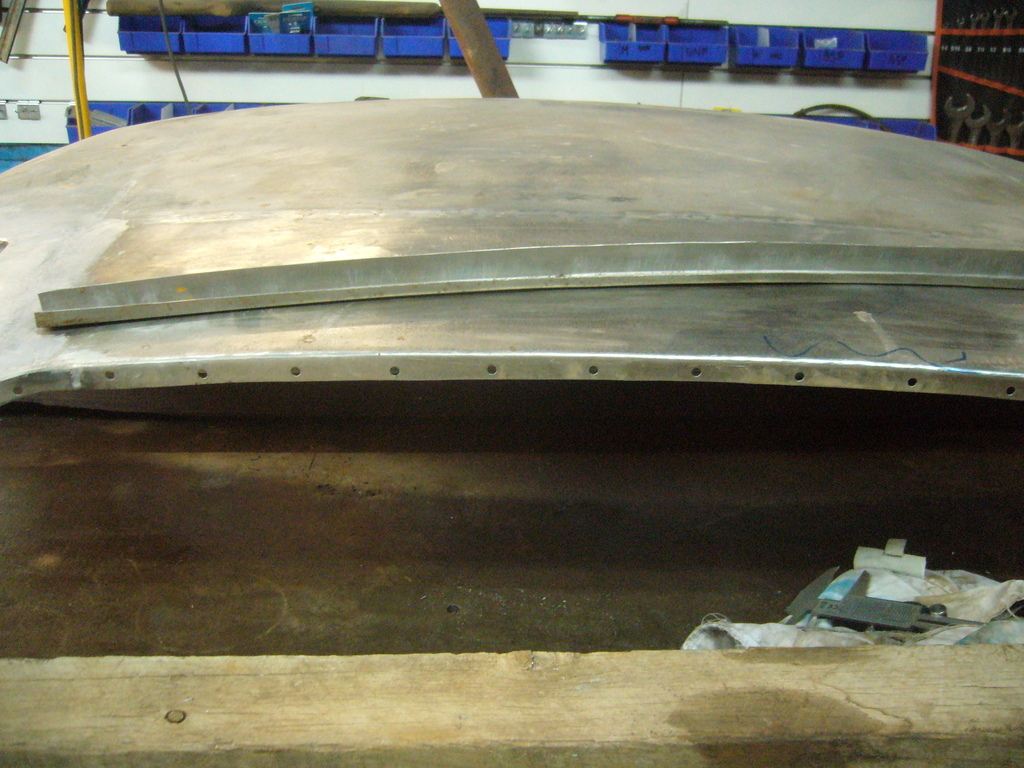 The tonneau was then drilled and channels rosette welded in... 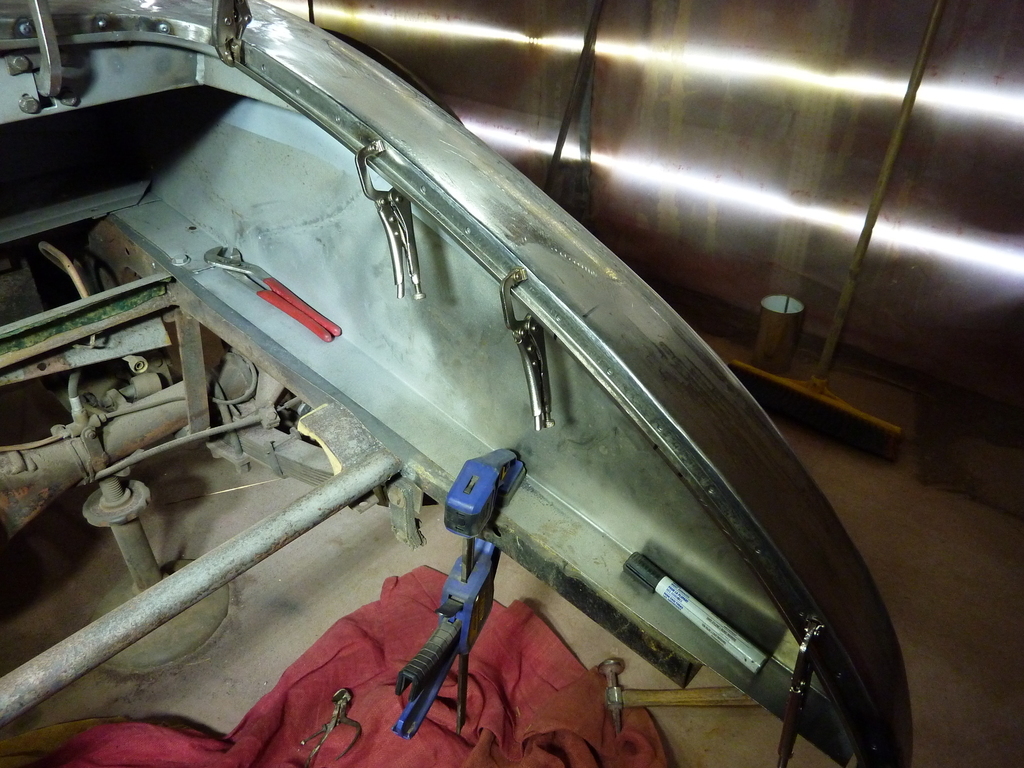 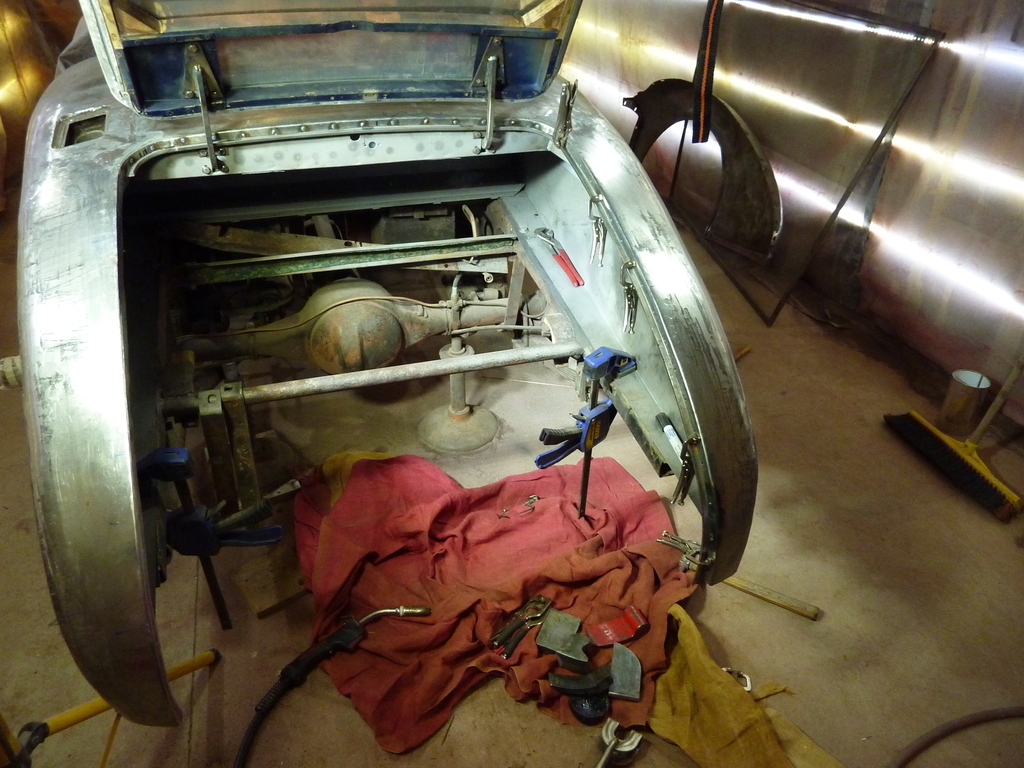 Next the boot floor and the shelf above the spare tyre were fabricated. 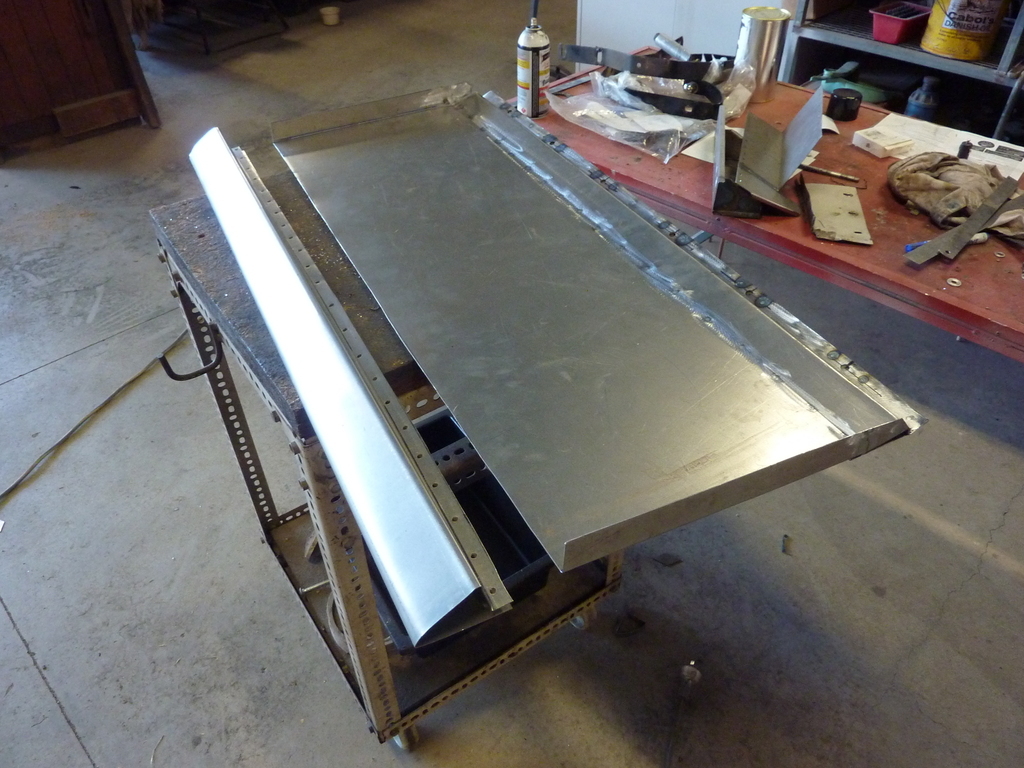 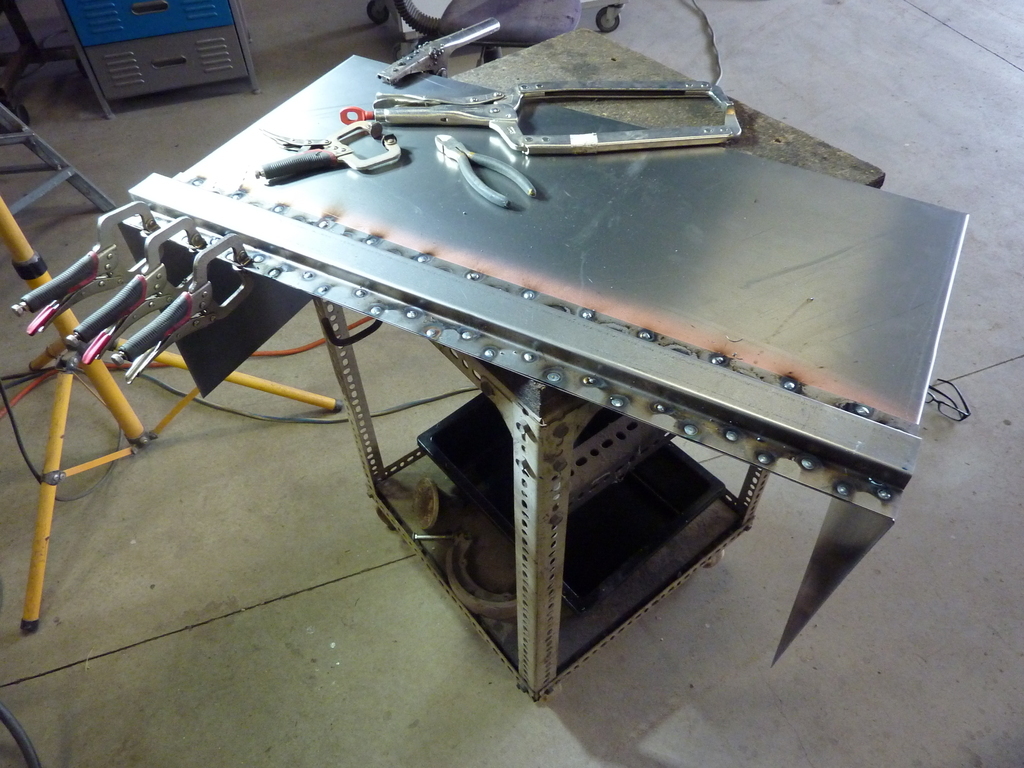 I reused the spare tyre holding bolt and a stiffener, just to keep some original metal. Other than those, I’ve had to remake everything rearward of the leading edge of the bootlid. 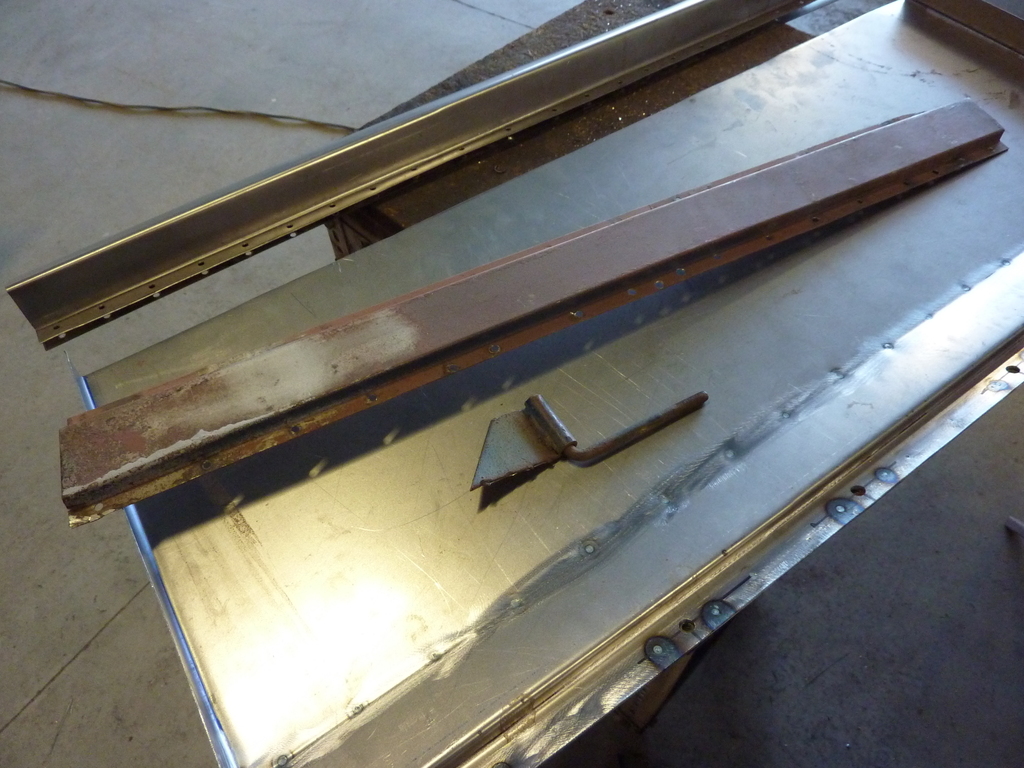 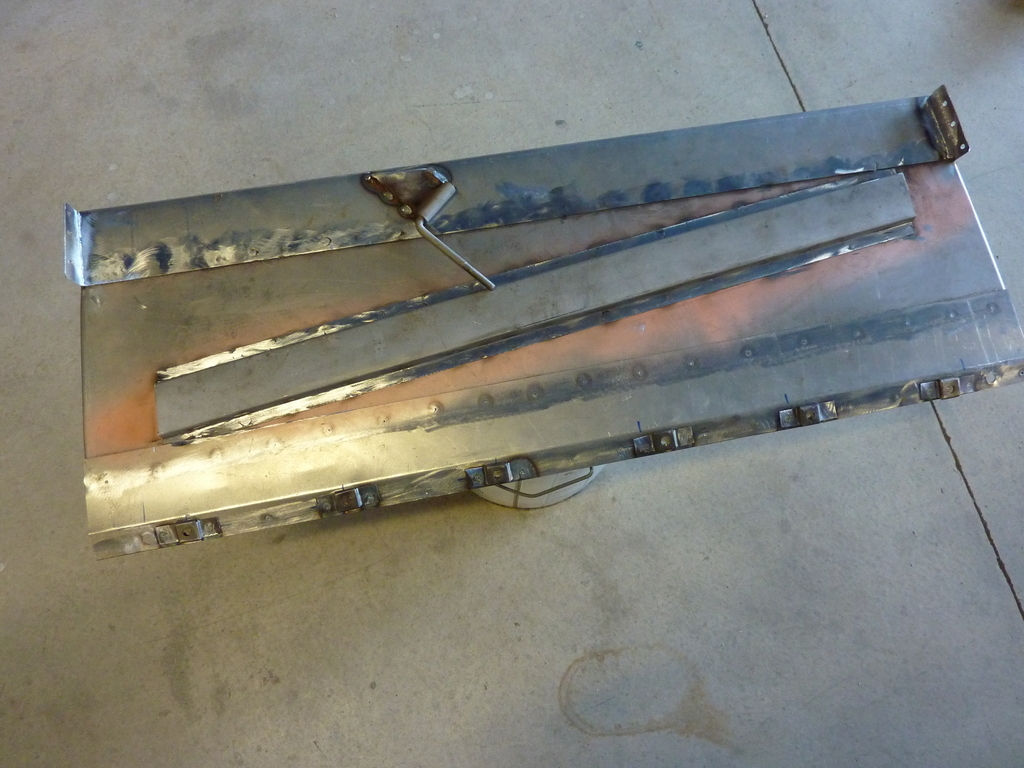 Then the rear section could be taken off the chassis. 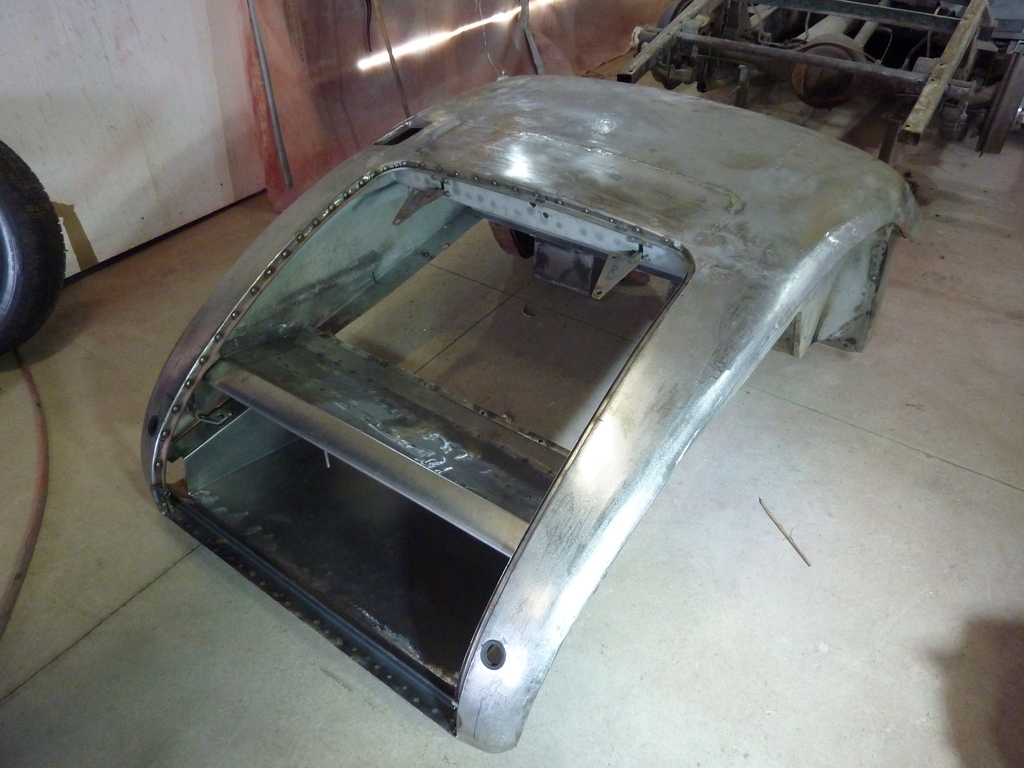 And mounted on a rotisserie so I could get better access to the battery boxes. These had been replaced before and it must be said that welding them in from underneath was a hell of an achievement. I’m surprised the welds weren’t even worse. 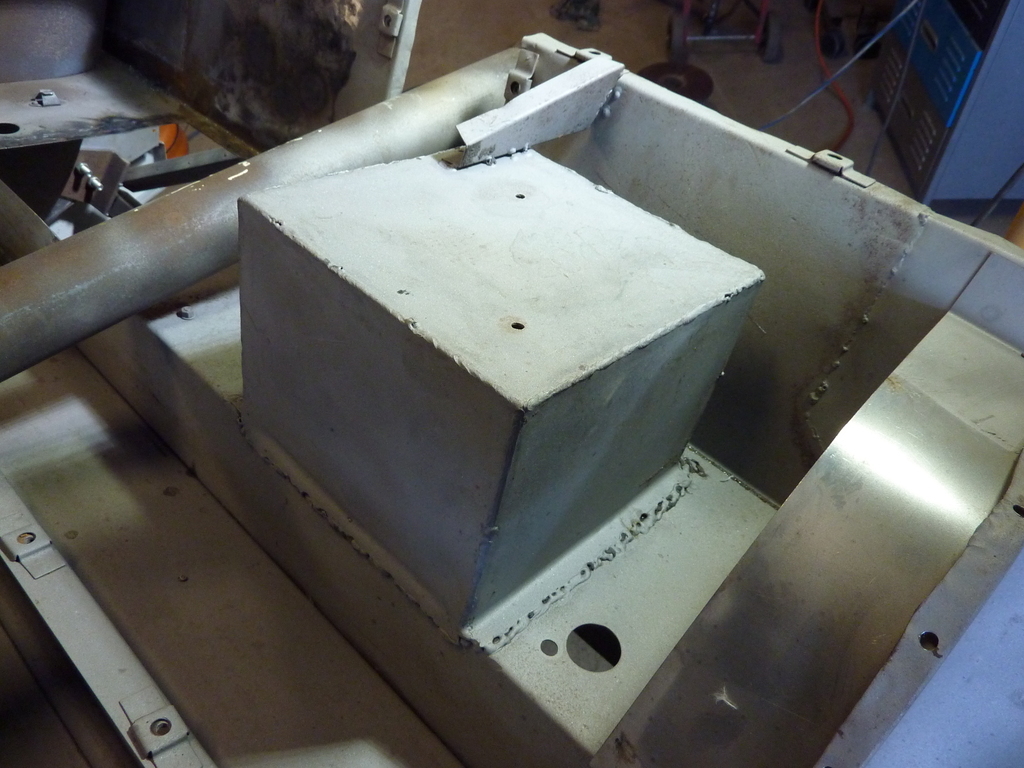 Made up a new pair of boxes 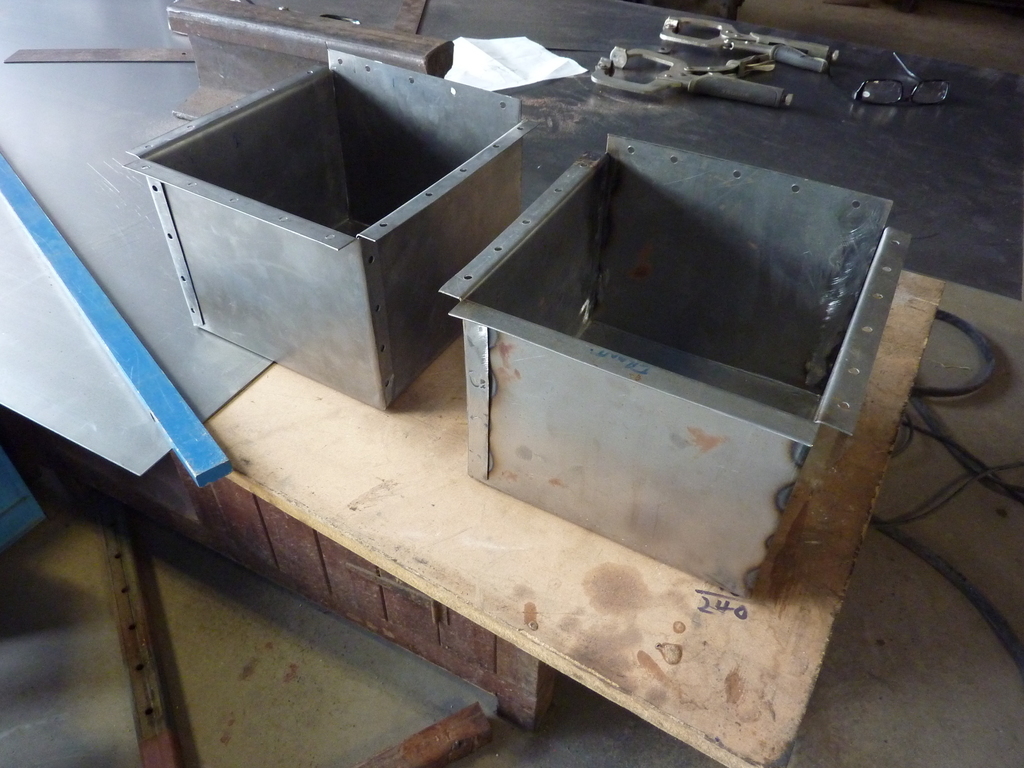 and welded them in 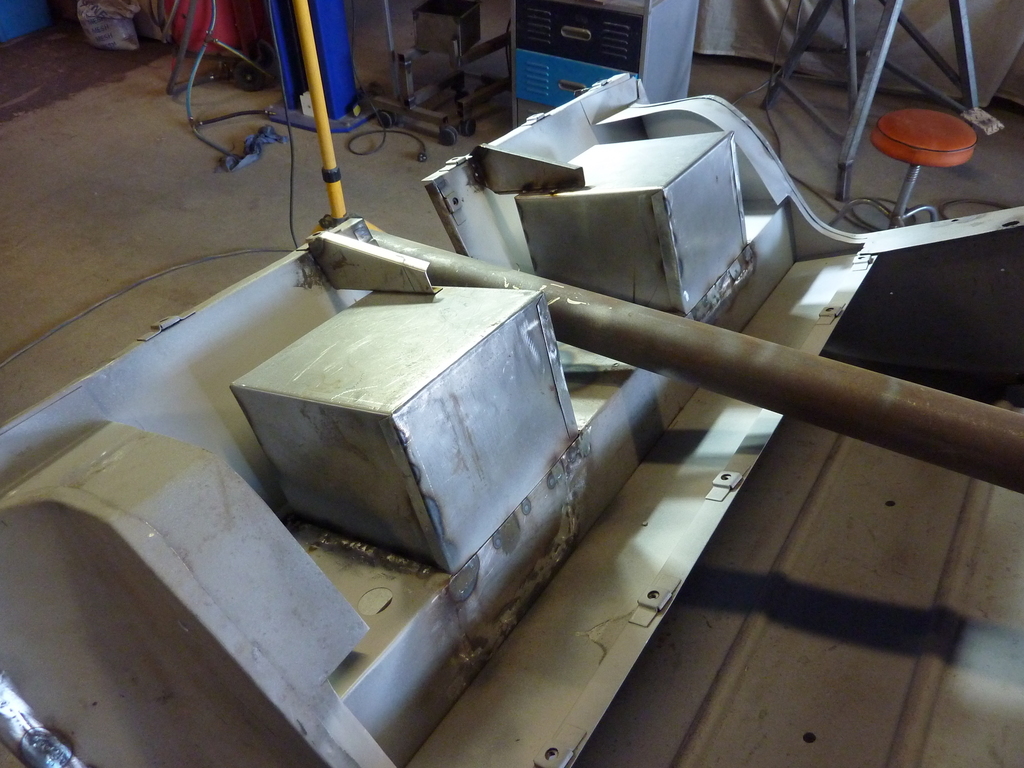 I like this little detail on the corners of the battery boxes: 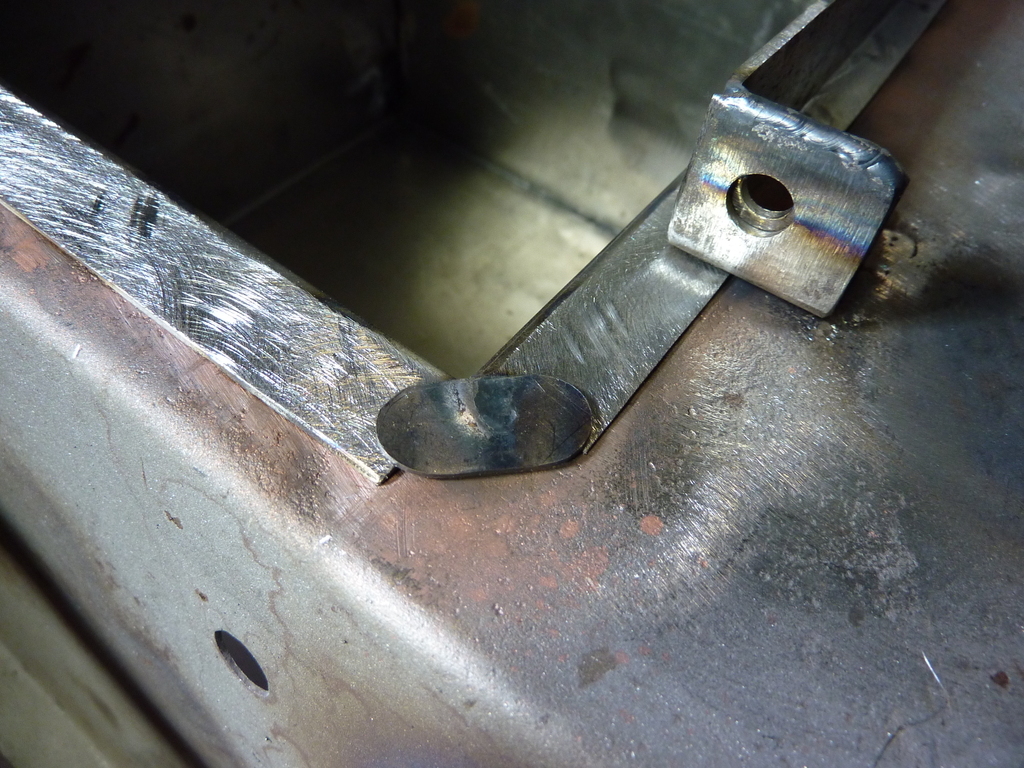 and that was pretty much the end of the rear section. There were lots of other small and not so small bits to fix, but I haven’t got photos of much of it. Things like the bumper mounts, rust areas on the top of the b pillars etc. Too much to list. That’s all for now. Any comments or questions welcome. Cheers Garry |
| |
Last Edit: May 7, 2021 1:02:10 GMT by gazzam
|
|
glenanderson
Club Retro Rides Member
Posts: 4,355
Club RR Member Number: 64
|
1952 Jaguar XK120 restoration glenanderson
@glenanderson
Club Retro Rides Member 64
|
Apr 15, 2021 12:51:48 GMT
|
|
Nice work. Bookmarked. 👍👍👍
|
| |
My worst worry about dying is my wife selling my stuff for what I told her it cost...
|
|
|
|
|
Apr 15, 2021 13:07:32 GMT
|
|
Amazing panel making and tool fab skills.
|
| |
|
|
|
|
|
|
|
Apr 15, 2021 14:37:28 GMT
|
|
Wow, fantastic work!
|
| |
1968 Mini MkII, 1968 VW T1, 1967 VW T1, 1974 VW T1, 1974 VW T1 1303, 1975 Mini 1000 auto, 1979 Chevette, 1981 Cortina, 1978 Mini 1000 1981 Mini City, 1981 Mini van, 1974 Mini Clubman, 1982 Metro City, 1987 Escort, 1989 Lancia Y10, 1989 Cavalier, 1990 Sierra, 1990 Renault 19, 1993 Nova, 1990 Citroen BX, 1994 Ford Scorpio, 1990 Renault Clio, 2004 Citroen C3, 2006 Citroen C2, 2004 Citroen C4, 2013 Citroen DS5. 2017 DS3 130 Plenty of other scrappers!
|
|
teaboy
Posted a lot
   Make tea, not war.
Posts: 2,125
|
|
Apr 15, 2021 15:37:18 GMT
|
|
Half tidy job you're doing there, very impressive work.
|
| |
|
|
Rob M
Posted a lot
  
Posts: 1,915
Club RR Member Number: 41
|
|
Apr 15, 2021 15:50:41 GMT
|
|
Simply incredible skills there.
You are an absolute craftsman, that car is going to be just amazing when it is finished!
I shall continue to watch with open jawed.
|
| |
Last Edit: Apr 15, 2021 15:51:59 GMT by Rob M
|
|
rob
Part of things
 
Posts: 160
|
|
Apr 15, 2021 21:53:51 GMT
|
Nice work! I restored the frame on one of the early ones a few years ago (the doors and rear were entirely ash frame with aluminium skin). I had to replace about 80% of it, someone had been there before me with plywood so it was a bit of a challenge working out exactly how it was supposed to be. The laminating was a pig of a job and there was a few trial runs but really rewarding once I got the hang of it. How thin did you get your strips and what wood did you use? 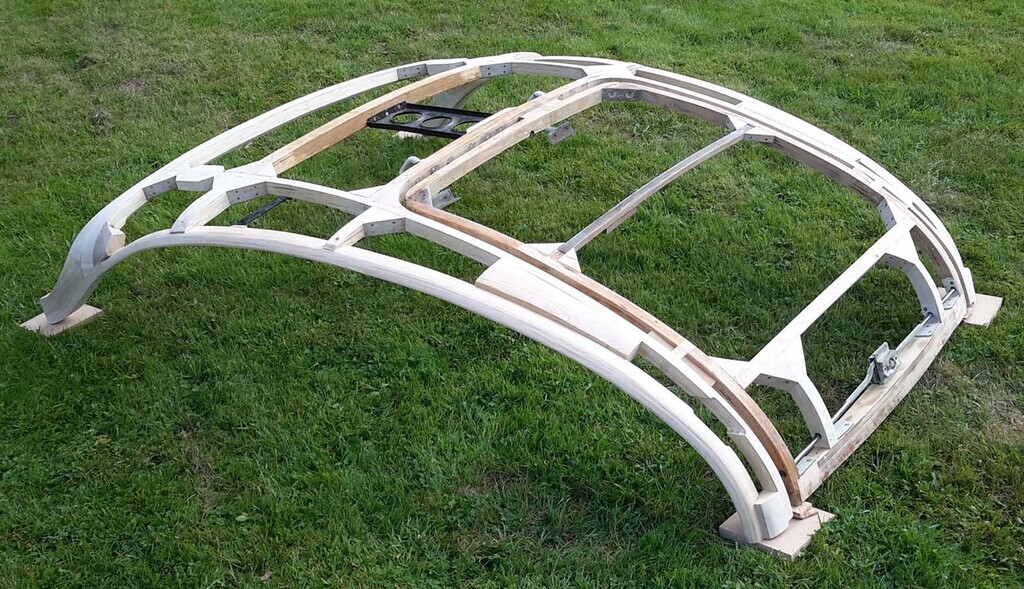 |
| |
Last Edit: Apr 15, 2021 21:55:33 GMT by rob
|
|
gazzam
Part of things
 
Posts: 741 
|
|
|
|
|
Wow Rob, there’s some nice work in that. I see that the boot latches go through the lid frame.Which is how I thought mine was but I was told they are meant to go through small steel retainers screwed to the frame. If that makes sense. My car is an early one so through the frame may have carried over from the alloy cars.
I cut my strips at about 1/8 inch out of an old wardrobe (probably period!) I think it is Tasmanian oak.
Garry
|
| |
|
|
|
|
|
|
|
|
Love this, this is the kind of thing we like on retro rides. BOOKMARKED
|
| |
|
|
rob
Part of things
 
Posts: 160
|
|
|
|
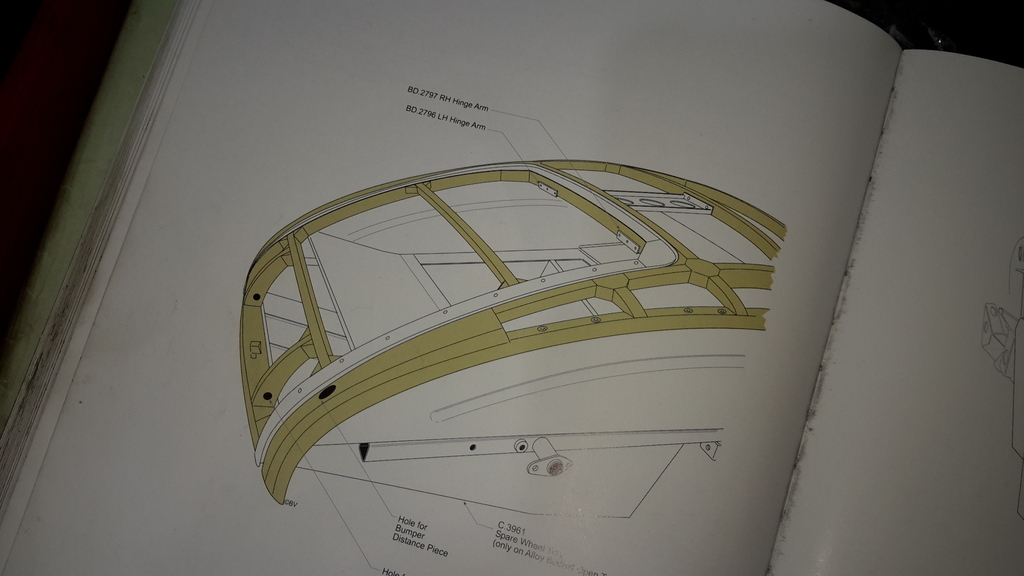 I don't own it but the manual has holes for the catch to go through the frame. However with coach built cars a lot can depend on the mood of the person who was making them on the day. |
| |
|
|
gazzam
Part of things
 
Posts: 741 
|
|
Apr 16, 2021 15:38:04 GMT
|
Again, thanks for the very kind words. I found a photo of one of the tasks that I mentioned at the end of the last post. I needed to make a dozen or more captive nuts. Difficult little buggers to get right so they look factory. So I made a little press tool and it worked pretty well. 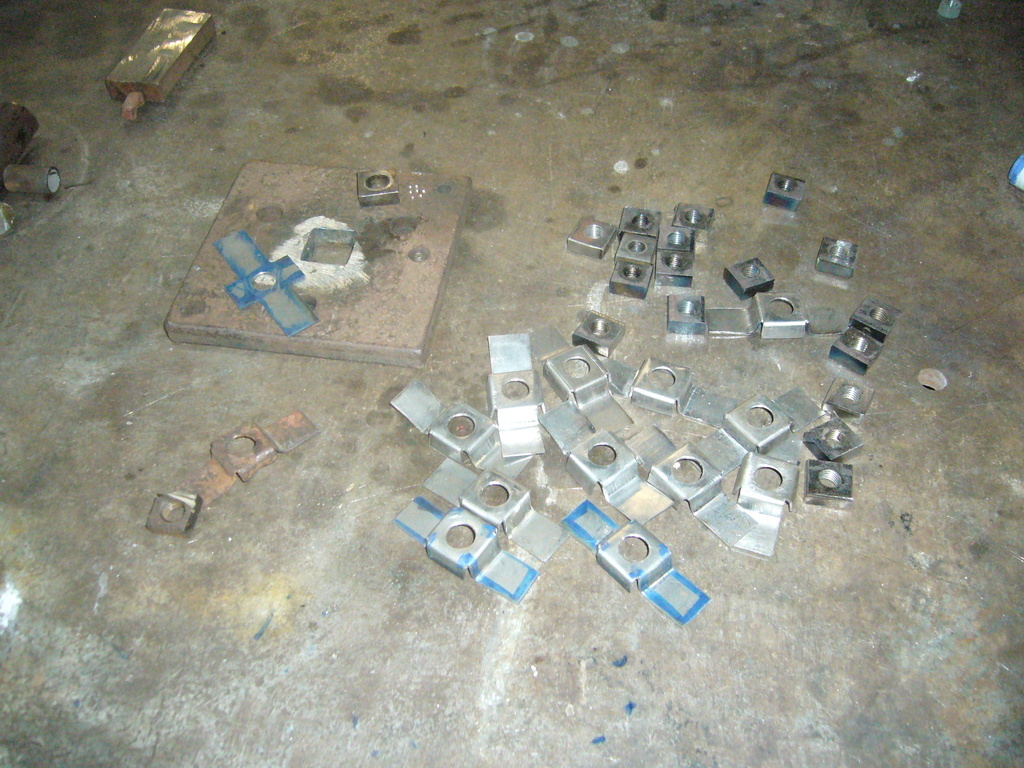 Anyway it was time to start on the front of the body. Lifted it off: 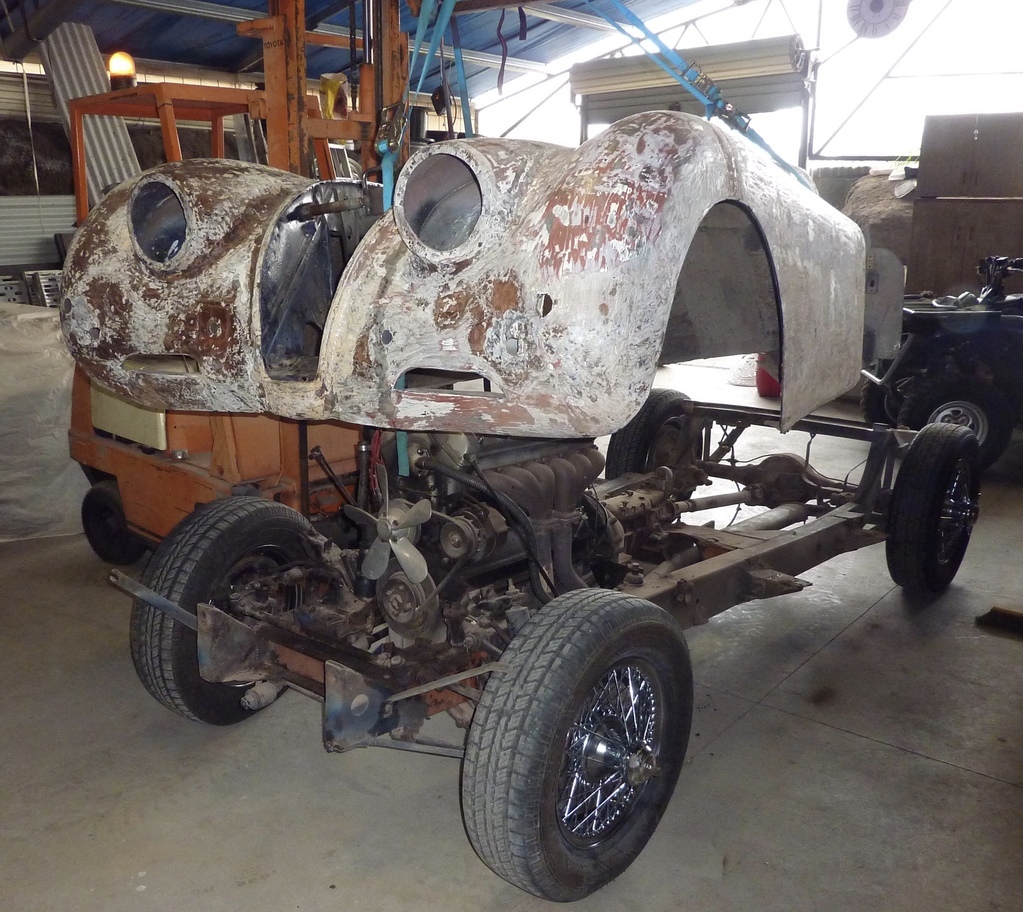 A large go kart was left 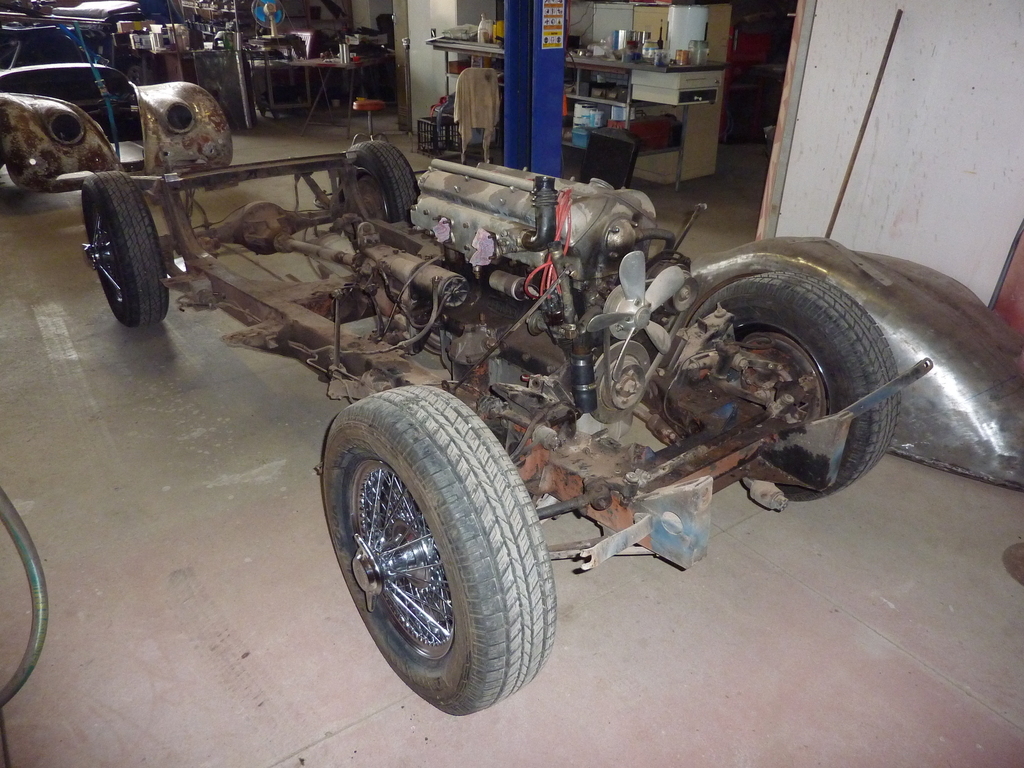 Then mounted the body onto the rotisserie 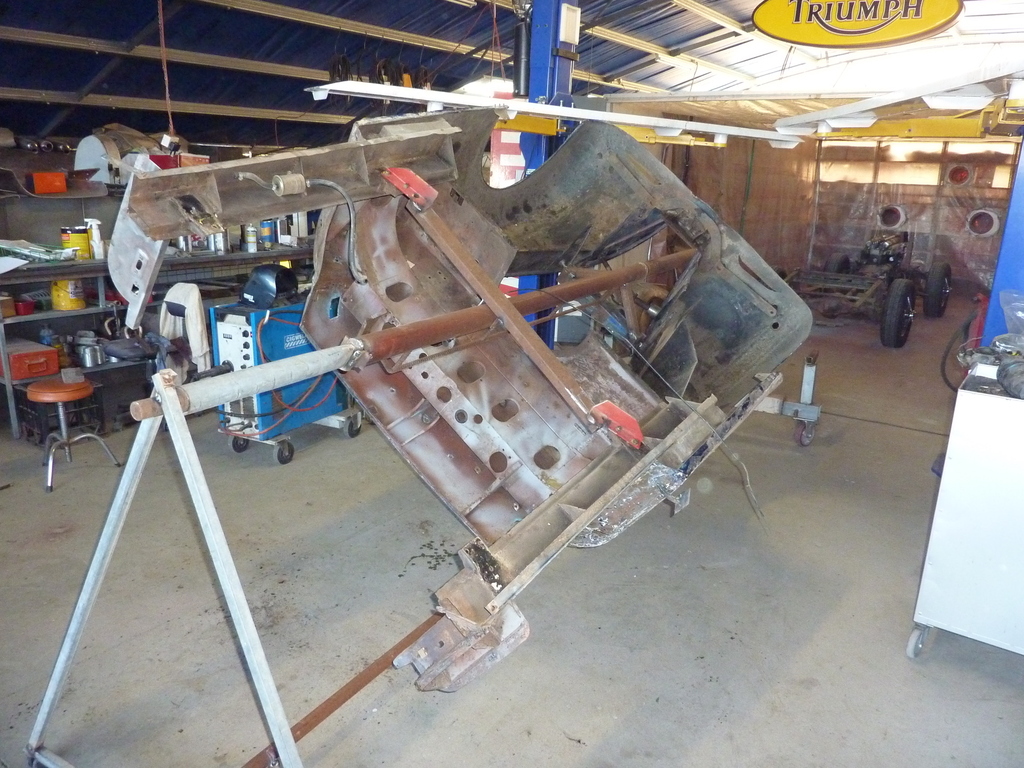 so I could sandblast it 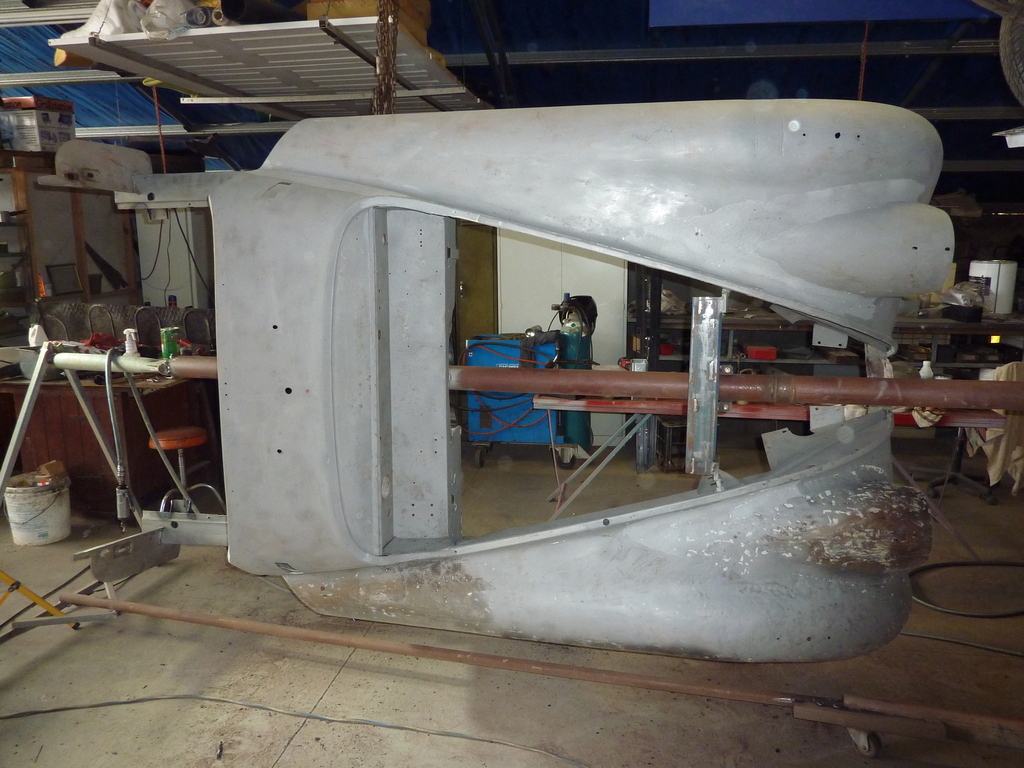 Didn't waste time blasting this bit, I knew it wasn’t staying 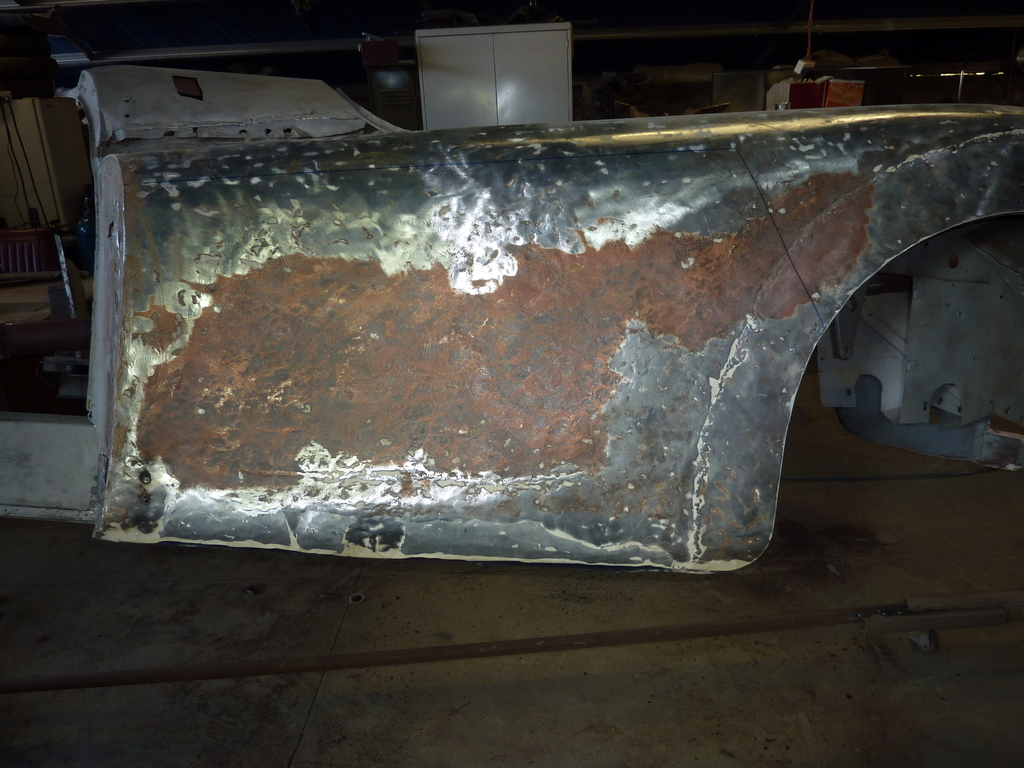 Made a replacement piece as this looked like a good place to start 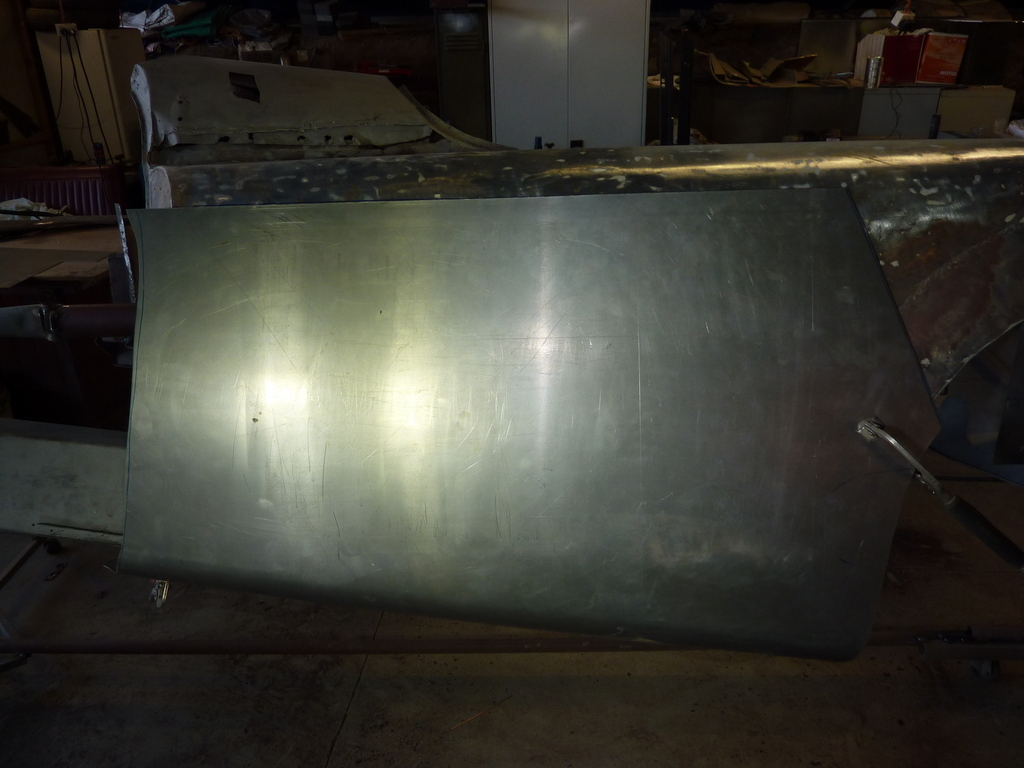 Then cut the eyesore bit away 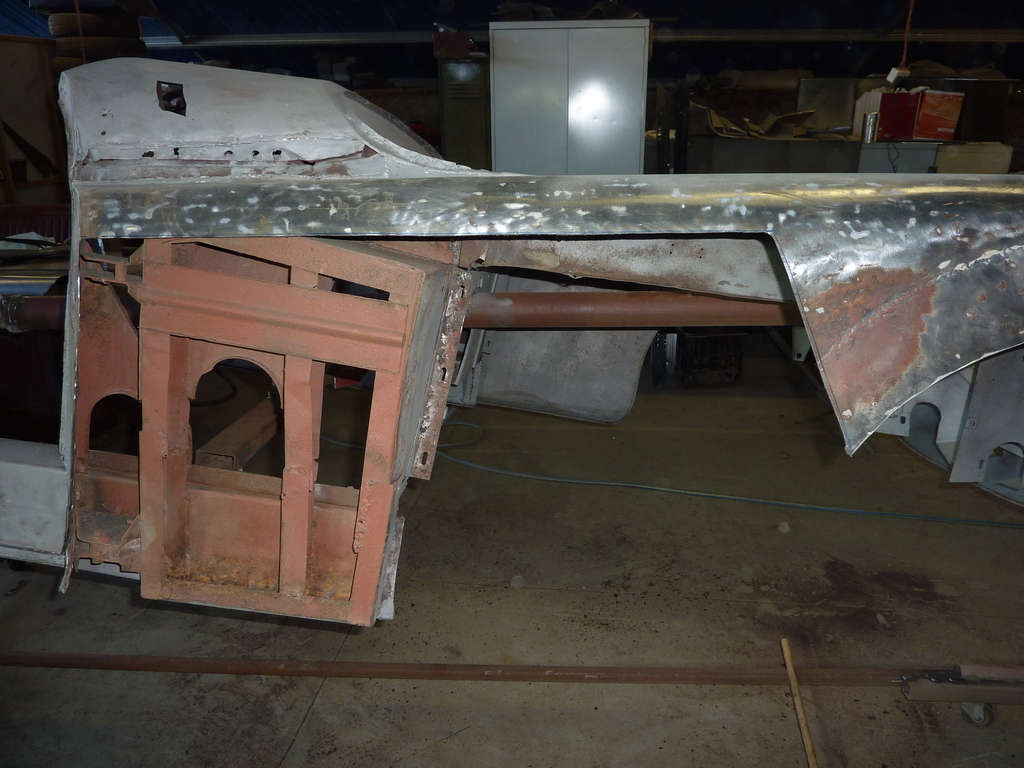 I must have taken a brave pill that day as I decided to take the left hand (good) guard off 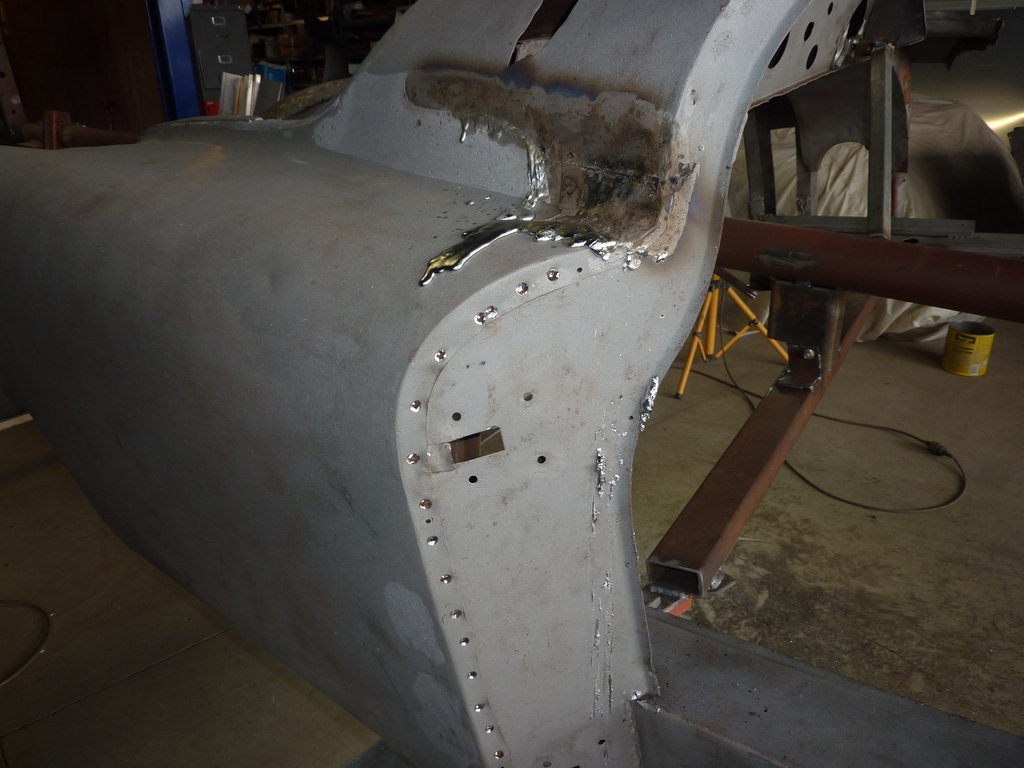 Not much left now. I was a bit shell shocked - I’ve never been this far into a car before. The rot you can see in this photo was what ultimately made me remove the guard - pretty much impossible to fix properly with the guard in place. 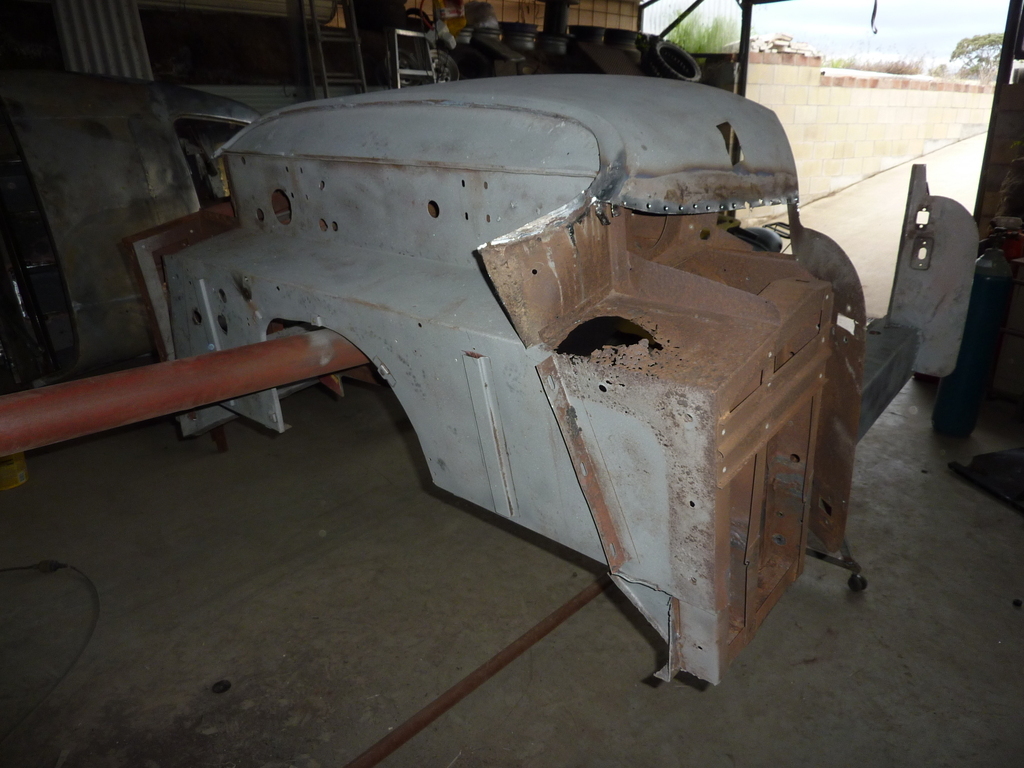 Repair tacked in place 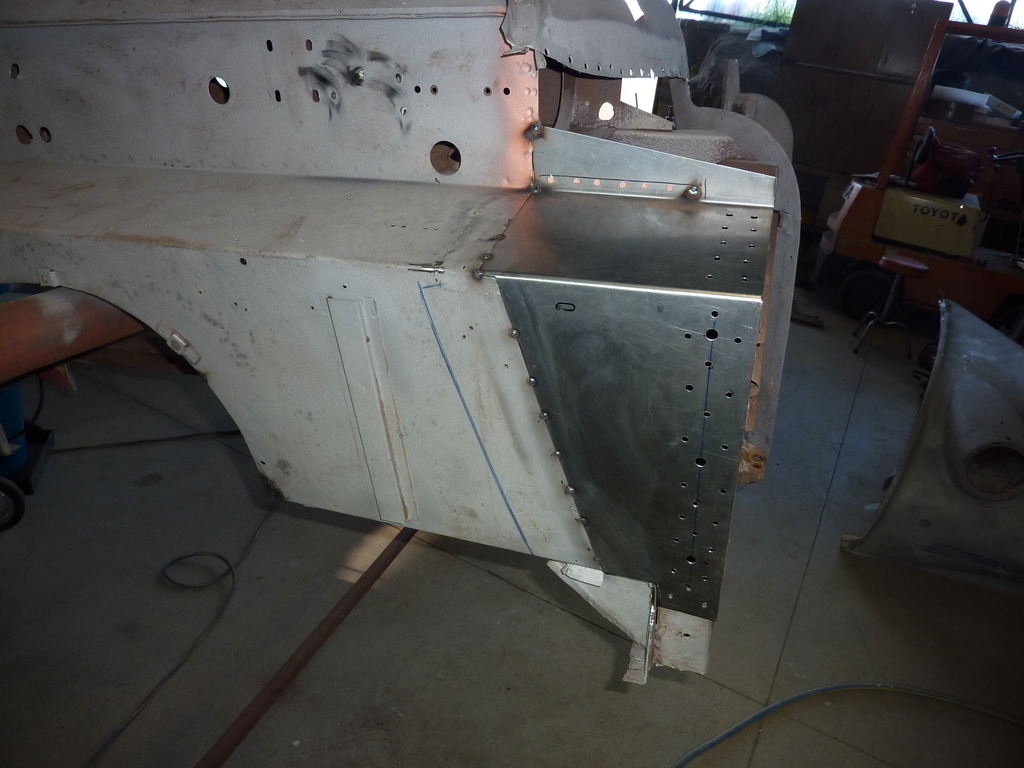 After the same piece was done on the right side, lifted the cowl section of the rotisserie so I could work on it on the bench. 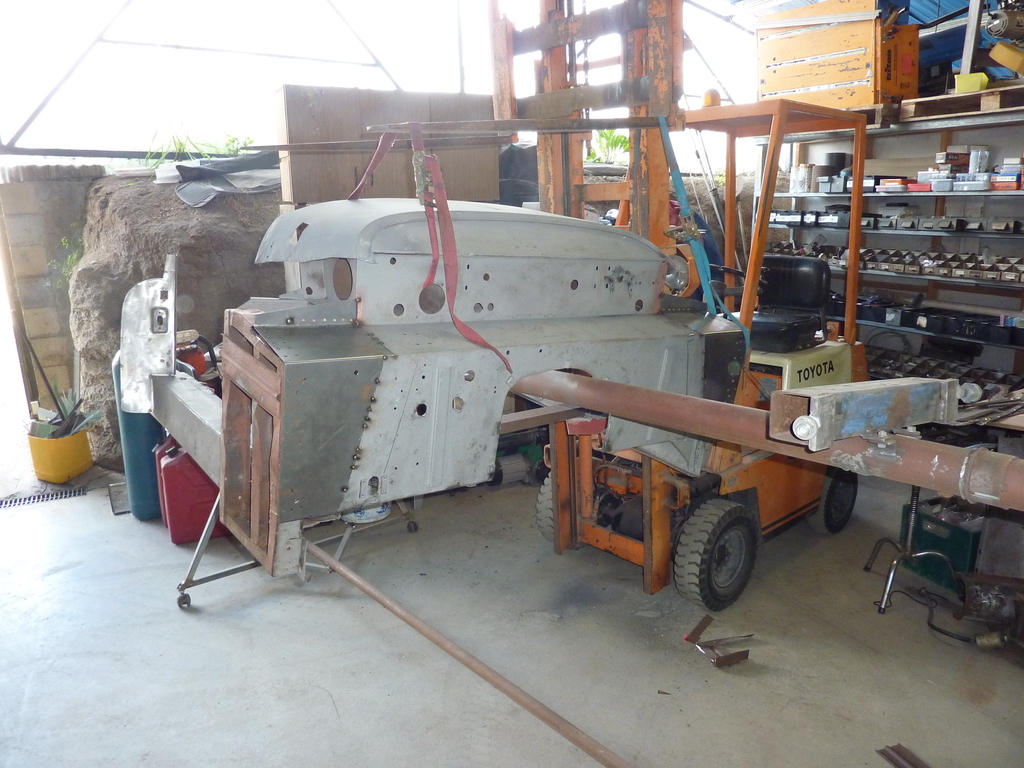 Leaving only the sills on the rotisserie. Ultimately all this was scrap. 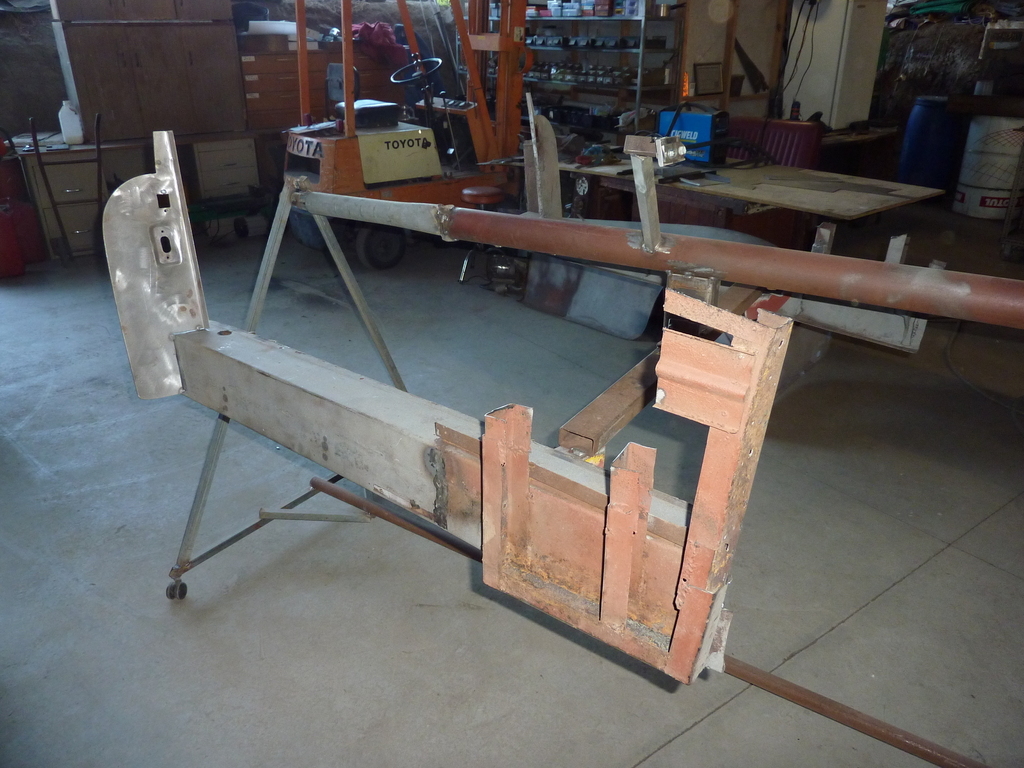 That's all for now. Comments and queries welcome. Cheers Garry |
| |
Last Edit: May 7, 2021 1:06:37 GMT by gazzam
|
|
|
|
|
Apr 16, 2021 17:45:33 GMT
|
|
This is absolutely brilliant. Serious skills and attention being lavished on a simply beautiful car. Bookmarked and awaiting further installments 🙂
|
| |
|
|
|
|
|
|
|
|
Thanks so much for sharing this.
John
|
| |
|
|
|
|


