|
|
|
|
|
|
Thanks for the kind words Nigel 👍 I’m slowly getting there.
In the boot I have been very lightly coating the bare metalled surface with an acid based rust converter getting in all the little nooks and crannies, letting it dry and then lightly scuffing it back with 240 sand paper before priming it. I’m only going to do the boot like this as it is a high risk rust area, and I’m paranoid about future rust.
The exterior will just be the standard affair, bare metalled, repairs where necessary, primed, then a good coat of high fill for the final going over.
|
| |
Last Edit: Feb 7, 2021 1:23:34 GMT by GT Torino
|
|
|
|
|
|
|
|
|
|
|
|
You sir have got some talent!
Would be amazing to have a go-pro set up in that garage to see you turn that flat piece of metal in to the perfect fitting shape!
If I can't see it with my own eyes, i'm putting it down to witchcraft.
|
| |
|
|
|
|
|
|
|
You sir have got some talent! Would be amazing to have a go-pro set up in that garage to see you turn that flat piece of metal in to the perfect fitting shape! If I can't see it with my own eyes, i'm putting it down to witchcraft. Thanks mate, but in all honesty it just takes patience. Good idea with the go pro, when I do the other side I will mine up in time lapse. Would be interesting for me too as it takes hours of mundane hammering with a metal flipper and dolly. Until then I’m happy with witchcraft 🤣. |
| |
Last Edit: Feb 10, 2021 3:10:54 GMT by GT Torino
|
|
dazee
Part of things
 
Posts: 96
|
|
|
|
|
Great metalwork,will be following this build with interest.
|
| |
|
|
|
|
|
|
|
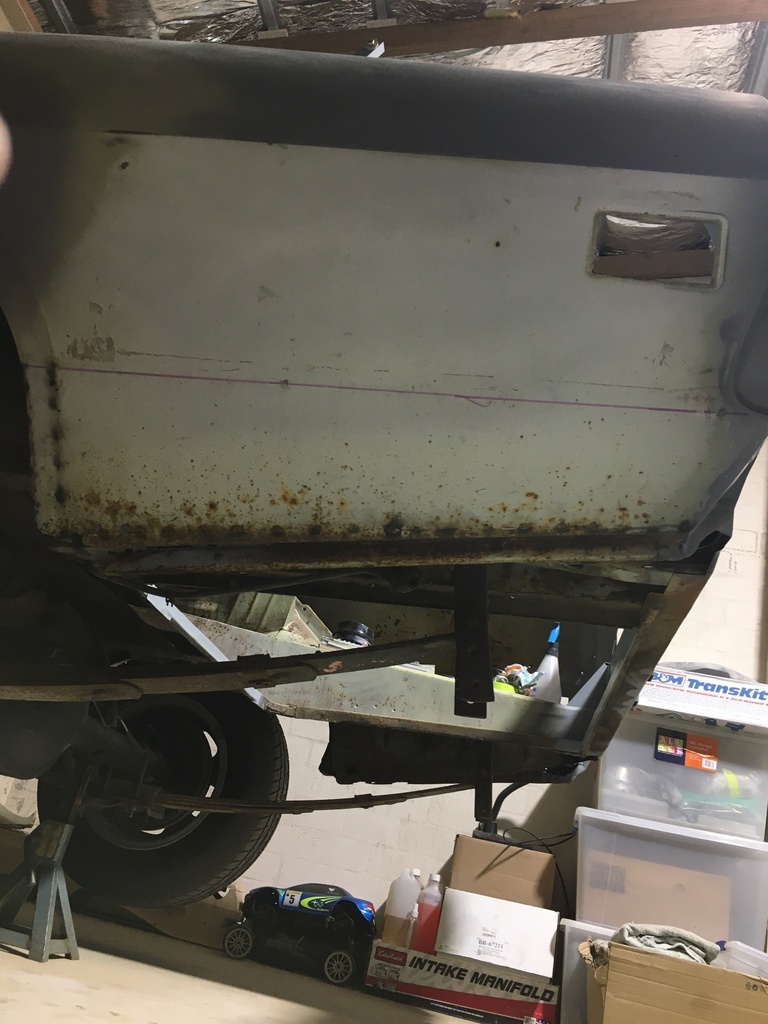
😱🤣 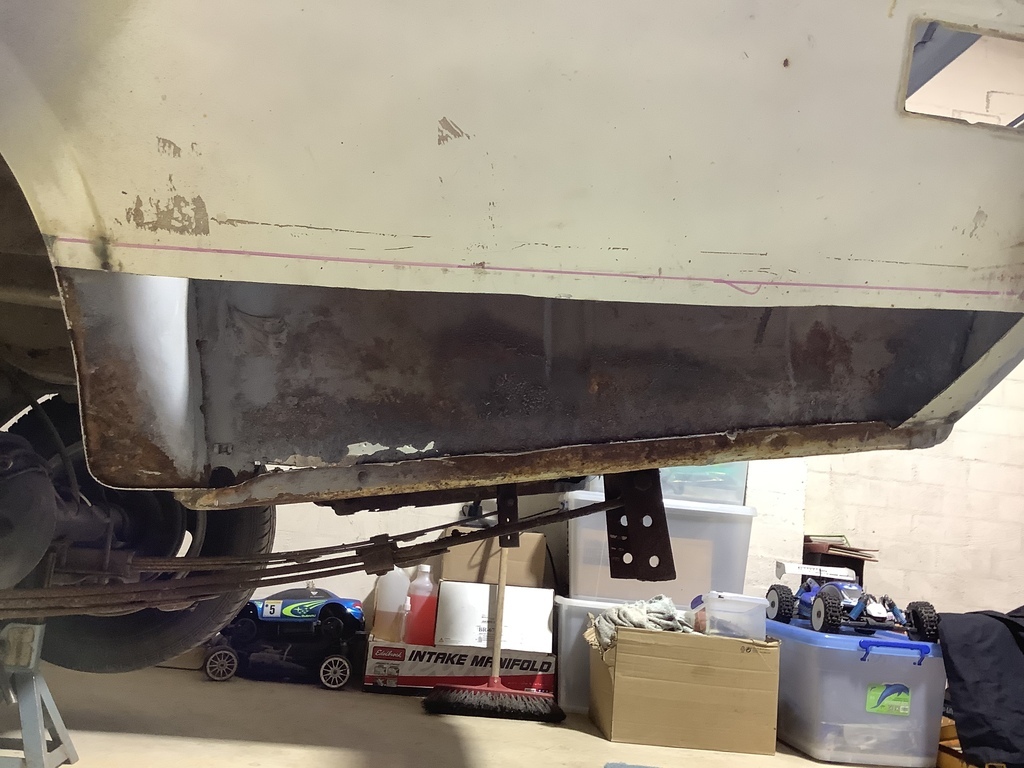  As to be expected. Should be fairly straightforward. |
| |
|
|
|
|
|
|
|
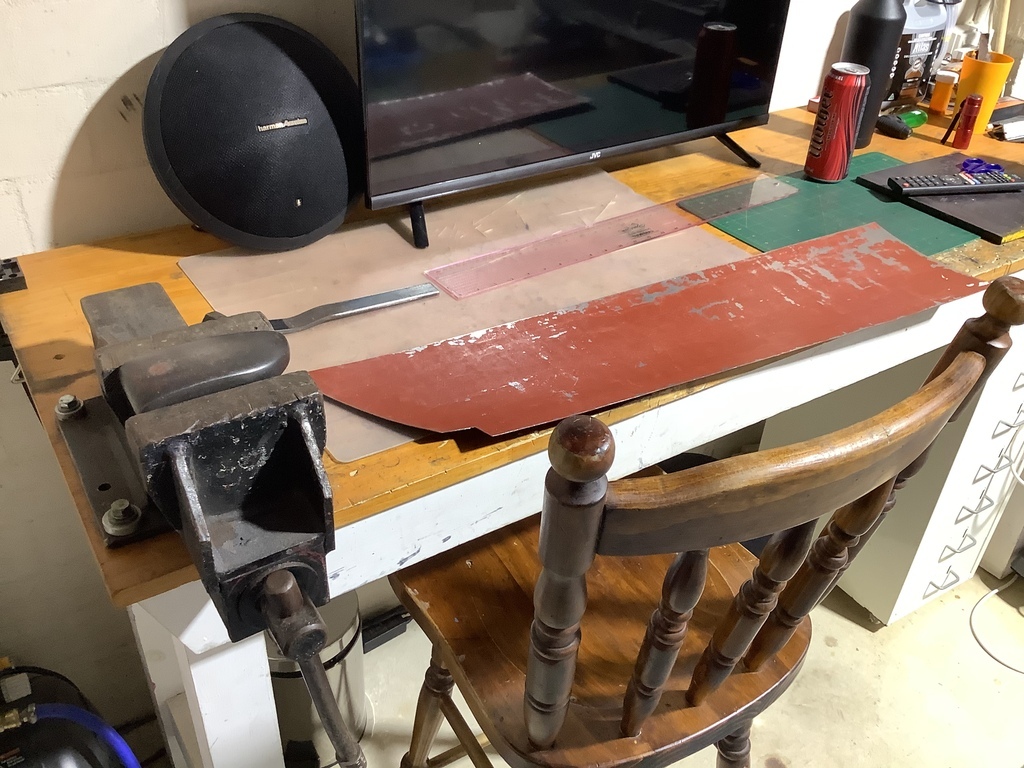
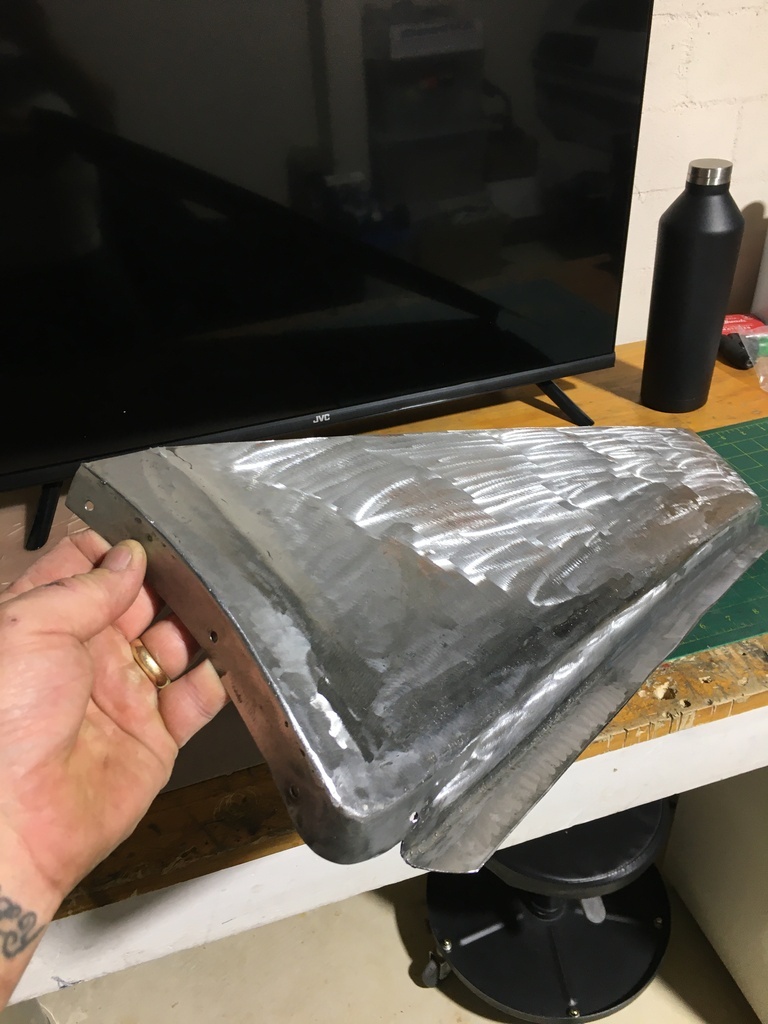
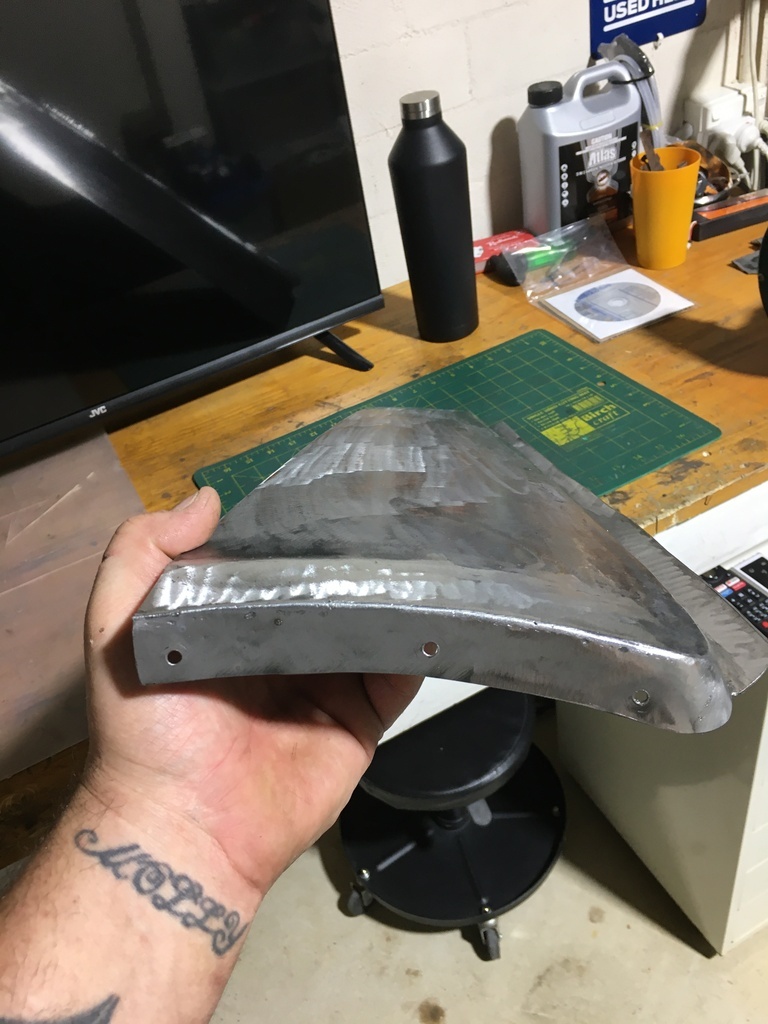
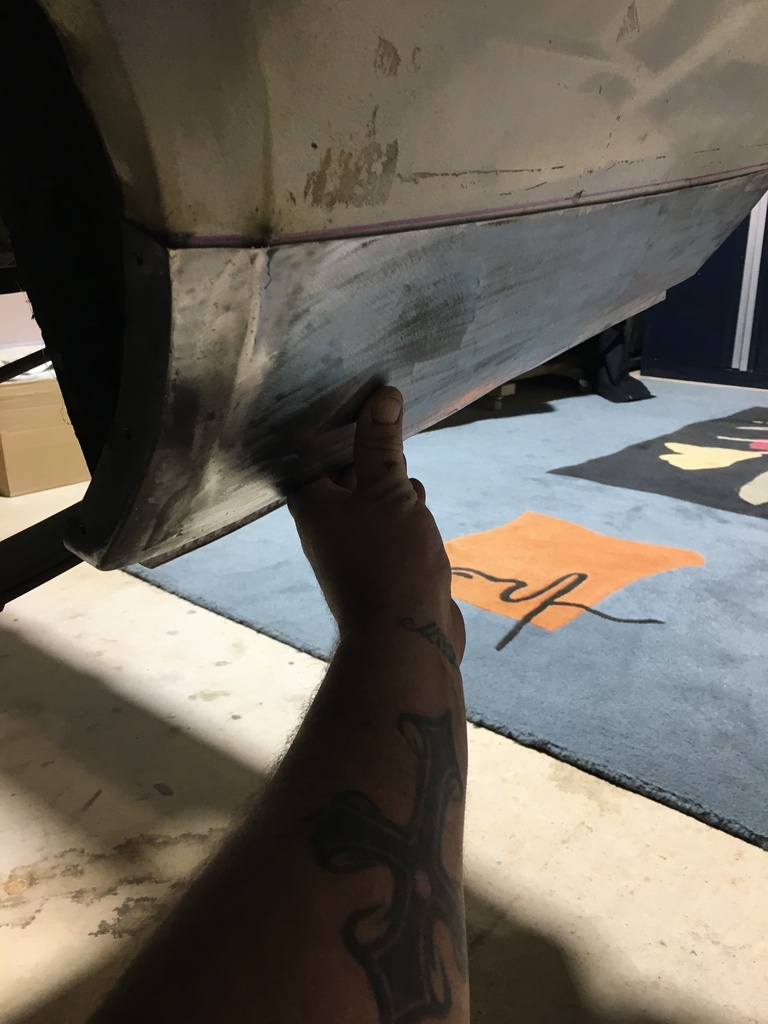
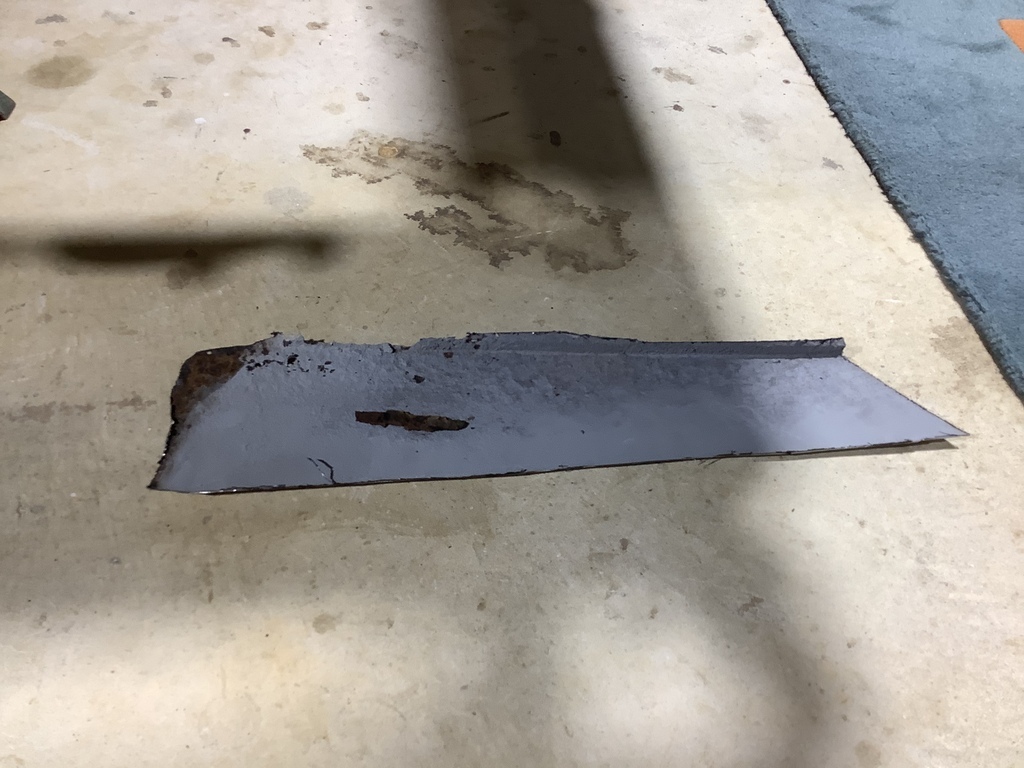
You know how some days you think this piece will only take a couple of hours, this little curse word took all day. Admittedly it is literally a pivotal piece that will determine how the lower 1/4 repair section sits. Got it spot on eventually. Only spot welded in place as I had had enough for the day. 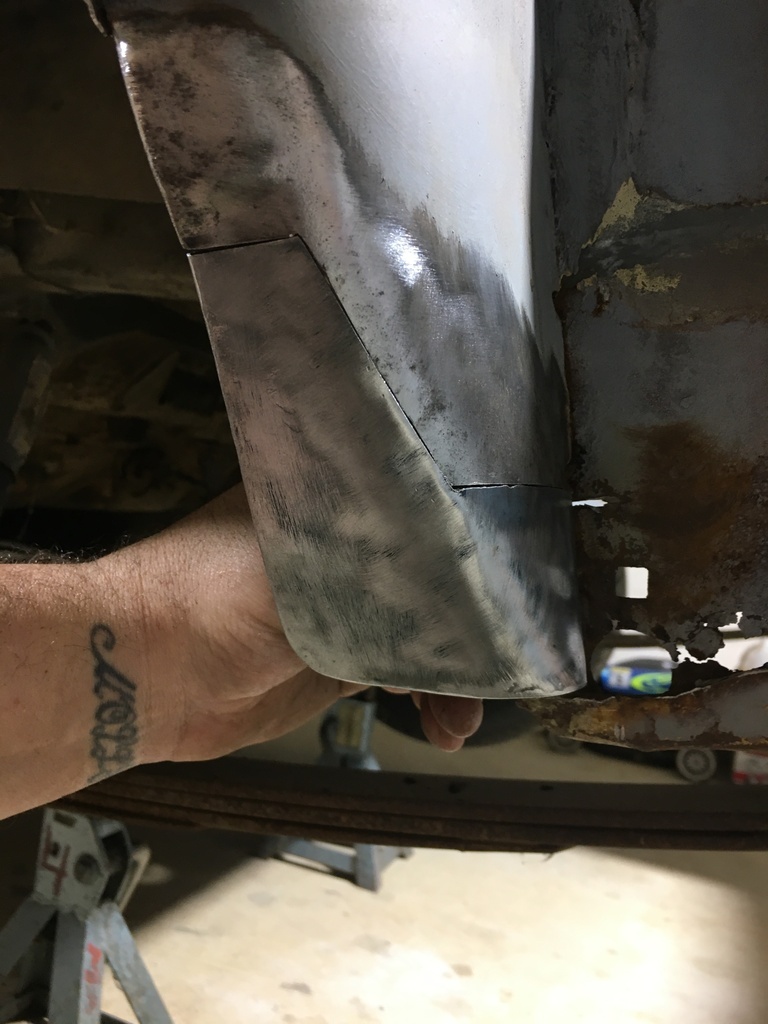 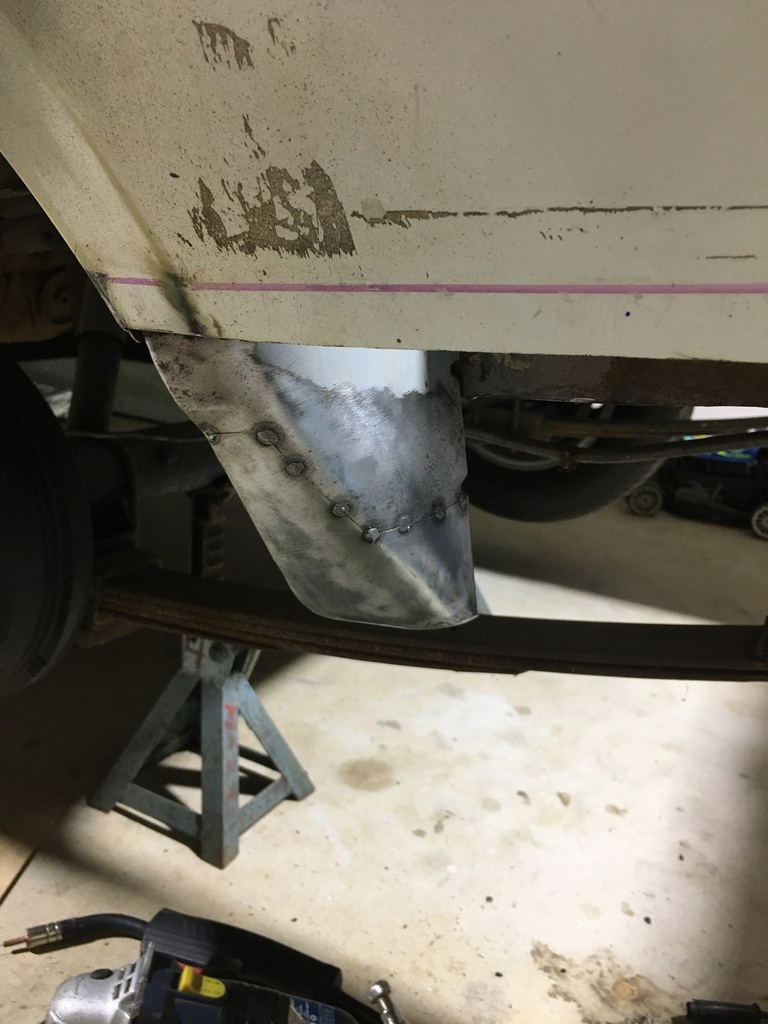 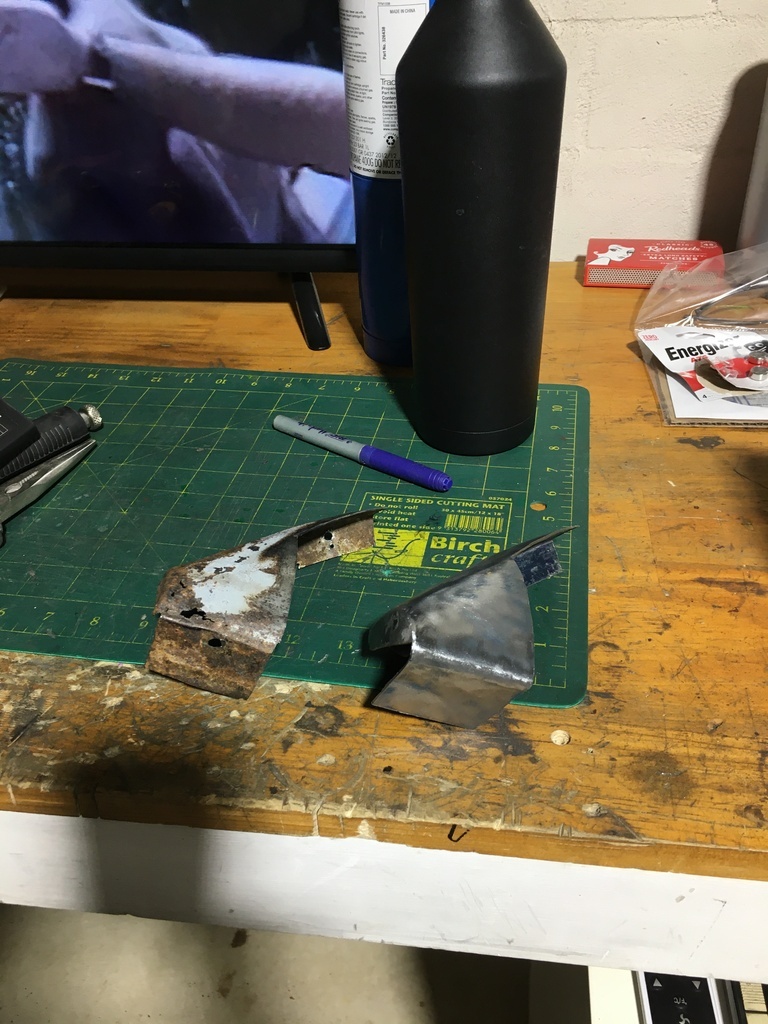 |
| |
|
|
|
|
|
|
|
|
I know those days all too well 🙄. However....great project, a cracking car and excellent fab work 👍
|
| |
Opel Commodore A Coupe
Opel Rekord C Coupe
Opel Rekord C Saloon
Vauxhall Magnum Coupe V8 (Magnumania)
Mk1 Scirocco GLS
Mk1 Scirocco GLS (early chrome bumper)
Corrado G60
Mk1 Cortina 2 door Pre Airflow
Mk2 Escort 1300 2 Door
VW LT35 Tipper Truck
BMW 320D E91 Tourer
|
|
|
|
|
|
|
Finally put the lower 1/4 on without any dramas. I also replaced the inner with galvanised steel. 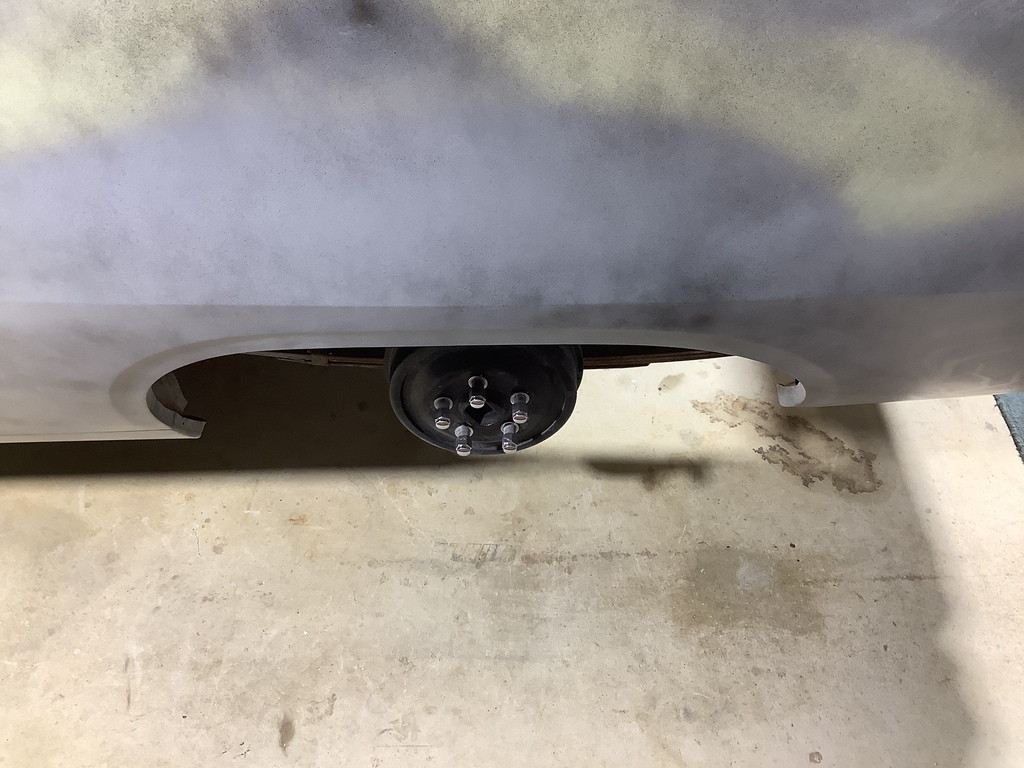 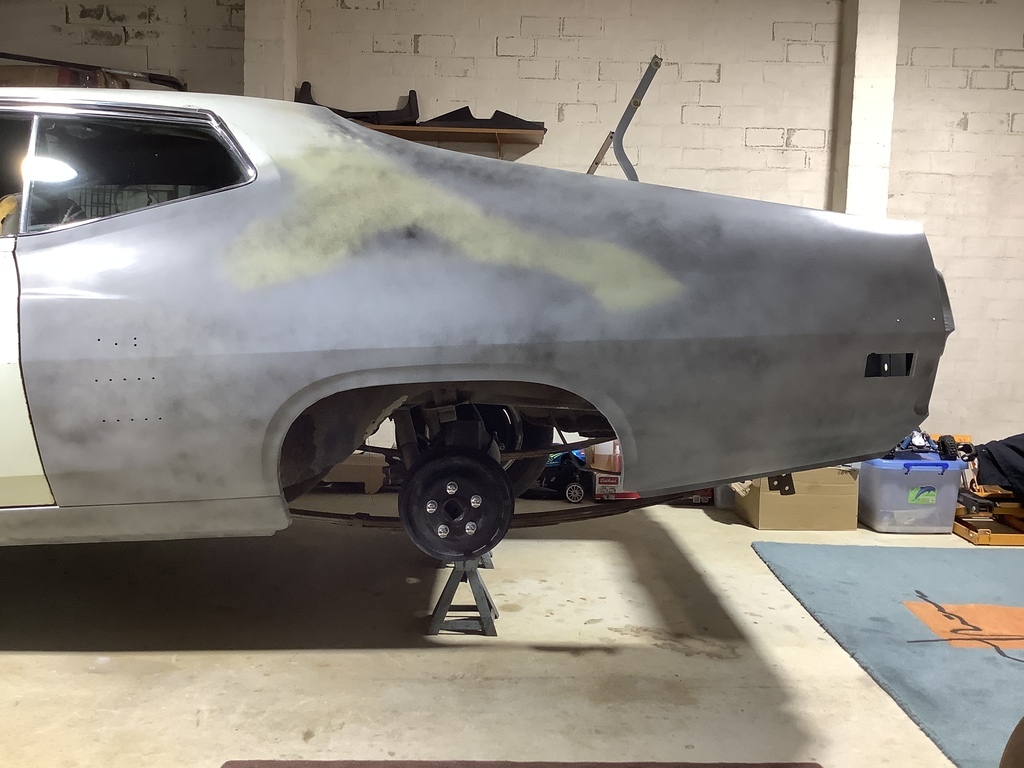 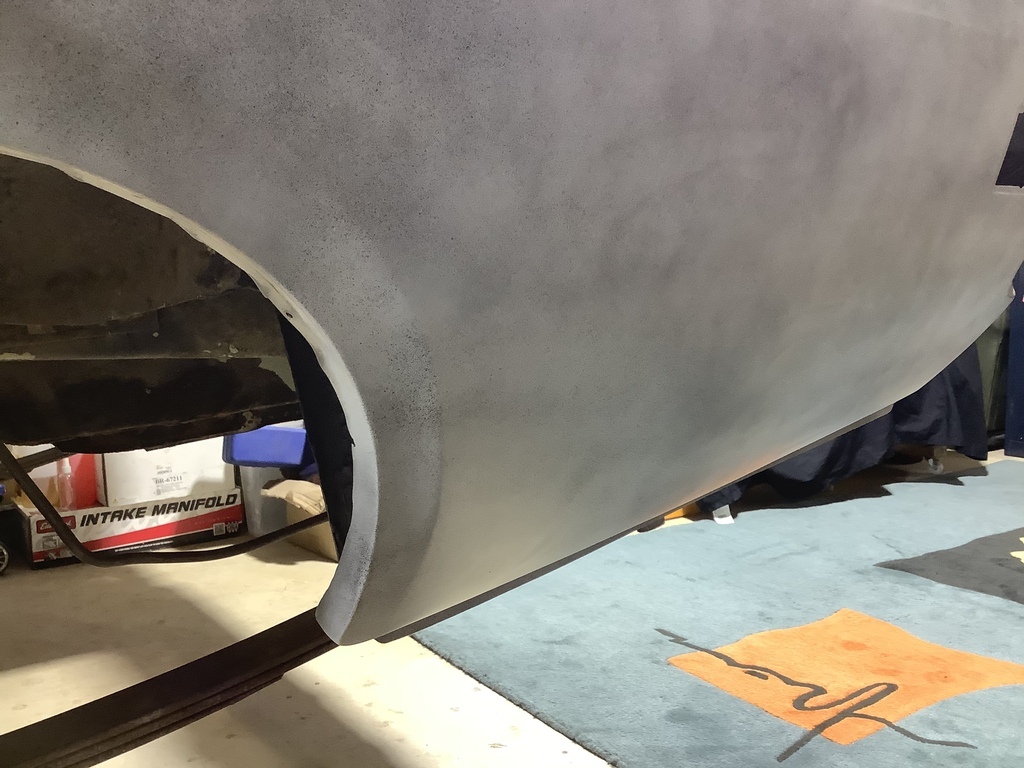 Luckily the RHS is straight and I was able to duplicate the overall profile and fading of the lip, this little curse word helped immensely. I just used a piece of aluminium strip cut to duplicate the original profile. It looks like the lip disappears on the rear top, but that is just the lighting and guide coat. It is original straight steel bar the lower 300mm which required a tiny bit of filler. 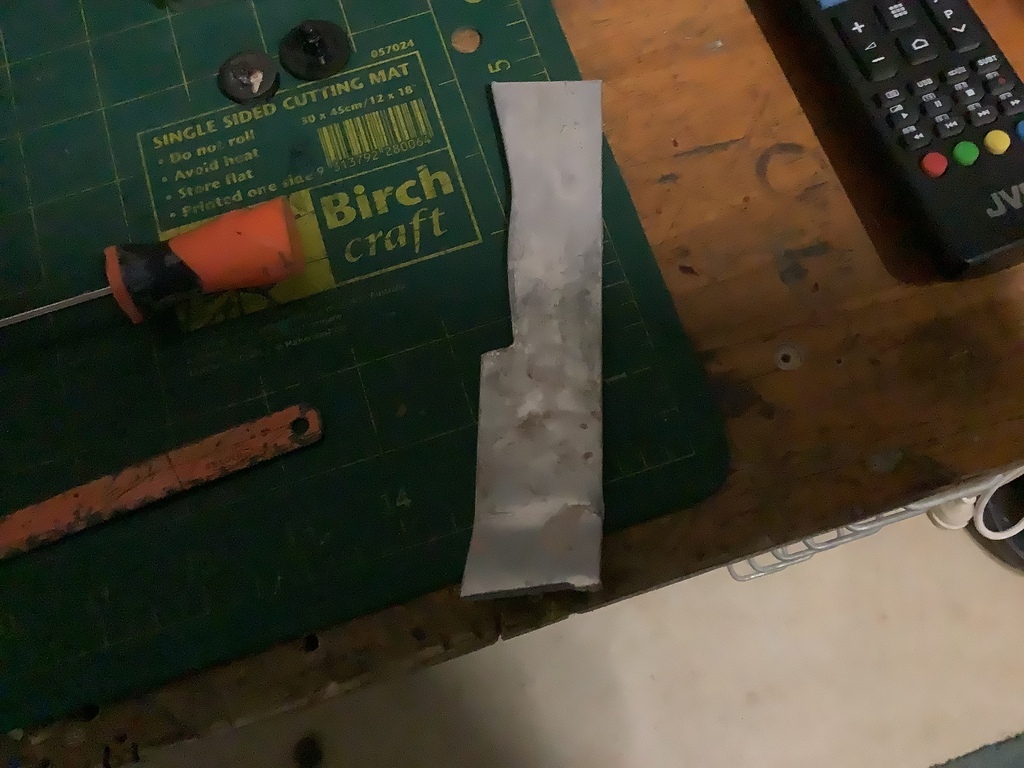 So all in all, it’s ready for the high fill primer for the final cut. My plan is to get the whole car in this stage, put it all back together so everything flows, give it the final cut then blow it all apart again to paint. Slow process but it will be worth it in the end. |
| |
Last Edit: Feb 27, 2021 8:13:15 GMT by GT Torino
|
|
|
|
|
Feb 27, 2021 10:16:22 GMT
|
|
Brilliant fabrication skills.
|
| |
|
|
|
|
glenanderson
Club Retro Rides Member
Posts: 4,356
Club RR Member Number: 64
|
|
Feb 27, 2021 10:30:40 GMT
|
|
Great progress. You’re really doing it justice. 👍👍
|
| |
My worst worry about dying is my wife selling my stuff for what I told her it cost...
|
|
|
|
|
Feb 27, 2021 11:07:41 GMT
|
Brilliant fabrication skills. Thanks mate, but in all reality it just take a lot of patience and time that in the world of the internet it seems to take moments to create. |
| |
|
|
|
|
|
Feb 27, 2021 11:08:45 GMT
|
Great progress. You’re really doing it justice. 👍👍 I’m trying my hardest as this one is a keeper 👍 |
| |
|
|
|
|
|
|
|
I wire wheeled the inner whole guard and found no nasty surprises, so I undercoated the bare metal and sprayed on a rubberised paint. 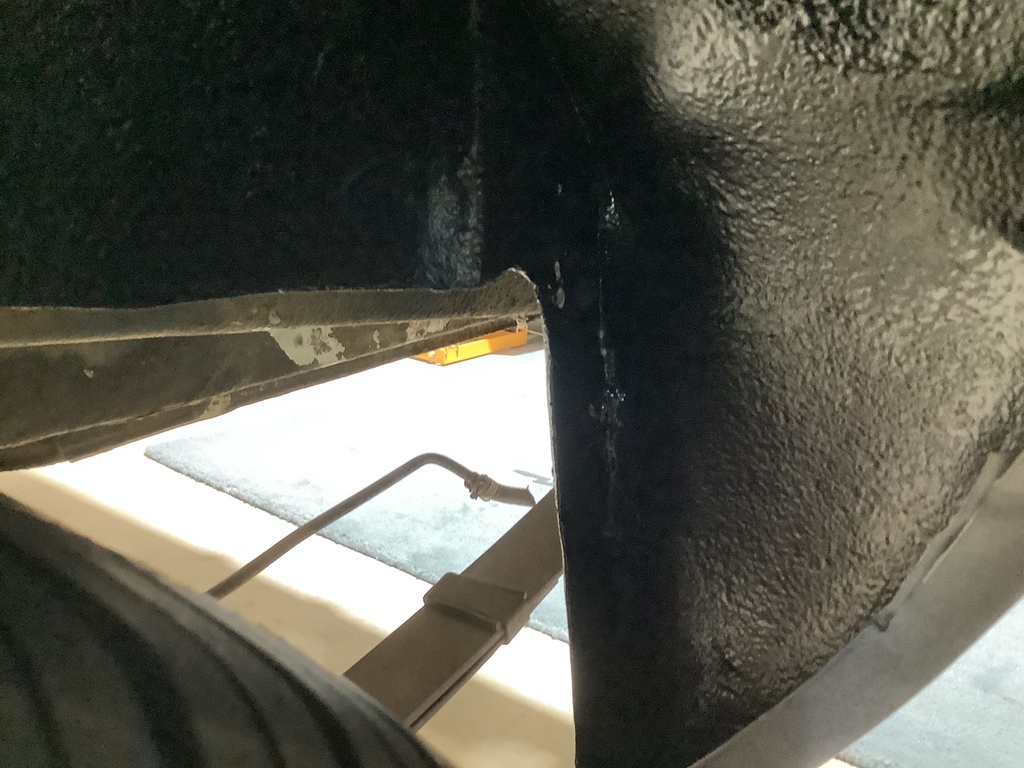 I also put her back on all four wheels. 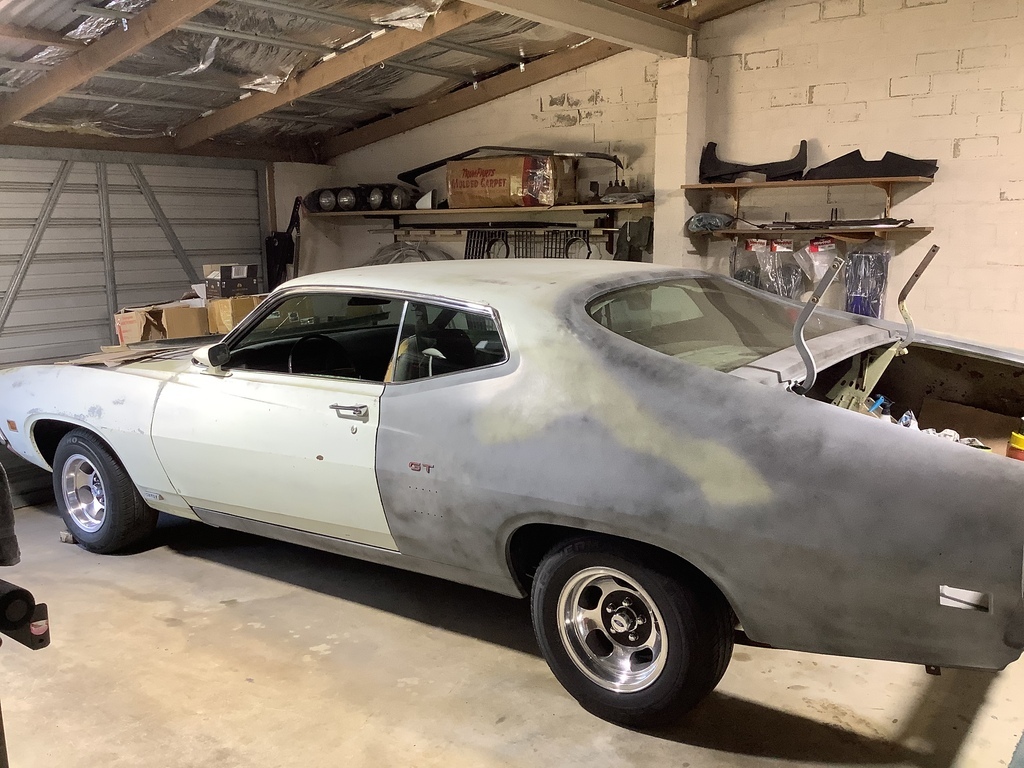 |
| |
|
|
|
|
|
|
|
|
Stunning job on the metalwork.
|
| |
|
|
Pid363!
Posted a lot
   Madness is all in the mind!
Posts: 1,052
|
|
|
|
|
The mans got skills! Bookmarked!
|
| |
Stupid is as stupid does!
|
|
|
|
|
|
|
|
The attention to detail in your work is incredible!
|
| |
|
|
|
|
|
|
|
Moved on to the rear stone tray, luckily it was rather straight just a skim of filler here and there mainly to blend in the profile to the rear 1/4 panel. 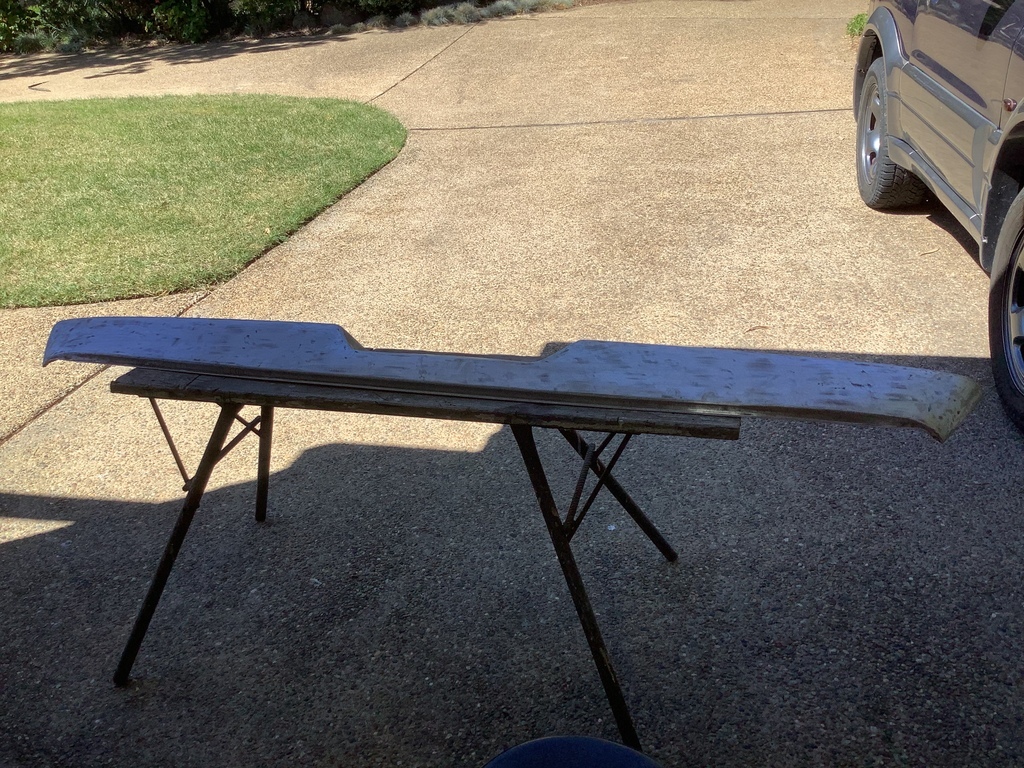 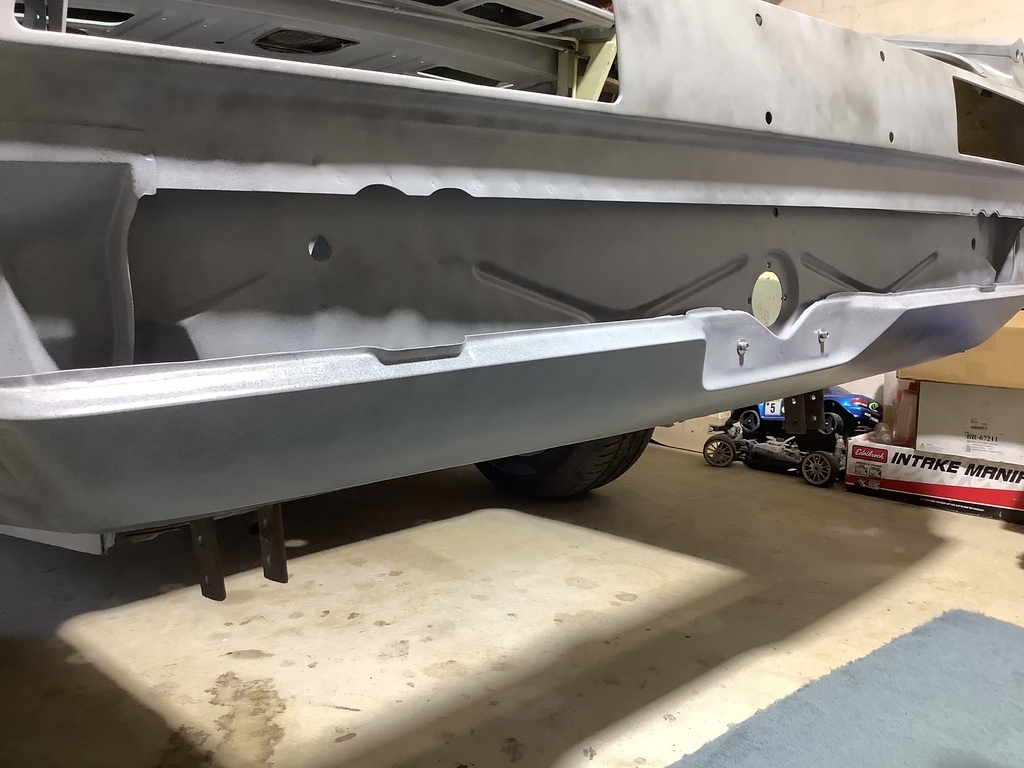 Also started to restore the rear taillight panel, again very straightforward being one big chunk of cast aluminium. The lenses are in excellent condition with no cracks, all that is needed is a good polish. I have it in high fill primer, ready for a a rubdown with 400 grit paper then gloss black followed by clear, that it will hopefully apply next week. I’m hesitant to paint it at the moment as we have a lot of rain combined with hot weather causing the humidity to go through the roof. 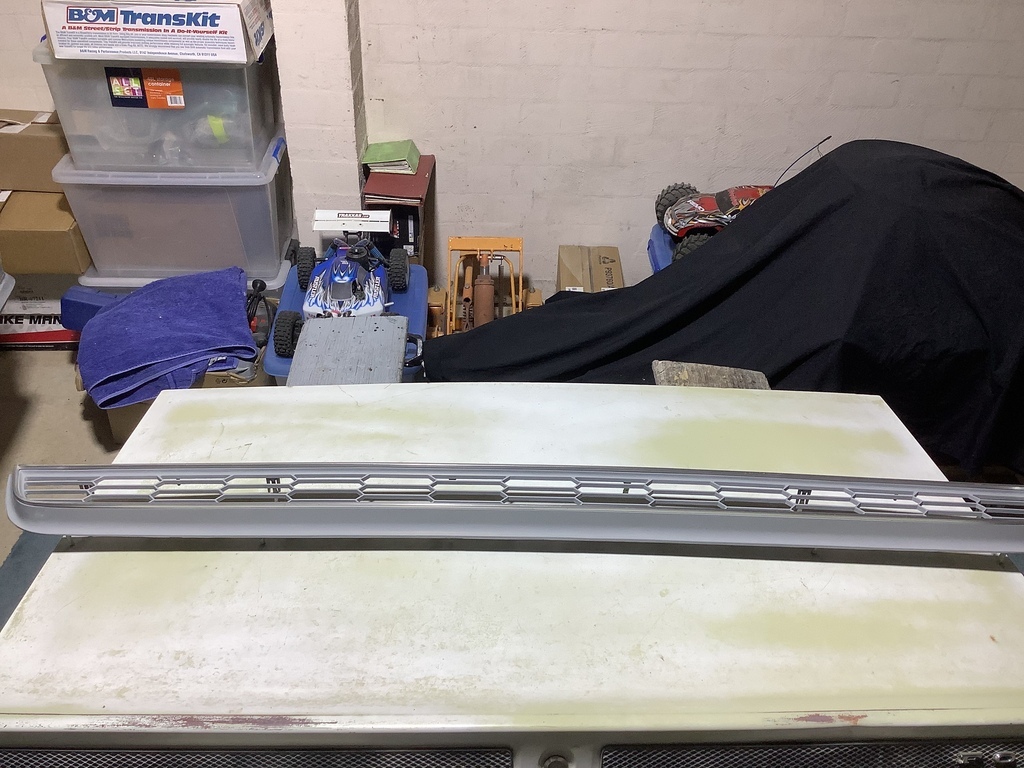 I will then move onto the boot lid, once that is sorted I can start on the rear extensions which will be blended to the boot and 1/4 panels as they all tie together as can be seen on this photo when I first got the car. 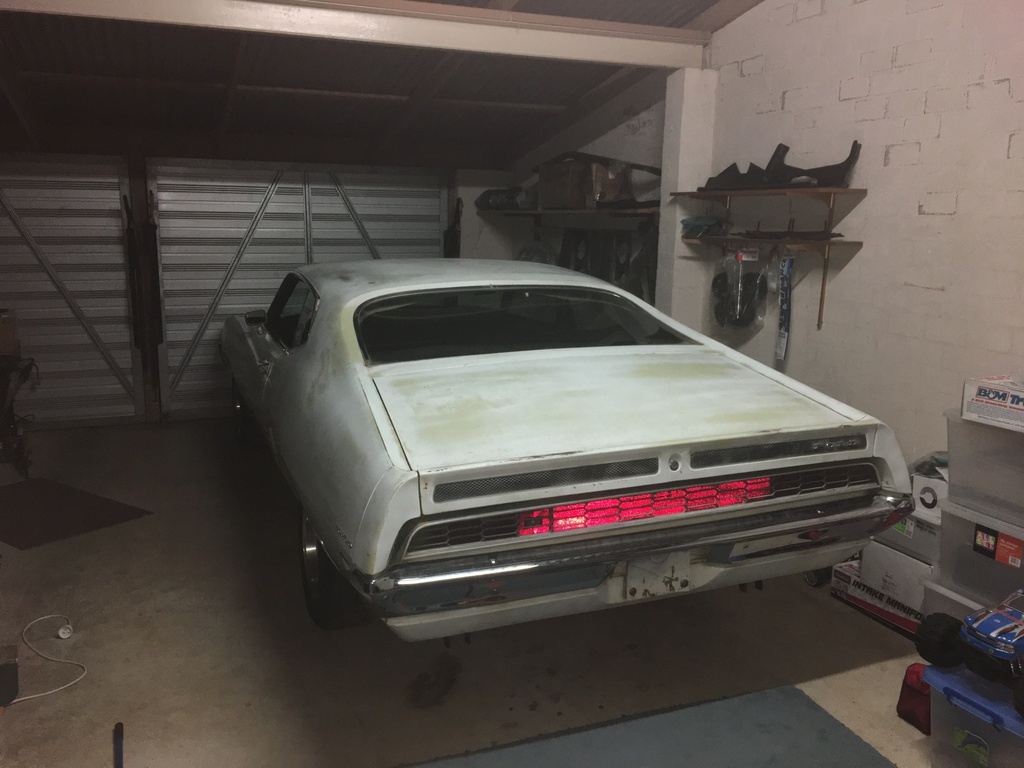 Can’t help but to add this picture showing how the whole rear end panels tie into together, not mine of course. 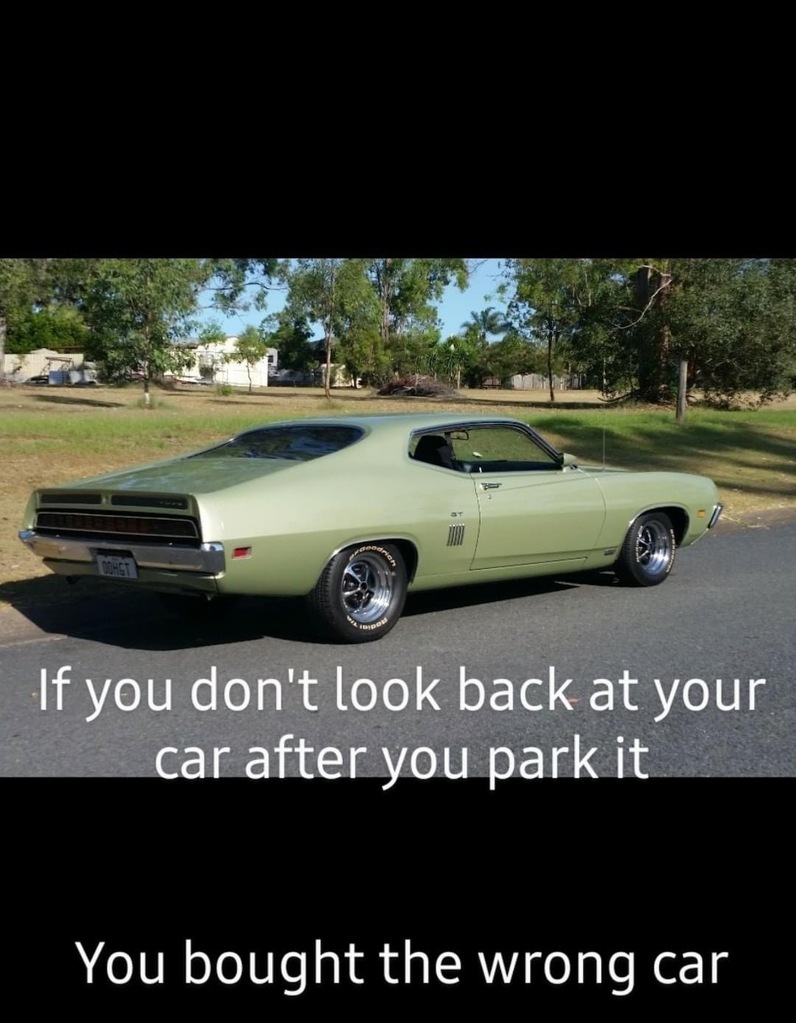 |
| |
Last Edit: Mar 13, 2021 5:46:48 GMT by GT Torino
|
|
|
|
|
|
|
Tail light completed, the lenses were crack free luckily and polished up a treat. Test fitted for a mojo boost. 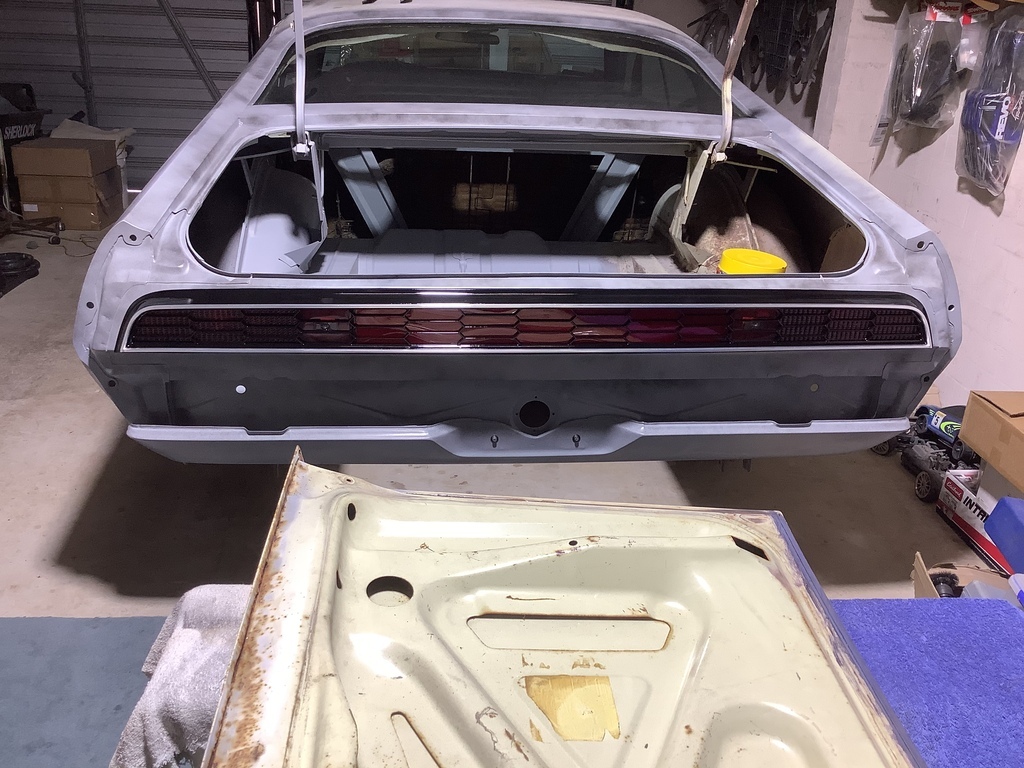 I have started on the boot lid that has unfortunately has a few surprises that I will get onto shortly. Basically the outer skin is rust free, but Ford in all their wisdom made the inner skin from .75mm sheet metal and the outer in 1.25mm sheet metal. That combined with no prep or paint on the inner skin where the outer skin is folded over it, it has decided to part company in a few places. There are a thousand ways to skin a cat, I’m just contemplating how I skin this one. I’m not overly concerned, I just need to formulate a plan. I will post my progress shortly. |
| |
|
|
|
|
|
|
|
|
It's undoubtedly more solid than any Falcon hardtop you could buy without winning the lotto!
|
| |
|
|
|
|


