|
|
|
Jan 22, 2020 10:30:36 GMT
|
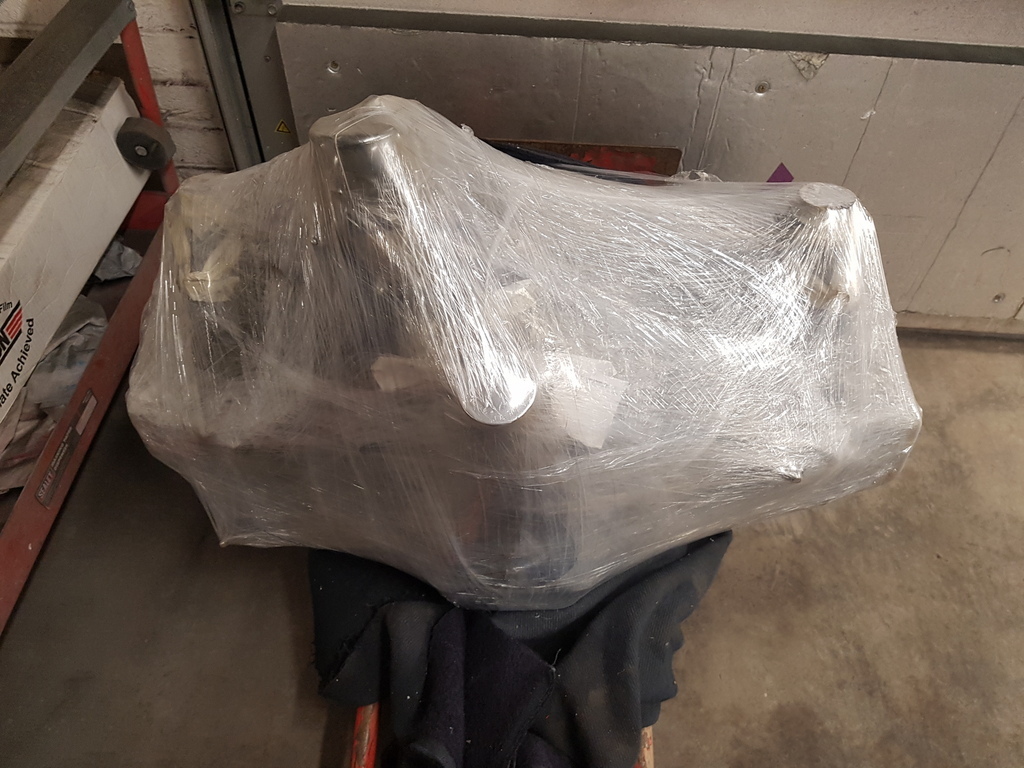 Managed to find time to wrap the engine today to allow it to go into storage - I wont be requiring it for several months yet Do you often wrap stuff up like that for storage? We have some moisture sensitive raw material that we buy in at work comes with desiccant sachets that are the size of the palm of your hand I wrap and store parts in the same way with stretch film but I always place a few sachets inside Copes really well with temp change related condensation Ian - Yep works for me too - especially where I'm not going to be needed whatever it is for several months |
| |
|
|
|
|
samta22
Club Retro Rides Member
Stuck in once more...
Posts: 1,276  Club RR Member Number: 32
|
|
Jan 22, 2020 11:04:55 GMT
|
|
Good idea re the sachets. Think I need to do a similar exercise for the engine I have wrapped up.
|
| |
'37 Austin 7 '56 Austin A35 '58 Austin A35 '65 Triumph Herald 12/50 '69 MGB GT '74 MGB GT V8'73 TA22 Toyota Celica restoration'95 Mercedes SL320 '04 MGTF 135 'Cool Blue' (Mrs' Baby) '05 Land Rover Discovery 3 V8 '67 Abarth 595 (Mrs' runabout) '18 Disco V |
|
|
|
|
Jan 22, 2020 13:33:51 GMT
|
Good idea re the sachets. Think I need to do a similar exercise for the engine I have wrapped up. MG or Toyota? |
| |
|
|
|
|
|
|
|
So although I'm now on with repanelling the other Jupiter in the workshop I have a booking for this Jupiter to be processed by a specialist paint & rust removal company - but it needs some preparation before it heads there 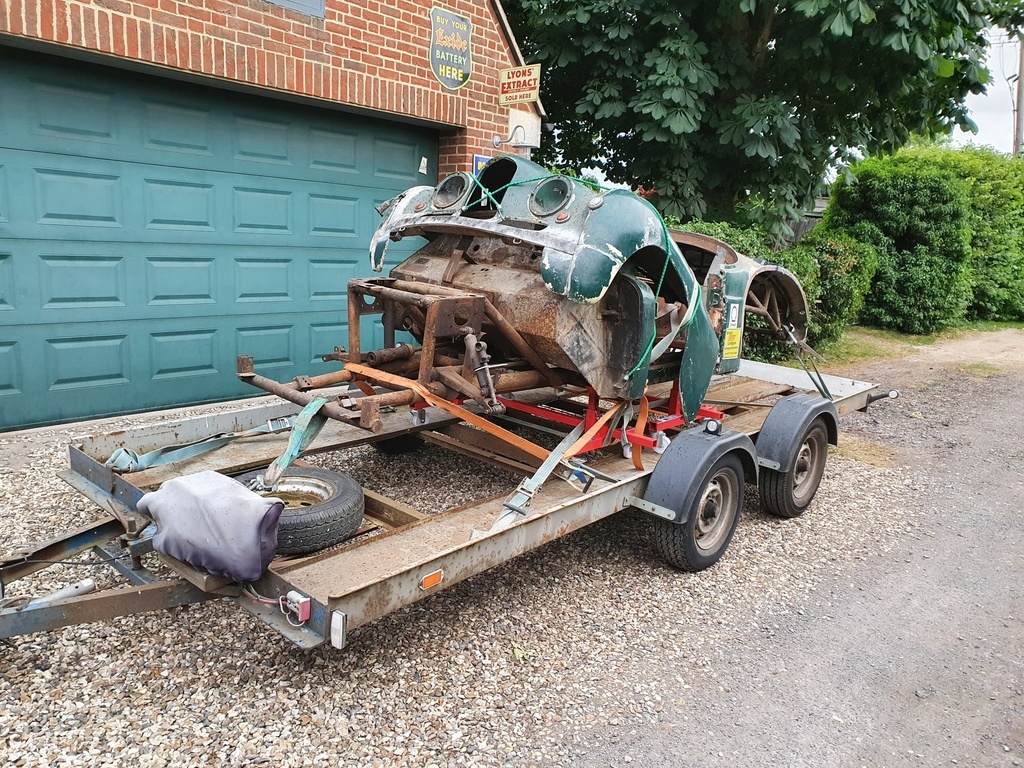 Collected from the barn 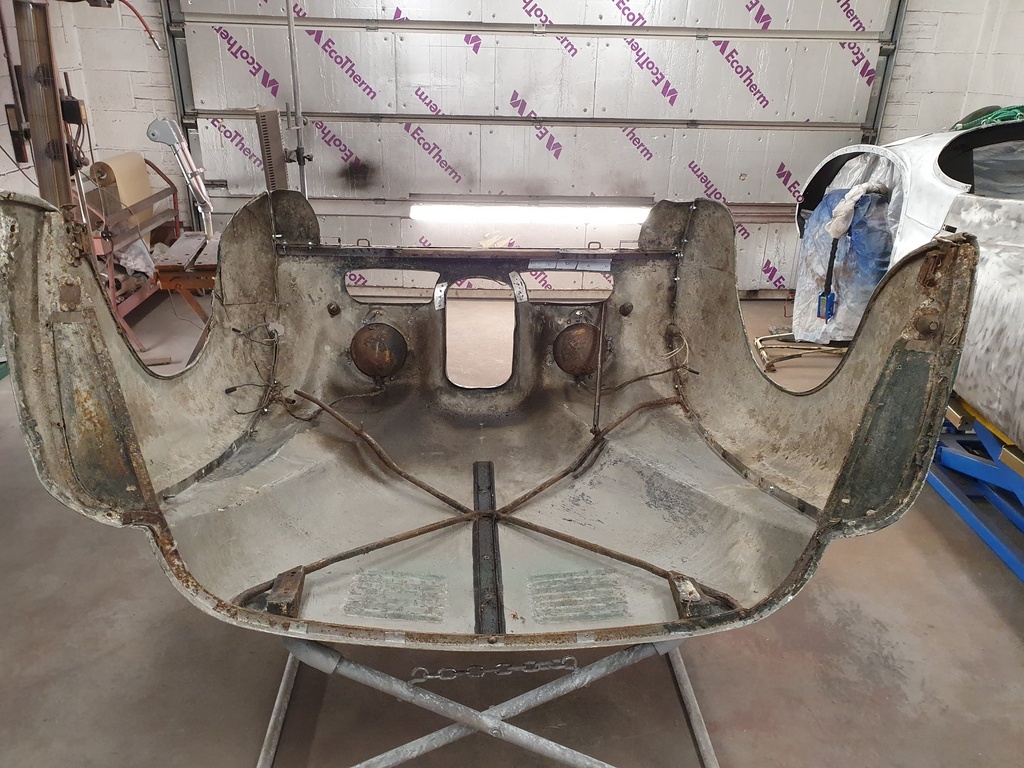 First job was to strip the bonnet 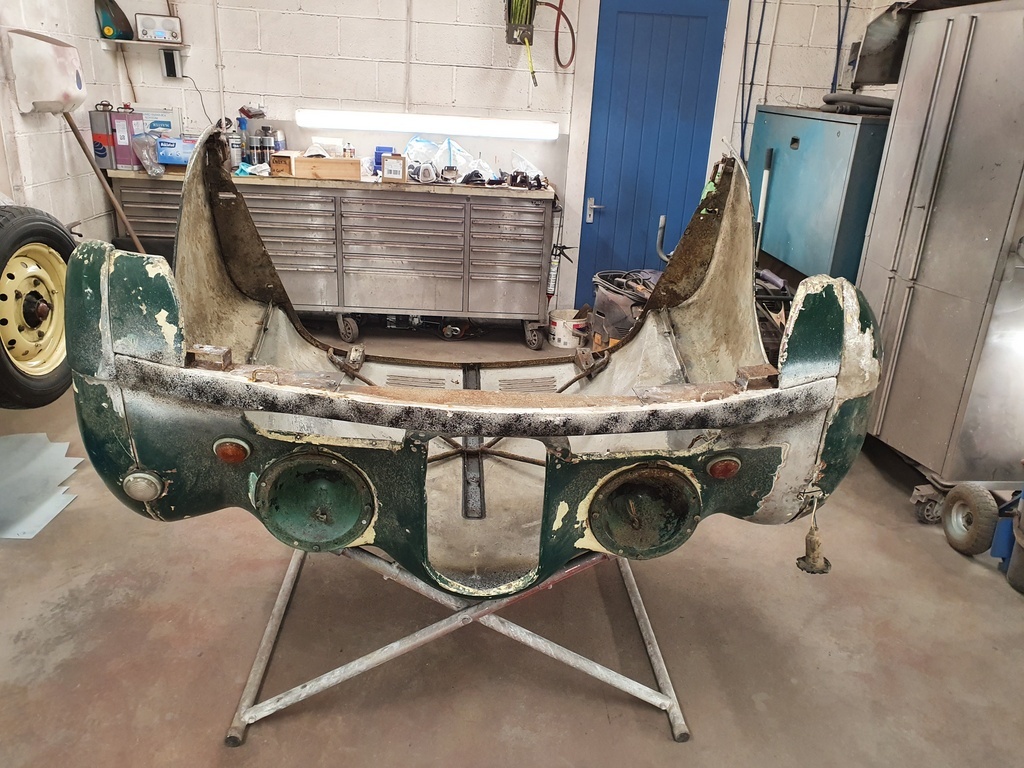 The wings are bolted to the frame of the bonnet to form a clamshell type enclosure - the outer skins are alloy 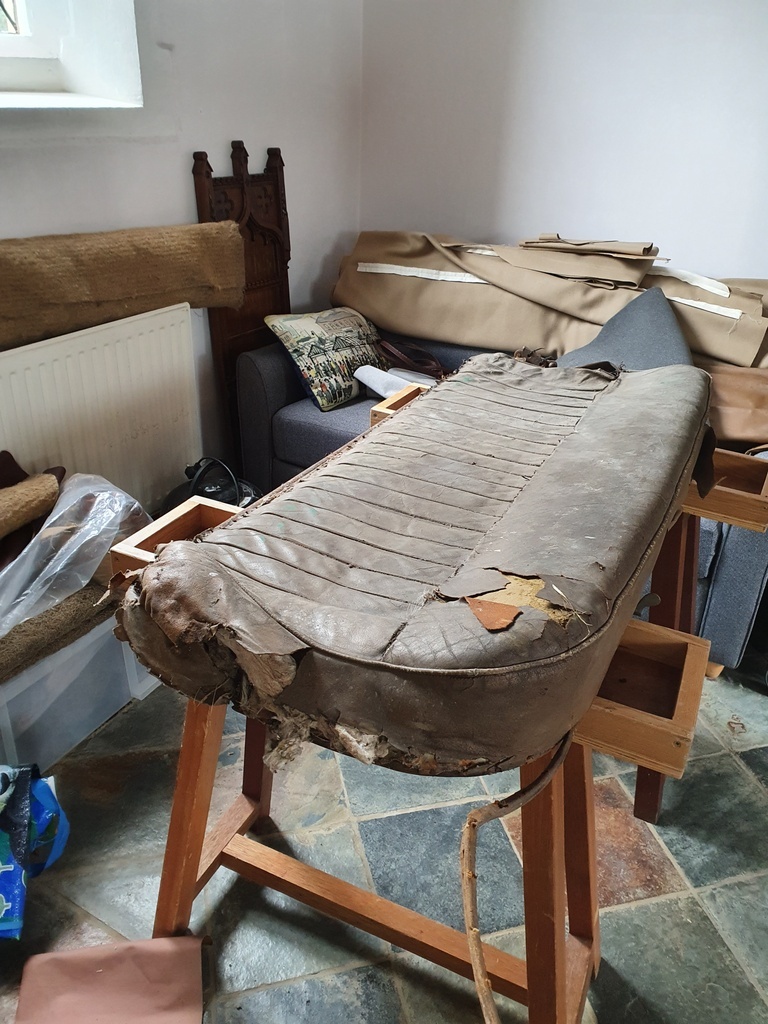 Meanwhile Mrs GN stripped the upholstery facings from the bench seat for the car 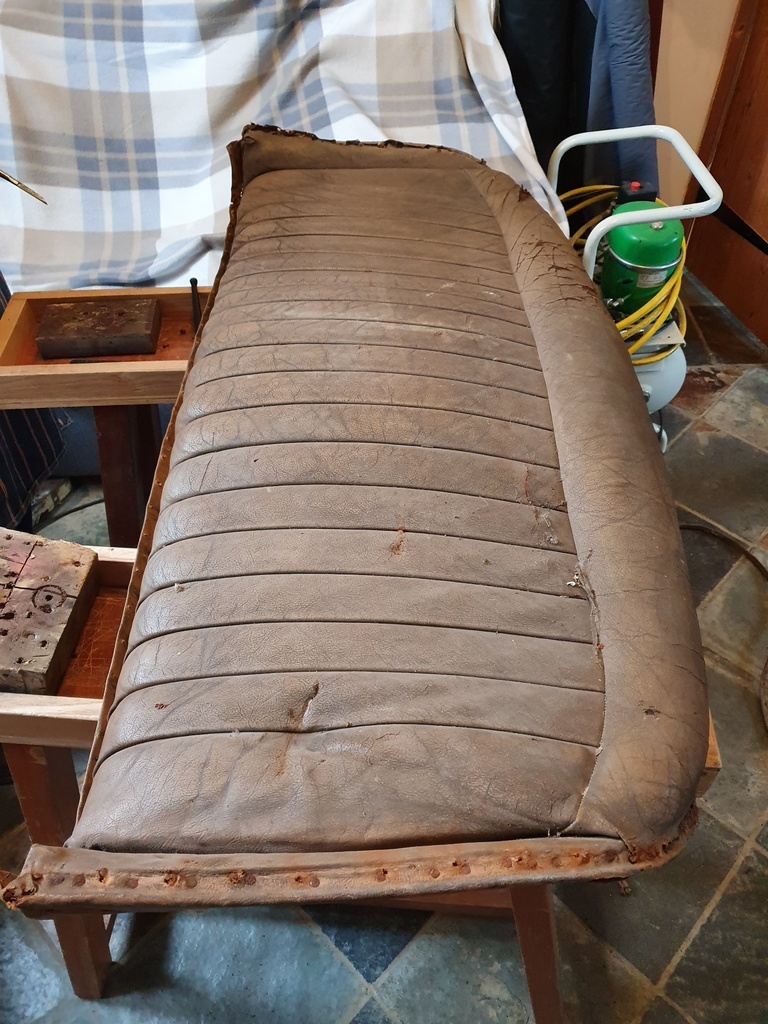 Two reasons for undertaking this at this stage - one is acquire & retain the pattern for the leather facings which she can make a start on drafting the scale patterns up for and producing the new facings 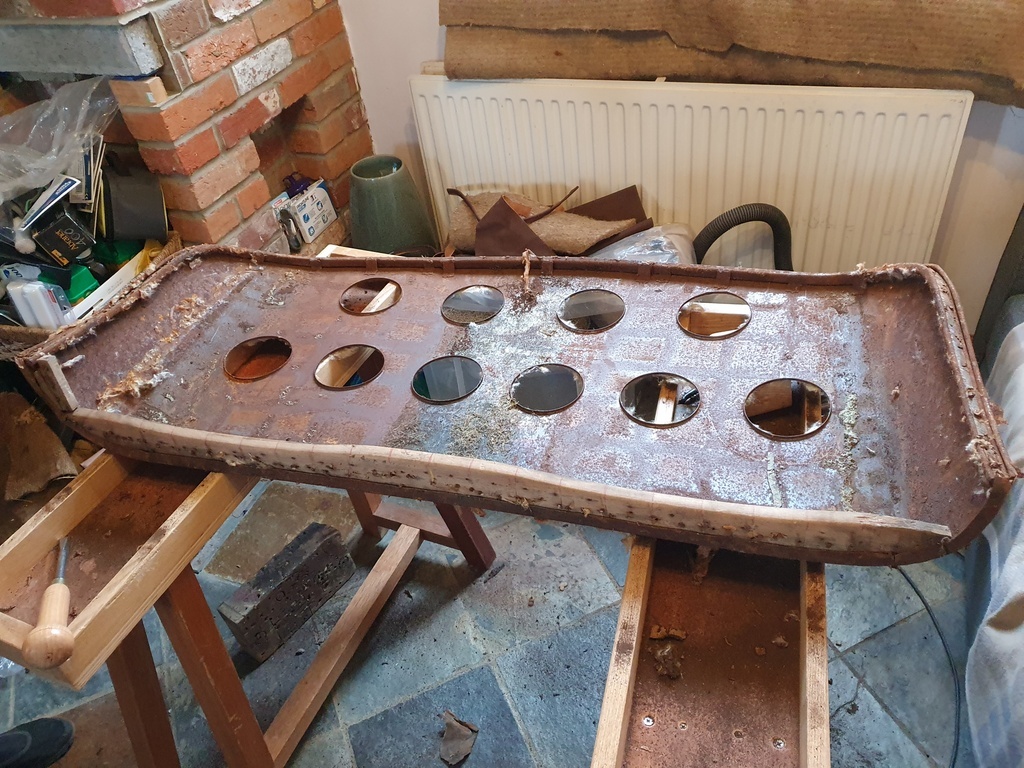 Secondly the seat frame is steel - fabricated in two sections - we have several members that have acquired Jupiter's over the years but with the original bench seats missing completely - in some cases replaced with two non original single seats and other cases the car is purchased for restoration and the seat is one of the component parts that is missing 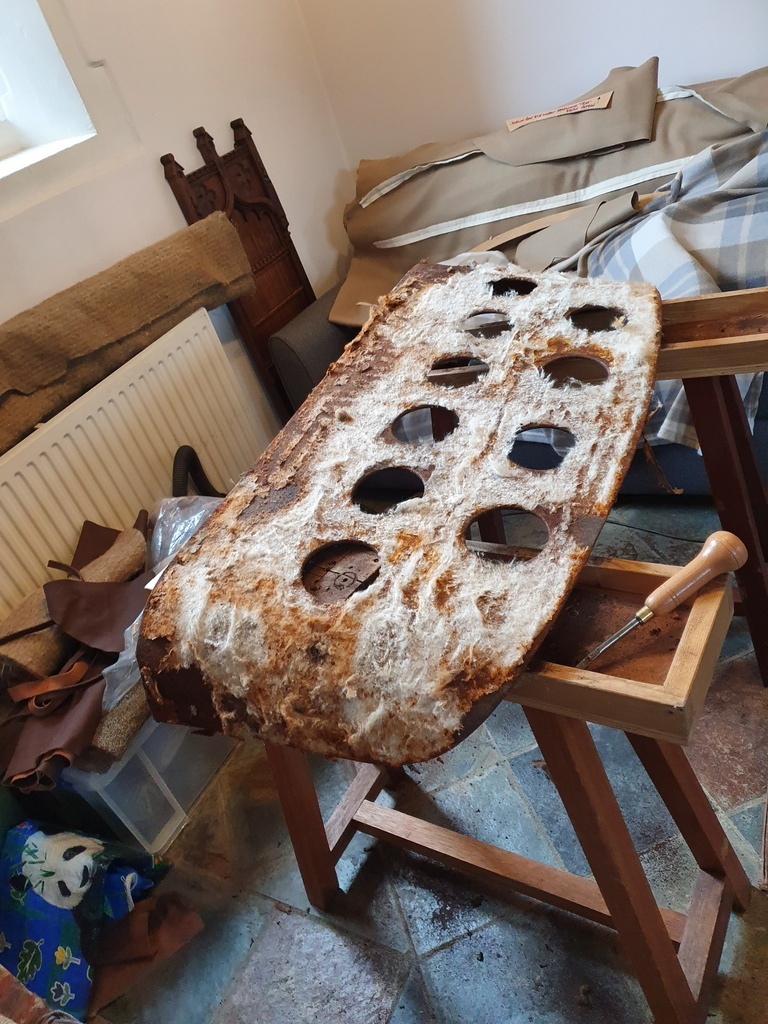 Has a club with its own parts department we have committed getting reproduction steel panels for the seat back & base made to supply from stock but we need a original pattern to copy from - hence this one got stripped for that reason - it will travel North with me shortly and be delivered on loan to the clubs spares team 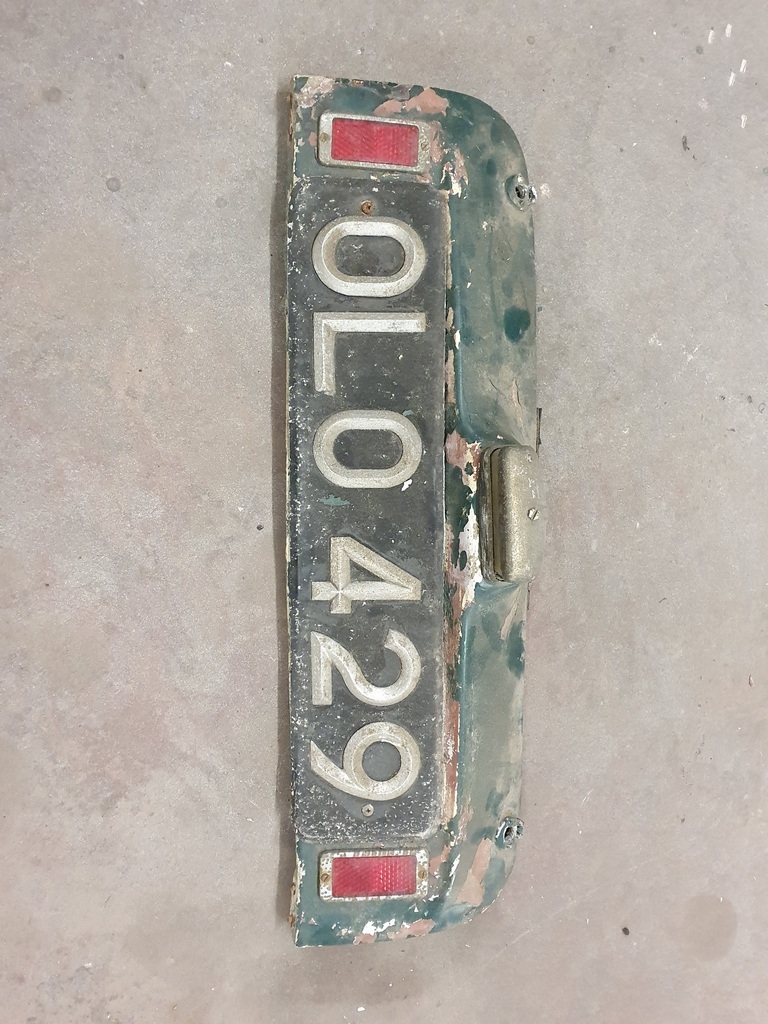 I removed all parts from the panels 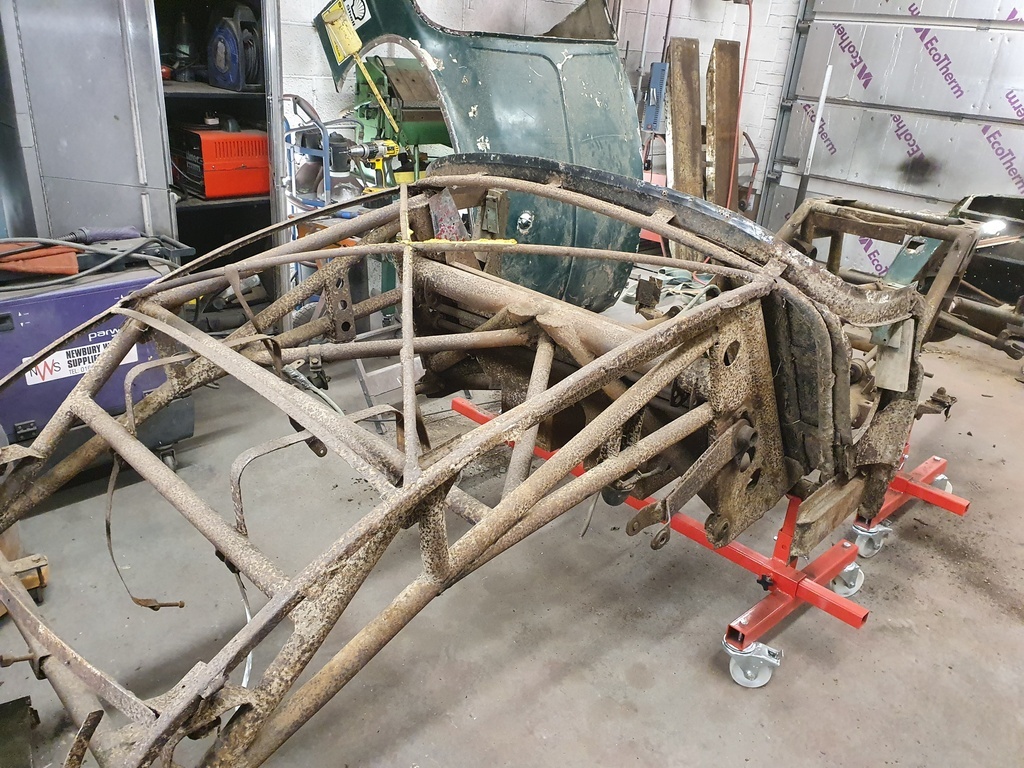 Then the rear outer shroud panel from the rear superstructure 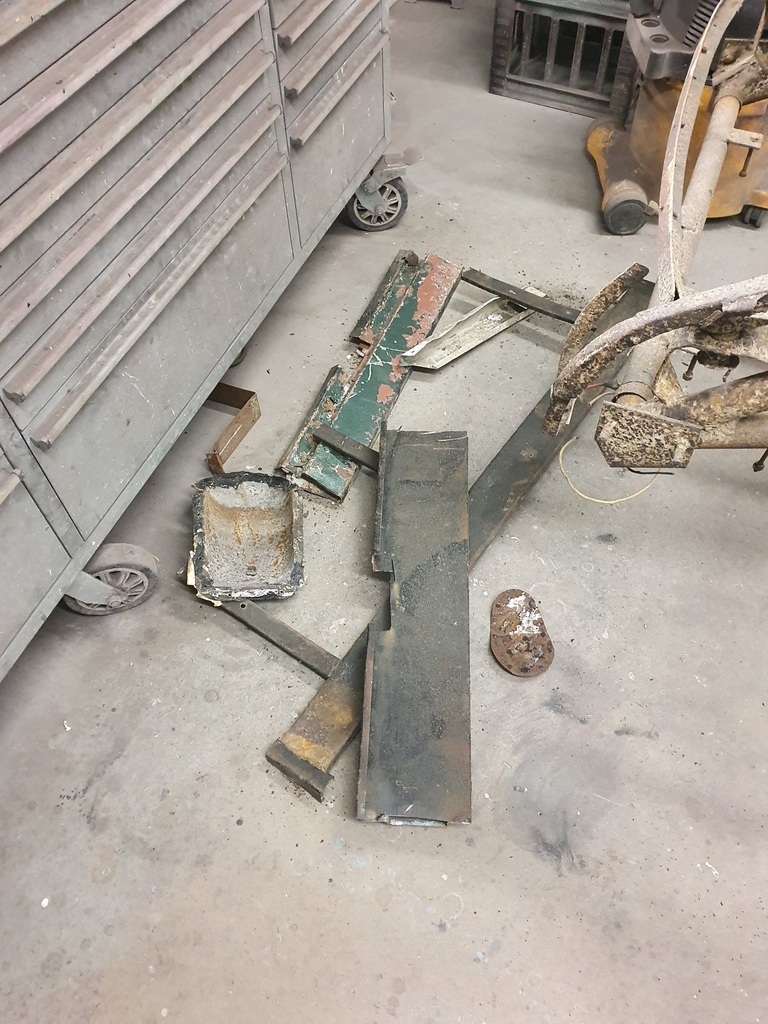 The sills & floor braces which join the bulkhead to the rear superstructure were carefully dissected and the body mountings cut off 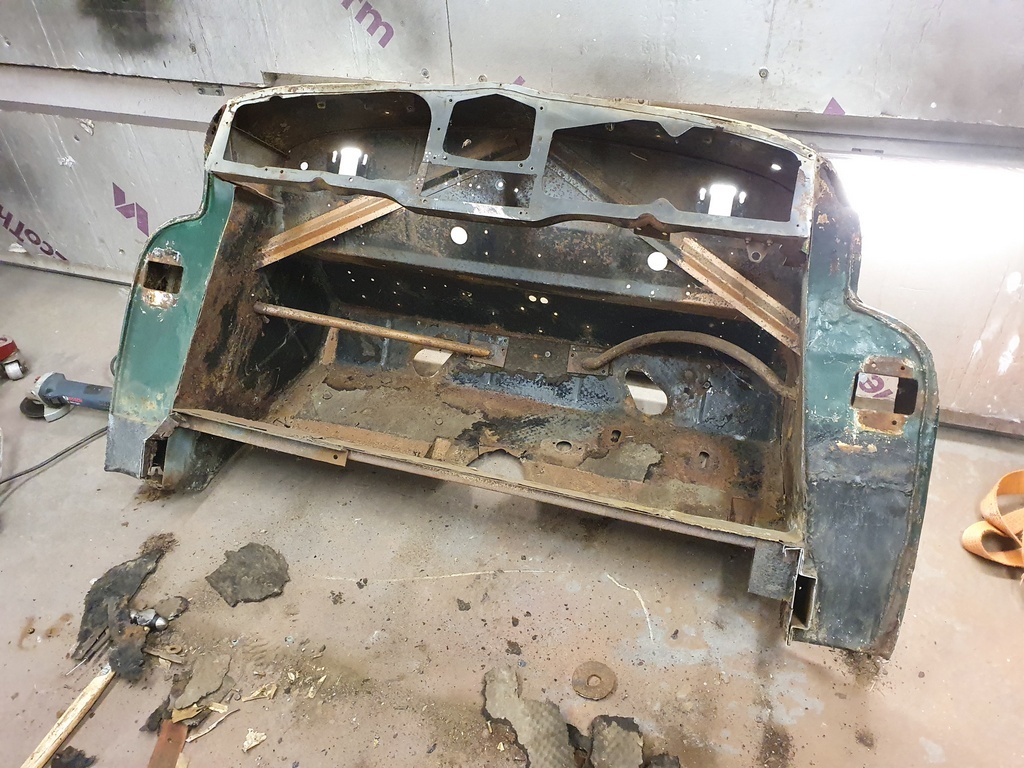 Then the bulkhead could be lifted clear of the chassis 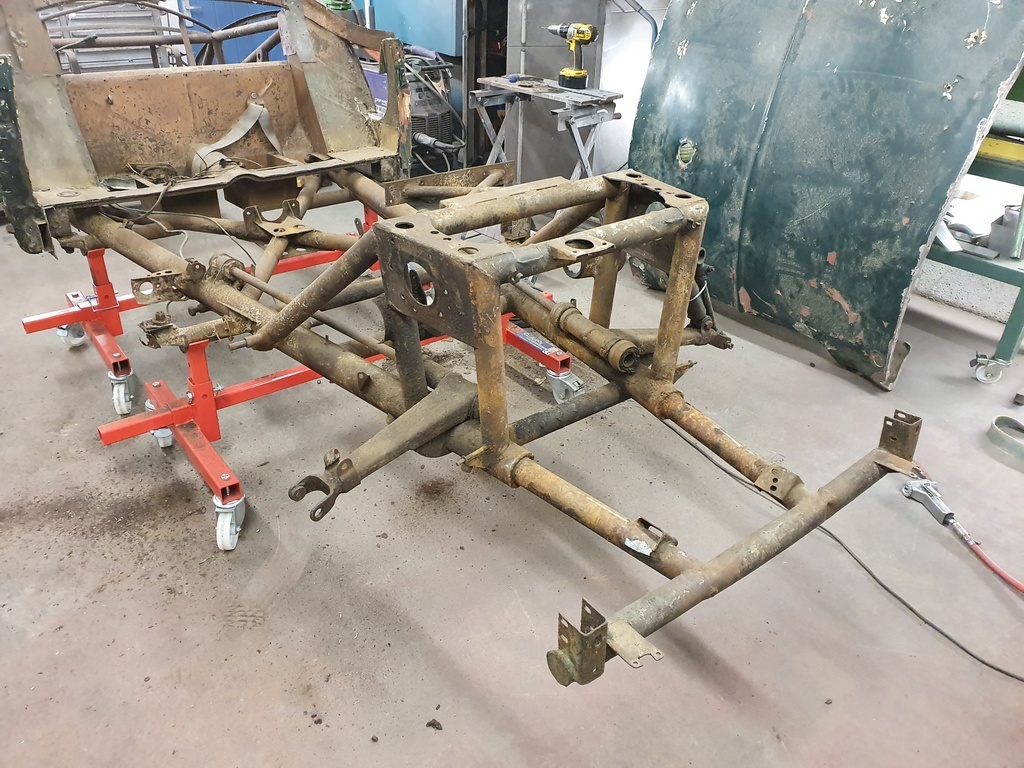 The original body mountings were dead 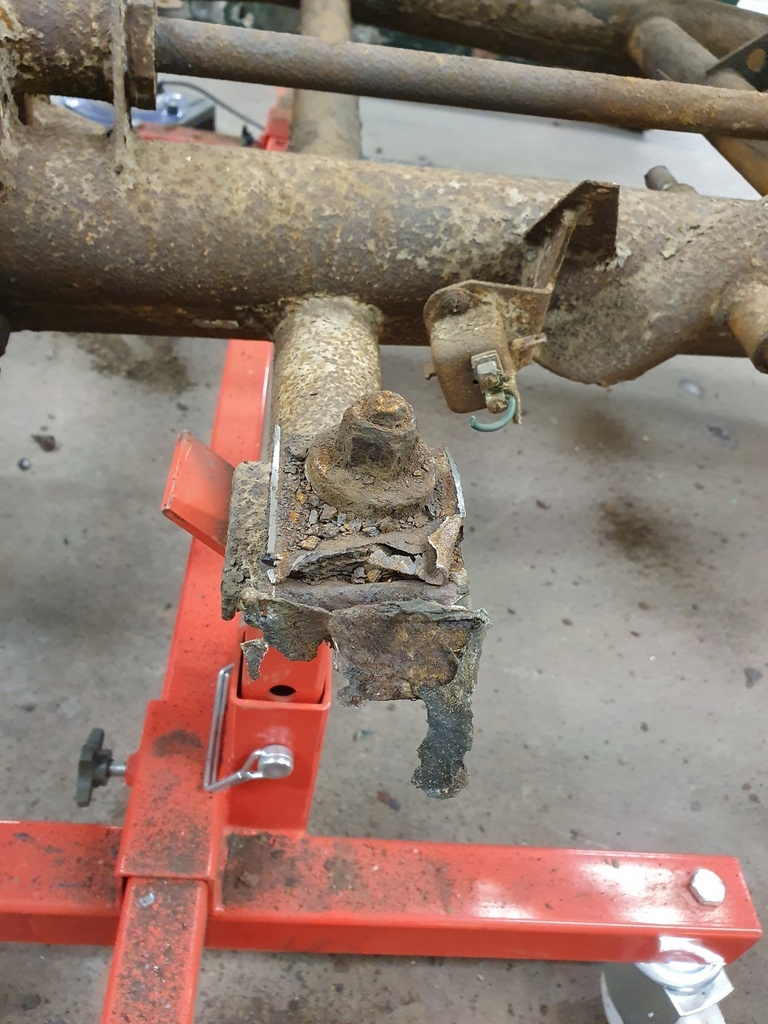 A previous body mounting bodge 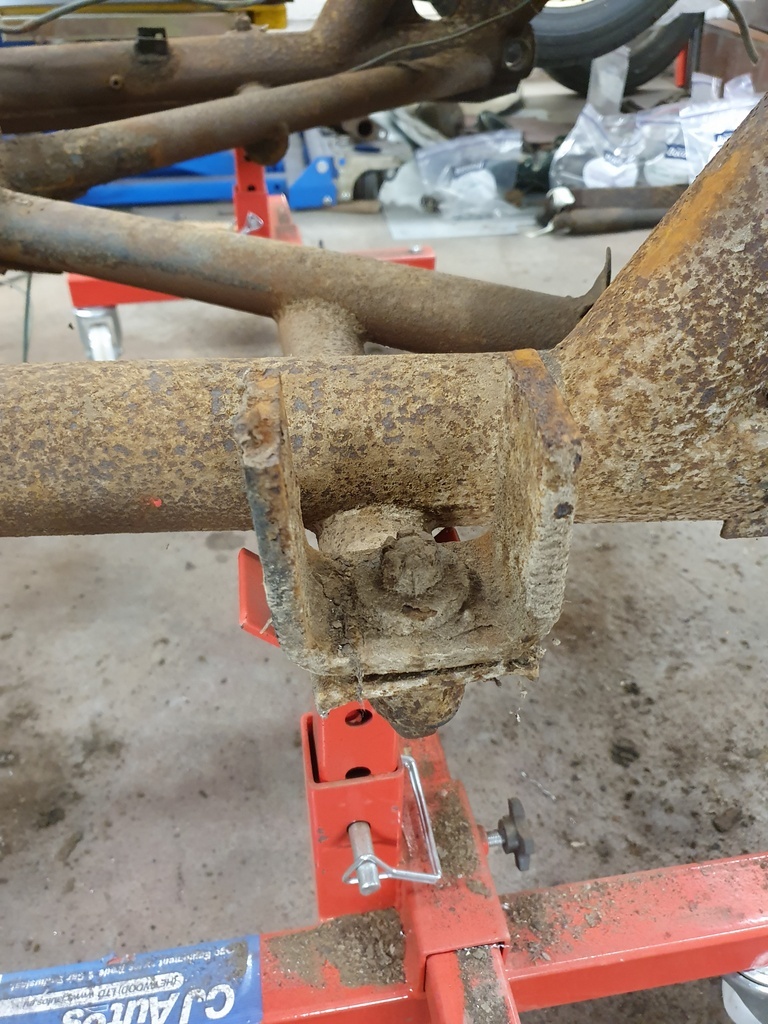 The B posts were braced has these were very flimsy prior to the removal of the rear superstructure 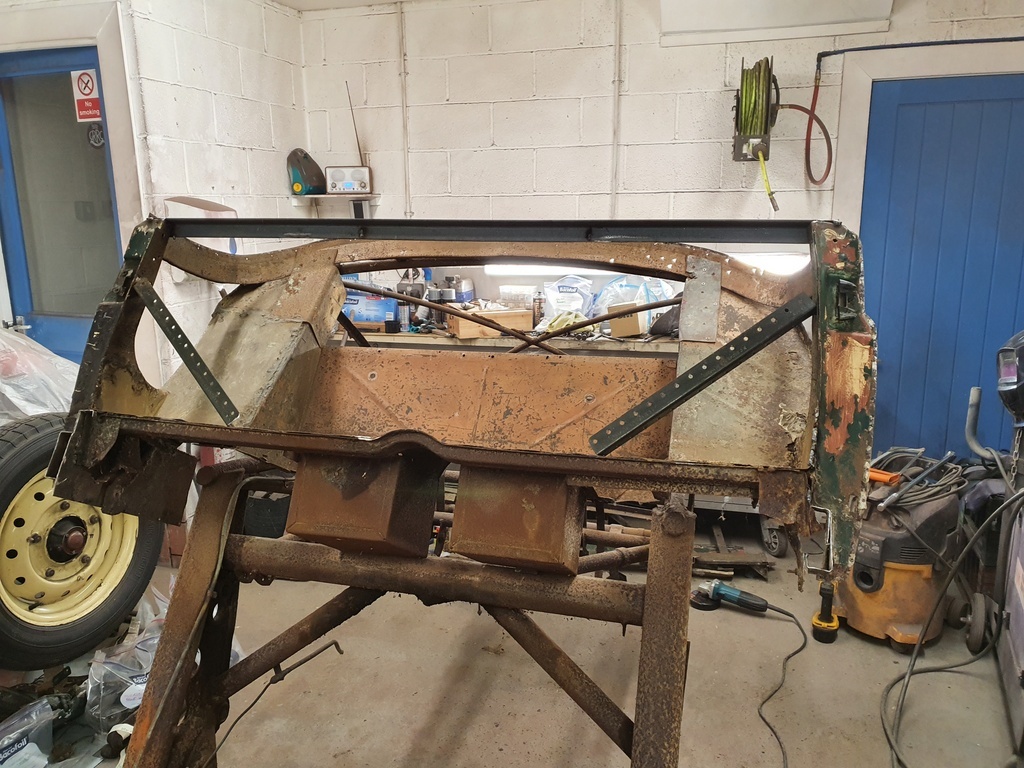 I then spent an afternoon cutting all sorts of bodged brackets that had been attached to the car that would not be required in the rebuild 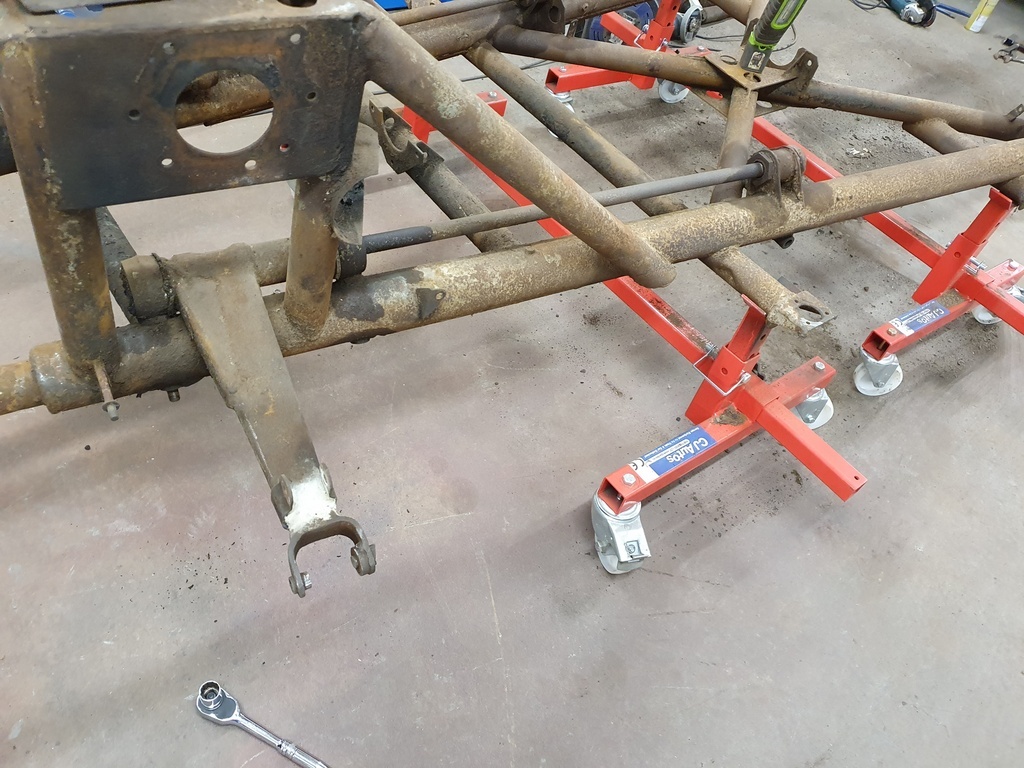 Largest challenge was the removal of both front torsion bars which were well & truly seized in both the front & rear mountings 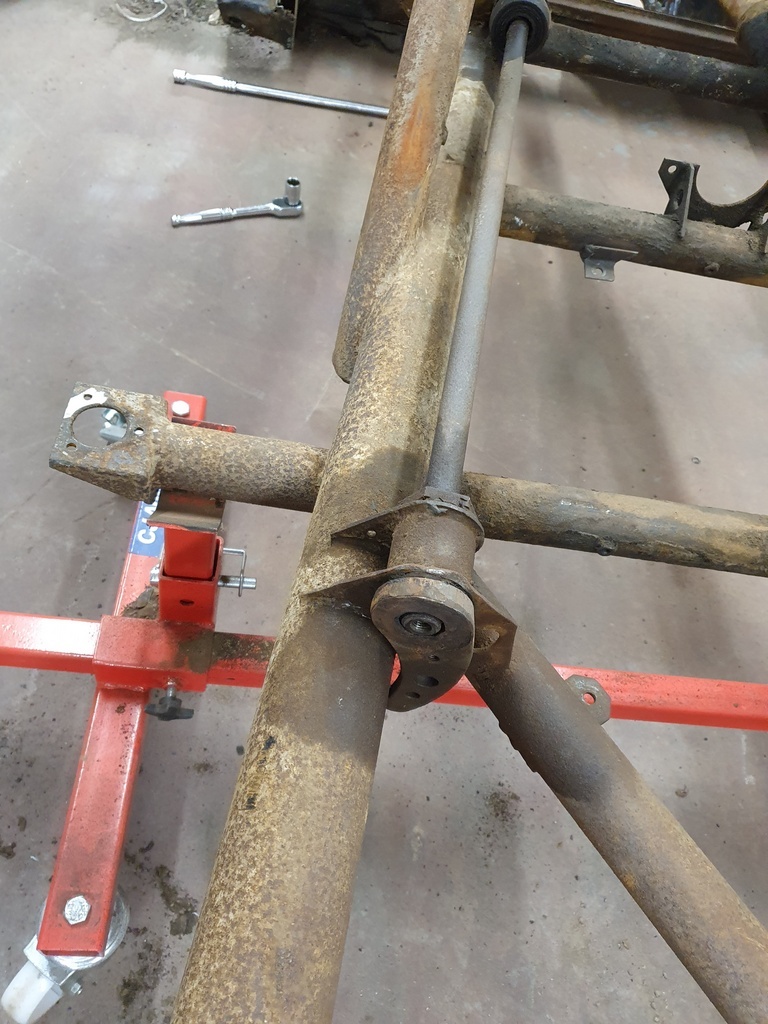 Only with the use of heat to point of getting the mounting cherry red did I gain any movement 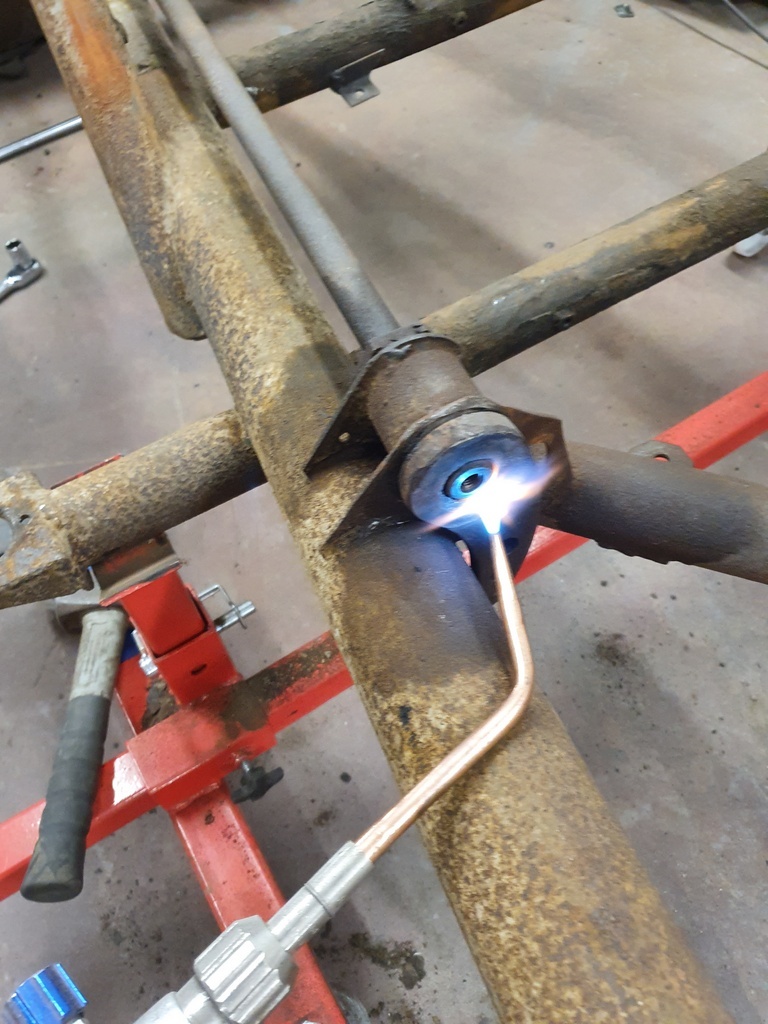 Eventually 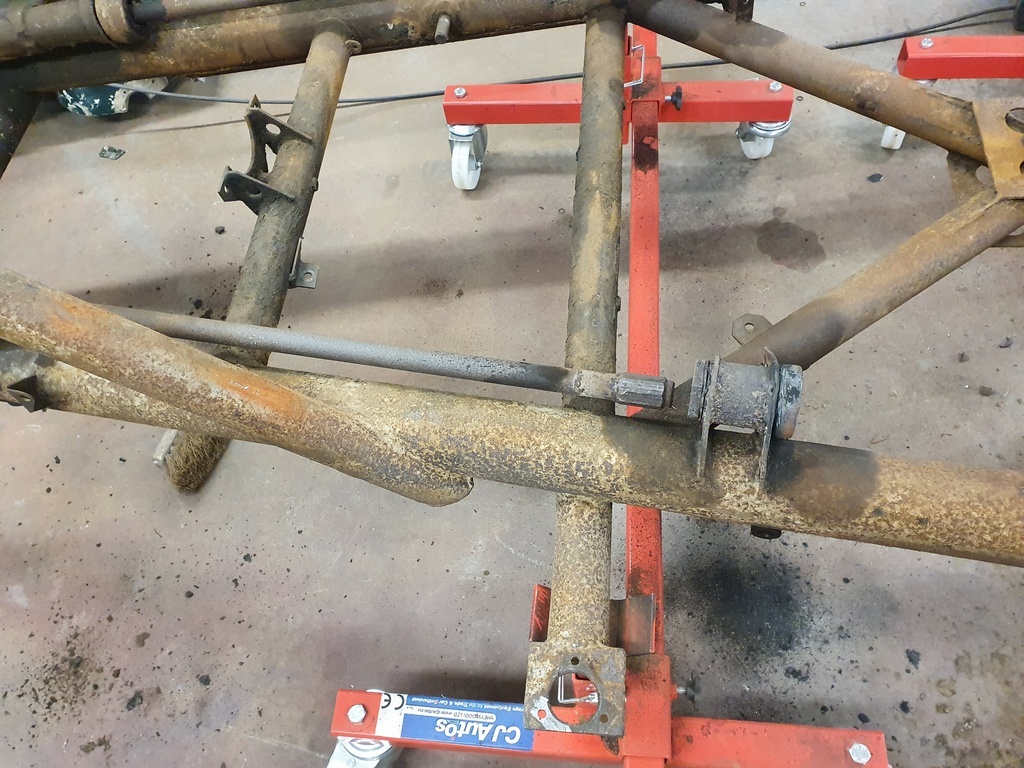 I still have the front arms to remove from the chassis which are proving equally difficult 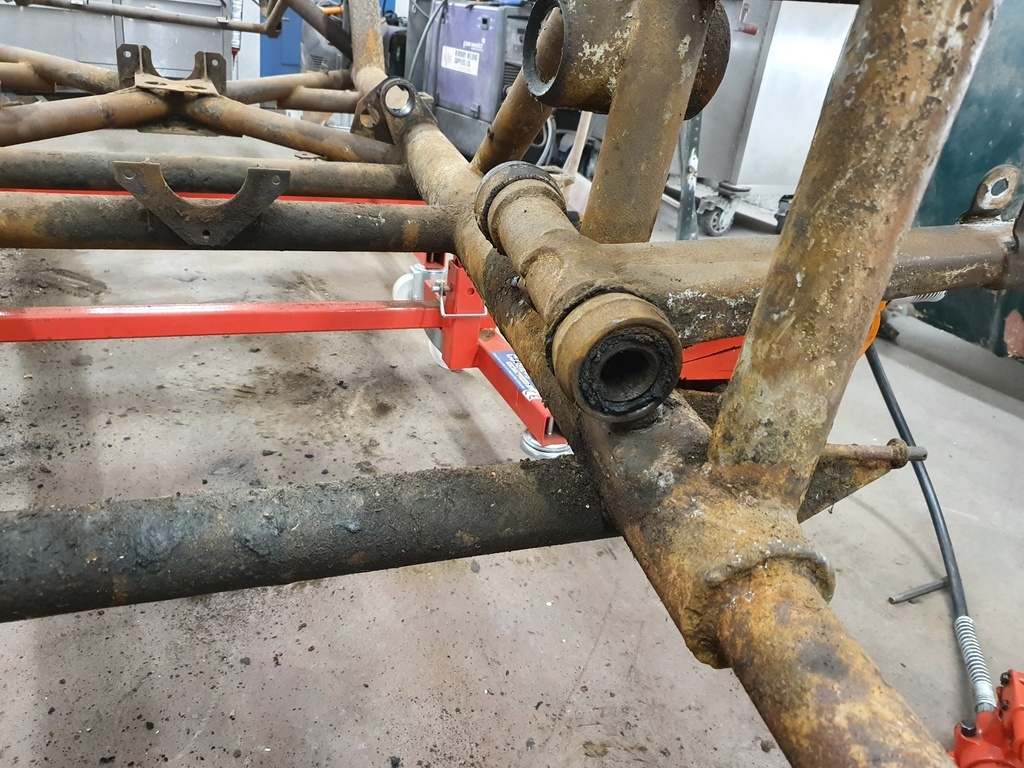 But once these are off everything can be loaded to the trailer & Range Rover 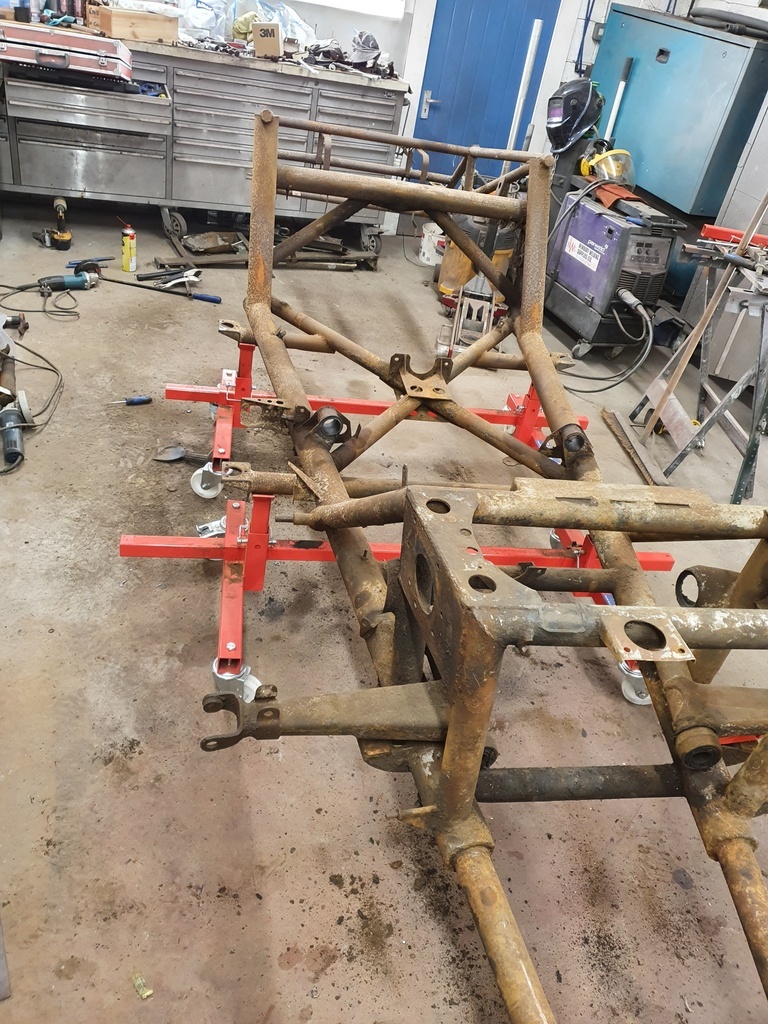 For its long trip North 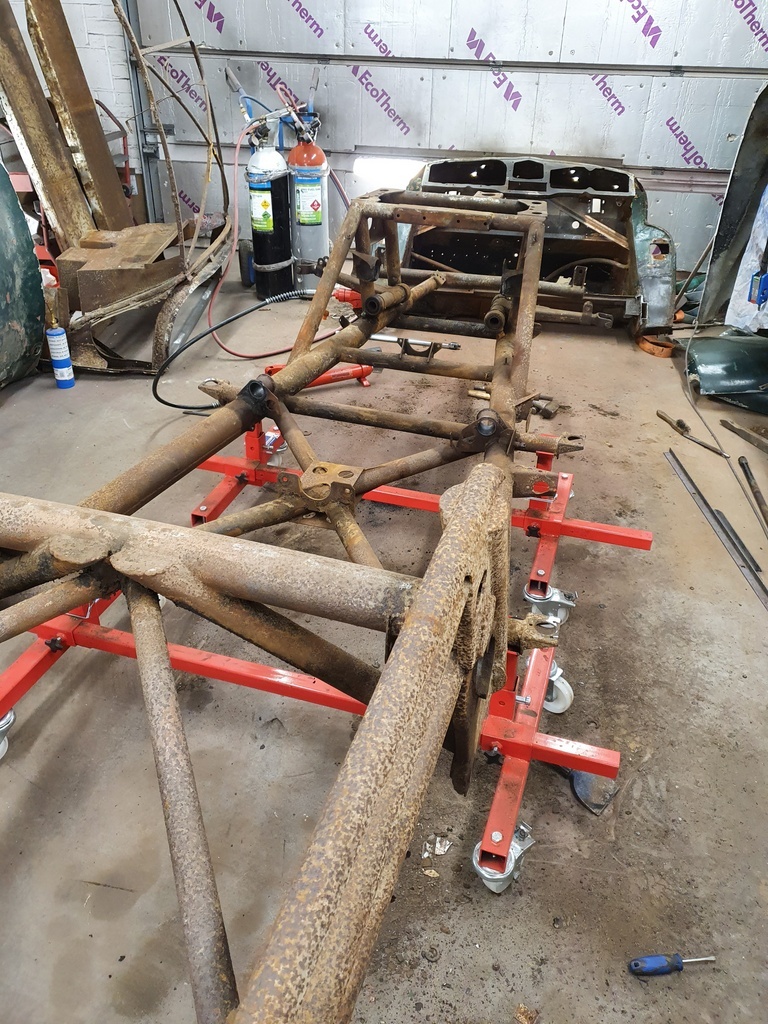 |
| |
Last Edit: Jun 5, 2020 20:13:52 GMT by Deleted
|
|
|
|
|
|
|
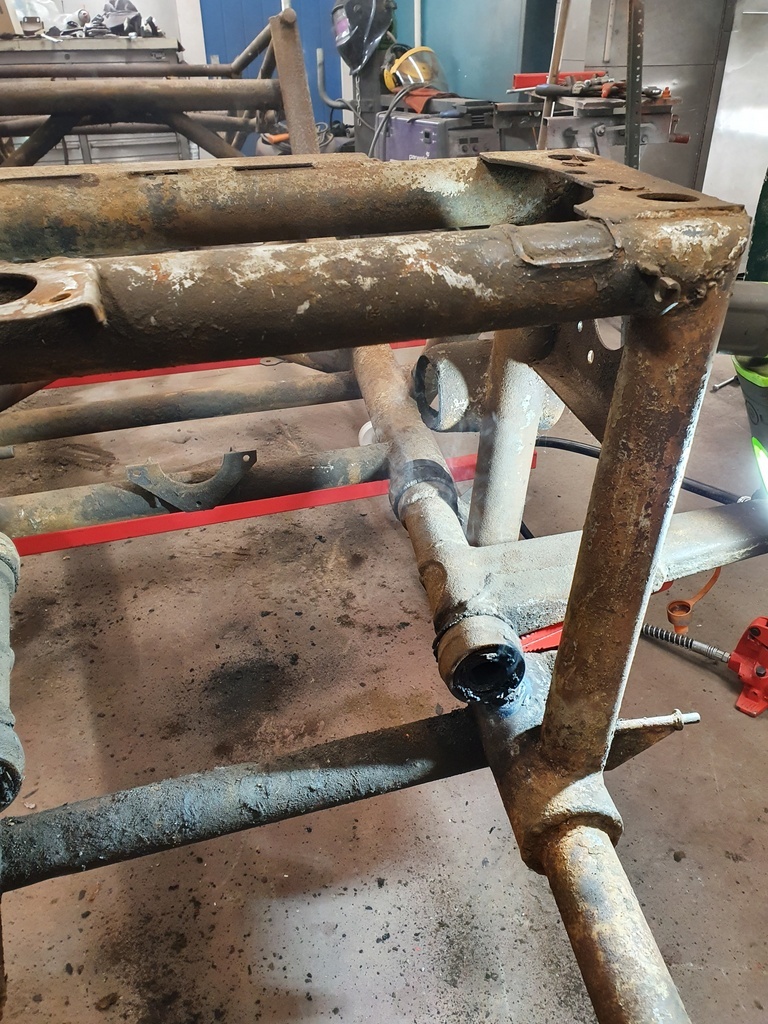 Liberal use of some heat to release the front suspension arms - lots of smoke but no mirrors 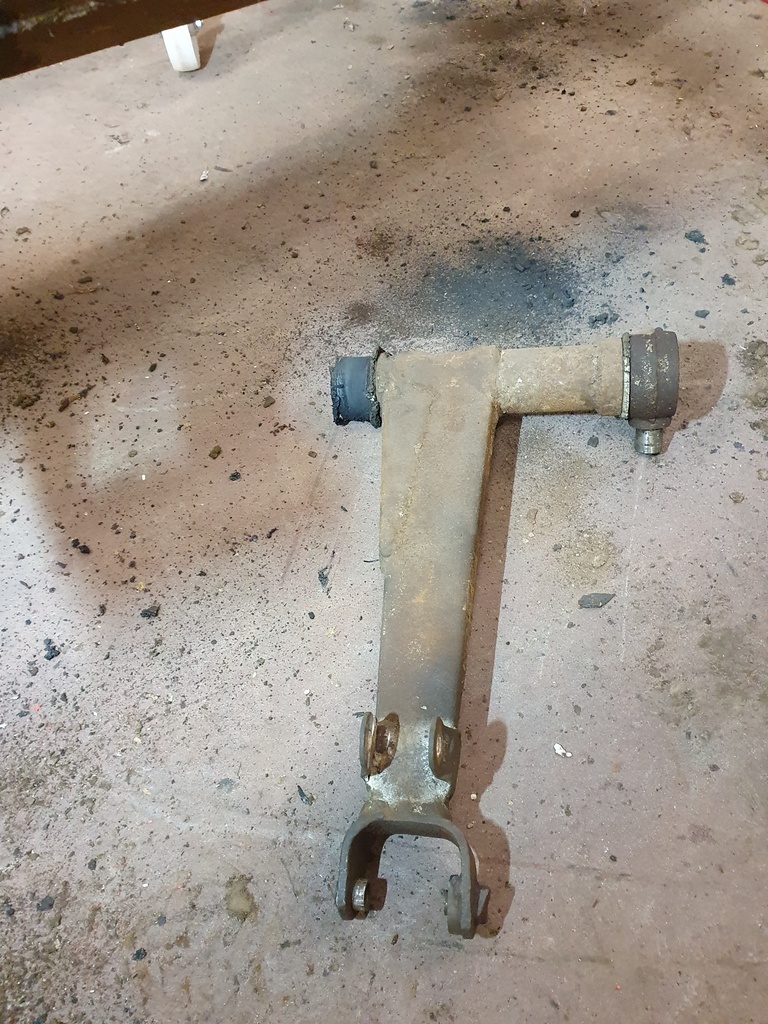 That just left the eyes in the chassis that had rust welded themselves insitu 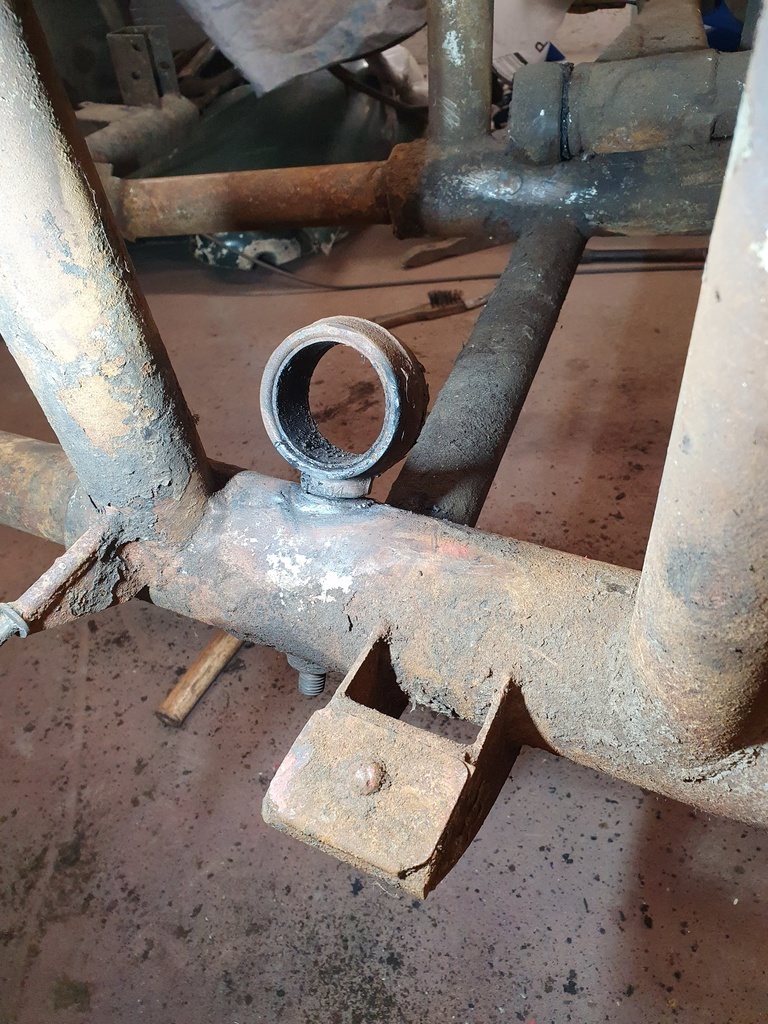 Again more heat applied 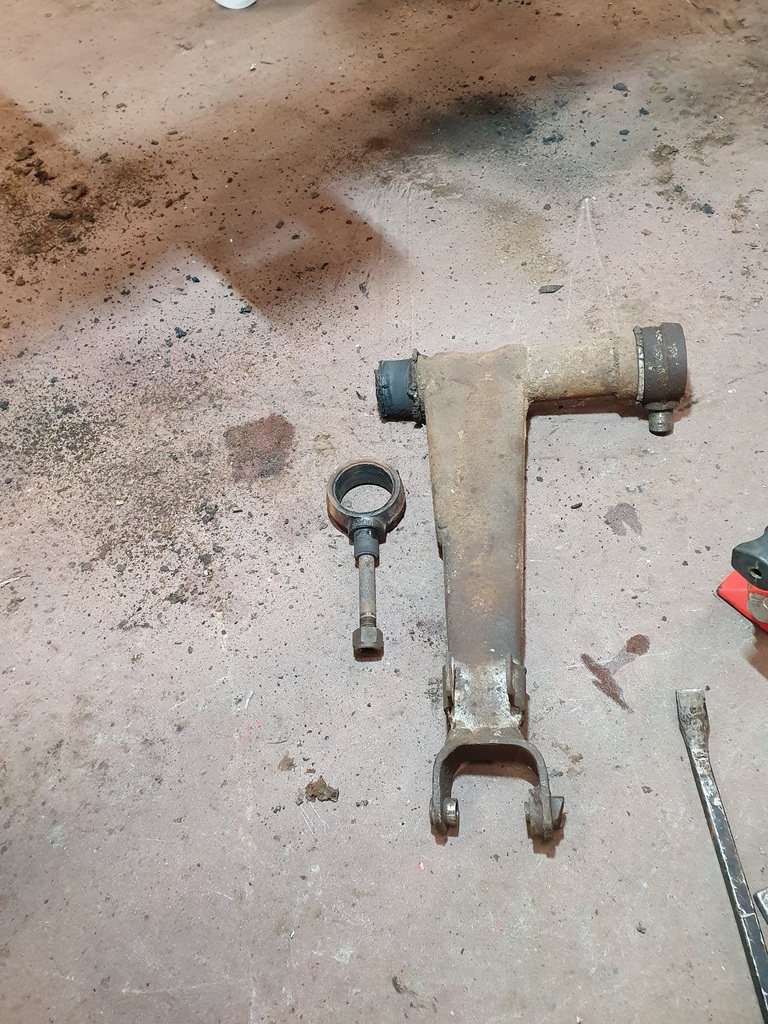 And out they eventually came 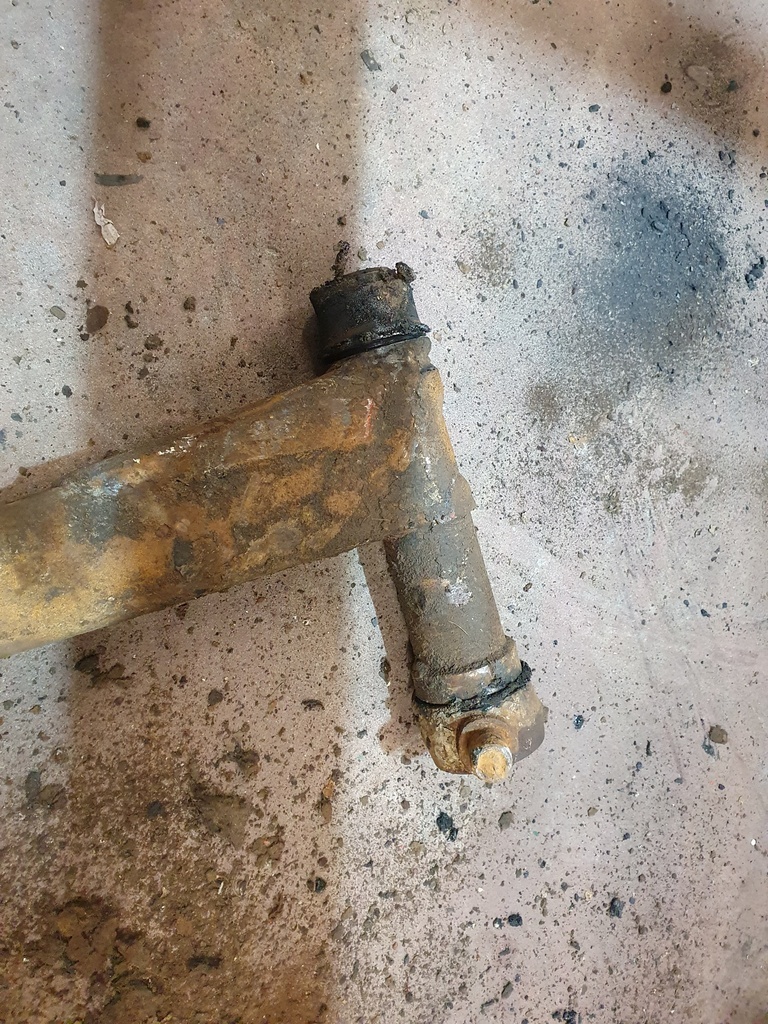 Repeat process for the offside - although the eye bolt on the rear mount had been sheared for a significant period 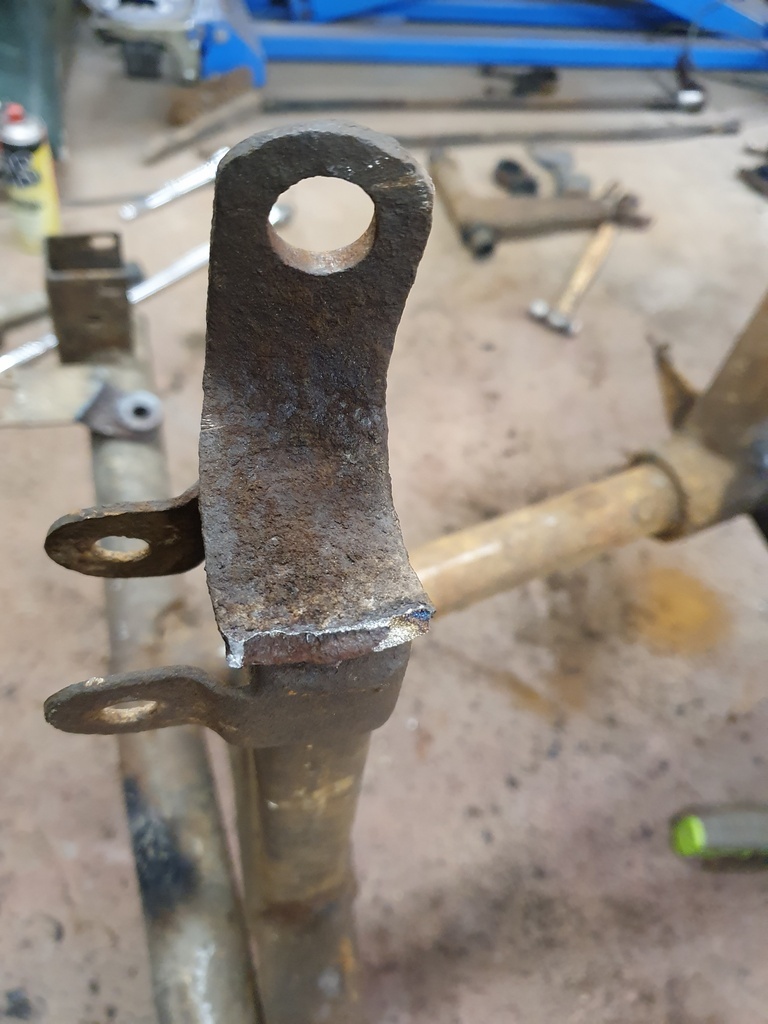 Whilst I had the welding bottles out I also applied the heat to the seized bolts / studs in the suspension arms - with the end of one of the arms breaking away - again this had been fractured for a significant period and was barely hanging in there - I will replace the arm with a good used one 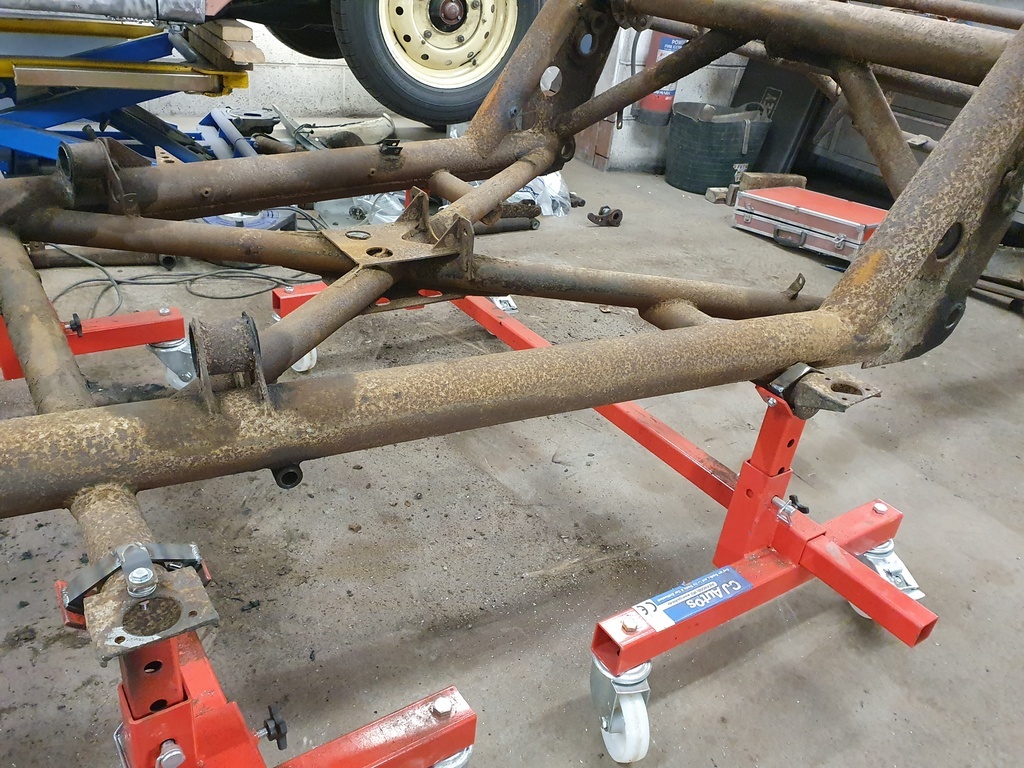 Next was to knock up some retaining brackets to clamp the chassis to the dollies - so much better than using ratchet straps which just pull the arms towards the centre of the car all the time 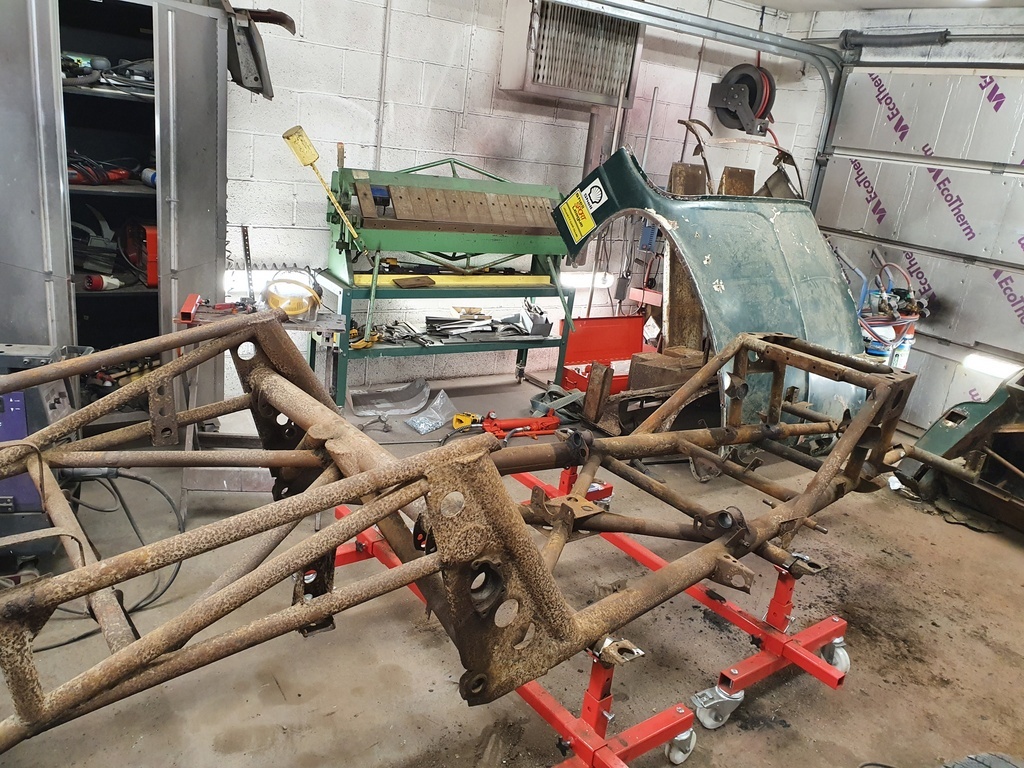 Soon sorted 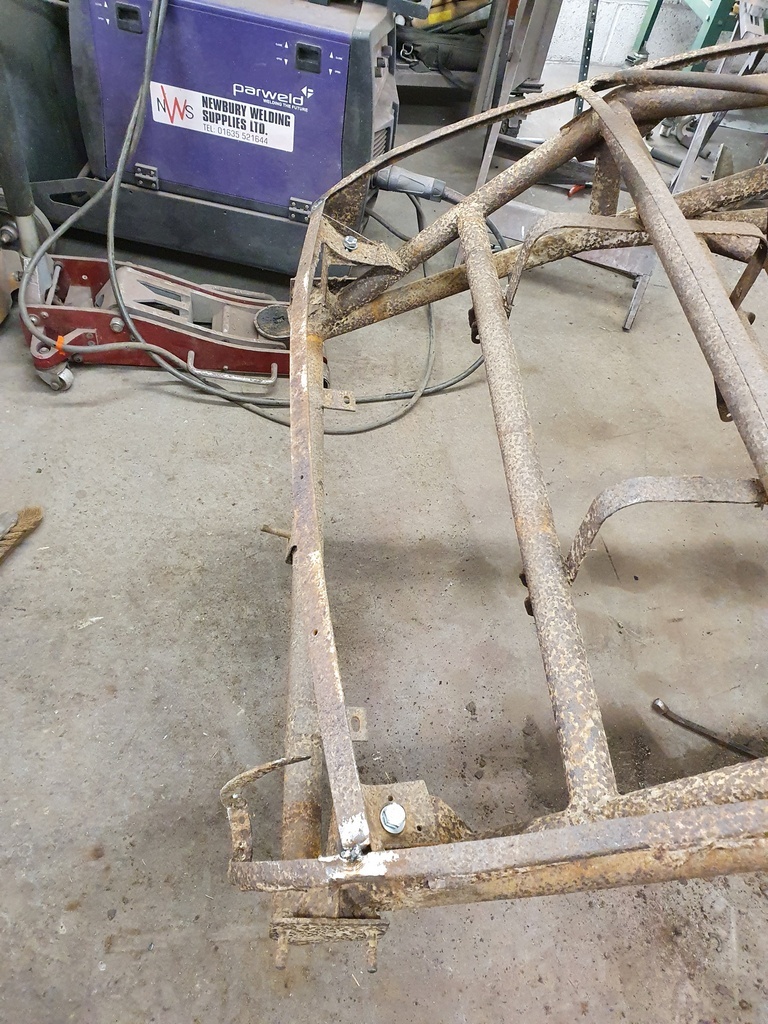 Temporary bolted the rear superstructure back to the chassis for safe transport 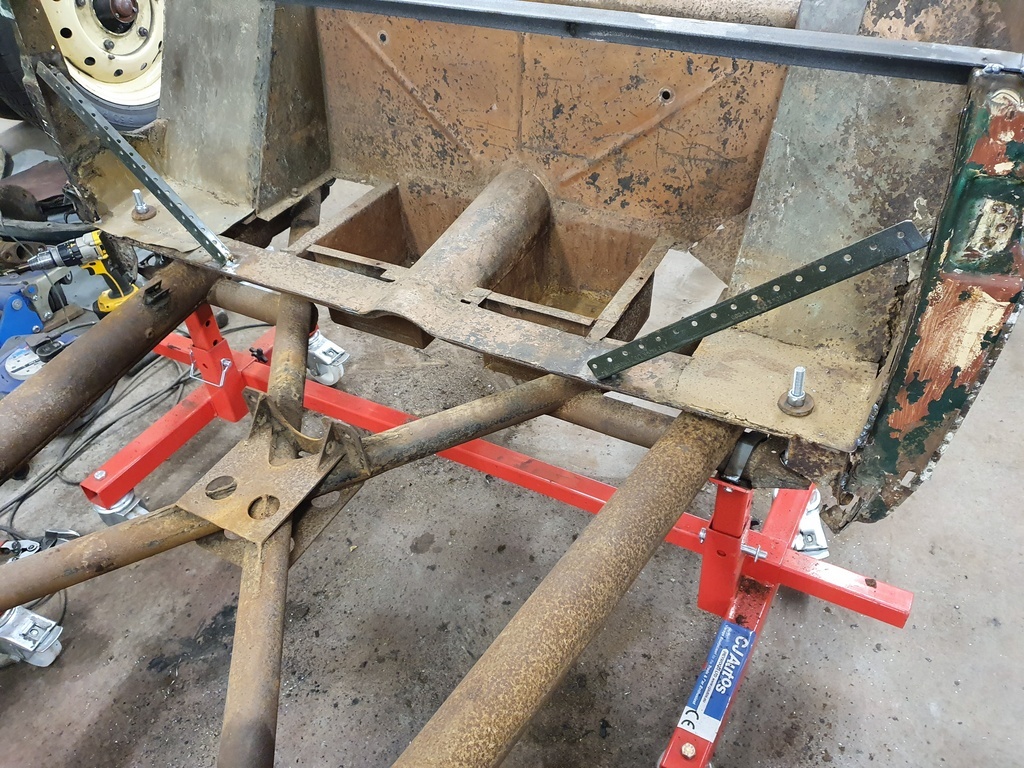 Slightly banger racing style fastening 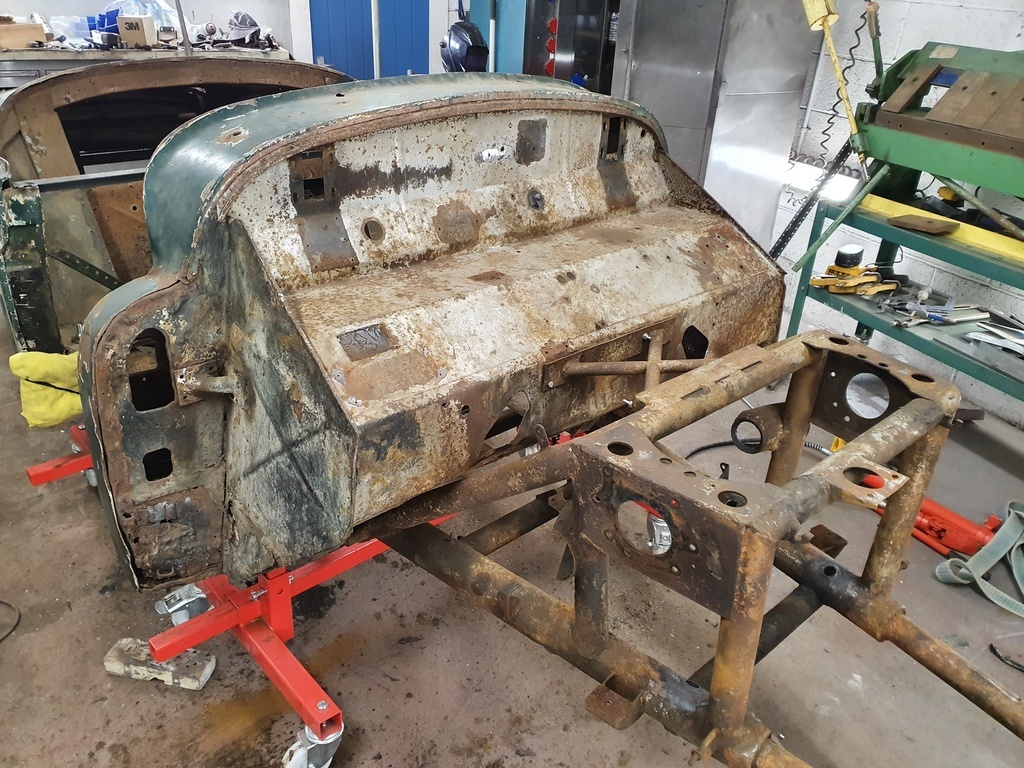 Then bolted the front bulkhead on for safe transport 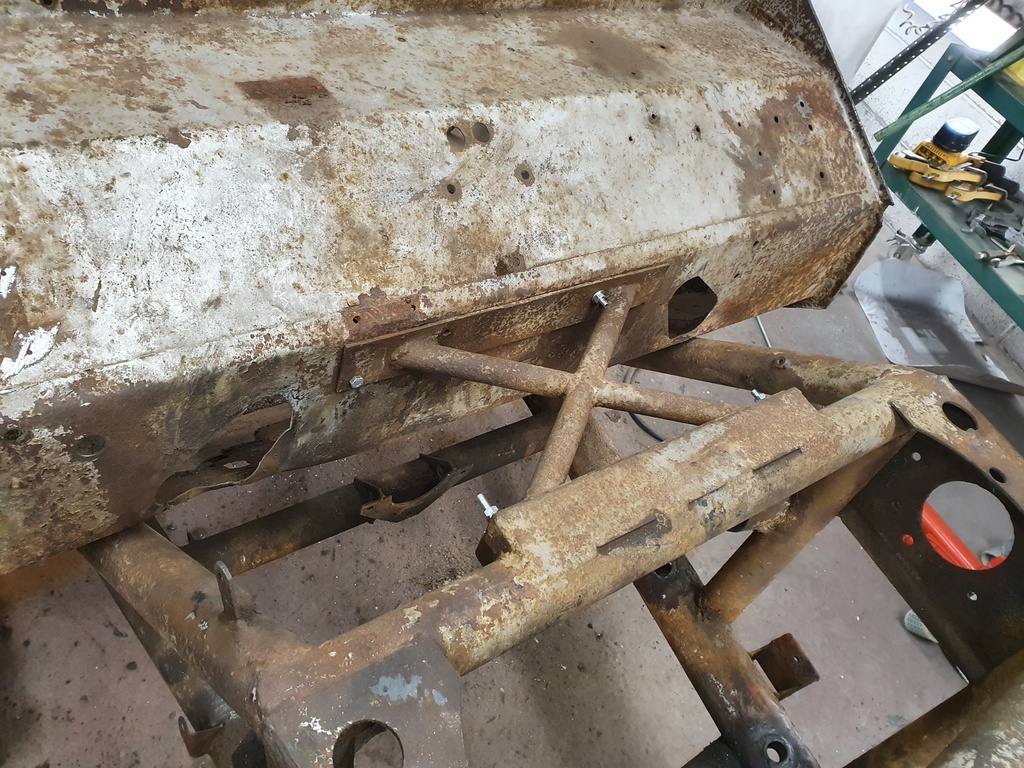 Again better than ratchet straps that tend to crush & deform areas of bodywork 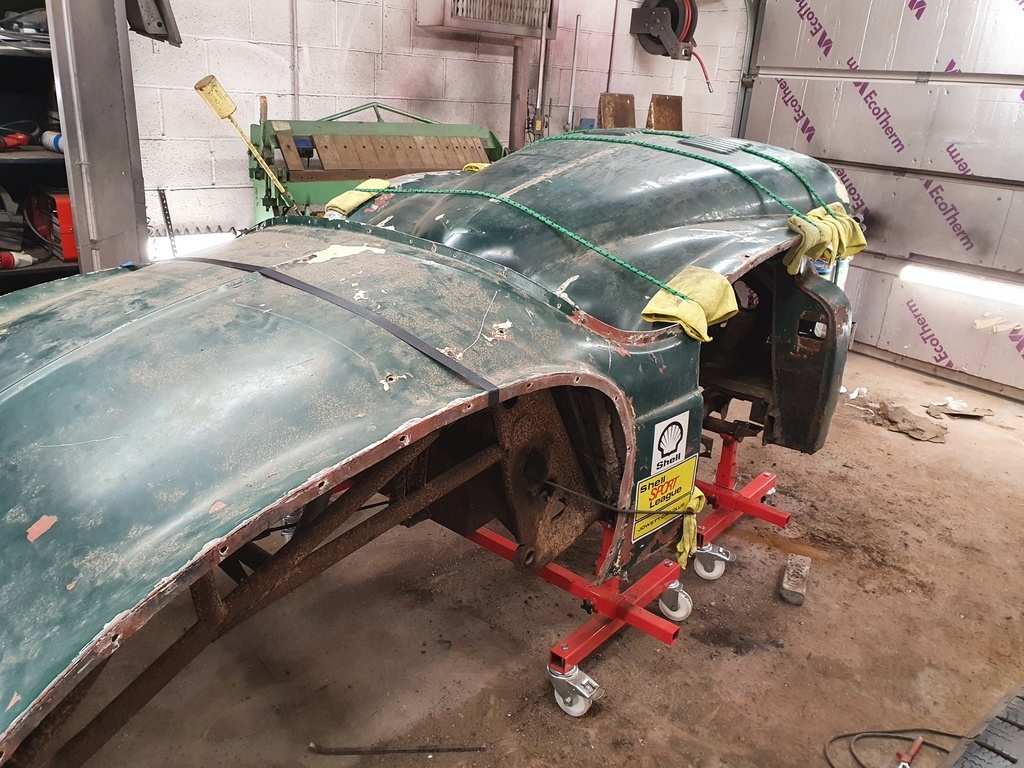 Then just the bonnet panel to carefully strap down - all the loose panels will easily travel in the rear of the Range Rover 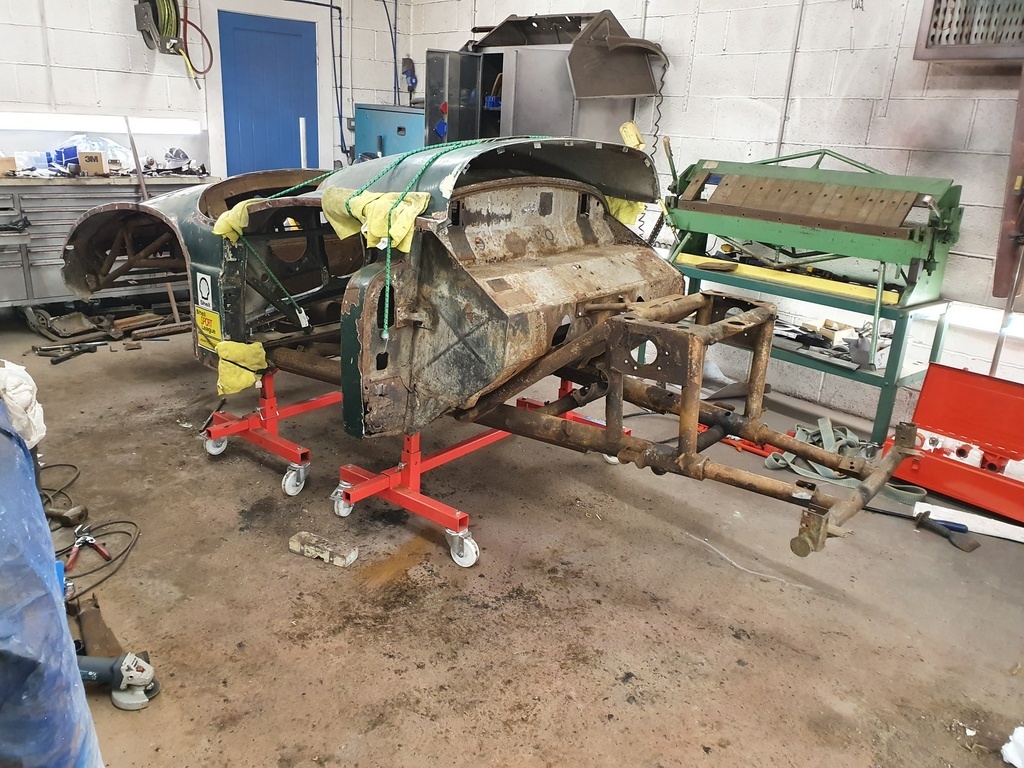 This just left my workshop looking like a bomb had dropped - its not the way that I like to work at all but sometimes you just have to break a few rules to advance progress 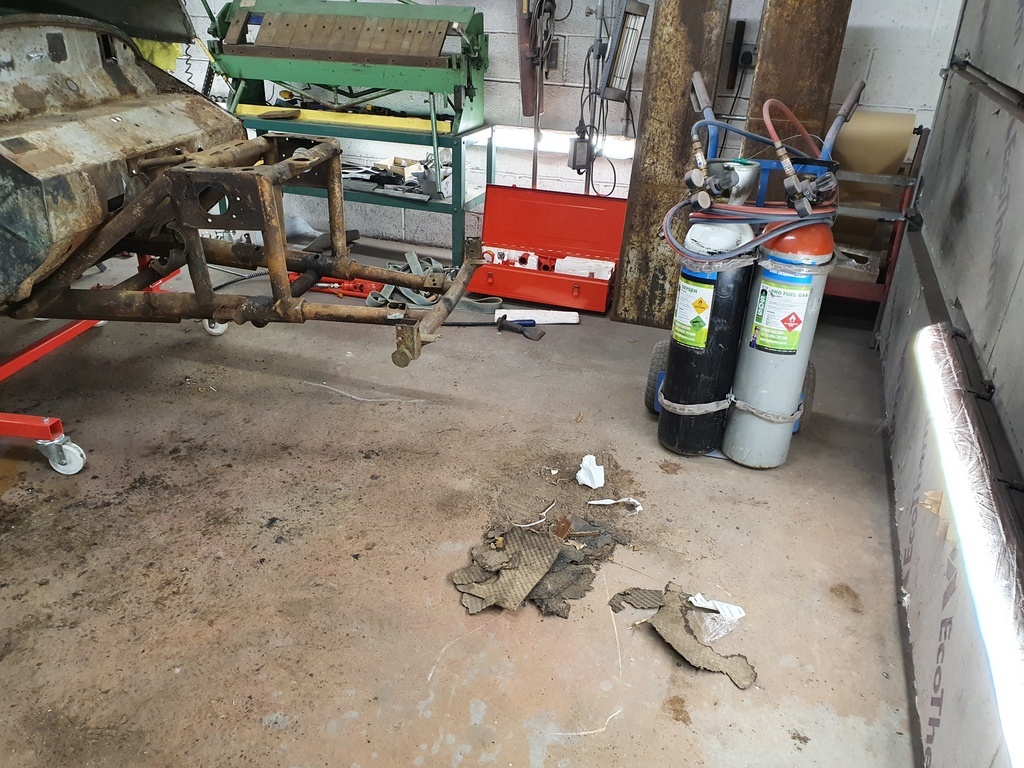 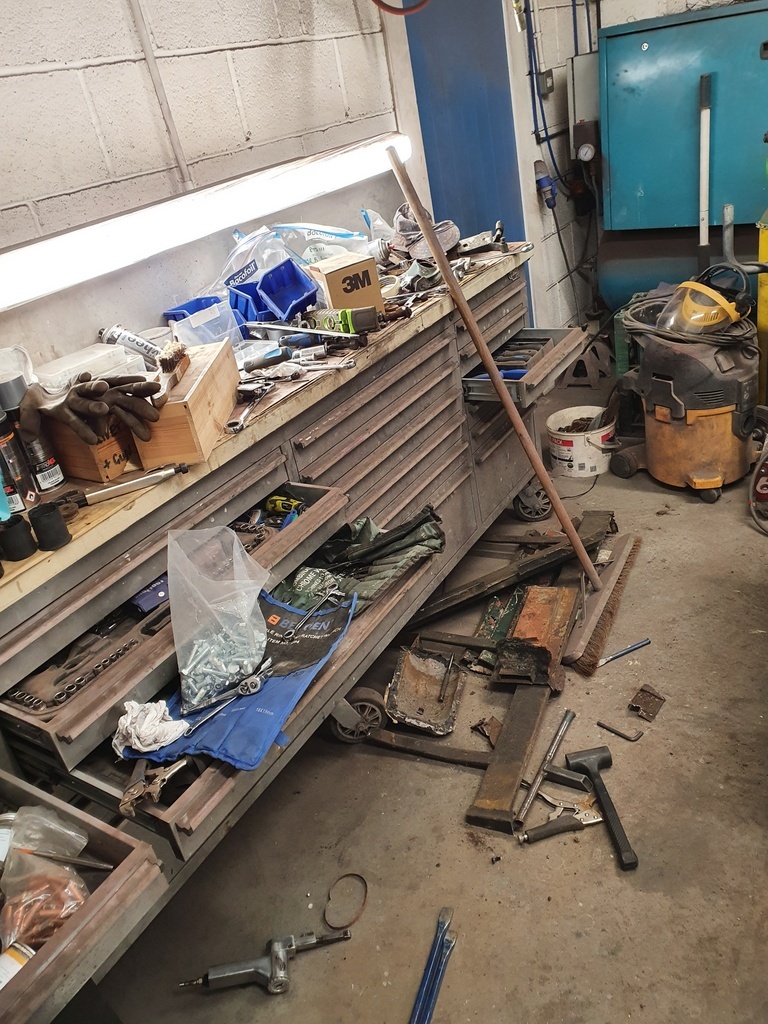 Nothing a good session of sorting out cant resolve 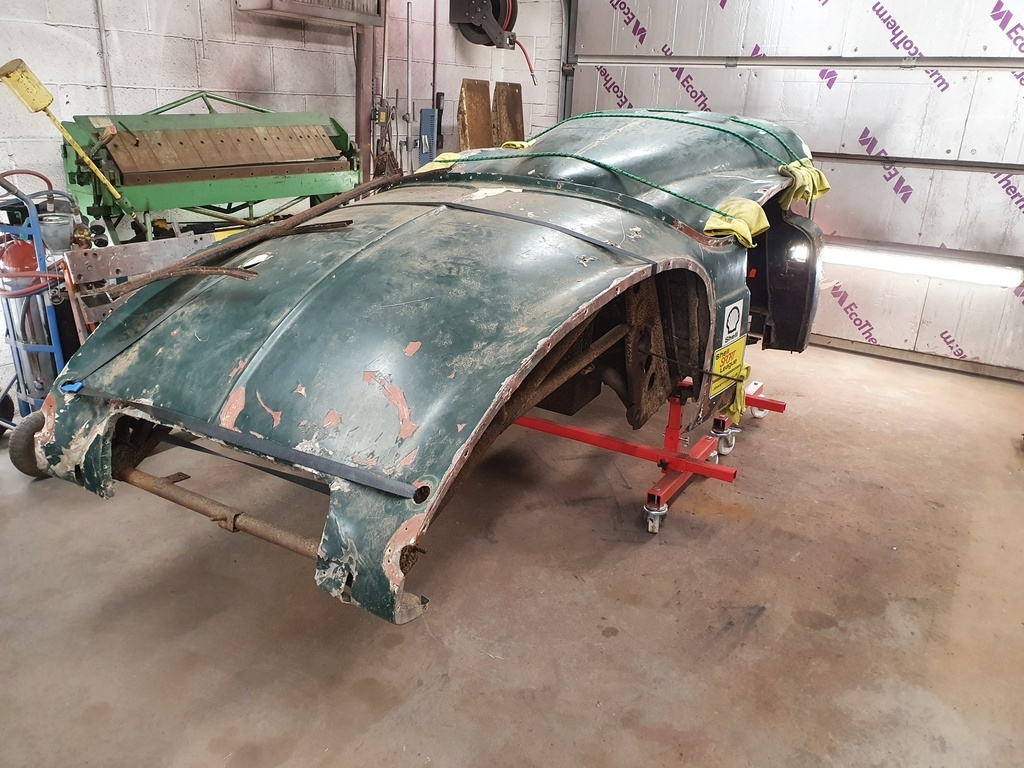 Just needs loading to the trailer now |
| |
Last Edit: Jun 6, 2020 20:29:18 GMT by Deleted
|
|
|
|
|
|
|
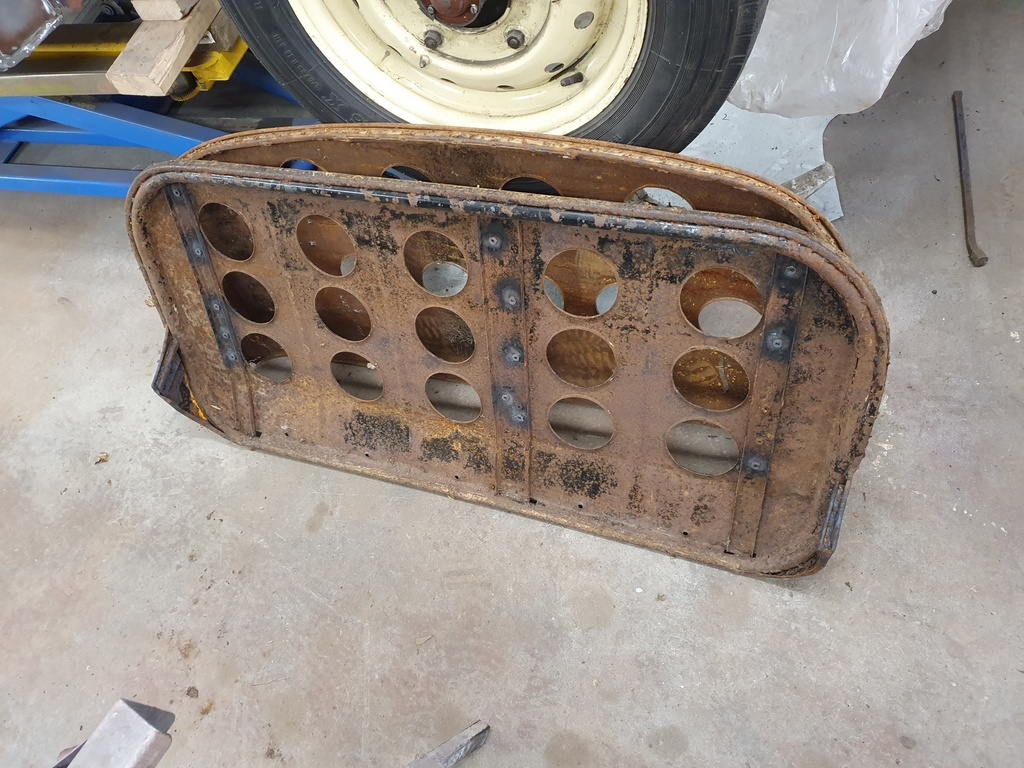 I stripped the runners off the seat frame and welded a few small splits up on the corners prior to it going for patterning 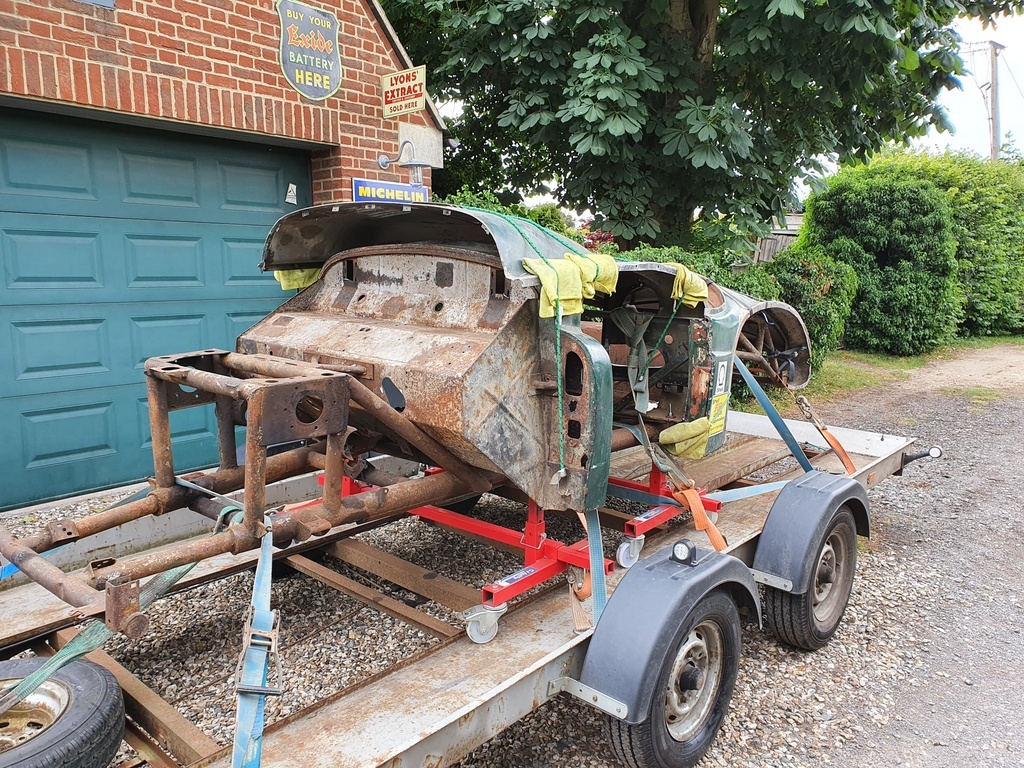 And its now loaded to the trailer 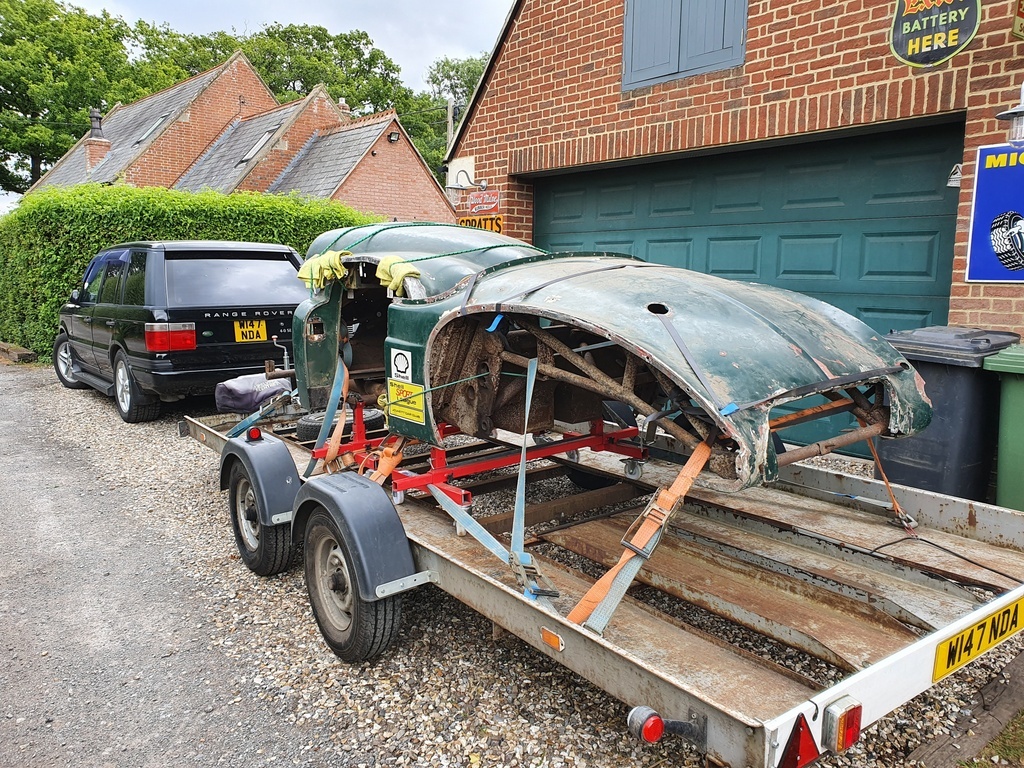 Ready for delivery to Lancashire on Thursday 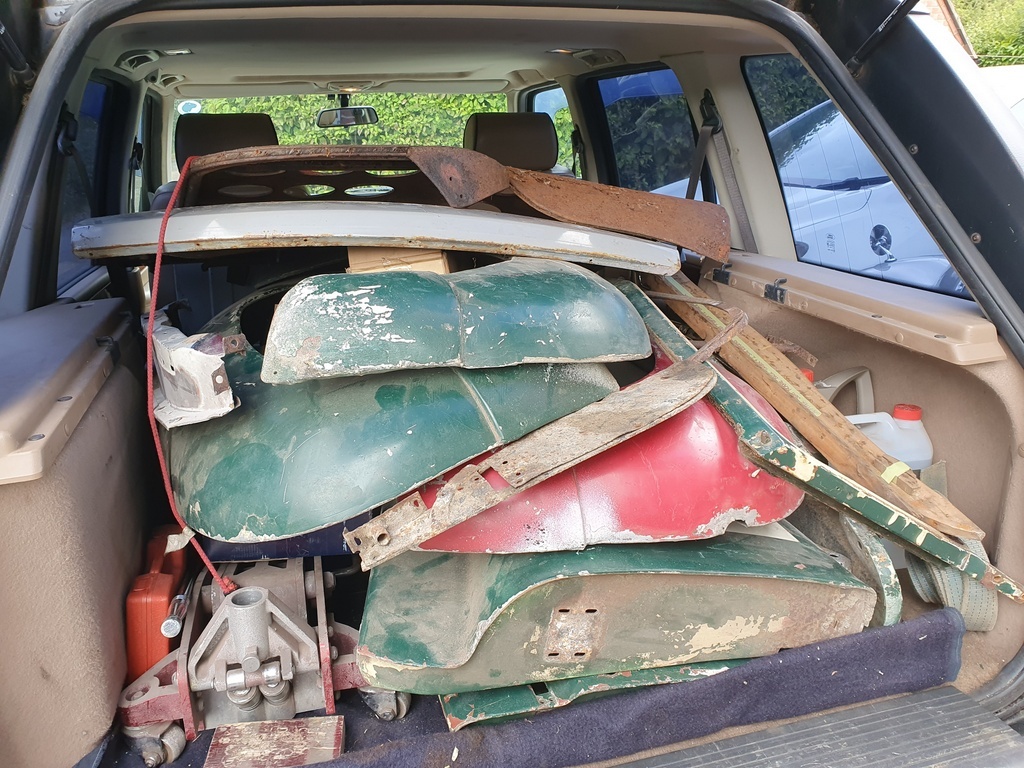 Along with all the loose panels - plus other Jowett items / parts that are getting dropped off on my way back down country |
| |
Last Edit: Jun 8, 2020 20:03:17 GMT by Deleted
|
|
|
|
|
|
|
|
surely the jupiter must be up there as one of the first space framed cars, ever, let alone production vehicle ?
|
| |
|
|
samta22
Club Retro Rides Member
Stuck in once more...
Posts: 1,276  Club RR Member Number: 32
|
|
|
|
|
Don't think I've ever see your workshop in such a state. Looks like you had quite the fight.
|
| |
'37 Austin 7 '56 Austin A35 '58 Austin A35 '65 Triumph Herald 12/50 '69 MGB GT '74 MGB GT V8'73 TA22 Toyota Celica restoration'95 Mercedes SL320 '04 MGTF 135 'Cool Blue' (Mrs' Baby) '05 Land Rover Discovery 3 V8 '67 Abarth 595 (Mrs' runabout) '18 Disco V |
|
|
|
|
Jun 10, 2020 20:55:49 GMT
|
surely the jupiter must be up there as one of the first space framed cars, ever, let alone production vehicle ? Darren - Not quite sure to be honest - well actually I do now has I just read up on them some of the first designs came about in the 1930's but not on anything that popular or well known - they really came to everybody's attention when Jaguar used the spaceframe construction technique for the underpinnings of the fabulous Jaguar C type but the little Jupiter predates the C type by at least a year - hence it could well be the first production vehicle of any volume to utilise a space frame construction - What I can advise you is that the design for the space frame was penned by the legendry team at 'ERA' (English Racing Automobiles) whom were at the forefront of single seater racing car technology & construction from the 1930's - 1950's www.englishracingautomobiles.co.uk/ |
| |
|
|
|
|
|
|
|
|
Might be a stupid question, but when using heat is it simply the expansion/contraction of the parts in relation to one another that breaks the rust seal? Is it best to let it cool before then dismantling or is taking it apart whilst still hot beneficial?
|
| |
|
|
|
|
|
|
|
Jun 11, 2020 20:56:55 GMT
|
Might be a stupid question, but when using heat is it simply the expansion/contraction of the parts in relation to one another that breaks the rust seal? Is it best to let it cool before then dismantling or is taking it apart whilst still hot beneficial? Both to be honest - yes its heat that breaks the rust weld - on the larger items you can heat the nut but try not to heat the bolt - with the nut expanded hopefully breaks the rust weld / bond and you can then wind the bolt out - pretty good practice on the smaller items is to heat them then cool them with squirt of water then see if they will come loose - occasionally the smaller fasteners shear if you attempt to remove them whilst hot - sometimes some things will not come loose until you have them glowing hot and pound the hell out of them - especially seized suspension components etc - trick more than anything is to get the seized item to move / undo without creating damage to anything else PS: No such thing has a 'Stupid Question' better to ask and succeed than assume and fail  |
| |
Last Edit: Jun 12, 2020 6:07:33 GMT by Deleted
|
|
|
|
|
|
|
After a long trip North yesterday 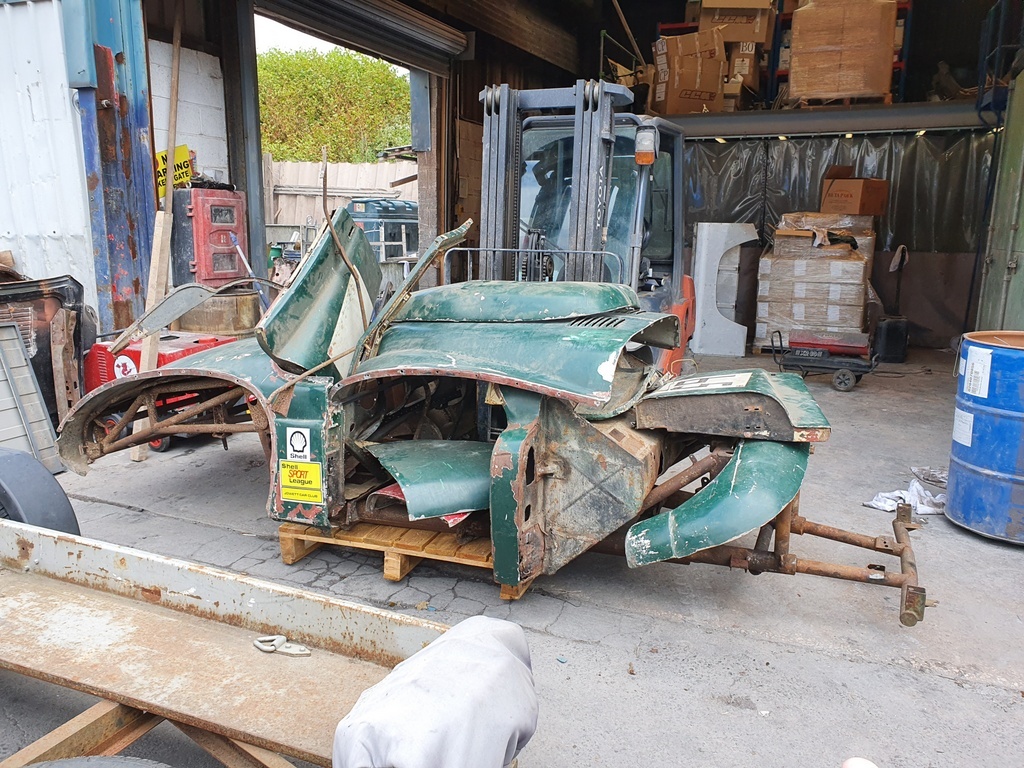 The Jupiter is now with a specialist processor for paint removal & derusting 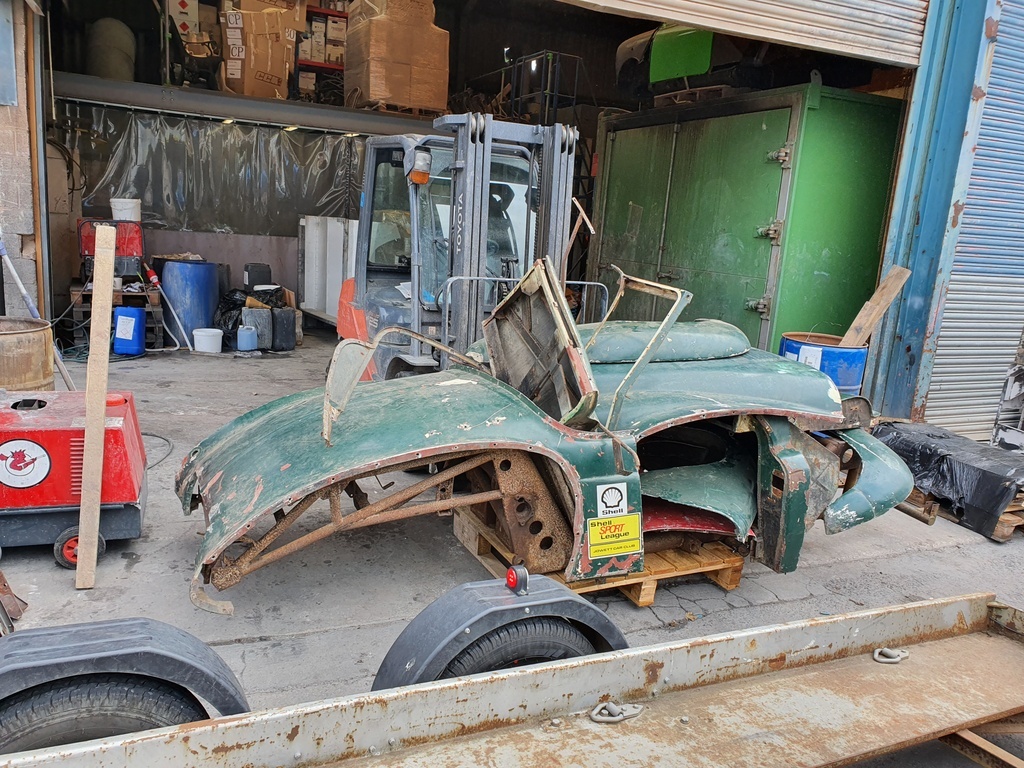 |
| |
|
|
|
|
|
Jun 12, 2020 12:46:53 GMT
|
|
exciting!
JP
|
| |
I know its spelled Norman Luxury Yacht, but its pronounced Throat Wobbler Mangrove!
|
|
|
|
|
Jun 12, 2020 17:50:33 GMT
|
Might be a stupid question, but when using heat is it simply the expansion/contraction of the parts in relation to one another that breaks the rust seal? Is it best to let it cool before then dismantling or is taking it apart whilst still hot beneficial? PS: No such thing has a 'Stupid Question' better to ask and succeed than assume and fail  And believe me , ive asked plenty!!🤣🤣🤣 |
| |
'80 s1 924 turbo..hibernating
'80 golf gli cabriolet...doing impression of a skip
'97 pug 106 commuter...continuing cheapness making me smile!
firm believer in the k.i.s.s and f.i.s.h principles.
|
|
|
|
|
Jun 19, 2020 17:08:32 GMT
|
|
Chris - Can I ask why the trip up here (the North), when you usually use Envirostrip down in your area, or are they closed due to C-19?
|
| |
|
|
|
|
|
Jun 19, 2020 18:49:57 GMT
|
Chris - Can I ask why the trip up here (the North), when you usually use Envirostrip down in your area, or are they closed due to C-19? Several reasons but the primary one is that Envirostrip cant really process the alloy panels especially the large bonnet / rear shroud panels - I need a one stop shop in order to maintain production levels through the workshop (I make it sound like a production line and its far from it) but I have 4 of these Jupiter's to restore alongside other clients vehicles - hence I need to maximise production and outsourcing jobs like this which I simply don't have the room / space / equipment to undertake is one of a range of measures that keeps me treading water rather than sinking - even though its a 500 mile round trip x 2 to deliver then collect it  |
| |
Last Edit: Jun 19, 2020 18:53:26 GMT by Deleted
|
|
|
|
|
Jun 19, 2020 20:02:10 GMT
|
|
Thanks for the update and very useful as they are only about 20 miles away if I should ever need a GN endorsed company!
|
| |
|
|
|
|
|
|
|
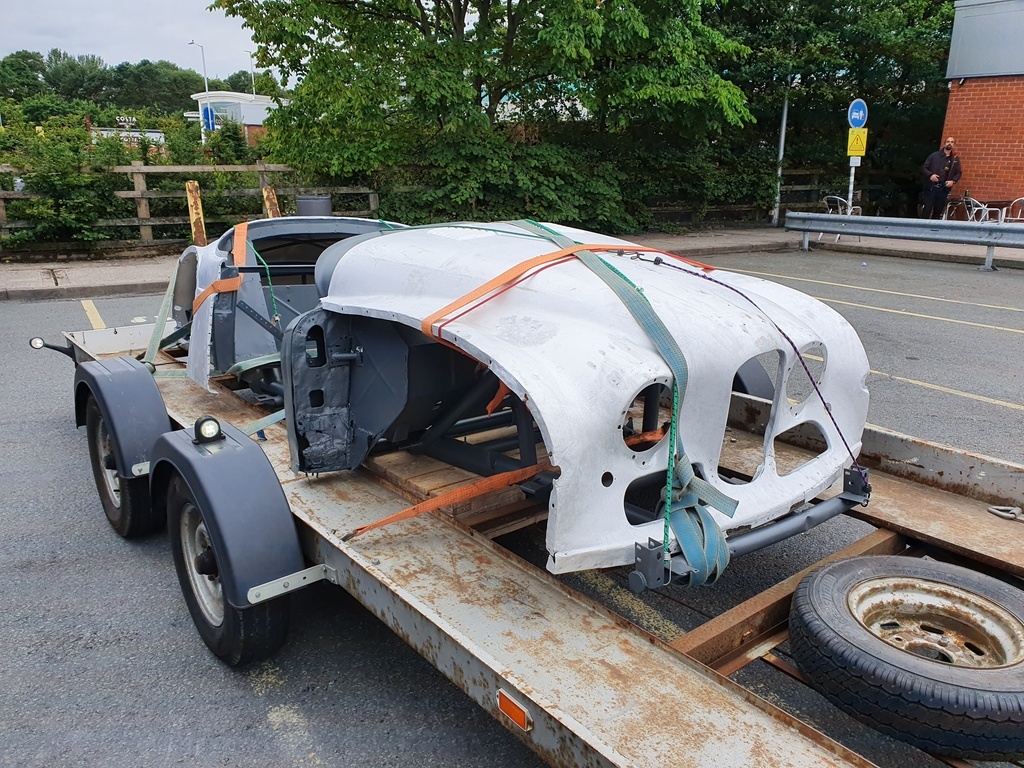 So a little over 2 weeks later and I'm back up to 'Ribble Technology' to collect the chassis & bodyshell that they have processed for me 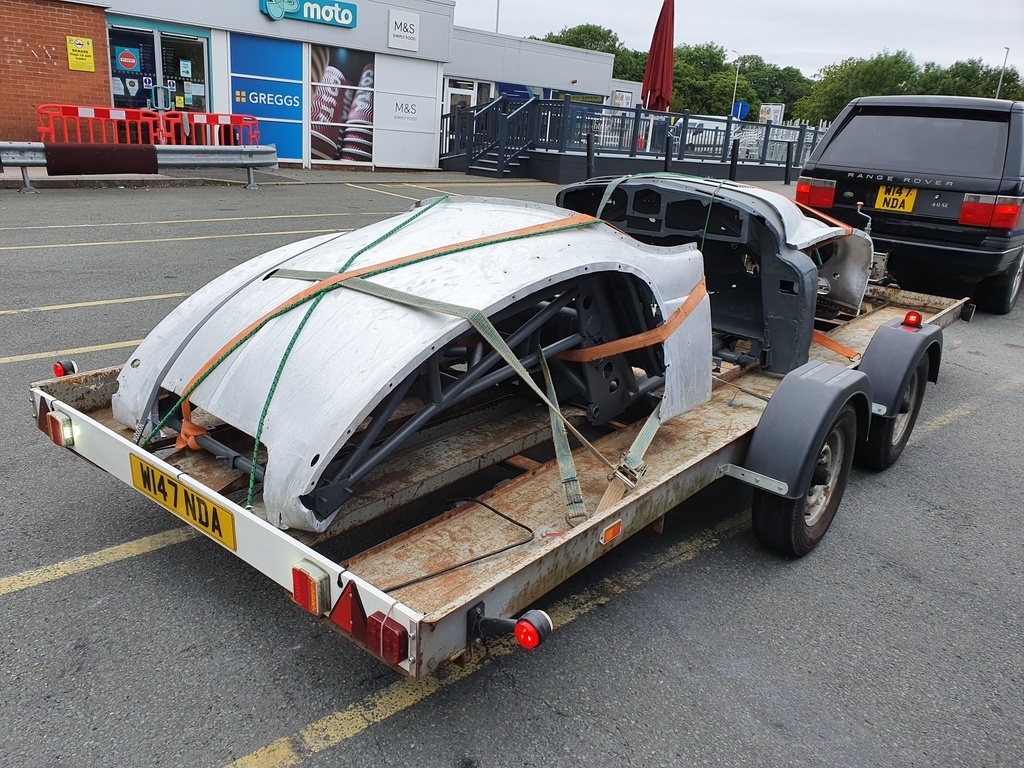 And the results are impressive 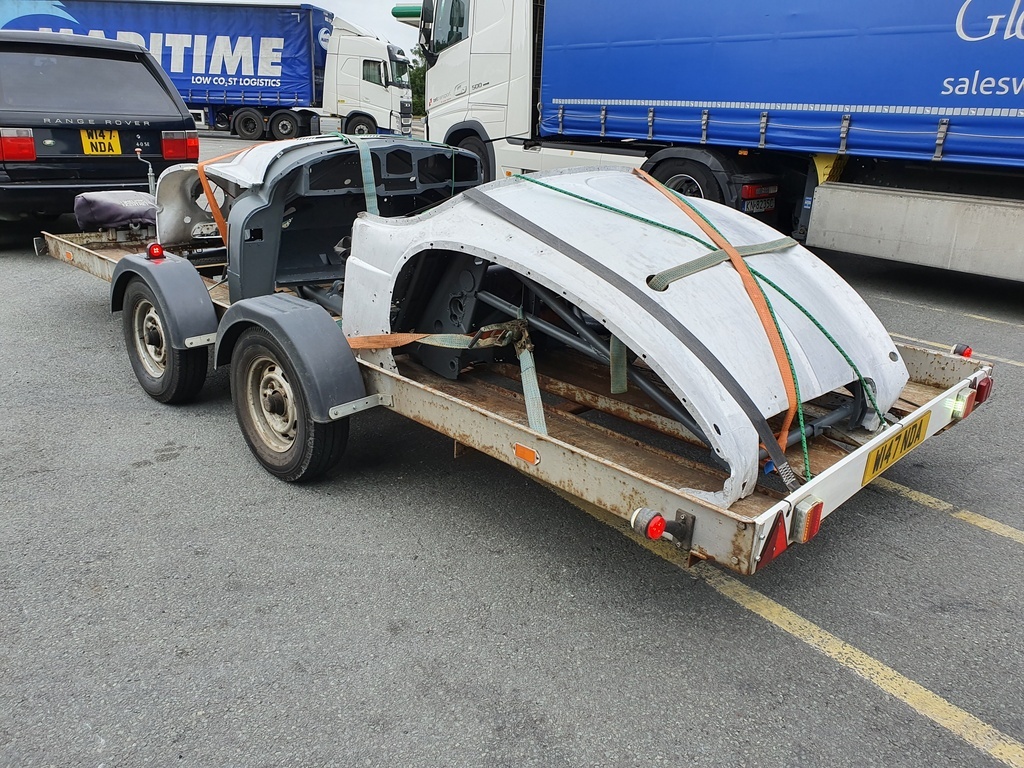 All the rust is burnt out of the chassis and the panels are clean & devoid of all surface coatings - they have also applied a good quality primer to all the steel panels & the chassis - the staff could not have been more helpful with the loading to the trailer when I turned up to collect it too 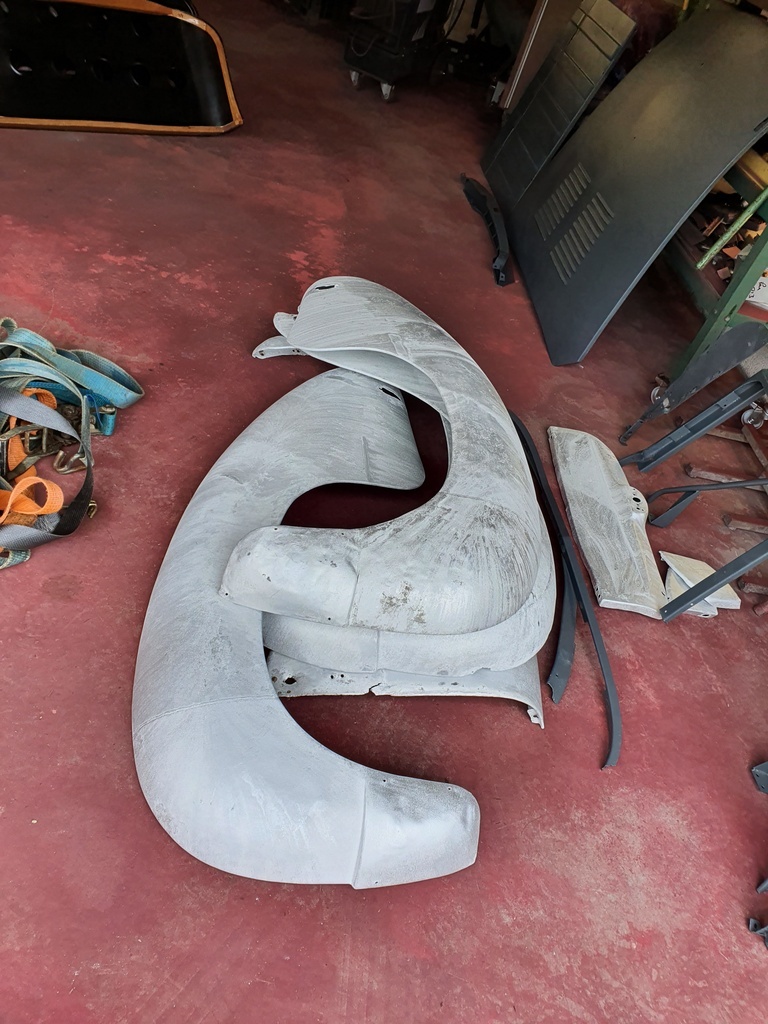 All the alloy is whistle clean - just requiring a buzz over with the DA when I get on to repairing them 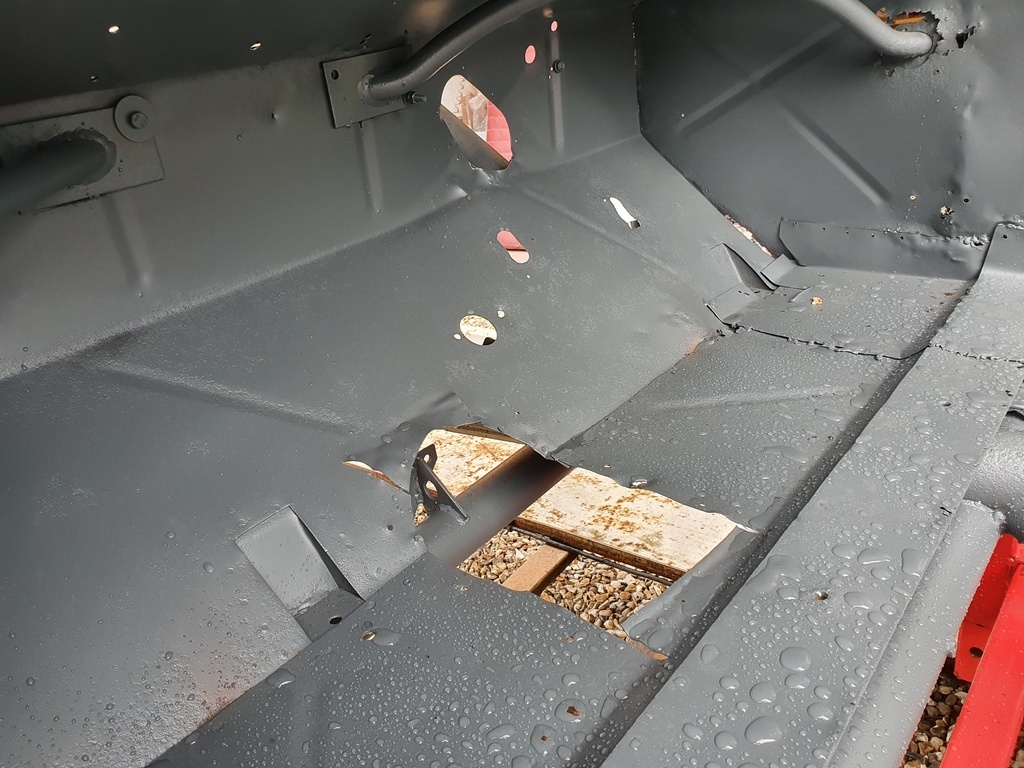 The car has had a life and certainly all of the lower bulkhead & floor panels shall require replacement 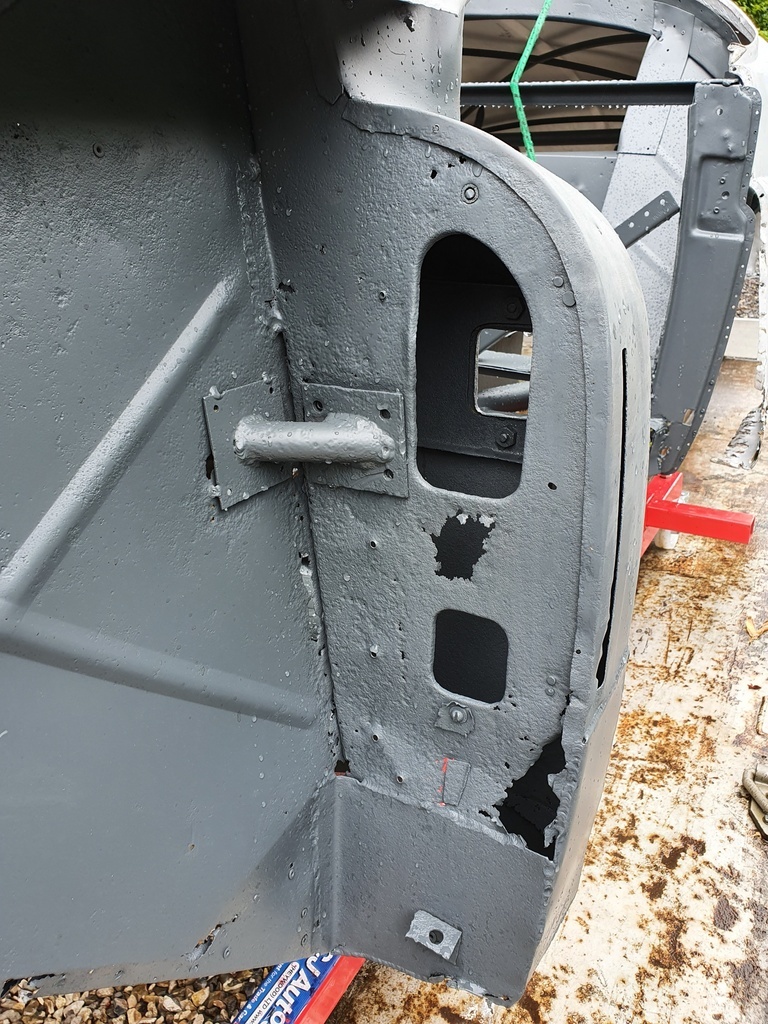 NS A post is pretty typical of a Jupiter requiring restoration 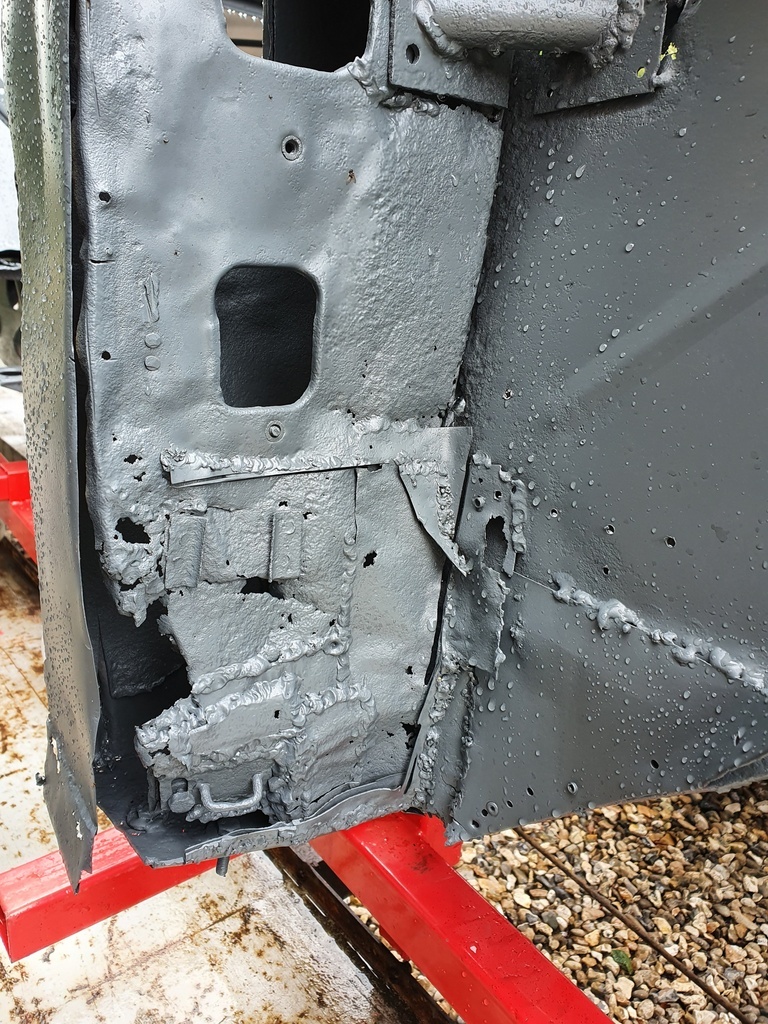 However on the OS I don't think I have come across a Jupiter A post in this poor a condition - not only has it had multiple patches / poor repairs but its also been impacted and is set back some 40mm out of alignment 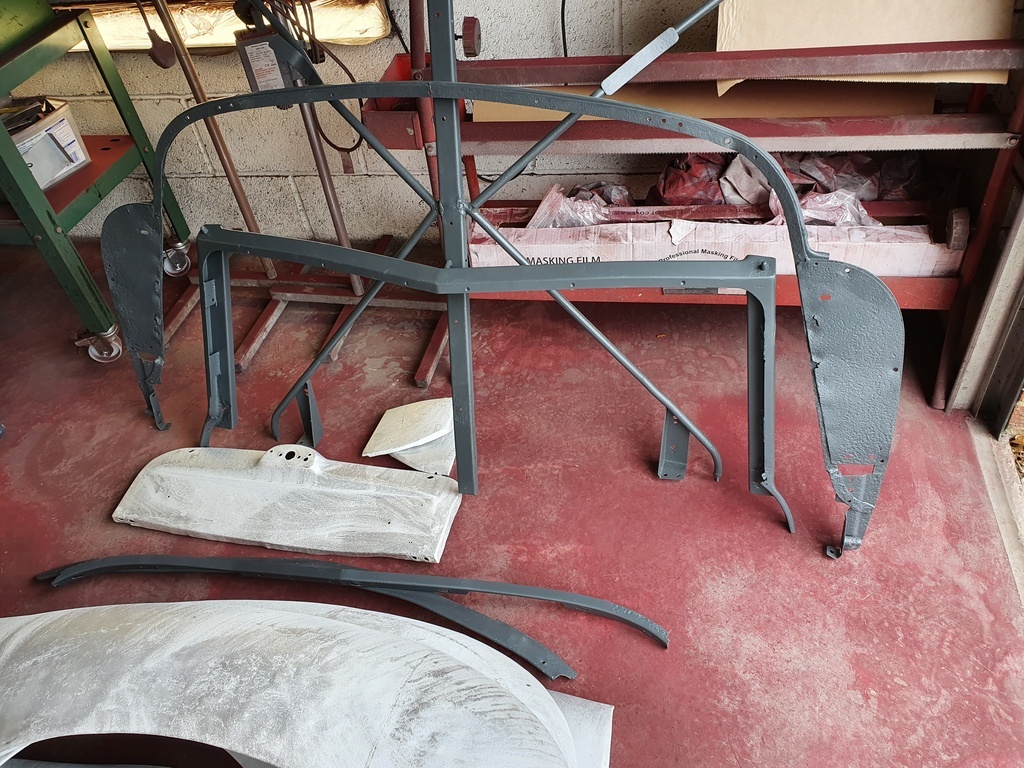 Typically every panel / part requires attention but they are all repairable in the grand scheme of things 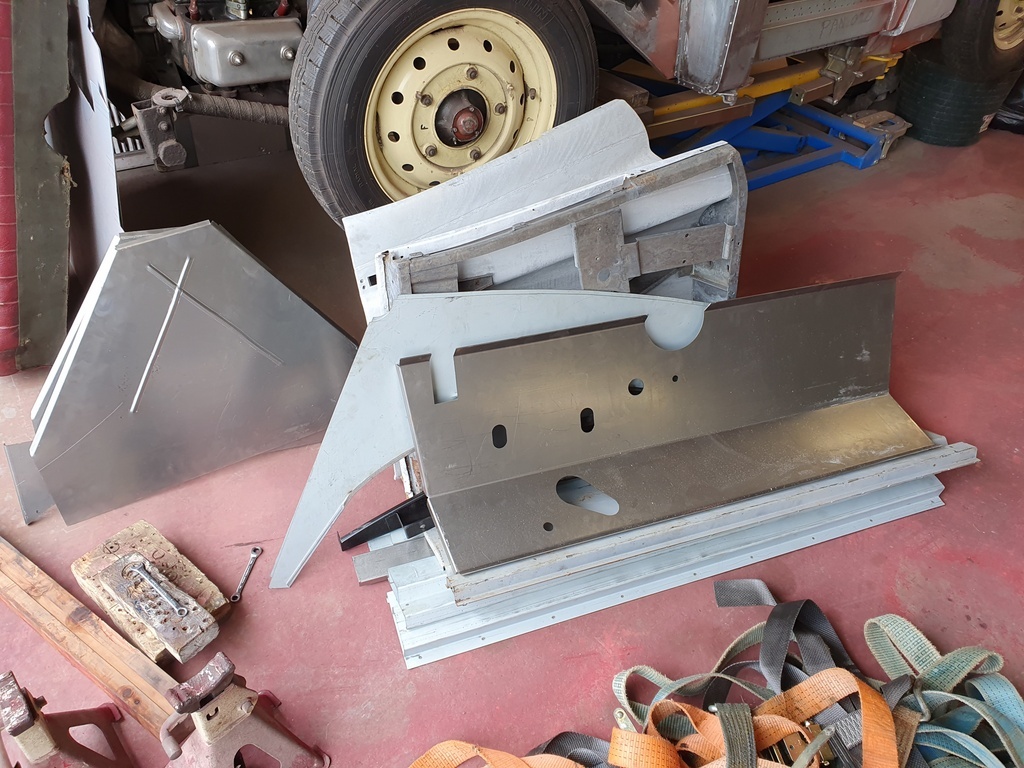 All the repair sections / new panels were supplied the Jowett Car Club's own spares department 'Jowett Car Spares' 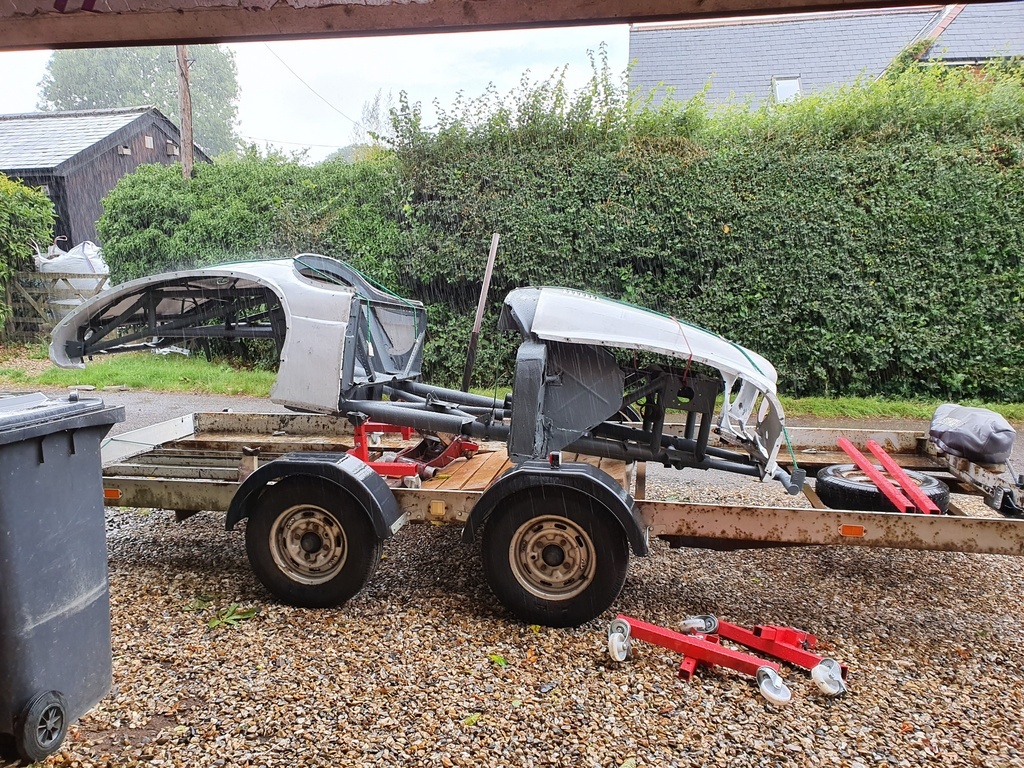 Once back at the workshop I had to get the car up off the pallet that it was loaded on to the trailer with and on to my dollies 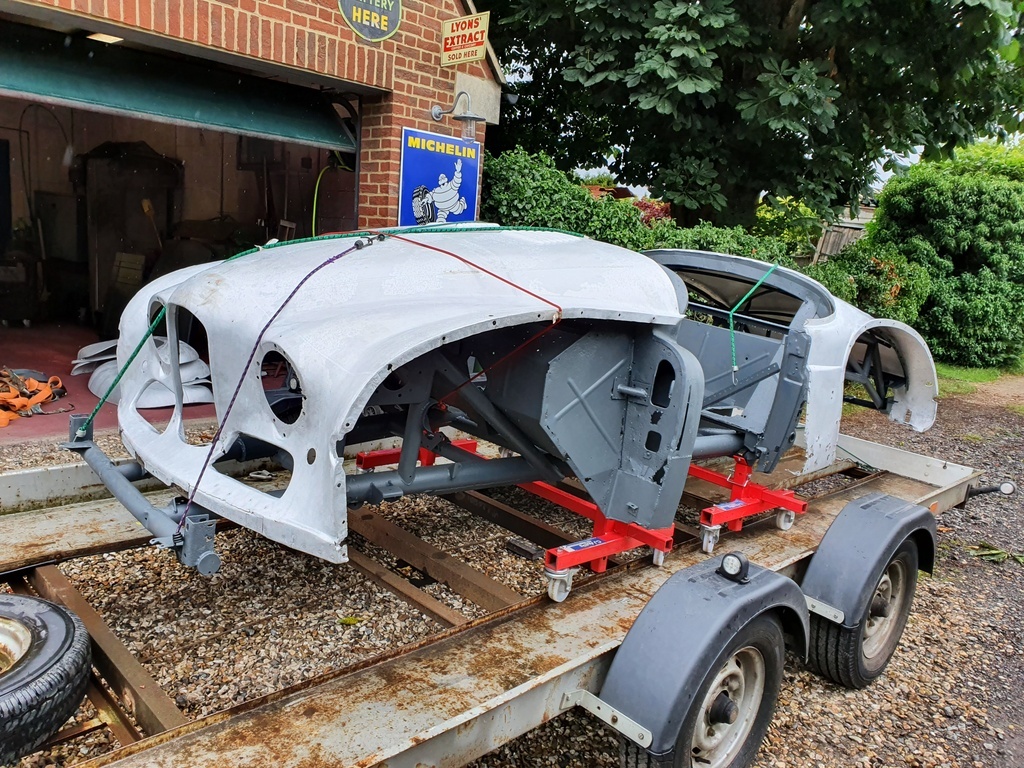 This makes it easy for me to move about has it now goes back into to short term storage prior to the repairs commencing 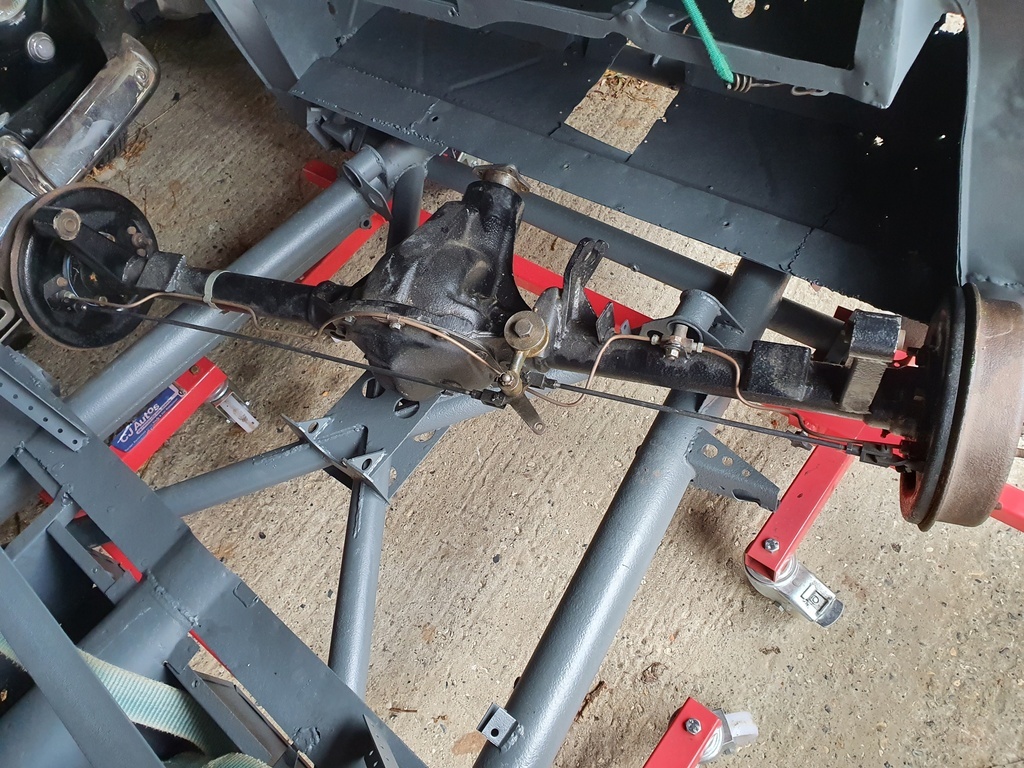 I also collected a rebuilt axle from the club spares for this car (very rare) 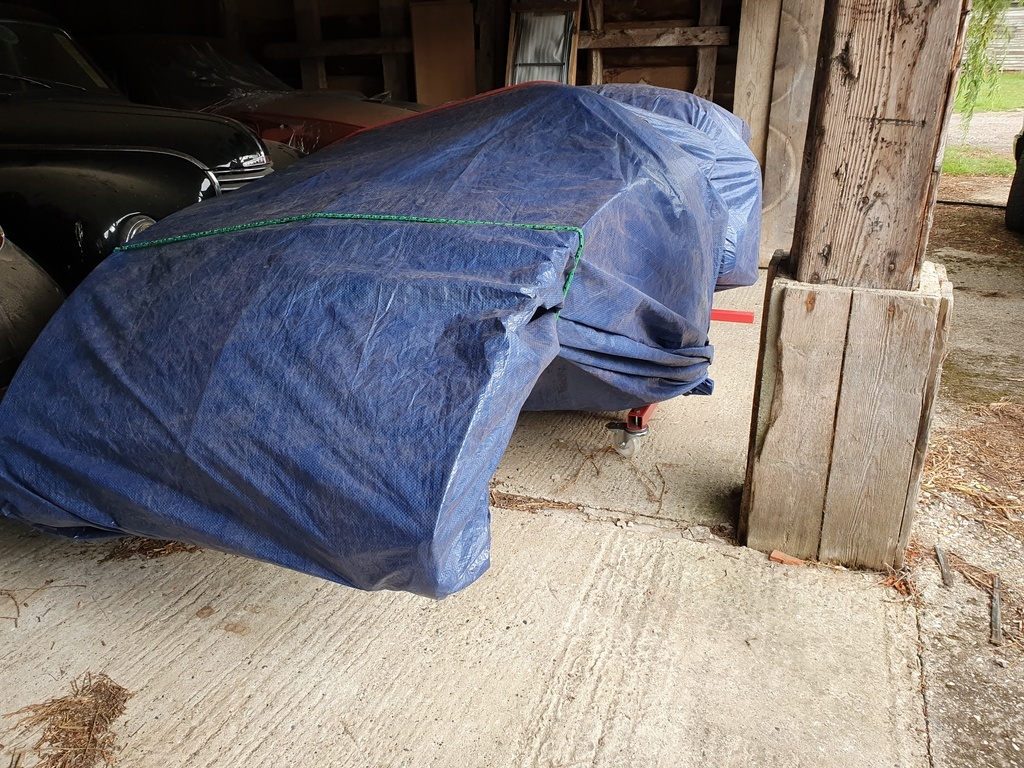 Now back at the barn and wrapped up 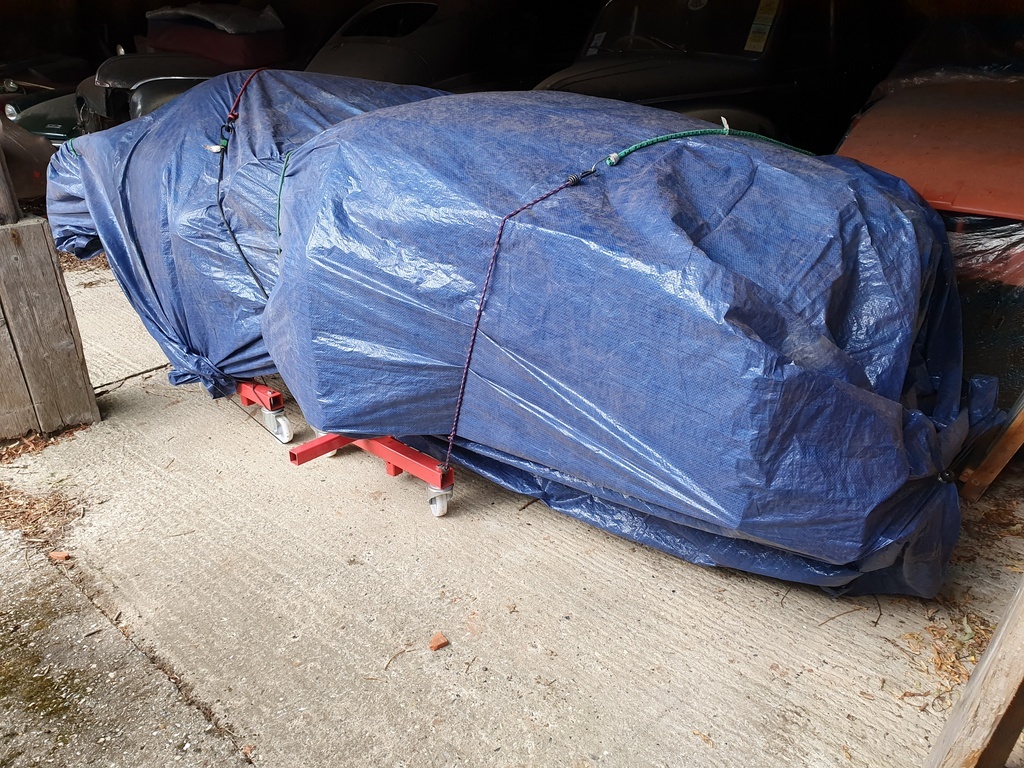 Things are happing the background for this restoration and once I have some fabrication space available I shall make a start on the bulkhead rebuild |
| |
Last Edit: Jul 2, 2020 19:51:07 GMT by Deleted
|
|
|
|
|
|
|
|
A highly satisfying entry in the journal. Thanks as always for bringing us along for the ride. John
|
| |
|
|
|
|
|
|
|
|
The quality of some of the welding on that A post looks very much like the welding was on my bonnet
|
| |
|
|
|
|


