mat88
Yorkshire and The Humber
Posts: 1,542
|
|
|
|
Painted sump bolts no less, rather posh eh? 😉 Lexus owners, I just don't know. Ha,ha. Glad you're making good progress. Keep up the good work,looking forward to updates as usual. 👍 I know I know. I've gone fully upmarket now... I actually went to lexus main dealers today and ordered parts too 🤷 And cheers. It's nice to be getting somewhere with it. Even if it's a long way off. |
| |
|
|
|
|
|
|
|
|
|
|
Stem seals fitment sounds about right.
See if you can find a small socket that is the same size as the stem seal that you can tap down to make sure seals are on square. 1.4" drive sockets are normally good for this with a short extension fitted.
|
| |
|
|
mat88
Yorkshire and The Humber
Posts: 1,542
|
|
|
|
Stem seals fitment sounds about right. See if you can find a small socket that is the same size as the stem seal that you can tap down to make sure seals are on square. 1.4" drive sockets are normally good for this with a short extension fitted. Yeah all I've ever used before now is 1/4 drive socket and an extension.. was just weird there's 16 of each and there clearly slightly different with no obvious reason as to why.. The slightly taller ones can go back on the inlet valves and wel see what happens Cheers |
| |
|
|
|
|
TessierAshpool
Club Retro Rides Member
Posts: 520
Club RR Member Number: 168
|
|
|
|
Yeah I had the same type of valve seals when I replaced them on a Toyota 7M-GE, I guess they're different to handle the different heat stress maybe. I feel your pain, I'm hoping I don't ever have to do this on my 3UZ. For removing the seals, I used this special tool I got off eBay, so much easier and felt like a professional  I did it with rope down the bore and the head still on the engine in the car, that was a nerve-wracking 24 valves making sure I didn't lose any collets or a valve into the bore... 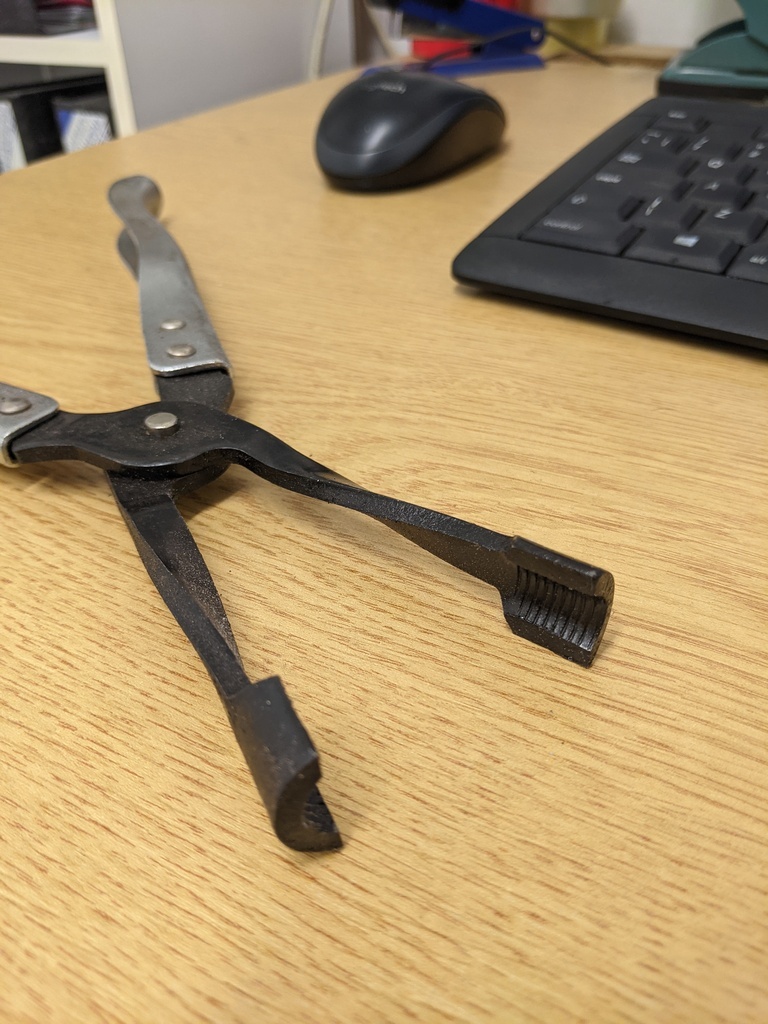 |
| |
|
|
autojumbled
Club Retro Rides Member
Posts: 226
Club RR Member Number: 106
|
|
Nov 10, 2021 11:18:15 GMT
|
Stem seals fitment sounds about right. See if you can find a small socket that is the same size as the stem seal that you can tap down to make sure seals are on square. 1.4" drive sockets are normally good for this with a short extension fitted. Yeah all I've ever used before now is 1/4 drive socket and an extension.. was just weird there's 16 of each and there clearly slightly different with no obvious reason as to why.. The slightly taller ones can go back on the inlet valves and wel see what happens Cheers I've done 3SGTE stem seals and they use the same. Brown is intake and black is exhaust |
| |
|
|
mat88
Yorkshire and The Humber
Posts: 1,542
|
|
Nov 10, 2021 15:56:02 GMT
|
|
|
| |
|
|
mat88
Yorkshire and The Humber
Posts: 1,542
|
|
Nov 10, 2021 15:57:40 GMT
|
Yeah I had the same type of valve seals when I replaced them on a Toyota 7M-GE, I guess they're different to handle the different heat stress maybe. I feel your pain, I'm hoping I don't ever have to do this on my 3UZ. For removing the seals, I used this special tool I got off eBay, so much easier and felt like a professional  I did it with rope down the bore and the head still on the engine in the car, that was a nerve-wracking 24 valves making sure I didn't lose any collets or a valve into the bore...  Yeah I had seen them pliars and as much as they'd have made job easy. Il hopefully never need em again and it seemed like 20 quid I didn't need to spend (plus once I start summat I'm impatient haha) I can confirm doing 32 valves is utter pants. I don't want to be doing this job again any time soon. Cheers |
| |
|
|
mat88
Yorkshire and The Humber
Posts: 1,542
|
|
Nov 10, 2021 15:58:10 GMT
|
Yeah all I've ever used before now is 1/4 drive socket and an extension.. was just weird there's 16 of each and there clearly slightly different with no obvious reason as to why.. The slightly taller ones can go back on the inlet valves and wel see what happens Cheers I've done 3SGTE stem seals and they use the same. Brown is intake and black is exhaust That's what I've gone for. The brown slightly taller ones on intake. Cheers |
| |
|
|
mat88
Yorkshire and The Humber
Posts: 1,542
|
|
Nov 10, 2021 16:23:56 GMT
|
Groundhog Day... according to Google "a situation in which a series of unwelcome or tedious events appear to be recurring in exactly the same way".. That pretty much summed up today's play time.. Finished yesterday lapping valves in. Started today. Well lapping another 16 in.. dug the other head out and set to it. Atleast I had snacks 😂😂 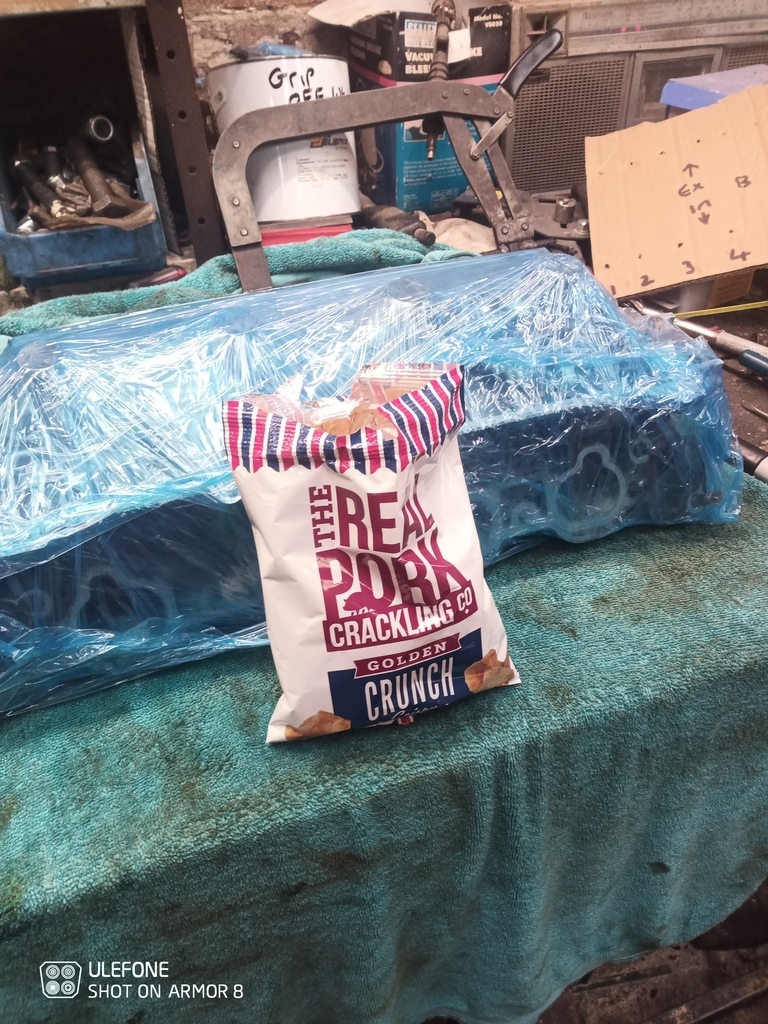 Won't bore you with pictures. There the same as yesterday. Well they would be if I'd taken some haha. I'd like to say it was quicker second time since I knew what I was doing. But I'd be lieing 🤷 After I'd lapped the second 16 in and removed the crusty old stem seals I needed a break from doing same thing repeatedly.. now since the previous owner had filled the waterways with concrete and God knows what I wanted to make sure any trace of it was gone. The only bit I've not checked yet was the oil cooler that's fed from a take off on the block. Tried to blow down the pipe on the cooler. Solid! That's less than ideal so started stripping hoses off and investigating.. needless to say what I found inside wasn't pretty.. Yes that pile of brown powder was blocking the hoses solid. 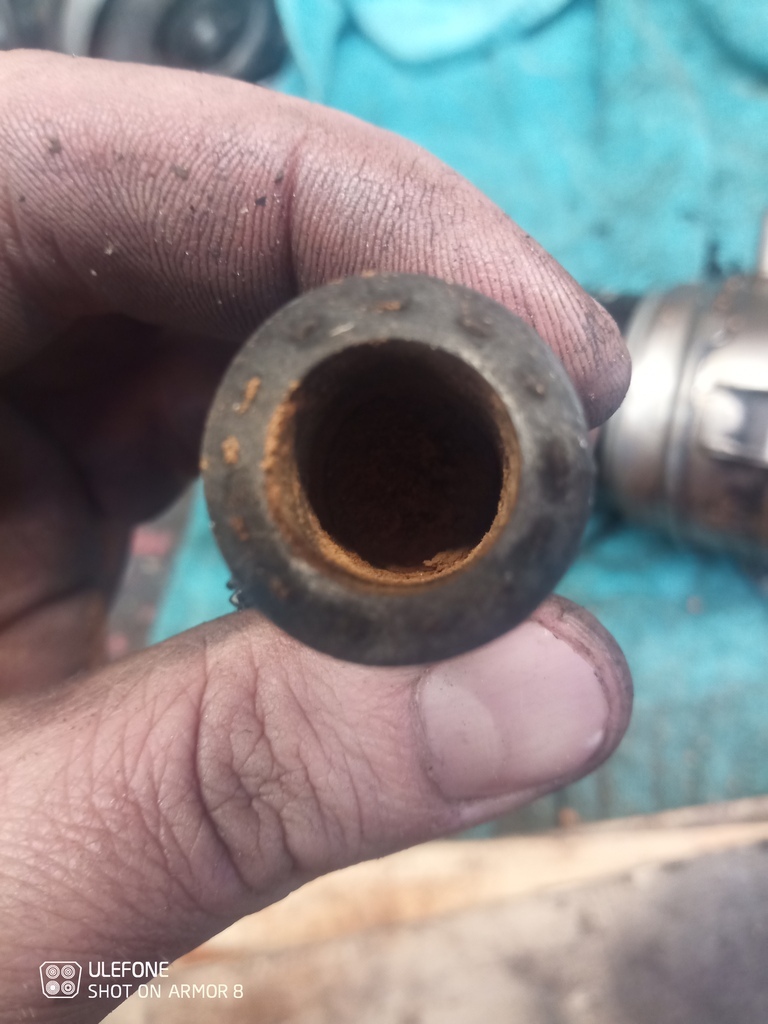 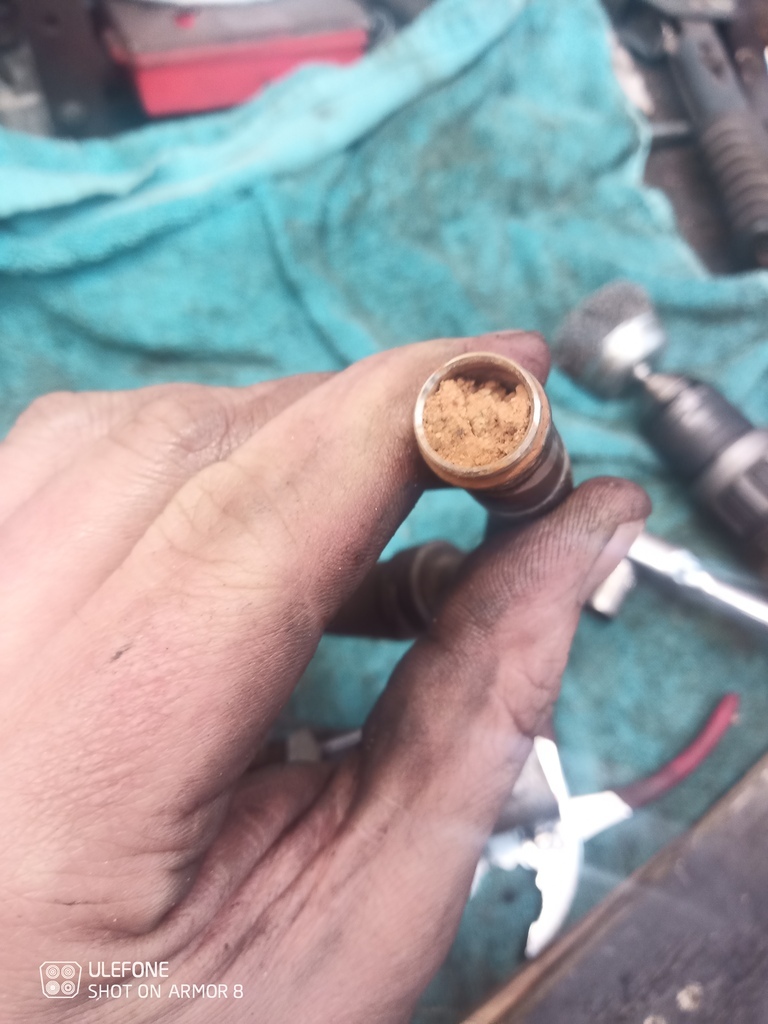 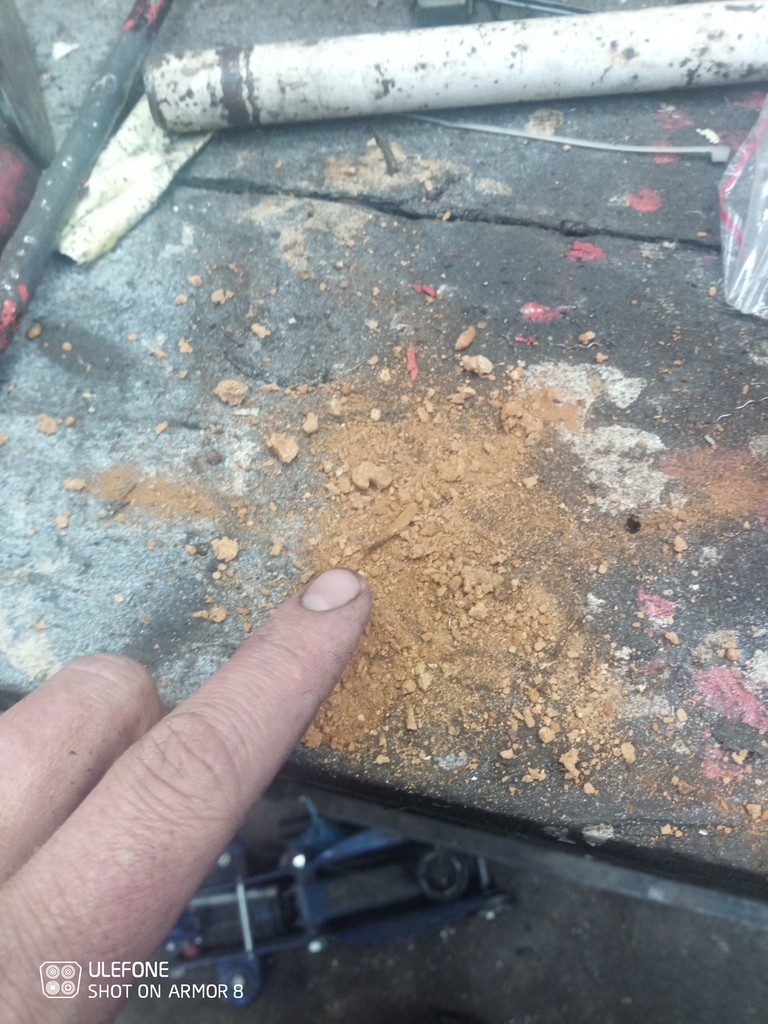 After a bit of messing and using various bits of welding wire and back flushing it along with the airline I'd got it flowing nicely again 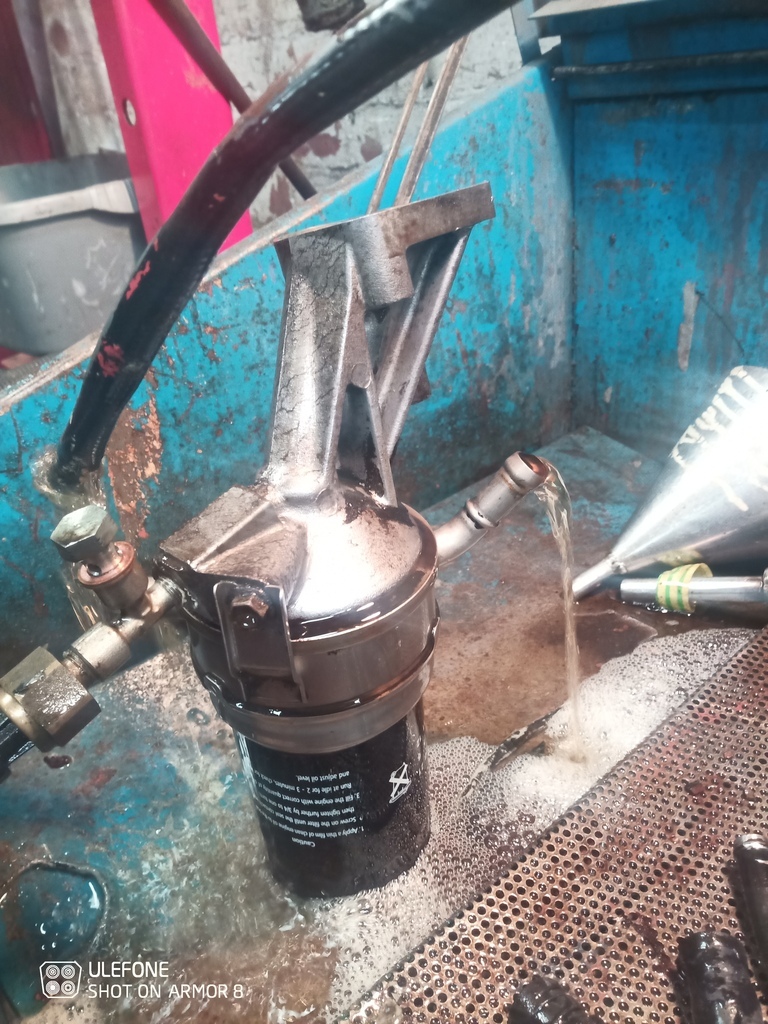 And to be fully sure. Set to it with the diesel powered steam cleaner! Rad weld be gone! Haha. While I'd got the steamer out figured it was a good time to give the heads another going over. They've been "cleaned" at the machining place, but have had my grubby mits all over them along with grinding paste and what not. Started with the wire wheel in the drill and then gave them another thorough wash. If I'd not made the rest of the engine look so pretty. These could go on like this (there going to be a pig to mask up but I'm committed now).. 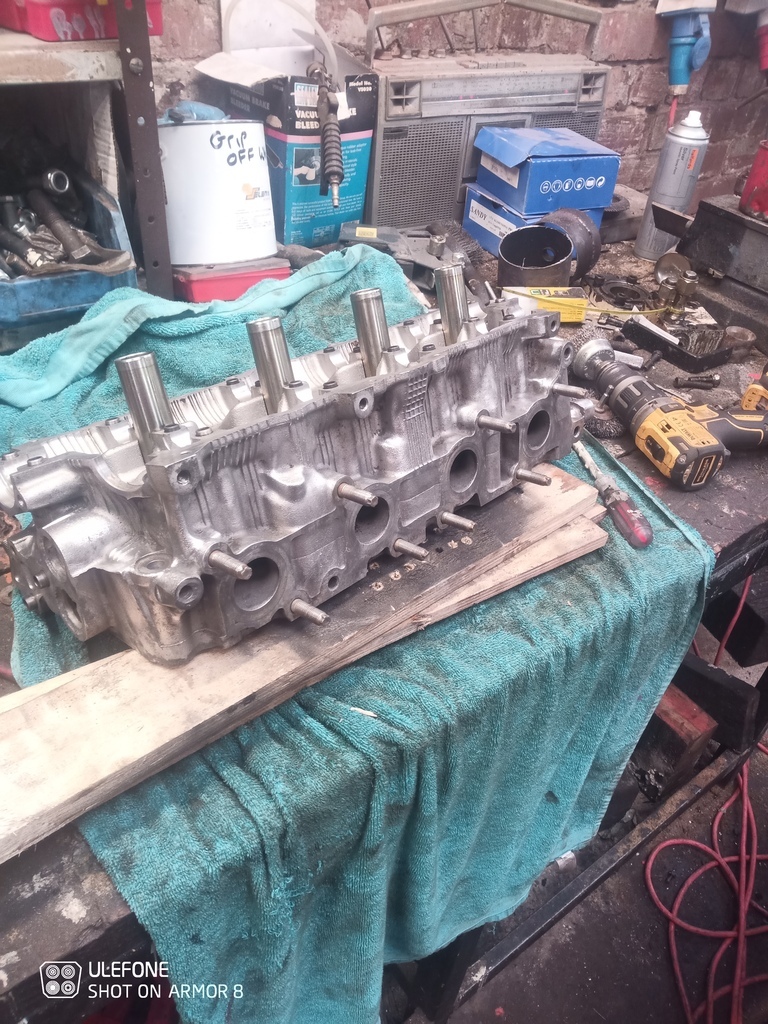 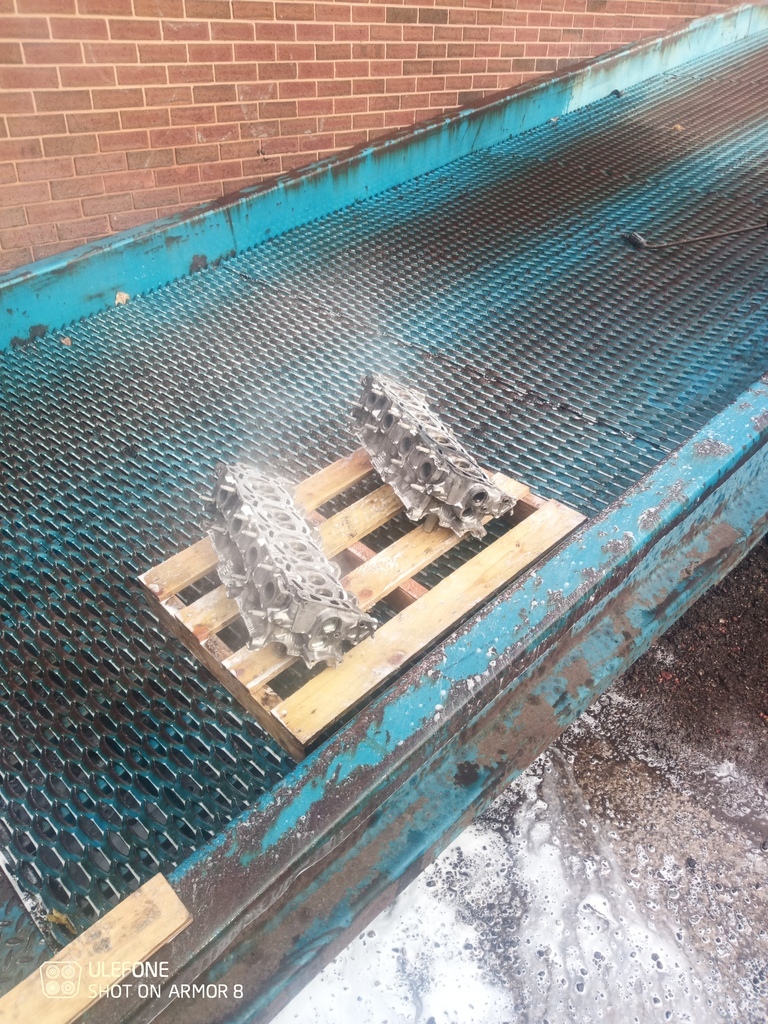 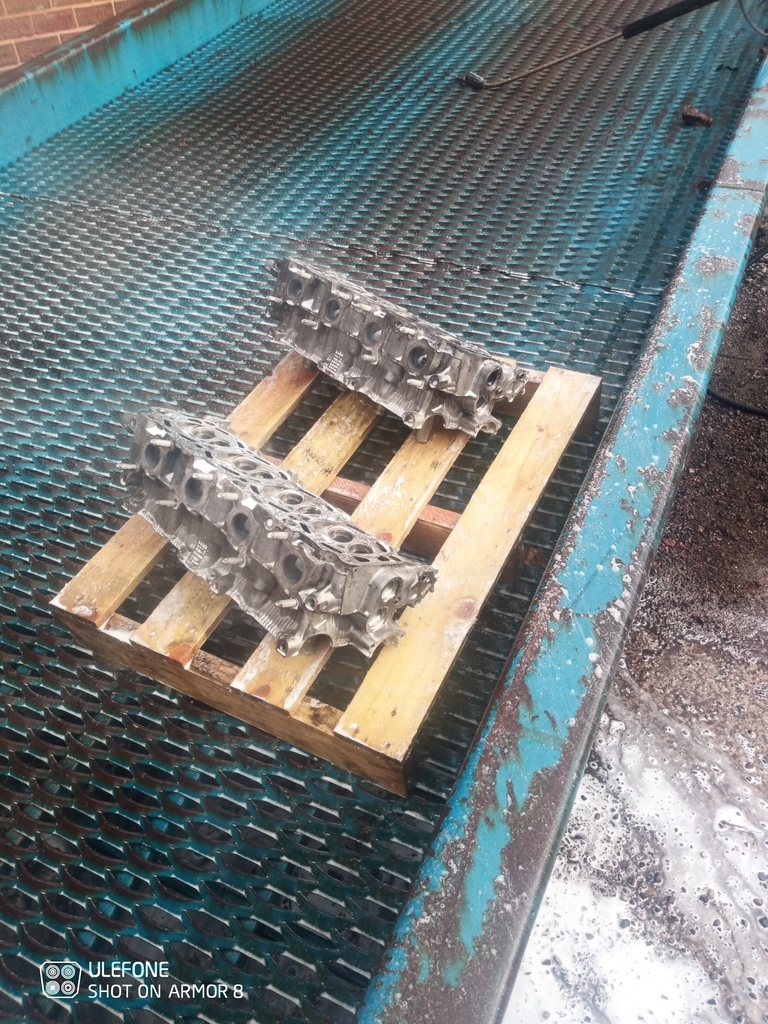 With it all clean and dry I'd run out of excuses not to start building the heads back up.. now il get the excuses out the way, our workshop isn't the lightest place on earth, or the cleanest.. I've got fat hands and the spring tool didn't really fit properly... Oh and I'm blind as a bat when it comes to working on tiny stuff up close.. so with the excuses sorted. Chucked the new stem seals back in. 1/4 drive 10mm socket was the perfect fit. 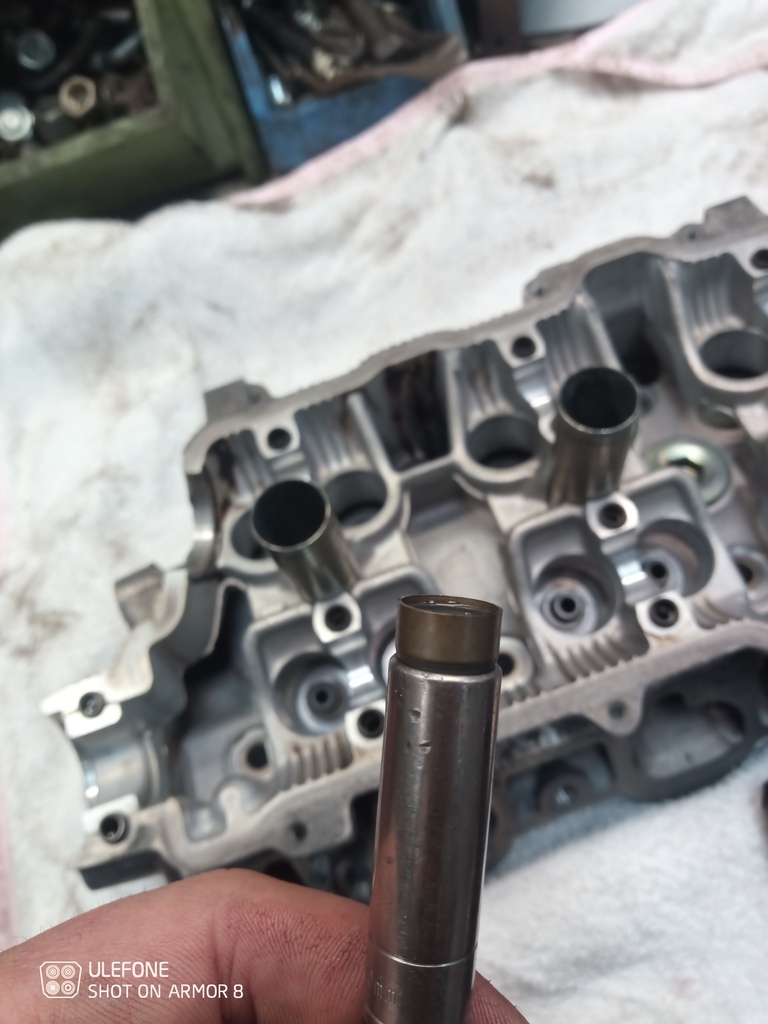 Thats where the fun stopped. Getting the springs and collets back in was an absolute nightmare of a job. There too small for me to hold, everything had gone magnetic. And I was terrified of losing a collet or retainer (if a collet lands on floor it's gone simple as) So much so that after 1 hour, yep 60 actual minutes. I was here.. yep. 2 poxy valves back in!!😭 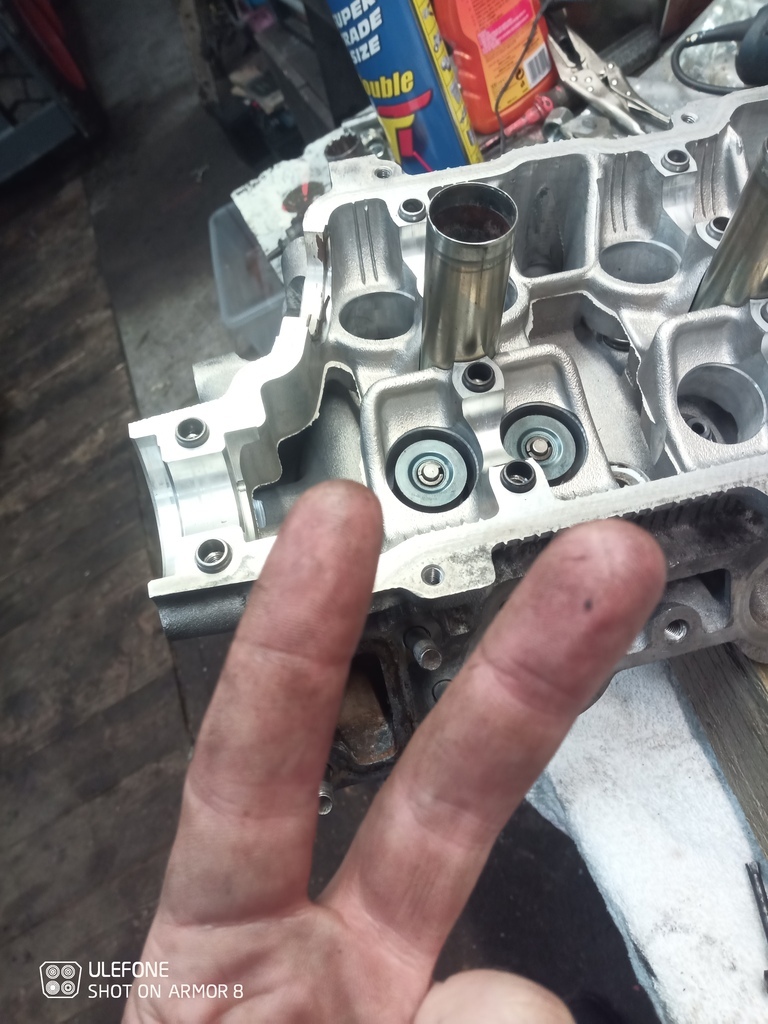 At this rate I was going to die of old age before it's finished. "Luckily" the next 6 valves only took me an hour. So just 2 hours to fit 8 god damn valves!! Only another 24 to go.. 😭 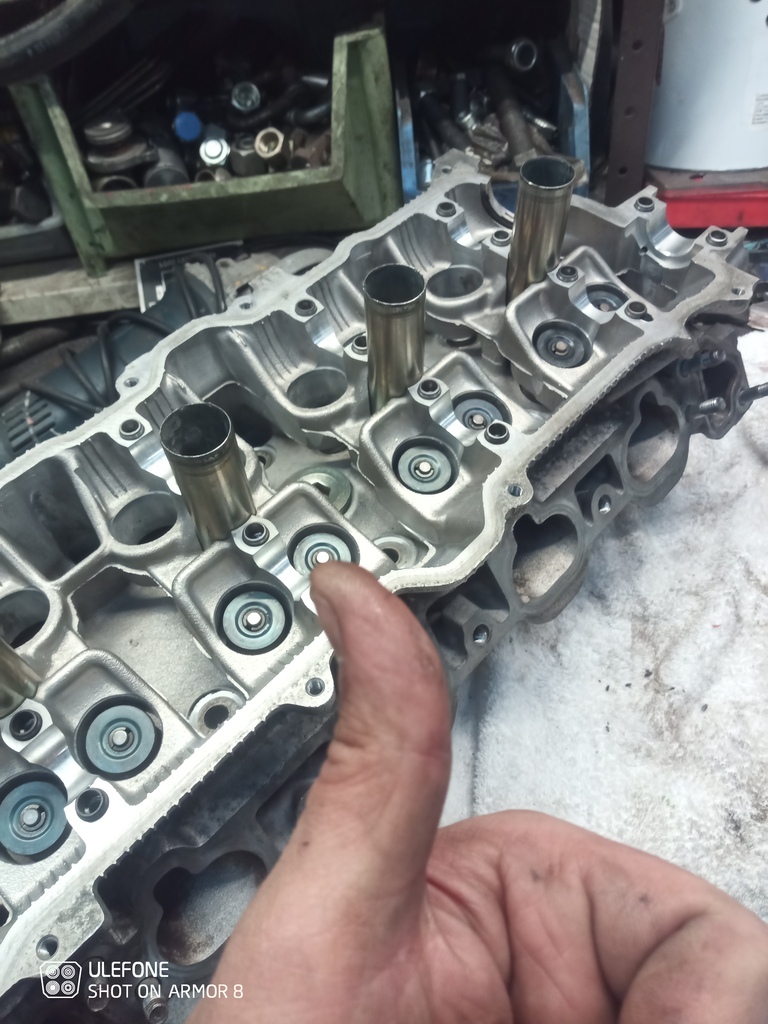 Unsurprisingly I called it a day after that before I lost my rag with job. But I'm guessing it will be more of the same tomorrow! Anyways more soon! Cheers |
| |
|
|
Mark
Club Retro Rides Member
Posts: 2,097
|
|
Nov 10, 2021 17:26:26 GMT
|
My lapping stick gave up the ghost by time I'd done. So swung in hellfrauds on my way home. Didn't have just a stick but I suppose the grinding paste will come in handy.. probably keep me going for 20 year haha 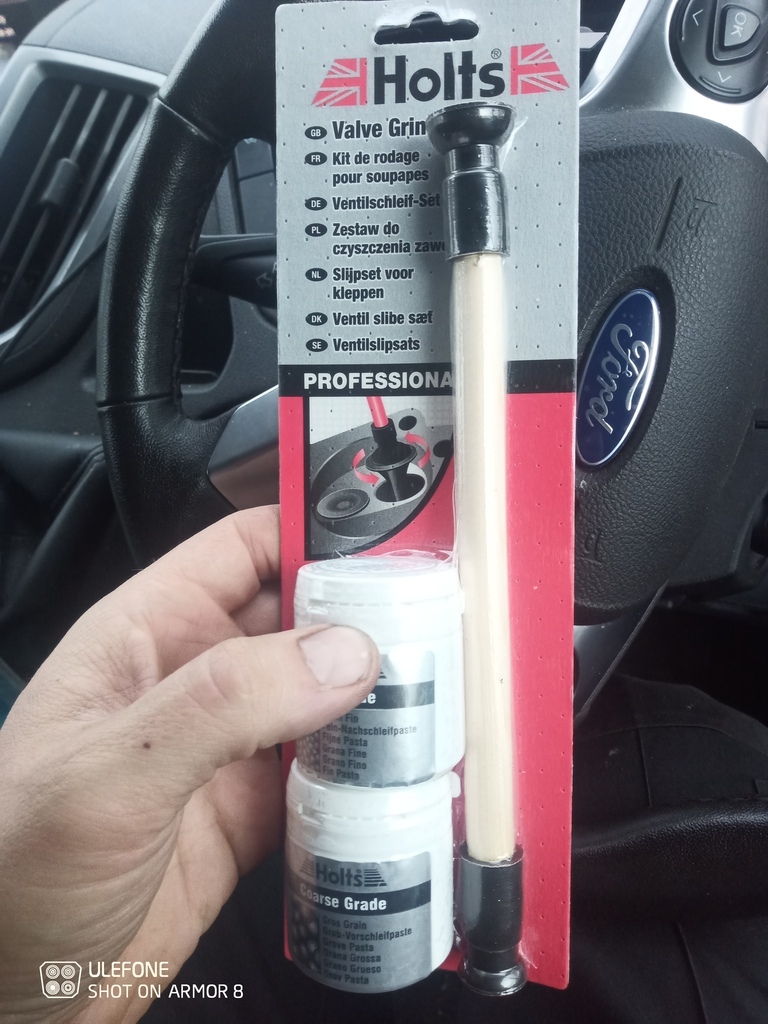 Just looking at that picture brings back the blisters for me! Keep up the good work, you're doing a cracking job |
| |
|
|
jamesd1972
Club Retro Rides Member
Posts: 2,921  Club RR Member Number: 40
|
|
Nov 10, 2021 19:29:35 GMT
|
|
Sounds like a mare. In my limited experience I’ve always used a nice gob of grease to keep collets in place ?
James
|
| |
|
|
|
|
|
Nov 10, 2021 19:50:20 GMT
|
|
I find a blob of grease on a small screwdriver will stick the back of the collets to the screwdriver, then its a lot easier to pop them in the gaps as your fingers are no-where near them.
|
| |
|
|
mat88
Yorkshire and The Humber
Posts: 1,542
|
|
Nov 10, 2021 20:03:24 GMT
|
My lapping stick gave up the ghost by time I'd done. So swung in hellfrauds on my way home. Didn't have just a stick but I suppose the grinding paste will come in handy.. probably keep me going for 20 year haha  Just looking at that picture brings back the blisters for me! Keep up the good work, you're doing a cracking job Luckily (or unluckily depends how you look at it). I've got hands like boot leather haha. So the skins survived the ordeal. They ache tho feel like a teenage boy thats just discovered what it does haha! And cheers. I'm trying to make this the best I can. |
| |
|
|
mat88
Yorkshire and The Humber
Posts: 1,542
|
|
Nov 10, 2021 20:05:57 GMT
|
|
Jamesd and blackpop I tried the grease the problem is everything seems to have gone magnetic from me removing them with a magnet ... And no amount grease or fancy assembly lube seems to over power the magnetism...
Doesn't help the spring tool I have doesn't really fit (bottoms out on the head before the spring is compressed). The big set I have for work doesn't go small enough.
Il plod on
Cheers
|
| |
|
|
v8
Part of things
 
Posts: 312
|
|
Nov 10, 2021 20:49:56 GMT
|
Had a similar problem when doing a motorbike head and made an extension to fit spring compressor out of a bit of steel conduit. Cost curse word all and made life much easier! 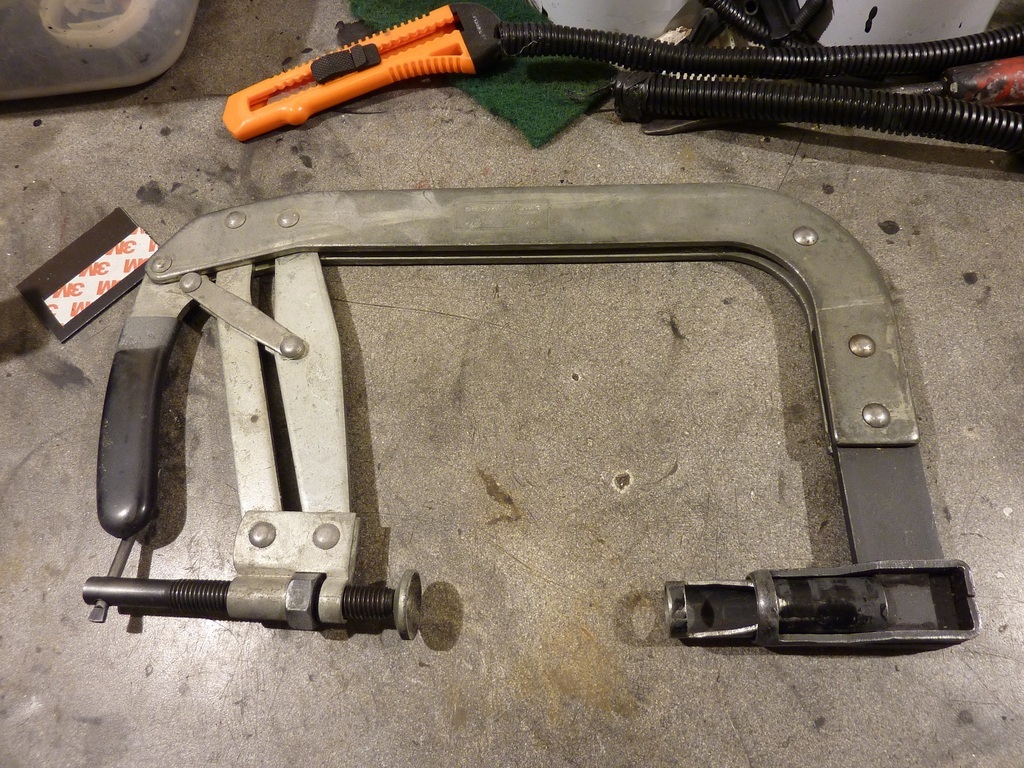 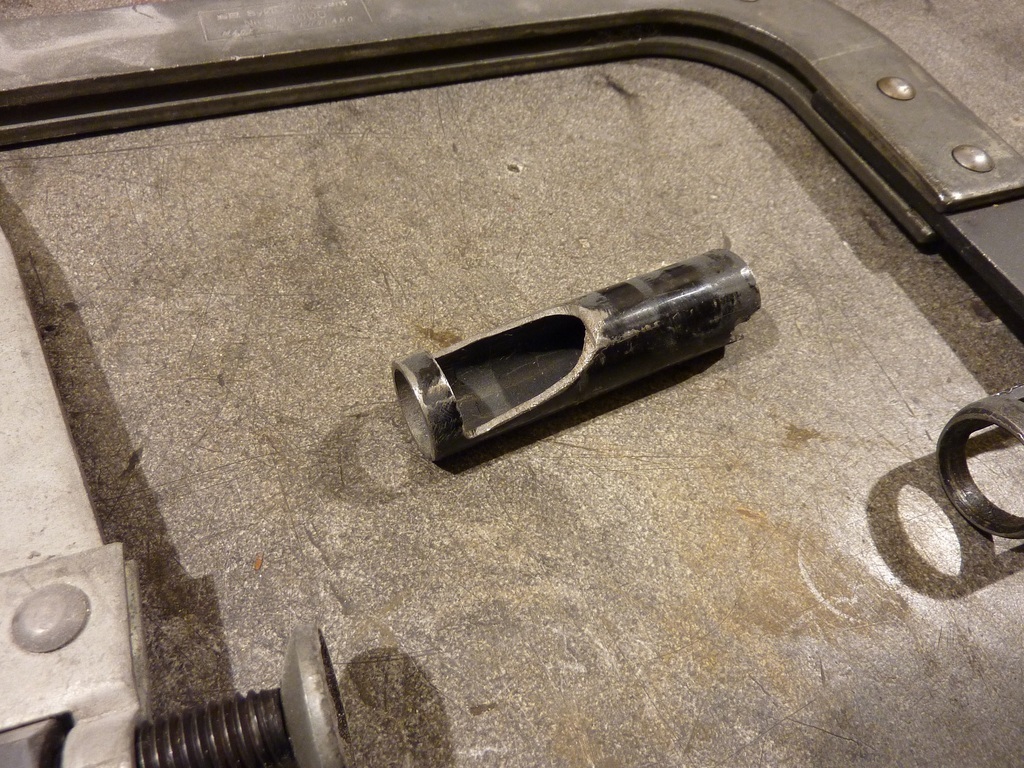 |
| |
Last Edit: Nov 10, 2021 20:52:17 GMT by v8
|
|
stealthstylz
Club Retro Rides Member
Posts: 14,961
Club RR Member Number: 174
|
|
Nov 10, 2021 21:19:00 GMT
|
|
"They'll be a pig to mask up"
What is this masking you speak of? Bit of cardboard (gasket packaging is great for this) held against the top face while you spray to stop the paint going into valve area, then a quick wipe over of the bits you don't want paint on with thinners on a rag and you'll be golden. Always makes me laugh watching people spending hours masking engines, it's not needed at all.
|
| |
|
|
hitman
Part of things
 
Posts: 645
|
|
Nov 10, 2021 22:30:51 GMT
|
Jamesd and blackpop I tried the grease the problem is everything seems to have gone magnetic from me removing them with a magnet ... And no amount grease or fancy assembly lube seems to over power the magnetism... Doesn't help the spring tool I have doesn't really fit (bottoms out on the head before the spring is compressed). The big set I have for work doesn't go small enough. Il plod on Cheers doin a brill job there mate,bit late but i have a spring compressor with changeable ends if it makes it easier,welcome to borrow if needed |
| |
|
|
|
|
|
Nov 10, 2021 22:51:32 GMT
|
I find a blob of grease on a small screwdriver will stick the back of the collets to the screwdriver, then its a lot easier to pop them in the gaps as your fingers are no-where near them. Just enough grease on the screwdriver to hold the collet, and a big blob on the valve stem to pull the collet off the driver. Then you pinch both collets together with some tweezers, and gently release the valve spring compressor. Speaking of which, THIS looks like a piece of junk, but works really well on modern engines. Takes me about 30 minutes to refit all the valves and seals on a K-series using one. |
| |
|
|
bstardchild
Club Retro Rides Member
Posts: 14,975
Club RR Member Number: 71
|
|
|
|
|
|
| |
|
|


 I did it with rope down the bore and the head still on the engine in the car, that was a nerve-wracking 24 valves making sure I didn't lose any collets or a valve into the bore...


