mat88
Yorkshire and The Humber
Posts: 1,542
|
|
|
|
|
There's no reason it "shouldn't" run properly since electronically and map wise it's all the same... Only bits that's changed are the mechanical bits (oh, there the bits I've done, may never run again) 😂😂
All top tips there tho! Thanks
|
| |
|
|
|
|
bstardchild
Club Retro Rides Member
Posts: 14,975
Club RR Member Number: 71
|
|
|
|
|
Issue for me is always a partial rebuild (ie not everything new) is bearings need one approach (gentle and without too much load) and a "hone and new rings" need more load to stop the bores or rings glazing another and the two aren't aligned
So it's a tricky balance but having done a few engines over the years I just take the view keep the engine speeds varied don't go past 75% loading - drive it straight from the off but allow it to warm fully before any real load
Make sure you have a good/new working oil and water thermostat issues with those during running in stage could be really unhelpful in terms of engine not being at the right oil or water temps
I've always used mineral oil for running in but probably semi synth would be fine
|
| |
|
|
mat88
Yorkshire and The Humber
Posts: 1,542
|
|
|
|
Issue for me is always a partial rebuild (ie not everything new) is bearings need one approach (gentle and without too much load) and a "hone and new rings" need more load to stop the bores or rings glazing another and the two aren't aligned So it's a tricky balance but having done a few engines over the years I just take the view keep the engine speeds varied don't go past 75% loading - drive it straight from the off but allow it to warm fully before any real load Make sure you have a good/new working oil and water thermostat issues with those during running in stage could be really unhelpful in terms of engine not being at the right oil or water temps I've always used mineral oil for running in but probably semi synth would be fine Yeah to quote some one further back in this thread it is a bit "sub optimal" haha. The mix of old and new bits isn't ideal but I'm sure it will be fine. Time will tell anyways. Everything that's important and takes any load is on new bearings and bores are fresh with fresh rings... Il just be sure to use all the rev range and throttle openings without going daft and take it from there. Cheers |
| |
|
|
mat88
Yorkshire and The Humber
Posts: 1,542
|
|
|
|
Well was busy at work to start the day. Had two trucks to pdi and clean ready to go out over the next few days. But luckily no breakdowns so grabbed a couple hour this afternoon and worked a bit late.. First job once I'd got it back on the stand was go round all the headstud holes like stealthystylez recommended with a tap to clear and crud out. M10*1.5 incase anyone ever has a fully stripped 1uz that needs head stud holes cleaning out haha 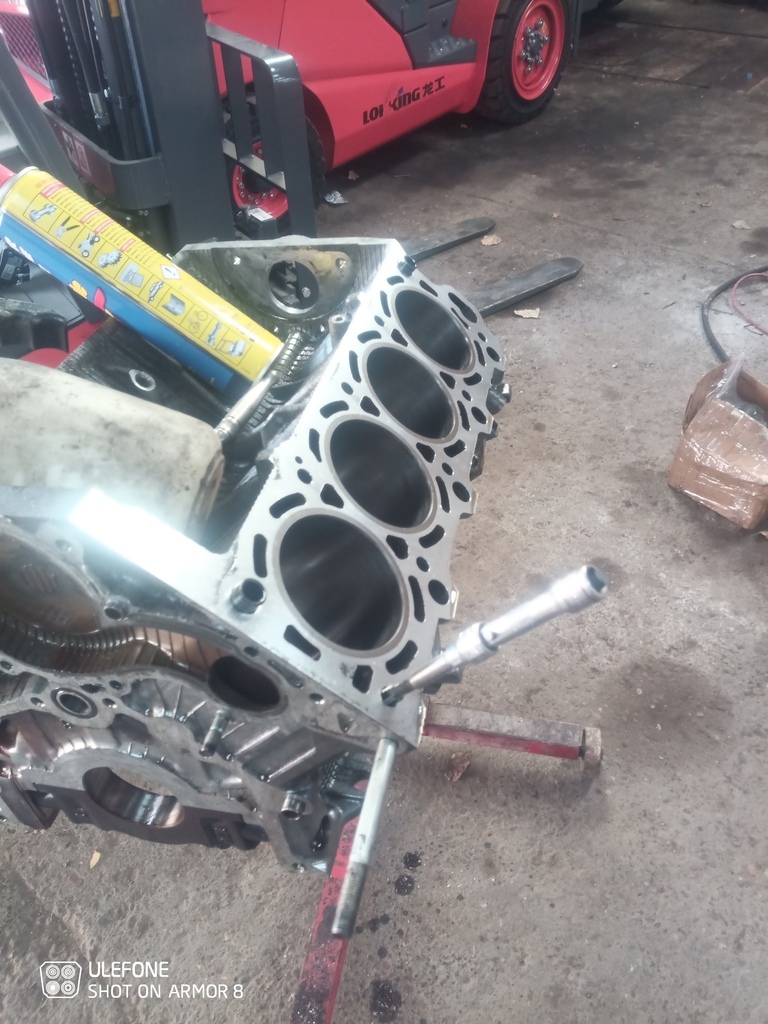 Then all the blind holes with a drill and the airline to get any sealant out, before cleaning the lower sump mating surface properly. Happy that was good enough set to it with the tfr and steam cleaner. It's not mint but it's good enough to paint the outside and any trace of crud has gone from the waterways and all the oil ways! Almost looks like I know what I'm doing.... Almost... 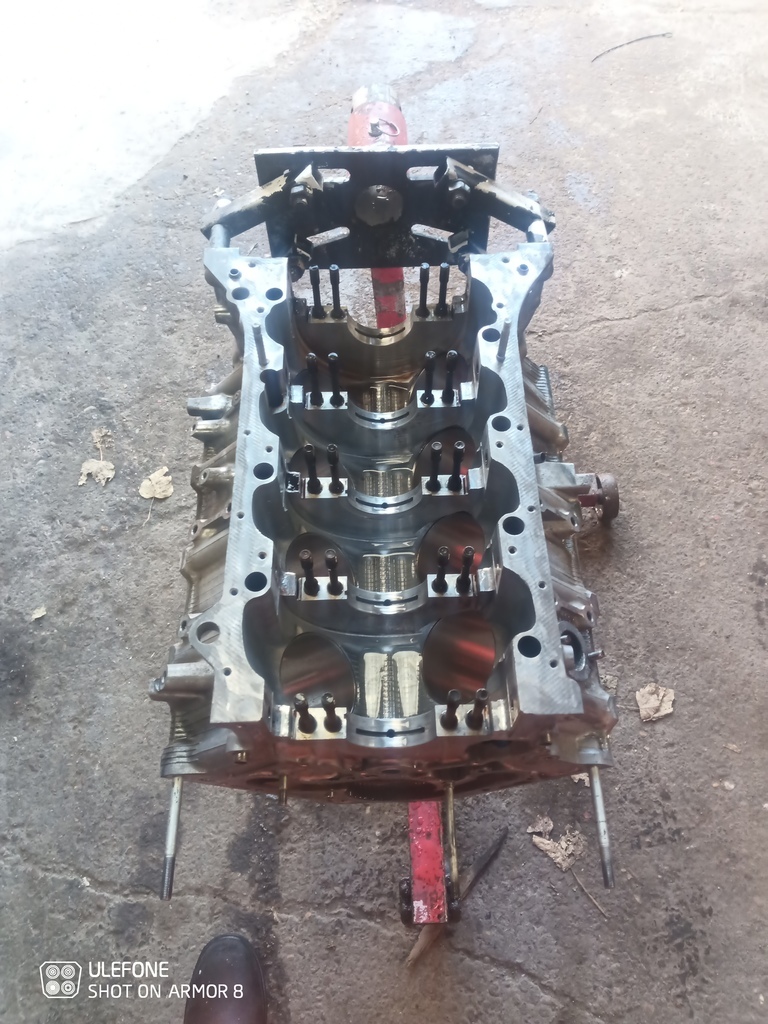 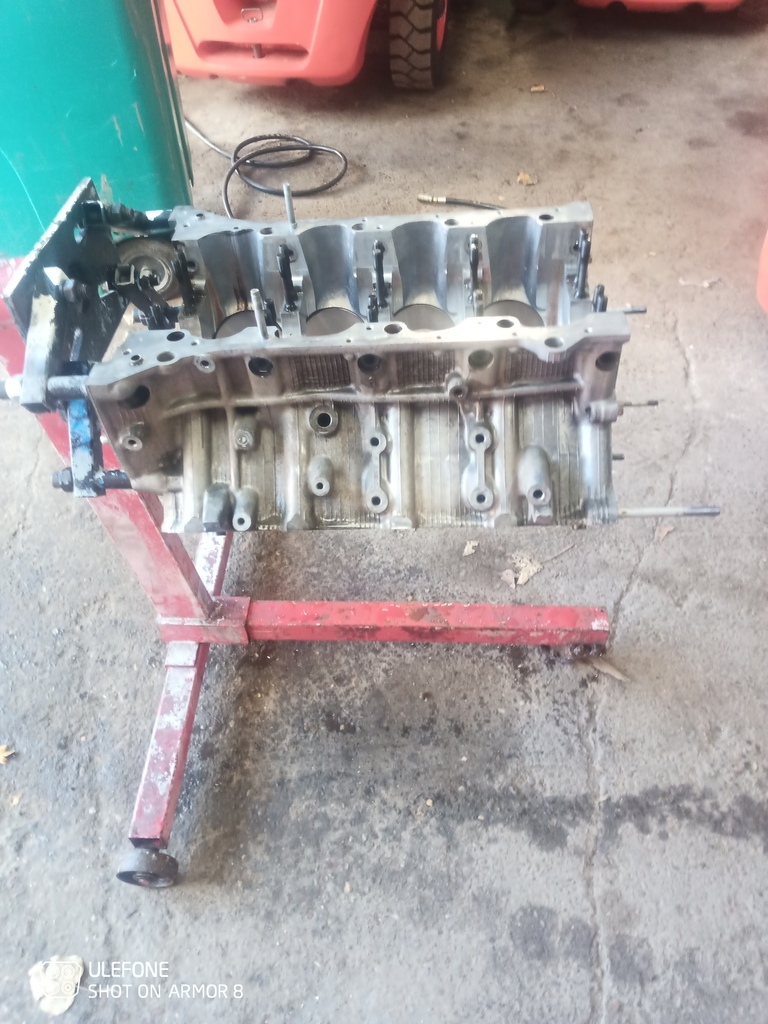 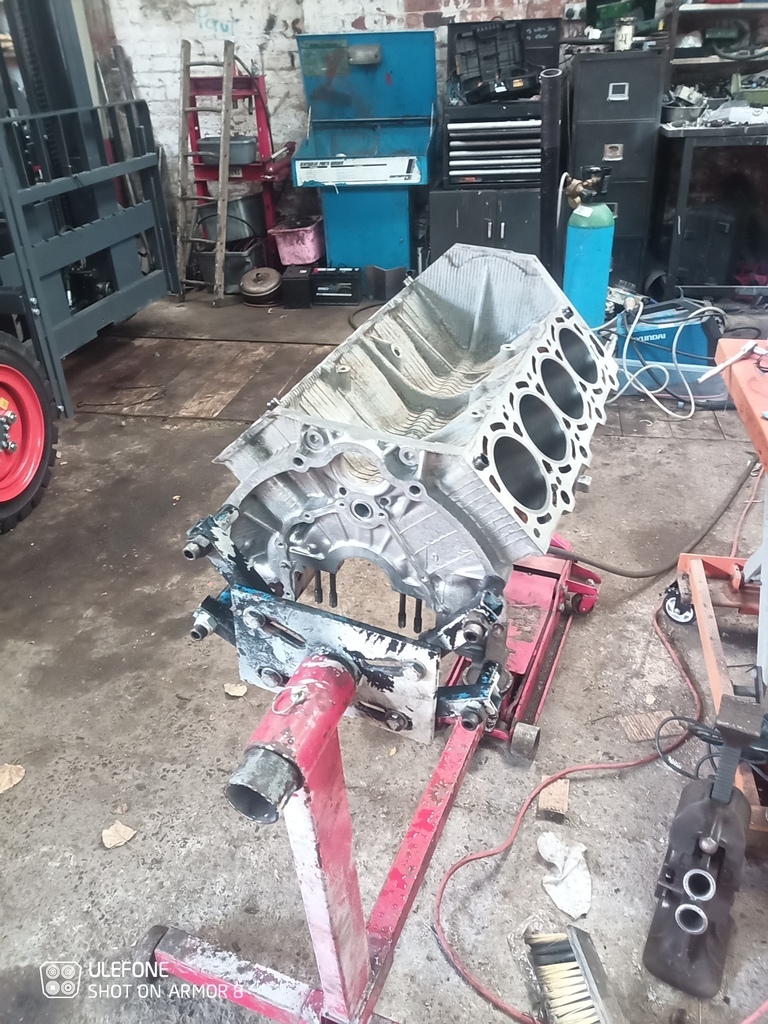 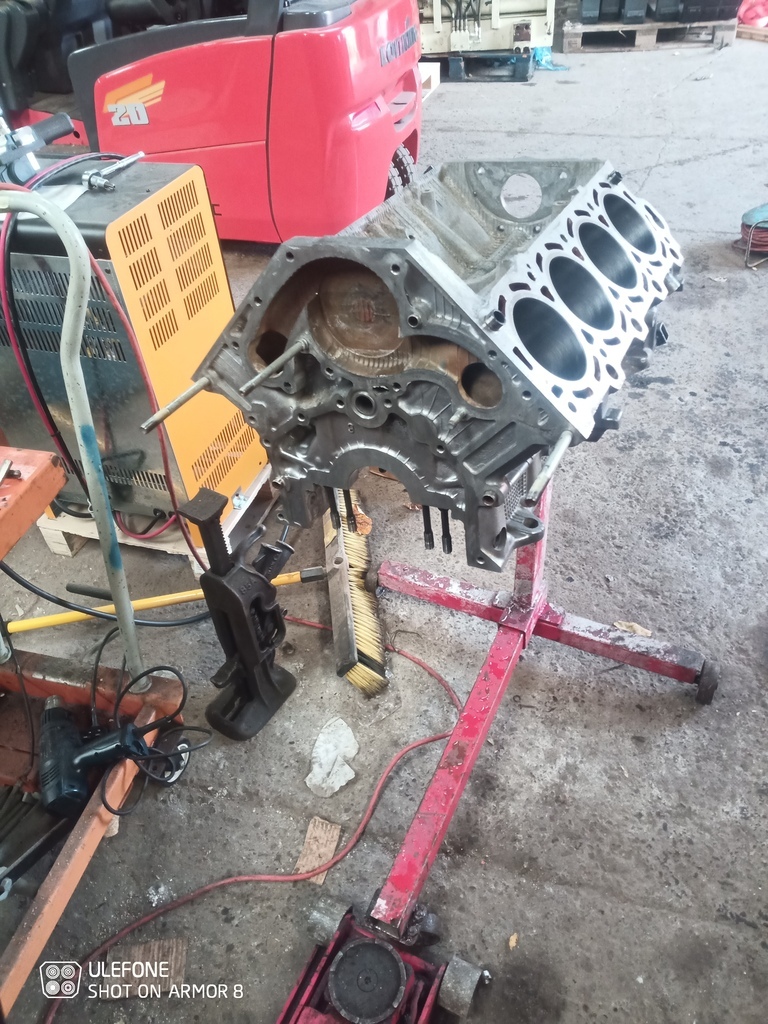 Once it was done gave the bores a good wipe out with ATF along with making sure it was all bone dry with the heatgun and airline before I wrapped it up to keep it safe and clean.. can't do much without the big ends and mains which are in my last two outstanding parcels. 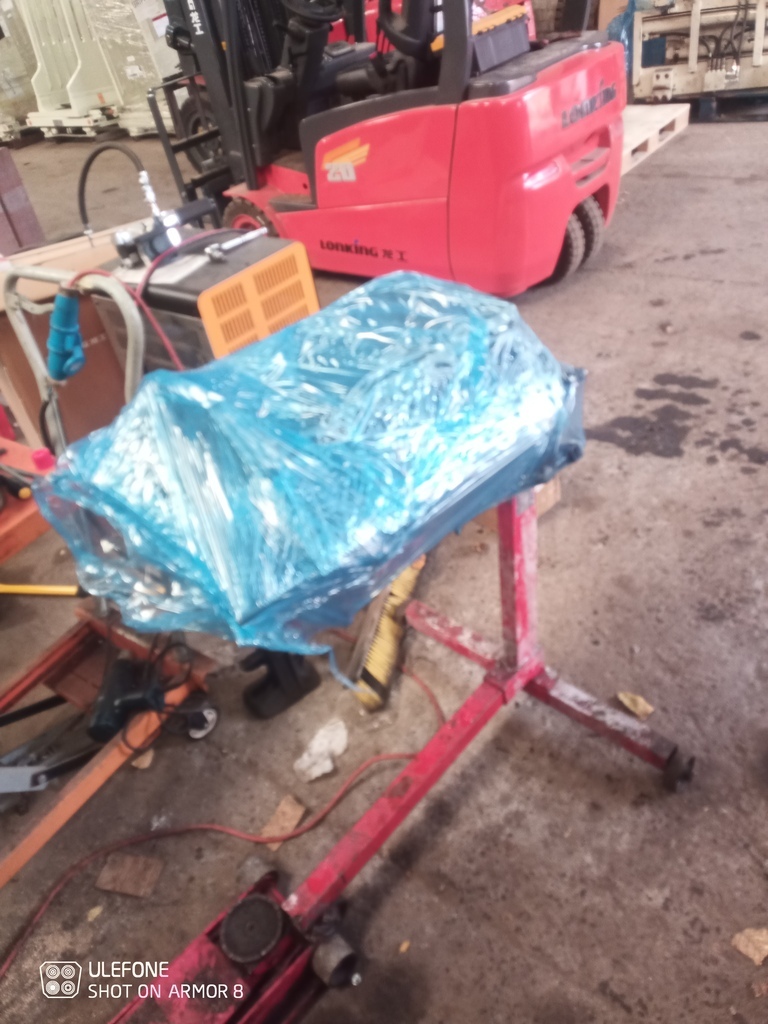 Speaking of parcels number 5 of 6 came from rockauto.. new thrust washers of all things but needed all the same. 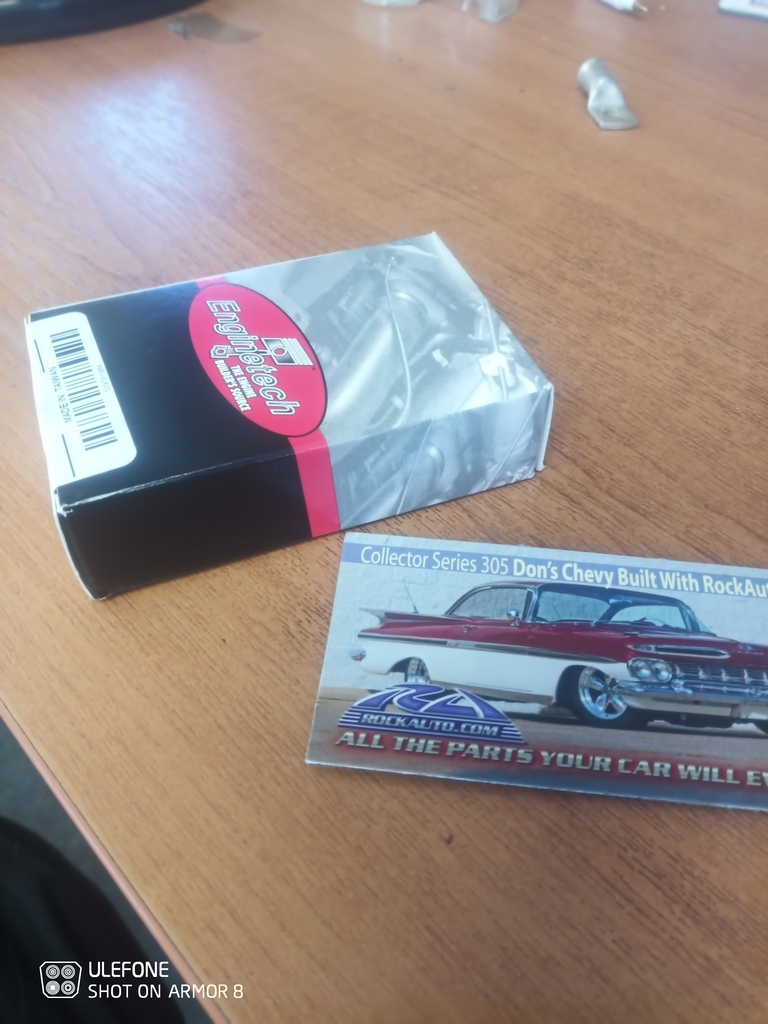 Now there's not much I can do now without some more bits. But summat I can do is get the rings fitted... A job I was dreading tbh. I've broke a ring fitting them before and after the grief I had getting these really couldn't afford to break one! Got the info of how there meant to be orientated (will double check when they are fitted) and cracked on 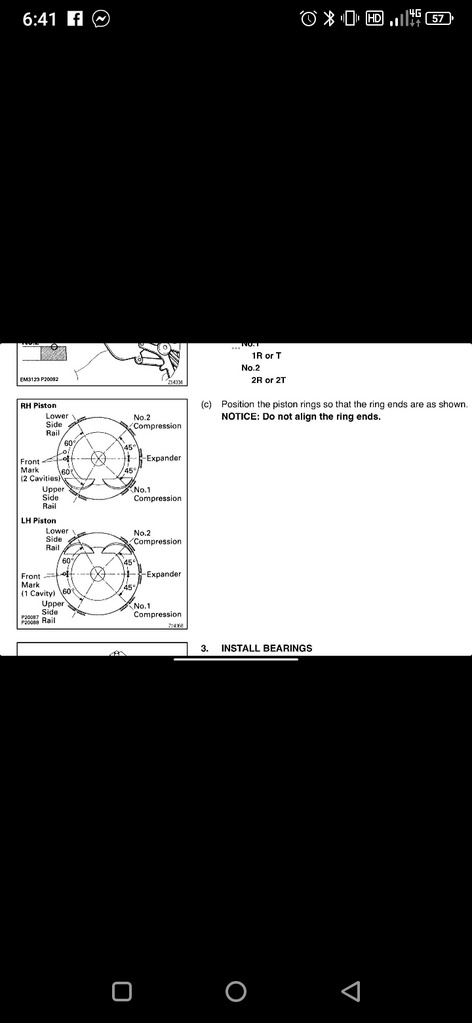 After what seems like an age and with various holes in my hands from the pick and tiny flat screw drivers..along with several broken original rings... Were hear!! Pleased to report with all 24 rings intact!!! 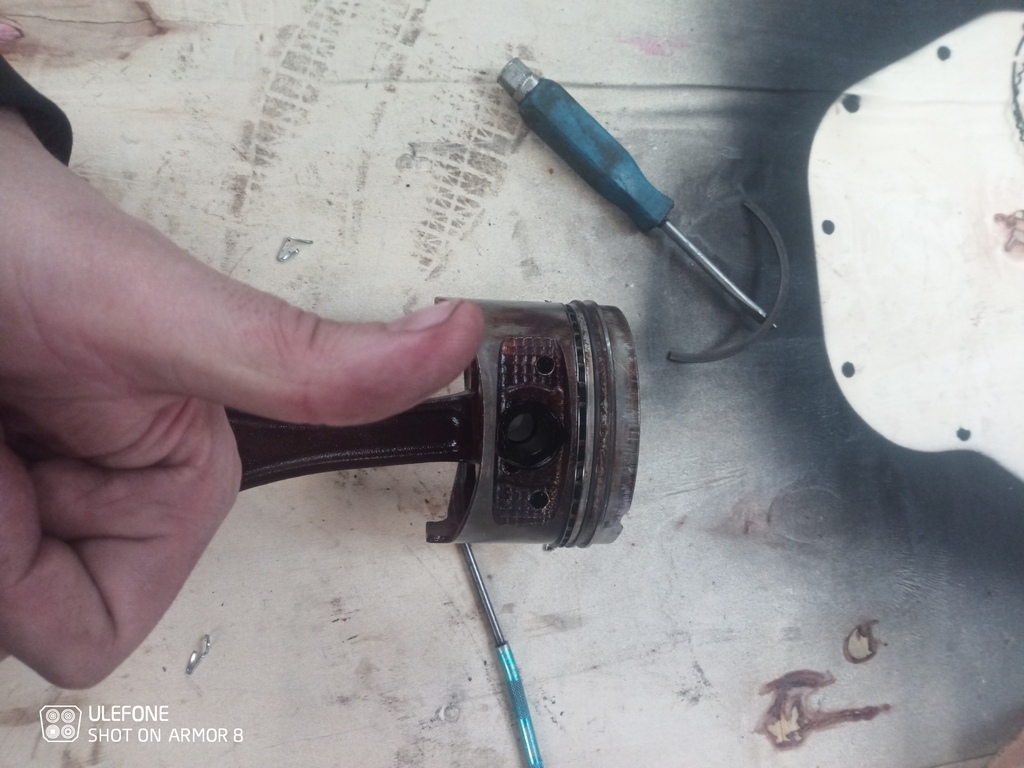 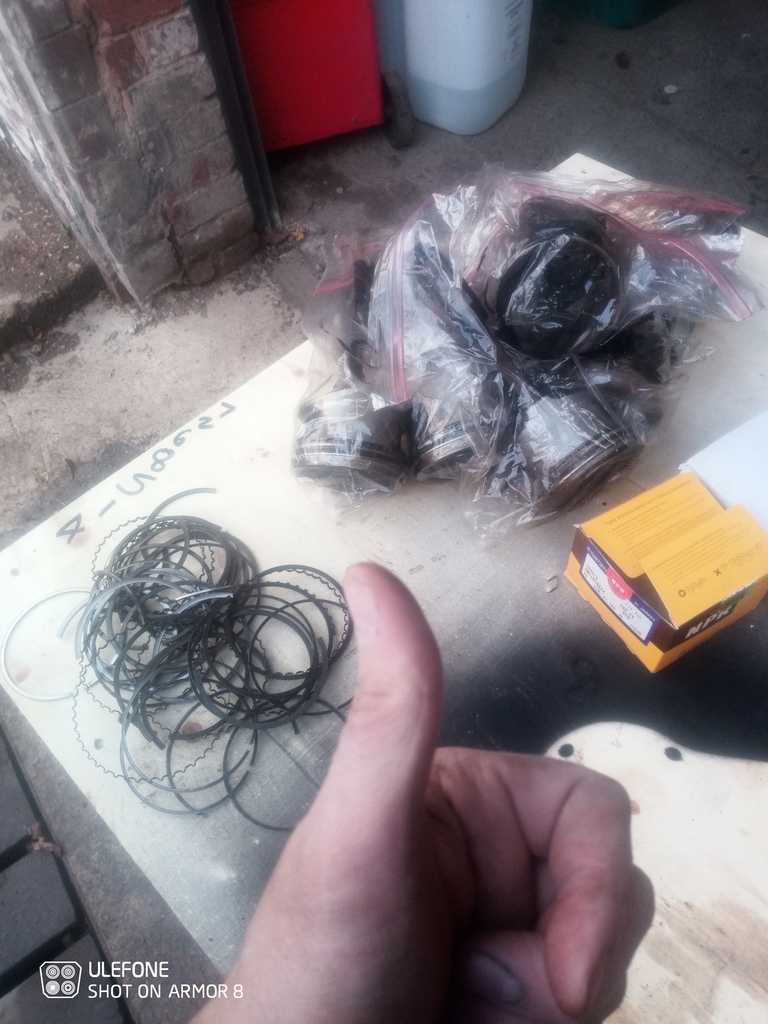 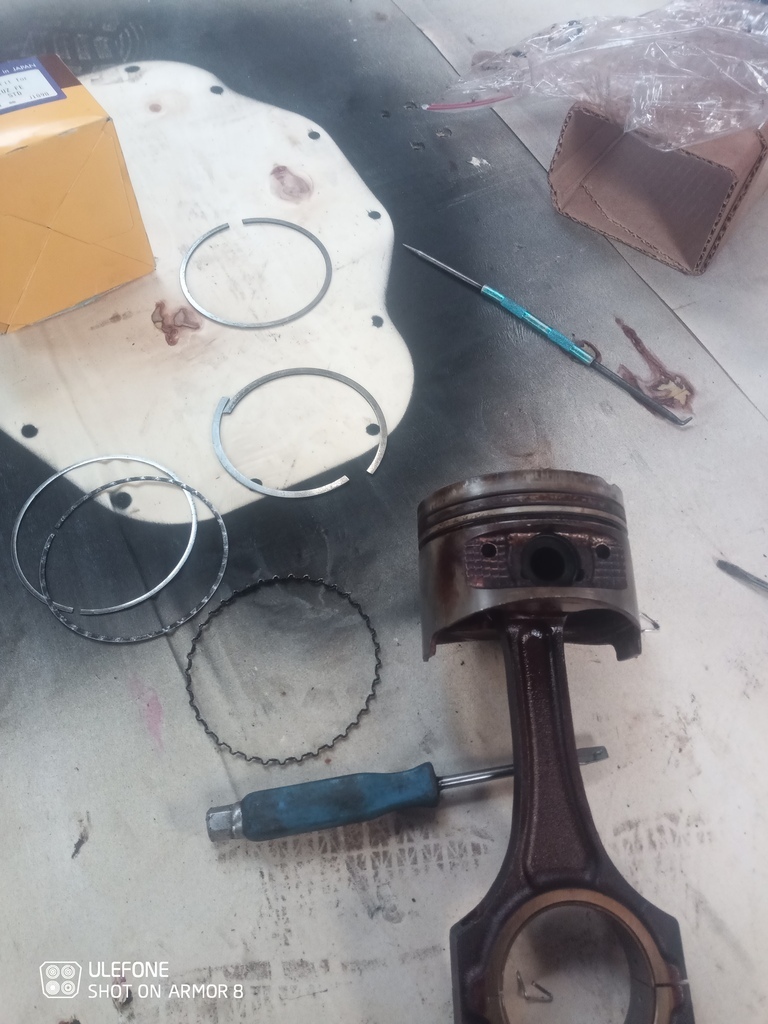 Now I am a bit stuck without my big ends and mains plus figured I'd used my allowance of luck for the day. So called it a day at that! I'm actually off work tomorrow for day since Mrs is off and kids are in nursery. So going to hopefully have a nice day just as adults 😂😂. Fingers crossed there's some more bits waiting when I get back on Thursday. Anyways more soon! Cheers |
| |
|
|
mat88
Yorkshire and The Humber
Posts: 1,542
|
|
|
|
Well a bit of an update but sadly not as much as one as I'd like.. Had the day off work with the Mrs yesterday and had a day out in York without the kids. As much as I love em to bits a whole day of not saying there name every ten seconds and being able to have an adult conversation was brilliant (only 2nd ever day off work I've had in 3.5 year without em haha). Was also nice to eat a meal without having to eat it cold when they'd done 🤣🤣  Anyways back to the car. Arrived at work this morning to a pile of boxes on my desk (and a list of jobs on my board as long as my arm that needed doing first before I could look at the car 😭) 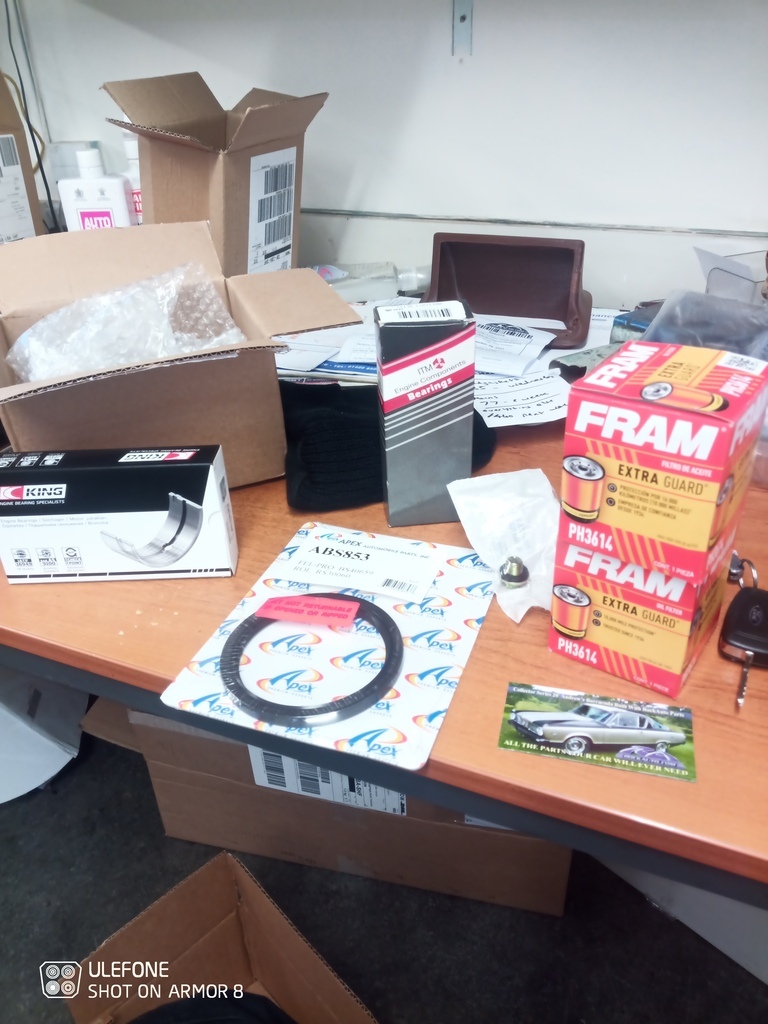 New big ends, mains, sump plug, fancy oil filters, rear main seal and most importantly.... Another fridge magnet 🤣 By the time I actually got to look at the engine this afternoon my head was a bit frazzled. But still wanted to do "a bit" Got all my bits laid out for the main bearings, cleaned all the bolts and nuts up and searched through my workshop manual for the torque specs (a friend has sent me a PDF of the proper lexus workshop manual, ideally I'd have liked it printing but at 451 pages it's a no go) 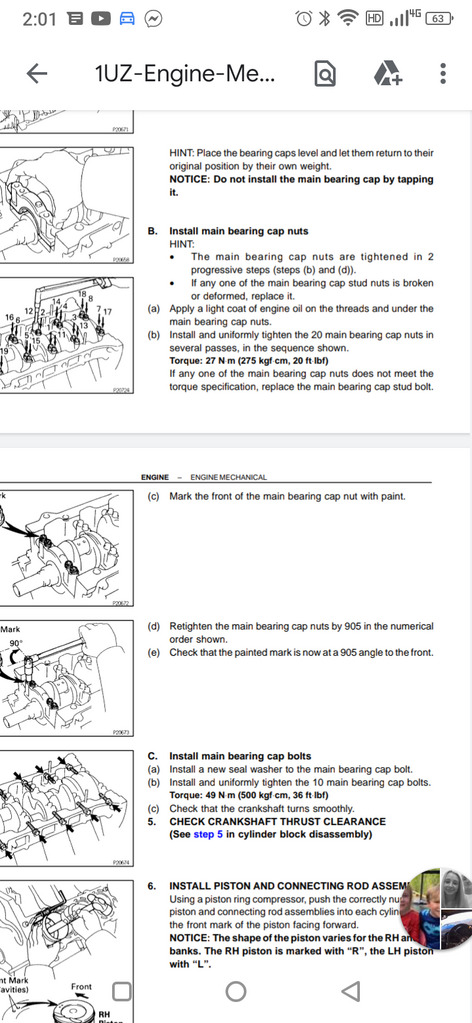 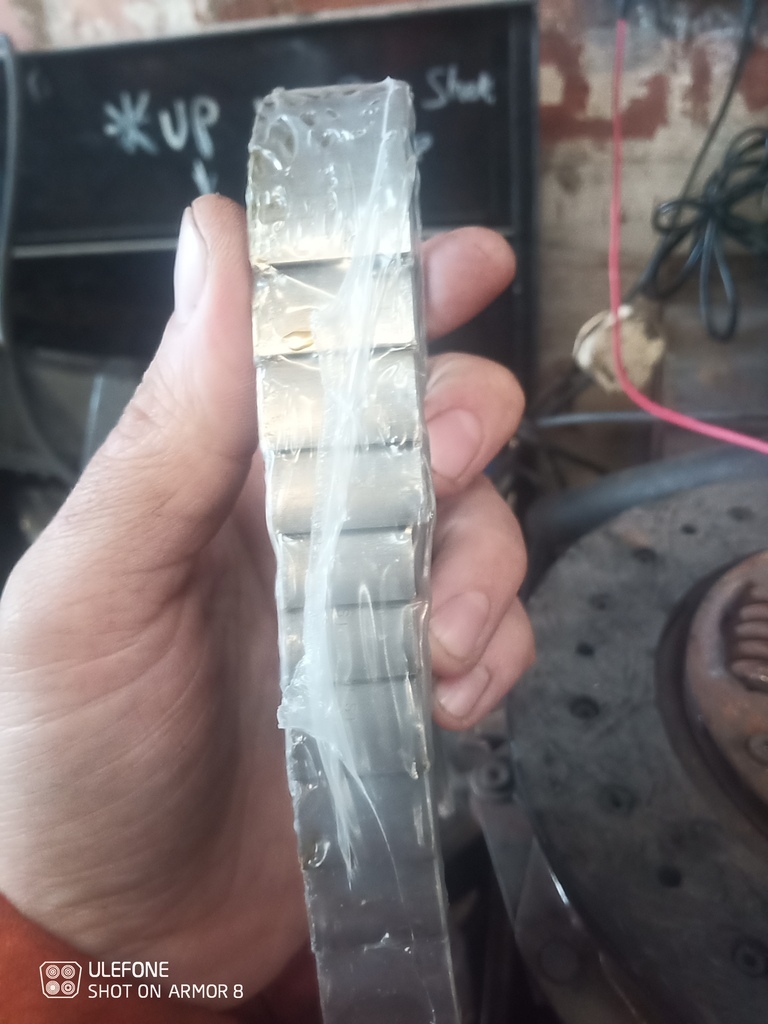 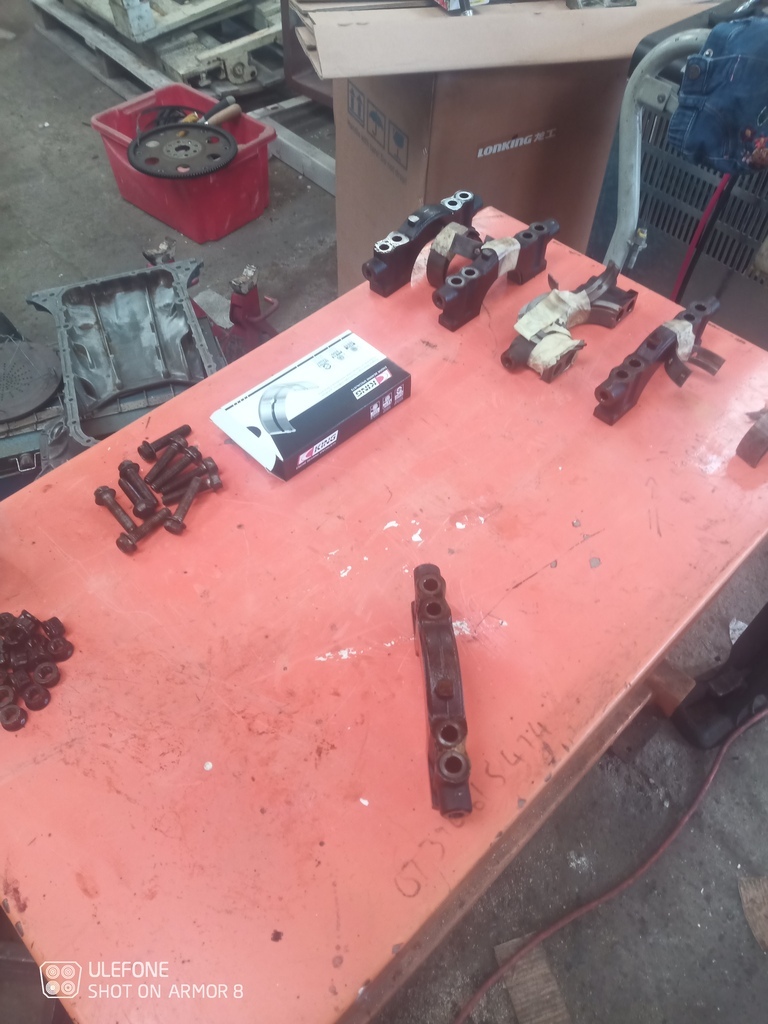 As you can see from the pic of bearings there's 2 that are 3mm wider. These are the front and rear bearings summat I'd not even noticed when I removed.. also noticed the caps are numbered (fairly typical) but with an arrow that points to the front for assembly (smart) 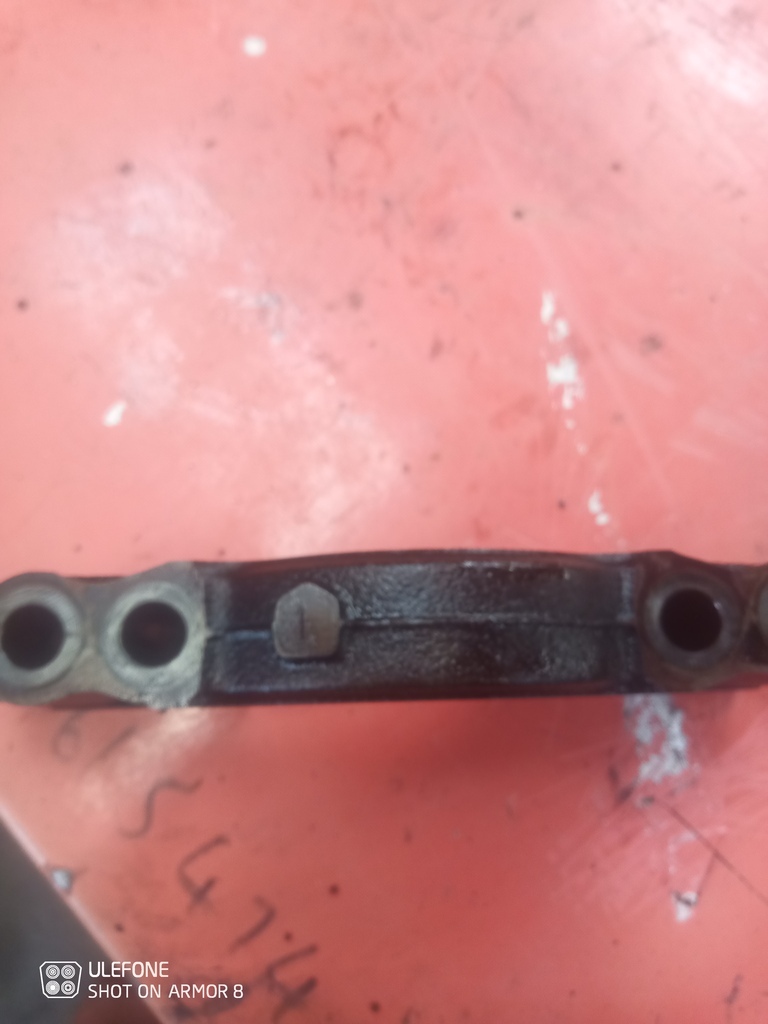 Now this is where for want of a better word. It went tits up 🤣... The bearings that are being removed have a locator notch in them.. the new ones don't. 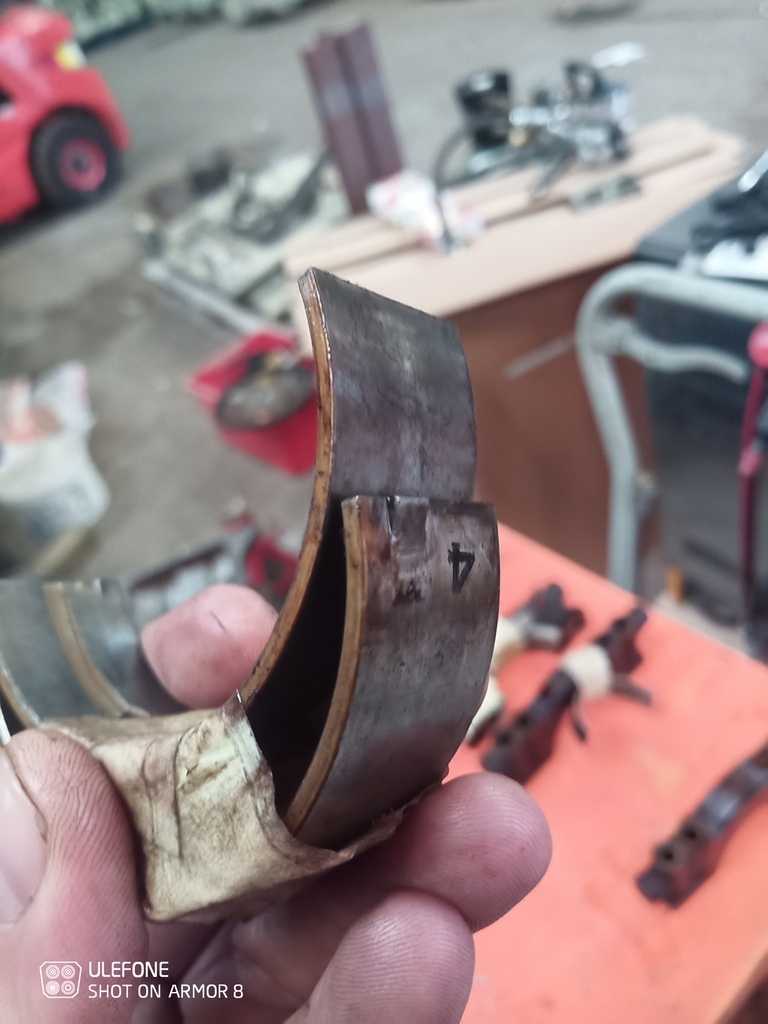 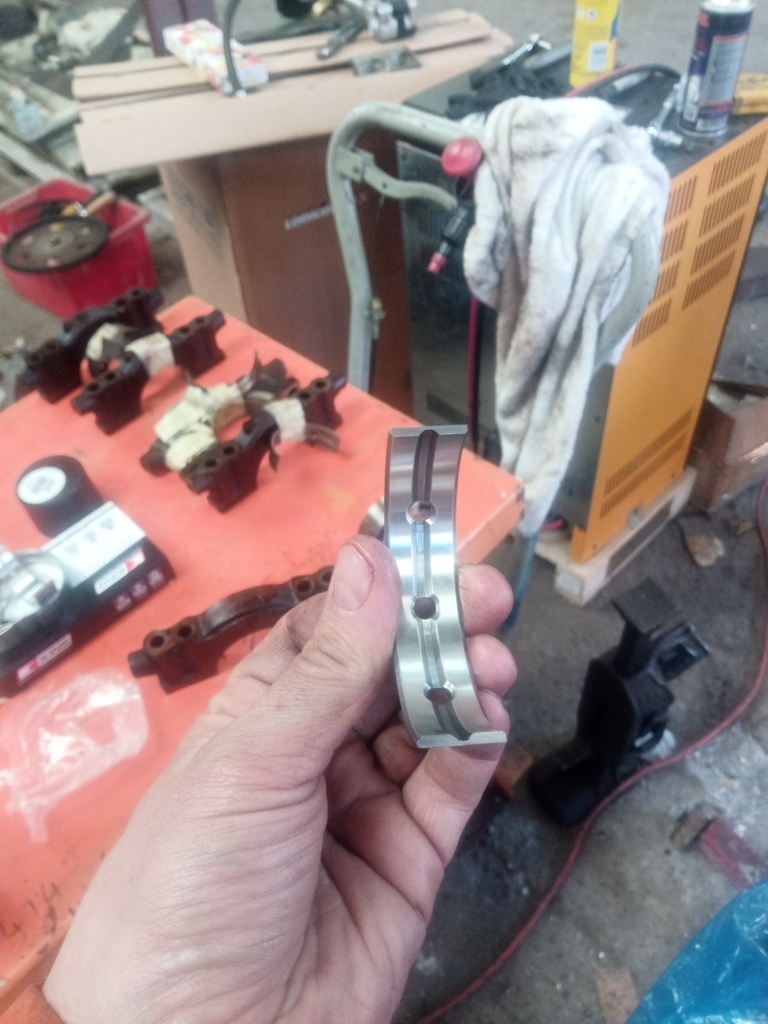 Now the sensible and informed/seasoned engine builders amongst you would say "that's fine, the notch is only for assembly and the bearing is fixed with the crush from both Half's together" me with my tired brain said "these are wrong, theyl spin in the block, ruin my crank, cheap made in Israel rubbish, getting my money back on these, just wait til I get in touch with the seller through eBay, il open a dispute, this is sh*t"  This wasn't ideal and had I just walked away brain would have re-engaged and all would be well... Except... My boss walked in and saw my dilemma and only fueled the fire... "I've never seen em without the tab, they must be wrong, what stops em moving back and forth etc etc"... Tbf anything we ever do at work it's with factory replacement bearings and they always have the little tab.. So at this point I walked away, messaged the eBay seller telling em what I thought of there wrong bearings and sulked... Had a coffee, did some more real work then had a think about it.. lightbulb moment the crank "floats" on oil, there's no way that little tab can stop em spinning, perhaps they don't need it.. Bit of googling and it turns out there perfectly fine and a lot of modern stuff and aftermarket replacement bearings don't even have that tab.. the tab is purely for location when assembling and I'm... A cock! 🤣 By this point day was gone but now I'm happy the bearings aren't going to go round at same speed as crank. I can crack on haha. Fingers crossed tomorrow is more successful. Let's be honest be hard pushed for it to be less successful Cheers |
| |
|
|
alx
Club Retro Rides Member
Posts: 367
Club RR Member Number: 21
|
|
|
|
Question time for th experts... Rebuilding v8s isn't cheap or easy to source parts for 30 year old J engines.. I've sourced the arp headstuds and the MLS gaskets.. I can get some bits in the UK. Some from the states some from Lithuania of all places.. One place that seams to have the lot at reasonable money is rockauto.... Has anyone ordered from them before? Are they as legit as they seem? Am I likely to get bummed for import duty... I need everything from a cambelt kit to gaskets to new main bearings. And they seem to have it all. All at sensible money (were talking half the UK cost on some bits and a tenth on others, I paid 30 for a rear main seal from local factors and it's 3 quid on there!).. Obviously I can stomach a bit of import duty but not much point ordering from the states to get stung with a duty bill same as cost of parts.. Cheers I dunno if you have all the bits you need and I'm a bit late to the thread but I've used Amayama for my J-tin and they've been pretty good. linkI haven't seen if it's already been suggested but just thought I'd throw it up in case you still need stuff. Cheers AL. |
| |
|
|
|
|
|
|
|
Well a bit of an update but sadly not as much as one as I'd like.. Had the day off work with the Mrs yesterday and had a day out in York without the kids. As much as I love em to bits a whole day of not saying there name every ten seconds and being able to have an adult conversation was brilliant (only 2nd ever day off work I've had in 3.5 year without em haha). Was also nice to eat a meal without having to eat it cold when they'd done 🤣🤣  Anyways back to the car. Arrived at work this morning to a pile of boxes on my desk (and a list of jobs on my board as long as my arm that needed doing first before I could look at the car 😭)  New big ends, mains, sump plug, fancy oil filters, rear main seal and most importantly.... Another fridge magnet 🤣 By the time I actually got to look at the engine this afternoon my head was a bit frazzled. But still wanted to do "a bit" Got all my bits laid out for the main bearings, cleaned all the bolts and nuts up and searched through my workshop manual for the torque specs (a friend has sent me a PDF of the proper lexus workshop manual, ideally I'd have liked it printing but at 451 pages it's a no go)    As you can see from the pic of bearings there's 2 that are 3mm wider. These are the front and rear bearings summat I'd not even noticed when I removed.. also noticed the caps are numbered (fairly typical) but with an arrow that points to the front for assembly (smart)  Now this is where for want of a better word. It went tits up 🤣... The bearings that are being removed have a locator notch in them.. the new ones don't.   Now the sensible and informed/seasoned engine builders amongst you would say "that's fine, the notch is only for assembly and the bearing is fixed with the crush from both Half's together" me with my tired brain said "these are wrong, theyl spin in the block, ruin my crank, cheap made in Israel rubbish, getting my money back on these, just wait til I get in touch with the seller through eBay, il open a dispute, this is sh*t"  This wasn't ideal and had I just walked away brain would have re-engaged and all would be well... Except... My boss walked in and saw my dilemma and only fueled the fire... "I've never seen em without the tab, they must be wrong, what stops em moving back and forth etc etc"... Tbf anything we ever do at work it's with factory replacement bearings and they always have the little tab.. So at this point I walked away, messaged the eBay seller telling em what I thought of there wrong bearings and sulked... Had a coffee, did some more real work then had a think about it.. lightbulb moment the crank "floats" on oil, there's no way that little tab can stop em spinning, perhaps they don't need it.. Bit of googling and it turns out there perfectly fine and a lot of modern stuff and aftermarket replacement bearings don't even have that tab.. the tab is purely for location when assembling and I'm... A cock! 🤣 By this point day was gone but now I'm happy the bearings aren't going to go round at same speed as crank. I can crack on haha. Fingers crossed tomorrow is more successful. Let's be honest be hard pushed for it to be less successful Cheers I would personally try and get the bearings with the tab if you can, if you look up the number of Jaguar/Landrover TDV6 engines where the bearings have picked up and spun partly because they have no tab to stop them if there is a momentary "grab" on them.
The issue is that once it moves even a fraction you lose oil supply to the big ends as it blocks the feed and then the big ends go and the rods can be damaged (the TDV6's i've worked on also need rods).
While it will probably be ok I wouldn't risk it, especially in a highly stressed engine where the original manufacturer had them. The only reason to omit them is to make the bearings cheaper to produce.
|
| |
|
|
stealthstylz
Club Retro Rides Member
Posts: 14,961
Club RR Member Number: 174
|
|
|
|
|
Just to completely contradict the above the tags won't stop them spinning if there's oil supply issues. They were literally there so Bob the Brummie lined the oil hole up correctly but now they're all built by Robert the Robot they're not needed. The forces involved during a oil supply issue wouldn't be stopped by a 3mm wide tag.
I've done dozens of TDV6 engines and their curse word-Ness has never been down to oil supply issues.
I'd use those bearings, just make sure you centre them so the oil holes match up rather than within the housings (should be the same but some aren't)
|
| |
|
|
mat88
Yorkshire and The Humber
Posts: 1,542
|
|
|
|
Question time for th experts... Rebuilding v8s isn't cheap or easy to source parts for 30 year old J engines.. I've sourced the arp headstuds and the MLS gaskets.. I can get some bits in the UK. Some from the states some from Lithuania of all places.. One place that seams to have the lot at reasonable money is rockauto.... Has anyone ordered from them before? Are they as legit as they seem? Am I likely to get bummed for import duty... I need everything from a cambelt kit to gaskets to new main bearings. And they seem to have it all. All at sensible money (were talking half the UK cost on some bits and a tenth on others, I paid 30 for a rear main seal from local factors and it's 3 quid on there!).. Obviously I can stomach a bit of import duty but not much point ordering from the states to get stung with a duty bill same as cost of parts.. Cheers I dunno if you have all the bits you need and I'm a bit late to the thread but I've used Amayama for my J-tin and they've been pretty good. linkI haven't seen if it's already been suggested but just thought I'd throw it up in case you still need stuff. Cheers AL. Ive seen that name banded around before... Luckily I think I've got everything I need now but il definitely bear them in mind should I need more bits (I hope to god I don't need more bits v8s are expensive to put back together haha Cheers |
| |
|
|
mat88
Yorkshire and The Humber
Posts: 1,542
|
|
|
|
|
Il not get into a tang and tangless argument.. especially not concerning tdv6 engines summat I know the sum total of nothing about (tbf there's not much I do know 😂😂)
My initially thought is yeah that's no good as you say theyl spin etc etc. Especially if there's an oil supply issue..
But as stealthystylez says there's no way that them tabs are stopping the bearing from spinning if there is a oil supply issue.. the crank alone weighs more than me (and I'm fat 😂😂)... Oil supply isn't a known problem of 1uz's tbf there as dependable as a housebrick normally and massively over engineered (forged rods, 6 bolt mains etc etc)
I actually spent last night watching YouTube videos once kids were down of various engine builds. From standard road cars to streetmachine TV with 1000bhp drag builds. And the tab was missing in virtually every build (funnily enough the only one to use it was a British engine id found in the depths of YouTube viewing..)
There in and lined up perfect with the holes (there's actually 3 in the bearing and a groove in the block so if they did move it won't actually starve it off oil unless the bearing does a 180)
Proper update later hopefully
Cheers
|
| |
|
|
mat88
Yorkshire and The Humber
Posts: 1,542
|
|
|
|
So update time. And for first time in a long time actual progress with parts going back in!! I won't go into tangate, I can see the logic and if they spin jobs nakerd regardless haha. Now since I'm now a proper professional engine builder (I'm not, I'm an idiot winging it) I've got myself some of this magic bearing assembly lube. It's the gloopyest stickiest stuff I've ever touched haha. Hopefully it does the trick on all the new bearings.. 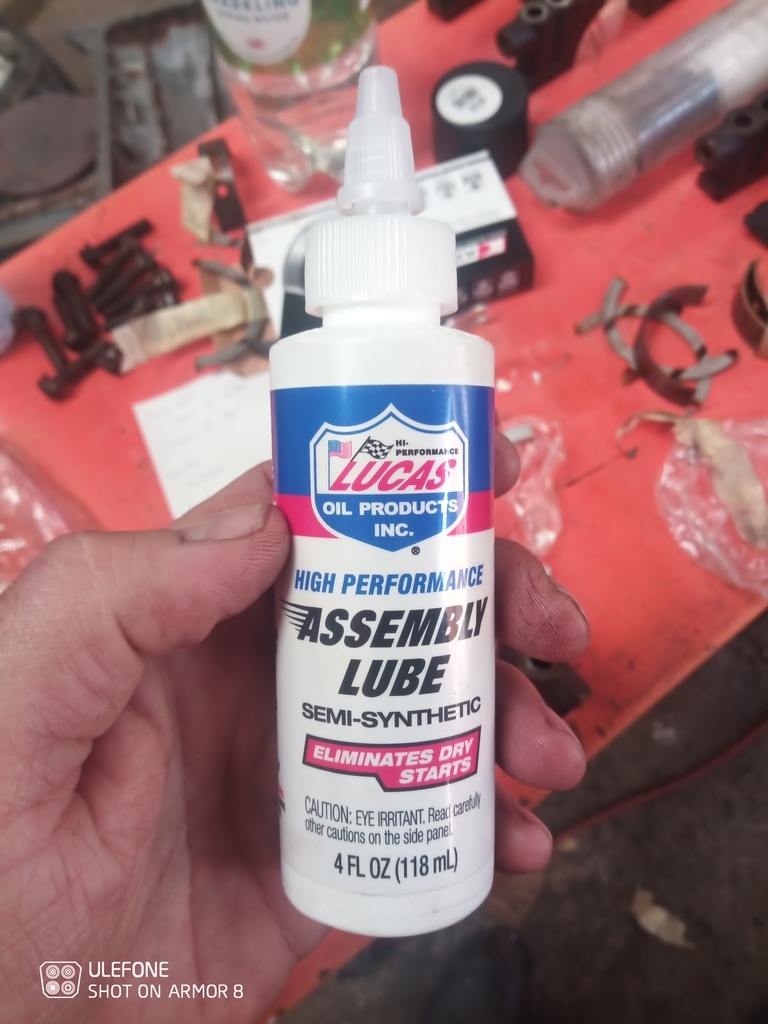 So first things first, new mains in (holes lined up within a fraction of a nats cock 😂) along with new thrust washers (just because).. I won't pretend I wasn't paranoid about them being lined up. But there in.. was a bit fiddly but nothing too traumatic. 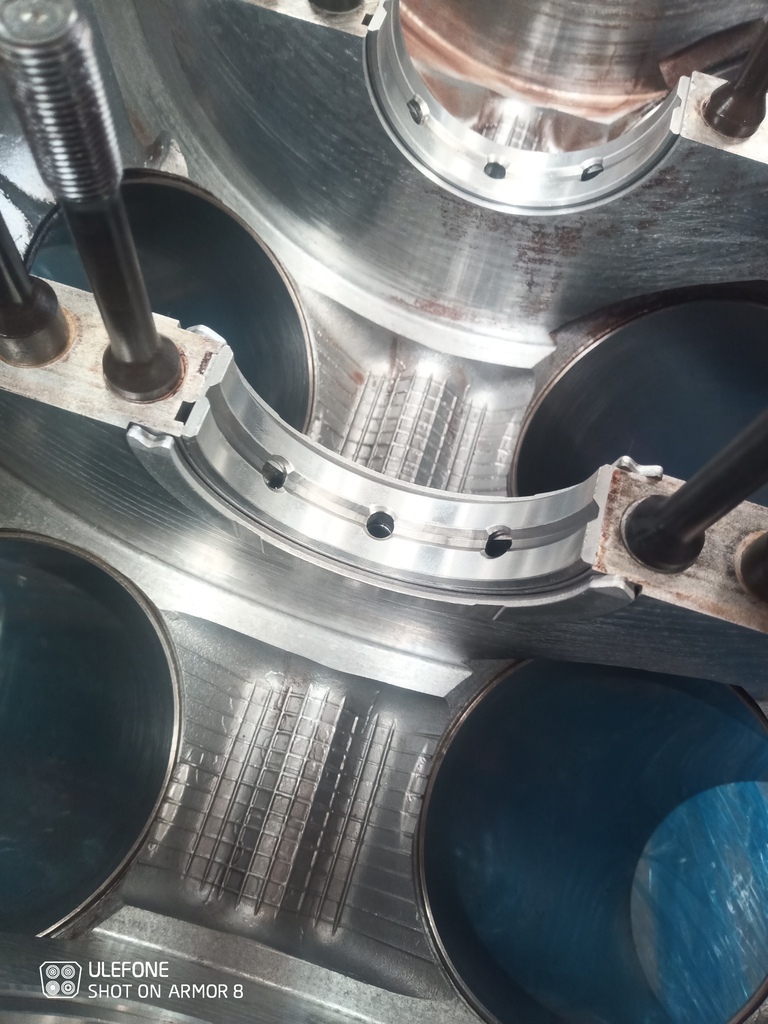 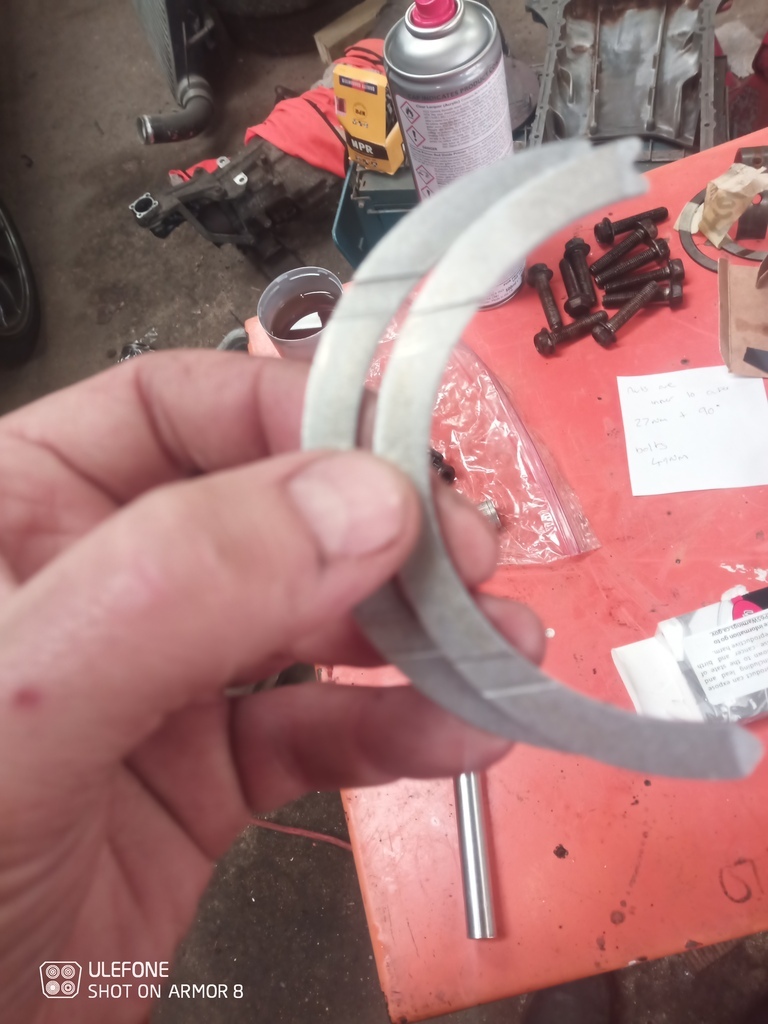 Searched through the torque specs. 27nm and 90 degrees for the nuts, 49nm for the bolts. Doesnt seem a lot but with 30 to tighten up the novelty had definitely worn off. Still, crank is back in!!!!! Better still lovely and smooth, no tight spots. Bliss 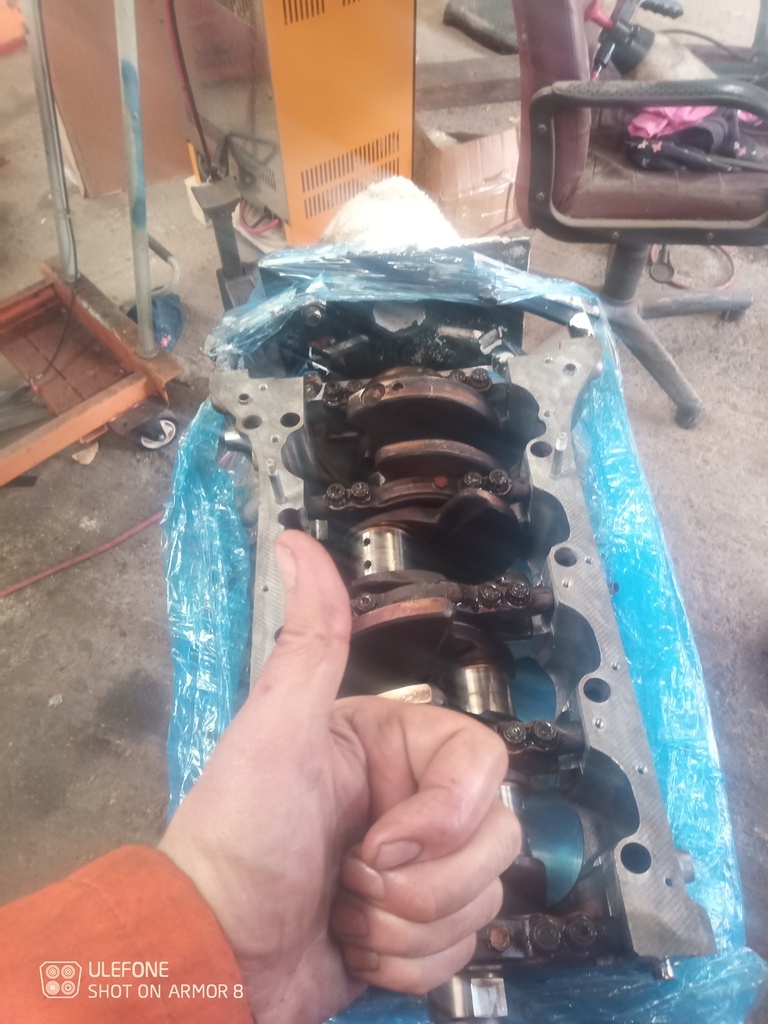 Engine flipped back over on the stand, time to put some pistons In some holes!! Oh and new big end bearings (told you I was a professional haha) 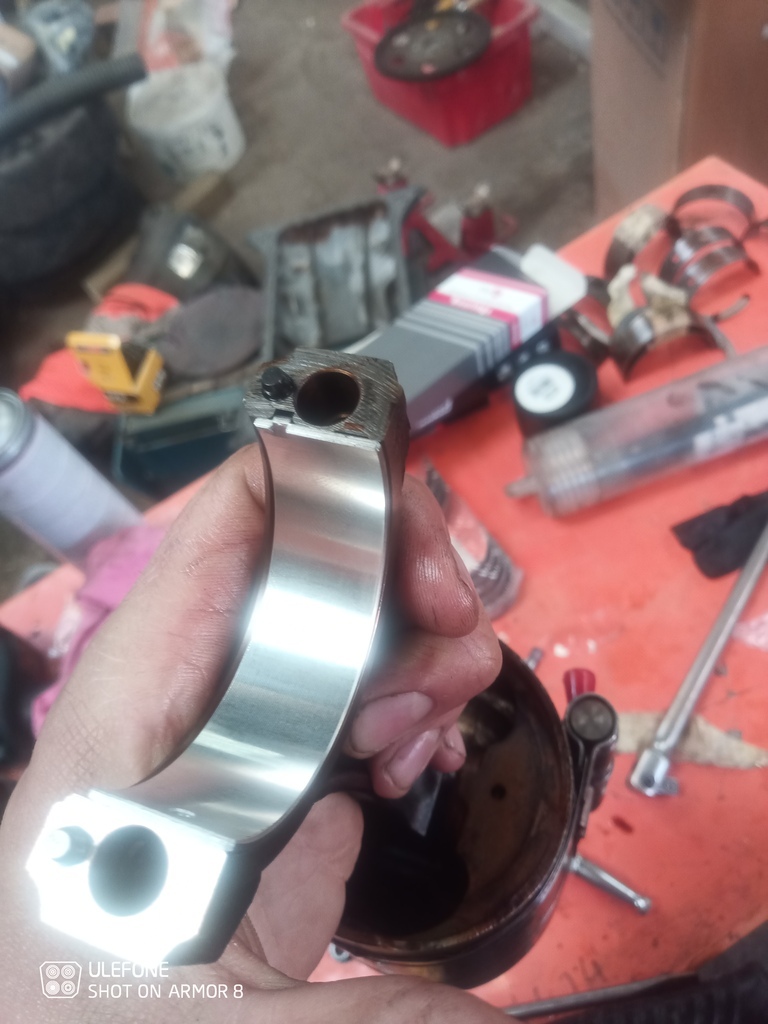 After quite (read a very) long time. Were hear! All 8 holes filled with 8 pistons, new bearings and still spinning lovely. 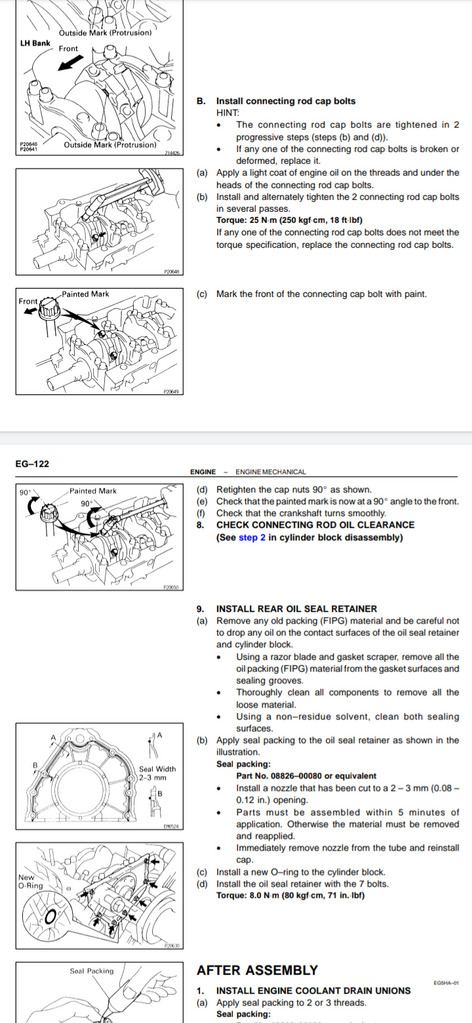 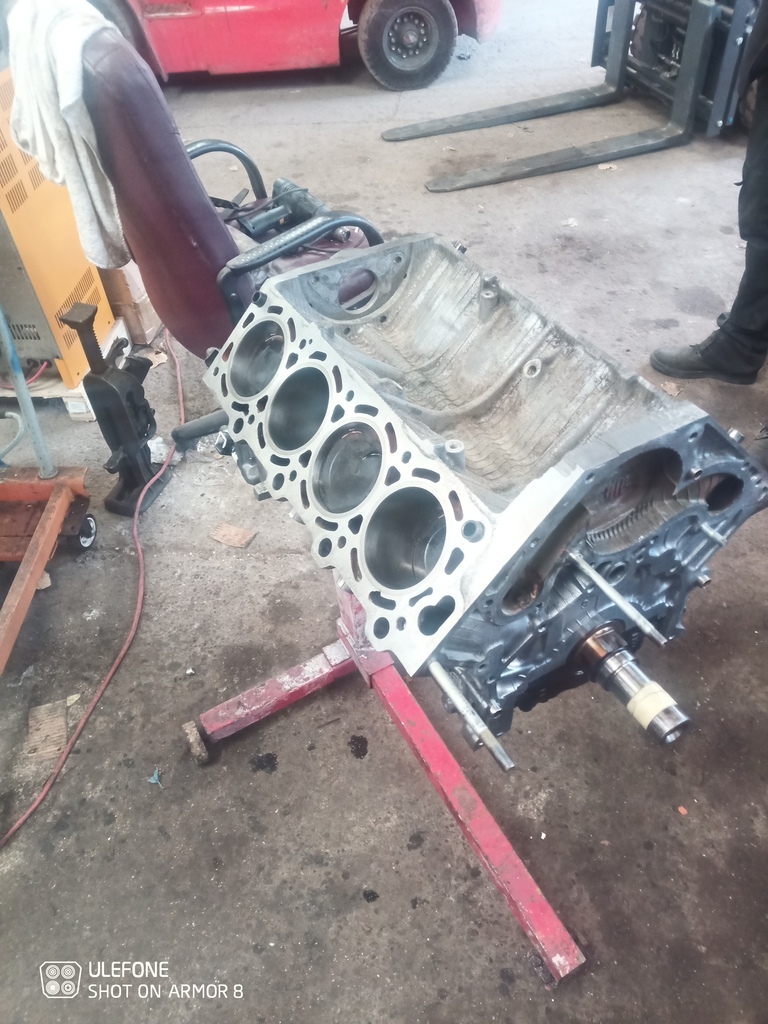 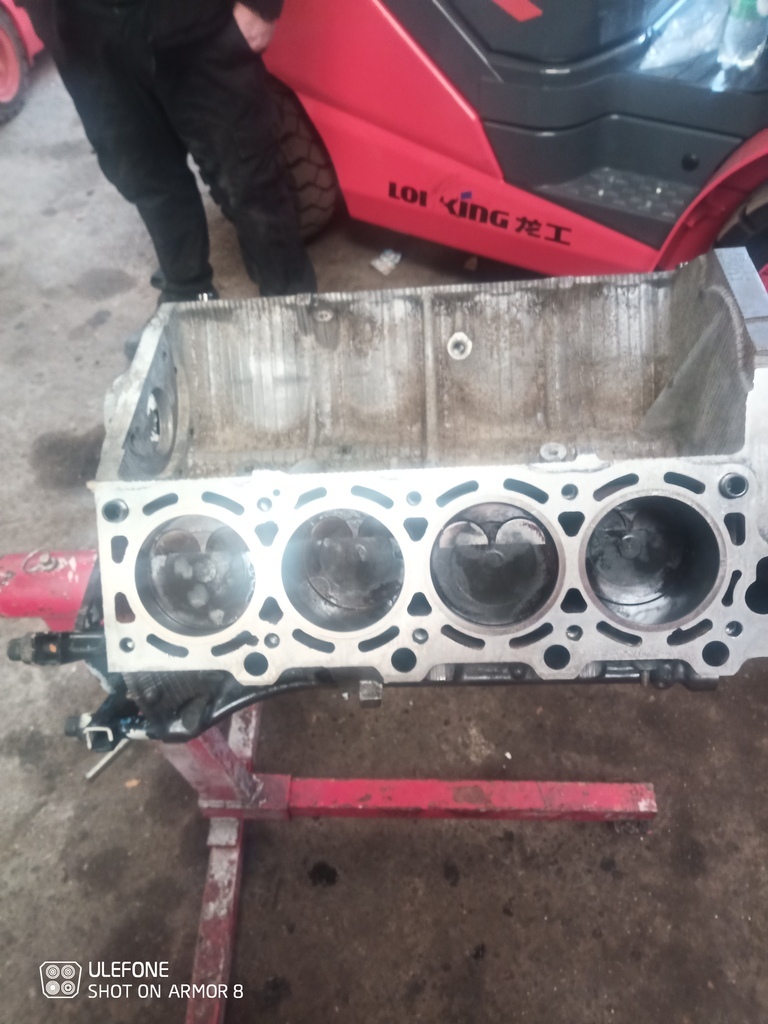 With that oil pump needs to go back in. But it's sealed with instant gasket no actual gasket and I wasn't happy with what I had so called it a day and swung into factors on my way home. Picked up some proper high temp stuff for sumps and what not, some silver engine paint and some more of that ludicrously expensive fuchs 10/60 made on the moon oil... It goes against my northern heritage but with how hot the engine got for it all to survive it's obviously good stuff!! It was still silent at a billion degrees haha. Since it's at work I can't do owt til next week now. But that's not to say I'm not excited! Skids for Xmas? 🤷 Cheers |
| |
|
|
stealthstylz
Club Retro Rides Member
Posts: 14,961
Club RR Member Number: 174
|
|
|
|
|
How much did they skim off the heads? Its worth double checking the dowel depth before fitting them just to make doubly sure they're not gonna bottom out.
|
| |
|
|
|
|
|
|
|
That’s the same assembly lube we used, so can confirm it won’t nessesarily make you an engine builder   |
| |
|
|
TessierAshpool
Club Retro Rides Member
Posts: 520
Club RR Member Number: 168
|
|
|
|
|
All coming together now!
Re: Amayama, I've used them once for Lexus fuel pulsation dampeners. They do seem to have a good stock of genuine Toyota parts, at about 40% of the price of UK main dealer, but the downside was that the order took about a month to arrive. Useful if you absolutely need an OEM part where there is no aftermarket, but I use RockAuto where I can.
|
| |
|
|
mat88
Yorkshire and The Humber
Posts: 1,542
|
|
|
|
How much did they skim off the heads? Its worth double checking the dowel depth before fitting them just to make doubly sure they're not gonna bottom out. That's a valid question and one that id completely overlooked.. il get the very nears out and make sure there's more hole than dowel haha. Cheers |
| |
|
|
mat88
Yorkshire and The Humber
Posts: 1,542
|
|
|
|
That’s the same assembly lube we used, so can confirm it won’t nessesarily make you an engine builder   Excellent. Well atleast I can use that as an excuse if it doesn't run when it's finished haha. |
| |
|
|
mat88
Yorkshire and The Humber
Posts: 1,542
|
|
|
|
All coming together now! Re: Amayama, I've used them once for Lexus fuel pulsation dampeners. They do seem to have a good stock of genuine Toyota parts, at about 40% of the price of UK main dealer, but the downside was that the order took about a month to arrive. Useful if you absolutely need an OEM part where there is no aftermarket, but I use RockAuto where I can. Coming together slowly... Very slowly haha. And yeah I had a look into that Amayama and only complaint seemed to be postage time. Hopefully I've got everything I need for this build now anyways (I best have pots empty again haha) |
| |
|
|
mat88
Yorkshire and The Humber
Posts: 1,542
|
|
|
|
Well managed a smidge more progress today.. unfortunately had to do real work (I know rubbish int it having to do what I'm paid for 🤣) so not as much as I'd liked.. but all progress is progress. Problem is everything takes forever. Someone summed it up perfectly earlier, building a 1uz is like building 2 engines at once. And there right haha. Anyways stop moaning more doing! First up wanted to get the oil pump back on. Along with new front and rear main seals. I know the engine is going up hill for 30 year old and nothing lasts forever. But the seals had gone like concrete so I'm definitely glad I changed em especially the front it crumbled when I removed it.. probably not helped by the cooking the engine had before it's untimely demise 😂 Since there's no actual gasket I bought the best instant gasket stuff the factors had rated to 350C if it gets that hot we've bigger problems than an oil leak. Also bunged new orings on the feed that runs through the block before the oil pump and rear main cover were fitted. 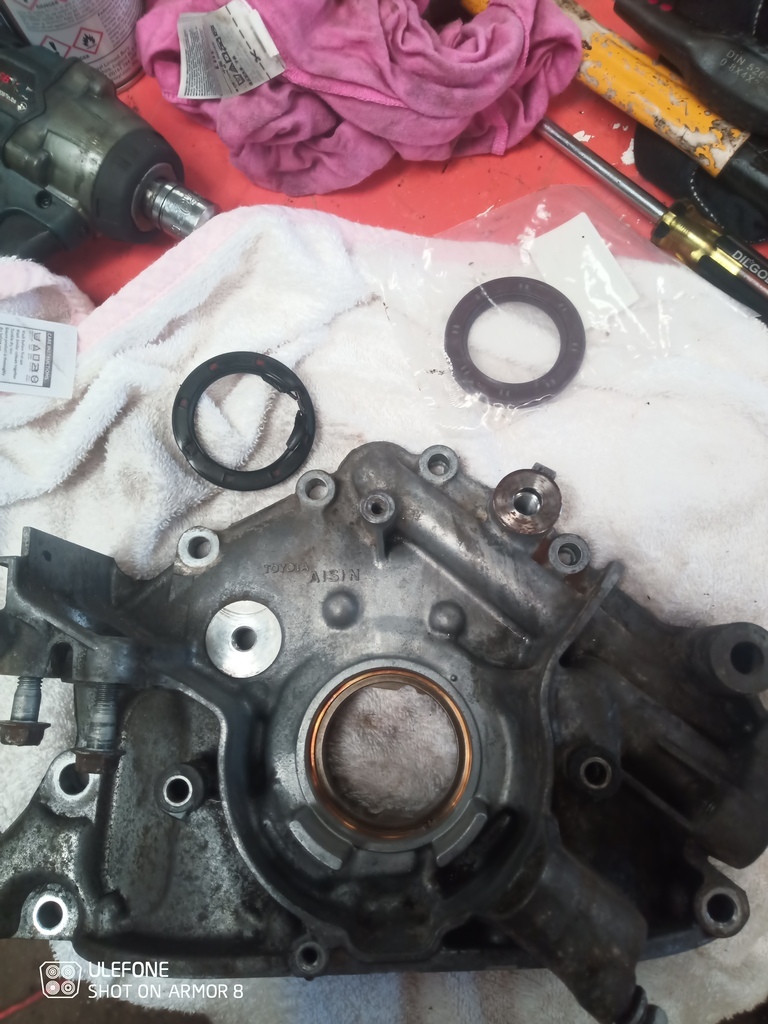 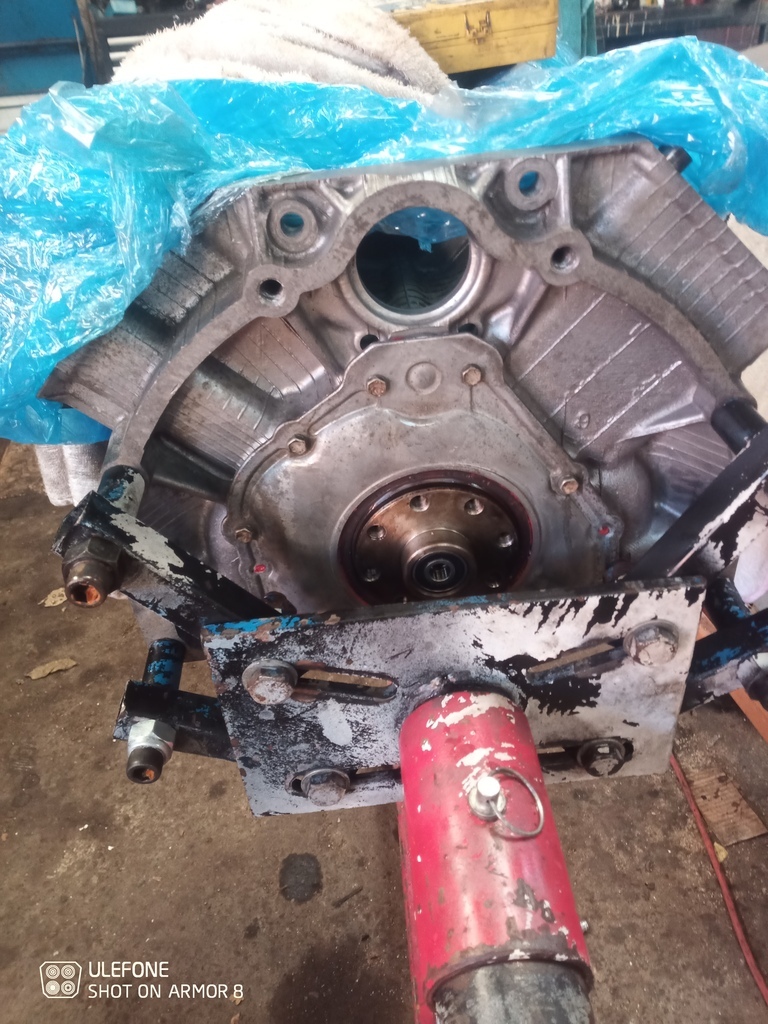 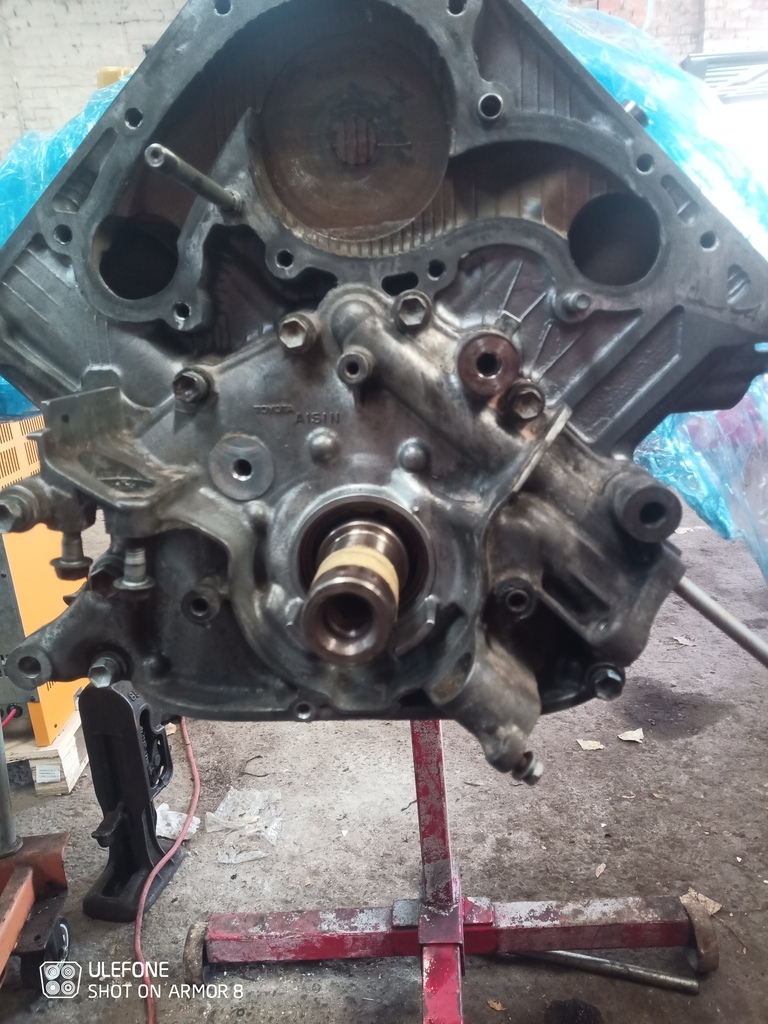 With that done moved onto the sump. Nothing too traumatic. Just a lot of bits. Bits I'd removed 4 month ago with face on and not paid much attention where they went 😭 still got it all figured out along with the oil pick up after it had a thorough clean out. 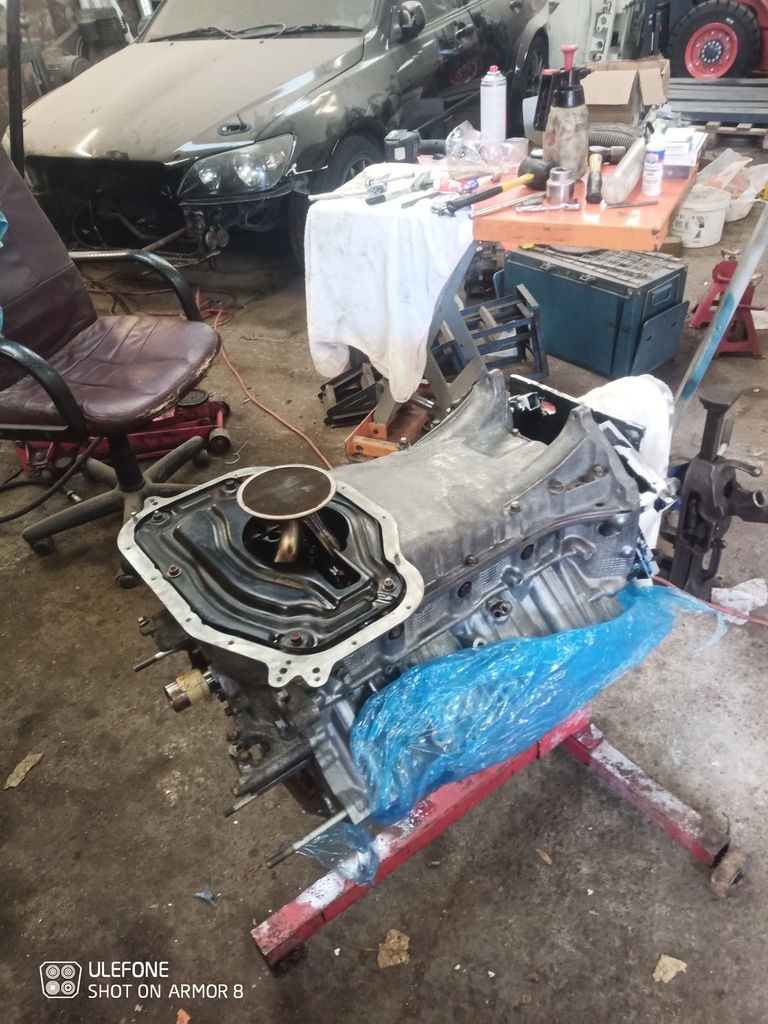 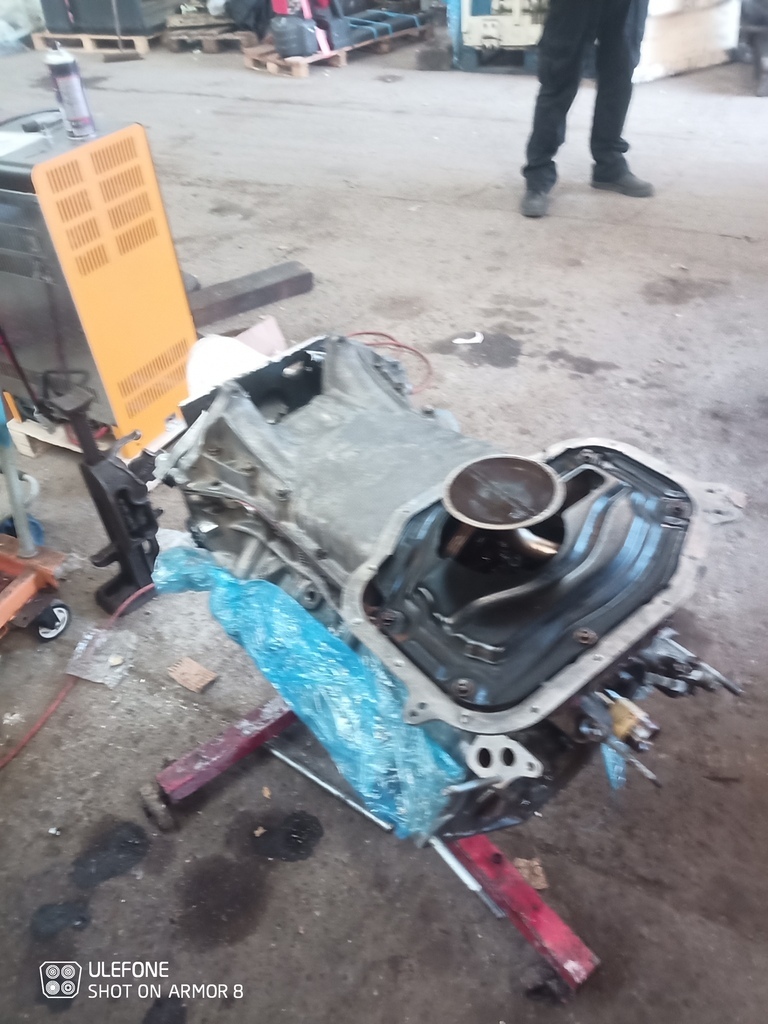 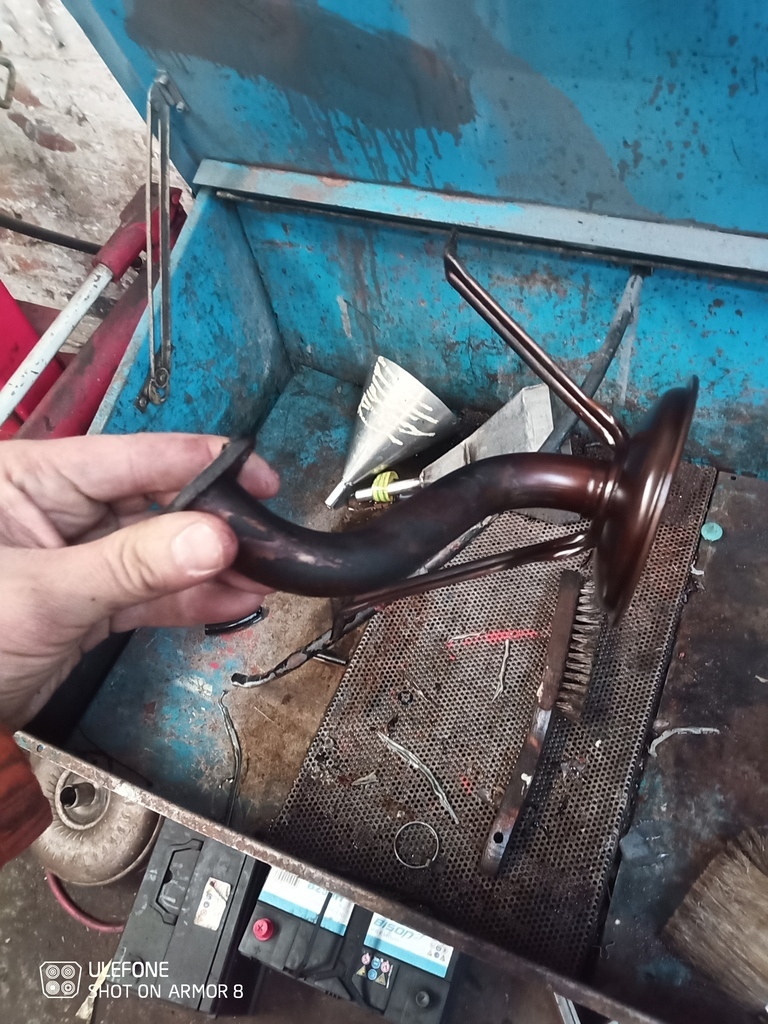 Now at this point I'd decided I wanted this "bit" painted up so I could add to it. Set to with the brake cleaner and scoth brite before I masked up all the important bits. Let's not pretend it's concourse immaculate show car spec. But it's precisely 1 billion percent nicer than it was. Least I think it is. Il let you decide. 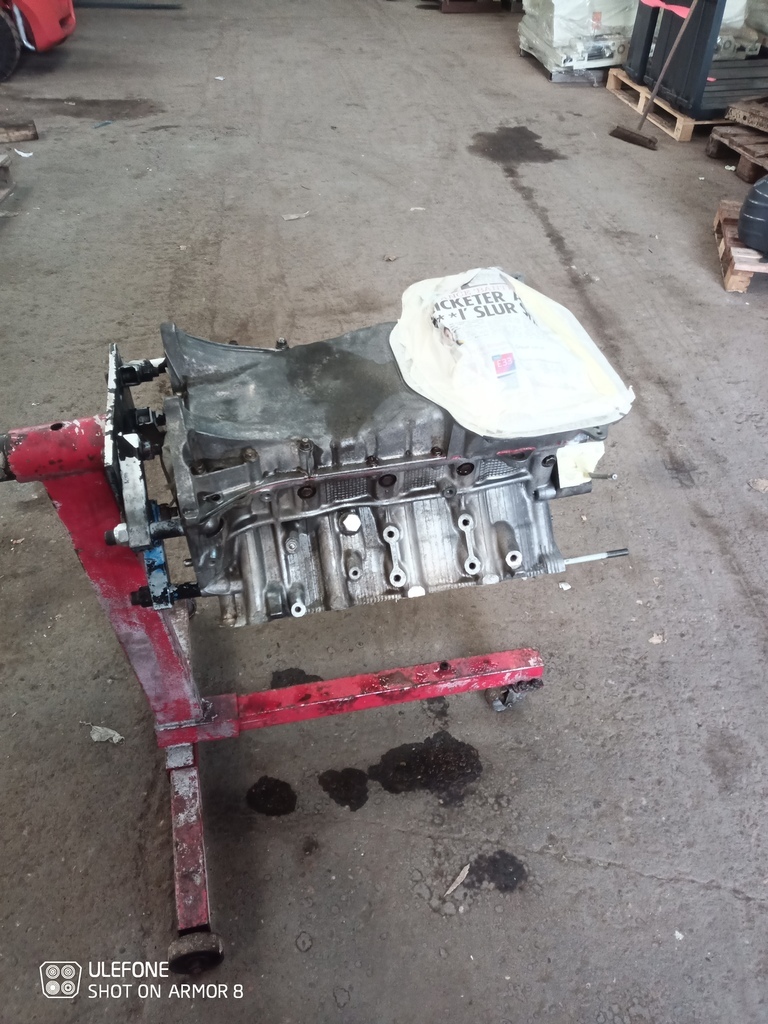 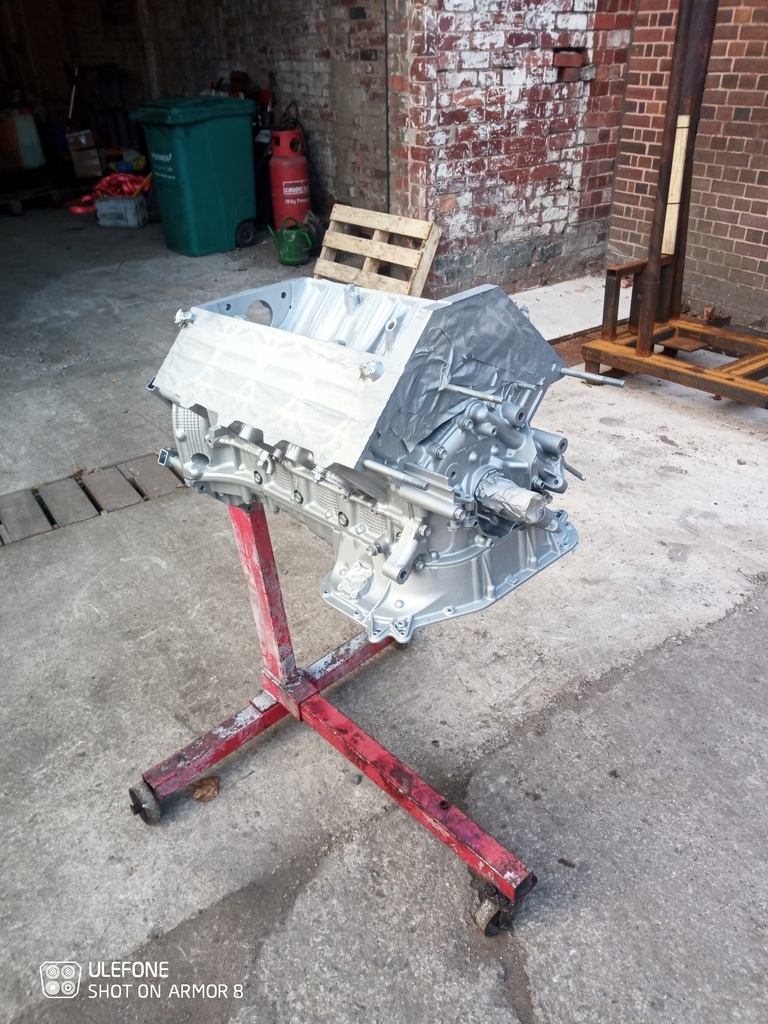 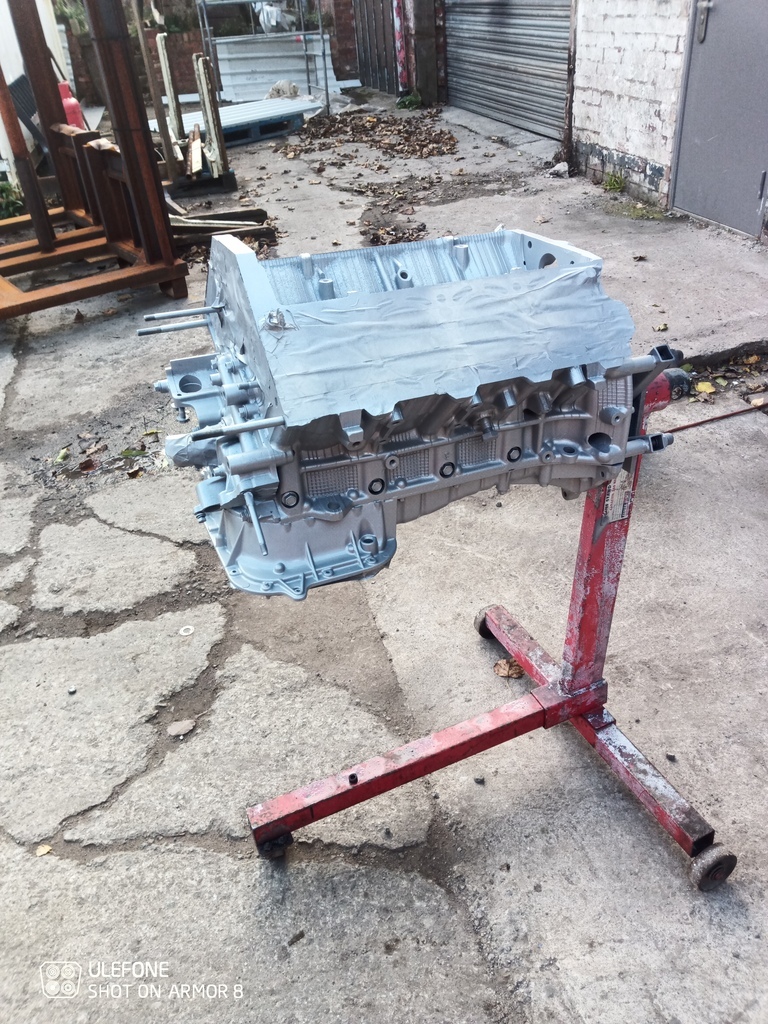 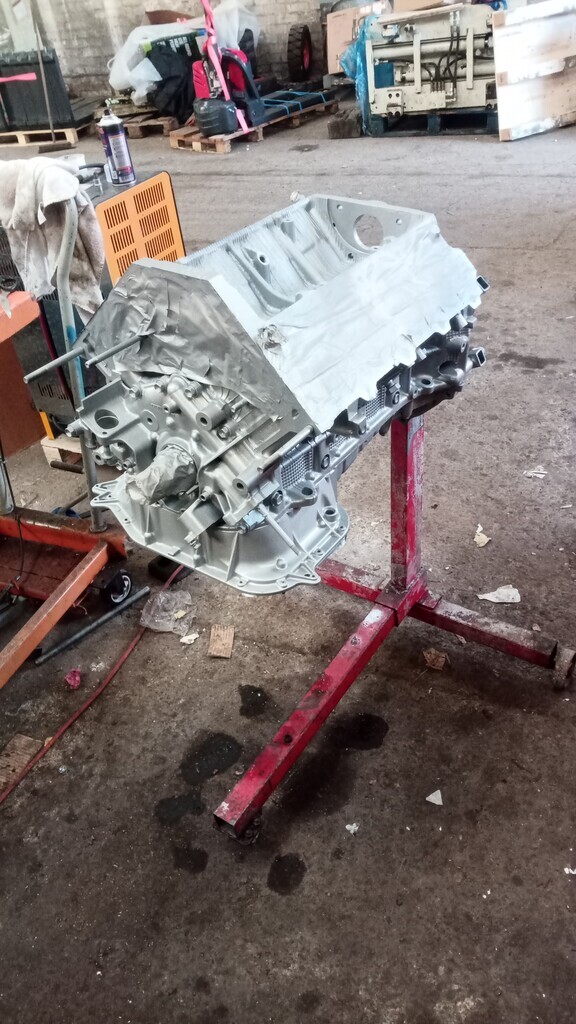 At this point time was getting on and didn't want to risk damaging my posh new paint. So called it a day.. Think I probably need to look at getting heads on next which unfortunately means changing 32 stem seals and relappin 32 valves in (oh joy)... I'm also still waiting on my arp headstuds but they should be any day now I hope. Anyways. More soon. Cheers |
| |
|
|
mat88
Yorkshire and The Humber
Posts: 1,542
|
|
|
|
What was it I said yesterday about building a 1uz being like building 2 "normal" engines... Yeah I stand by that statement  Managed to sneak a bit of time on my dinner break. Wanted to get the lower sump back on and that "bit" buttoned up.. not sure what's happened to me but there's no way I'm putting grubby rusty bolts back into my lovely shiny engine so quick wire wheel and painted the sump bolts (don't worry I'm sure normal service will resume soon) 😂 figured easiest way to hold em was drill a load of holes in some random wood so they were a snug fit in them attacked em with wire wheel In the drill. 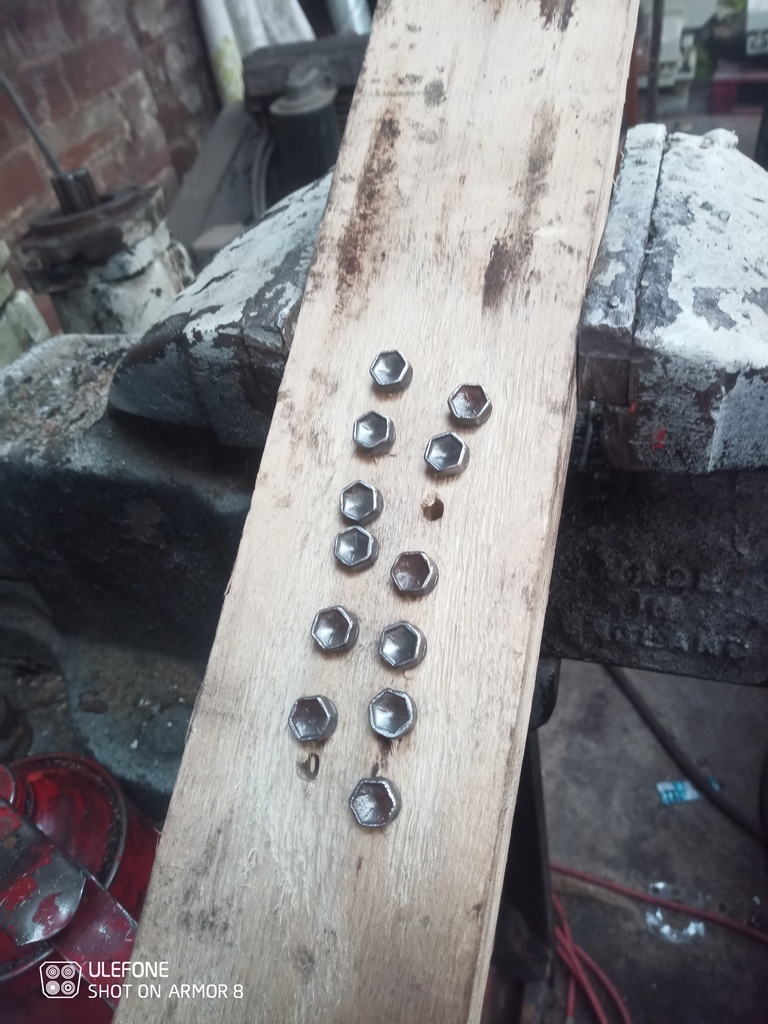 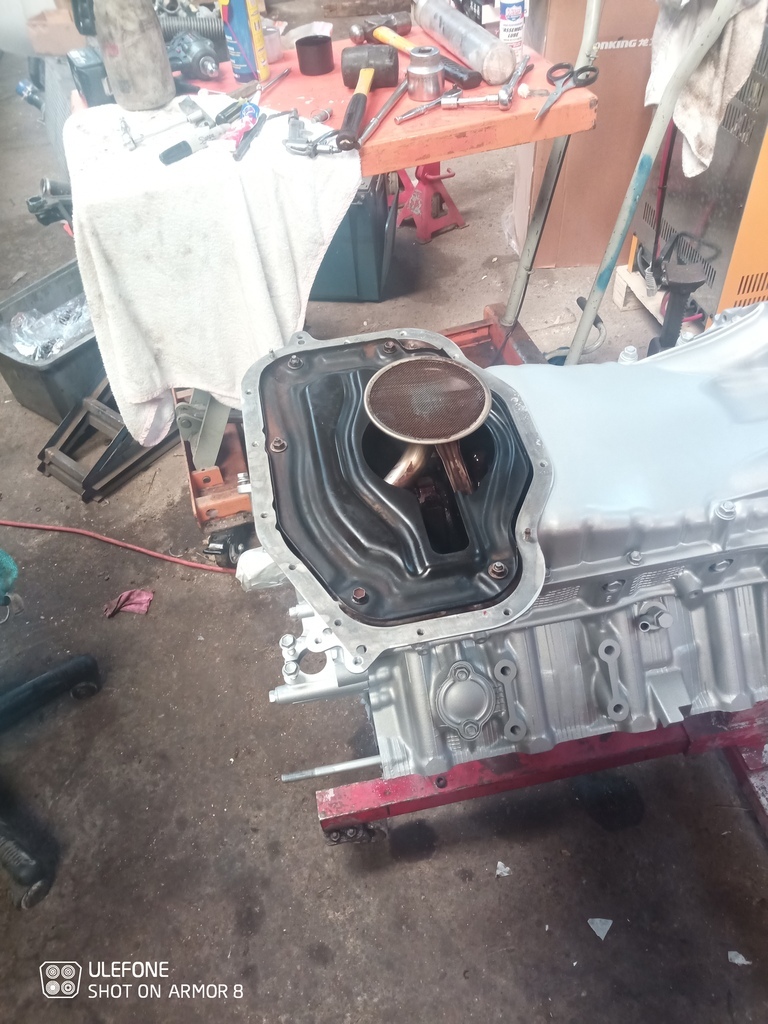 And lower sump bowl back on. Starting to look like summat. 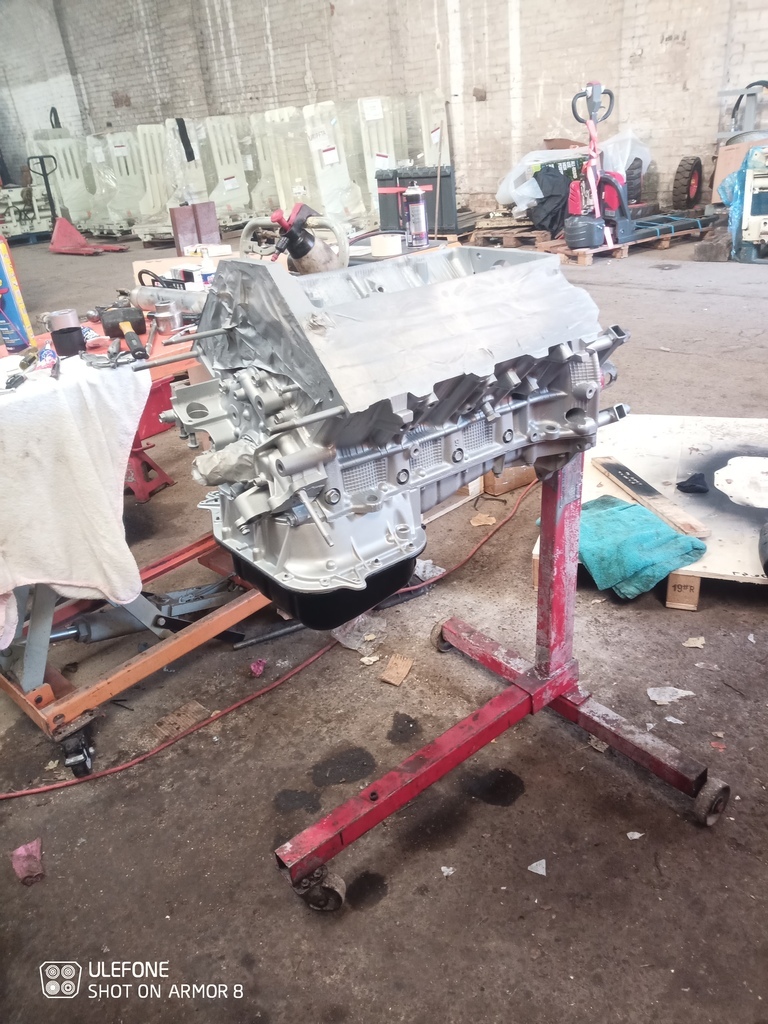 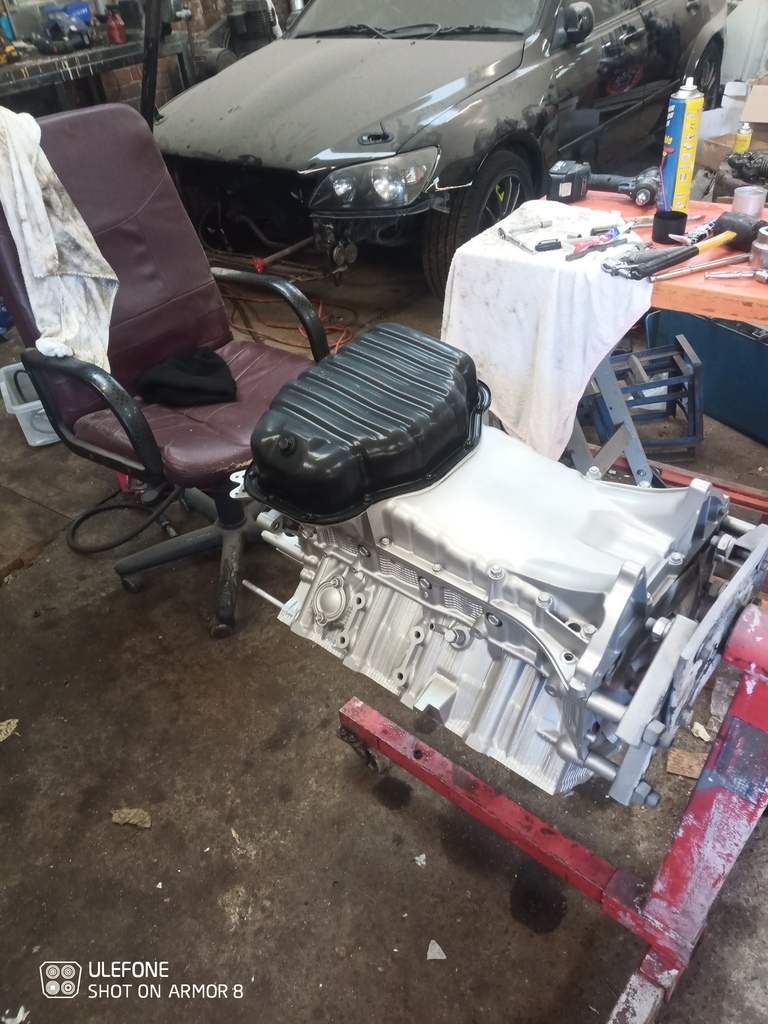 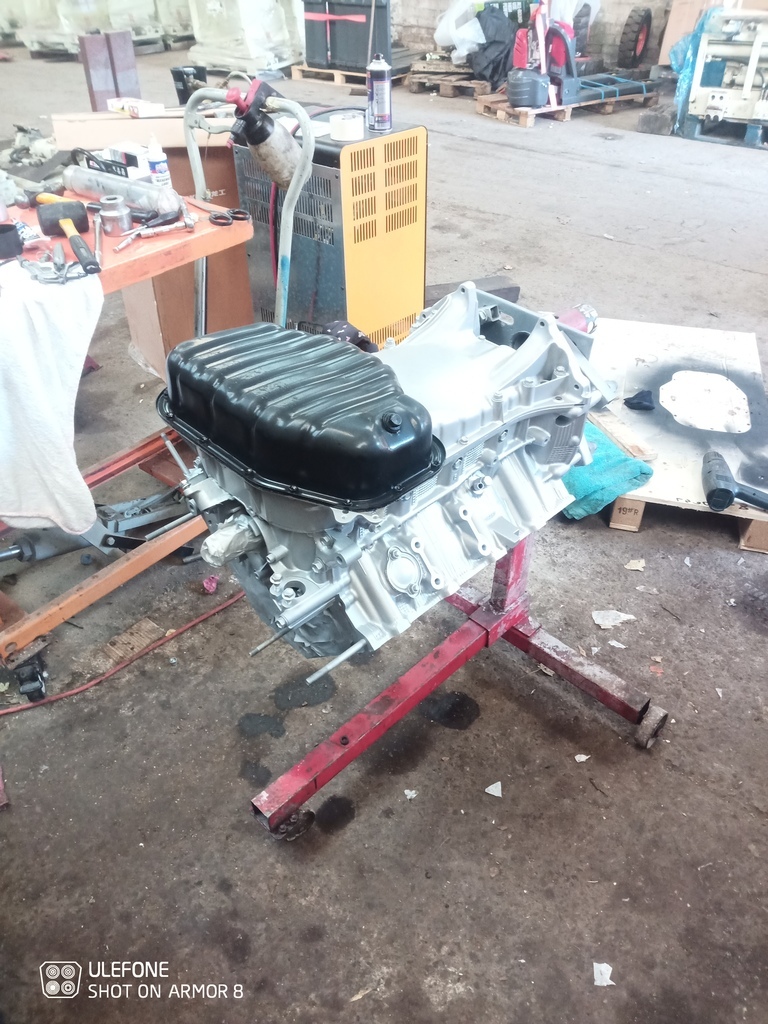 Now to get any further on the front I kinda need the tinware on behind the cambelt. But that attaches to the heads. So I need the heads on... and the heads are a job I've been putting off. It didn't smoke (either on over run or first start).. but the headset I got came with stem seals and we all know how hot it's been. So made sense to change em. But there's a million of em. Also the valves. Now they haven't been out, but made sense to whip em out while I was this far to relap em back in.. but did I mention. Theres a million of them too 😭😭 No time like the present then... Valve springs collets and retainers came out easy enough... Valves came out nicely enough but will definitely benefit from a lap in... The stem seals on the other hand... There down a hole. Not the easiest access. Especially not without the proper stem seal pliers. They'd also gone hard as rock! Many many many swear words later using a combination of needle nose pliers and picks they were out! Pics should give an idea of what was happening.. 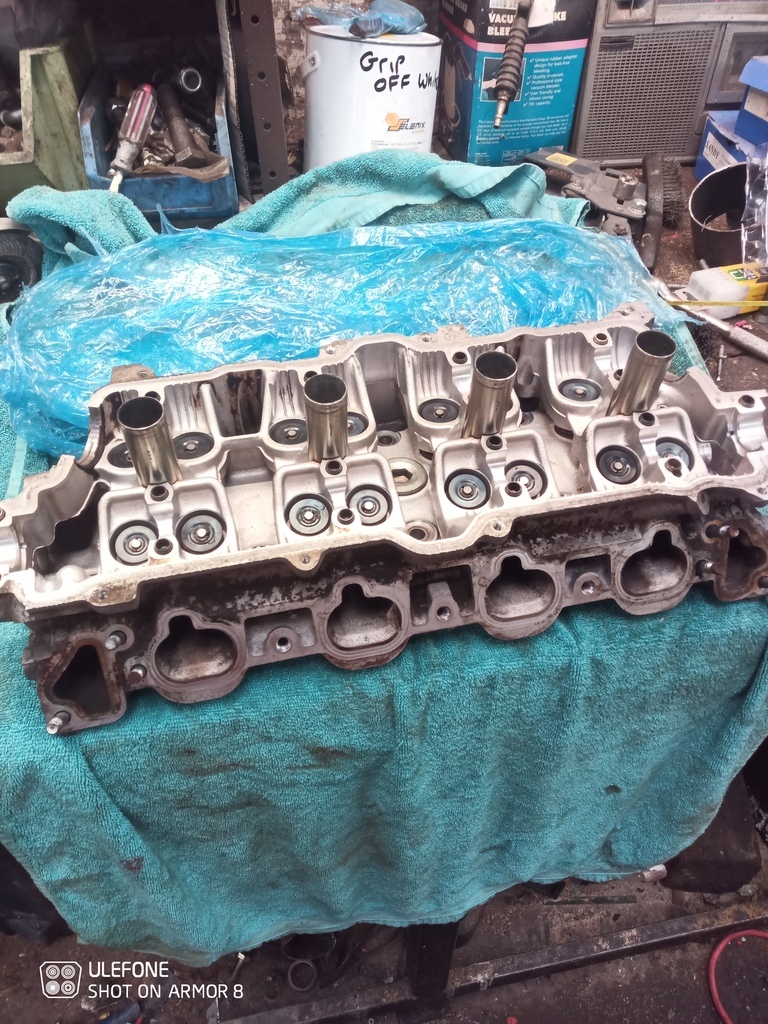 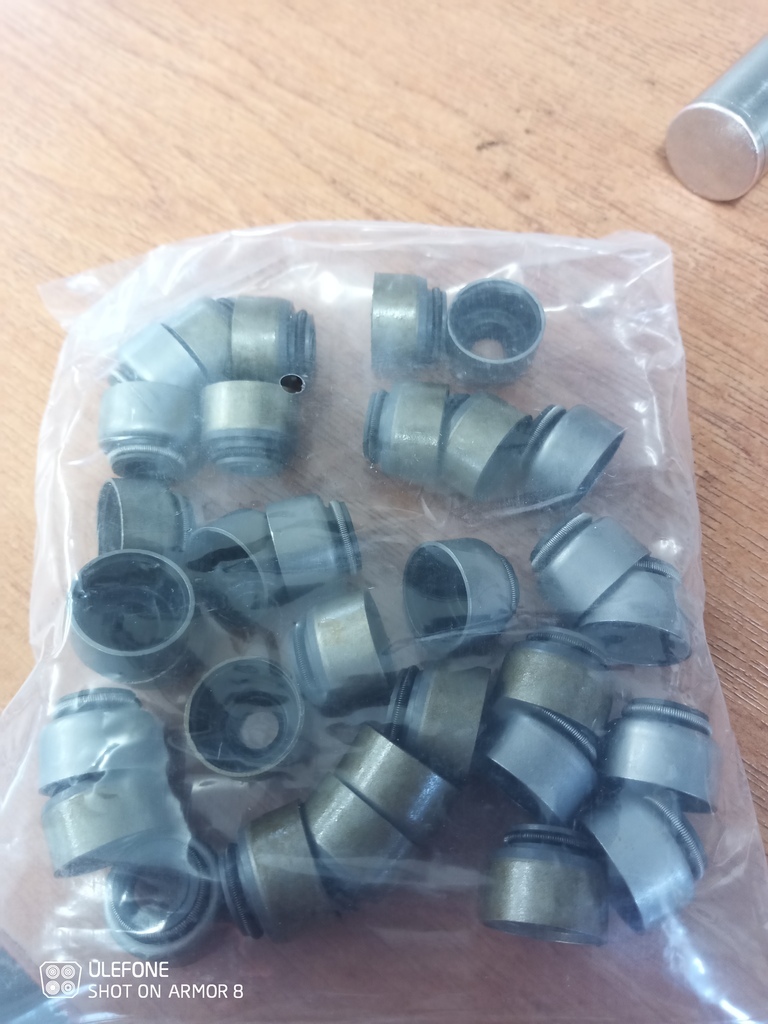 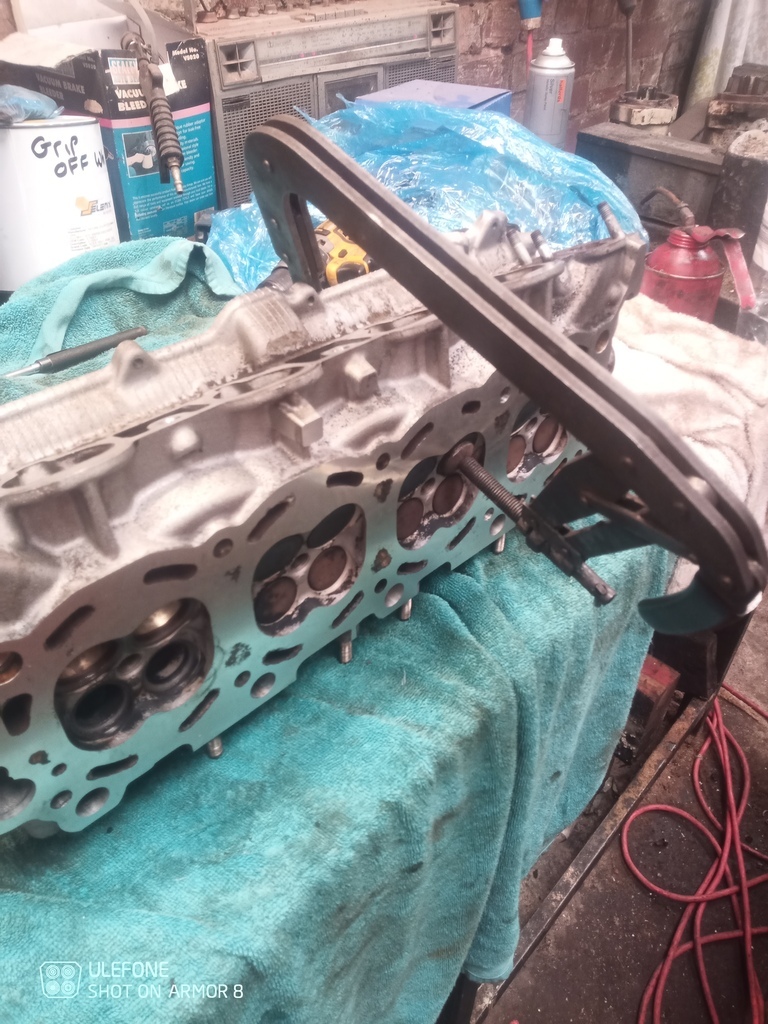 Time to lap them back in. Now I started the old fashioned manual labour way. Until the novelty quickly wore off haha. In the words of bear Grylls, improvise adapt overcome 😂😂 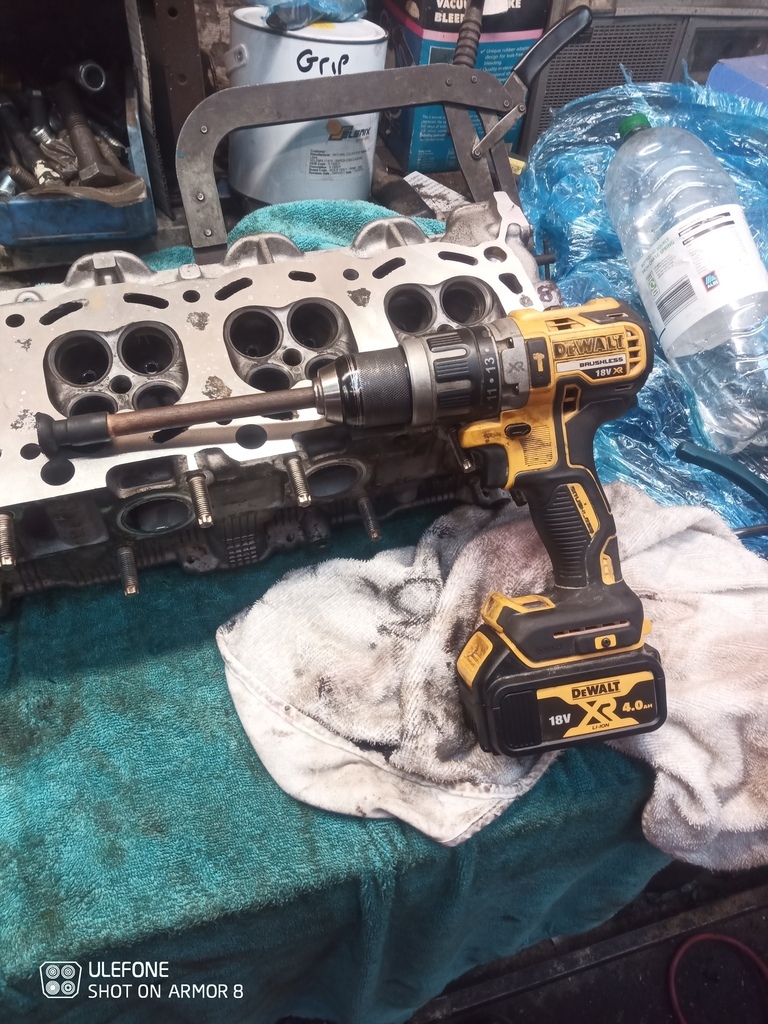 Much more time later (granted with less blisters), all 16 valves are nicely lapped in... Then stored away ready for reassembly 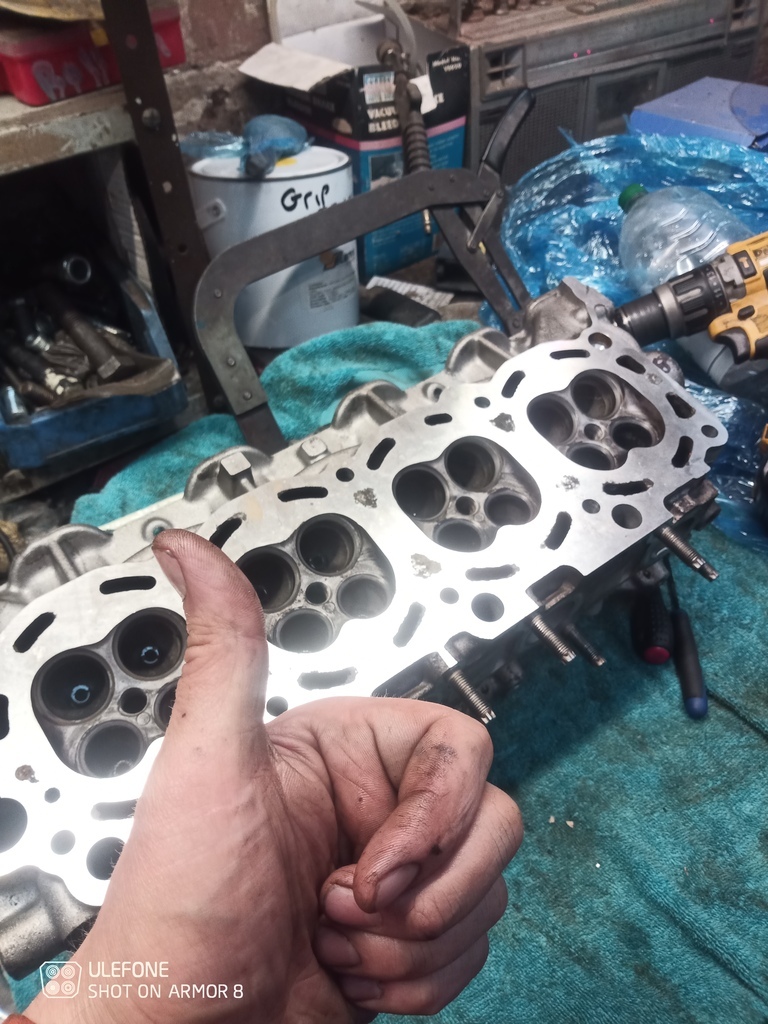 But wait. That's only one head. Like I said. Like building two engines this 😭 My lapping stick gave up the ghost by time I'd done. So swung in hellfrauds on my way home. Didn't have just a stick but I suppose the grinding paste will come in handy.. probably keep me going for 20 year haha 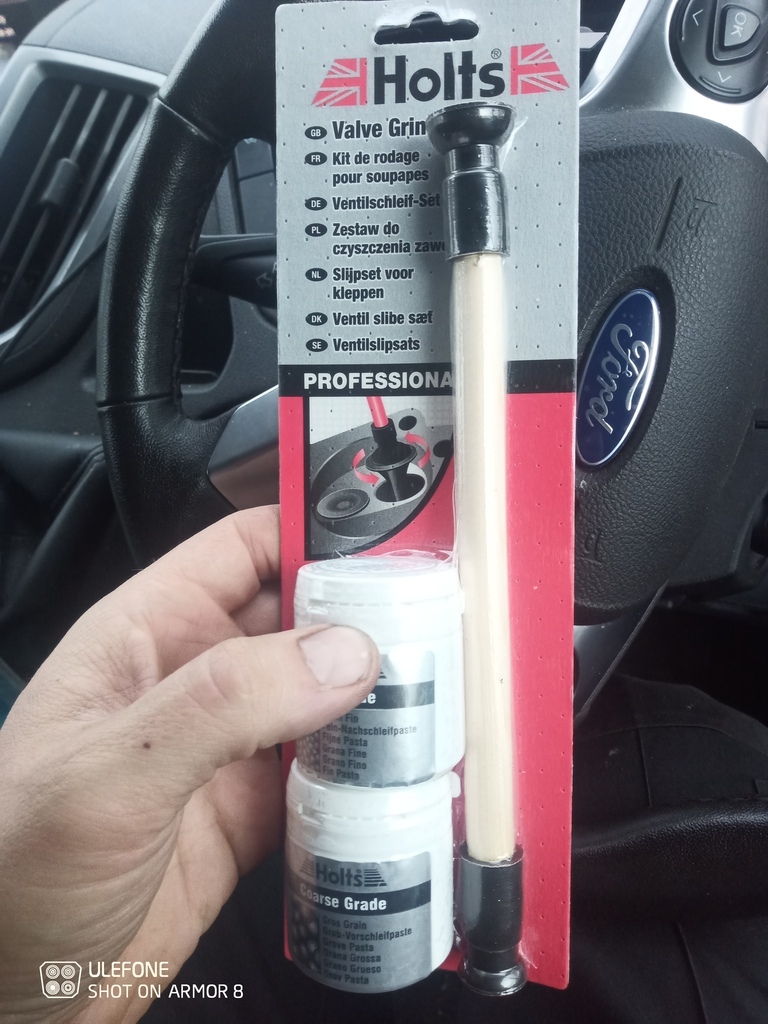 Tomorrow's plan is head number two then start the reassembly.. Also. The stem seals. There's 2 types in the bag. Some with a brown coating on that are a mm taller ish and some plain. On the ones I removed the inlet ones were a smidge taller. Does that sound right for reassembly? What's the logic? Or the coating? Internet seems to agree so that's how il do it if there's no reason not to? Anyways. Looks like il be doing same again tomorrow. 🤷 Cheers |
| |
|
|
|
|
|
|
|
|
Painted sump bolts no less, rather posh eh? 😉 Lexus owners, I just don't know. Ha,ha.
Glad you're making good progress. Keep up the good work,looking forward to updates as usual. 👍
|
| |
Last Edit: Nov 9, 2021 19:28:56 GMT by Woofwoof
Still learning...still spending...still breaking things!
|
|


