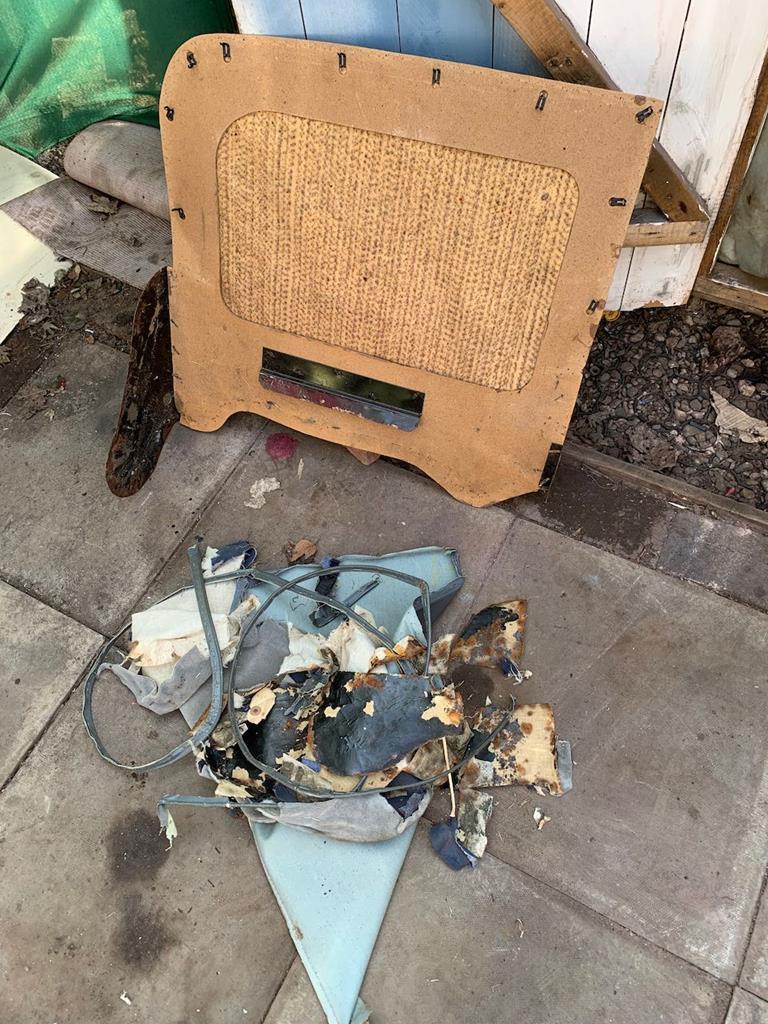
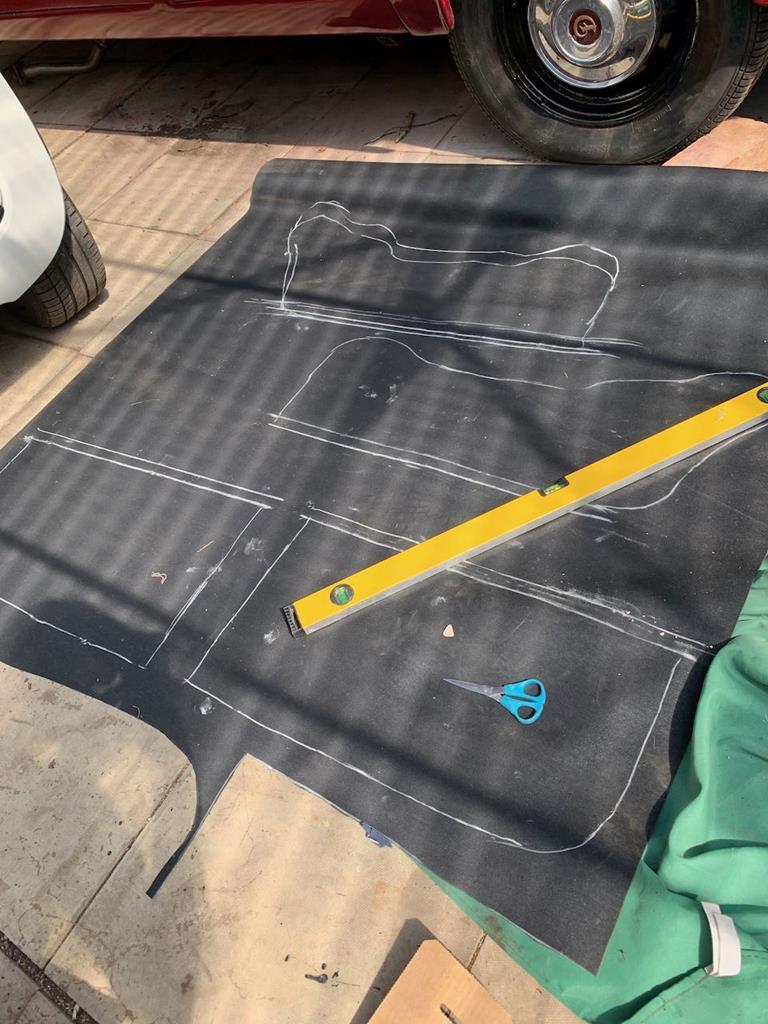
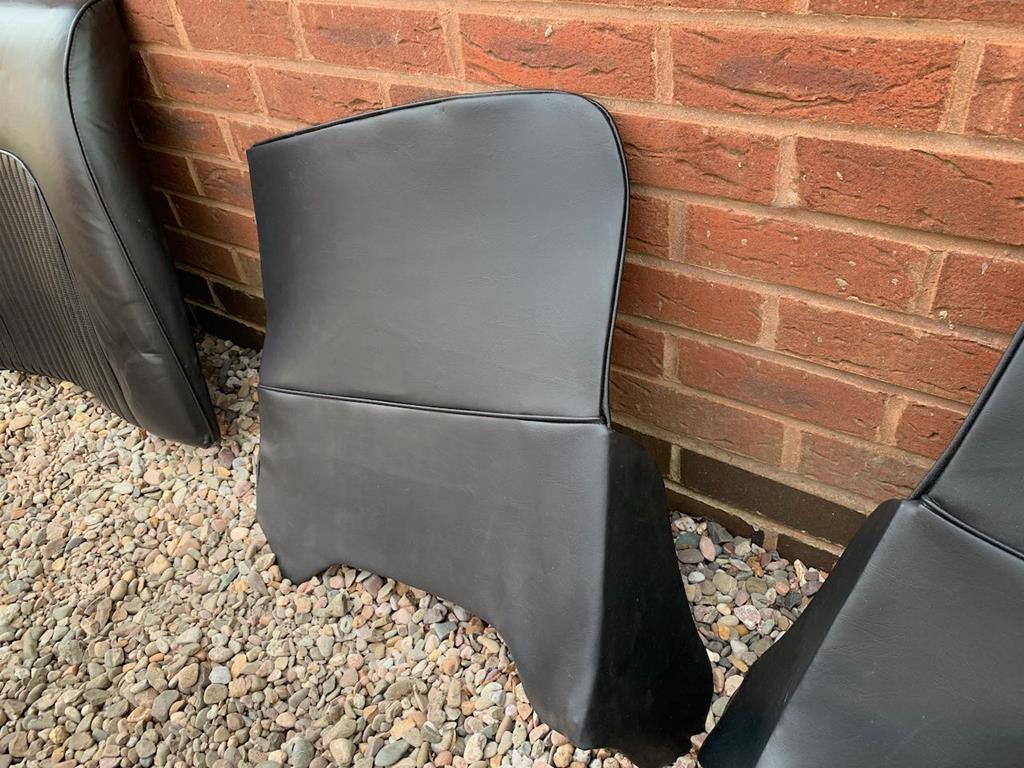
jpsmit The link didn't seem to work for me, so couldn't read more about it, but that v6 seems to drop in there with plenty of room to spare doesn't it!
You could be right adam73bgt, or it could be because its a better silver than what I had on the shelf in the shed. Either way I'm not fitting chrome trim rings!
Lockdown is continuing to provide me with plenty of time to be working on the car, so while I wait for the post to bring me more rubbing compound to get on with the paint, and my engine, I figured it was time to look at the seats.
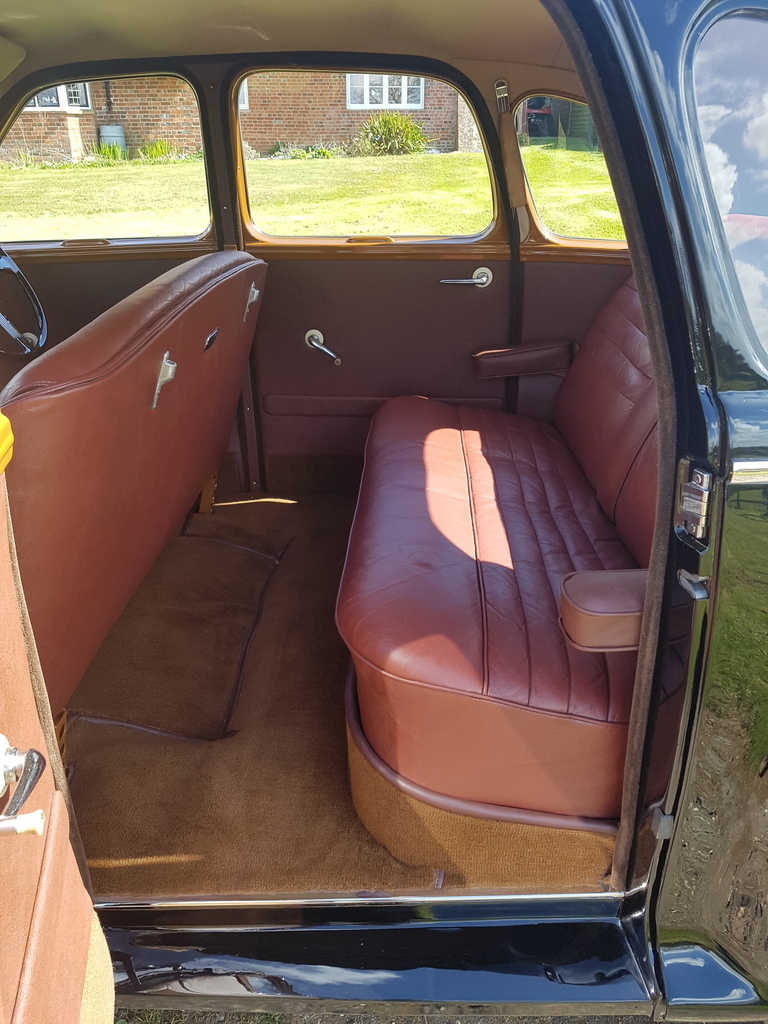
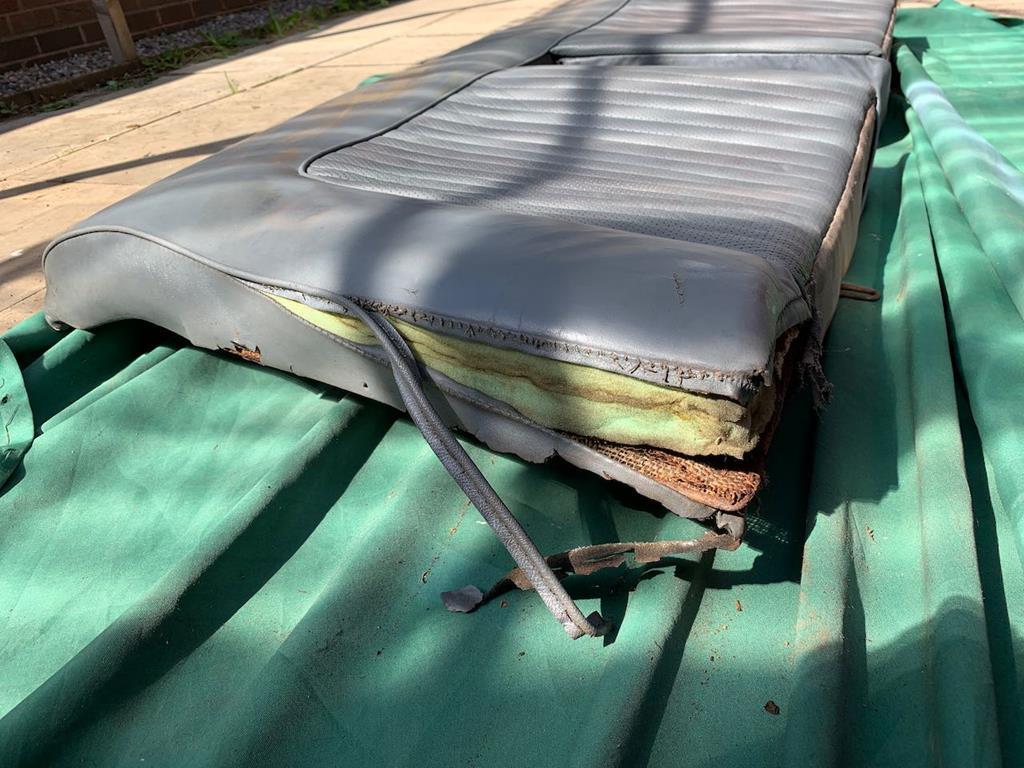
The seats have been patiently waiting for their time to have some love for quite a while now. The leather is hard and crisp, the rear seat was splitting and they are generally grubby stained and worn looking. As new seat covers are stupidly expensive, repair rather than replacement was the plan.
I've had a leather colouring kit, and some leather softening oil, from Furniture Clinic sat in my living room since Christmas. It's a pretty comprehensive kit, and was clearly going to take more than a few minutes to go through the process, so it's been on the back burner for a bit till I had enough time and the right weather.
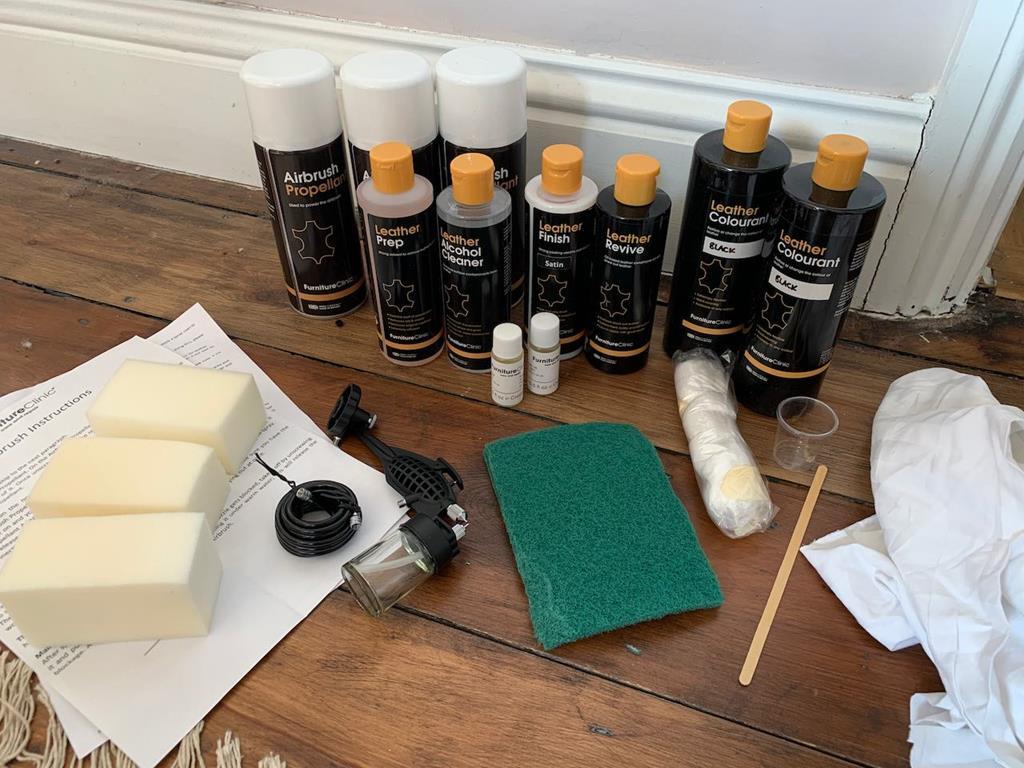
So this is the sort of thing I started with.
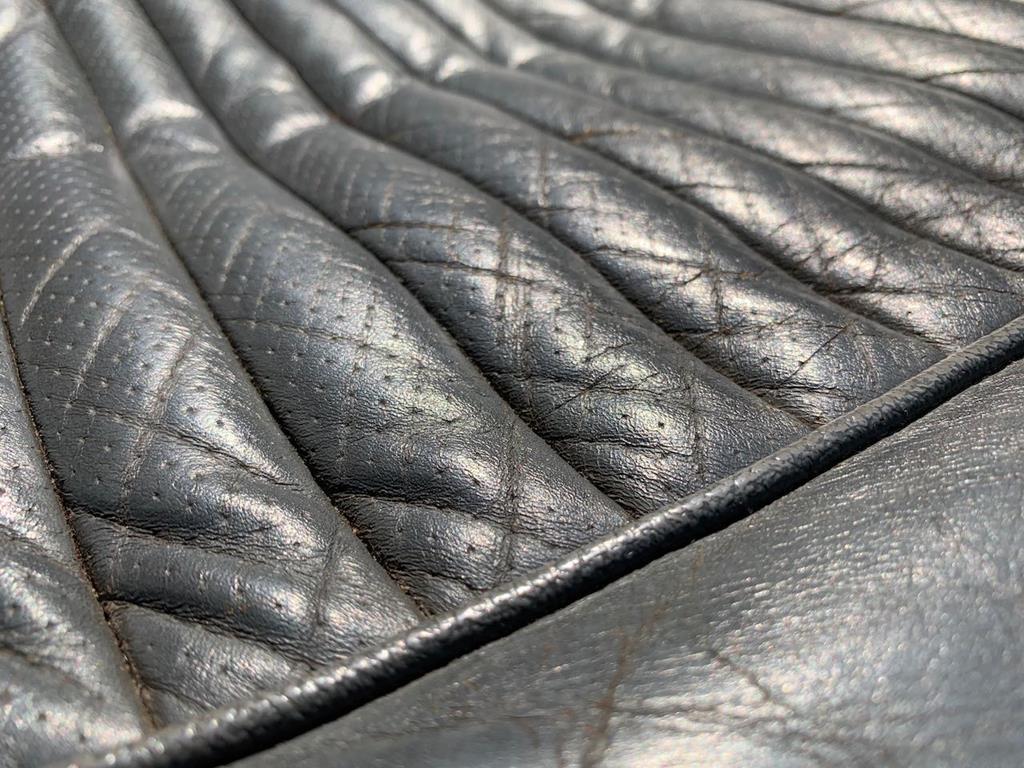

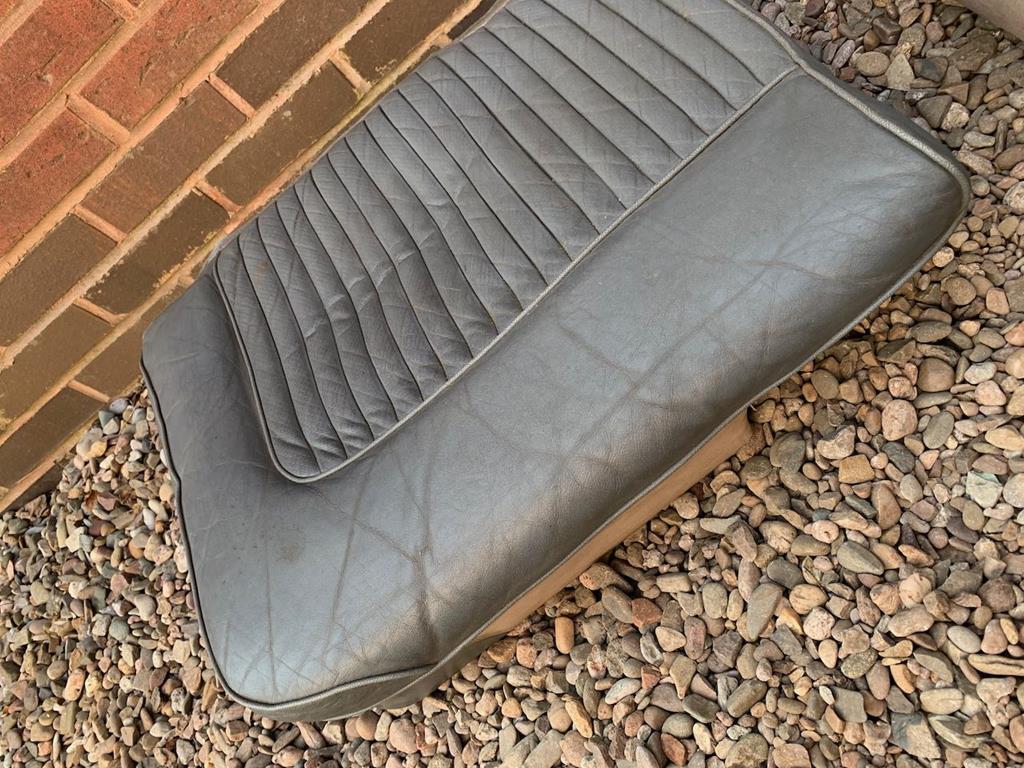
I don't mind a bit of wear, the car is 50 years old and I'm not looking to make the seats look brand new, but equally this is just too shabby, and obviously the wrong colour for my new door cards!
The first step of the process was to give the seats a good clean with a cloth and some leather cleaner. The one I've got is for horse tack and is alcohol based, seems to cut through the grime well. Then on to the first step of the colour changing process proper, which is to remove the old finish from the seats, to prepare them to accept the new colour. To do this I used the Leather Prep from the kit, with a scotch pad and basically scrubbed the seats till the colour starts coming off. Once the colour starts coming off you know it's cut through any old clear finishes. After that wipe it down with a clean cloth and more of the Leather Prep. At which point the seats look even worse than when I started.
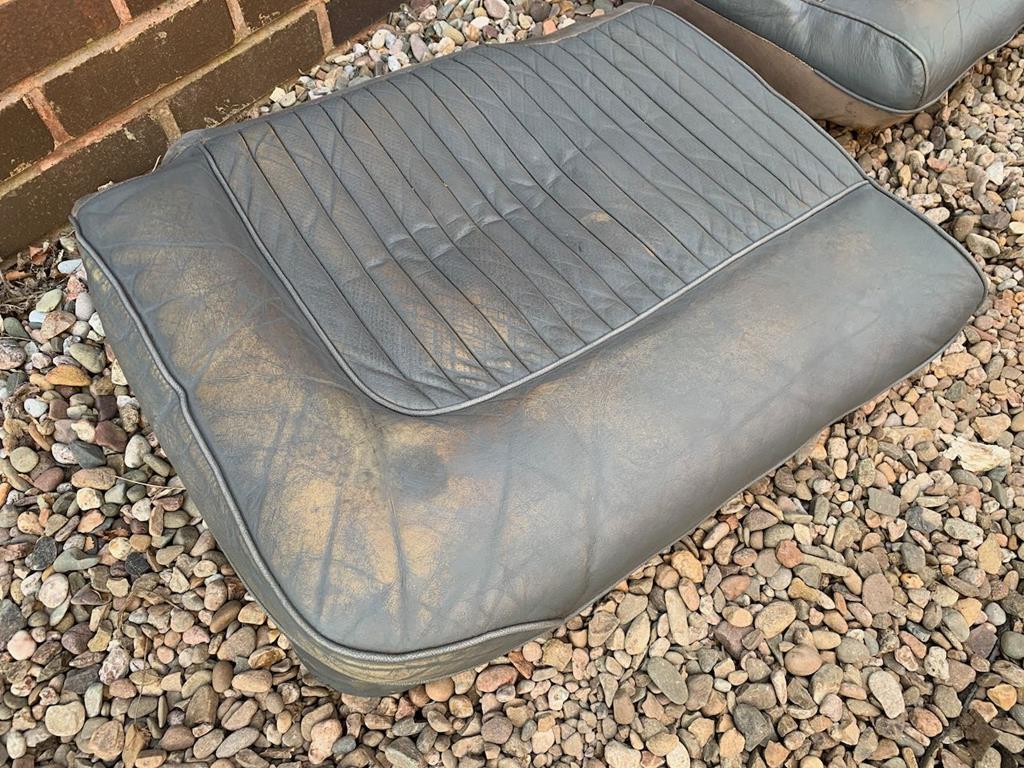
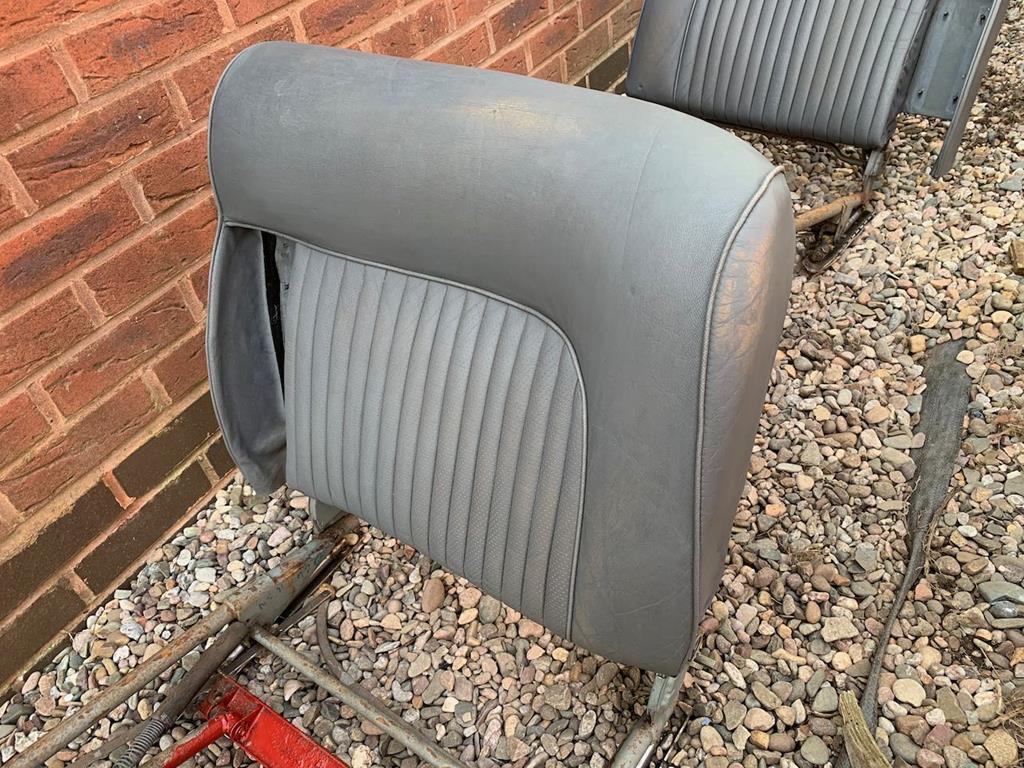
Now that the surface is more porous, it was time to use the leather softening stuff. I sloshed it over the seats and massaged it in, as recommended on the instructions, and then wrapped them in clingfilm overnight.
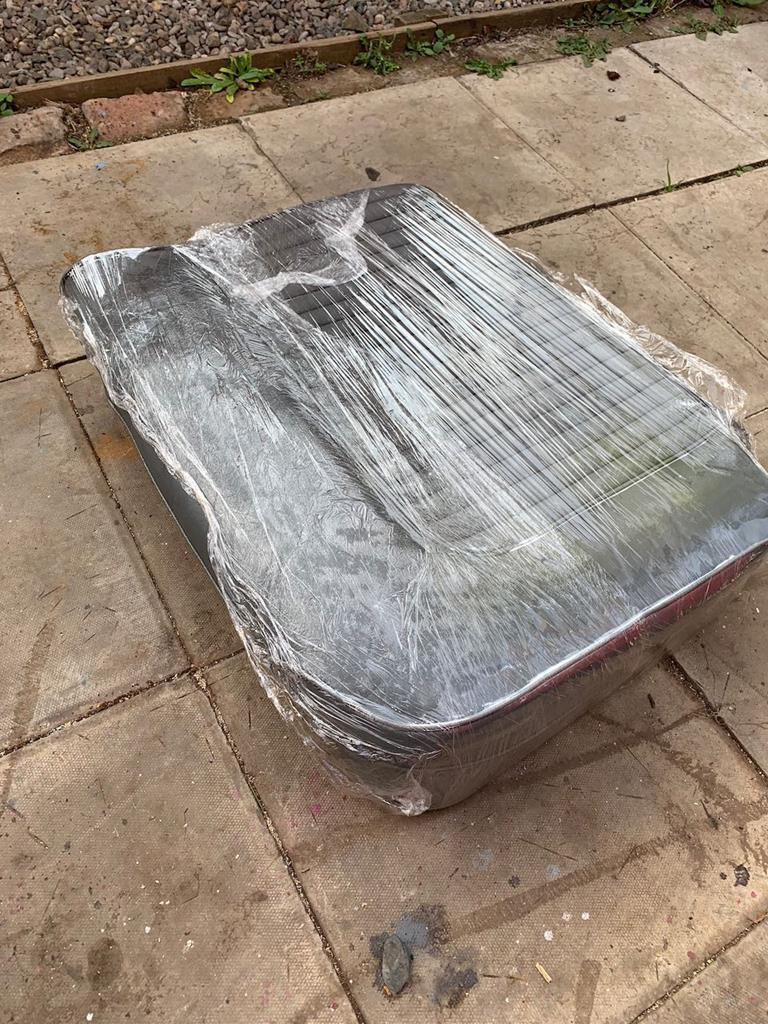
The next day and I've got to say there's a definite improvement. It's not brand new super soft, but it's a damn sight better than it was, so that's good news! Now that the leather was a bit softer it was time to try and deal with some of the damage to the rear seat. I started with the seat base.
The two lower corners had broken down, partly due to scuff damage of people getting in and out. The rear stitching along the rear edge had also come apart, so the cover wasn't being held on properly As an aside, I do wonder if my car did wedding duties or similar, at some stage as the back seat is much more worn than the front passengers seat.
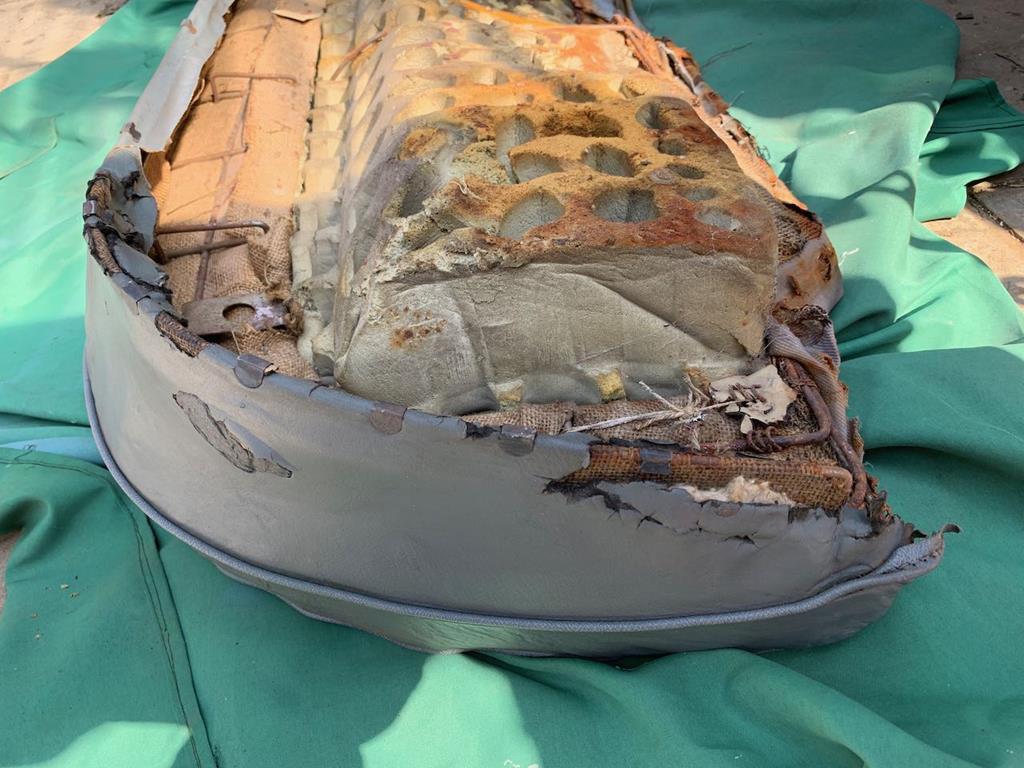
As the cover was already loose I decided that rather than attempt an awkward repair in situ, I'd just take the cover off completely. With the cover off I very carefully cut through the stitching on my two damaged corners using a craft knife.
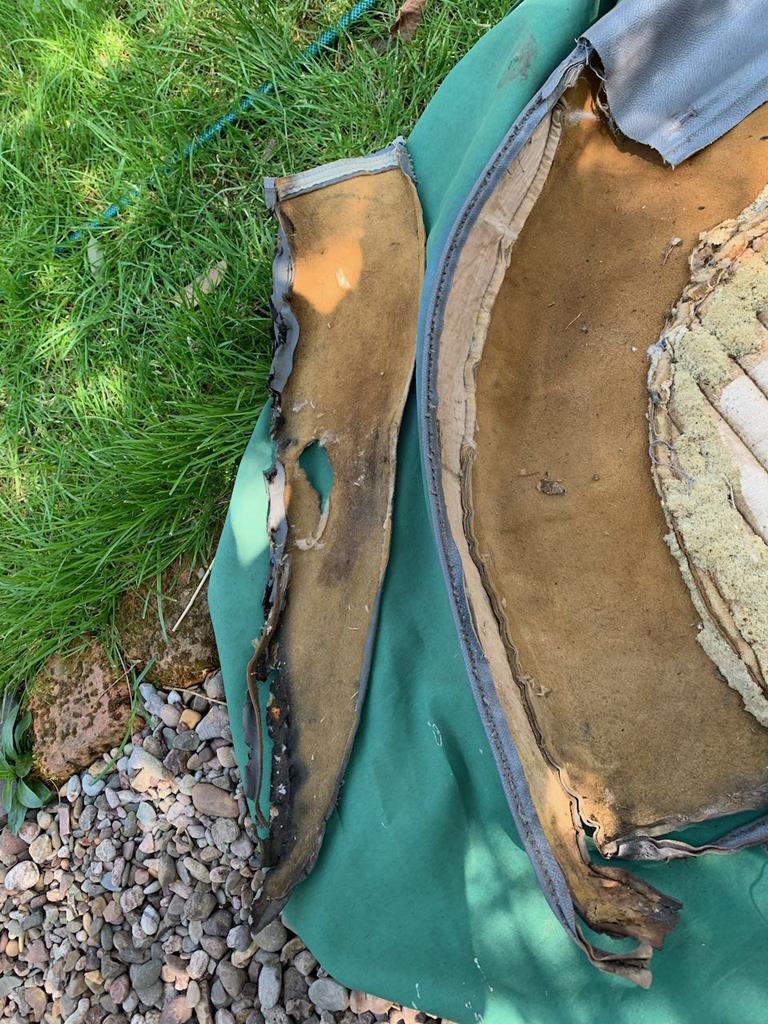
And then used the cut off section as a template to transfer the shape on to a new piece of material. As I've got a good amount of vinyl left over from my other bits of interior trimming, it made sense to use that in these repairs. The seats aren't all leather from the factory as it is, with the backs, some of the side pieces and the piping being vinyl so a bi more vinyl wont hurt.
With my repair section cut out I then sewed it into place on the cover. There was no way my little sewing machine would handle such thick material, not to mention that the cover is still a bit on the fragile side, and I think contorting it to get it through the machine could easily cause other issues, so I did this sewing by hand. It's a slow process! Still, I was pleased enough with the fix at the end of it.

After that I did the matching repair on the other corner, and restitched the back edge. It's a lot of feet of sewing, and slow going forcing the needle through multiple layers of leather. Anyway, with it all complete I could put the cover back on, and it looks much better, if a bit patchwork! haha.
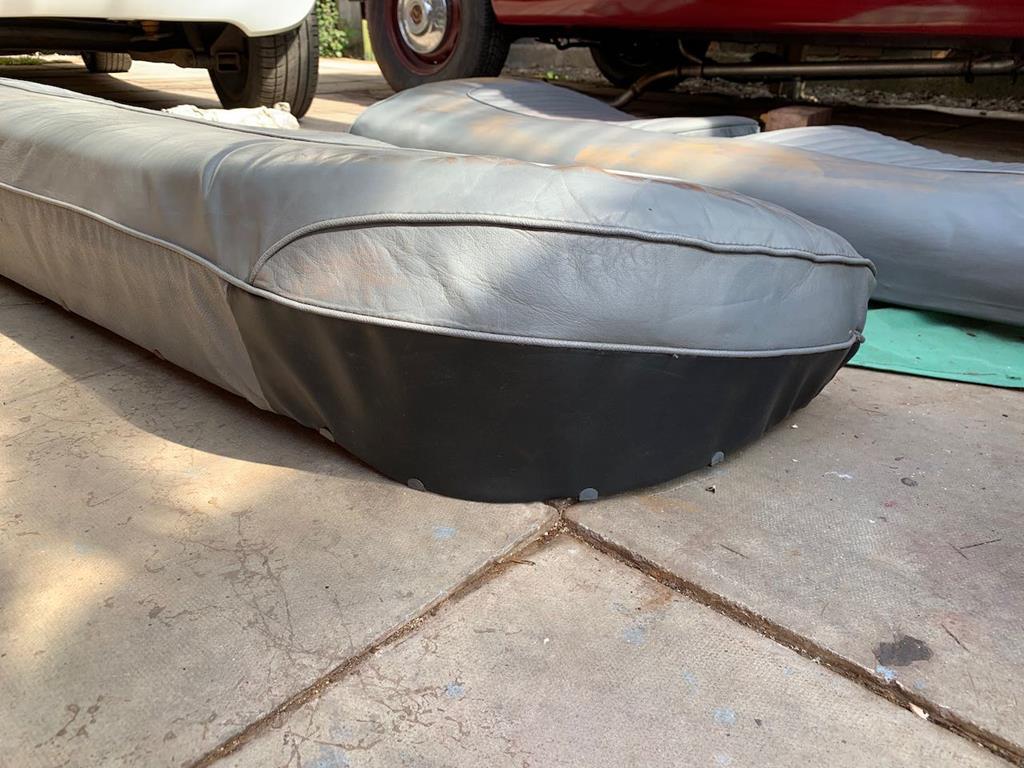
The last repair needed was to the side of the rear backrest.
Generally a similar repair to the seat base, but this time I didn't take the coverall the way off. It's a bit more complex to re-fit around the arm rest, and so I just lifted the corner away that I needed to. As I removed the damaged panel this time, the piping came away with it, which worried me for a few minutes, as I wasn't sure the best way to reassemble it. In the end I decided to use some of my new piping (also left over from the door cards) and to use the machine to sew this to my new repair panel first.

Then hand sewing the piping and new panel into the old cover, and then pulling it tight and clipping it in place.

That was the best repair of the lot As ever, you just feel like you're getting the hang of these things when you finish the job, haha.
With the repairs done, I could get back to the colouring process. As the seats had been covered in the softening oil, it was time for another round of cleaning with the 'normal' cleaner, then another wipe down in the Leather Prep stuff (wasn't sure if this was nessesary but figured safer to do it anyway) and then onto the next step... more cleaning! This time wiping down with an Alcohol Cleaner from the kit. Very different to my horse cleaner, much more volatile! And then finally I could start putting the colour on. The kit said to start by sponging very thin coats on, working it well into the creases and seams. After the first coat, it was looking a right mess!

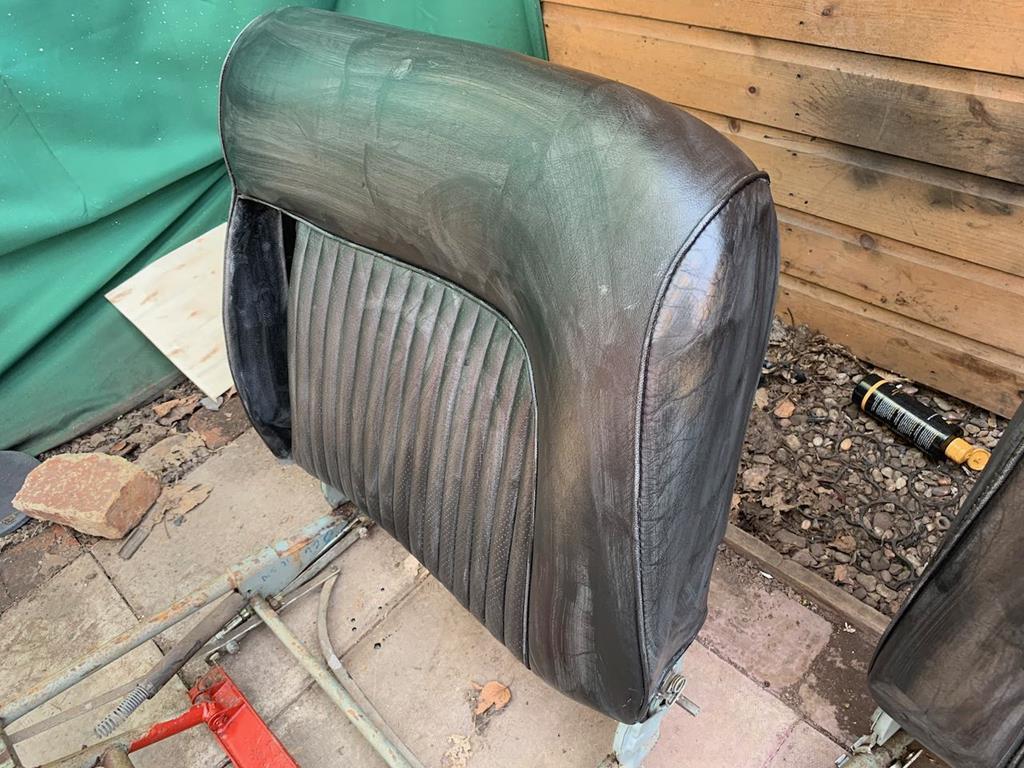
Thankfully I'd watched the video guides and knew not to be worried! On with two more coats by sponge then time to use the supplied airbrush to spray on some more coats.
The airbrush experience was a little trying. I thought it was great that the kit came supplied with one, and cans of propellant so you don't need a compressor. My particular airbrush I think wasn't right. I think it was missing a seal, as when I pushed down on the trigger, as much propellant came out of the pin by the trigger as came out of the front...
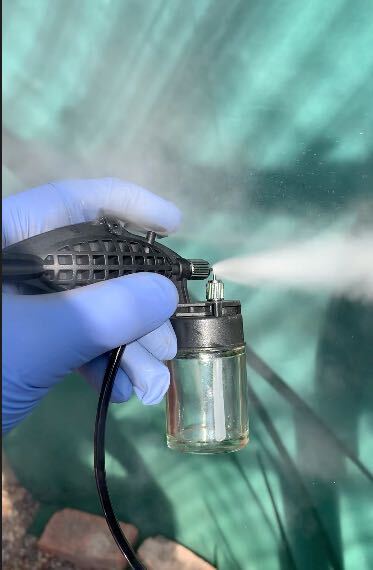
I appreciate these things happen, and the service I've had from Furniture Clinic has been great, so I don't doubt they would have replaced it for me, but as we are in unusual times, it wouldn't necessarily be a quick turn around and I wanted too push on. The air leak wasn't going to stop the airbrush from working, but it did mean that using the supplied cans of propellant wasn't going to be a good idea. I doubt they'd have lasted long this way. Luckily, I do own a compressor and just had to sort out a bit of a Heath Robinson reducer to bring my 10mm airline down to the small sized required for the airbrush.
When properly adjusted the airbrush gave a nice spray pattern and was easy enough to use but the adjustment window was very narrow and due to its clip together design and plastic construction it was constantly flexing and coming out of adjustment. Every time I refilled the little reservoir of dye, it would definitely need readjusting and at other times just handling the airbrush while moving myself around the different seats seemed enough t throw it off adjustment. It was all a bit of a faff, but ultimately it did the job, so I can't complain. I'm sure if I were to do this more often then a 'proper' airbrush would make things easier.
Regardless of the challenges, after 3 songs coats and 2 spray coats of black dye, the seats were looking great.
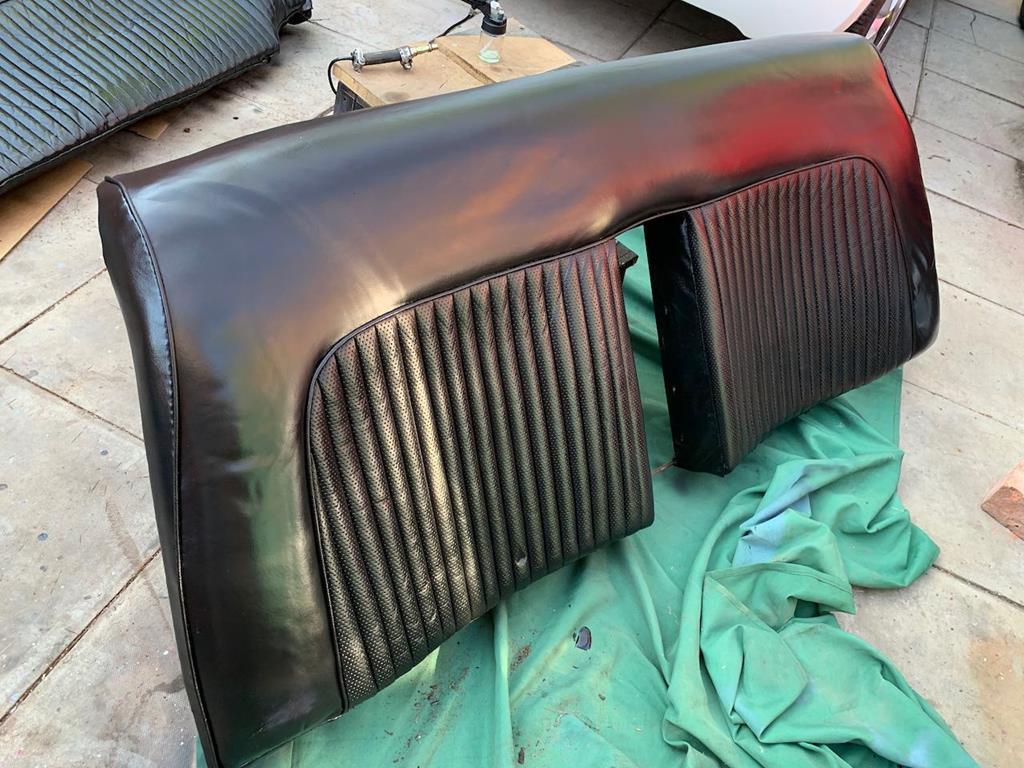
So once that had dried for an hour I could do the final step which is to spray on a finish/sealer. This is a clear coat that gives the leather the desired amount of shine and also helps lock in the black dye, making it stronger and more wear resistant (apparently). Again this was airbrushed on, and I had similar challenges with the airbrush. I'm not blaming the tools entirely, as clearly painting outside isn't the best and I'm entirely inexperienced with airbrushes! The finish seemed a bit less forgiving to spray than the dye, probably not helped by the satin finish I'd chosen. But if you're not looking for the imperfections you wont see then (and it will be several hours yet till it's really properly dry so they may fade yet anyway) and overall the effect is great.
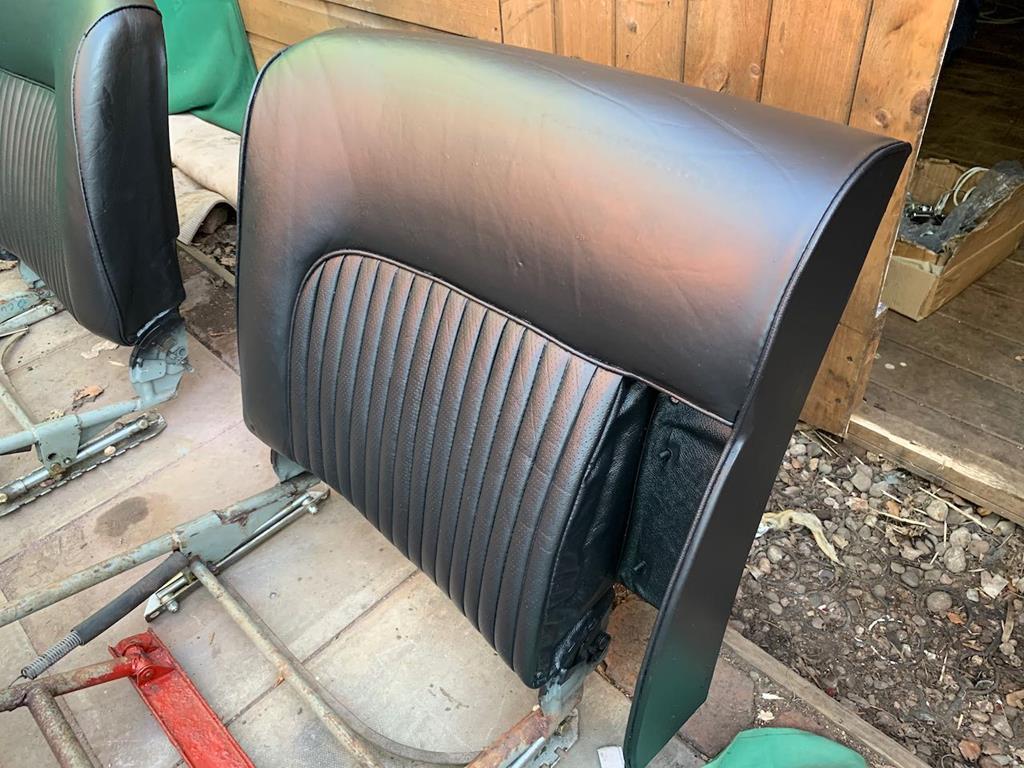
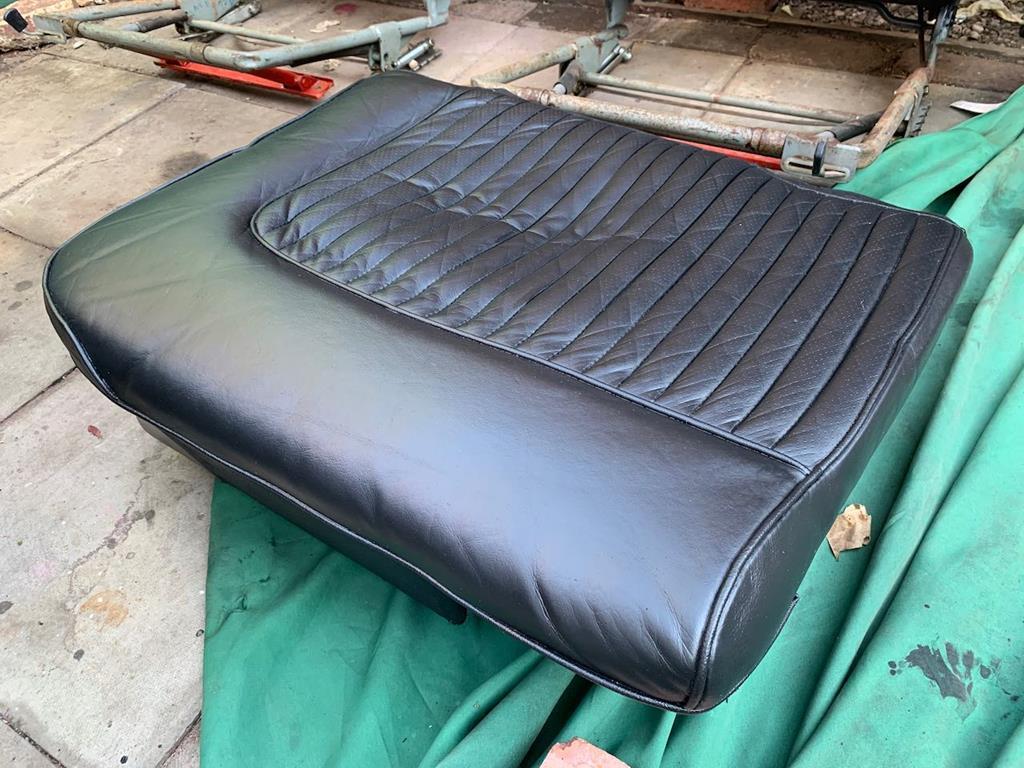
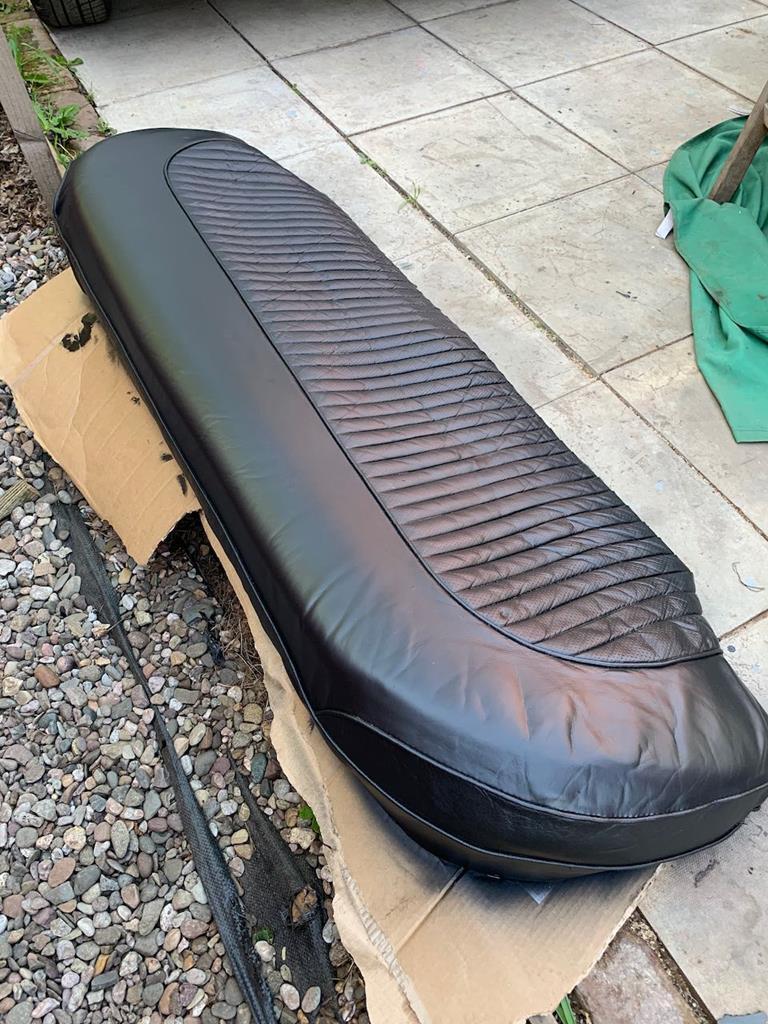
Overall I'm very pleased with how those have come out. I could have used leather filler on all the creases and really worked to make them like new, and from what I see online the results are impressive, but I'm happy to wear those creases with price and have a bit of history still show through, while having the constant colour which makes them look tidy.
I now need to give them 24 hours before any rough handling, then they can go back in the car. There's a few more bits to do, like assembling the arm rests and he back of the front seats is a detachable section, very similar to a door card, so that will be getting recovered in black to match, so still plenty to keep busy with.
Also one of my parcels turned up, I think I might know what it is...
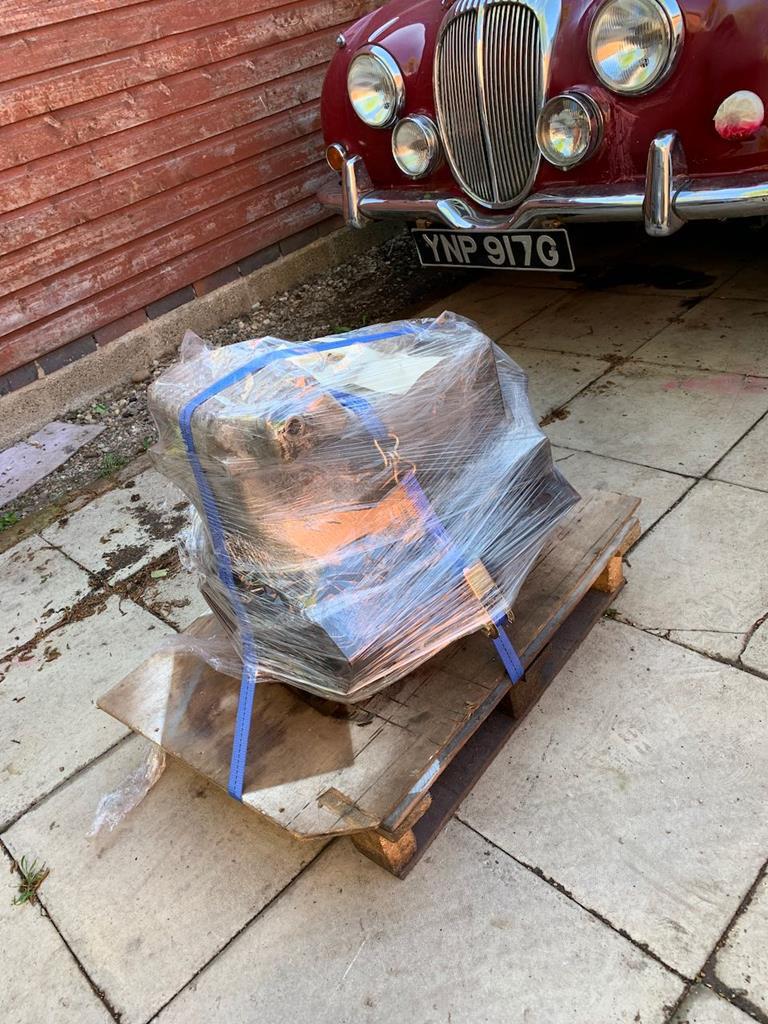
You could be right adam73bgt, or it could be because its a better silver than what I had on the shelf in the shed. Either way I'm not fitting chrome trim rings!

Lockdown is continuing to provide me with plenty of time to be working on the car, so while I wait for the post to bring me more rubbing compound to get on with the paint, and my engine, I figured it was time to look at the seats.
The seats have been patiently waiting for their time to have some love for quite a while now. The leather is hard and crisp, the rear seat was splitting and they are generally grubby stained and worn looking. As new seat covers are stupidly expensive, repair rather than replacement was the plan.
I've had a leather colouring kit, and some leather softening oil, from Furniture Clinic sat in my living room since Christmas. It's a pretty comprehensive kit, and was clearly going to take more than a few minutes to go through the process, so it's been on the back burner for a bit till I had enough time and the right weather.

So this is the sort of thing I started with.


I don't mind a bit of wear, the car is 50 years old and I'm not looking to make the seats look brand new, but equally this is just too shabby, and obviously the wrong colour for my new door cards!
The first step of the process was to give the seats a good clean with a cloth and some leather cleaner. The one I've got is for horse tack and is alcohol based, seems to cut through the grime well. Then on to the first step of the colour changing process proper, which is to remove the old finish from the seats, to prepare them to accept the new colour. To do this I used the Leather Prep from the kit, with a scotch pad and basically scrubbed the seats till the colour starts coming off. Once the colour starts coming off you know it's cut through any old clear finishes. After that wipe it down with a clean cloth and more of the Leather Prep. At which point the seats look even worse than when I started.


Now that the surface is more porous, it was time to use the leather softening stuff. I sloshed it over the seats and massaged it in, as recommended on the instructions, and then wrapped them in clingfilm overnight.

The next day and I've got to say there's a definite improvement. It's not brand new super soft, but it's a damn sight better than it was, so that's good news! Now that the leather was a bit softer it was time to try and deal with some of the damage to the rear seat. I started with the seat base.
The two lower corners had broken down, partly due to scuff damage of people getting in and out. The rear stitching along the rear edge had also come apart, so the cover wasn't being held on properly As an aside, I do wonder if my car did wedding duties or similar, at some stage as the back seat is much more worn than the front passengers seat.

As the cover was already loose I decided that rather than attempt an awkward repair in situ, I'd just take the cover off completely. With the cover off I very carefully cut through the stitching on my two damaged corners using a craft knife.

And then used the cut off section as a template to transfer the shape on to a new piece of material. As I've got a good amount of vinyl left over from my other bits of interior trimming, it made sense to use that in these repairs. The seats aren't all leather from the factory as it is, with the backs, some of the side pieces and the piping being vinyl so a bi more vinyl wont hurt.
With my repair section cut out I then sewed it into place on the cover. There was no way my little sewing machine would handle such thick material, not to mention that the cover is still a bit on the fragile side, and I think contorting it to get it through the machine could easily cause other issues, so I did this sewing by hand. It's a slow process! Still, I was pleased enough with the fix at the end of it.

After that I did the matching repair on the other corner, and restitched the back edge. It's a lot of feet of sewing, and slow going forcing the needle through multiple layers of leather. Anyway, with it all complete I could put the cover back on, and it looks much better, if a bit patchwork! haha.

The last repair needed was to the side of the rear backrest.

Generally a similar repair to the seat base, but this time I didn't take the coverall the way off. It's a bit more complex to re-fit around the arm rest, and so I just lifted the corner away that I needed to. As I removed the damaged panel this time, the piping came away with it, which worried me for a few minutes, as I wasn't sure the best way to reassemble it. In the end I decided to use some of my new piping (also left over from the door cards) and to use the machine to sew this to my new repair panel first.

Then hand sewing the piping and new panel into the old cover, and then pulling it tight and clipping it in place.

That was the best repair of the lot
 As ever, you just feel like you're getting the hang of these things when you finish the job, haha.
 With the repairs done, I could get back to the colouring process. As the seats had been covered in the softening oil, it was time for another round of cleaning with the 'normal' cleaner, then another wipe down in the Leather Prep stuff (wasn't sure if this was nessesary but figured safer to do it anyway) and then onto the next step... more cleaning! This time wiping down with an Alcohol Cleaner from the kit. Very different to my horse cleaner, much more volatile! And then finally I could start putting the colour on. The kit said to start by sponging very thin coats on, working it well into the creases and seams. After the first coat, it was looking a right mess!


Thankfully I'd watched the video guides and knew not to be worried! On with two more coats by sponge then time to use the supplied airbrush to spray on some more coats.
The airbrush experience was a little trying. I thought it was great that the kit came supplied with one, and cans of propellant so you don't need a compressor. My particular airbrush I think wasn't right. I think it was missing a seal, as when I pushed down on the trigger, as much propellant came out of the pin by the trigger as came out of the front...

I appreciate these things happen, and the service I've had from Furniture Clinic has been great, so I don't doubt they would have replaced it for me, but as we are in unusual times, it wouldn't necessarily be a quick turn around and I wanted too push on. The air leak wasn't going to stop the airbrush from working, but it did mean that using the supplied cans of propellant wasn't going to be a good idea. I doubt they'd have lasted long this way. Luckily, I do own a compressor and just had to sort out a bit of a Heath Robinson reducer to bring my 10mm airline down to the small sized required for the airbrush.
When properly adjusted the airbrush gave a nice spray pattern and was easy enough to use but the adjustment window was very narrow and due to its clip together design and plastic construction it was constantly flexing and coming out of adjustment. Every time I refilled the little reservoir of dye, it would definitely need readjusting and at other times just handling the airbrush while moving myself around the different seats seemed enough t throw it off adjustment. It was all a bit of a faff, but ultimately it did the job, so I can't complain. I'm sure if I were to do this more often then a 'proper' airbrush would make things easier.
Regardless of the challenges, after 3 songs coats and 2 spray coats of black dye, the seats were looking great.

So once that had dried for an hour I could do the final step which is to spray on a finish/sealer. This is a clear coat that gives the leather the desired amount of shine and also helps lock in the black dye, making it stronger and more wear resistant (apparently). Again this was airbrushed on, and I had similar challenges with the airbrush. I'm not blaming the tools entirely, as clearly painting outside isn't the best and I'm entirely inexperienced with airbrushes! The finish seemed a bit less forgiving to spray than the dye, probably not helped by the satin finish I'd chosen. But if you're not looking for the imperfections you wont see then (and it will be several hours yet till it's really properly dry so they may fade yet anyway) and overall the effect is great.


Overall I'm very pleased with how those have come out. I could have used leather filler on all the creases and really worked to make them like new, and from what I see online the results are impressive, but I'm happy to wear those creases with price and have a bit of history still show through, while having the constant colour which makes them look tidy.
I now need to give them 24 hours before any rough handling, then they can go back in the car. There's a few more bits to do, like assembling the arm rests and he back of the front seats is a detachable section, very similar to a door card, so that will be getting recovered in black to match, so still plenty to keep busy with.
Also one of my parcels turned up, I think I might know what it is...


