|
|
|
Jul 30, 2020 19:53:39 GMT
|
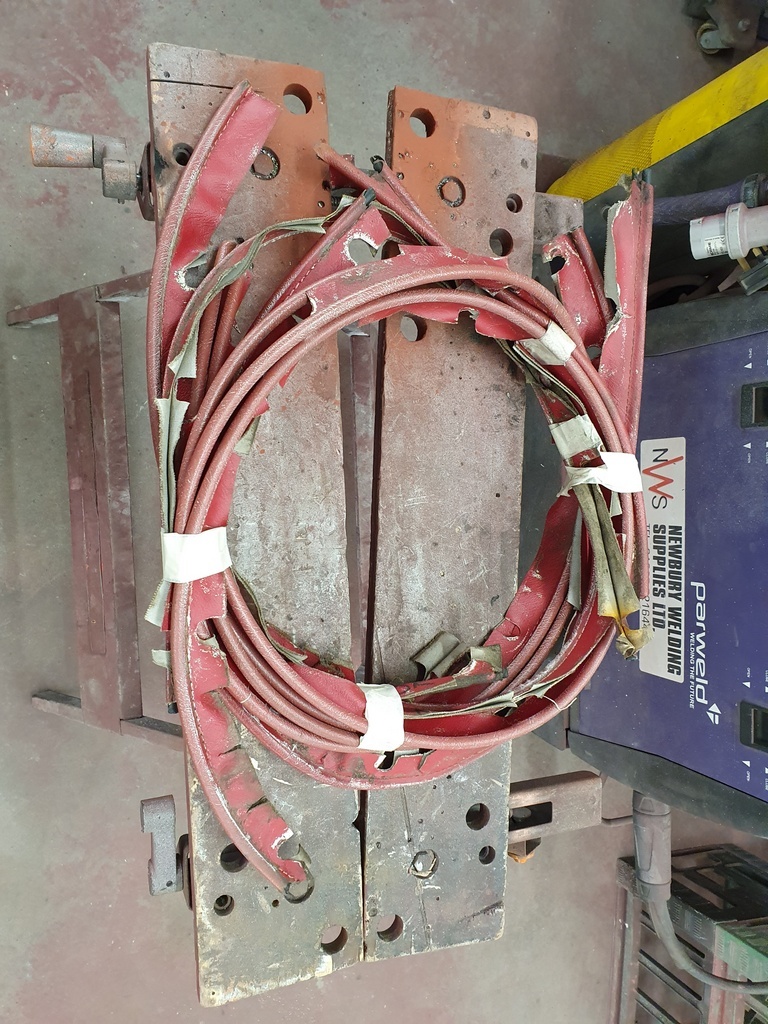 Dug the wing piping out for Mrs GN - she now has the nylon cord on order to form the new wing piping around - we have also identified a closer colour match to the interior trim for which we already have the vinyl in stock 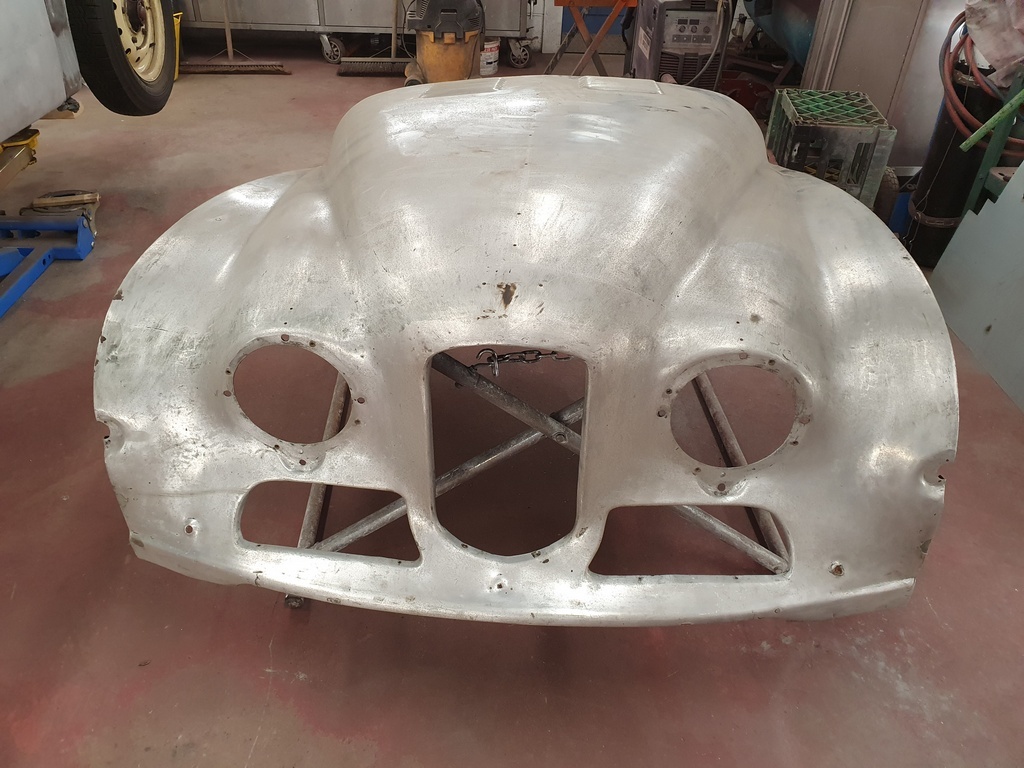 Now making a start on the front panels - bonnet first 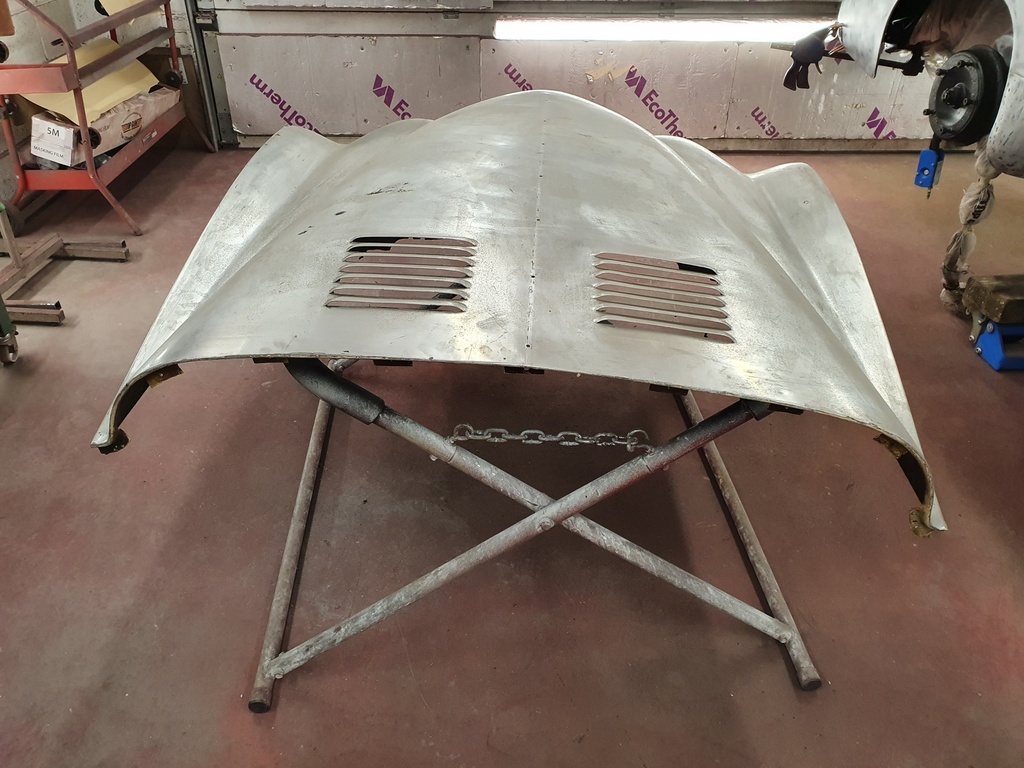 I stripped the bonnet externally of paint when I originally commenced the restoration on the car 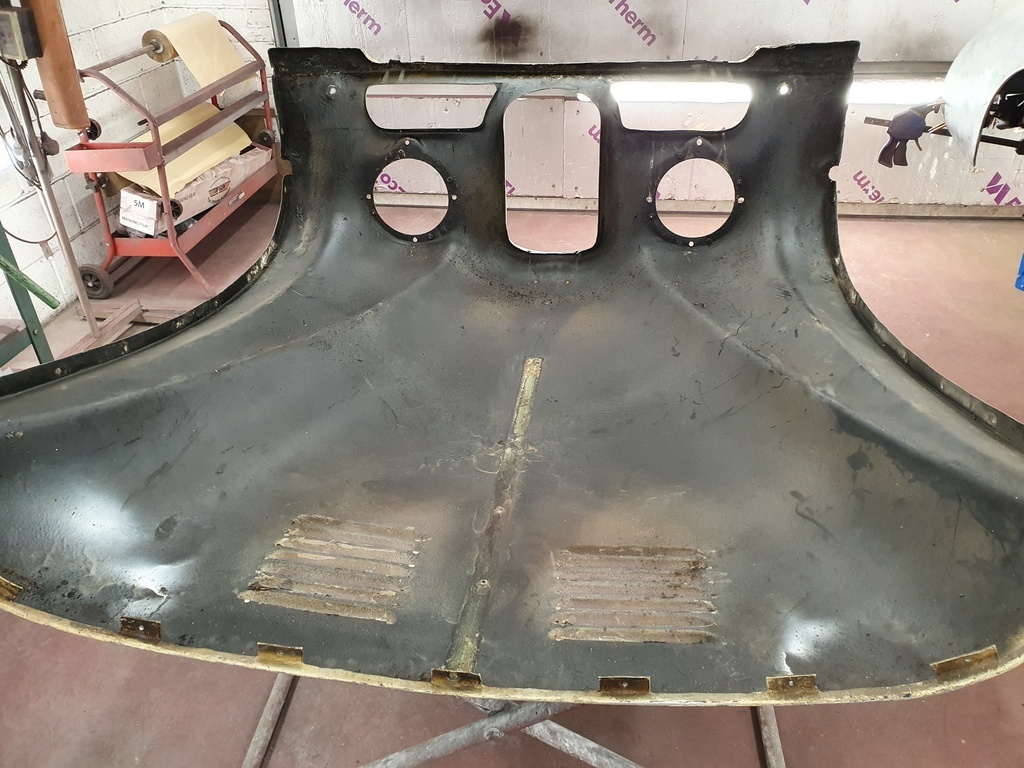 But the underside is still caked in crud 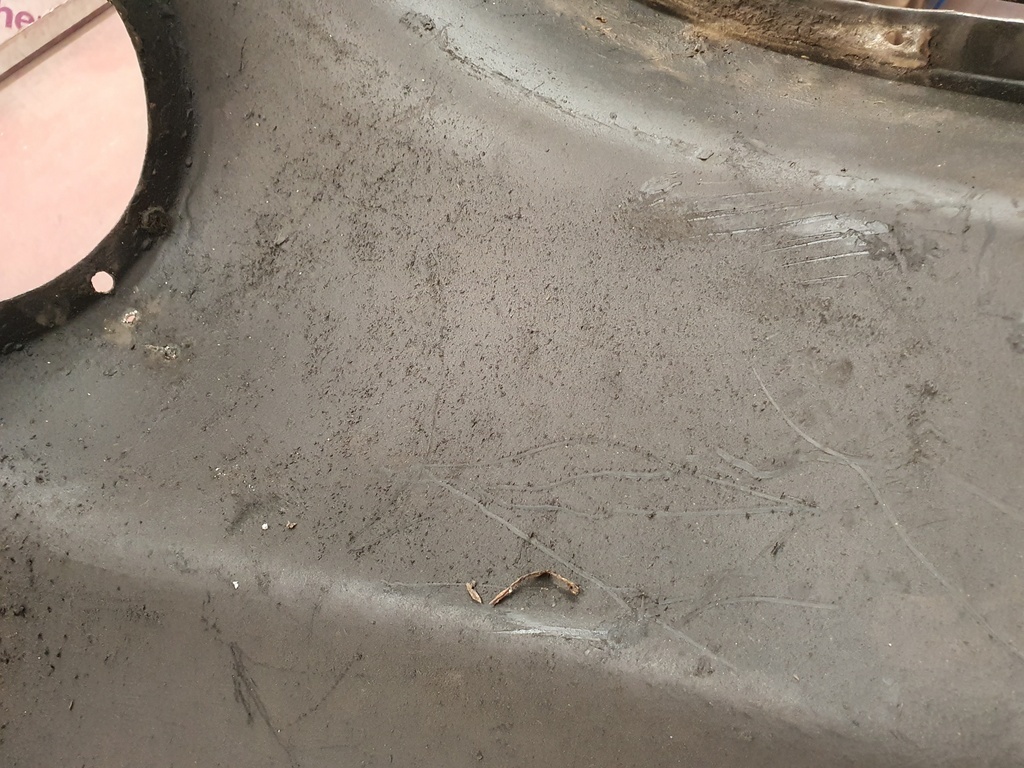 Its got some type of a protective wax coating on it that needs to come off 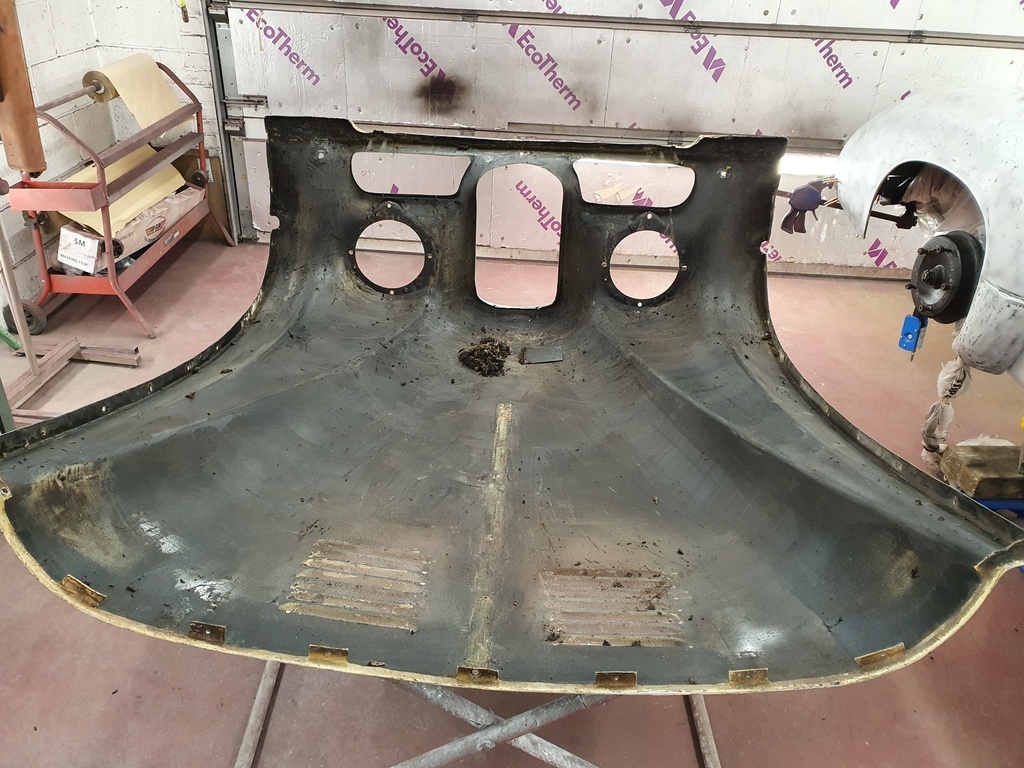 I scraped the worst of it off then took the bonnet outside and gave it a good soaking in degreaser prior to washing it off and leaving it in the sun to dry off 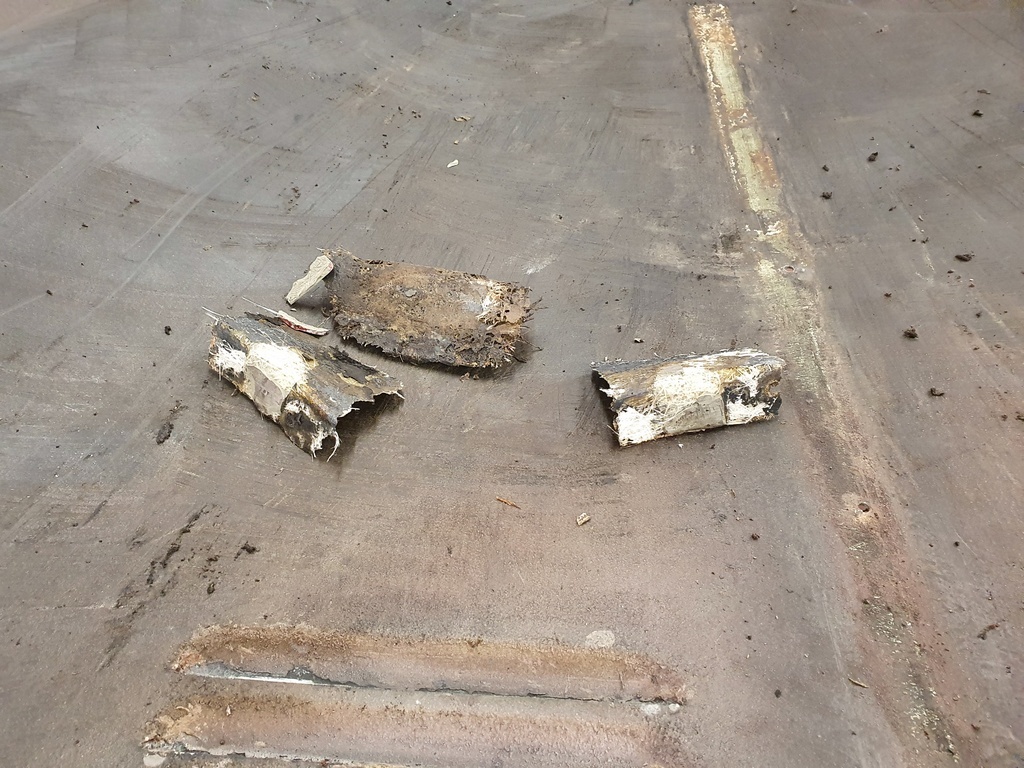 And I'm still pulling lumps of fibreglass out of the panels 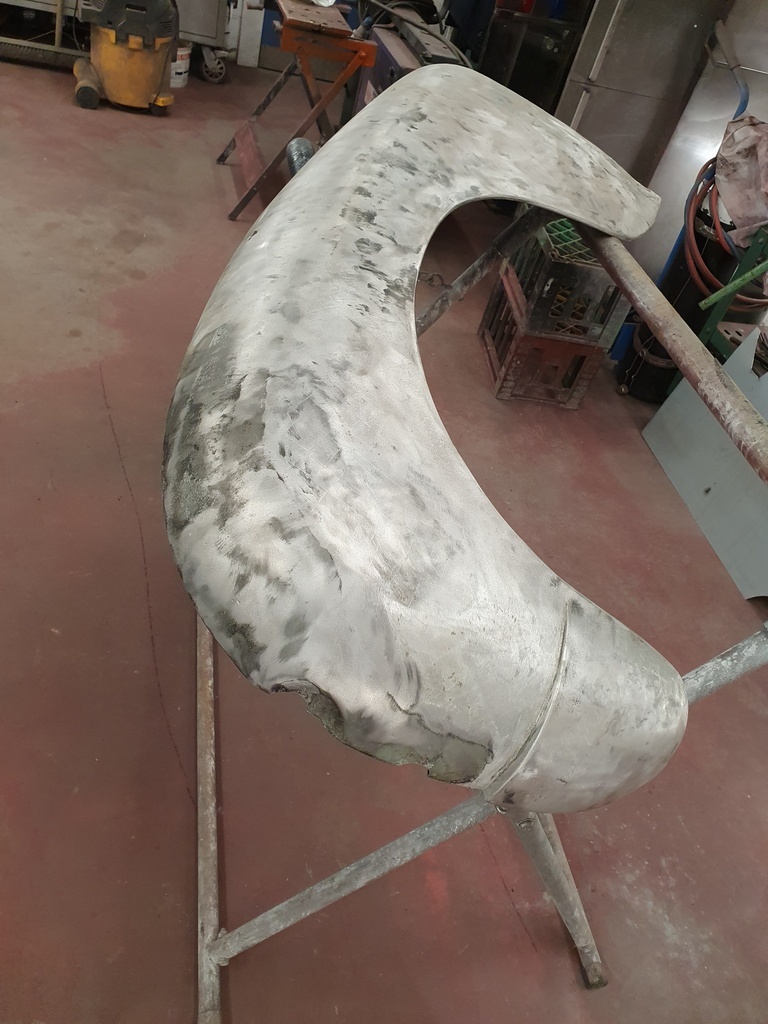 With the bonnet drying I turned my attention to the front wings 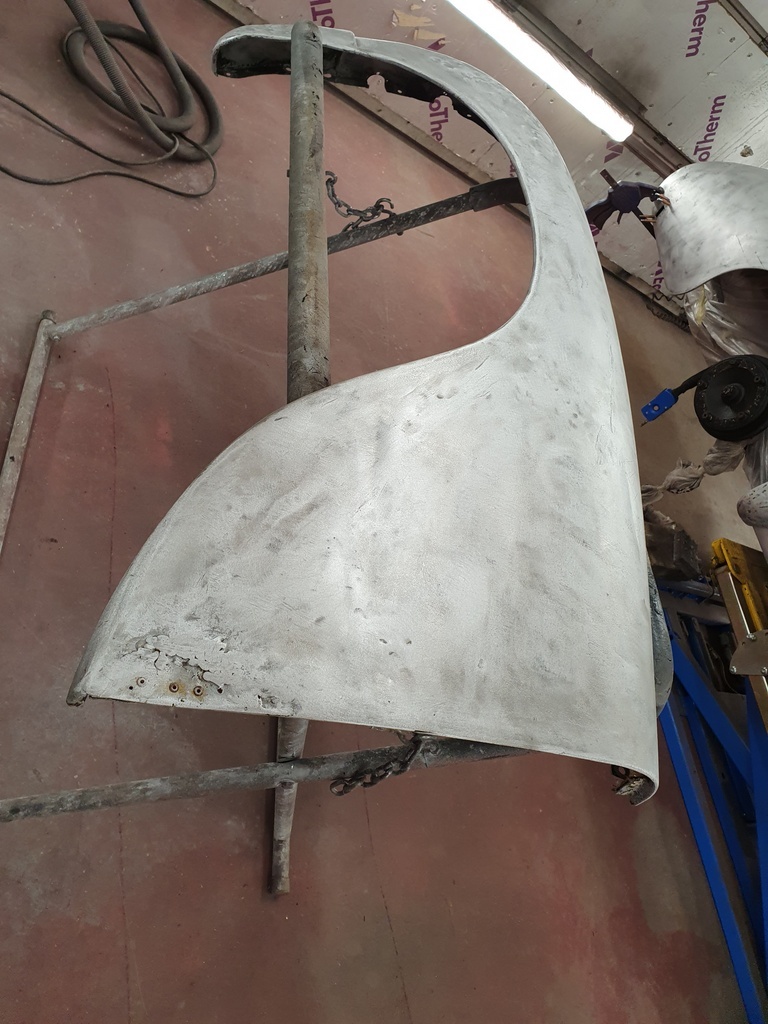 These received a good rub over with the DA and P80's 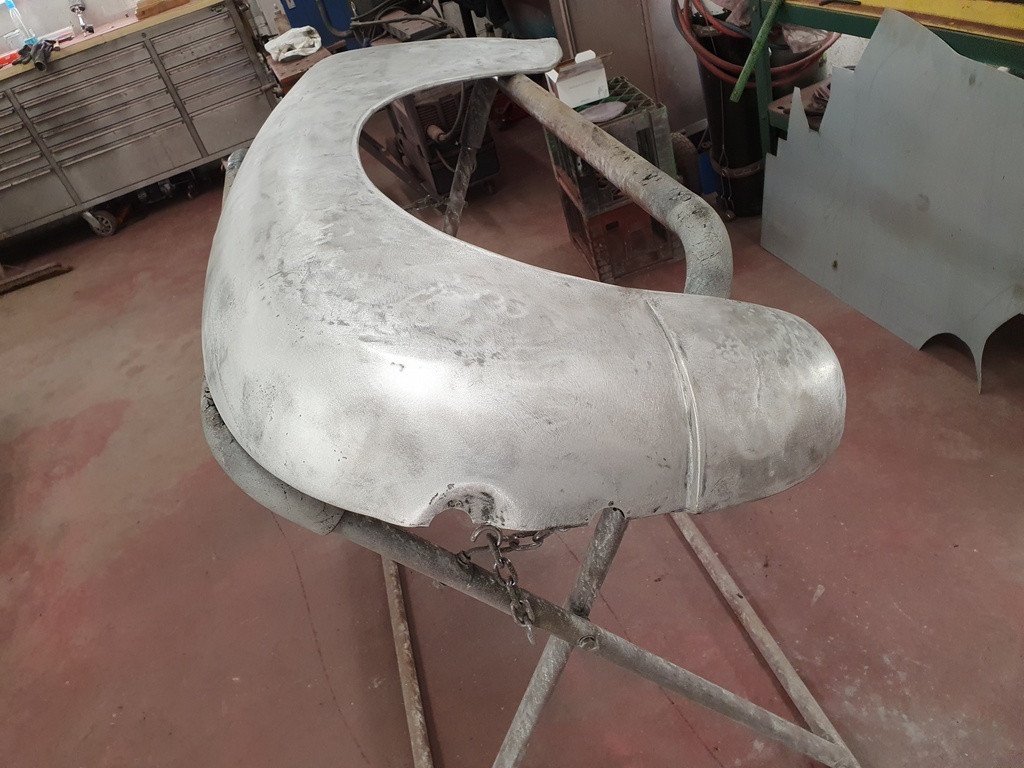 Like every Jupiter body panel they have seen some action over the years 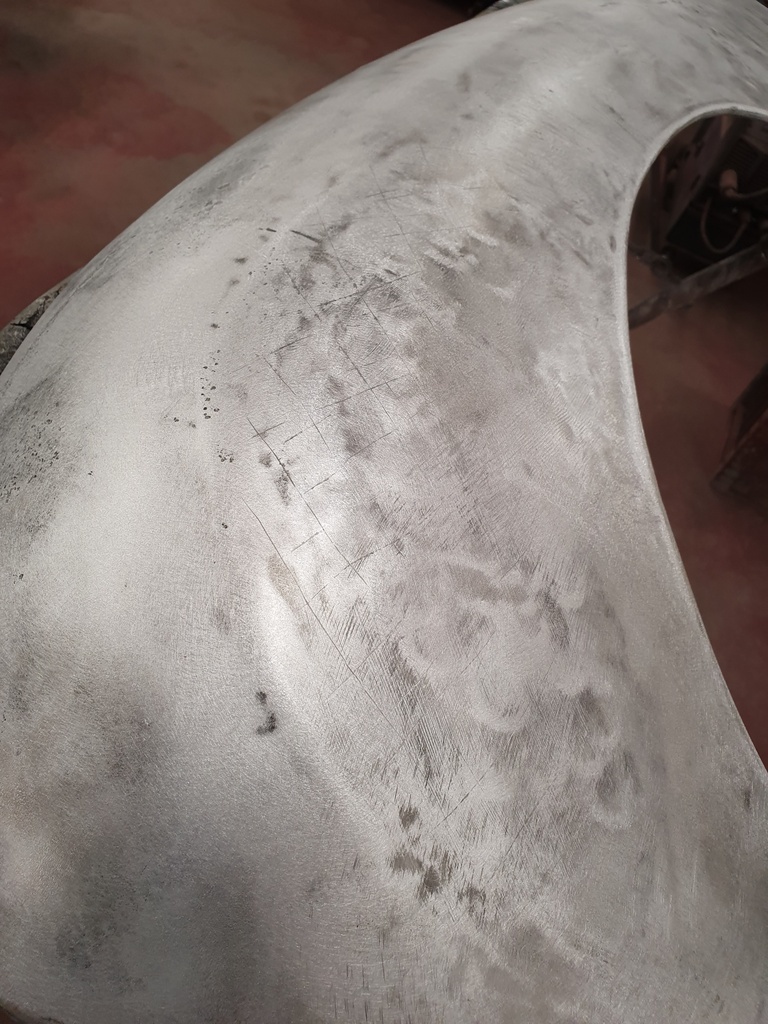 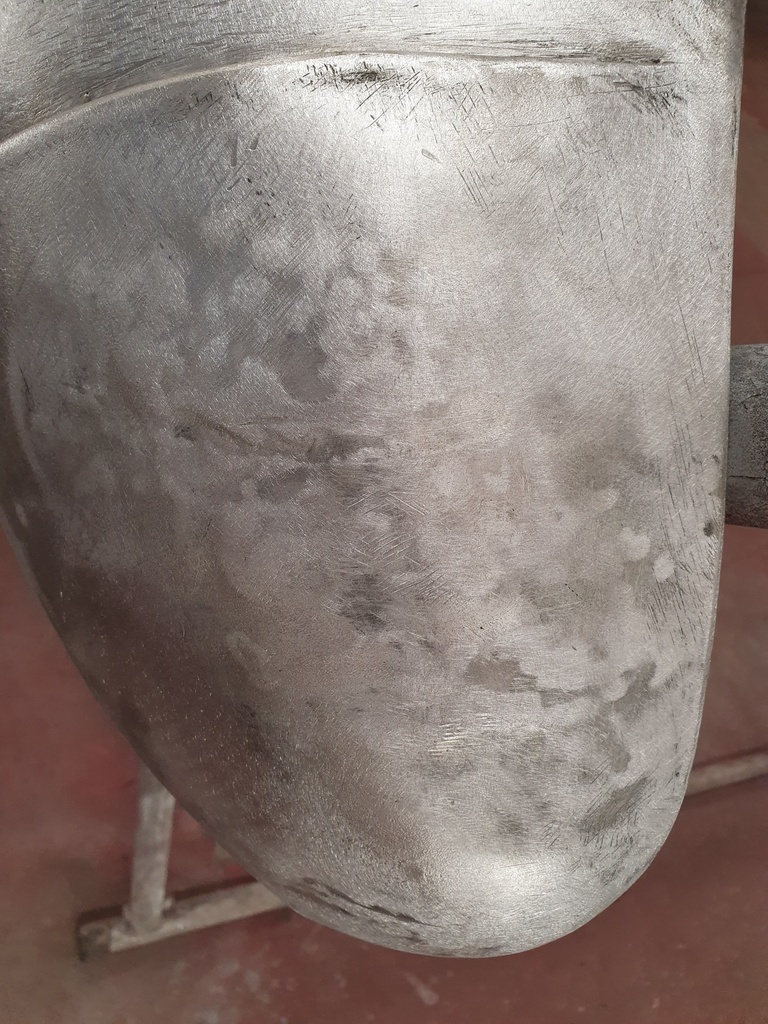 Subjected to some quite crude dent removal at the hands of others 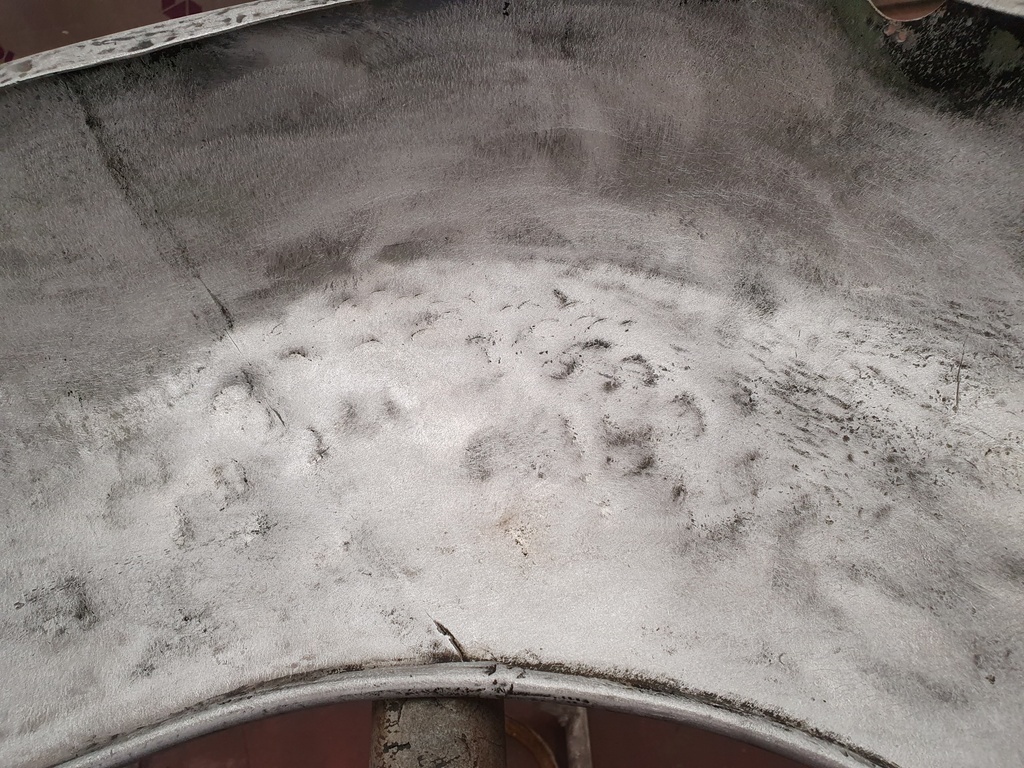 Basically sock out what you can reach with a hammer on the underside and shove a bucketful of filler in on the top side - they shall all be getting trued up correctly prior to any corrective profiling 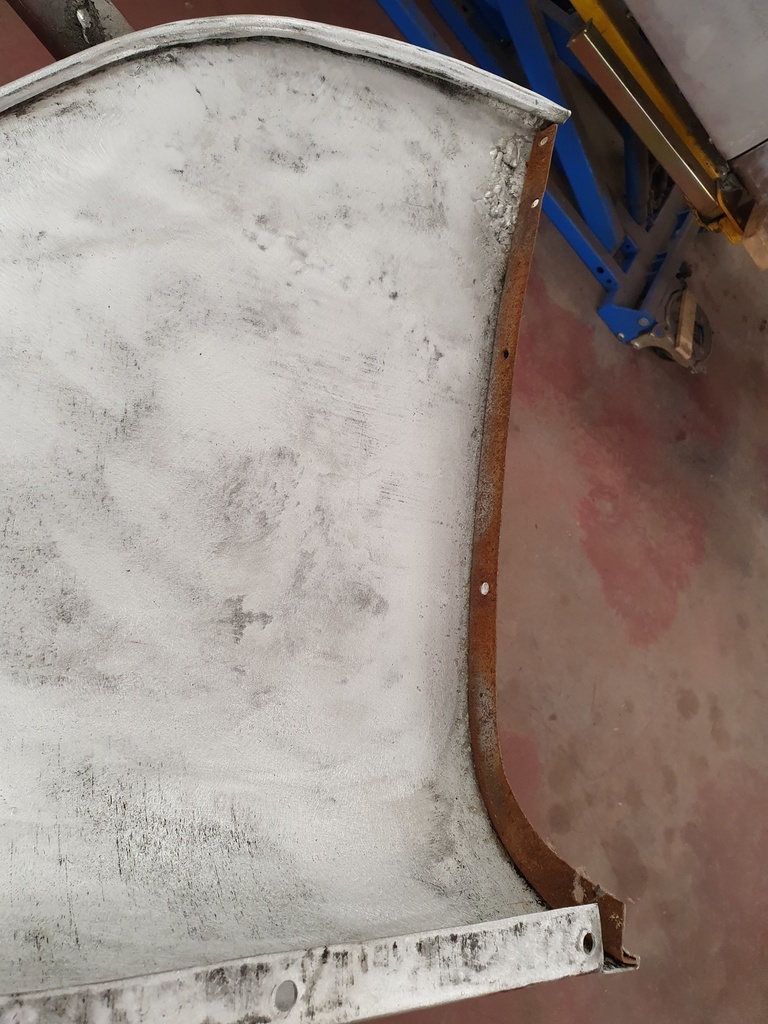 On the rear edge there is a steel support 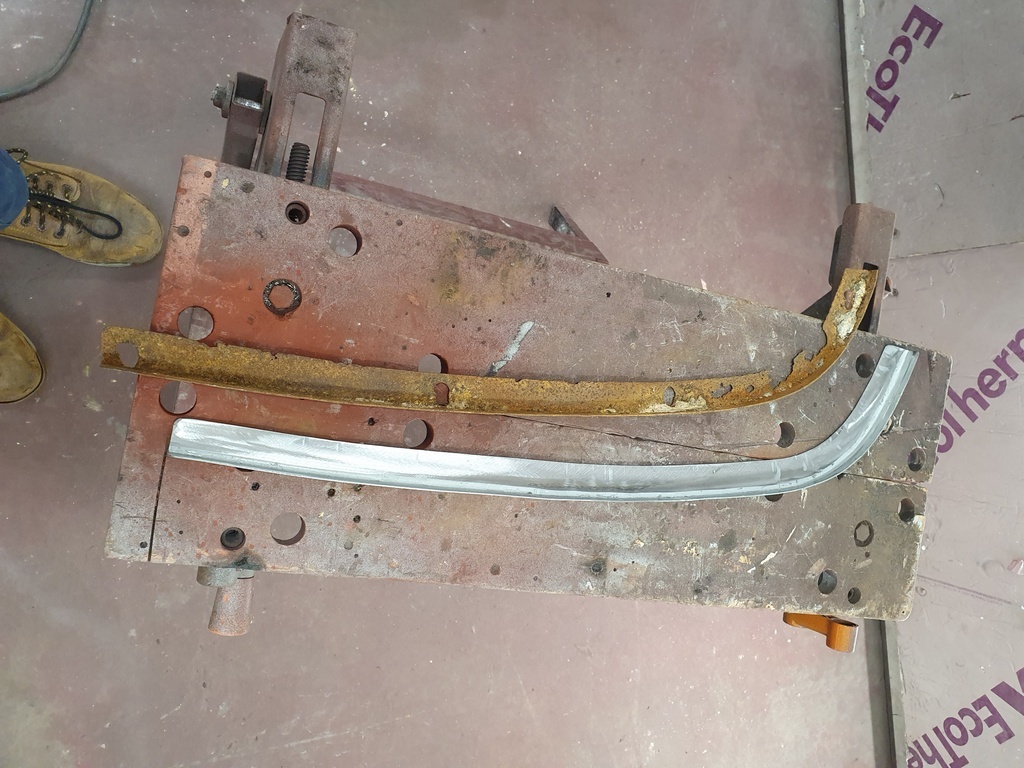 The one on the offside was in a poor condition so I folded up a fresh section then using the shrinker formed the profile 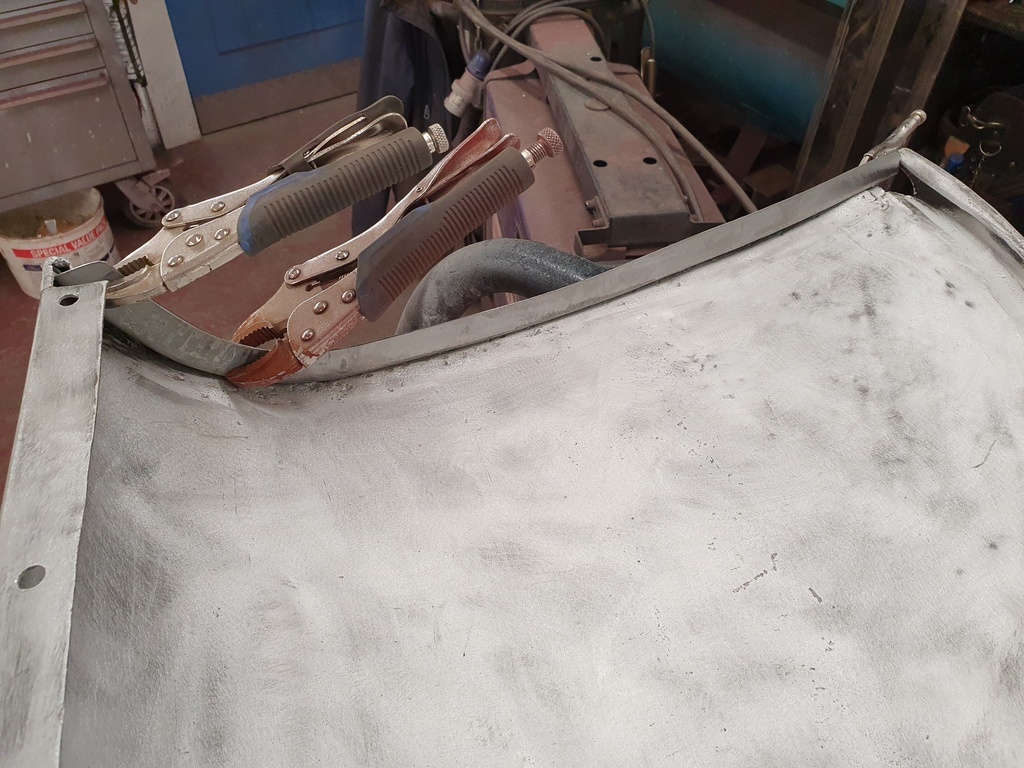 Then trial fitted it 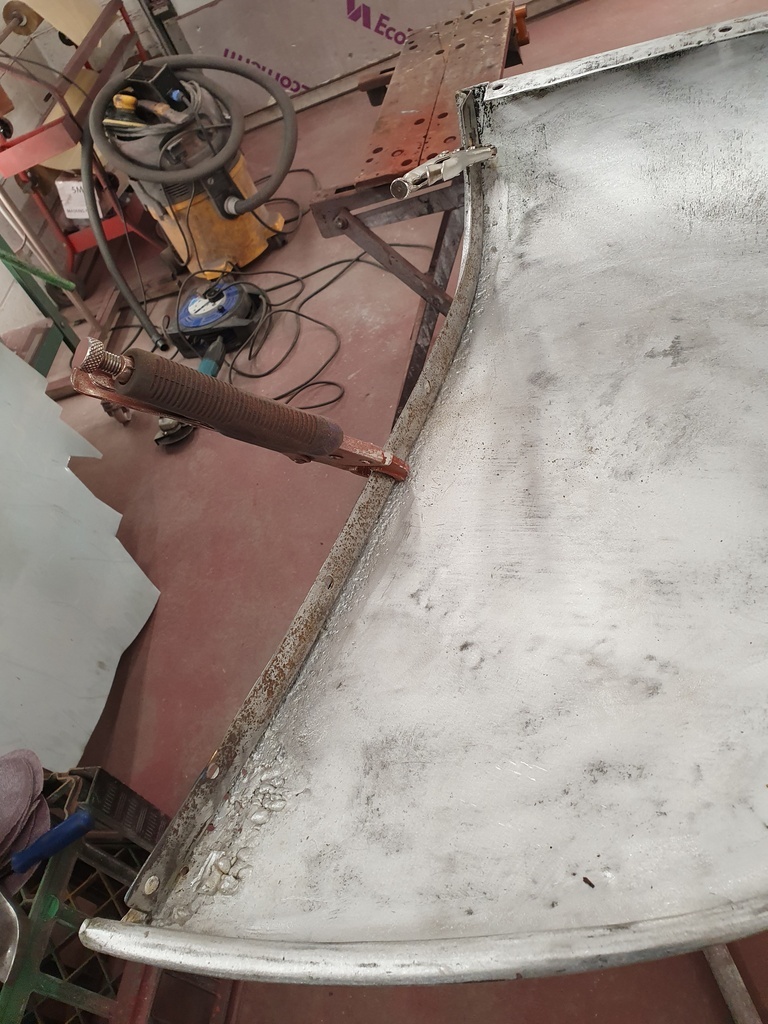 The other one survived with a minor welded repair and clean up - it did get treated with Hydrate 80 though 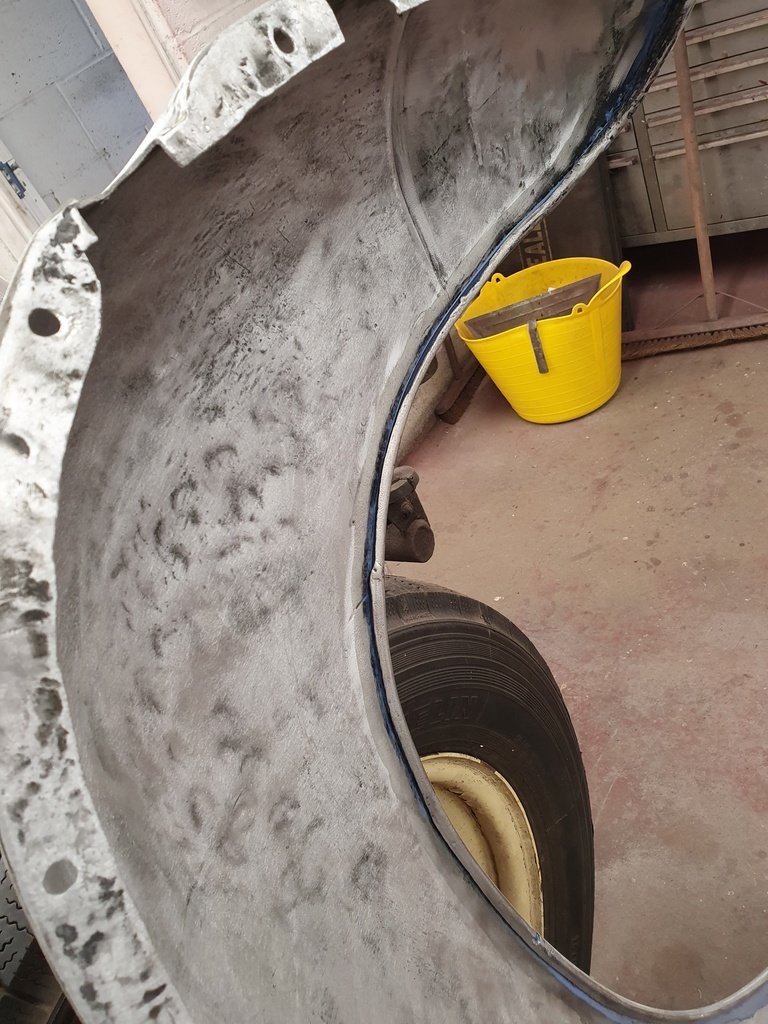 Also treated with Hydrate 80 was the steel bead that is wrapped into the wing edges 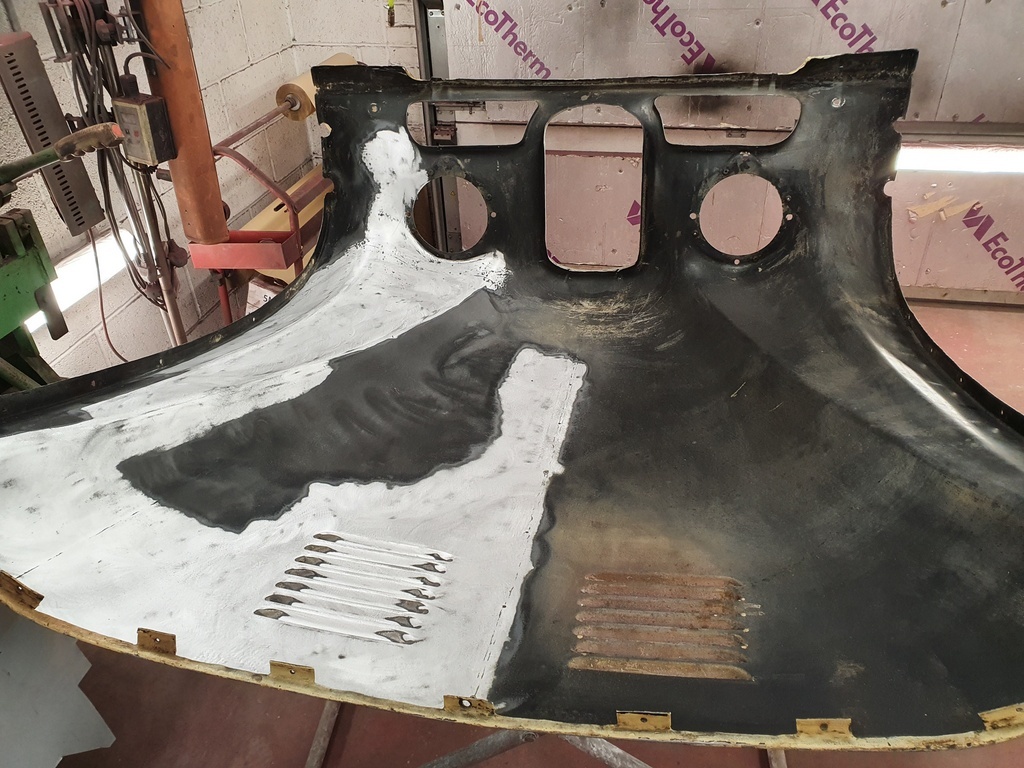 With the bonnet dry I made a start on cleaning the underside off 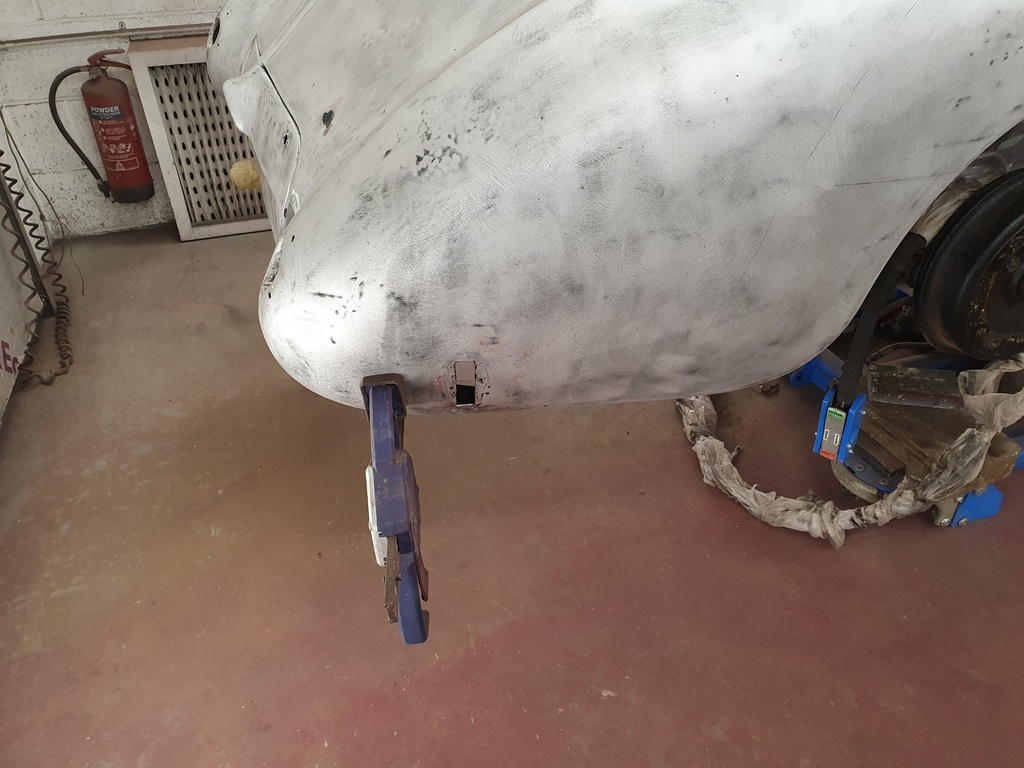 And the last bonded panel repairs have now been made on the rear of the car 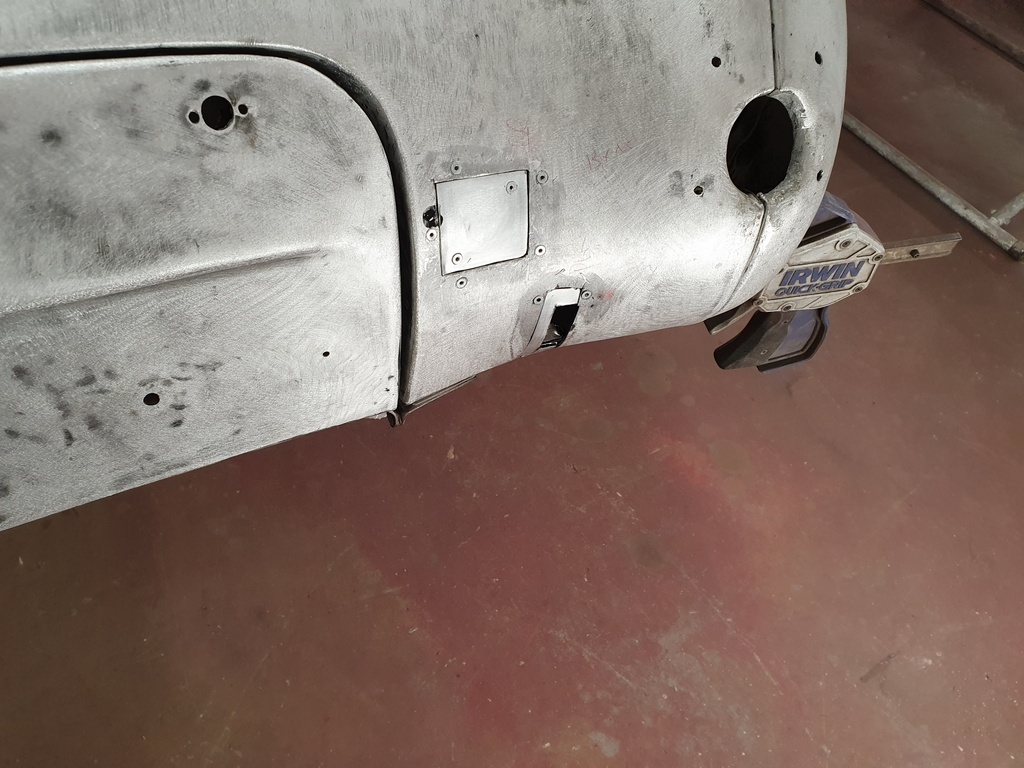 More tomorrow |
| |
Last Edit: Jul 30, 2020 20:00:58 GMT by Deleted
|
|
|
|
|
|
|
Jul 30, 2020 19:59:01 GMT
|
|
I Just sit here and dribble.
That is such lovely shapes.
|
| |
|
|
|
|
|
Jul 30, 2020 20:29:20 GMT
|
|
Since I have become more hands on with my restoration, I really appreciate now, more than ever, what is going on here and the work involved.
|
| |
|
|
|
|
|
Jul 31, 2020 19:40:05 GMT
|
Spent an age getting the underside of the bonnet something like clean / devoid of paint 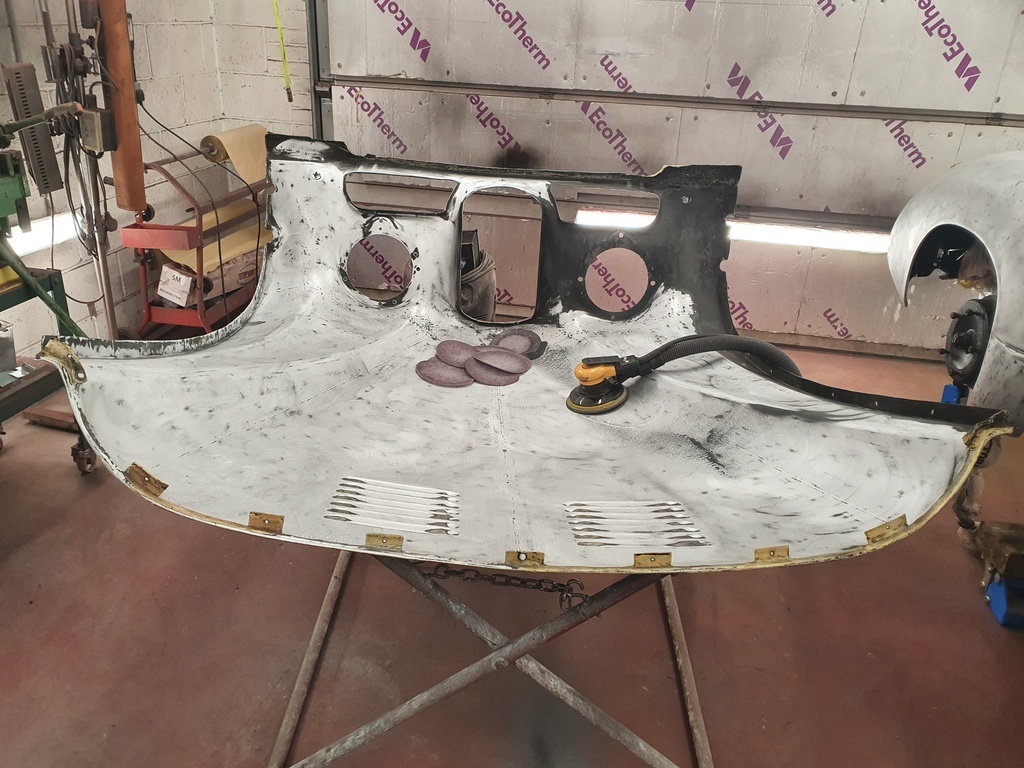 Largely with the DA 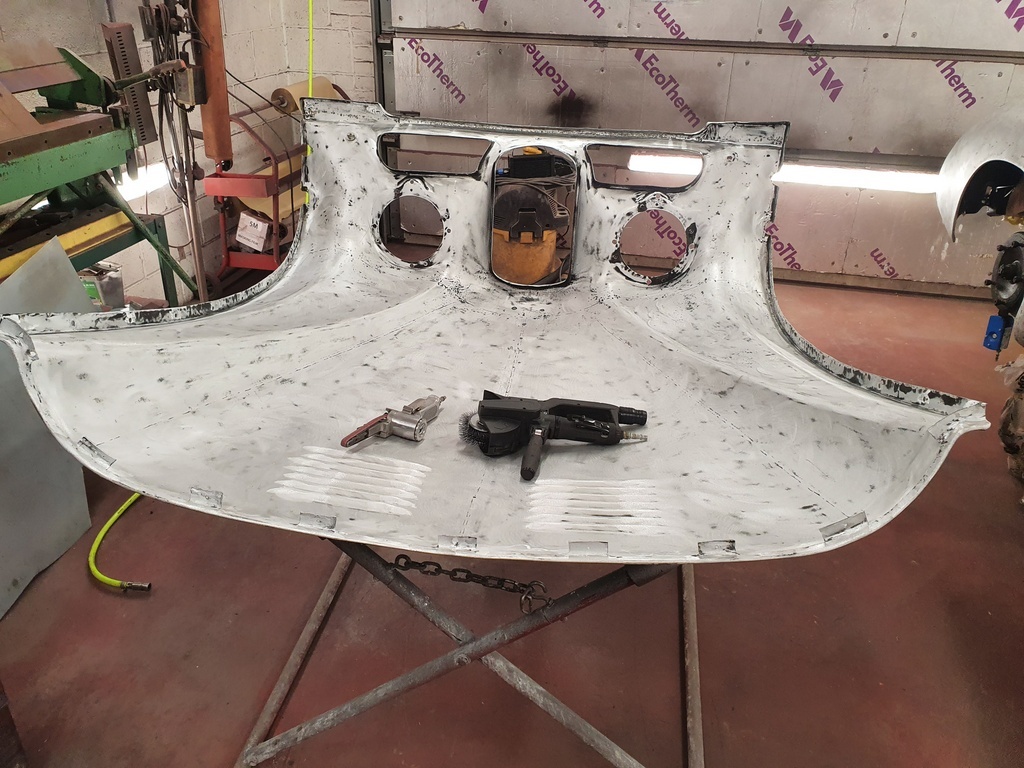 But had to break out some of the other tools to get into the difficult areas 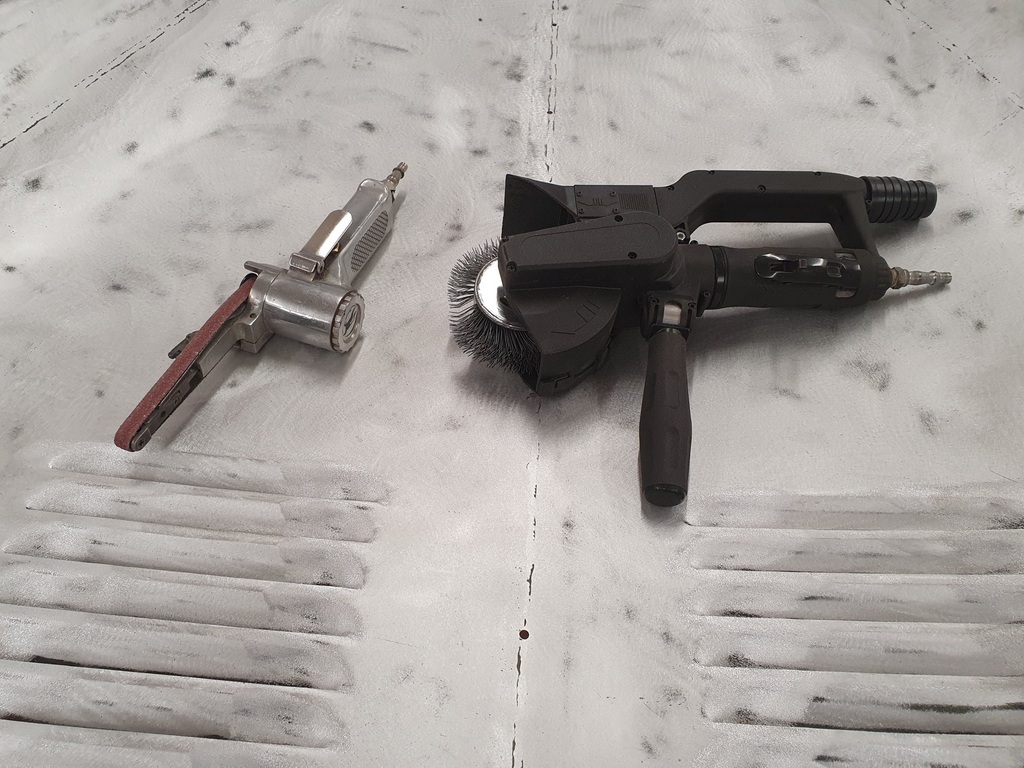 This is the horizontal brace that strengthens the front edge of the bonnet 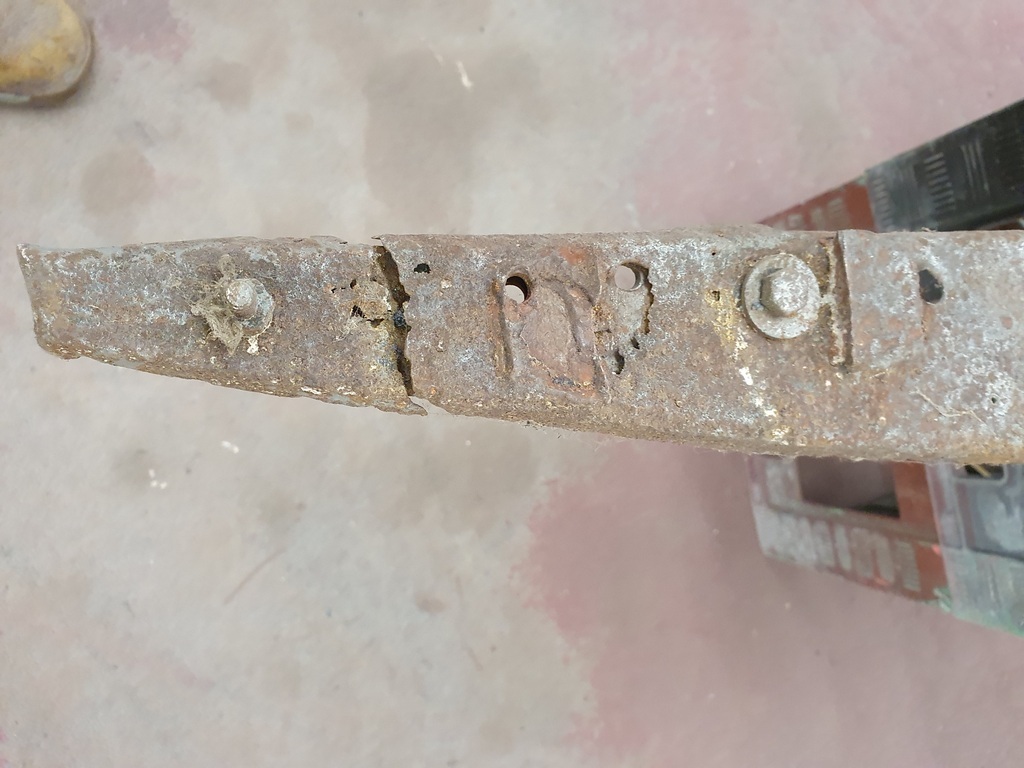 Well what's left of it anyway 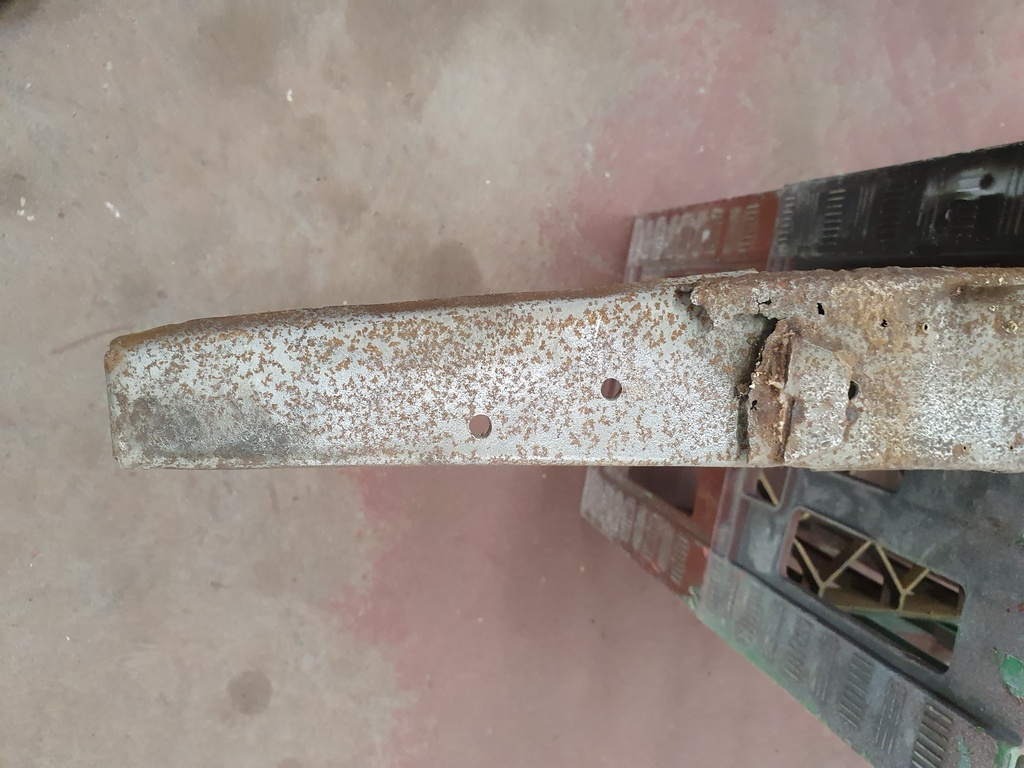 Fortunately I got the club to have a batch made up to pattern 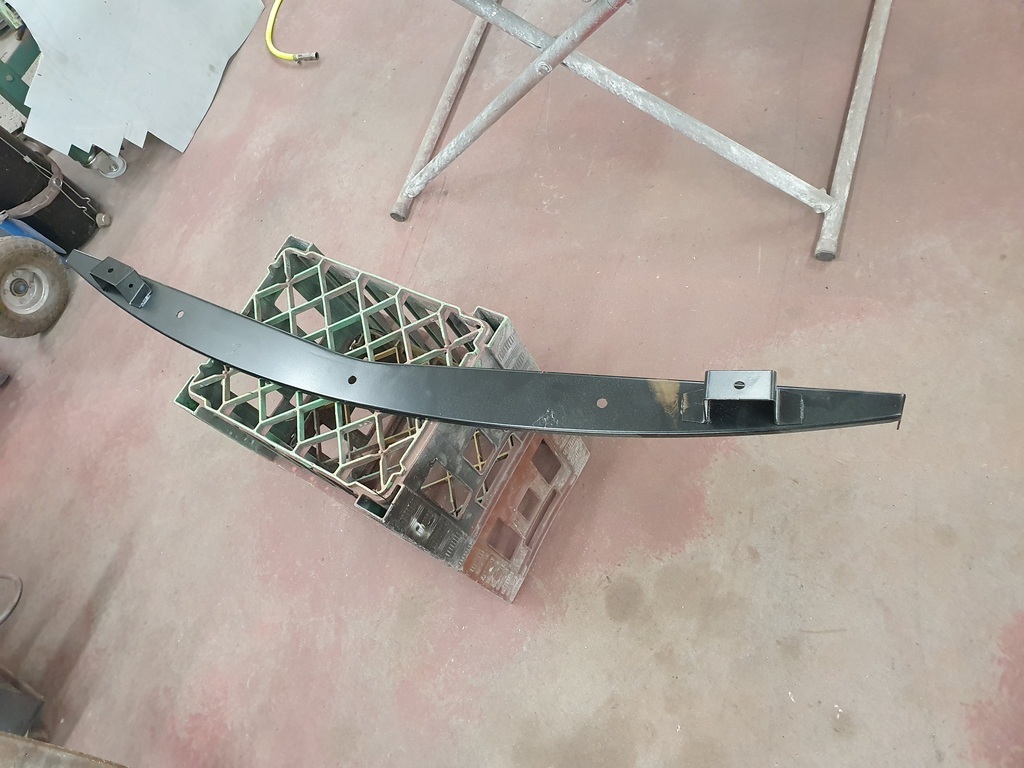 Fits here 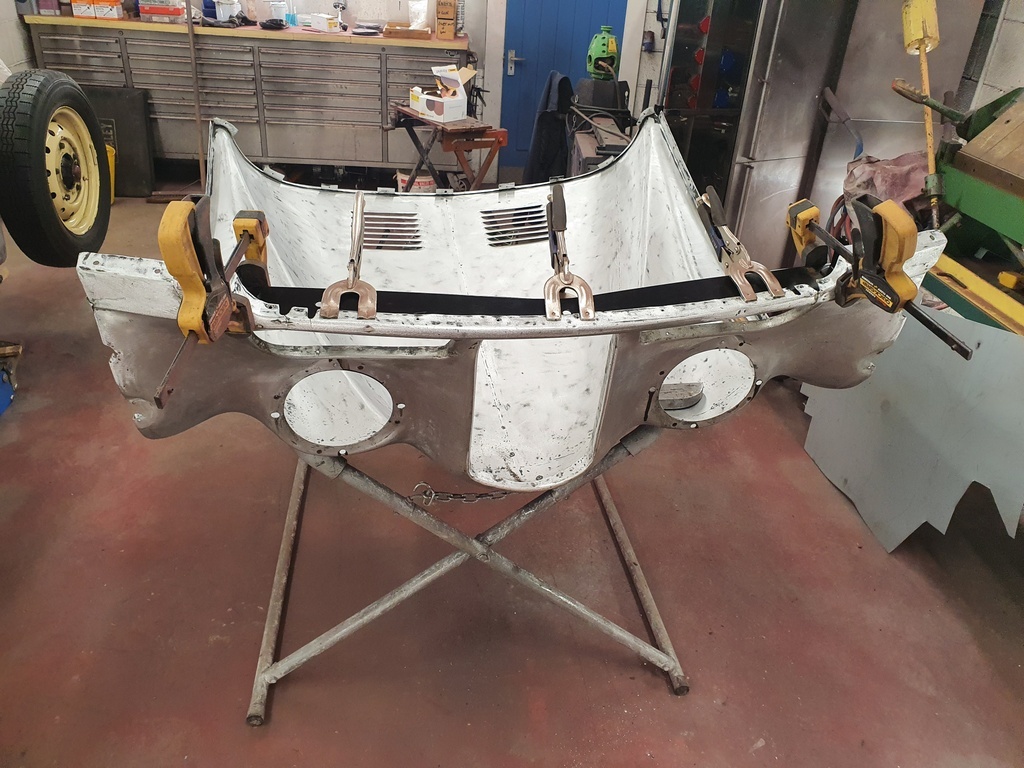 The leading edge on Jupiter bonnets tend to split 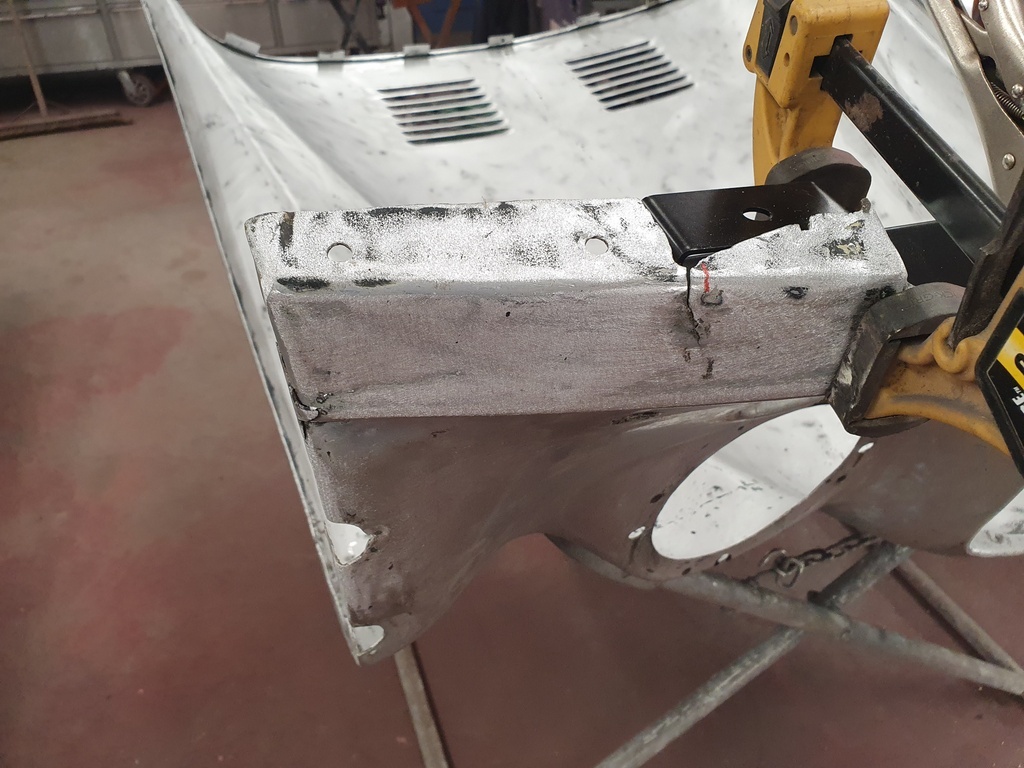 Whilst some of the alloy edge flanges tend to suffer from dissimilar metals corrosion 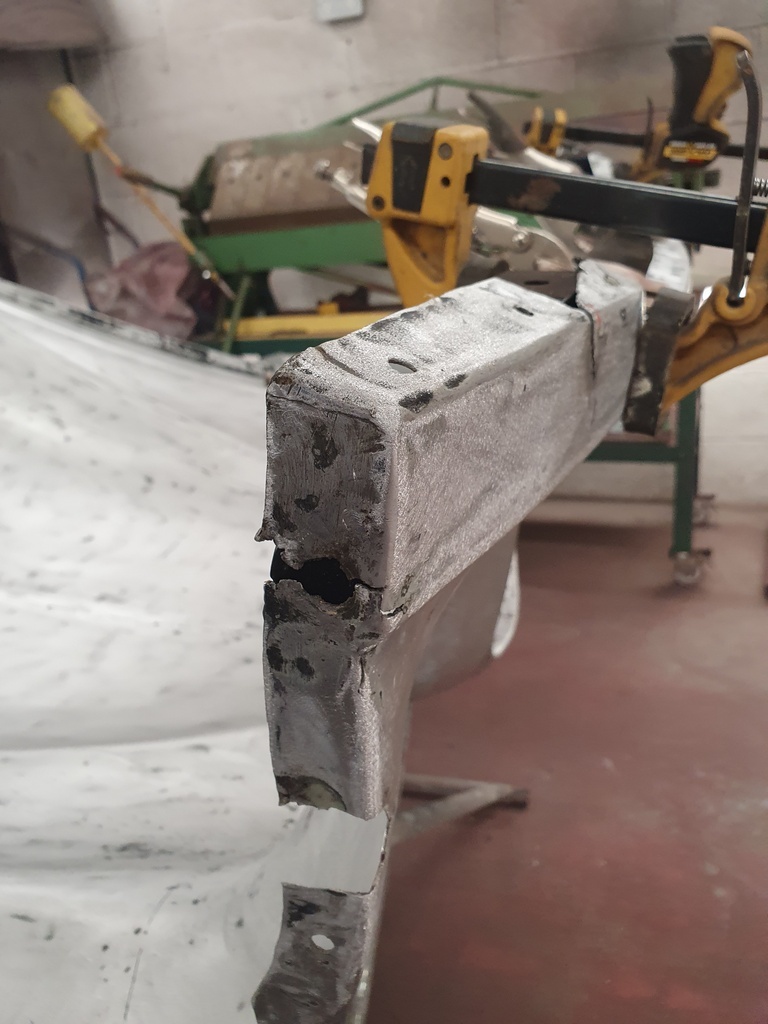 These quarter panels extend down to meet the bottom edge of the front wings 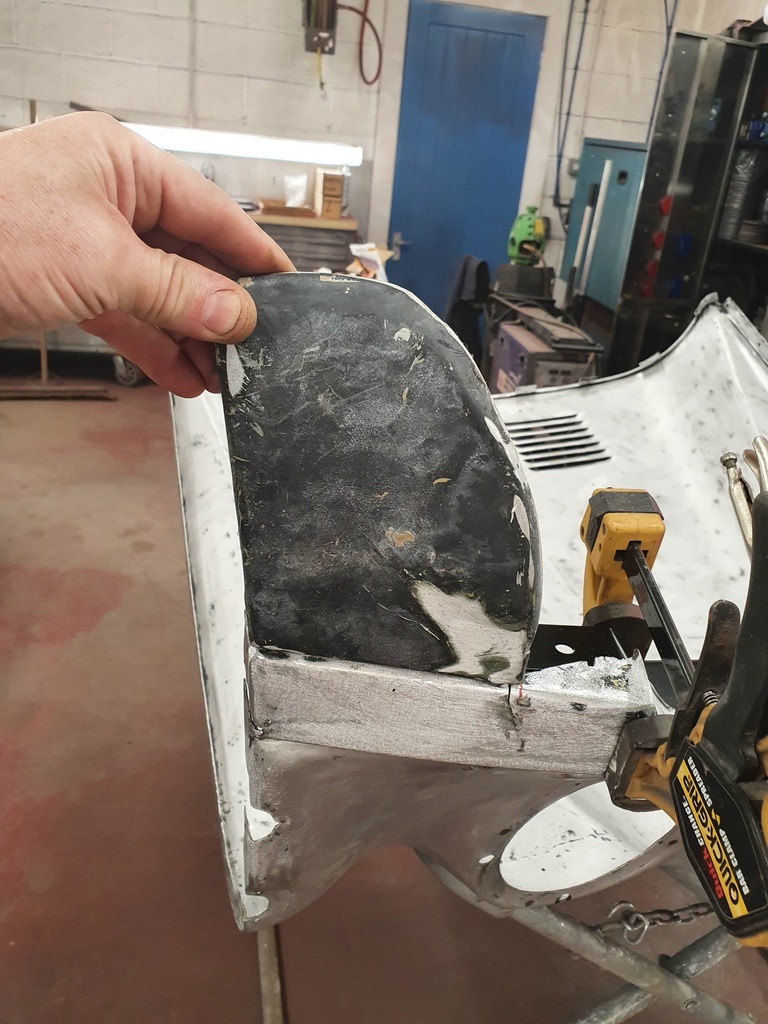 I'm going to have to make a few minor modifications to the horizontal brace but its nothing in the scheme of things 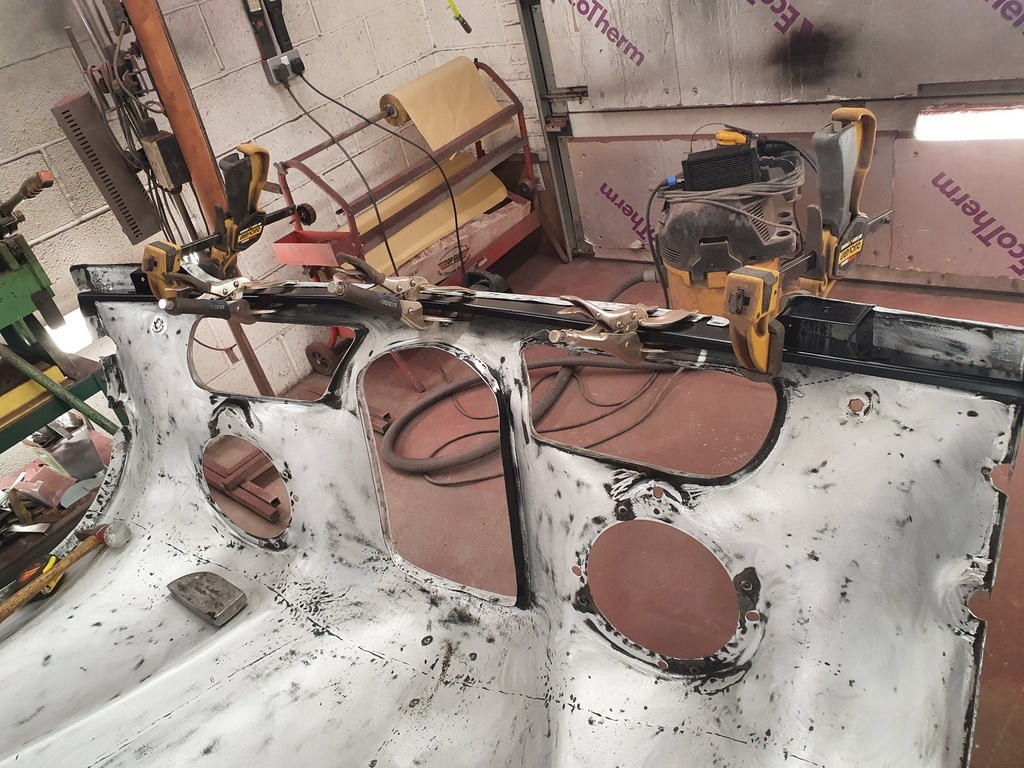 Repairs in the making 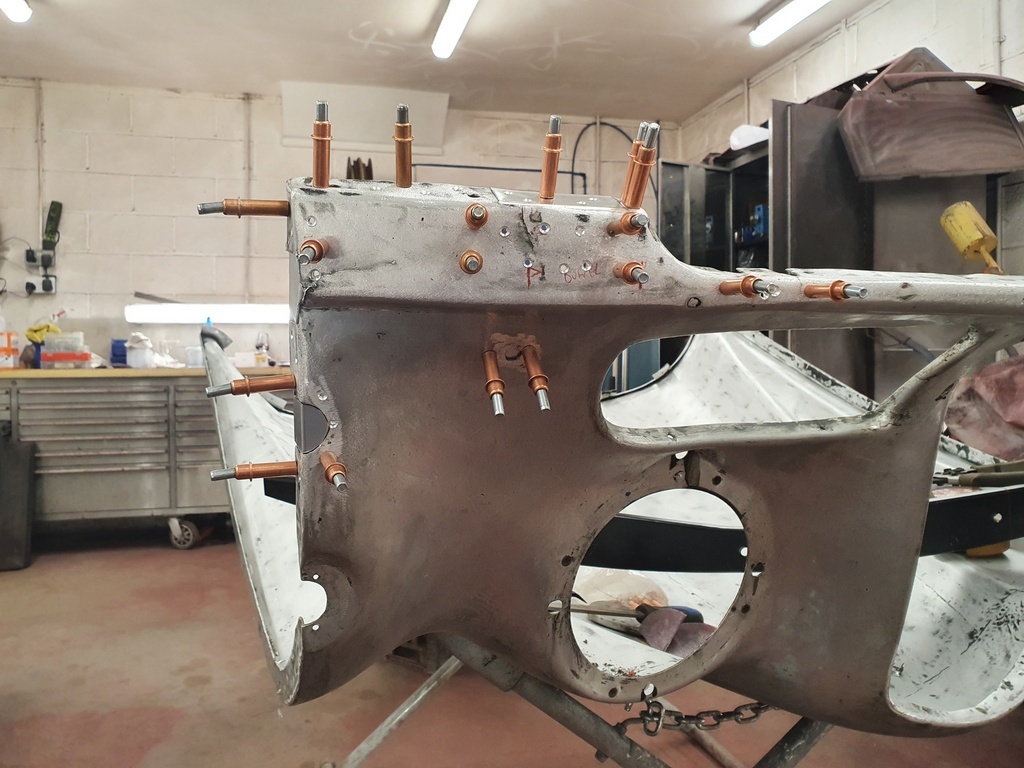 All trial / dry fixed 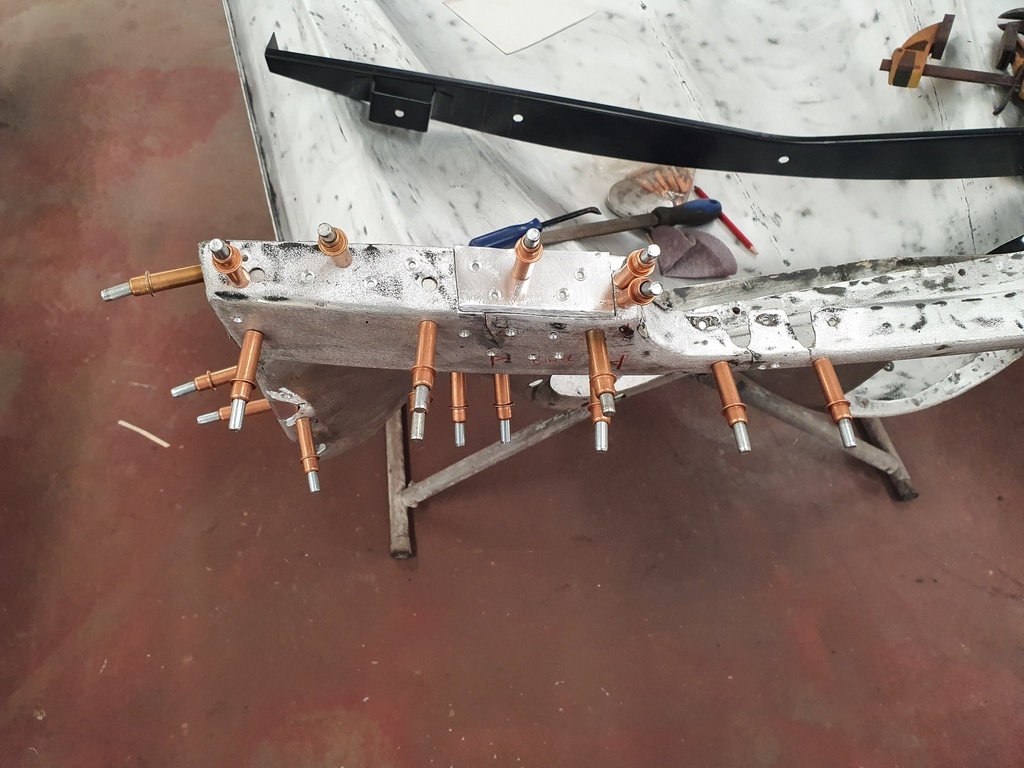 Done in sections - this allows the panel bonding to be undertaking in a batch rather than individually which proves uneconomical 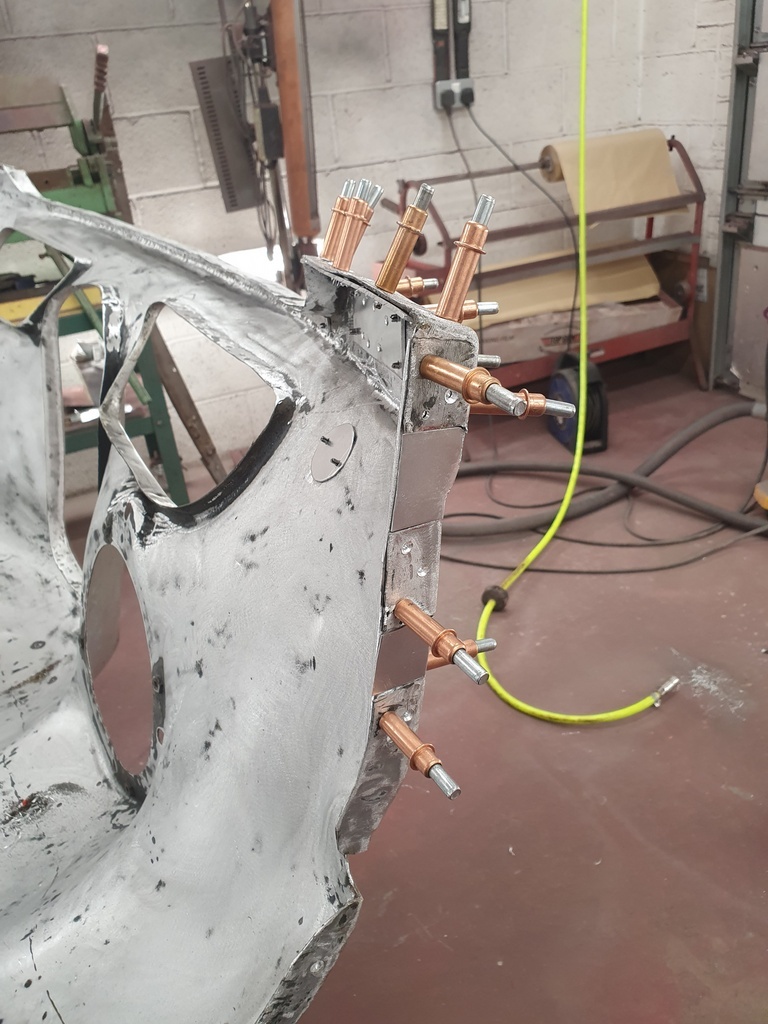 Much of the underside of the bonnet goes unseen and to a great extent the repairs are hidden - non the less I would like to make the repairs has neat as possible 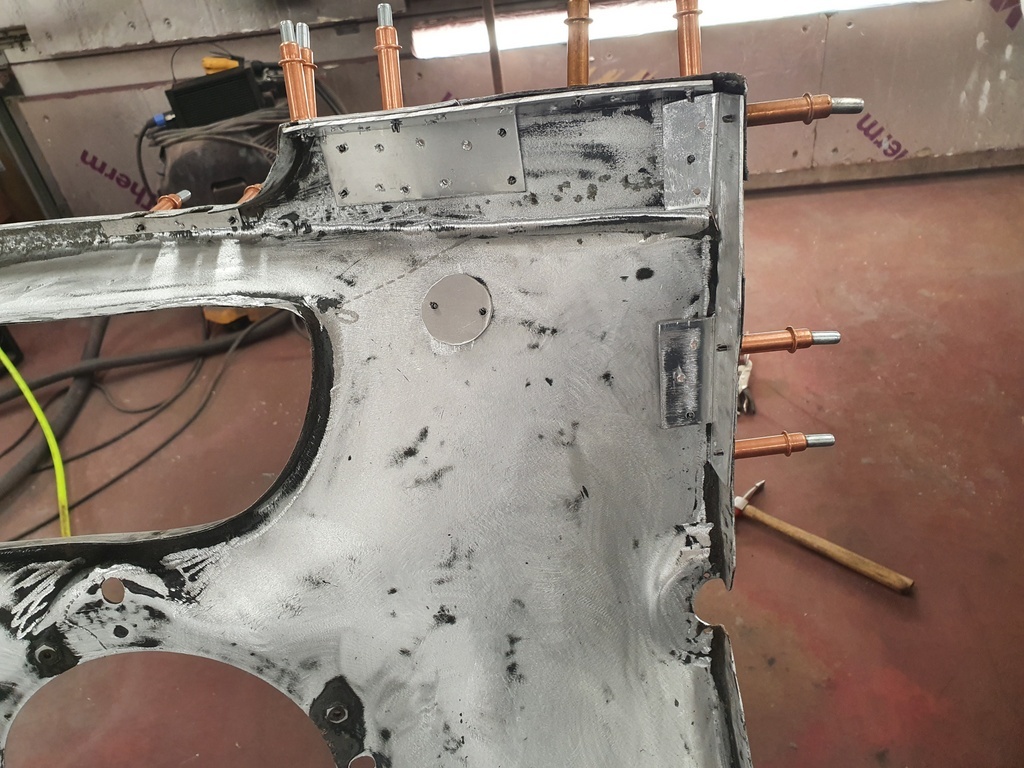 More tomorrow |
| |
Last Edit: Jul 31, 2020 19:45:47 GMT by Deleted
|
|
|
|
|
Jul 31, 2020 20:39:09 GMT
|
|
Whats the sacary-ass wire wheel contraption chris? Its a new one on me.
|
| |
'80 s1 924 turbo..hibernating
'80 golf gli cabriolet...doing impression of a skip
'97 pug 106 commuter...continuing cheapness making me smile!
firm believer in the k.i.s.s and f.i.s.h principles.
|
|
|
|
|
Jul 31, 2020 22:07:56 GMT
|
|
GN, if you're doing hammer/dolly work on the aluminium panels, do you have to anneal them first?
Thanks, John
|
| |
|
|
|
|
|
|
|
Whats the sacary-ass wire wheel contraption chris? Its a new one on me. Its called a 'Surface Prep Pro' supplied by a professional bodyshop tools specialist - I don't use it often - air powered - but its very good at getting into things like the vent flutes on the bonnet etc without causing damage to the panel |
| |
Last Edit: Aug 1, 2020 7:16:30 GMT by Deleted
|
|
|
|
|
|
|
GN, if you're doing hammer/dolly work on the aluminium panels, do you have to anneal them first? Thanks, John John - The alloy used on the Jupiter's is a product called 'Brimabright' (also used on early Land Rovers) - its a magnesium alloy and has such is medium soft to which extent its easy to reshape without annealing - To be honest its probably a little too soft for my liking and its collected a lot of bruises over its lifetime - there is going be a lot of reshaping / reprofiling on the car in order to get it looking right |
| |
|
|
|
|
|
|
|
|
Cant beat the right tool for the right job.
|
| |
'80 s1 924 turbo..hibernating
'80 golf gli cabriolet...doing impression of a skip
'97 pug 106 commuter...continuing cheapness making me smile!
firm believer in the k.i.s.s and f.i.s.h principles.
|
|
|
|
|
|
|
Spent some time making up the repair sections for the other side of the bonnet - all trial / dry fitted prior to being bonded 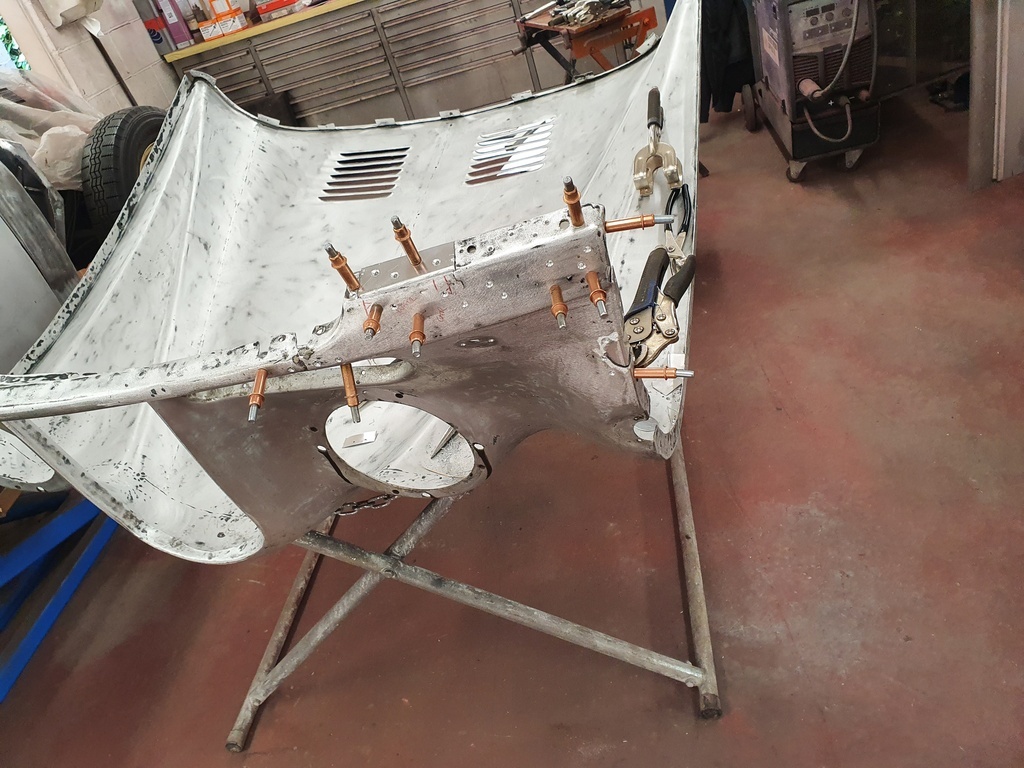 I also wanted the get the forward panel repairs on the front wings completed at the same time 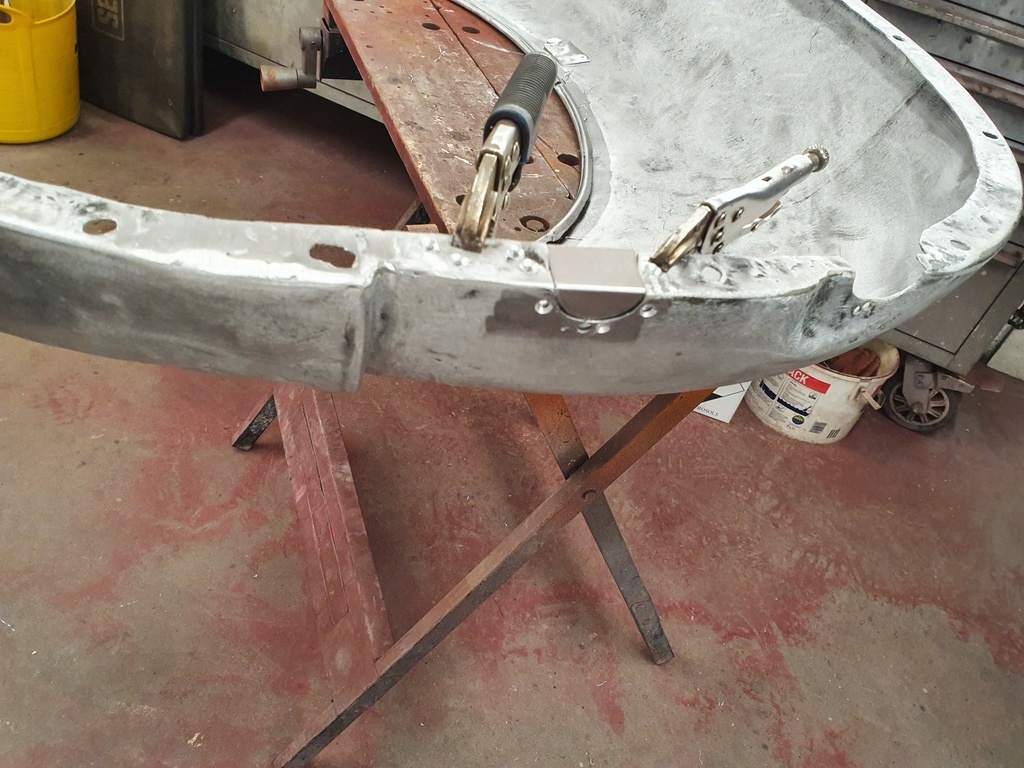 This is to delete a non original lamp aperture that had been part cut into the wing 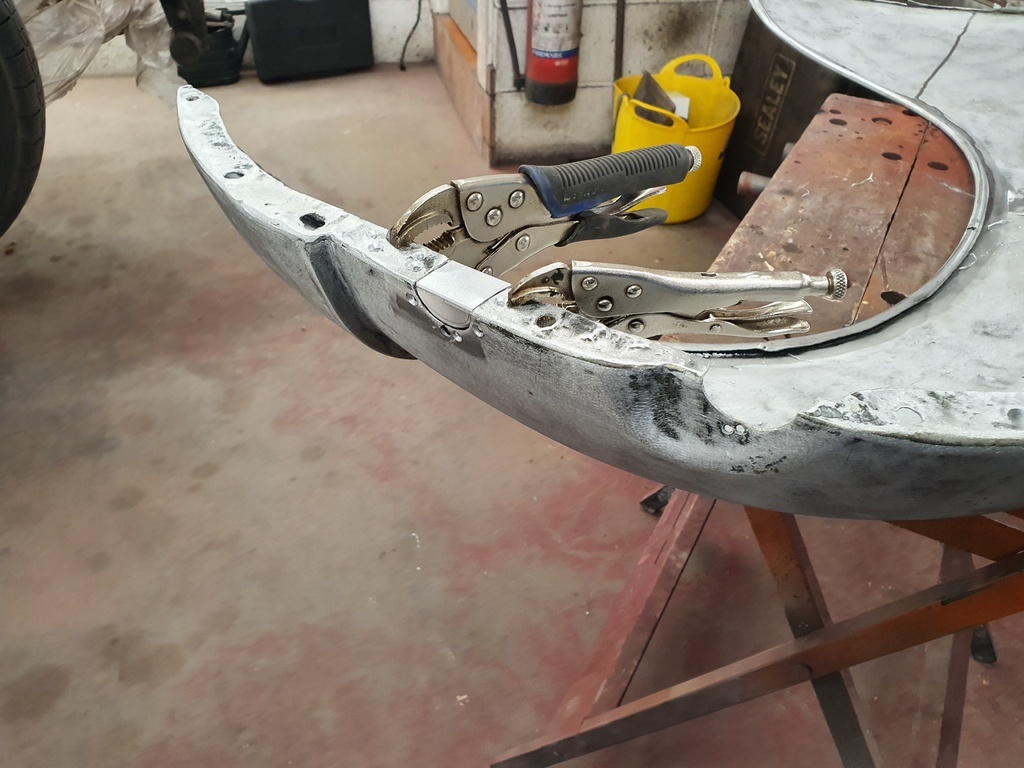 The wing mirror apertures are also getting deleted 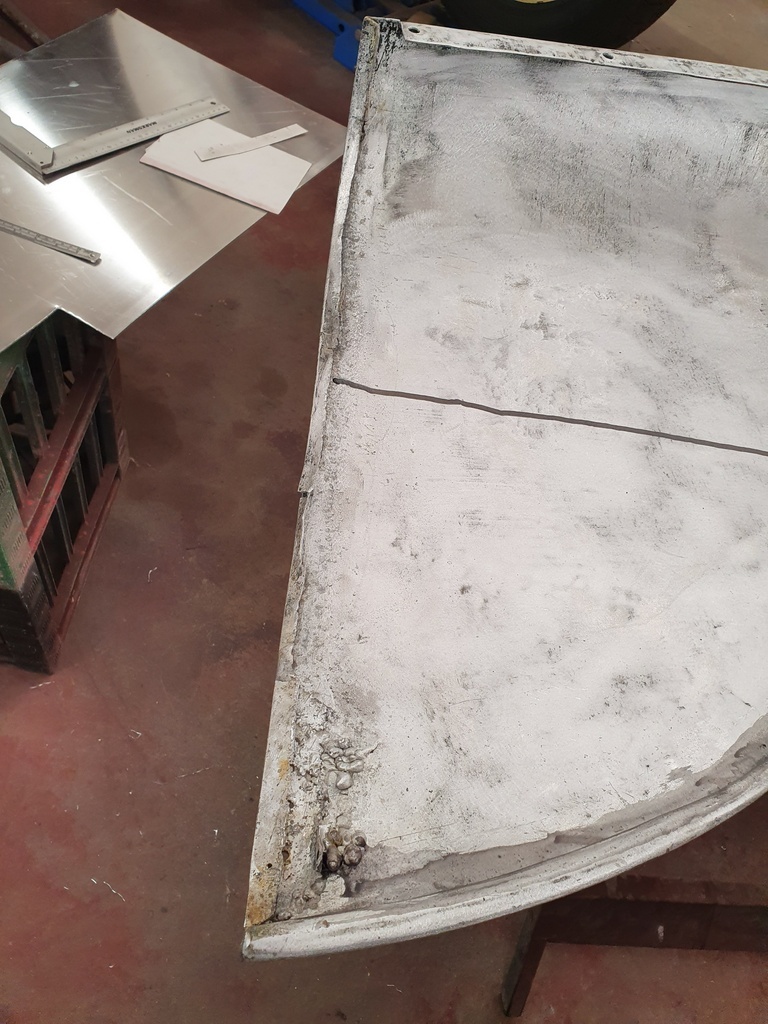 I'm delaying the panel repairs to the rearward vertical edge of the front wings until I get the wings mounted to the bonnet and the bonnet on its hinges to enable the alignment of the gapping with the the A post - from past experience this is normally well adrift of what I consider acceptable 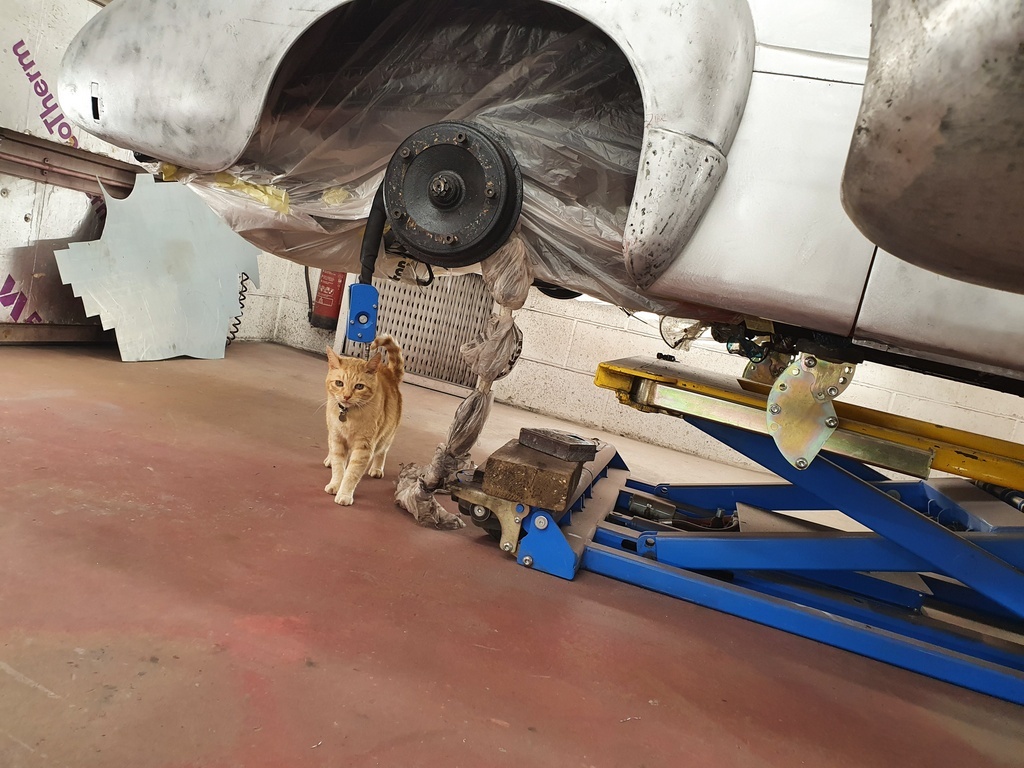 I was just about to start bonding the repairs when Sid called in for a project update - he didn't stay long something to do with an appointment with the sun rays 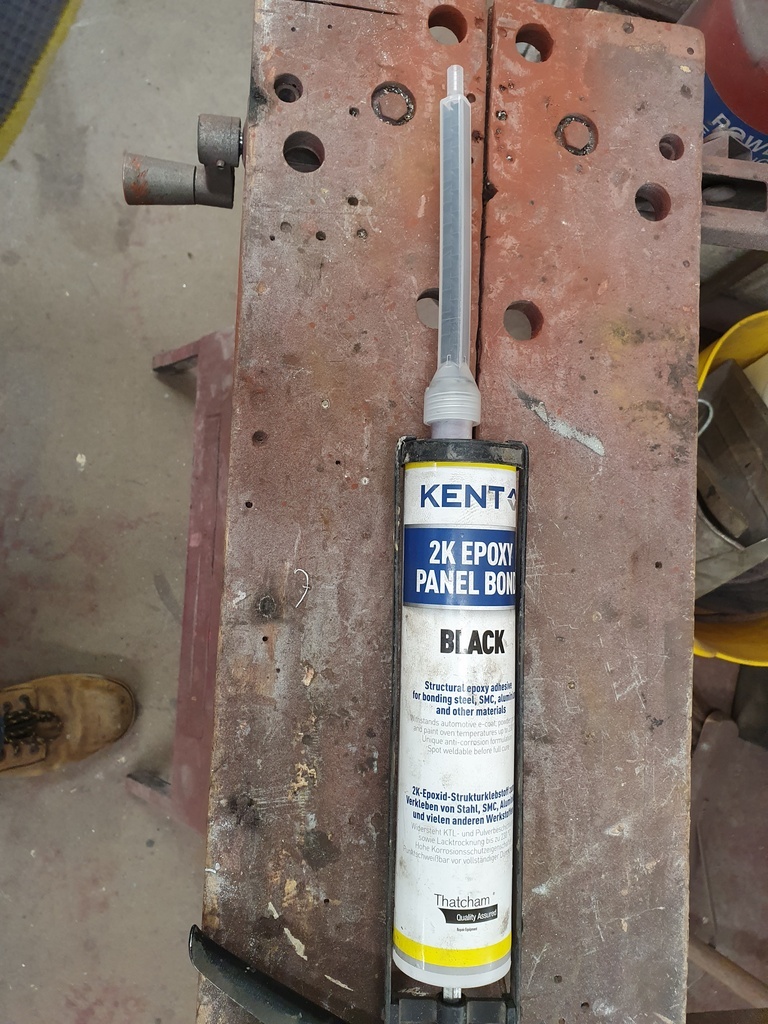 Given that you go through one of these disposable mixing nozzles every time that load the panel bond into the gun it's far better to do the bonding in batches rather than single repairs 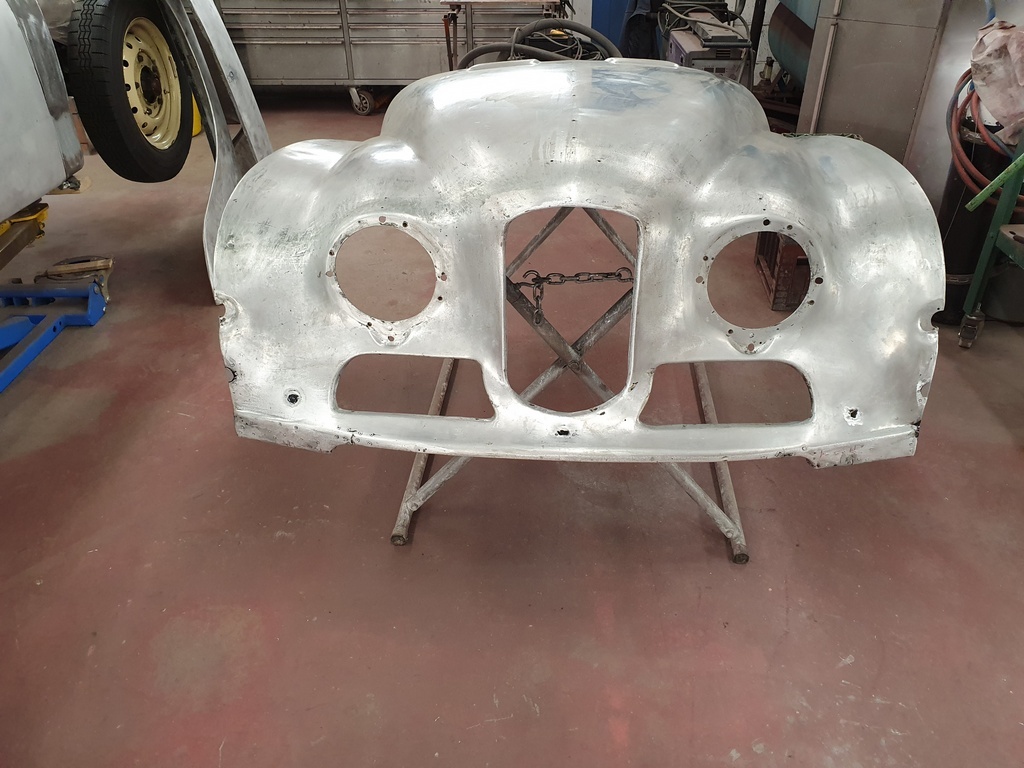 Not much to show really 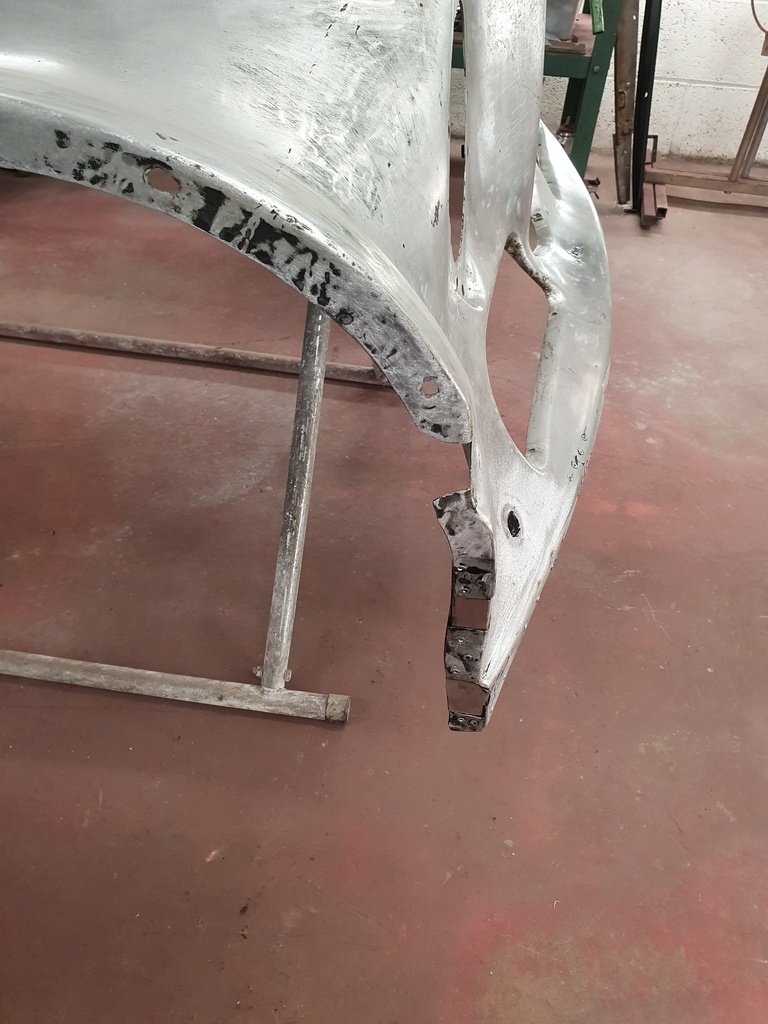 But that's all the panel repairs on the bonnet completed 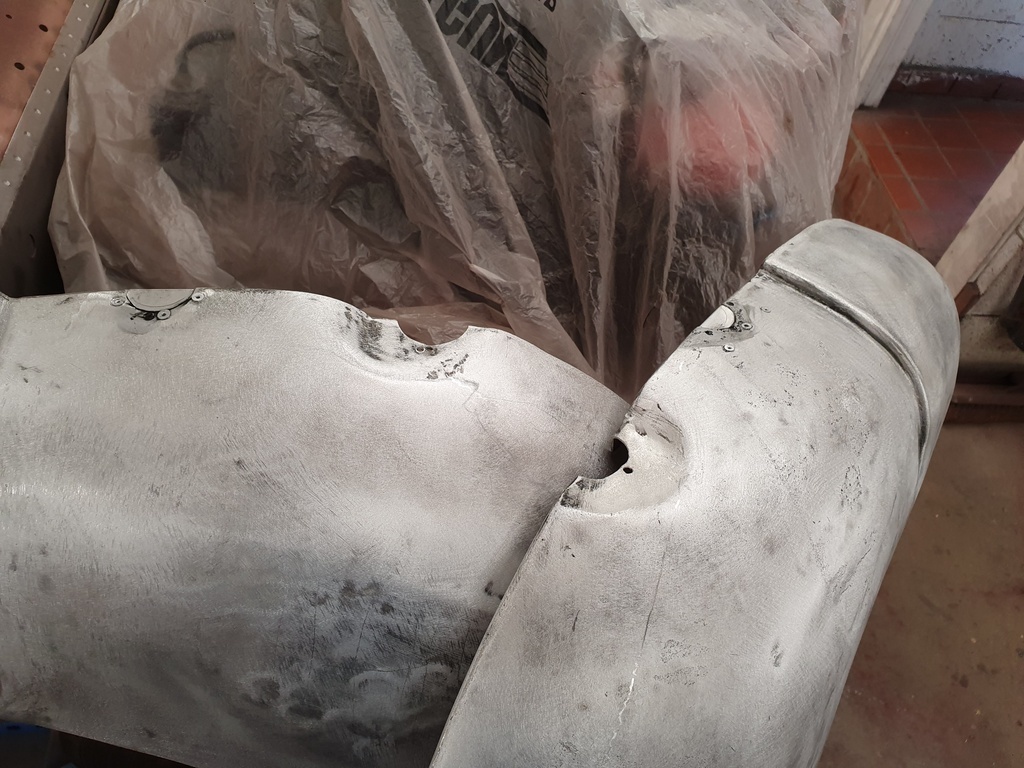 Along with the lamp aperture / wing mirror aperture deletions on the front wings - I will dress all the repairs back on Monday 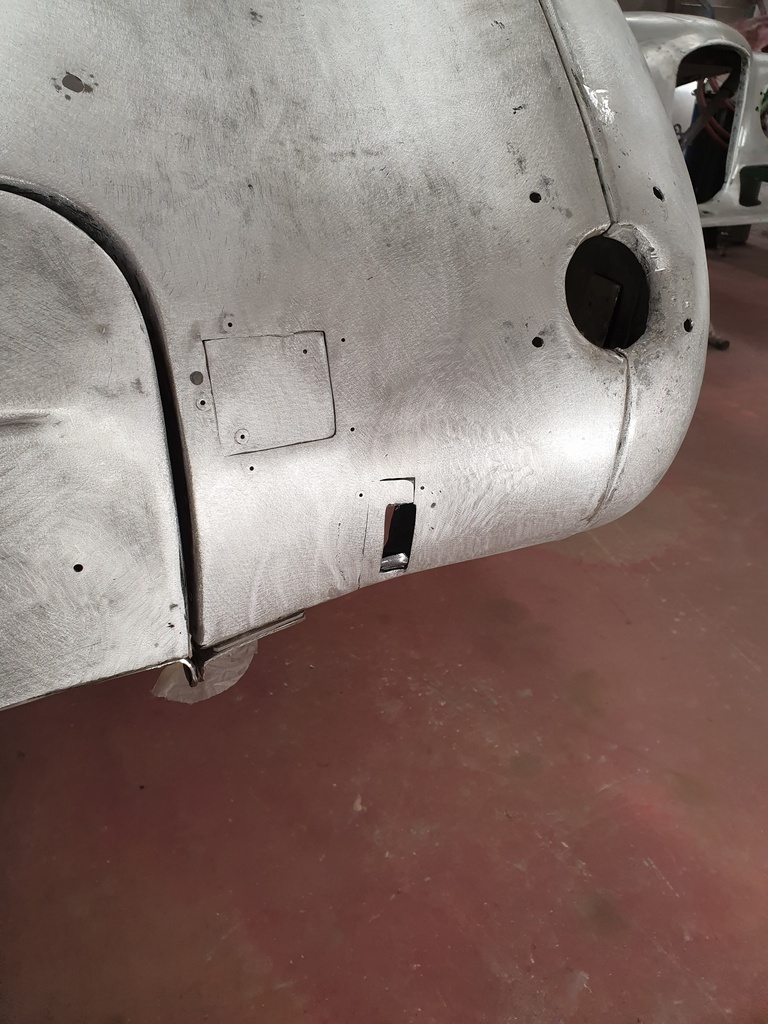 Meanwhile the bonded panel repairs on the offside rear have now all been dressed back 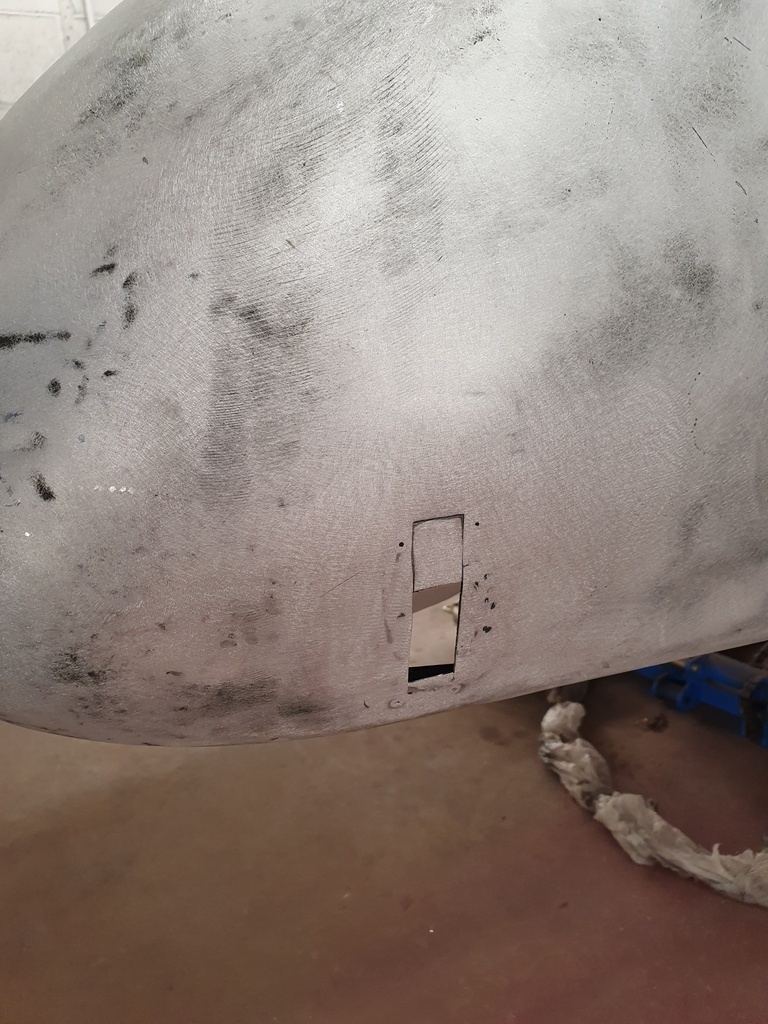 |
| |
Last Edit: Aug 1, 2020 20:23:00 GMT by Deleted
|
|
|
|
eurogranada
Europe
To tinker or not to tinker, that is the question...
Posts: 2,556
|
|
|
|
|
|
| |
|
|
|
|
|
|
|
Hi Alex - Thanks for the link - that will be a very rare motor out there - I think I'm aware of one other Bradford in NL - there's a few Jupiter & Javelin owners though  |
| |
|
|
|
|
|
|
|
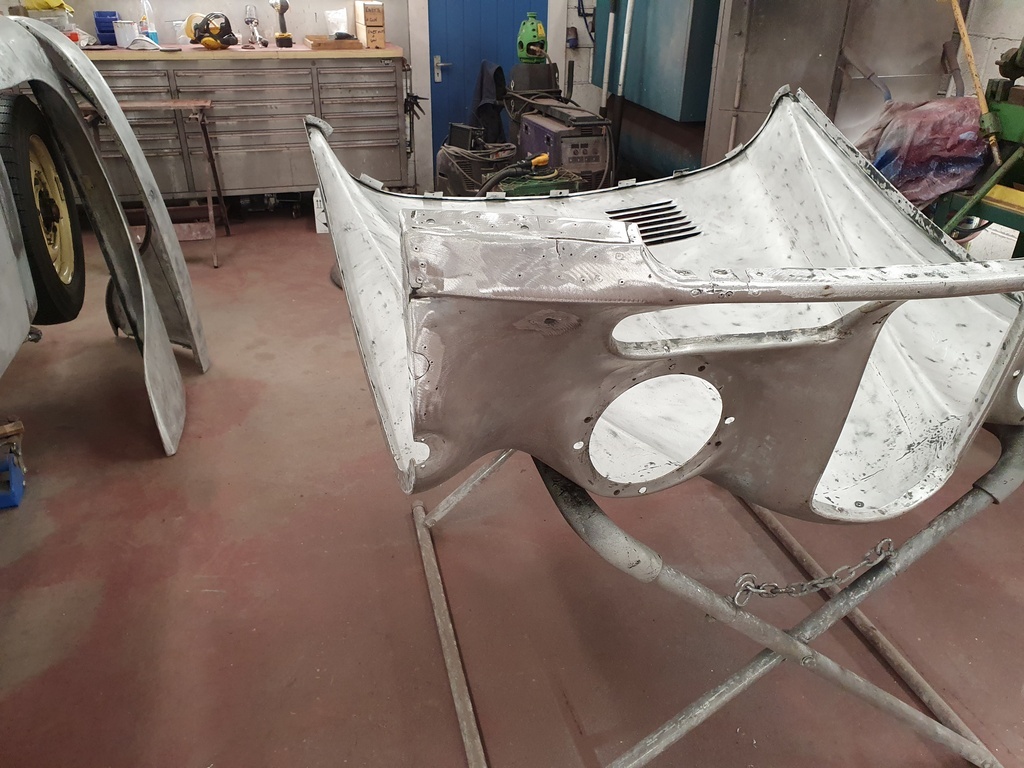 The panel repairs on the bonnet have now been dressed back 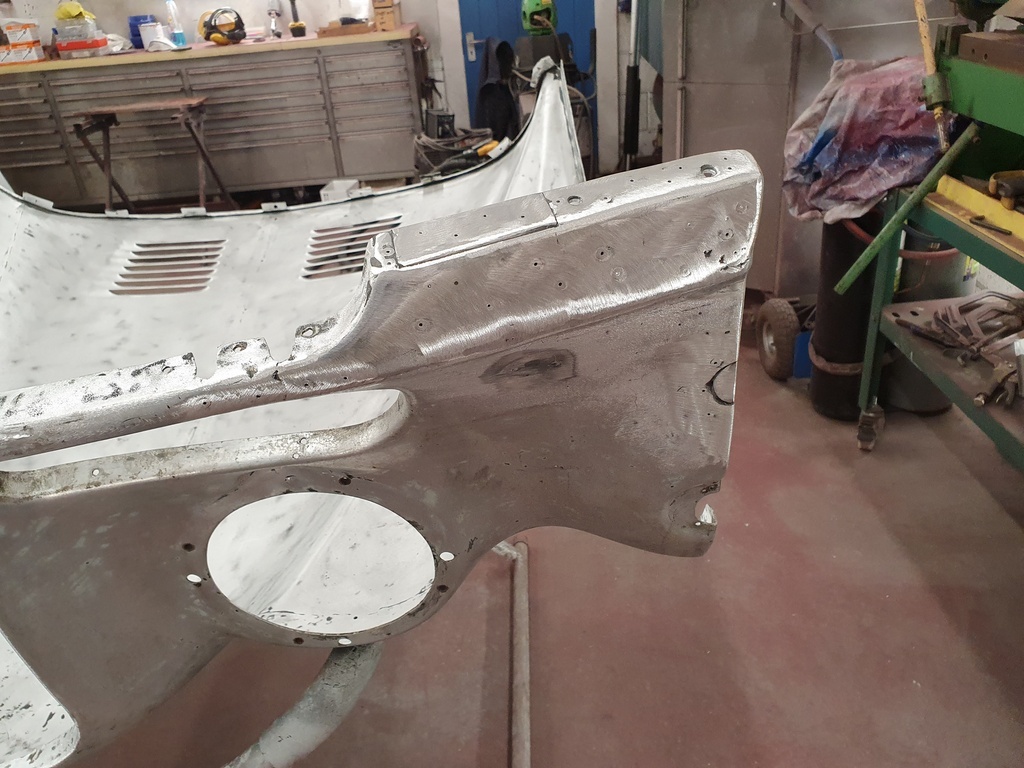 Then progressed the horizontal brace 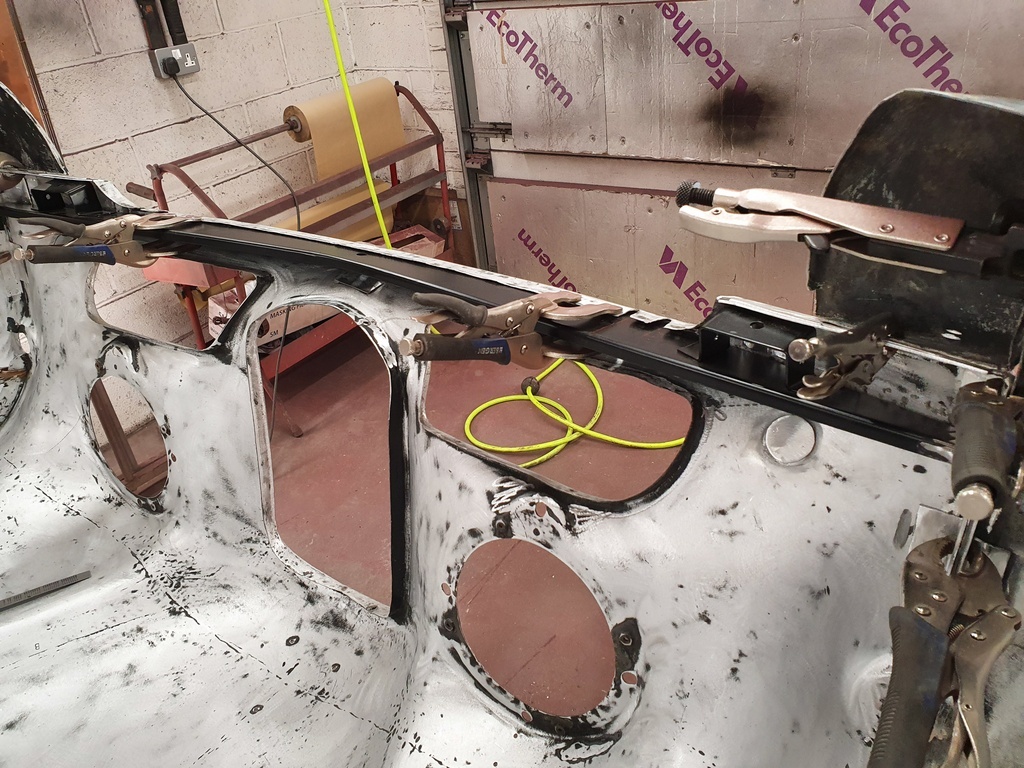 This required some minor modifications to make it fit correctly 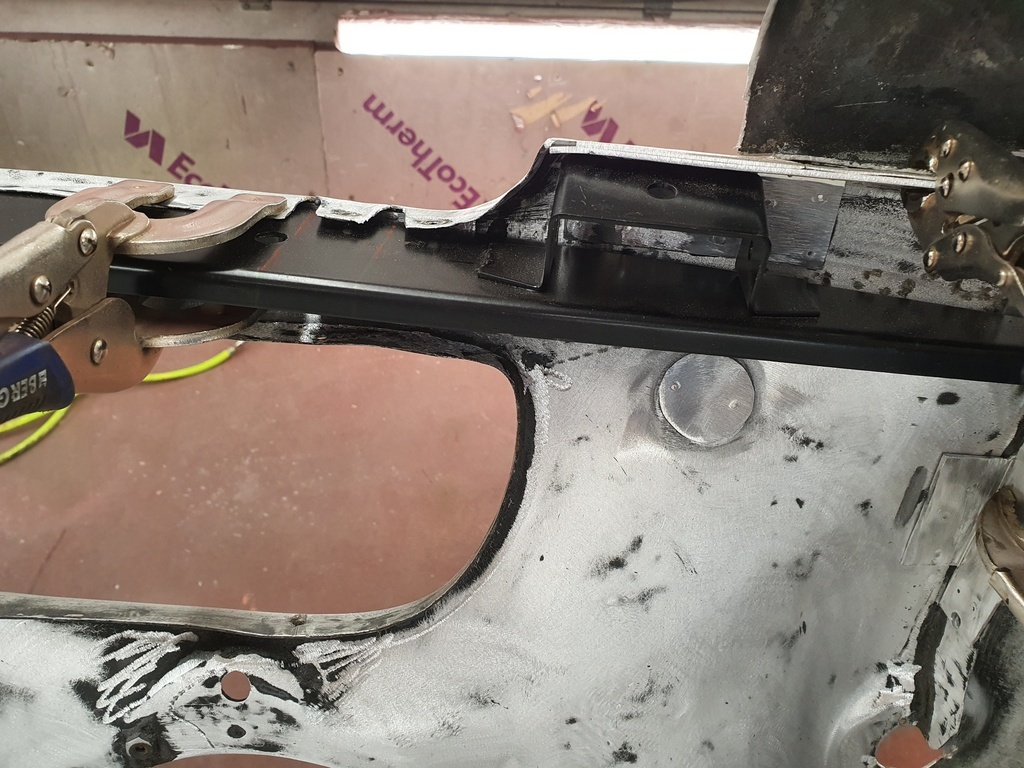 I had to slightly taper the forward edge of the bonnet rest mountings - these will be fitted with a rubber buffer once the car is painted 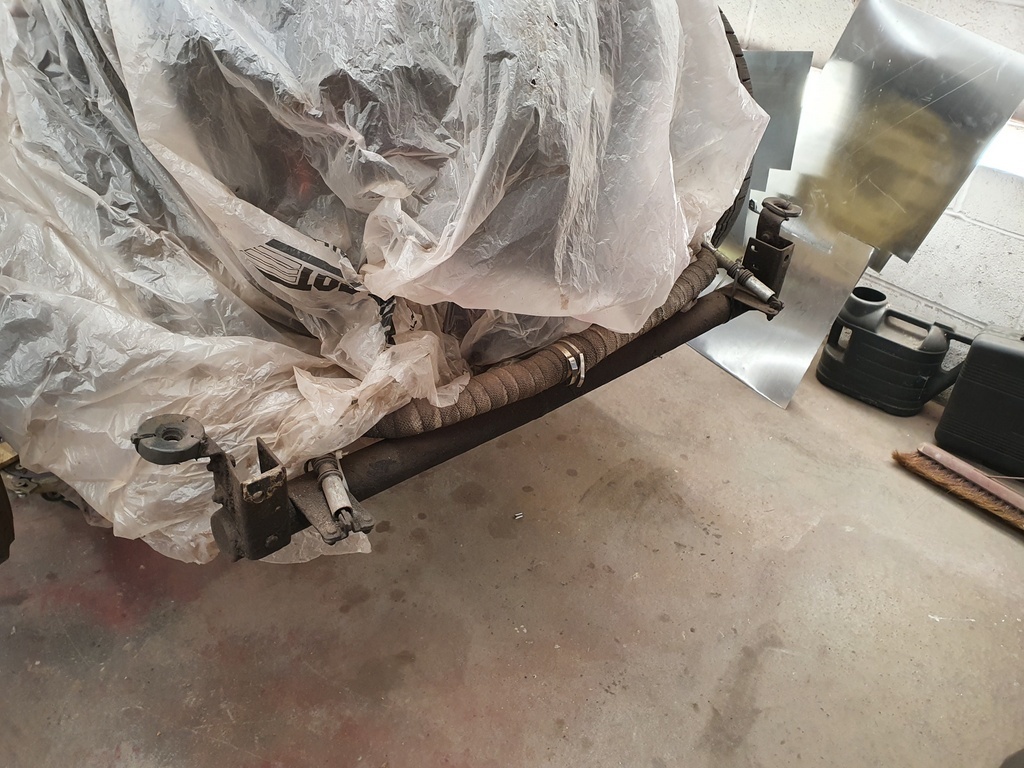 Said buffer will need to interlock with the rubber doughnuts that can be seen either side of the chassis rails 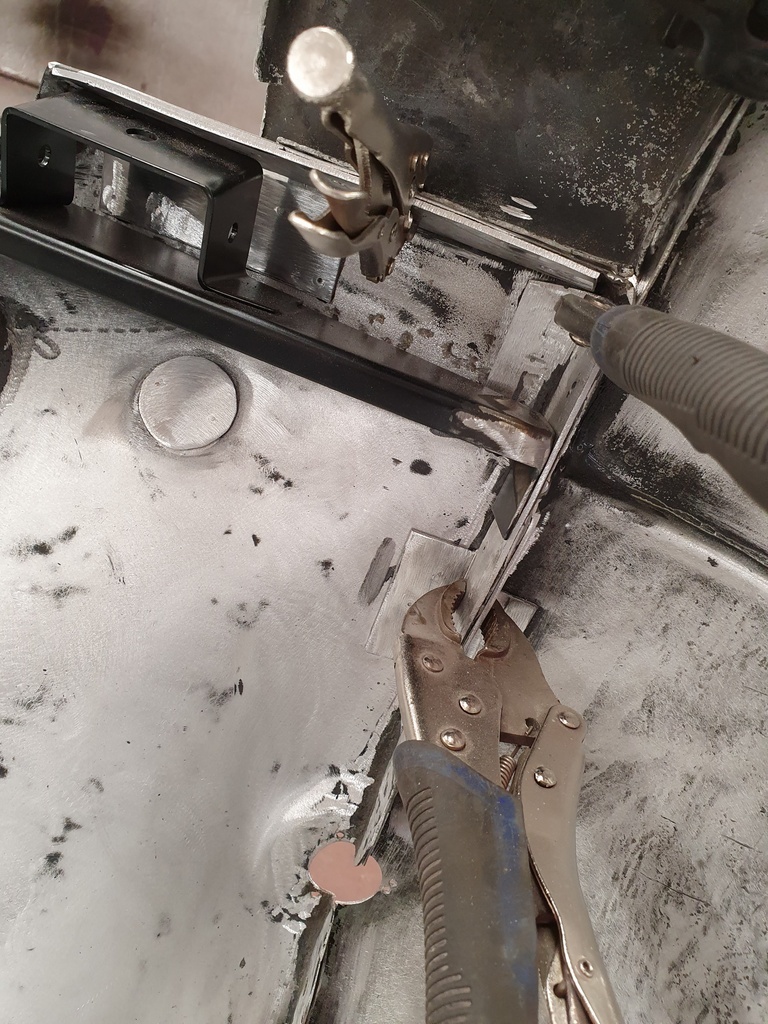 I had to also slightly reduce the over all length on each side of the brace to take into account the thickness of the panel repairs 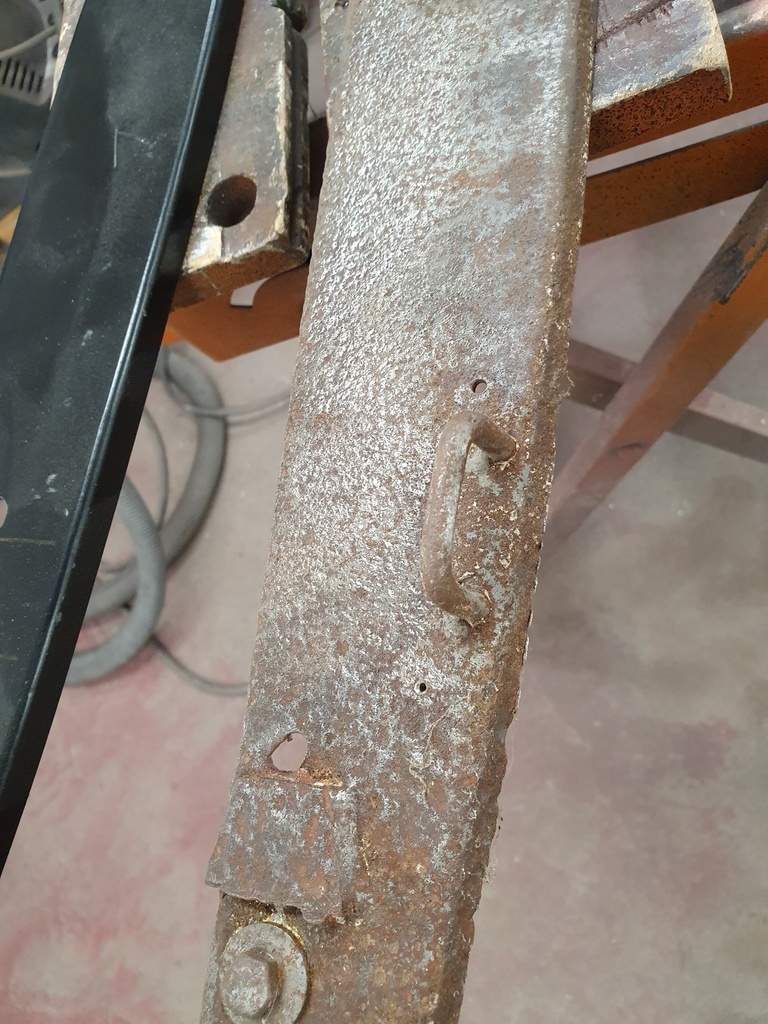 Then cut the eyes off the old brace and reweld them to the new brace 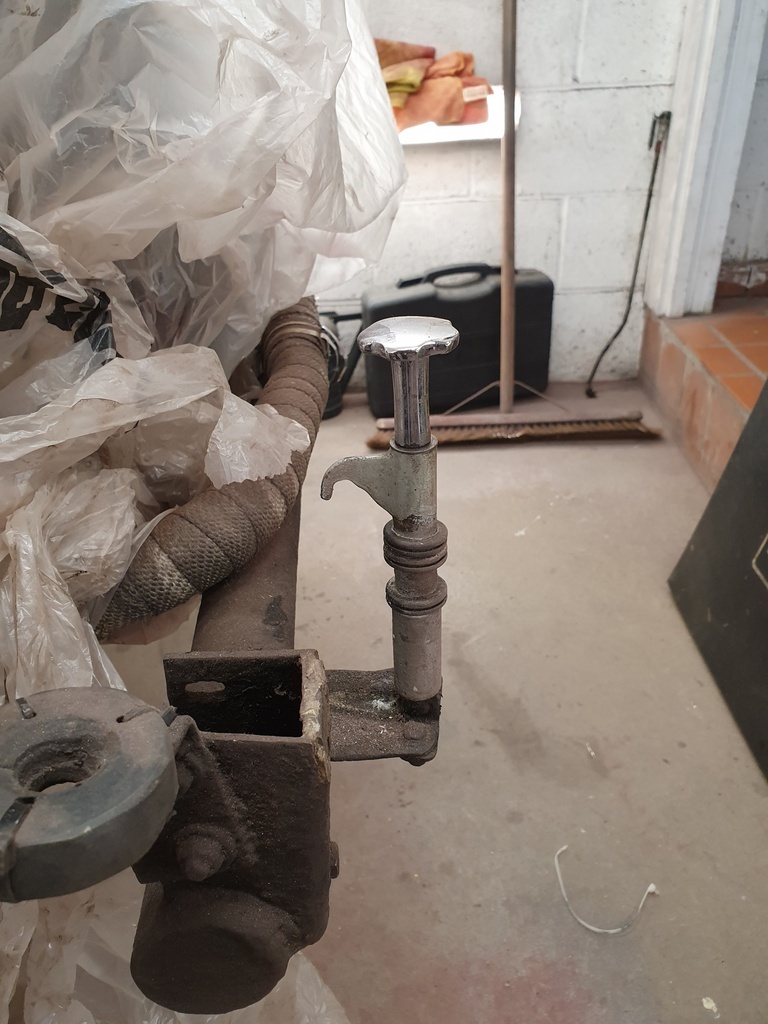 This screw down bonnet catch then retains the eyes which in turn locks the bonnet down  Then a trip to the shot blasters to collect the last few parts that I need 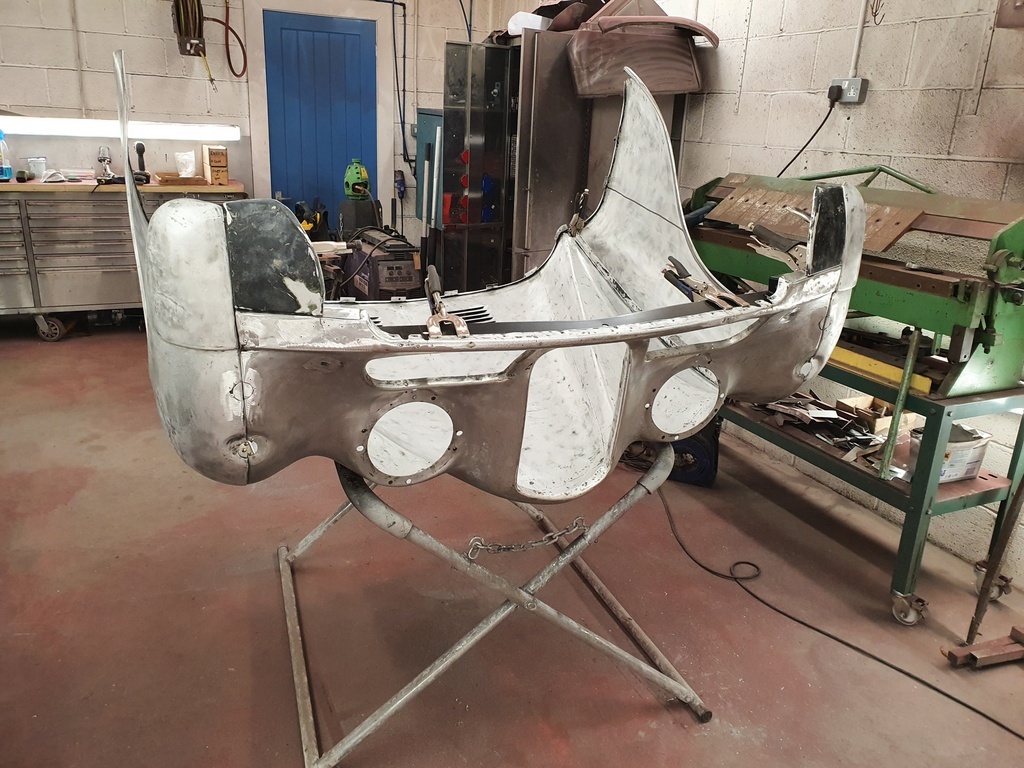 With the cross brace loosely fitted I could trial fit the wings & the aprons to ensure that alignment was heading in the right direction 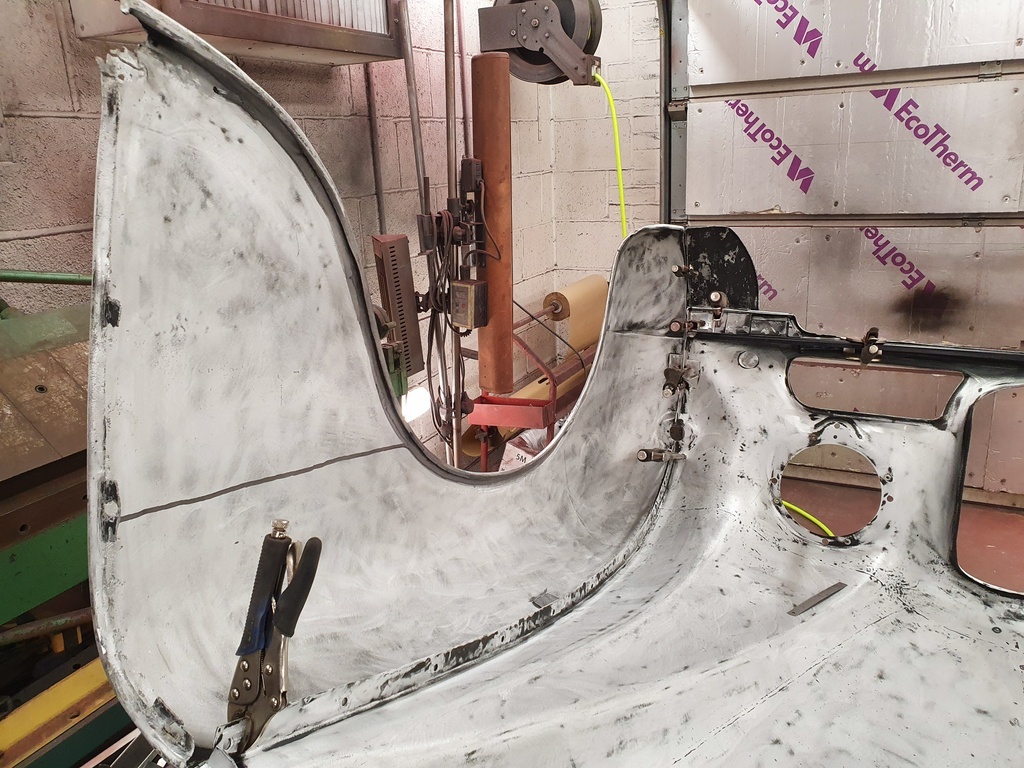 With the wings checked the brace could be permanently fitted 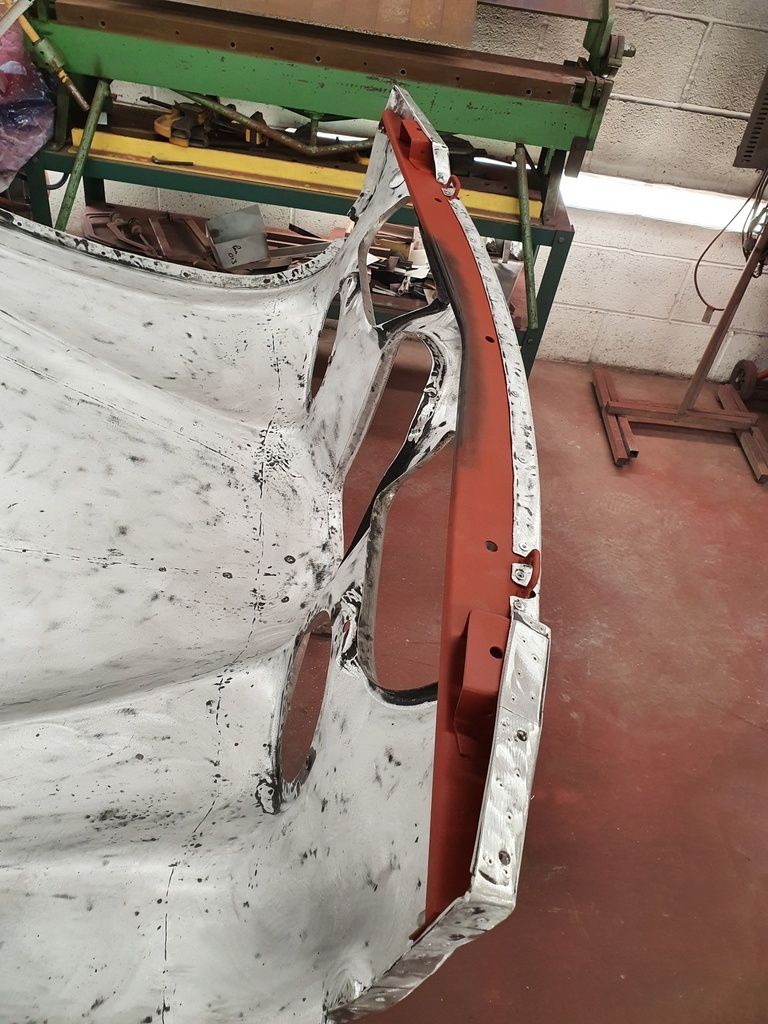 Bonnet centre frame placed into primer 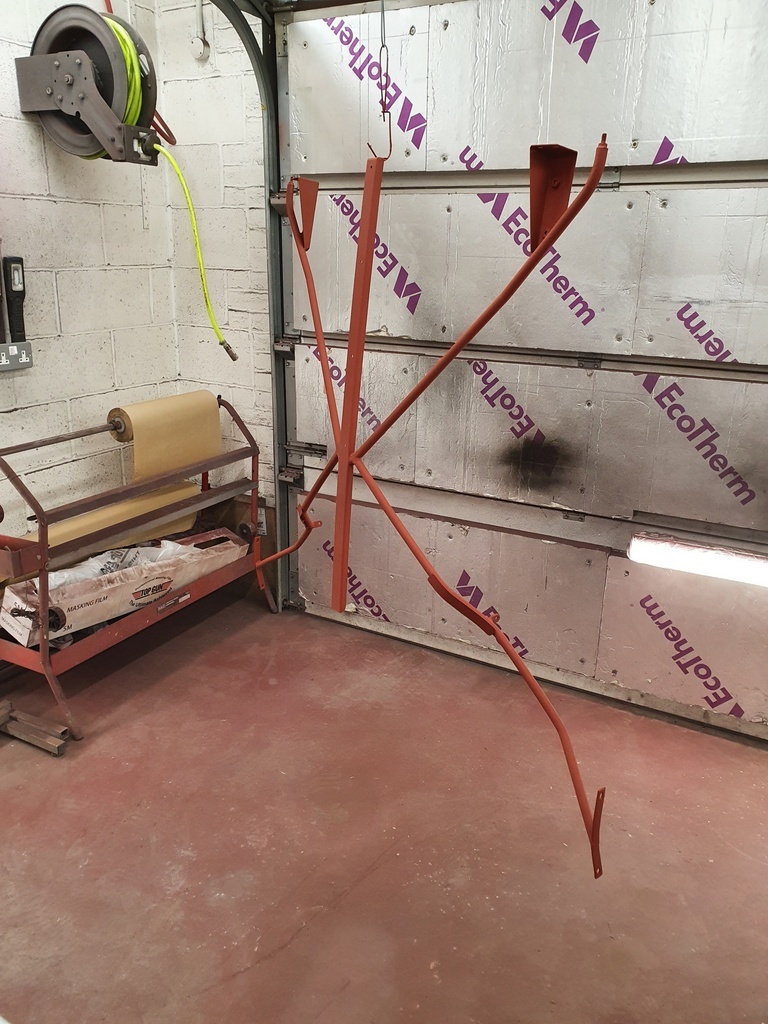 Bonnet end frame requiring repair 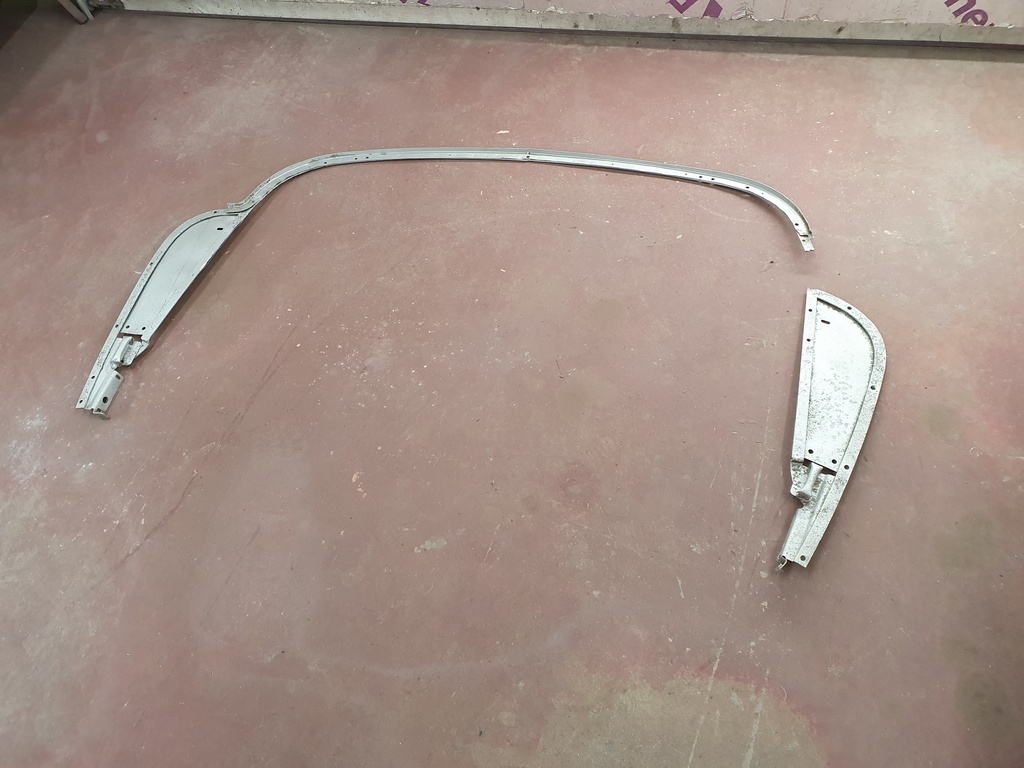 I removed the shield plates has they were thin / perforated & were concealing rust against the frame - these I shall replace with fresh plates 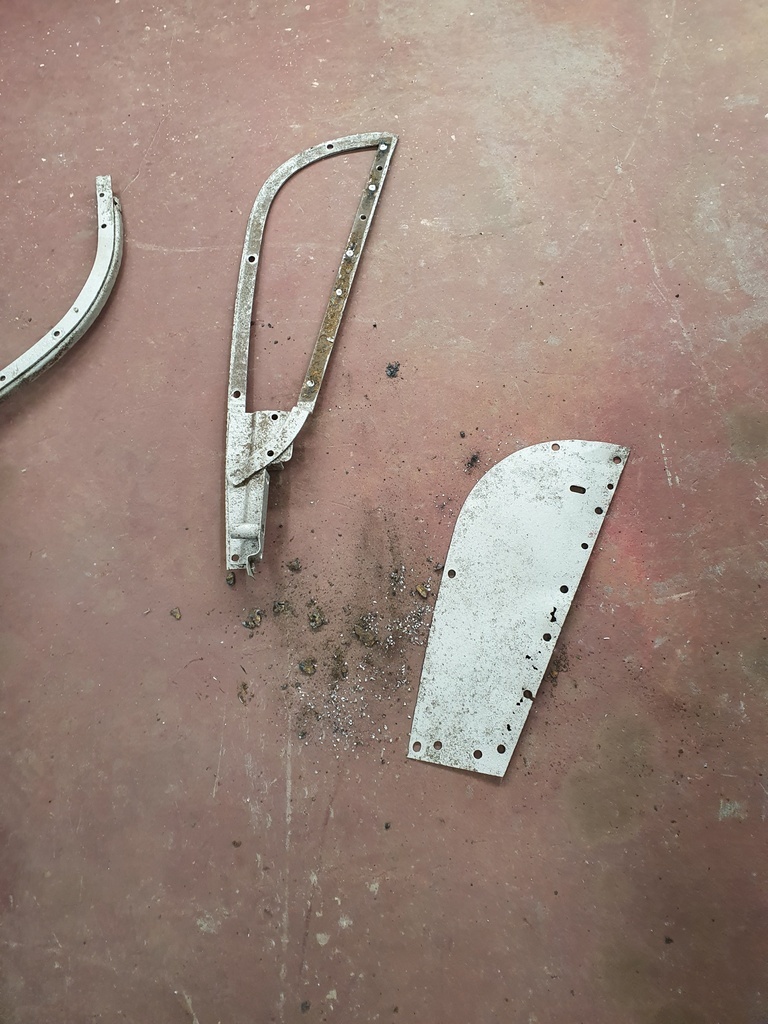 Frame welded up 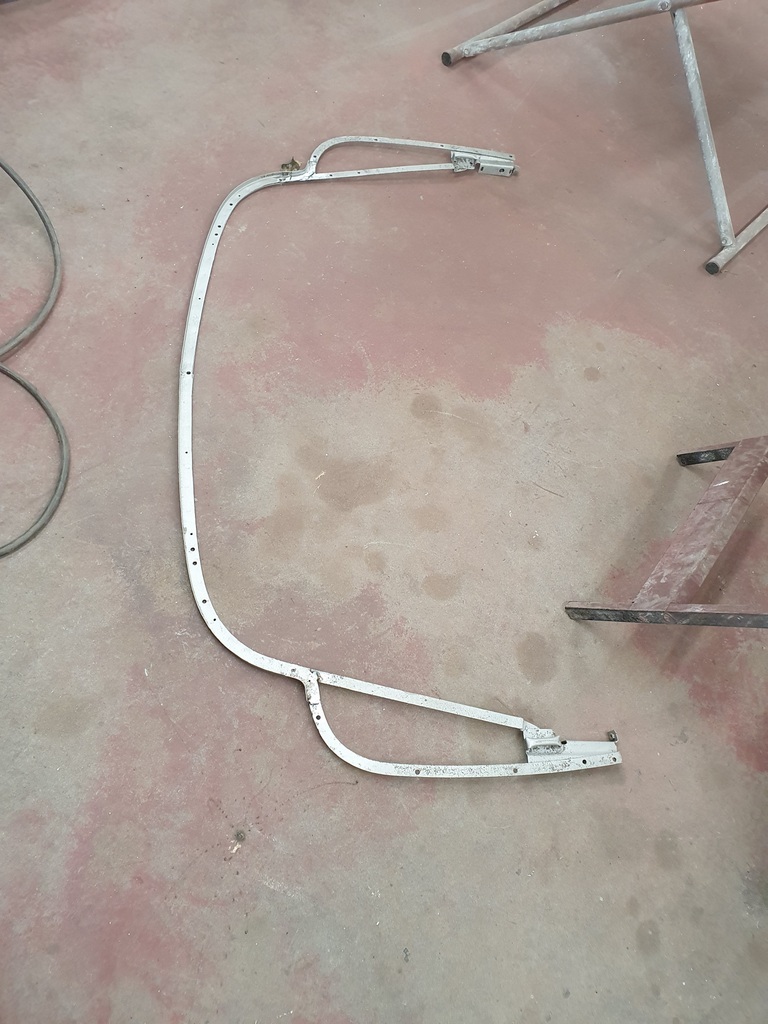 And a new radius section formed & welded in on the nearside 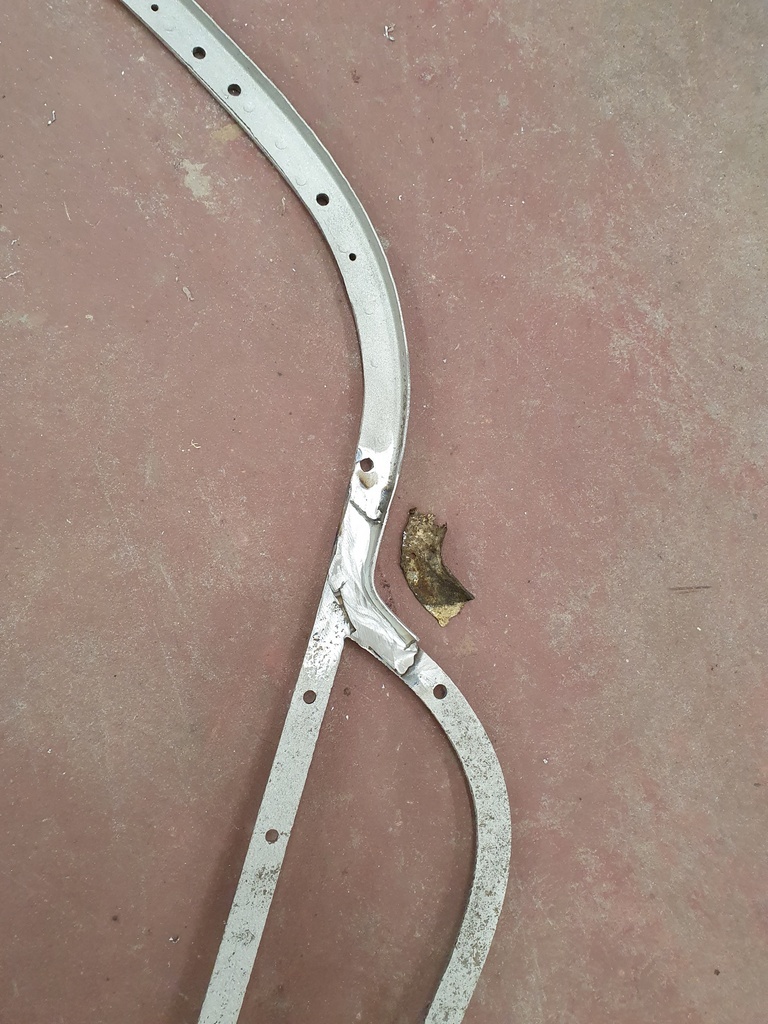 The concealed edges were placed into primer 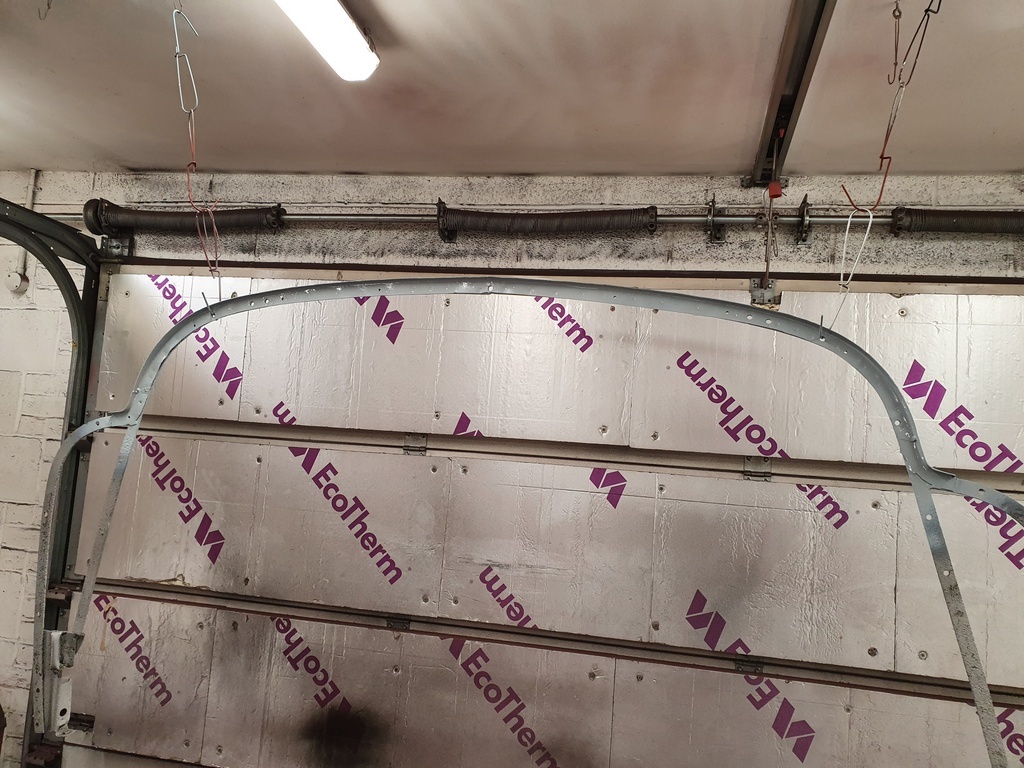 And once cured the frames could start to be assembled to the bonnet skin 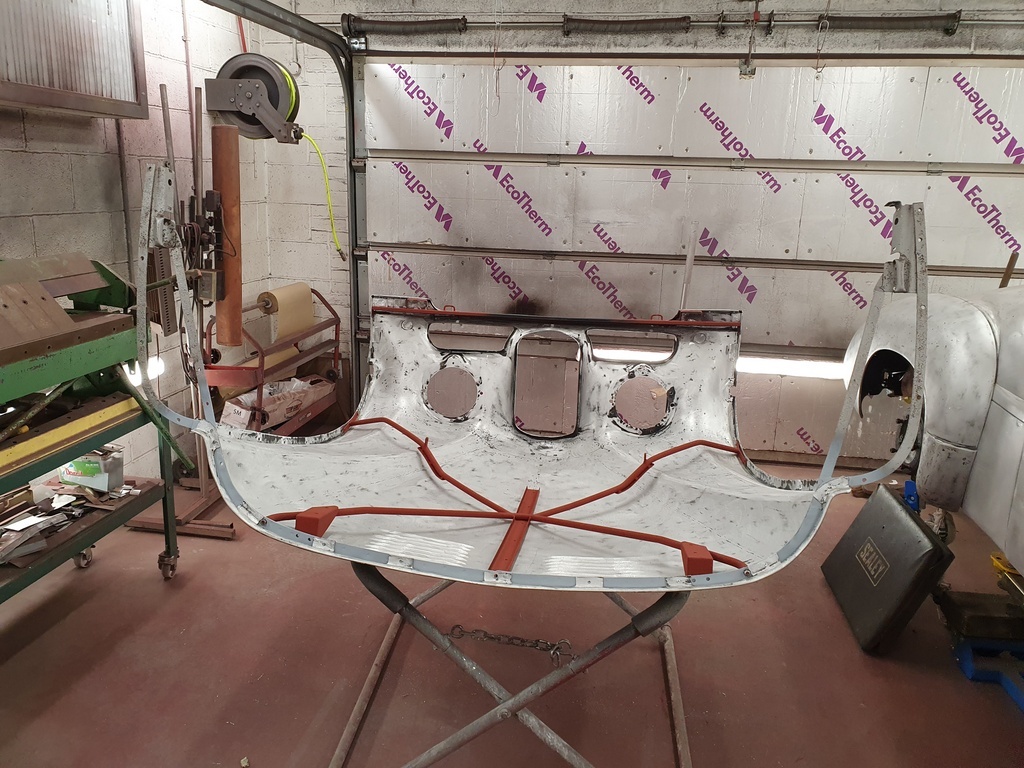 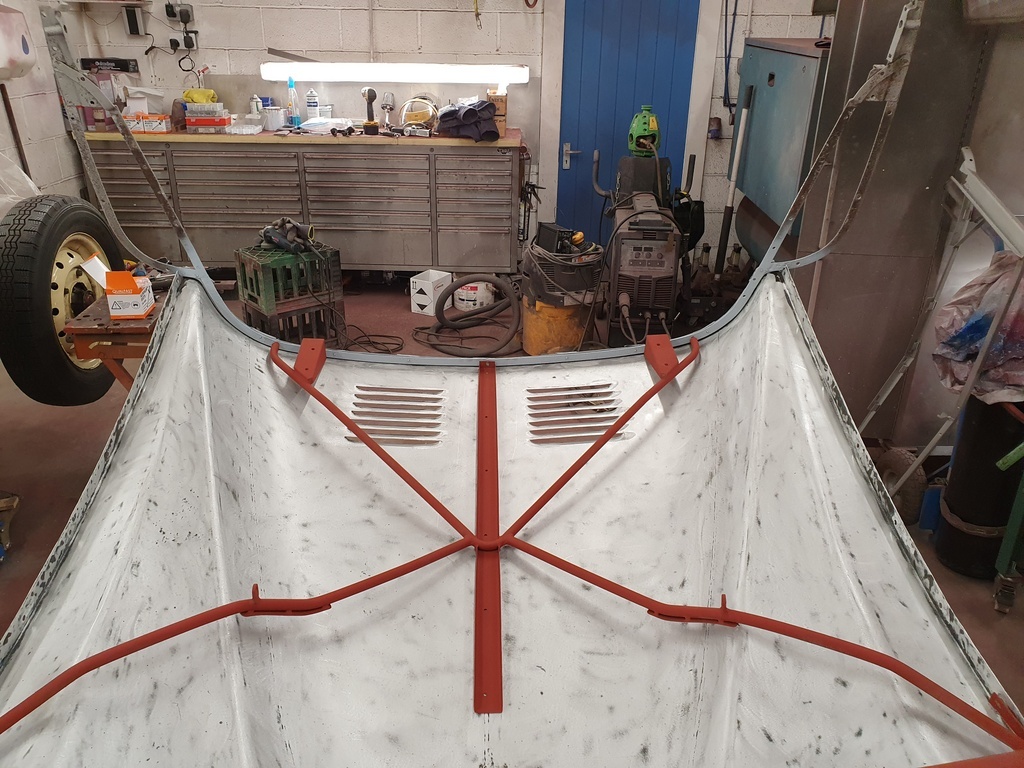 Its just loose fitted currently - I will bolt everything up together tomorrow then the bolt the bonnet centre panel up to the hinges 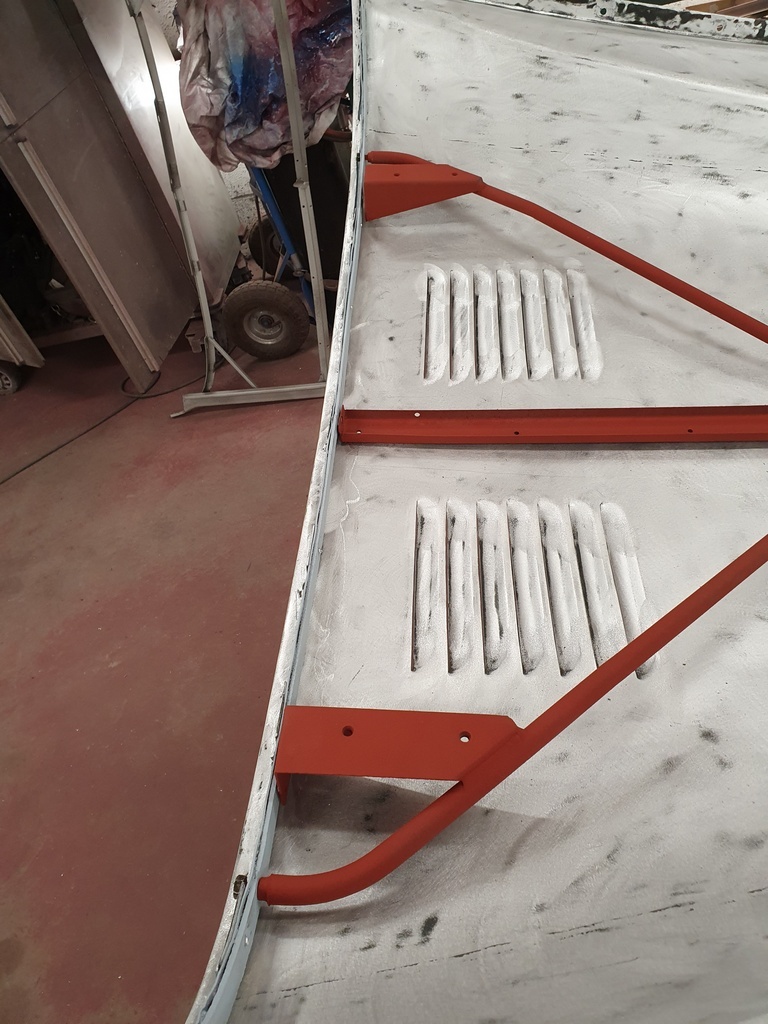 |
| |
Last Edit: Aug 3, 2020 21:49:40 GMT by Deleted
|
|
|
|
|
|
|
Morning Chris, While cooking plum jam, and doing corporate work, I am also dipping into threads to update myself. I am always amazed and love how clean your shop continues to be, it seems young Sid really does not have much chance of catching you with your proverbial pants down. These is so much work, thinking and correct sequencing and process that goes into one of these builds, it amazes me how you guys in the game seem to just get it right all the time. Question time.  Your retractable hose line, is it worth having for the amateur, garage messer like me? I had two at one point, and gave one to Martin, but seem to have given the other away. What does one lol for, or avoid in these, they always seem like a good idea vs hoses on the floor. Others may comment too please, I am sure there are a few of you who use these. Thanks. |
| |
|
|
|
|
|
|
|
Your retractable hose line, is it worth having for the amateur, garage messer like me? I had two at one point, and gave one to Martin, but seem to have given the other away. What does one lol for, or avoid in these, they always seem like a good idea vs hoses on the floor. Others may comment too please, I am sure there are a few of you who use these. Thanks. Rian, I'm fairly sure blackpopracing was pondering this in his garage build thread as well. |
| |
|
|
glenanderson
Club Retro Rides Member
Posts: 4,360
Club RR Member Number: 64
|
|
|
|
|
Air hoses drive me potty. I spent years rolling them out and in again, untangling them and tripping over the fox-picture things.
I bought a couple of really nice flexible ones on reels, but they’re almost as annoying to roll back up as loose ones. I’m seriously considering a retractable one in the near future. And a similar thing for a 240v extension.
|
| |
My worst worry about dying is my wife selling my stuff for what I told her it cost...
|
|
jpsmit
Posted a lot
  
Posts: 1,274
|
|
|
|
Air hoses drive me potty. I spent years rolling them out and in again, untangling them and tripping over the fox-picture things. I bought a couple of really nice flexible ones on reels, but they’re almost as annoying to roll back up as loose ones. I’m seriously considering a retractable one in the near future. And a similar thing for a 240v extension. My compressor is in the back (inaccessible-ish) corner of the garage so I have an extension cord to plug it in and a 25' hose on it permanently. (I do drain the tank) - I then had a 50' hose that made me crazy! In the winter it wouldn't uncoil and every time I used it it exploded everywhere. Last year I bought two 25' rubber hoses. (the original is also 25') and I love them! First of all it is rubber so it doesn't get hard in the cold and uncoils beautifully. Secondly, two 25's means I only use what I need. Yesterday I made SWMBO a potting table in the backyard. One 25' coil was all I needed. So much easier. |
| |
|
|
glenanderson
Club Retro Rides Member
Posts: 4,360
Club RR Member Number: 64
|
|
|
|
|
Yes, I’m thinking a retractable one, accessible, near the door, that will be adequate 99.9% of the time, and the 0.1% of occasions that I need to go further then use the ones I currently have. 👍
|
| |
My worst worry about dying is my wife selling my stuff for what I told her it cost...
|
|
samta22
Club Retro Rides Member
Stuck in once more...
Posts: 1,276  Club RR Member Number: 32
|
|
|
|
Without derailing Chris' thread too much, I picked up a little something from eBay that can be seen lying in the back of this pic 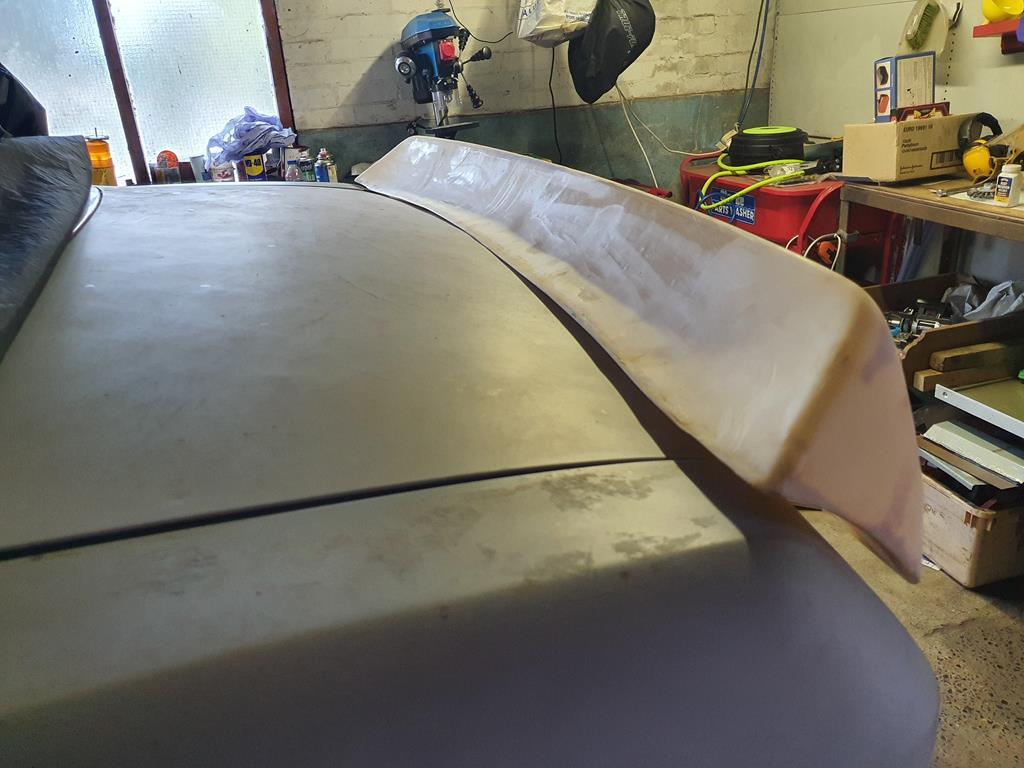 Flexzilla 30' - should be much easier than the hateful plasticky hose that I current have to unfurl and lay out every time. First impressions are very good with a decent retractable wheel and hose looks nice and pliable, will report back once it's up and being used in anger. Might need to fix an extension on for the far away jobs, but for working around the car closest to it, it should be more than adequate. I just need to set up a decent water trap/filter now. |
| |
'37 Austin 7 '56 Austin A35 '58 Austin A35 '65 Triumph Herald 12/50 '69 MGB GT '74 MGB GT V8'73 TA22 Toyota Celica restoration'95 Mercedes SL320 '04 MGTF 135 'Cool Blue' (Mrs' Baby) '05 Land Rover Discovery 3 V8 '67 Abarth 595 (Mrs' runabout) '18 Disco V |
|
eternaloptimist
Posted a lot
   Too many projects, not enough time or space...
Posts: 2,578
|
|
|
|
|
I’m about to put a second retractable one up. Got one at the back of the garage, 10m long that’s good for inside; the new one is 15m and will go close to the middle door so I’ll be able to reach all the cars when checking the tyres.
|
| |
XC70, VW split screen crew cab, Standard Ten
|
|
|
|


