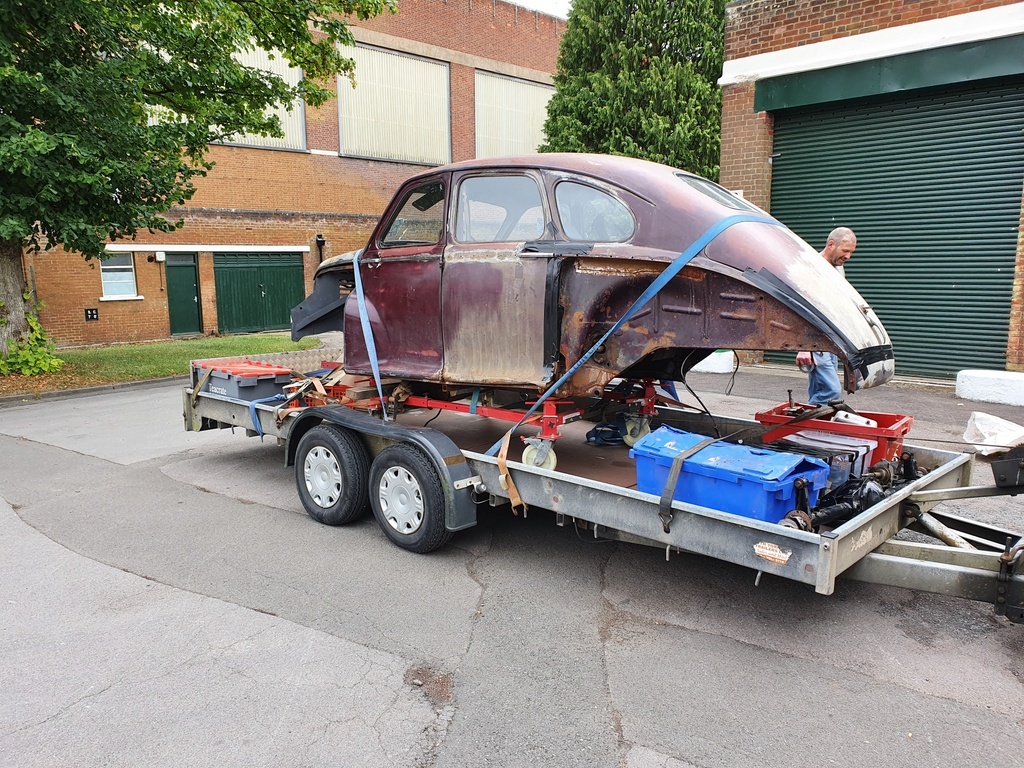
|
|
|
|
|
Flexzilla is lovely hose - I have the orange Sealey alternative which is also awesome. Hose reels are a godsend - avoid the plastic ones as they are rubbish. I have a 50ft and a 30 foot one at either end of the garage. I think in my Garage Thread I list which ones I bought. Edit; This is the 30 foot reel - excellent quality - very robustly built and a decent hose - not super flexible but not plasticky either. 30 ft hose unitThe 50ft one I bought was very similar to this one; 50 ft hose reelAnd this is the super soft Sealey hose - it can be probably be found cheaper if you hunt around; Super soft hose |
| |
|
|
|
|
|
|
|
|
|
Morning Chris, While cooking plum jam, and doing corporate work, I am also dipping into threads to update myself. I am always amazed and love how clean your shop continues to be, it seems young Sid really does not have much chance of catching you with your proverbial pants down. These is so much work, thinking and correct sequencing and process that goes into one of these builds, it amazes me how you guys in the game seem to just get it right all the time. Question time. 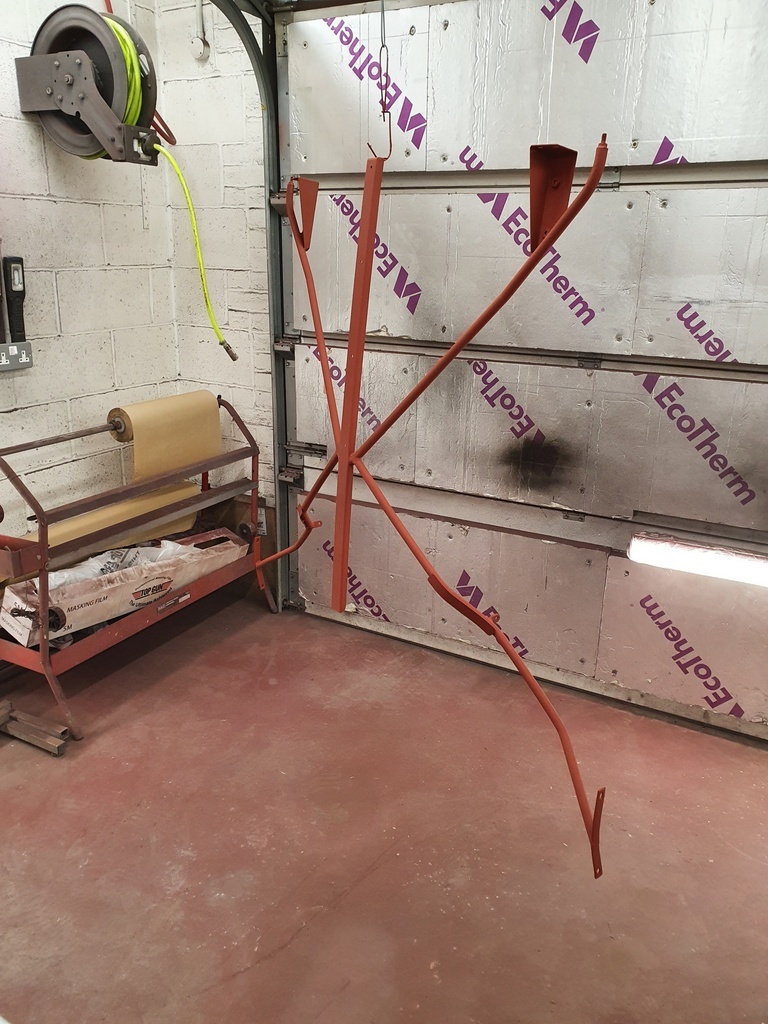 Your retractable hose line, is it worth having for the amateur, garage messer like me? I had two at one point, and gave one to Martin, but seem to have given the other away. What does one lol for, or avoid in these, they always seem like a good idea vs hoses on the floor. Others may comment too please, I am sure there are a few of you who use these. Thanks. Hi Rian - Many thanks for observing the fact that I try to keep the workshop has clean as possible - I refuse to work in piles of curse word and always clean up has I go - and at the end of the day just slot everything back where it belongs - ok I may need it the following day but it just checks that nothing is lost - probably one of the reasons why my socket / spanner / tool sets are all still complete / nothing missing yet 15 years + old - I cant be overly precious about everything though otherwise I would never get any work done - but I also have to think about the image that the workshop sets too - but I don't have a fancy office / reception area - my tow vehicle is 20 years old - trailer is older than that but then again I don't charge £80 per hour like most of my competitors in the restoration industry - that said the workshop is due some TLC - it could do with a lick of paint on the internal walls - that very fine sparky bloke of this forum with the red van has been upgrading my lighting / power supply etc - I even have a powered auto opener on the garage door now  Air line reels really handy piece if kit - well worth the effort even on a DIY basis and they are not a lot of money either - has already stated don't bother with the plastic cased reels - steel reel type is the one to obtain - what you will find is that you will feed the air line back to the reel has soon as you are finished with it where with a normal air line on the floor just gets left out because you plan use it later - of course in the meantime when its not in use you fall over it 3 times  |
| |
Last Edit: Aug 4, 2020 21:57:49 GMT by Deleted
|
|
|
|
|
|
|
So only the half day today has I had other fish to fry (Jowett Car Club stuff) 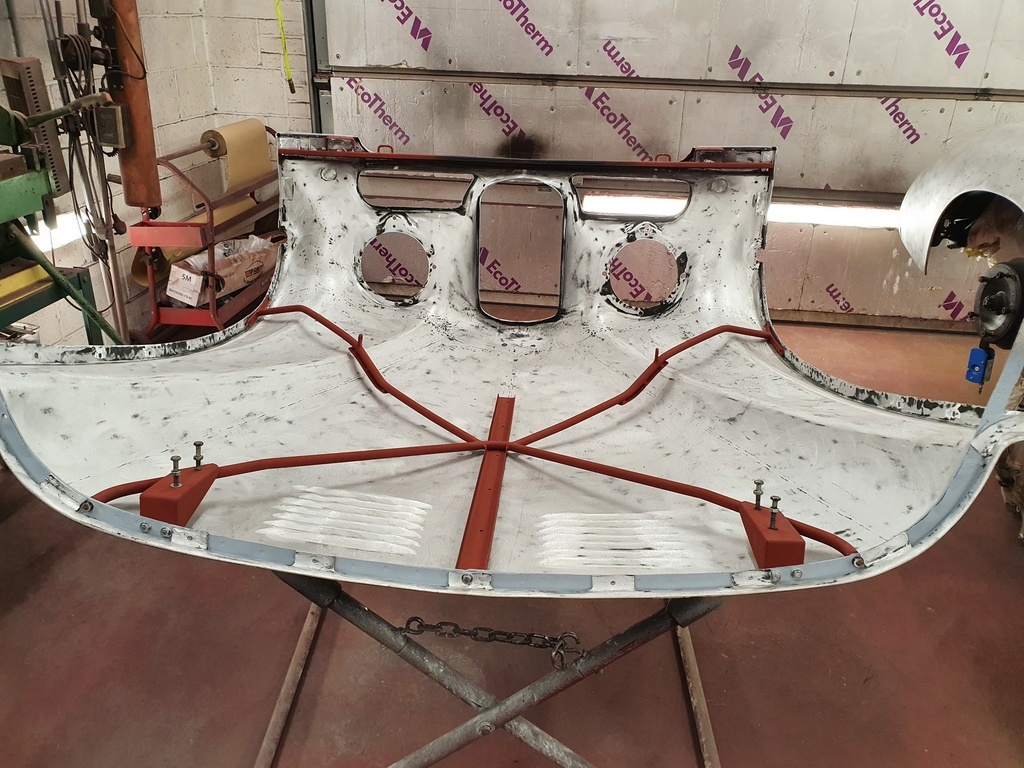 I completed getting the bonnet frame fastened up 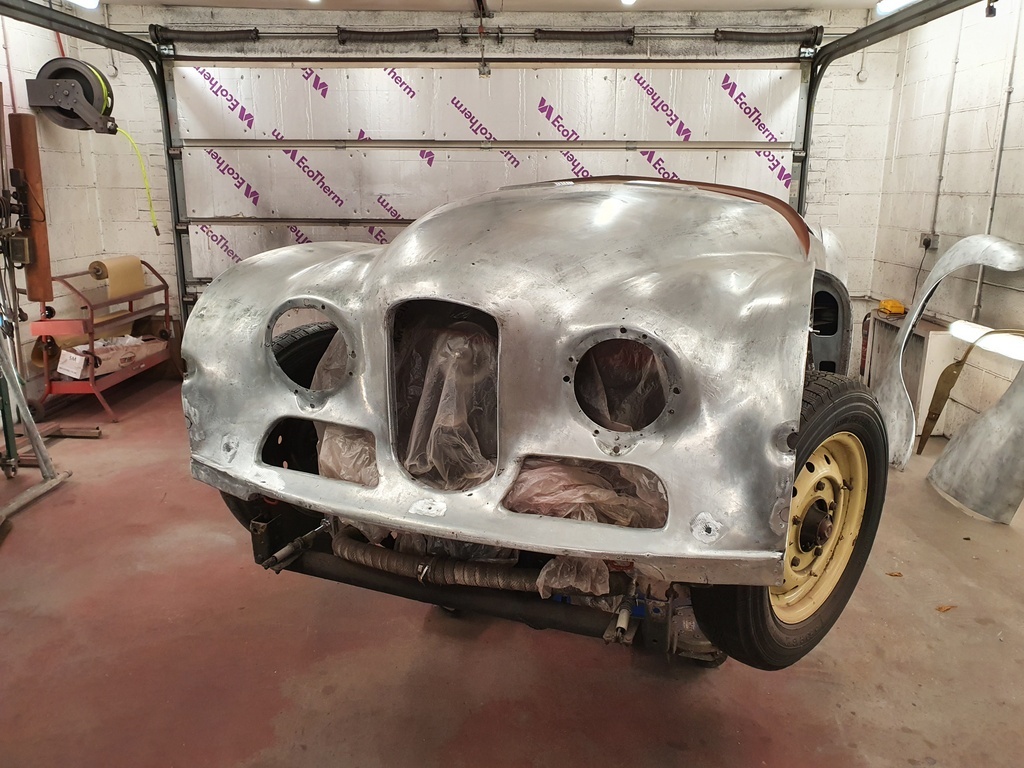 Then this could happen 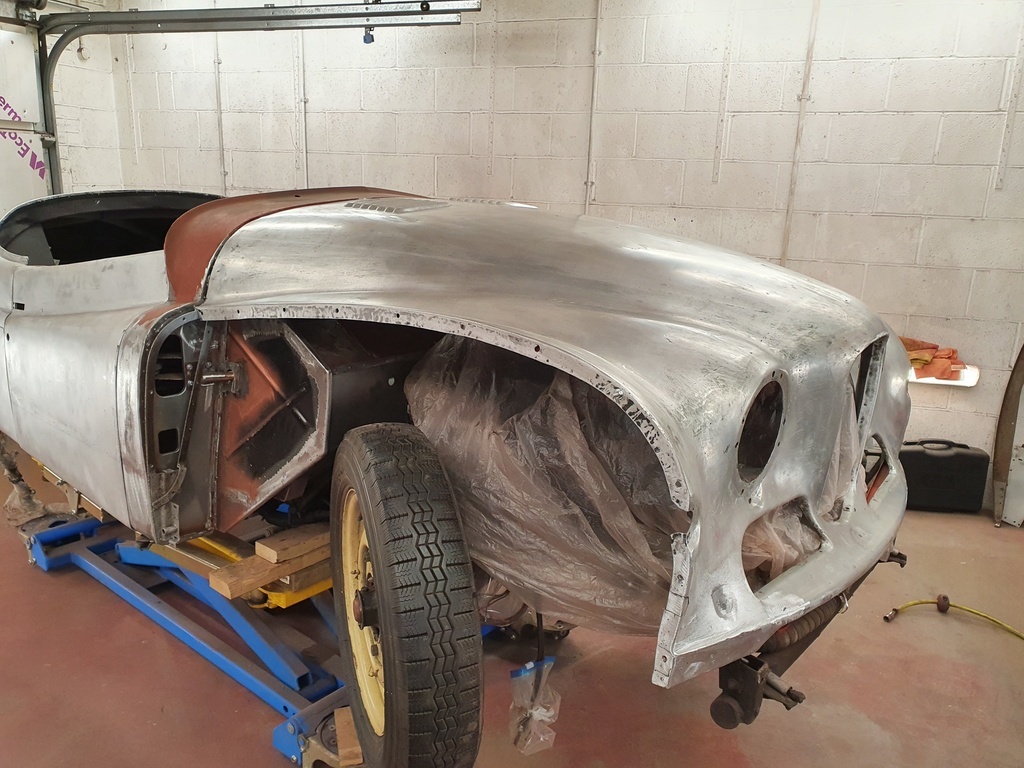 And for a first trial fit a very positive result in the aperture gapping department 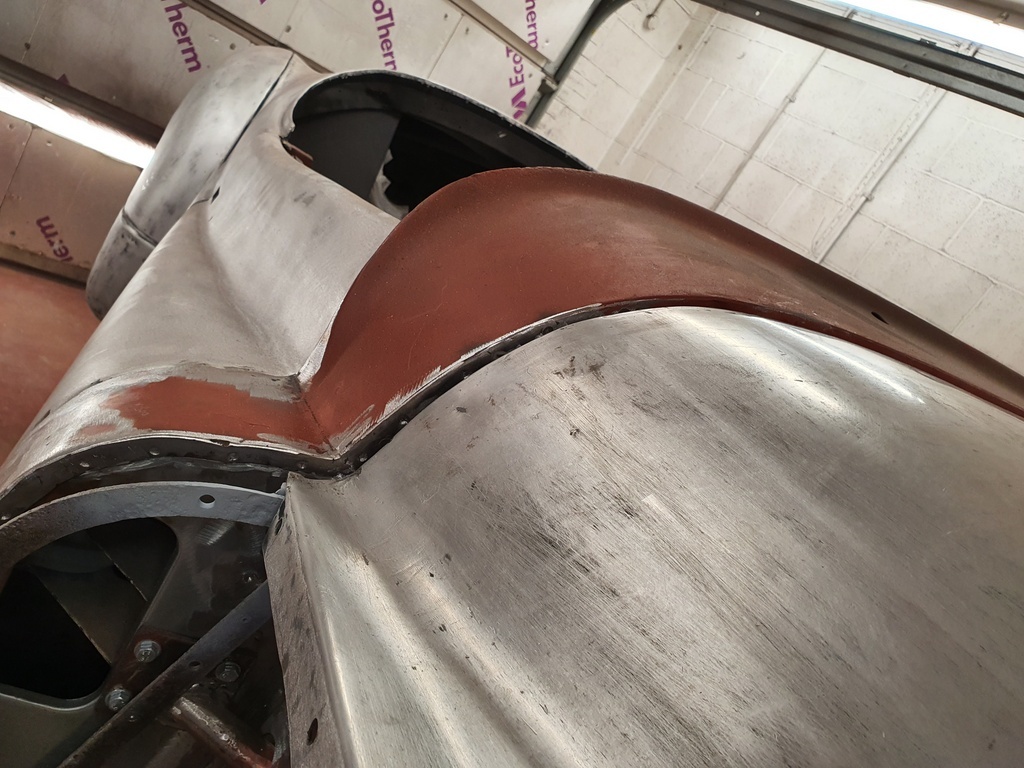 But it sits too low against the bulkhead on the offside 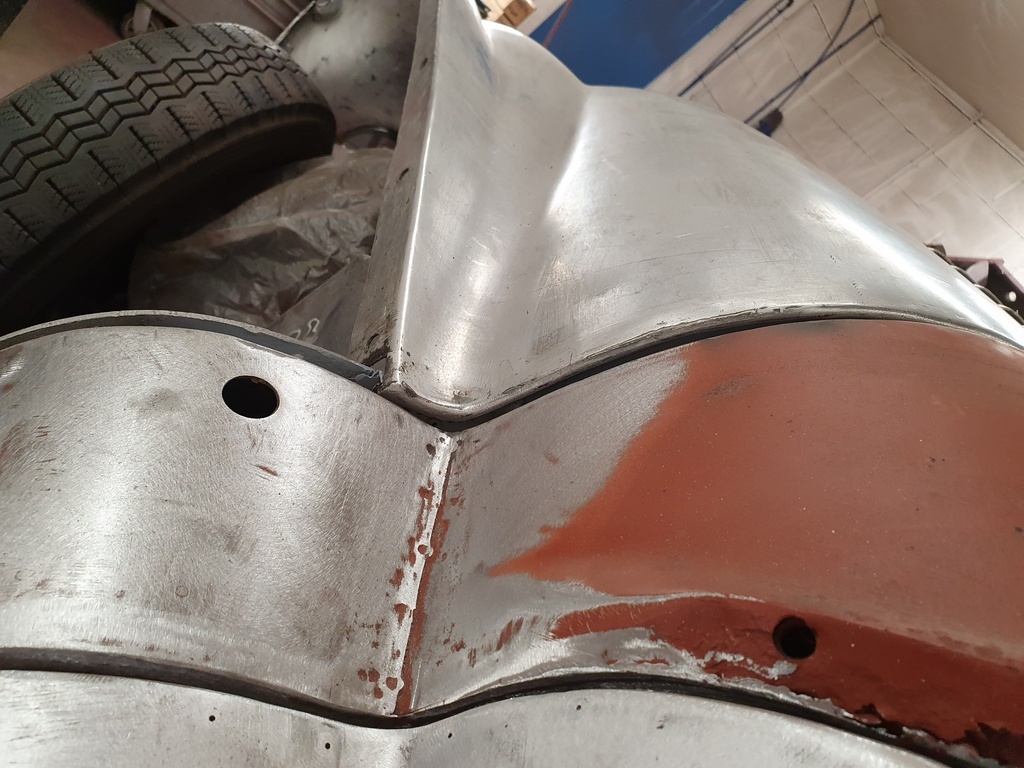 And slightly high on the nearside 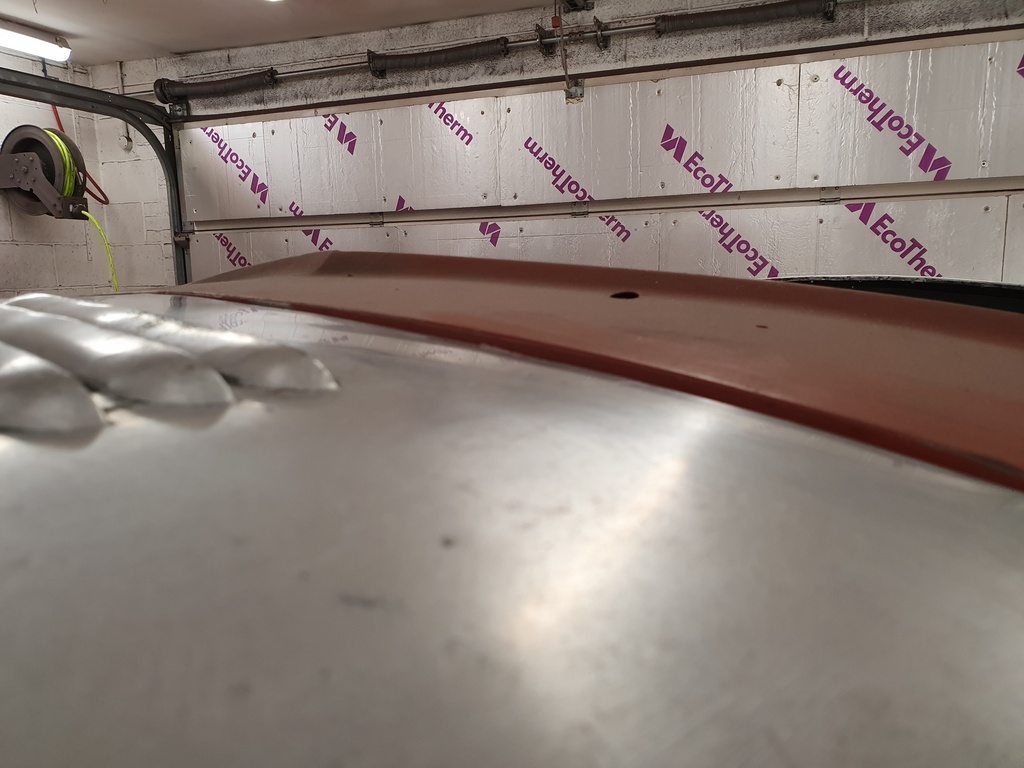 And requires levelling up with the bulkhead towards the nearside 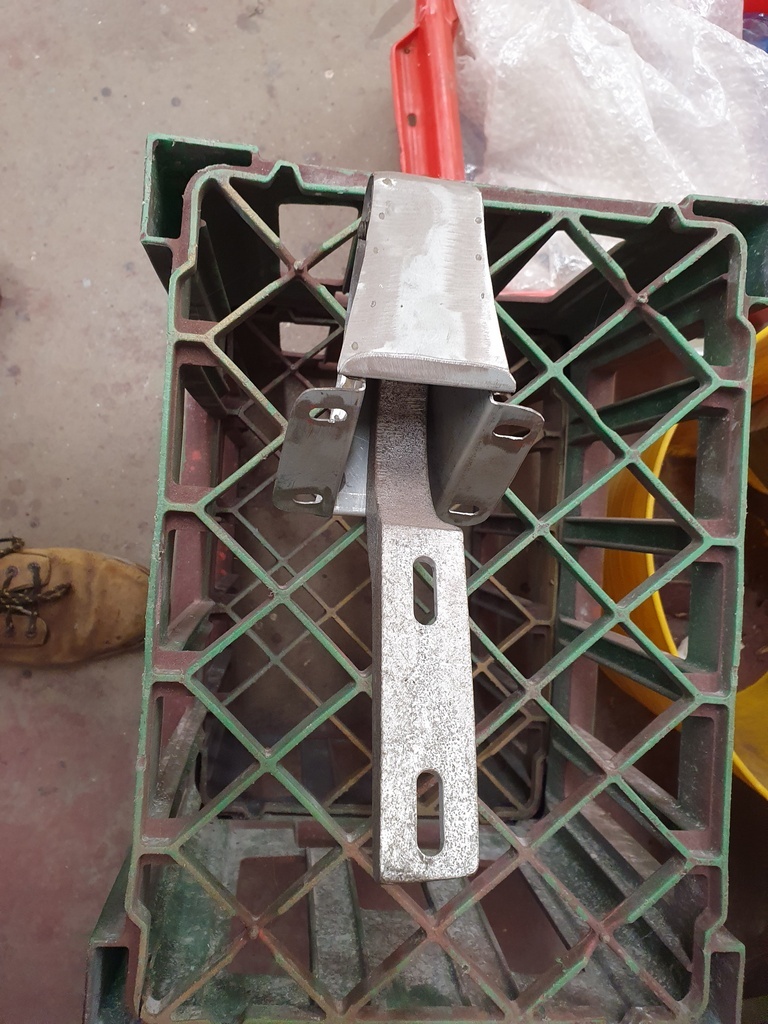 Whilst I could just shim the hinge off the bonnet mounting - its not really how I like to work - so with the hinge box removed I slightly elongated the bulkhead mounting holes - these are a hand built car and things like this were altered / adjusted at the factory has required 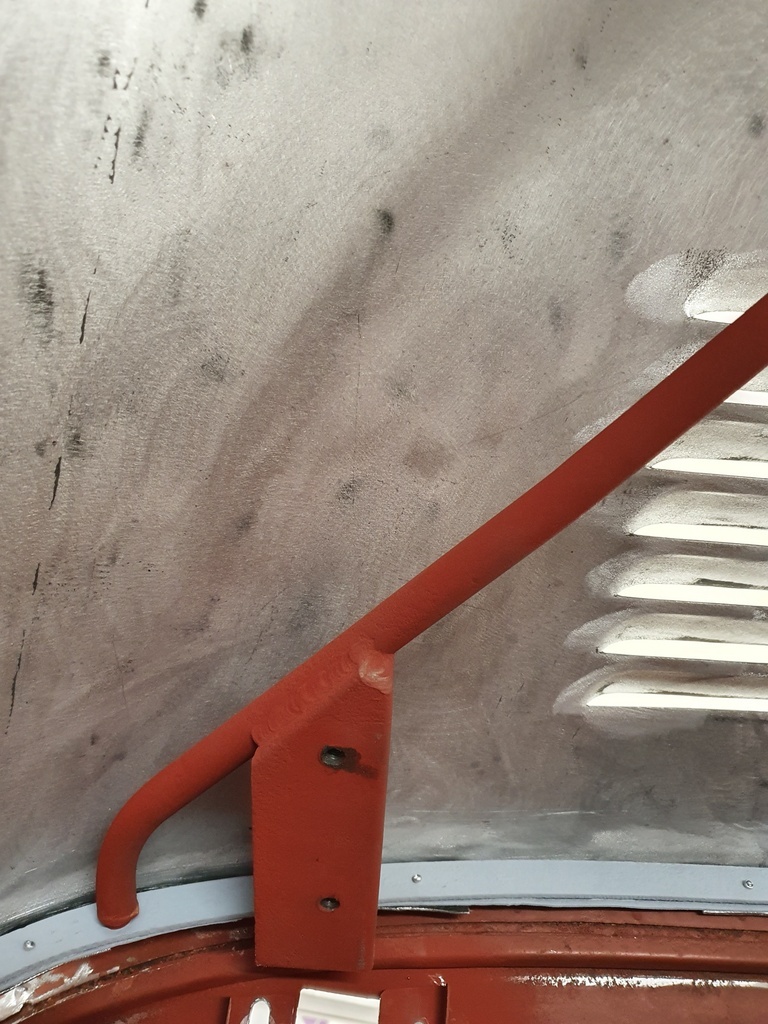 Much better to adjust the hinge box mounting than shim the alloy hinge arm off the bonnet mounting hence placing it under stress has they fracture easily 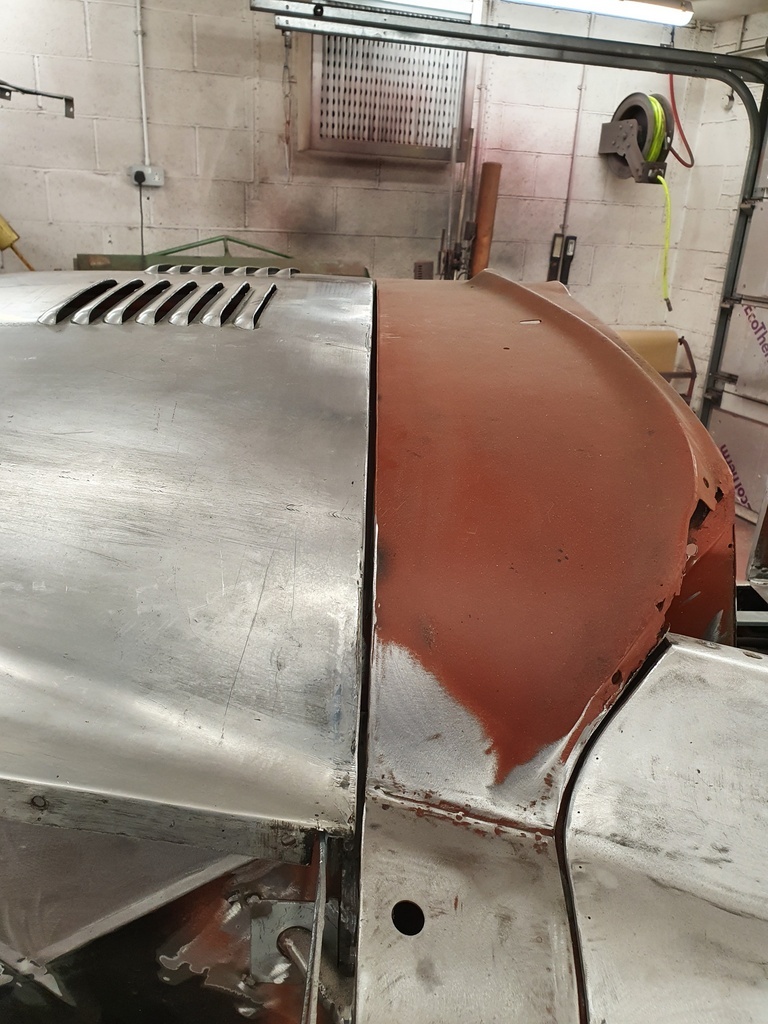 Alterations completed and the hinge box refitted 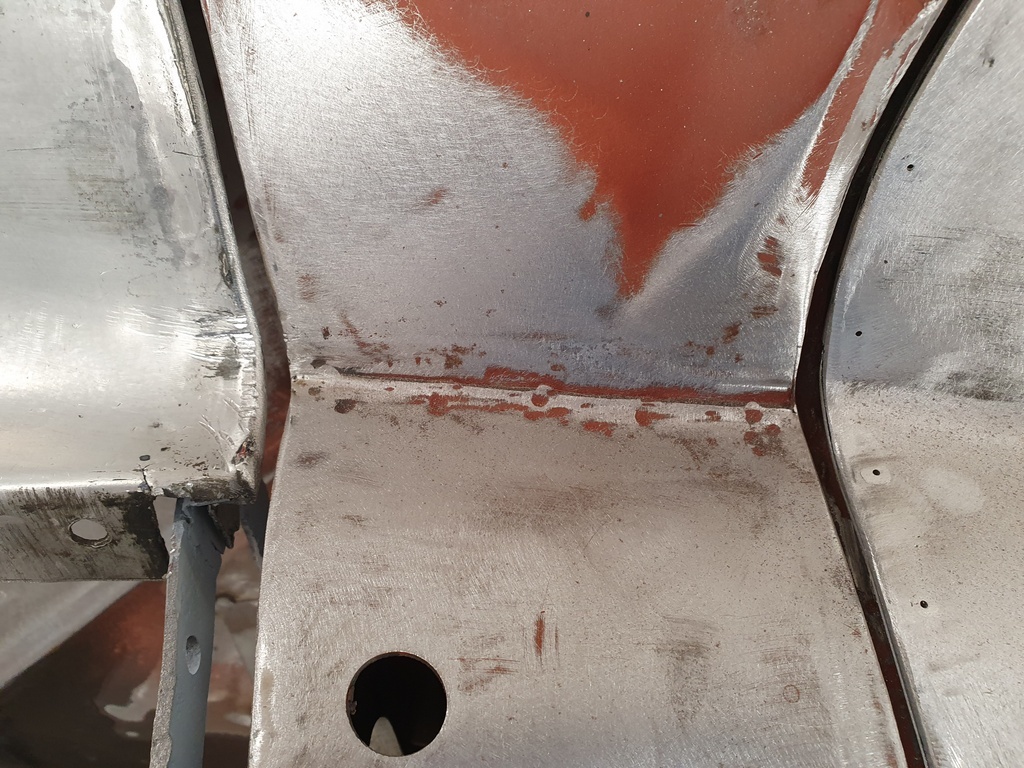 Once the A post joint is lead loaded the bonnet & door profiles will correspond with each other 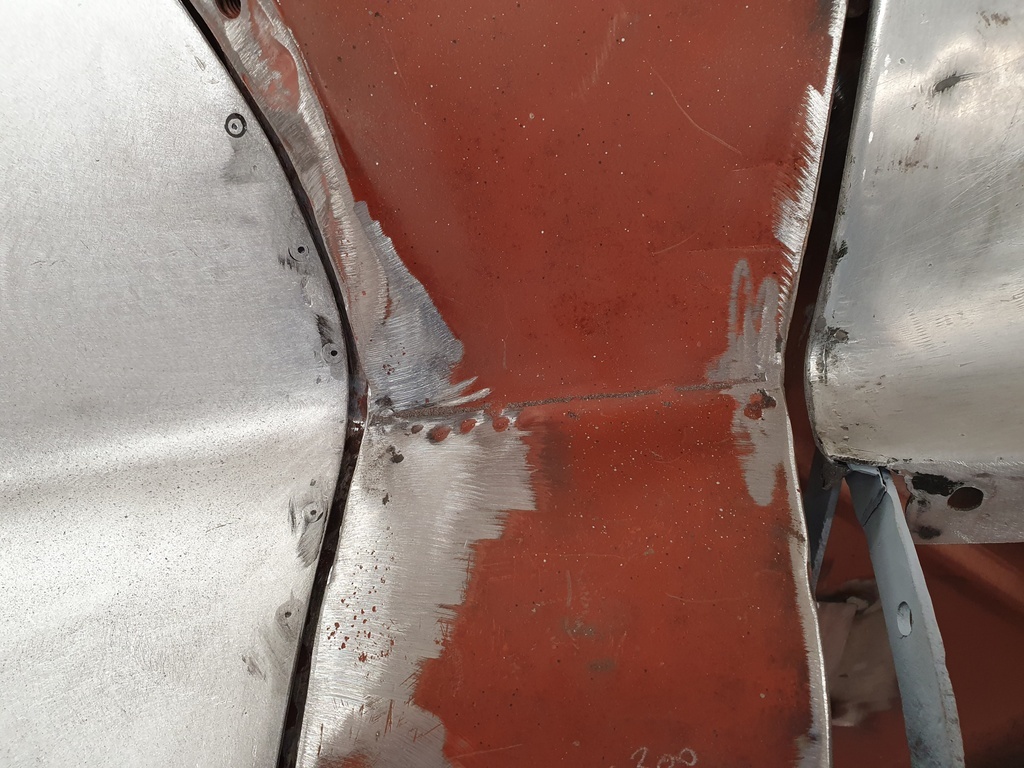 Still some adjustment / fettling on the offside required but its now now more fine tuning that anything else 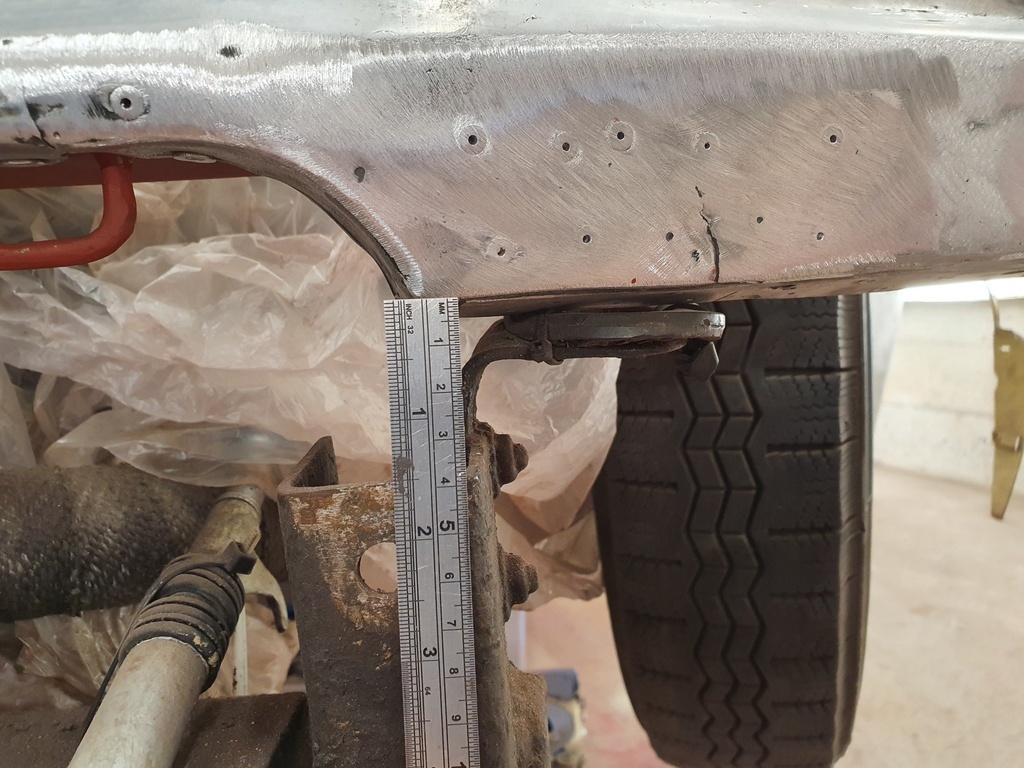 Front edge of the bonnet sits equal to the chassis on both sides too - probably a first for me - I normally have to do quite a bit of work to get them to sit square / correctly 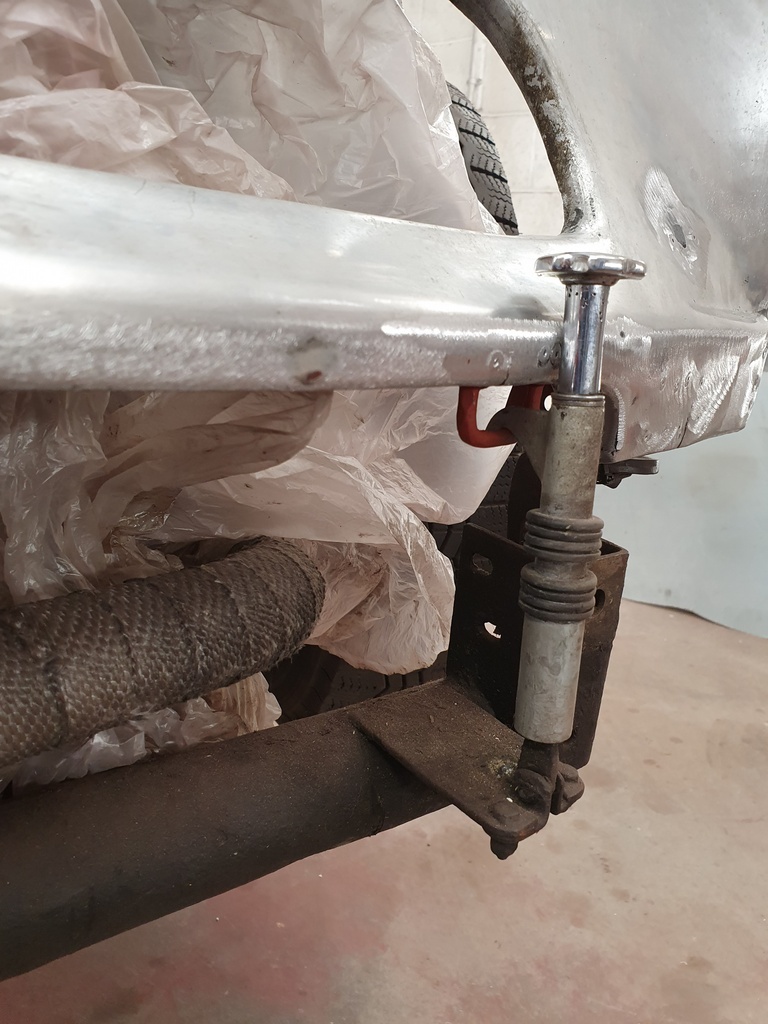 Trial fit on the bonnet retaining catch 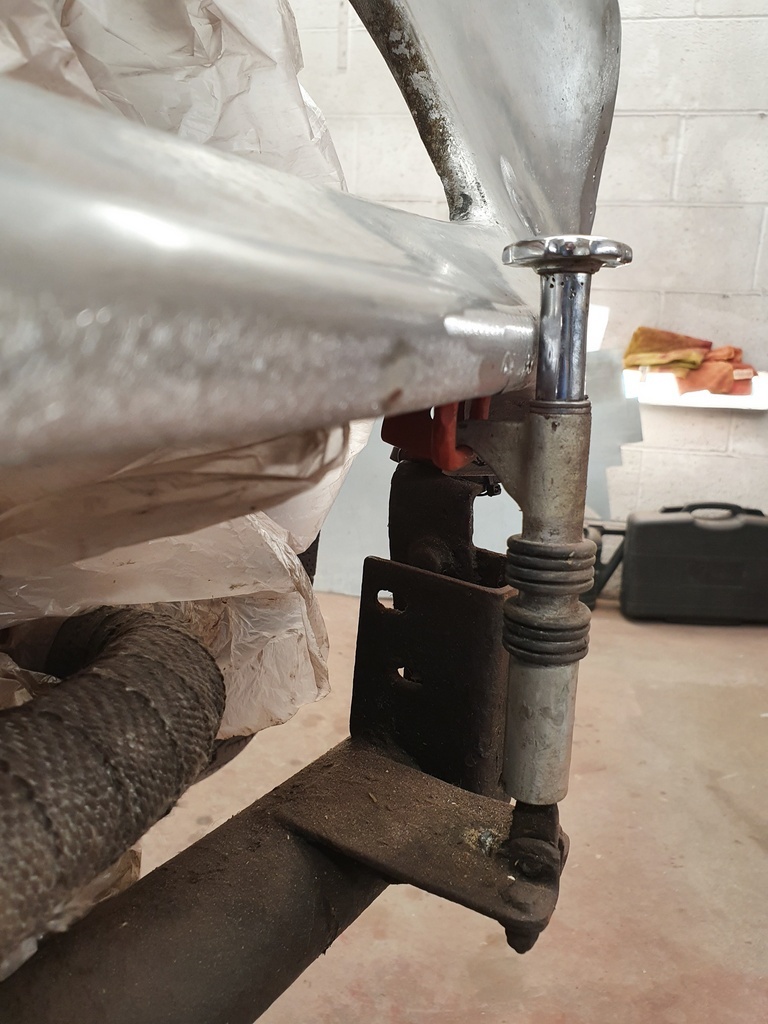 I will need to alter / adjust these to prevent them from fouling the very front edge of the bonnet with potential to damage the paint 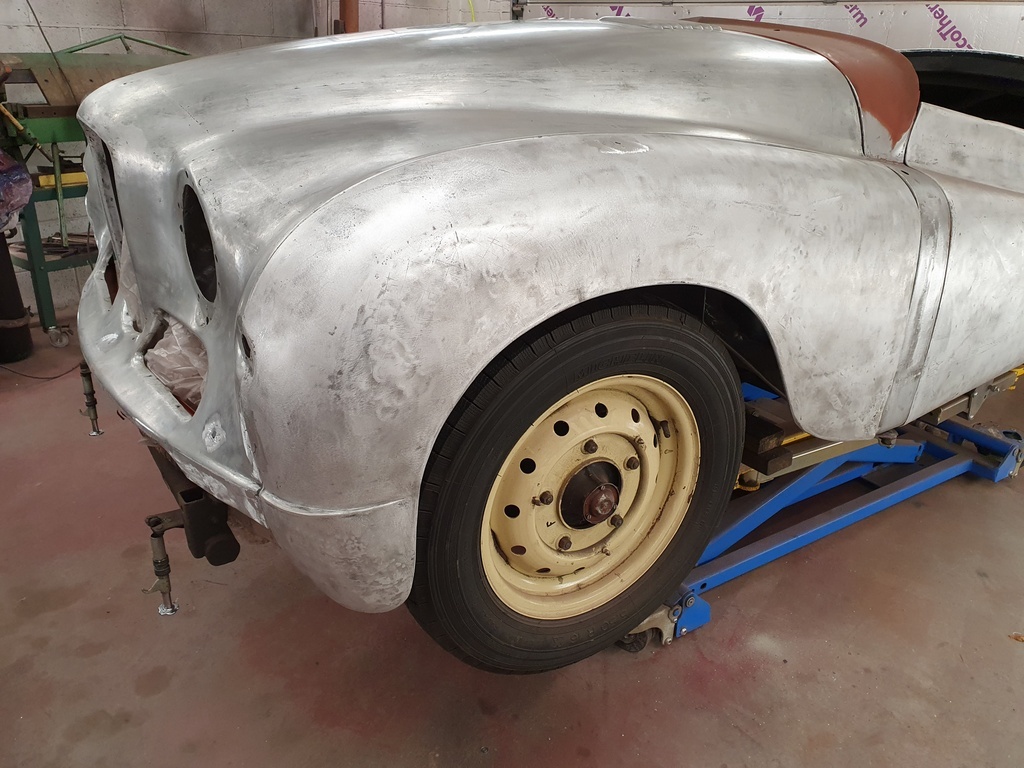 So whilst rolling with the results I trail fitted the nearside front wing 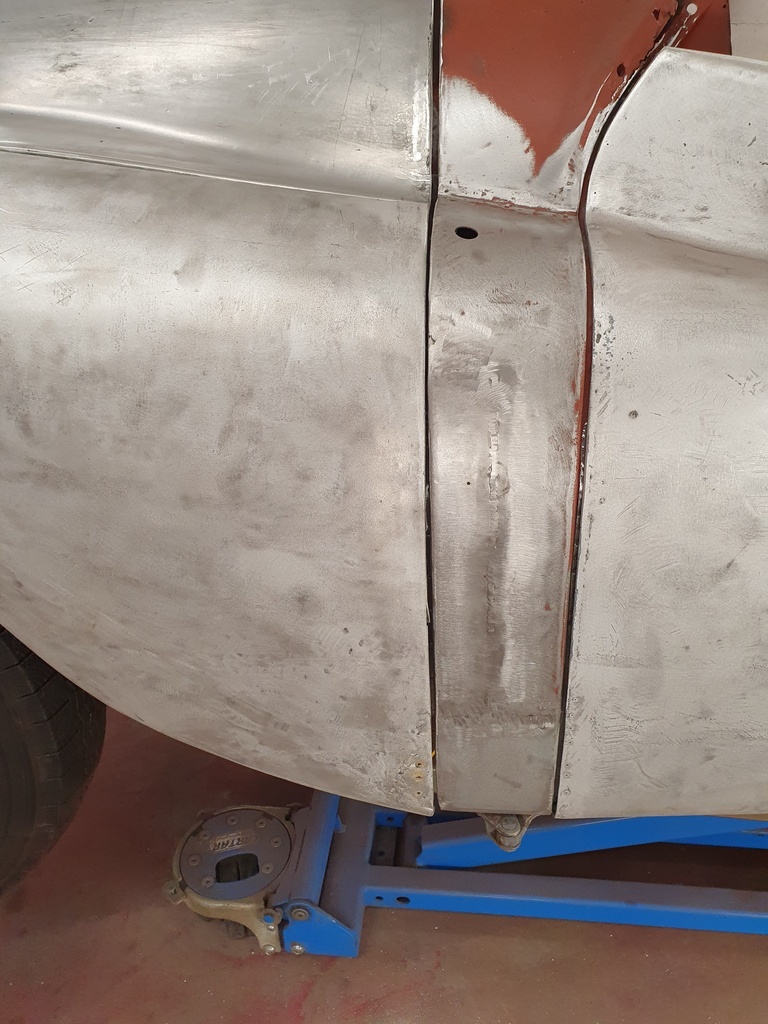 Again some fine tuning required in the morning but very pleased with this result - the rearward edge of the wing also requires panel repairs but panel fit / aperture gap of this nature is a excellent starting point - you can normally drive a bus through the factory set aperture gaps on the front wings 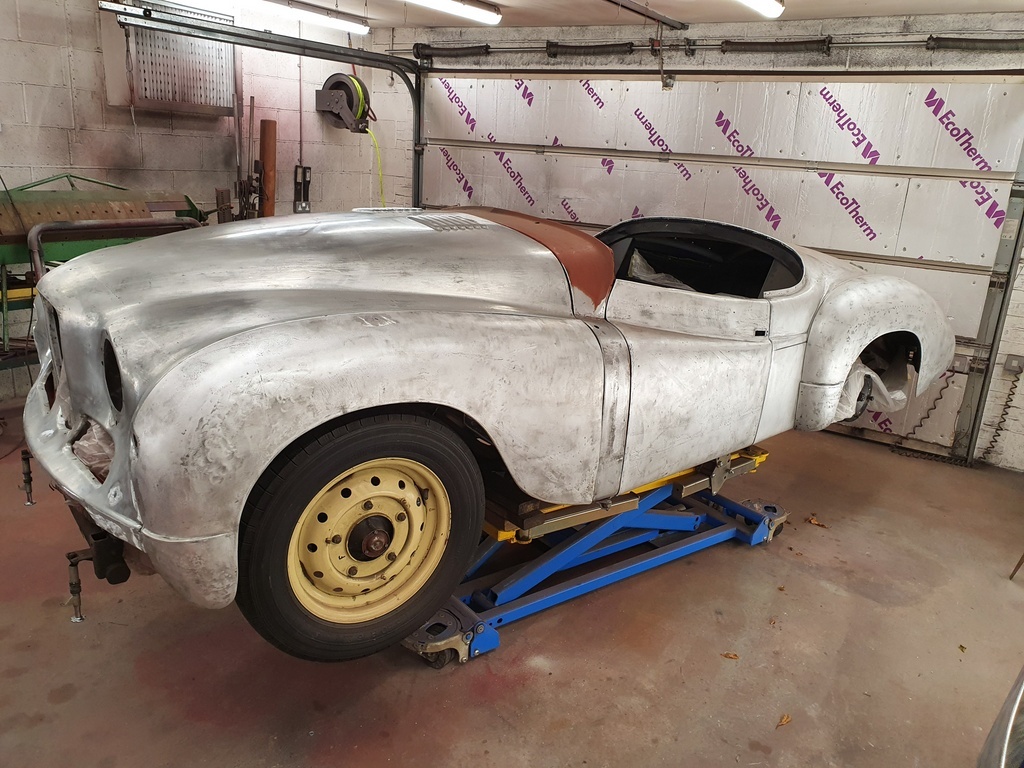 I find it difficult at this stage not to picture the car with a decent paint job on it 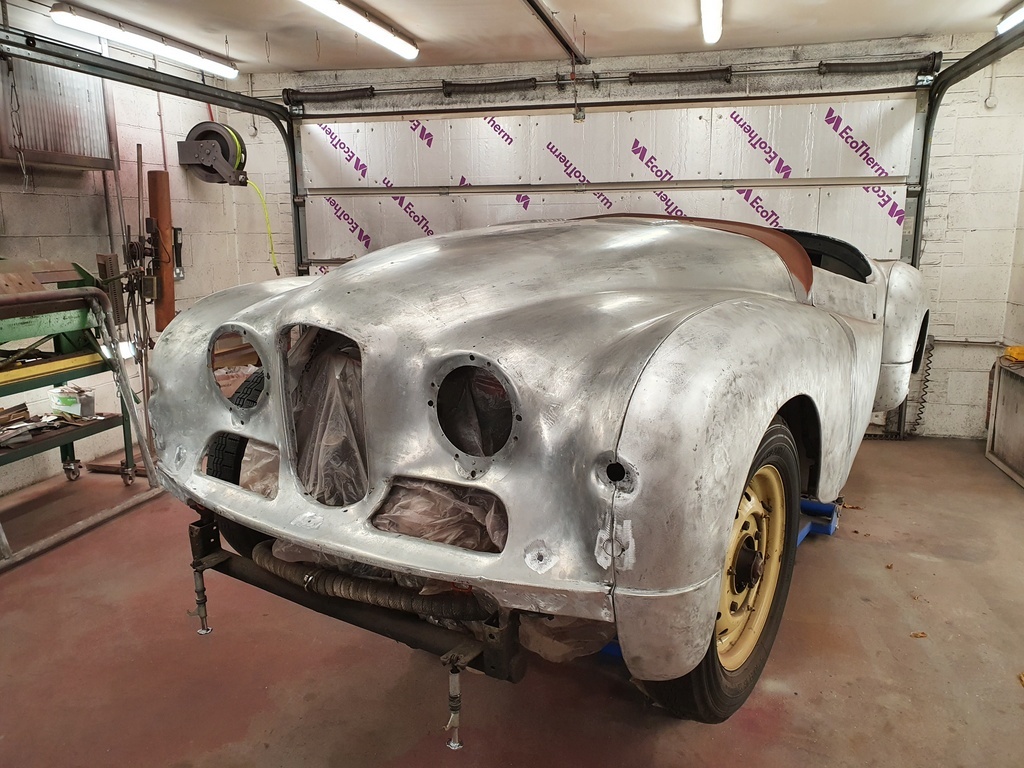 Hopefully the offside front wing will produce the same result tomorrow  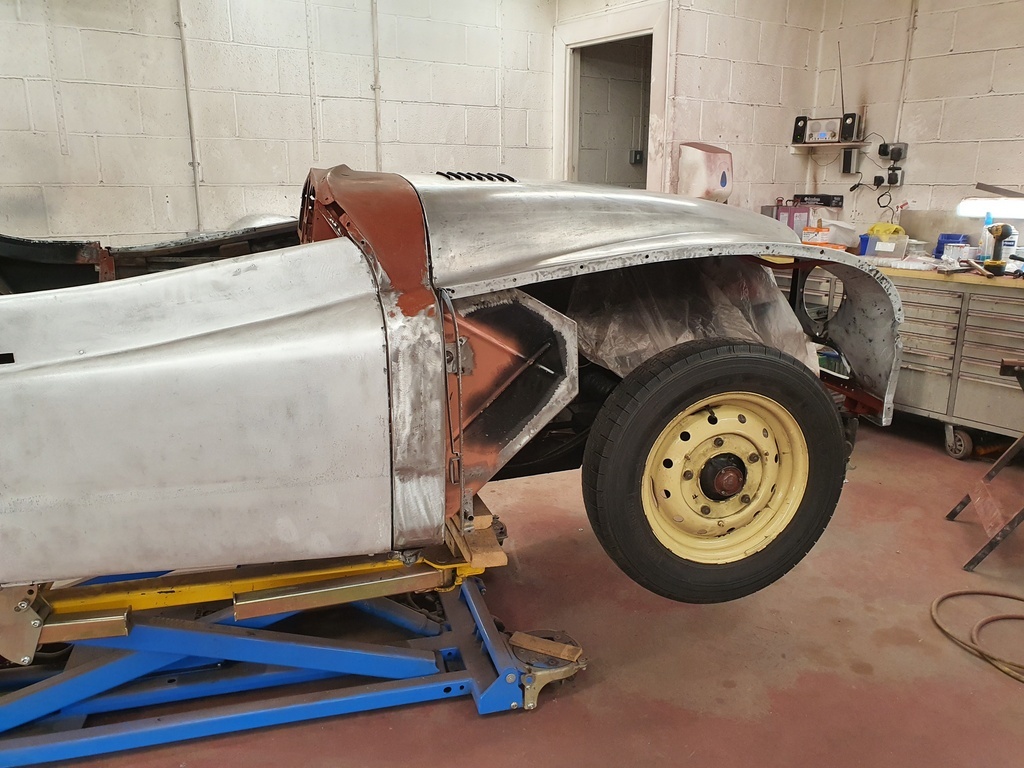 |
| |
Last Edit: Aug 4, 2020 22:32:51 GMT by Deleted
|
|
|
|
|
|
|
Garth & Jess whom own the Jupiter called over to see me yesterday to drop some of the chrome parts off - I need to trial / dry fit these has the repanelling on the car comes to a completion 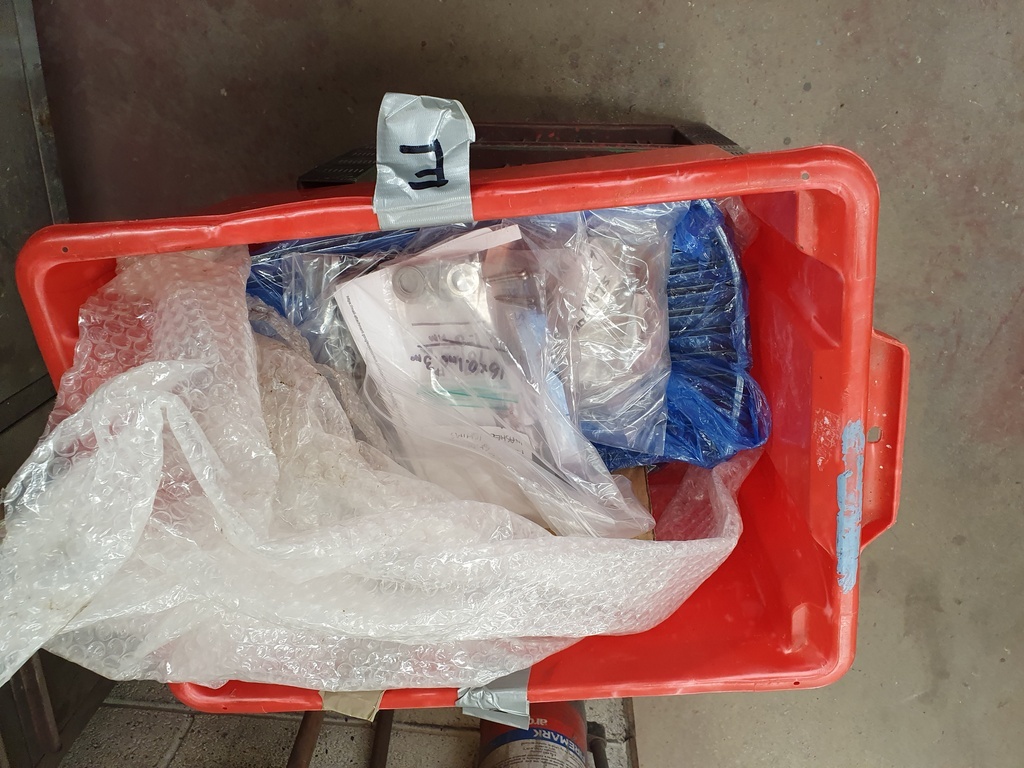 One box of bonnet grille trims - this is a critical path for me - nothing worse than assuming trim / chrome fit only to find that it fouls the paint finish once the car gets fitted (even though I may well not be fitting the car back up - the restoration still has my name & reputation written all over it and chipped / marked paint looks awful on a restoration) 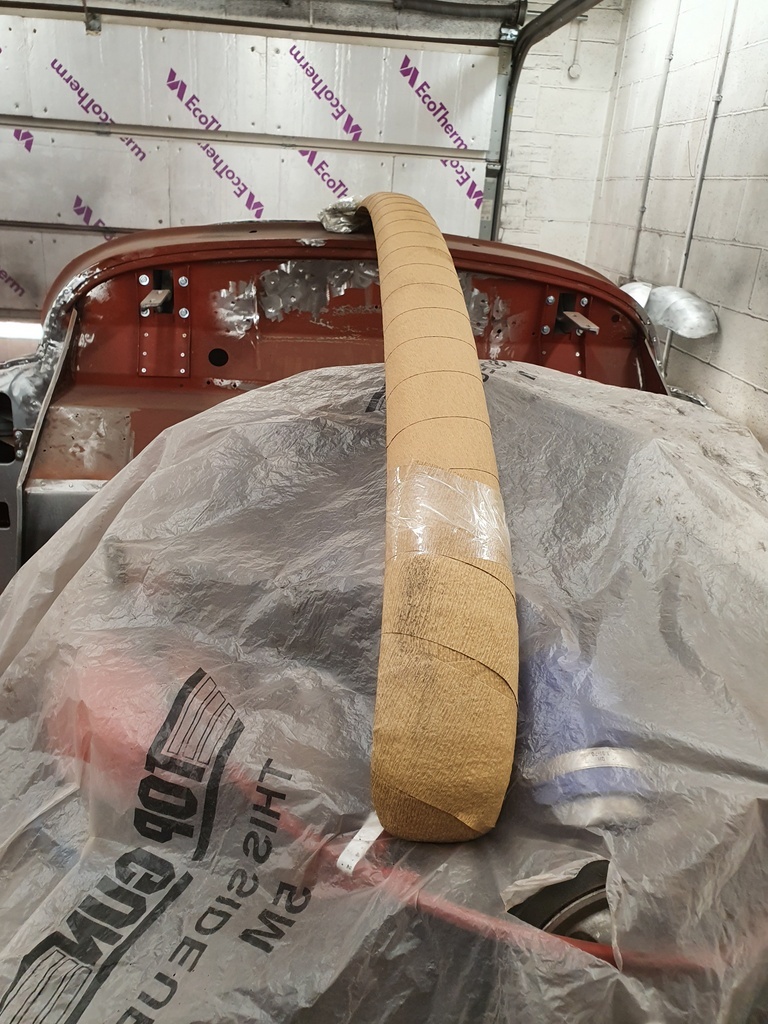 Freshly rechromed front bumper which I need to trial fit in conjunction with the front valance (which gets painted body colour) 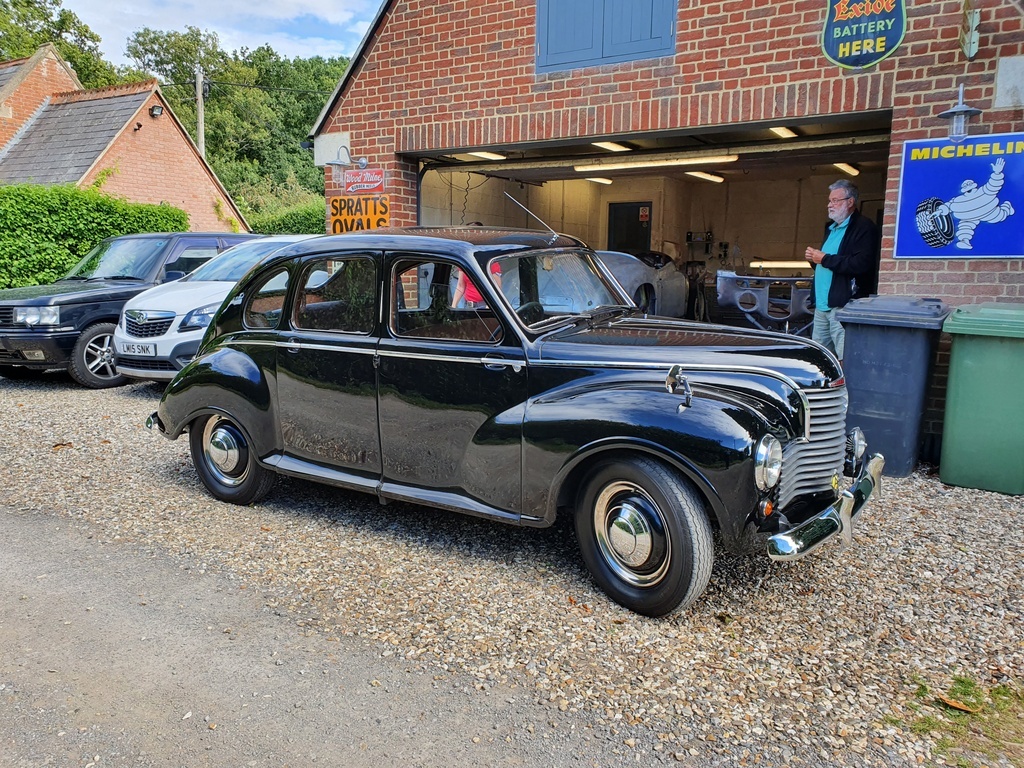 They reside about 30 mins from the workshop so thought it fit to give their Jowett Javelin Delux a run out - the car was restored by Garth over 30 years ago and it looks remarkably well on it |
| |
Last Edit: Aug 5, 2020 8:09:15 GMT by Deleted
|
|
thomfr
Part of things
  Trying to assemble the Duett again..
Posts: 695
|
|
|
|
Mine (air and power) are basic quality ones (I could not afford better then but they hold up very well for the hobby use a few times a week). I love them because they are long enough for use in the whole garage and as they are mounted beside the overhead door also on the driveway. They roll back easy.  btw. love your quality of work and your straight approach. Thom |
| |
Last Edit: Aug 5, 2020 12:45:10 GMT by thomfr
73' Alfa Giulia Super
64' Volvo Duett
65' Volvo Duett
67' Volvo Amazon 123GT
09' Ford Focus 1.8
20' VW ID4
71' Benelli Motorella
65' Cyrus Speciaal
The difference between men and boys is the price of their toys
|
|
|
|
|
|
|
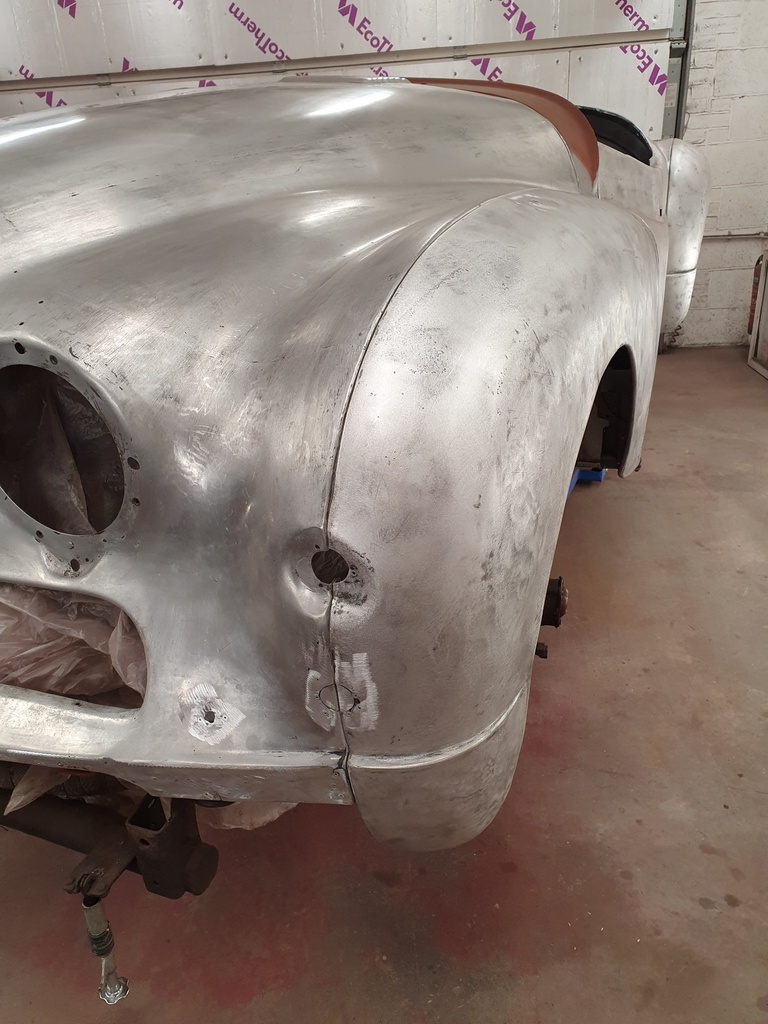 Did a little fine tuning with the nearside front wing 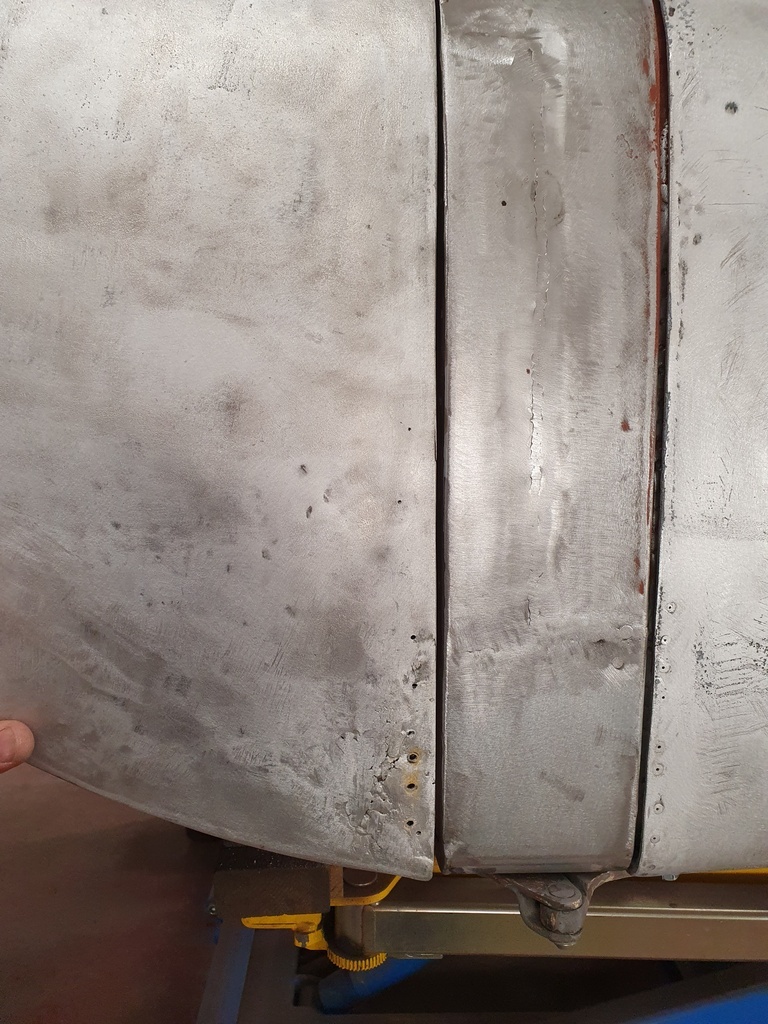 And the vertical gapping with the A post 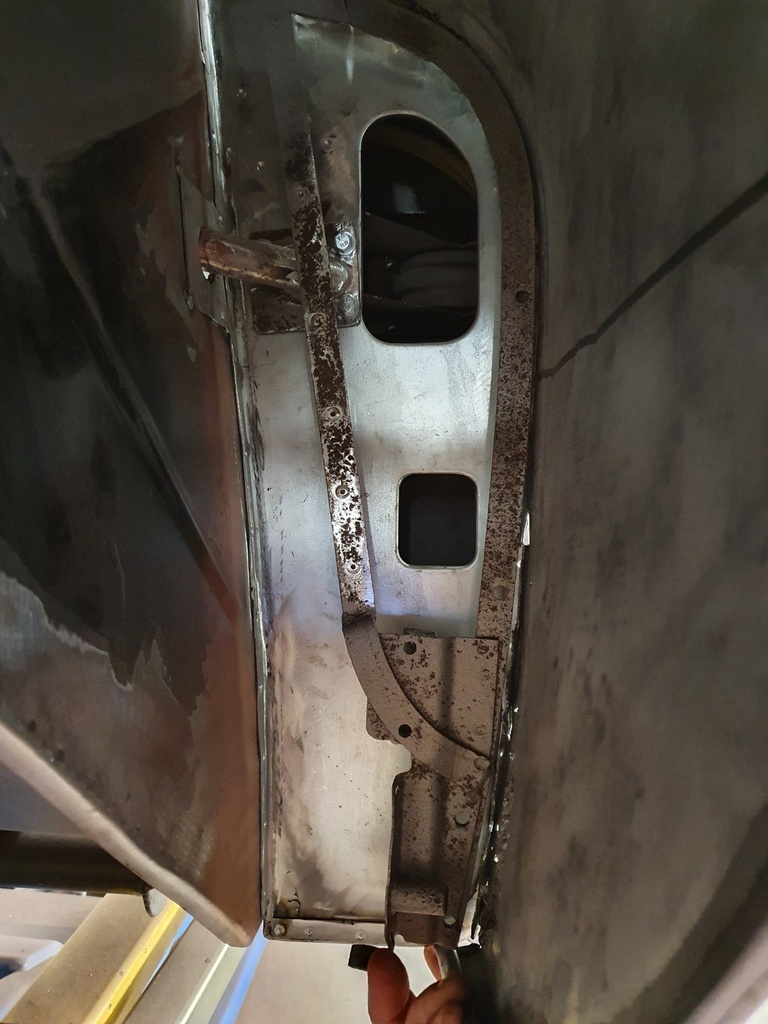 I'm going to have to make some alterations to the hoop frame which provides the vertical support for the front wing 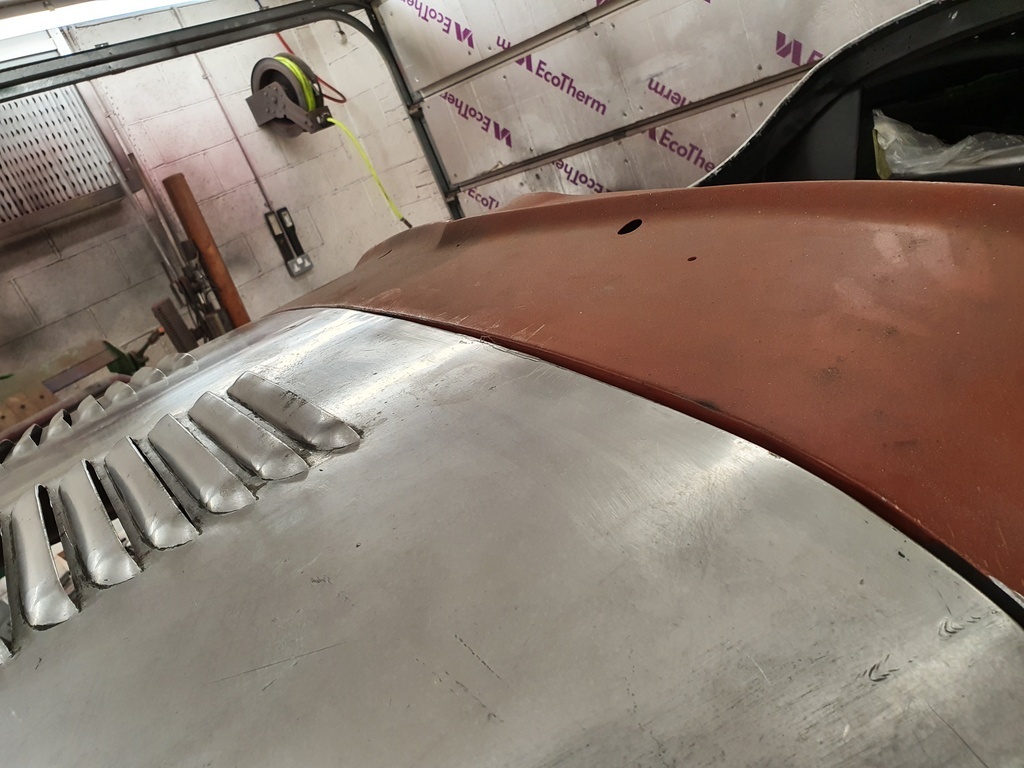 But now happy with the bonnet alignment to the bulkhead bar some fine tuning 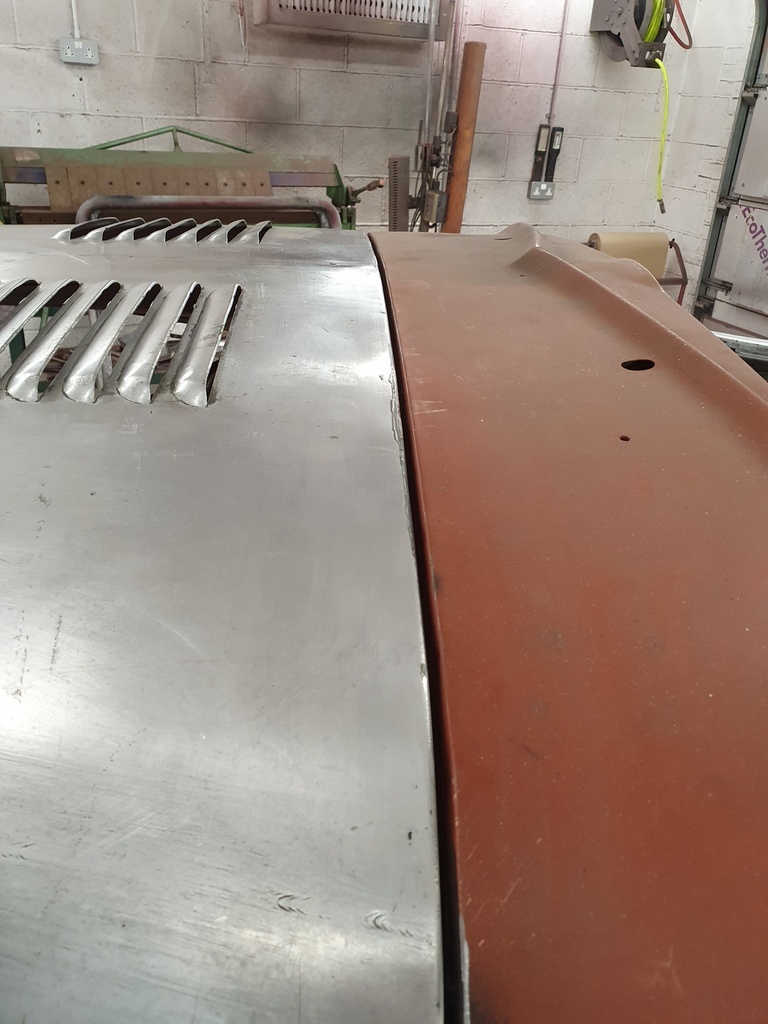 And the aperture gapping between the bonnet & the bulkhead - get this gapping any tighter and the bonnet edge will contact the bulkhead edge upon opening to the point that it marks the paint 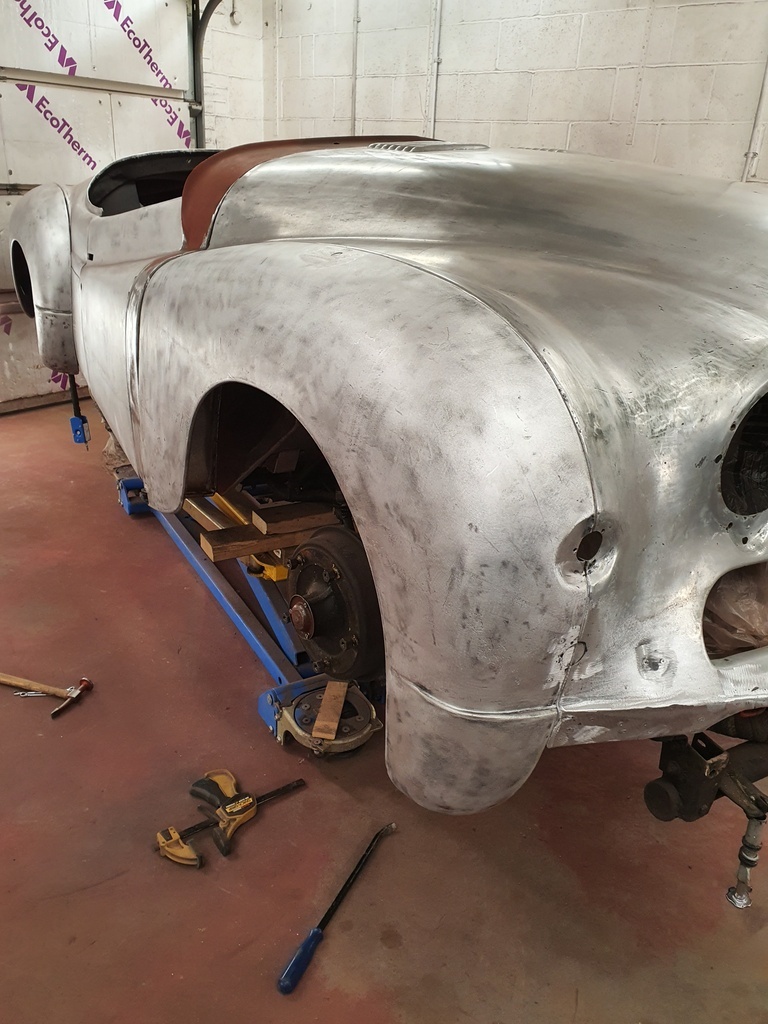 Initial fit on the offside front wing 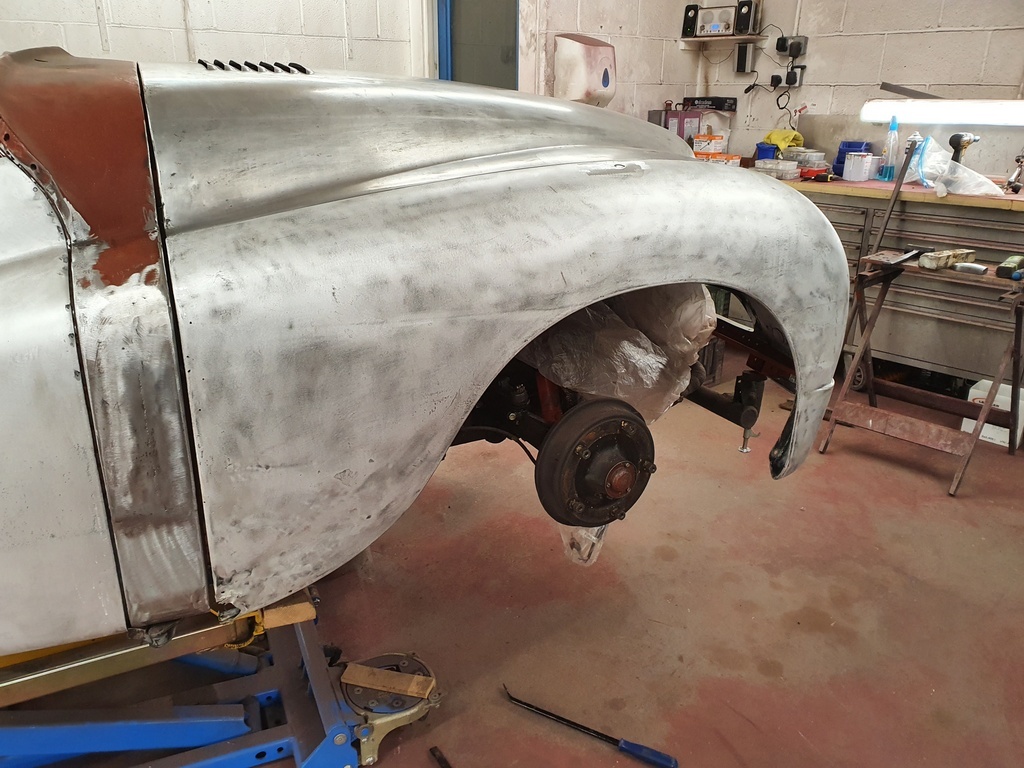 Again not all that far away from where I need to be 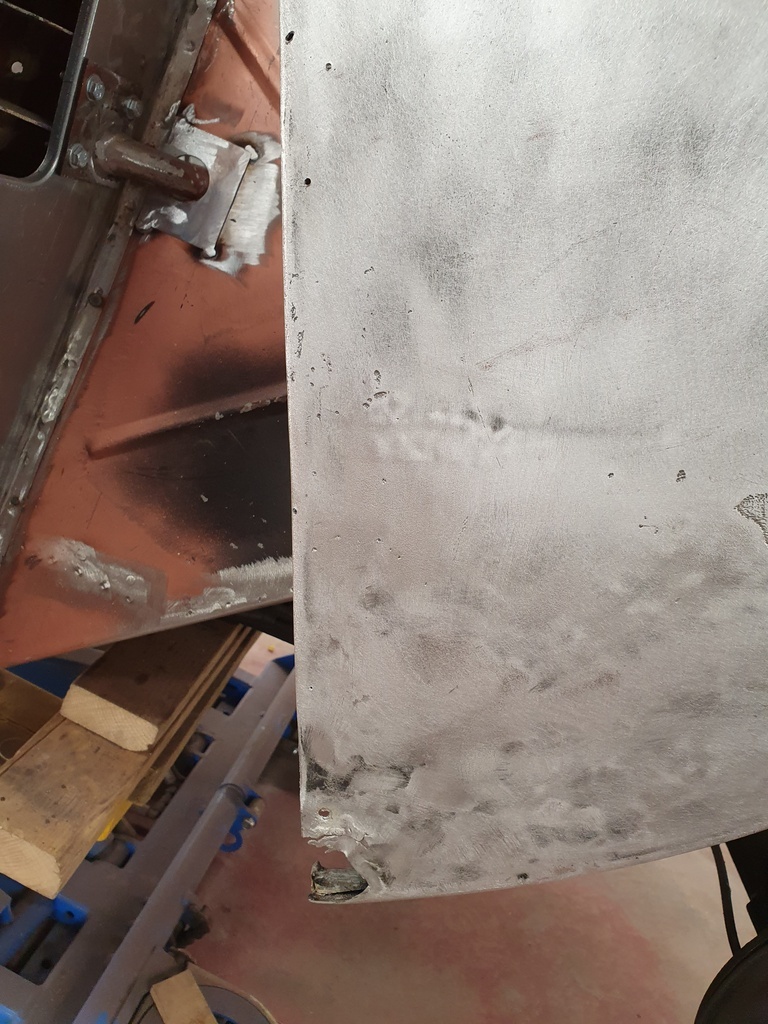 But the bottom corner of the wing requires a panel repair 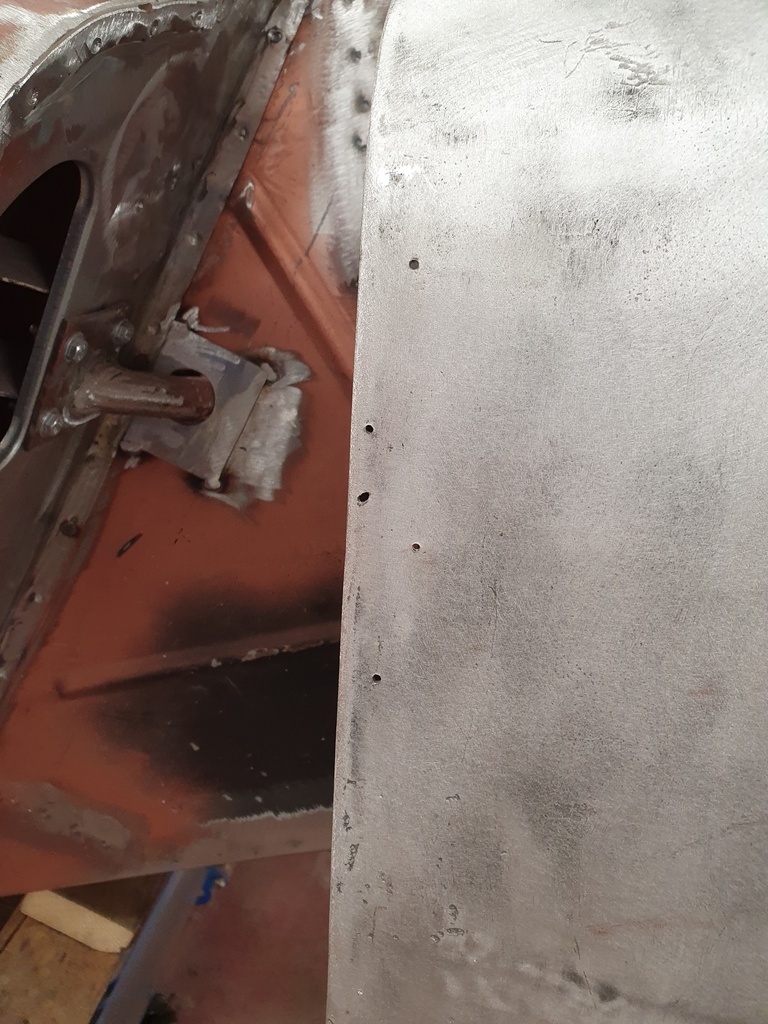 Has do several localised pinholes (which I have enlarged) 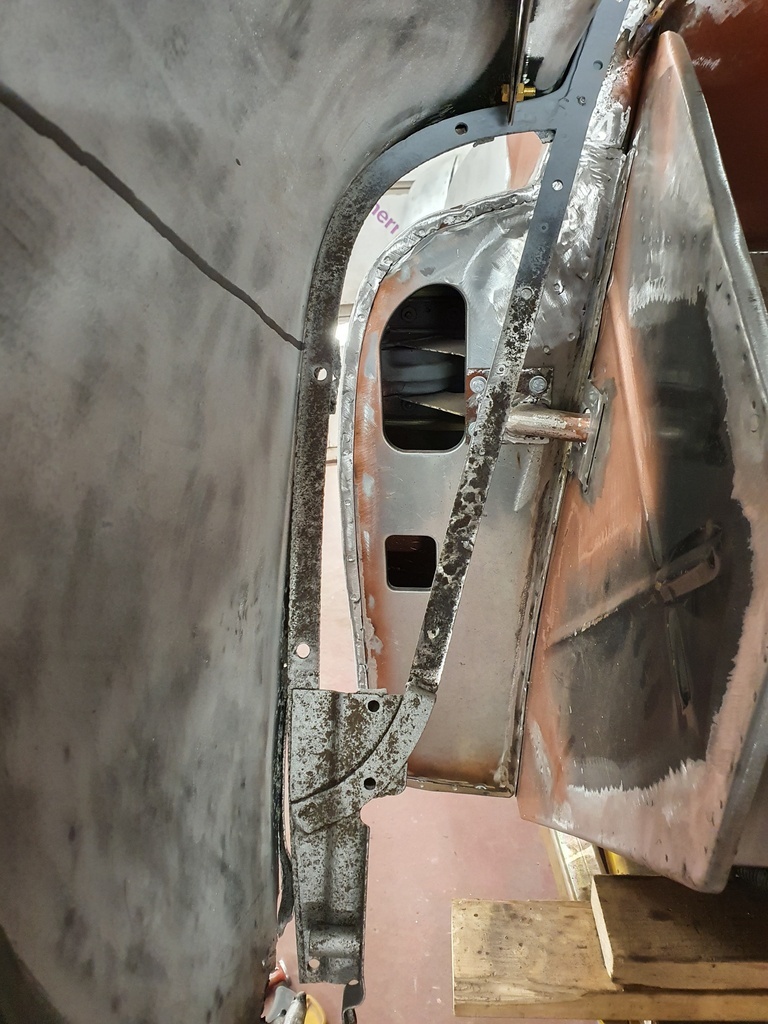 The hoop frame on this side will also require tweaking to bring it into alignment with the wing & A post 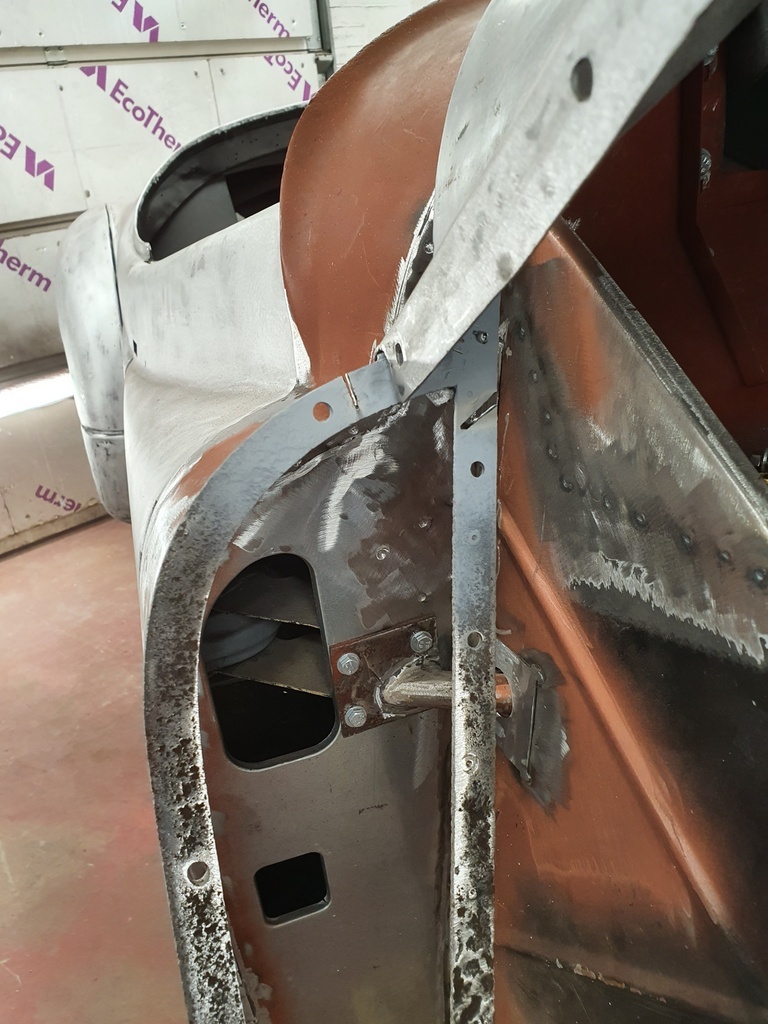 Removed the wing and cut some slots in the frame to allow it to be moved in without twisting the hoop frame 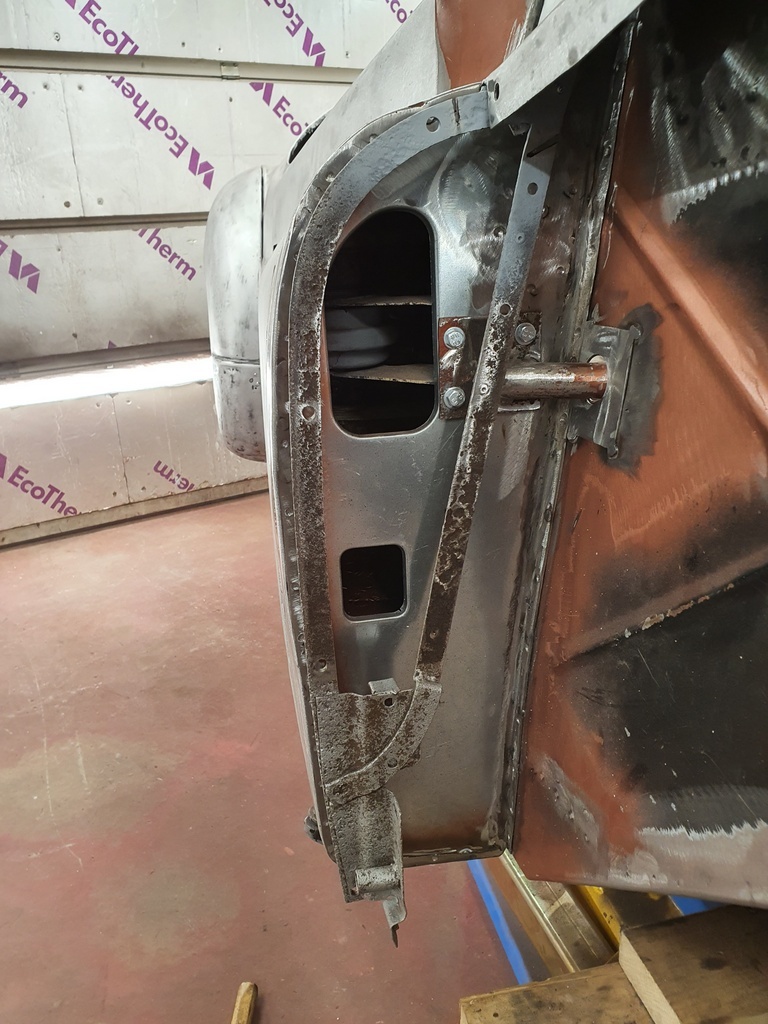 Then rewelded the slots back up 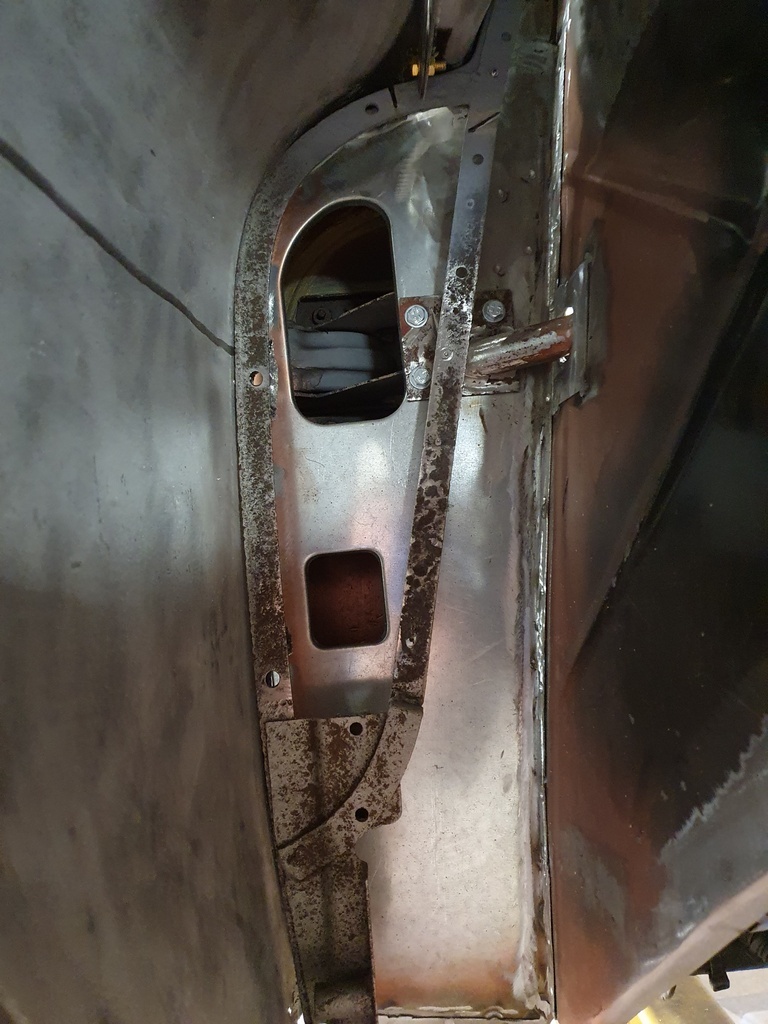 And refitted the wing 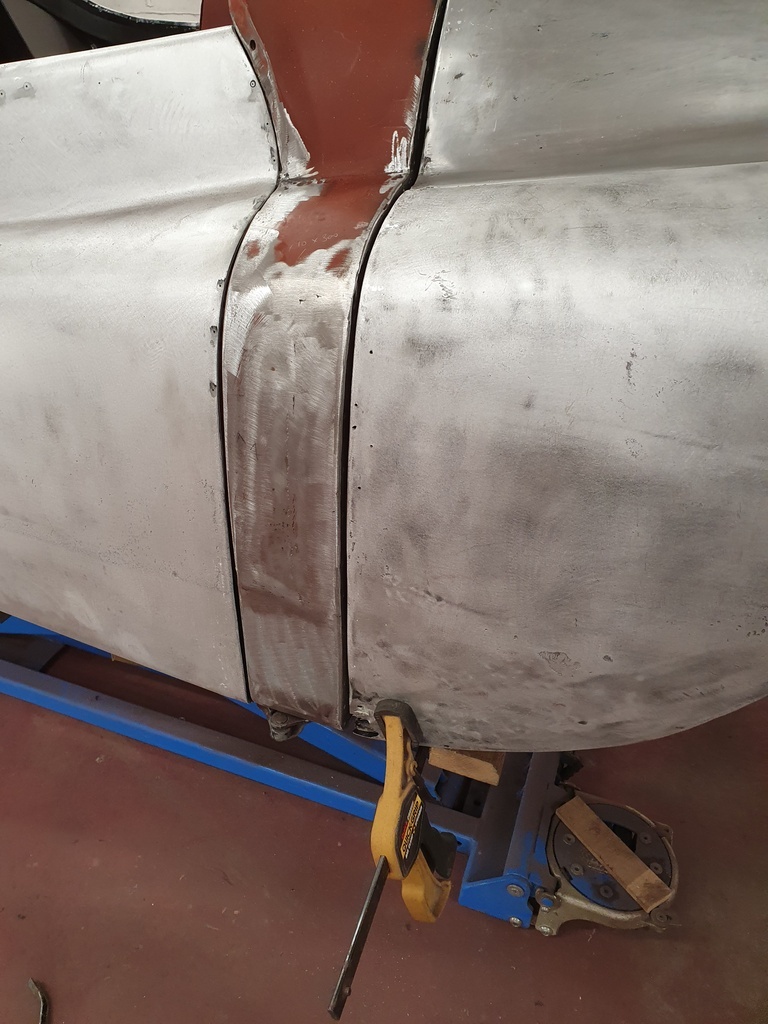 Much better 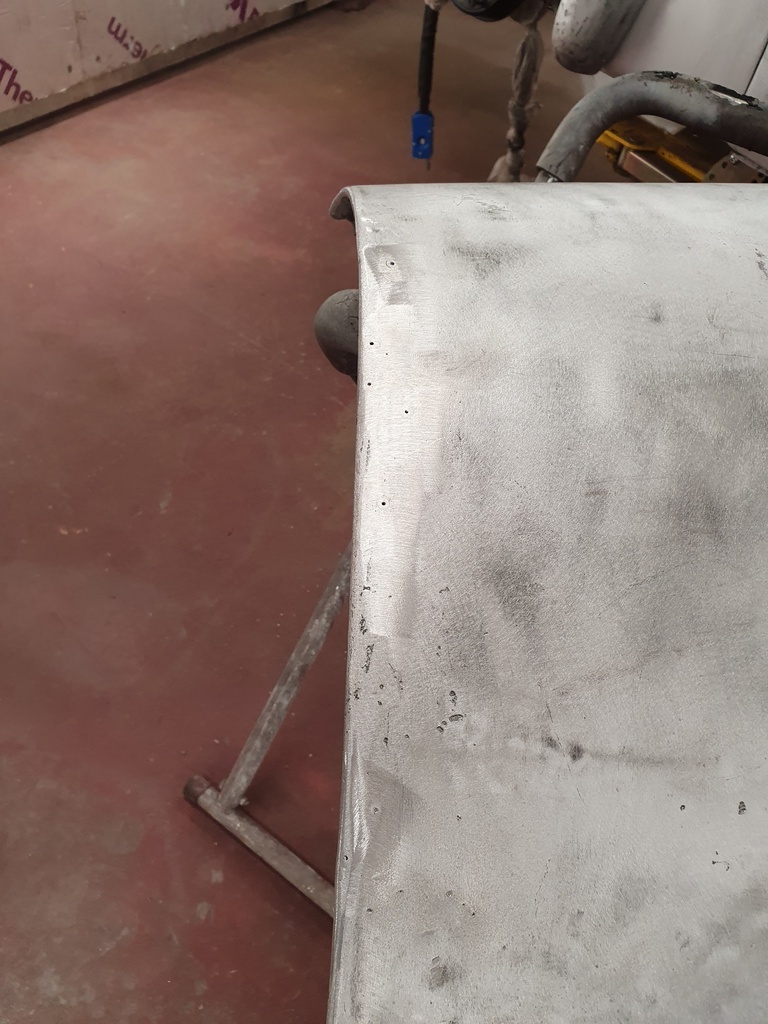 Removed the wing again for the panel repairs - localised perforations were drilled & countersunk for rivets then dressed back 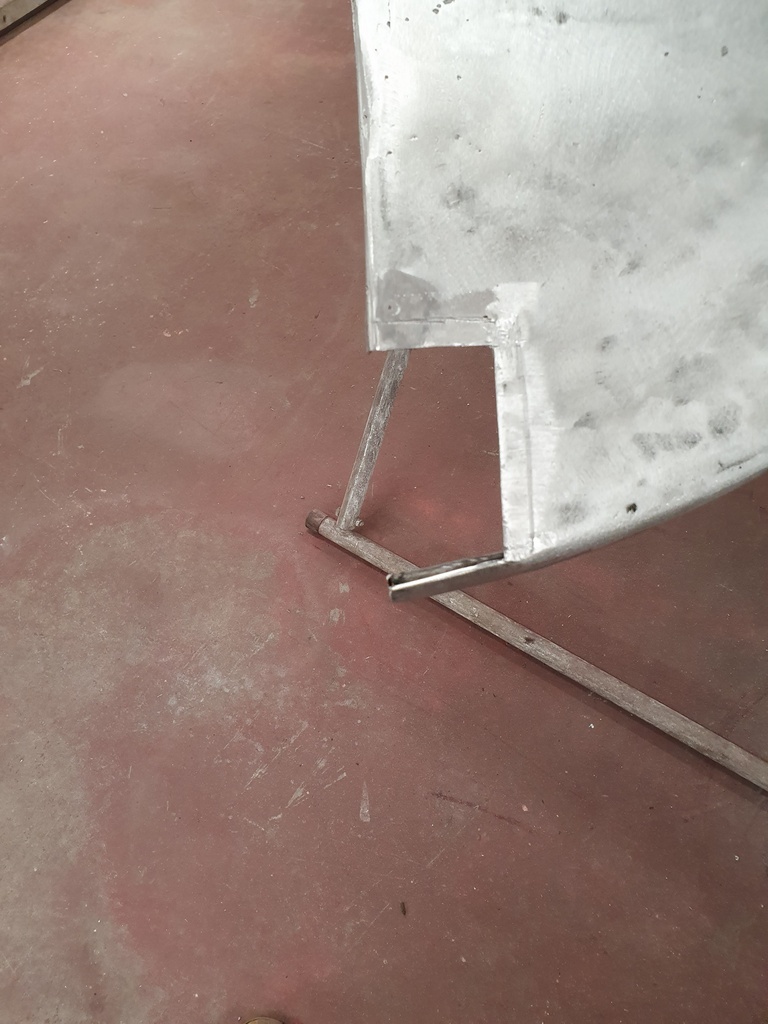 Defective material cut out & removed from the bottom corner 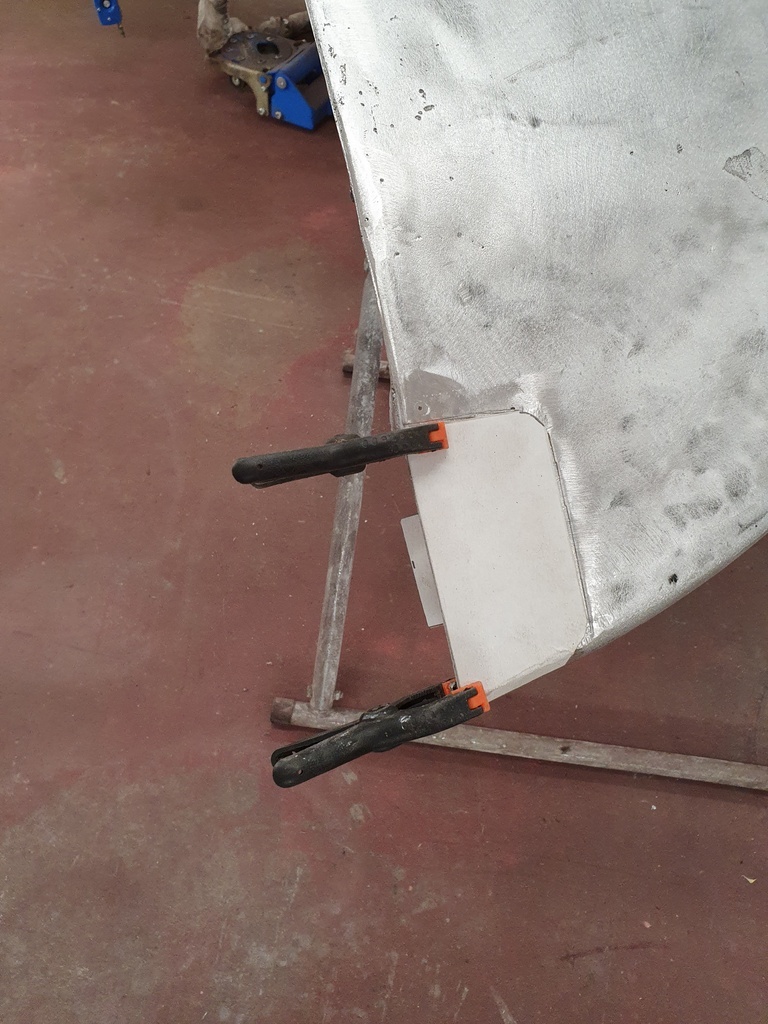 Patterned up 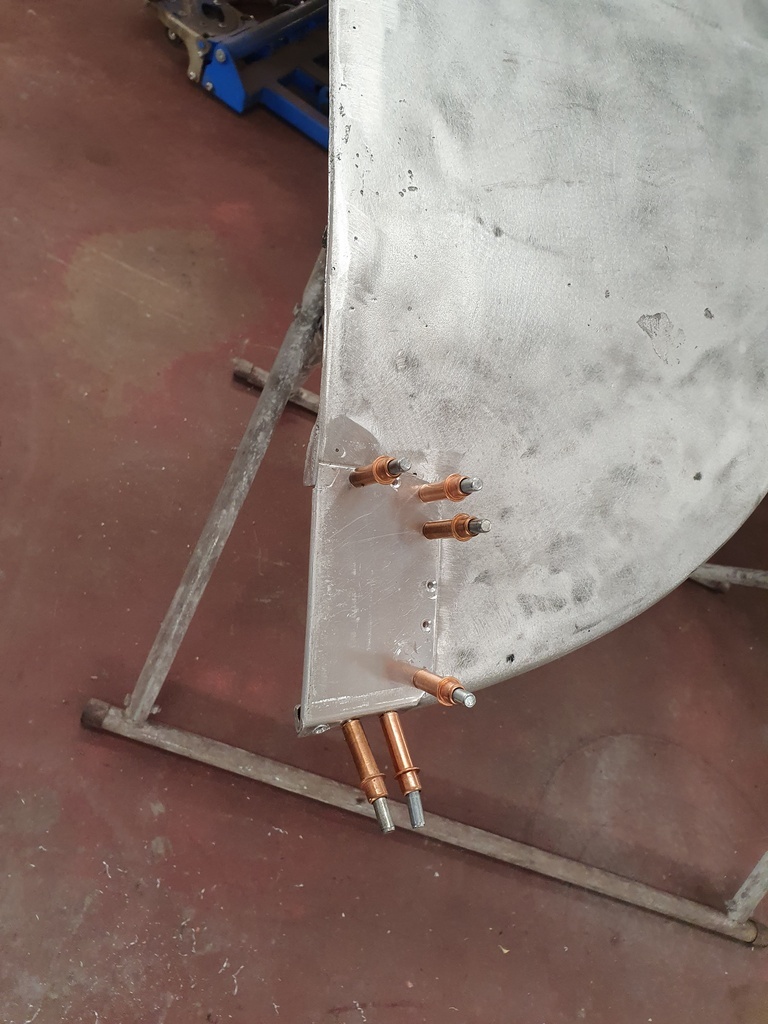 Repair section made up & trial fitted 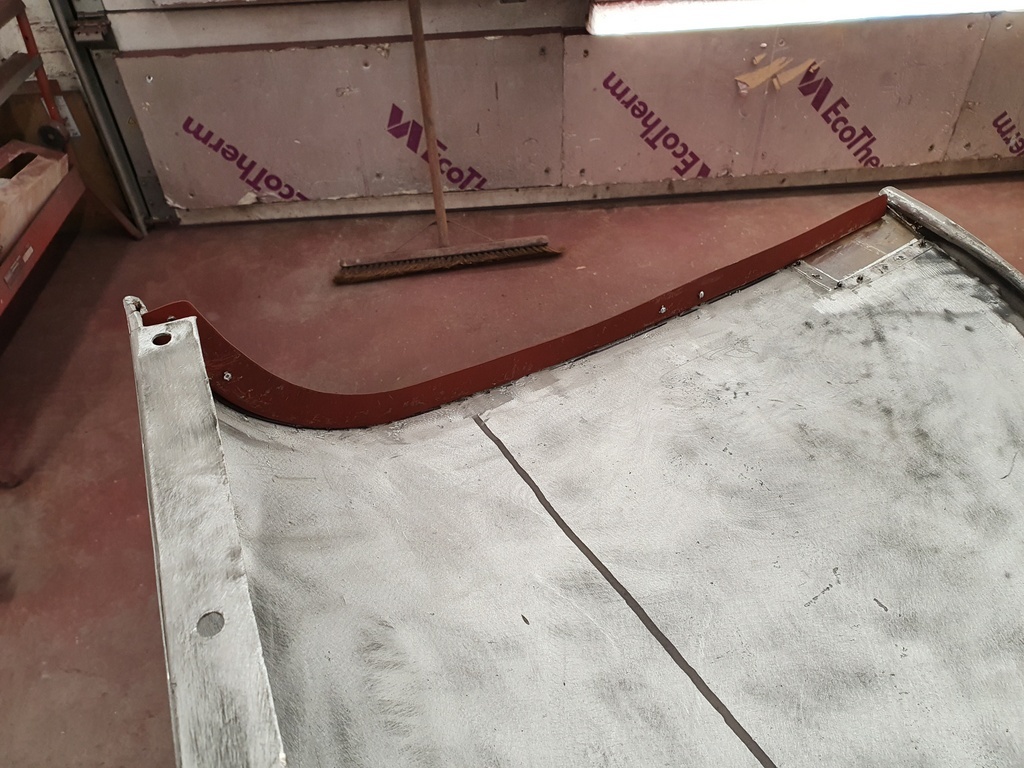 Then the new vertical support could be fitted 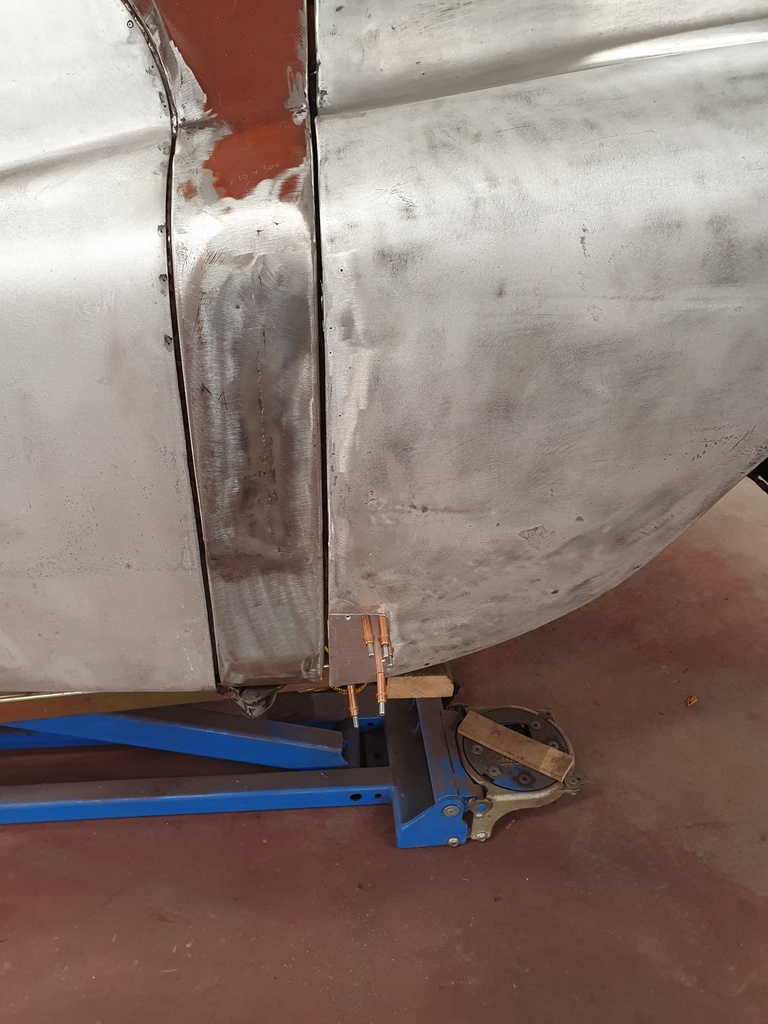 Wing refitted 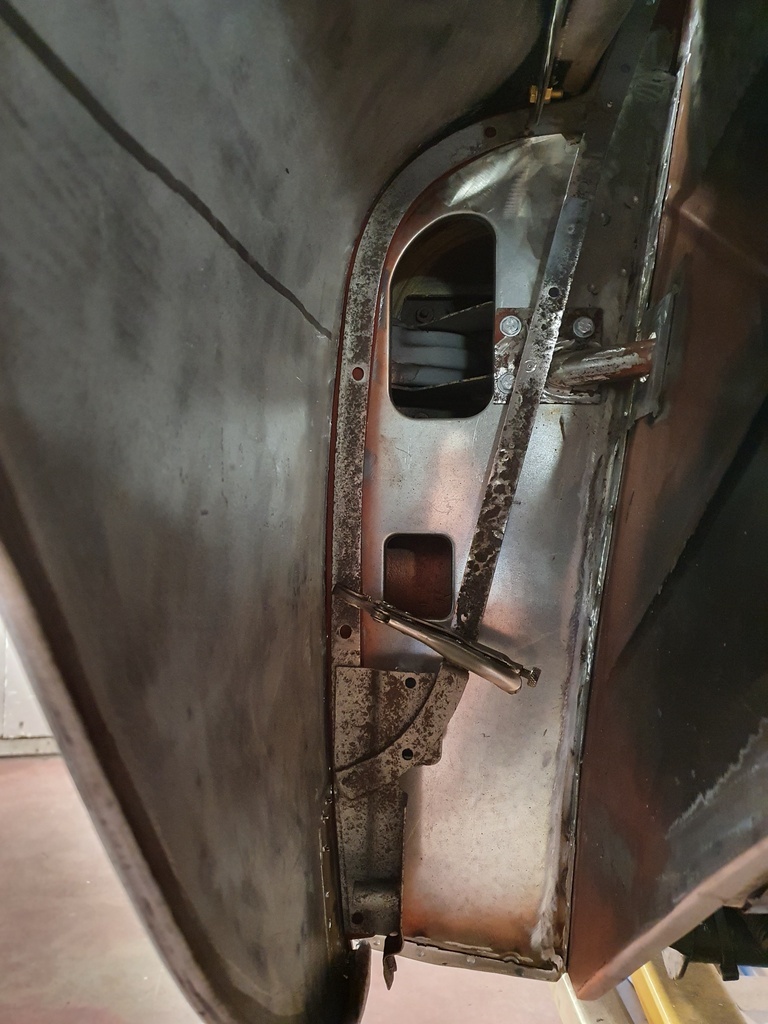 And now meets the hoop support correctly 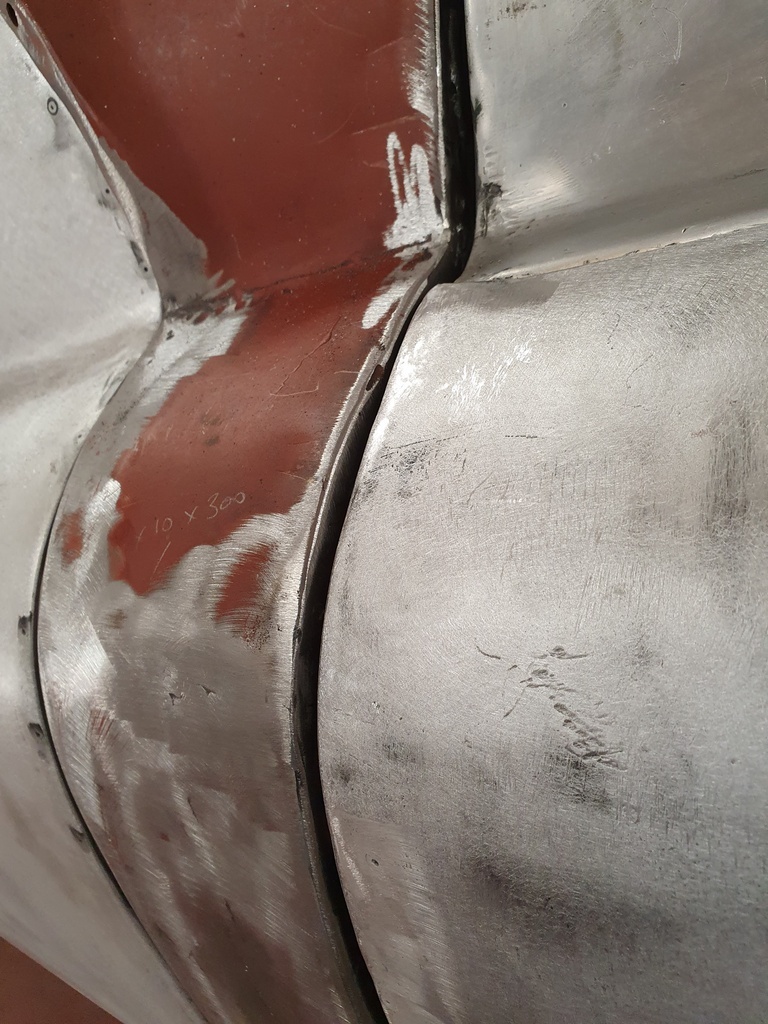 Still needs tweaking for alignment 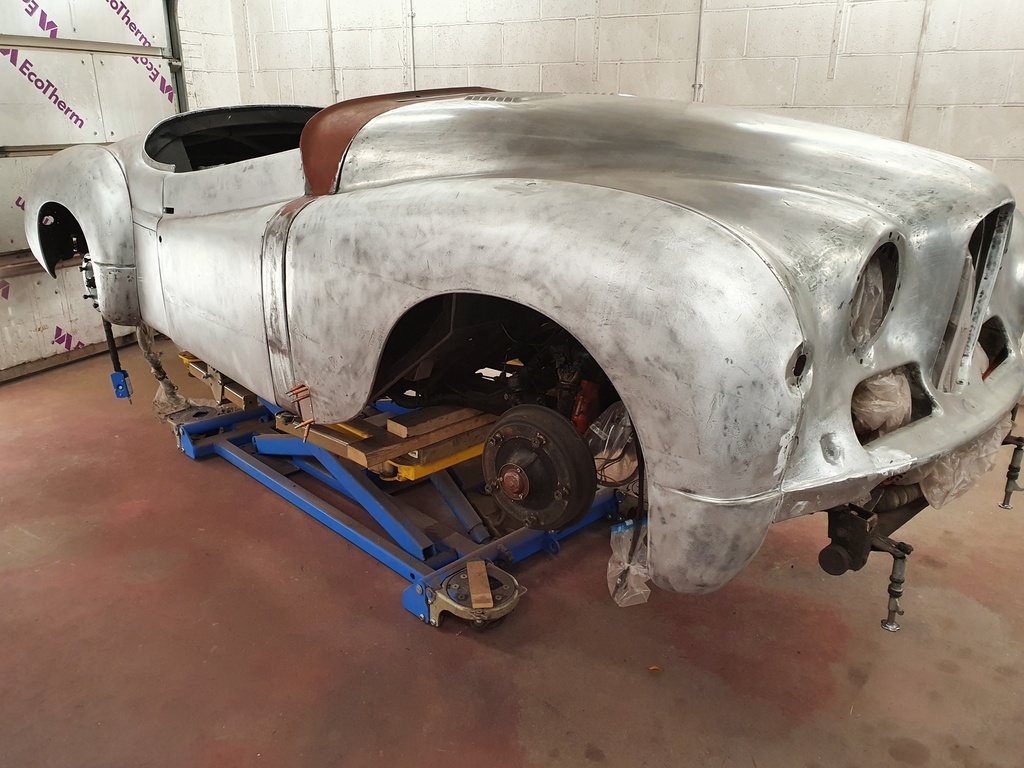 But well on its way - more tomorrow |
| |
Last Edit: Aug 6, 2020 7:03:53 GMT by Deleted
|
|
|
|
|
|
|
That bonnet latch is a bit odd. Do you push down on the oil cap and the upside down oil spout clears the bonnet eye, and then the whole thing falls forwards on the valance paintwork?  |
| |
|
|
|
|
|
|
|
That bonnet latch is a bit odd. Do you push down on the oil cap and the upside down oil spout clears the bonnet eye, and then the whole thing falls forwards on the valance paintwork?  No its a screw fit so just wind down to fasten - wind up to release - the grommets on the sleeve prevent contact with the valance paint 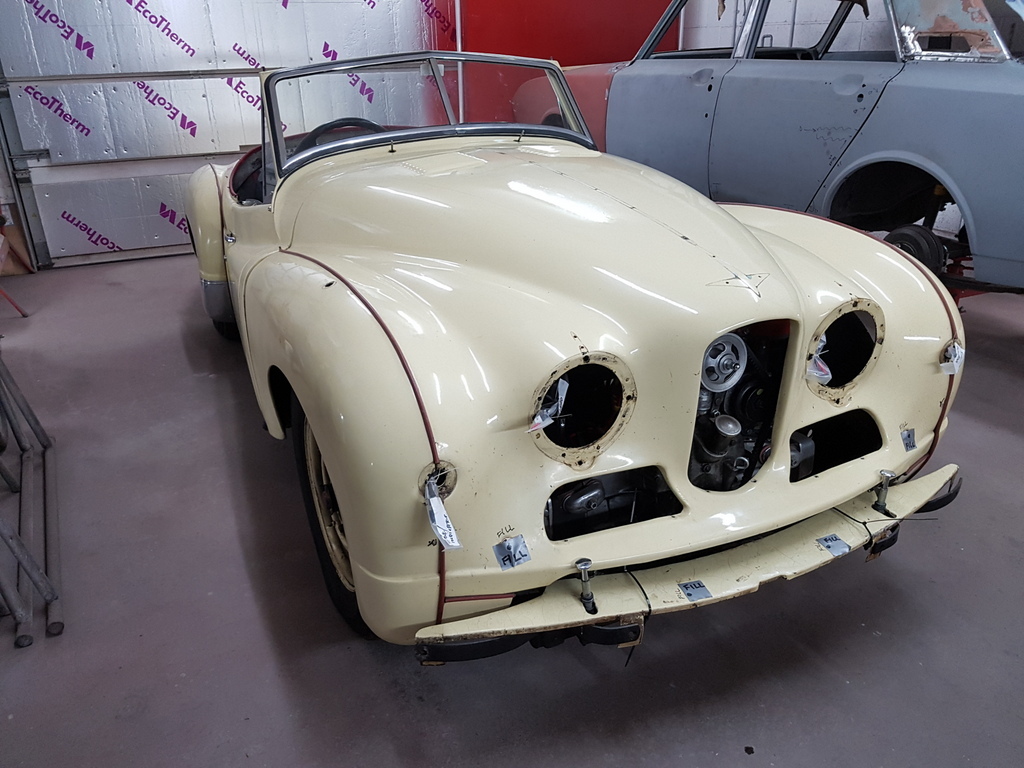 |
| |
|
|
|
|
|
|
|
Another day of balancing the wing fit against the bonnet fit 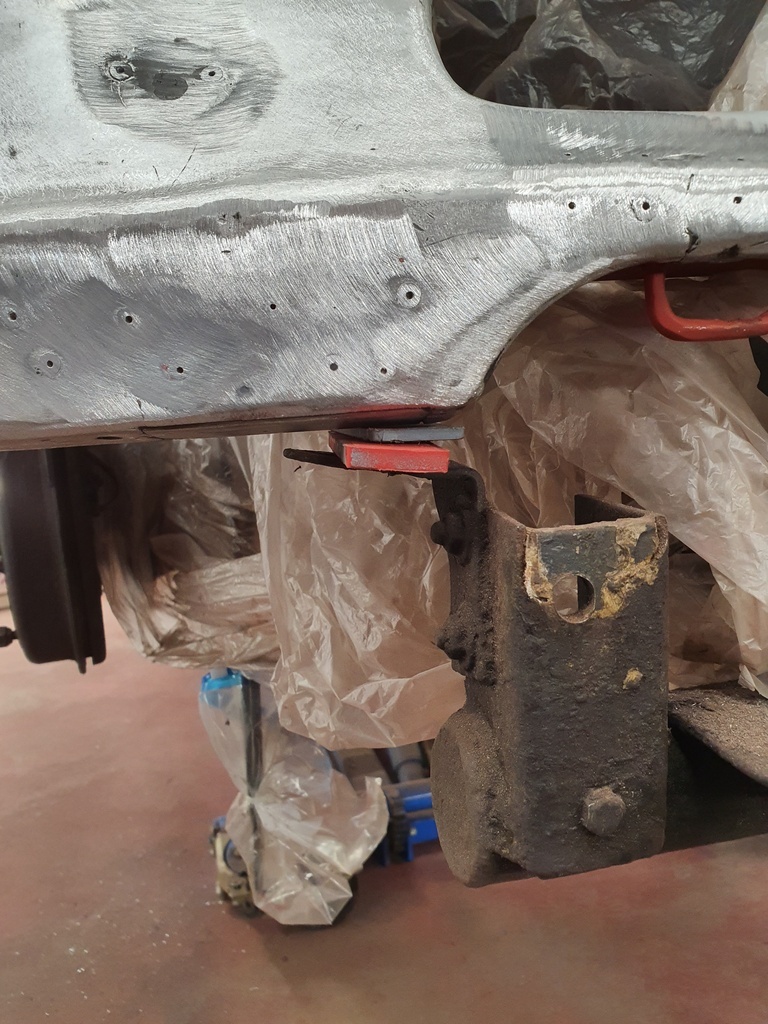 Seen here adjusting the closing height with plastic shims as a temporary measure - this in turn reduces the wing aperture gapping against the A post 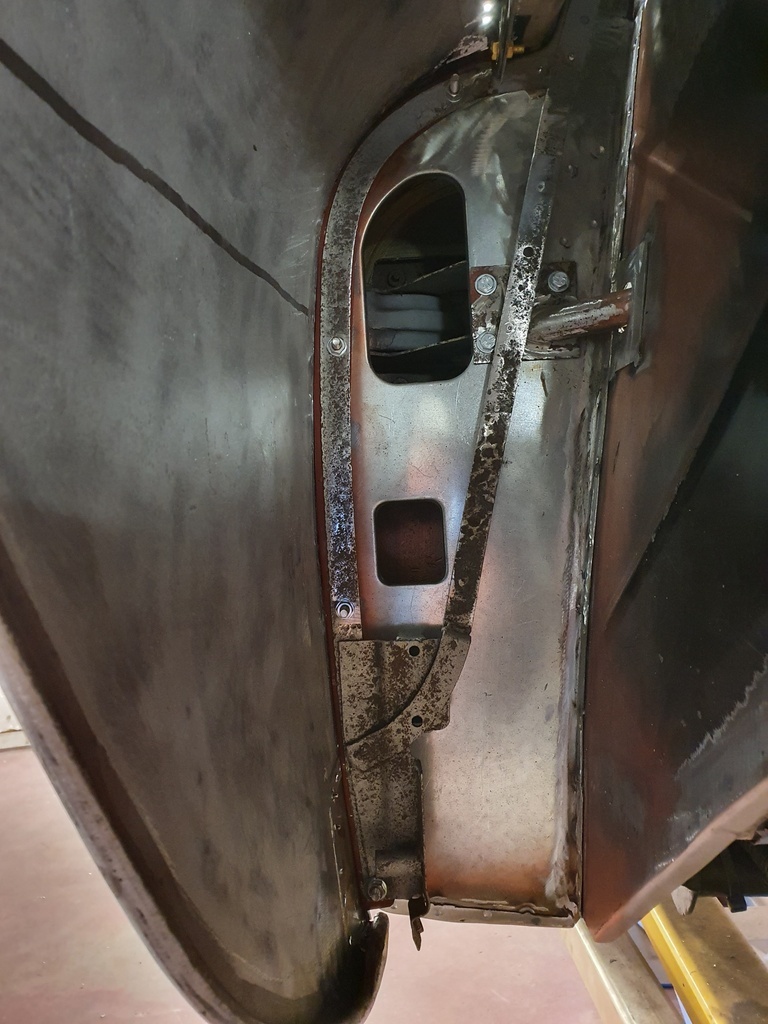 Fastened the vertical side of the wing to bonnet support hoop 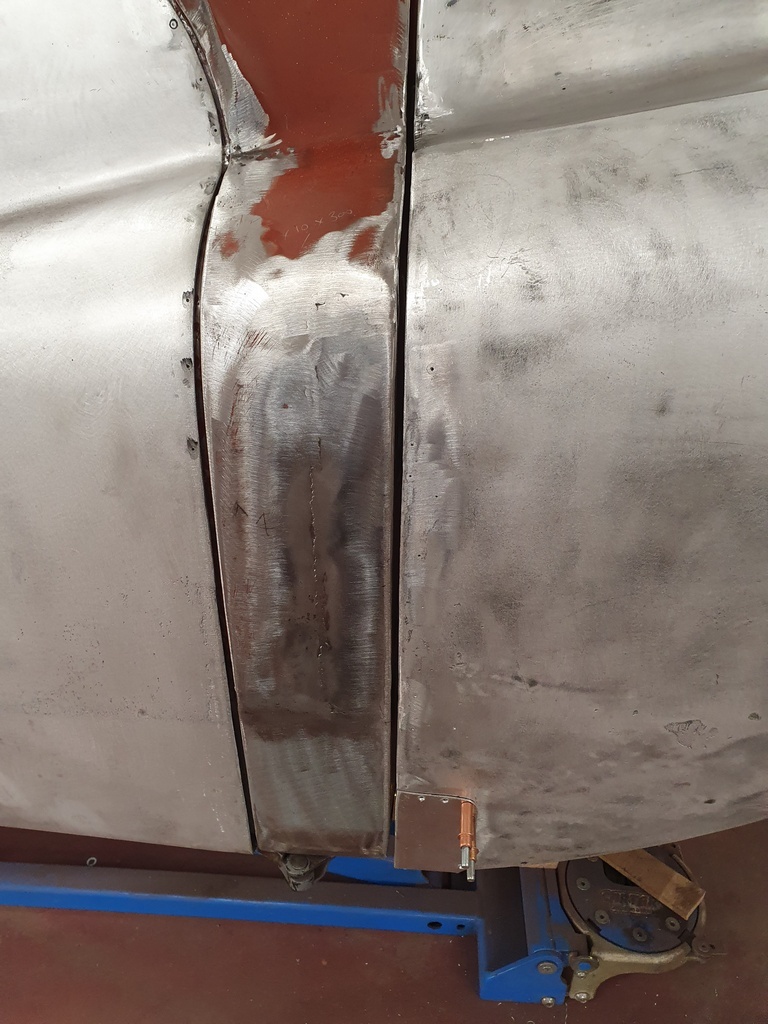 And slowly the aperture gaps along panel profiles start to work - I'm going to bank on this too much at this stage though has whatever I do on the nearside carries every chance of unbalancing the offside and vice versa - its a common trait of clamshell Jupiter bonnets 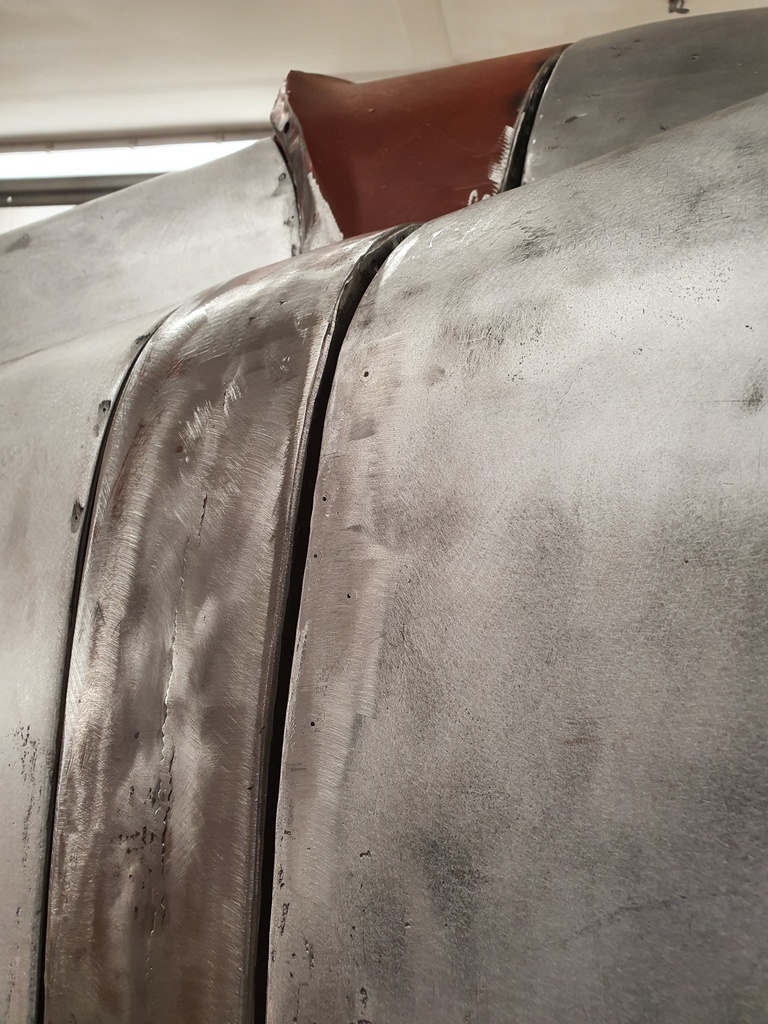 Its not too bad - it will be a whole lot better once I fit a locator to the frame 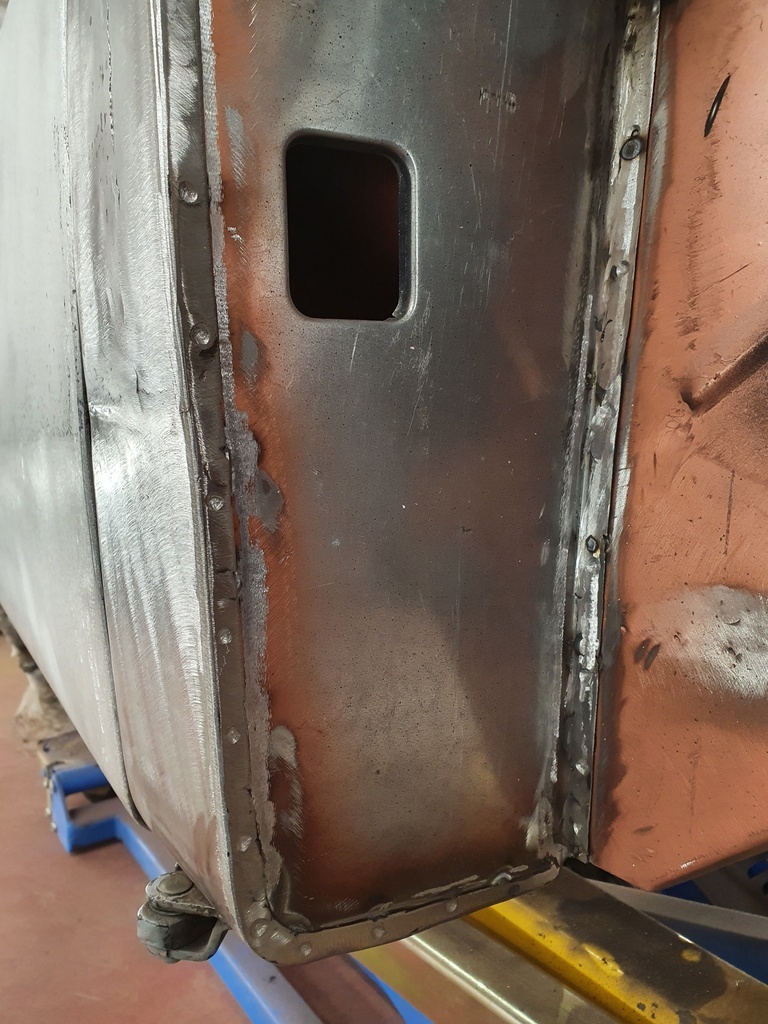 Said locator is a very simple buffer which I shall make adjustable - it will then locate to a circular aperture on the return panel of the A post - this will align the wing edge to the A post whilst giving the correct aperture gapping between the 2 panels - I use the same buffers for locating the front of the bonnet too 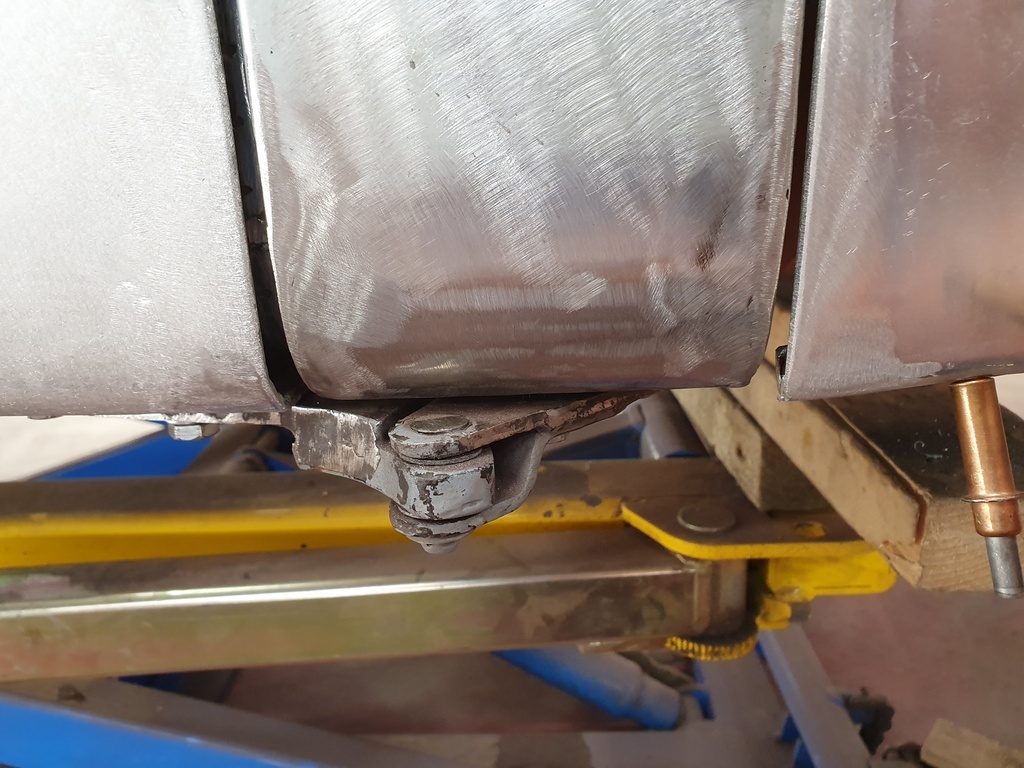 With the cars being hand built there is always a discrepancy on the A post radius - this was corrected at the factory by lead loading the radius profile to match that of the door & front wing 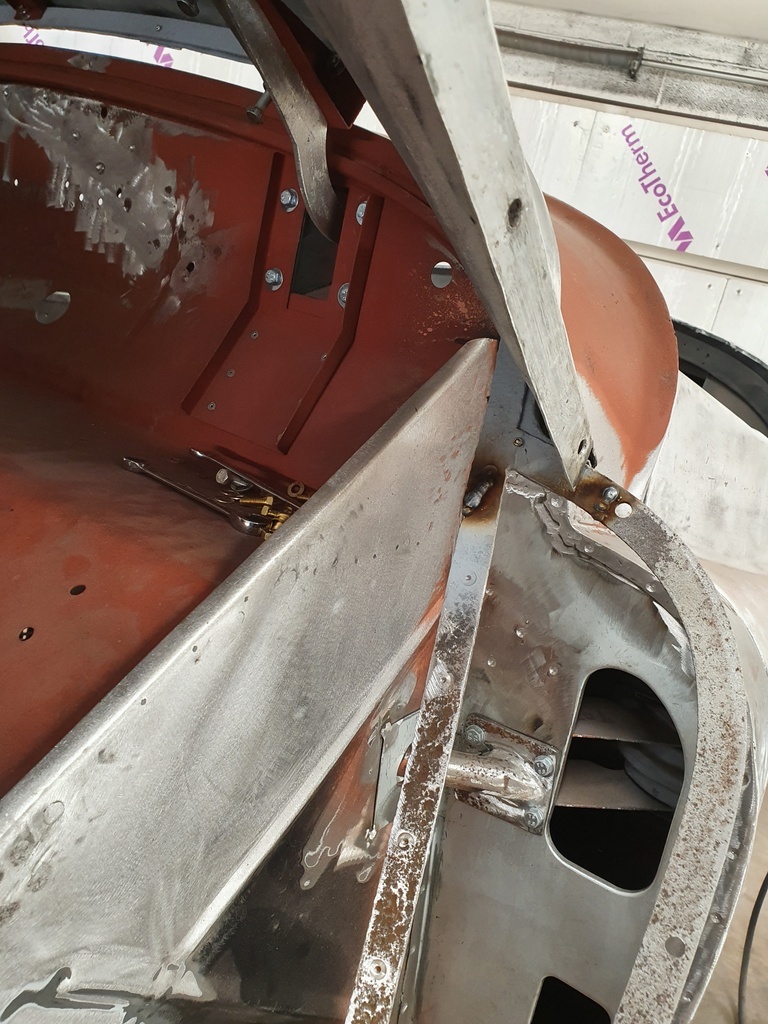 On with the nearside and again the hoop frame requires tweaking 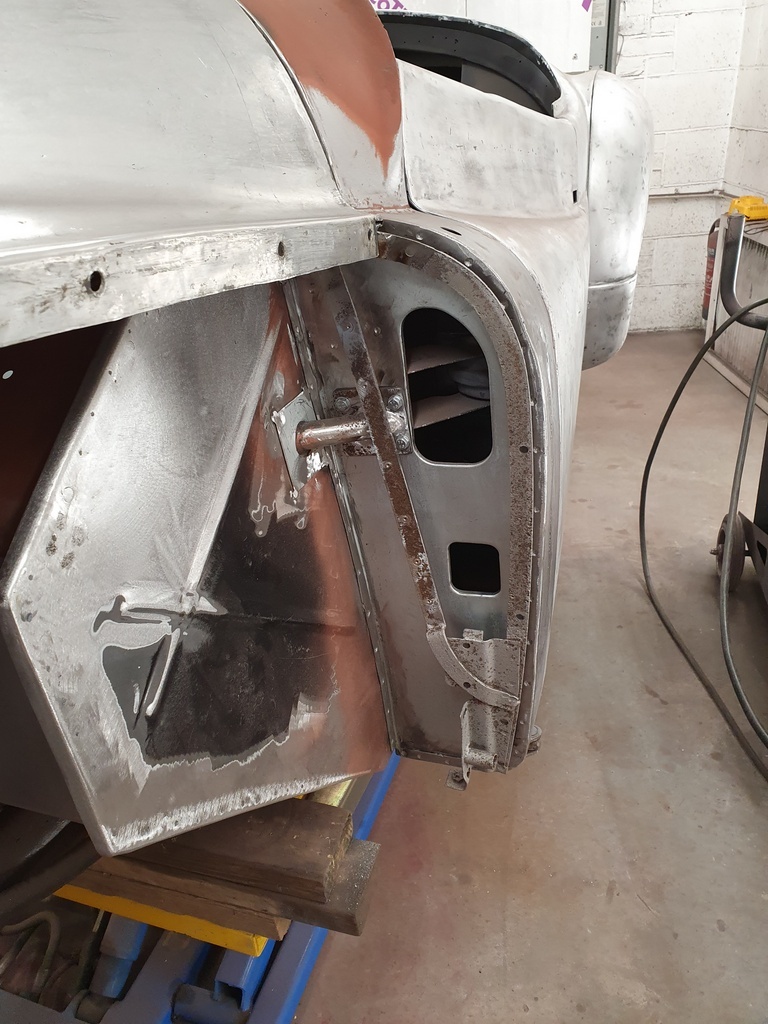 Soon sorted 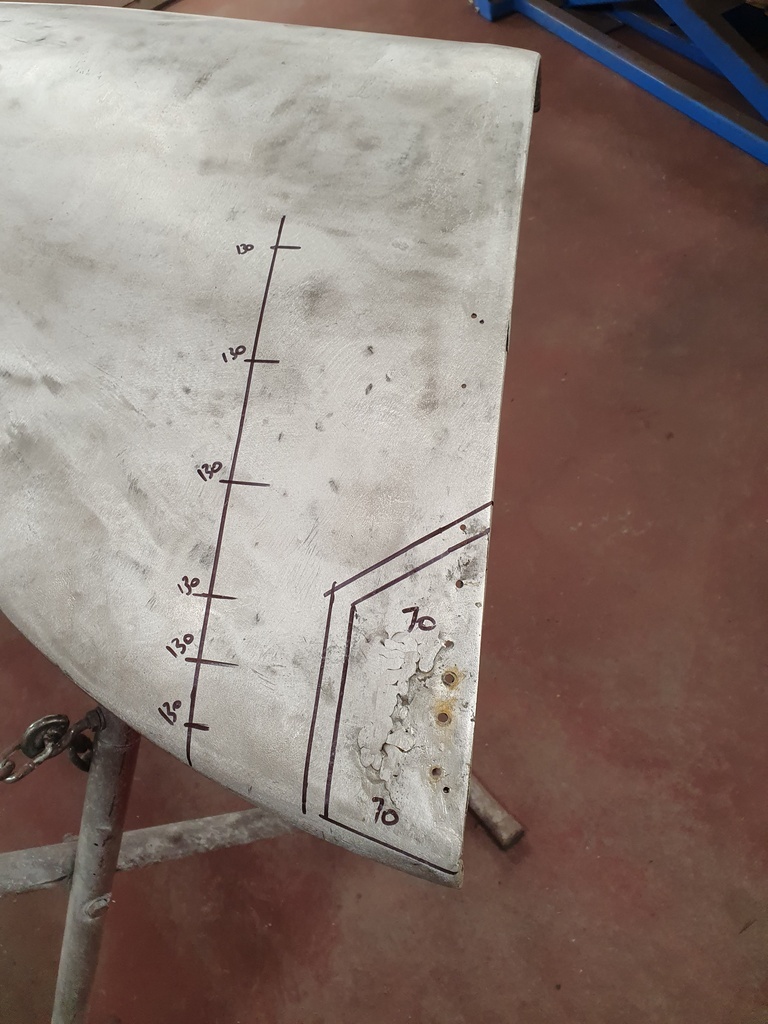 Panel repairs at the base of the wing 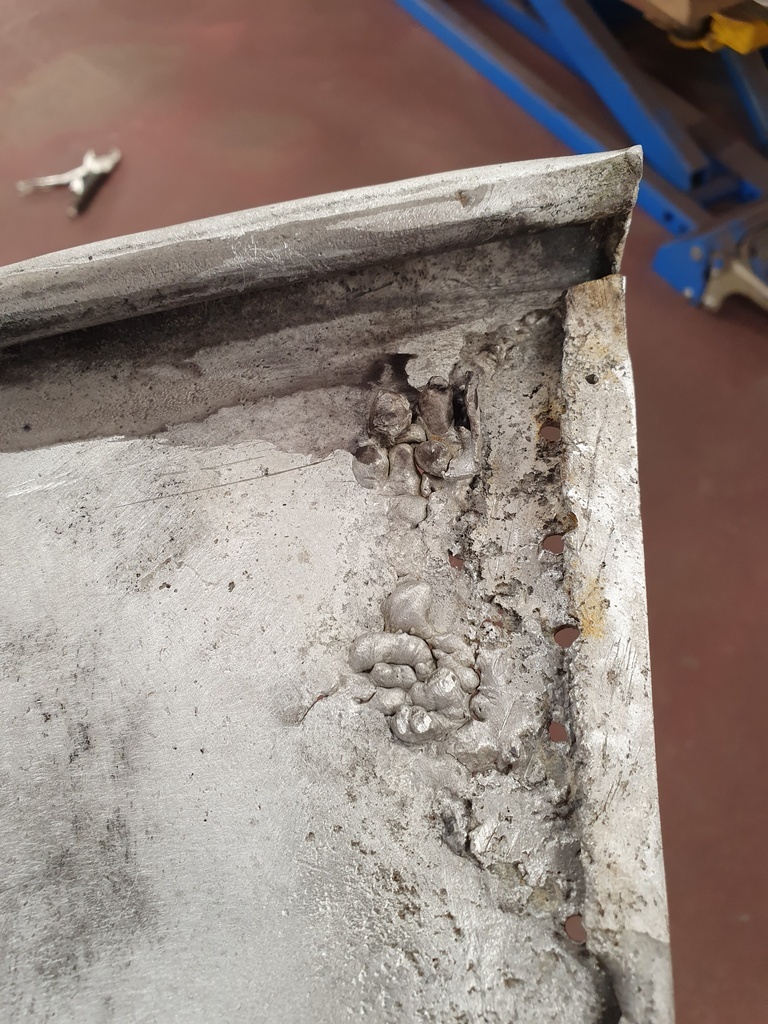 In order to resolve this mess 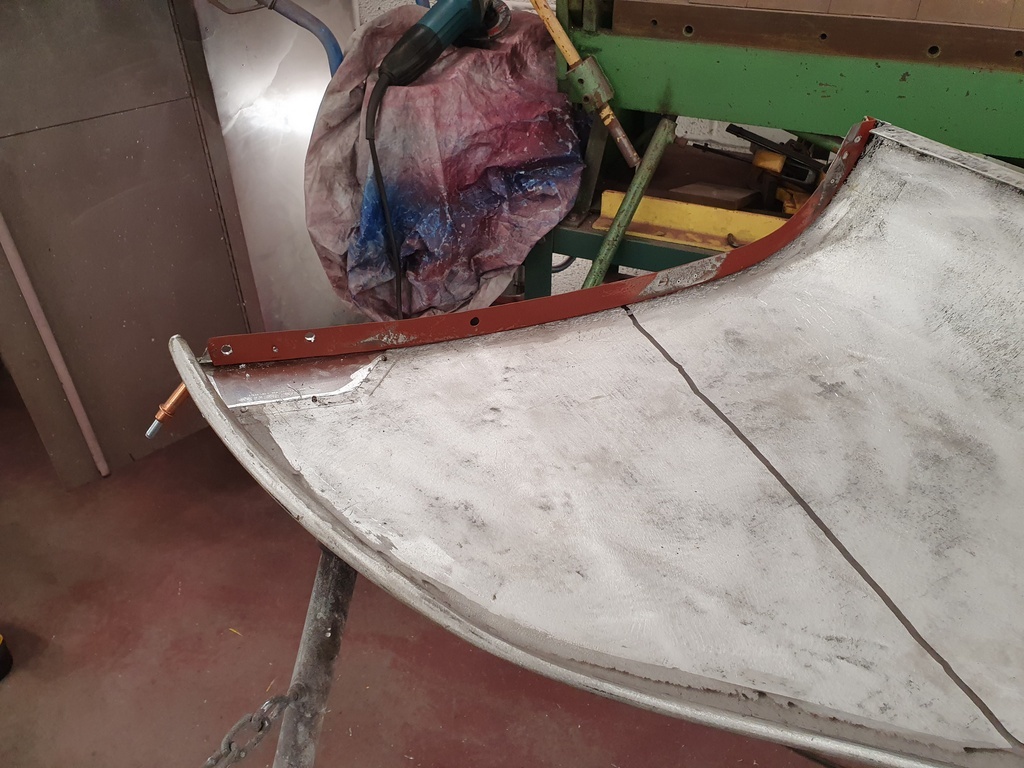 Vertical support brace fitted 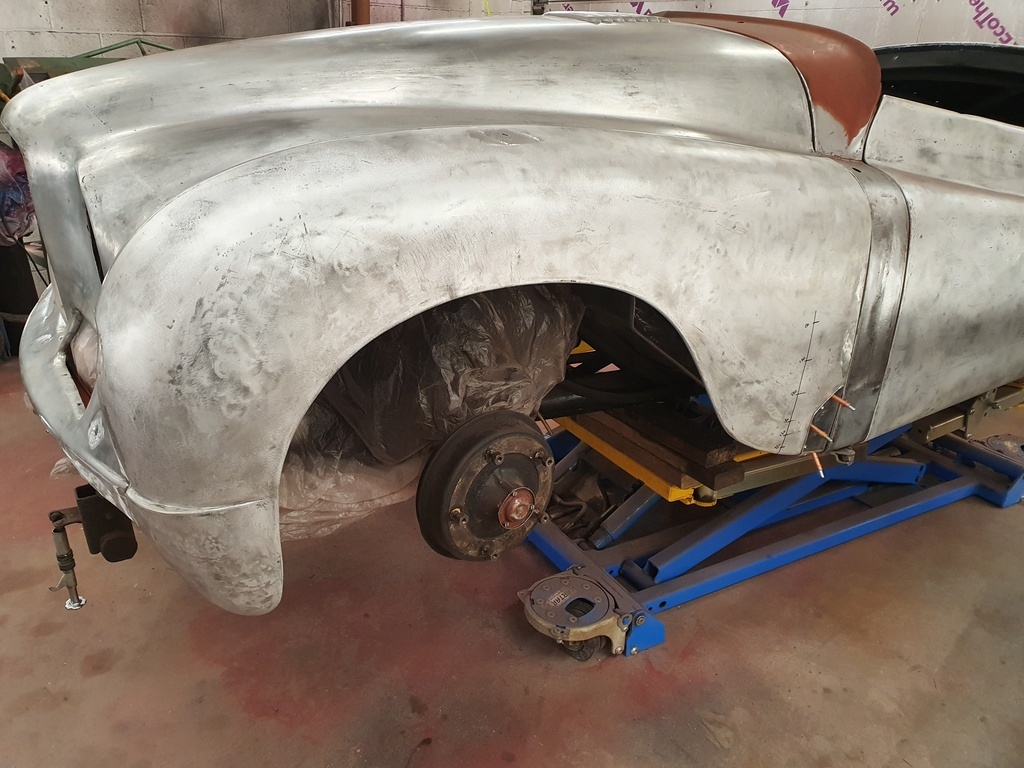 And the wing trial fitted 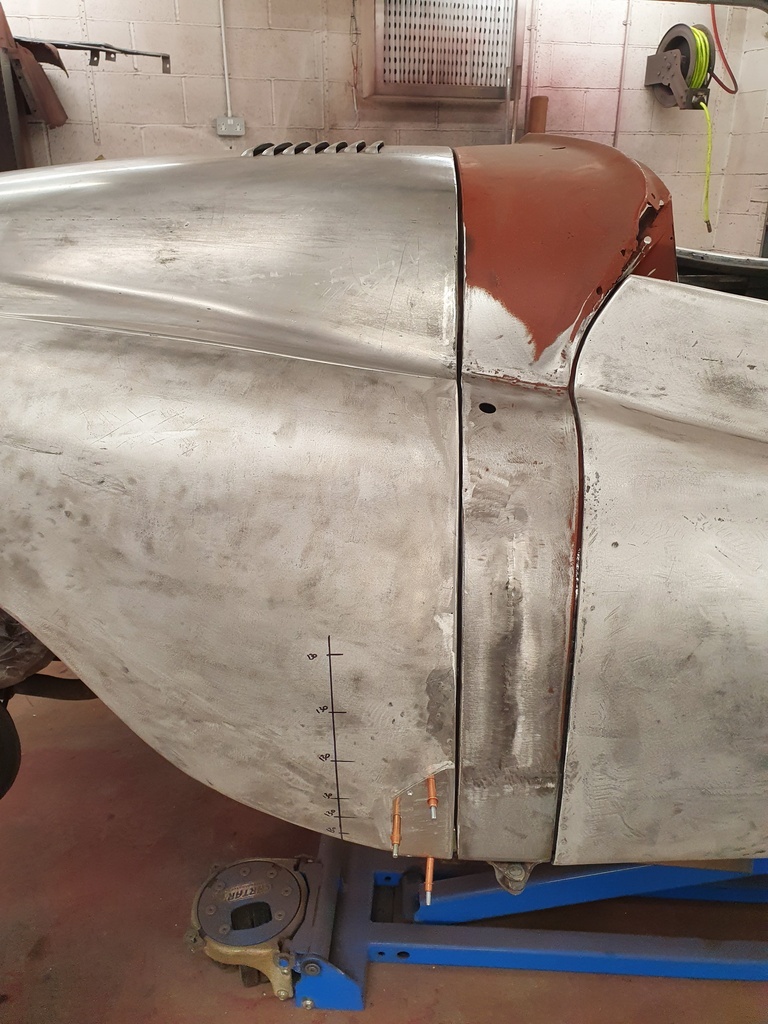 Then spent a few hours balancing the gapping / bonnet / wing fit up 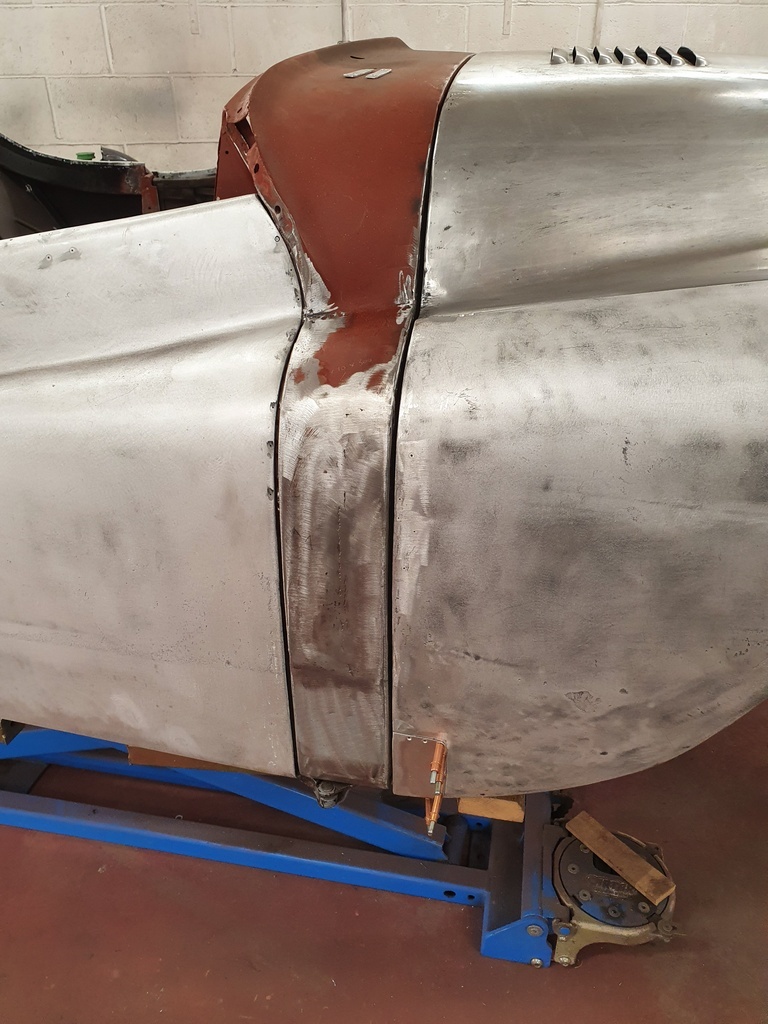 Some fine tuning required once the buffers arrive and are fitted (due in next week) 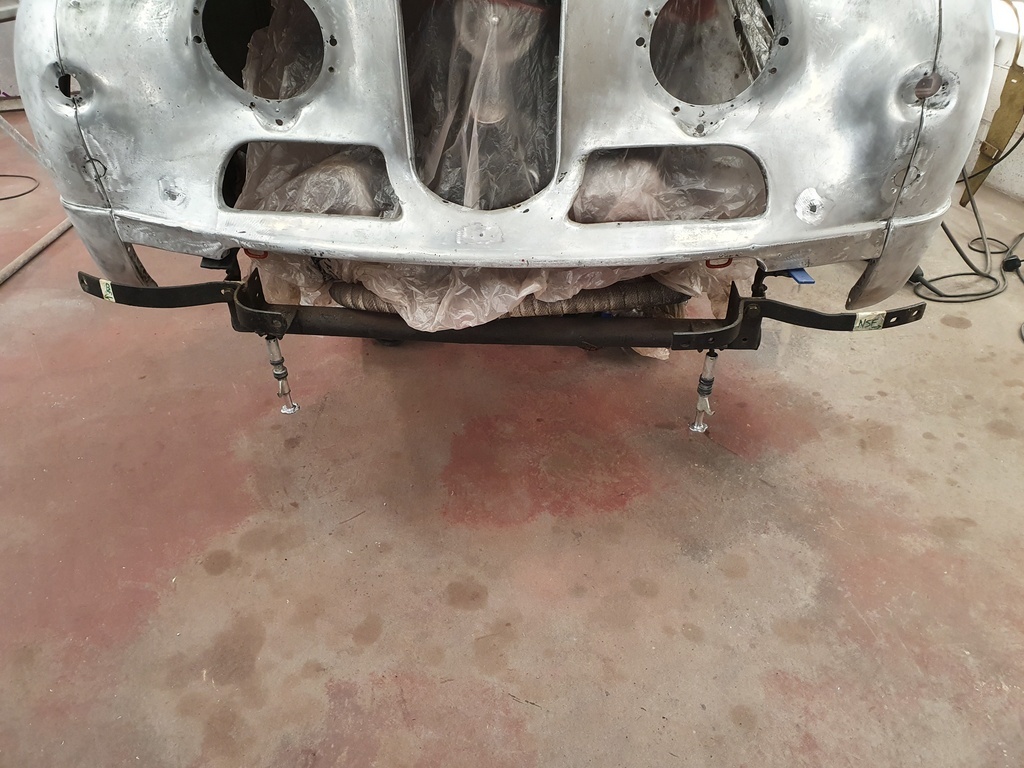 In the meantime the front bumper irons were refitted 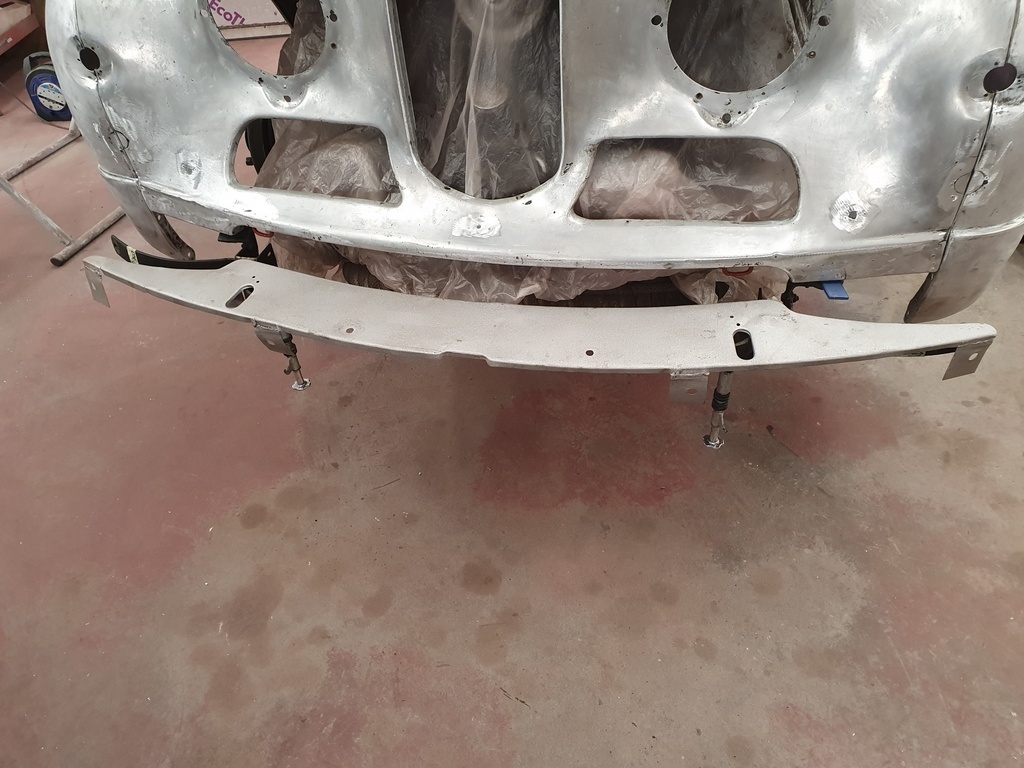 To allow me to trial fit the front valence 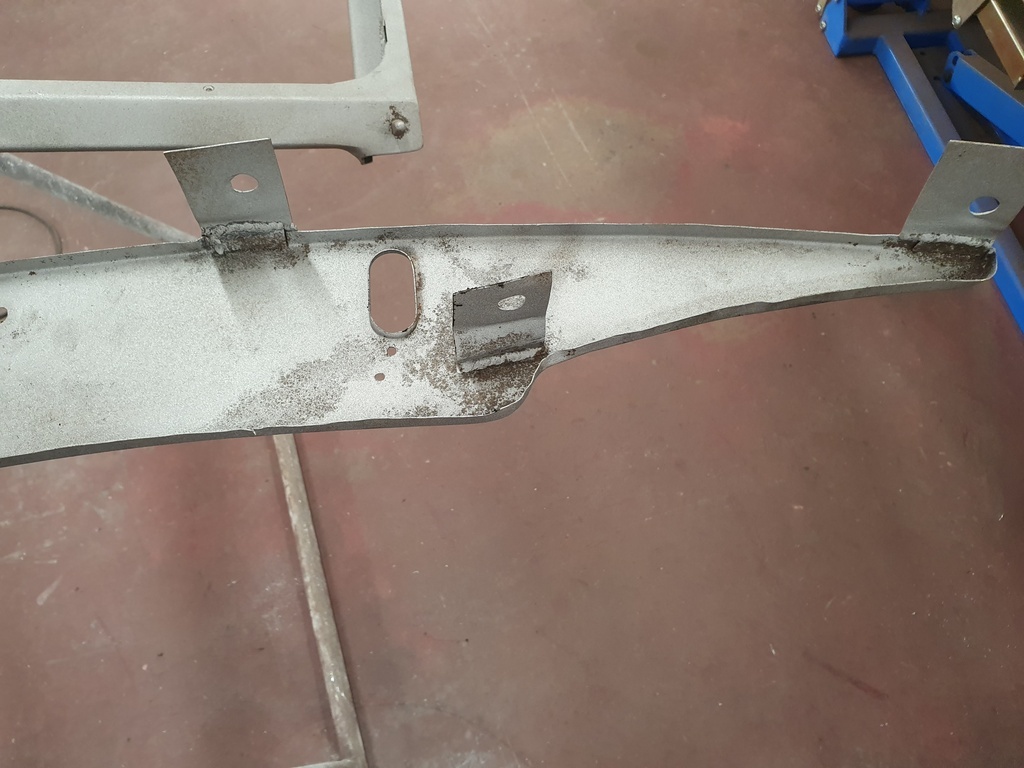 However this requires truing up 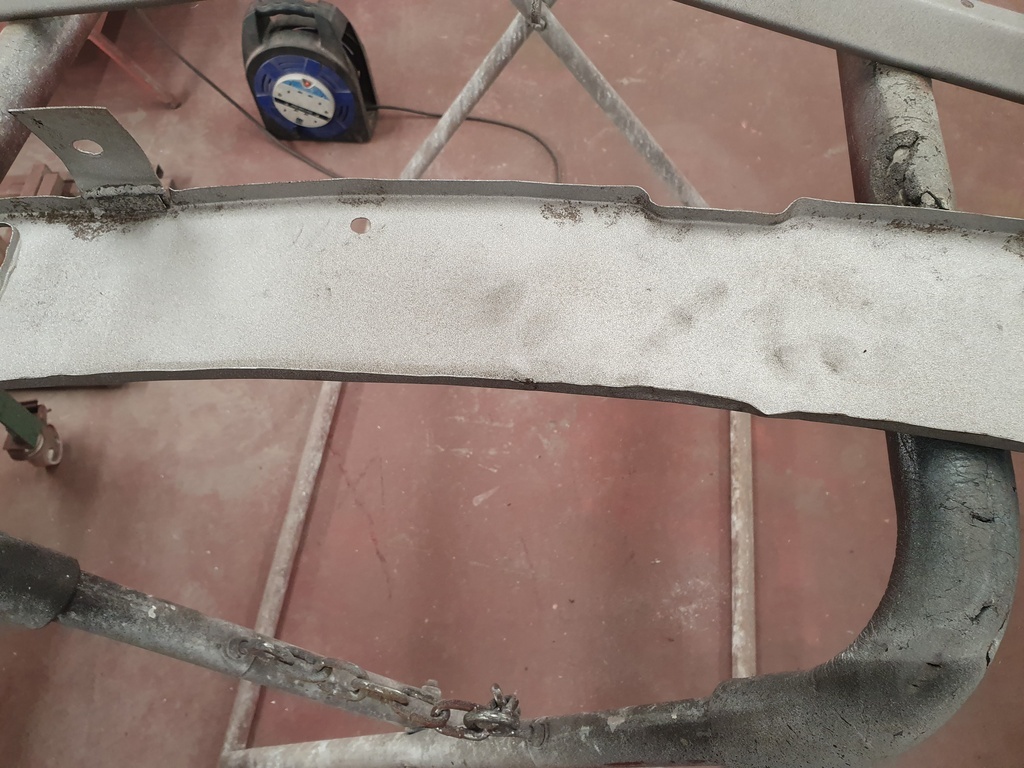 And the splits welding up on it - more tomorrow |
| |
Last Edit: Aug 6, 2020 20:13:52 GMT by Deleted
|
|
|
|
|
|
|
|
There is one of these near me on ebay. Thought I would mention it just in case you get bored. 😊
|
| |
|
|
|
|
|
|
|
|
|
|
|
| |
Last Edit: Aug 6, 2020 21:06:59 GMT by Deleted
|
|
|
|
|
|
|
|
Yes that's the one. Thought it was a bit pricey. 😁
|
| |
|
|
|
|
|
|
|
Yes that's the one. Thought it was a bit pricey. 😁 Now completely off topic our national rally is in your neck of the woods next year (Preston) 28th - 30th May 2021 |
| |
|
|
|
|
|
|
|
|
I would like to see that. I am in Cleveleys so not far. My first knowledge of a jowett came years ago in an old magazine. Fascinating story of a pick up used to take engines from Bradford to ferrari in Italy. The original owner, now in a care home, recounted how on arrival, they modified the inlet manifold of the pickup and put one of there own carbs on. Wish I could find the article again it was a fab story.
|
| |
|
|
jamesd1972
Club Retro Rides Member
Posts: 2,921  Club RR Member Number: 40
|
|
|
|
I would like to see that. I am in Cleveleys so not far. My first knowledge of a jowett came years ago in an old magazine. Fascinating story of a pick up used to take engines from Bradford to ferrari in Italy. The original owner, now in a care home, recounted how on arrival, they modified the inlet manifold of the pickup and put one of there own carbs on. Wish I could find the article again it was a fab story. This one ? James |
| |
|
|
|
|
|
|
|
|
Fascinating story. Thanks for digging that out.
|
| |
|
|
|
|
|
|
|
Chris Having caught up on you progress on this Jupiter which is substantial, can I ask what are the circles for, below the marker lights on the front of the bonnet?
|
| |
|
|
jamesd1972
Club Retro Rides Member
Posts: 2,921  Club RR Member Number: 40
|
|
|
|
Pay attention at the back !  "This is to delete a non original lamp aperture that had been part cut into the wing" James |
| |
|
|
|
|
|
|
|
|
Thanks for sharing its a fab story.
|
| |
|
|
thomfr
Part of things
  Trying to assemble the Duett again..
Posts: 695
|
|
|
|
|
Just wondering, coming from my fathers restorations of Italian cars of the 60's with alloy bodies or body parts (also the soft strange alloy magnesium mix) what do you use nowadays for welding this? I know we had to experiment always and adjust to the condition of the alloy (eg how rotten/soft it was already..). But this was more than 15 years ago. Is it easier now?
And how do you "shield" the alloy from the steel parts to avoid contact corrosion?
Just interested how things evaluated.
Thom
|
| |
73' Alfa Giulia Super
64' Volvo Duett
65' Volvo Duett
67' Volvo Amazon 123GT
09' Ford Focus 1.8
20' VW ID4
71' Benelli Motorella
65' Cyrus Speciaal
The difference between men and boys is the price of their toys
|
|
|
|


