|
|
|
|
|
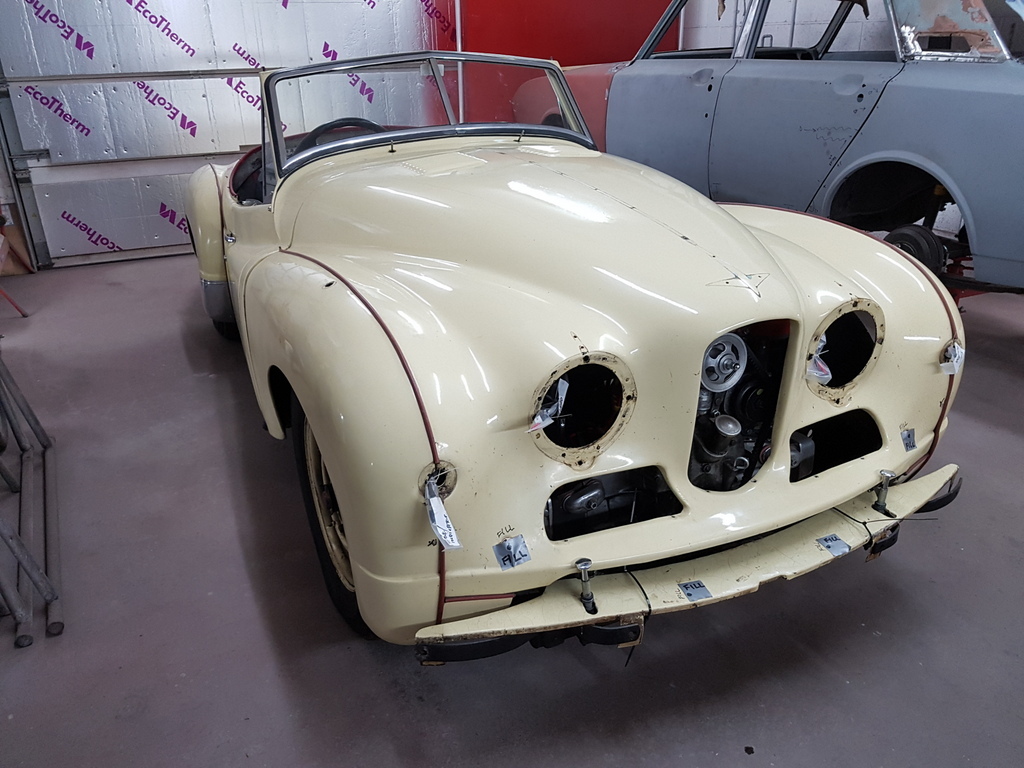
Pay attention at the back !  "This is to delete a non original lamp aperture that had been part cut into the wing" James Ok i asked because I could not see a trace of them directly below the marker lights on the seam not inboard from the pre strip picture of the car next to my Corsair.
|
| |
Last Edit: Aug 7, 2020 14:54:23 GMT by peteh1969
|
|
|
|
|
|
|
|
|
Pay attention at the back !  "This is to delete a non original lamp aperture that had been part cut into the wing" James Ok i asked because I could not see a trace of them directly below the marker lights on the seam not inboard from the pre strip picture of the car next to my Corsair. That's because a previous owner removed the lights and plastered over the holes with fibreglass then repainted the car - the bodge became evident when the paint was removed from the car at the start of this restoration 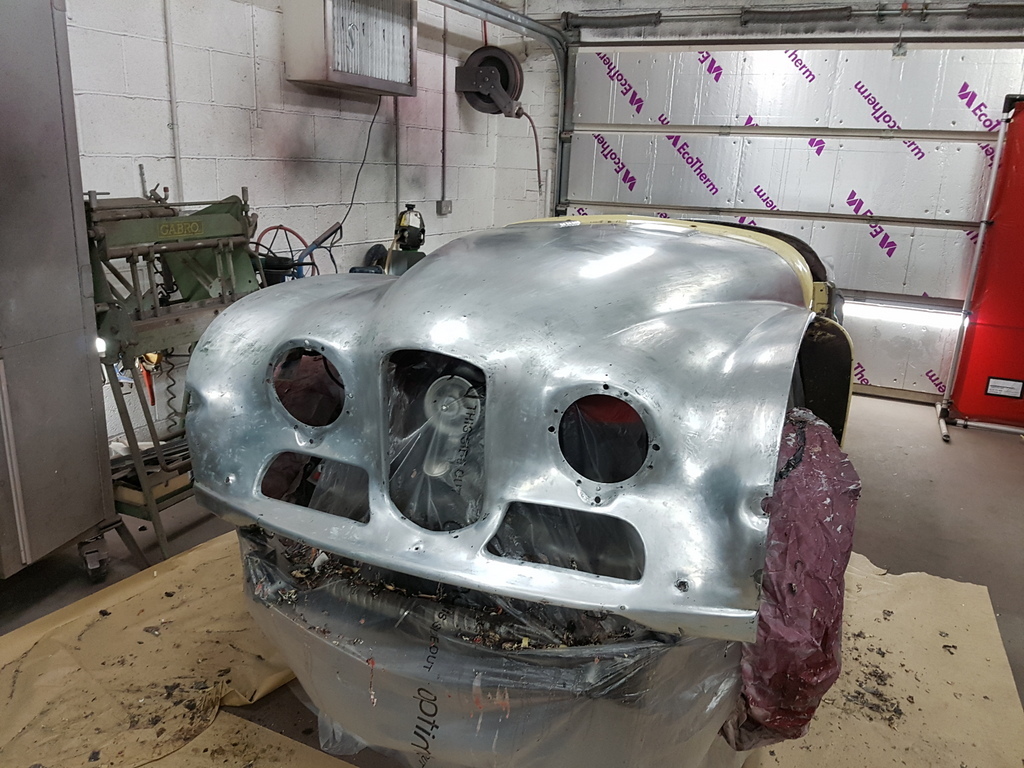 |
| |
|
|
|
|
|
|
|
I would like to see that. I am in Cleveleys so not far. My first knowledge of a jowett came years ago in an old magazine. Fascinating story of a pick up used to take engines from Bradford to ferrari in Italy. The original owner, now in a care home, recounted how on arrival, they modified the inlet manifold of the pickup and put one of there own carbs on. Wish I could find the article again it was a fab story. This one ? James I also remember that story in a magazine a good few years ago, A gentleman living nearby had a Jowett Bradford Utilicon ( Van with windows / shooting brake) that really seemed to go well certainly much quicker than one would expect going by it's dated looks, a very practical vehicle by all accounts. |
| |
|
|
|
|
|
|
|
|
|
I would like to see that. I am in Cleveleys so not far. My first knowledge of a jowett came years ago in an old magazine. Fascinating story of a pick up used to take engines from Bradford to ferrari in Italy. The original owner, now in a care home, recounted how on arrival, they modified the inlet manifold of the pickup and put one of there own carbs on. Wish I could find the article again it was a fab story. I thought that this was a Practical Classics April first story from the 1990's. |
| |
|
|
|
|
|
|
|
Just wondering, coming from my fathers restorations of Italian cars of the 60's with alloy bodies or body parts (also the soft strange alloy magnesium mix) what do you use nowadays for welding this? I know we had to experiment always and adjust to the condition of the alloy (eg how rotten/soft it was already..). But this was more than 15 years ago. Is it easier now? And how do you "shield" the alloy from the steel parts to avoid contact corrosion? Just interested how things evaluated. Thom Jowett used 'Brimabright' a magnesium alloy which is virtually impossible to weld - its full of impurities - TIG welding will just blow holes throw it - gas welding is also next to impossible - I have adapted modern technology and now use a 2 pack panel bonding adhesive - this is the same product used in the construction of new alloy bodyshells & their repair - avoiding contact with the steel sections of the bodyshell is next to impossible - the door frames are steel has is the rear superstructure, bonnet support framing all clad in with external alloy skin of the car - without starting from scratch and repanelling the car over a newly fabricated alloy superstructure frame you are just not going to avoid it - what you can do is prepare everything correctly - protect everything that you feasibly can - use of modern seam sealers, cavity waxes, good quality paints & underbody treatments along with high quality workmanship will produce results that hold a reasonably long lifespan |
| |
Last Edit: Aug 7, 2020 20:41:24 GMT by Deleted
|
|
|
|
|
|
|
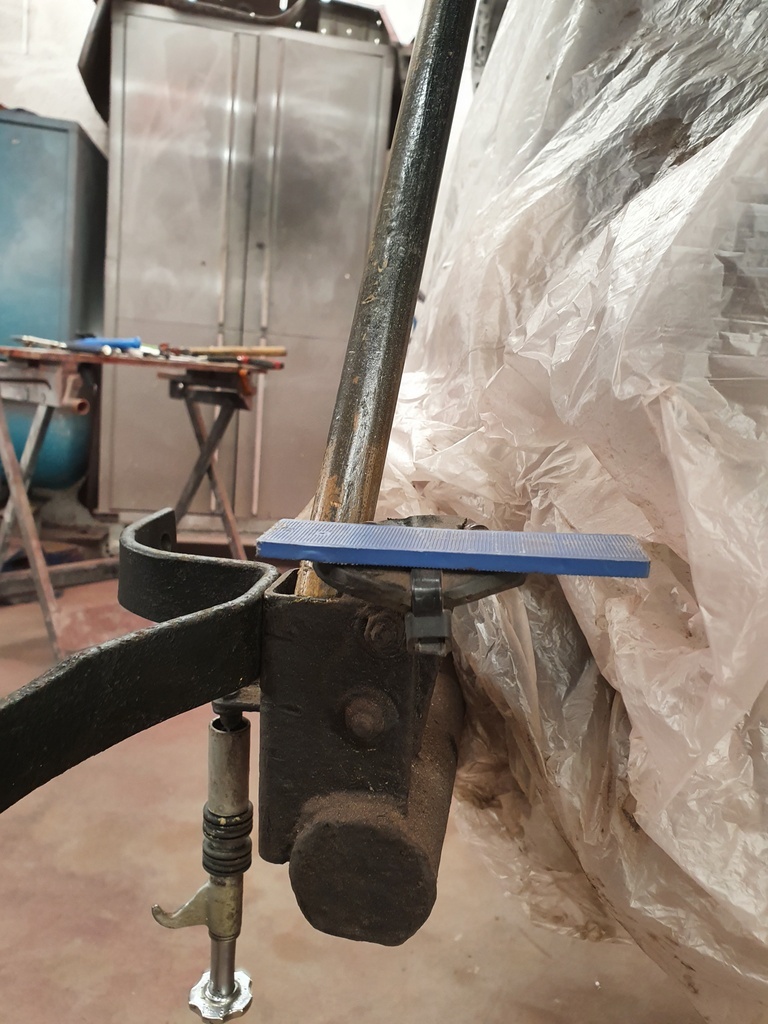 Made some final temporary packings for the bonnet 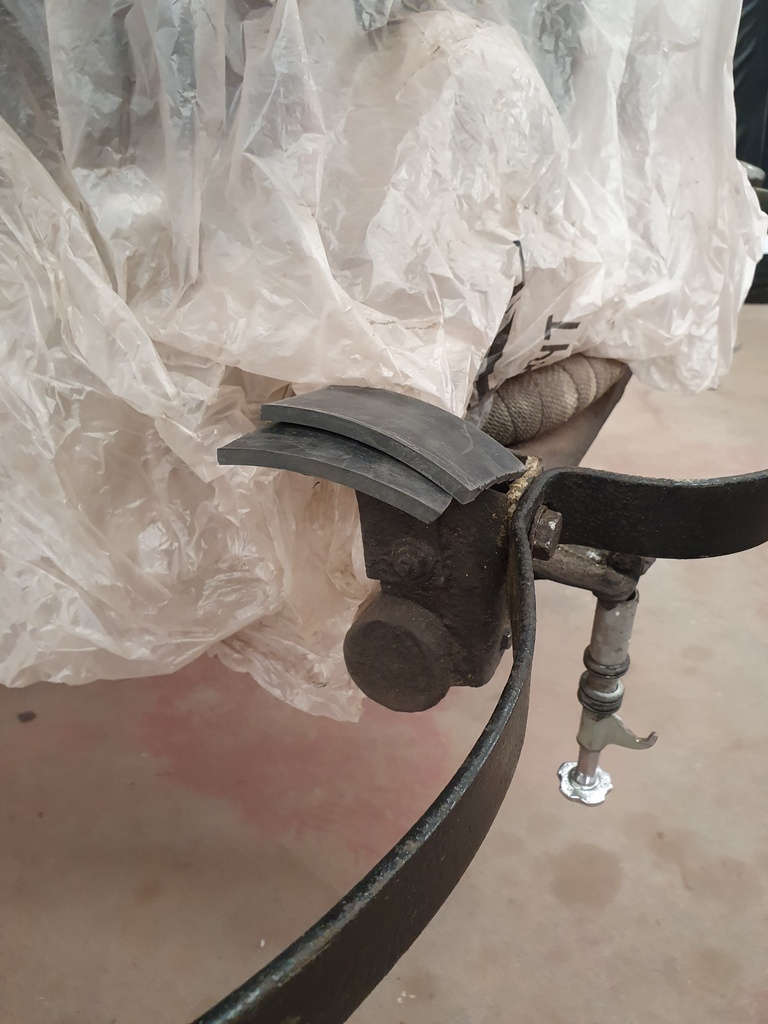 Which largely determine the panel gaps between the wings & A posts 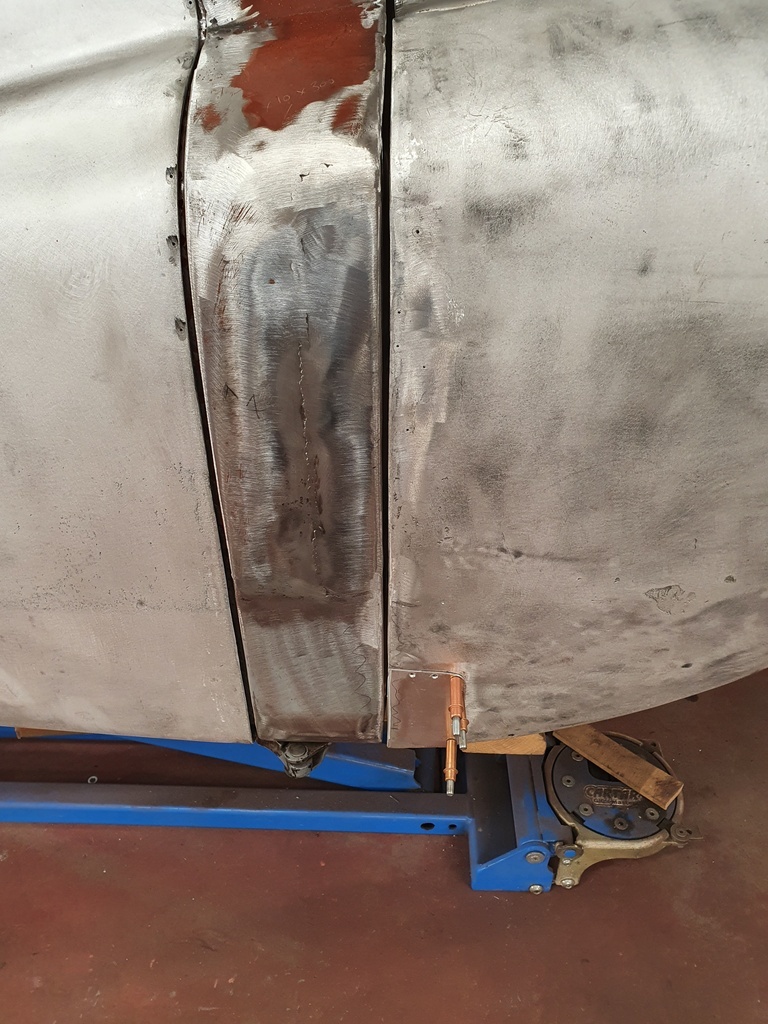 I will make up new location brackets when the buffers arrive next week 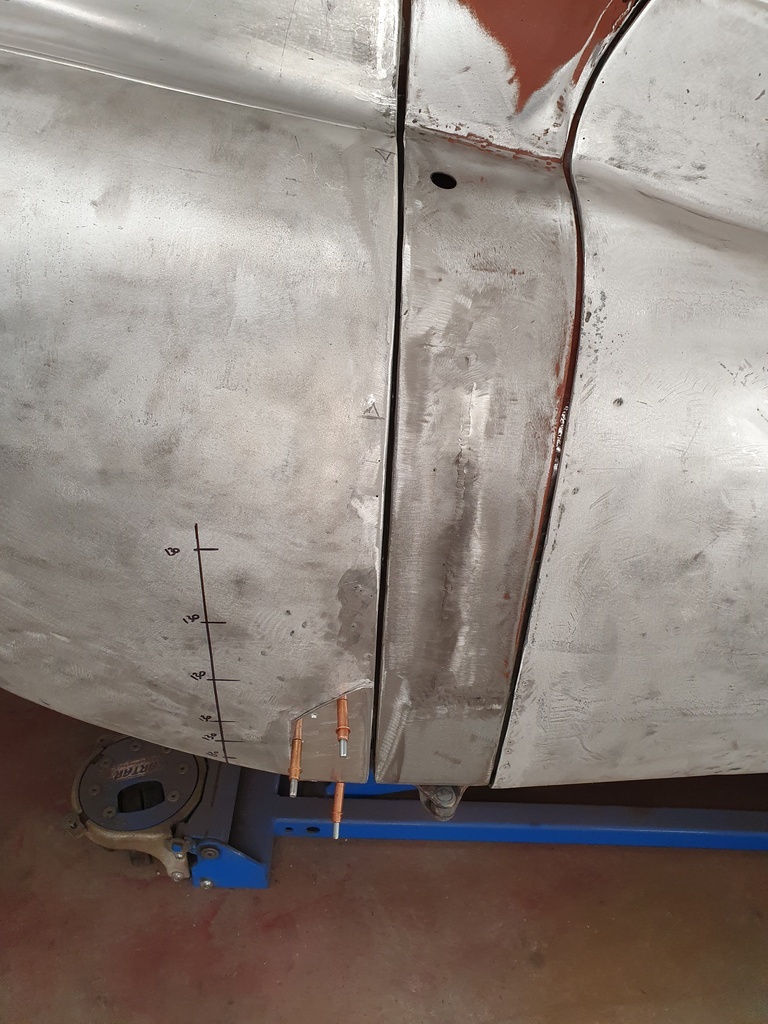 But that largely completes the work on the one piece clamshell bonnet - just a few bonded panel repairs to make final on the bottom rear of the wings 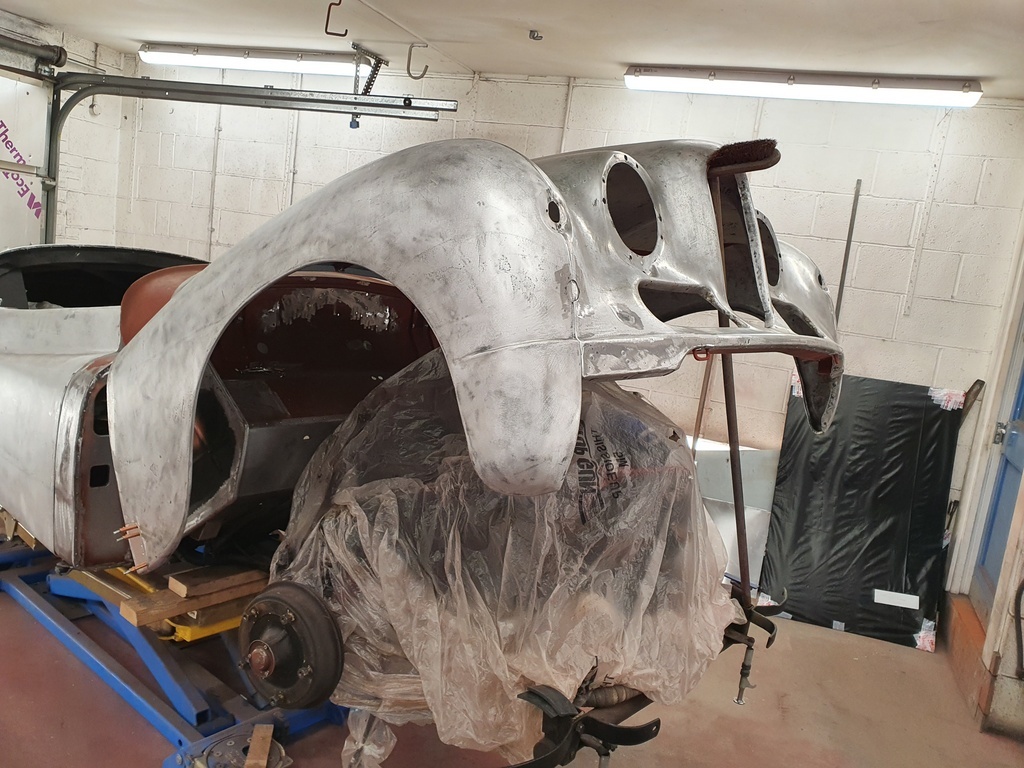 So attention turned to the front valance which got fastened up 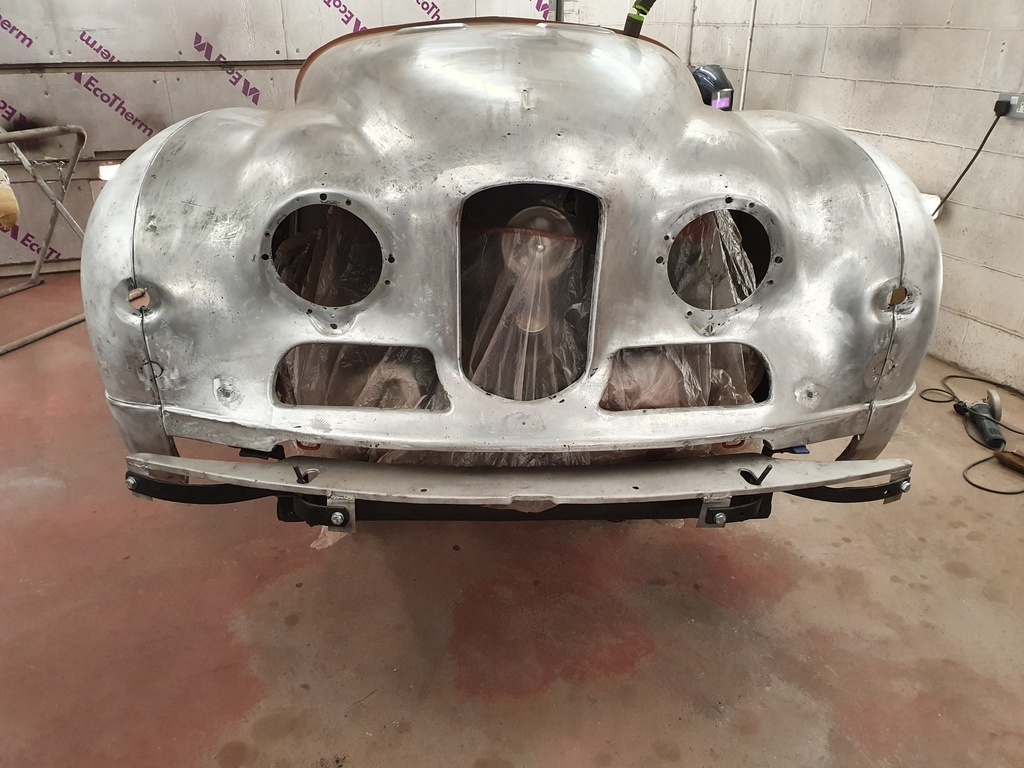 It fits in conjunction with the front bumper 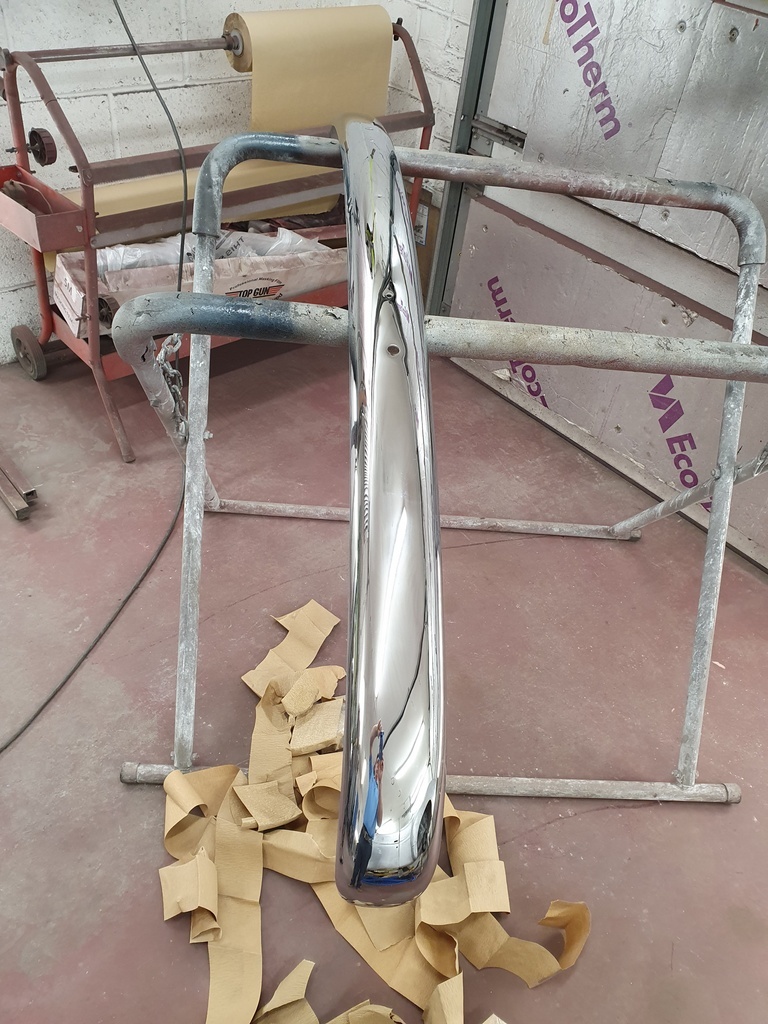 Initial fit is poor on the offside 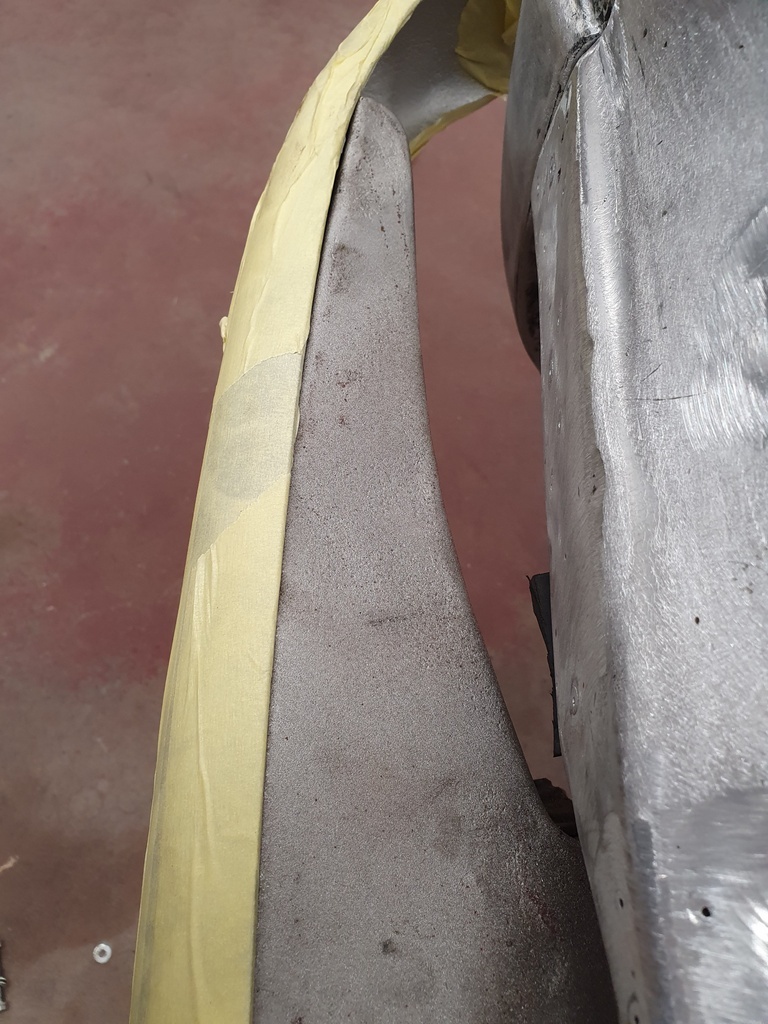 Yet decent on the nearside 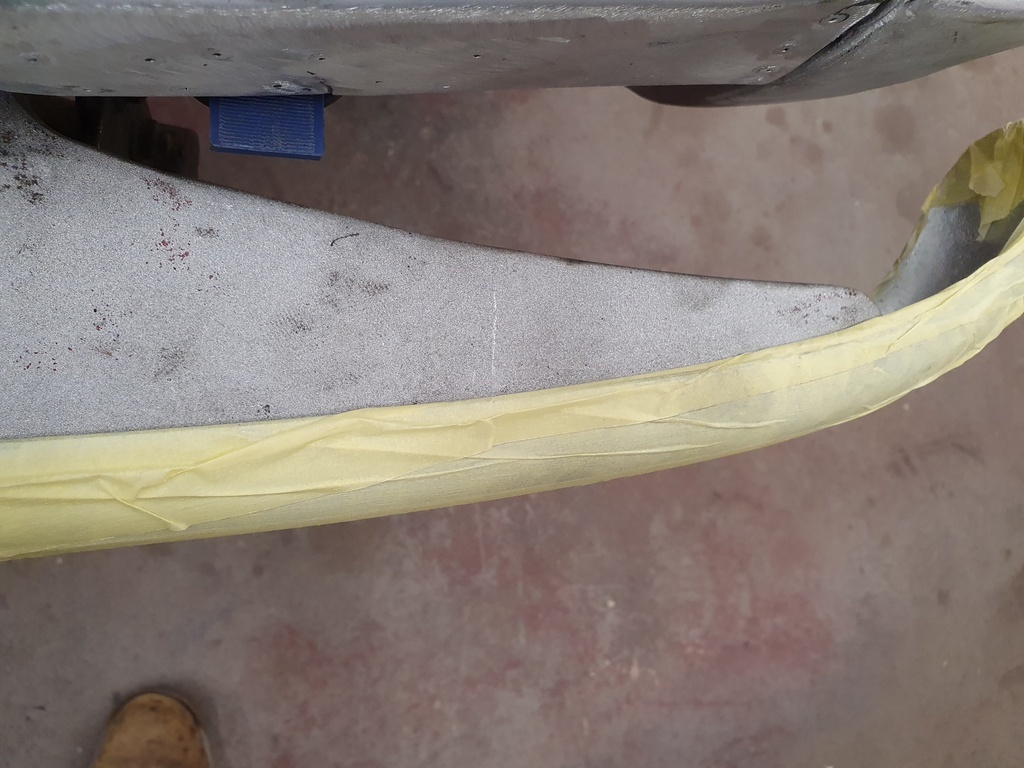 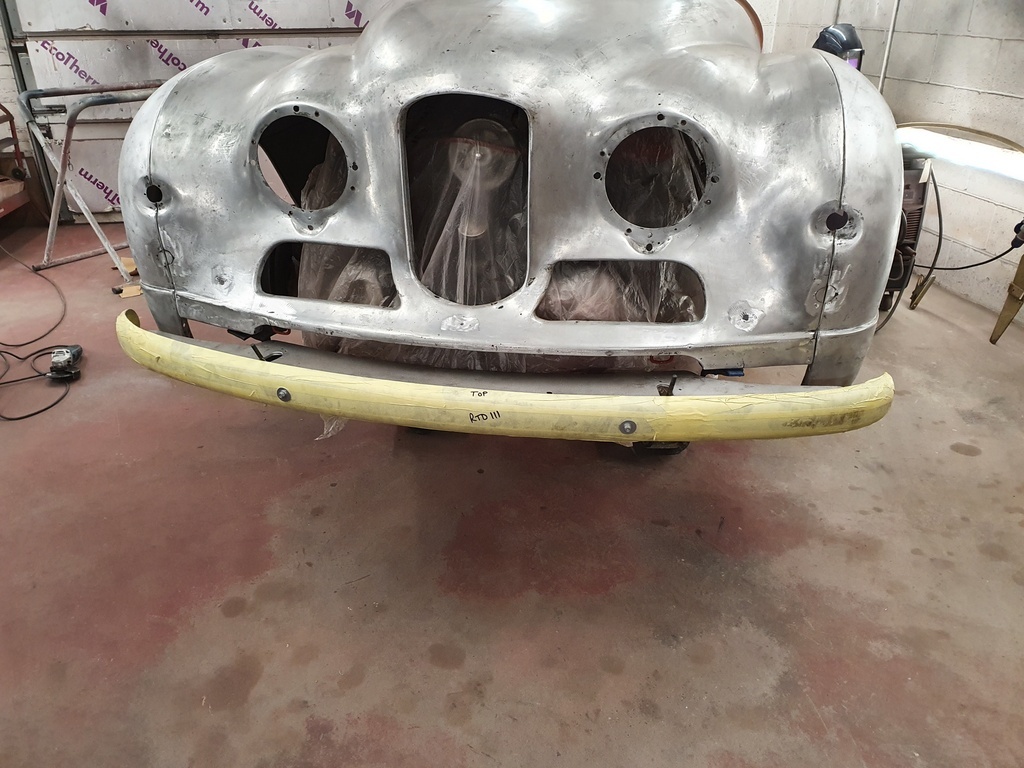 Much reshaping / shimming / refitting later and the results were yielding 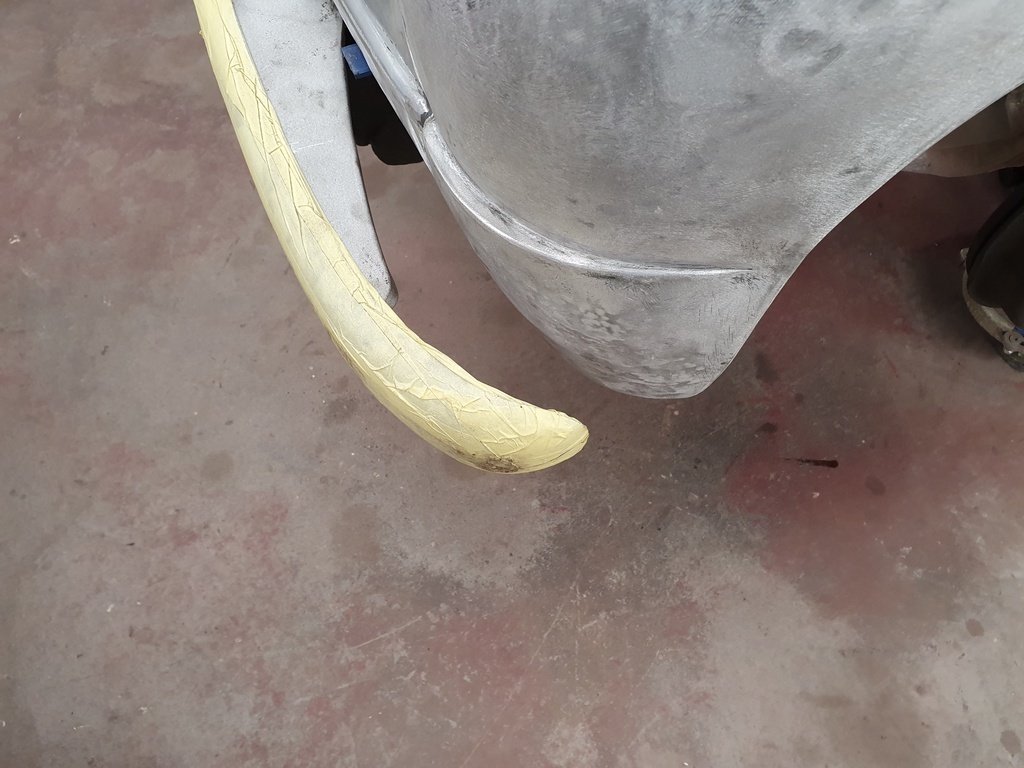 But then had to balance the gapping between the wing & the end of the bumper - I started with 30mm on the offside & 50mm on the nearside - its not just a matter of slotting the bumper over either has you then offset the centre of the starting handle yolk that bolts to the top of the bumper 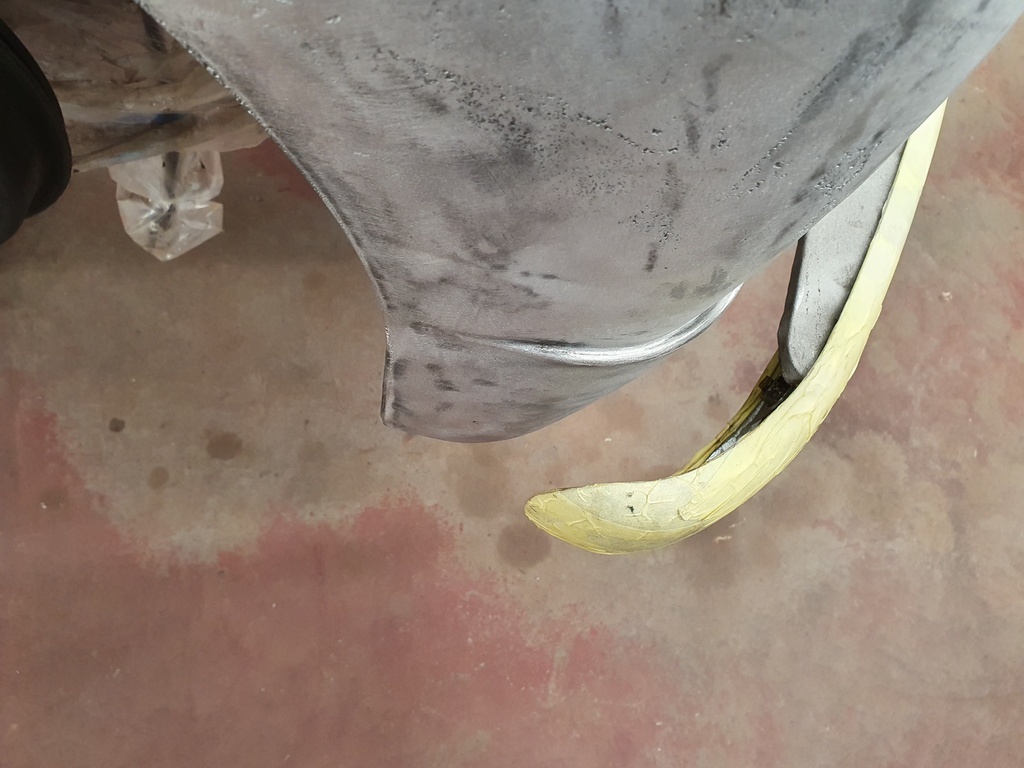 A few hours of shimming / adjusting / re-centring produced the results - the offside front of the car has certainly seen some impact damage to the bumper irons / mountings / valance but I now have it realigned to where it should be 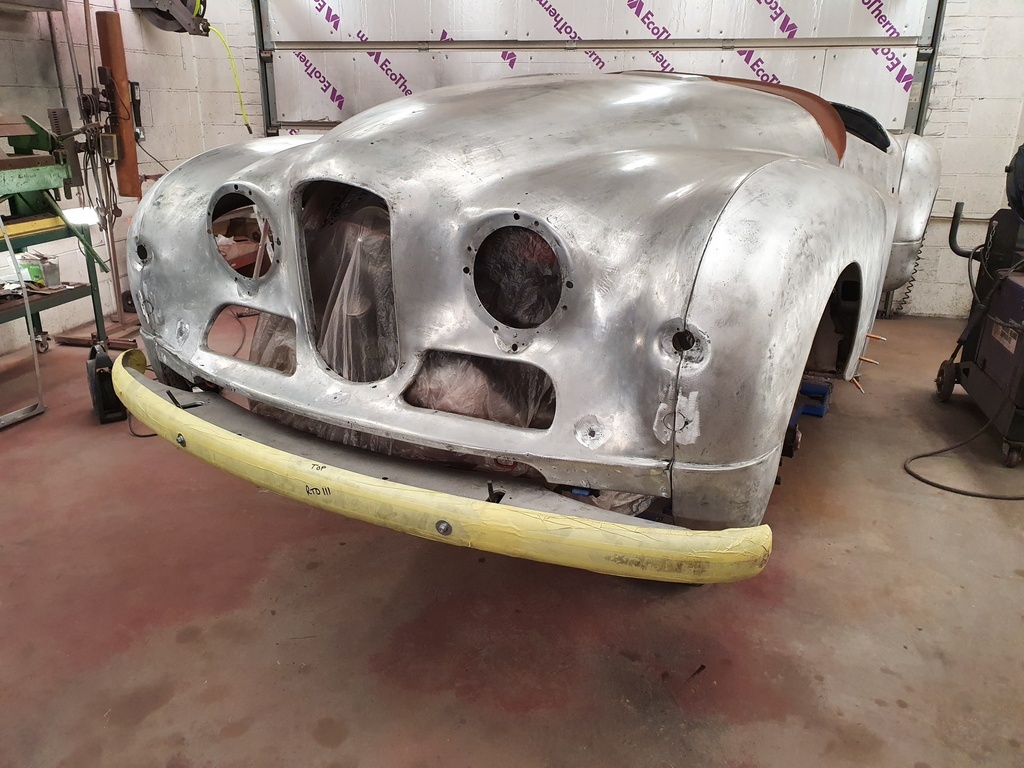 The valance was removed and the splits welded up & dressed back - still requires a little more minor reshaping / truing once its refitted 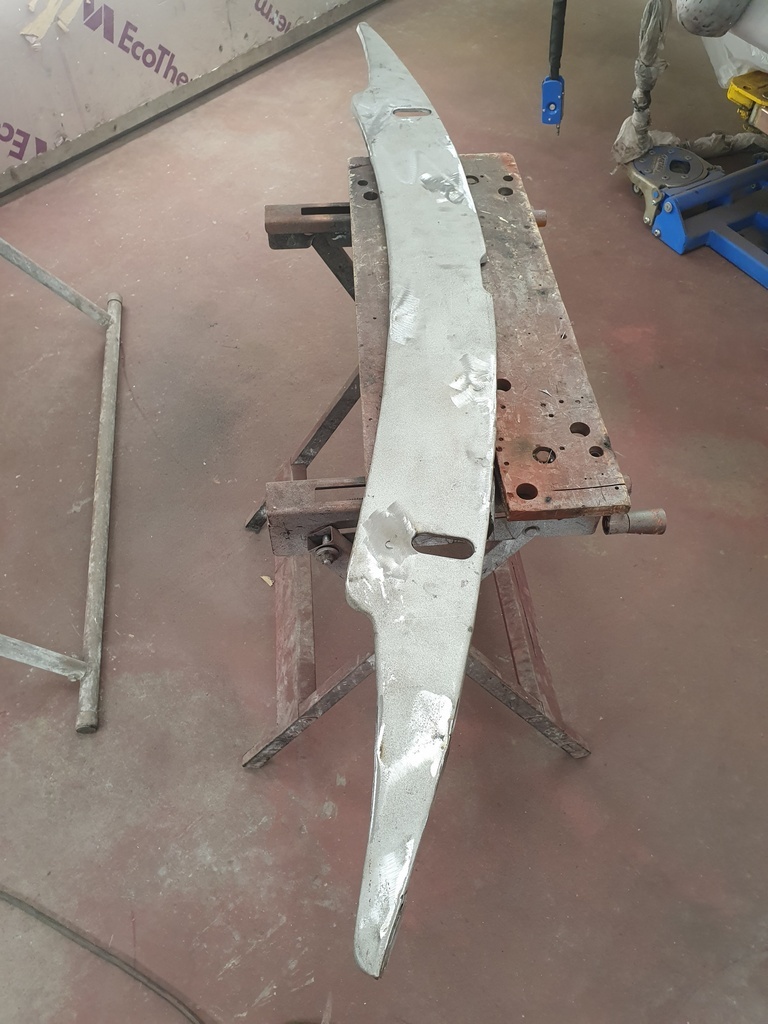 Made a start of the windscreen frame 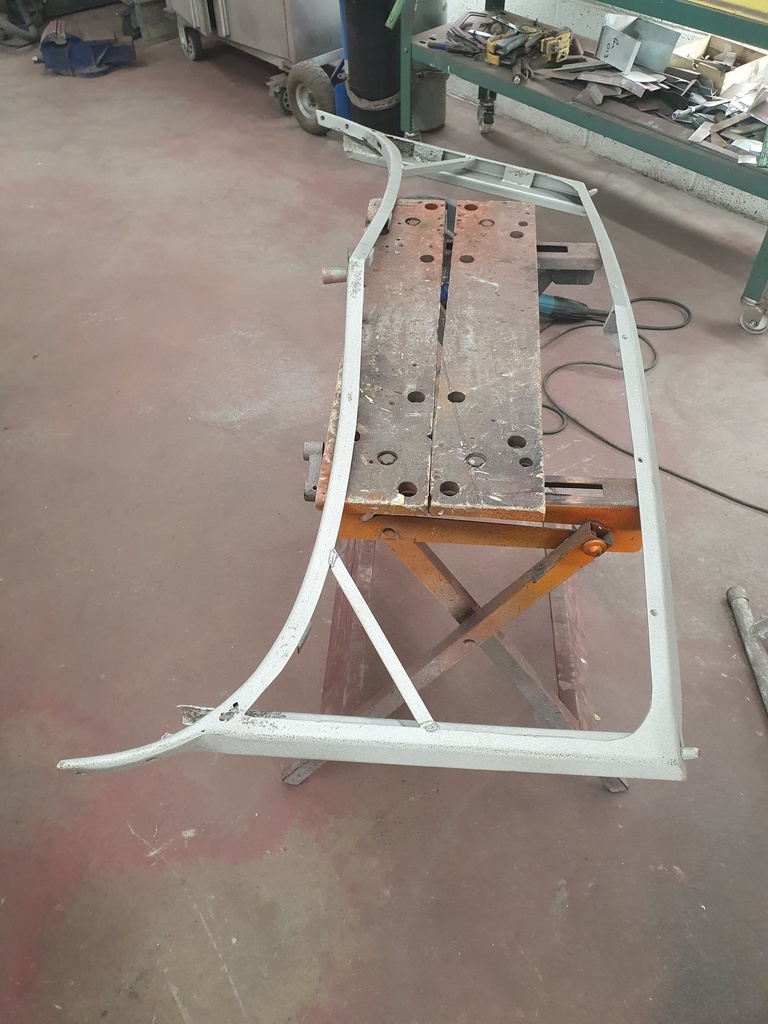 Which is suffering from rust ingress & perforation in both of the bottom corners 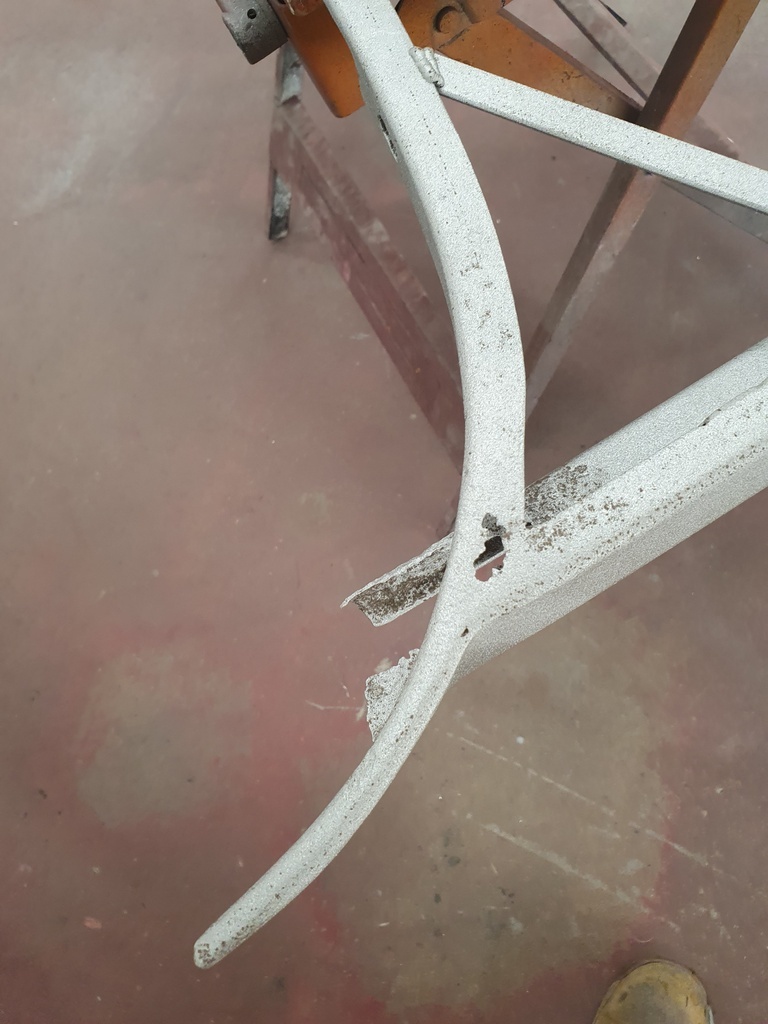 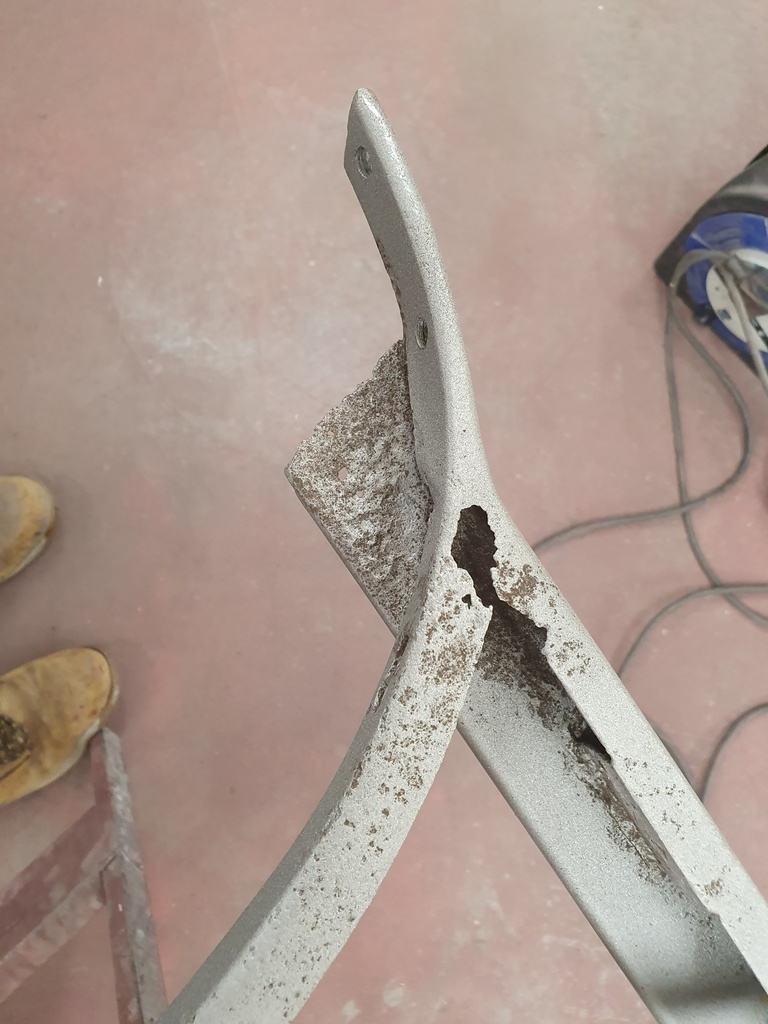 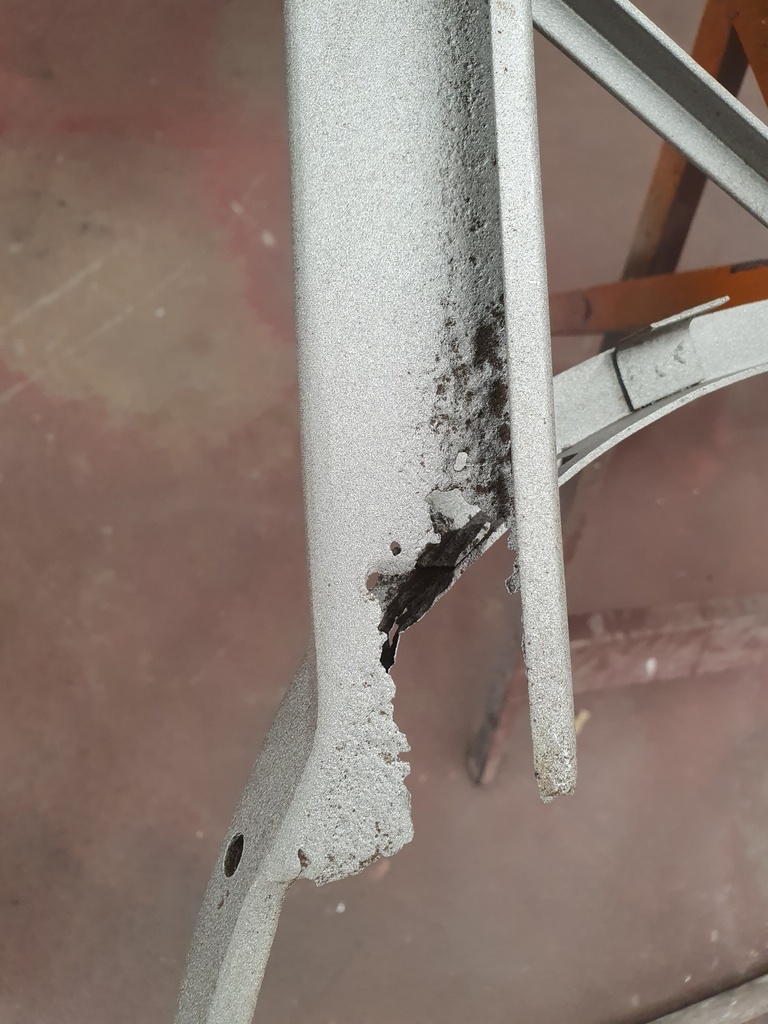 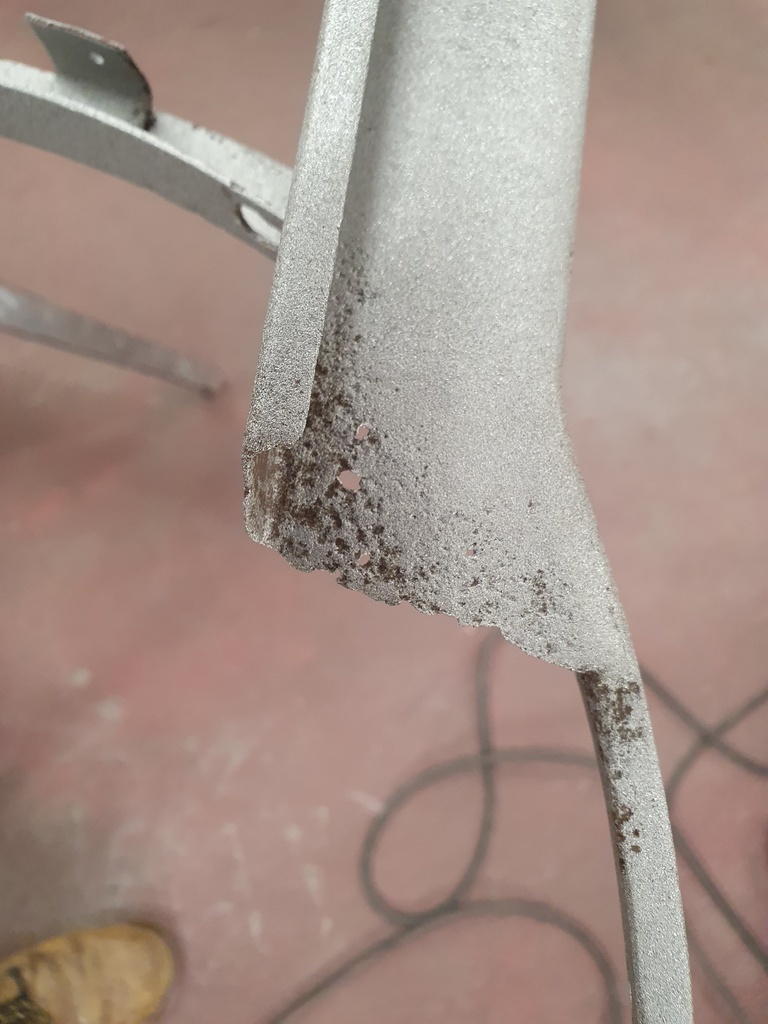 Made a start on the repair sections and will let these in - tomorrow 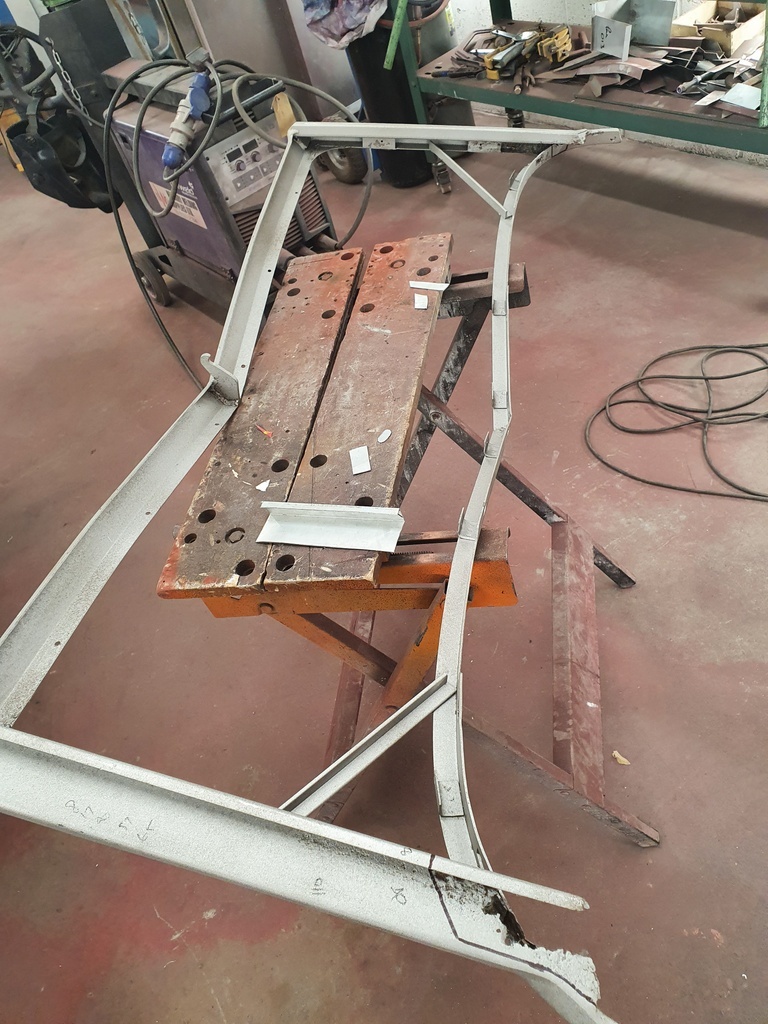 |
| |
Last Edit: Aug 7, 2020 21:41:53 GMT by Deleted
|
|
|
|
|
|
|
|
As you know, I love your work, and I’ve read you describe your experience with Brimabright before and it confuses me 😊 Just because I know a good few people who have been tig and and gas welding brimabright for many years - and even the Birmetals literature listed it as having high weld-ability but poor machinability.
🤷🏻♂️
Not that it matters - as you are making great repairs.
|
| |
|
|
|
|
|
|
|
As you know, I love your work, and I’ve read you describe your experience with Brimabright before and it confuses me 😊 Just because I know a good few people who have been tig and and gas welding brimabright for many years - and even the Birmetals literature listed it as having high weld-ability but poor machinability. 🤷🏻♂️ Not that it matters - as you are making great repairs. What happens with Brimabright of the quality that Jowett used (there were 9 different grades) is that becomes full of impurities - I have not gone into the science of how it happens - its the impurities that prevent the welding you just cannot get the metal clean enough with fluxes if gas welding and you are wasting your time with TIG - Over the years we have looked at all options - not just me but every Jupiter restorer - we have all frustratingly had the same issue with welding of the Jupiter's outer body panels |
| |
|
|
|
|
|
|
|
|
I've tried tig on the early 60's landrover I once had, it was terrible, despite appearing spotless it was spitting and wouldn't flow just formed blobs, also remember on the car is born series they bought in a pro and he couldn't weld it.
I ended up doing the same as Chris has done.
I'd be interested if there is a method someone has found.
|
| |
|
|
|
|
|
|
|
|
|
I've tried tig on the early 60's landrover I once had, it was terrible, despite appearing spotless it was spitting and wouldn't flow just formed blobs, also remember on the car is born series they bought in a pro and he couldn't weld it. I ended up doing the same as Chris has done. I'd be interested if there is a method someone has found. Kevin - Interestingly Land Rover also used Brimabright sheet alloy throughout the early years of production - there is lots of debate & conversation on various Land Rover forums & the Migwelding forum - Fellow Jowett owners also keep debating the subject in the search of a welded solution and I have spoken to many welding specialists but to date we have drawn a blank - therefore the modern alternative of bonded panel repair is the way to go - now if this was a really exotic car (it sort of is in a way) when it came to values i.e. if it was worth hundreds of thousands / millions you would just remove any damaged panels and produce new by hand to the original pattern but in a modern weldable alloy - but you are into £30k ++ to rebody a car in this style and once you have factored everything else into the restoration costs it would make a Jupiter restoration economically unviable - I have every confidence in the current repair approach on the panels - I would not be doing it otherwise - although its a clients car my name is plastered all over this restoration - everyone in Jowett circles will be fully aware of who restored the car  Hence it needs to stand up to the mantle not just when its freshly completed but in years to come |
| |
Last Edit: Aug 8, 2020 10:22:11 GMT by Deleted
|
|
|
|
|
|
|
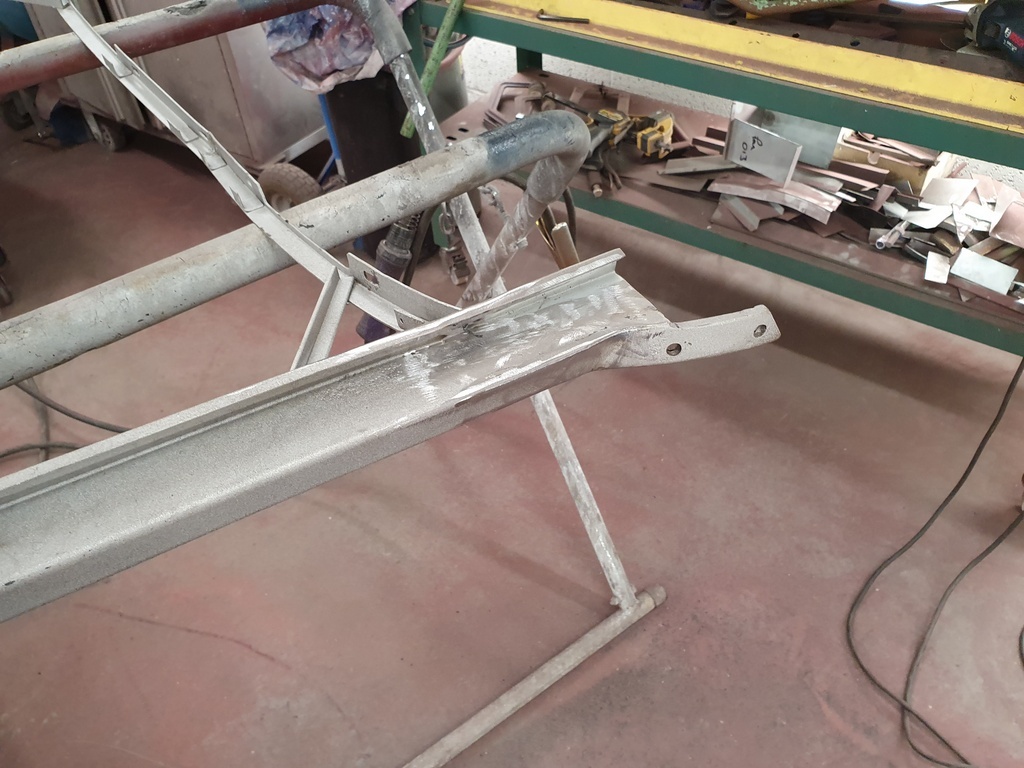 Welded repairs to the windscreen frame being progressed 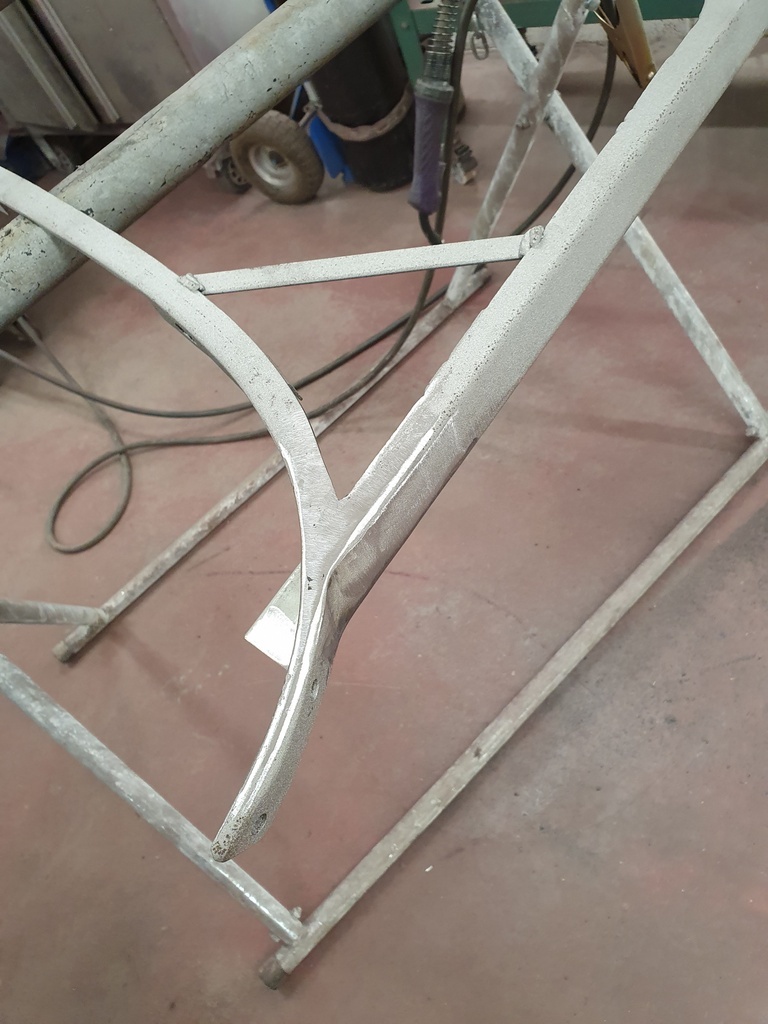 Then dressed back 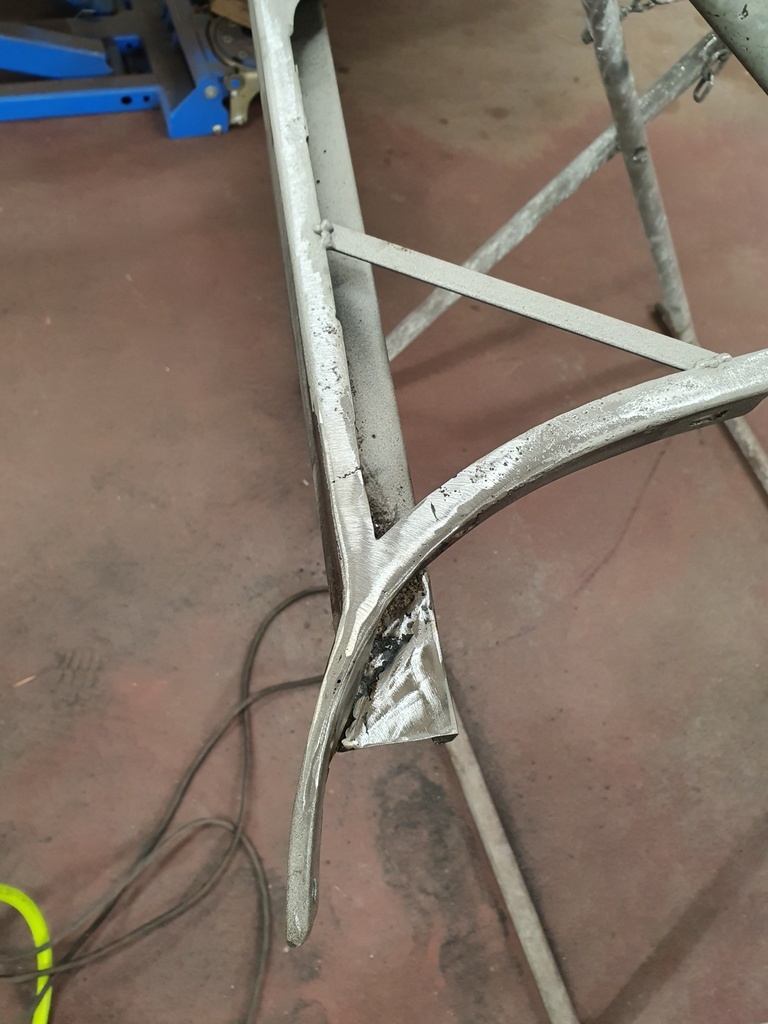 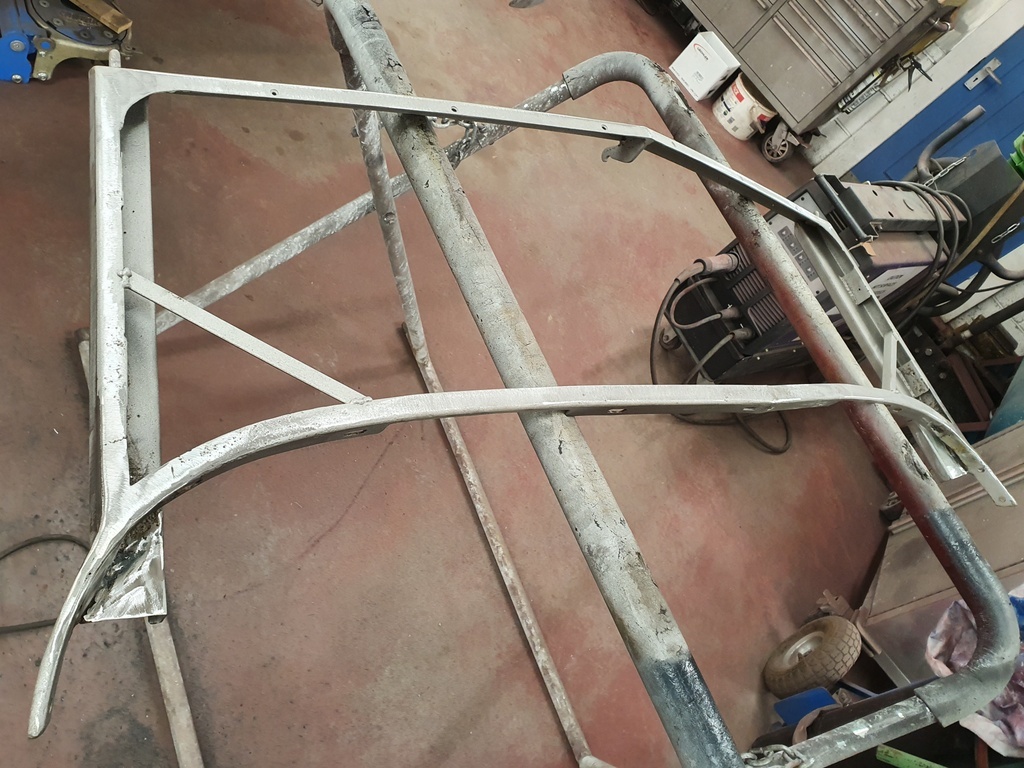 Once complete the temporary braces that I welded in when I originally removed the frame from the car can be removed 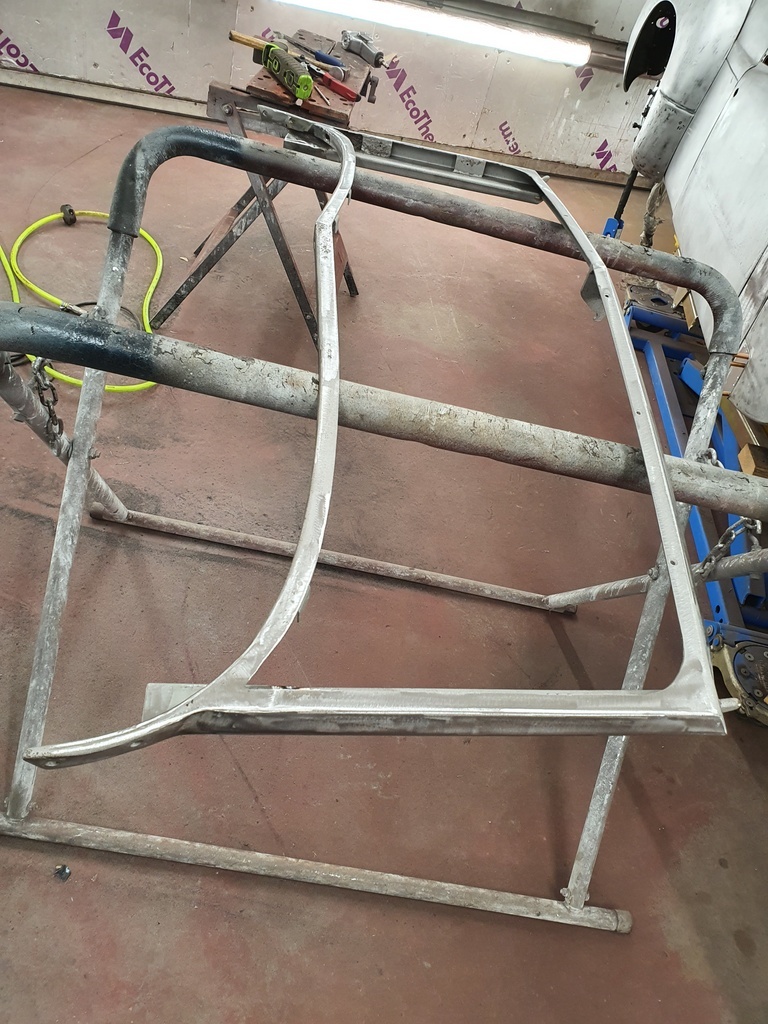 The Jupiter windscreen arrangement is a frame within a frame 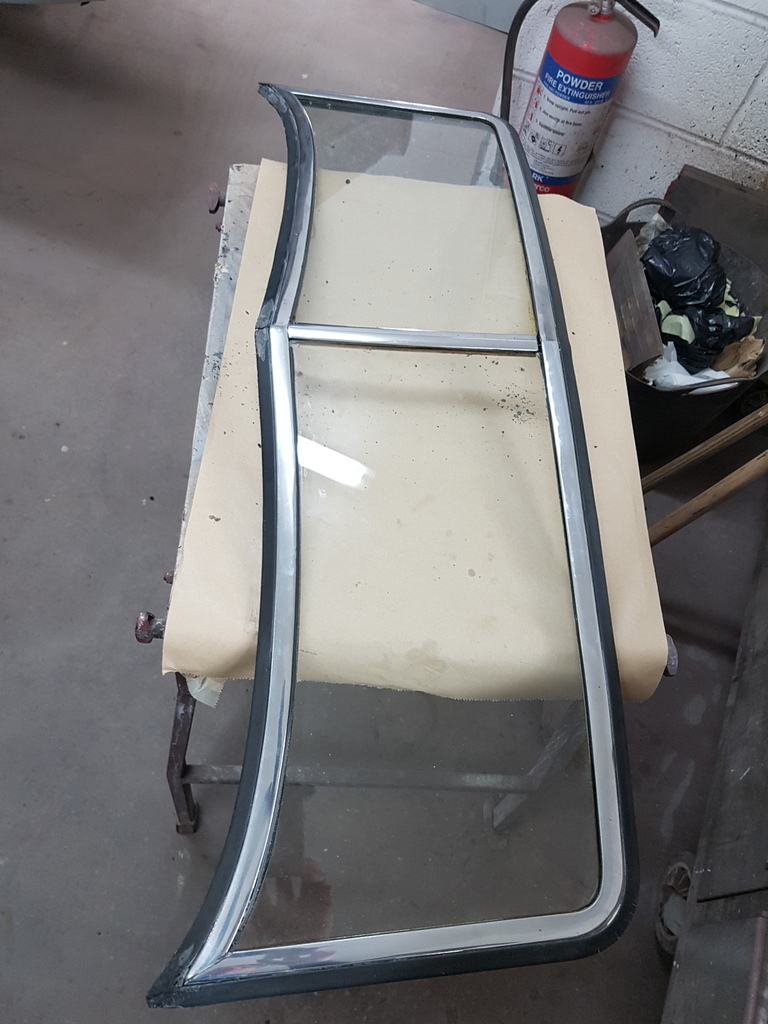 This chrome frame retains the glass and is then fastened to the painted metal frame 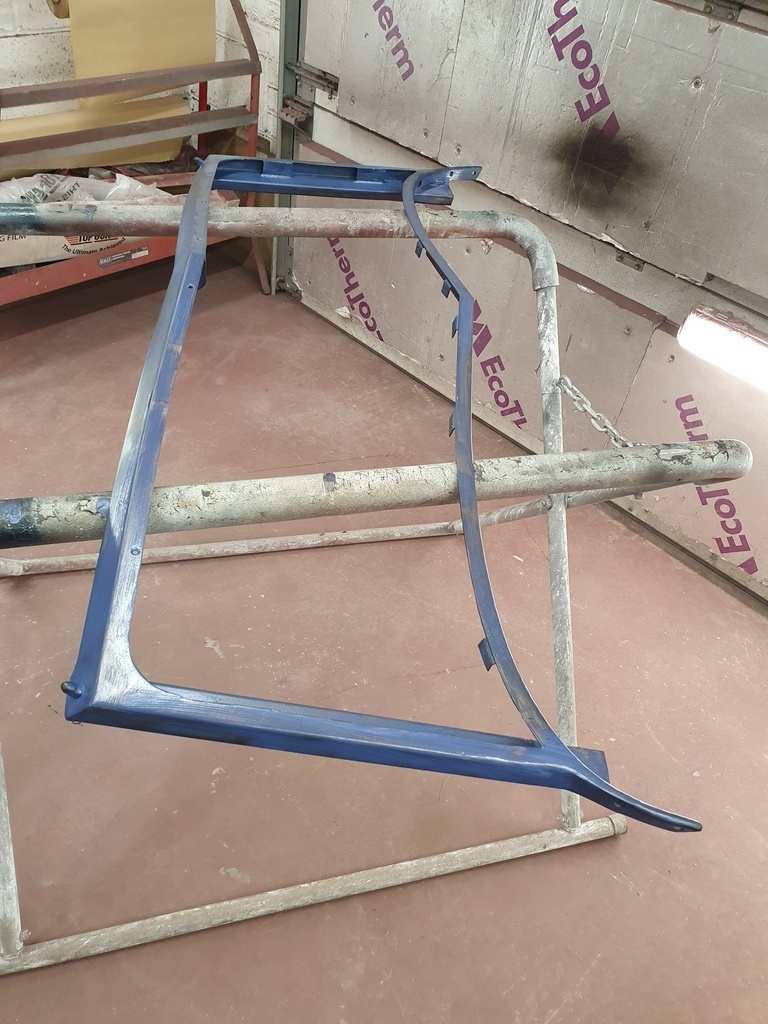 Although shot blasted the frame still had minor evidence of rust pitting - pointless attempting to blast that deep into pits that you thin the metal to the point of weakness - hence the frame was treated with Hydrate 80 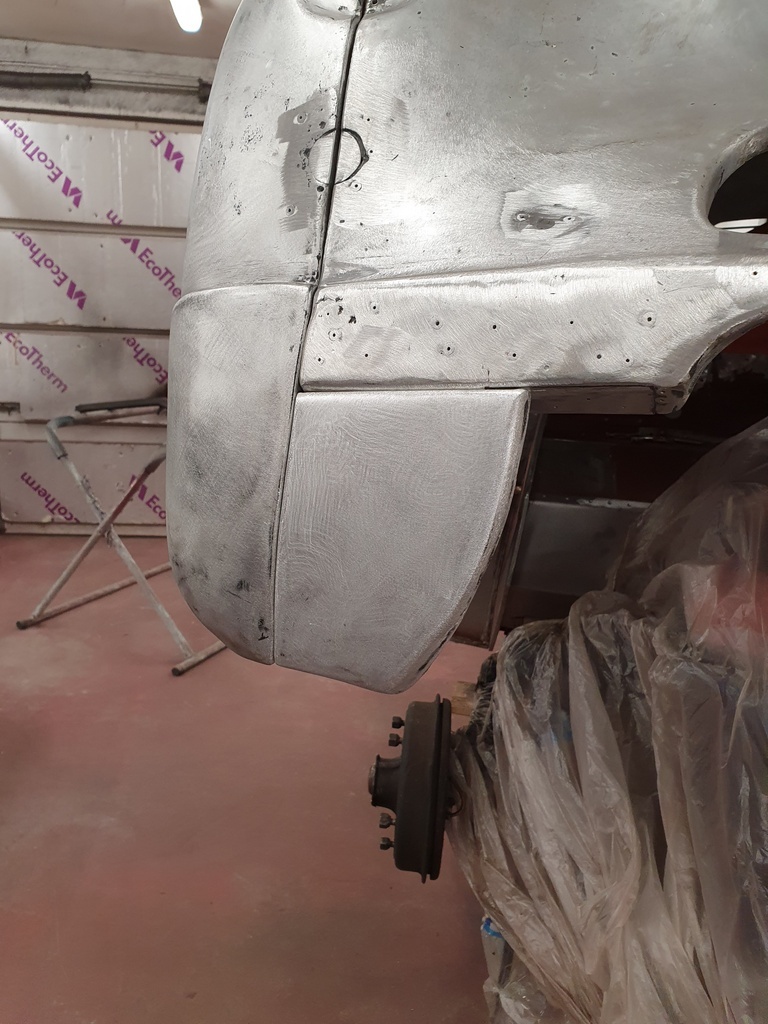 Front splash panels have been trail fitted 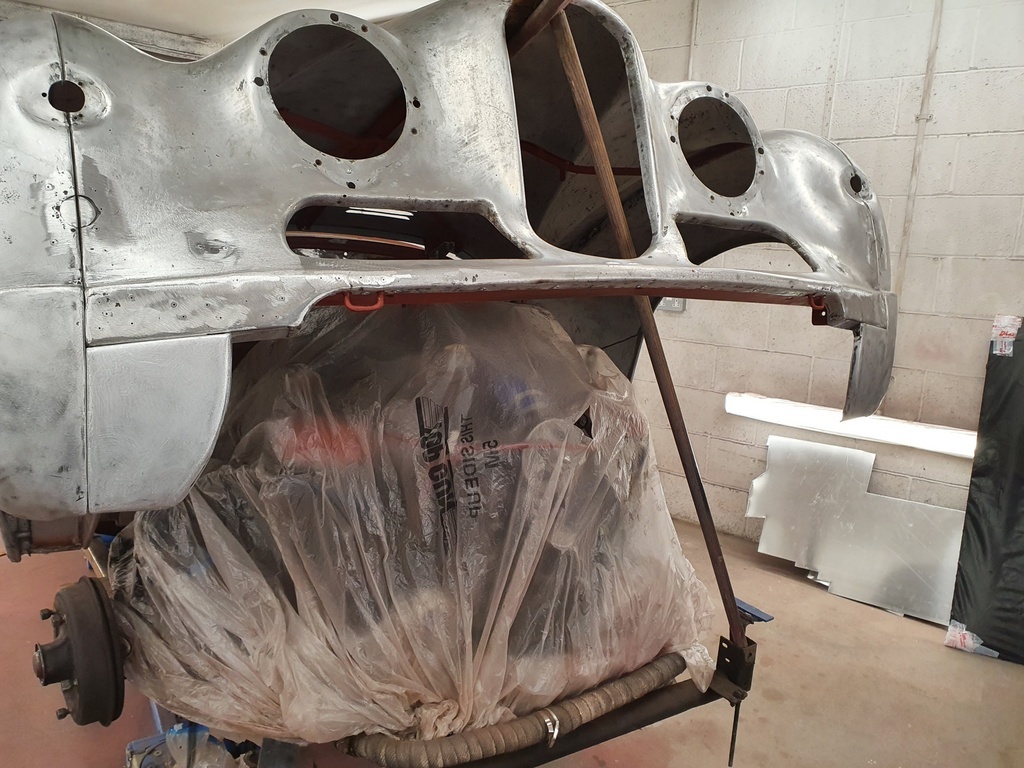 Then I check if they foul anywhere 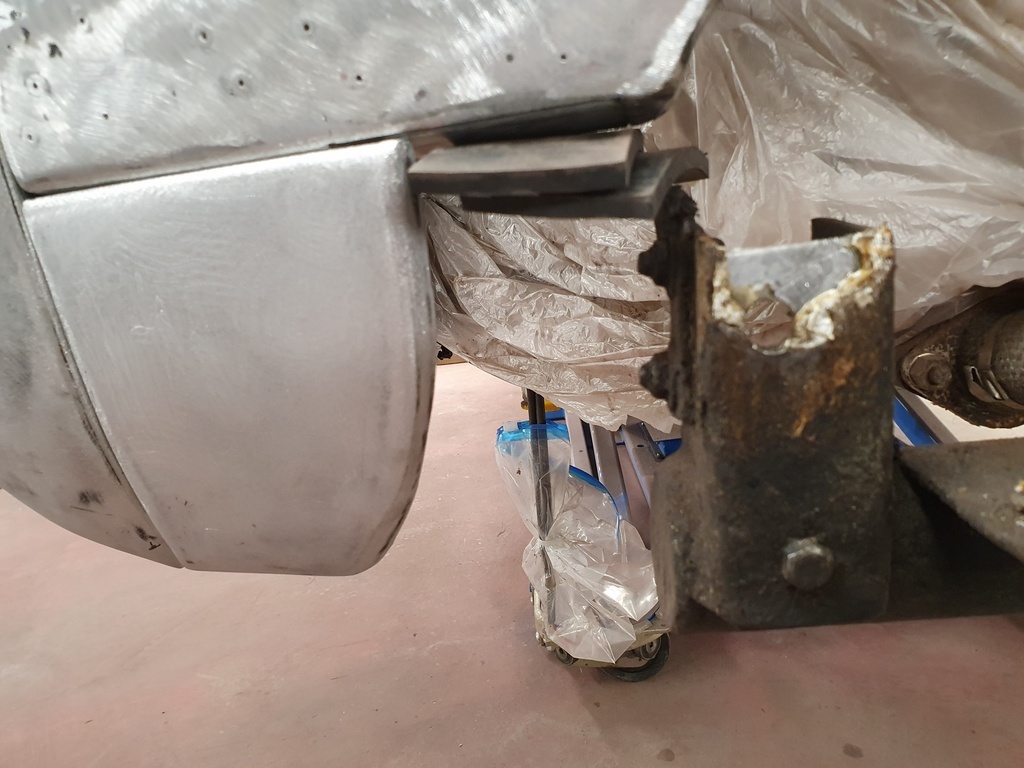 Offside is ok 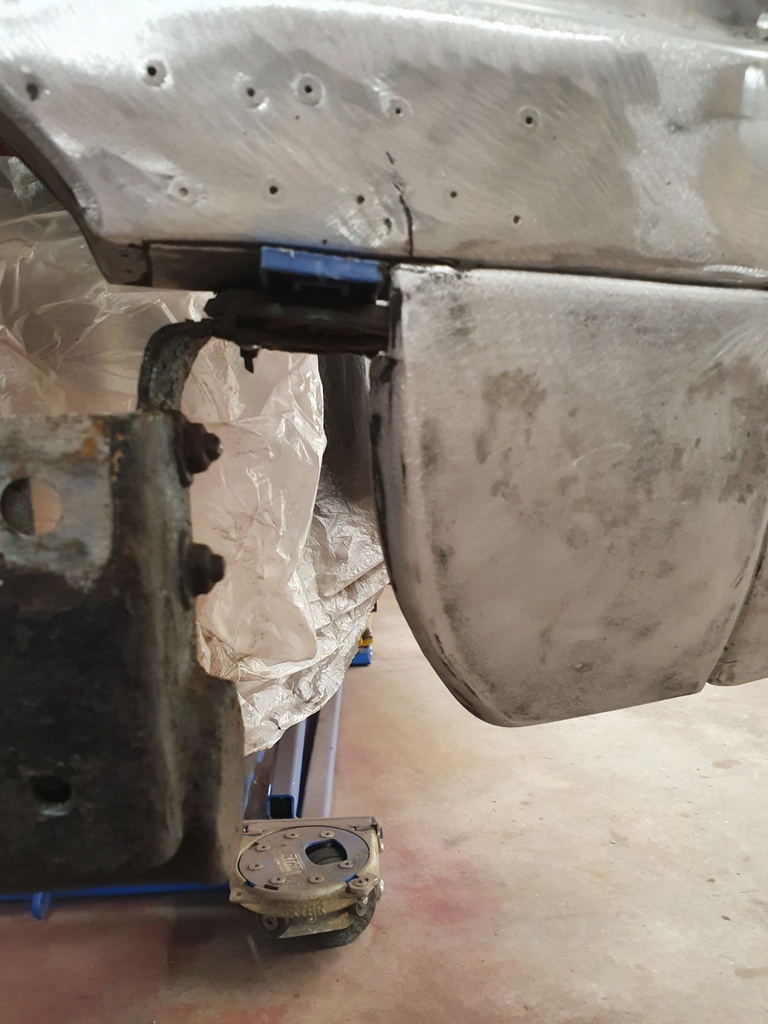 But the nearside is hard against the bonnet locater / buffer bracket - I'm making new ones so I will engineer my way out of this problem 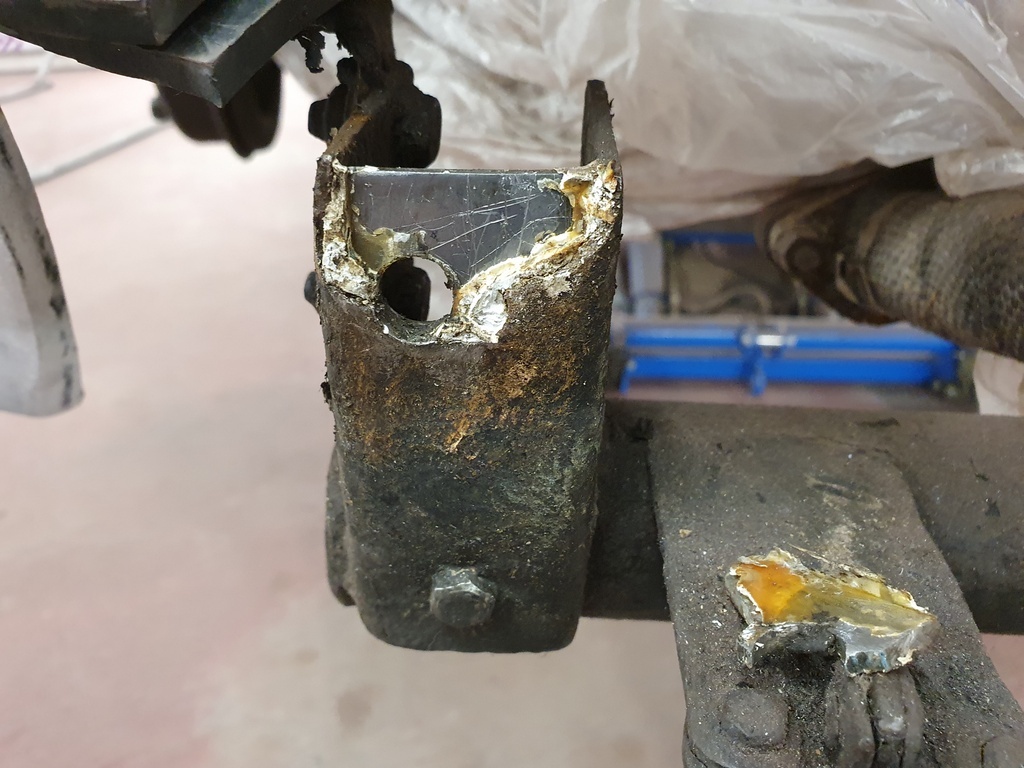 Then I noted a odd repair on the chassis bracket to which the offside bumper iron fastens up to 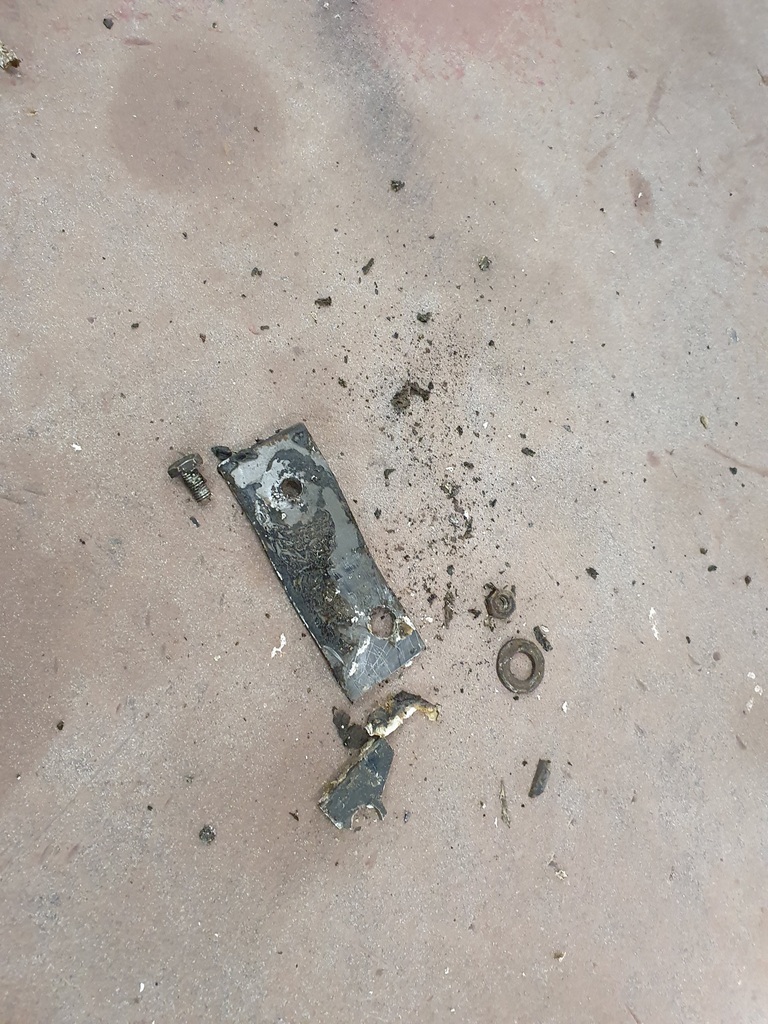 Offending bodge removed 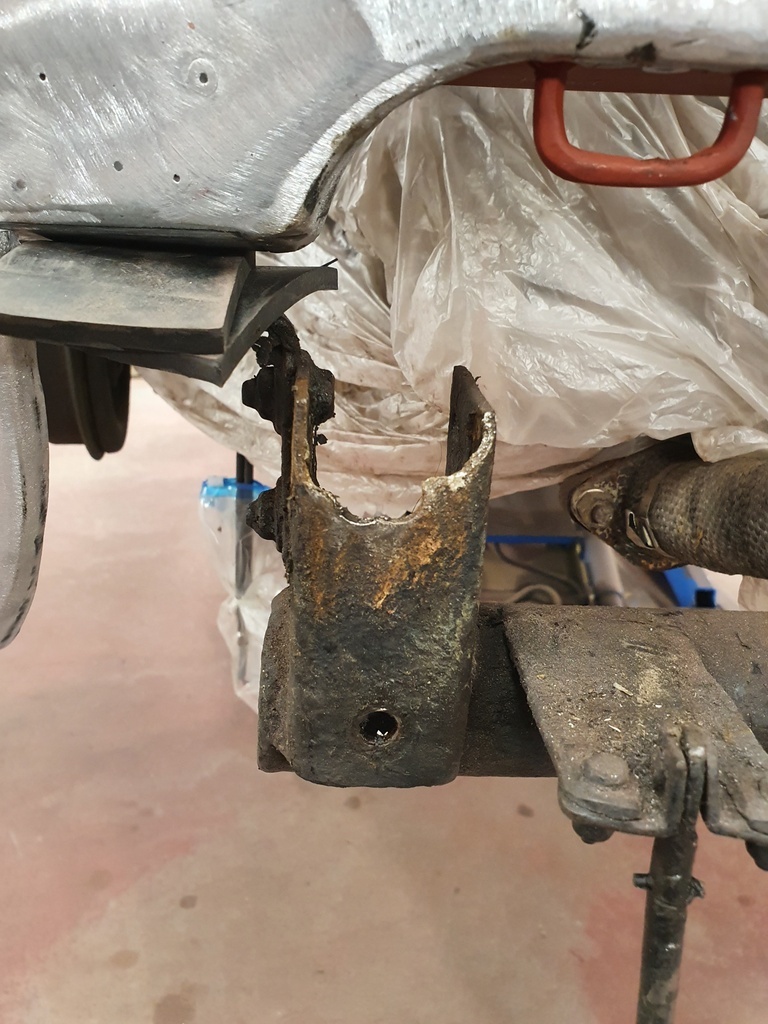 And the net result - I will let fresh steel into this area on Monday - once that's done & cleaned back I will need to refit the front valance & bumper to ensure that the splash panels clear the valance ok 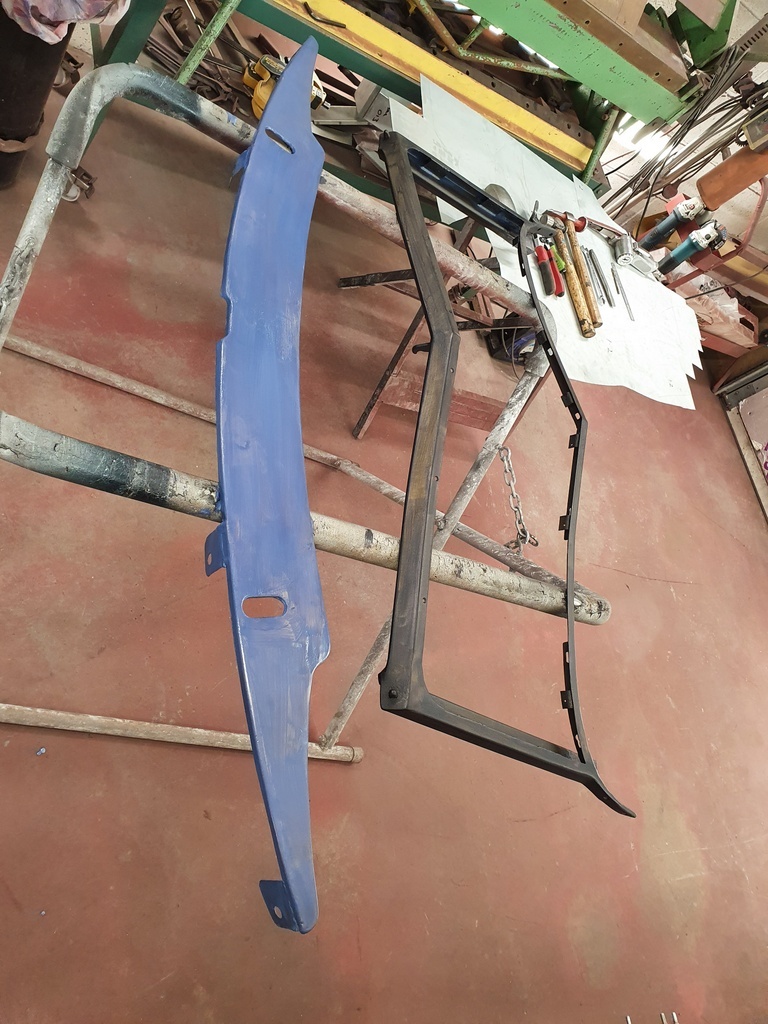 Talking of the valance that also got cleaned up and treated with Hydrate 80 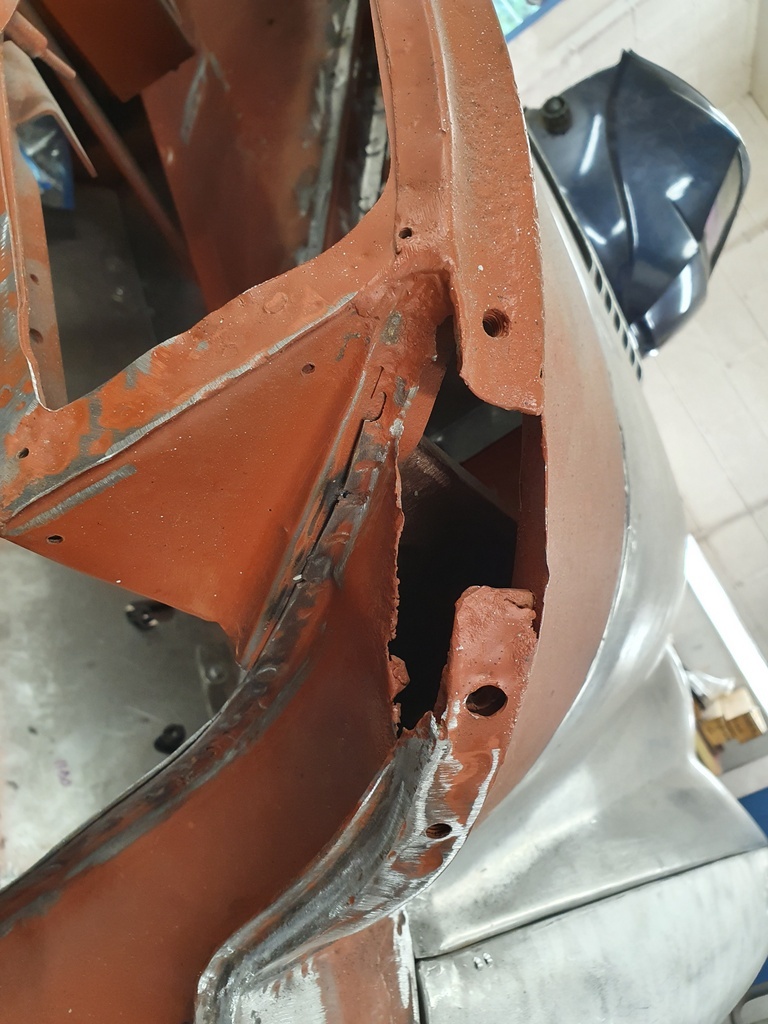 I've made a start on the final welded repairs to the car which are at the base of the windscreen frame on the bulkhead - both sides are effected 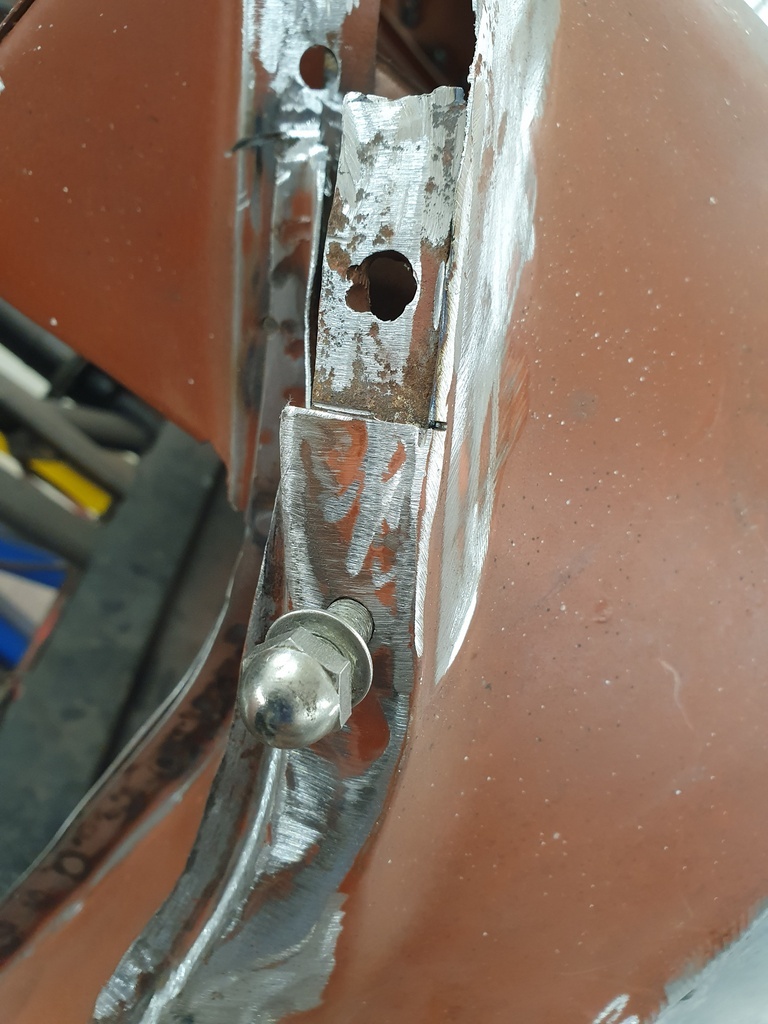 This area also acts has the mounting point for the windscreen frame and the thread of the upper frame bolt had been previously drilled out - oversize so no opportunity for retapping the thread 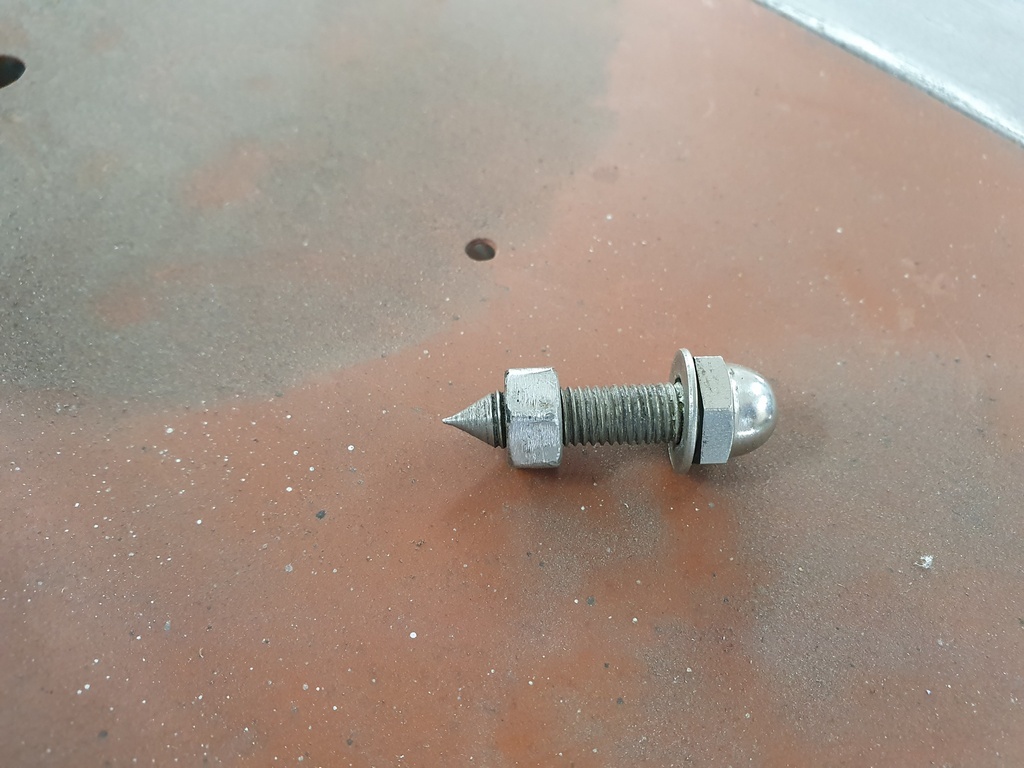 Fortunately the bolt is long enough to reach a nut of the correct thread 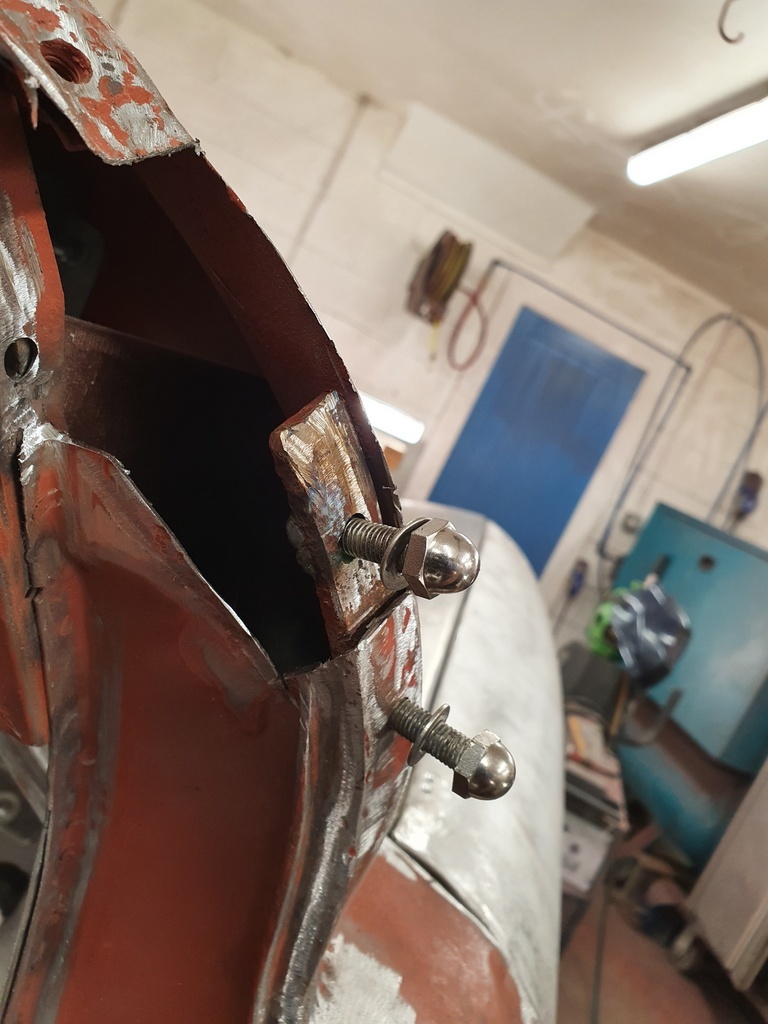 And there is just enough room for me to access the nut and weld it on to the underside 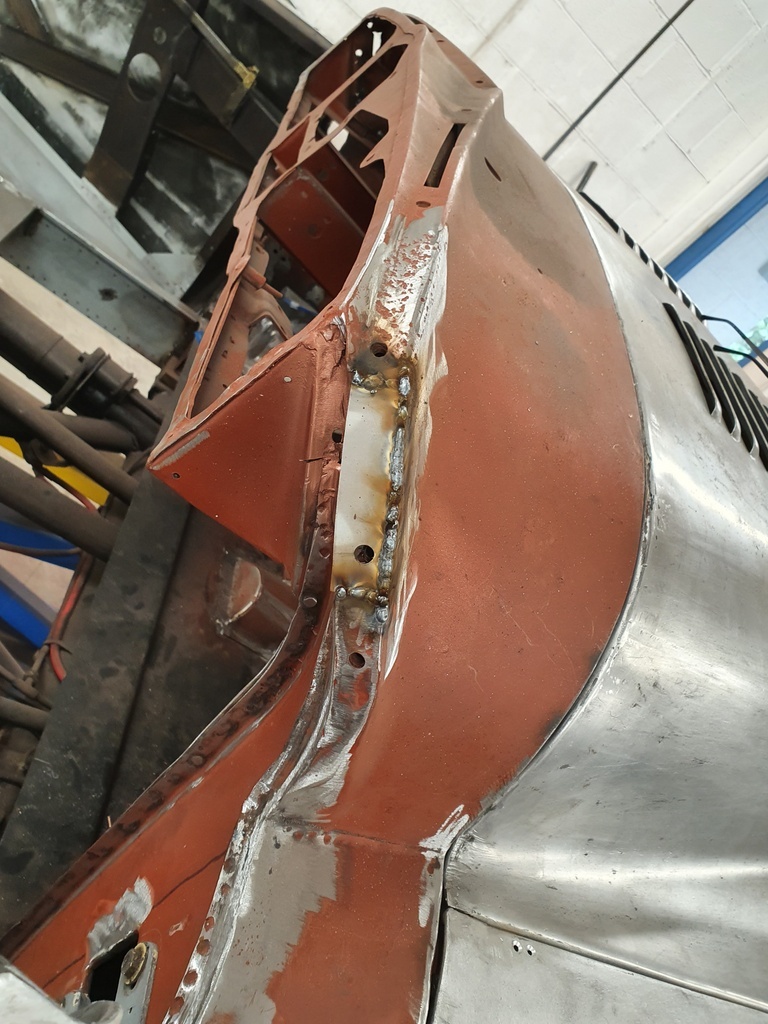 Then the first repair section can be welded in - plan here to now do likewise on the nearside and once cleaned back trial fit the windscreen frame prior closing the cavities off at the top of the A posts - that way I can make any minor alterations to how the screen frame profile fits the bulkhead profile |
| |
Last Edit: Aug 8, 2020 21:06:54 GMT by Deleted
|
|
|
|
|
|
|
|
Chris
How much of a difference does fitting the rubber/plastic seam trims make to the fit and clearance gaps?
|
| |
|
|
|
|
|
|
|
|
keep looking at the bare shell and thinking how good it would look in a vibrant silver with a blood red interior.
|
| |
'80 s1 924 turbo..hibernating
'80 golf gli cabriolet...doing impression of a skip
'97 pug 106 commuter...continuing cheapness making me smile!
firm believer in the k.i.s.s and f.i.s.h principles.
|
|
|
|
|
|
|
|
I think of a polished B29.
|
| |
|
|
|
|
|
|
|
Chris How much of a difference does fitting the rubber/plastic seam trims make to the fit and clearance gaps? Pete - The piping bead is 6mm finished diameter but the flap return that gets sandwiched between the two panels is closer to 1.5mm - 2mm once compressed - nothing that you would notice in the grand scheme of things - the bead edge however does hide the panel joints 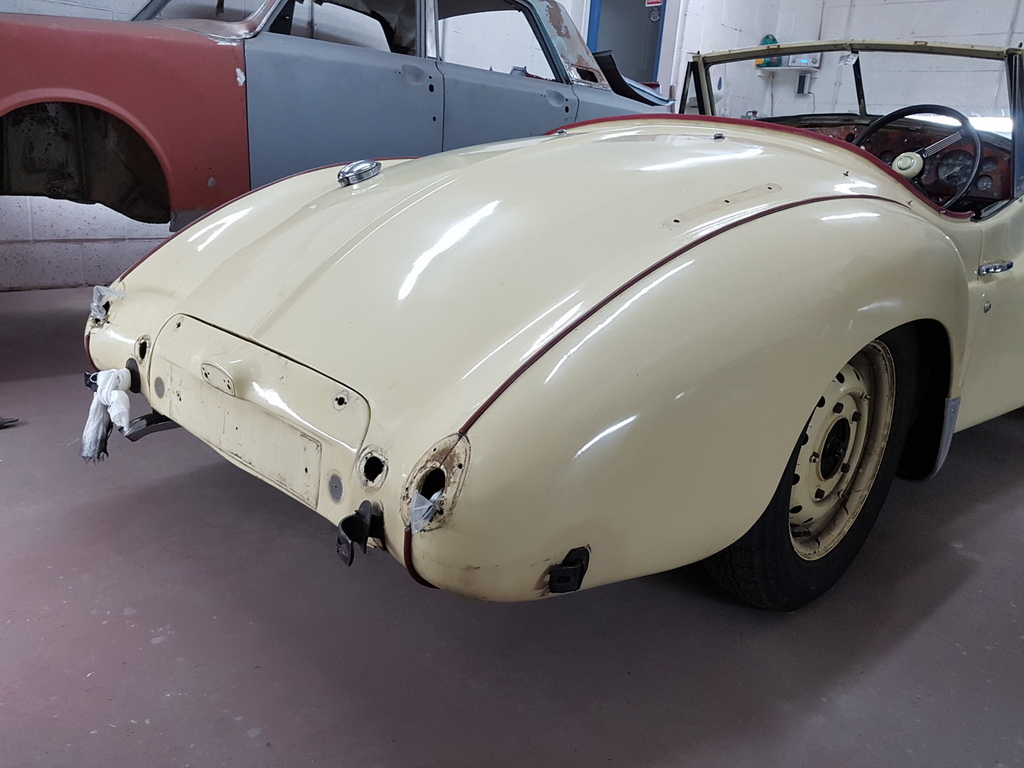 Sharon is making up new piping cord to a better match with the interior |
| |
|
|
|
|
|
|
|
keep looking at the bare shell and thinking how good it would look in a vibrant silver with a blood red interior. Pete - The interior trim is finished in 'Mulbury' and Jowett did do a few Jupiters in silver 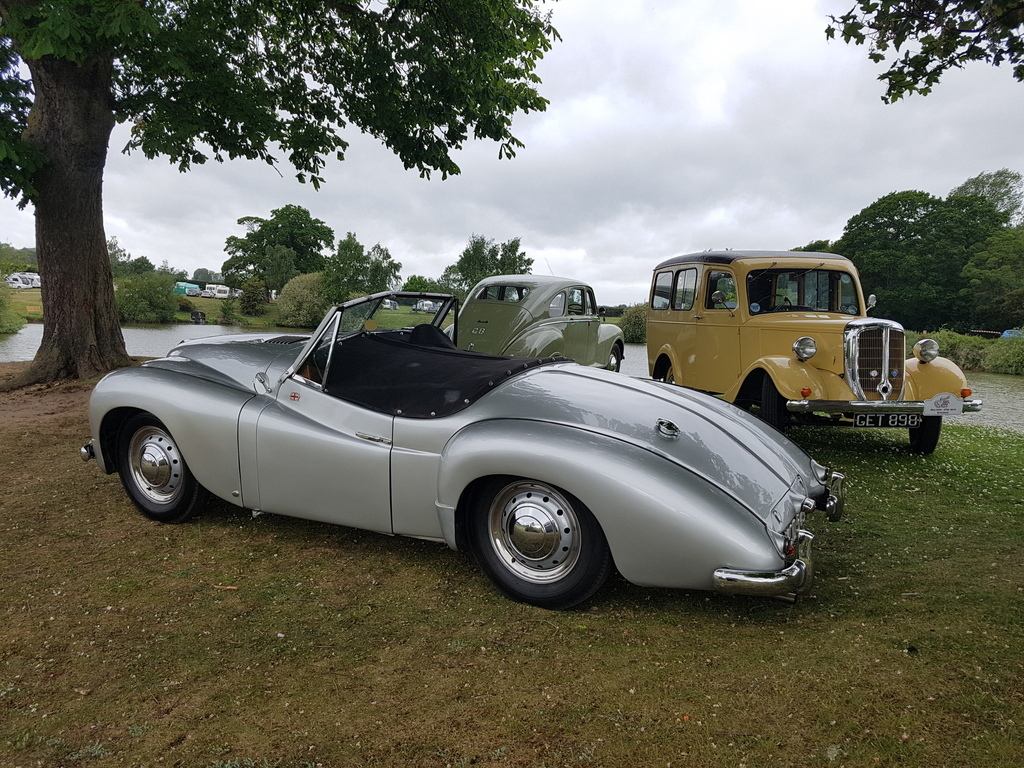 However I don't think that it suits the cars that well |
| |
|
|
|
|
|
|
|
|
Tis in the eye of the beholder , I'm really into silver as a colour.
|
| |
'80 s1 924 turbo..hibernating
'80 golf gli cabriolet...doing impression of a skip
'97 pug 106 commuter...continuing cheapness making me smile!
firm believer in the k.i.s.s and f.i.s.h principles.
|
|
|
|
|
Aug 10, 2020 21:29:32 GMT
|
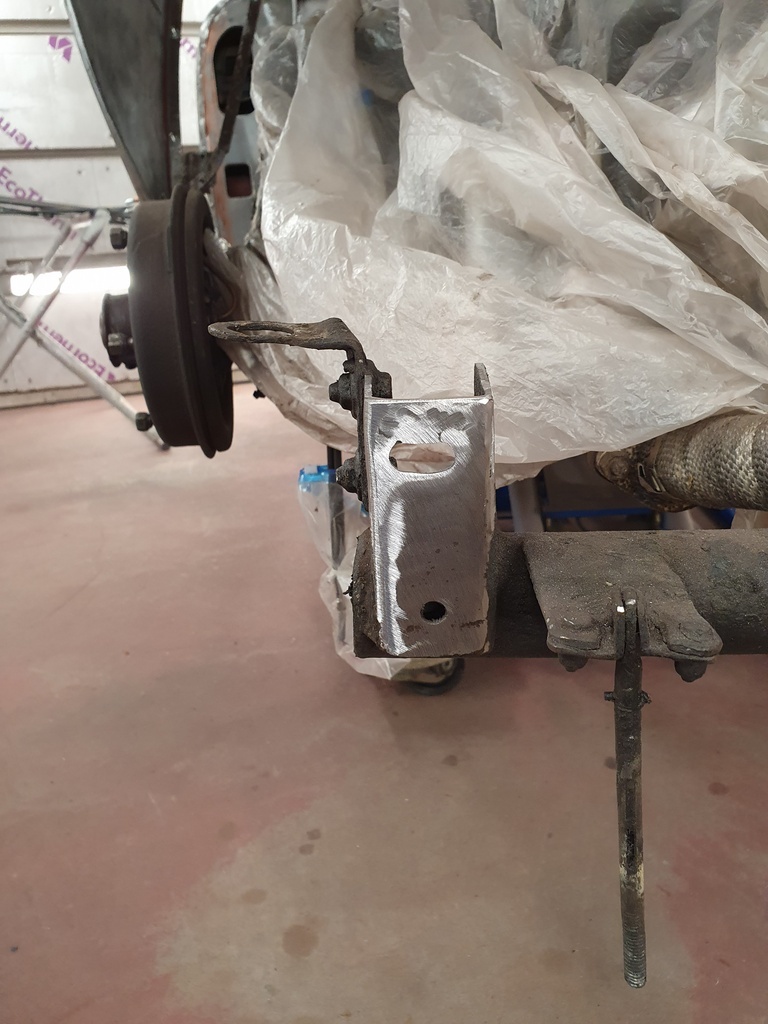 First job today was to repair the damage to the bumper iron mount on the offside front - note the elongation in order to get the iron mounted 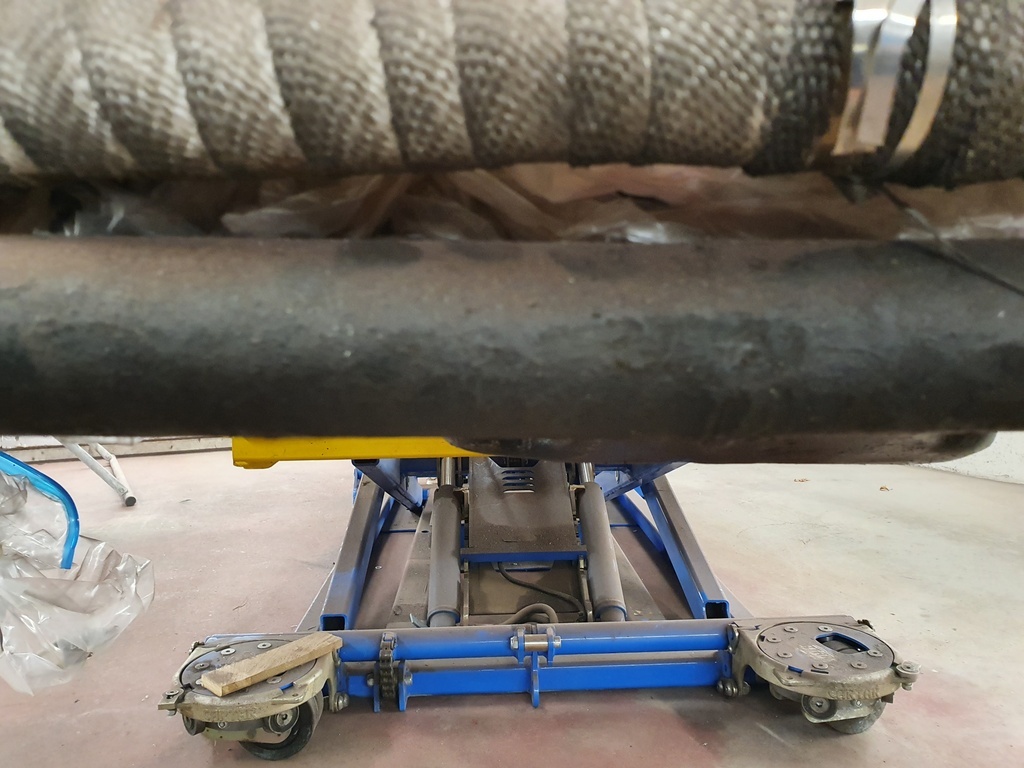 And here is the evidence of a frontal impact - the front cross member tube has been joined in the centre with weld - this originally should be a one piece tube 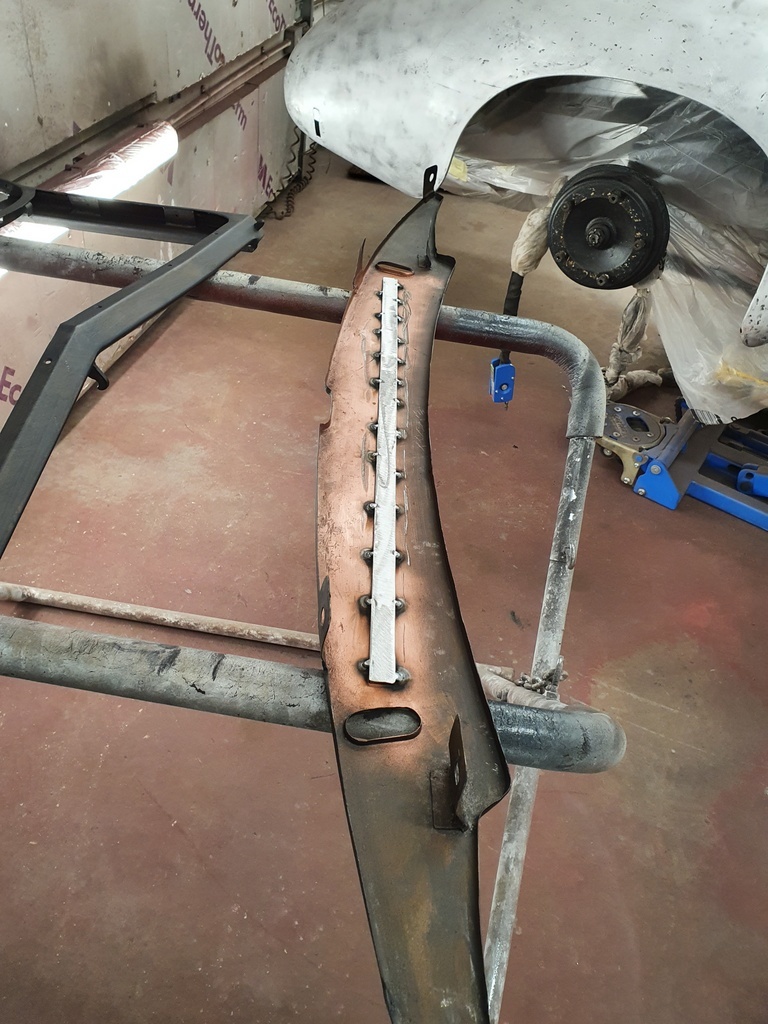 The front valance panel is quite flimsy so I added some strength to it 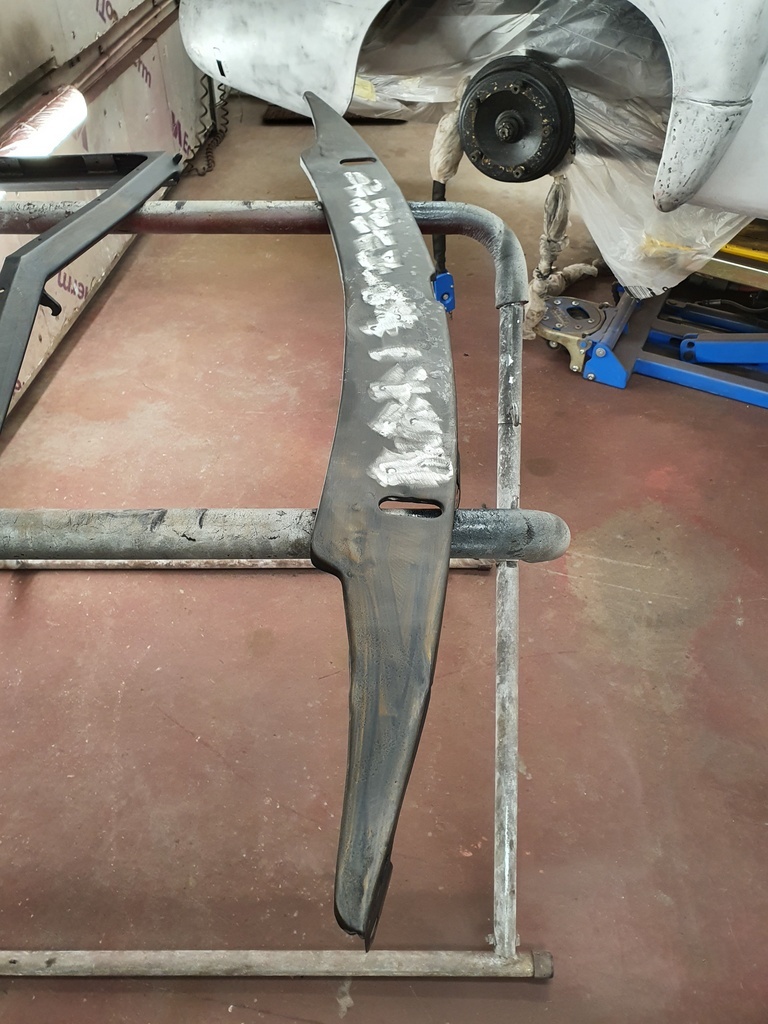 Dressed it back and now it can be refitted 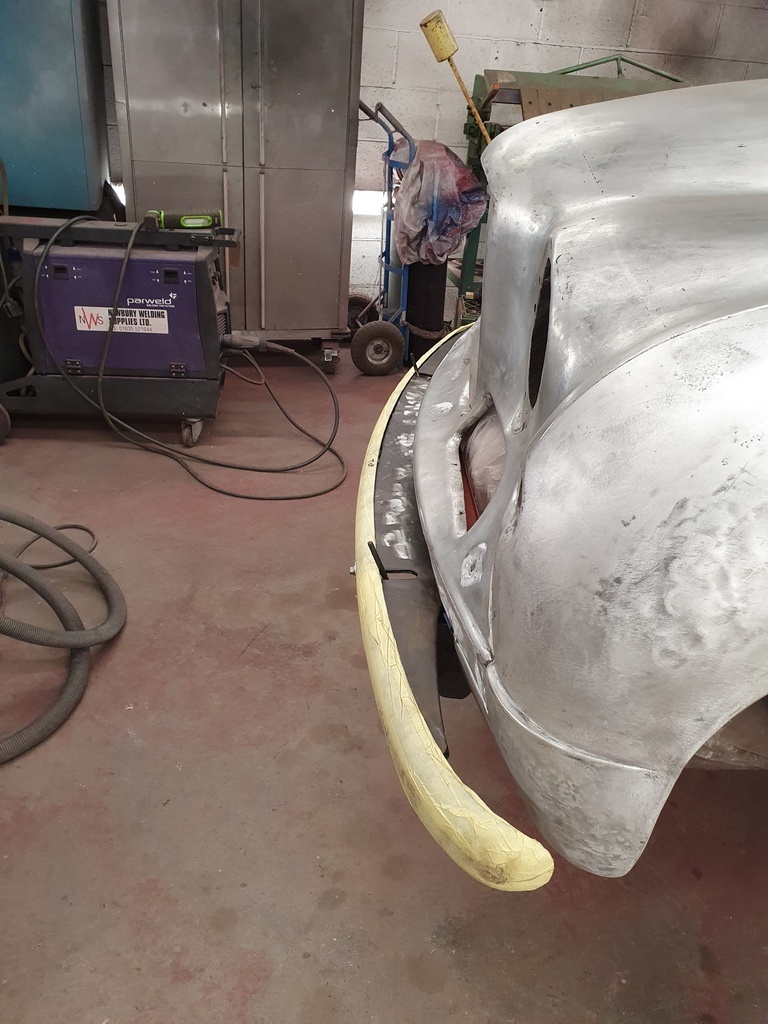 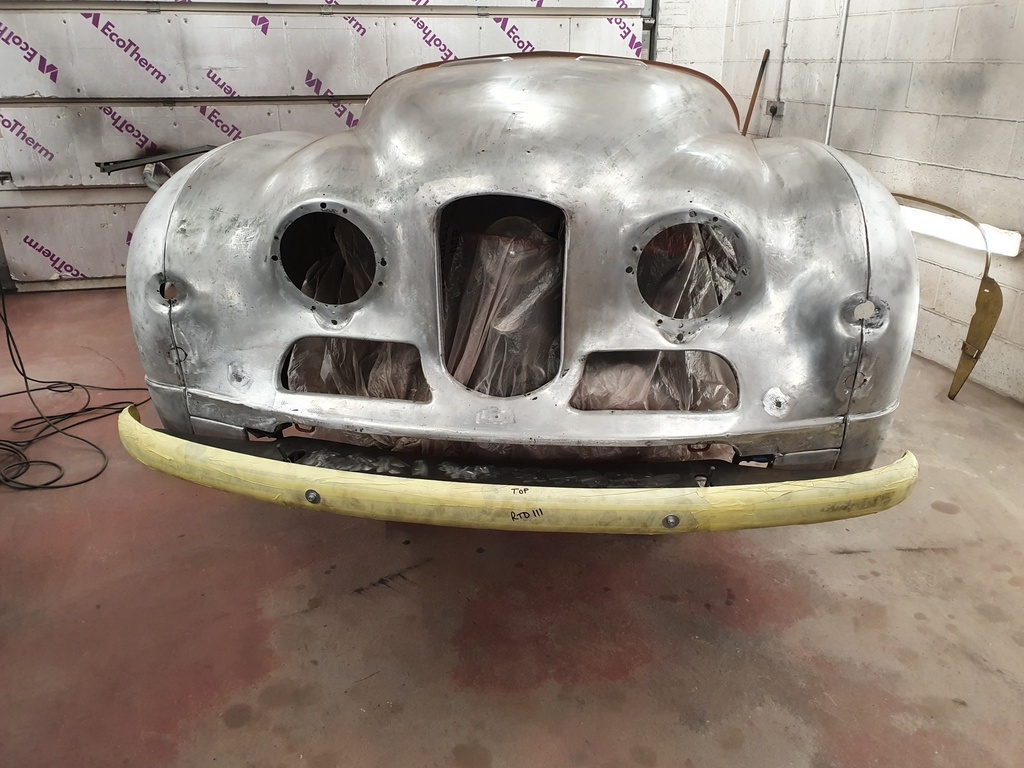 And the clearance of the splash panels checked 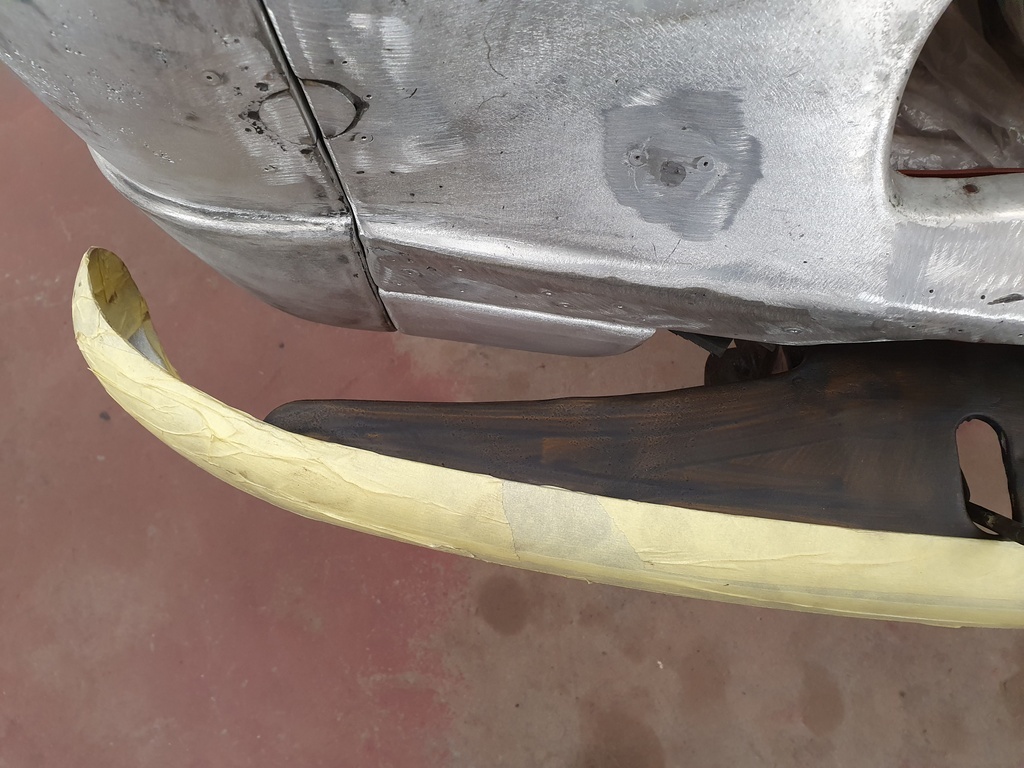 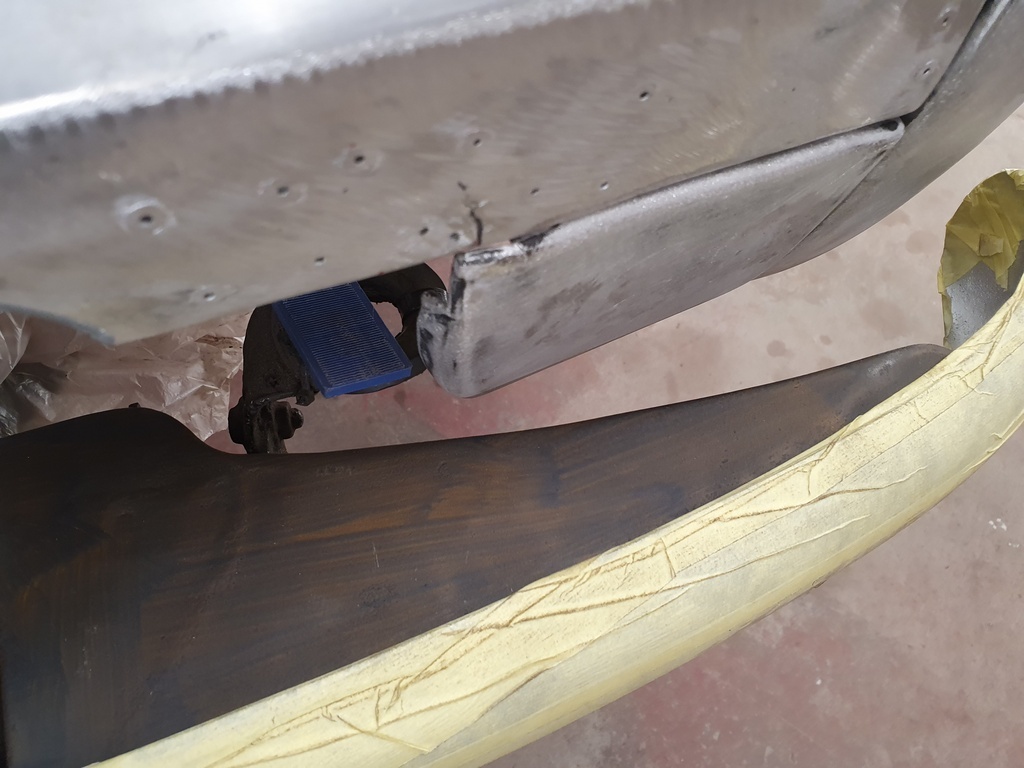 Which are fine 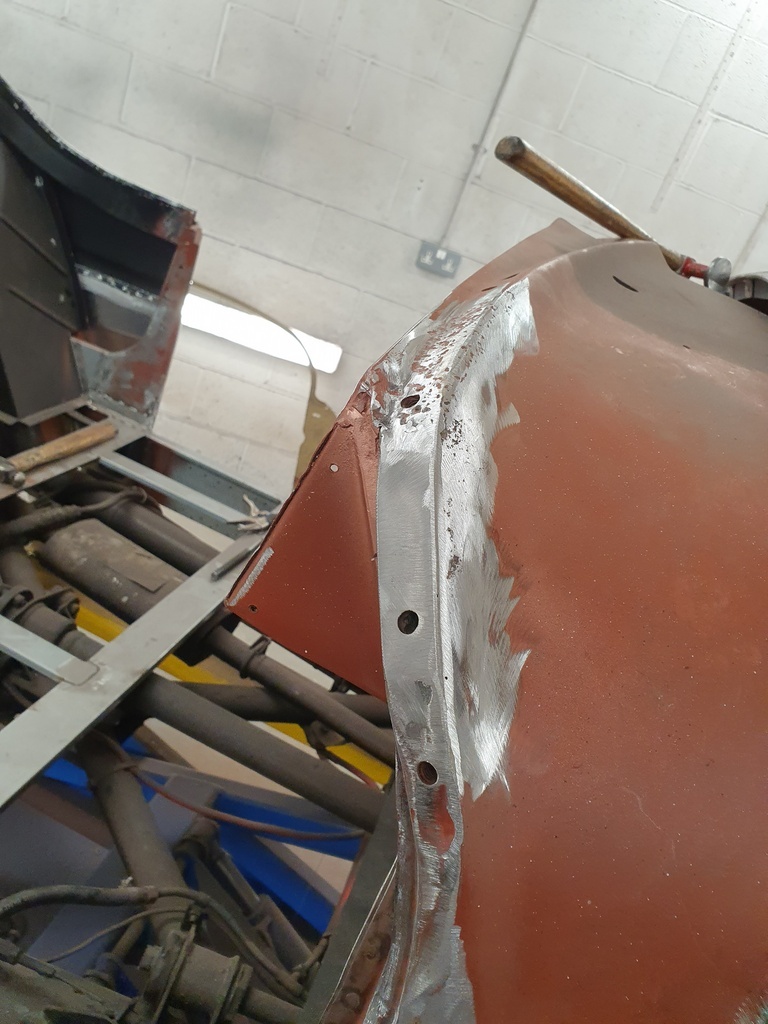 Cleaned the initial bulkhead repair up on the offside 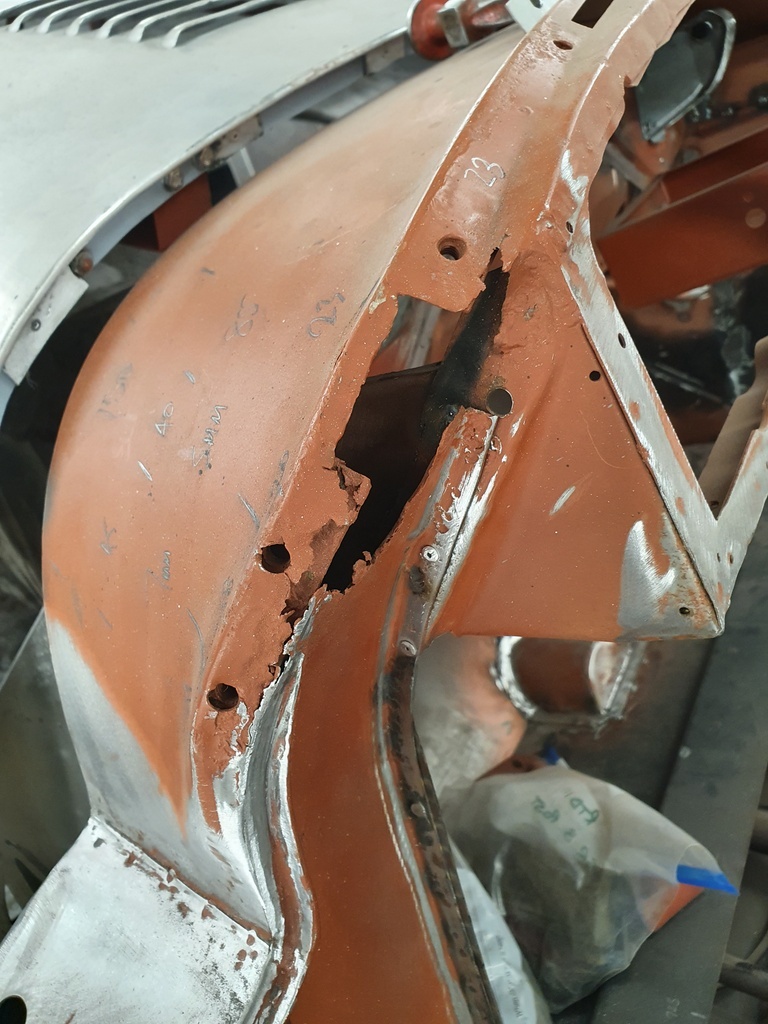 Then sorted the nearside repair - dressed it back 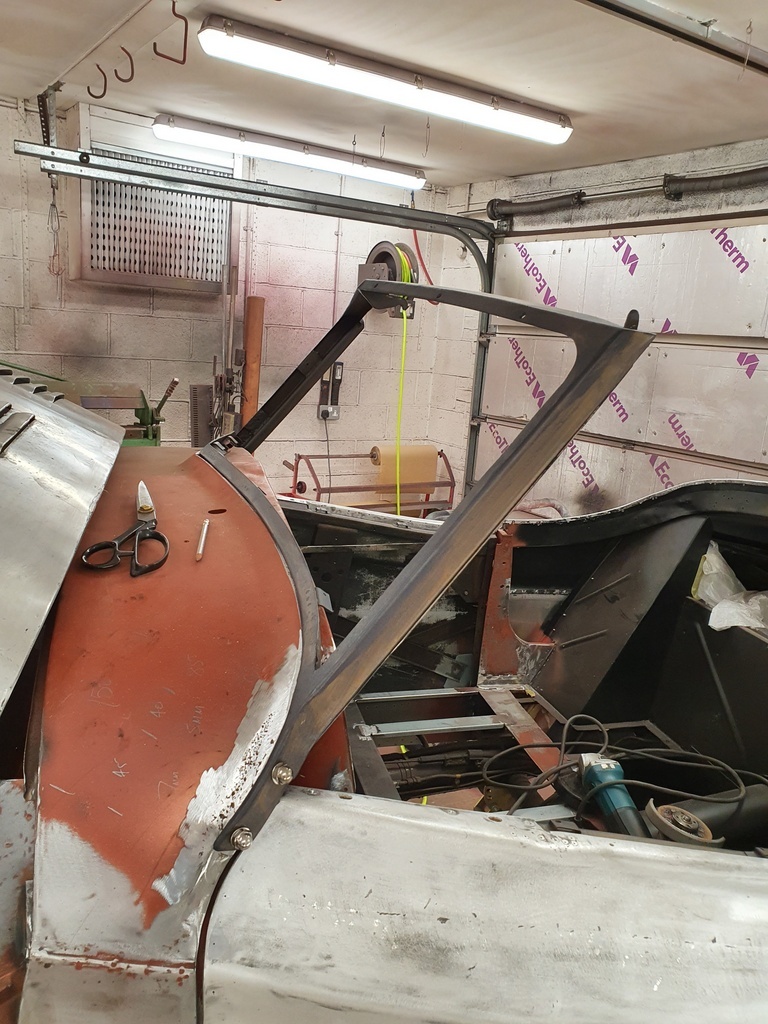 And then trail fitted the windscreen frame 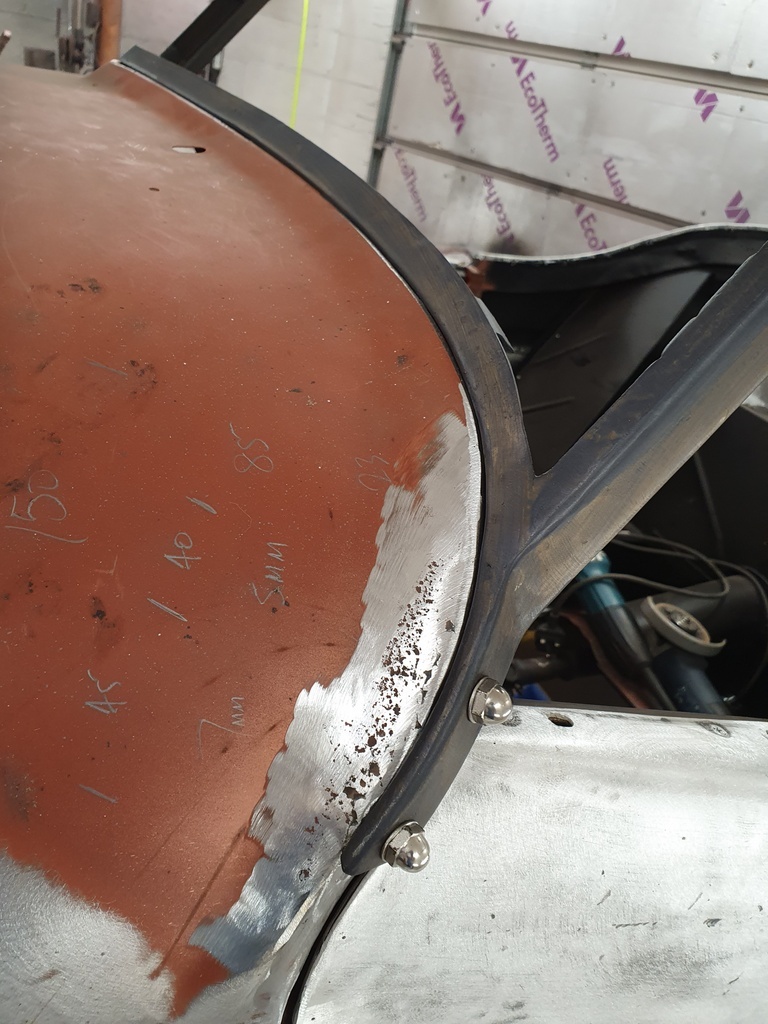 Decent fit on the nearside 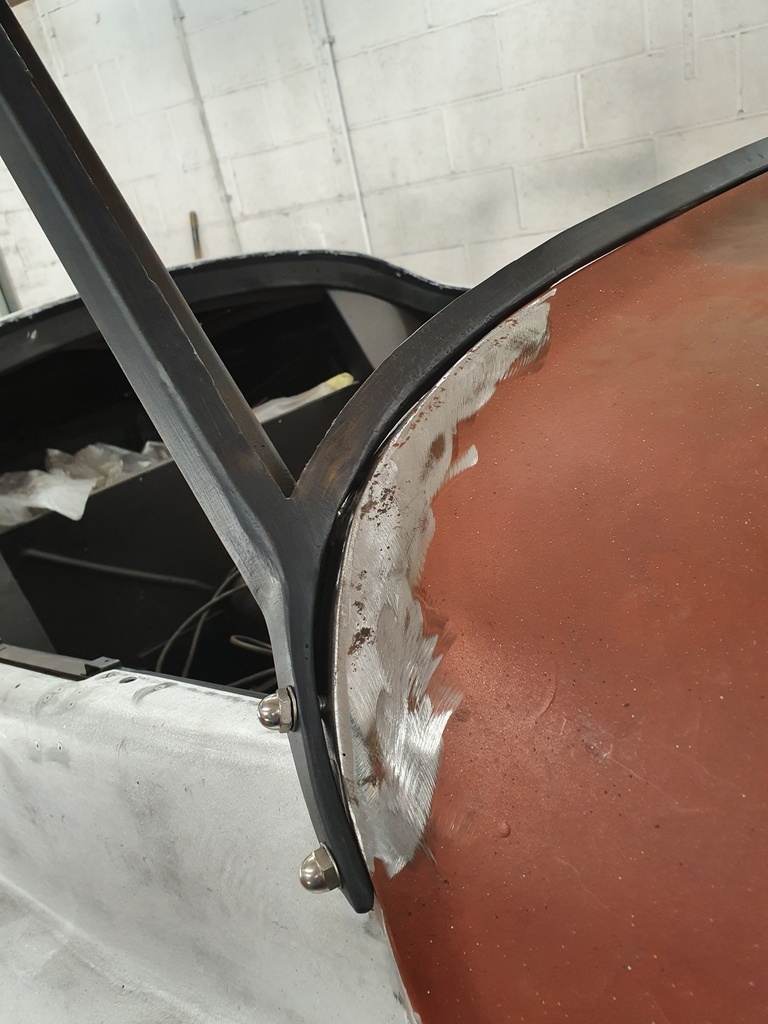 And a poor fit on the offside - looking at a few of threads on the captive nuts for the screen mounting I can see traces of lead on the offside - so they made the radius good with lead loading at the factory - this is more than typical with a hand built car 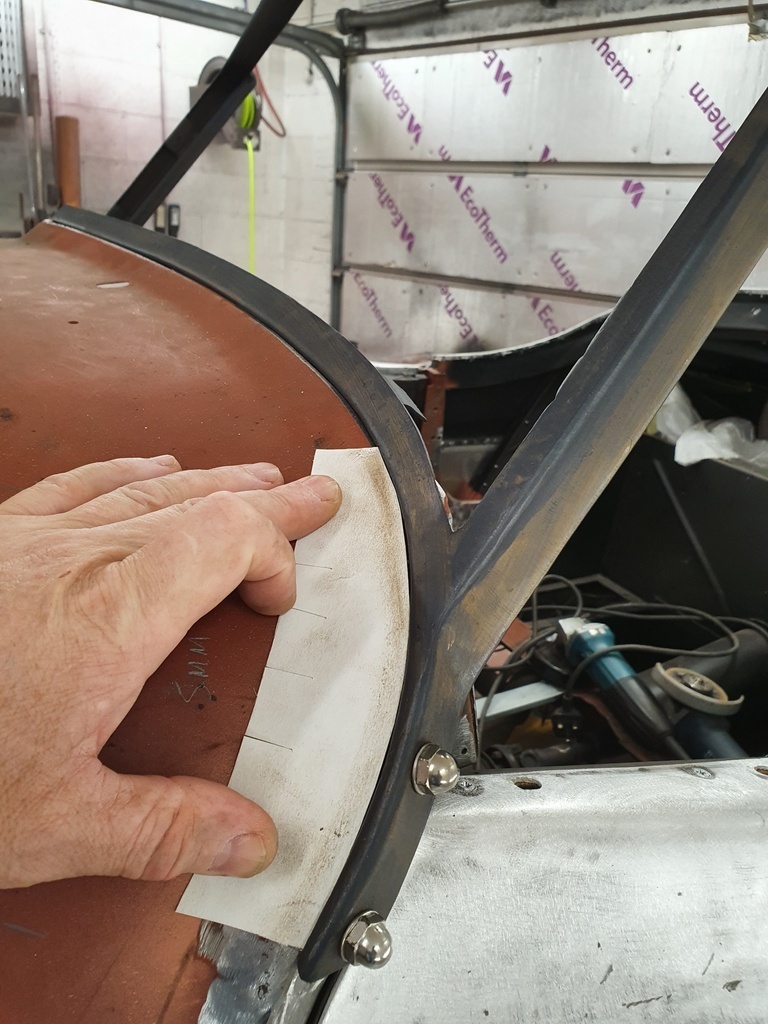 Just ensure that I was correct in assumption I made template up of the nearside radius 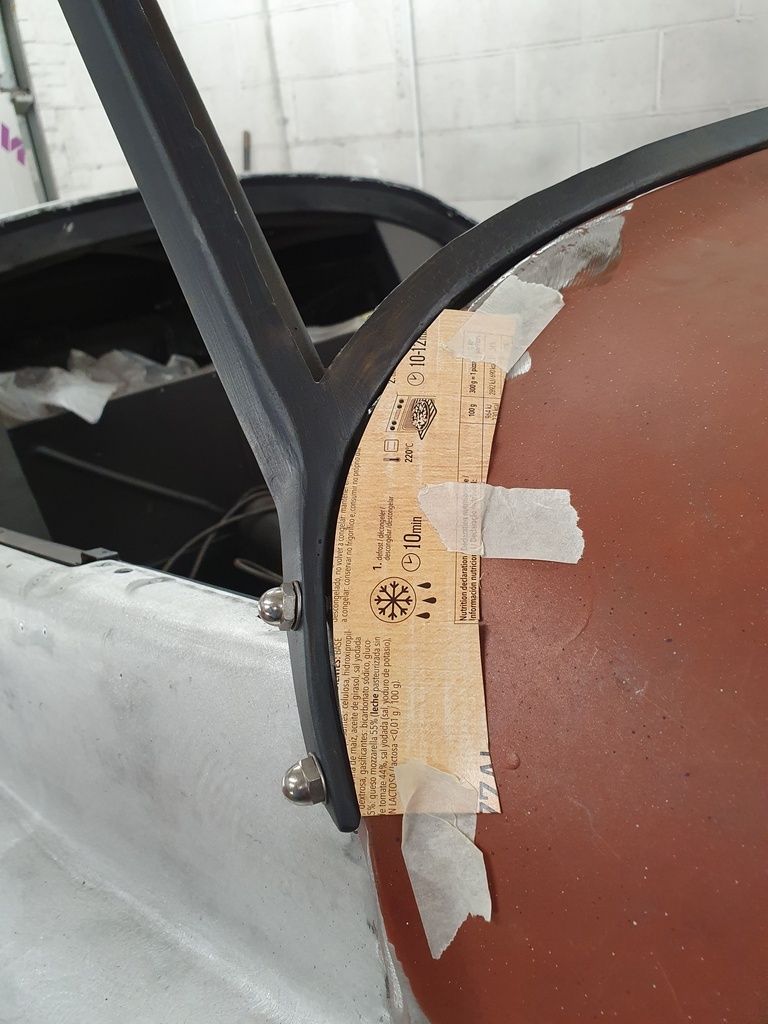 Then checked it against the offside radius 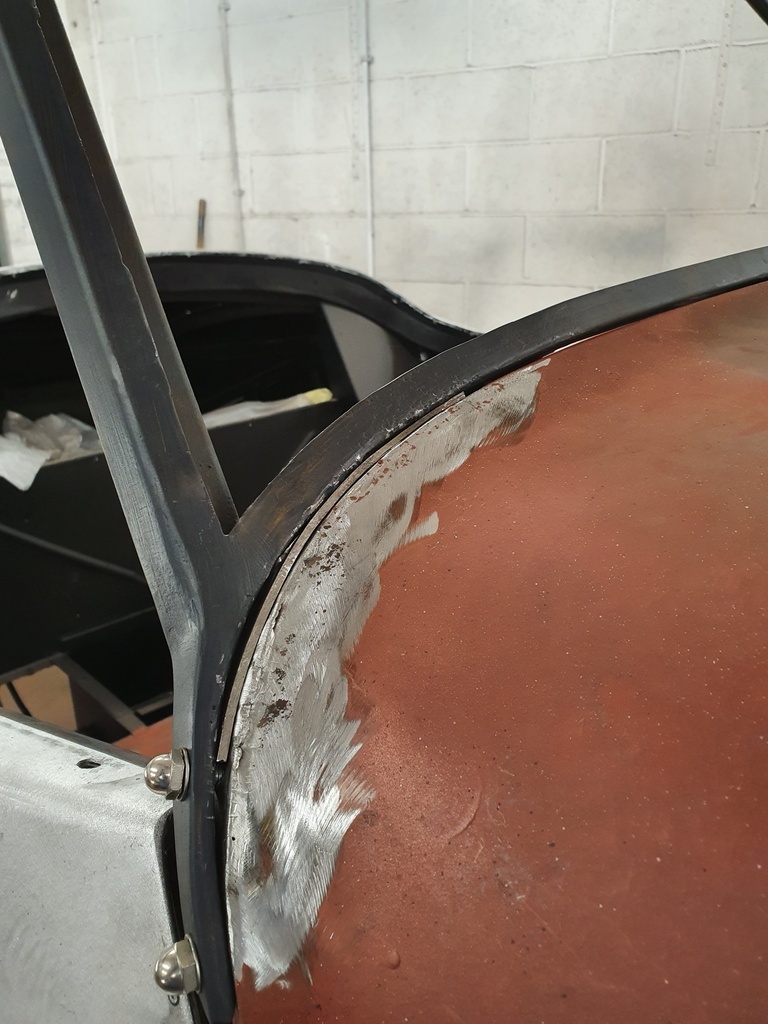 Lead loading is going to be a faff to get to follow the radius so I inserted a fillet of 2mm bar into gap to the radius profile and tacked it insitu 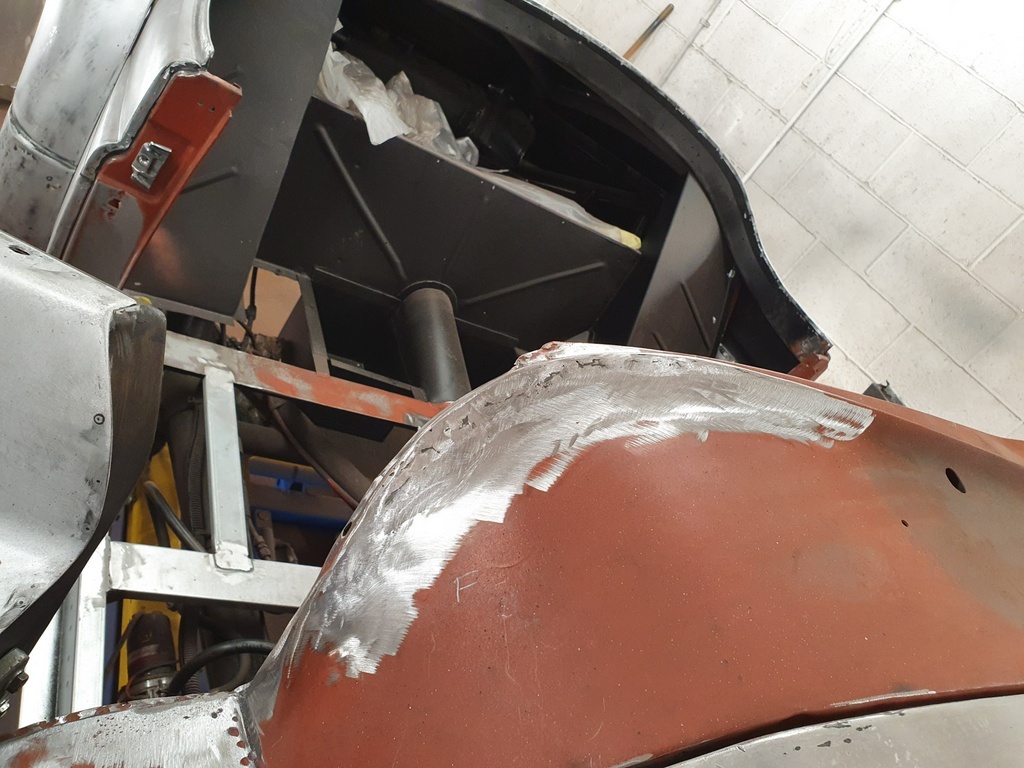 Then removed the frame and fully welded the fillet then dressed it back 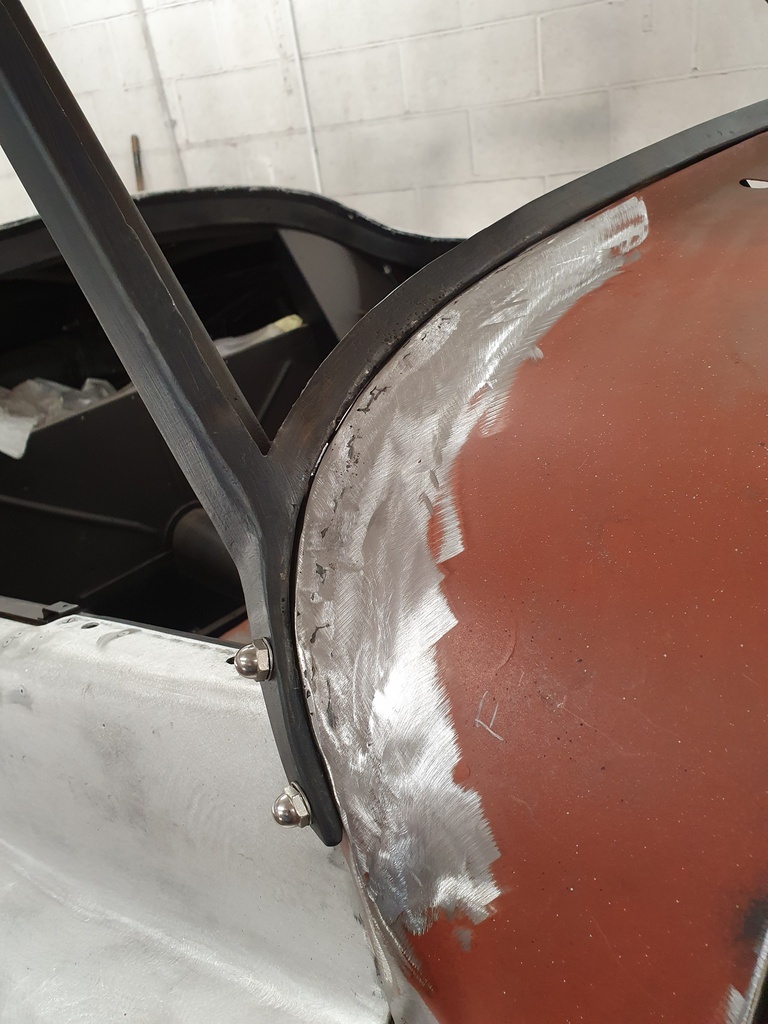 Then refitted the frame to check the fit to the new profile 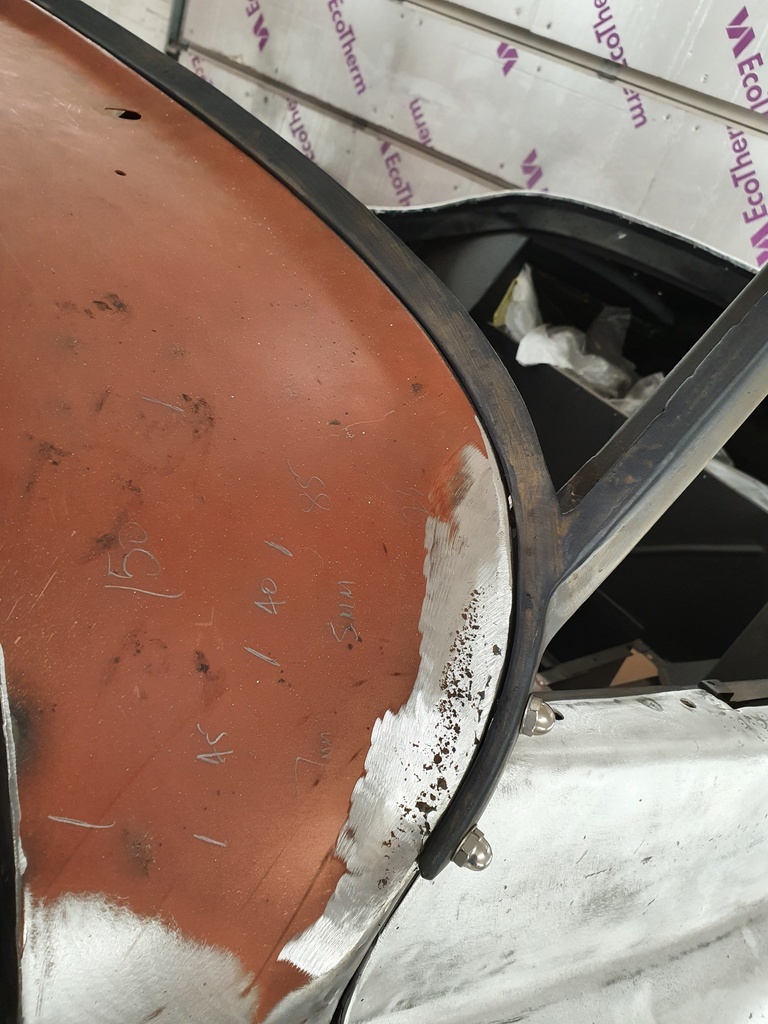 So far so good - I now have profile to lead load to 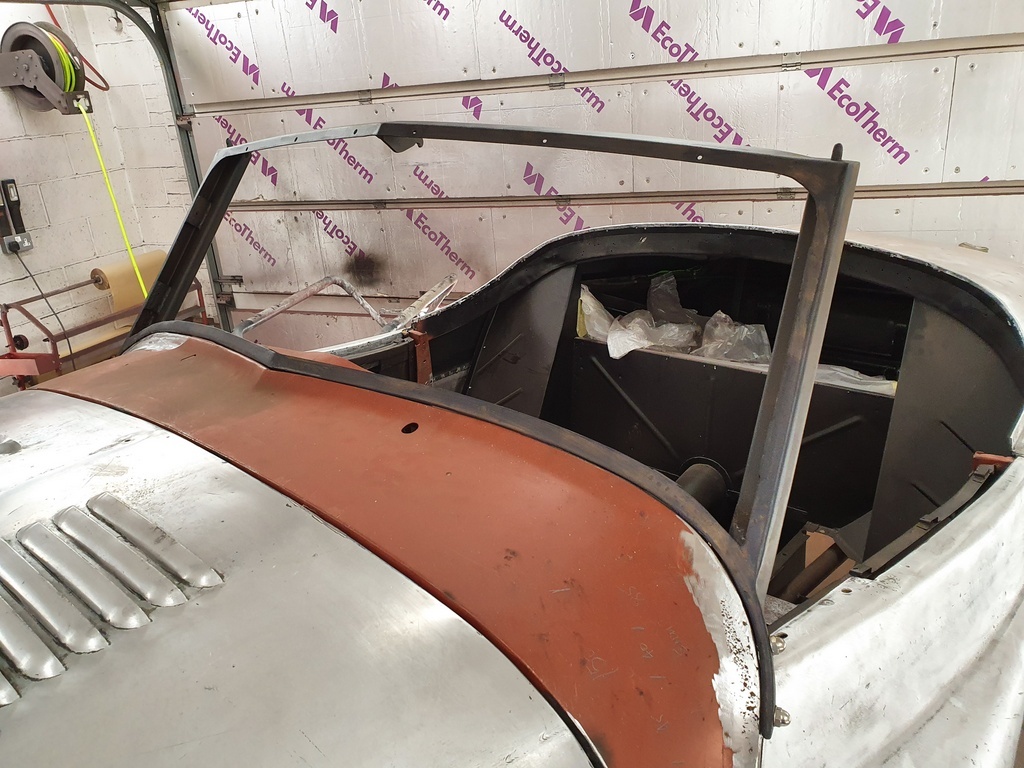 There is a piping bead that goes between the frame & the bulkhead 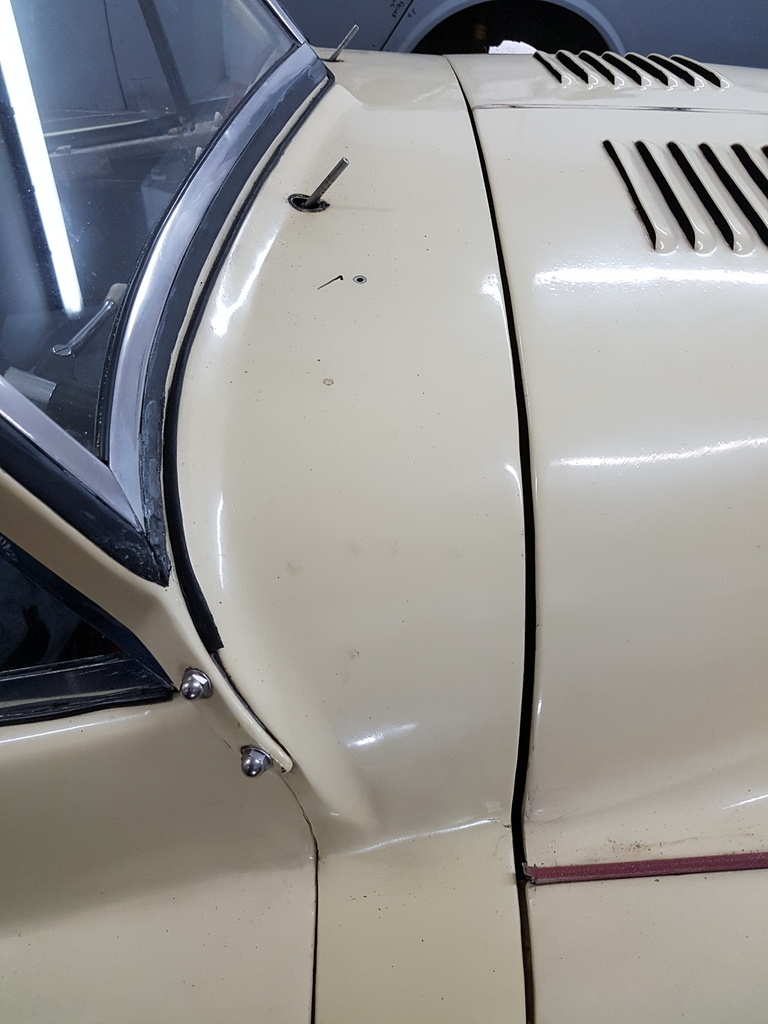 This will be renewed along with the piping bead on the wings 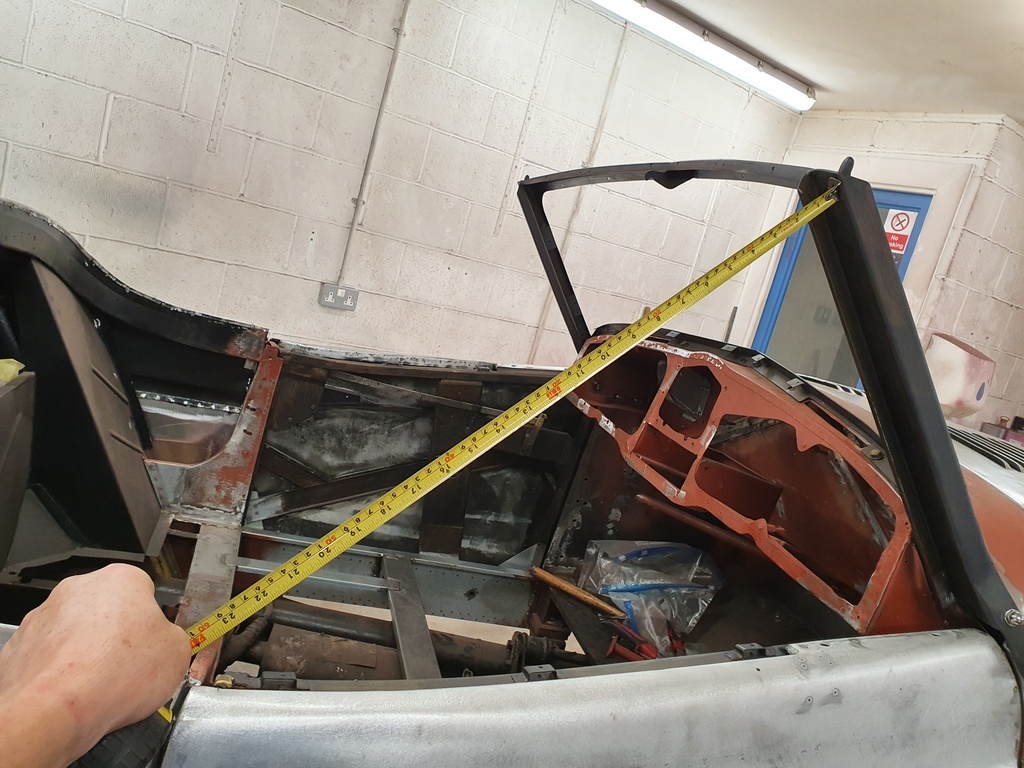 Final check that its sitting equal 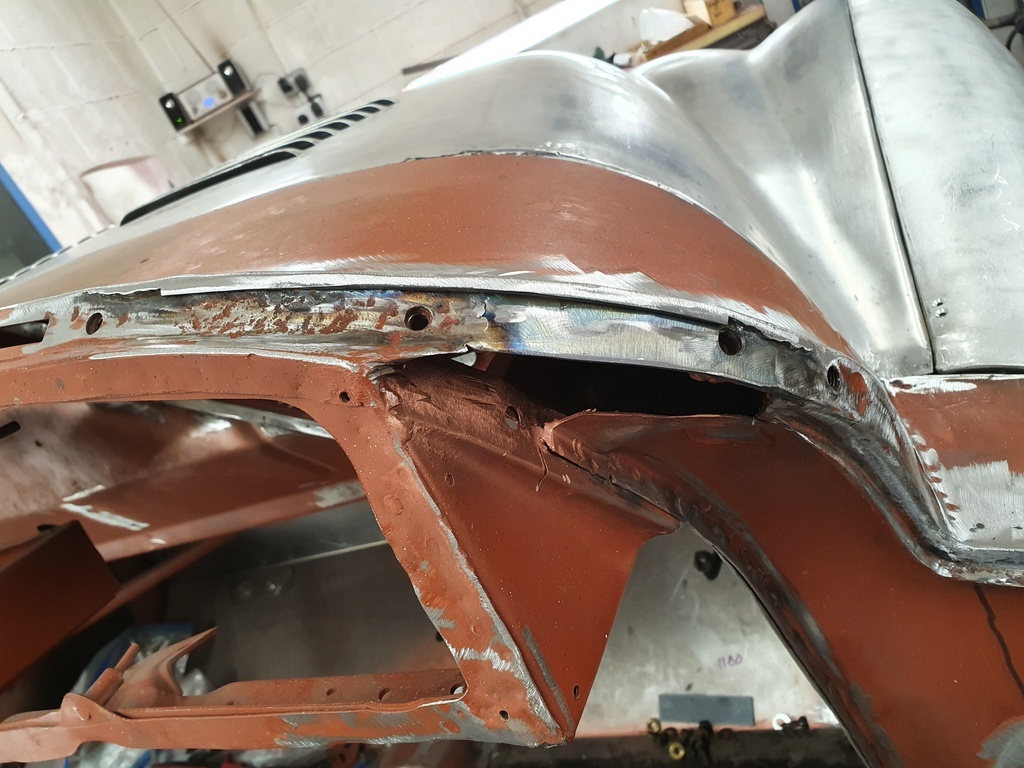 Next is the closing section at the top of the A post 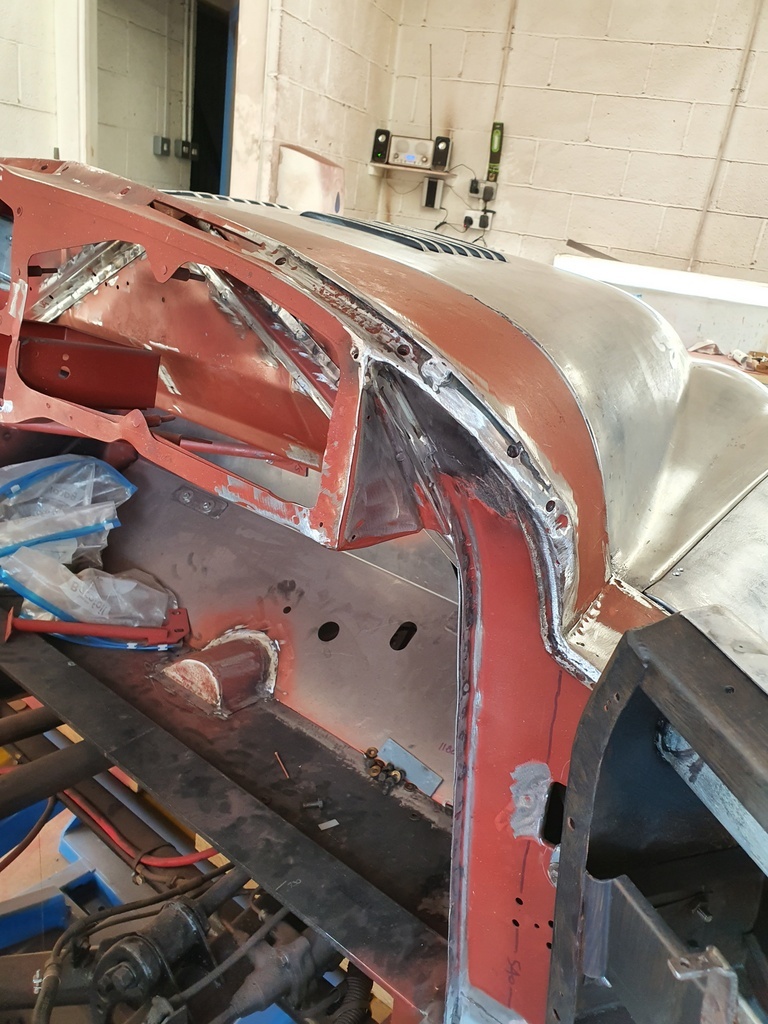 Now sorted 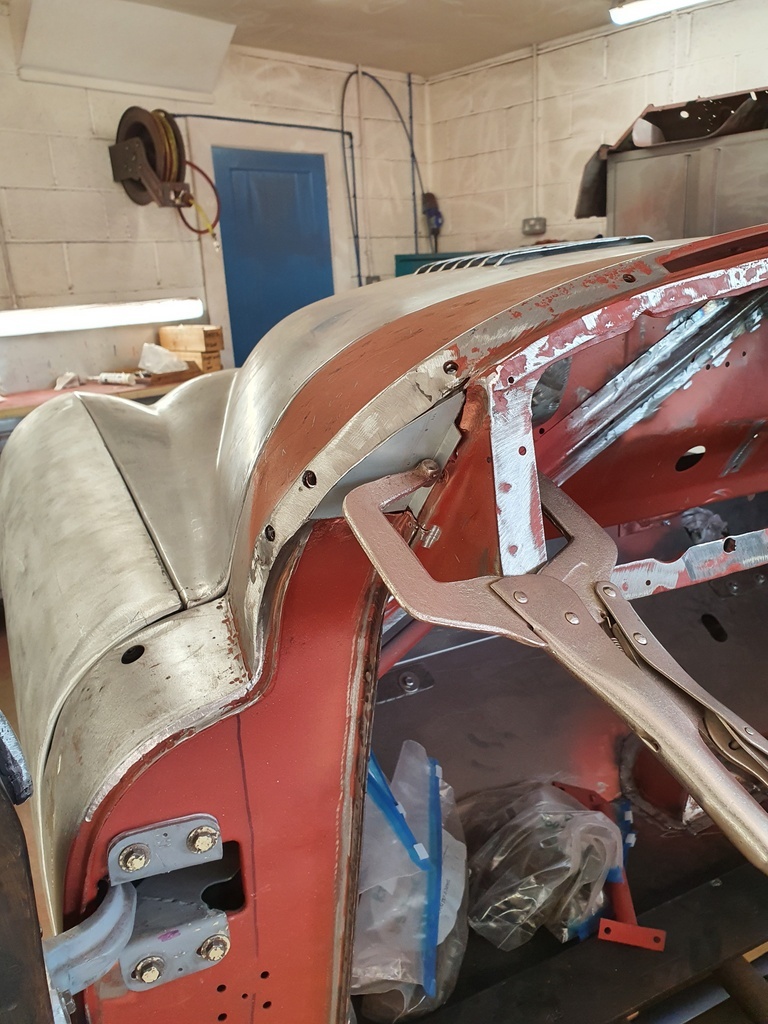 Just the nearside one to sort in the morning |
| |
Last Edit: Aug 11, 2020 7:39:54 GMT by Deleted
|
|
Midas
Part of things
 
Posts: 515
Club RR Member Number: 14
|
|
|
|
I also remember that story in a magazine a good few years ago, A gentleman living nearby had a Jowett Bradford Utilicon ( Van with windows / shooting brake) that really seemed to go well certainly much quicker than one would expect going by it's dated looks, a very practical vehicle by all accounts. Now that’s a blast from the past, back in the early 90’s I was in a motor club in Bradford. That story was posted as an April Fool in the club magazine. Bricol may remember it too. |
| |
|
|
|
|



 Hence it needs to stand up to the mantle not just when its freshly completed but in years to come


