|
|
|
Jul 23, 2020 19:59:43 GMT
|
Door frame repairs 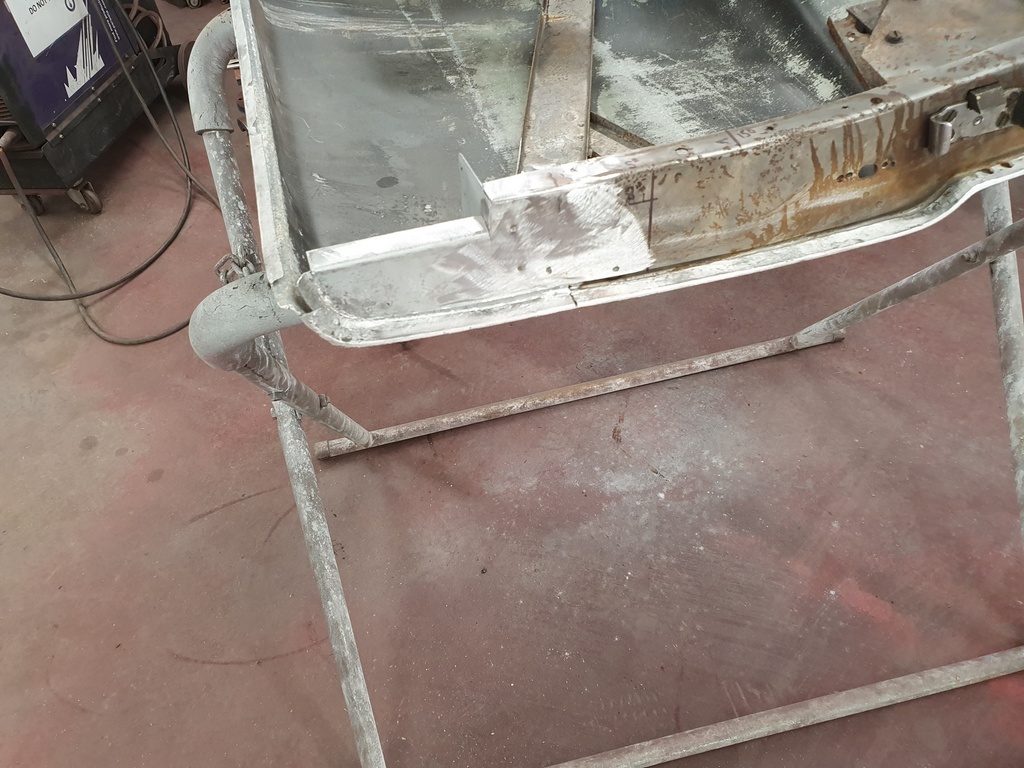 Rear bottom of door frame with repairs fabricated, welded in & dressed back 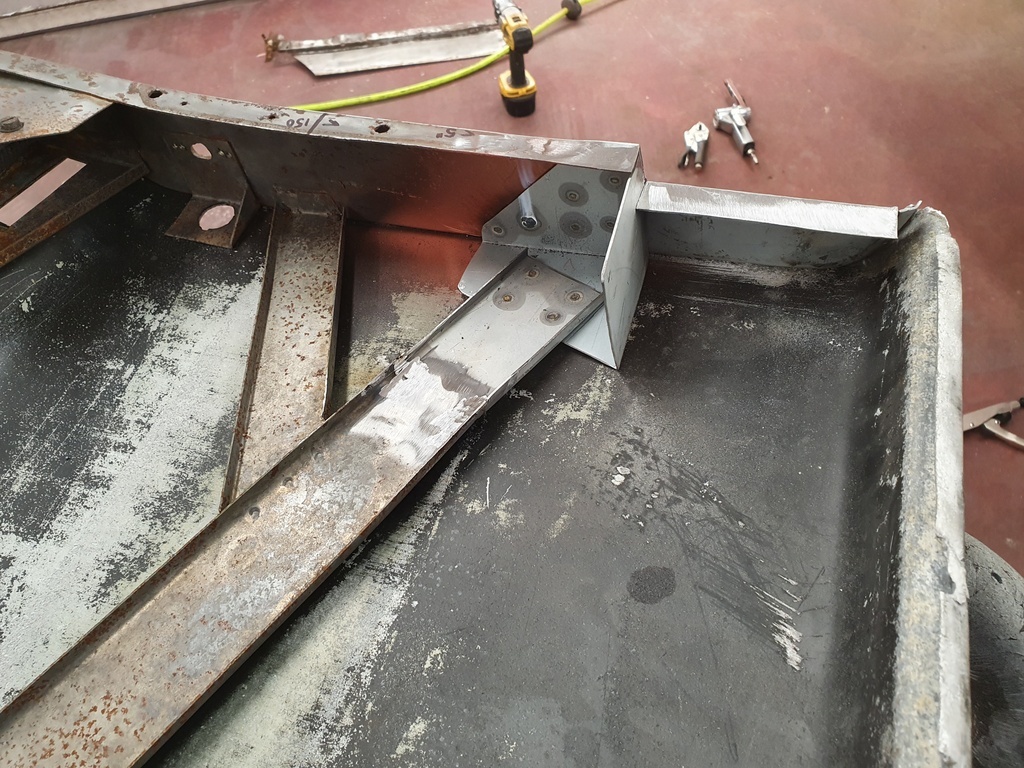 Now the more complex front bottom & lower hinge mounting 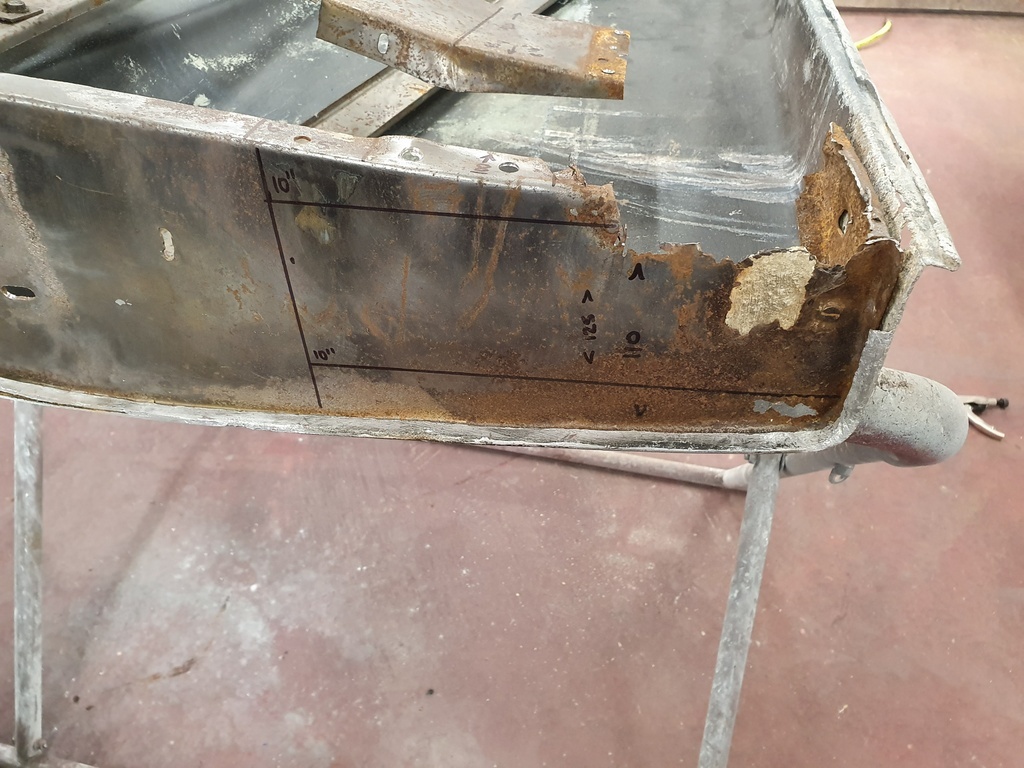 I took patterns & cut the steel whilst I was doing the nearside door so that speeded things up a little 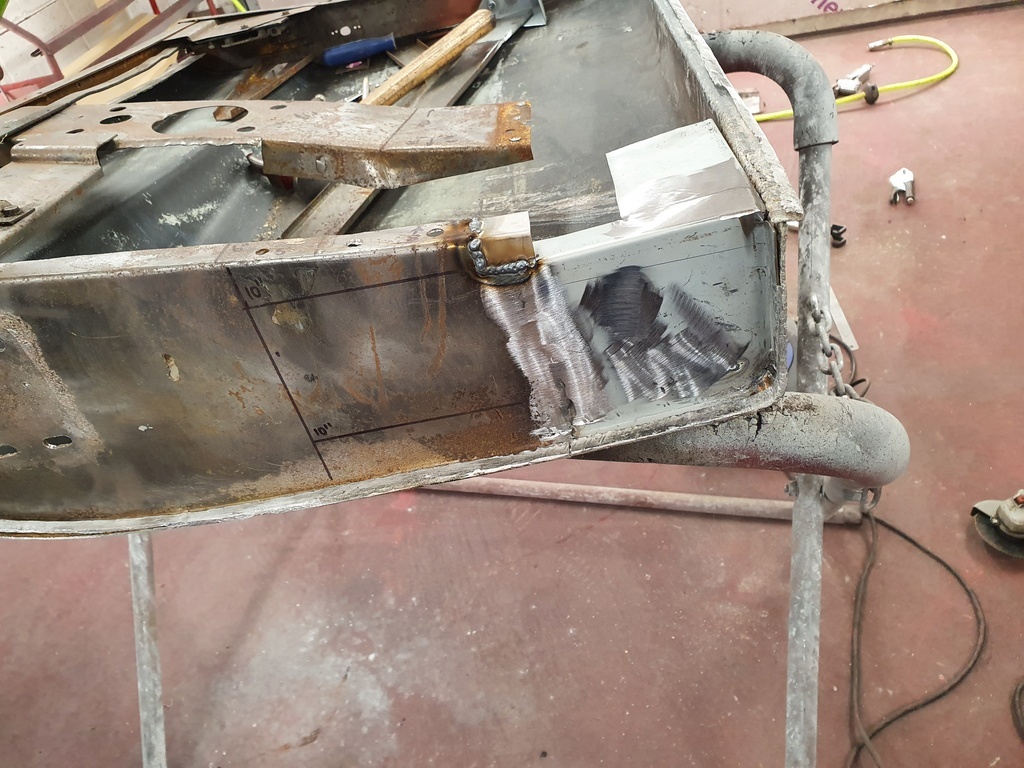 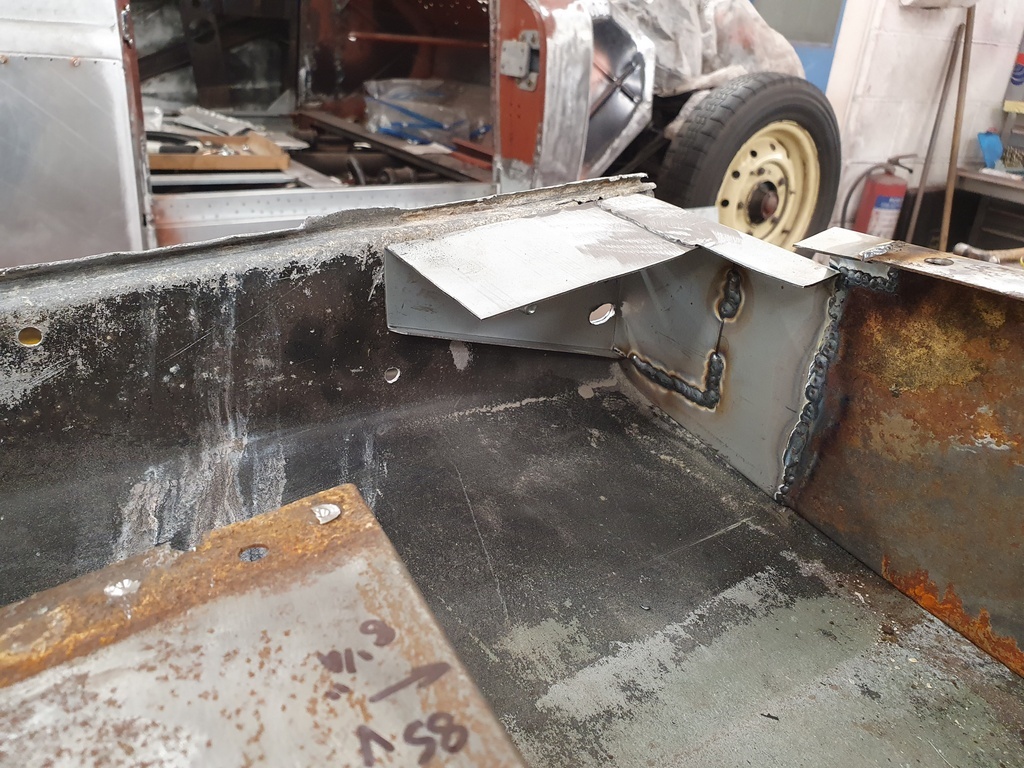 Then I could trial fit the closing plate to the frame bottom 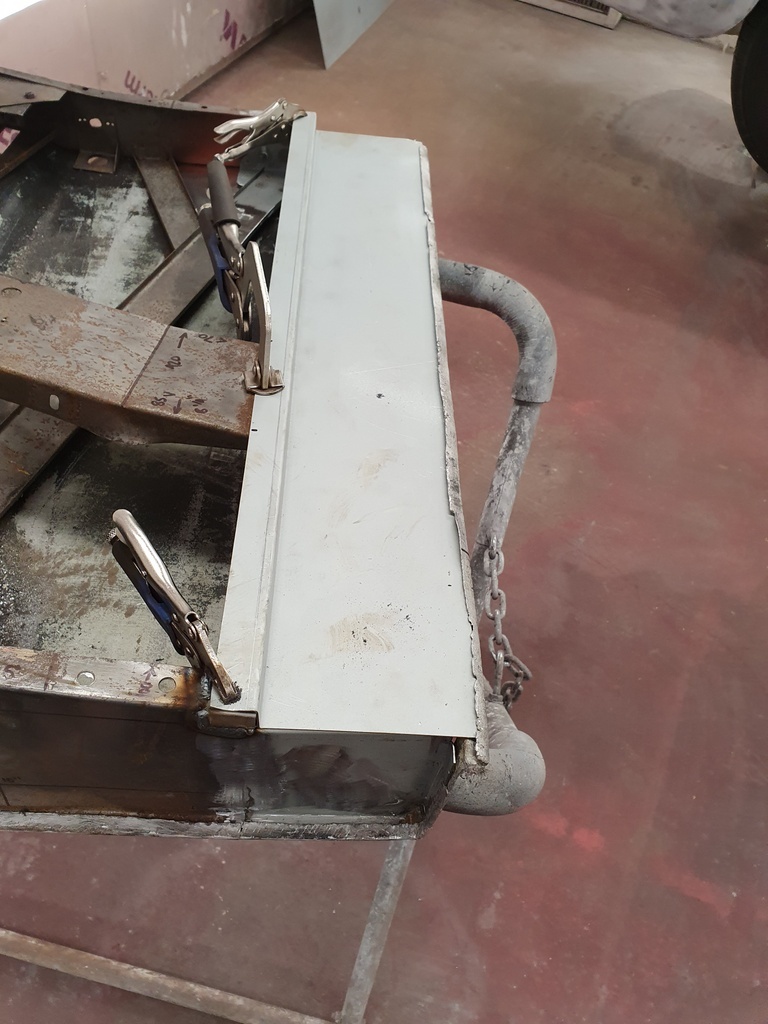 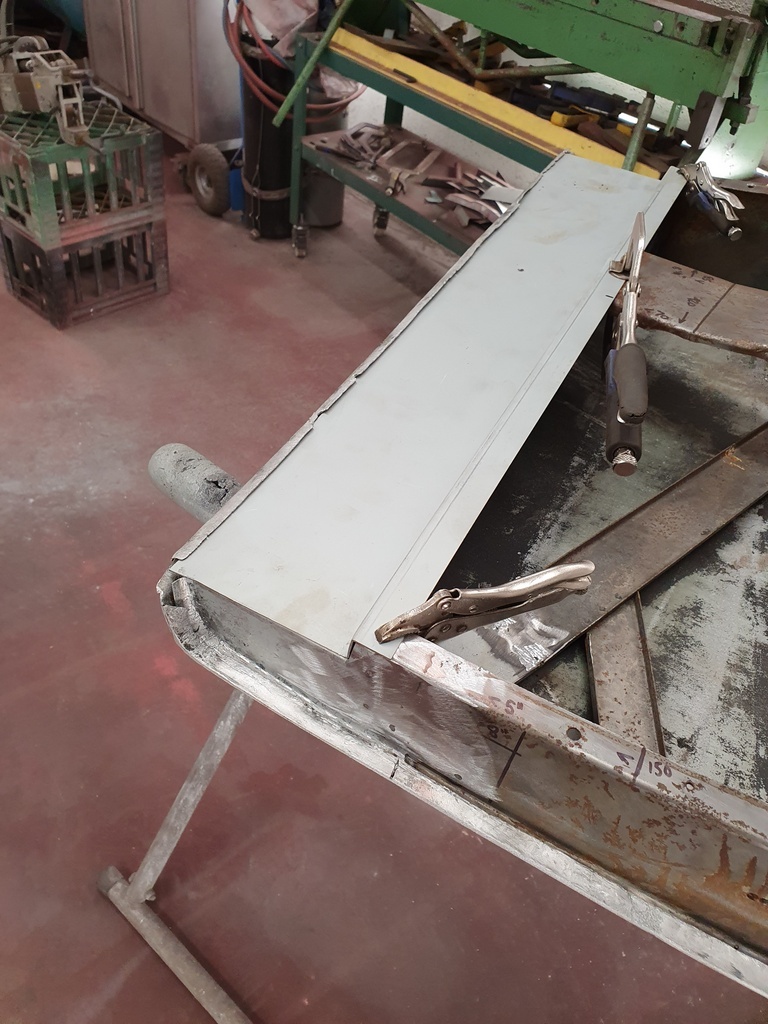 Lots measuring required to ensure that the frame remained square whilst I was undertaking the repairs 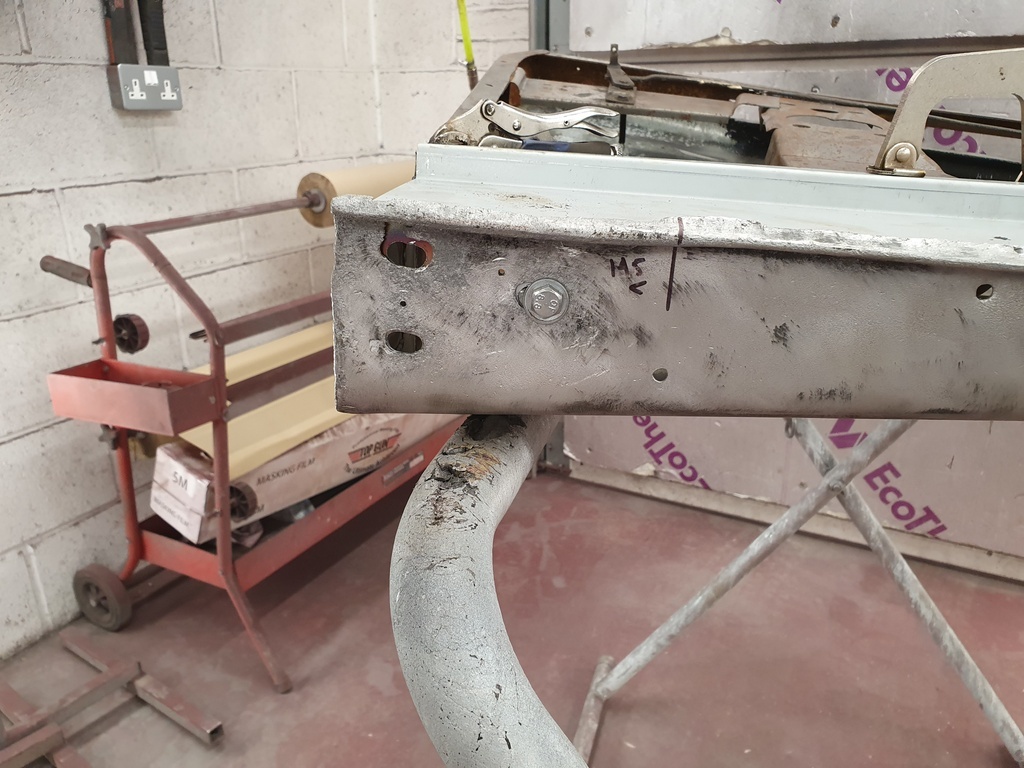 Once I have the closing plate welded & dressed back in the morning I can then make up the alloy door skin repairs 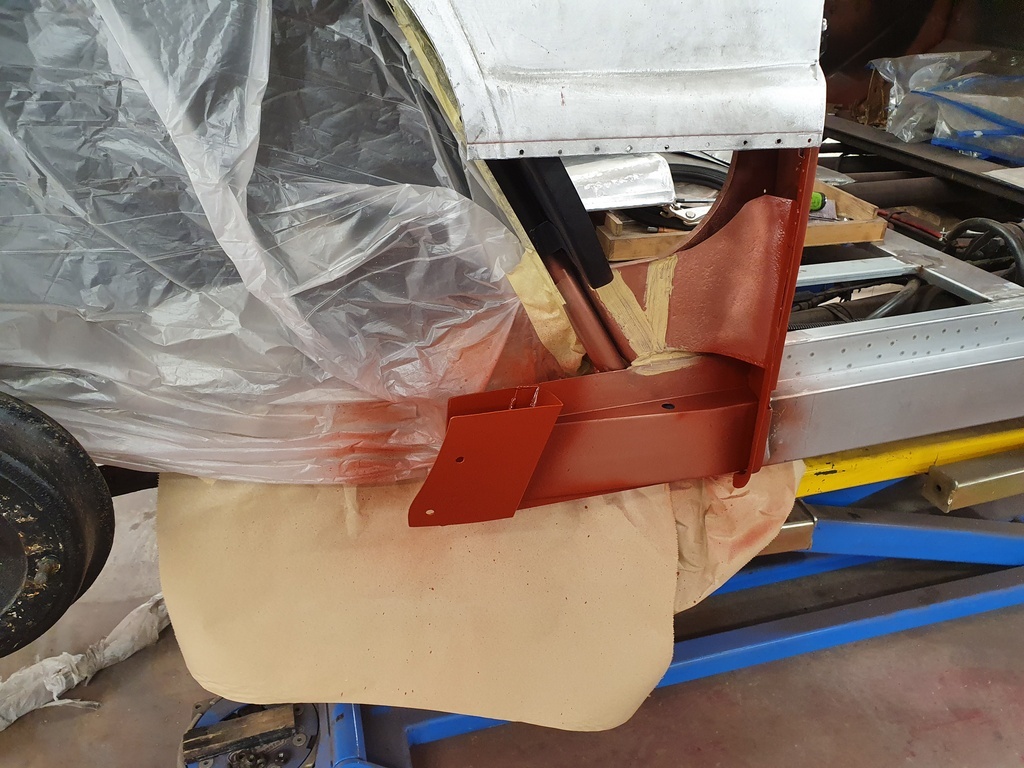 Meanwhile the quarter panel repair & rear wing have been removed to allow the rear of the B post & the reinforcing plate to have primer applied to them prior to being seam sealed More tomorrow |
| |
Last Edit: Jul 23, 2020 20:02:55 GMT by Deleted
|
|
|
|
jpsmit
Posted a lot
  
Posts: 1,274
|
|
Jul 24, 2020 12:35:26 GMT
|
|
|
| |
|
|
|
|
|
Jul 24, 2020 12:43:53 GMT
|
Very interesting - Just scan read it and will go through it again later - thanks for bringing it to my attention - Chris |
| |
|
|
|
|
|
Jul 24, 2020 20:12:19 GMT
|
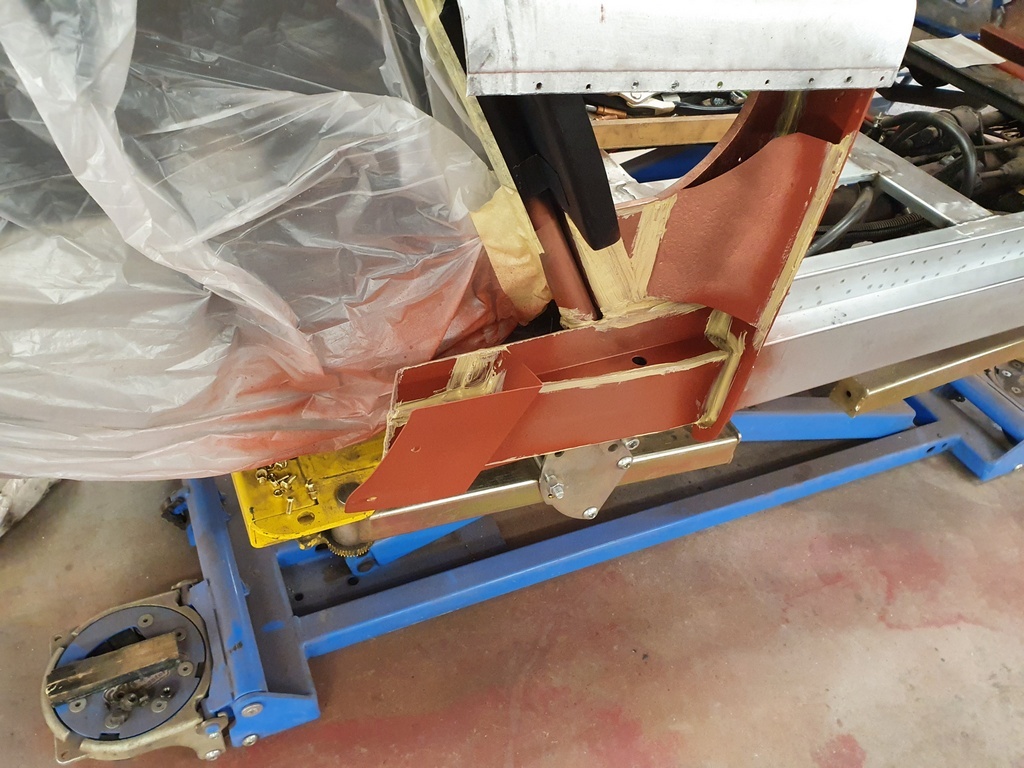 Applied seam sealer to the areas behind the rear quarter panel 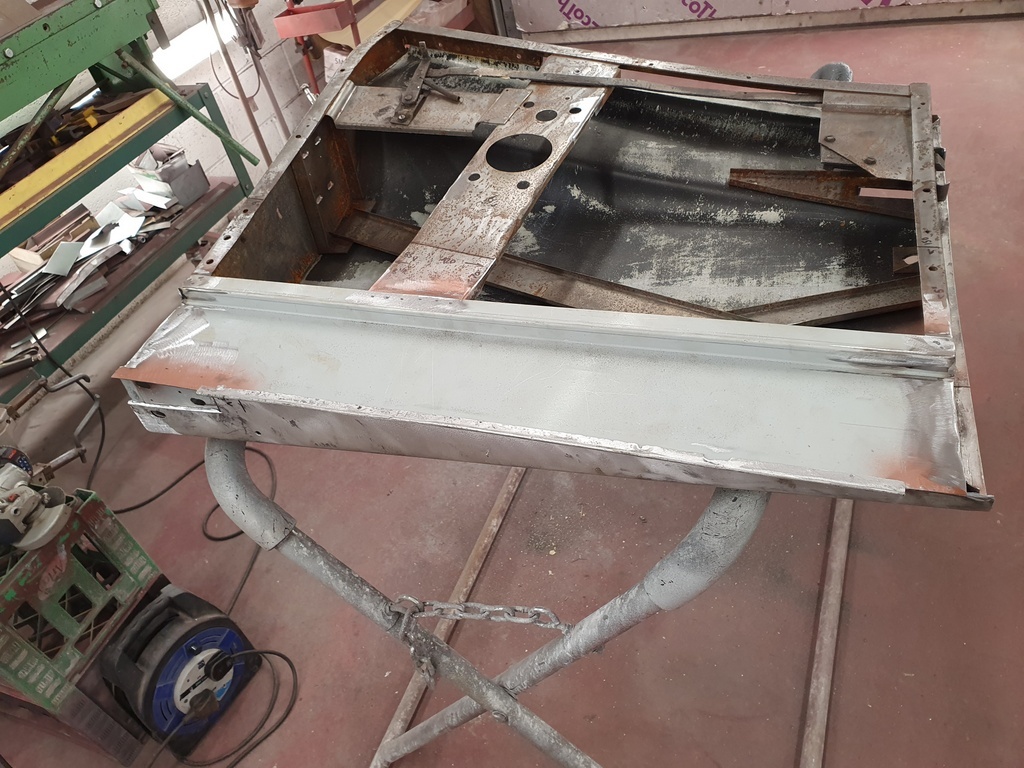 Then completed the welded repairs to the door frame & dressed them back 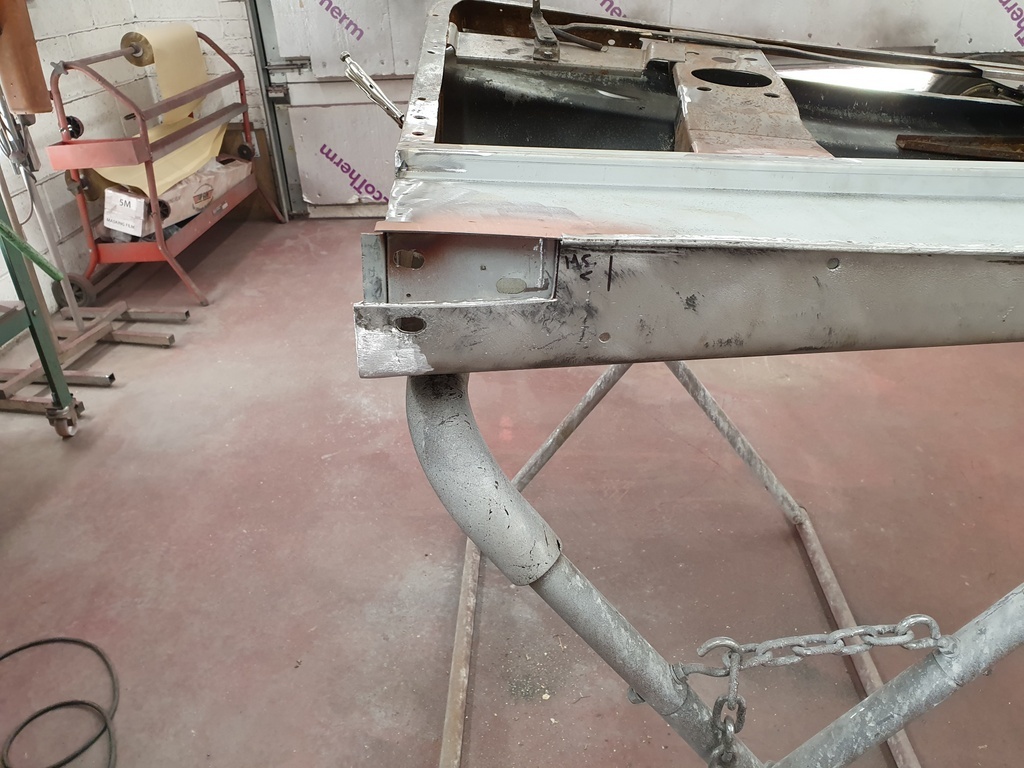 Sectioned out the areas on the base of the door skin and fabricated repair panels for them 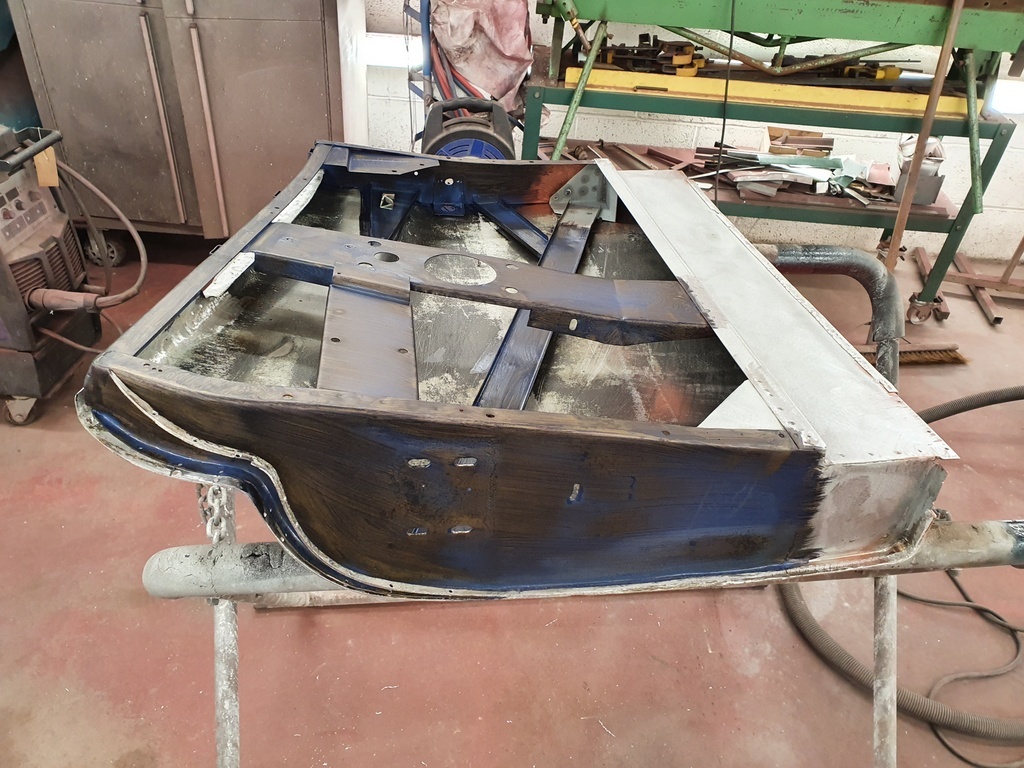 Then gave the door frame a good scrub prior to applying Hydrate 80 to all original areas of the door frame 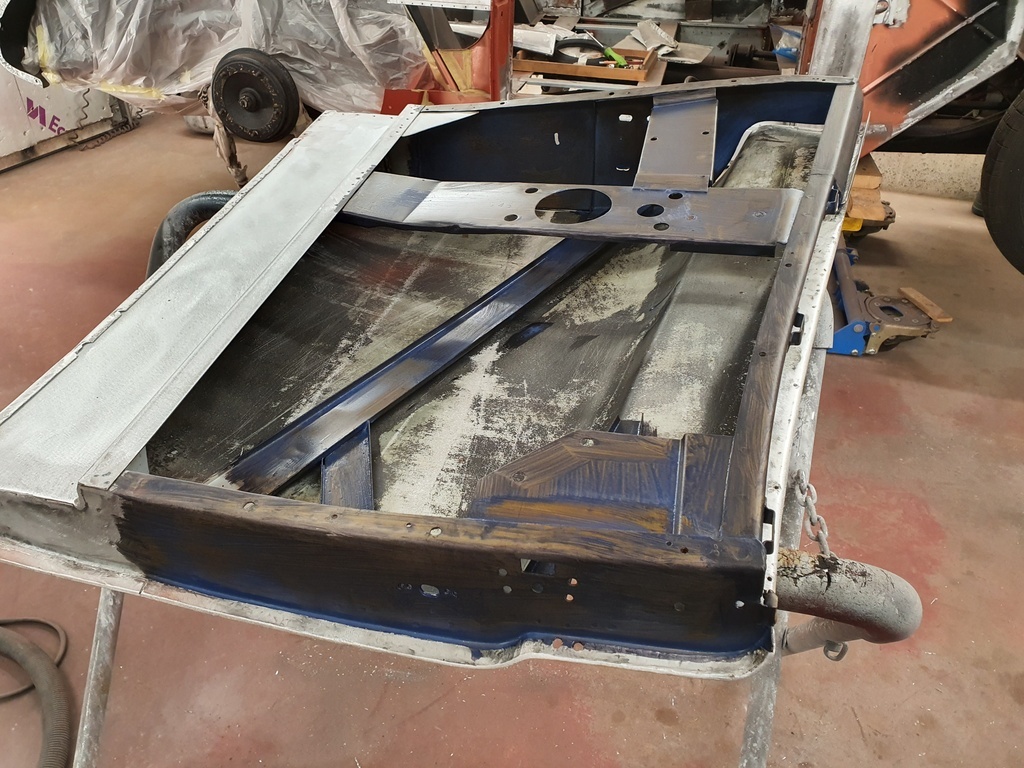 Final preparation to the repair panels prior to them being bonded 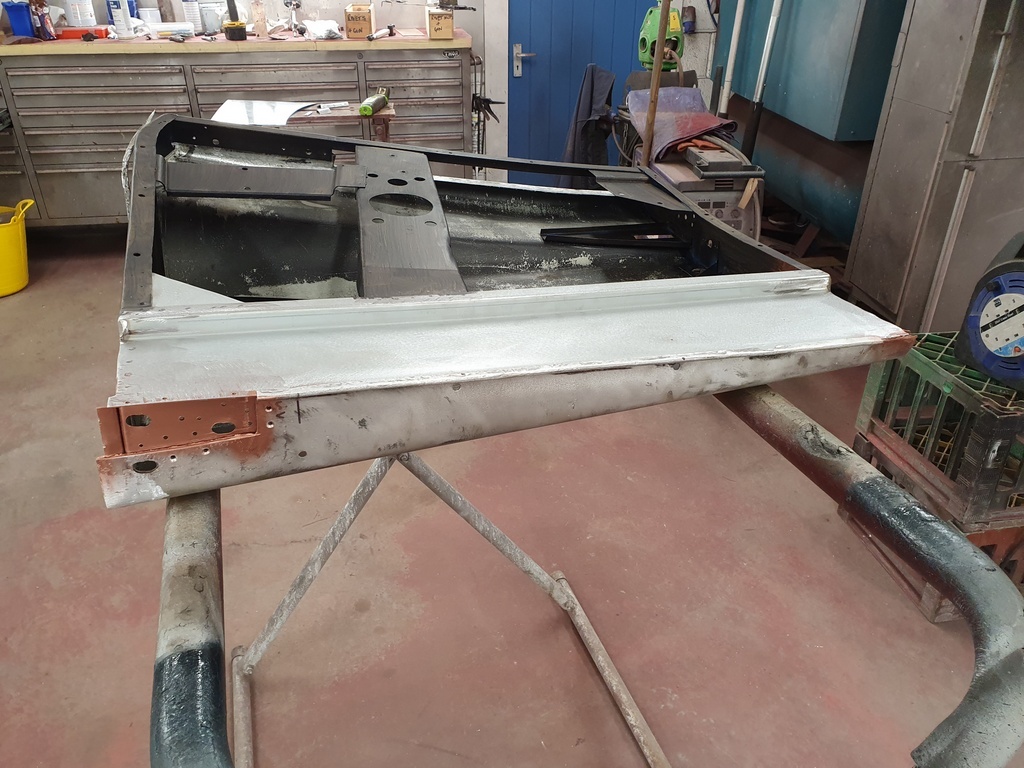 This basically amounts to a final check and ensuring that all areas are free of dust & any silicone - a wash with panel wipe resolves this 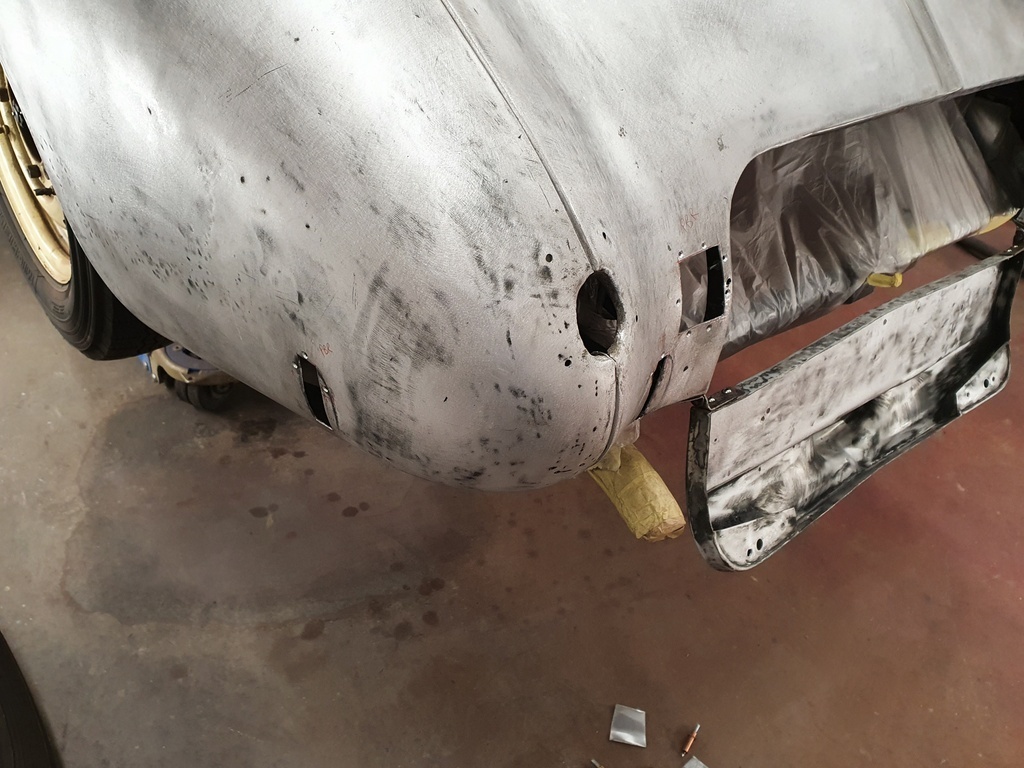 Then on with the bonding 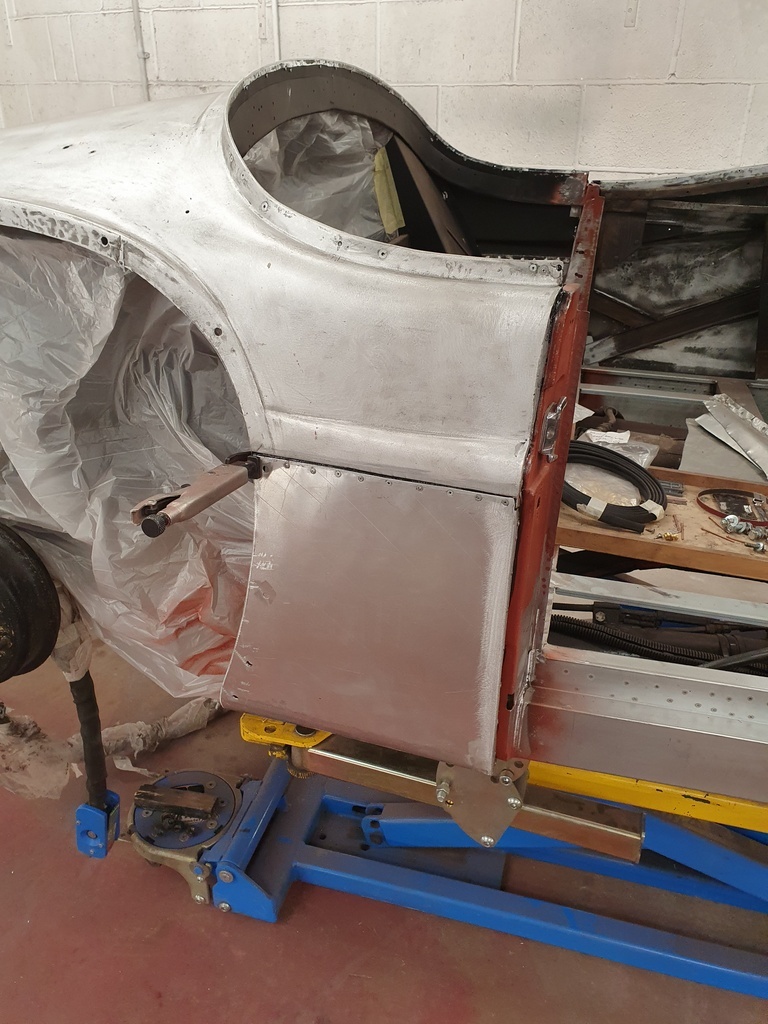 Which is also riveted into place 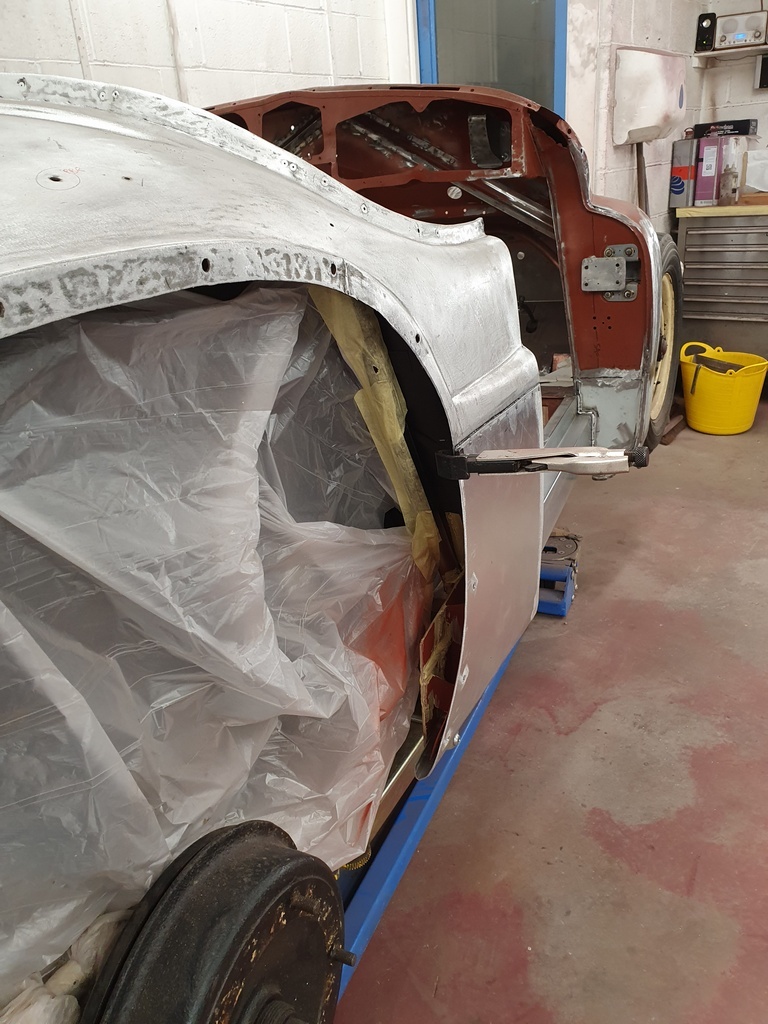 And temporally clamped where required 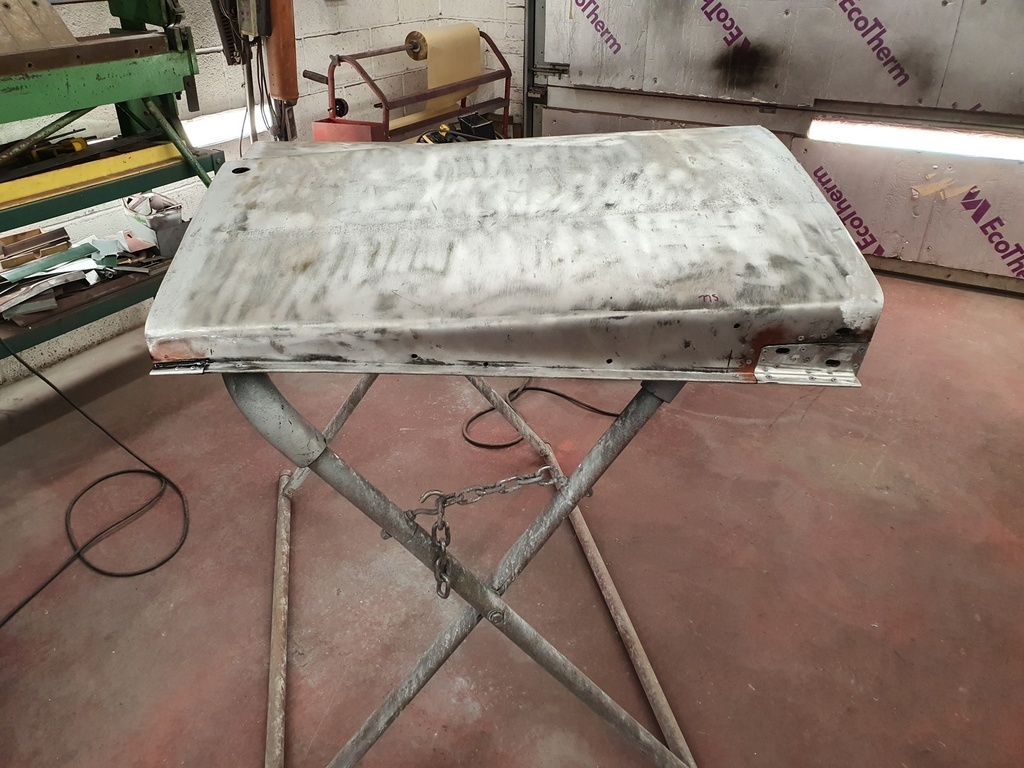 Door skin repairs also bonded 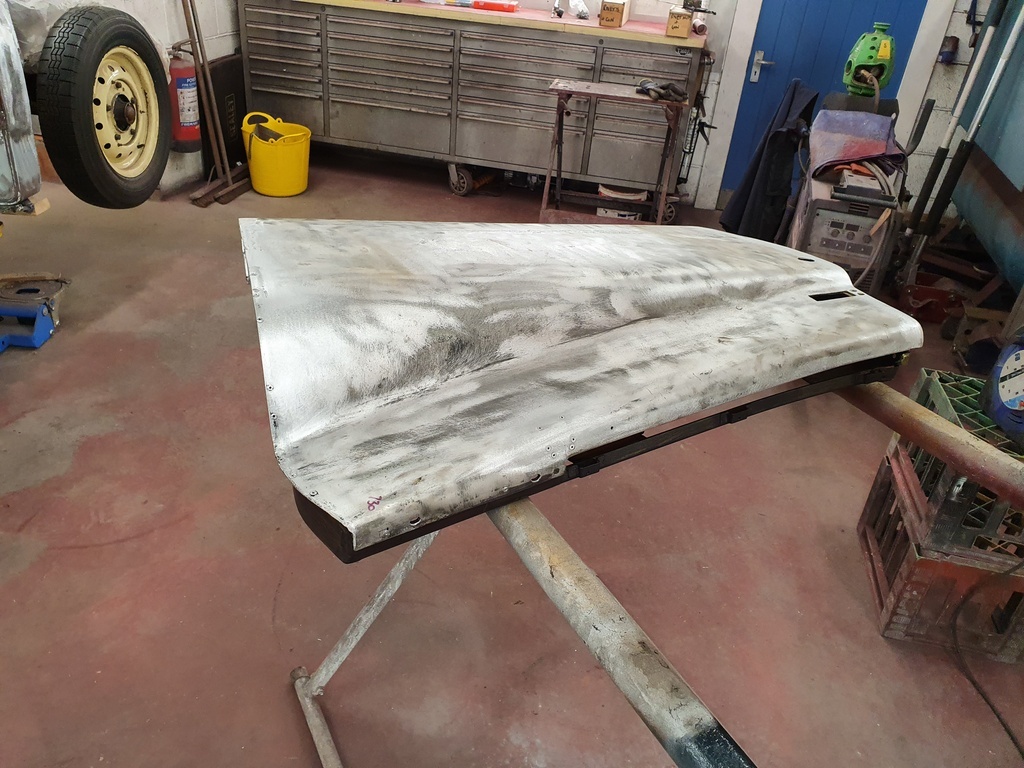 Along with small repairs on the nearside rear of the shroud 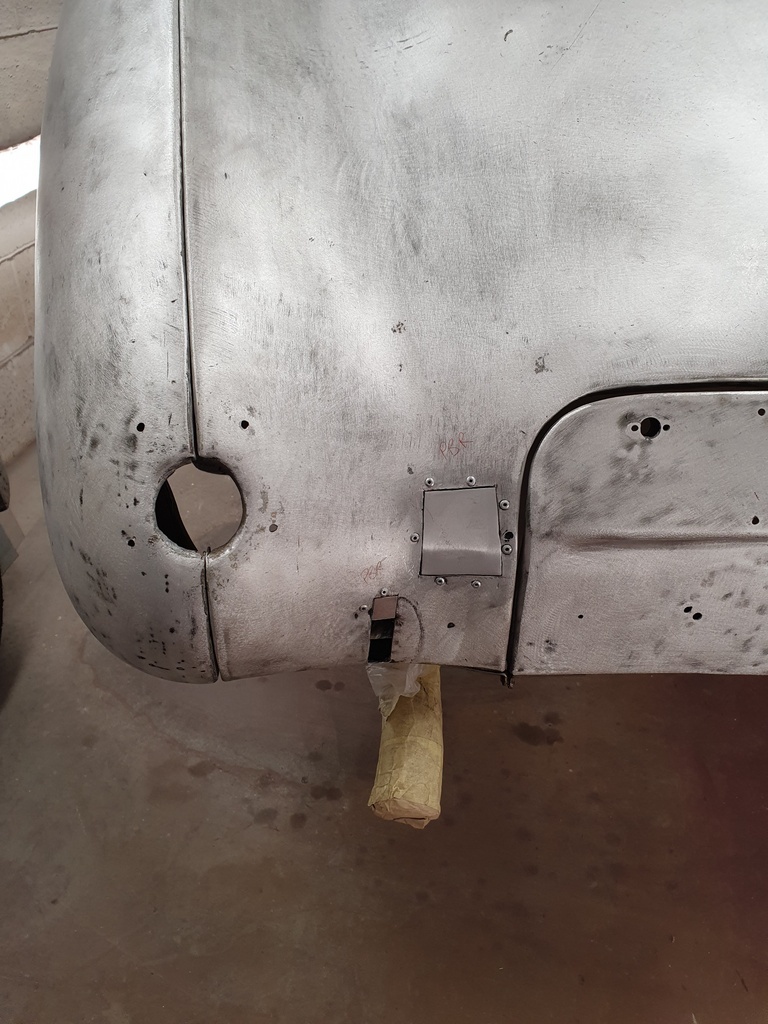 And the nearside rear wing bumper bar iron aperture 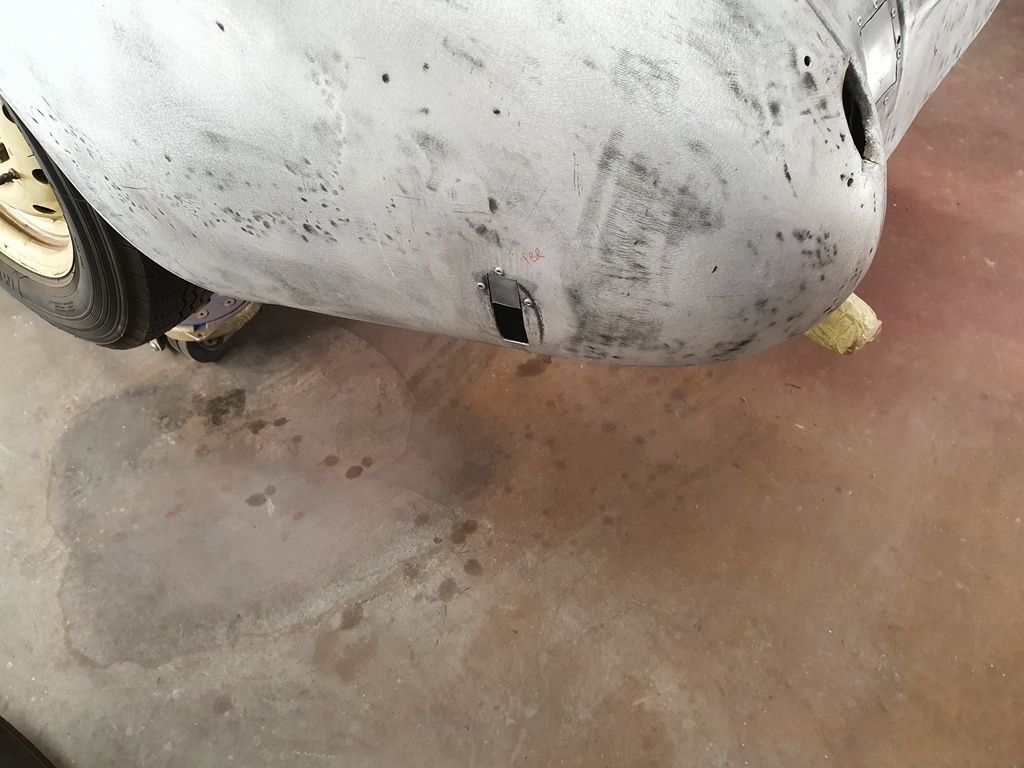 These I will dress back / tidy in the morning |
| |
Last Edit: Jul 24, 2020 20:15:52 GMT by Deleted
|
|
|
|
|
Jul 24, 2020 21:09:29 GMT
|
|
Hi Chris - I notice that the retaining rivets appear to be dome headed instead of your usual countersunk. I realise that they will be ground over, but is there a particular reason for this.
Also, Have you have put a full plate behind a smaller fill in plate fir the small holes? If so, is this because the hole is too small to rebate the edges or have you 'joggled' the fill in plates and worked them in from the back?
|
| |
|
|
|
|
|
|
|
Hi Chris - I notice that the retaining rivets appear to be dome headed instead of your usual countersunk. I realise that they will be ground over, but is there a particular reason for this. Also, Have you have put a full plate behind a smaller fill in plate fir the small holes? If so, is this because the hole is too small to rebate the edges or have you 'joggled' the fill in plates and worked them in from the back? Only a few of the rivets on the rear repairs are dome head but into countersunk rebated holes and will get dressed back - the rest are are all countersunk but I inadvertently ran out - the repairs on the rear are done with a repair section behind the panel with a infill panel bonded to correct the indent / panel depth (rather than just place filler to level the panel depth discrepancy) and has you state the repair areas are too small to attempt a joggled repair  |
| |
Last Edit: Jul 25, 2020 8:15:45 GMT by Deleted
|
|
|
|
|
Jul 25, 2020 18:38:52 GMT
|
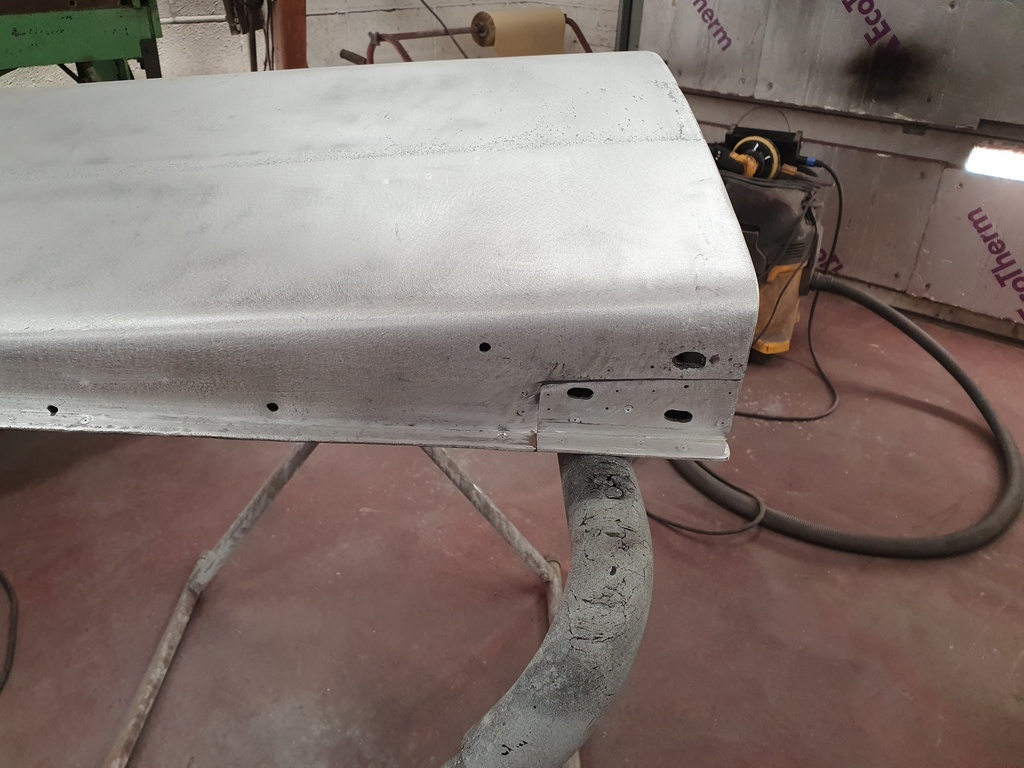 Dressed all the bonded panel repairs 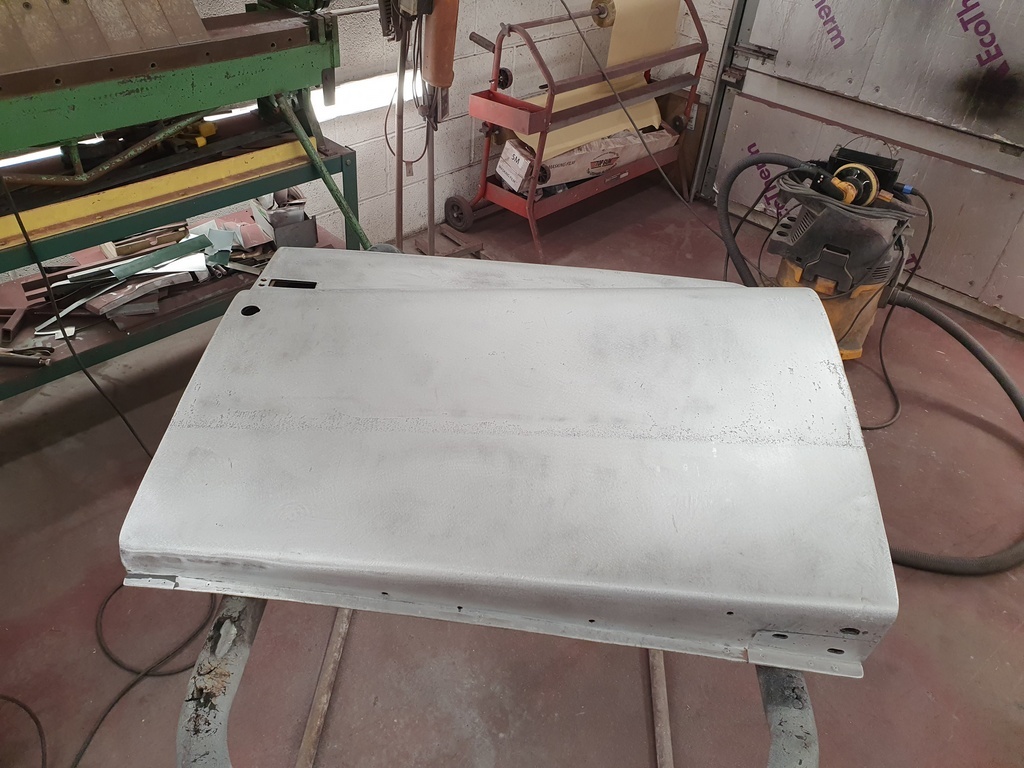 And the door skin received a run over with P80's on the DA at the same time 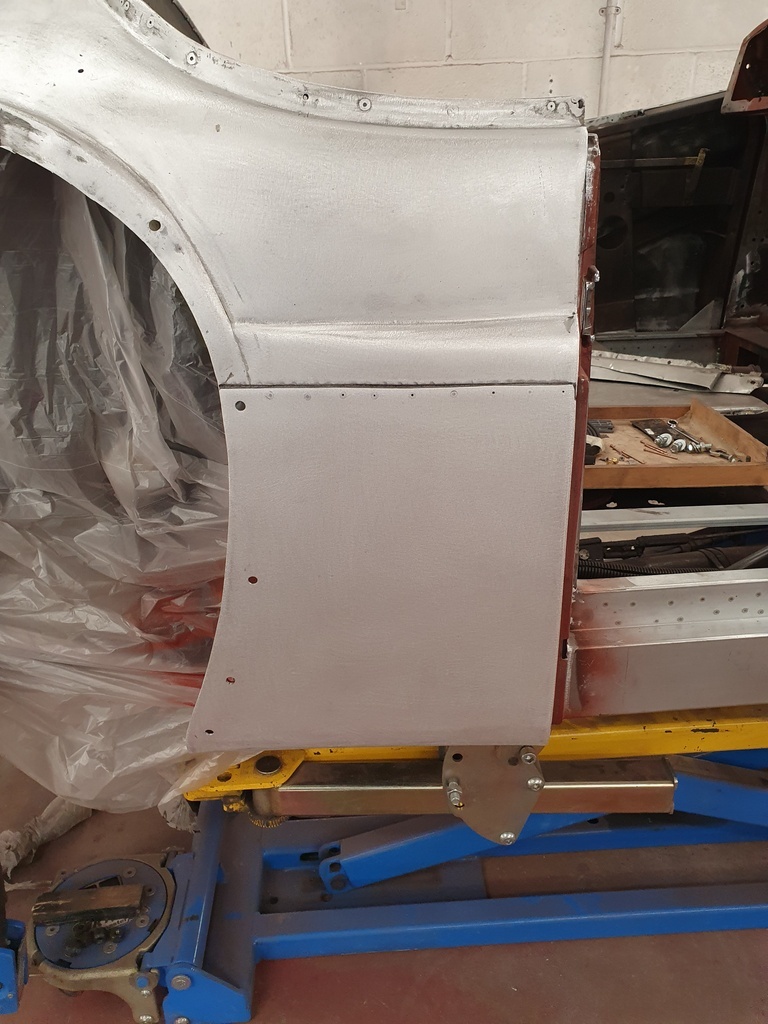 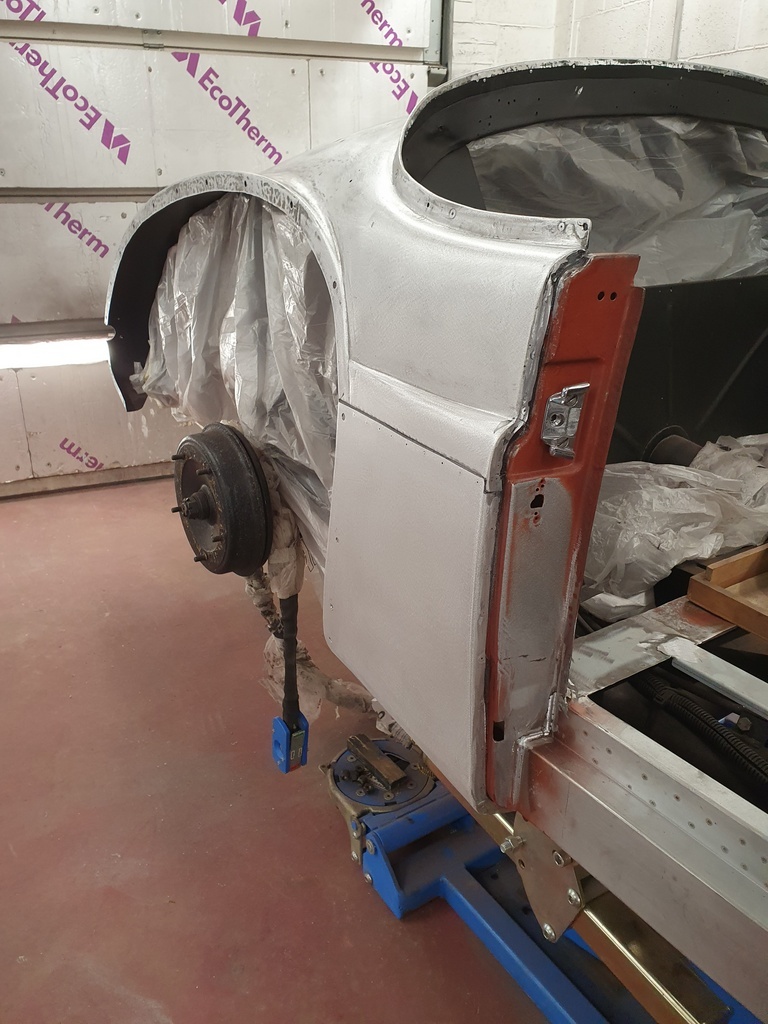 And the rear repairs on the nearside 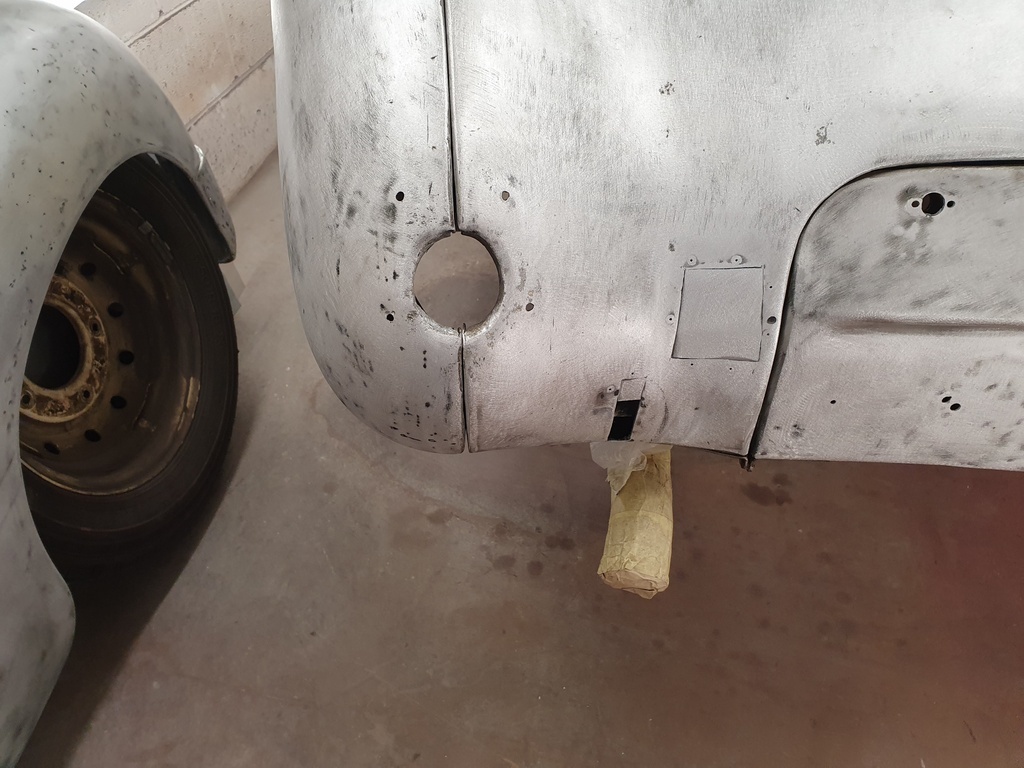 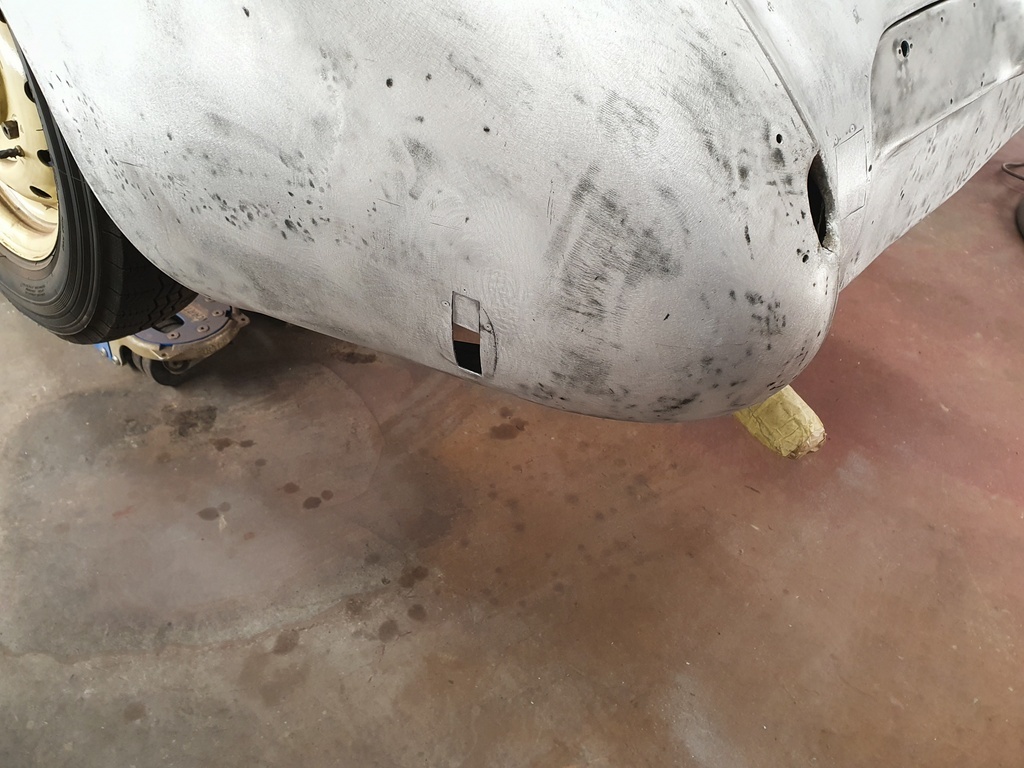 With door removed I repaired a small split to the the top of the A post 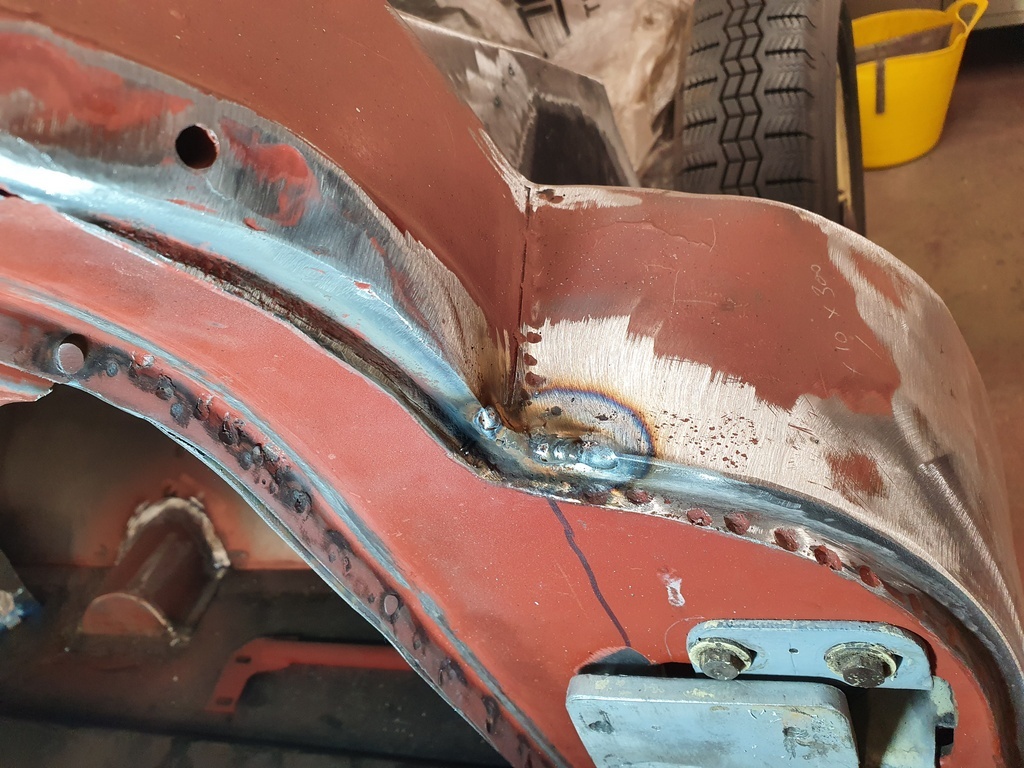 Then dressed it back 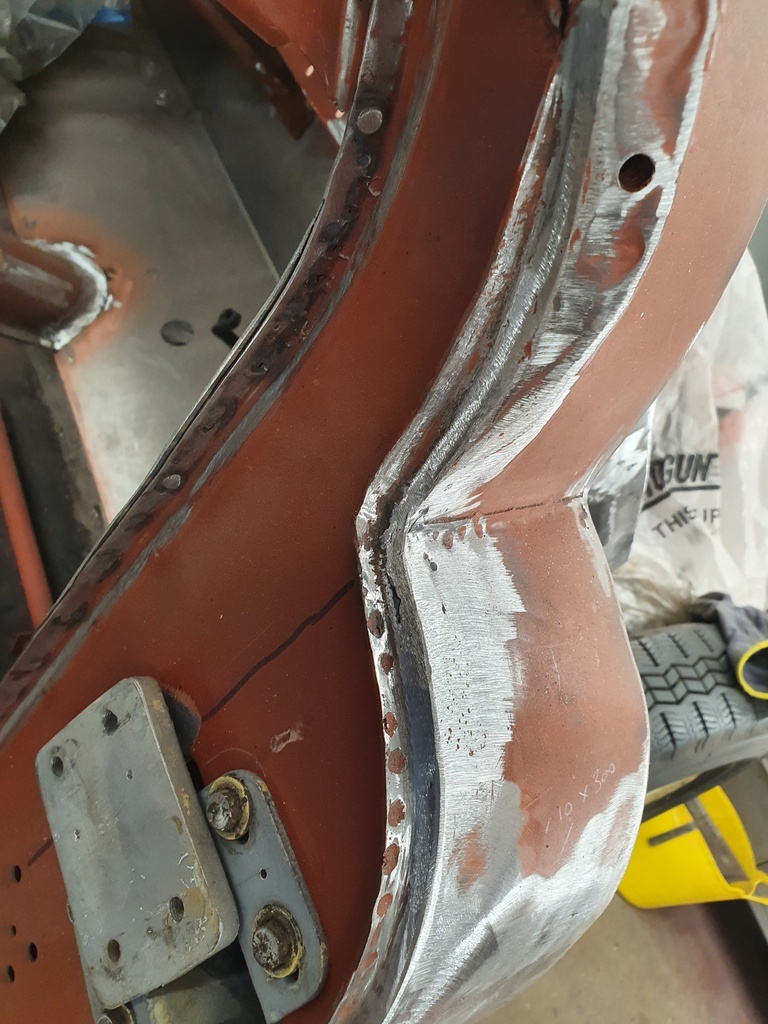 I am leaving the repairs adjacent to the windscreen frame until the frame arrives back from blasting - then I have something to trial fit against 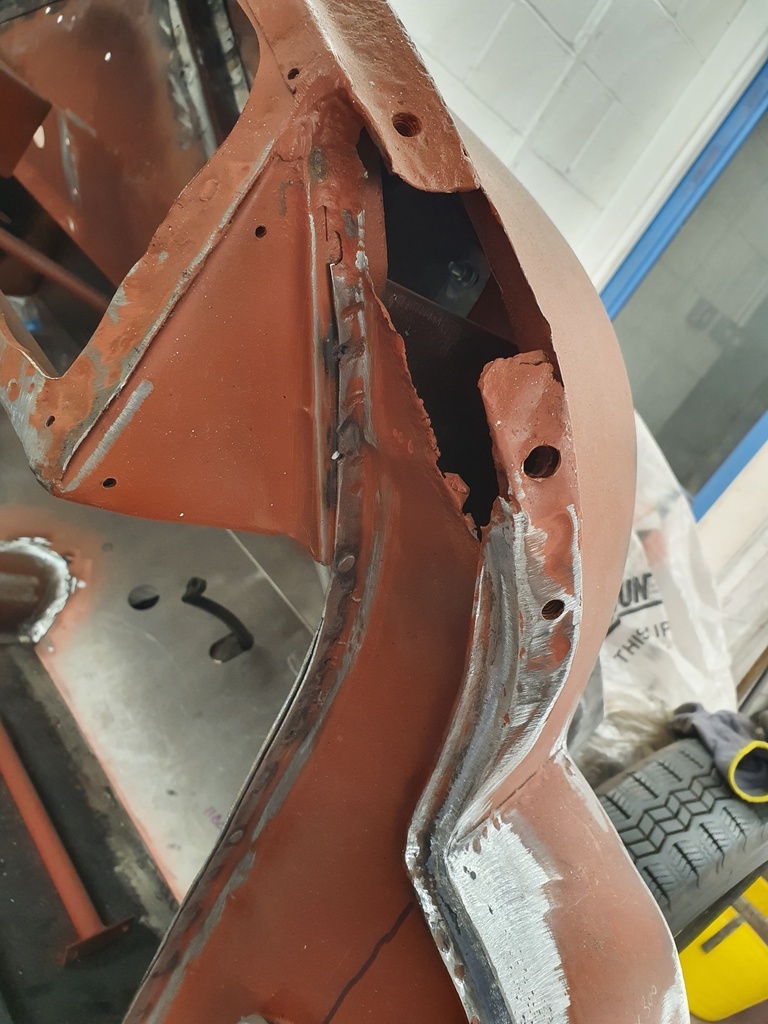 At this point I had a sort out of the patterns that I had made to date for the car 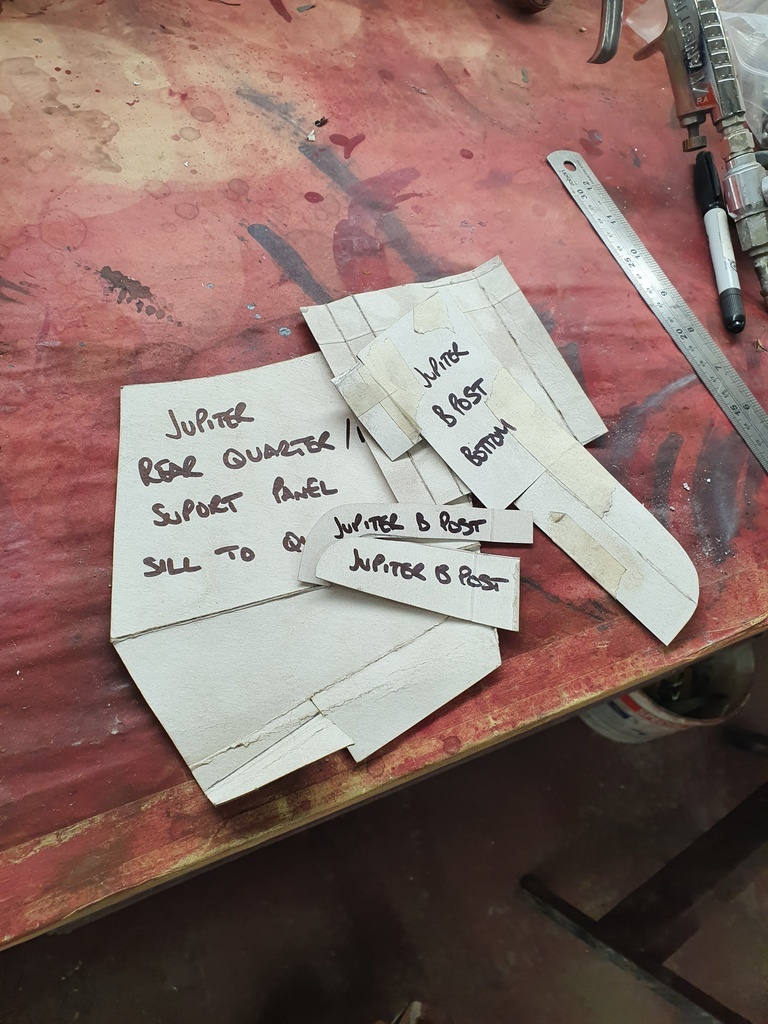 Filed them 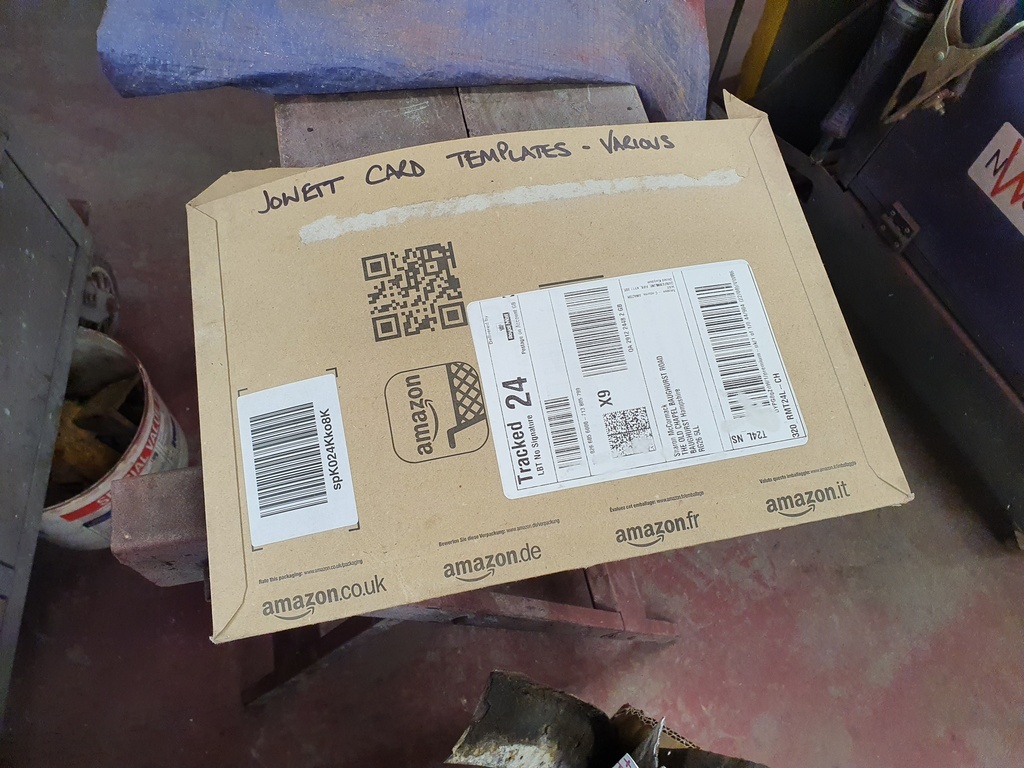 And placed them to my pattern box - I also retain removed steelwork where it's still intact for future patterns / projects 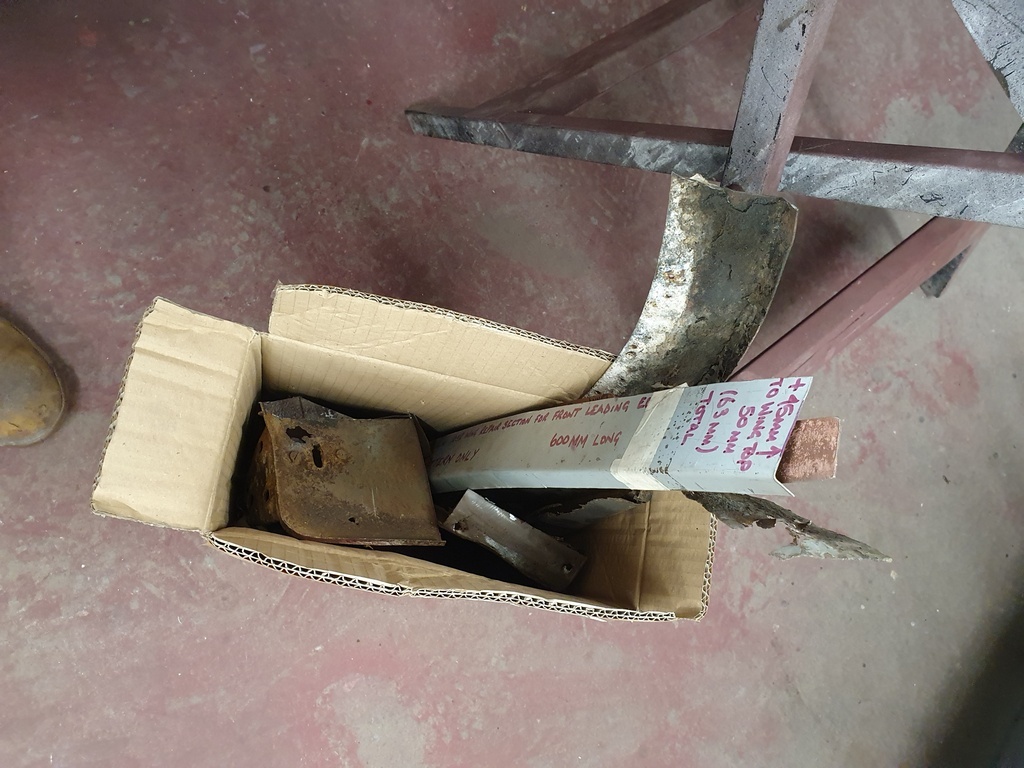 Rehung the door 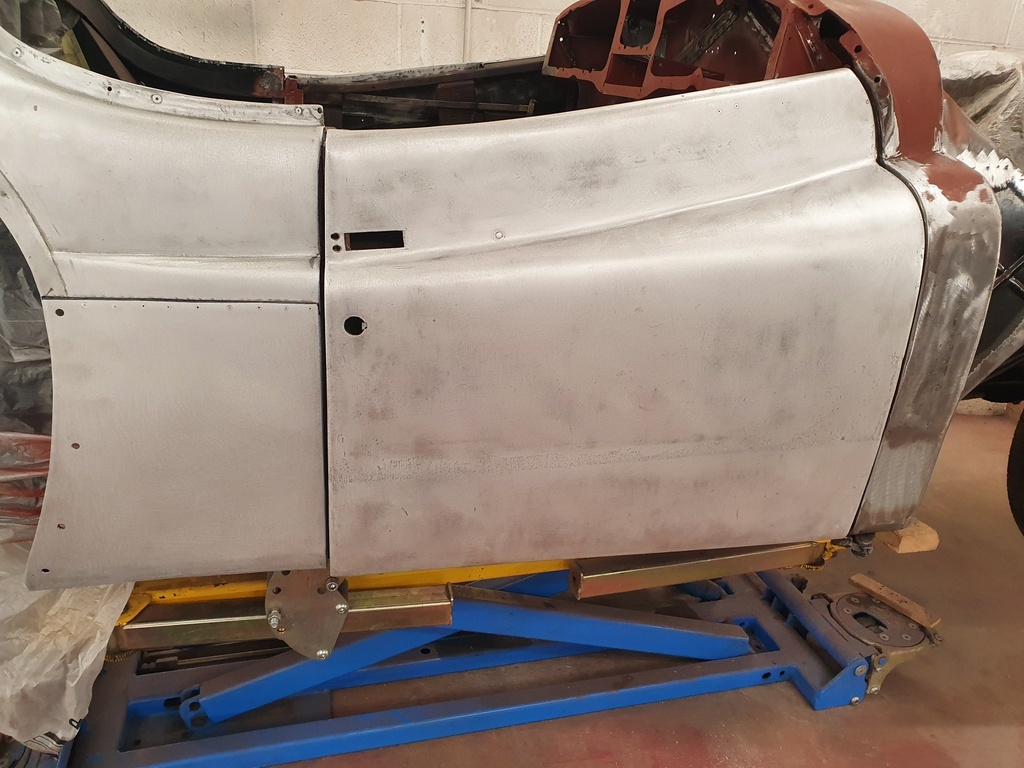 I need to make a modification to the lower hinge in order to get the door to close how I would like it - its currently slightly springing against the hinge - but that's a job for Monday 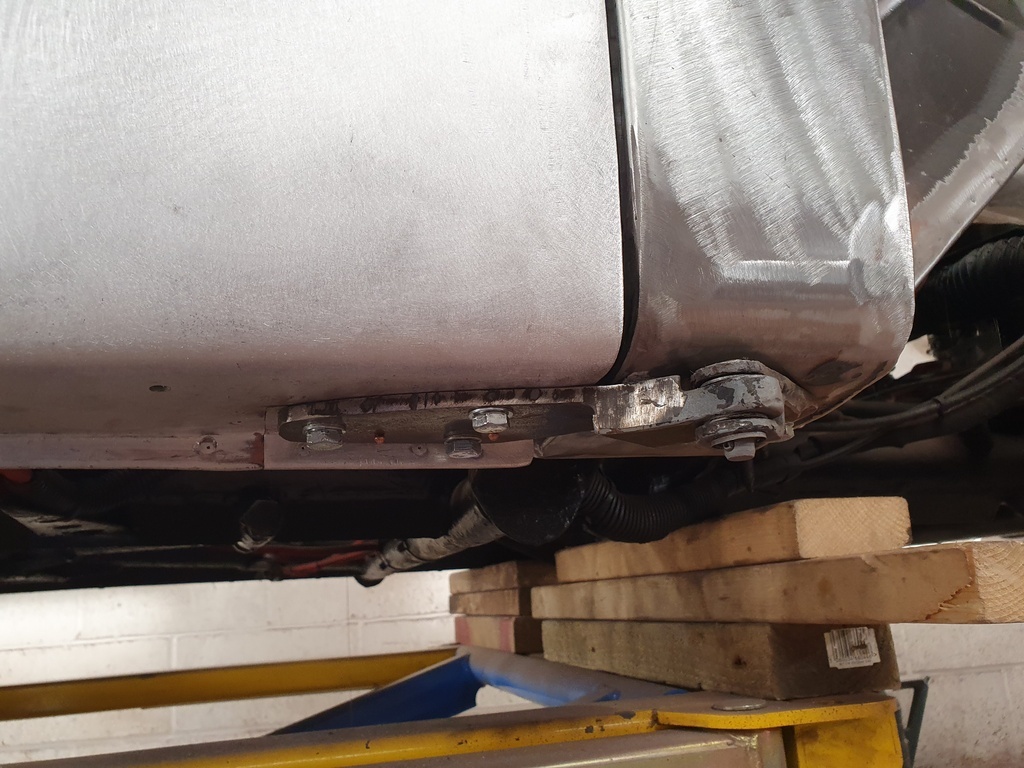 Splash / closing panel for the offside quarter panel being trial fitted 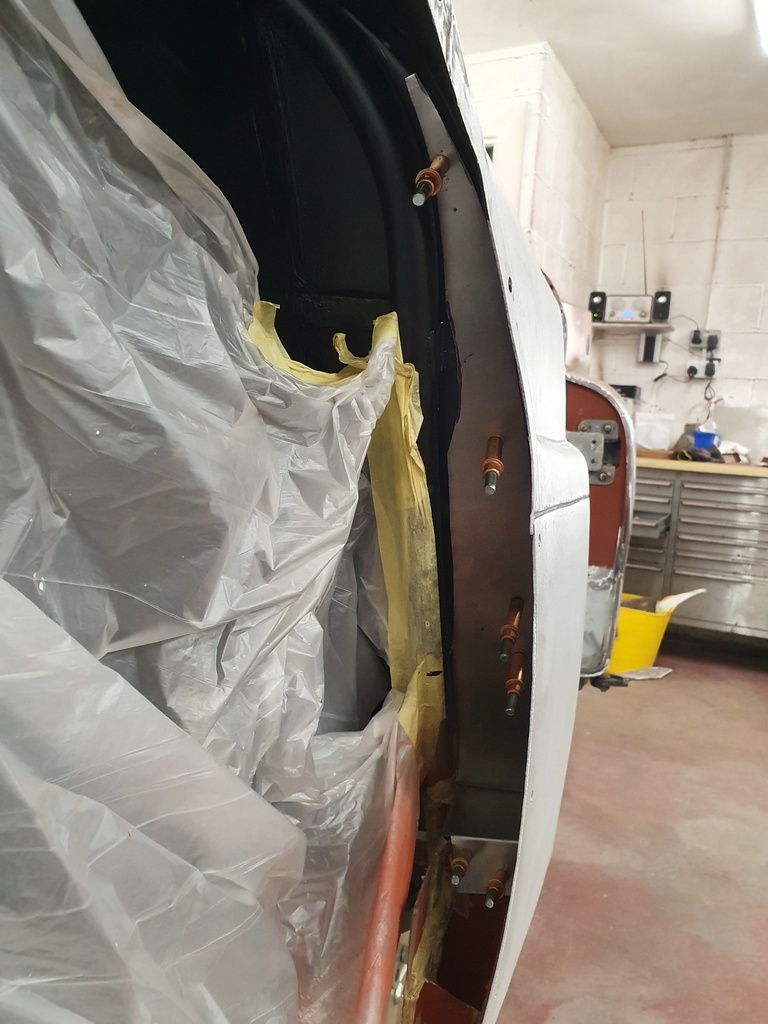 Primed prior to fitting - then fitted & seam sealed 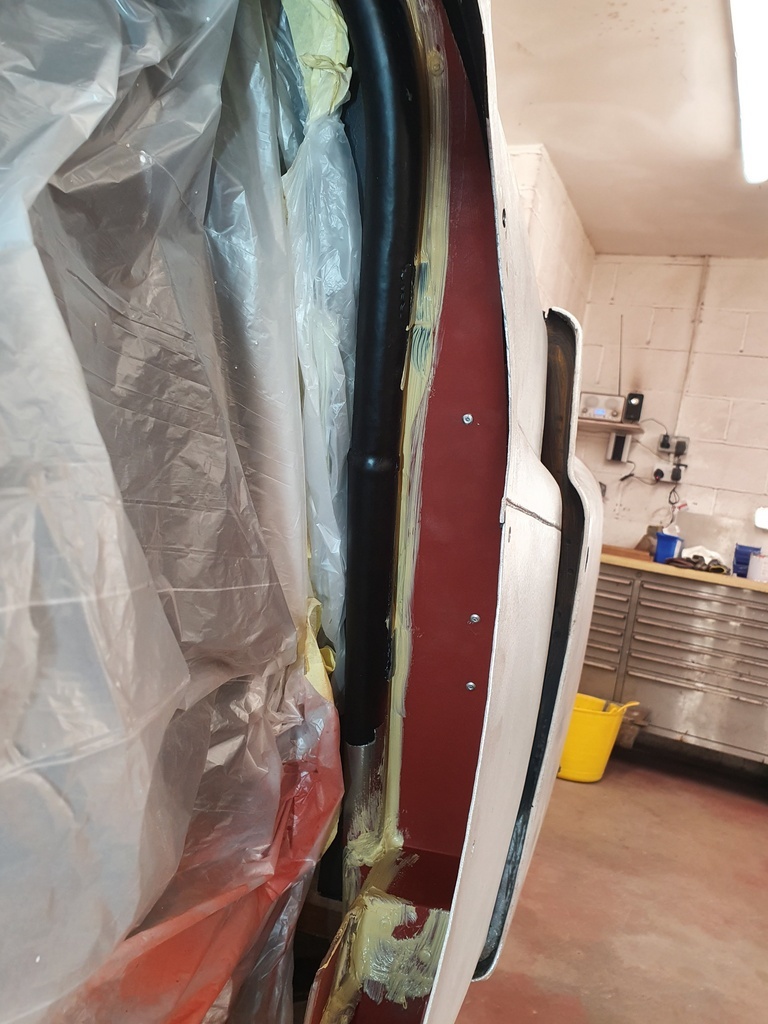 Then refitted the rear wing 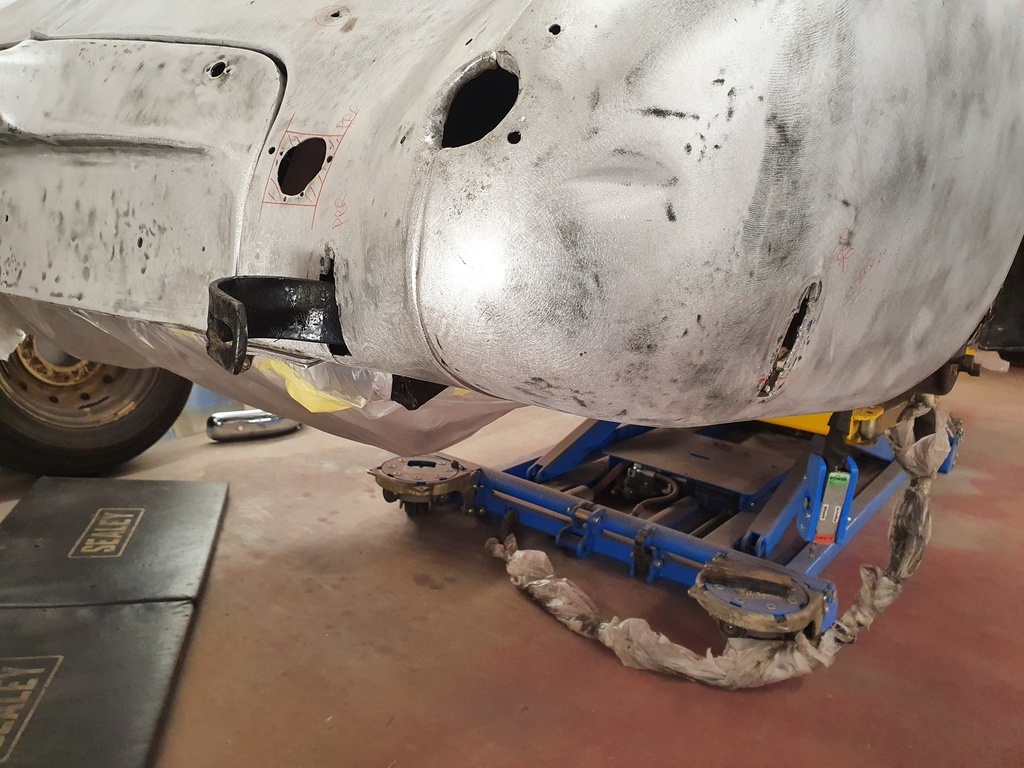 I wanted to check the ROS bumper irons / bumper for fitting 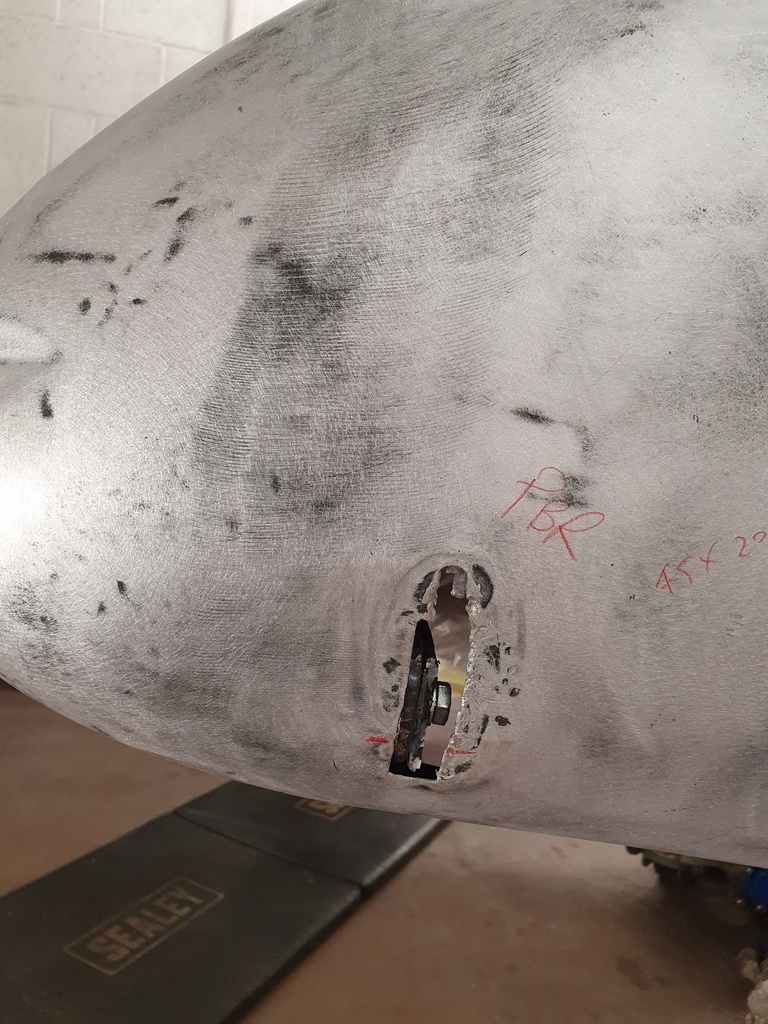 One of the irons fractured from a old split has soon as I attempted to tweak it 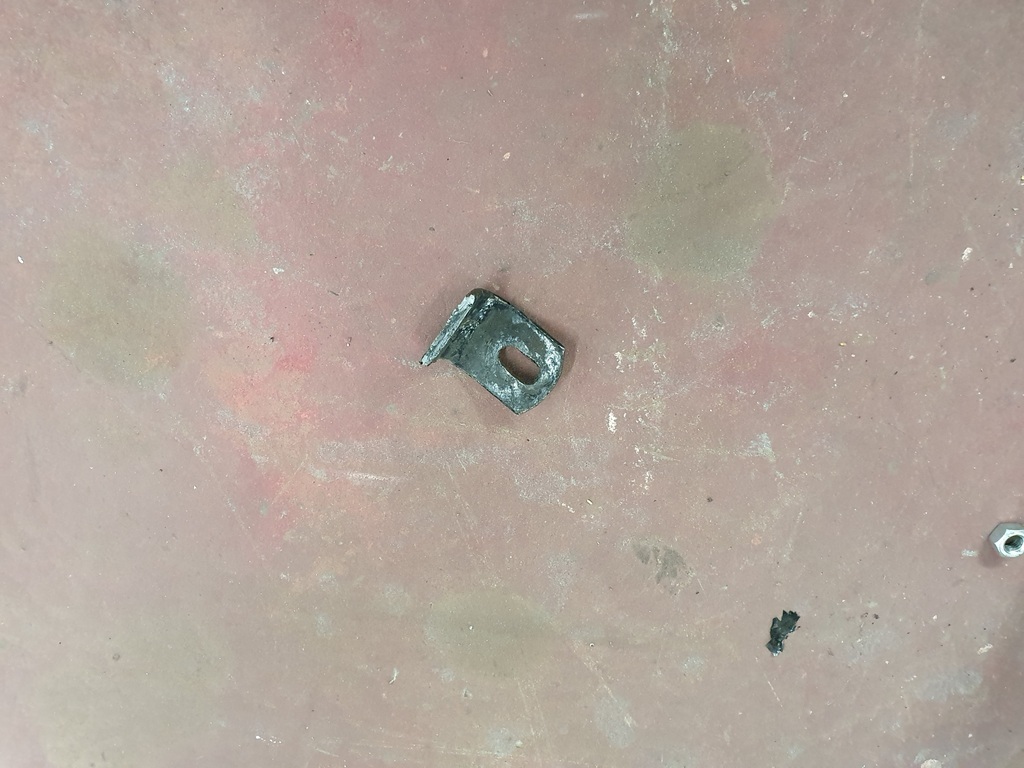 And given the fit it soon became obvious that this corner had been shunted at some stage in its life 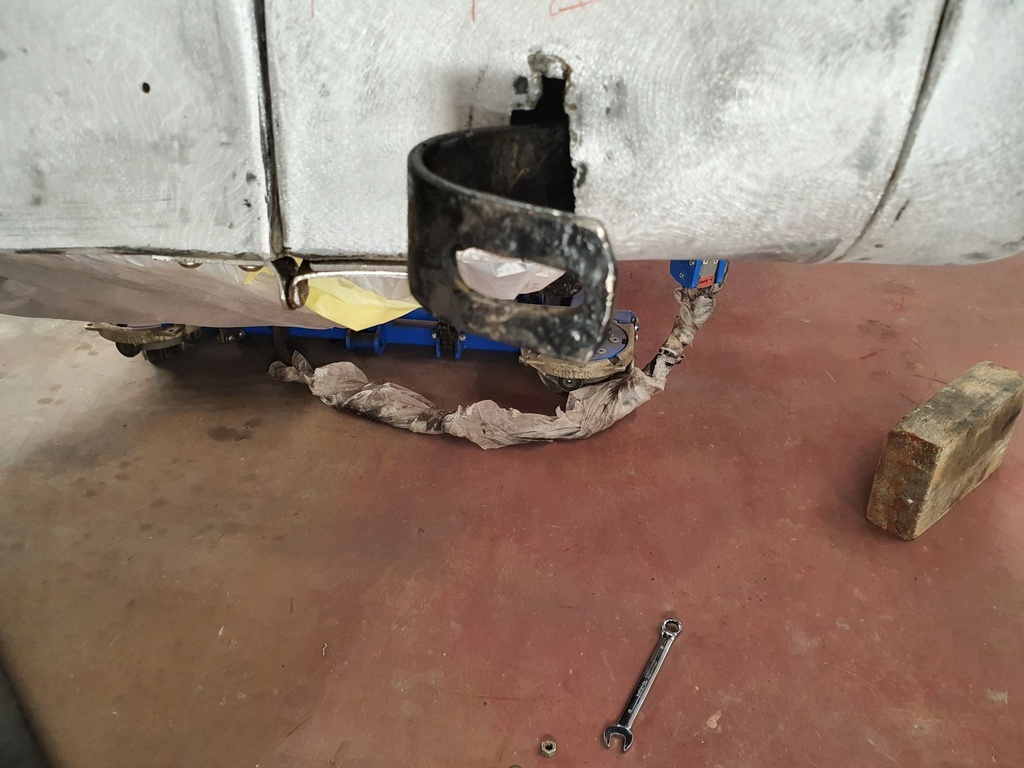 The aperture holes on the irons had very long elongations added in an attempt to factor out the shunt movement 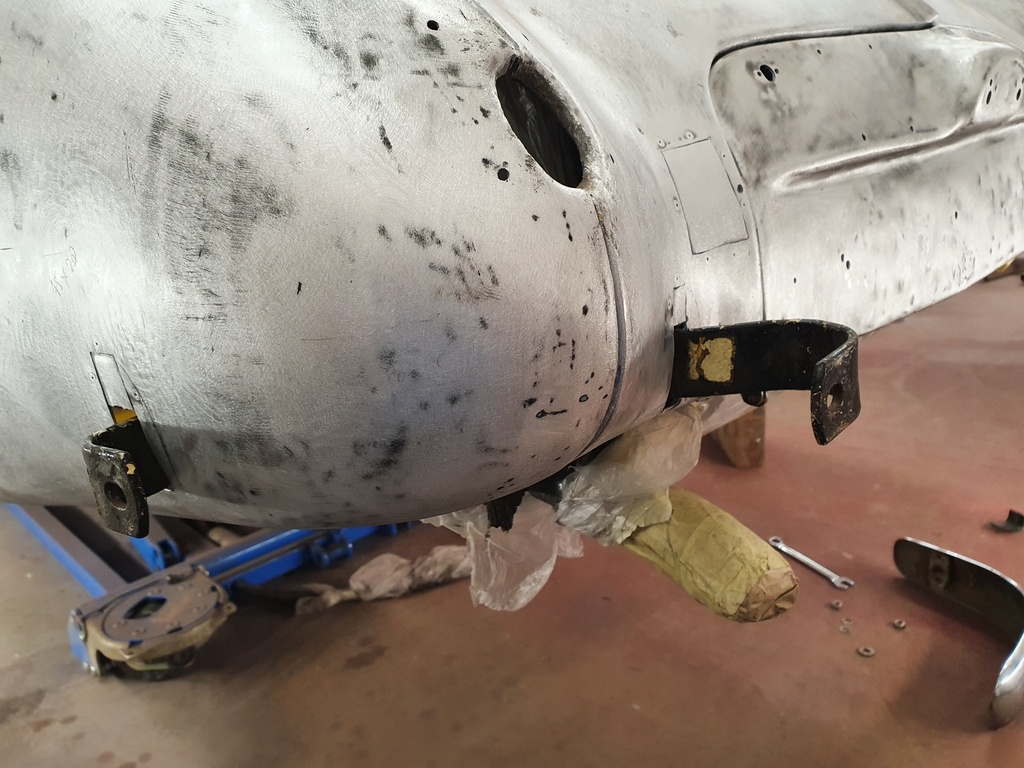 I refitted the nearside in order to provide reference points for the offside 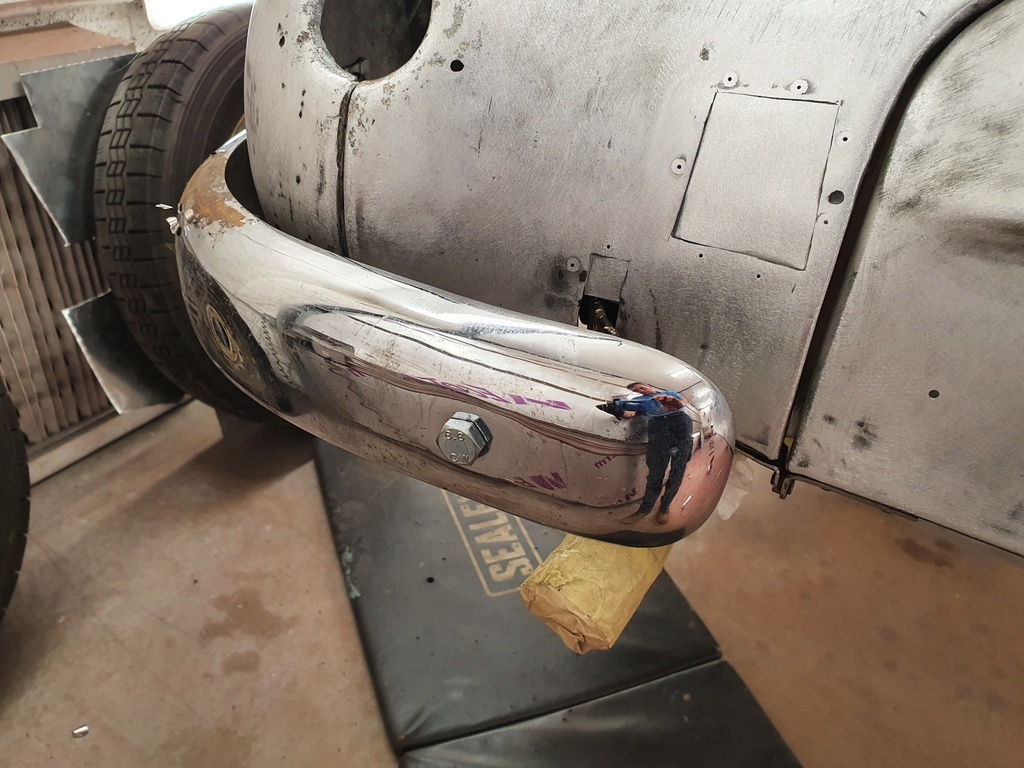 And to also ensure that the gapping's between the bumper & the panels were equal to both sides 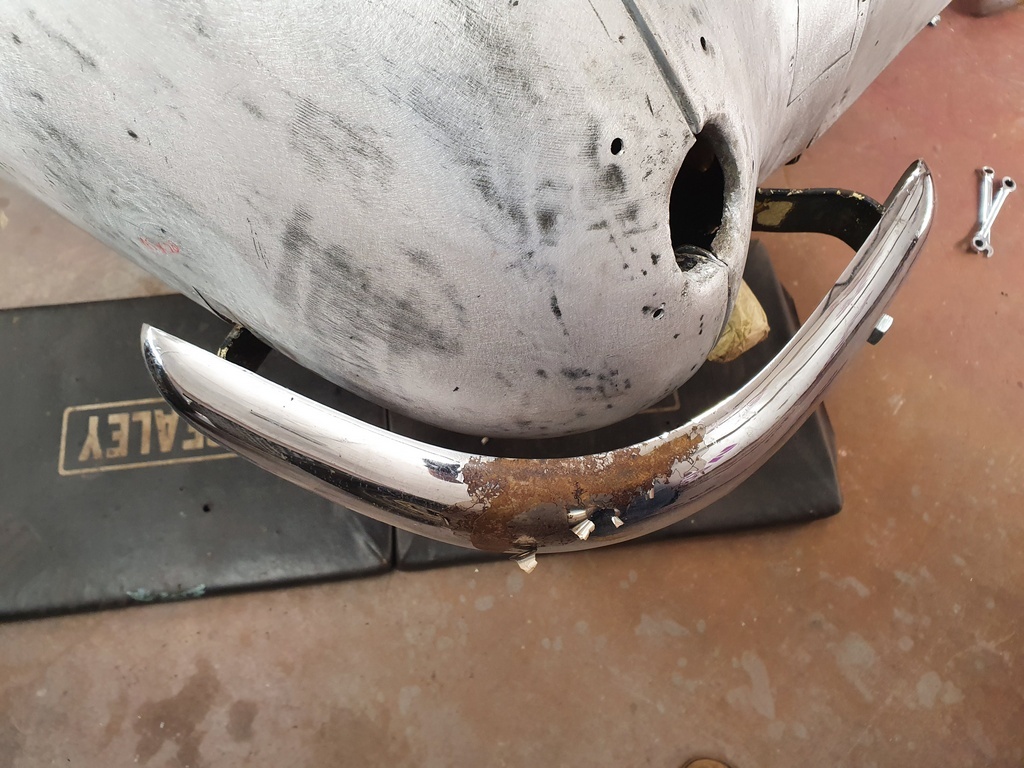 Obviously it far easier to address issues like this at this stage rather than when the car is painted  |
| |
|
|
|
|
|
Jul 26, 2020 15:29:04 GMT
|
|
Can you tell me what PBR stand for please,(next to the hols that need attention). Thanks
|
| |
|
|
|
|
|
Jul 26, 2020 17:03:00 GMT
|
Can you tell me what PBR stand for please,(next to the hols that need attention). Thanks Quite simply 'Panel Bond Repair'  |
| |
|
|
|
|
|
|
|
Lots done and not a lot to show for it 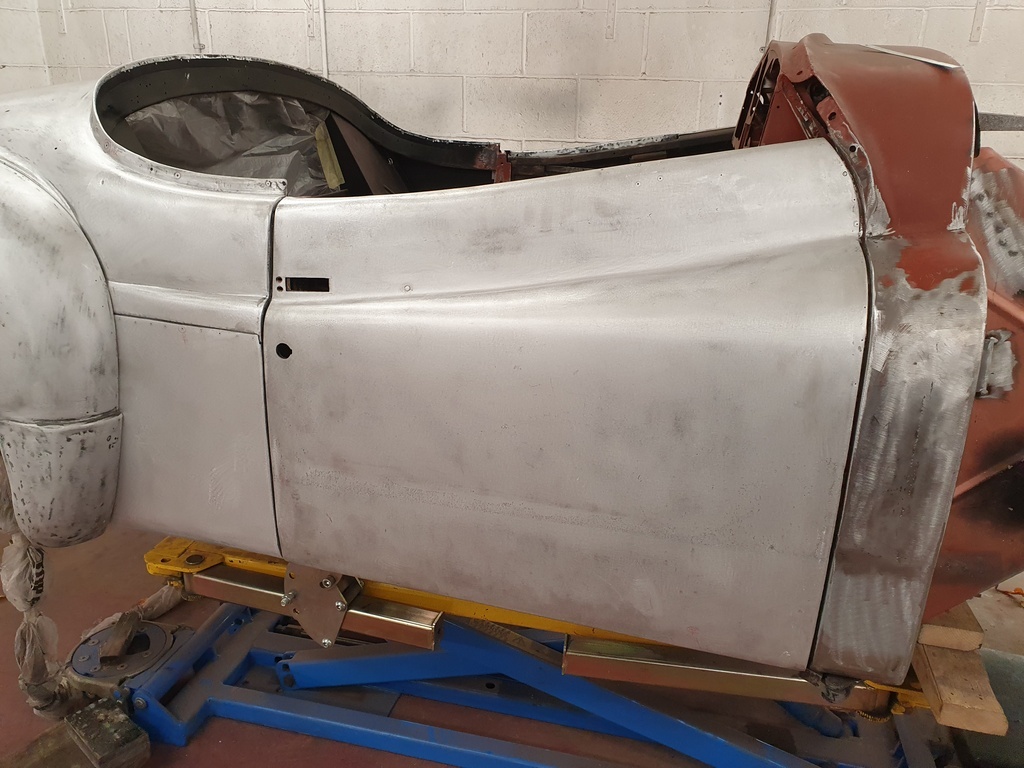 I have had to rework the door somewhat to achieve an acceptable fit (what's acceptable to others and acceptable to me is quite often a very different thing) 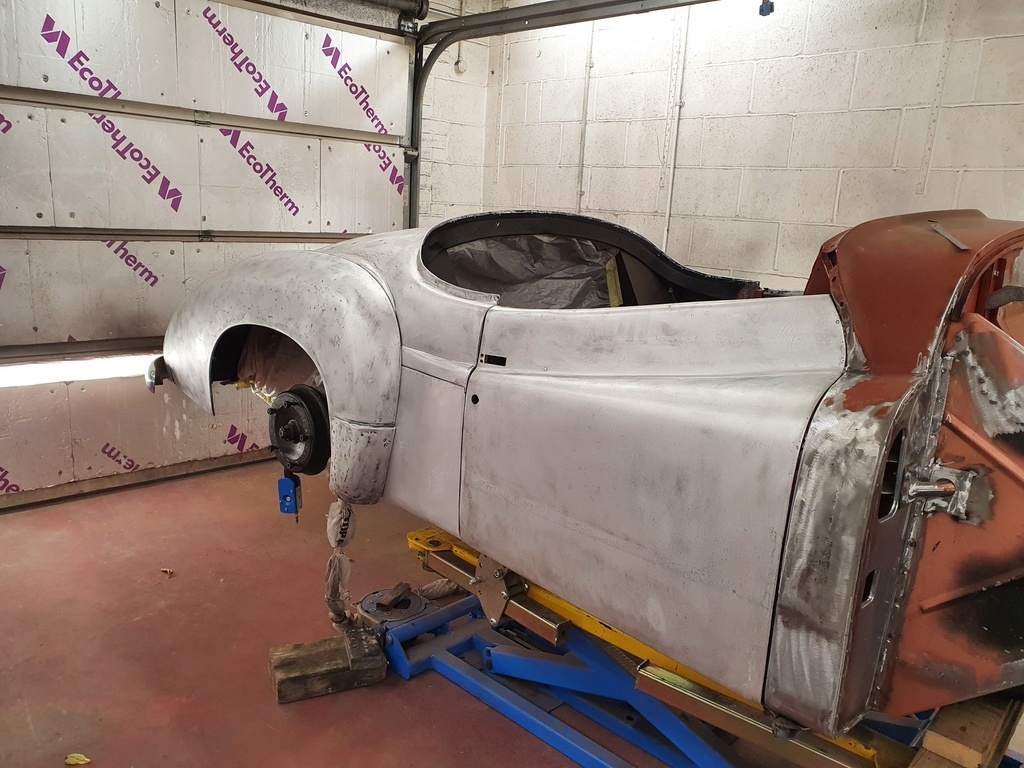 But eventually I started to gain some results - door lock mechanism fitted and the door probably has never fitted / latched better than this in the cars lifetime - It still requires some tweaks but I'm getting there 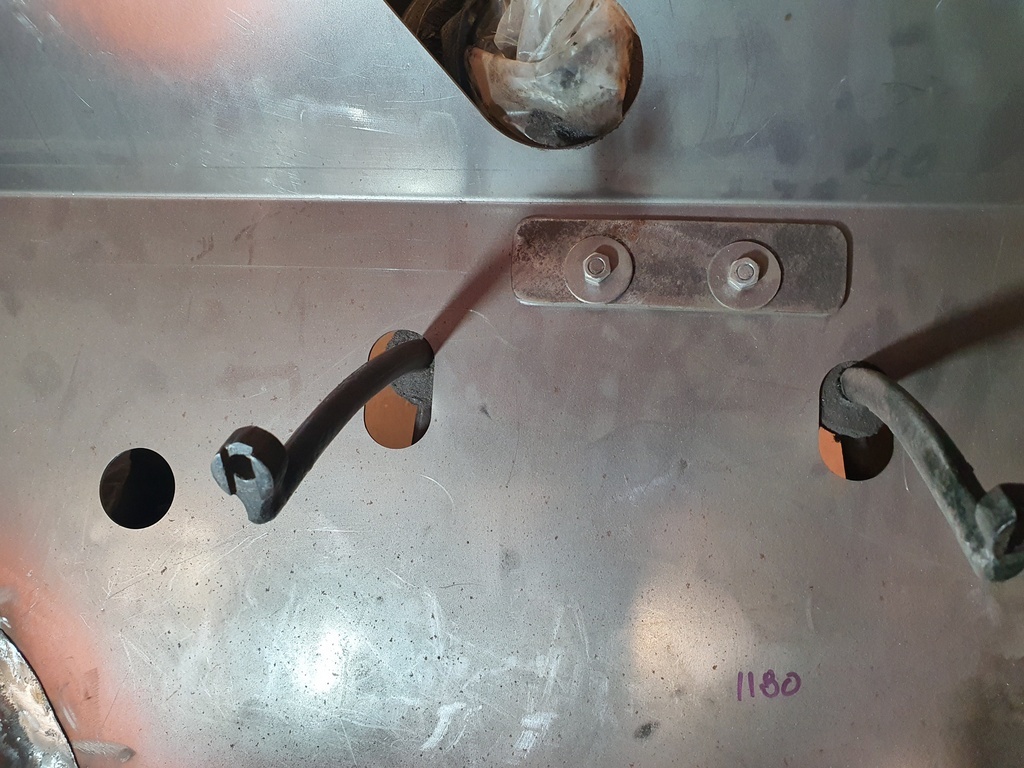 Garth - The cars owner called over to drop a few parts off but the main reason was to see how we could remove the wear / play in the clutch pedal arm - with the wear the arm was fouling on the bulkhead aperture - easy solution is to just elongate the aperture to prevent the fouling buts that's not how I or Garth work 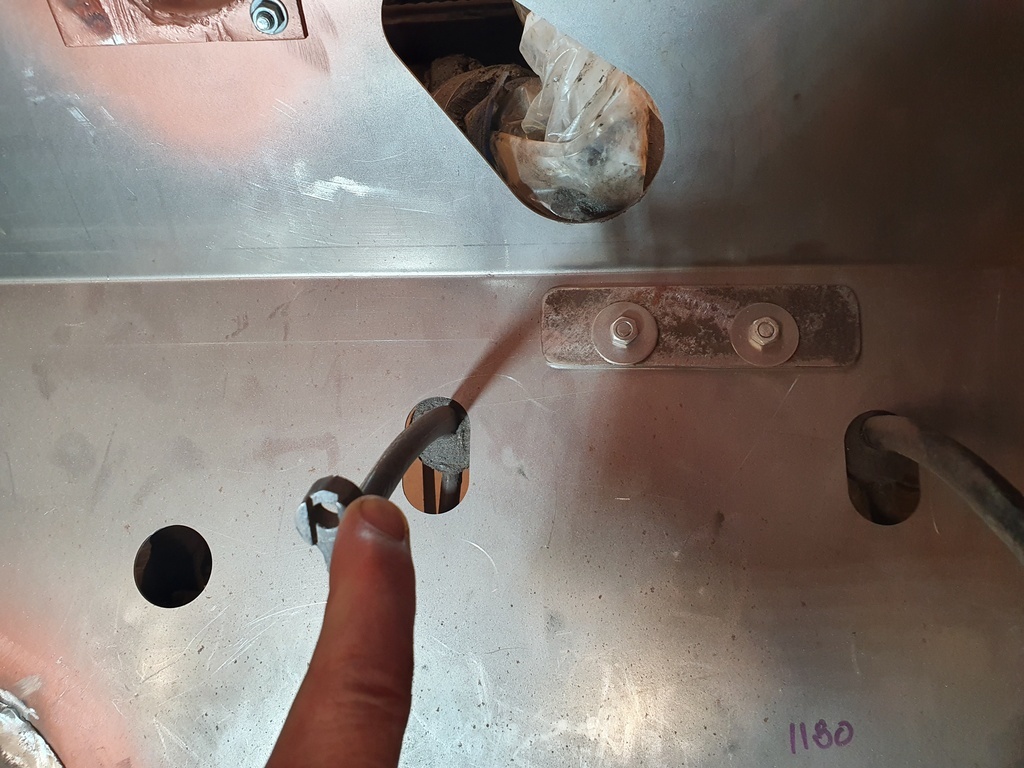 Ideally we need to factor a way of centralising the arm - it slots on to a pressed in chassis mounted double ended shaft - one side serves the brake pedal arm and the other the clutch pedal arm with the main chassis tube running between them 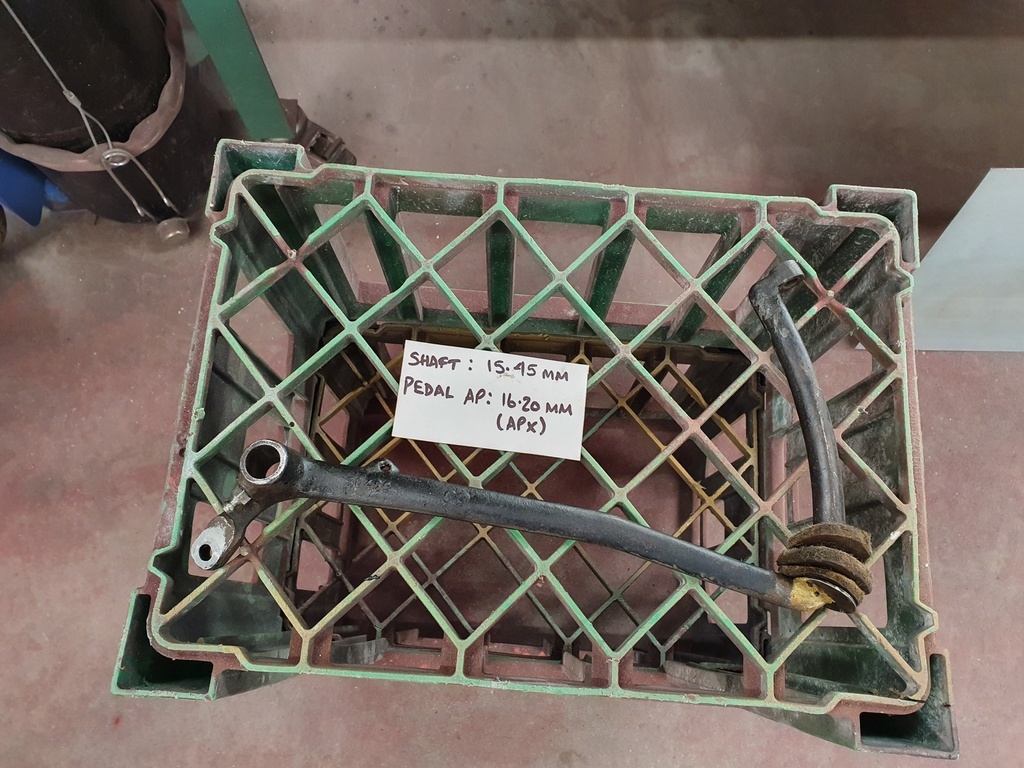 With the pedal arm removed we could look at the options - the shaft is true & straight (would be a major job to remove from the chassis) - wear is within the eye of the pedal arm but less than 1mm but with the arm fitted over the length its probably +5mm - having considered that there is little tolerance within the arm eye to open out & insert a shimming bush we decided that we would attempt to just shim the arm over on the shaft and see if that would work - so I just have to make up some shimming washers to the correct diameter and trail fit the arm to see if it will work - like many things I would much rather resolve issues like this at this stage rather than leave them and then have to resolve them once the car is painted - Over the years I have seen so many decent paint jobs of others ruined by a lack of planning - having to cut steels / create swarf debris etc upon a freshly painted car is just asking for disaster |
| |
Last Edit: Jul 28, 2020 7:59:19 GMT by Deleted
|
|
|
|
|
|
|
|
|
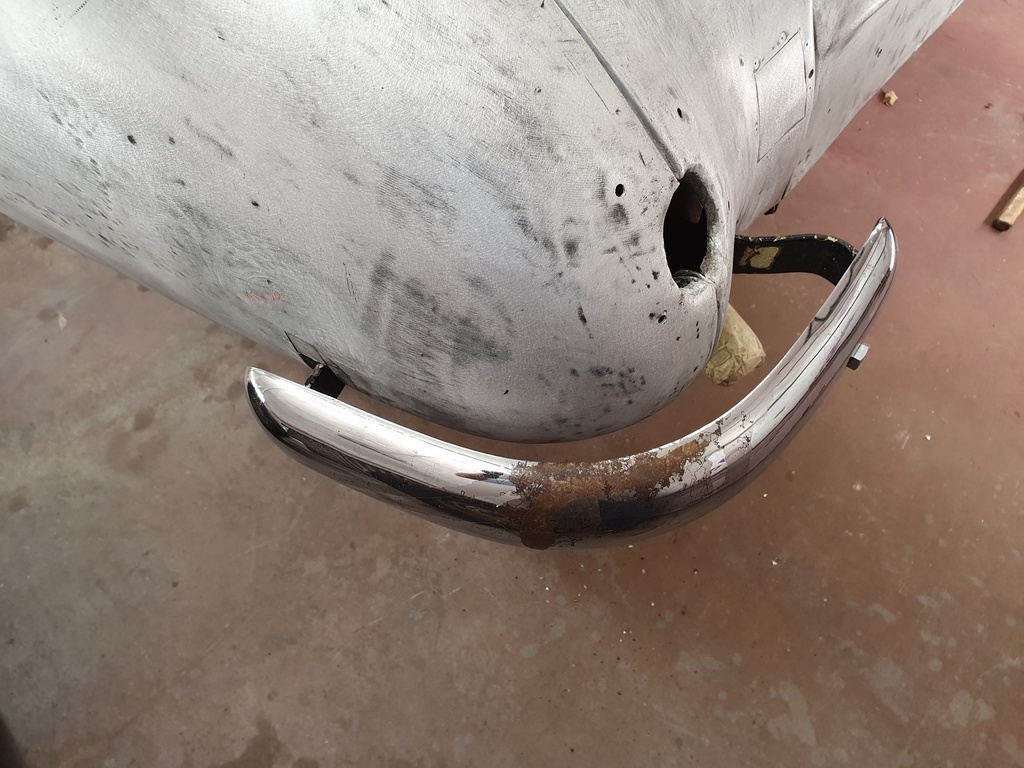 Rear bumpers & irons - whilst I had previously fitted the nearside to determine the bumper iron aperture sizes for the rear wing - I now refitted them 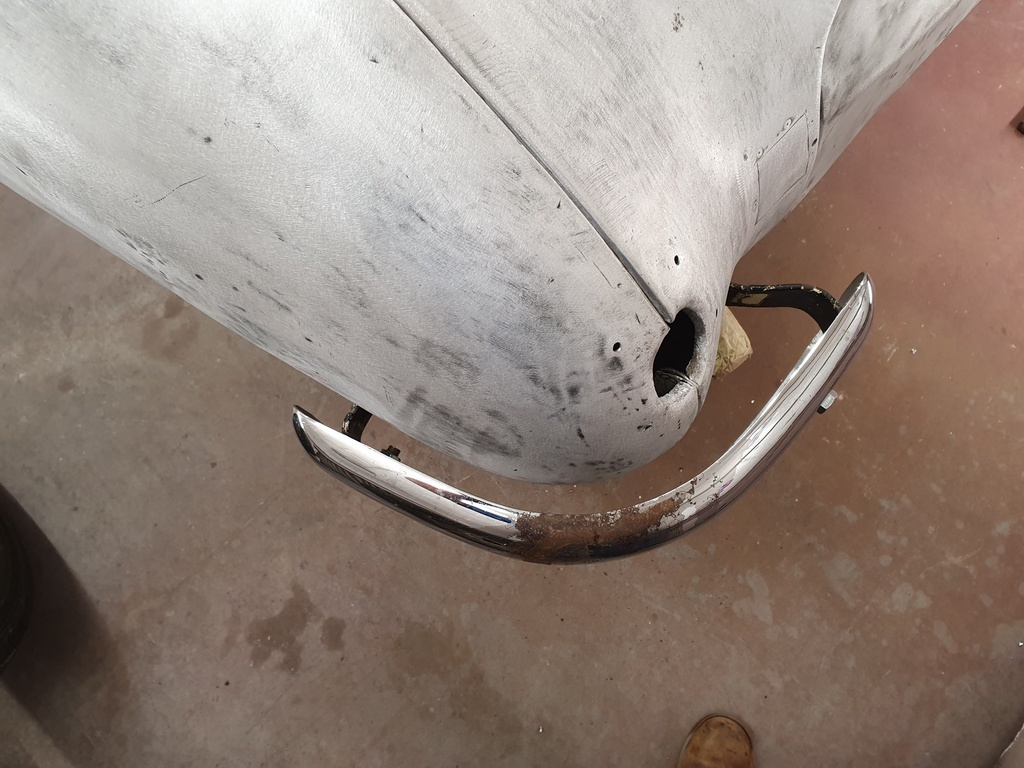 Then carried out some minor tweaking to ensure a even spacing / gap between the body and the bumper blade 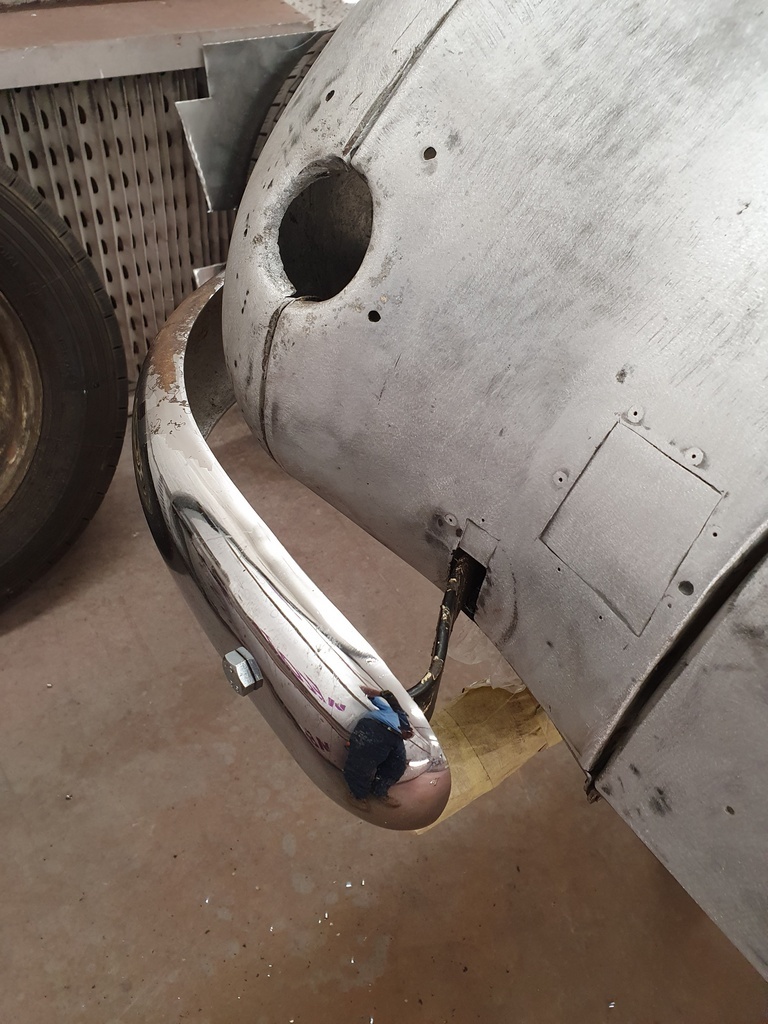 Then set about transferring this detail over to the offside - not so easy though has previously mentioned the offside corner has at some stage received a good push on the bumper & irons 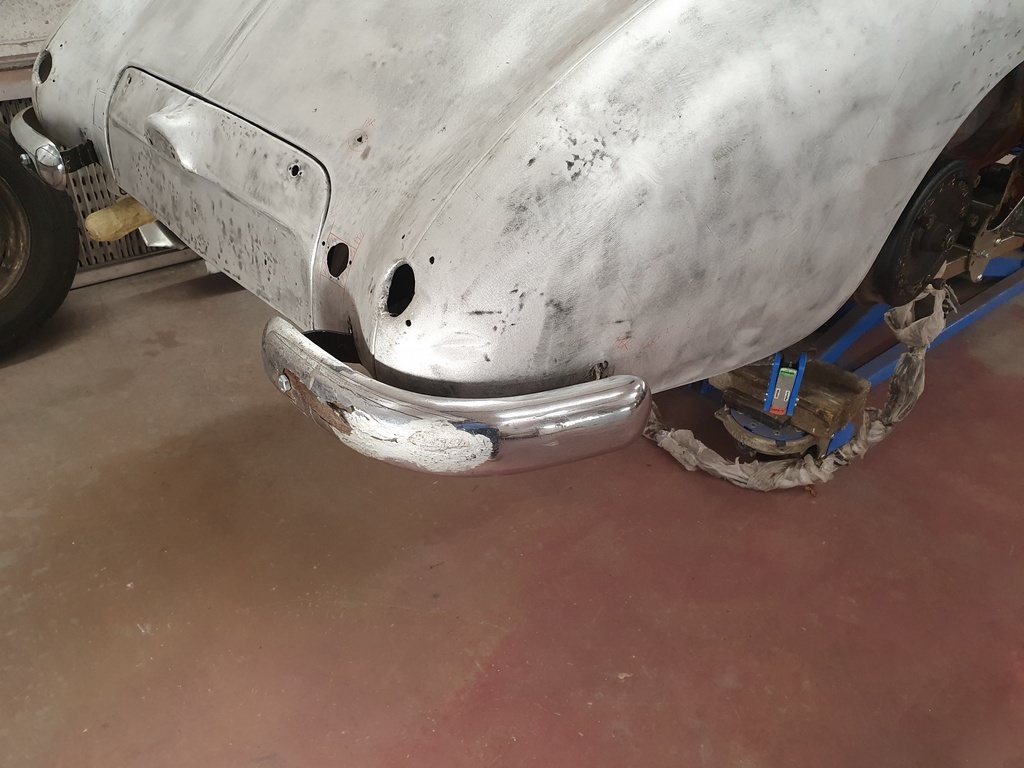 With irons distorted and previously messed with - the bumper irons had to be removed - tweaked / adjusted / refitted then compared to the nearside several times - its a slow process 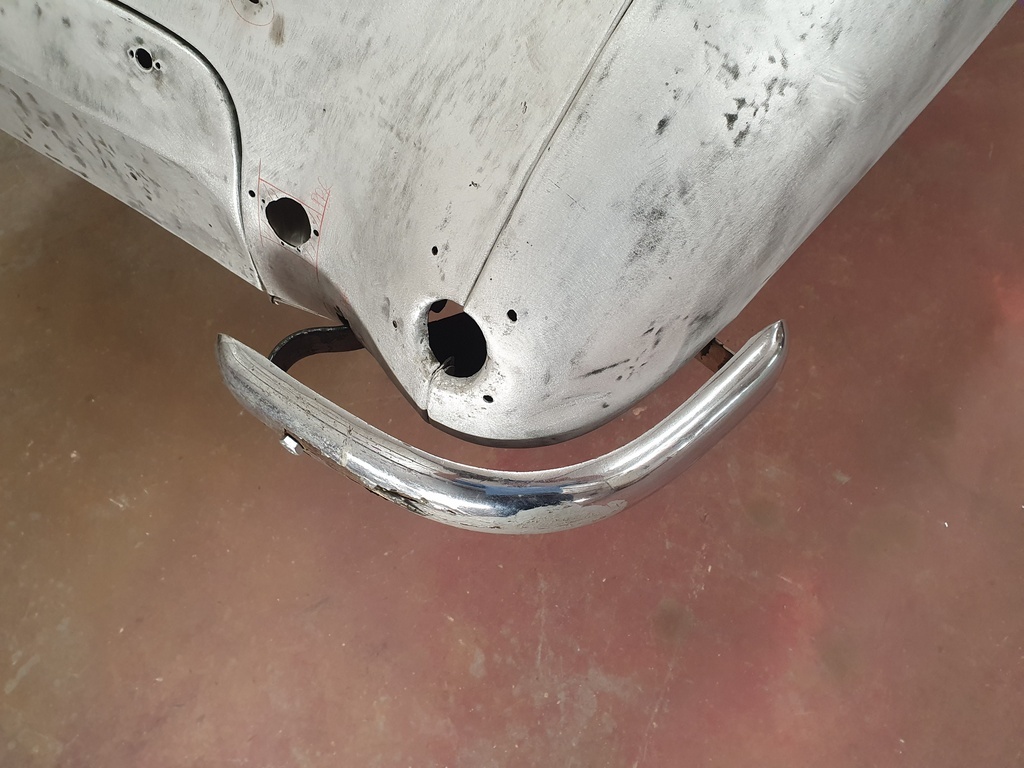 I had to reduce the length of the rear iron by elongating the bolt holes and then extending the length of the side iron by 15 mm to gain the correct body spacing 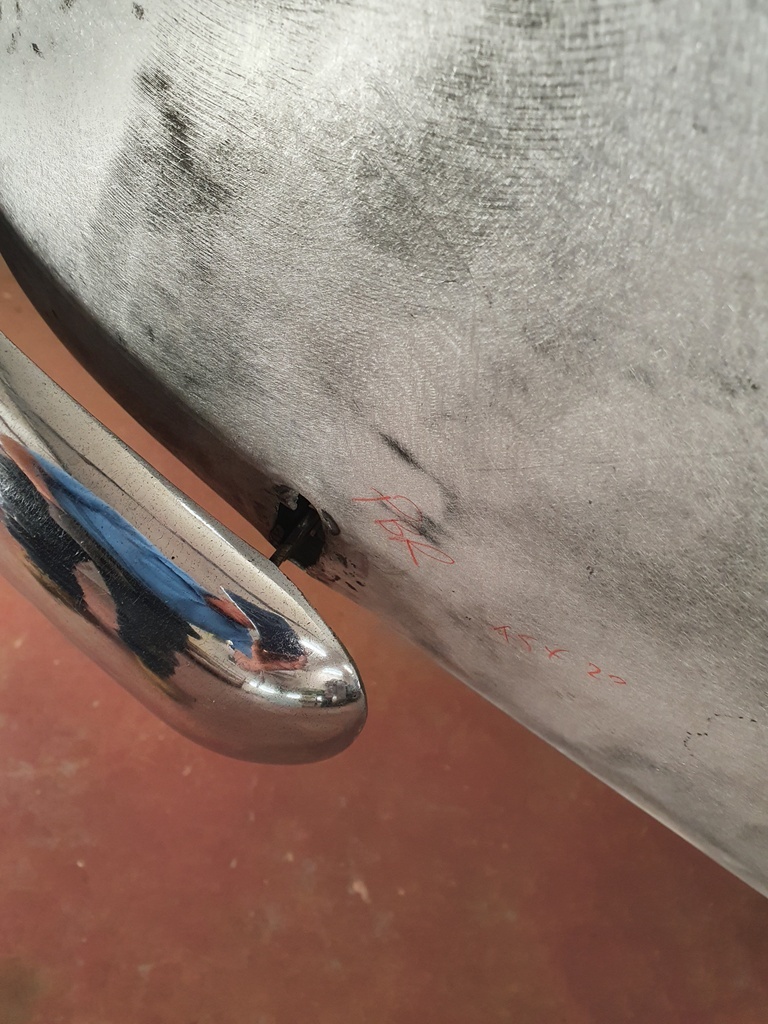 This now gives me the template for reducing the bumper iron apertures on the wings with bonded panel repairs - its all a faff but its detail like this that stands the car looking correct once painted & fitted up |
| |
Last Edit: Jul 29, 2020 9:10:34 GMT by Deleted
|
|
|
|
|
|
|
I'll never complain about taking several minutes to fit my new ones again!  |
| |
Last Edit: Jul 29, 2020 9:57:55 GMT by georgeb
|
|
jamesd1972
Club Retro Rides Member
Posts: 2,921  Club RR Member Number: 40
|
|
Jul 29, 2020 10:40:57 GMT
|
|
Are those bumpers off for a tickle of chrome ?
Am I right in suspecting the value of a Jupiter covers the restoration costs much better making it an easier owner conversation on the hours needed to get a fantastic job in the end.
James
|
| |
|
|
|
|
|
Jul 29, 2020 11:29:16 GMT
|
Are those bumpers off for a tickle of chrome ? Am I right in suspecting the value of a Jupiter covers the restoration costs much better making it an easier owner conversation on the hours needed to get a fantastic job in the end. James James - Bumpers are spares that I keep for checking panel tolerances / bumper iron fit - the originals are already chromed & back with the owner - there also over ridders that are fitted to both the front & rear bumpers and yes providing you are being sensible with a Jupiter restoration it should be readily covered with the vehicles value upon completion - this car will enter the upper league of Jupiter values upon completion but its all too easy to get carried away - its easy to purchase a on the road car for £25 - £30k only to find its going to cost £20k + to get it into the upper league by which point you will be out of pocket - far better to purchase a restoration car at sub £10k then expend £30k in getting restored at which point you wont make any money but you wont loose any either - the big problem is that sub £10k cars for restoration are now exceedingly rare |
| |
|
|
|
|
|
Jul 29, 2020 11:54:00 GMT
|
|
I suspect that with a slightly more unusual choice of classic that heart may occasionally get better of head when it comes to cost?
|
| |
'80 s1 924 turbo..hibernating
'80 golf gli cabriolet...doing impression of a skip
'97 pug 106 commuter...continuing cheapness making me smile!
firm believer in the k.i.s.s and f.i.s.h principles.
|
|
glenanderson
Club Retro Rides Member
Posts: 4,360
Club RR Member Number: 64
|
|
Jul 29, 2020 12:14:51 GMT
|
I suspect that with a slightly more unusual choice of classic that heart may occasionally get better of head when it comes to cost? It certainly did when I had my P4 Rover. I lost a fortune on it when I sold it on. In fairness though, the same money spent on a brand new car, would have resulted in the same kind of losses through depreciation over the eight or so years I had it. Classic cars, as an investment, is a long game. Often, gains are accidental, rather than planned. When I bought my Land-Rover, the same money would have got me an early eighties one if I’d really looked hard enough, and on the face of it there’s not much to differentiate them. I’d certainly have had a W plate series 3 over my ‘59 series 2 at the time. But because my circumstances meant the older one was the one I chose, I have had 20+ years of no road tax, no need for an mot for the last eight, and have a vehicle worth double what a newer one would be worth. The only guarantee with old cars is that they’ll cost you money. How much is impossible to really say, and making a genuine profit near impossible. |
| |
My worst worry about dying is my wife selling my stuff for what I told her it cost...
|
|
|
|
|
Jul 29, 2020 17:54:44 GMT
|
|
If we did it for profit no cars would ever be done.
|
| |
|
|
|
|
|
Jul 29, 2020 19:49:56 GMT
|
|
Many investors do not realise that classic cars can deteriorate quite quickly if not properly looked after.
|
| |
|
|
|
|
|
|
|
I suspect that with a slightly more unusual choice of classic that heart may occasionally get better of head when it comes to cost? It certainly did when I had my P4 Rover. I lost a fortune on it when I sold it on. In fairness though, the same money spent on a brand new car, would have resulted in the same kind of losses through depreciation over the eight or so years I had it. Classic cars, as an investment, is a long game. Often, gains are accidental, rather than planned. When I bought my Land-Rover, the same money would have got me an early eighties one if I’d really looked hard enough, and on the face of it there’s not much to differentiate them. I’d certainly have had a W plate series 3 over my ‘59 series 2 at the time. But because my circumstances meant the older one was the one I chose, I have had 20+ years of no road tax, no need for an mot for the last eight, and have a vehicle worth double what a newer one would be worth. The only guarantee with old cars is that they’ll cost you money. How much is impossible to really say, and making a genuine profit near impossible. Glen - You are quite right and some people forget to take into account just how much pleasure & satisfaction there is to be had with ownership / restoration / tinkering (setting aside all the headaches & painful moments) - its difficult to place a cost on the sheer amount of fun that can be gained with a classic / retro to the point that in many cases they become part of the family |
| |
|
|
|
|
|
|
|
With the bumper & irons removed I completed the welded repairs & fettling on the nearside irons 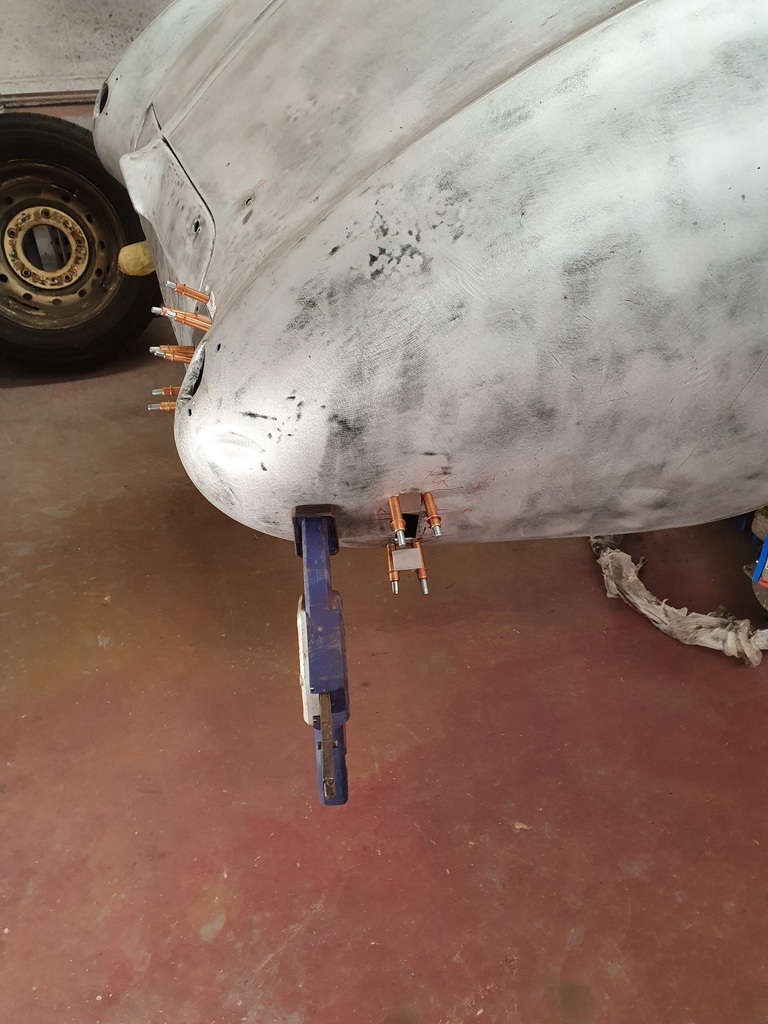 Then advanced the repair sections up for the rear nearside bumper iron & rear lamp apertures 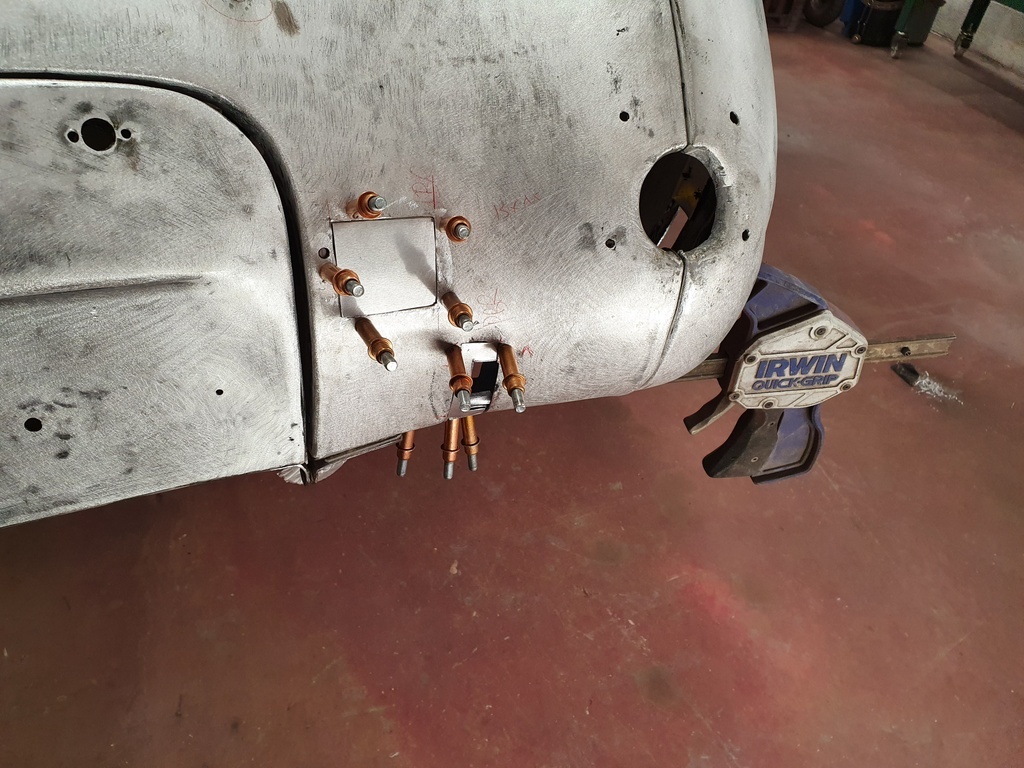 Not too much to show for it but lots happening - I have made a start on the final panel reshaping More later |
| |
|
|
|
|


