|
|
|
|
|
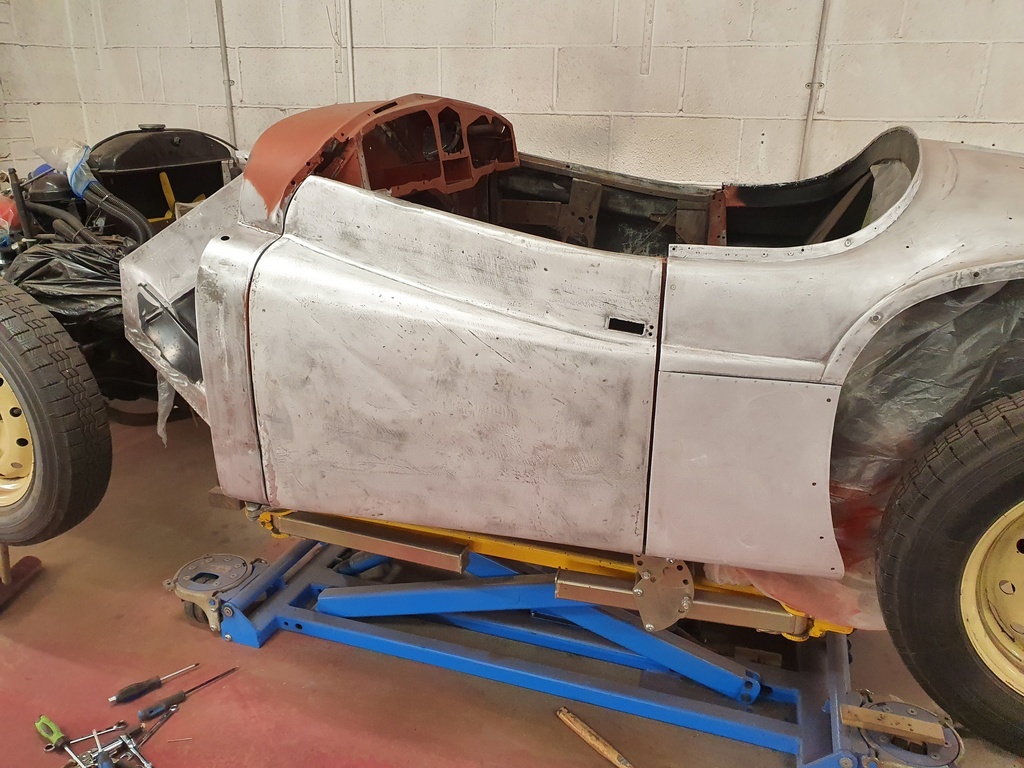 Door now rehung on the nearside and I spent a good while this afternoon finalising the aperture gapping's - still some more work required here but I'm certainly down the right path with it 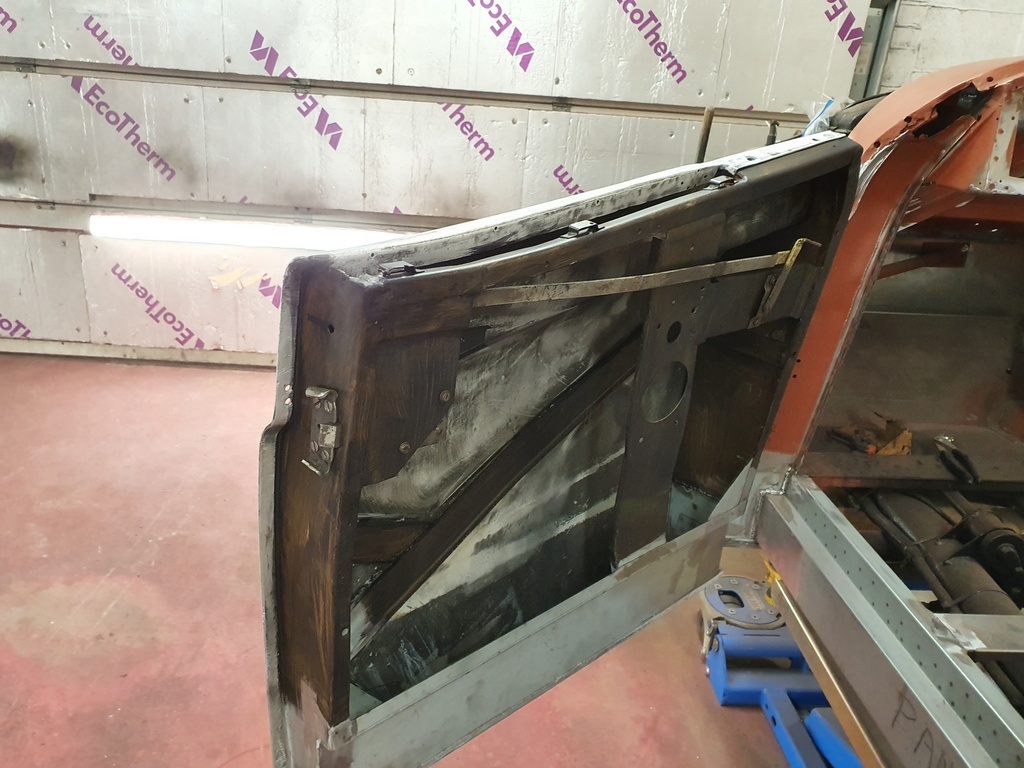 Door lock also refitted to ensure that I still had the correct alignment with the door catch & striker plate 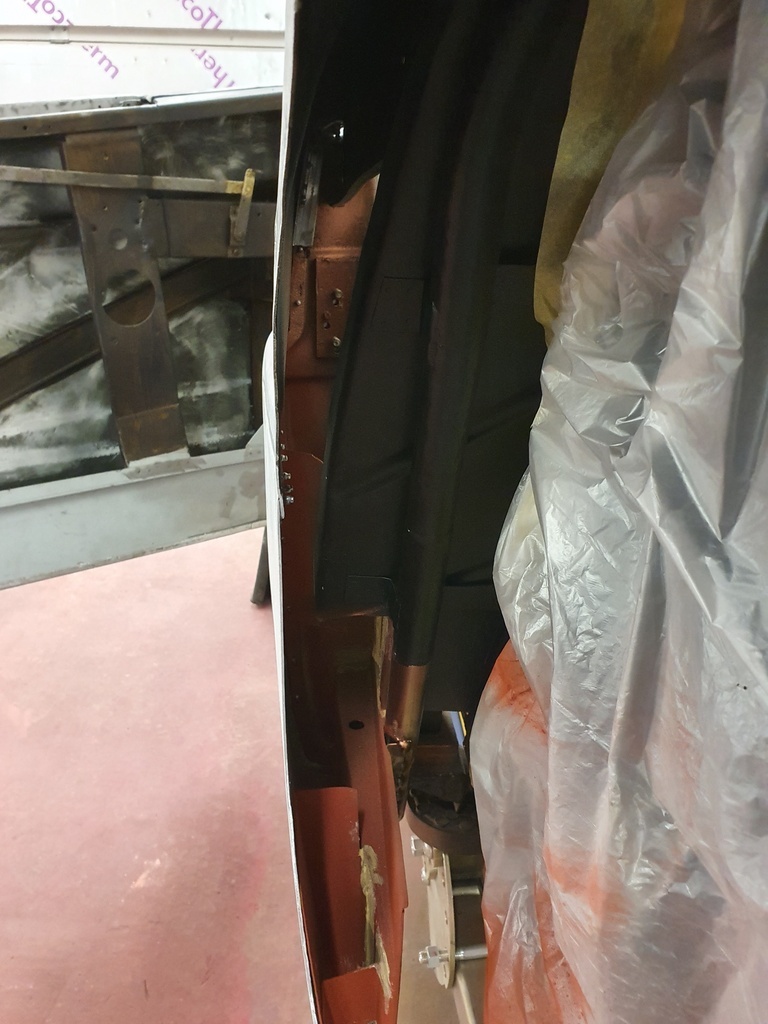 Also advancing this area that requires a closing panel prior to the rear wing being refitted 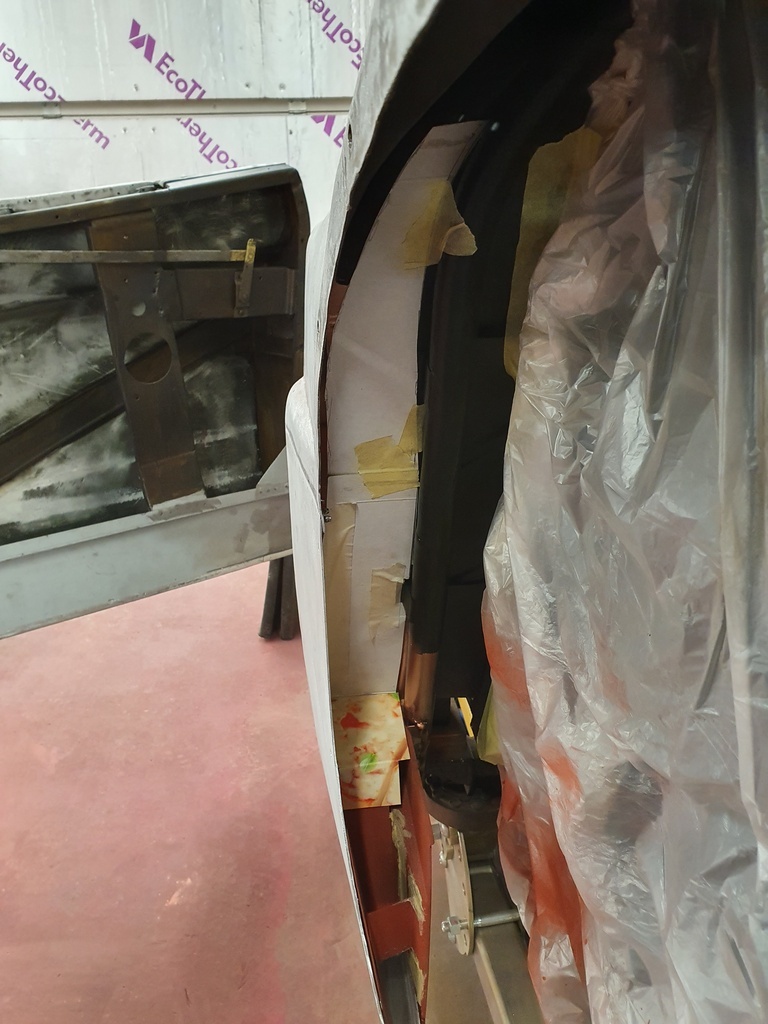 Still someway to go with the template but I have the basic shape mastered More tomorrow |
| |
Last Edit: Jul 3, 2020 19:28:20 GMT by Deleted
|
|
|
|
samta22
Club Retro Rides Member
Stuck in once more...
Posts: 1,276  Club RR Member Number: 32
|
|
|
|
Good job sharon likes those gluten free pizzas  |
| |
'37 Austin 7 '56 Austin A35 '58 Austin A35 '65 Triumph Herald 12/50 '69 MGB GT '74 MGB GT V8'73 TA22 Toyota Celica restoration'95 Mercedes SL320 '04 MGTF 135 'Cool Blue' (Mrs' Baby) '05 Land Rover Discovery 3 V8 '67 Abarth 595 (Mrs' runabout) '18 Disco V |
|
|
|
|
|
|
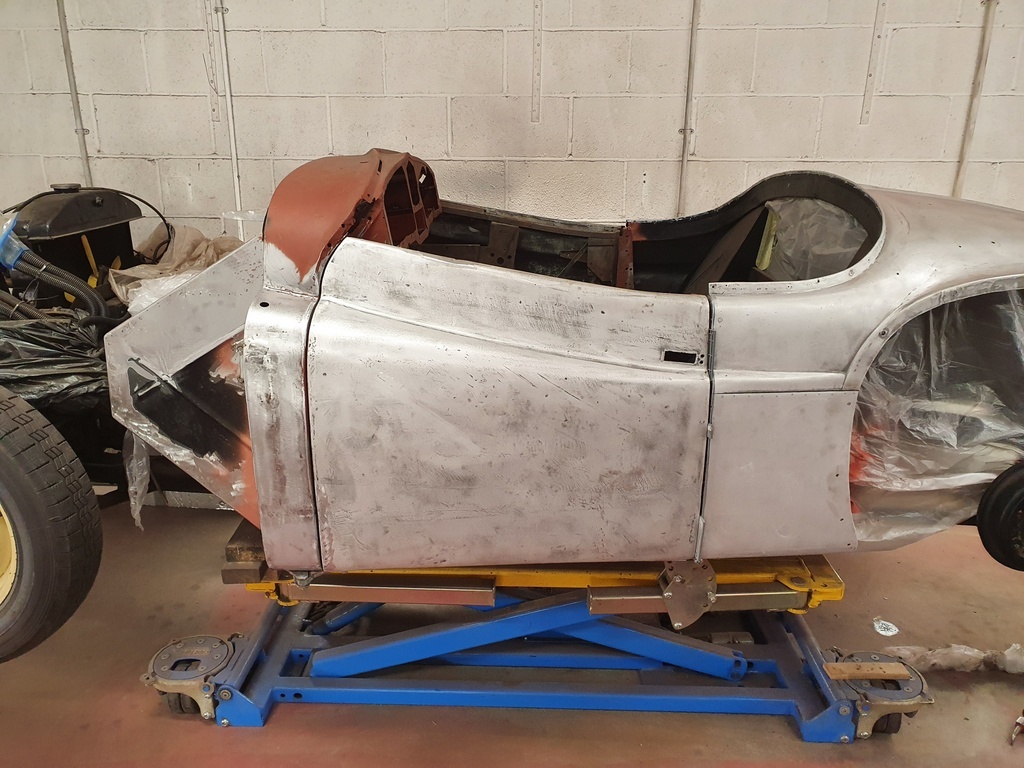 Final door aperture gapping's are now nearly complete - just some final dressing of the aperture edges to finalise 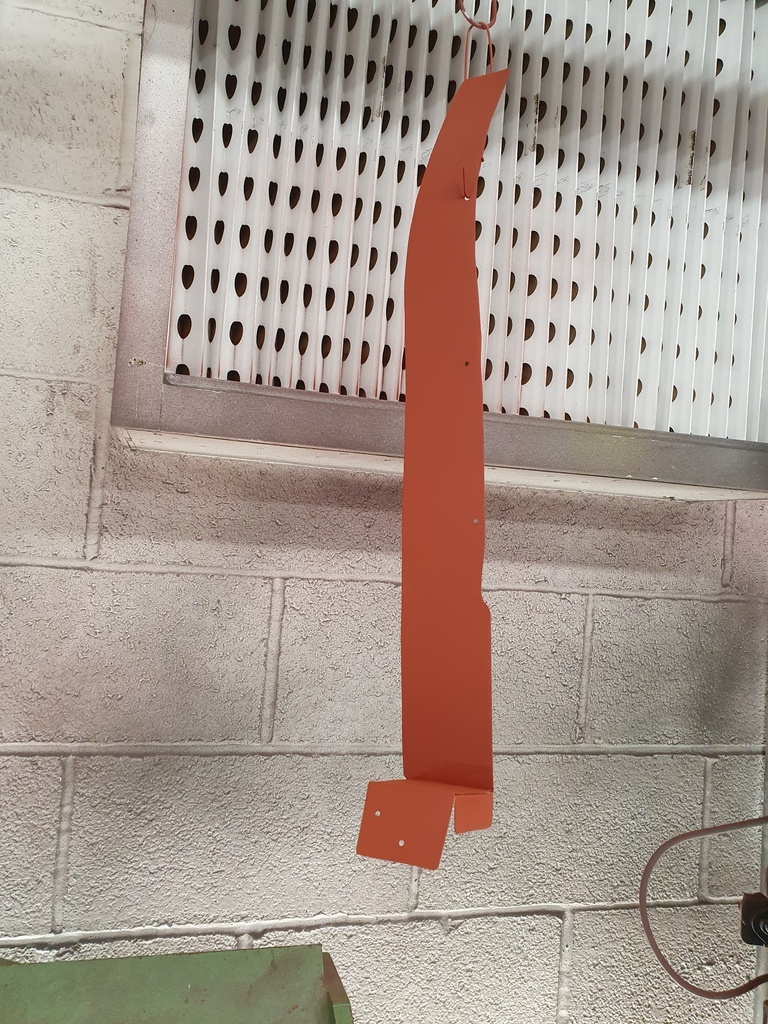 Pattern for the closing panel was completed - transferred to sheet steel and the panel fabricated 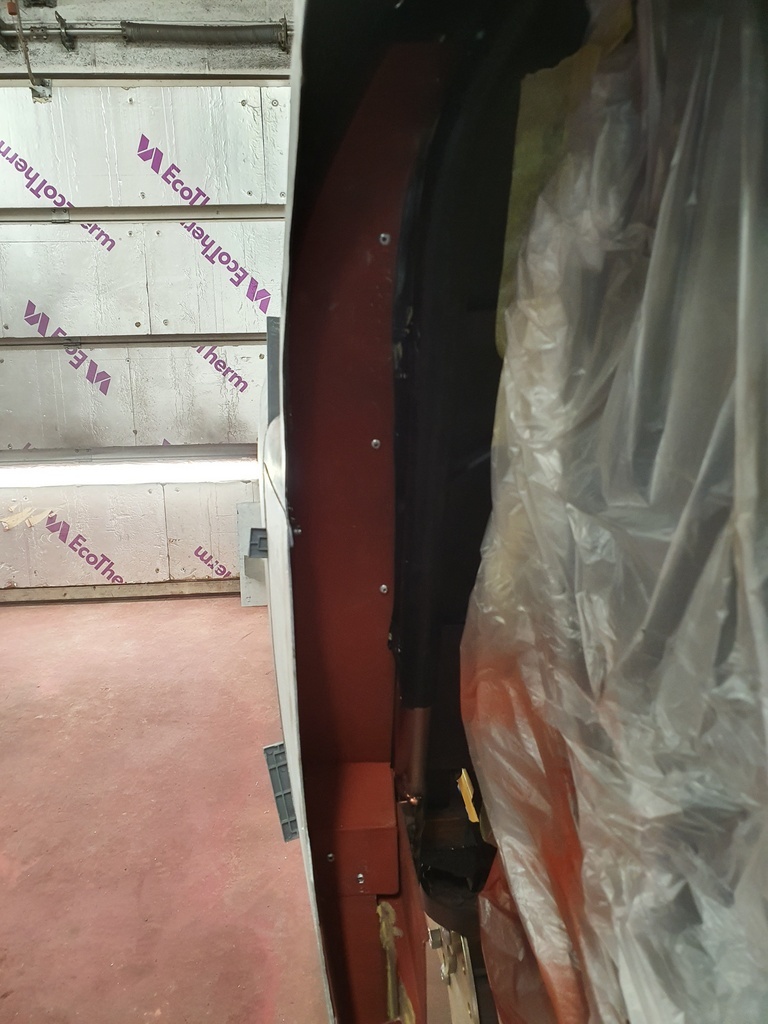 Fits like so 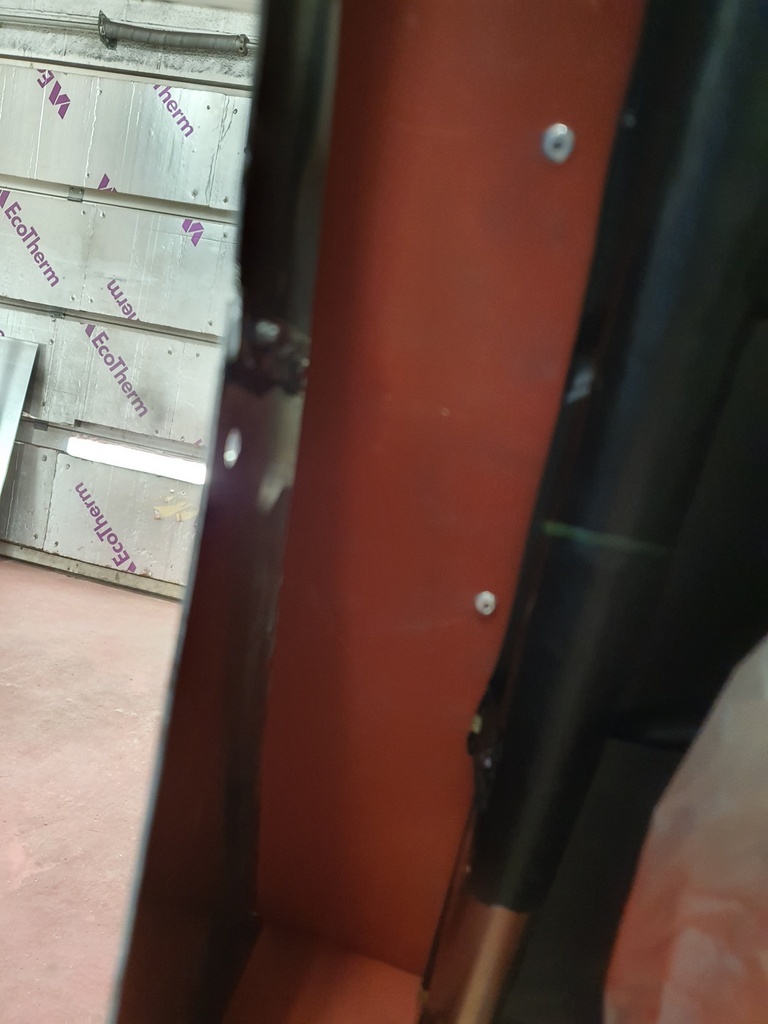 I don't want the outer panel to contact with the closing panel so a small gapping is left 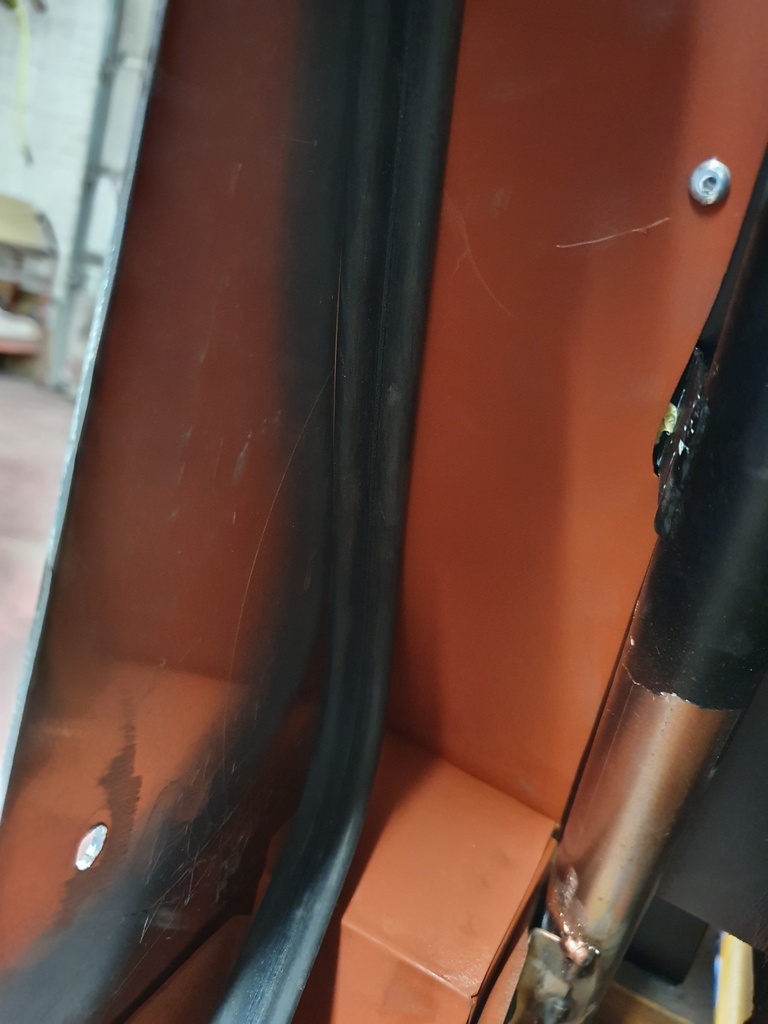 Which shall be closed by a flexible rubber seal that gets glued to the closing plate 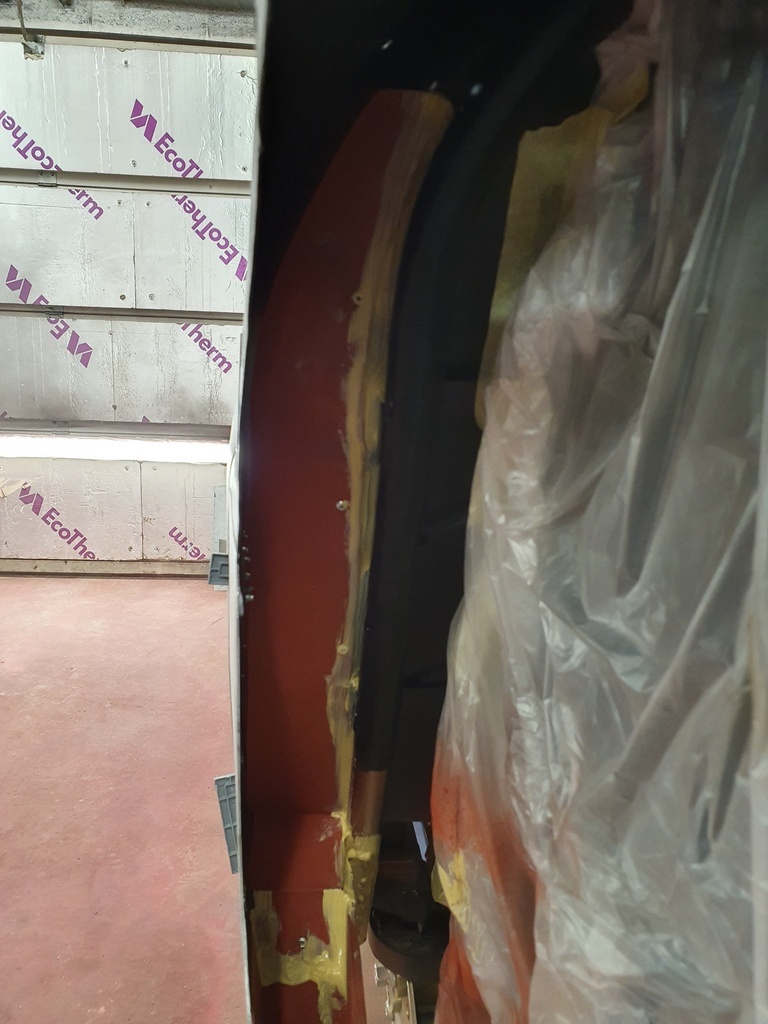 The closing plate was then sealed against the rear superstructure 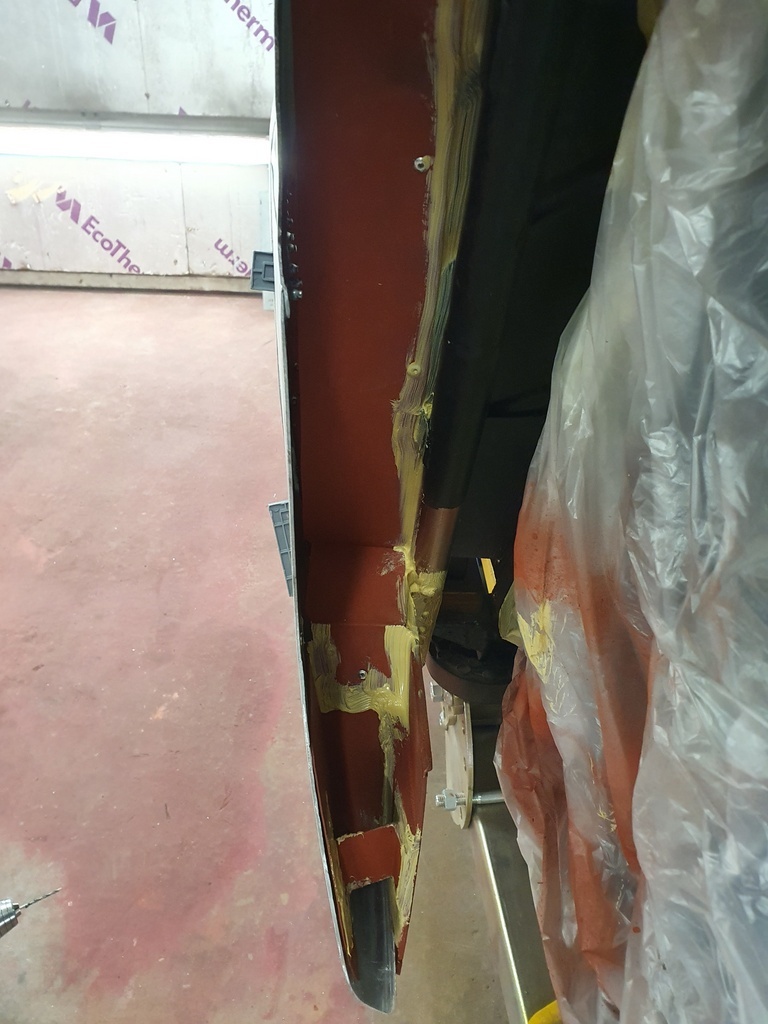 Now the rear wing could be reattached 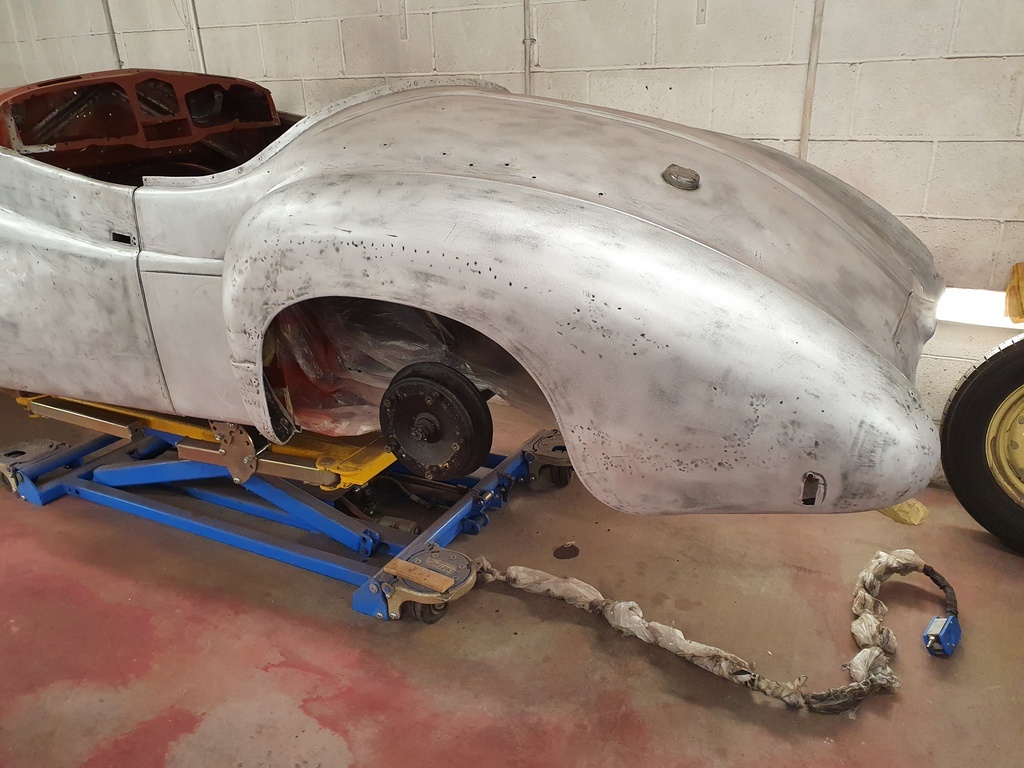 Which fits nicely against the new quarter panel 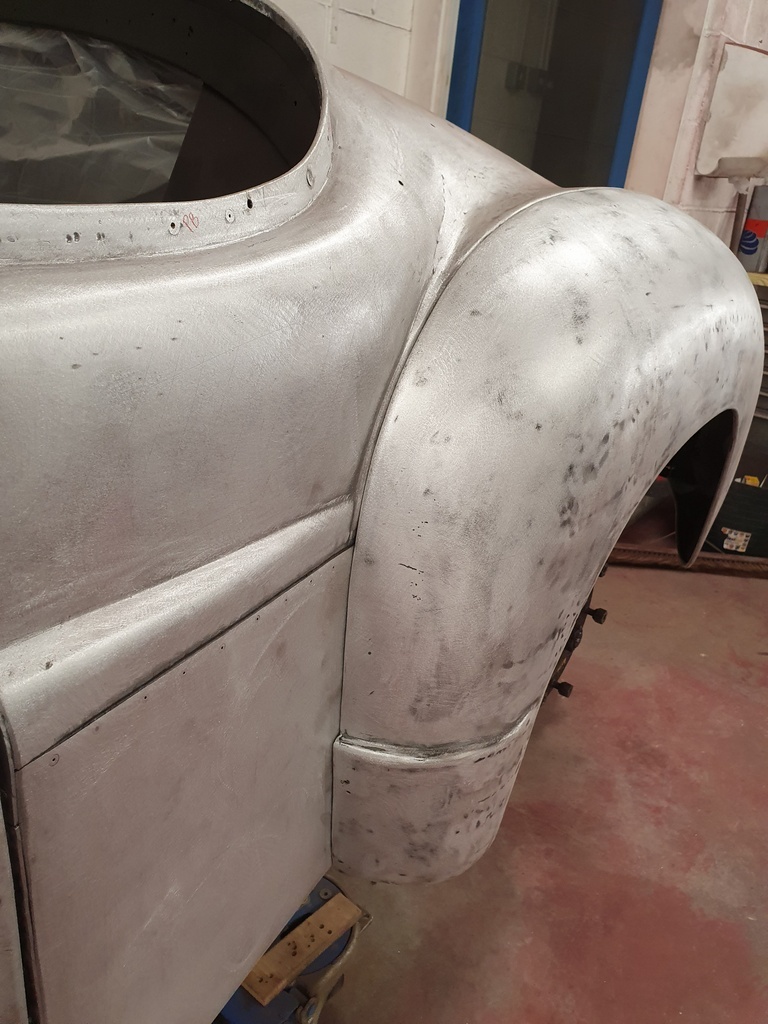 Next on the list was bolt the rear bumper bar irons on to the chassis - at which point I found a sheared mounting on the chassis - I could just access it with the power file but this took forever to grind flat and eventually remove 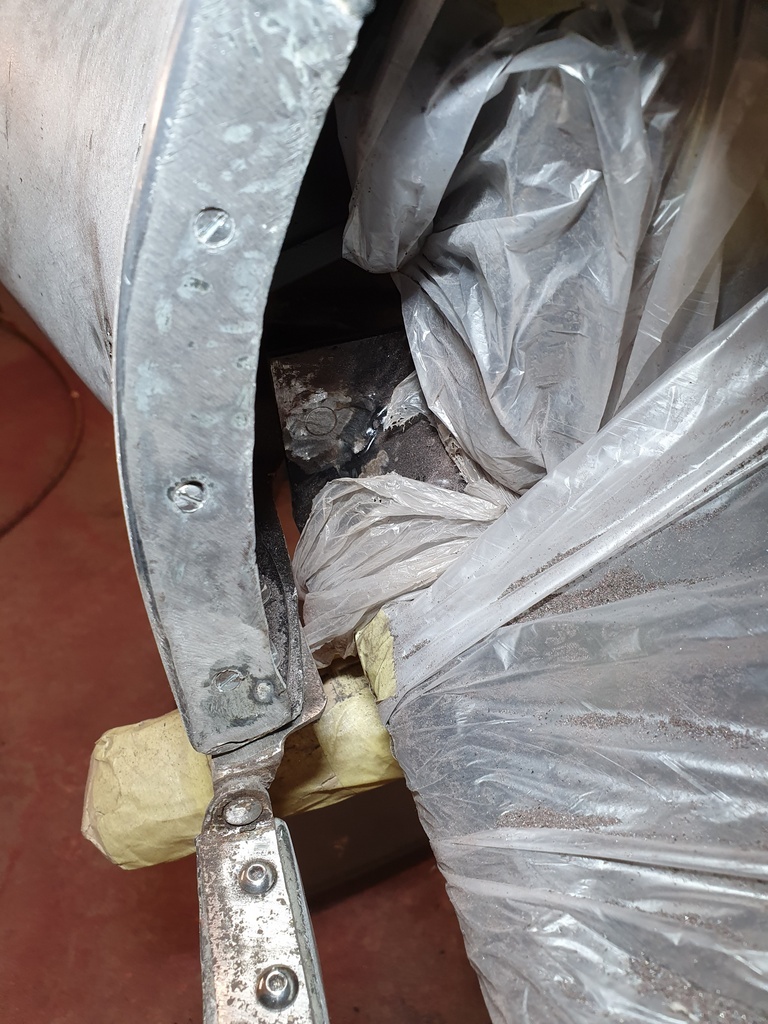 Once removed I could bolt the irons up and trial fit a rear bumper 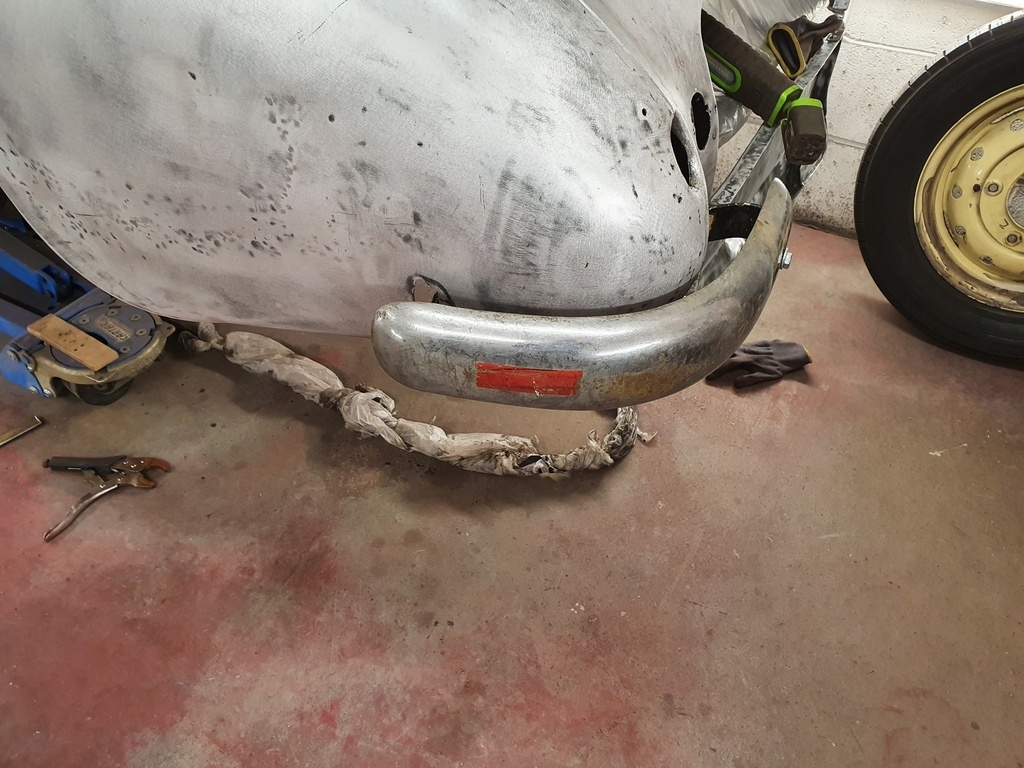 To ensure that sufficient clearance is made on the wing / rear shroud panels 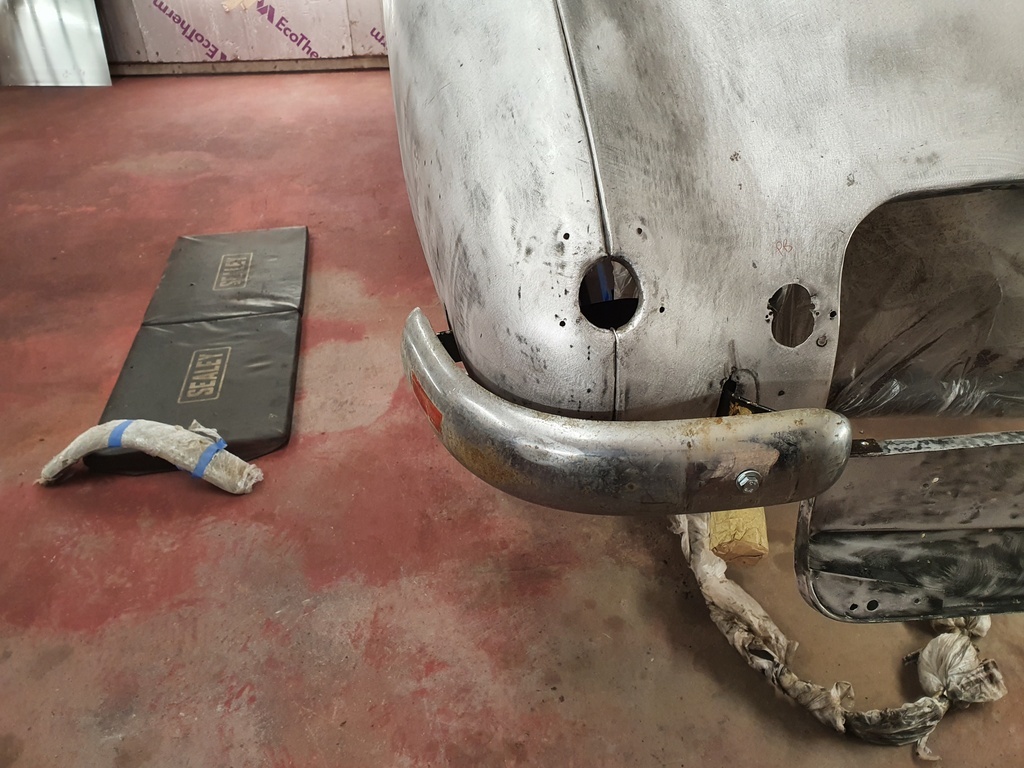 This is a critical point that many restorers miss - failing to dry build / trail fit items that could impact on the panel fit / paint finish - its all too late to discover that something fouls the paint / panels once the car is painted 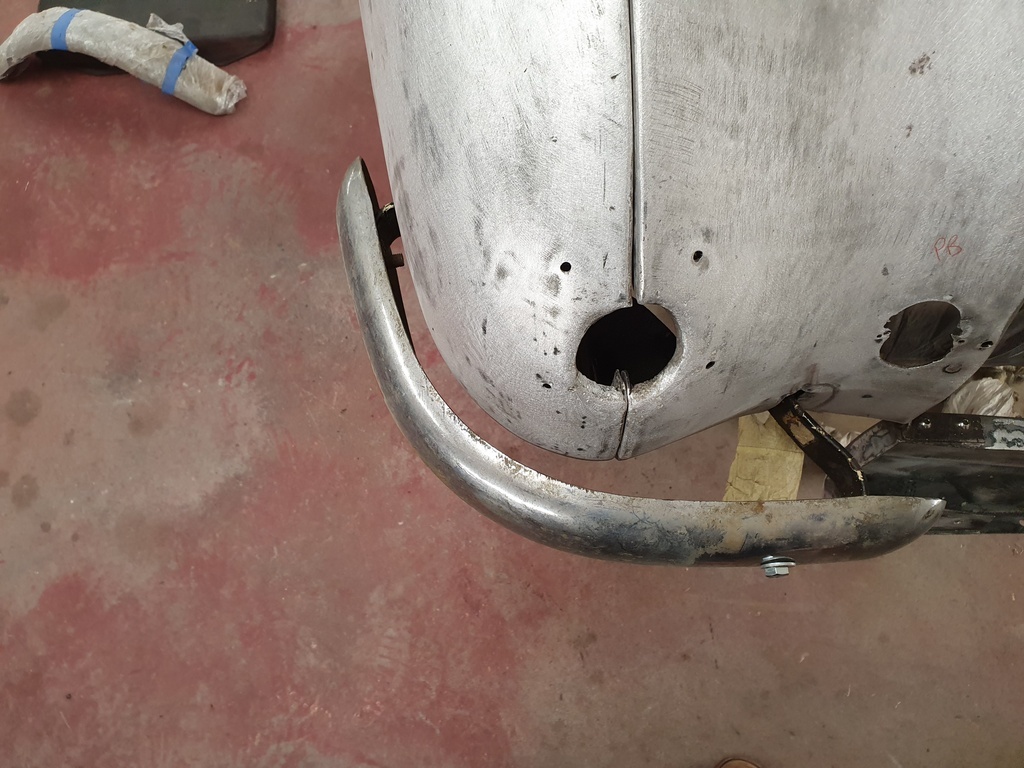 The apertures for the bumper irons had been messed about with over the years and were larger than what they needed to be 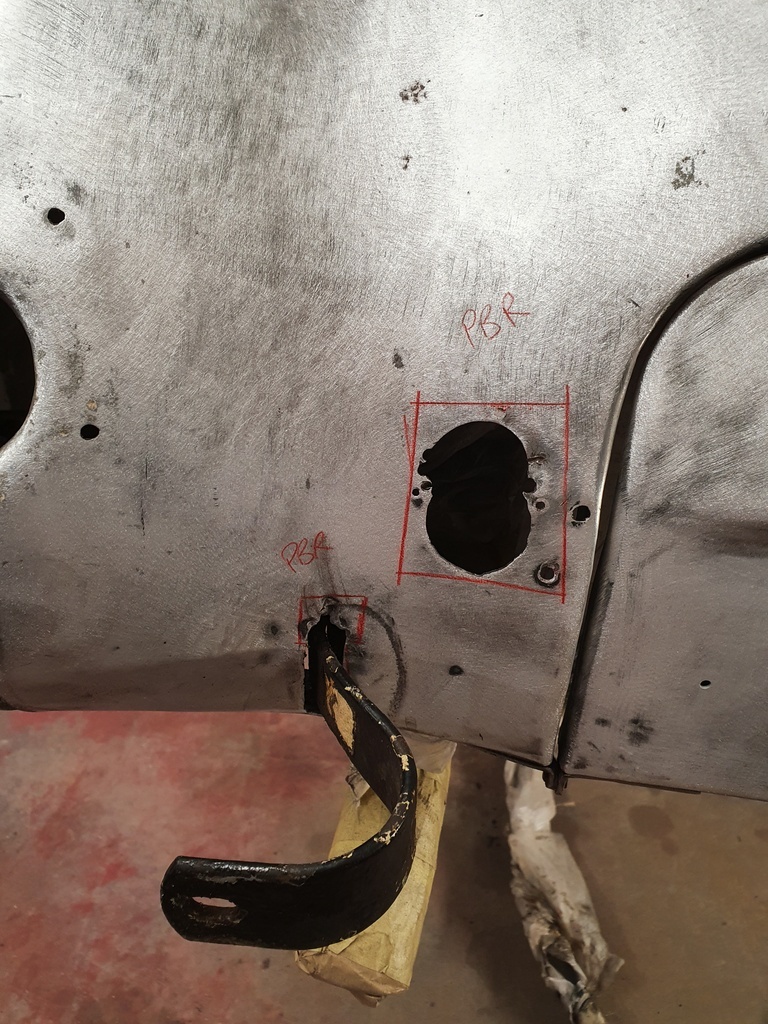 There is grommet that covers the aperture once the car is painted but currently the apertures are oversize for the grommets 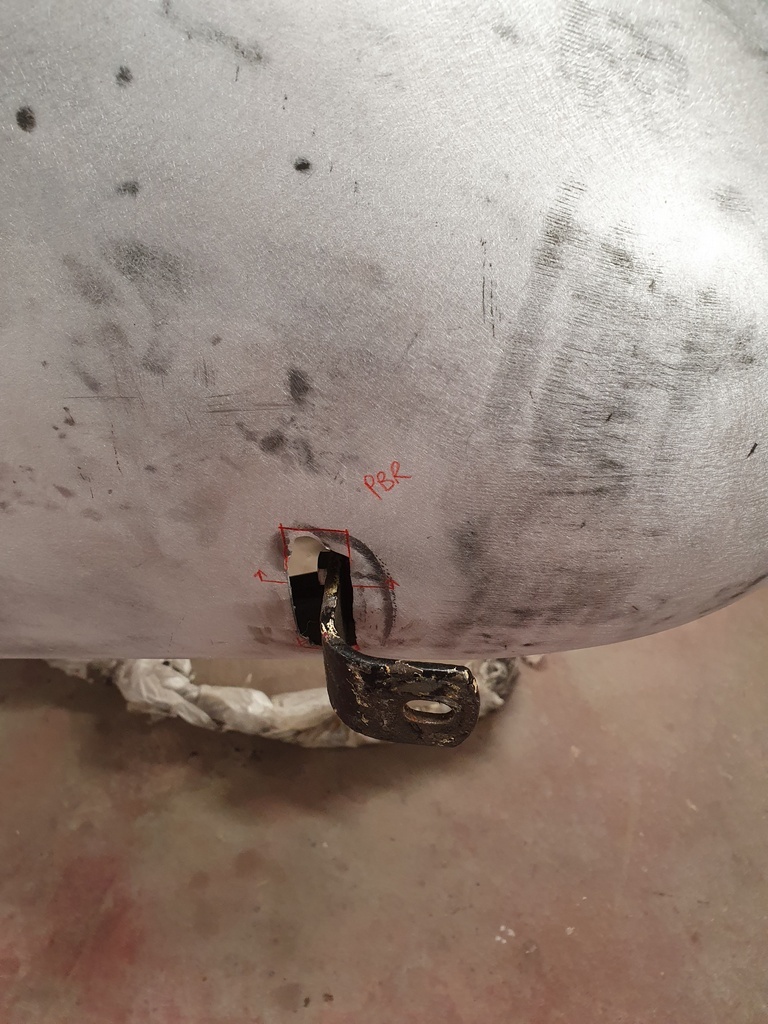 Bonded repairs were cut & profiled as required 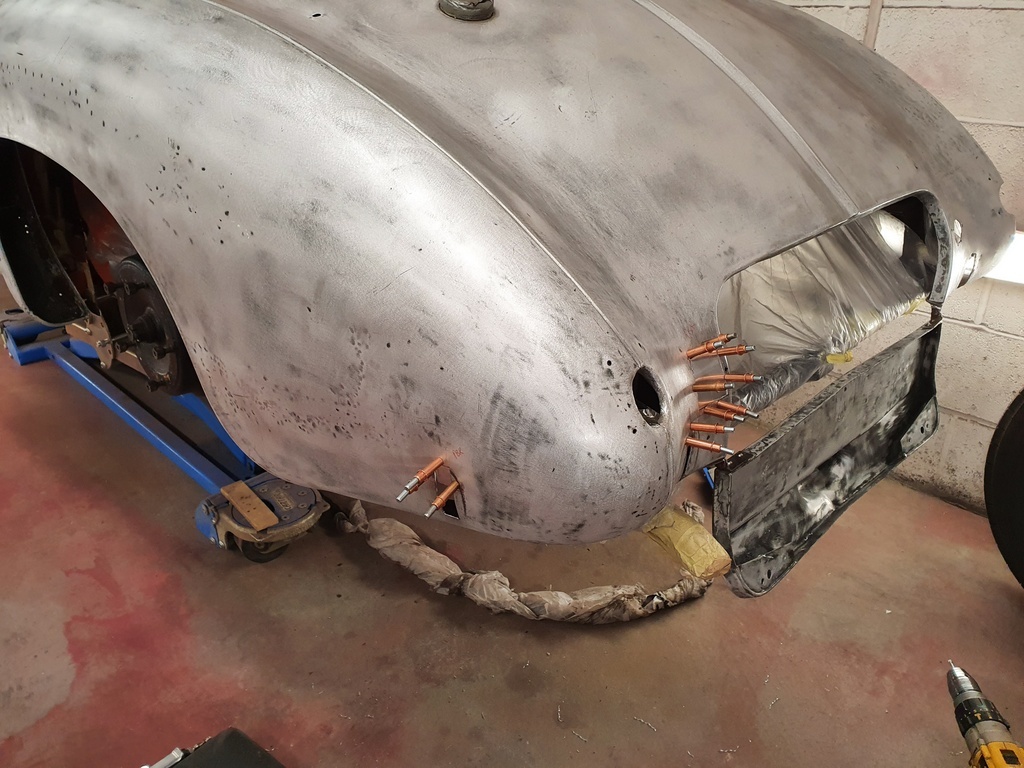 Along with a bonded repair for the lamp aperture that is no longer required in the shroud (the one between the wing and the shroud is factory original and is being retained) More tomorrow |
| |
Last Edit: Jul 3, 2020 19:28:44 GMT by Deleted
|
|
rbs
Part of things
 
Posts: 64 
|
|
|
|
|
Impressive as usual. What is the red primer you use on the new panels you make please?
|
| |
|
|
|
|
|
|
|
|
|
Chris - 1. In this case, why use cleco clips and not countersunk rivets? 2. When you do the other side, can you possibly spare the time to take and post a photo of the prepped hole before the repair plate goes on please to show just how the hole is joggled ready for the bond and repair plate. 3. What thickness of zintec do you normally use for this type of body repair?
As usual, thank you for your help and advice. Your previous comments about the Bilt Hamber Electrox were invaluable.
|
| |
|
|
|
|
|
|
|
Chris - 1. In this case, why use cleco clips and not countersunk rivets? 2. When you do the other side, can you possibly spare the time to take and post a photo of the prepped hole before the repair plate goes on please to show just how the hole is joggled ready for the bond and repair plate. 3. What thickness of zintec do you normally use for this type of body repair? As usual, thank you for your help and advice. Your previous comments about the Bilt Hamber Electrox were invaluable.
Cleco clips are currently on the pre drilled / pre countersunk rivet holes just to hold the repair in place until it gets bonded - I save the bonded repairs up and complete them in a batch so I can make use of one mixing nozzle rather than several The repair is a laminated one which I shall detail with images when it goes together The body panel repairs are alloy not steel - but I use varying thickness of steel / alloy dependant upon the original thickness of the material on the vehicle combined with the strength required - in some cases increasing the strength & amount of welds but you need to be careful - repairing the area of a vehicle beyond its original design strengths can bring many non intended consequences should the vehicle ever be involved in a accident and impacted in the repaired area |
| |
|
|
|
|
|
|
|
|
Thanks. This repair sounds even more interesting than you usual ones. By the way, is there a solvent to clean off any excess panel bond before it cures or is it just a question of sanding down when cured? Sorry about all the questions cluttering up your thread, I should have asked on the body & paint thread.
|
| |
Last Edit: Jul 5, 2020 9:16:24 GMT by Badwolf
|
|
|
|
|
|
|
Thanks. This repair sounds even more interesting than you usual ones. By the way, is there a solvent to clean off any excess panel bond before it cures or is it just a question of sanding down when cured? Sorry about all the questions cluttering up your thread, I should have asked on the body & paint thread. Not a problem in the slightest - excess panel bond can be wiped clean then a little panel wipe on a cloth will remove any adhesive smears - but once cured it can be worked & sanded |
| |
|
|
|
|
|
|
|
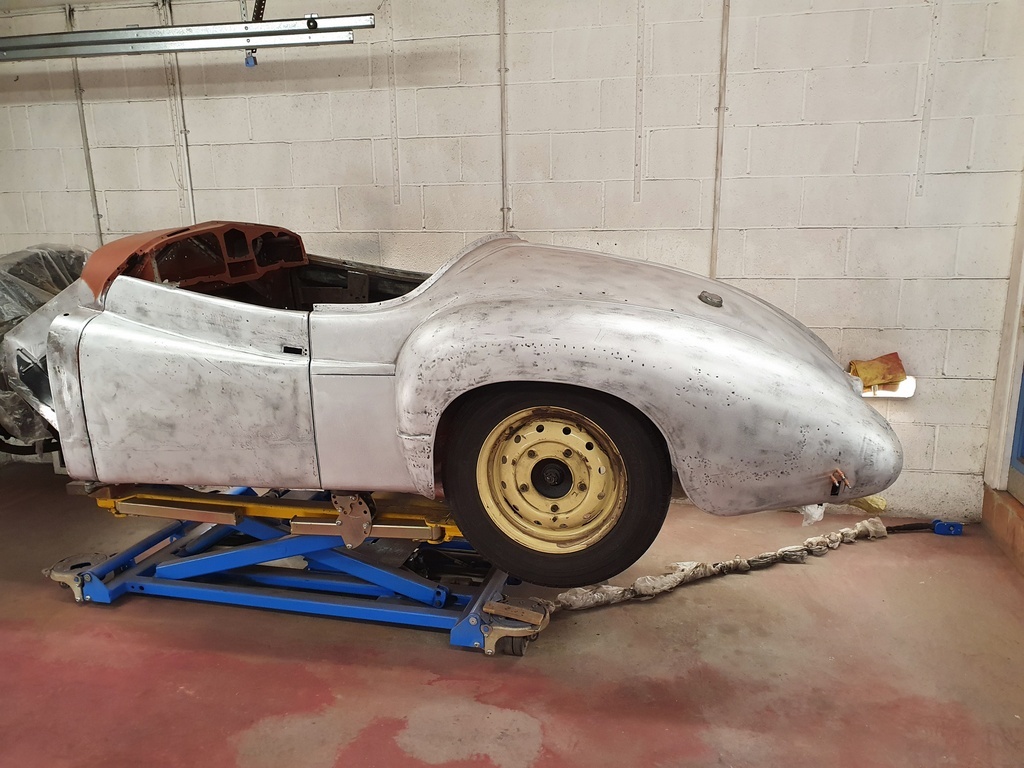 With the nearside door & rear wing virtually ready for profiling I turned the car around to undertake the offside 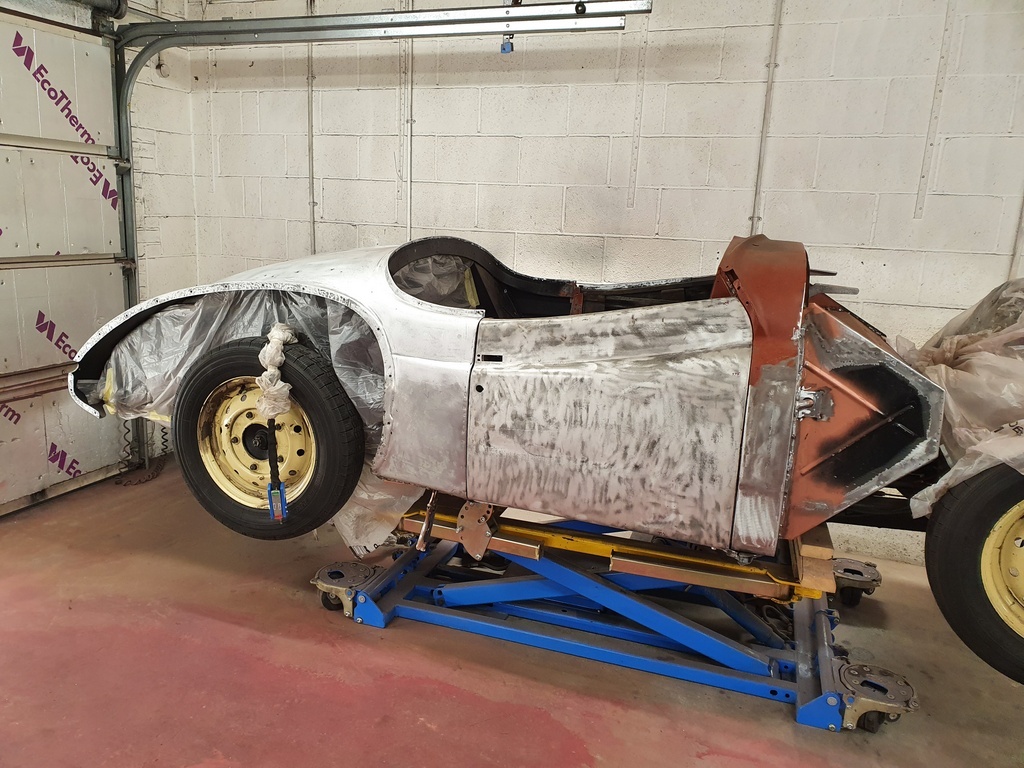 Fist job was achieve a better latched fit on to the door keep on the B post 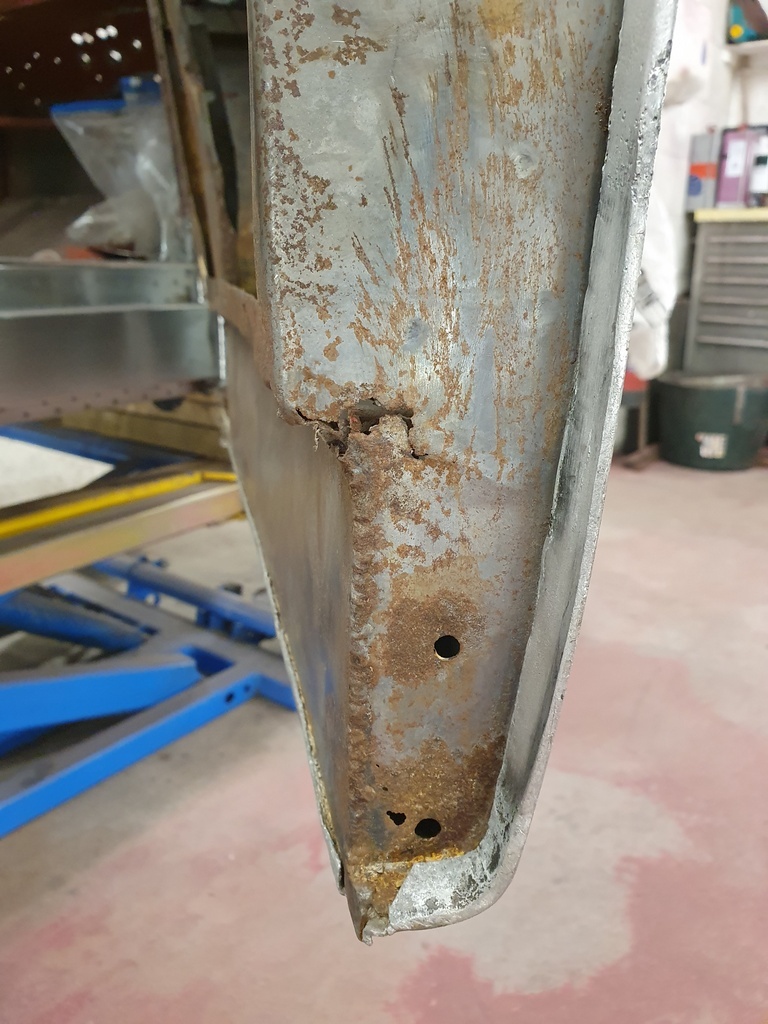 But this previous door repair was fouling upon the the sill and preventing latch fully engaging with the striker plate 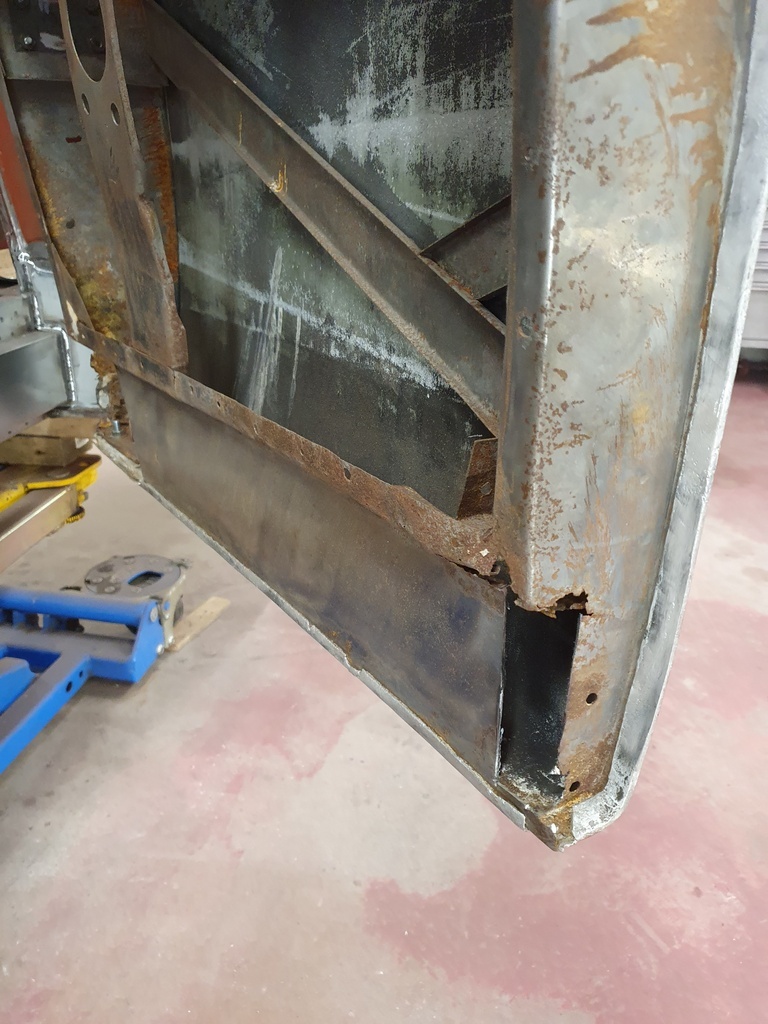 Some dissection later and I had the required fit 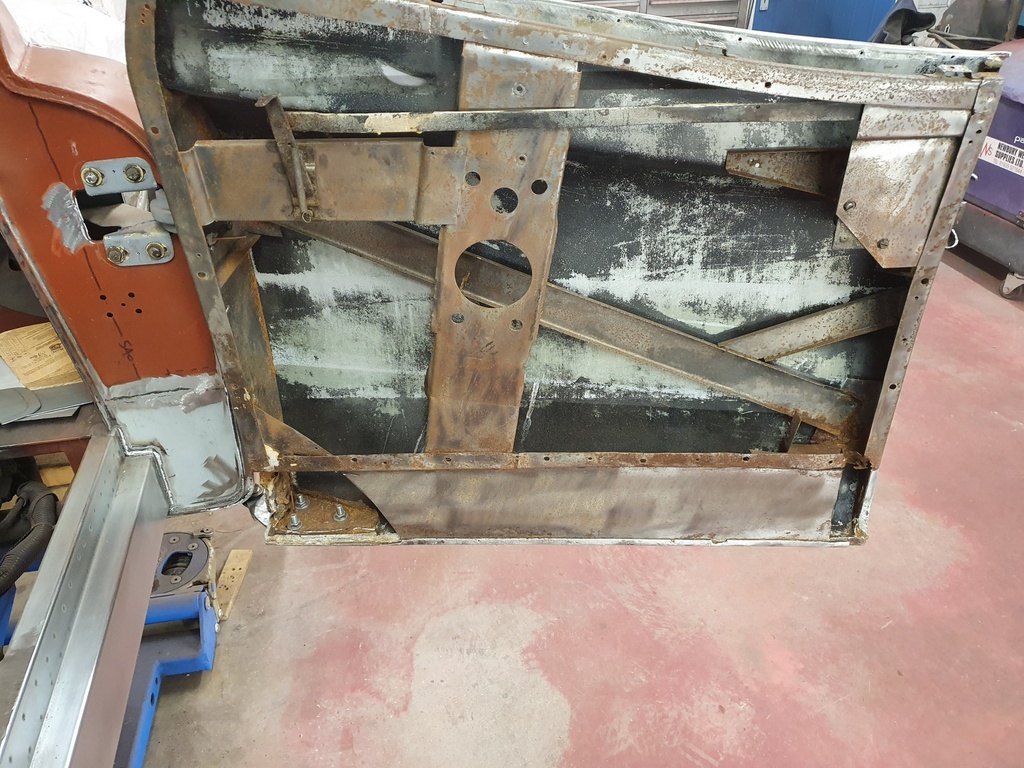 Much like the nearside the lower section of the door frame will require rebuilding 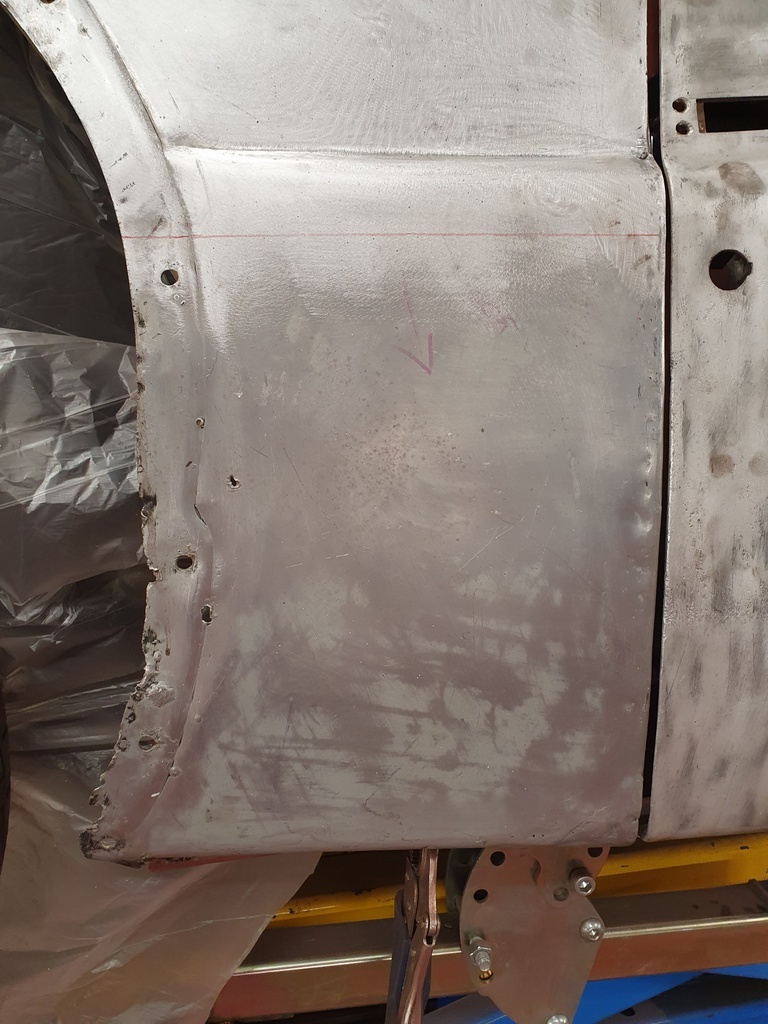 Also following suit with the nearside is the original quarter panel of the rear shroud which is heavily corroded in some areas 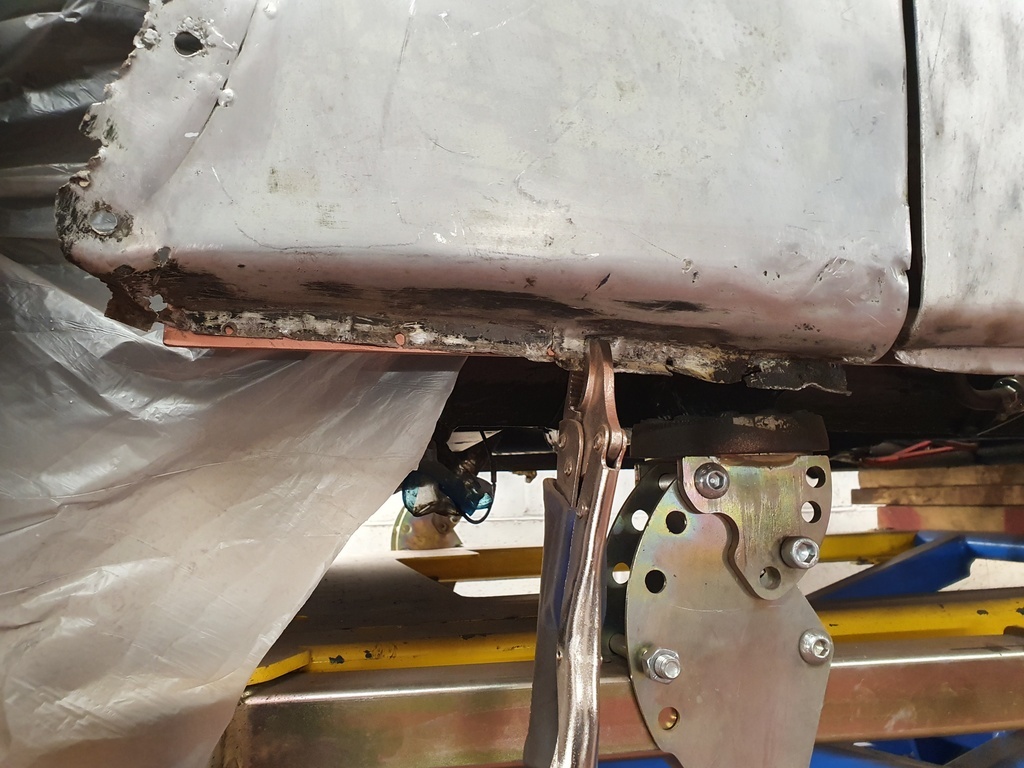 Again I shall replace this from just under the swage line downwards 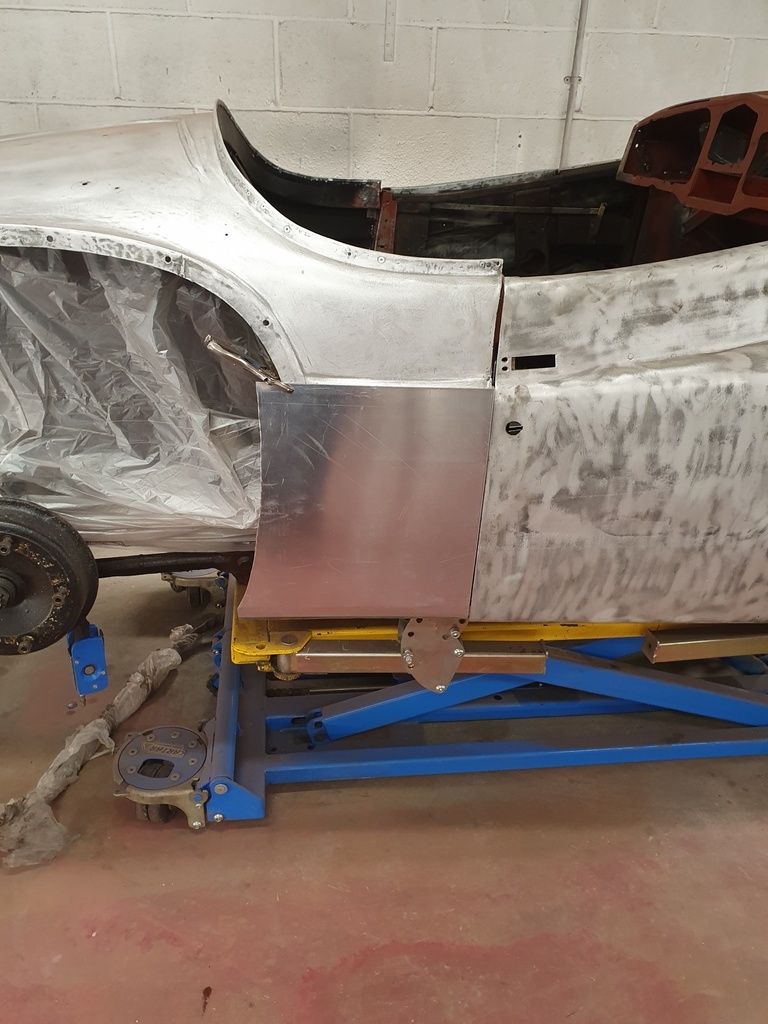 I spent some time forming the basic profile of the panel 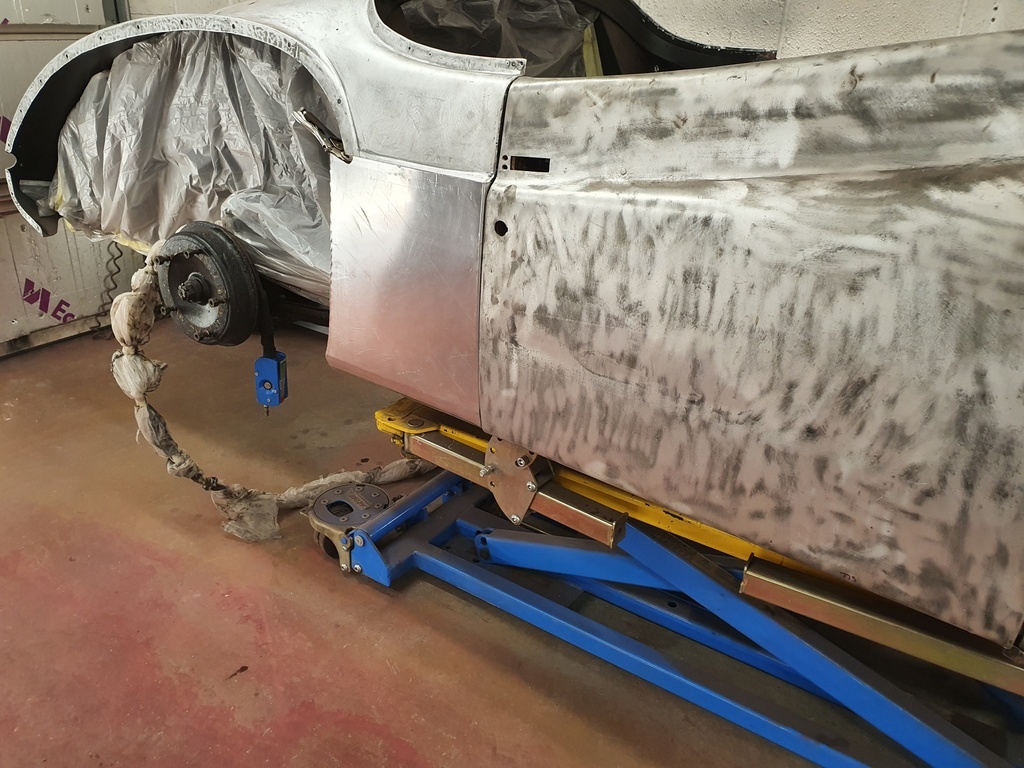 But this still needs quite a bit of work and its a noisy process so that is a job for tomorrow 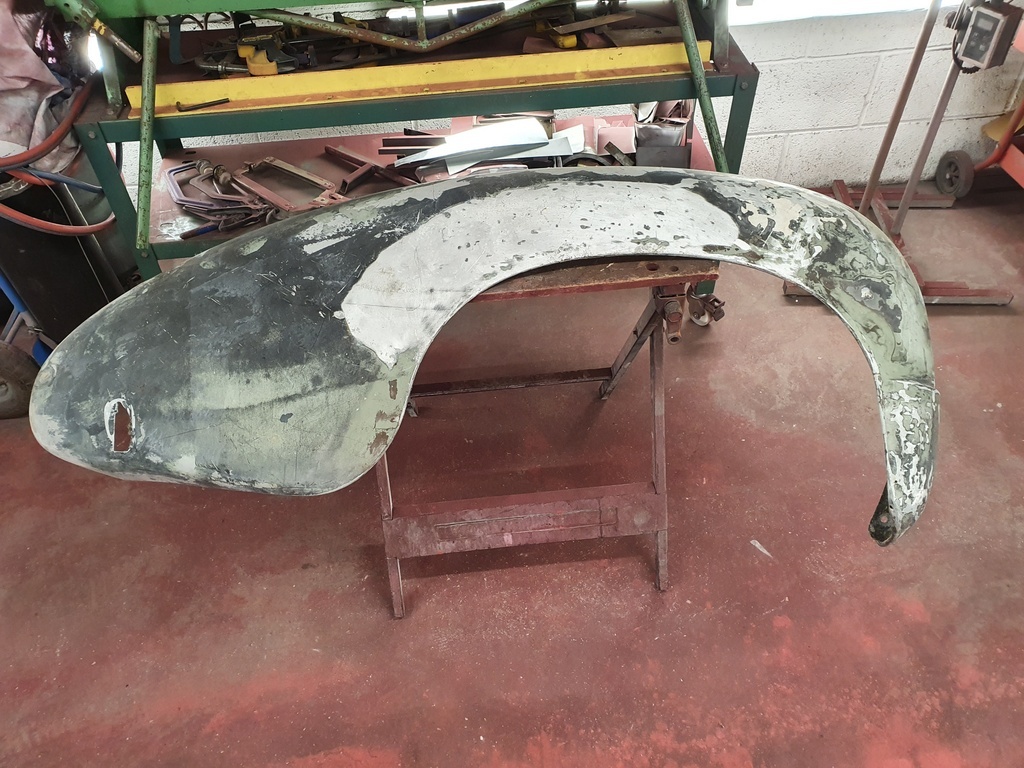 I unearthed the rear wing out of storage and this can start to be cleaned up in preparation for trail fitting & panel repairs More tomorrow |
| |
|
|
|
|
|
|
|
|
|
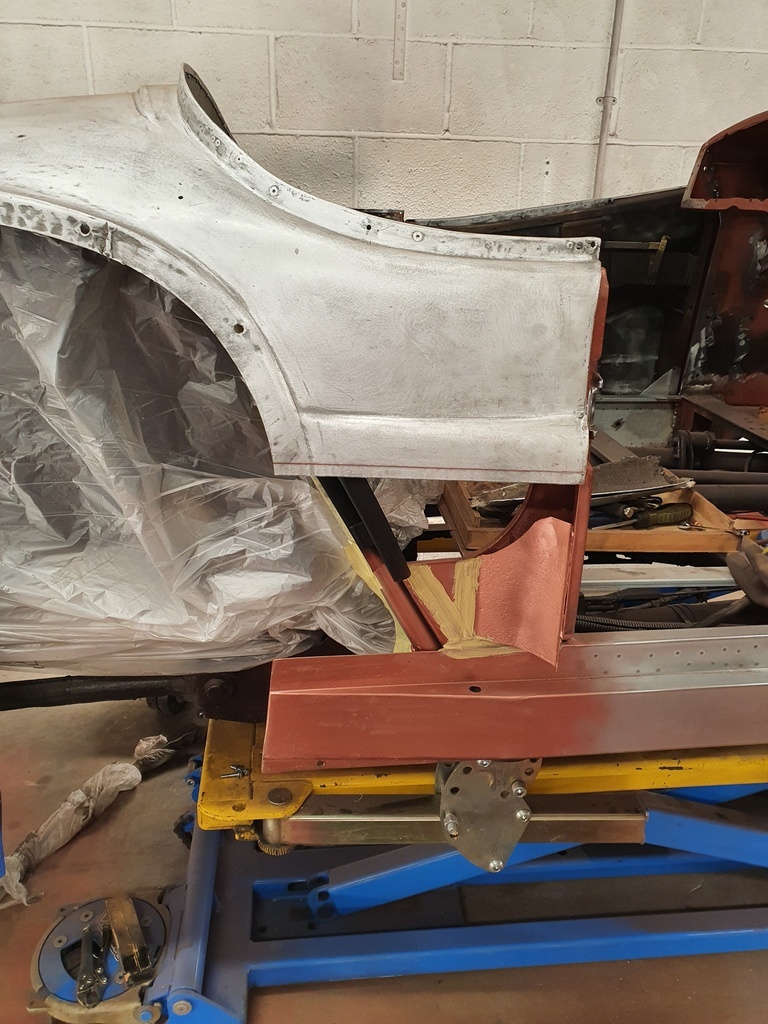 Original offside quarter panel removed 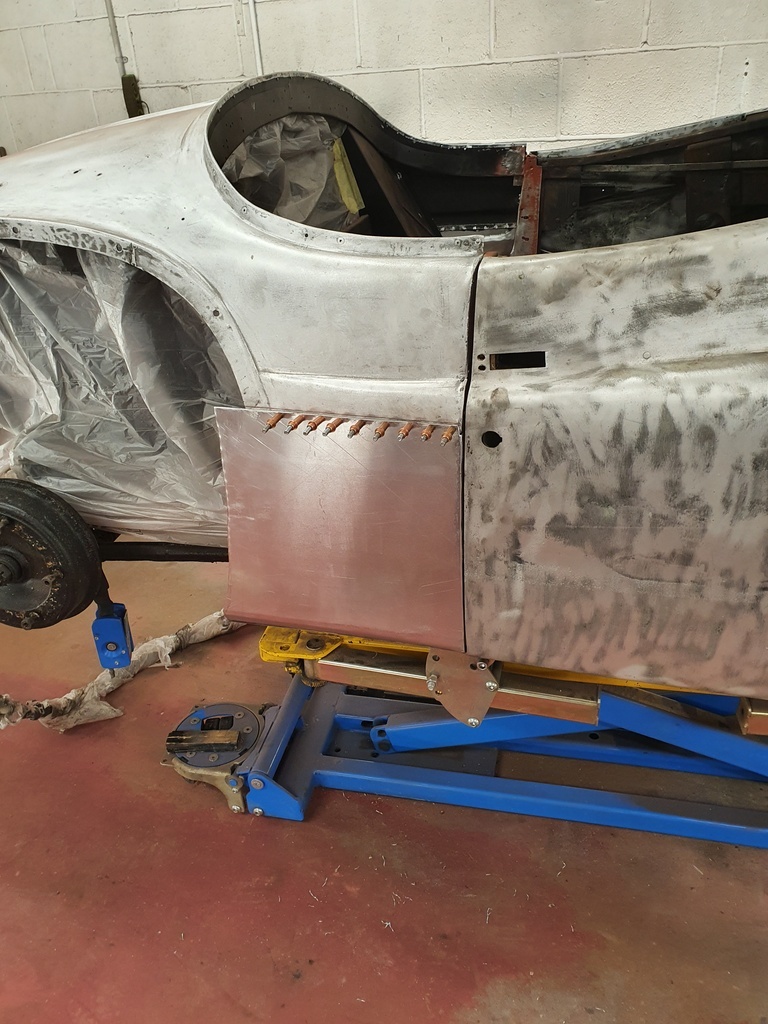 Flange edge formed and the new panel trimmed / refitted 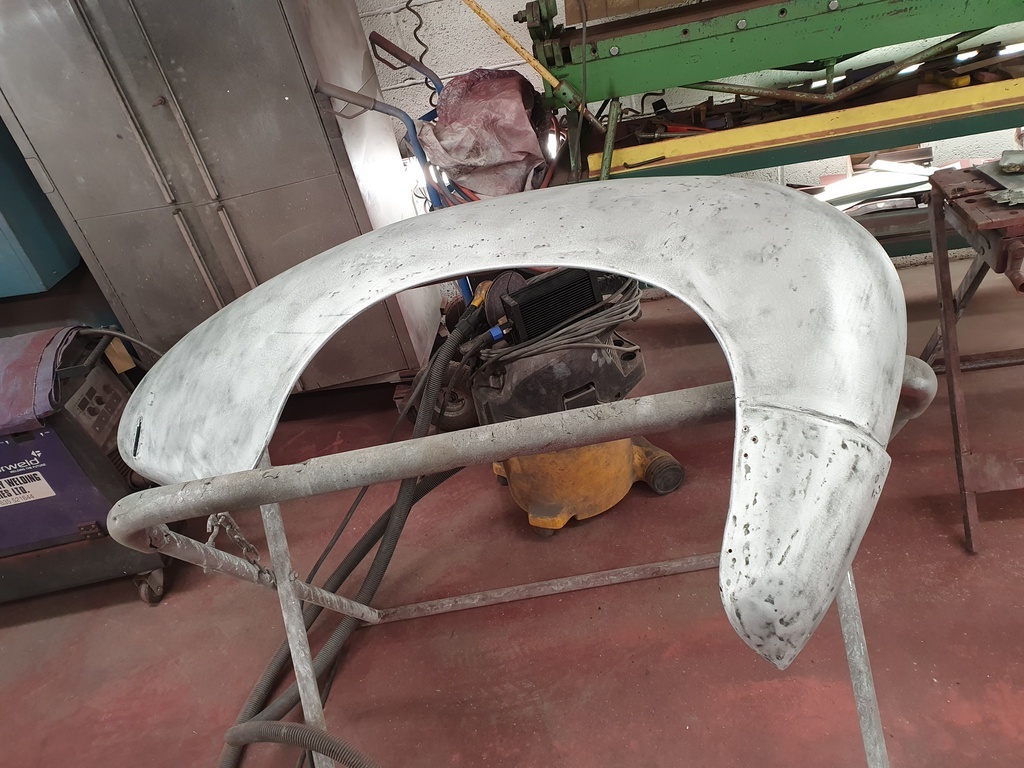 Offside rear wing cleaned up with the DA sander 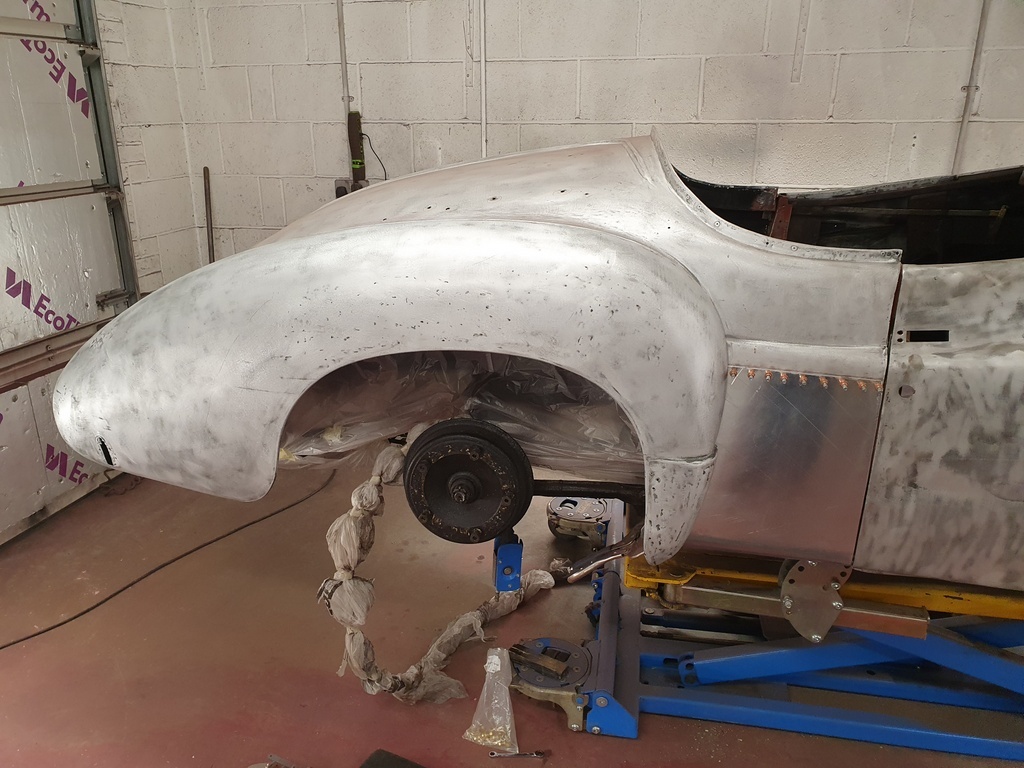 Then trail fitted - the rear quarter was removed / refitted several times along with the wing to trim in & shape the new panel has required 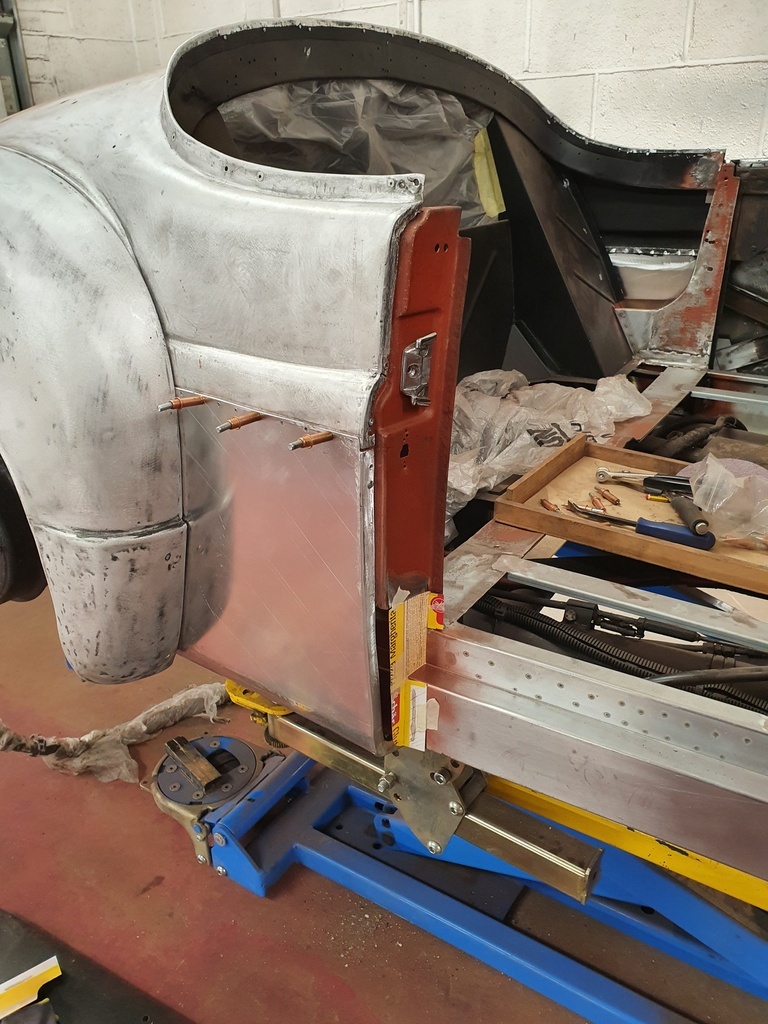 Templating of the bottom section of the B post 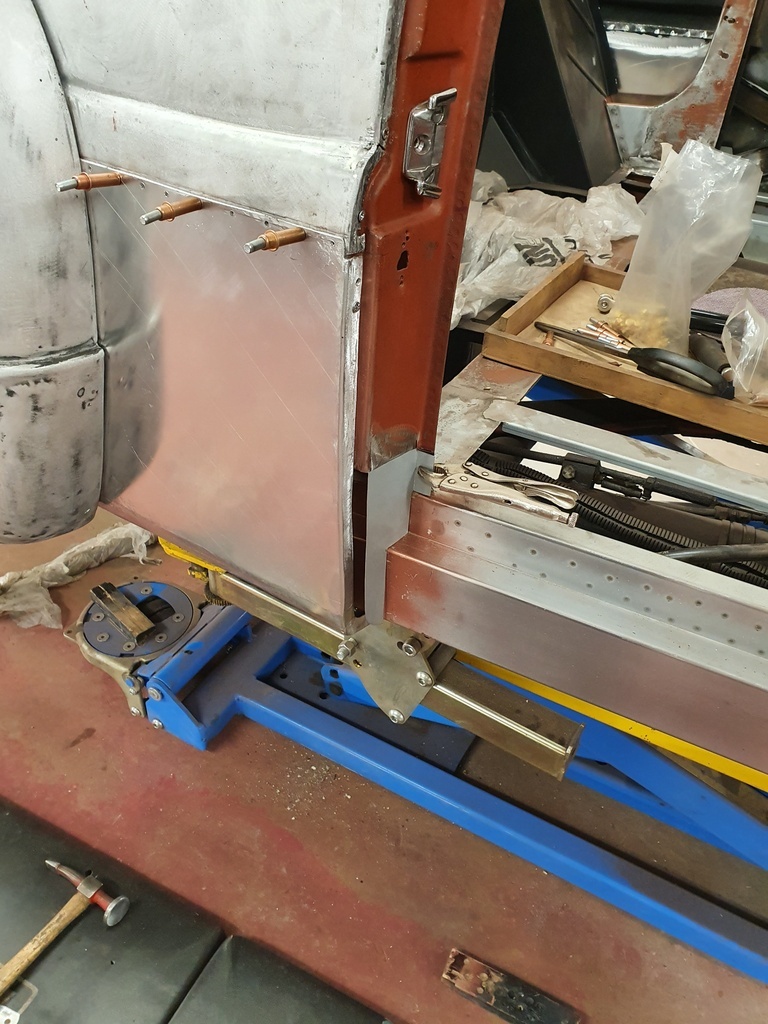 Then transferred to steel sheet & fabricated - I still have the lipped edge to form & weld it to the repair section before it can be welded into the B post More tomorrow |
| |
Last Edit: Jul 7, 2020 20:11:23 GMT by Deleted
|
|
|
|
|
|
|
|
Impressive progress - as ever! It does make our(my) efforts pale into insignificance.....
|
| |
|
|
|
|
|
|
|
Impressive progress - as ever! It does make our(my) efforts pale into insignificance..... Phil - Surely not !! |
| |
|
|
Norman
Part of things
 
Posts: 449 
|
|
|
|
|
Hi Chris, I see you are using the same cad program i use! I had said to my son i was using cad, he said had a bought a program for my computer as he uses it at work. I said no, the cad program i have is cardboard aided design. He raised his eyebrows as if to say i should have known better. Keep up the good work. Norman
|
| |
|
|
|
|
|
|
|
Hi Chris, I see you are using the same cad program i use! I had said to my son i was using cad, he said had a bought a program for my computer as he uses it at work. I said no, the cad program i have is cardboard aided design. He raised his eyebrows as if to say i should have known better. Keep up the good work. Norman Hi Norman - Sometimes the the only thing that this car restoration thing requires is a simple solution  |
| |
|
|
|
|
|
|
|
Latest progress 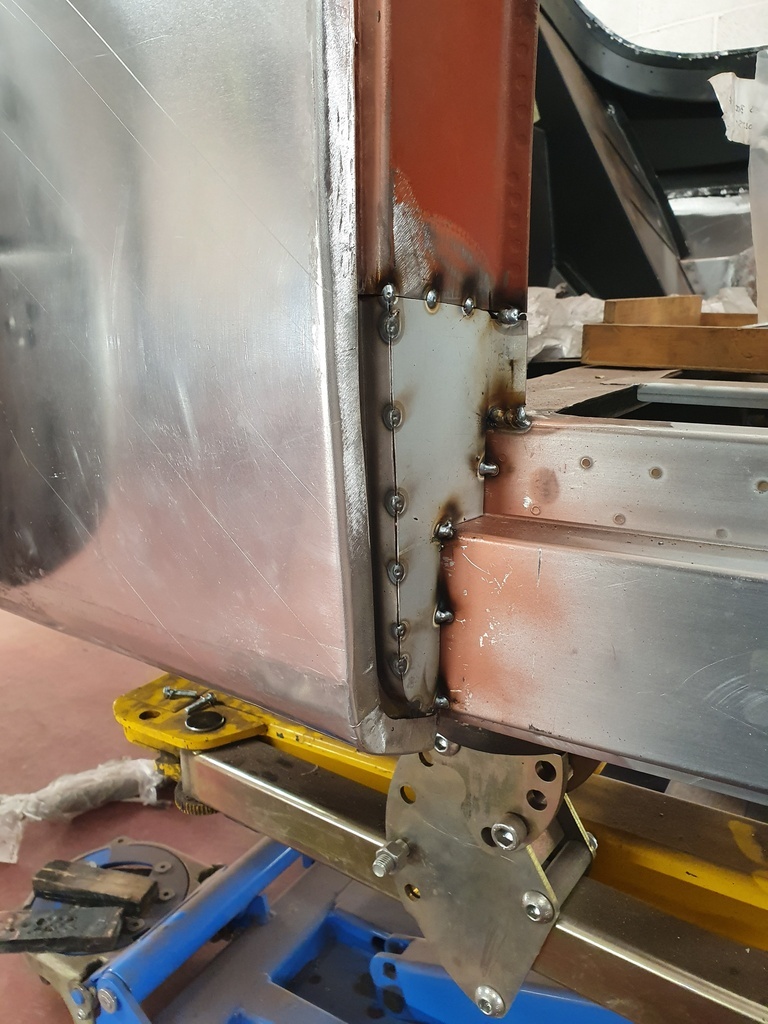 B post repair going together 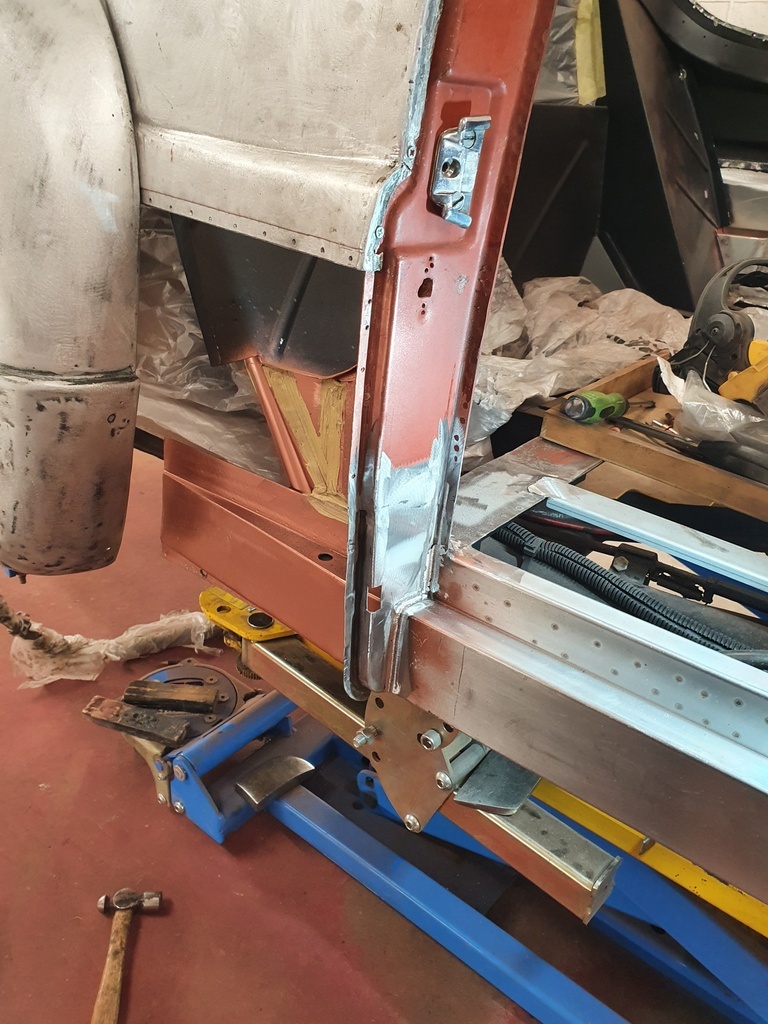 Finished - complete with aperture for the door buffer 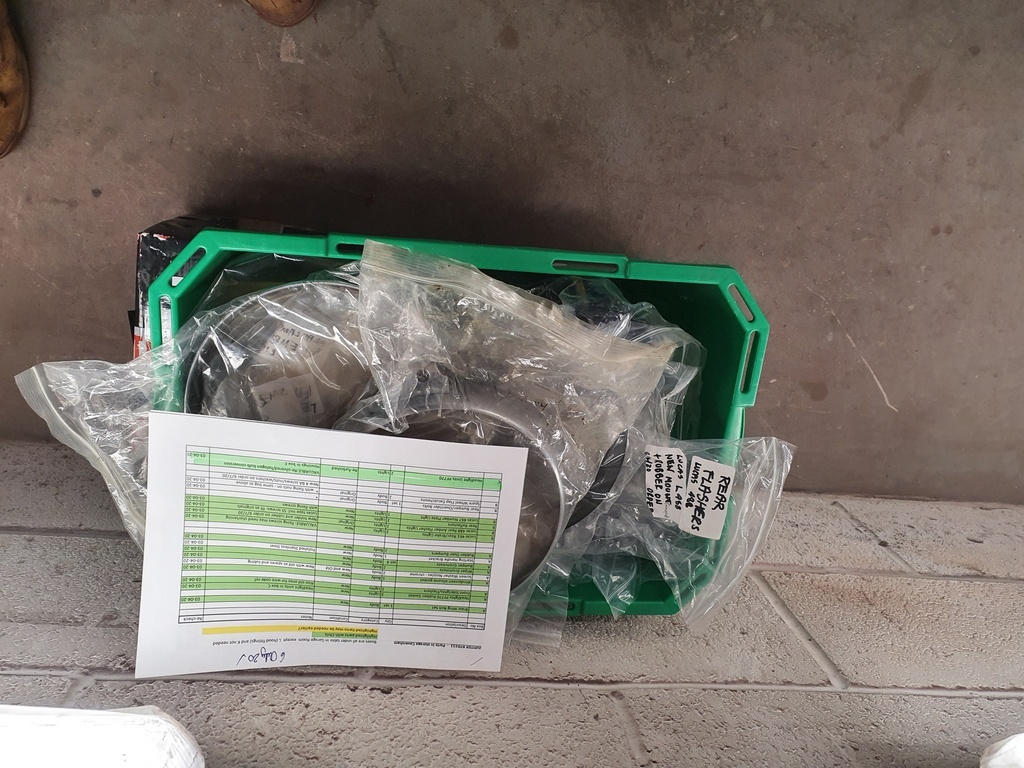 Garth whom owns the car paid a visit to view progress but also deliver some of the fittings to enable trial fits has the panel work gets rebuilt 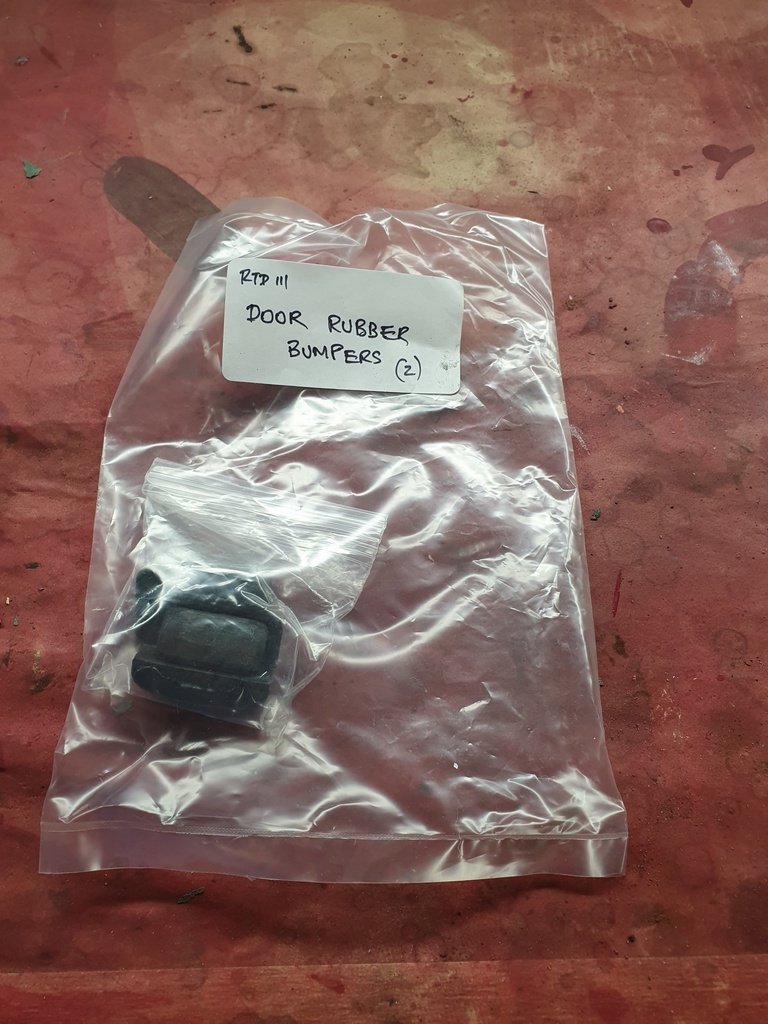 I wish everyone was this well organised 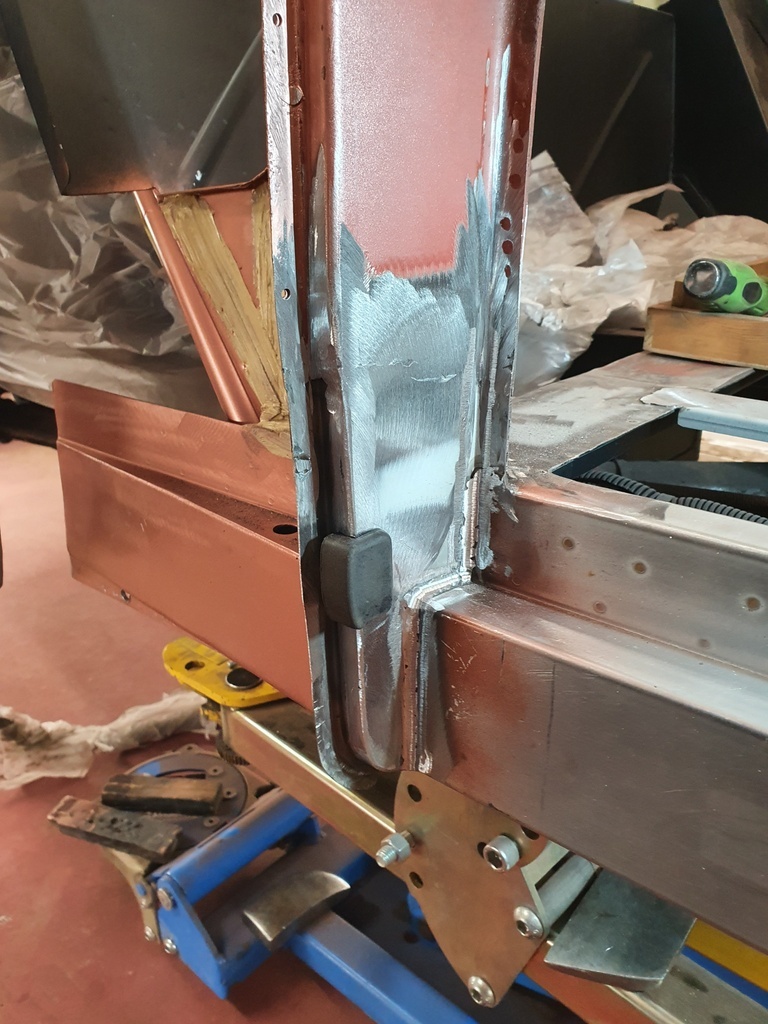 Fits like so 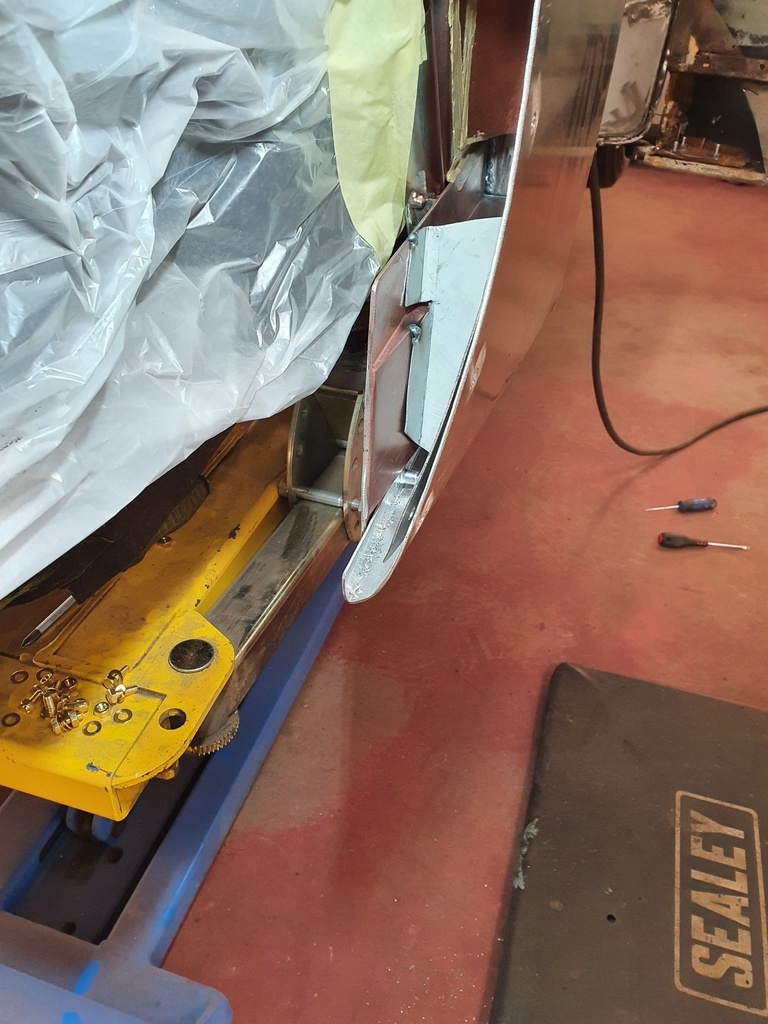 With the quarter panel refitted I went about fabricating the support brace 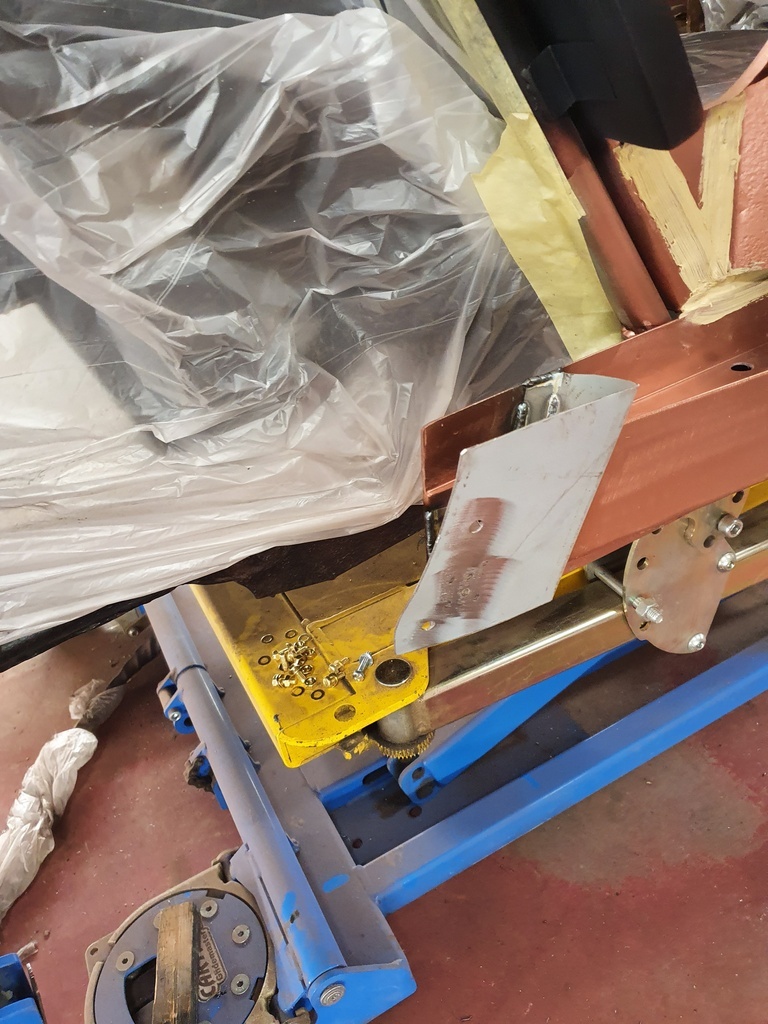 Welded in situ 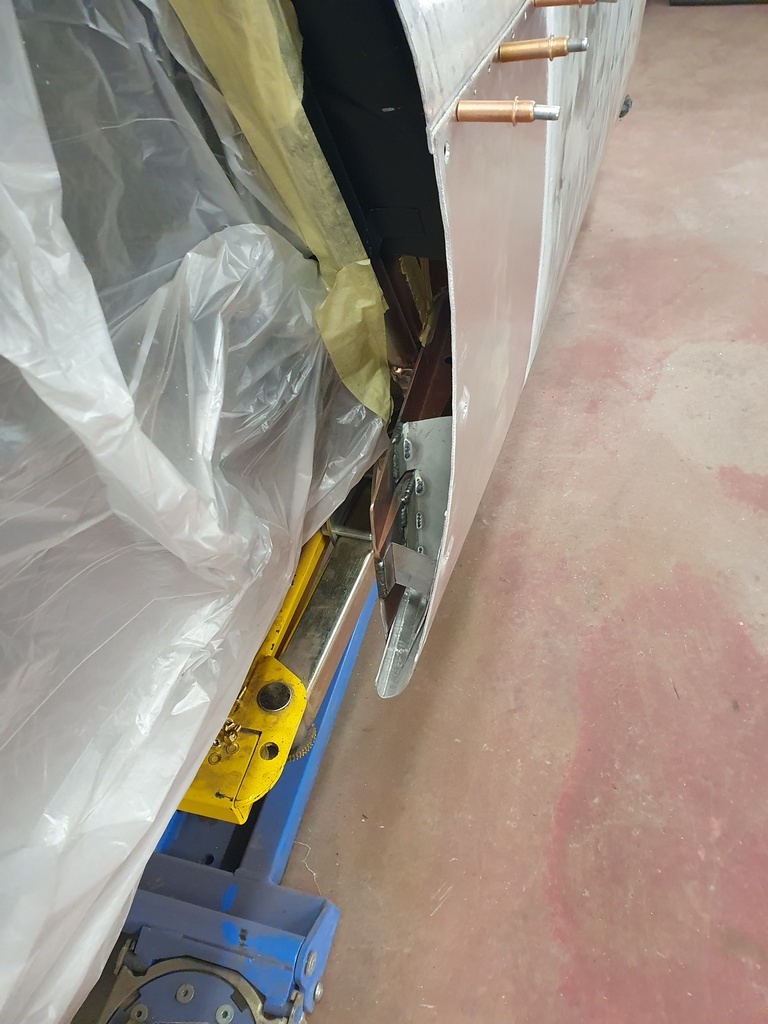 This provides support for both the quarter panel & the front leading edge of the rear wing 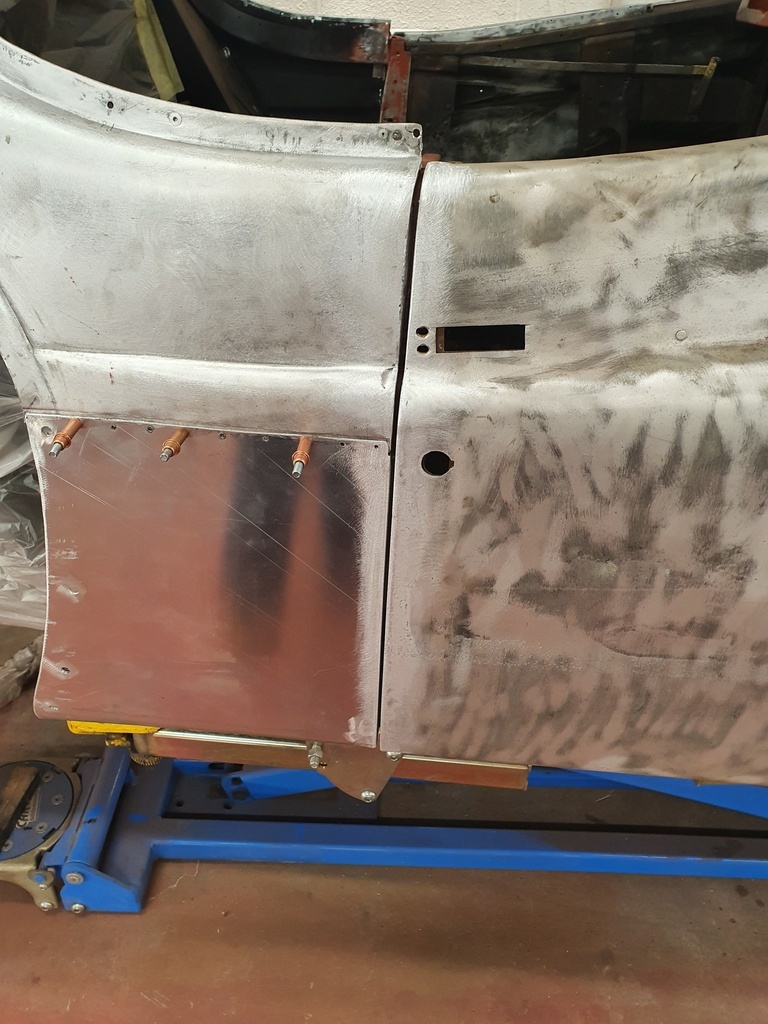 Spent quite some time working the aperture gapping for the rear of the offside door 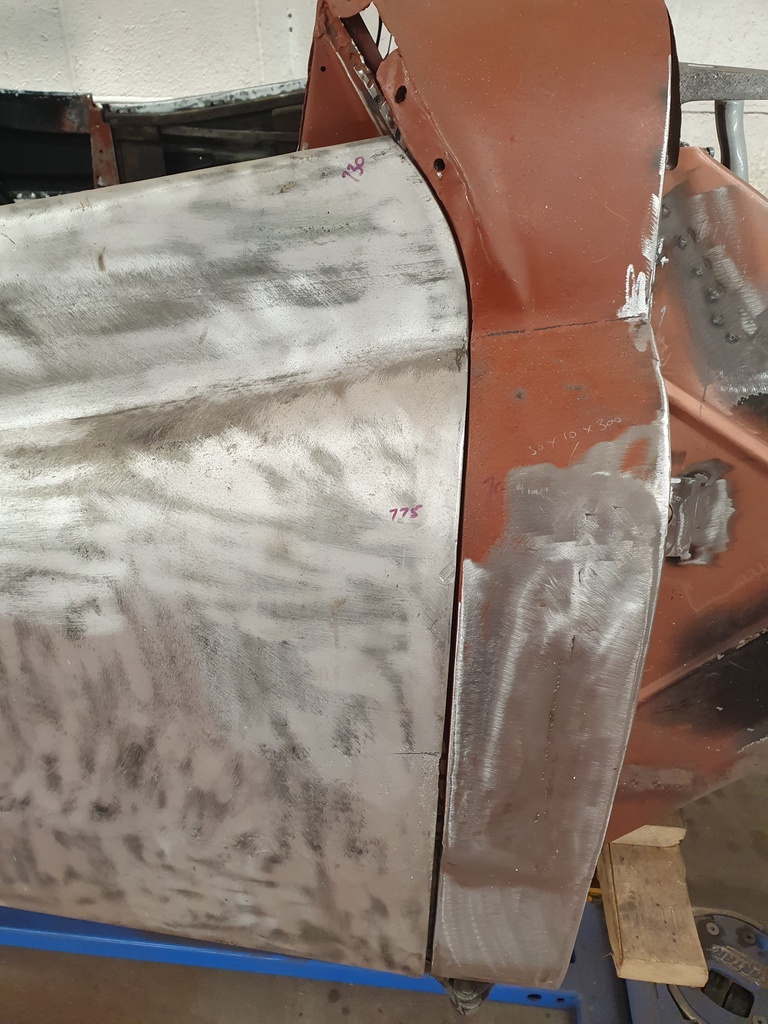 But still some way to go in order to balance the front gapping |
| |
Last Edit: Jul 9, 2020 19:38:11 GMT by Deleted
|
|
eurogranada
Europe
To tinker or not to tinker, that is the question...
Posts: 2,556
|
|
|
|
|
Is that rear panel support brace your own addition or a true recreation of the original that needed replacing? Just wondering...
|
| |
|
|
|
|
|
Jul 10, 2020 11:21:36 GMT
|
Is that rear panel support brace your own addition or a true recreation of the original that needed replacing? Just wondering... Alex - There was a factory one but it was quite flimsy and rotted out petty quickly - the one I have fitted is of my design and far stronger |
| |
|
|
|
|
|
Jul 10, 2020 12:09:54 GMT
|
|
I know its misleading timescale wise when we get an update and pictures but this does seem to be roaring along now, fingers crossed its not going to throw any curved balls!
|
| |
|
|
|
|
|
Jul 22, 2020 21:20:49 GMT
|
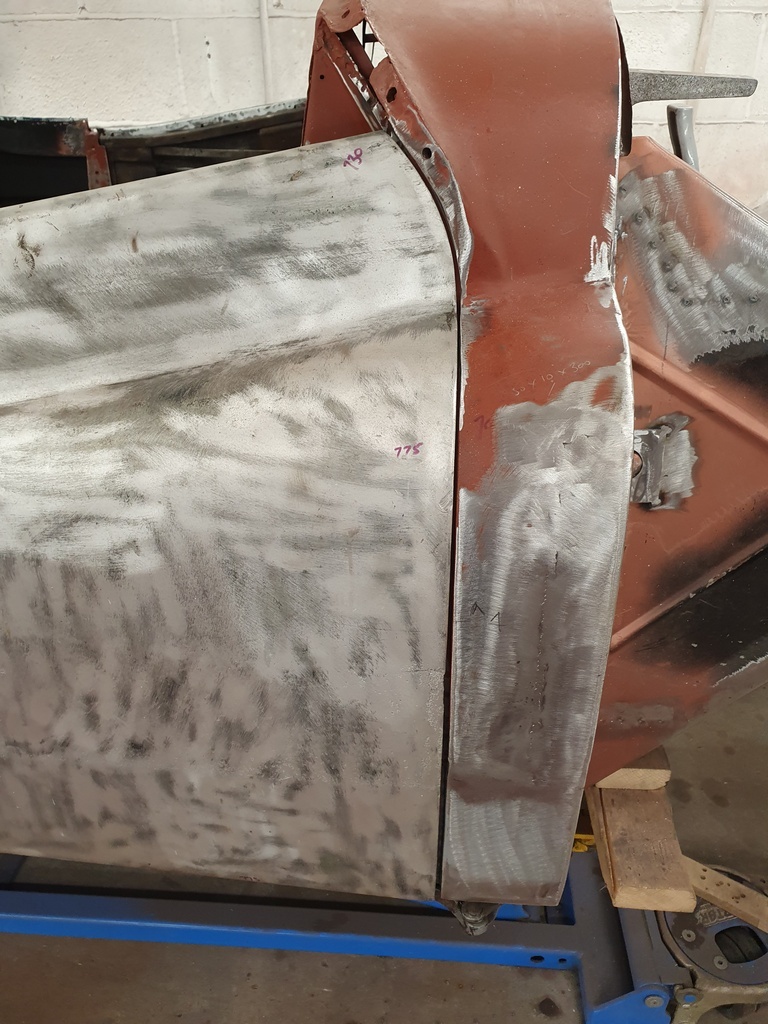 I wanted to balance the door aperture gapping at the front prior to removing the door for frame repairs 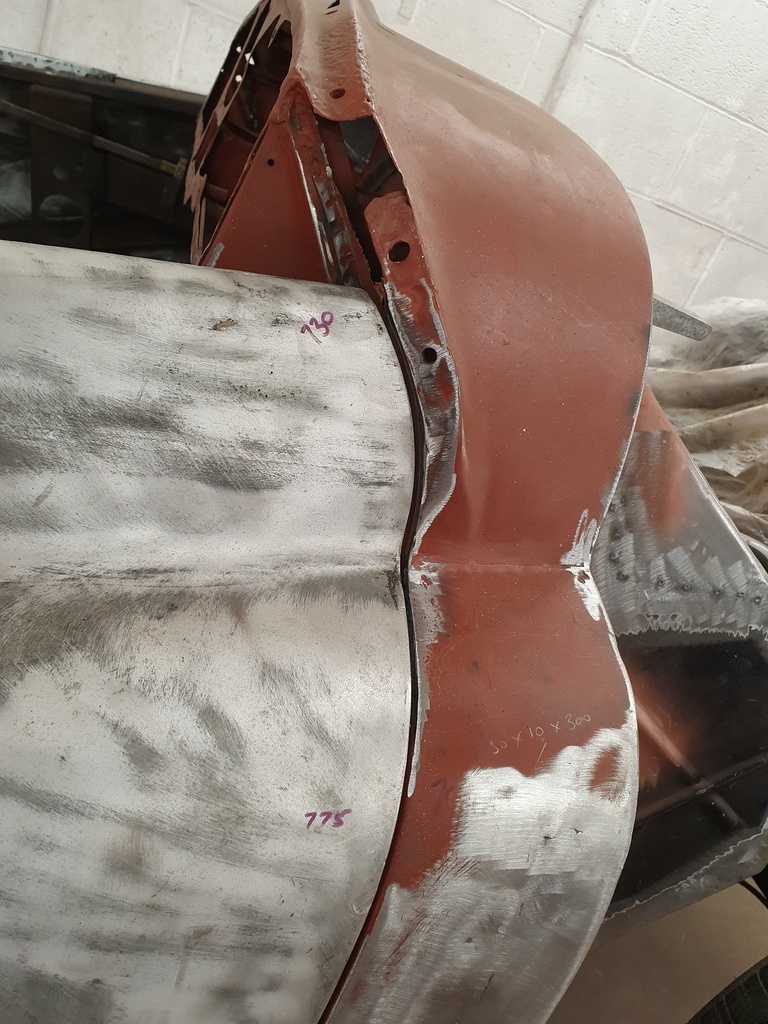 Just a matter of working both the door & the A post to achieve the correct aperture gap - 5mm is my target but this will reduce to nearer 4mm once the panels are primed & painted 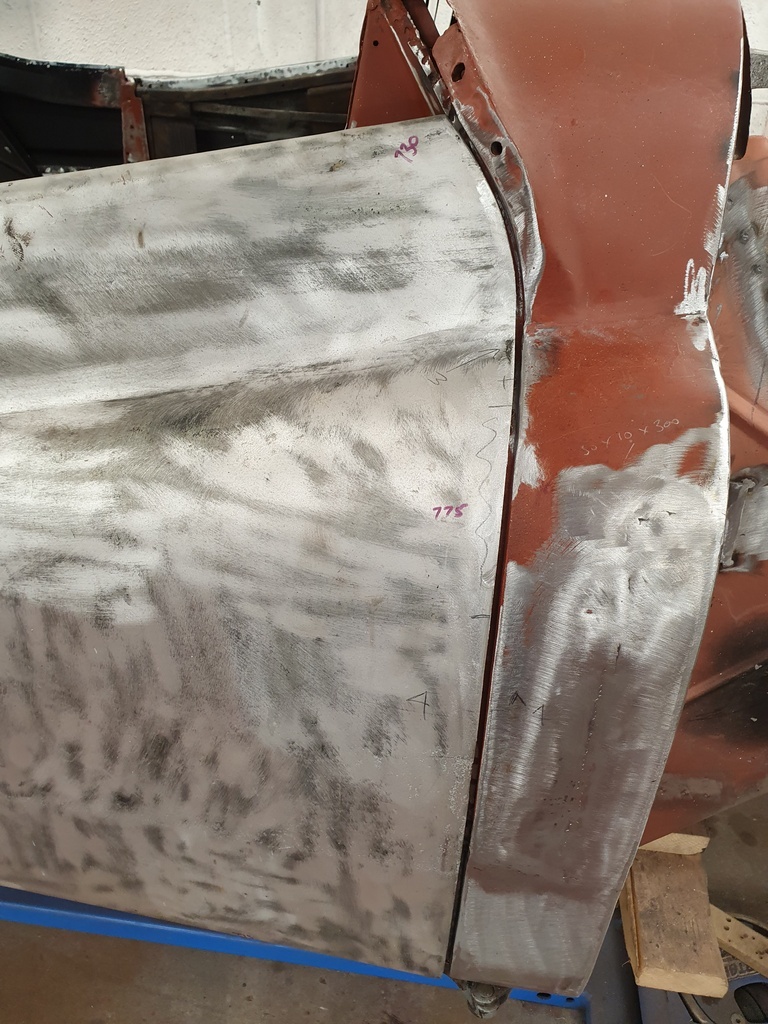 The rear edge I have already largely completed 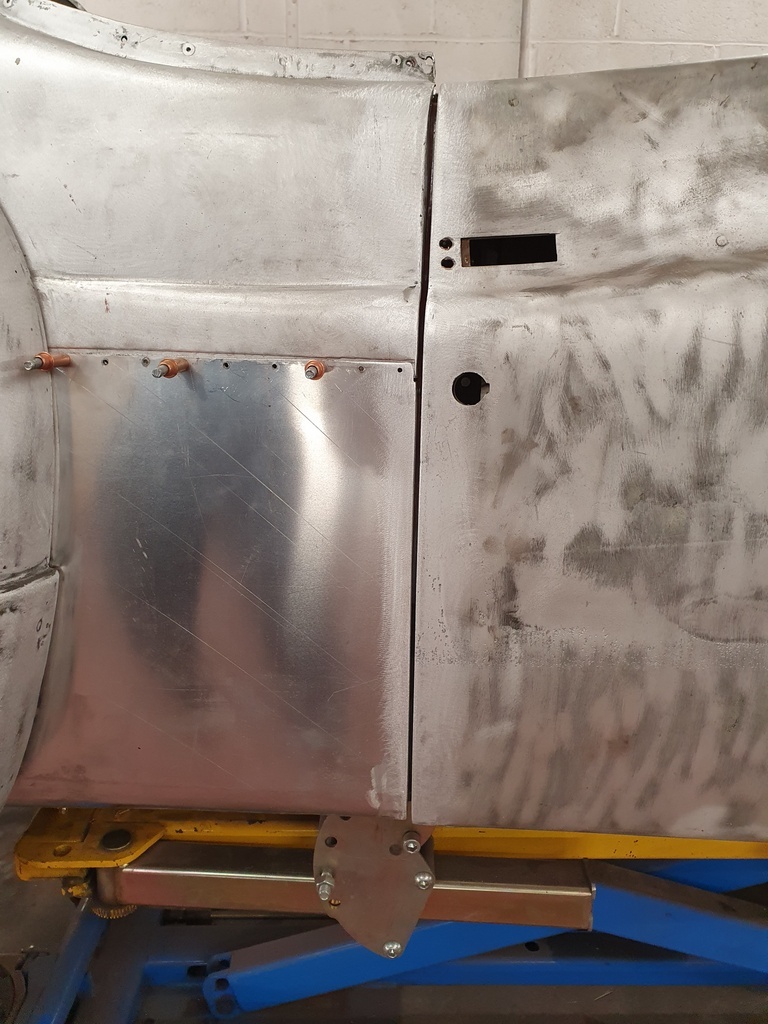 All the gapping will receive minor tweaks once I have all of the car repanelled 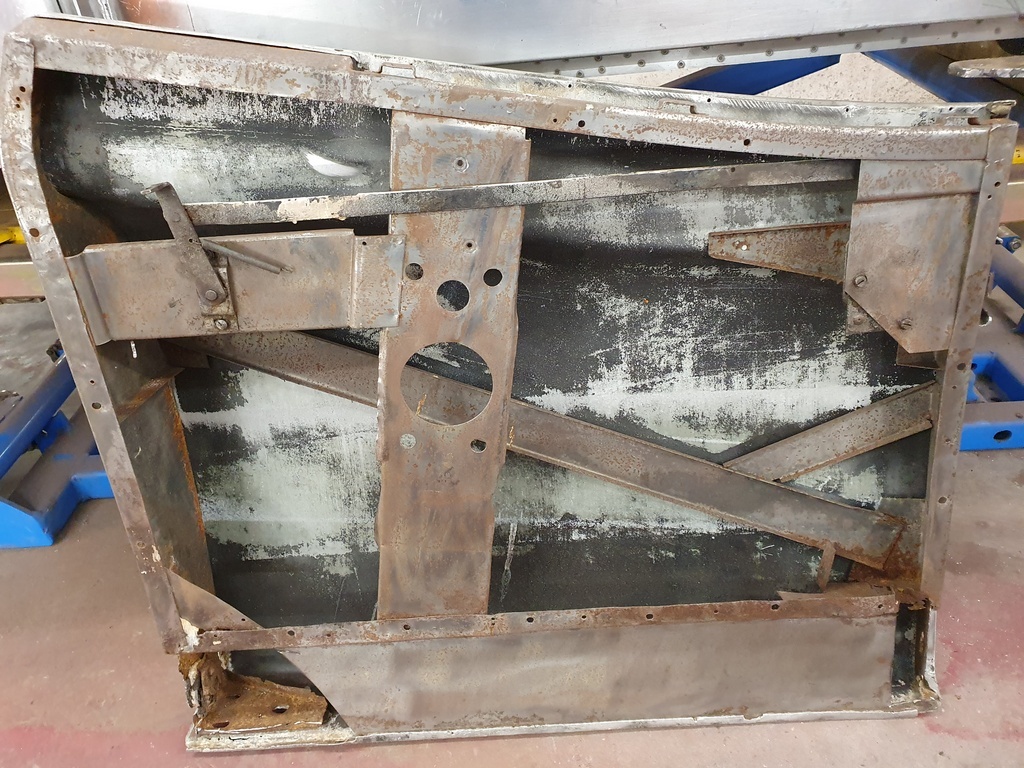 Now the door can be removed 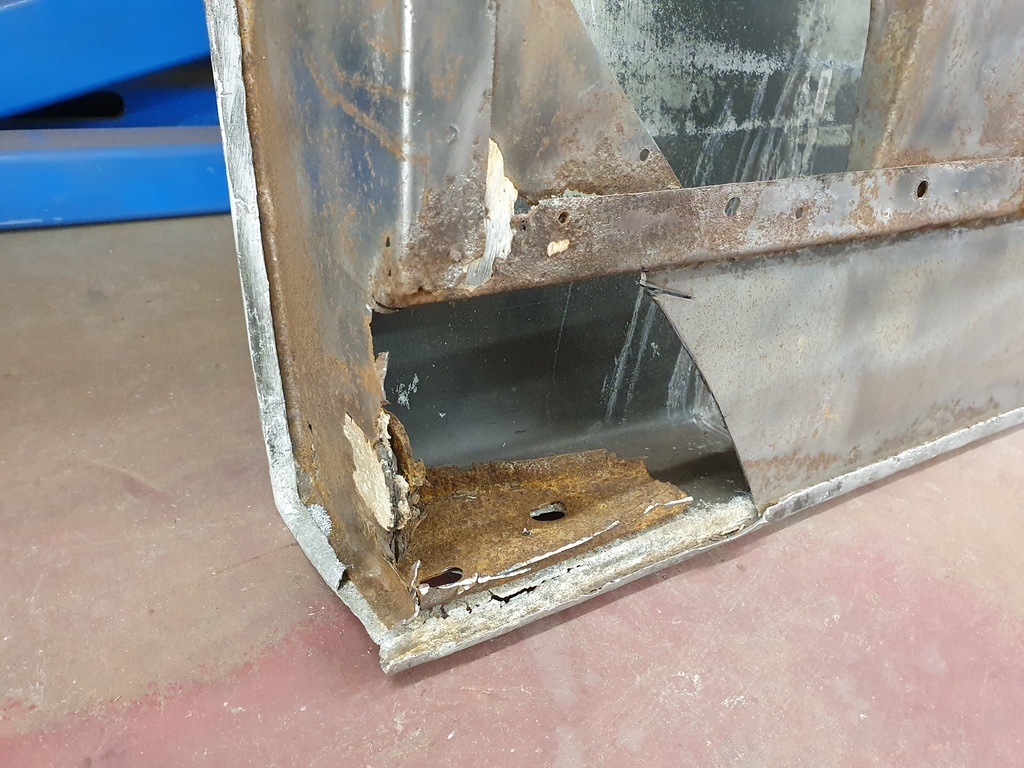 Which will allow for the similar repairs that I undertook on the nearside door 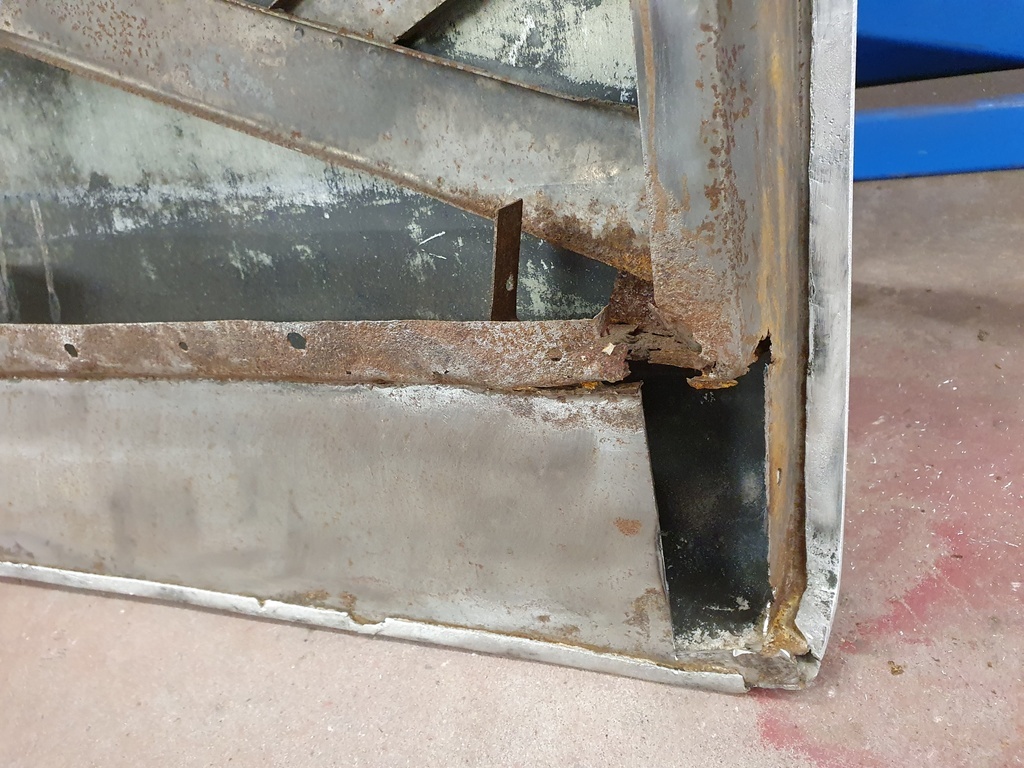 Along with some door skin repairs 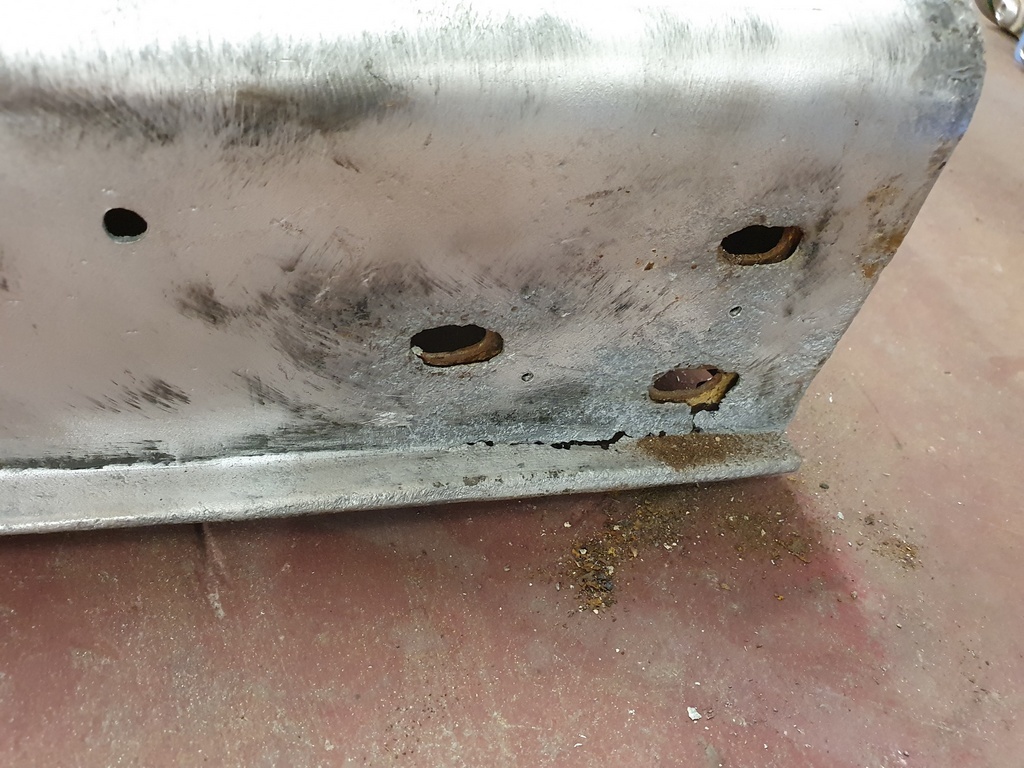 More tomorrow |
| |
Last Edit: Jul 22, 2020 21:22:48 GMT by Deleted
|
|
|
|


