OGDB
Part of things
 
Posts: 544 
|
|
Feb 20, 2019 10:29:33 GMT
|
|
Hello.
May seem like an odd contribution to your thread but perhaps it is of some help.
I’ve not read your recent posts but I have a friend who has a tomcat Rover engine sat in his garage. He had one a few years ago, blew it up and has a replacement sat in his shed, never got fitted and is still there.
I can enquire with him if it is of any use to you? I’m sure he won’t want much for it if anything!
|
| |
|
|
|
|
qwerty
Club Retro Rides Member
Posts: 2,420
Club RR Member Number: 52
|
Rover 216 Coupeqwerty
@qwerty
Club Retro Rides Member 52
|
Feb 20, 2019 19:18:49 GMT
|
|
Surely a perfect candidate for a 1.8t K series from a 75/ZT?
Tom
|
| |
|
|
|
|
|
|
|
Feb 22, 2019 17:56:25 GMT
|
Surely a perfect candidate for a 1.8t K series from a 75/ZT? Tom Nah, tune one like Reyland did with their Metro..... |
| |
Last Edit: Feb 22, 2019 19:55:04 GMT by marinanut
Rover Metro - The TARDIS - brake problems.....Stored
Rover 75 - Barge
MGZTT Cdti 160+ - Winter Hack and Audi botherer...
MGF - The Golden Shot...Stored
Project Minion........
Can you see the theme?
|
|
keyring
Part of things
 
Posts: 913
Club RR Member Number: 47
|
Rover 216 Coupekeyring
@keyring
Club Retro Rides Member 47
|
Feb 22, 2019 21:58:42 GMT
|
|
A bit late to the party, but that really is such a nice colour!
Perhaps an ideal candidate for some boosting fun as others have said instead of doing the HG?
|
| |
|
|
mgmrw
Part of things
 
Posts: 701 
|
|
Feb 22, 2019 23:14:38 GMT
|
|
W/r the HGF, do it properly or get it done properly. Had a few, and seen plenty done "on the cheap".
Points of note;
* Head bolts are stretch - so replace
* Unless the head is absolutely perfect, get it skimmed by someone who's good. I've had good and bad skims
* Valves re-sested at the same time . definitely worth while
* Gasket. Either the multi-layer job, or one by PAYEN who did the decent ones in the first place
* Belt and pump at the same time
* Service too
* Once done, warm up properly every time and cool down every time
Had 3 Rovers myself, and many more in the family.
My 1400cc MG ZR blew it's gasket at 3 years old and 15k miles. It cost £600 to have it done right (as above) which was a bitter pill to swallow a week after buying it.
However, 4 years later I'd put 100,000+ miles on it. Driven hard, I mean really effing hard. Track attack style almost everywhere I went.
Was still running perfect. Compression was bang on across all 4. It also used no oil or water/coolant.
Cracking engines.
Don't get tempted to do the HG on the cheap. Seen dozens done on the driveway, for £100ish.
A few hundred miles later, you see;
"Heap on curse word has blown another gasket. I'm scrapping it"
|
| |
|
|
|
|
|
Feb 23, 2019 13:01:11 GMT
|
|
Some interesting thoughts on how to progress here, I’m not fussed about the extra power or complications of swapping the engine for turbo power.
I’ll get a list compiled of all the parts I’m going to need then start the head sometime later in the year, I’m keen to rebuild this one rather than replace the engine. I plan on taking the engine out and refreshing the front end and cooling system along with cambelt etc
|
| |
|
|
mgmrw
Part of things
 
Posts: 701 
|
|
Feb 23, 2019 17:30:43 GMT
|
Some interesting thoughts on how to progress here, I’m not fussed about the extra power or complications of swapping the engine for turbo power. I’ll get a list compiled of all the parts I’m going to need then start the head sometime later in the year, I’m keen to rebuild this one rather than replace the engine. I plan on taking the engine out and refreshing the front end and cooling system along with cambelt etc For HGF no need to remove. A good HG replacement job should be £500-£700 by a garage. Most will want around £1k. No idea why. Your parts list is; * Belts & pump * Plugs, oil and filter * Update gasket - preferably PAYEN * Head skimmed and valves re-sested * If you can afford it, at same time ports etc cleaned up * Head bolts (stretch) Probably a few ancillary items. Gasket seal etc. Or flush the engine repeatedly before or after rebuild too. Also around 500-1,000 miles after HG and top end rebuild, oil and coolant change again. K series sound a bit "knocky" when cold..they all do. Warm, they should be like a sewing machine lathered in 20/50 5k/12 month oil changes as a minimum. I did 5k/3monthly. Most important thing; FULL HEAT CYCLES K series hate short runs etc. Mine were always used and abused rural Nd motorway. Thus I escaped a lot of the "common niggles". |
| |
|
|
mgmrw
Part of things
 
Posts: 701 
|
|
Feb 23, 2019 17:49:31 GMT
|
|
ETA: while I'm no mechanic, I am a rover kid. 214sei in the family for years. I personally put 50k on it after rebuild. Driven hard.
Mg ZR 1400. Taken from 15k and 3 years old to 120k+ and 6-7 years old
Rover 220 GTi (R8) owned 3-4 years. Head off etc after valve snapped. (Exhaust)
15k put on it.
|
| |
|
|
|
|
|
Oct 25, 2019 15:30:45 GMT
|
Thought I’d blow the cobwebs off this, since the last update I’ve moved back to my old house and things are just about back to normality now, hopefully. I toyed with just selling a few times too, but then talk myself out of it. I replaced my daily too, which seems to be following a trend with me and new motors lately and has issues, after a few hrs searching for a coolant leak on that I got back on track with the Rover. When I last updated I was fairly certain that the HG had failed, I read somewhere that the inlet manifold seal can fail and produce symptoms like I was having so for the cost of the seal and an hr of my time I thought I’d give that a go.... Had to move an embarrassing amount of stuff to be able to get to this stage 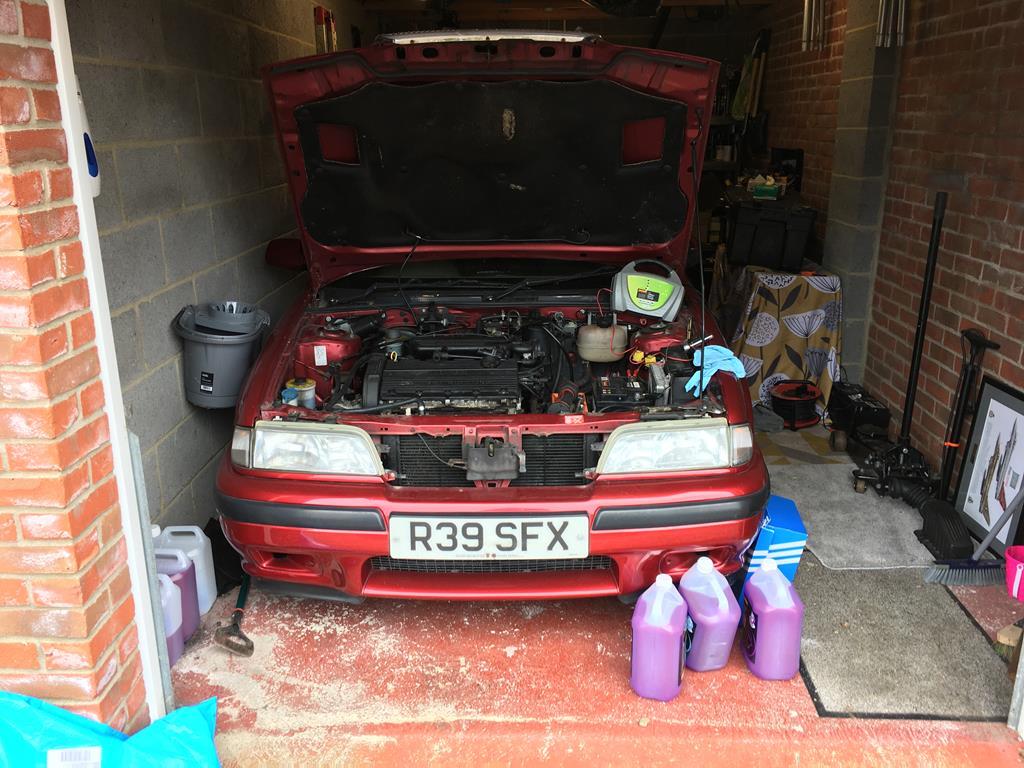 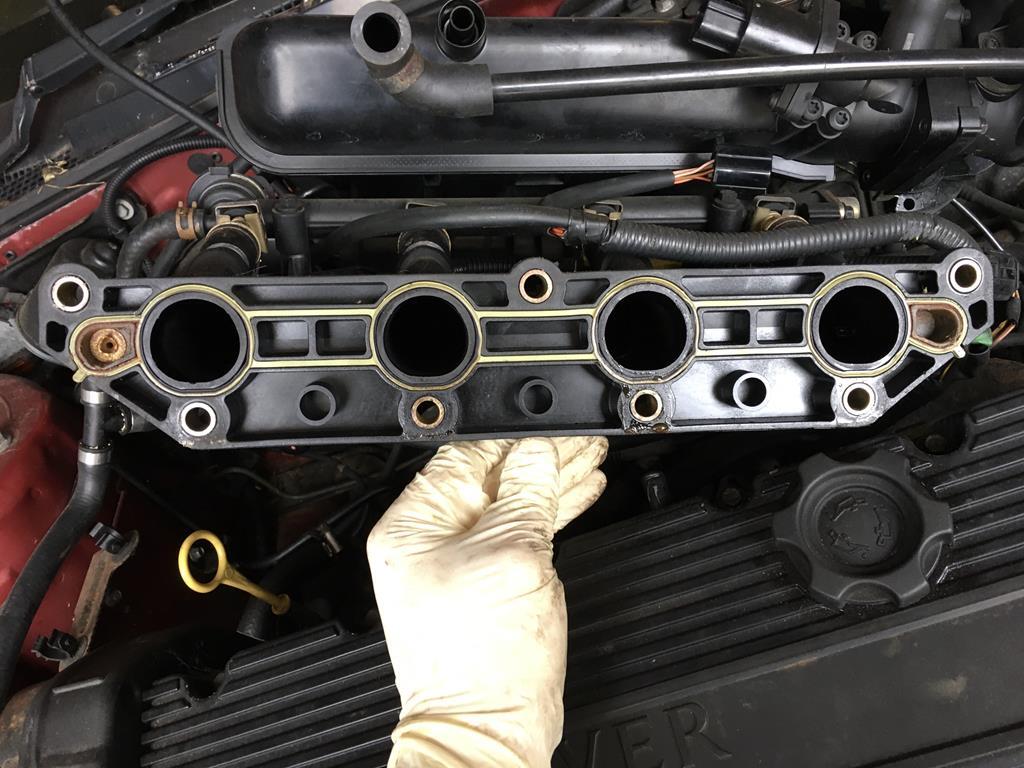 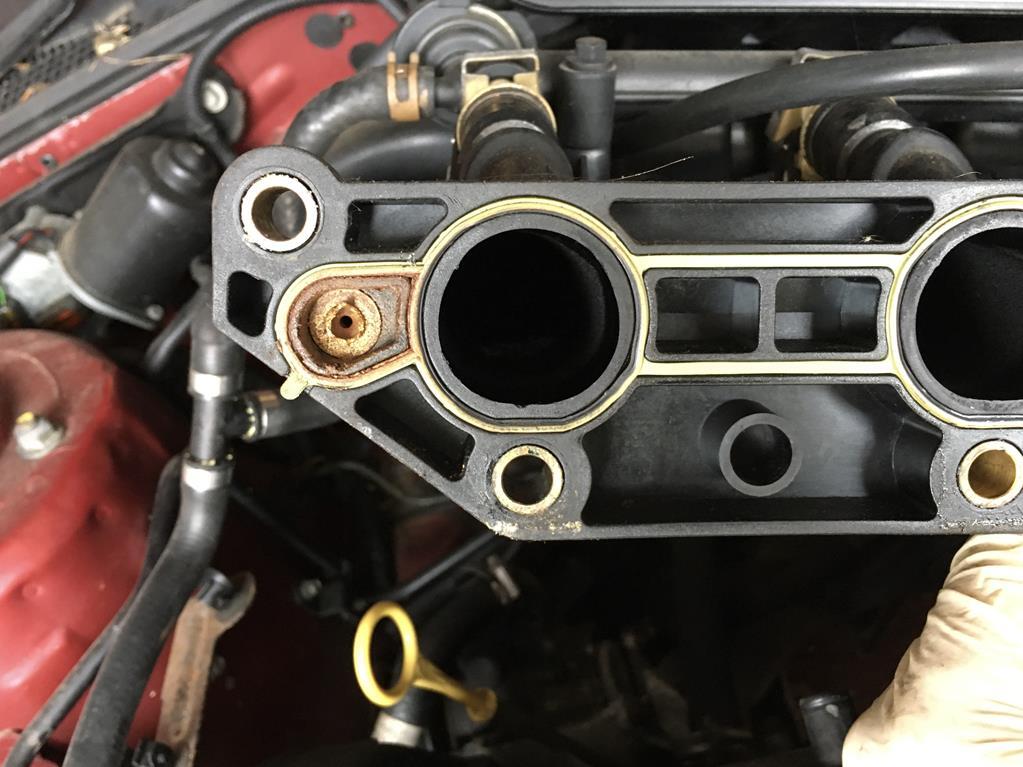 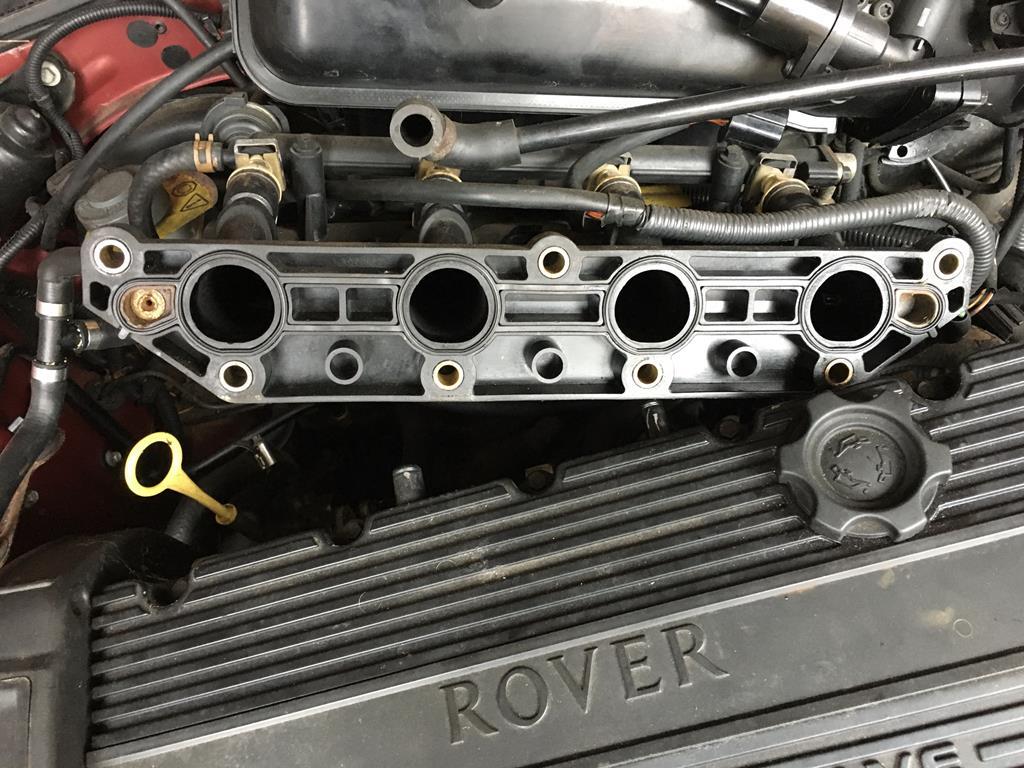 The old seal seemed flat in comparison to the new one but I’m not sure it was bad enough to give symptoms i was getting. I drained the oil next and this pretty much confirmed HG failure for me 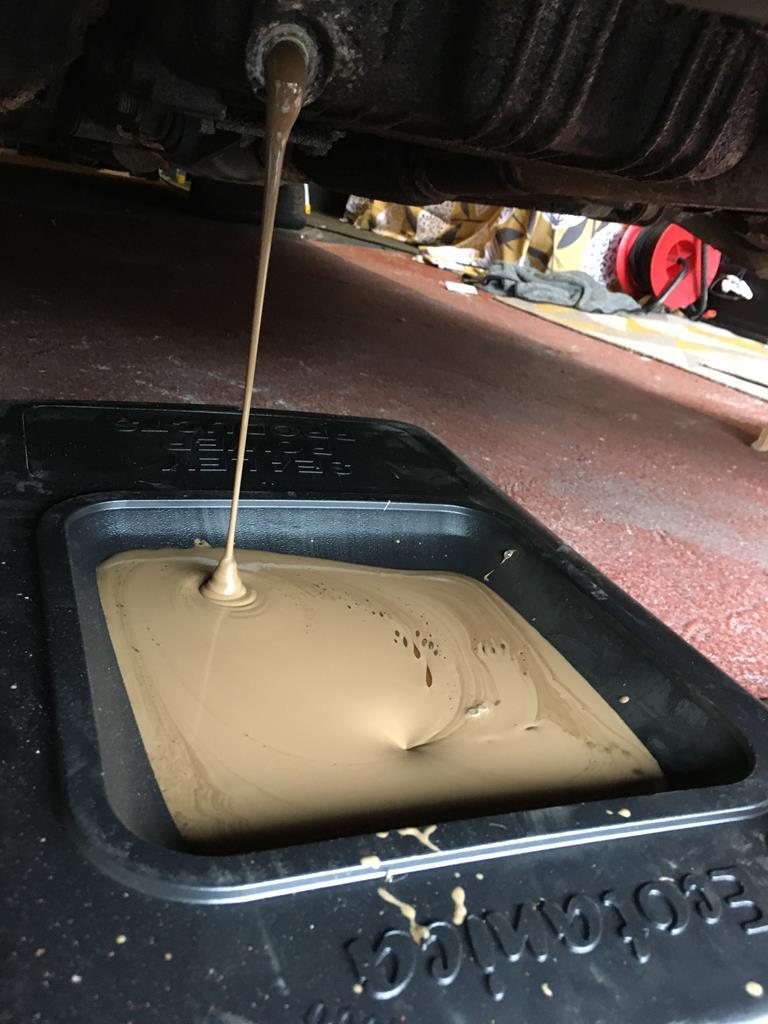 I finished draining and put some cheap oil through to flush it out and topped the coolant up. It wouldn’t start but this was down to stuck starter so a quick tap with a hammer and it freed itself off nicely. Once it started it was running the same as before but I haven’t lost my coolant as of yet where I did before so maybe that’s a loose positive. I’ll try and get it out the garage and get it up to temp as at the minute it won’t idle on it’s own and it’s smogging the garage out no end. I’ll start getting parts together to get the HG done over Xmas hopefully but before then I’ll do a pressure test to see what that says, the car is very lumpy at idle currently |
| |
|
|
|
|
|
|
Rover 216 Coupepeteh1969
@peteh1969
Club Retro Rides Member 107
|
Oct 26, 2019 10:52:32 GMT
|
|
Great to see an update.
I have been there with my fiesta ST but the head had cracked hopefully you will solve your water problem a lot more easily than I did?
I stripped the whole engine down and fitted new everything good job I did as one of the big ends had picked up and was getting ready to spin and it was the best way to get the all the old water and oil out of the block and start a fresh.
It will take a few oil changes to get it clean inside but worth it for a tomcat, if you can get the block to an engineering company and get them to put the parts through there steam cleaner.
|
| |
|
|
|
|
|
Dec 19, 2019 19:04:22 GMT
|
So today was set aside for some guilt free garage time to get the head off the tomcat, everything went easily enough and distractions were welcomed when I was starting to get fed up of getting up and down  Not many pics as I was too hands on sadly. No snapped bolts/studs neither which was nice, when I was timing/rotating the crank with no plugs in I was presented with a nice spray of coolant from the plug holes to confirm i was doing the right thing! Rocker cover first.... 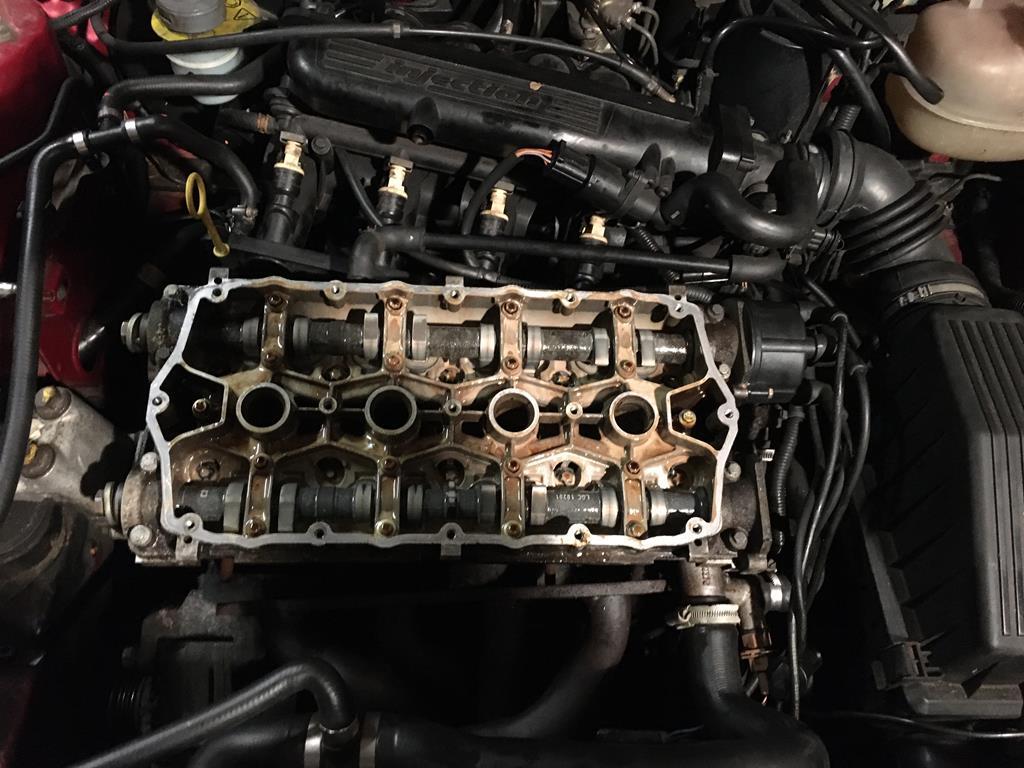 Then gradually slacken the head bolts, interestingly the centre bolts were much tighter than the outer bolts. Off with its head.... 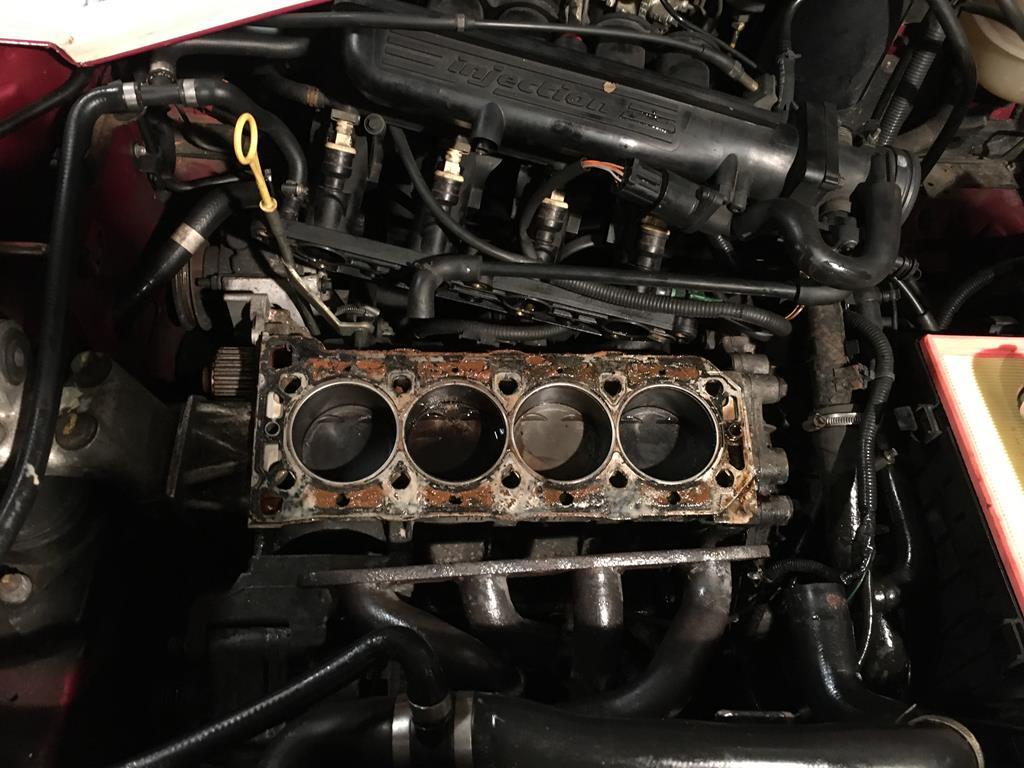 After getting over the shock of the state of the gasket (mls by the looks, can’t see a brand) I removed the gasket and had a look at the state of the bores and liners, I was pleased to see no lips on the bores and level liners, I had horror images of seeing rusty bores so I was quite relieved here. ** imagination required here ** I had a very quick look at the cylinder head, this seemed to look ok, needs a little clean up but no obvious damage, obviously this will get cleaned up in time. 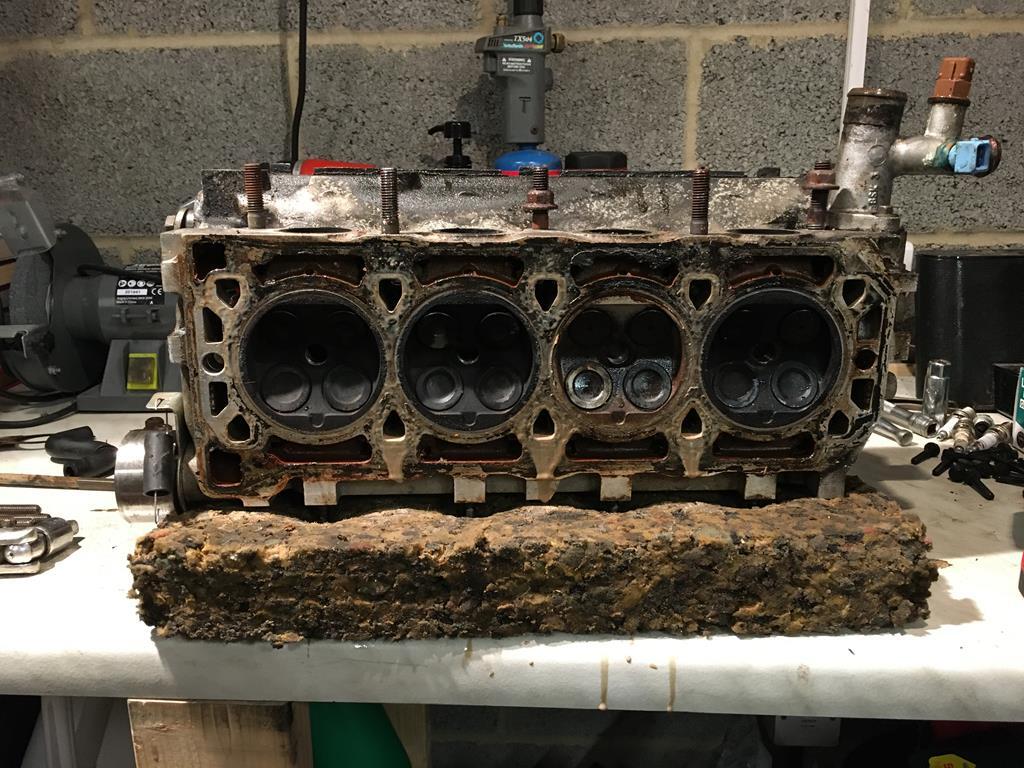 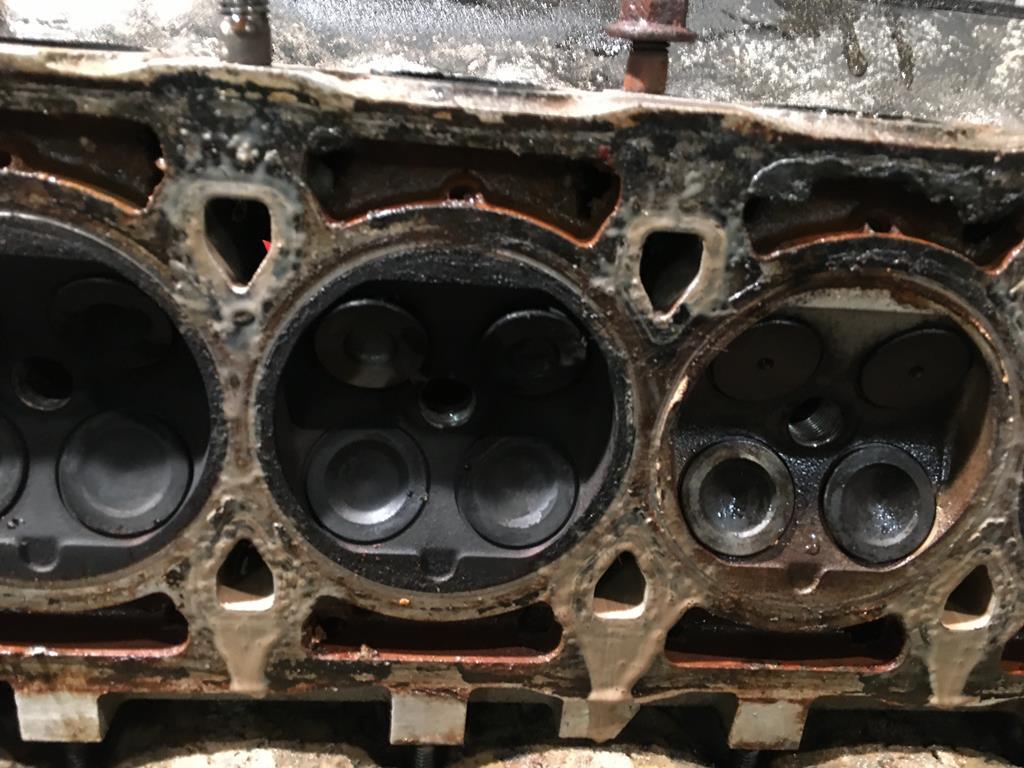 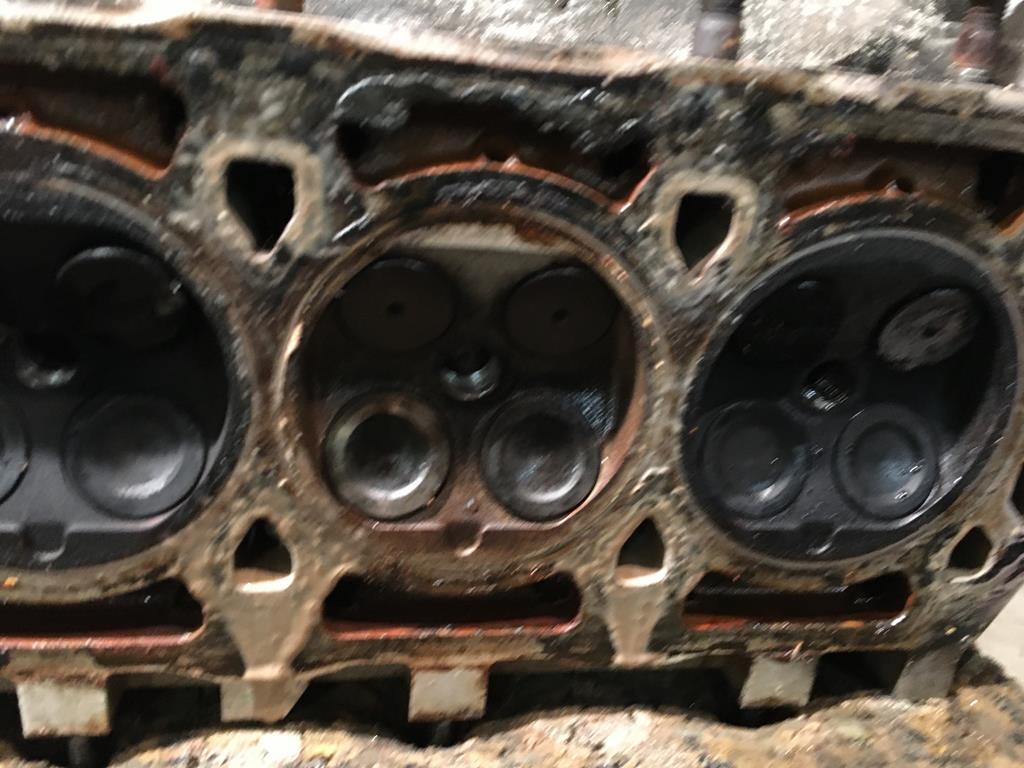 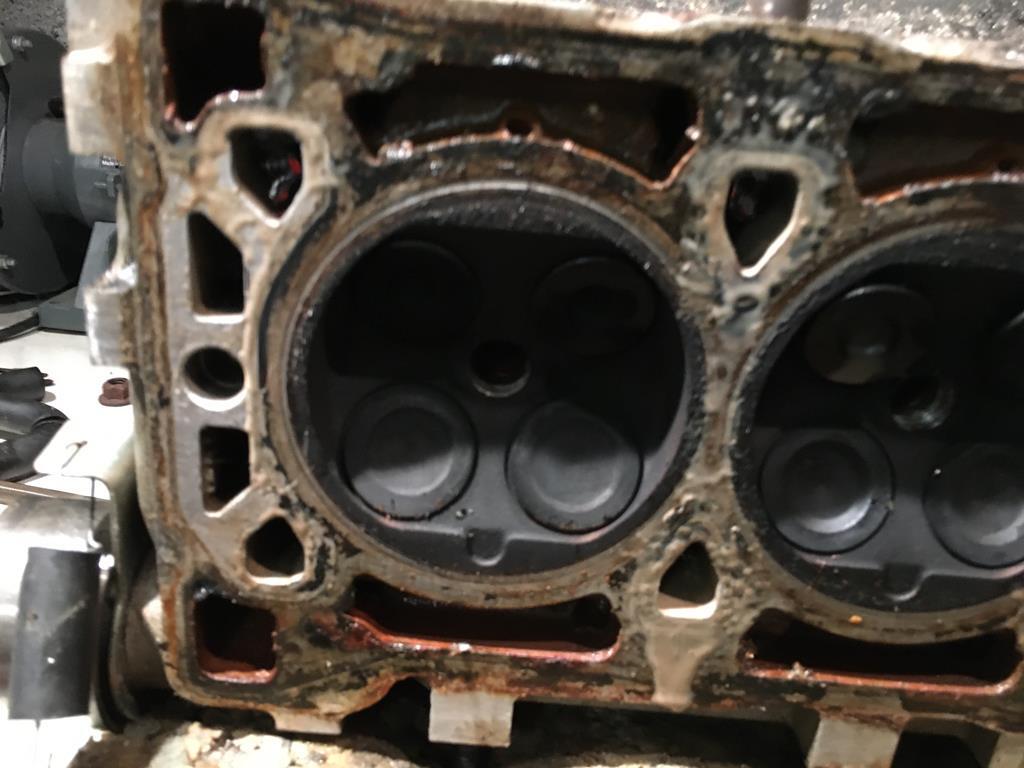 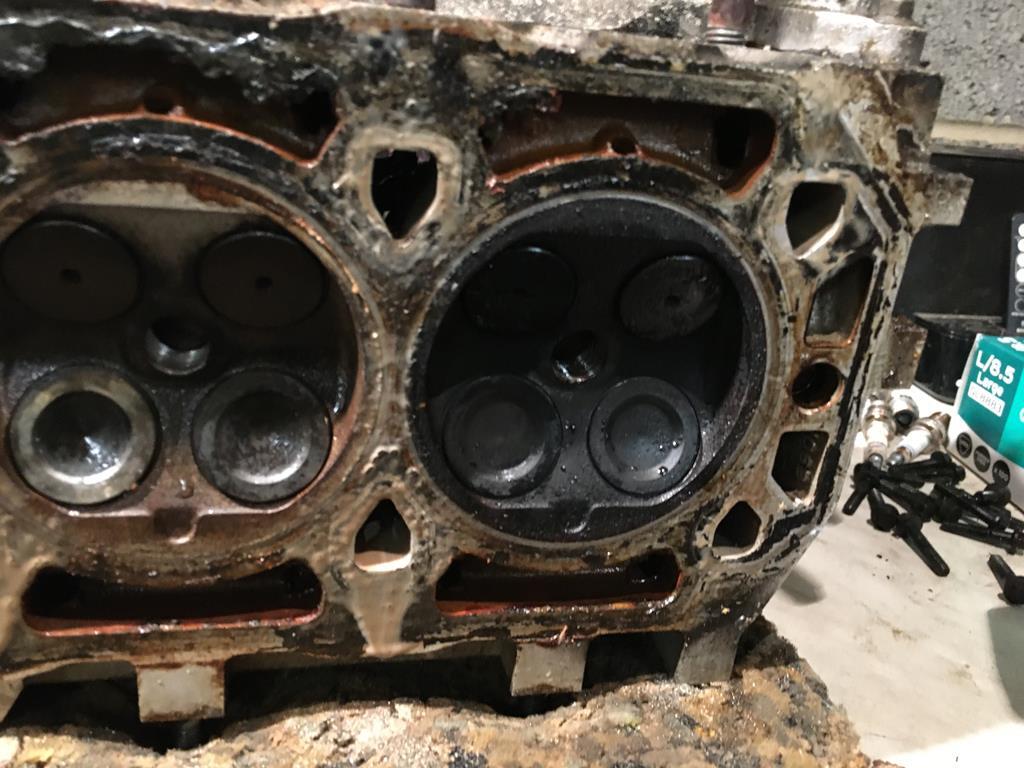 I think, judging by the state of it, it seems to have been ran on water for a little while and finally given up, I’ve nothing else to base it on other than the rusty state of the gasket. The head and engine were covered in spray grease till I get round to rebuilding the engine and the head, fingers crossed tomorrow I can sneak out and measure clearances and clean up the head to run a straight edge around to see if it’s warped. |
| |
Last Edit: Dec 19, 2019 19:14:37 GMT by PistolPete
|
|
|
|
|
Apr 10, 2020 14:55:33 GMT
|
|
Hiya Enjoyed reading your post any further along with this project m8 I’m about to start on mine which I’ve had from new 216 R reg 97k on the clock been of the road in storage for nearly 10 yrs not mechanically minded but would love to get the engine out and strip it and rebuild, the head had gone had it done on the cheap but never felt the same. Want to rebuild to standard stock & a fully body respray! Its Tahiti blue but unsure weather to change or not???
|
| |
|
|
|
|
|
|
|
Hiya Enjoyed reading your post any further along with this project m8 I’m about to start on mine which I’ve had from new 216 R reg 97k on the clock been of the road in storage for nearly 10 yrs not mechanically minded but would love to get the engine out and strip it and rebuild, the head had gone had it done on the cheap but never felt the same. Want to rebuild to standard stock & a fully body respray! Its Tahiti blue but unsure weather to change or not??? Hi mate, don’t know how I missed this reply lol. My advice is just to get stuck in, it’s only nuts and bolts. Not much in the way of progress really, I work away and managed to get stuck in the UK due to this virus. Realising that as unfortunate as the situation is I could make the most of it and work on the Rover. I stripped the head down and dropped it off to be skimmed on Monday with a view of ordering the parts and building the car back up, but disaster struck. As the guy was machining the head somehow the head jumped up off its bed straight into the cutter, killing the head. So as it stands I’m waiting on the garage sourcing a replacement head, skimming and reseating the valves with new stem seals. As much of a frustration it is, it’s one of those things and I’ll just have to wait for the garage to make good. I’ve just been cleaning everything up ready to rebuild once the head returns. It didn’t look too bad after a quick clean up but still needed a skim to remove the fire rings. Irrelevant now but it was flat. 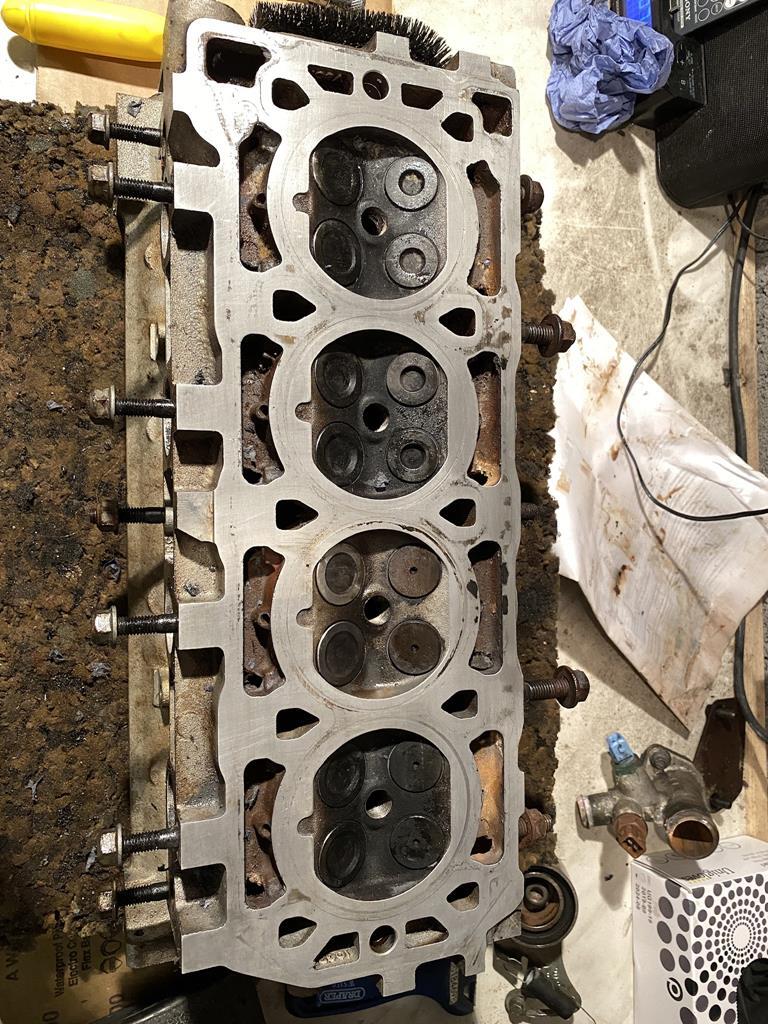 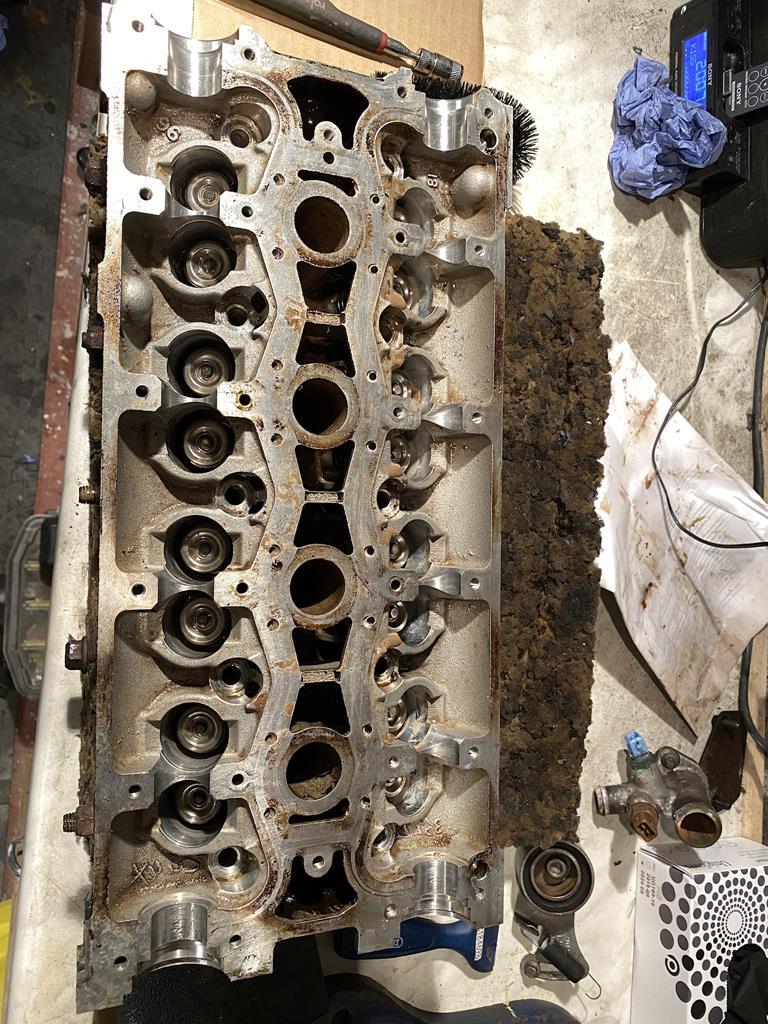 I’m a big believer in the KISS principle  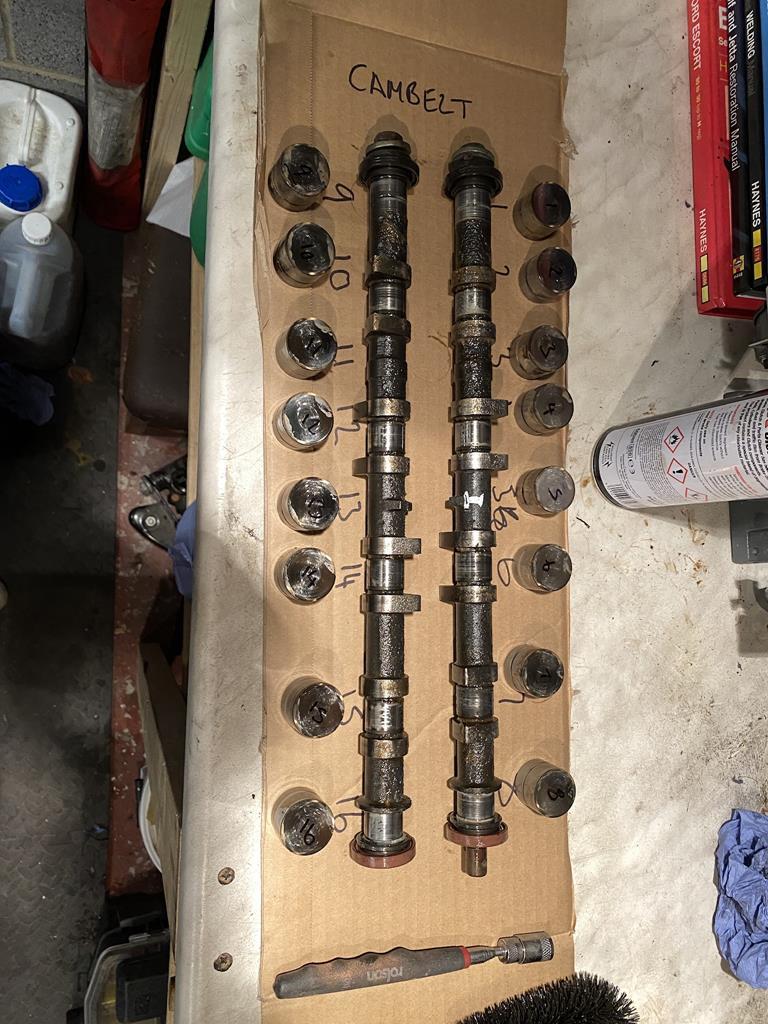 |
| |
|
|
|
|
|
|
|
|
Looks a cracking buy, colour is lovely and looks like you're making progress !!
Going to start on mine this week so have been searching for a few pointers as I've literally no idea about cars.
Keep the picks coming
|
| |
|
|
|
|
|
May 30, 2020 19:47:24 GMT
|
Well the garage made good and sourced me a replacement head which they skimmed and re sat the valves and replaced the stem seals for me, all of this was at their expense, no matter how much I tried. Luckily biscuits are always welcomed! The last couple of days have been very productive, I’ve fitted the following: New oil rail Updated head bolts New headgasket New cam cover gasket New thermostat New inlet manifold gasket New exhaust gasket New radiator New water pump New tensioner New cambelt New inlet manifold bolts/nuts New exhaust studs and bolts I did have a little trouble when fitting the head bolts and whipped the sump and oil rail off again thinking I hadn’t got the oil rail lined up correctly as one bolt just wouldn’t mate..... 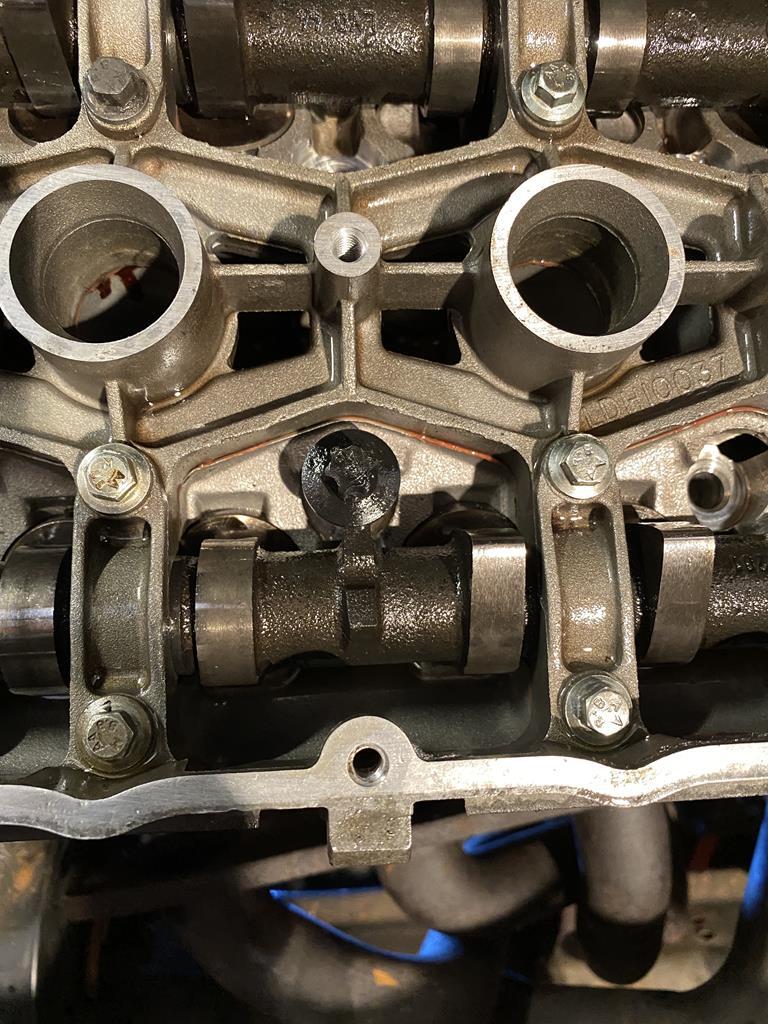 I must have spent a good half hr looking down the bolt bore to check it was aligned and in the end I just couldn’t be too sure, after I’d removed the sump and oil rail I was getting up off the floor again and noticed the bolt from a different angle 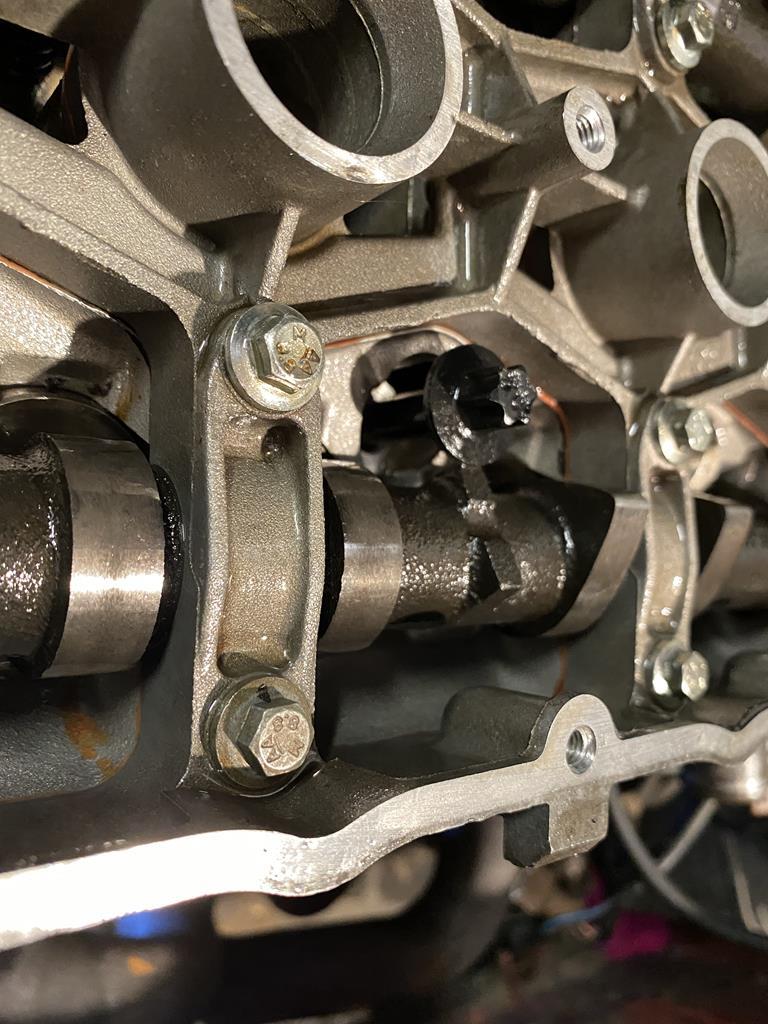 Once I got over the anger I cracked a beer, moved on again and made some constructive progress. This morning I finally filled her with coolant and she started first turn of the key, I left her running for 50 mins and had the temp gauge bang in the middle and the fan on a good 4-5 times with a nice warm heater. The lifters filled up and it became a really nice, quiet, solid engine. Success!!! The radiator was an unexpected find as it held water but on closer inspection the fins had all rotted away but removing it gave me chance to see the state of the bodywork around it, pleased to report it’s all solid down there. 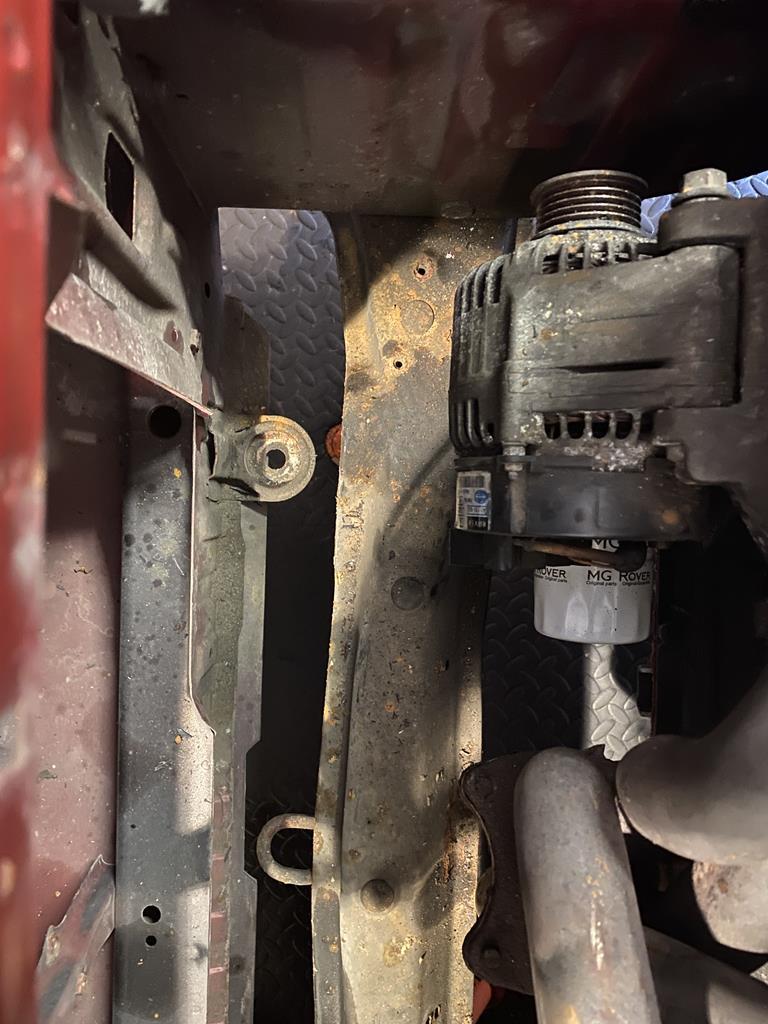 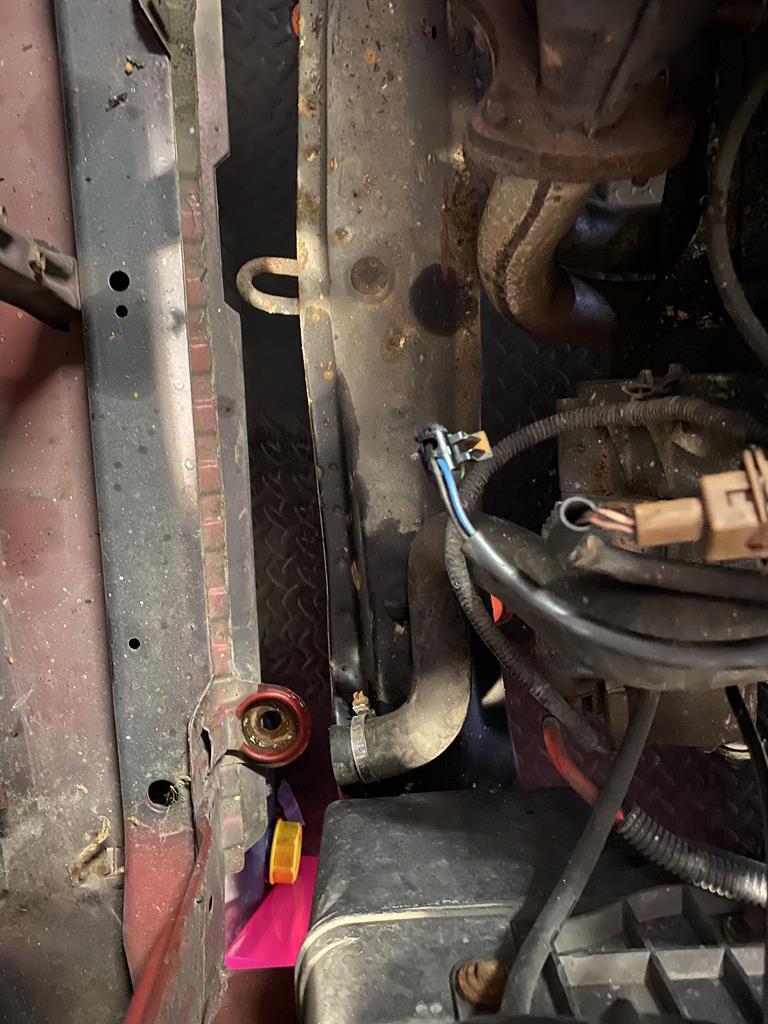 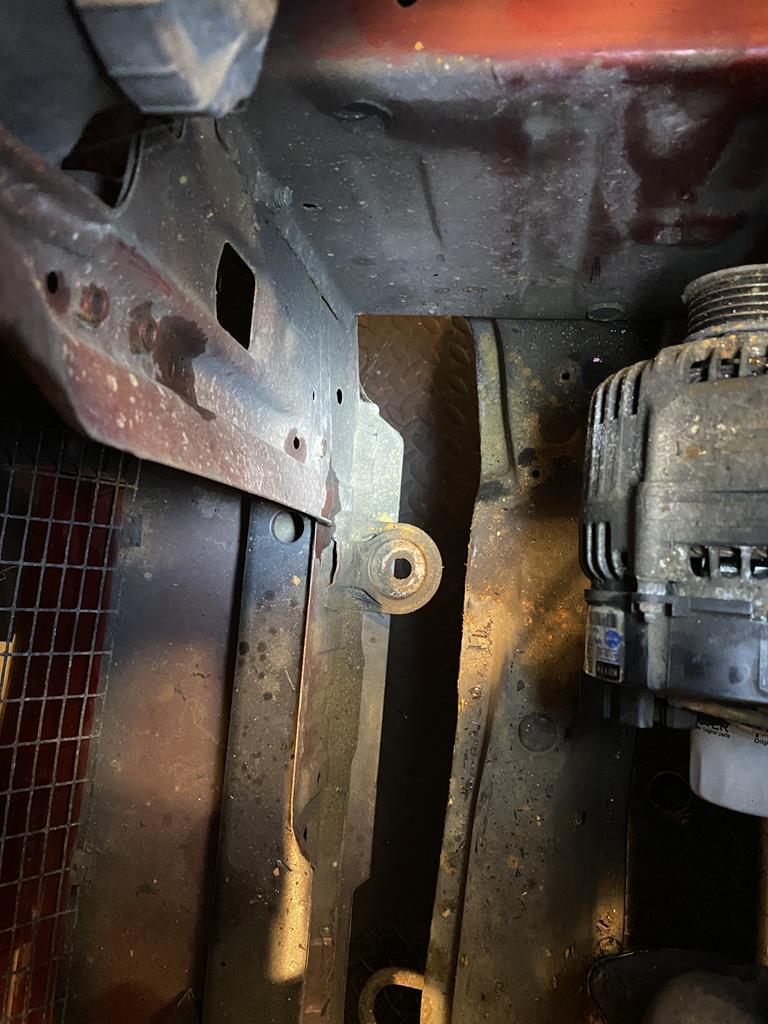 One final pic now it’s all built back up 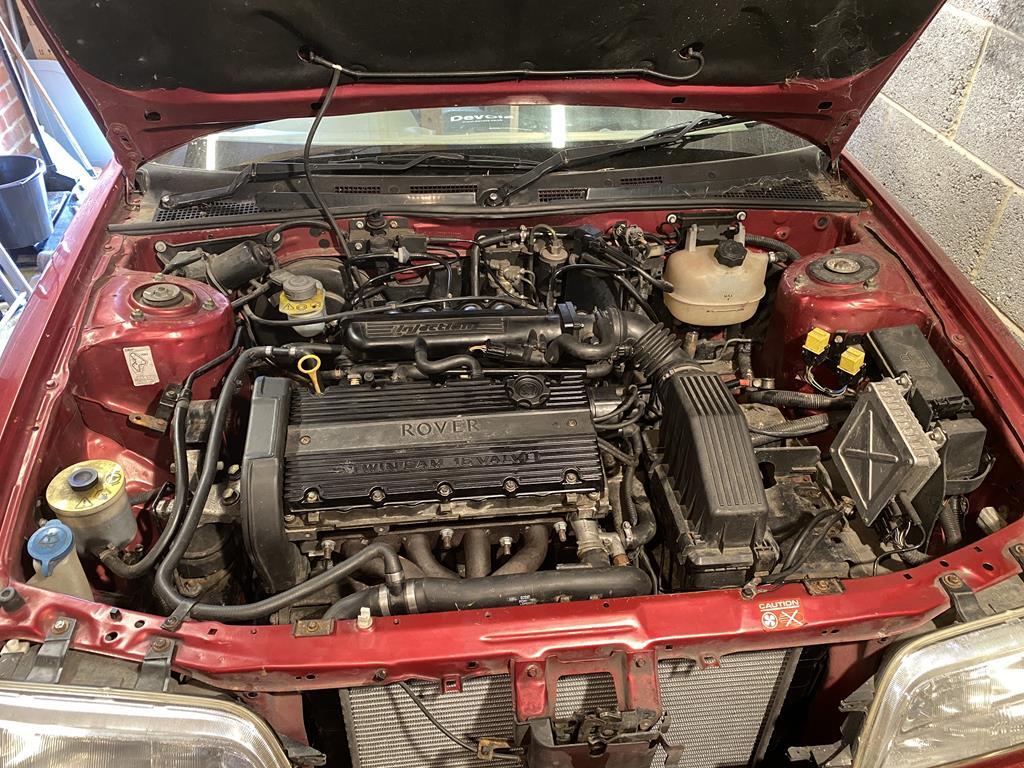 Tomorrow’s jobs will be to get it outside and get the wheels off so I can clean the arches properly and have a look at the excuse it has for brakes currently. |
| |
|
|
qwerty
Club Retro Rides Member
Posts: 2,420
Club RR Member Number: 52
|
Rover 216 Coupeqwerty
@qwerty
Club Retro Rides Member 52
|
May 31, 2020 10:30:26 GMT
|
|
Excellent work. So satisfying to get a job like that finished and then have it fire up!
Tom
|
| |
|
|
|
|
|
|
|
Wheelarch tidy up and a look at the brakes. Ever since I bought the car I never really like the red on the callipers and rear drums so I thought it was about time I had a look at them, and try and investigate why the brakes were so poor. I purchased a calliper rebuild kit from Rimmers, really good kit and the callipers came apart relatively easily with a bike pump and inflatable adaptor into the bleed nipple hole. That was where my luck ran out, this was my first experience of replacing piston seals and covers and its something I don't want to do again, sadly after bleeding fresh fluid though all the pipes and bleeding successfully I still had poor front brakes with the rear locking up under heavy breaking. I can only presume I've nipped the covers with the pistons when refitting. I had painted them prior to refitting the seals, this was another wasted effort, it didn't occur to me that the colour was totally the wrong choice until I refitted the wheels. I hate the look and these will be going silver the next time I get chance. Insert chuffed face here.... 
 Facepalm here....  For me personally, I wish I had thought a bit more and chose silver, the black just looks lost behind the wheels to me. Still better than red for the time being. All was not lost though, whilst I had the wheels off at once I decided to clean the arches out and see if anything was hiding, I'm really pleased with what I saw. I went from this....    Via a little bit of this....   I had the end result....      Sadly I blasted a piece of seam sealer off the rear of the seatbelt mount so I'll apply some next time I'm under there. This is what I removed from underneath the arches....  This just re-affirmed my opinion of how solid a car this really is. |
| |
|
|
|
|
|
|
|
Exhaust I knew the exhaust had a blow by the Flexi so I bought a new front pipe to be done with it, I had spent a few days soaking the manifold to front pipe bolts in plus gas and fortunately nothing snapped, I did however replace all the studs with bolts and nuts to achieve a snug, secure and confident fit. Never in a million years did in think I would get lucky faced with these....  I wasn't so lucky on the front pipe to cat joint though, these were well passed their best and resulted in me snapping the nut off the stud - which was part of the cat!!! I tried drilling the studs out and using heat to knock them out but all I did was destroy the cat so had to add one to the order too....  The cause of the blow wasn't the Flexi as I thought but this join here....  Still, all replaced with new gaskets and bolts and its lovely and quiet now. I answered an ad on Facebook Marketplace for scrap cats, I was quite impressed to get £60 for it, saved me taking it to the tip! |
| |
|
|
|
|
|
|
|
Deep interior clean With all the hot weather we had in May/June I decided to do something I like to do when I get something that I'm fetching back to life. I removed all the interior, front seats, rear seats and the carpet to give them all a good scrub, luckily I chose one of the hotter days and everything dried beautifully and more importantly all seat bolts came right out with no dramas. I thought that the condition of the seats was generally very good bar a bit of drivers bolster wear and they were clean, how wrong I was! I read a while ago that some soap from wilko called pears was real good at cleaning leather interiors with a decent brush so I gave that a go. I'm no detailer and all i had other than this was some 4 year old AG leather cleaner and conditioner, I will give these seats a good condition and wipe over again when I buy some new stuff. I think the results speak for themselves.... Clean on the right  And a half and half comparison shot....  To clean the carpet, I gave it a foam and jet washed it clean and it came up beautifully and gave it a dry....  Having the interior out gave me a good chance to have a look at the floor and inner sills, I was vey happy but not surprised when I was greeted with these sights....     Once all back together it transformed the interior, its amazing how you think stuff is clean until you actually clean it    Spot the bit I missed  Once all that was done I gave the car a quick scrub and removed the rear screen surround to clean before I put it away again till the next time I'm home....  
I ran out of tyre shine though, always the way I suppose. |
| |
|
|
|
|


