|
|
|
Jul 19, 2021 10:09:25 GMT
|
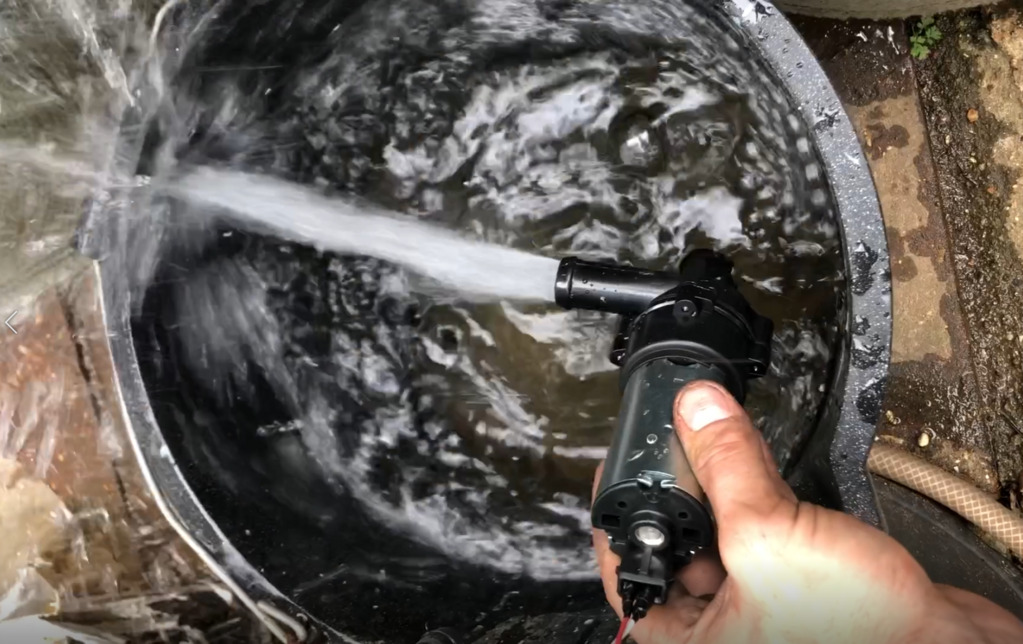
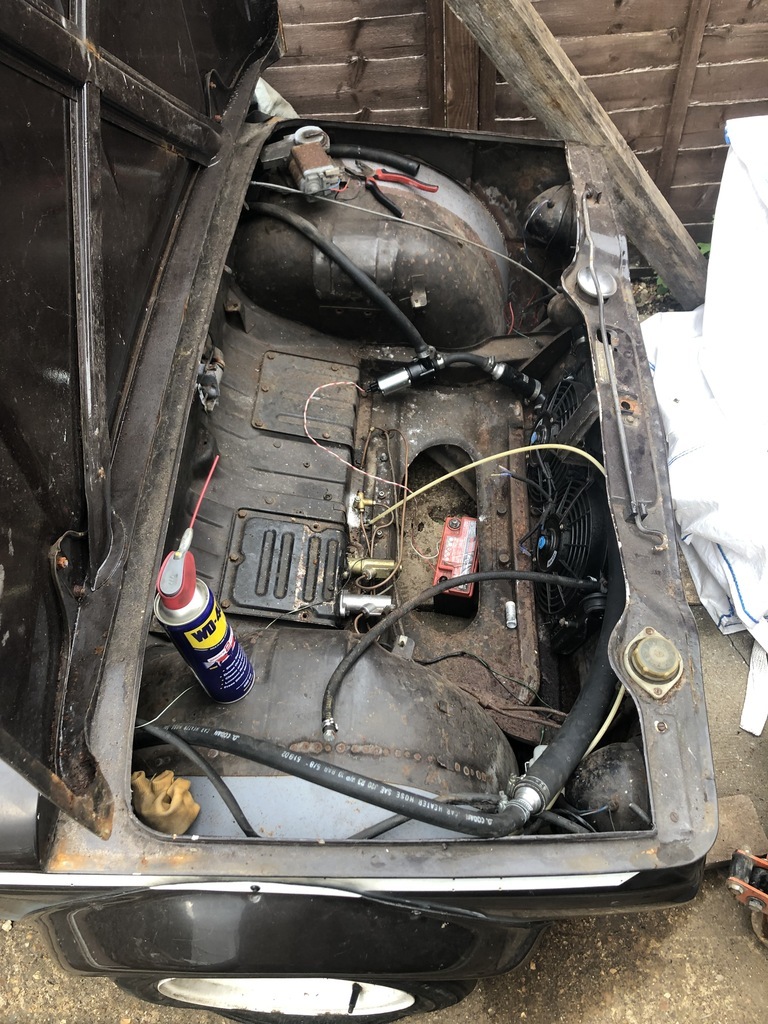
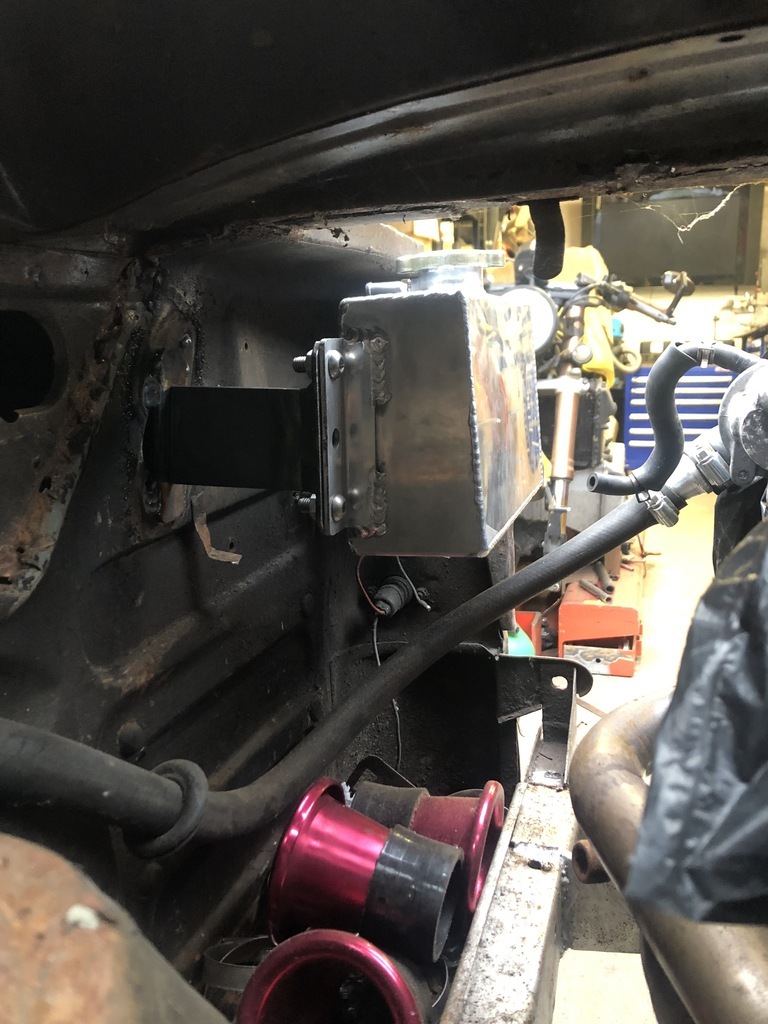
Looks good Col, I don't think I could have used a donut in the end as it would have been too large. Looks like you have more radial clearance on the output with that engine than I do on the R1. My 100mm CV is still only like 5mm off the engine casing. I've been tinkering on a few jobs over the last few weeks, figuring out what I need to order etc. Coolant System.... The R1 engine has an internal water pump but I didn't want to put this under too much stress. Considering the radiator is out at the front and I'm currently using the 5/8" heater hose as my supply and return it might be a bit much. I ordered a Aux heater style pump and its pretty good... I'm impressed. The other benefit is that I can fully prime the coolant system removing the air locks before I start the engine. To test it all out I just fitted it inline where there was already a joiner. I'll make a bracket and house this somewhere eventually. I then mounted the expansion bottle with some brackets I made. Plumbed it up and bled the system and chassed some leaks but easily rectified. I then ran the car for a few minutes and was getting hot water flowing to the front with out issue. It was really good to see the car running for a longish time. I kid you not when this thing fires and idles my heart rate starts to go up with a bit of adrenaline/excitement. Its going to be good when it finally heads off down the road. Rear Suspension...
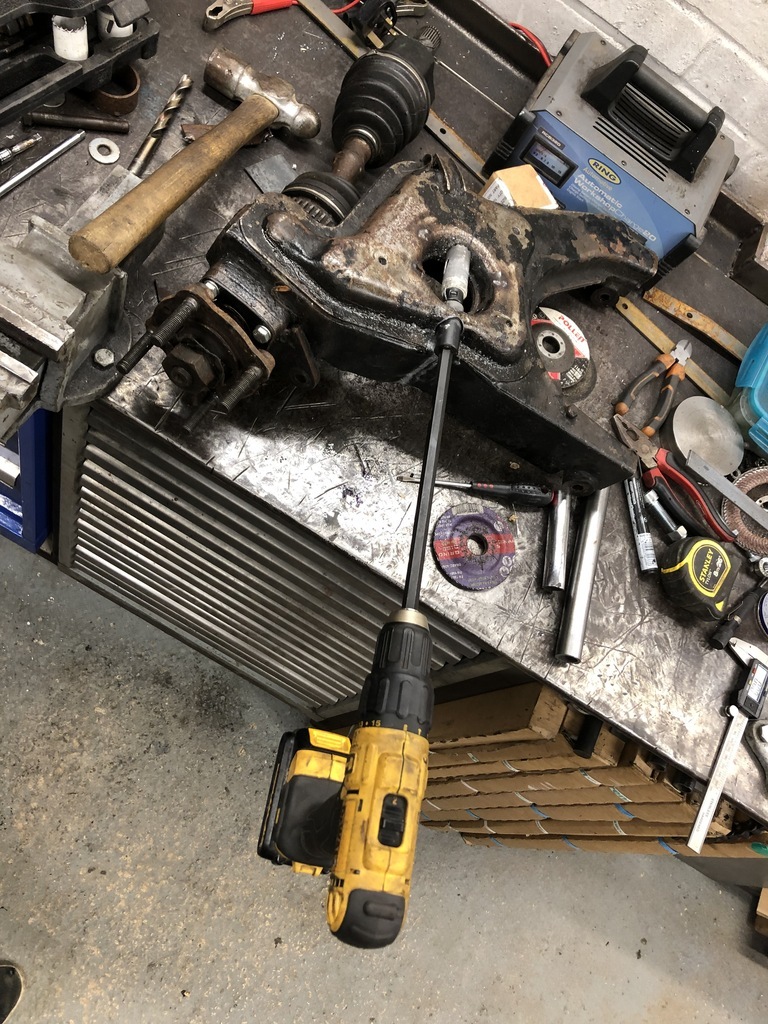
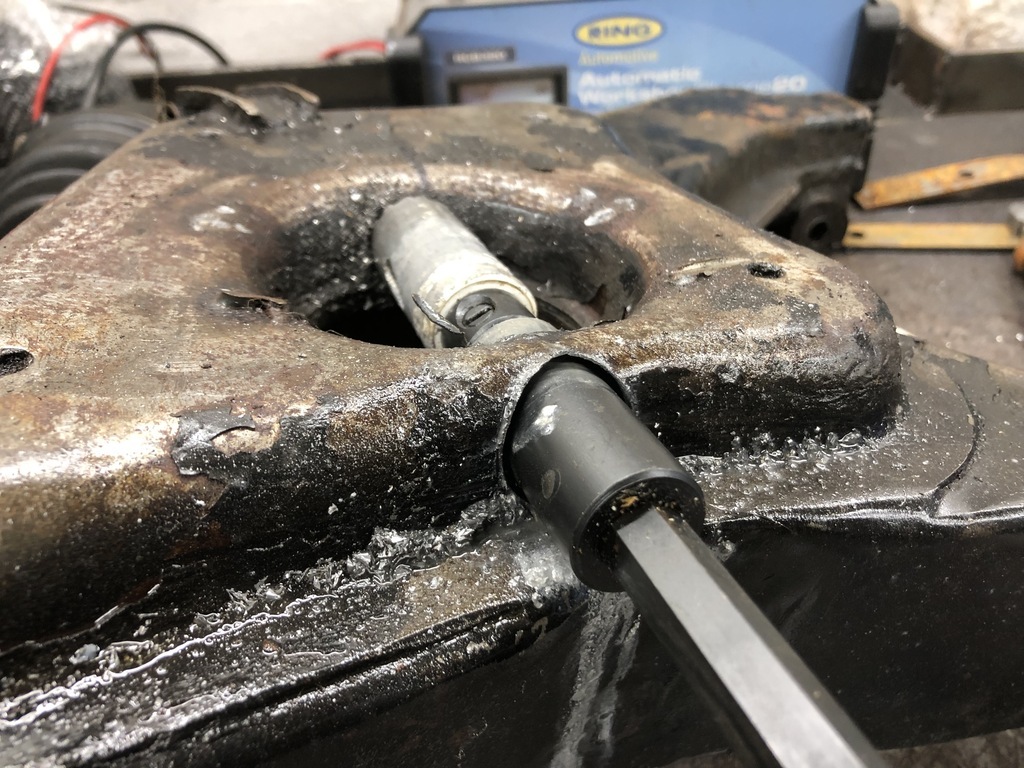
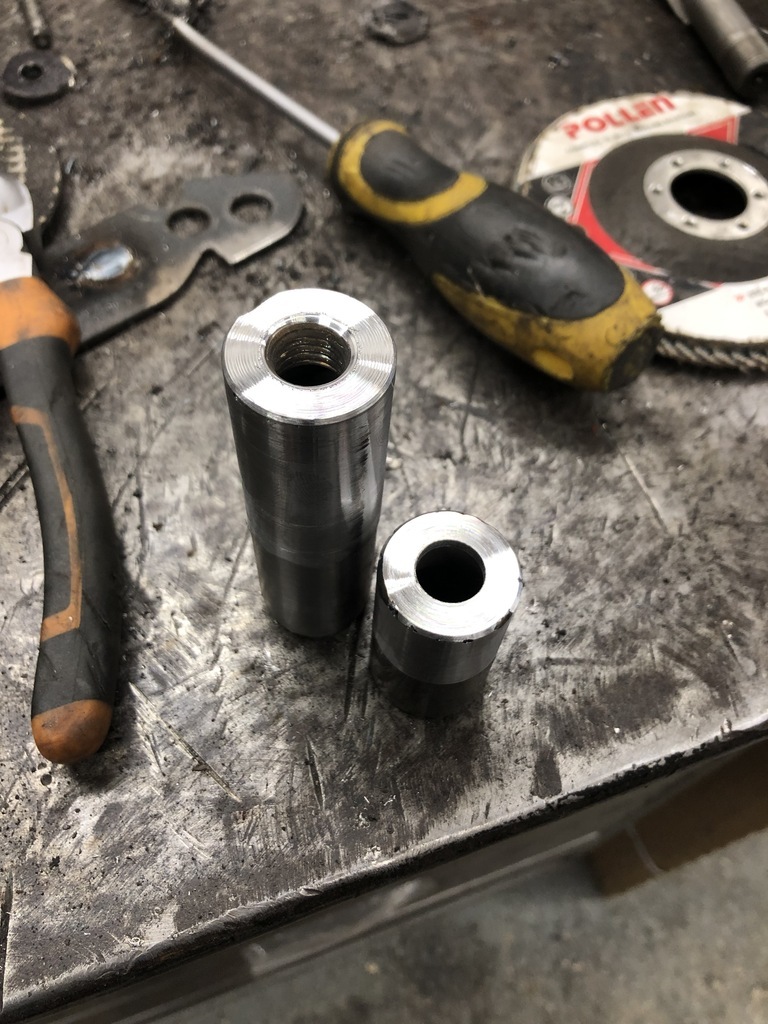
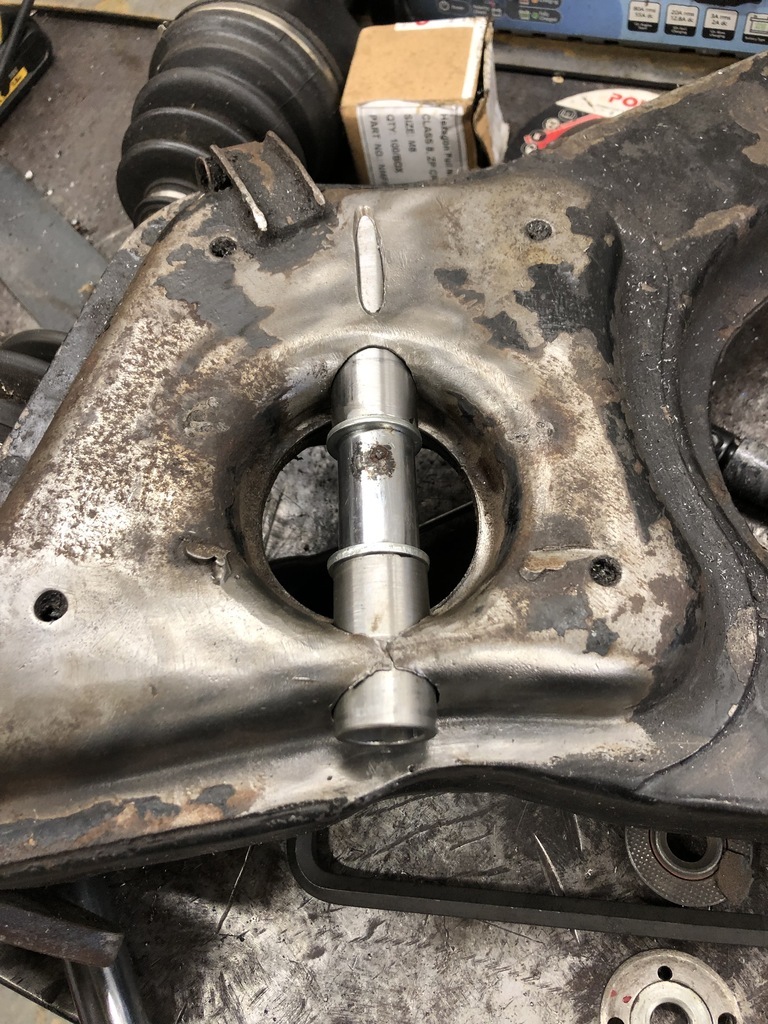
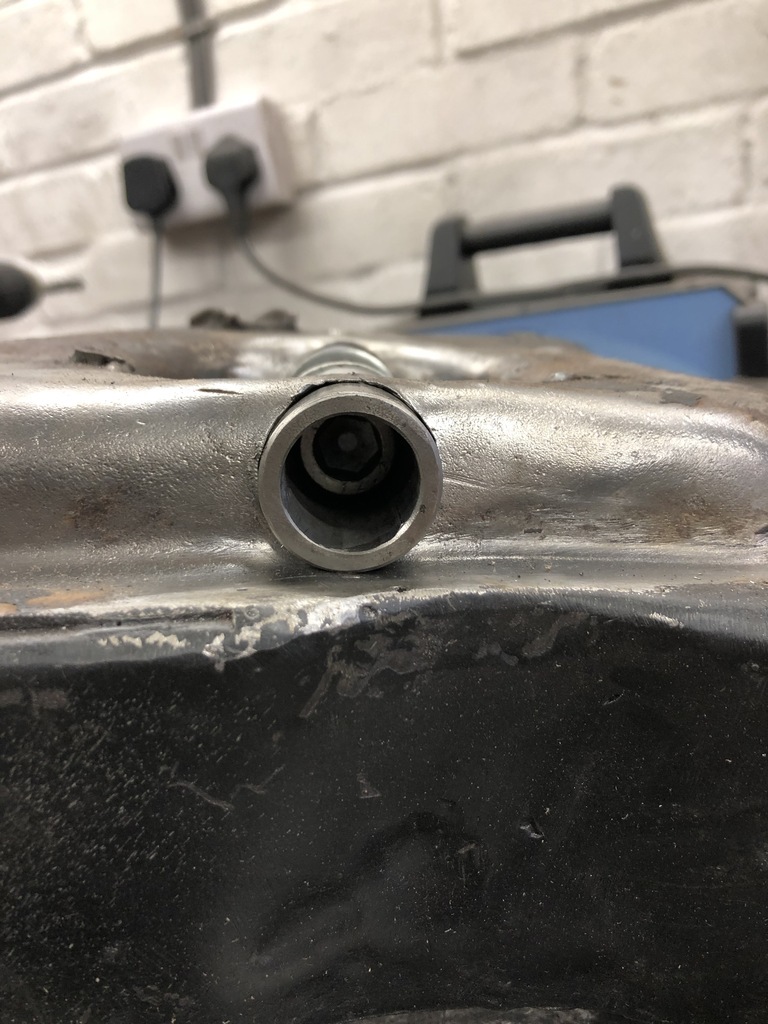
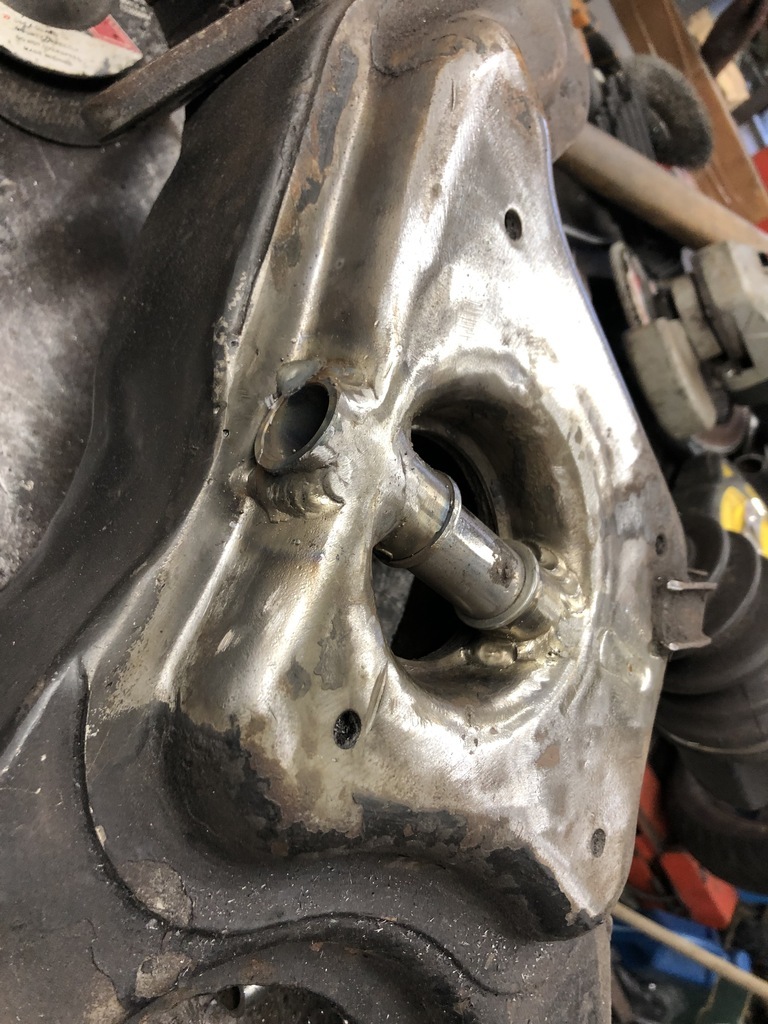
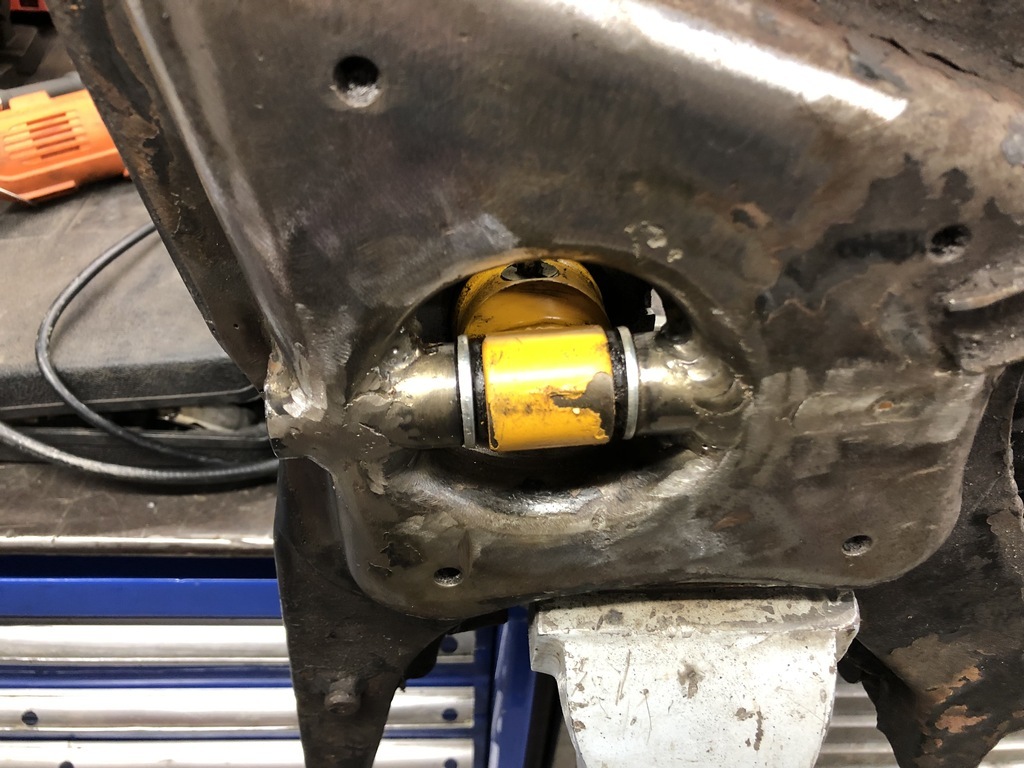
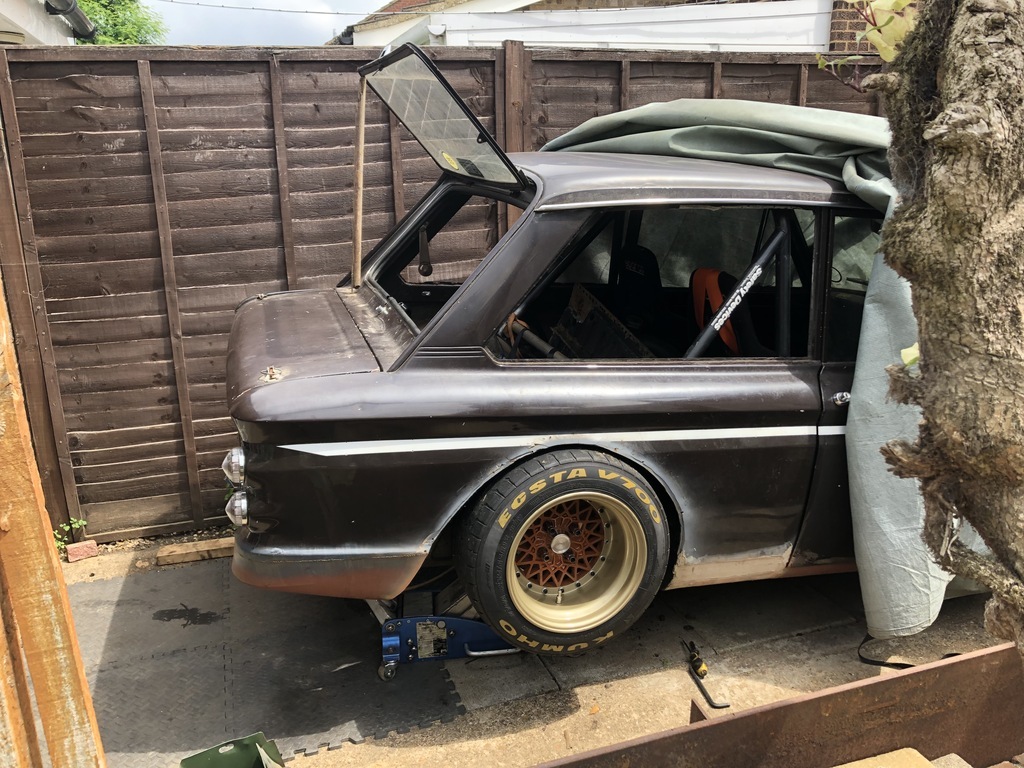
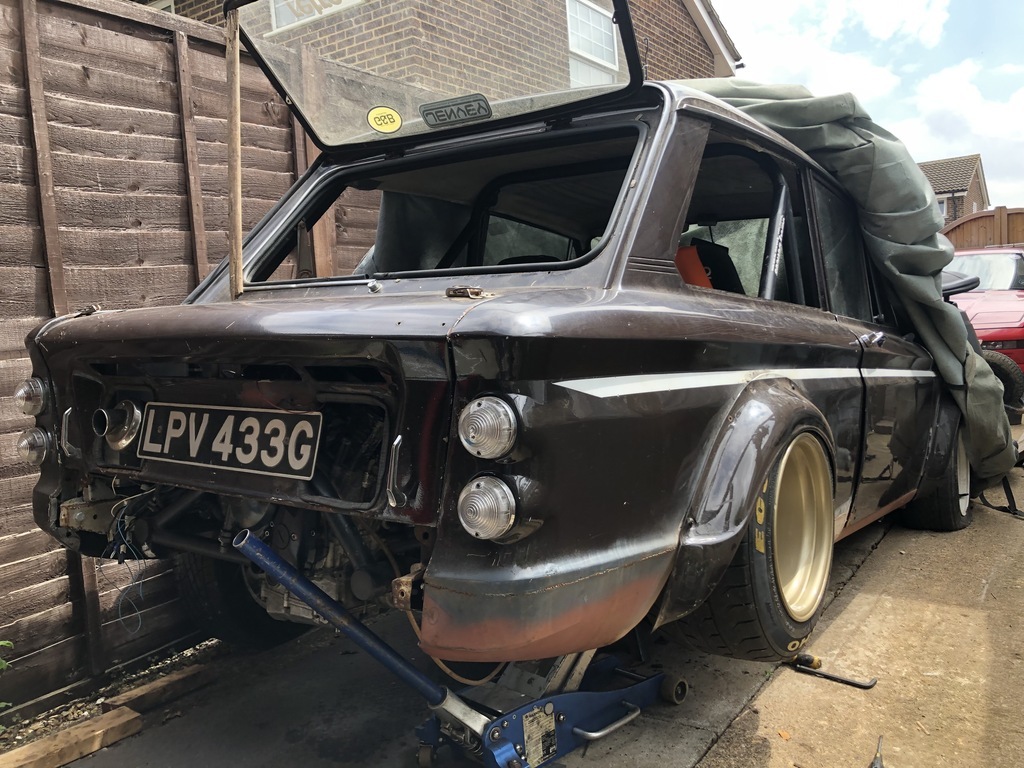
As I think mentioned in a previous post the rear shocks needed to be relocated into the old spring perch region due to not enough clearance on the driveshafts to the old shock mount points. To date the shocks have just been resting in the cup of the spring perch to get the car rolling about. To make proper location points I drilled a hole though the lower strengthening plate right the way through with a hole saw. I cut a big slot in the plate to allow me to weld the tube in place to give more strength to the assembly. I made up two tubes, one with a thick washer welded on to cap the tube. The other with a M12 flange nut welded in. The tube is perfectly sized to allow a M12 cap head bolt to go down. Welded it all in place. I also later ran a bead around the inside of the old spring perch to give the plate more strength to the arm which should stop the car weight simply tearing the plate off the arm. Rear shock mounted in place. I put the arm back on to the car and checked full bump clearance to ensure the top mount is in the correct place. Looks good to me. Currently ~10mm off the arch but these aren't new tyres and they are only 45 profile and stretched a bit... Plus there will be a few mil more squish into the bump stop if I really whack something. With arch fitted... I think I need to reduce my spacer a little bit more. I think the offset was set before I fitted brake discs which has moved it out another 8mm or so. Easy to correct though and the car is looking great. Just got the other side to do now. |
| |
'91 BMW E30 318is
'91 BMW E31 850i
'96 BMW E38 750i
'68 Singer Chamois (Yamaha R1 Engine... )
'95 Mini 1.3i
'61 Lamborghini 2241r
'64 Lamborghini 1R
'57 Lamborghini DL25C
Plus a few others...
|
|
|
|
Paul Y
Posted a lot
  
Posts: 1,951
|
|
Jul 19, 2021 10:19:11 GMT
|
I put the arm back on to the car and checked full bump clearance to ensure the top mount is in the correct place. Looks good to me. Currently ~10mm off the arch but these aren't new tyres and they are only 45 profile and stretched a bit... Plus there will be a few mil more squish into the bump stop if I really whack something. With arch fitted... I think I need to reduce my spacer a little bit more. I think the offset was set before I fitted brake discs which has moved it out another 8mm or so. Easy to correct though and the car is looking great. Just got the other side to do now. That looks absolutely spot on. P.  |
| |
|
|
|
|
|
Jul 20, 2021 19:52:14 GMT
|
|
Great updates. I'm super happy to see you're back onto this project. So cool!
I'll have to read back through it to see what drive shafts and rear brakes you're using because I'll be beefing up mine.
|
| |
|
|
|
|
|
Jul 21, 2021 11:11:17 GMT
|
Looks awesome dude  Where did you get the auxiliary water pump from? I'm thinking my X1/9 would benefit from that as the flow at idle isn't enough to trigger the fans before the engine overheats when you come off a long motorway stint. |
| |
|
|
|
|
|
Jul 21, 2021 14:52:59 GMT
|
Where did you get the auxiliary water pump from? I just bought a cheap knock off version of a Bosch unit from amazon... ( here) Seems ok, I'm sure it wont last as long as the real deal but fine for me for now. |
| |
'91 BMW E30 318is
'91 BMW E31 850i
'96 BMW E38 750i
'68 Singer Chamois (Yamaha R1 Engine... )
'95 Mini 1.3i
'61 Lamborghini 2241r
'64 Lamborghini 1R
'57 Lamborghini DL25C
Plus a few others...
|
|
|
|
|
Jul 21, 2021 14:57:31 GMT
|
|
This is excellent!
|
| |
|
|
|
|
|
Jul 21, 2021 16:15:38 GMT
|
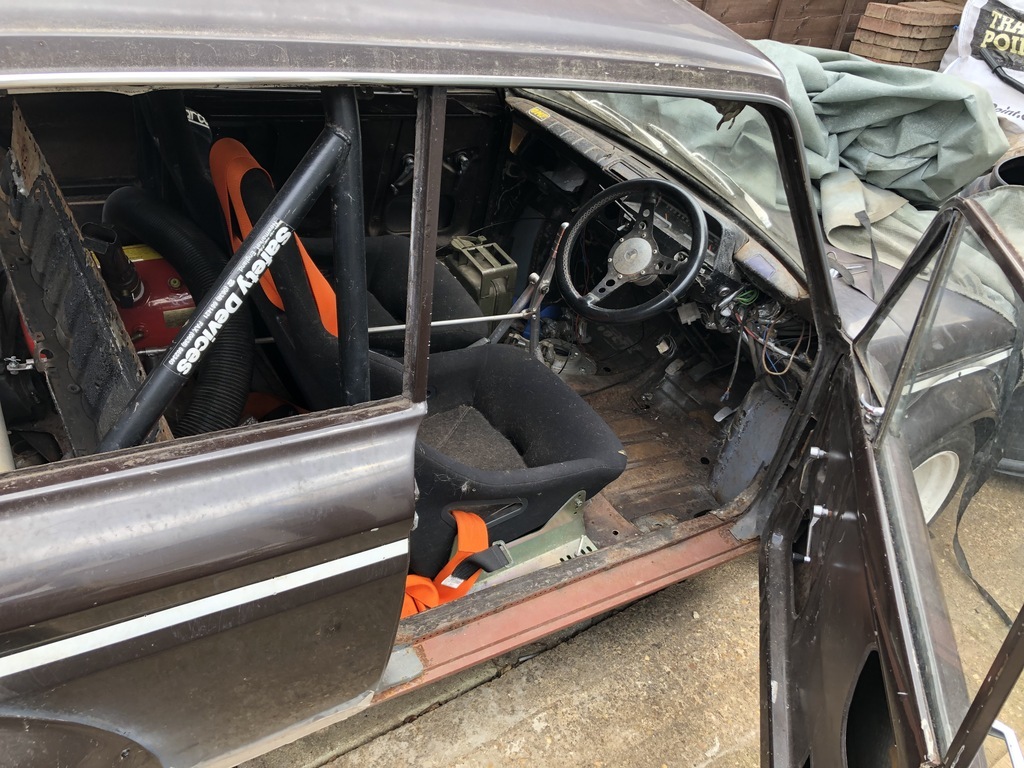
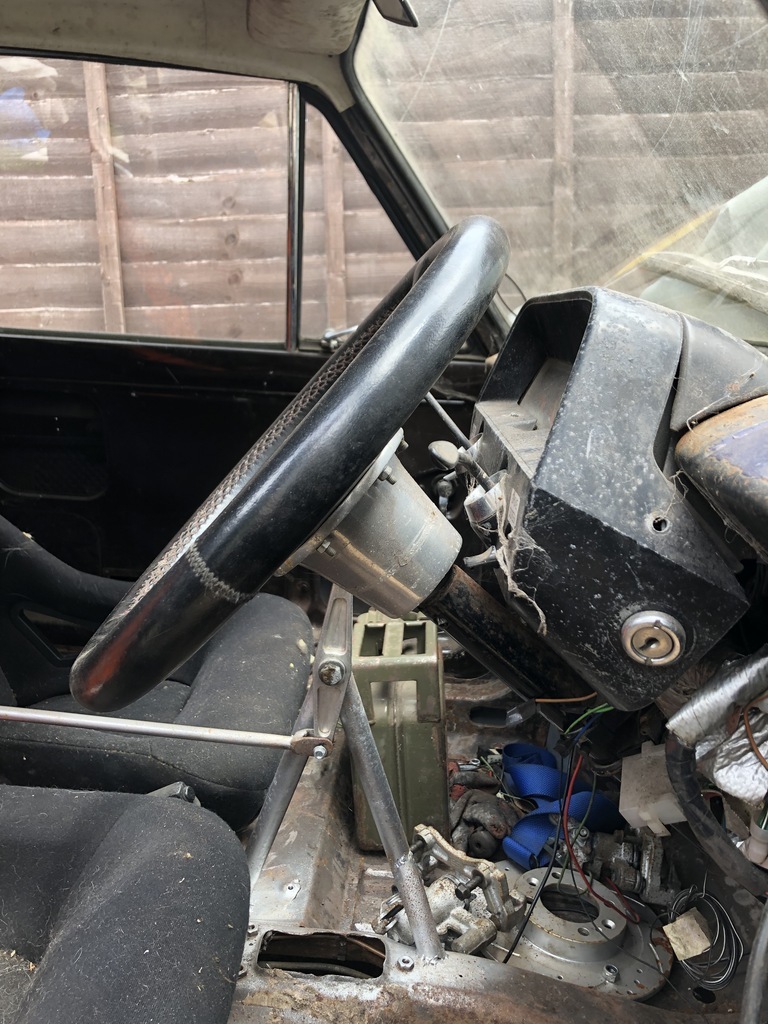
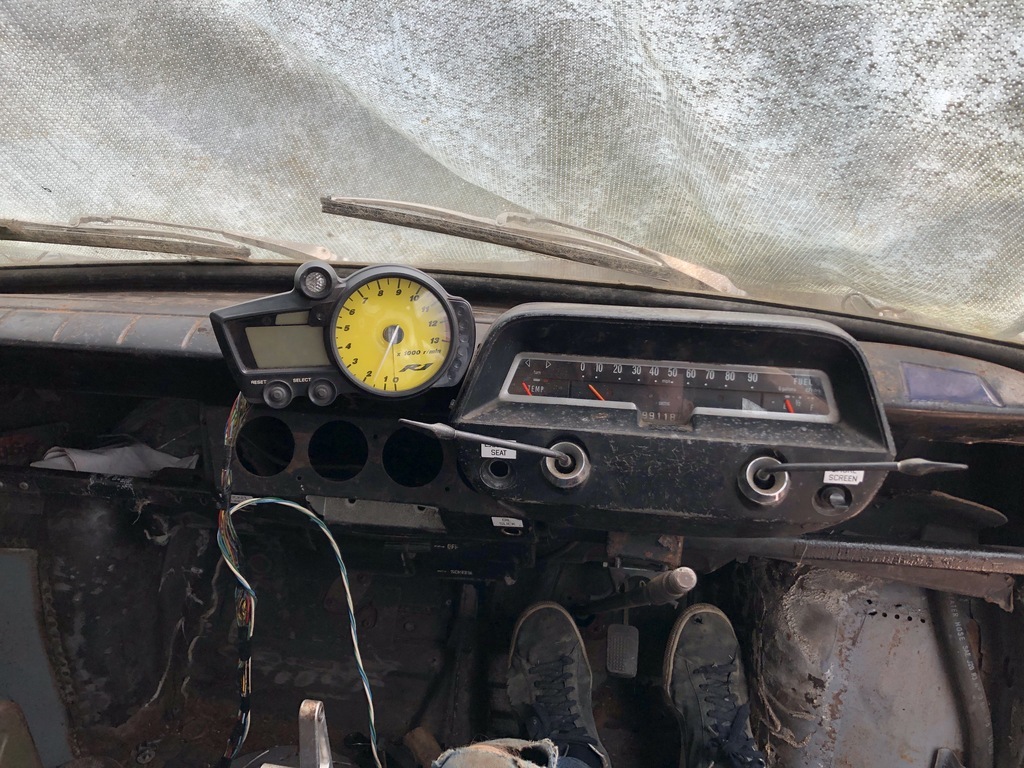
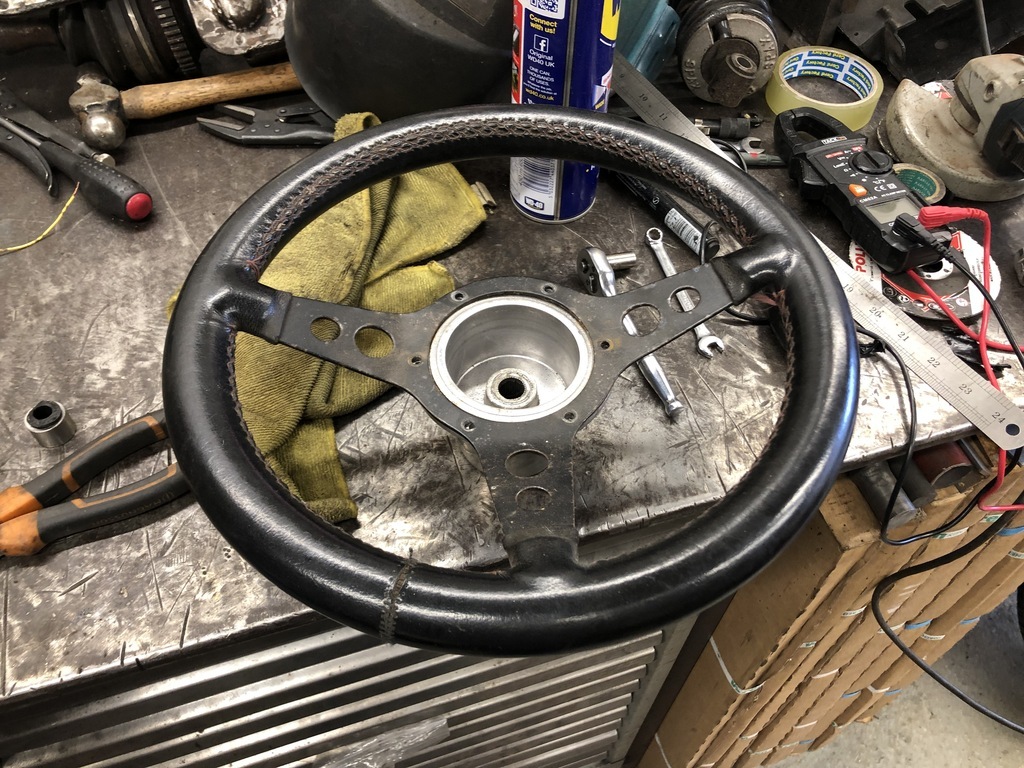
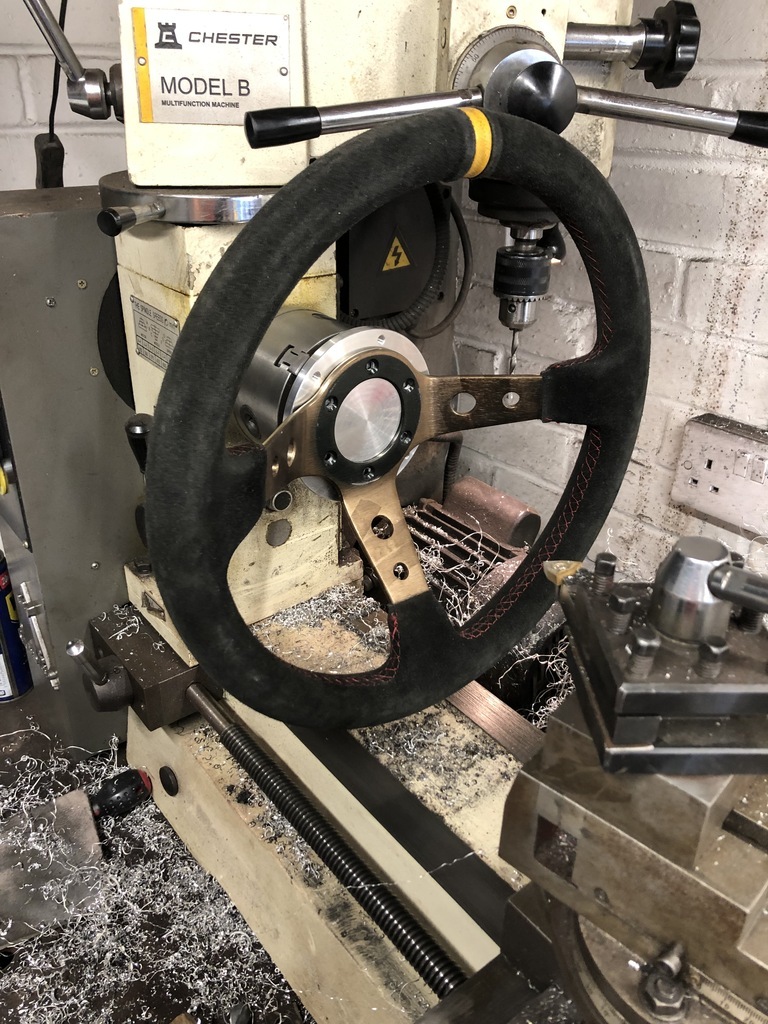
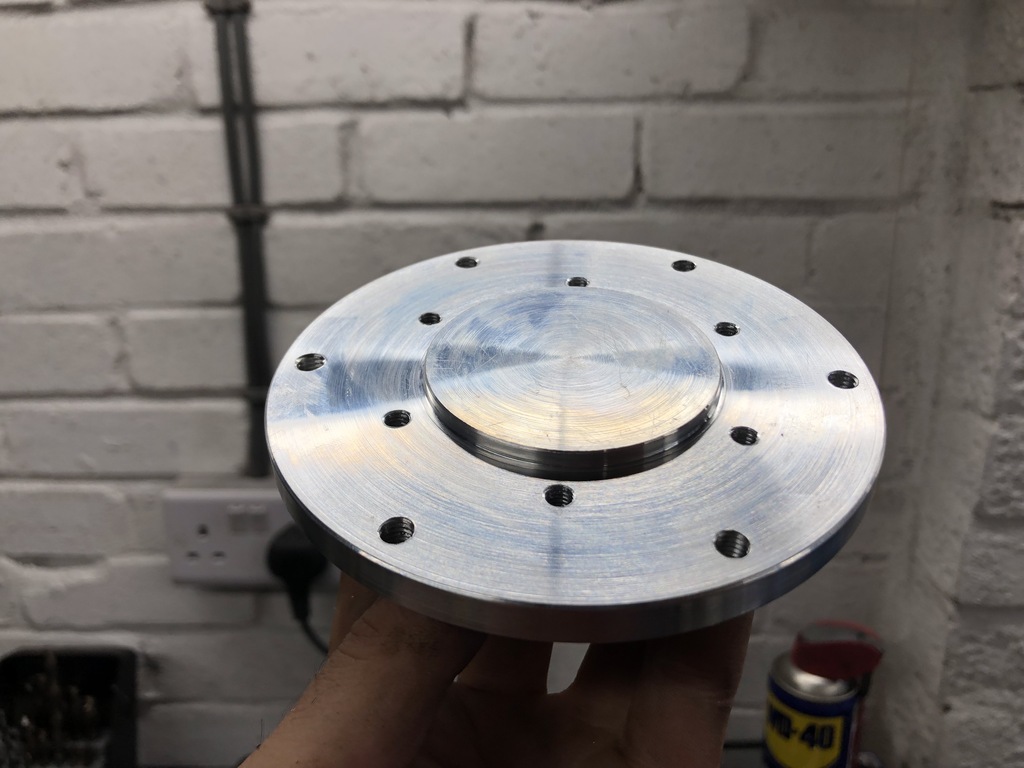
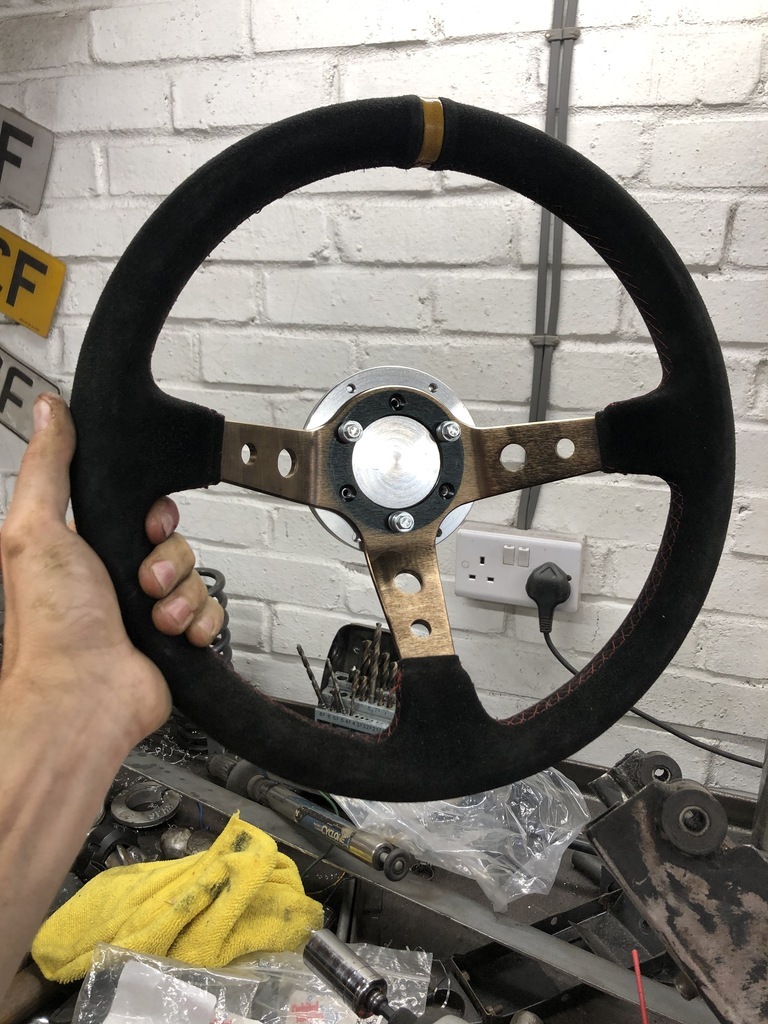
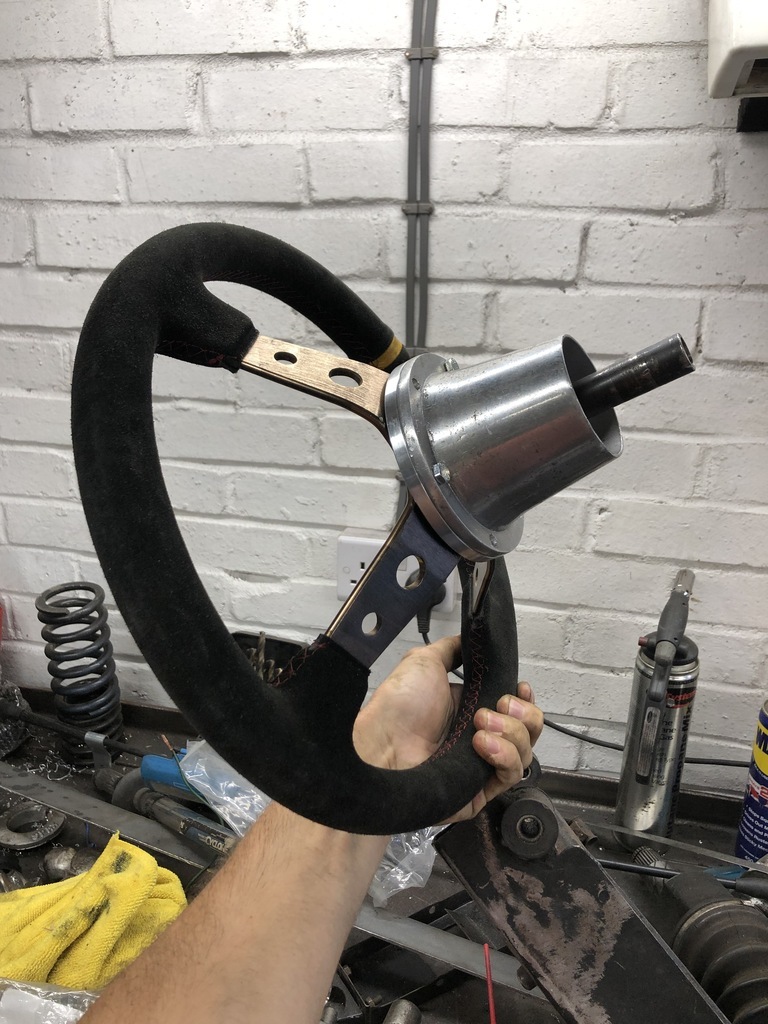
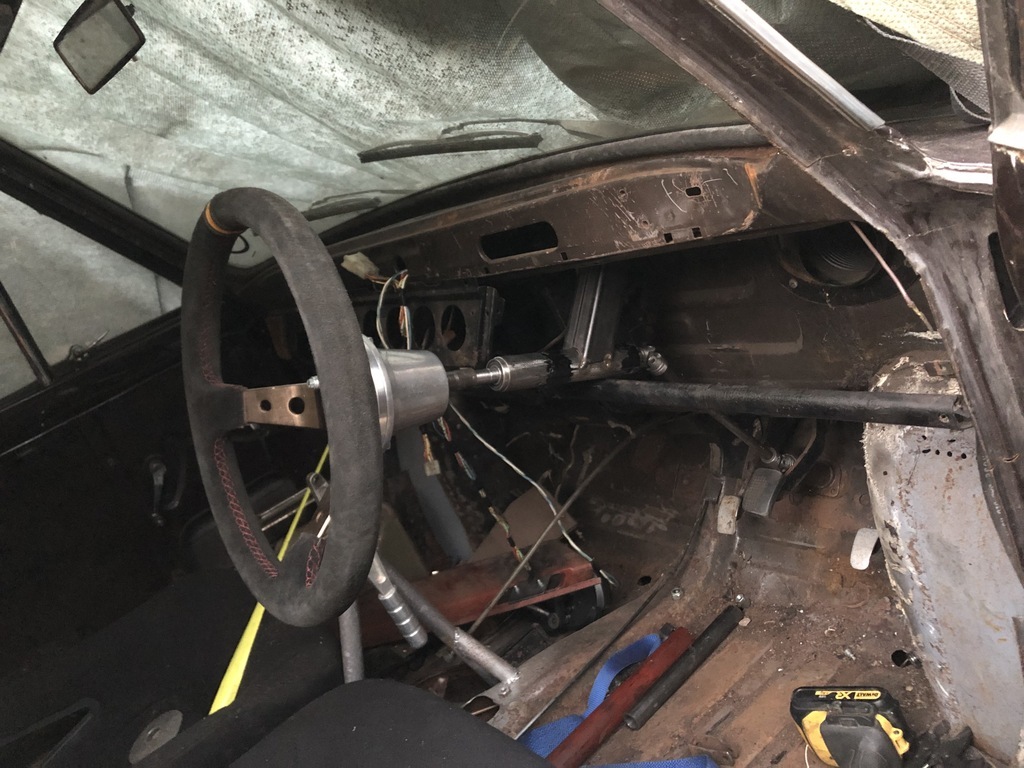
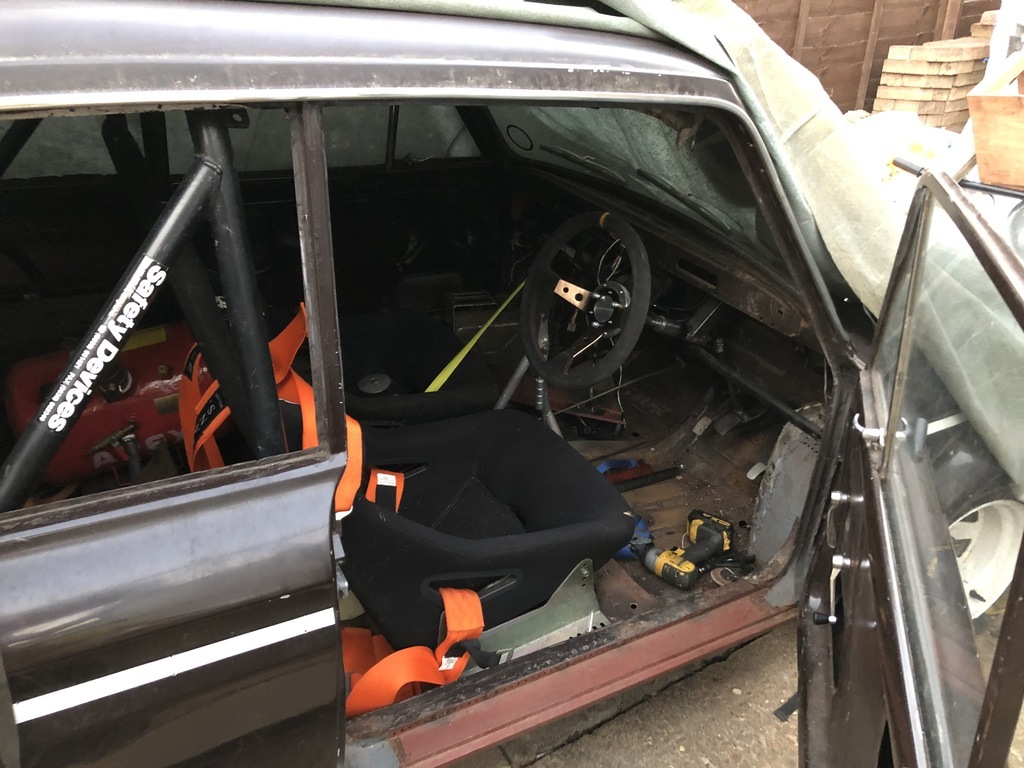
Interior...It's not high on the agenda with respect to getting the car running and driving but it's an area that annoys me and I would like to do something about it. First up is the steering wheel position... The old wheel was... well fine. It turned the wheels which is it's job at the end of the day but it could be so much better. I didn't like that: - The old wheel was leather, fake or real makes no difference. Its slippy and not to my taste.
- It was also very flat and upright like driving a bus. Sitting in a bucket seat it was just a bit awkward.
- The main problem was that there wasn't enough clearance to the dash switches etc. The backs of my hands catch on the stalks which if wired up would turn on wipers and indicators etc... Not cool... Mid drift you don't want to me flicking on the wipers... you'd look like a right amateur.
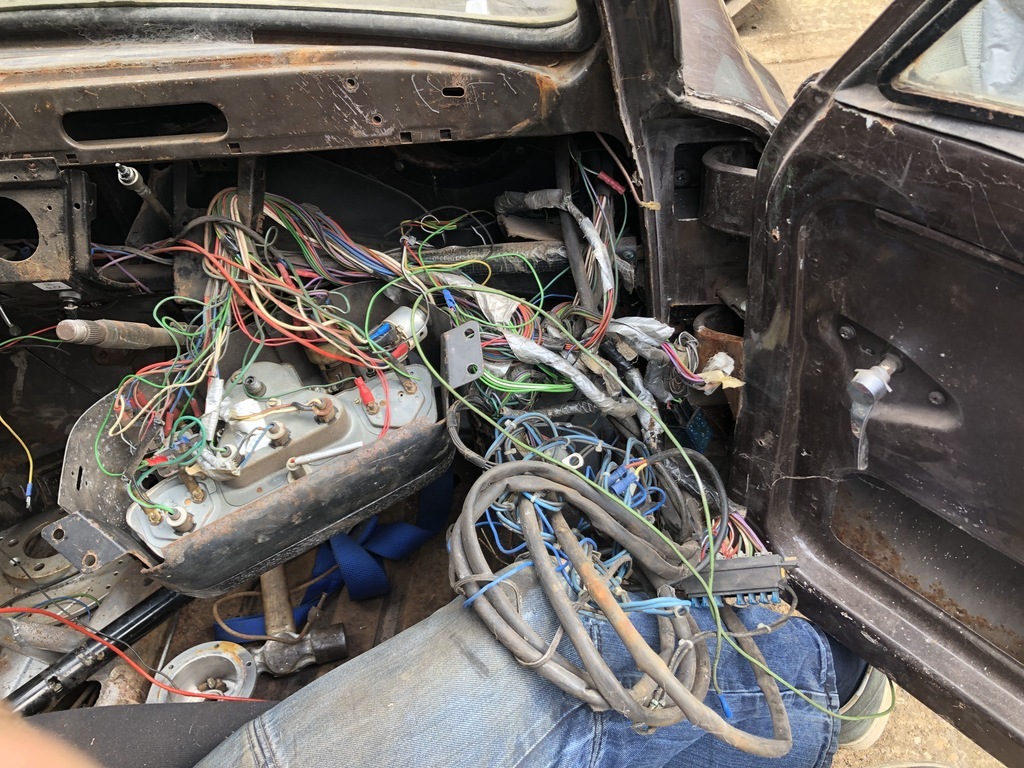
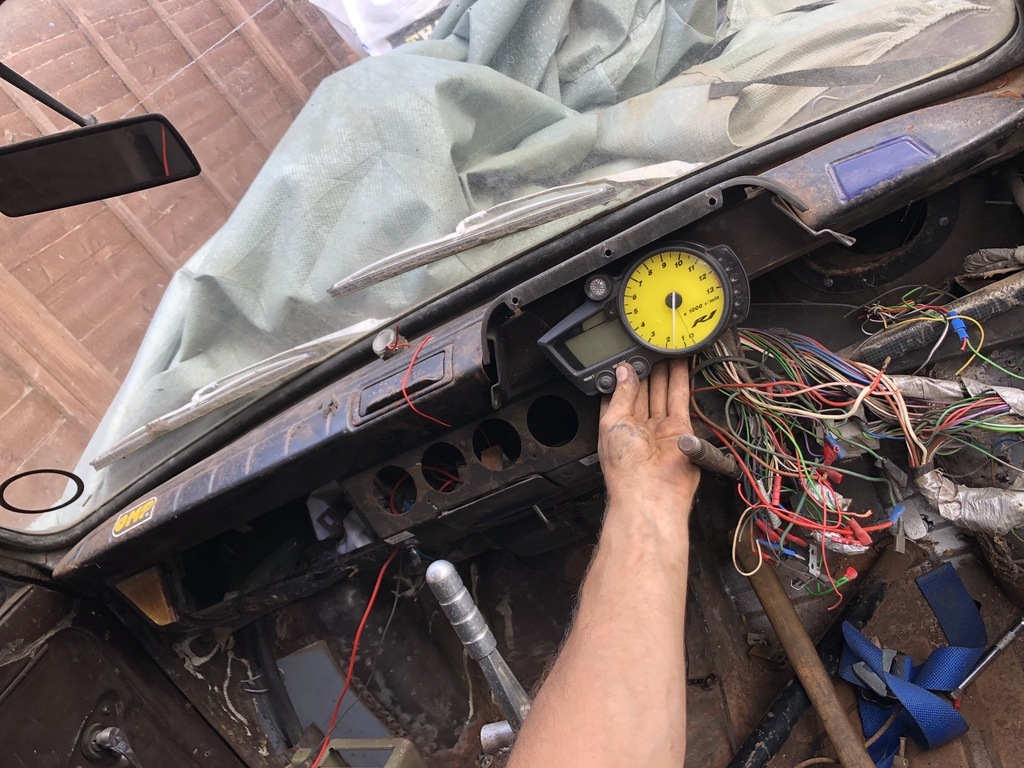
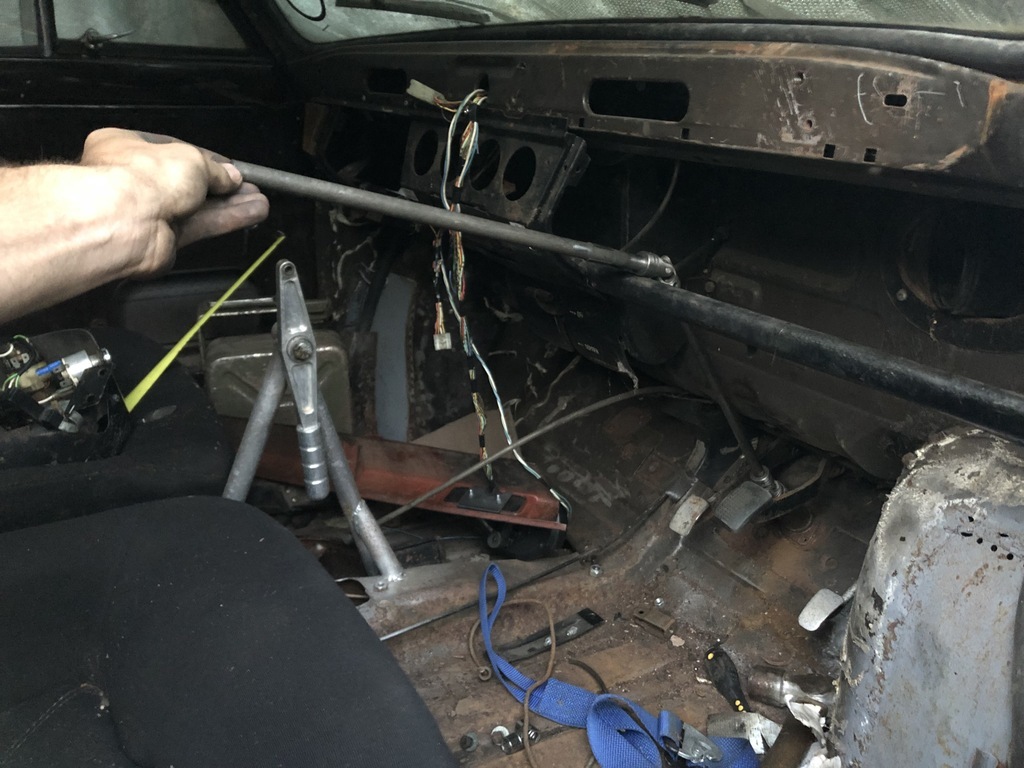
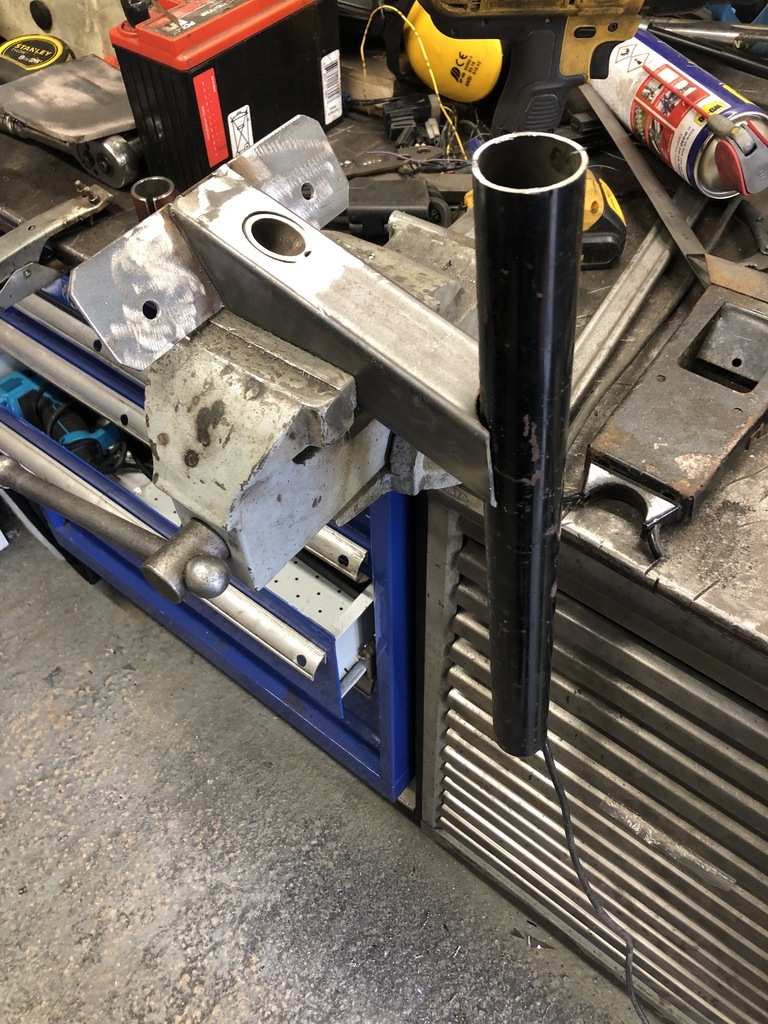
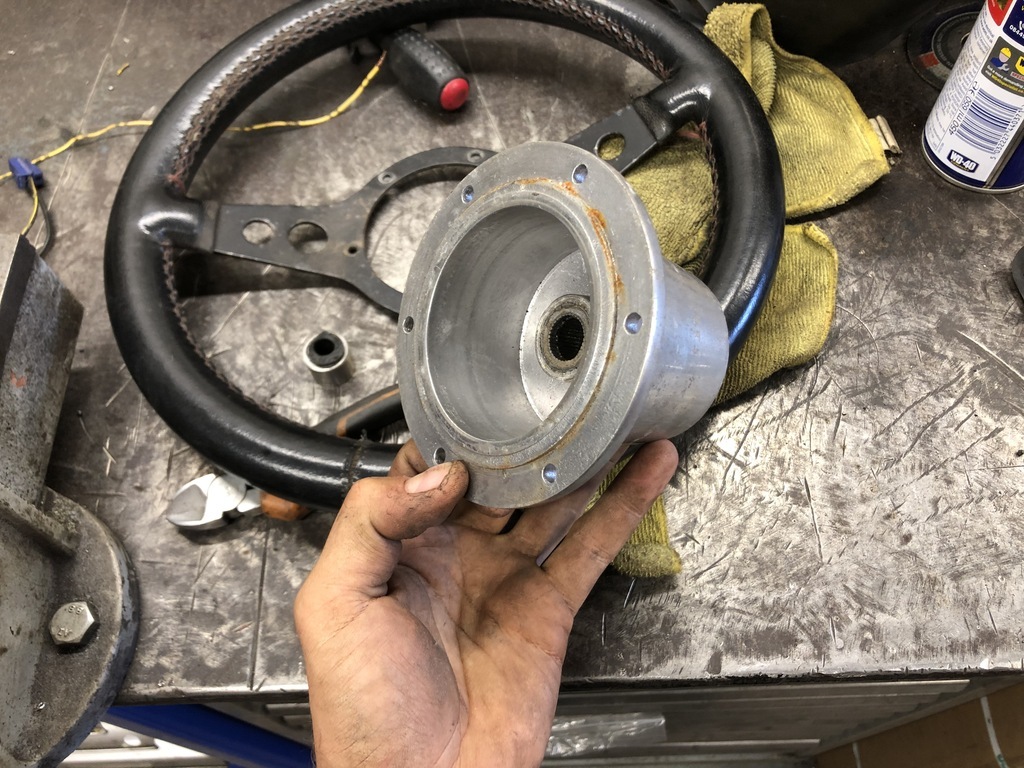
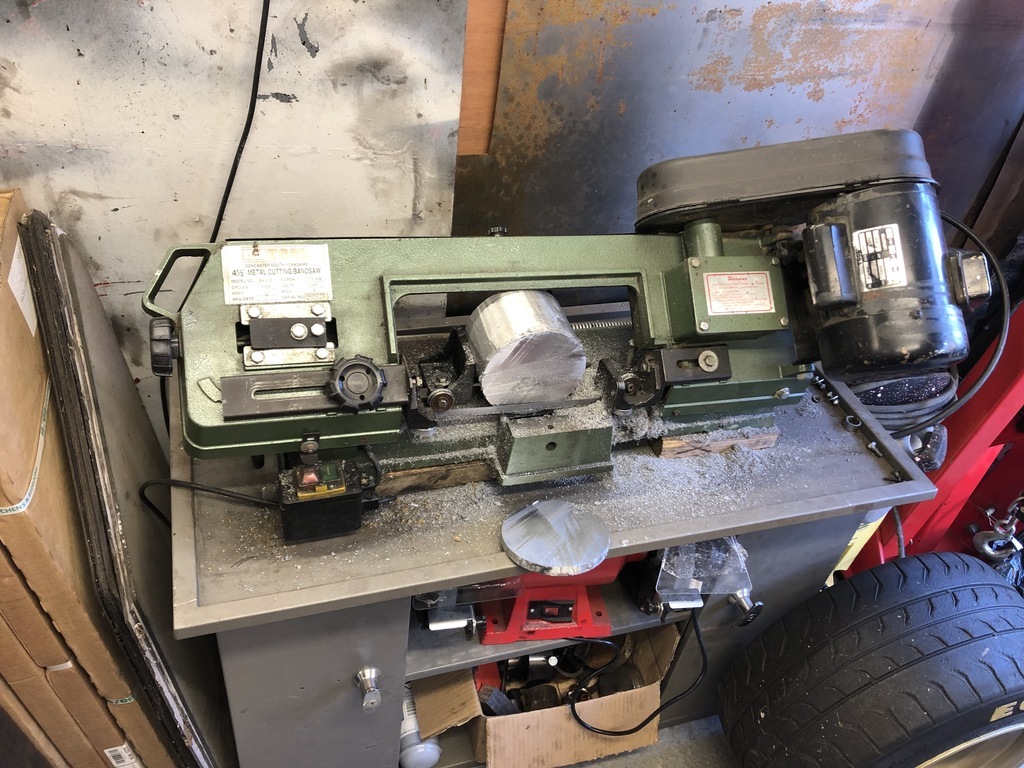
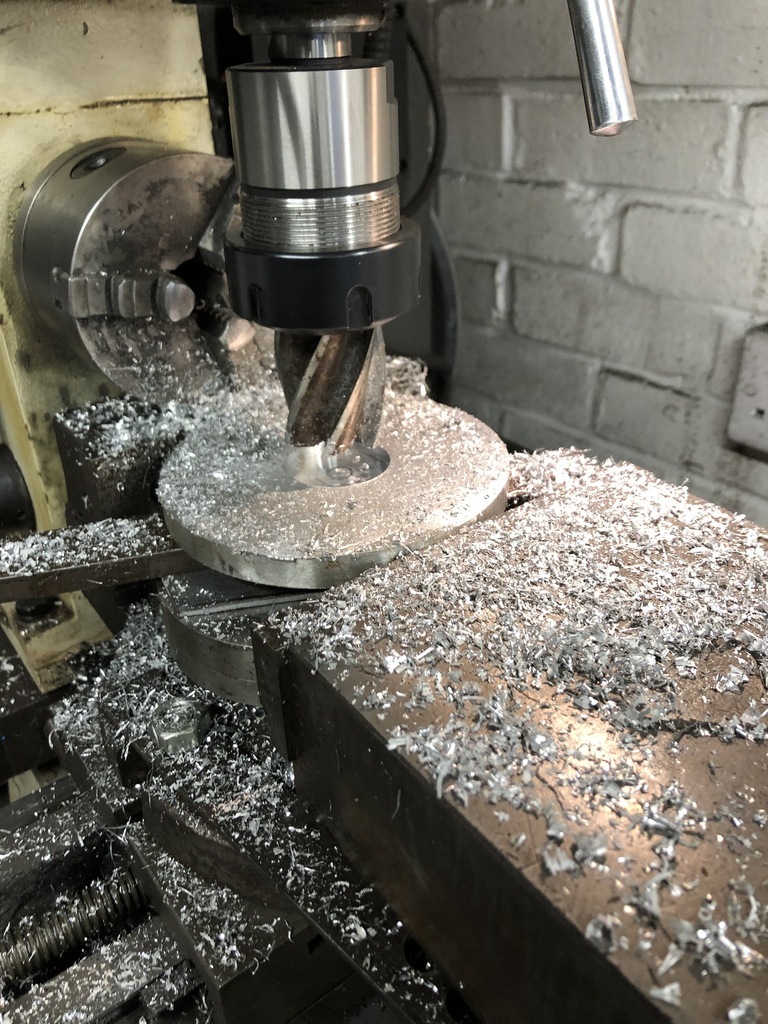
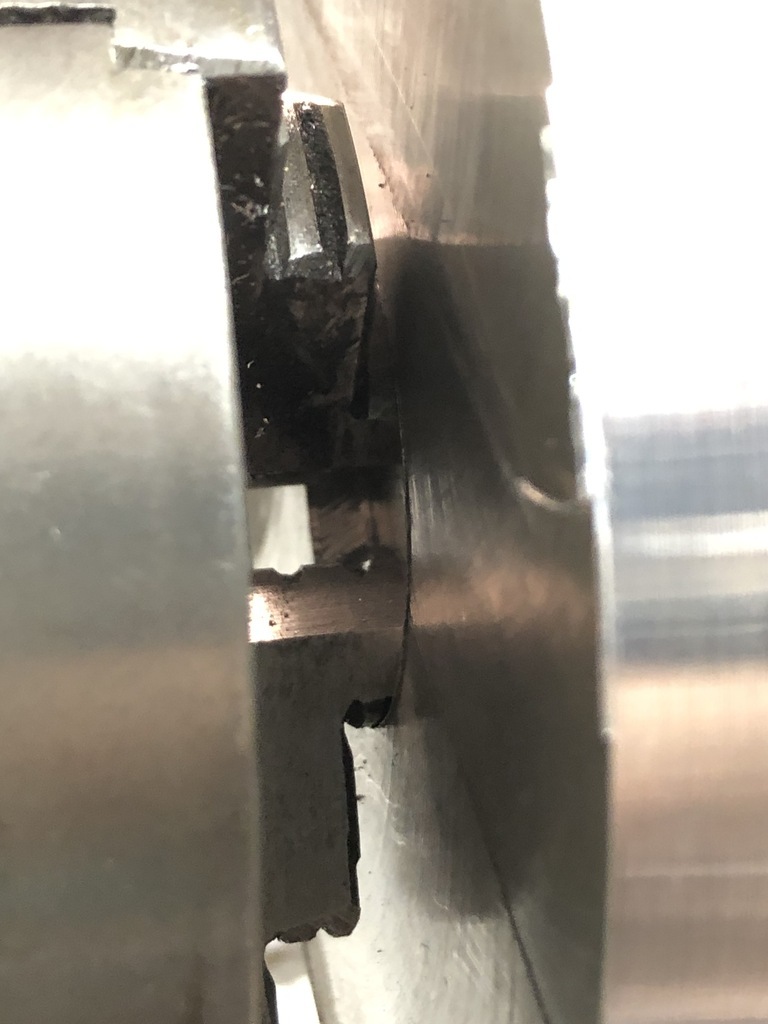
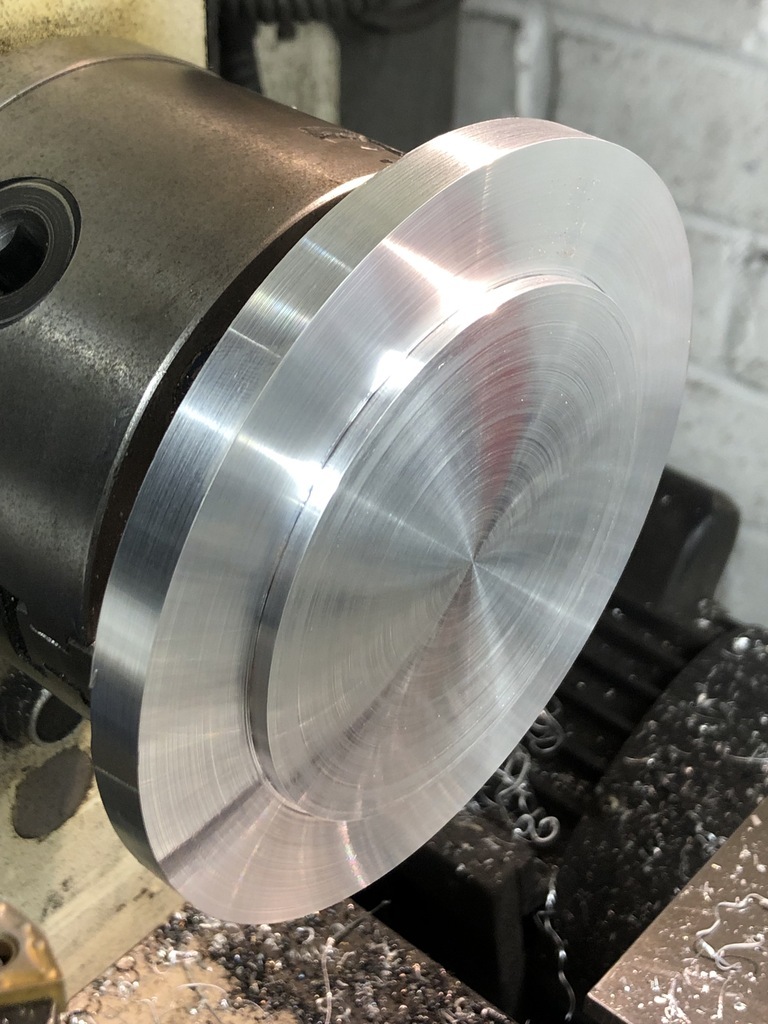
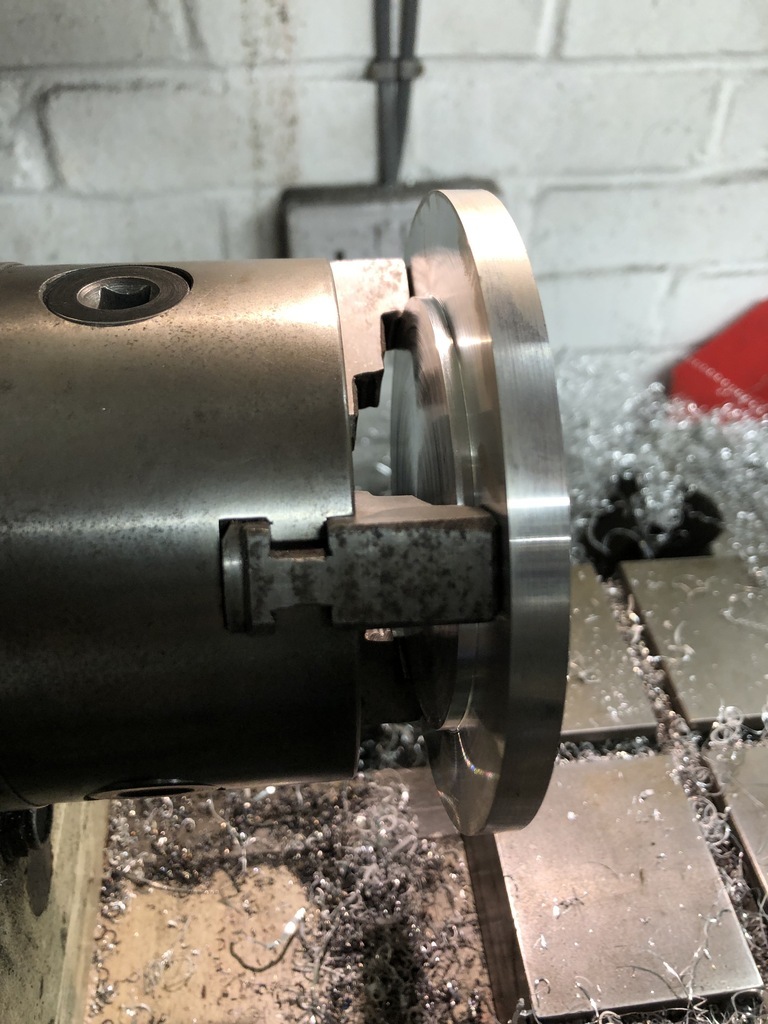
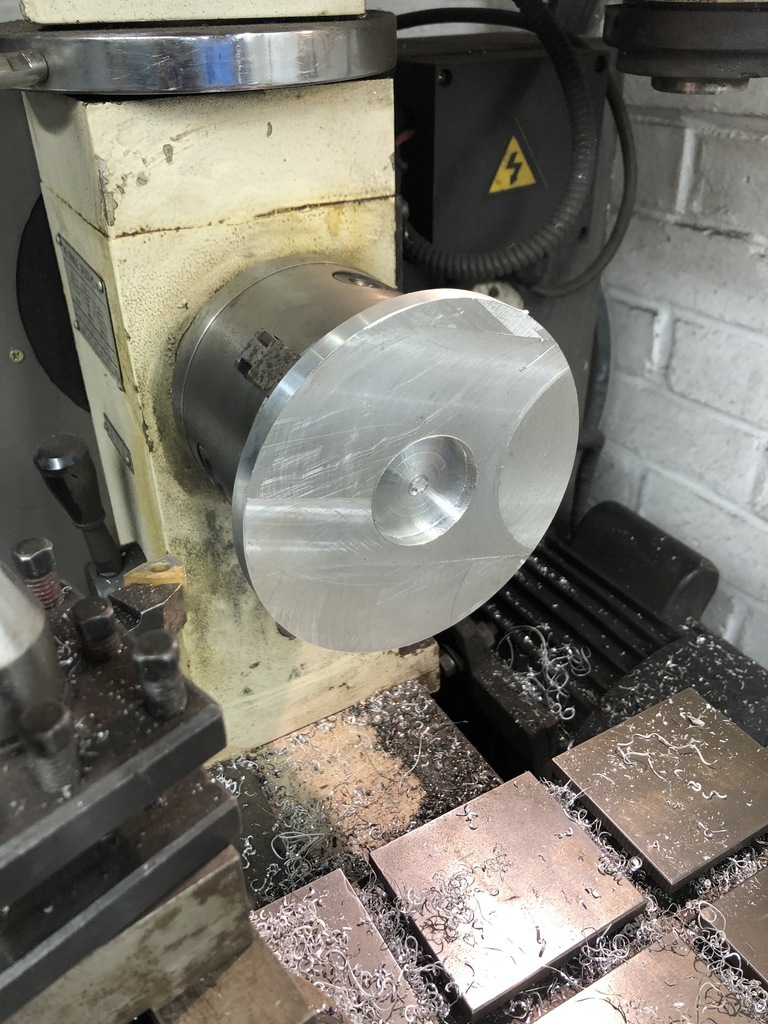
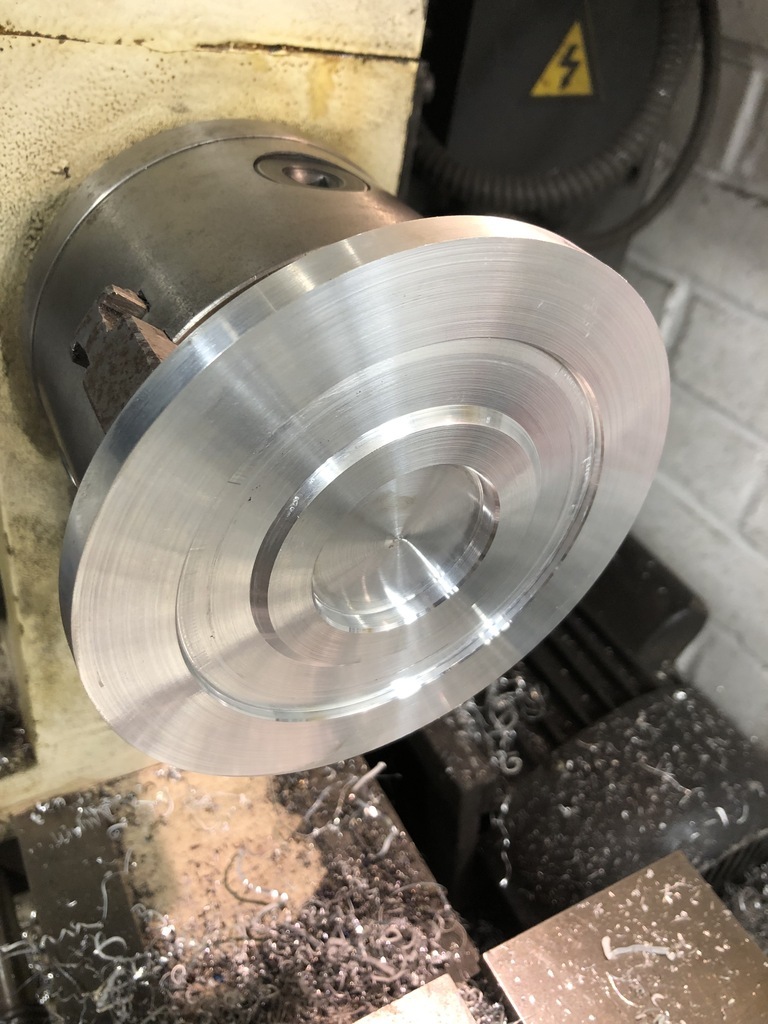
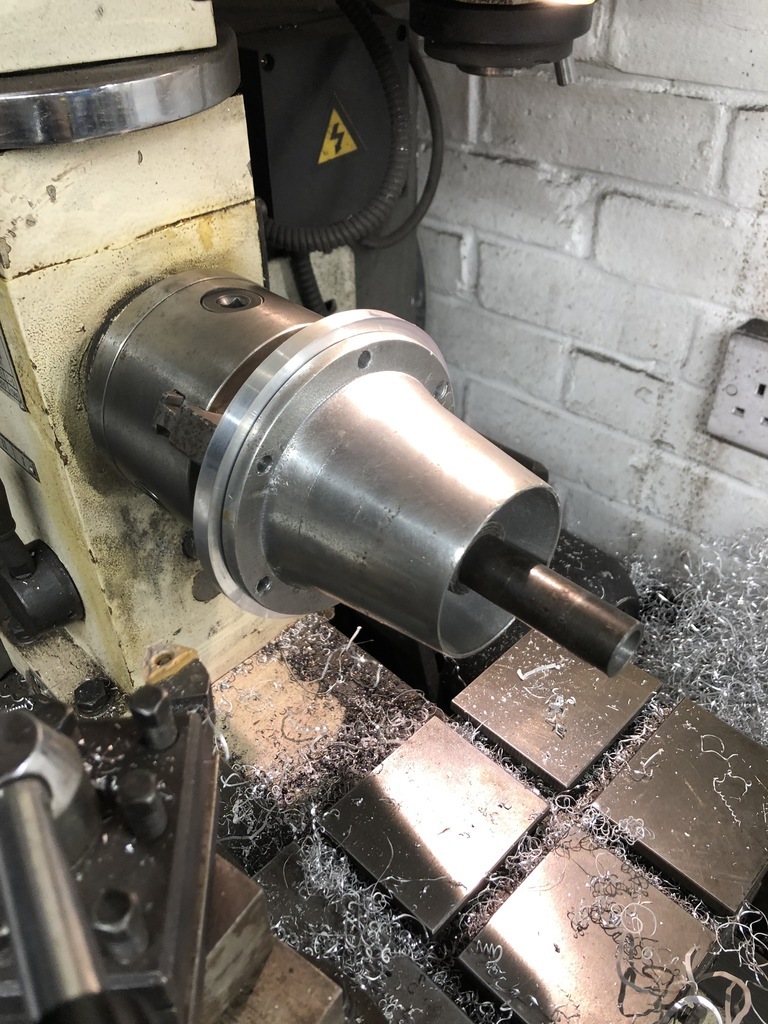
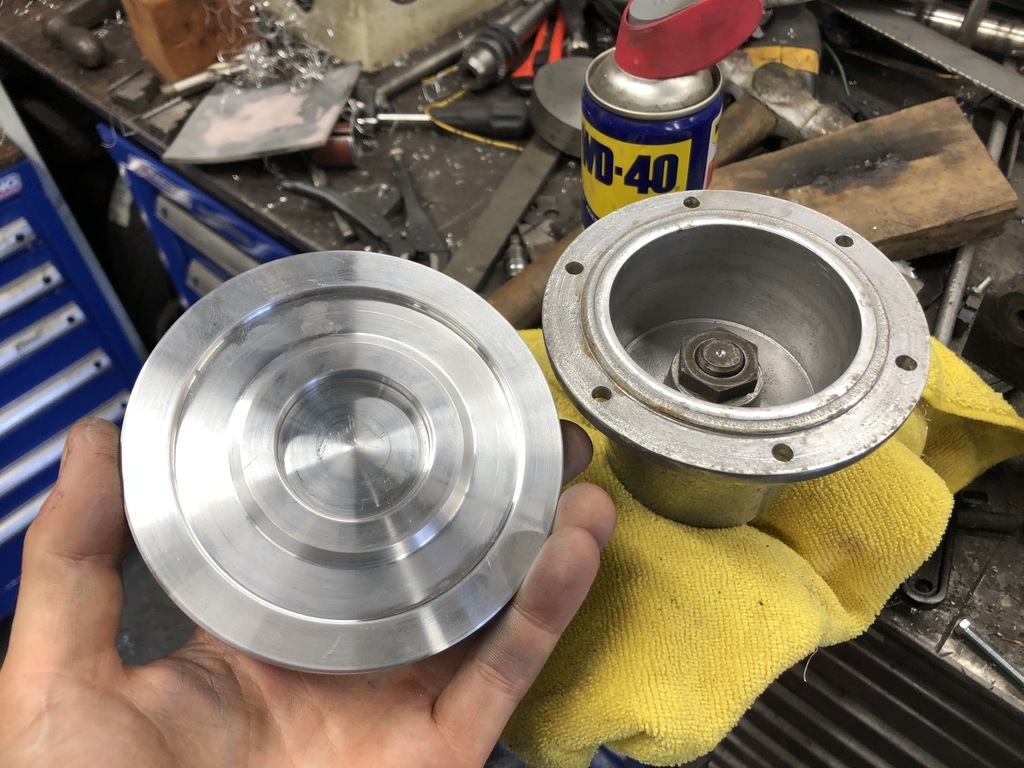
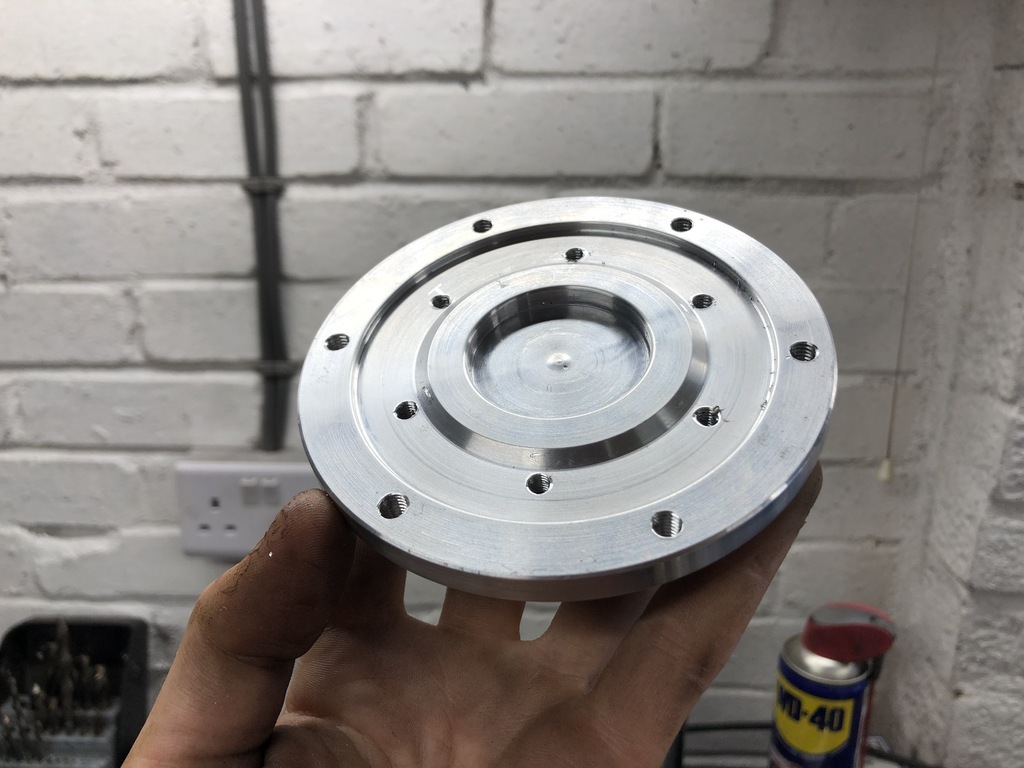
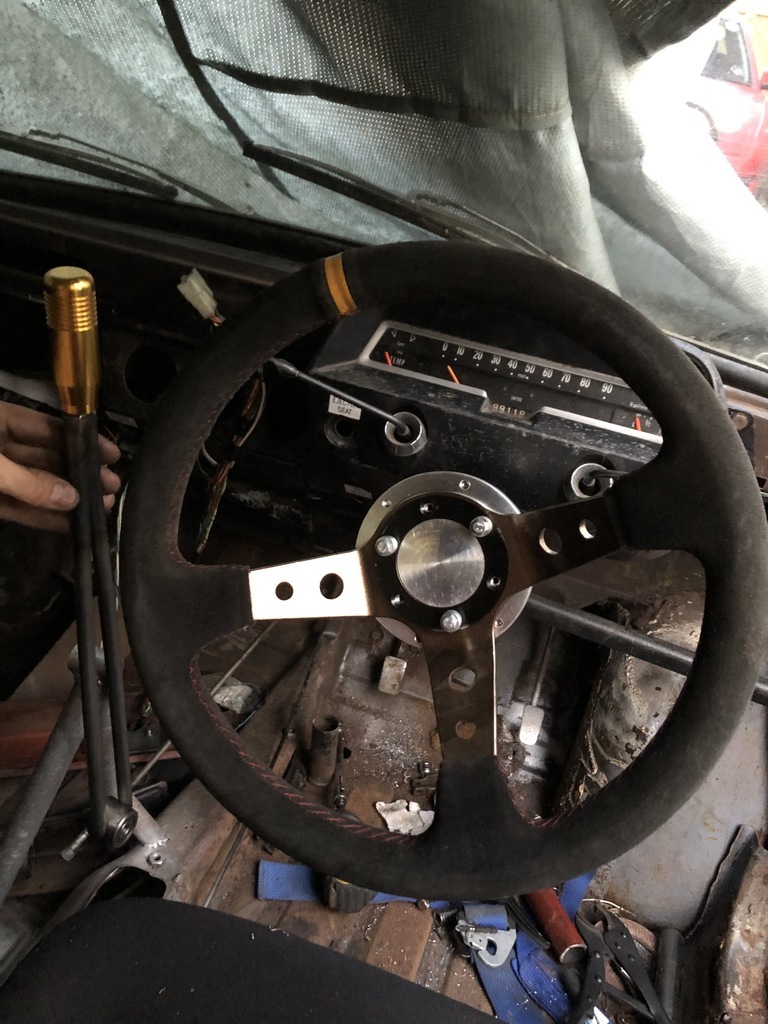
I started off by removing the old wiring etc to see what we can do. I toyed with the idea of just removing the old clocks seeing as none of it was going to function. Then replace all the switches with a control panel... We voted and it was decided to keep the old dash as it looks wrong without it. I made a bracket and mounted the R1 clocks off to the side and decided to try and keep the original stalks. I then cut the column off down by the brake pedal and set about making it come out of the dash at a much flatter angle. With the use of 2 little UJ's I think this was going to work quite nicely. I made a replacement top bracket. Now that the column is in two/three pieces and not a continuous tube the upper bracket needed to be much more substantial. This bracket will also be braced off the main bulkhead so my full weight and force etc pulling on the wheel would be going though this into the car rather than through any steering items. Next is the steering wheel itself... I quite liked the old steering boss and the plus side was that it matched the splines on the column. This simply means less parts to buy right? #recycle I'm sure this is a complete false economy but hear me out... you couldn't buy a reducer from the old skool 100mm/4"? x6 PCD down to a modern style wheel that was 70mmx6 PCD. (Well you could but it was like £56 or something.. No thanks.) So I bought some metal and got making my own adaptor. My lathe chuck can only hold 4" OD. I also didn't want to put a hole all the way through. I wanted to keep the aluminium centre so it would hide the column nut. I plunged a hole in the middle of my 5" round so I could hold the work from the centre. I turned down the starts of the new wheel spigot. Flipped the part around so that I can create the hub interface. Then flipped it around to finish off the new wheel centre spigot and the over all external diameter to match the hub. Drilled and tapped all the holes. Now that I've made this... I do admit it does look slightly weird having such a large boss for a relatively small wheel centre... When I have the correct bolts it might look less silly. I still like it though because I made it haha. There's still a bunch of work to do but this is looking much better. I also replaced the old nylon bush for bearings so the steering should be nice.
|
| |
'91 BMW E30 318is
'91 BMW E31 850i
'96 BMW E38 750i
'68 Singer Chamois (Yamaha R1 Engine... )
'95 Mini 1.3i
'61 Lamborghini 2241r
'64 Lamborghini 1R
'57 Lamborghini DL25C
Plus a few others...
|
|
|
|
|
|
|
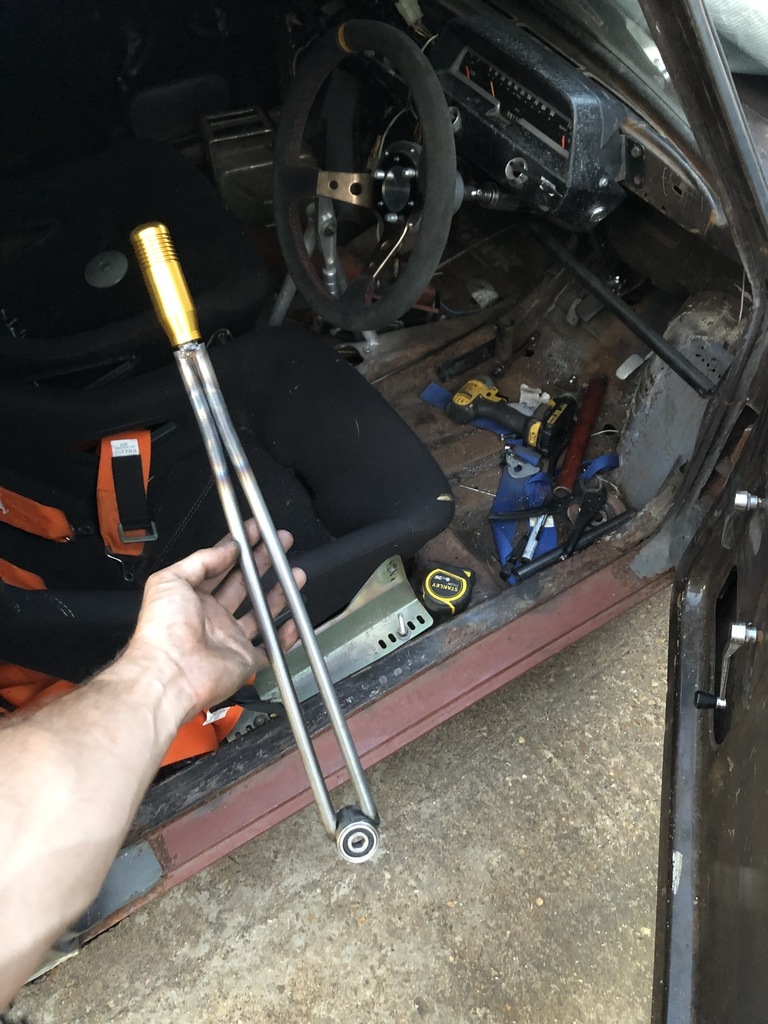
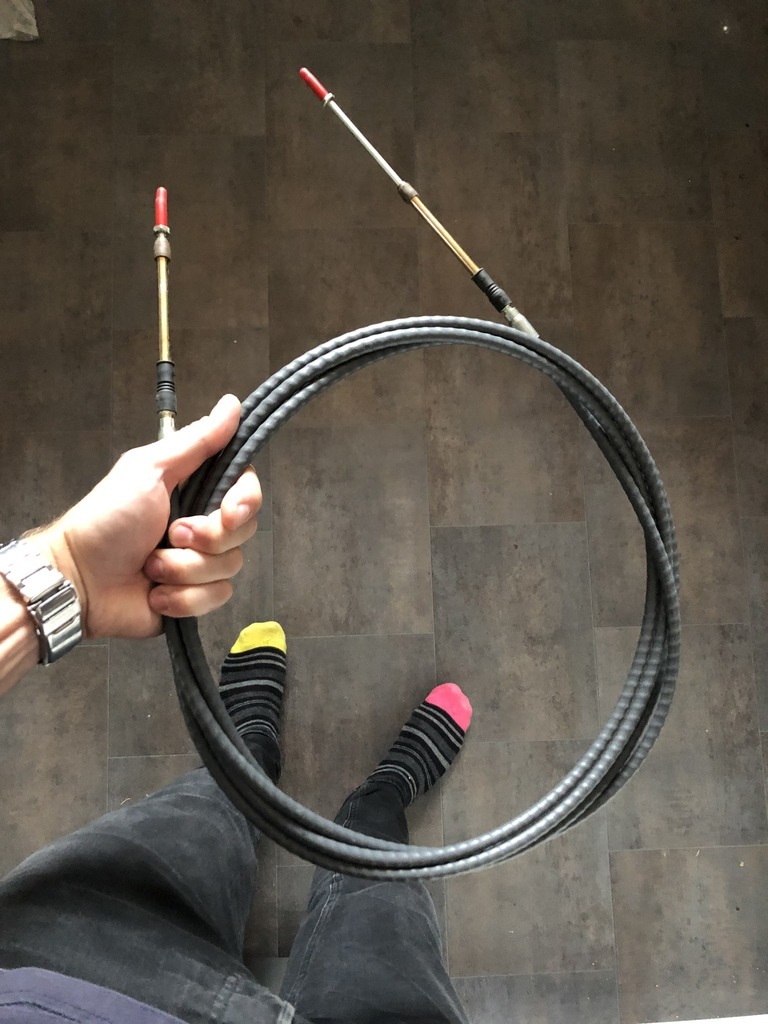
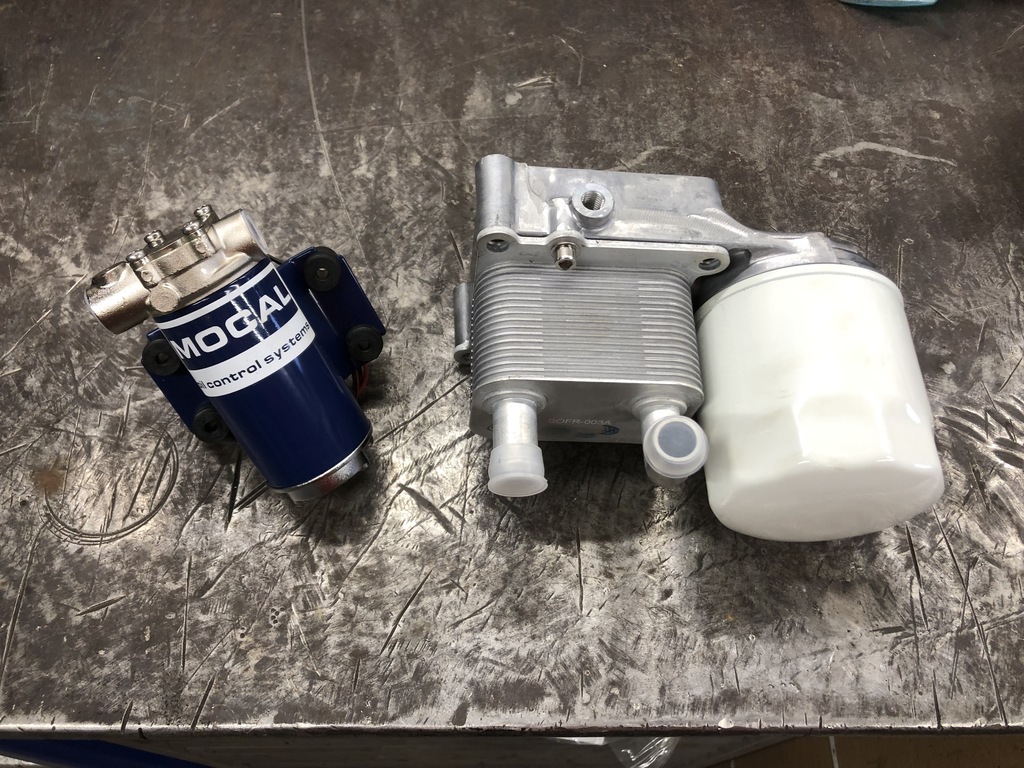
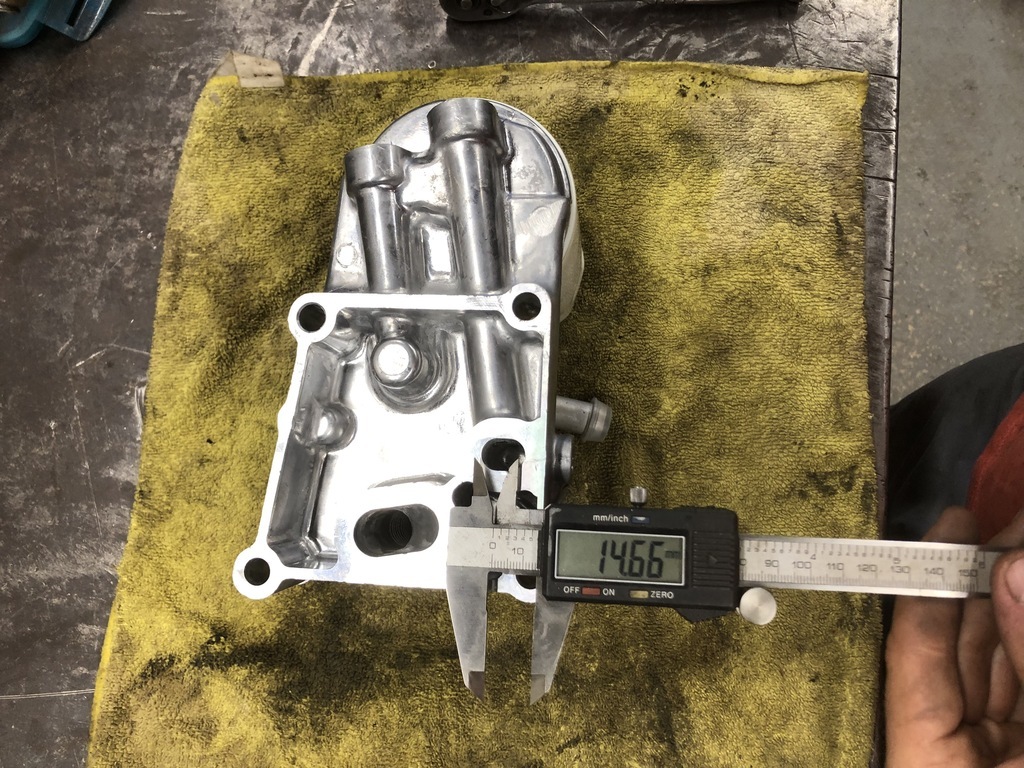
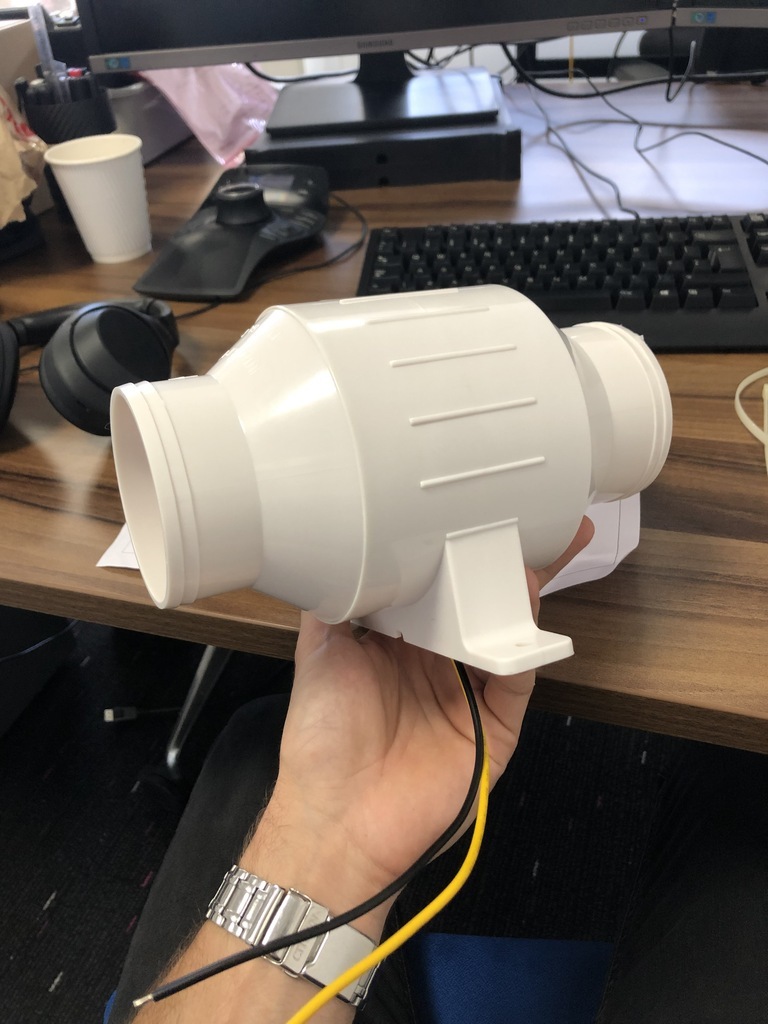
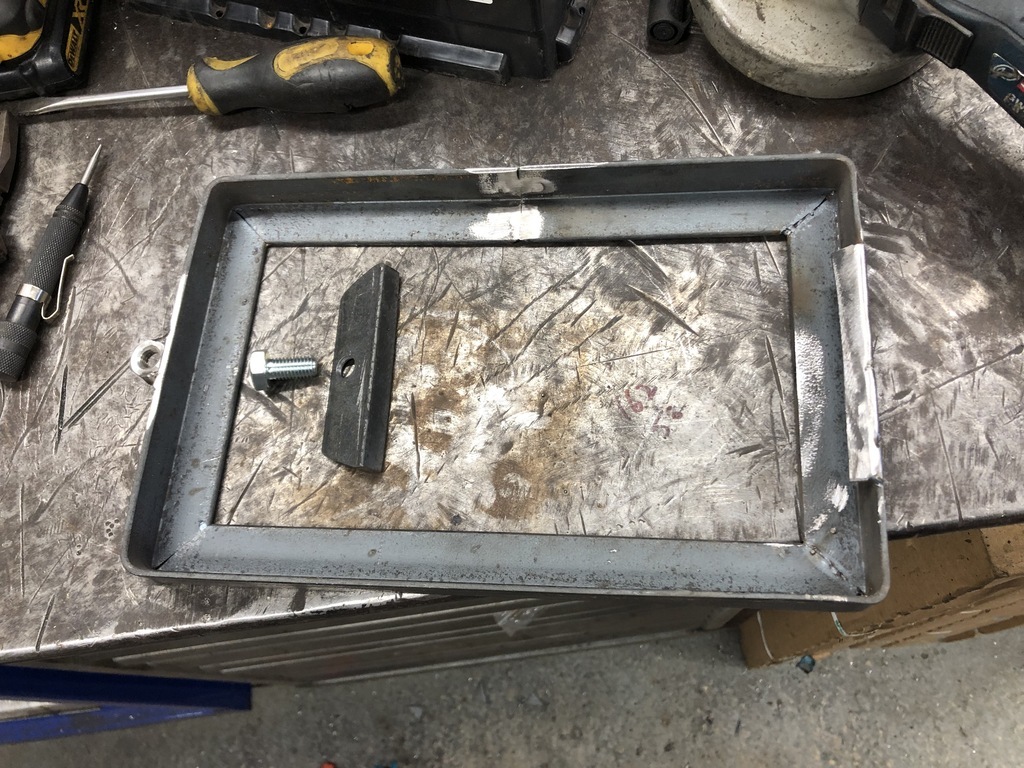
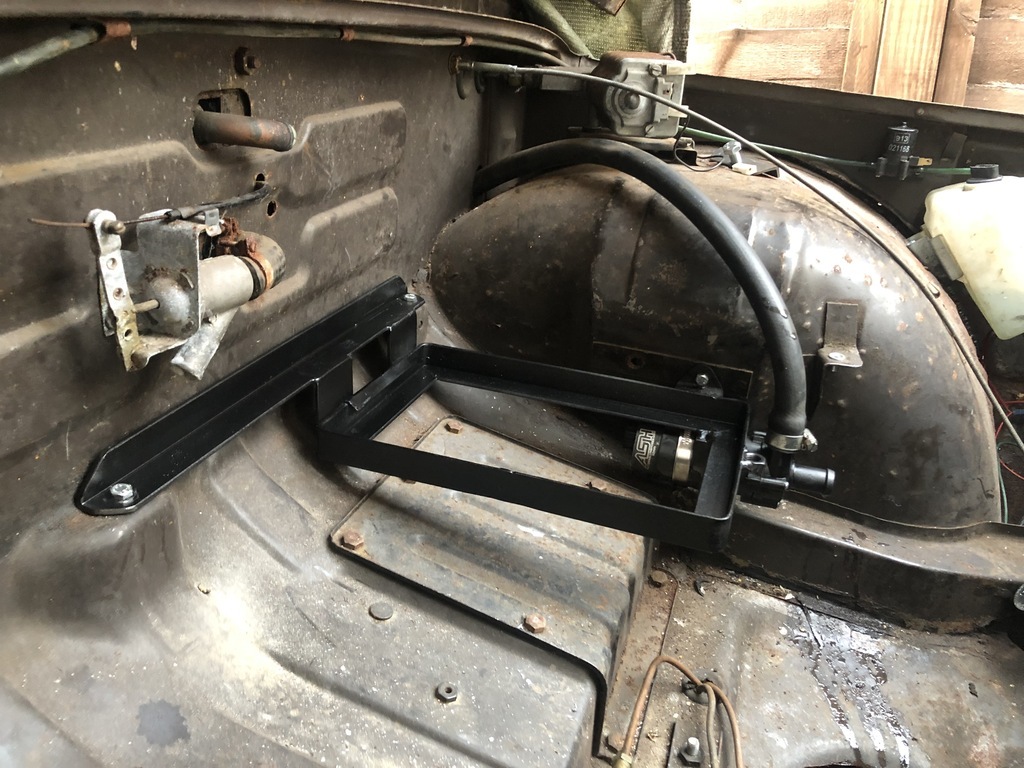
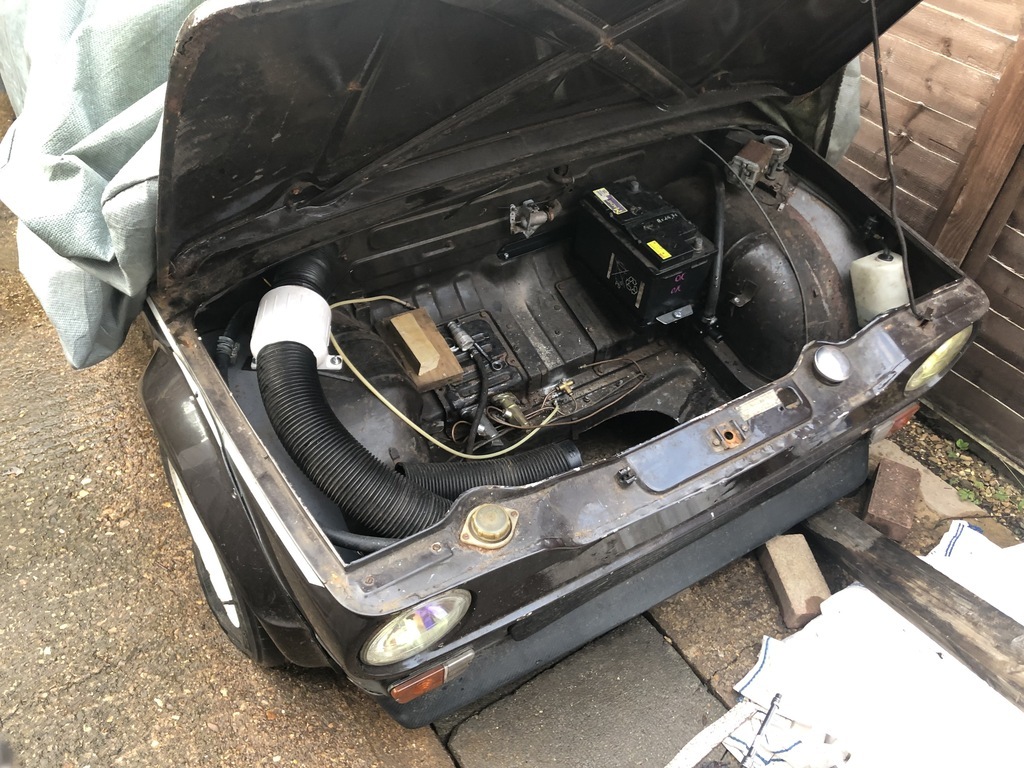
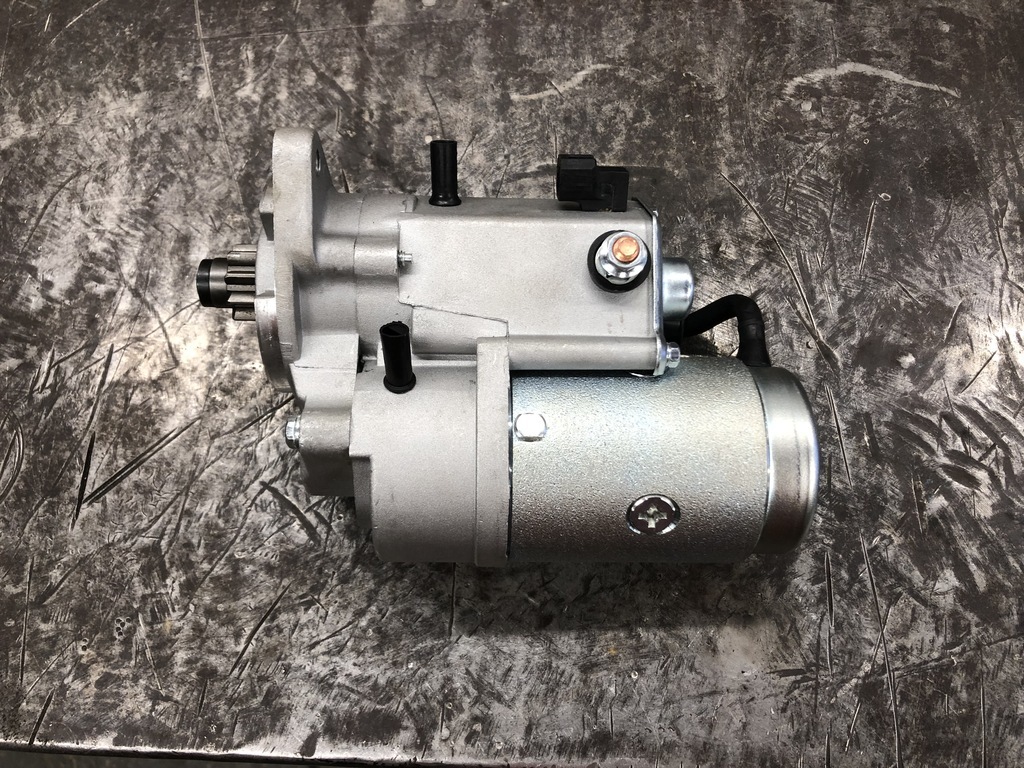
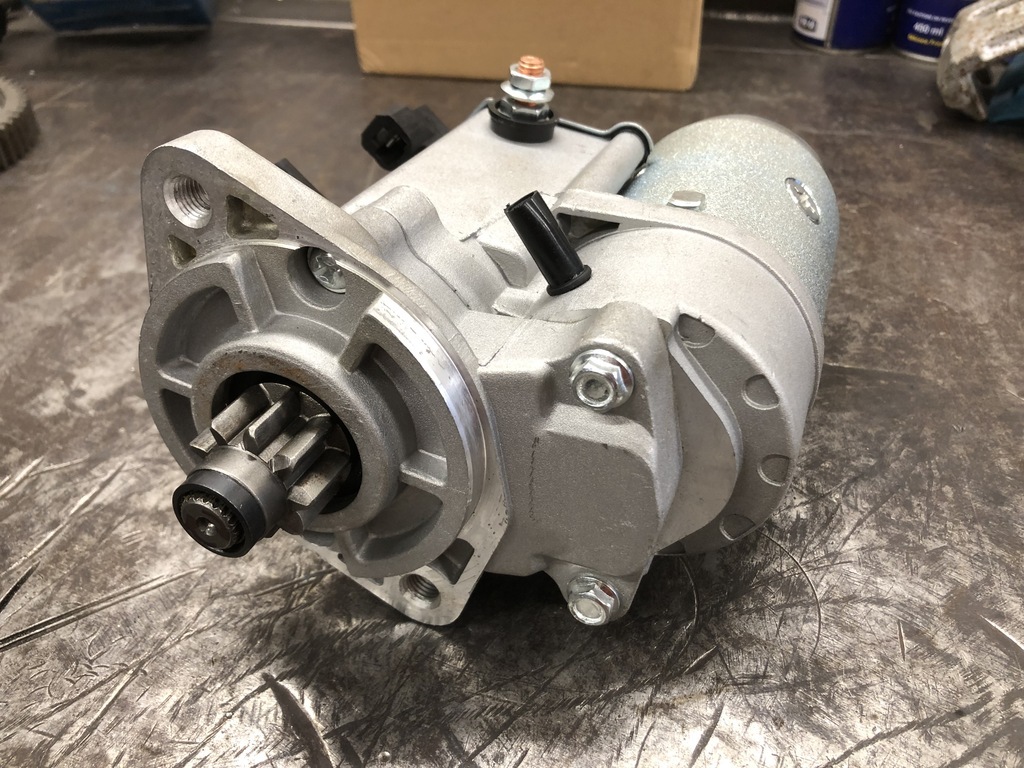
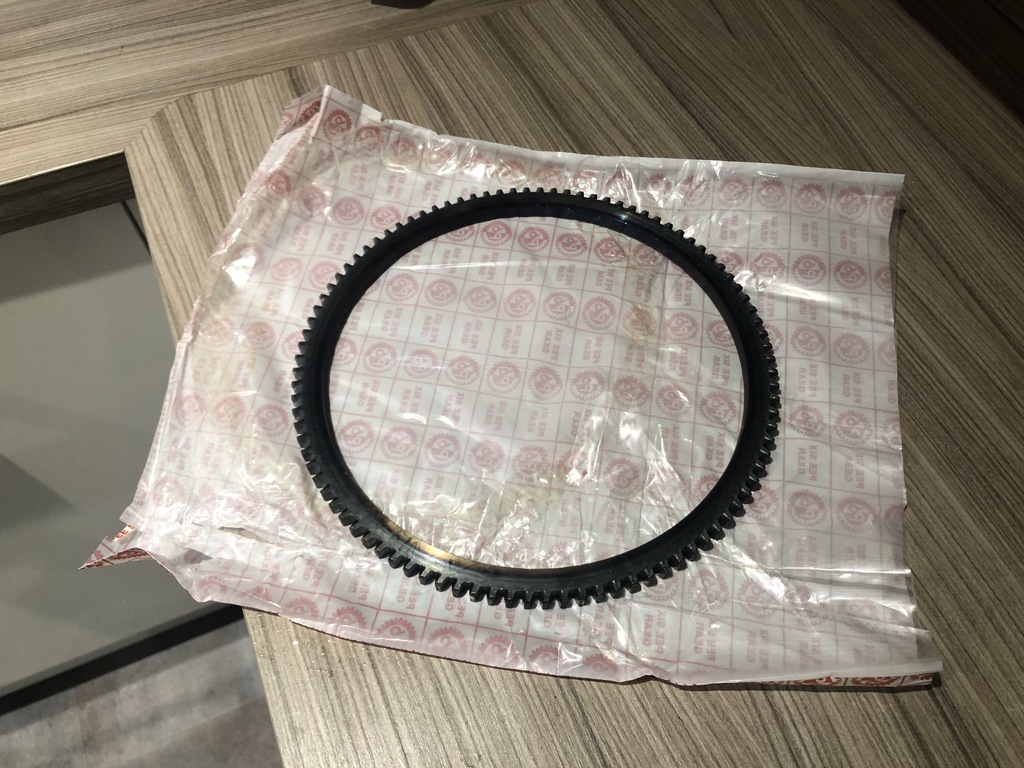
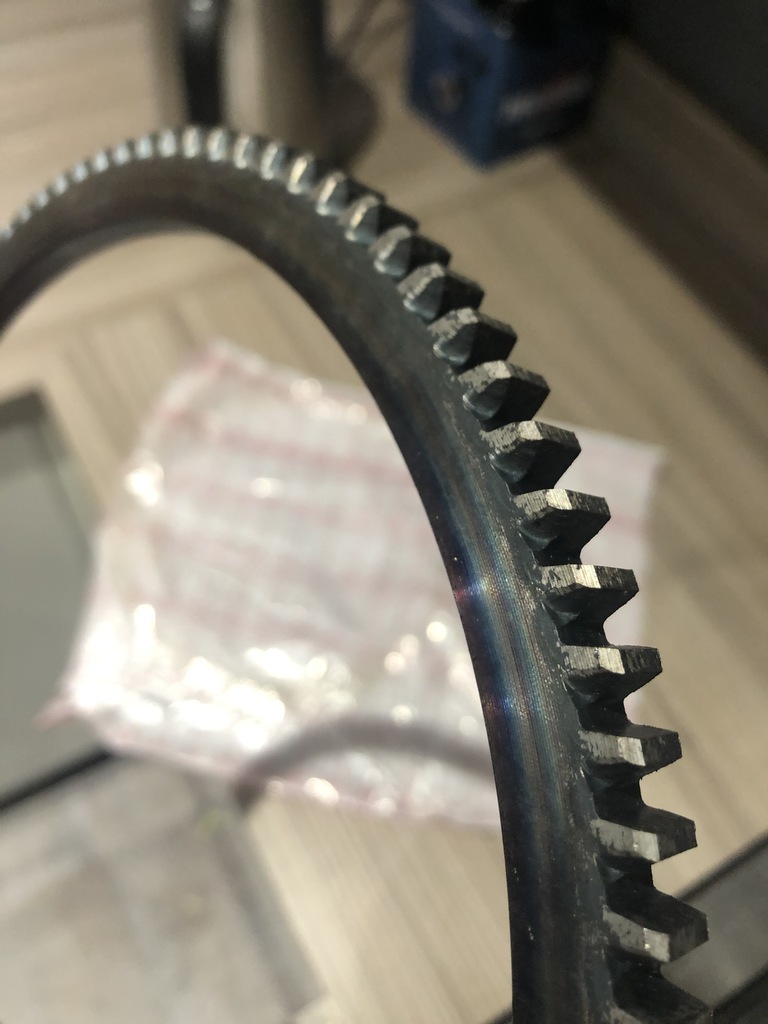
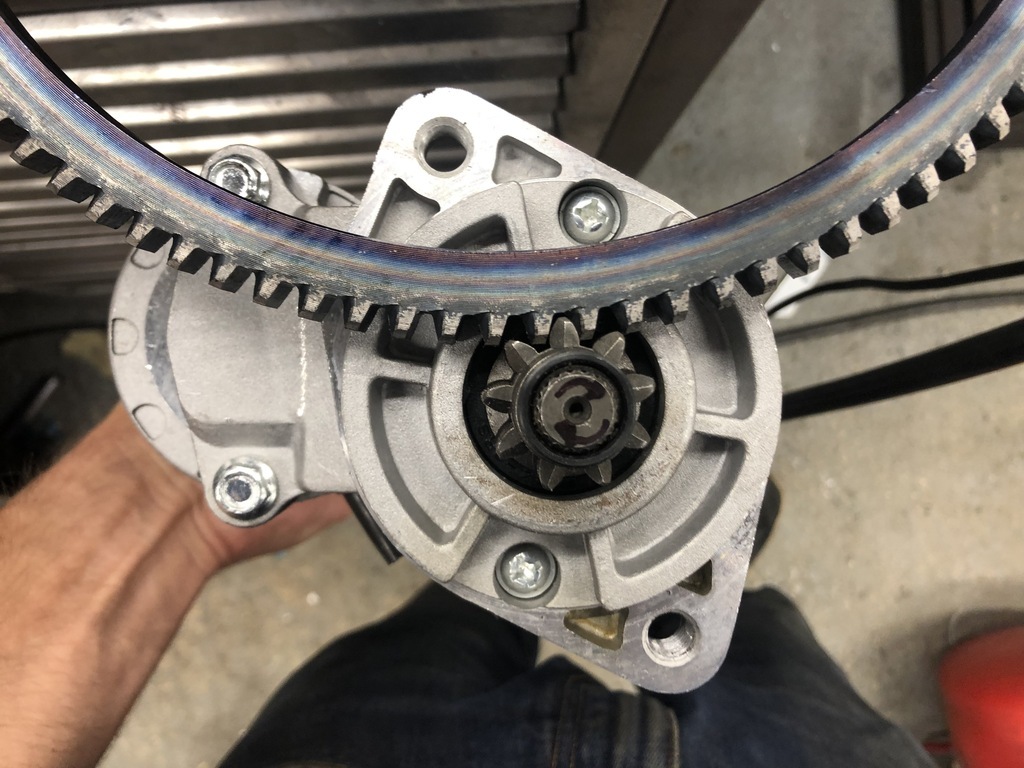
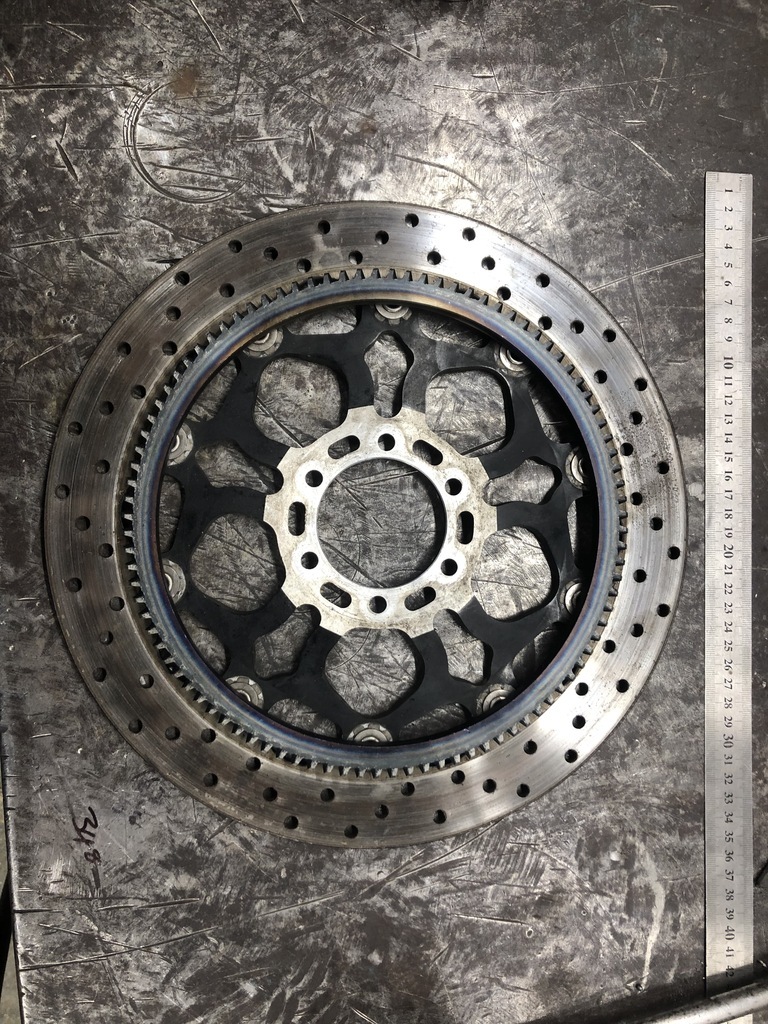
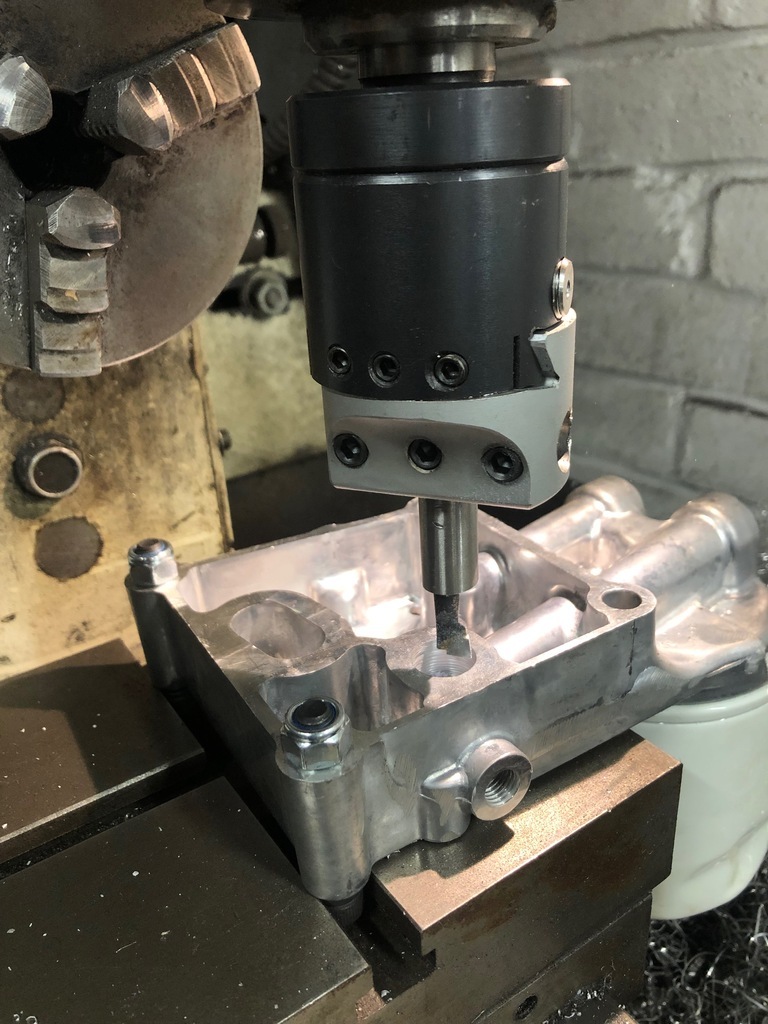
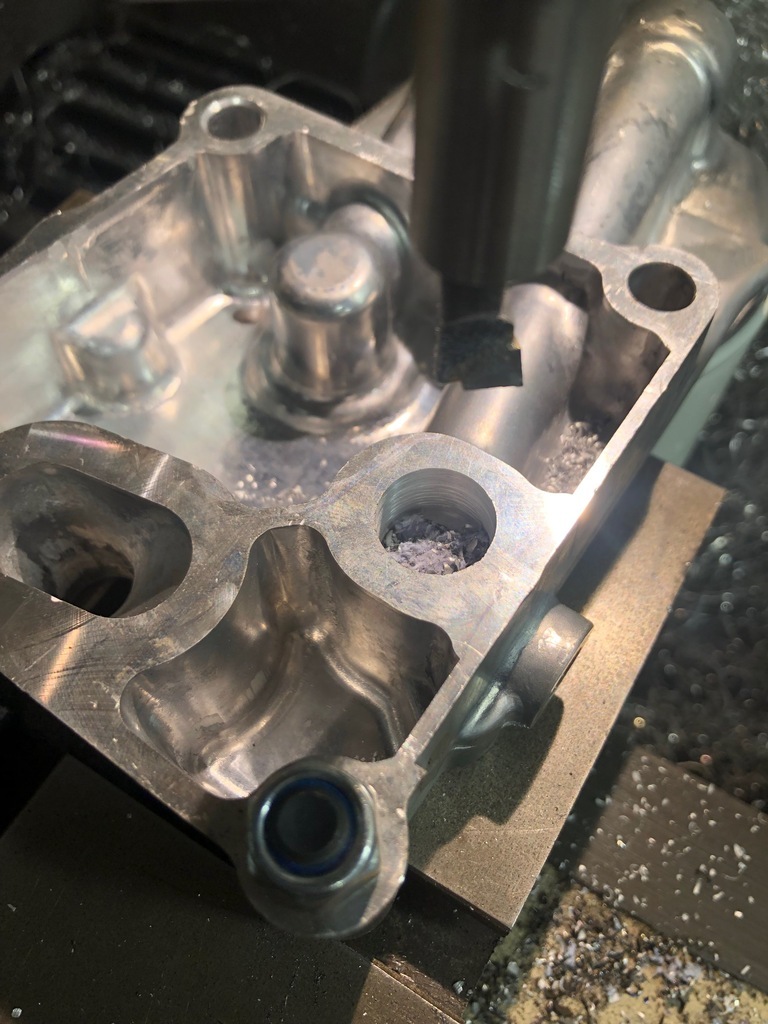
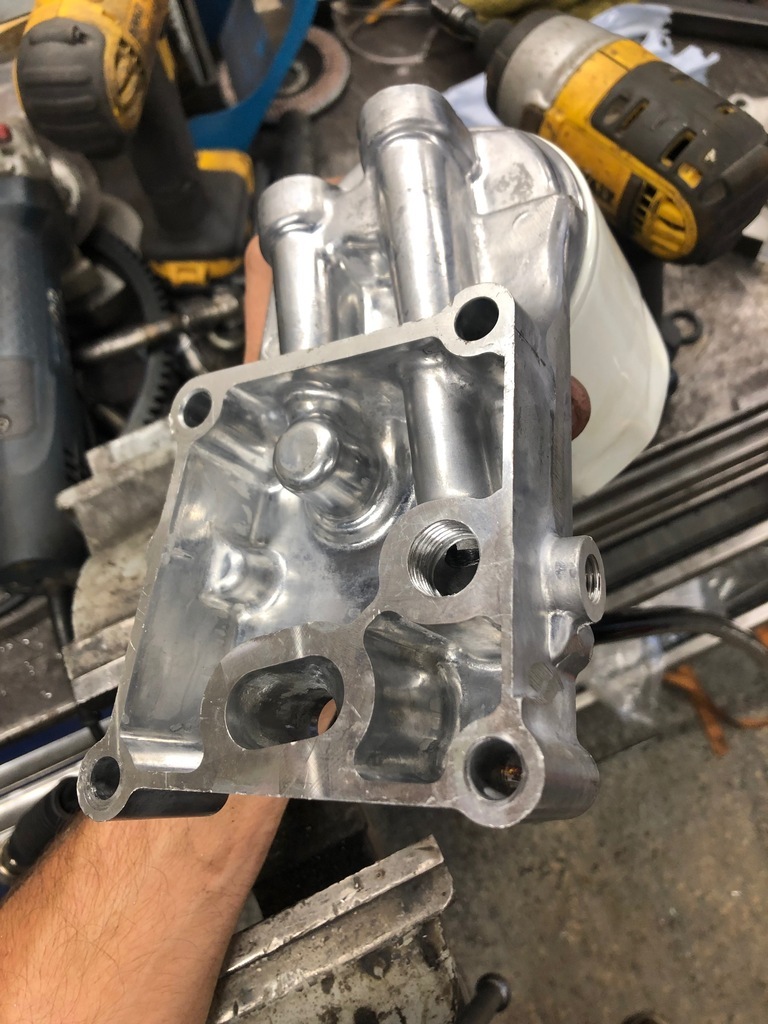
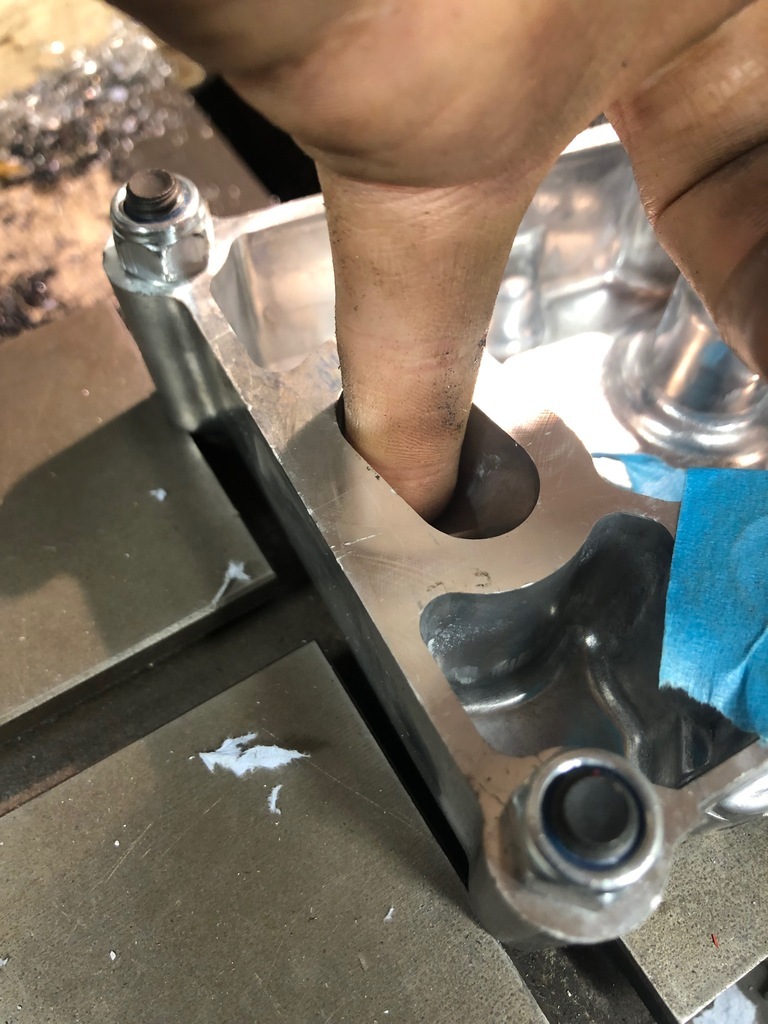
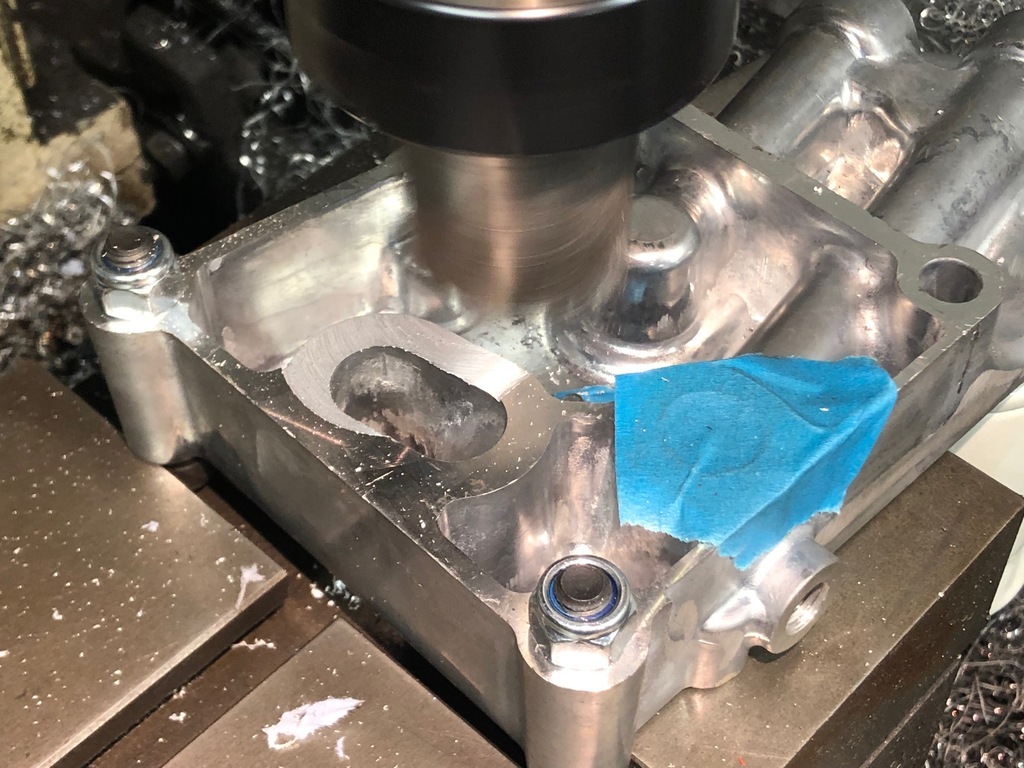
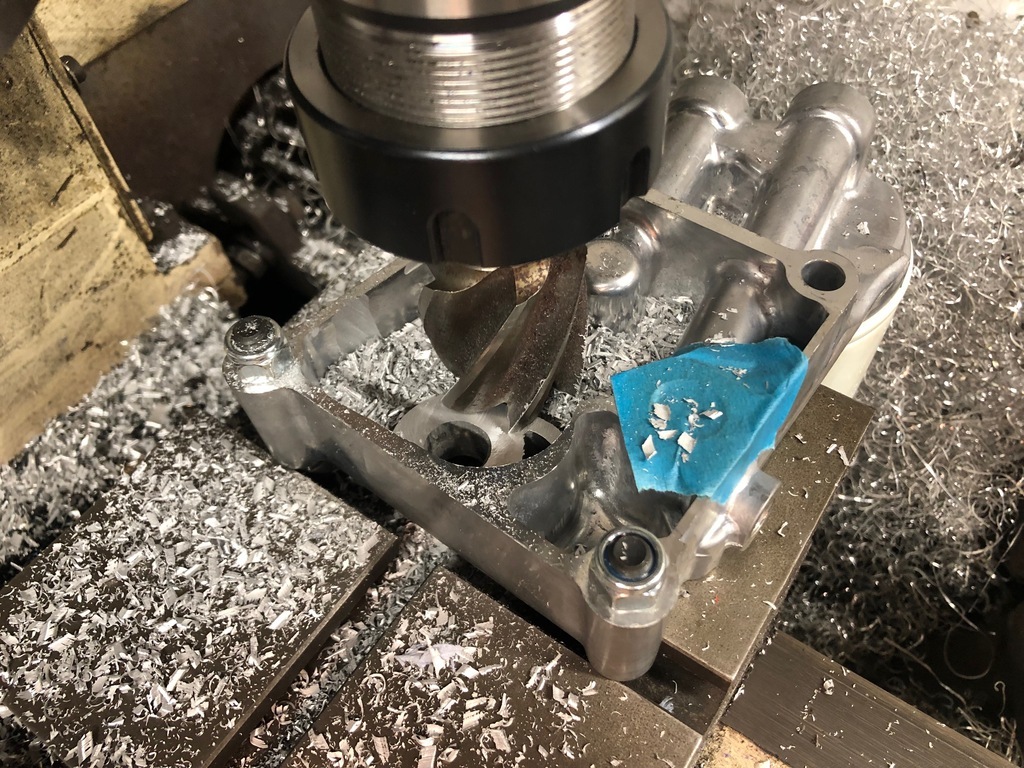
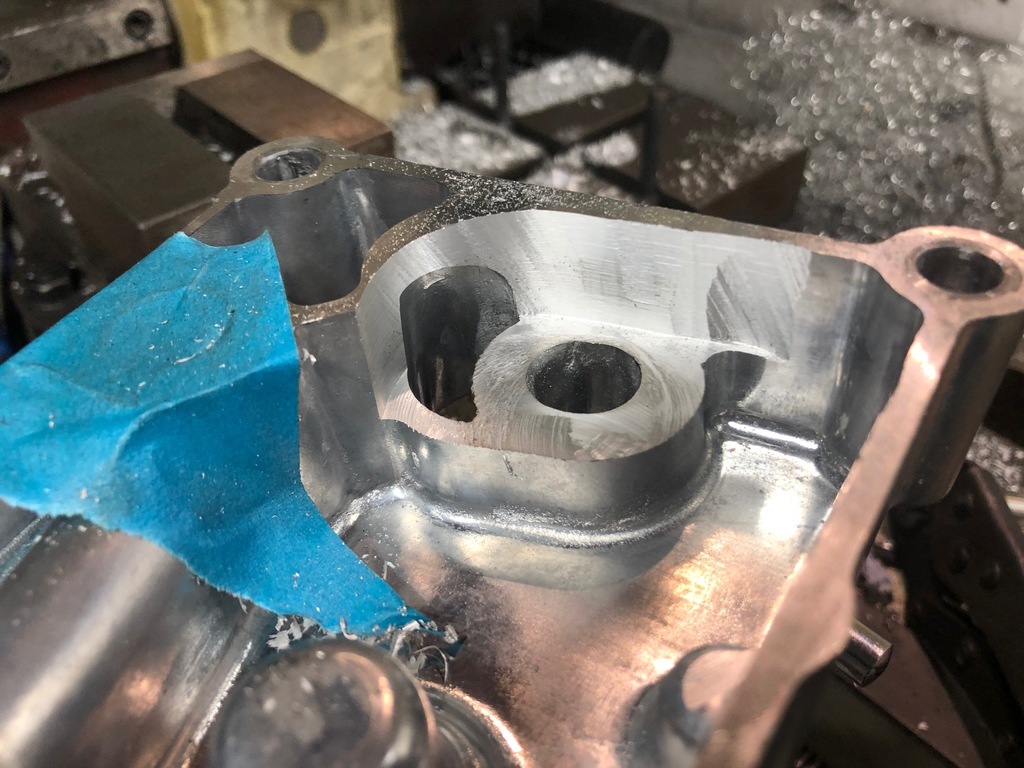
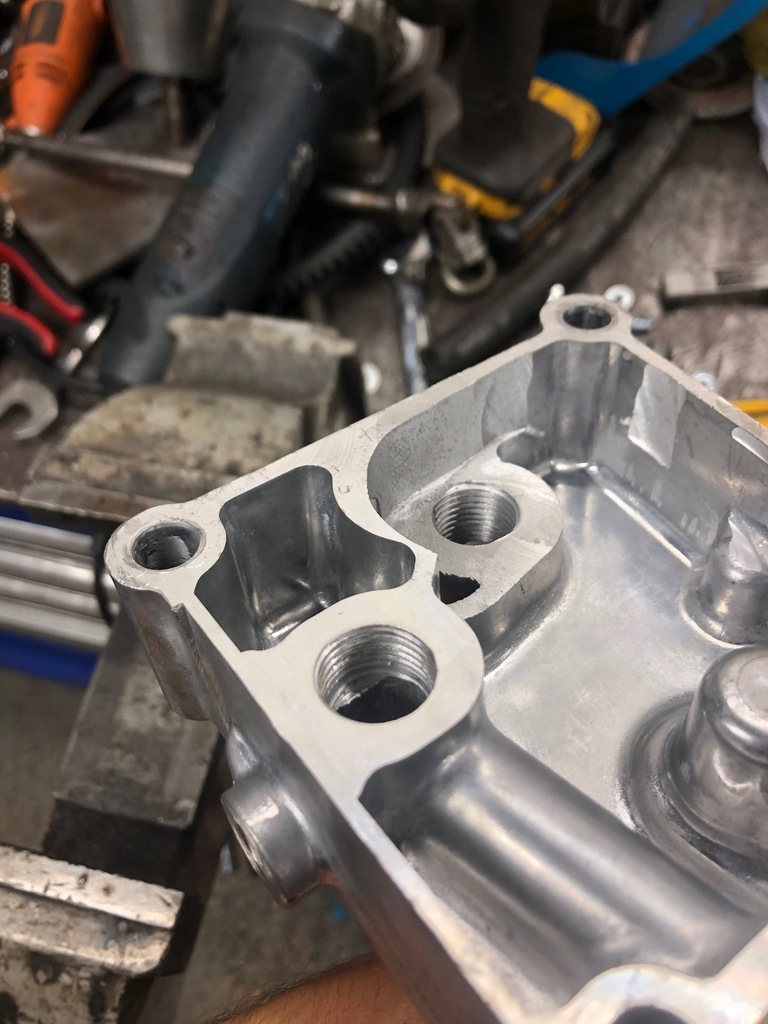
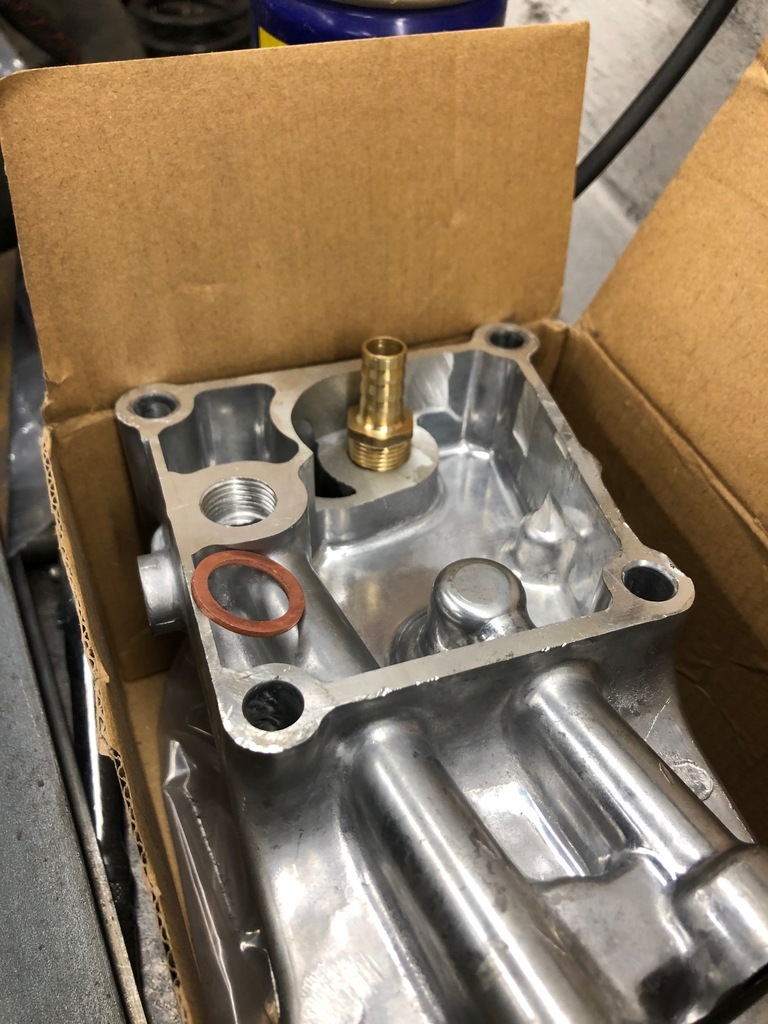
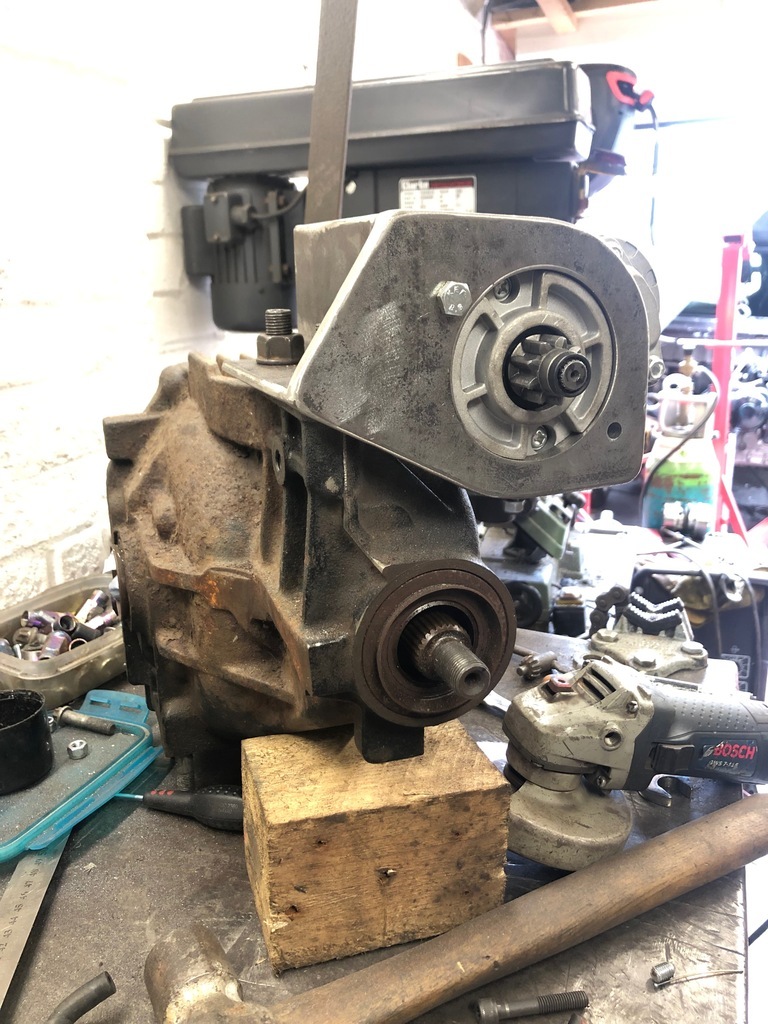
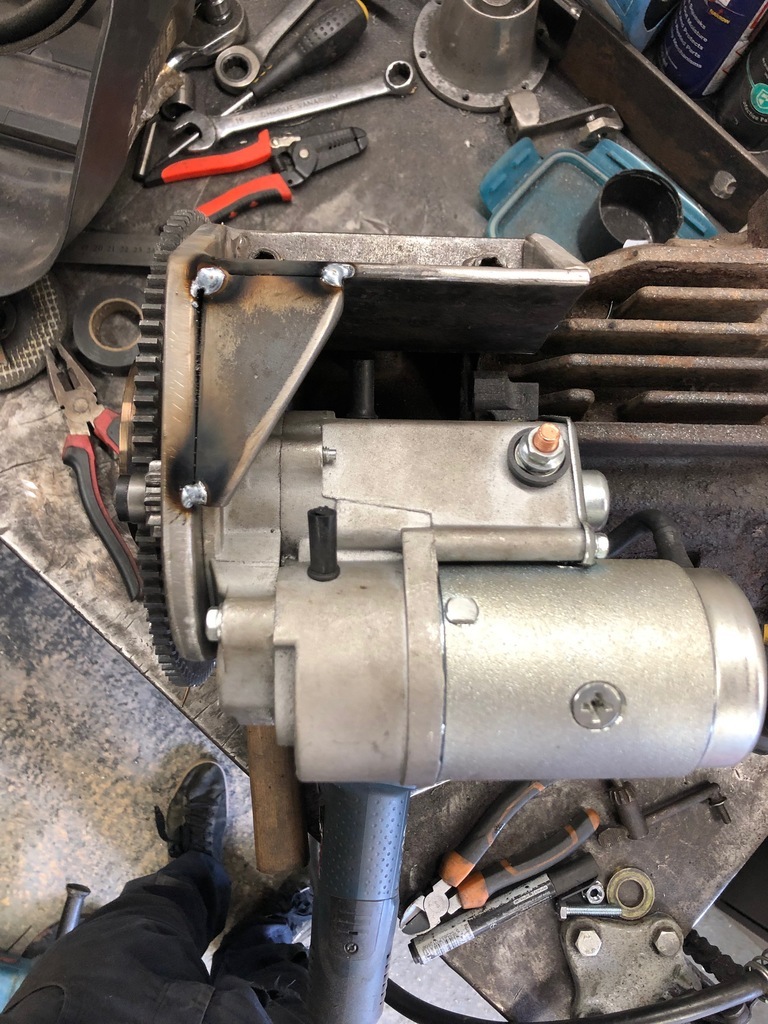
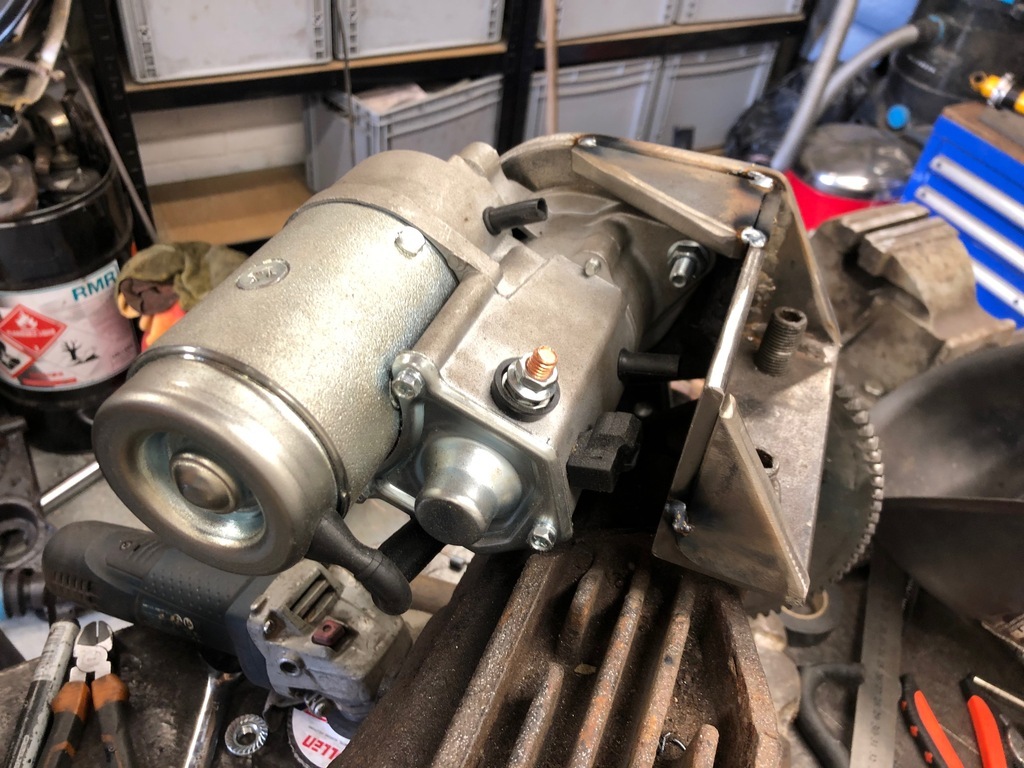
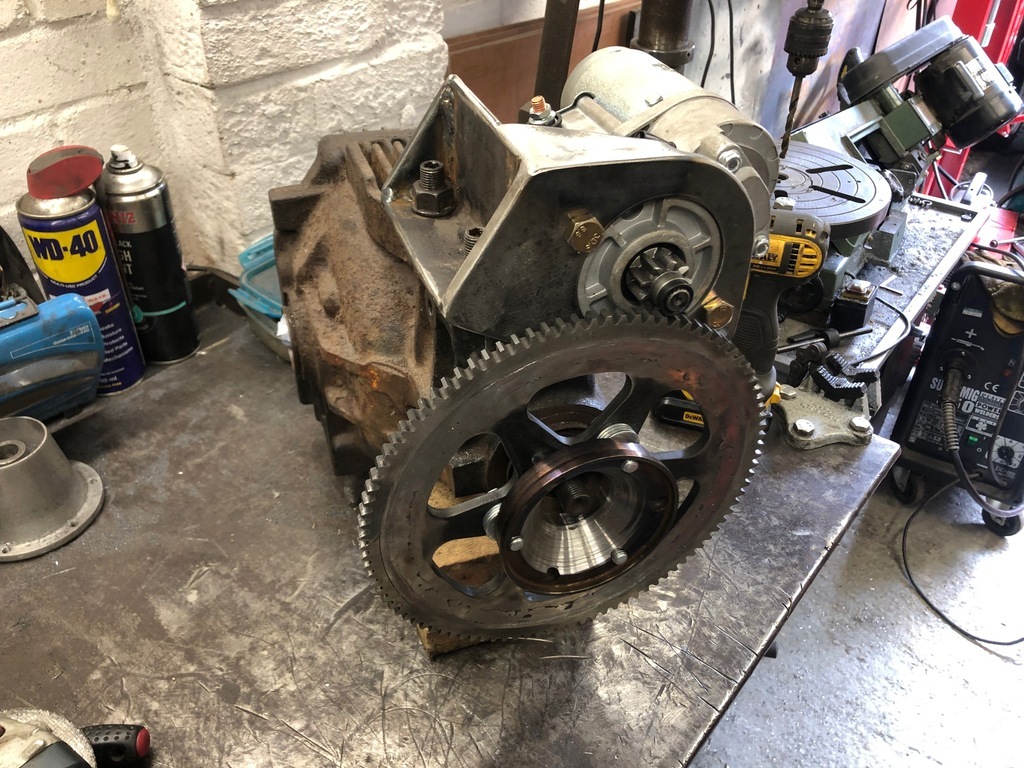
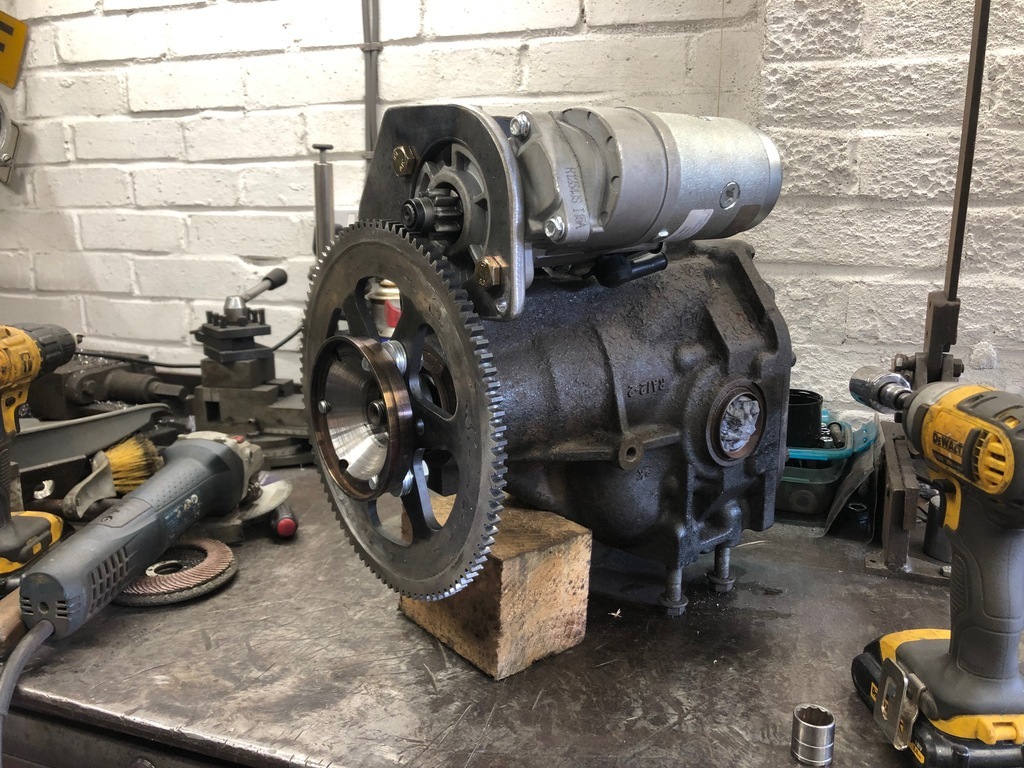
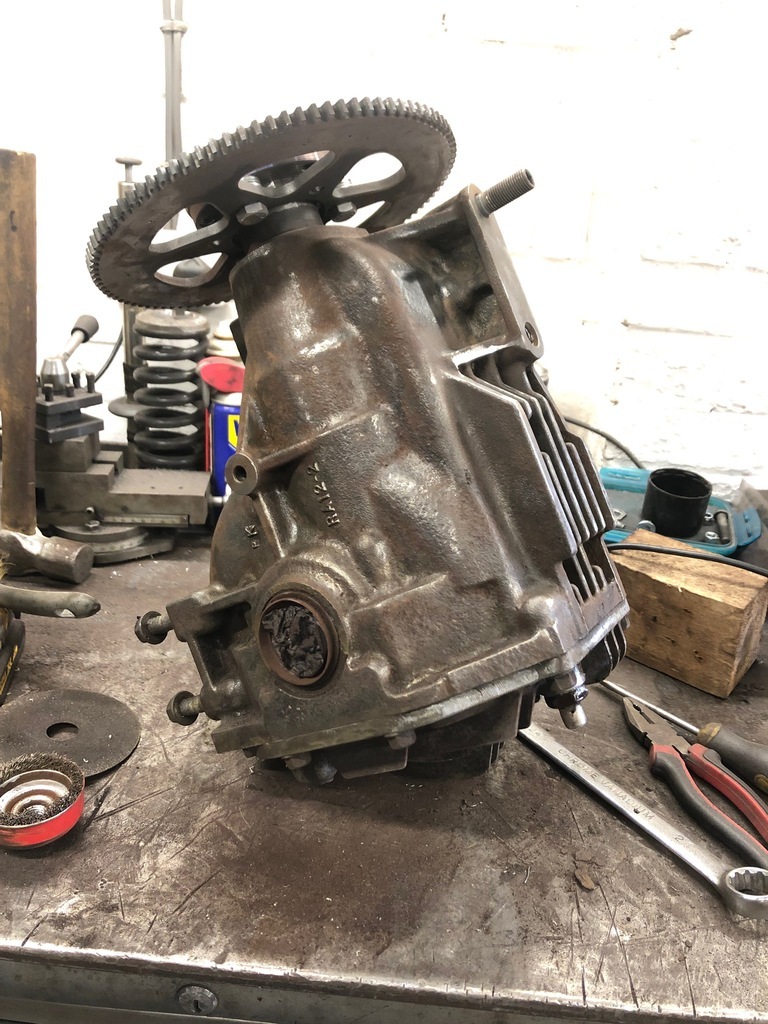
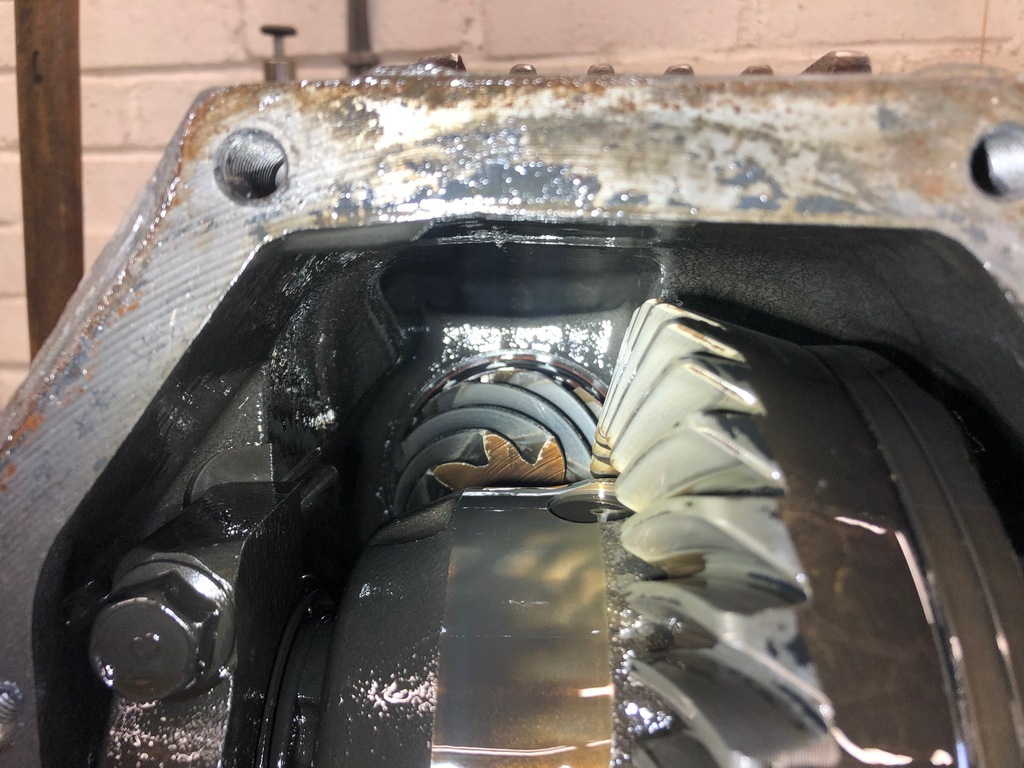
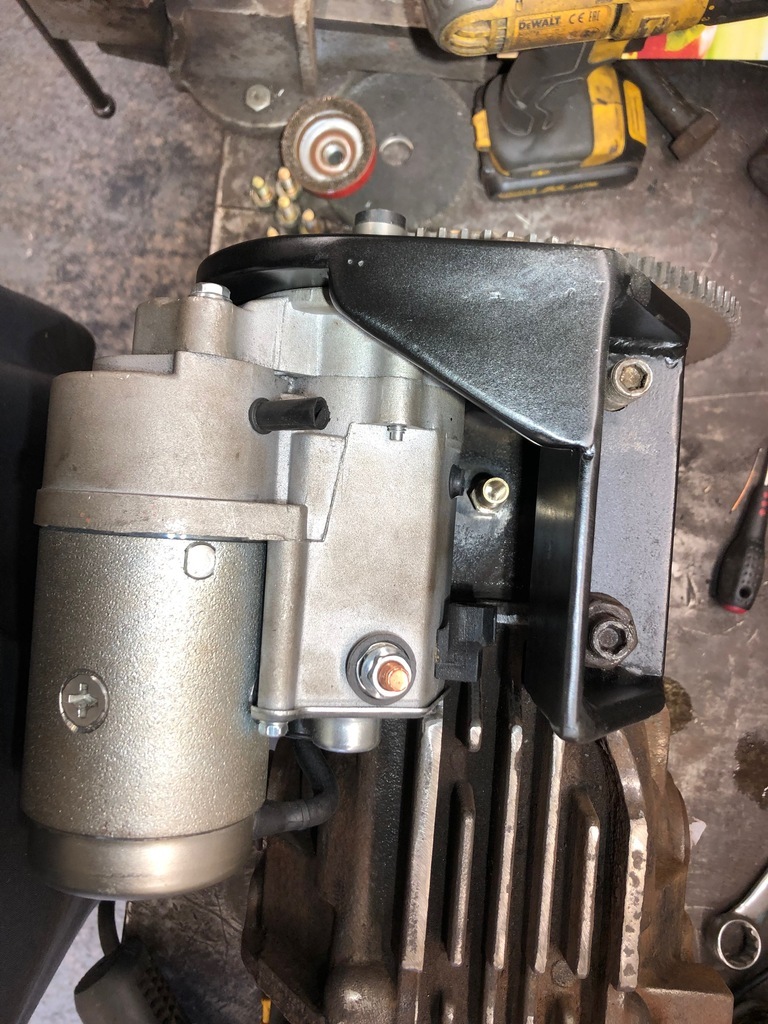
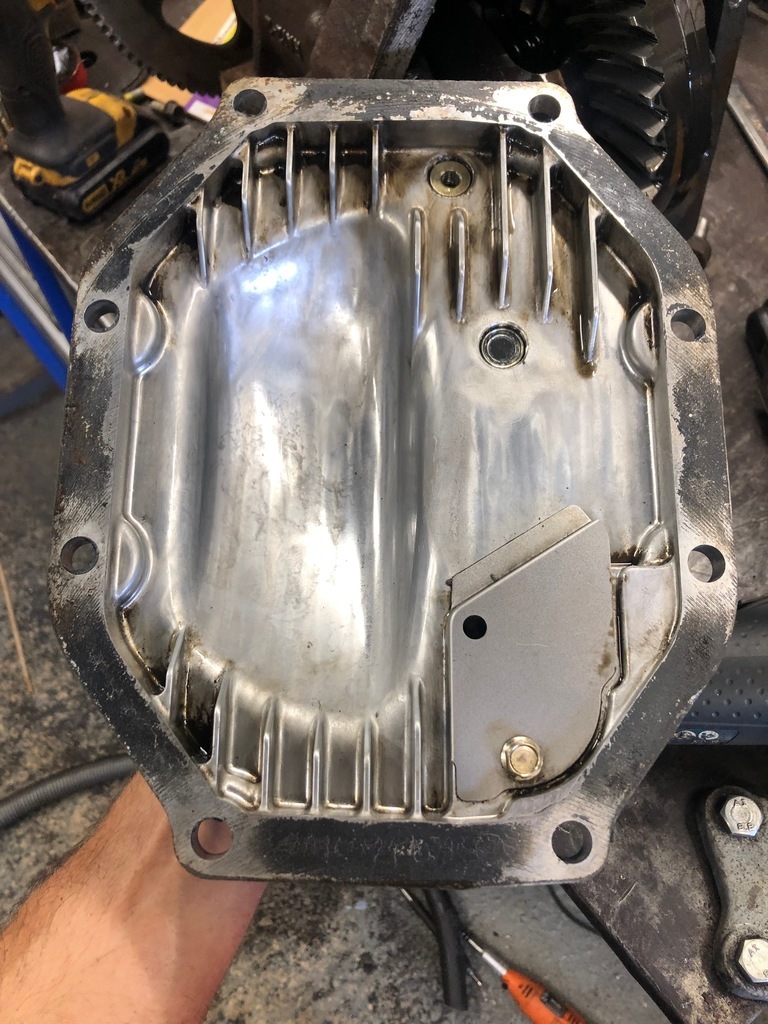
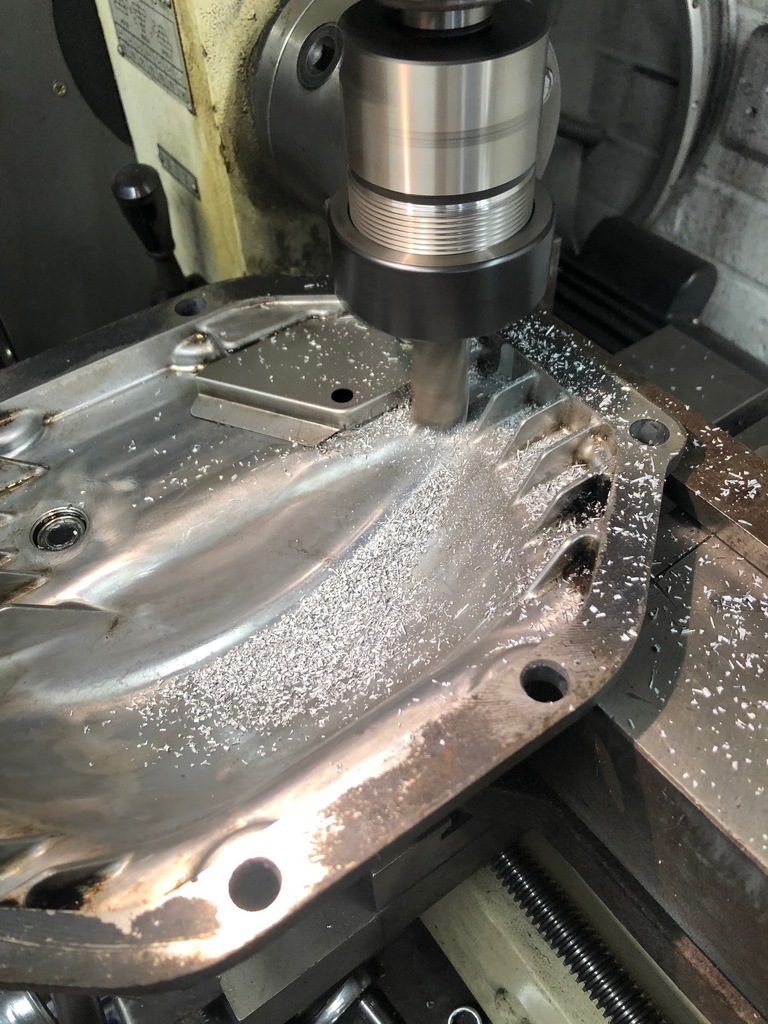
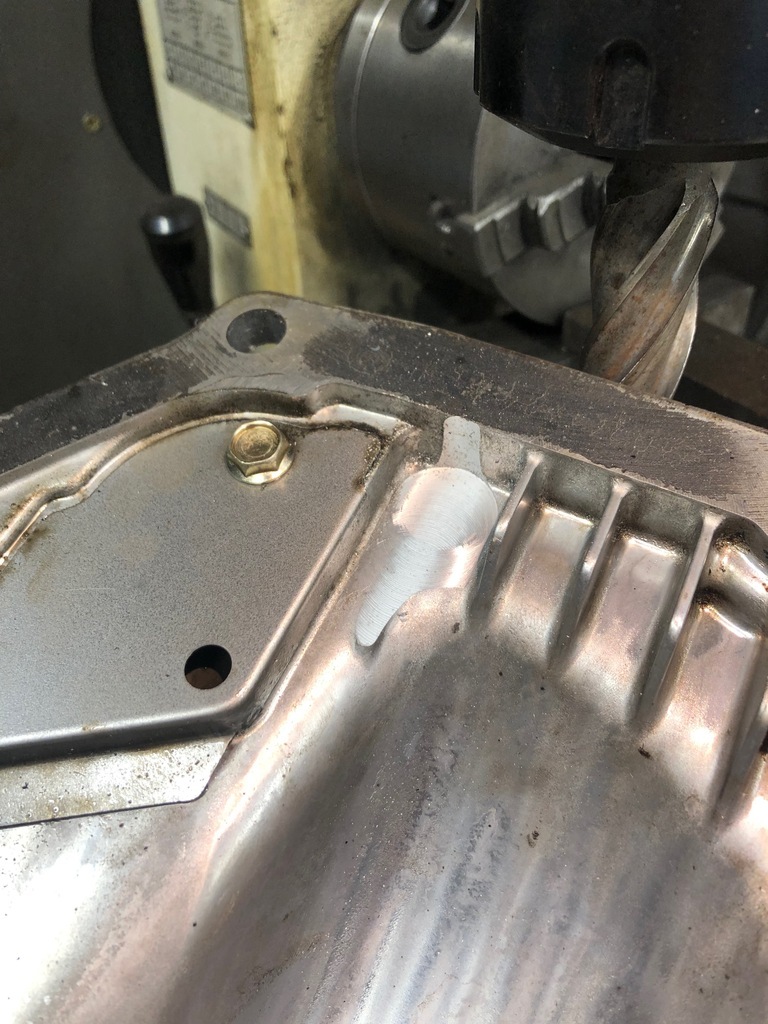
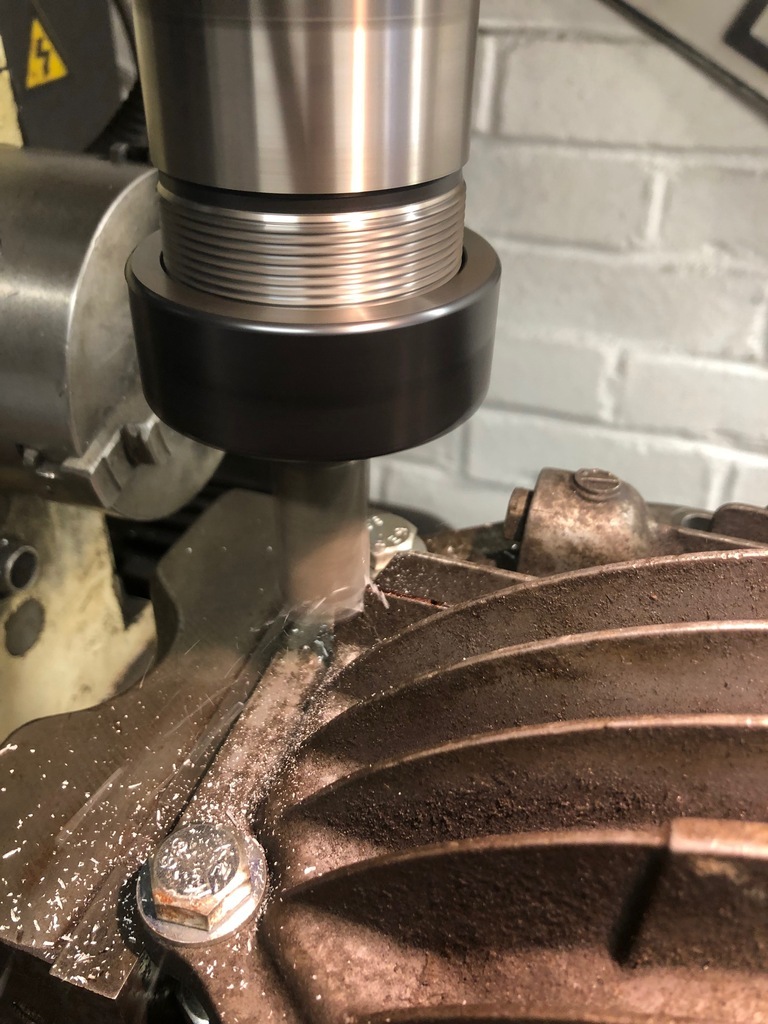
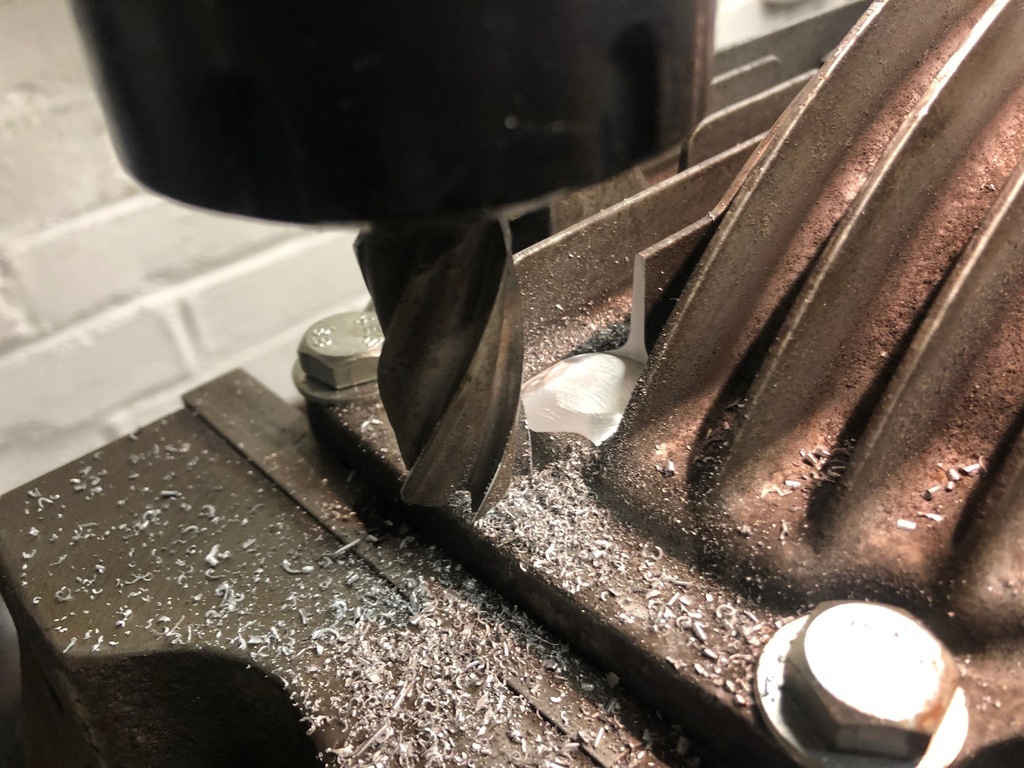
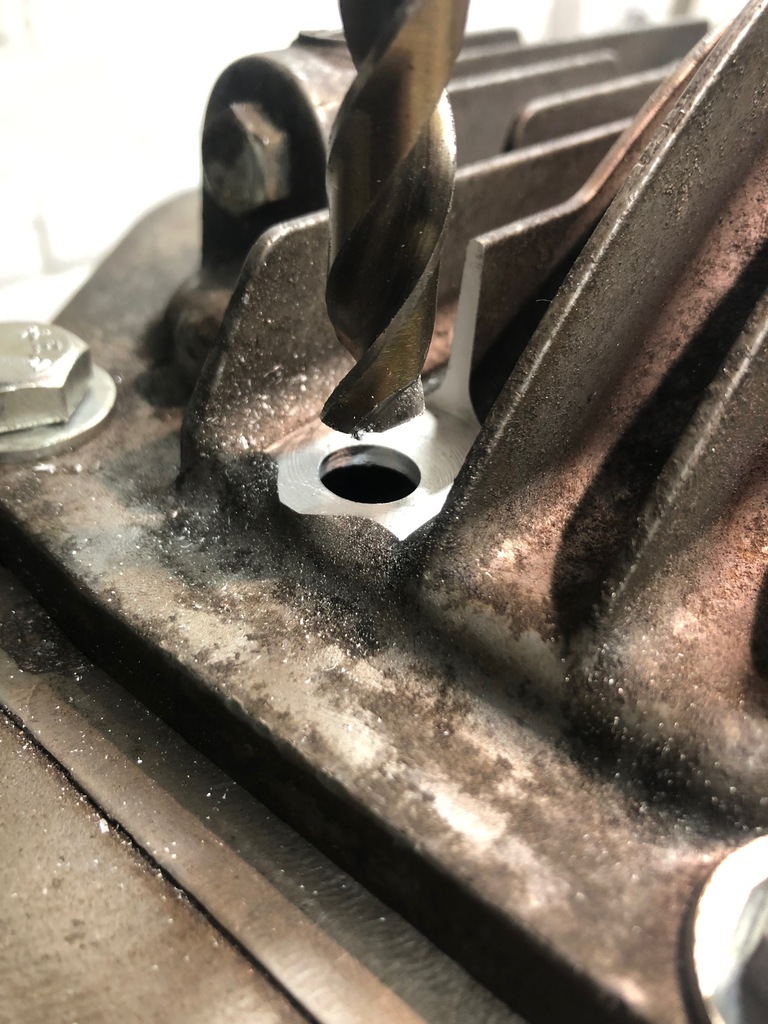
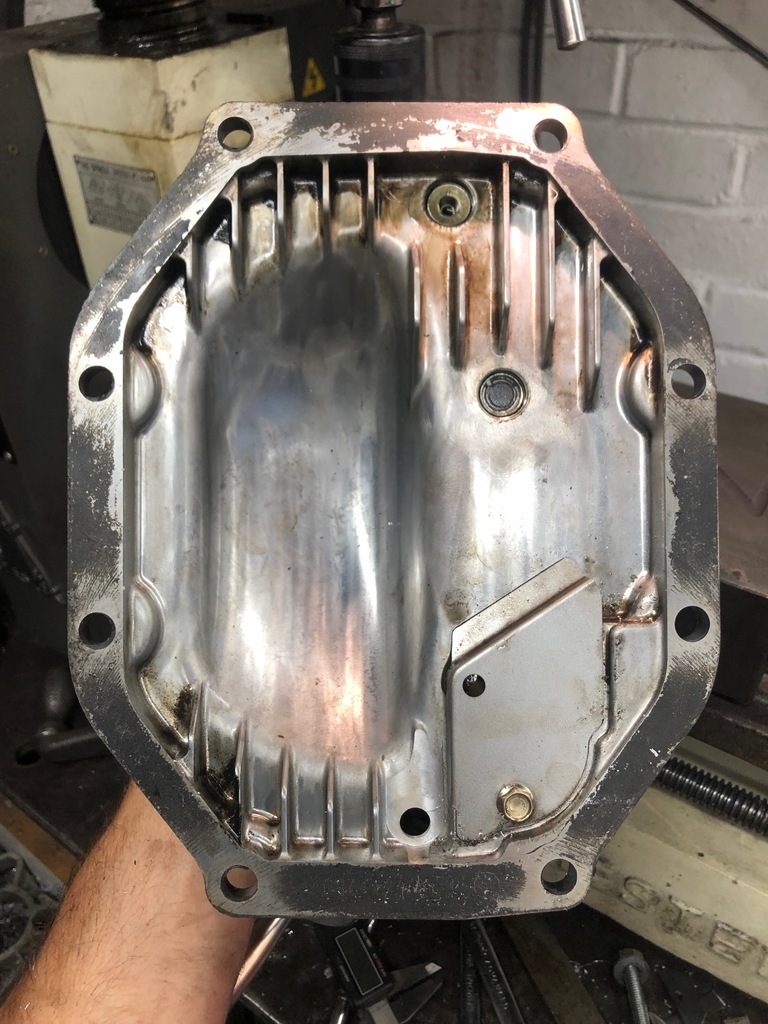
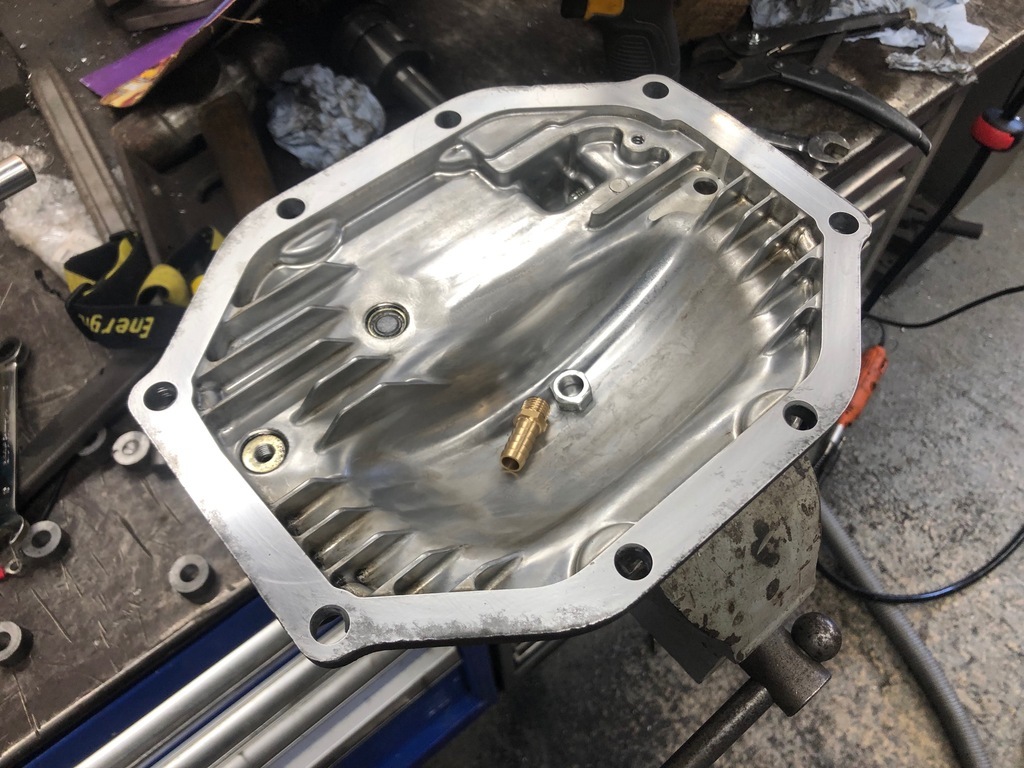
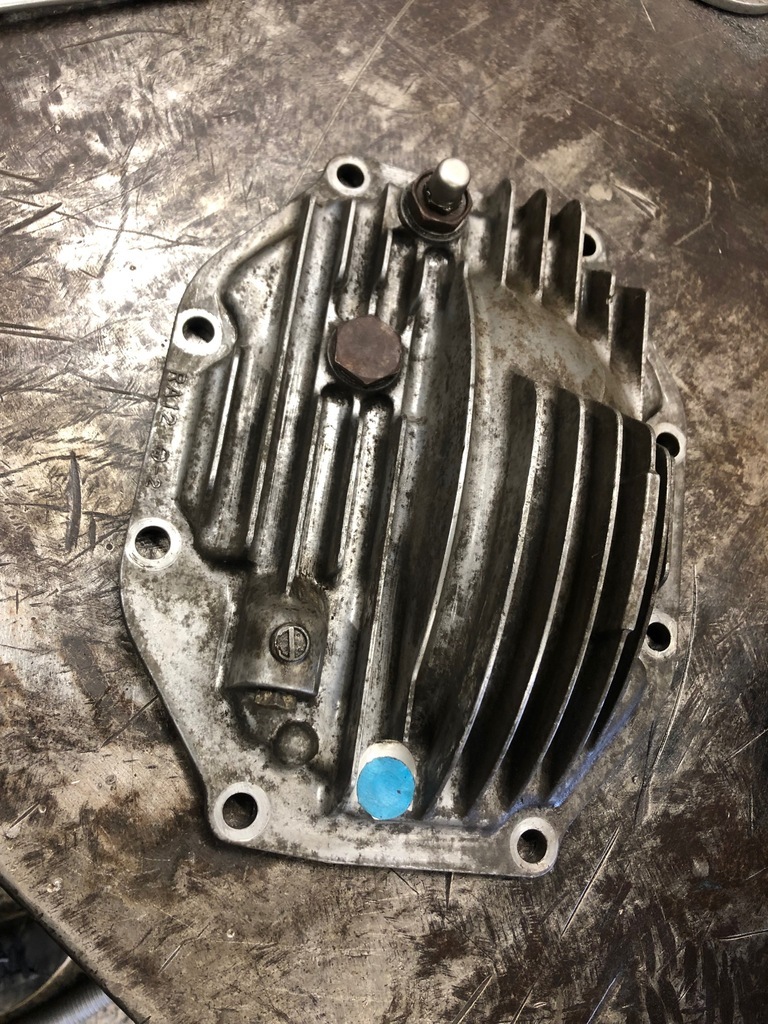
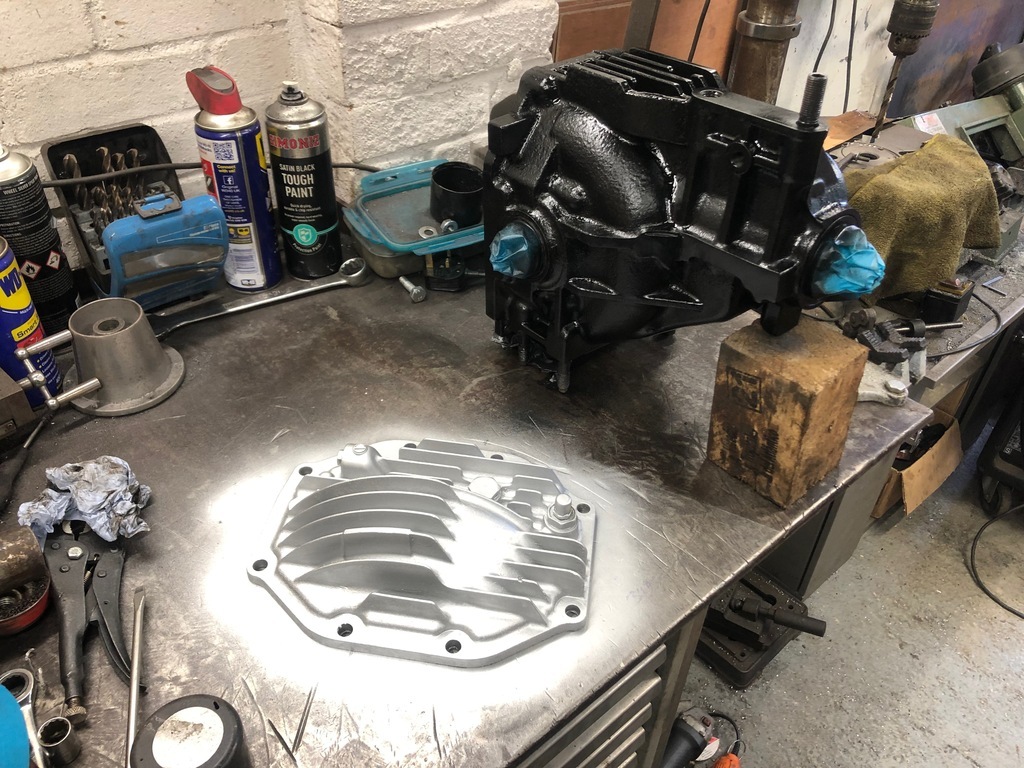
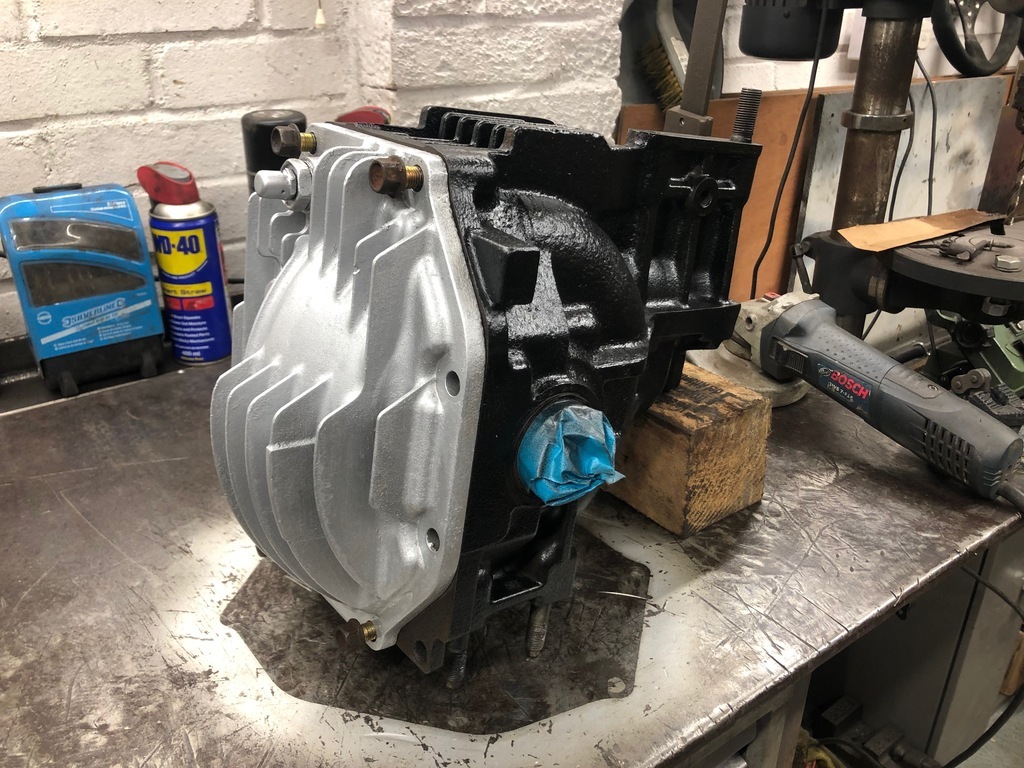
It's why I give people with mad ambition slots on the hill - I am curse word useless at finishing stuff without a deadline If they fail well hey ho life is like that - they get an automatic yes the next year but meantime I make someone with a reserve slot very happy it is literally a win win for me  So... Track Application has been submitted. Its been 2 years and I'm still only trying to finish the car last minute... Deadlines are a must around here, this is how it goes! Hopefully we'll get it finished this year to a road worthy and reliable standard! Picture for some enthusiasm... 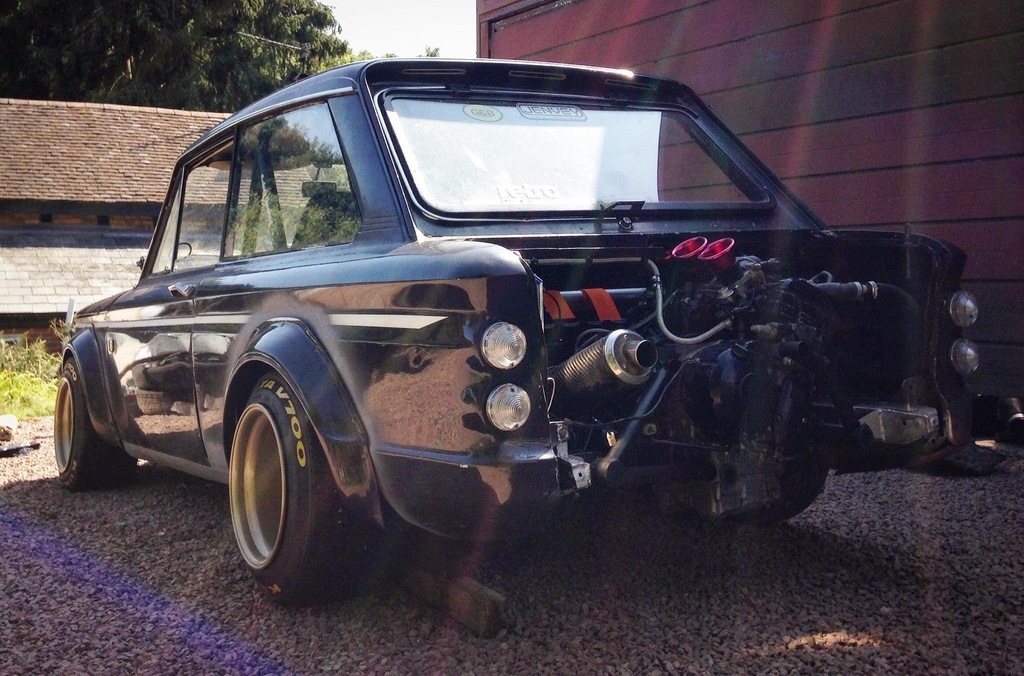 Bit of a scatter gun update: Bit of a scatter gun update:I started to make a new gear stick which wouldn't cut through the car as much. I drew up a aluminium one in CAD but was going to take too much time to machine etc. This was dead quick to make so this will do for now. I bought a new long push pull cable to go straight to the engine. So no need for any push rods etc. As I'm running the diff upside down there is a concern that the front bearings wont be getting much oil. I was originally just going to see how it faired but it was slightly risky and not worth the hassle of breakdown. To try and give the car some reliability I've bought a Mocal oil pump and a filter and heat exchanger for a Ford Focus to rig up a feed system. The oval ports that normally mates up to the engine block on a Focus measures 14.66mm at the widest point so I plan to drill and tap this out to M16 (14.7mm drill) for a hose fitting. Seeing as I cut out the old blower motor to fit the from mount radiator. I've bought a inline motor and a PWM speed controller which seems to do the job nicely. I made a crude battery tray and water pump mount. This may get changed when I get around to fitting a proper fuel tank. Front end is coming together now. I finished off the coolant plumbing and mounting the washer bottle and pump etc. For a reverse, we are still following the initial concept of a starter motor and ring gear but with hopefully a few improvements. I've bought a cheap reduction starter for a Kia Sportage which will provide way more torque than a standard type... I believe a Sportage had a starter ring of 307mm OD (12.09") and 110 teeth... This would be too large to fit in the engine frame I have made, its also massive and ugly. I needed something less than 10" so I set about finding a ring gear that should fit with out too many mods. Working on the basis that a Kia Sportage has 2.92 teeth per inch I found a few examples but the closest fit was from a Suzuki SJ410 which is 245mm (9.64") with 96 teeth. This is 3.17tpi and this was the closest I found in many hours of searching. It was dead cheapo at £11.14 but it was coming from Delhi, India. Getting it in time for retro rides was looking tight but it actually arrived really quickly... The tooth engagement and fit looks pretty damn good so lets hope it works. In order to mount this to the diff input shaft I needed to make an adaptor. I saw a motorbike brake rotor in my garage and thought what can I buy that will do half the job for me. A brake disc wasn't quite the right thing as i needed to join the two together (aluminium to steel is an issue). Much research later lead me to buying a 50 tooth rear sprocket for a Kawasaki KE 125... This has a 6x86mm PCD (the same as a 100mm CV joint! Winnnnning). And an outside diameter of about 210mm which I think is a few mm smaller than the ring gear ID but I can fix that. The idea is to weld the two together and call it done. The sprocket is still in the post so I shall update next week on this. |
| |
'91 BMW E30 318is
'91 BMW E31 850i
'96 BMW E38 750i
'68 Singer Chamois (Yamaha R1 Engine... )
'95 Mini 1.3i
'61 Lamborghini 2241r
'64 Lamborghini 1R
'57 Lamborghini DL25C
Plus a few others...
|
|
raumer
Part of things
 
Posts: 138 
|
|
|
|
|
Looking good, fingers crossed you get it finished in time. Are you going to put a brace bar between the front two shock towers? As you aren't using the original fuel tank there will be a loss of stiffness there. The last couple of Imp and Imp based race cars I had all used a simple brace bar bolted across using the bolts that hold the H brackets in.
Ed
|
| |
Mine: 1938 Scammell Pioneer R100, 1944 Scammell Pioneer SV2/S, 1959 Kraz 255b tractor unit, 1960 Unipower Industrial ballast tractor, 1960 88 Landrover Series 2 SWB, 1983 110 Landrover CSW
Look after:
1935 Scammell Rigid 6, 1951 Scammell Scarab, 1961 Landrover Prototype, 1985 Landrover 110
|
|
bstardchild
Club Retro Rides Member
Posts: 14,971
Club RR Member Number: 71
|
|
|
|
It's why I give people with mad ambition slots on the hill - I am curse word useless at finishing stuff without a deadline If they fail well hey ho life is like that - they get an automatic yes the next year but meantime I make someone with a reserve slot very happy it is literally a win win for me  So... Track Application has been submitted. Its been 2 years and I'm still only trying to finish the car last minute... Deadlines are a must around here, this is how it goes! Hopefully we'll get it finished this year to a road worthy and reliable standard! I saw the application and thought brilliant 1. That's a dead cert for a space 2. I need to check on his progress (because it'll be a heck of a ride for then next few weeks  |
| |
|
|
|
|
|
|
|
|
|
Oooo what a nice project! Looks like you're on a better path now with the propshaft, but you may well find that it still binds despite having two CV joints. Correct me if I'm wrong but I'm assuming the CV joints you're using aren't plunge joints and there isn't any dedicated plunge joint. It's hard to tell from the pics tbh.. If that is the case then you're probably going to find it still binds under load as your engine and diff will want to move in different directions - diff nose vertically, engine laterally - so you'll need something with a bit of axial float. (Don't rely on your splined shaft between CVs, that will almost certainly be locked solid under load) I know it's going to be a pain due to clearance issues, but a rubber doughnut joint would solve all your problems. Also, difficult to see from the newer pics, but did you ever close out these brackets? That kind of open box design is obviously not great for resisting vertical loads.. 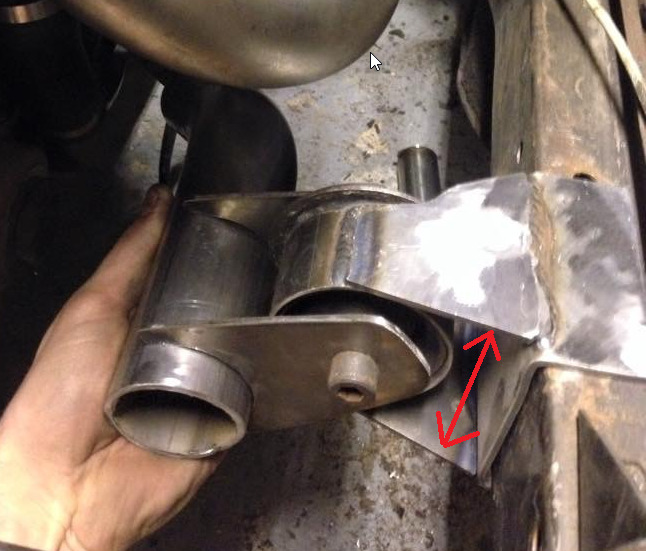 |
| |
|
|
|
|
|
|
|
Thanks for your input and questions guys...  Are you going to put a brace bar between the front two shock towers? Hi Ed, This is a good shout but I'll probably not worry about that for now though. I'll be changing all this at some point anyway and reinstating a fuel tank up front. Looks like you're on a better path now with the propshaft, but you may well find that it still binds despite having two CV joints. Correct me if I'm wrong but I'm assuming the CV joints you're using aren't plunge joints and there isn't any dedicated plunge joint. It's hard to tell from the pics tbh.. The CV joints are both able to plunge. Length differences and all radial issues are fully covered. I've literally made a shorter version of the driveshaft I started with. Which on the car it was intended for dealt with length changes during its suspension sweep. Its all good now! Also, difficult to see from the newer pics, but did you ever close out these brackets? That kind of open box design is obviously not great for resisting vertical loads.. In response to your bush question... I changed the bracket design to vertical ones. The bushes at the front of the engine frame are perpendicular to these and therefore will take the accelerating loads. I don't believe these require extra webs in that direction but these are easily added if I have issues! Engine mounts converted to BMW swing arm bushes. 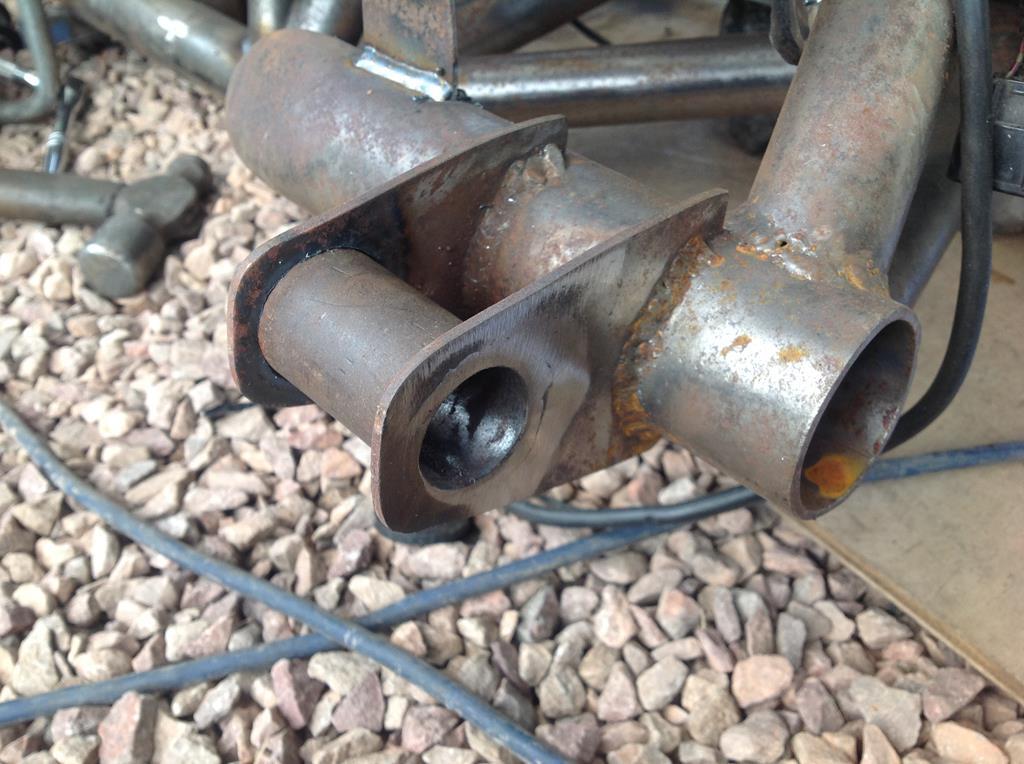 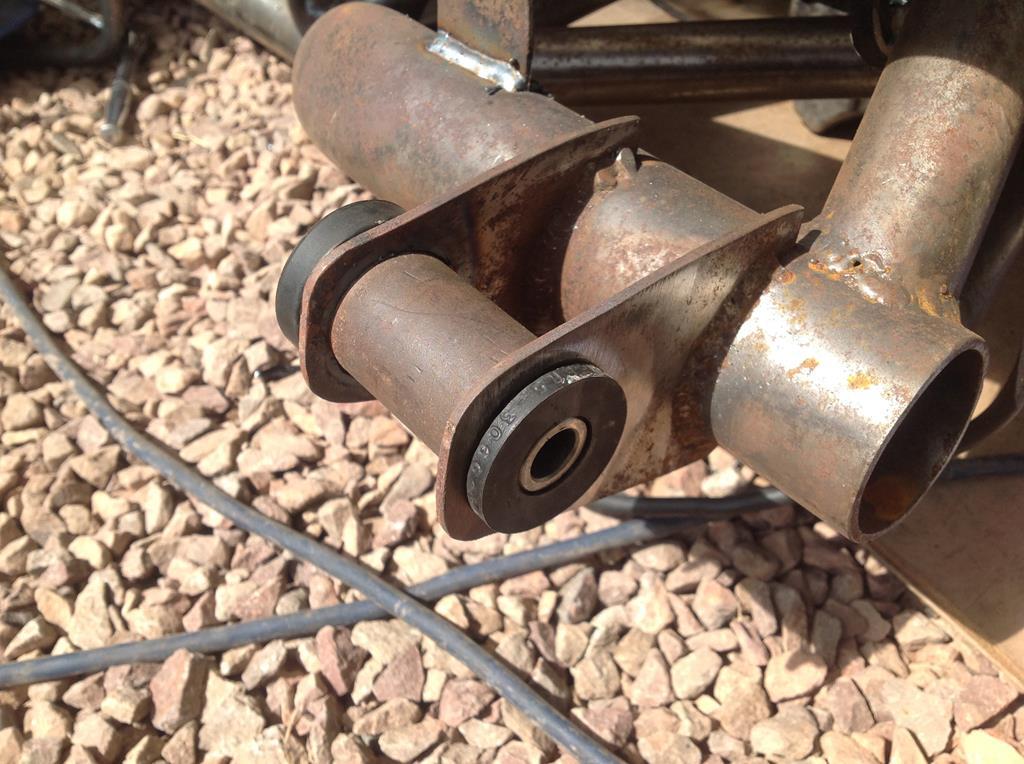 |
| |
'91 BMW E30 318is
'91 BMW E31 850i
'96 BMW E38 750i
'68 Singer Chamois (Yamaha R1 Engine... )
'95 Mini 1.3i
'61 Lamborghini 2241r
'64 Lamborghini 1R
'57 Lamborghini DL25C
Plus a few others...
|
|
|
|
|
|
|
|
|
| |
'91 BMW E30 318is
'91 BMW E31 850i
'96 BMW E38 750i
'68 Singer Chamois (Yamaha R1 Engine... )
'95 Mini 1.3i
'61 Lamborghini 2241r
'64 Lamborghini 1R
'57 Lamborghini DL25C
Plus a few others...
|
|
stealthstylz
Club Retro Rides Member
Posts: 14,960
Club RR Member Number: 174
|
|
|
|
|
This is proper good. Nice to see a well worked bike conversion, seen some proper abortions since they became "fashionable"
|
| |
|
|
|
|
|
Aug 11, 2021 23:27:38 GMT
|
Where to start... I've been jumping between everything and anything as parts arrive and I'm able to get to things and what not. New number plate arrived... 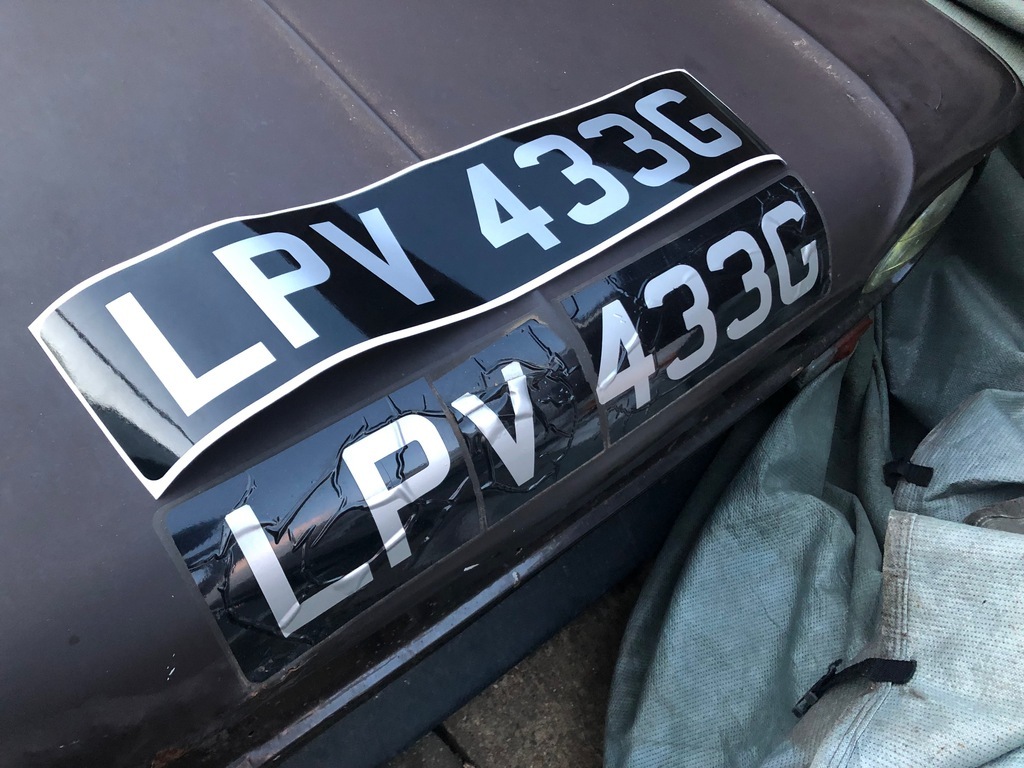
Rear brakes and hand brake... I bought some new rear brake calipers seeing as the old ones I had were so rubbish. 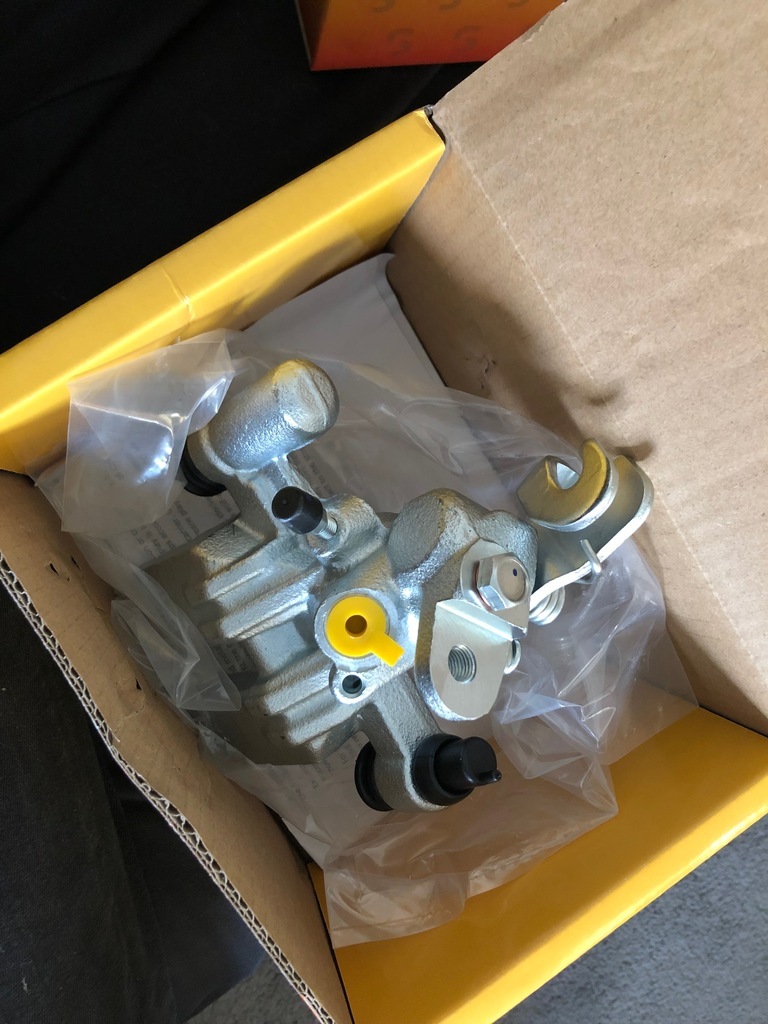 Mocking up the swig arms and the handbrake cables there was a problem with the pull direction. The cable would clash with the shock or the wheel... 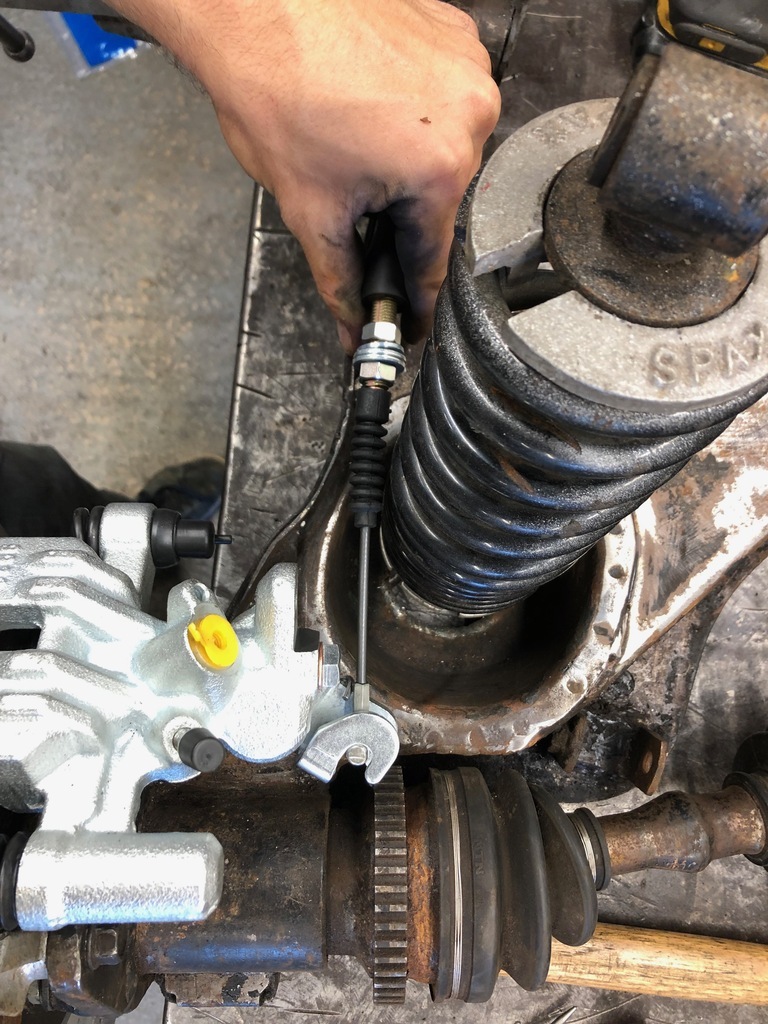 I then chose to route the cable along the axle line but the caliper wouldn't work with this pull direction. 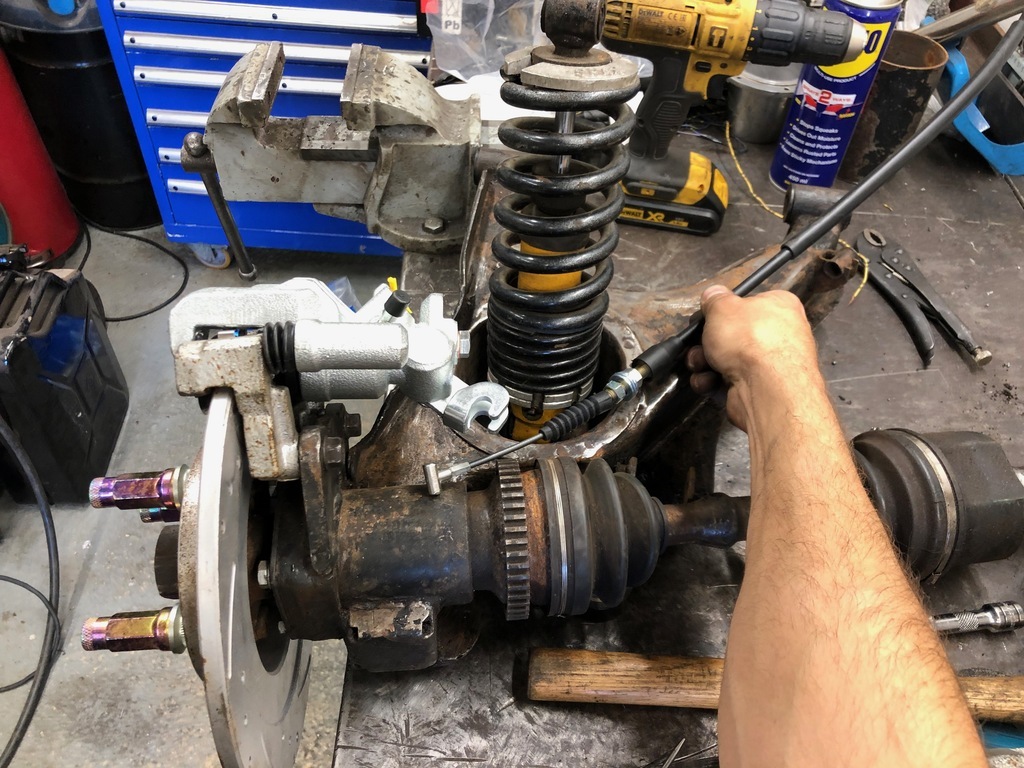 I made a pair of adaptors to move the rotation point around the caliper by 90 deg ish. 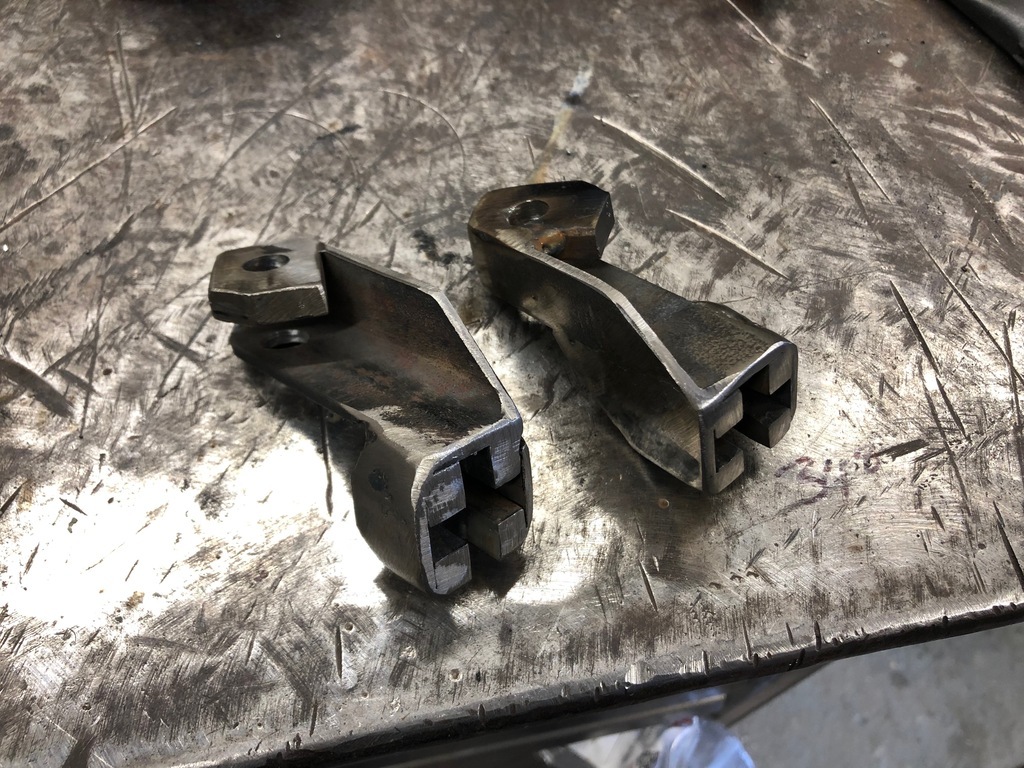 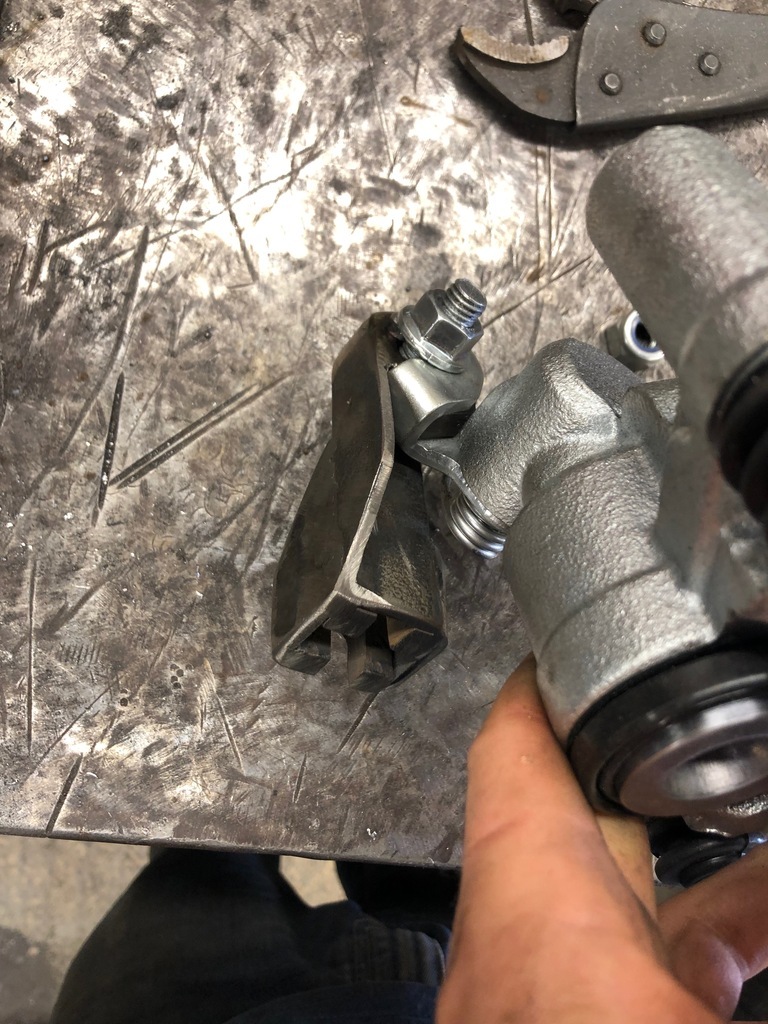 For the lever itself, I don't have whatever used to clip through this handle so an M12 bolt with an 6mm hole though it does the job. 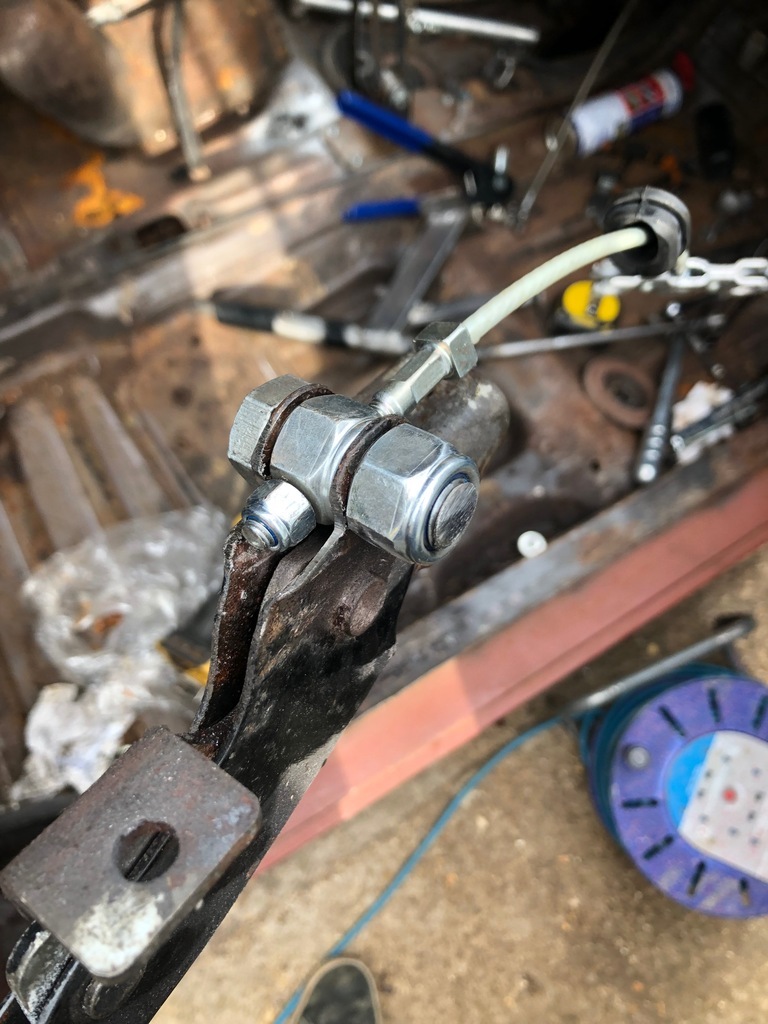 A plate to hold the cable outer sleeves now I know where they come to with respect to the cable lengths. 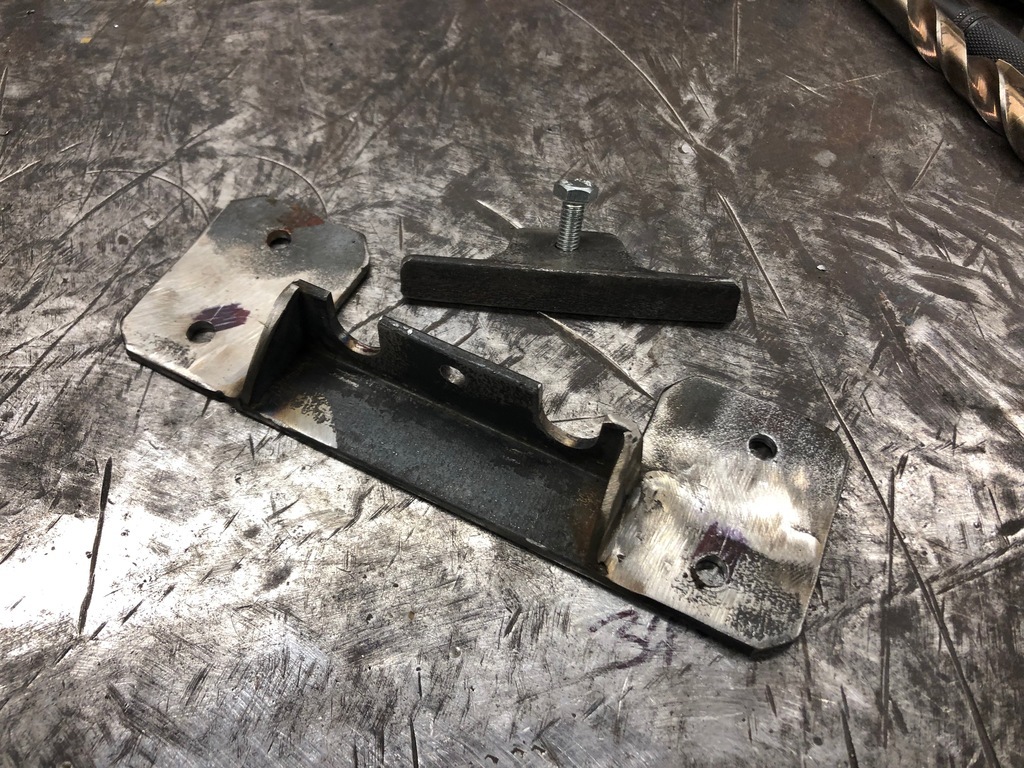 Mocked up under car... (the copper lines are being removed) 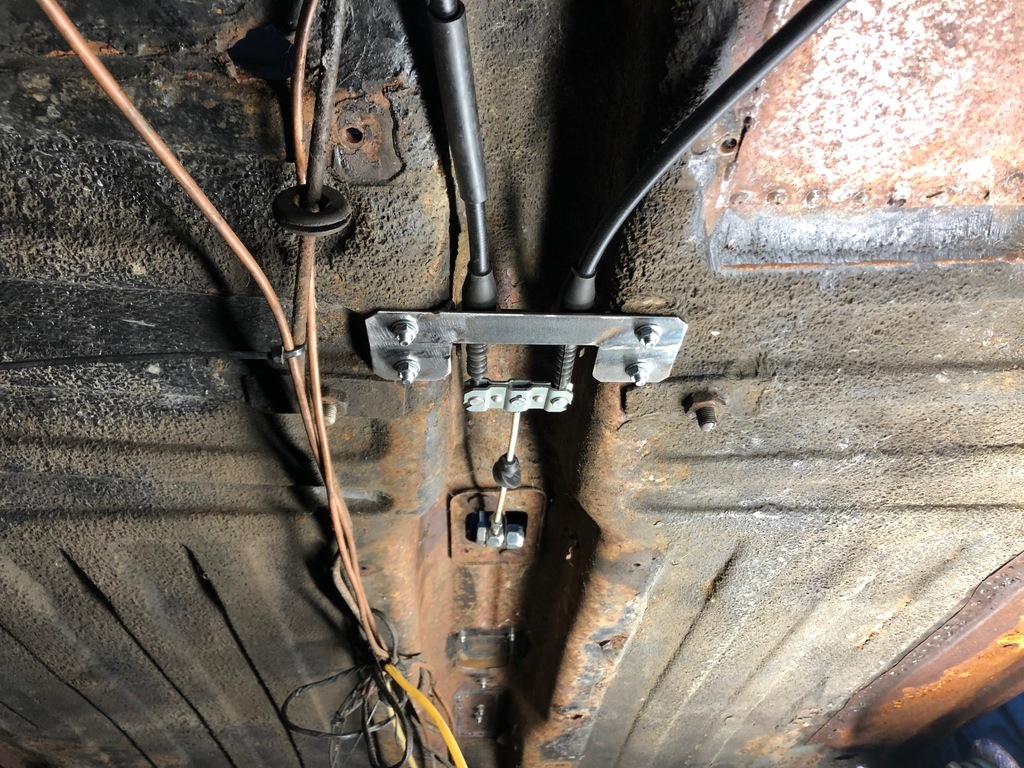 I pressed the bushes out as they were solid. Regreased them etc and now I believe I'm finished with the rear arms so I painted them. 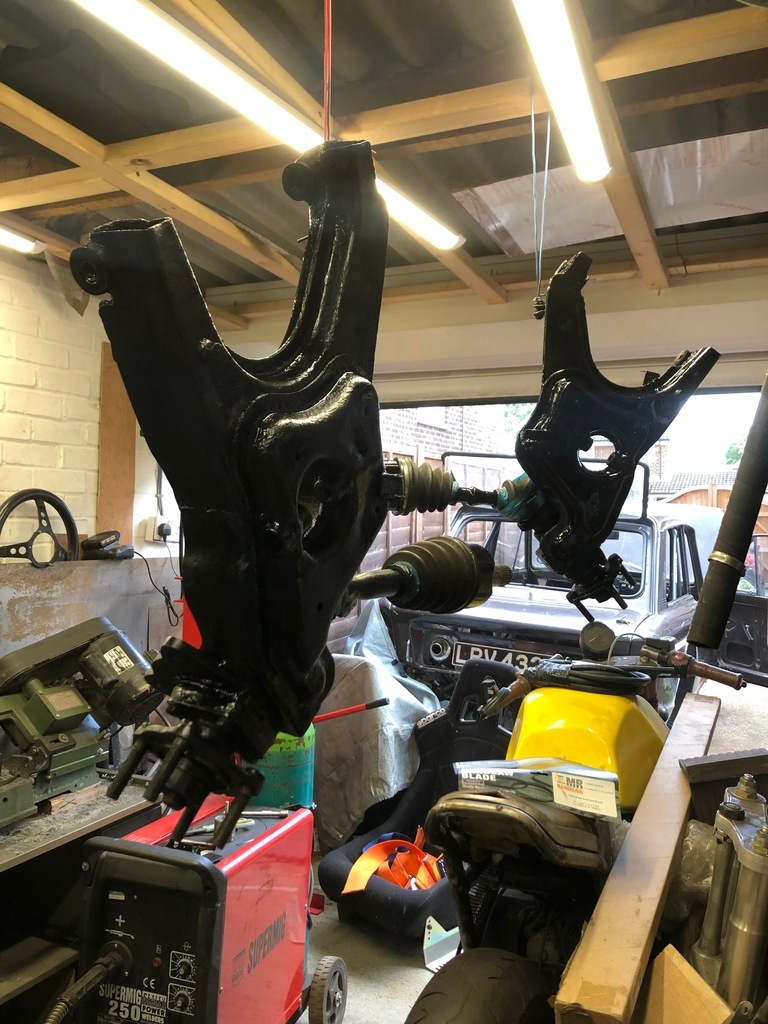
Reverse Gear...
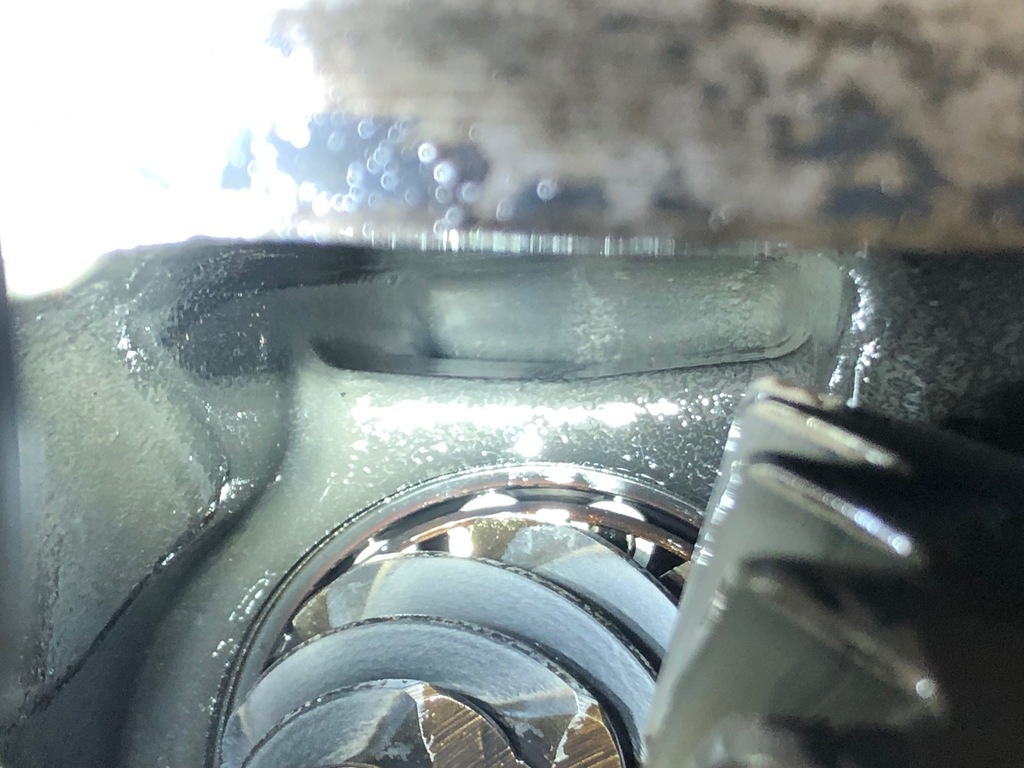
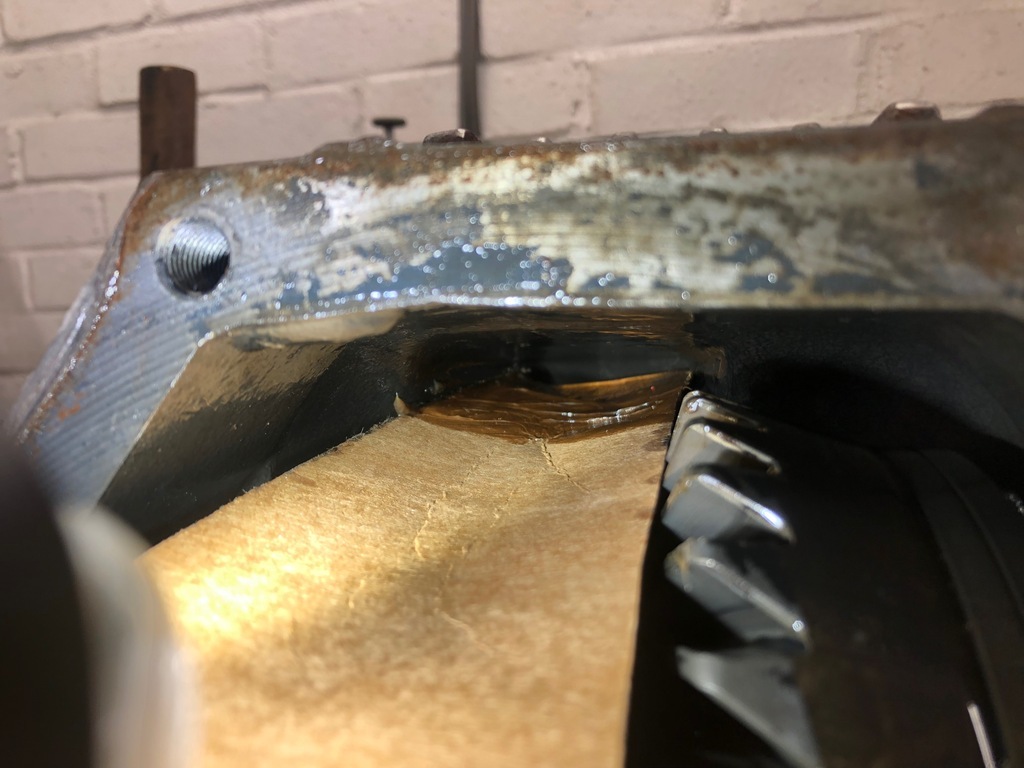
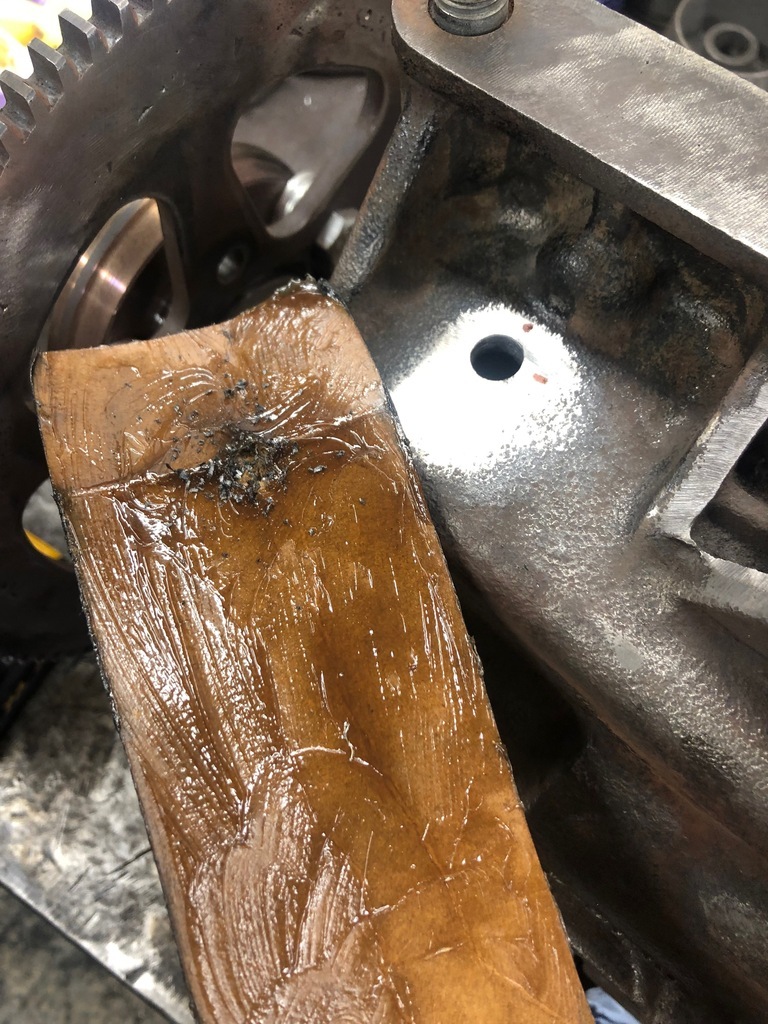
The sprocket arrived... 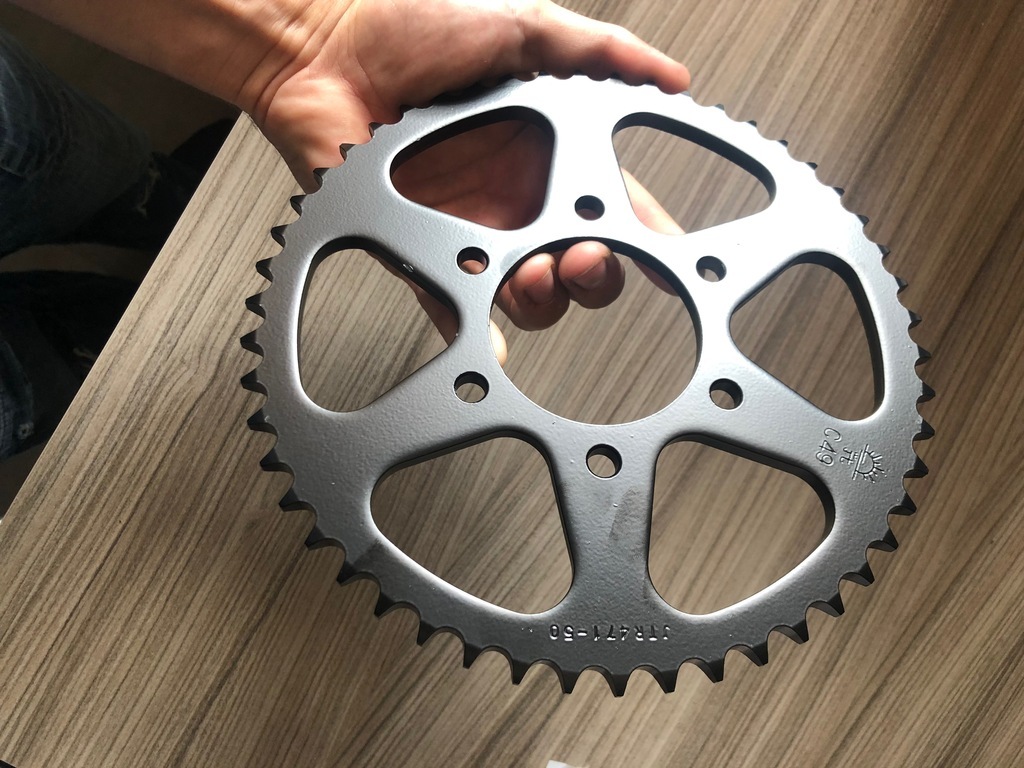 Its such a same it's not slightly bigger but we can work with this. 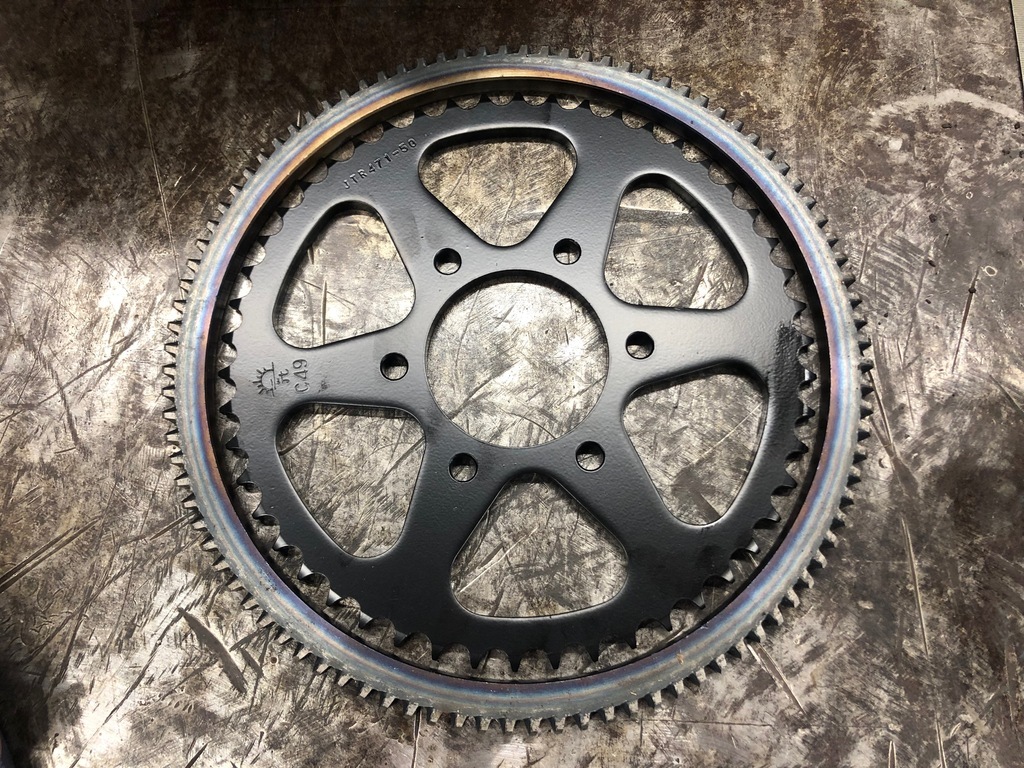 Bolt pattern was spot on so that will still save me a bunch of time compared to starting from scratch. 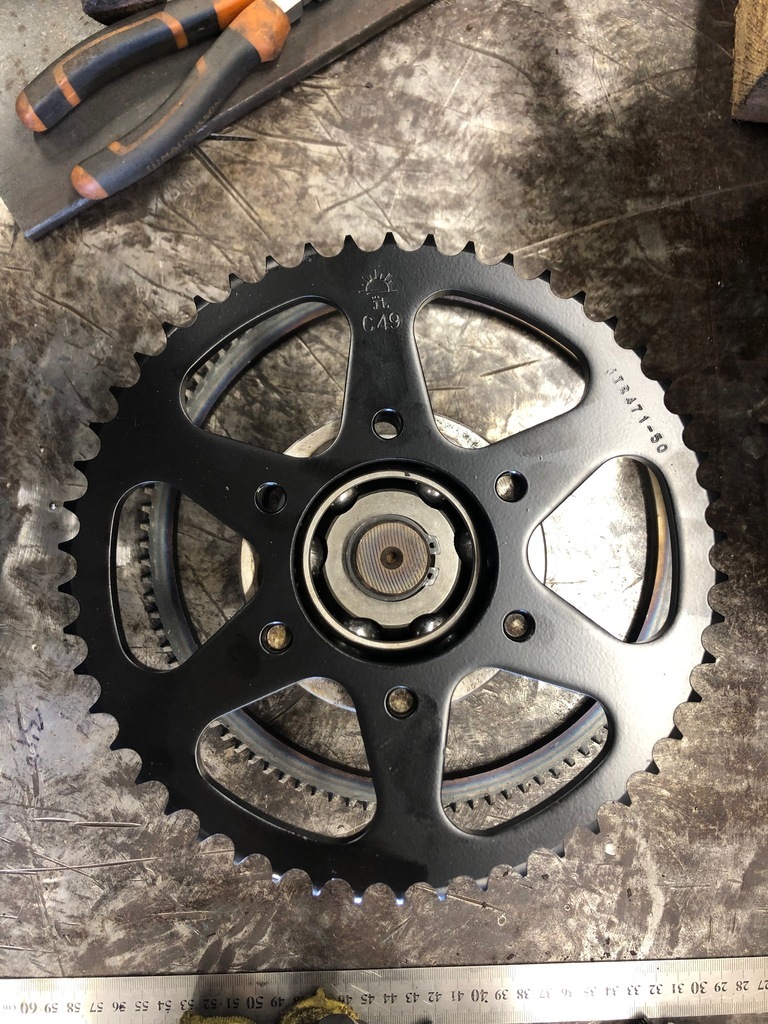 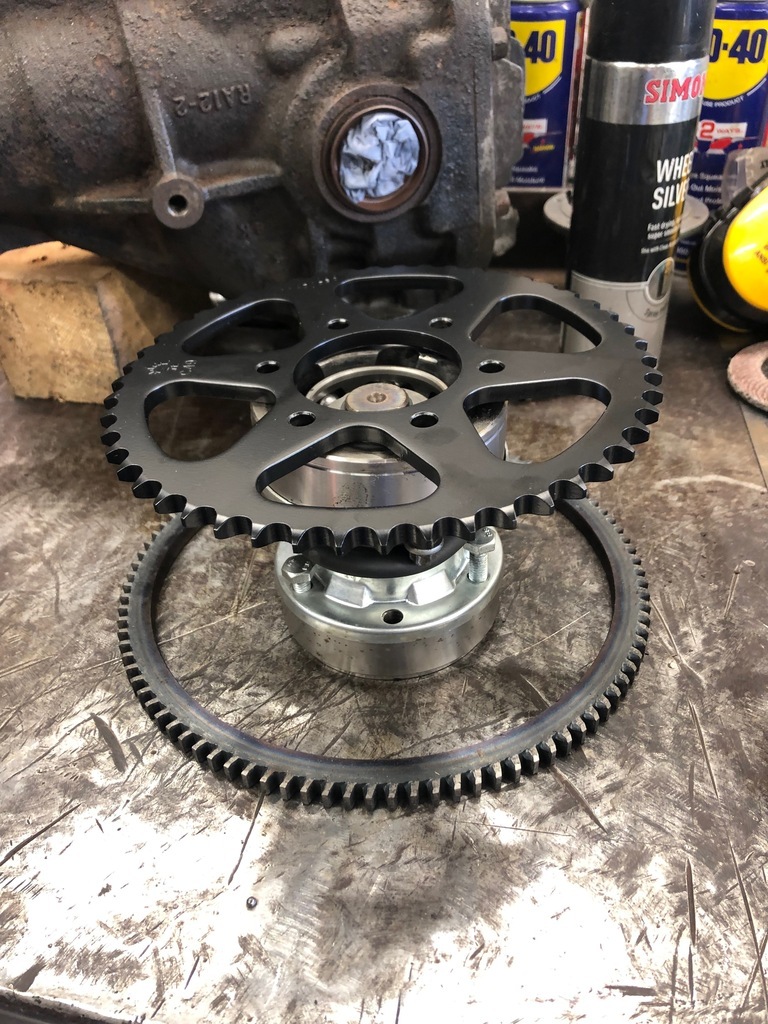 I had to cut out a section of my engine frame. To be honest this bar was chucked in last minute to add some extra strength 2 years ago when reverse was way off the priority list. 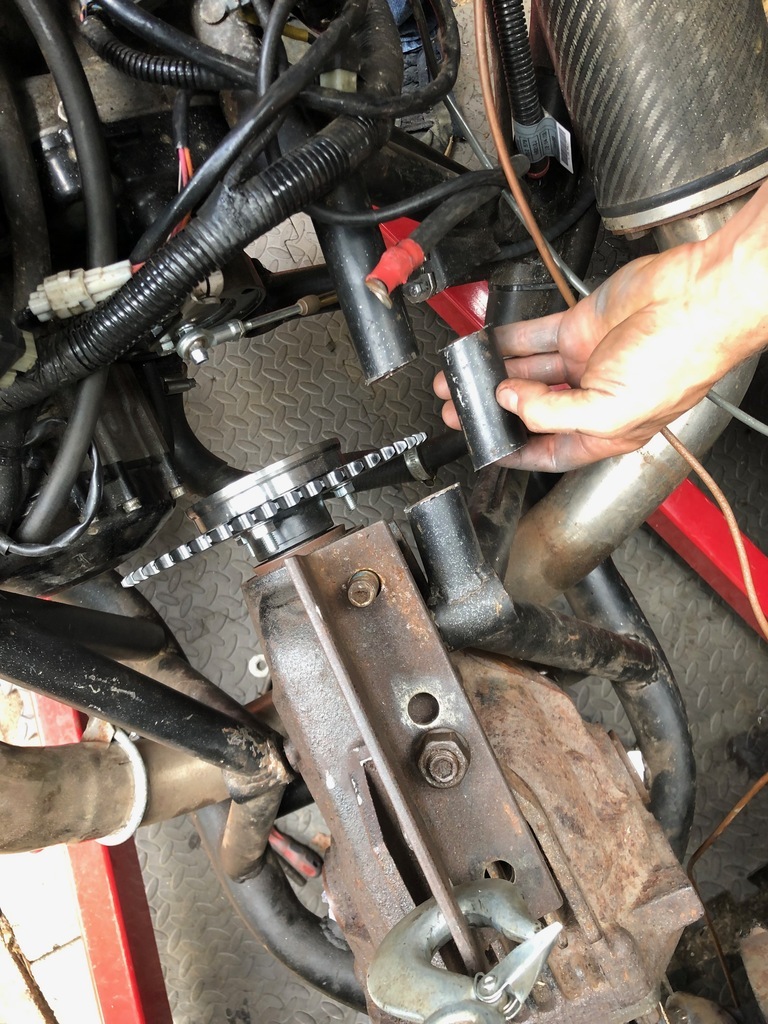 I rolled some 3mm plate and the assembly pressed together nicely. I trued it up on a flat plate then put it in the lathe and it was all pretty straight. 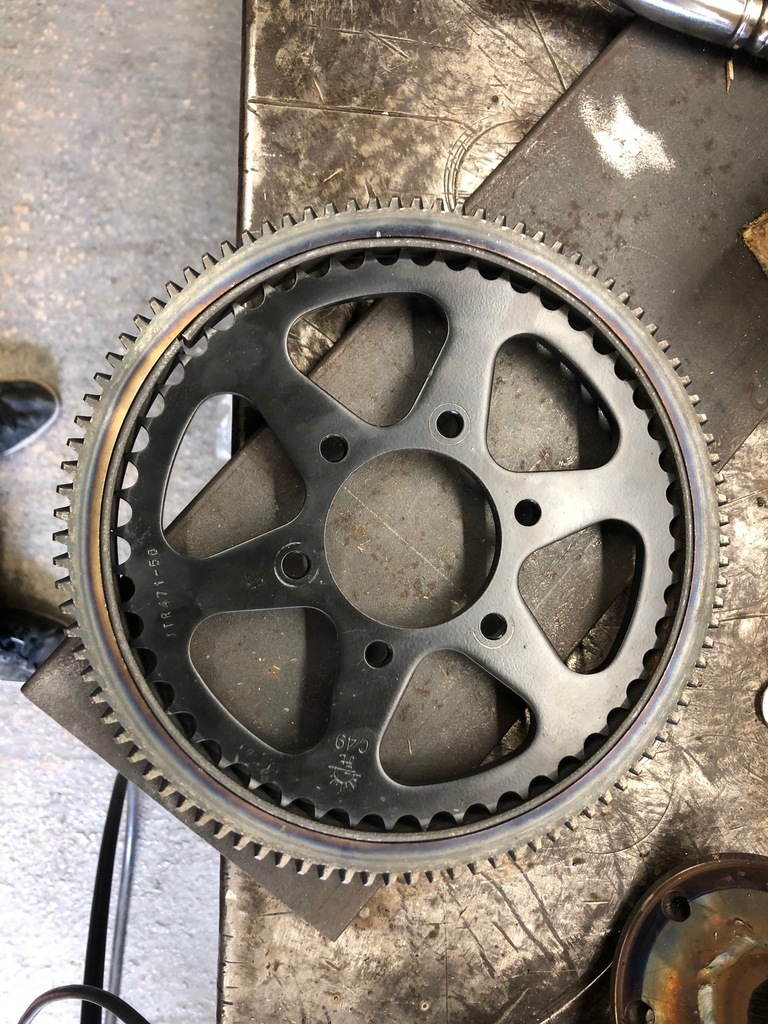 I cut off the excess and got welding. 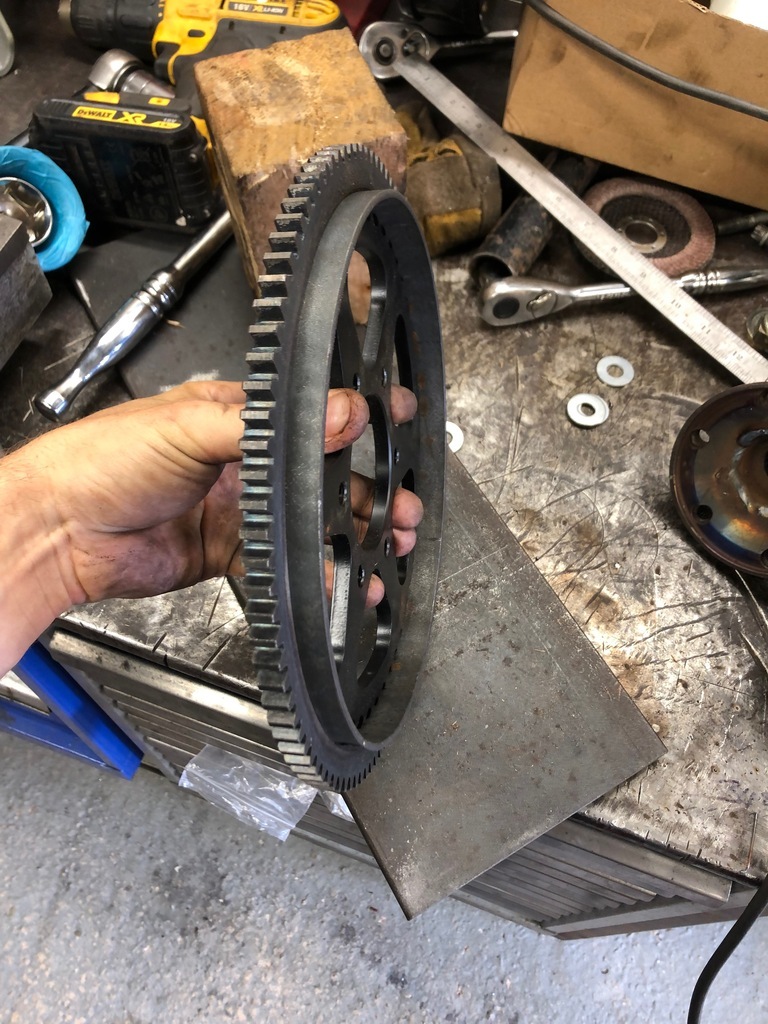 I tried to clean up all the welding on the lathe but because the ring was so large it would rather chatter and bounce on the tip and it was making a mess. I ended up just finishing it off with a flap wheel and it think it came out ok. 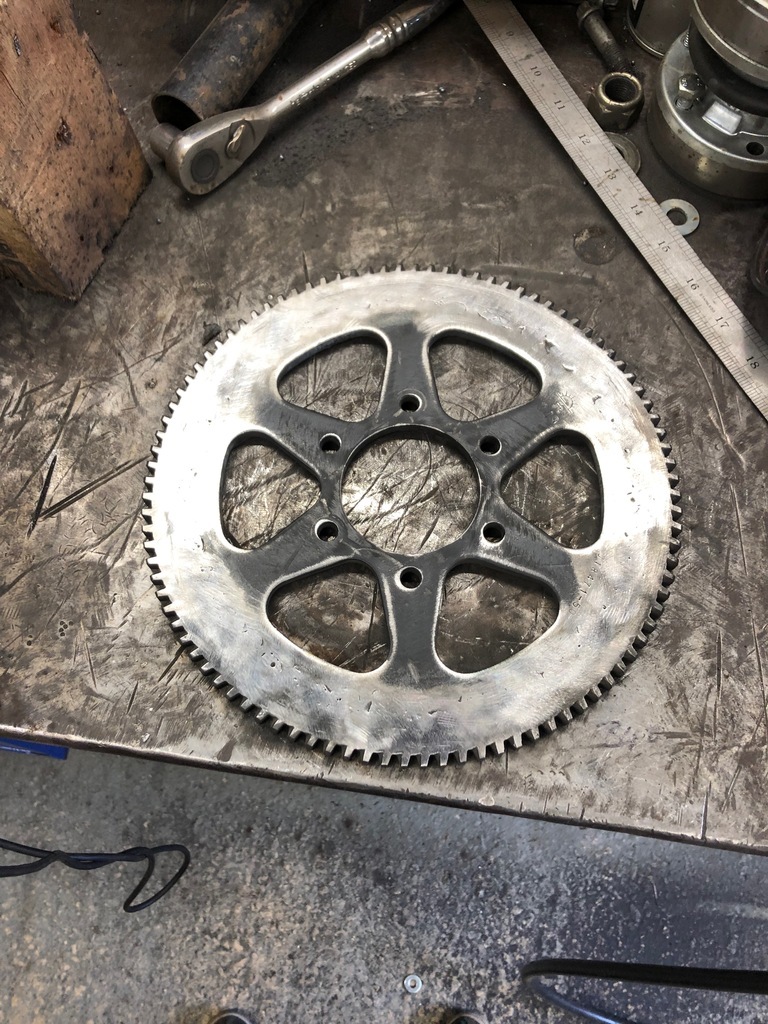 I squared up the back face of the diff input flange and bolted it up. It fits but was very close to the engine. I was unsure how much flex and general movement ther might be in the whole system. I had lots of space forward so I went and made some spacers. 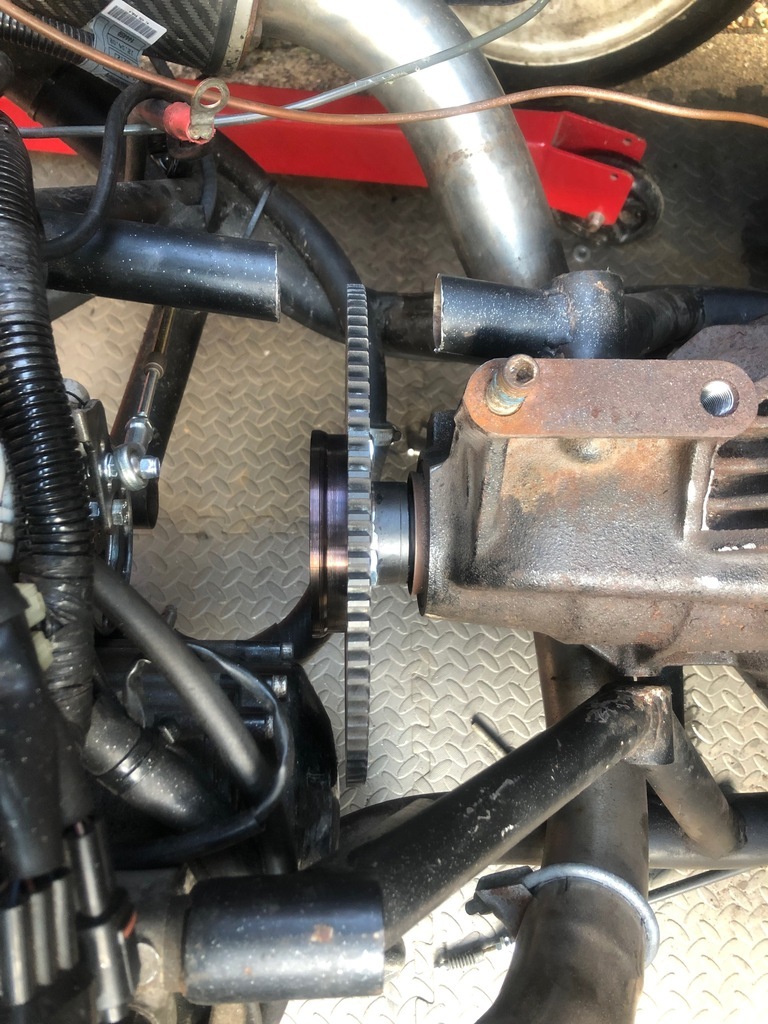 Too close for me. 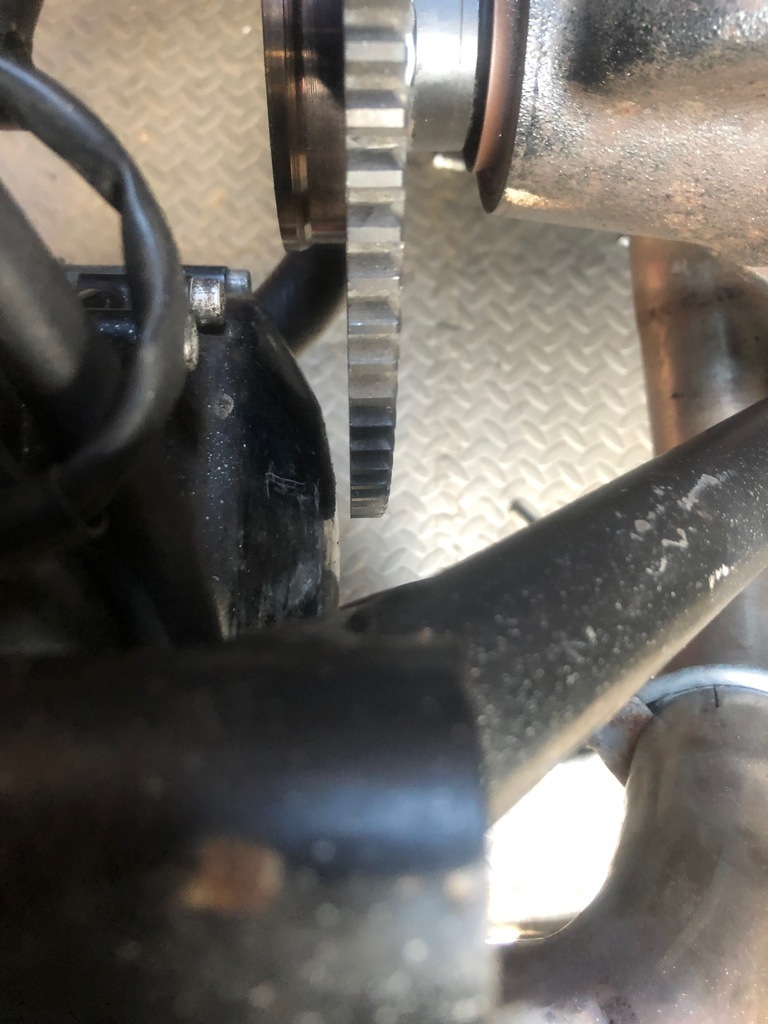 Rough 12mm spacers to get started. 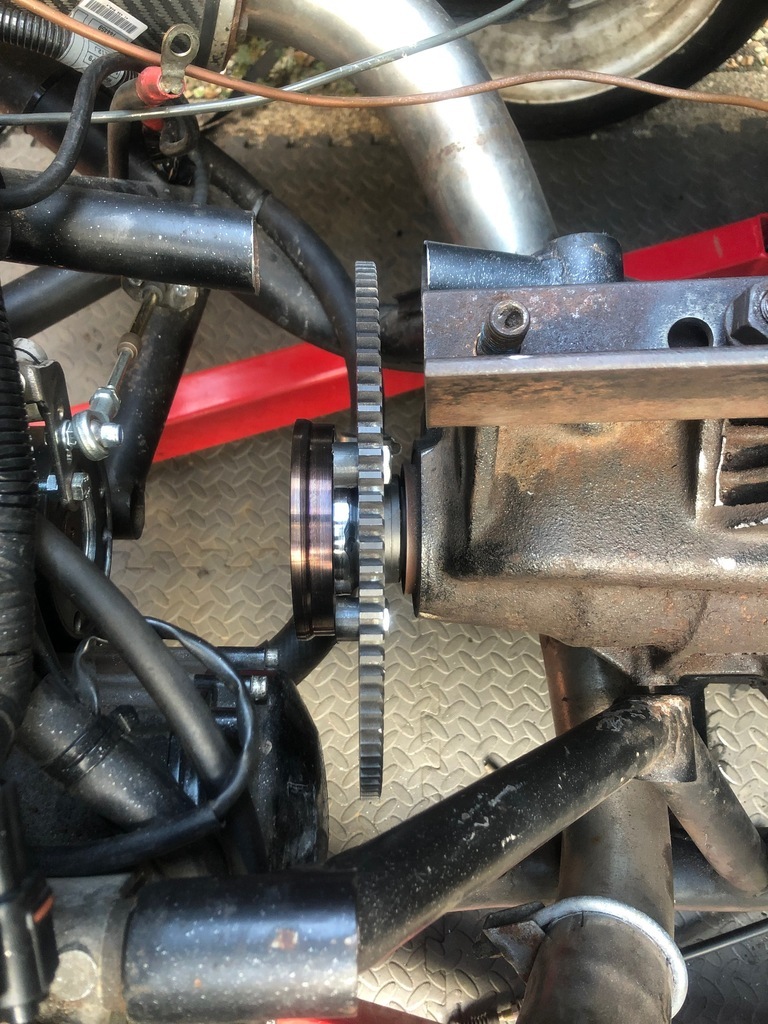 I set about making a mount for the reverse motor. Start off with the biggest hole saw I have before I move it over to the mill to bore out to the final dimensions. 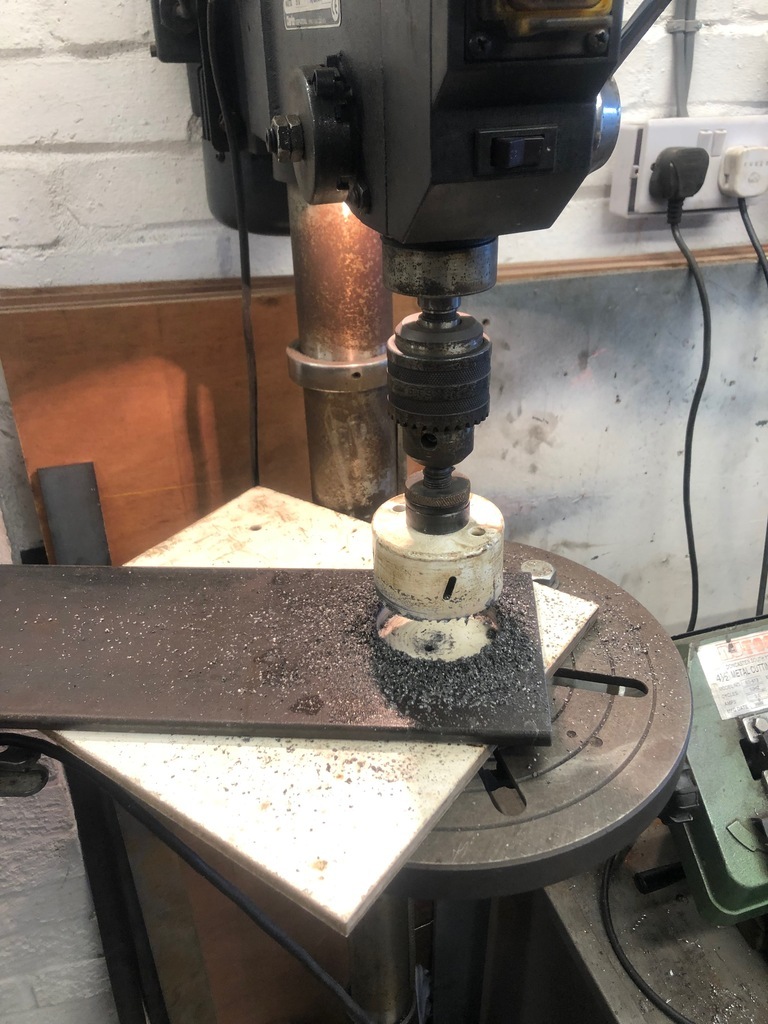 Of all the weeks the lathe/mill descided to stop working. Turns out the starter capacitor had gone. Amazon to the recuse and I got it fixed the next day. 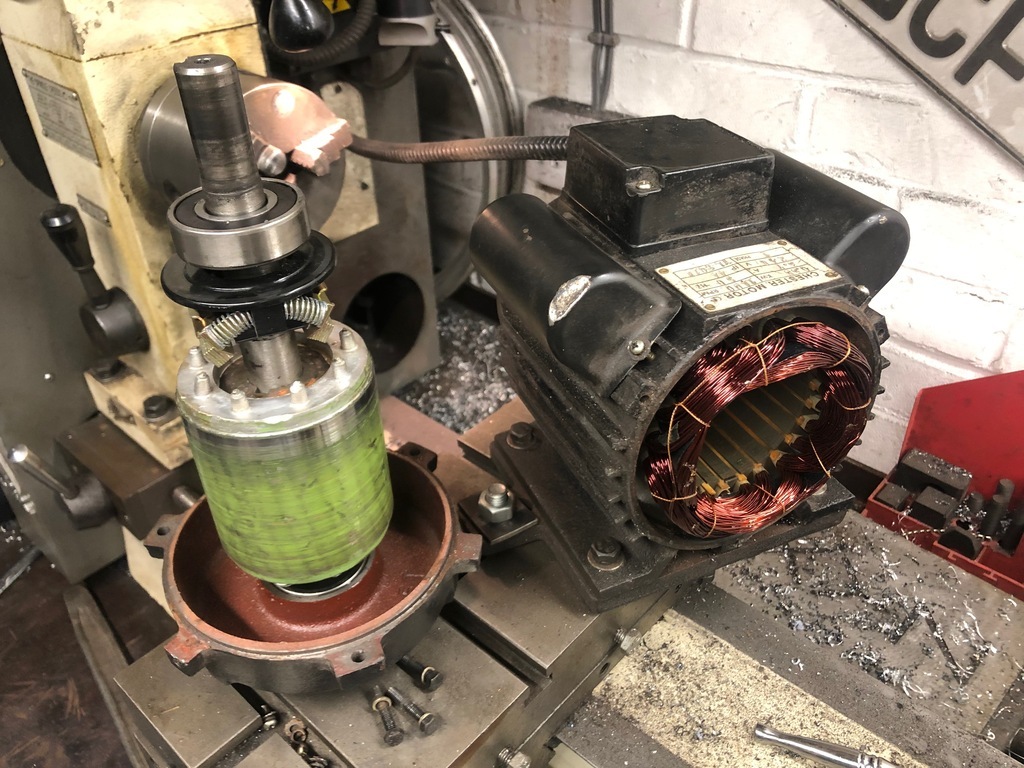 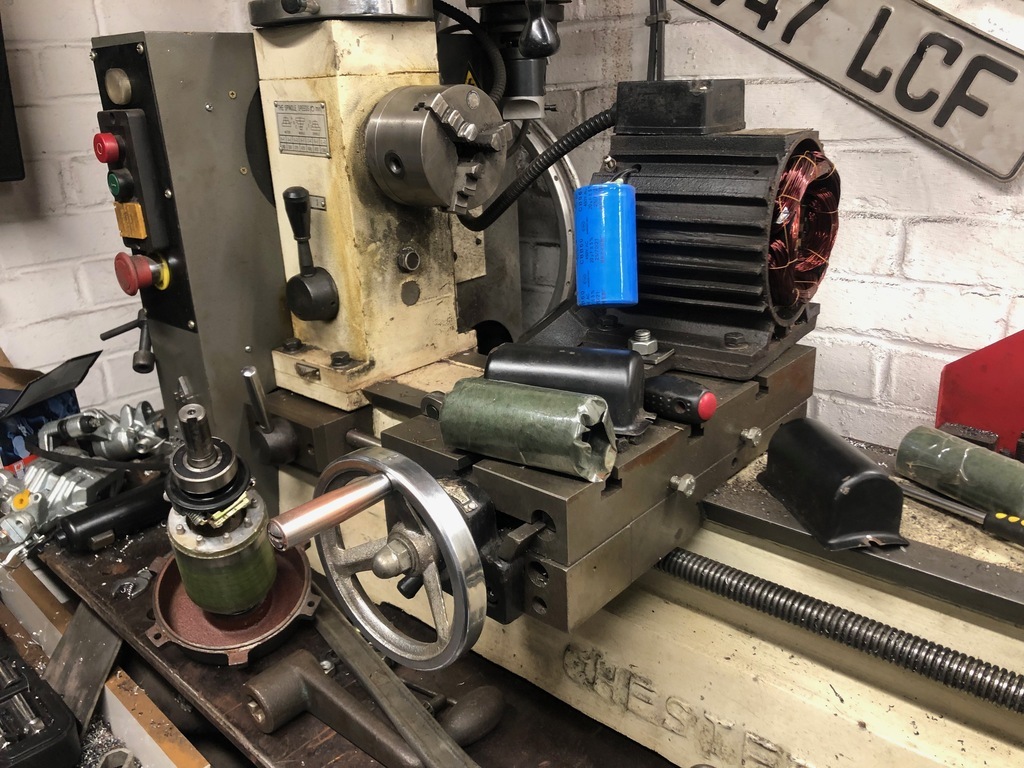 Bored out.. 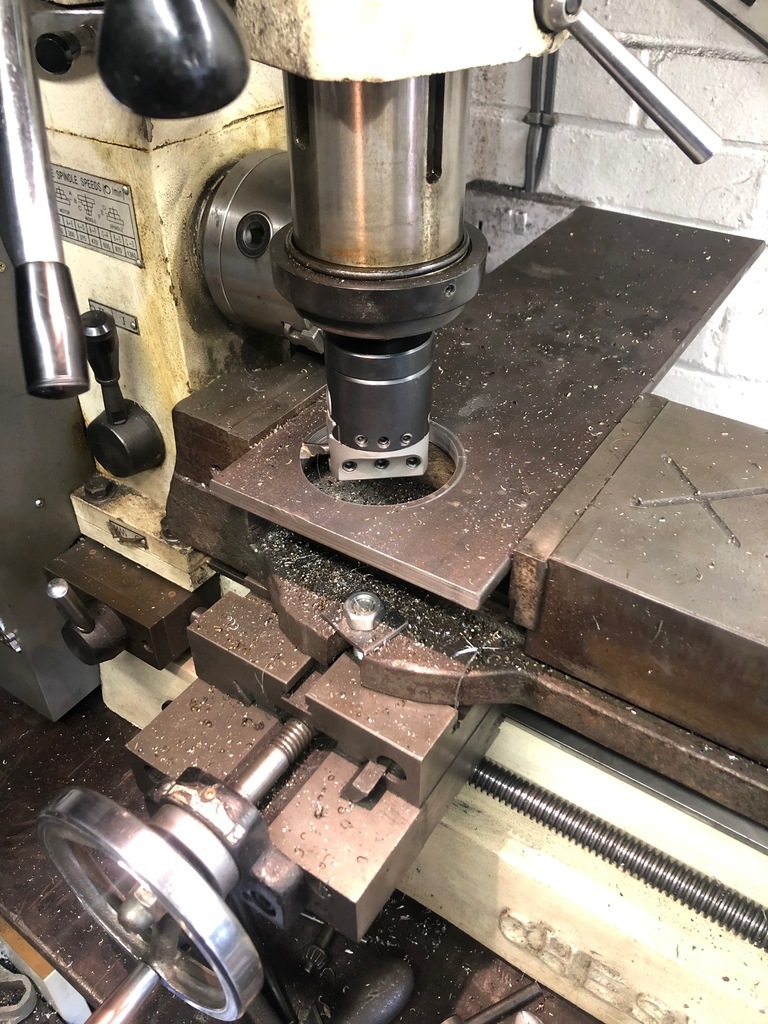 Some angle and some holes and a bit of squaring up and fettling.... and it was ready to test. Time to fully weld it and then shape it up so it's not just a plate welded to some angle iron! Ha. 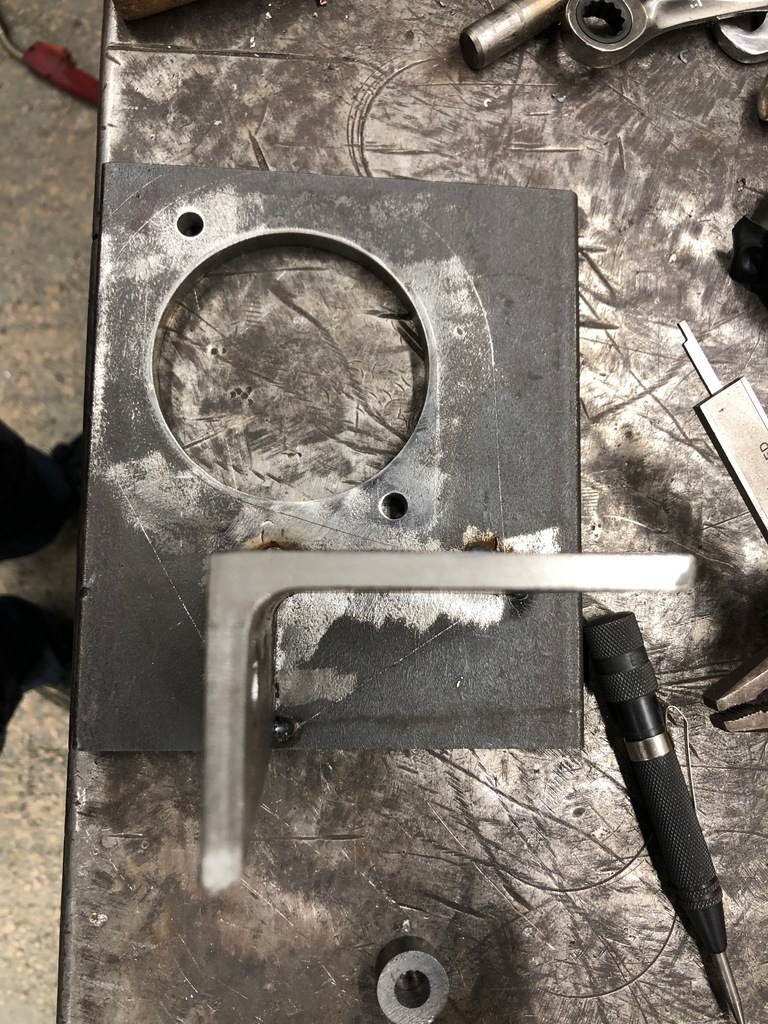 |
| |
'91 BMW E30 318is
'91 BMW E31 850i
'96 BMW E38 750i
'68 Singer Chamois (Yamaha R1 Engine... )
'95 Mini 1.3i
'61 Lamborghini 2241r
'64 Lamborghini 1R
'57 Lamborghini DL25C
Plus a few others...
|
|
|
|
|
Aug 12, 2021 14:42:57 GMT
|
|
Looking forward to seeing this in person and going up the hill!
Great project!
|
| |
|
|
|
|
|
Aug 12, 2021 23:51:29 GMT
|
|
|
| |
'91 BMW E30 318is
'91 BMW E31 850i
'96 BMW E38 750i
'68 Singer Chamois (Yamaha R1 Engine... )
'95 Mini 1.3i
'61 Lamborghini 2241r
'64 Lamborghini 1R
'57 Lamborghini DL25C
Plus a few others...
|
|
bstardchild
Club Retro Rides Member
Posts: 14,971
Club RR Member Number: 71
|
|
|
|
Oooh this is getting exciting - will we or won't we see it on the hill  |
| |
|
|
|
|
|
Aug 13, 2021 23:18:58 GMT
|
My mate Ben came over to see how it was going... little did he know he would still be helping out into the early evening! Thanks mate  We got the main battery cable routed from front to back and termainted. The tap required for the diff barbs arrived so we set about getting the diff in and sorted. However fitting the prop was such a pain. I ordered the long bolts required for the reverse ring gear set up. However the shoulder, unthreaded section was too long. We had to take a die and extend the threads down the shoulder. 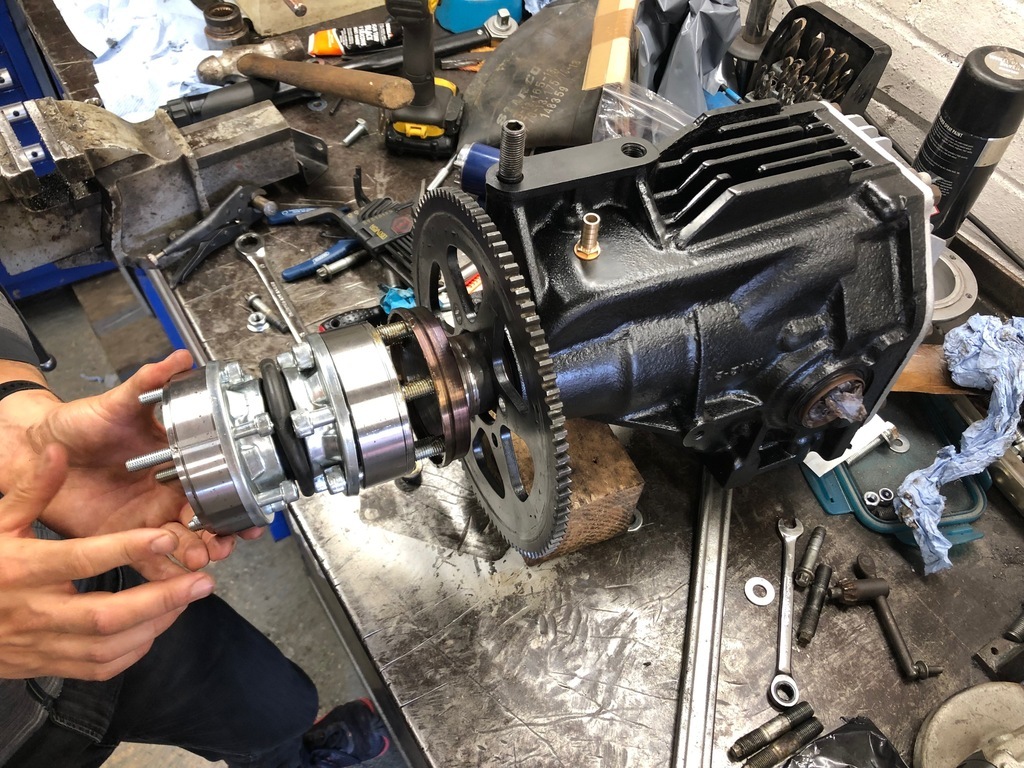 I was supposed to make proper spacers or at least get on the lathe and final dimension the ones I parted off on the band saw. However 4 washers does the same job and it's what was being used during the initial testing yesterday. Ain't no body got time for that... (right now). 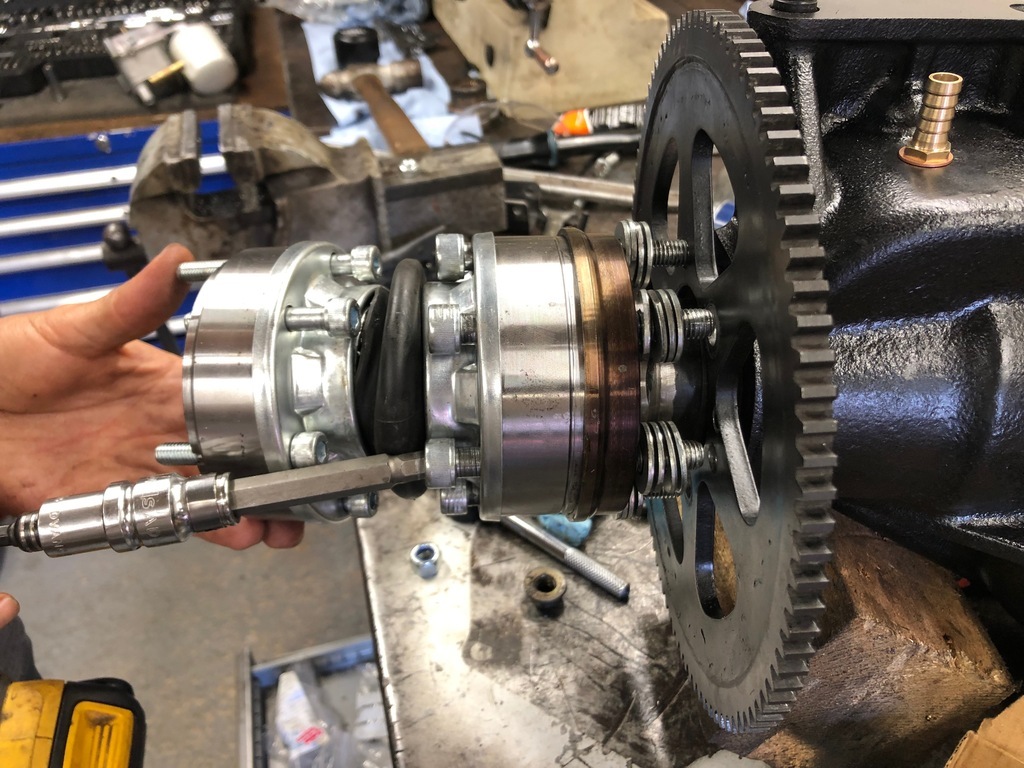 Due to the assembly order and tool access we thought it best that we fit the prop to the diff before we put it in the car. However it physically wouldn't fit a fully assembled state. 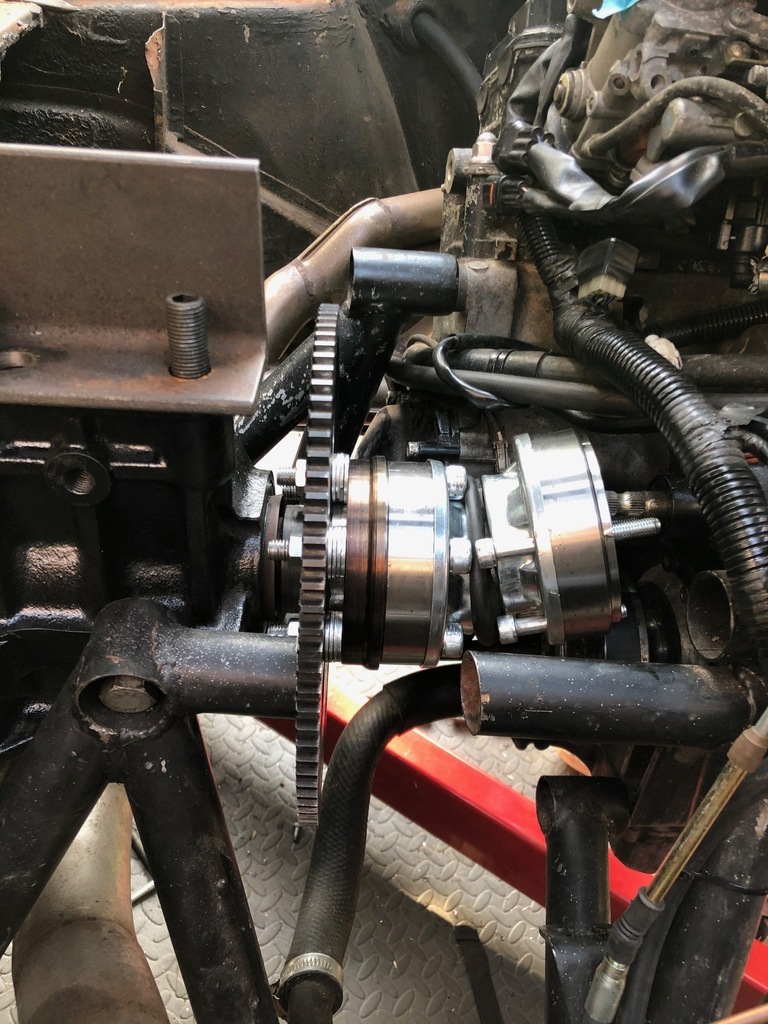 Out with the angle grinder and I made more space cutting more off the already cut tube. No harm done really. 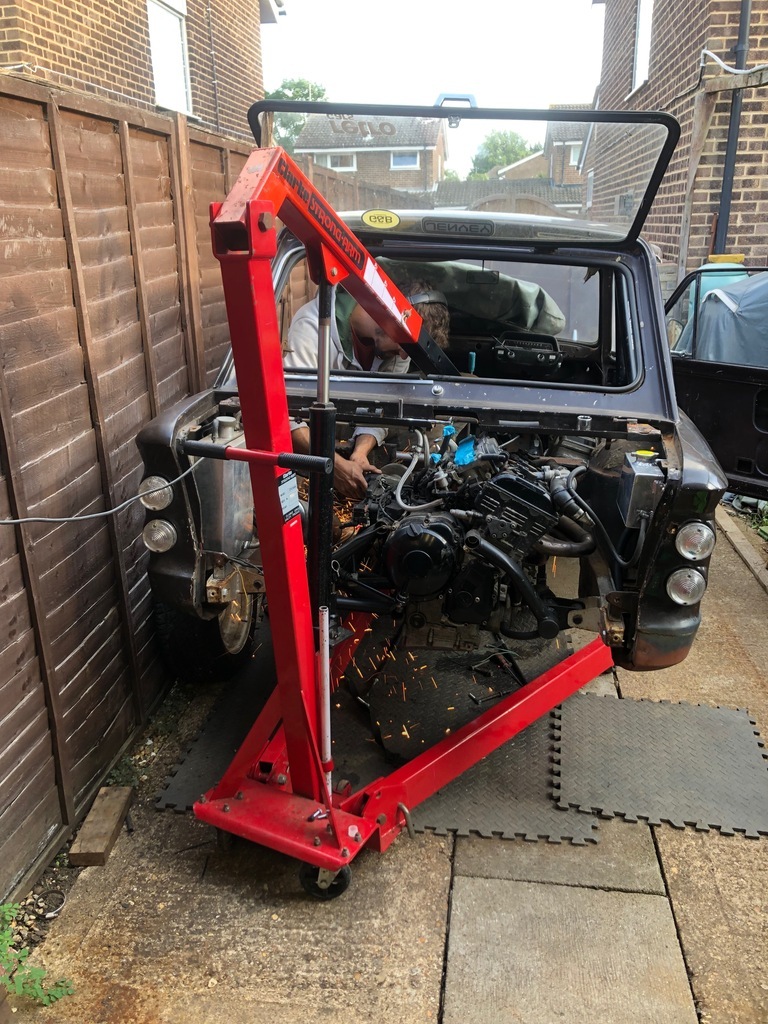 The egal has landed. 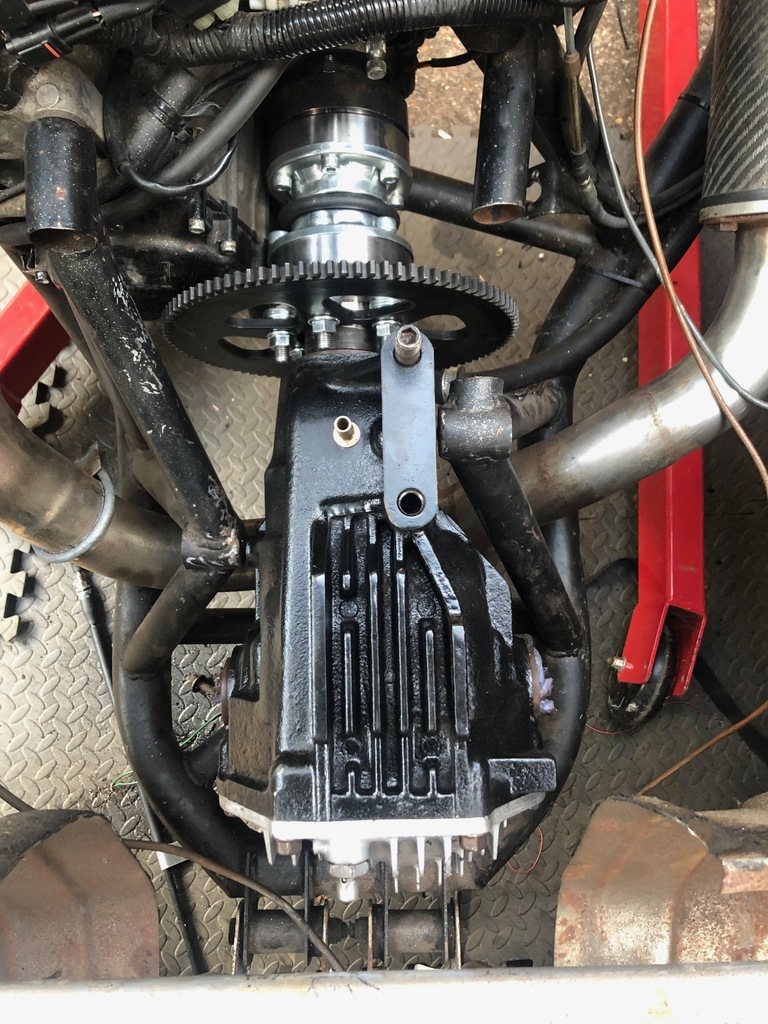 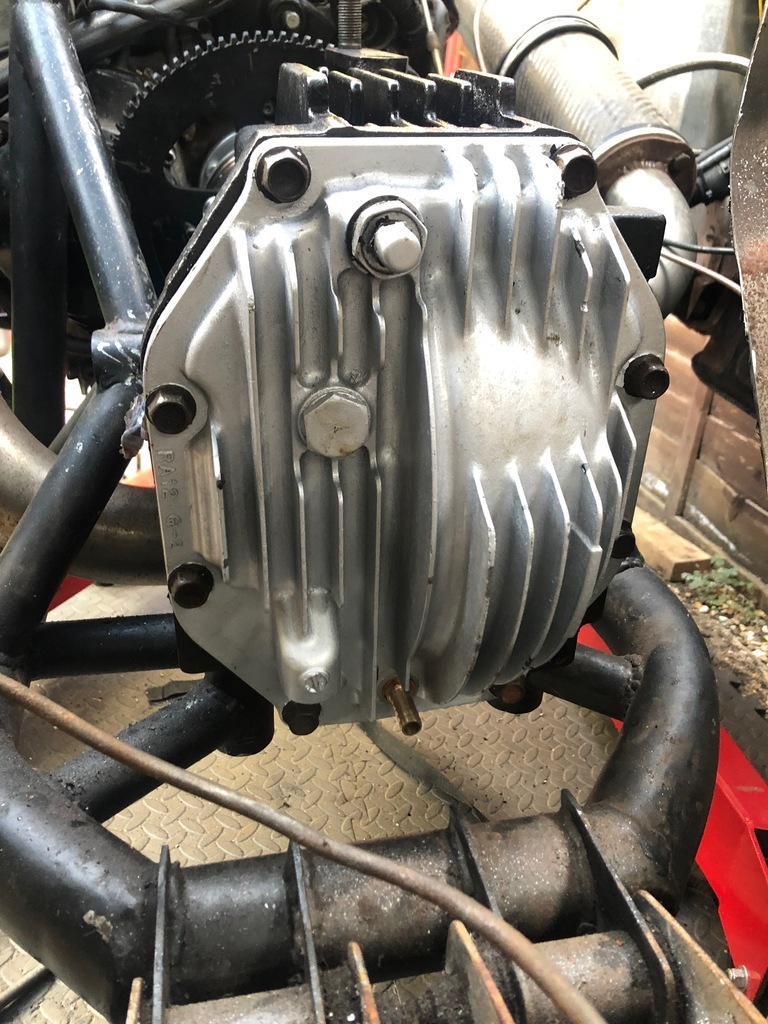 Ben left me to it and I got the diff bolted in. I fitted the reverse motor and got making the remaining battery cables and grounds. 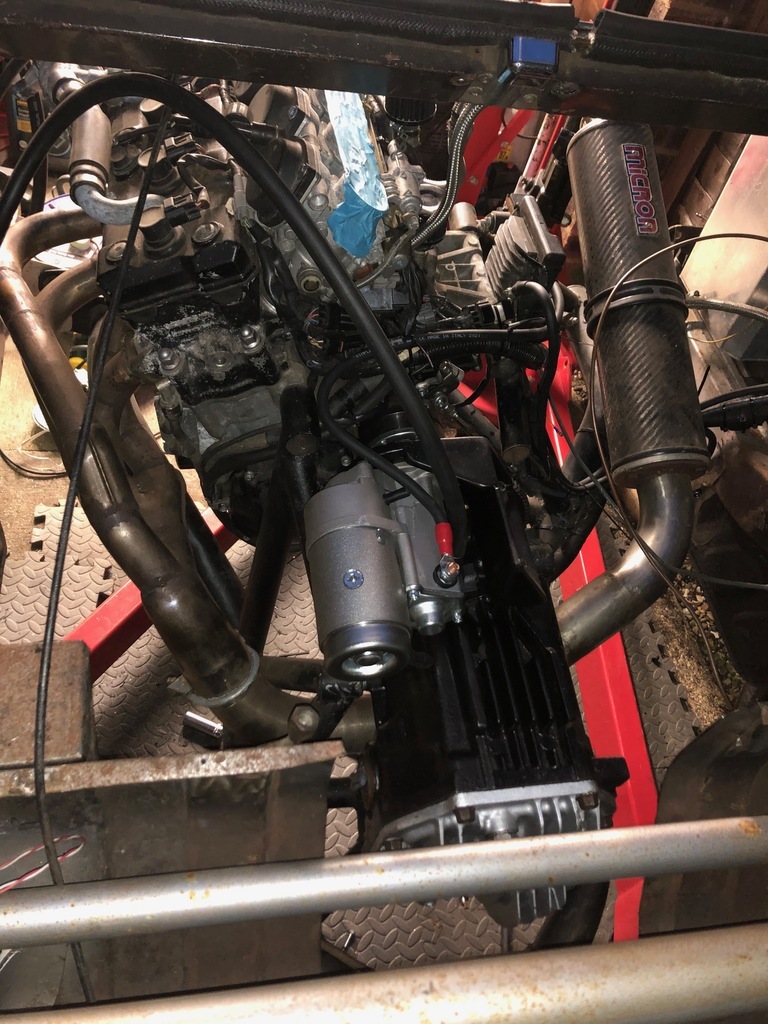 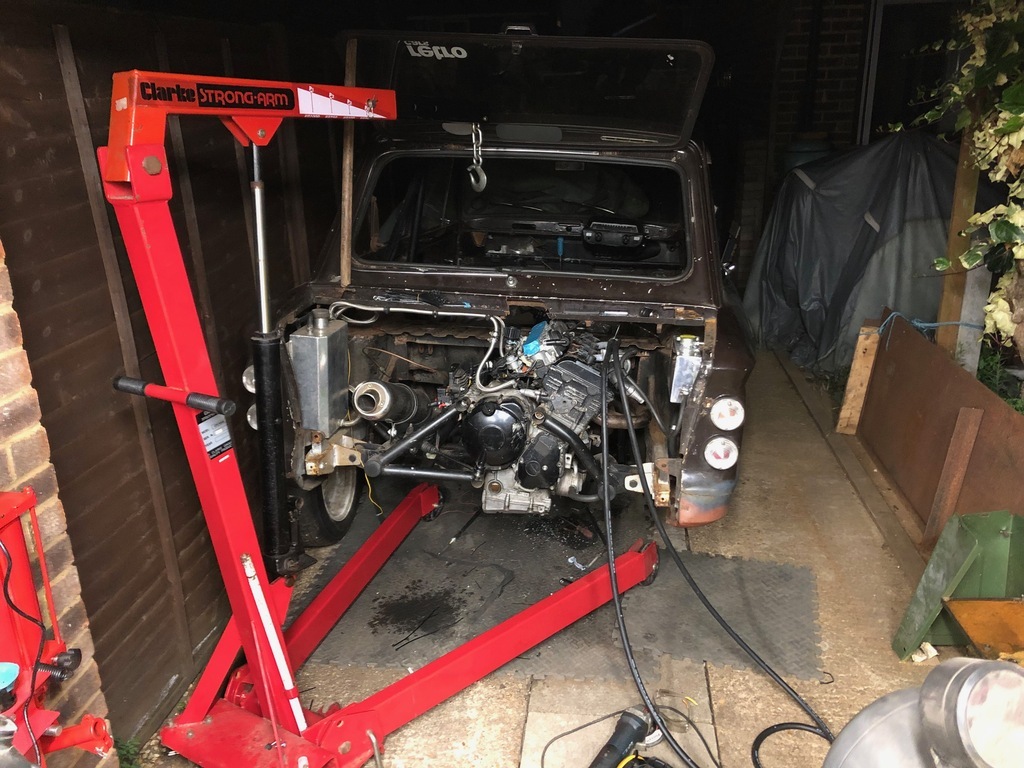 The rear arms are assembled and ready to go on tomorrow. 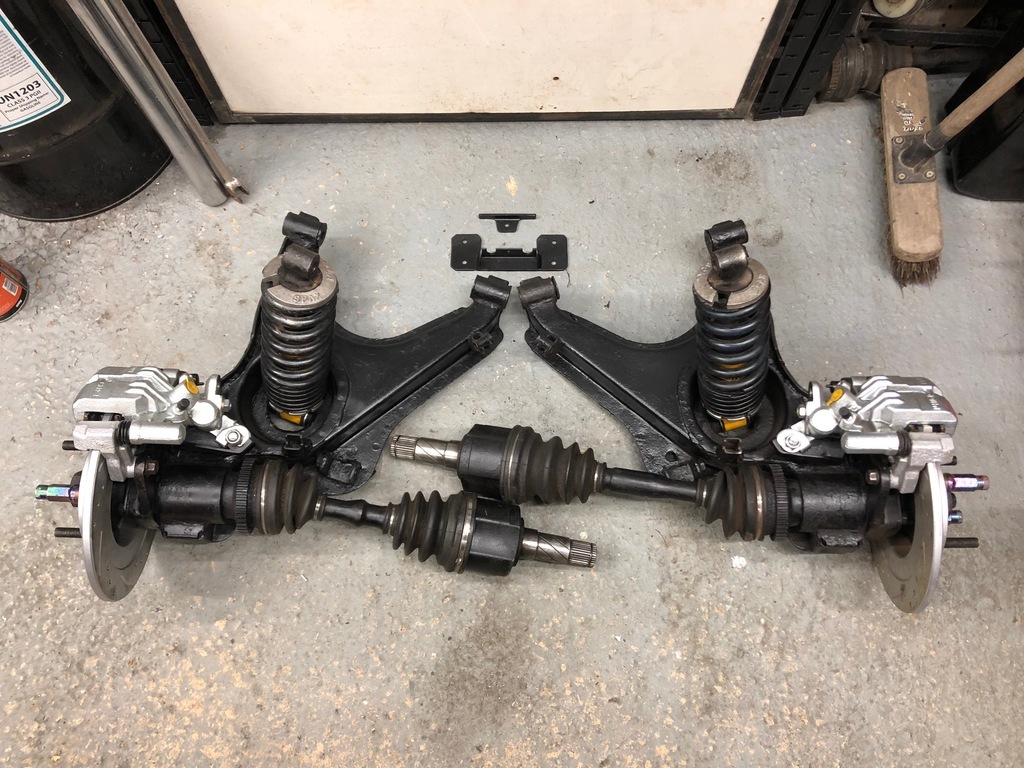 |
| |
'91 BMW E30 318is
'91 BMW E31 850i
'96 BMW E38 750i
'68 Singer Chamois (Yamaha R1 Engine... )
'95 Mini 1.3i
'61 Lamborghini 2241r
'64 Lamborghini 1R
'57 Lamborghini DL25C
Plus a few others...
|
|
|
|
|
Aug 14, 2021 23:05:30 GMT
|
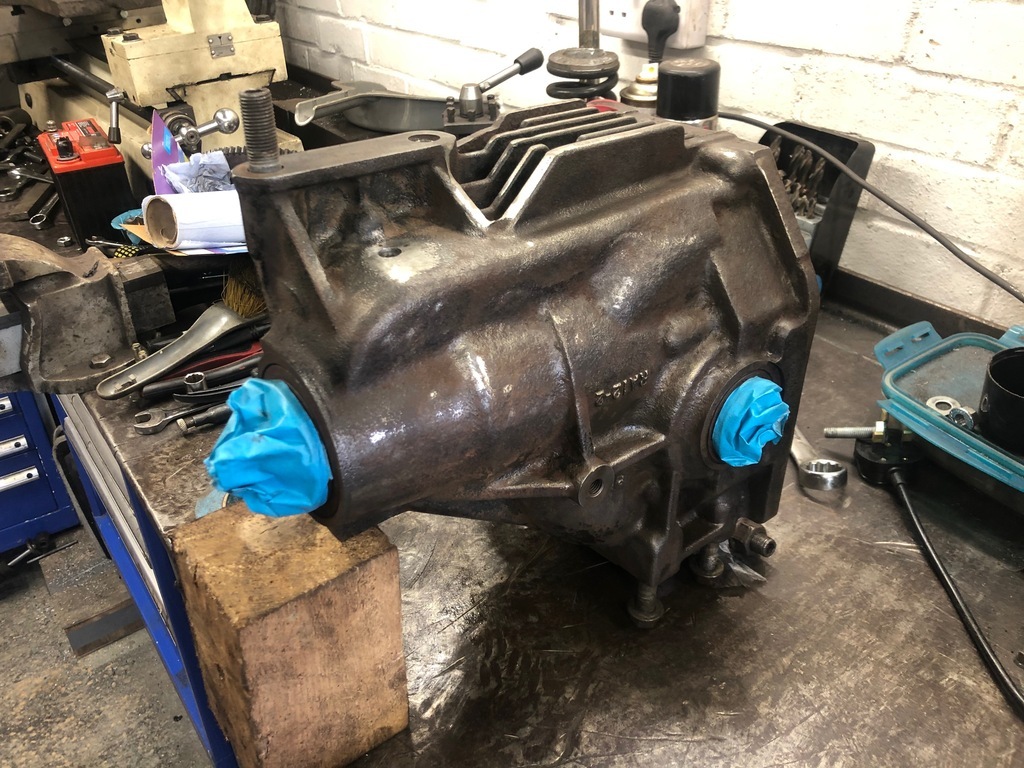
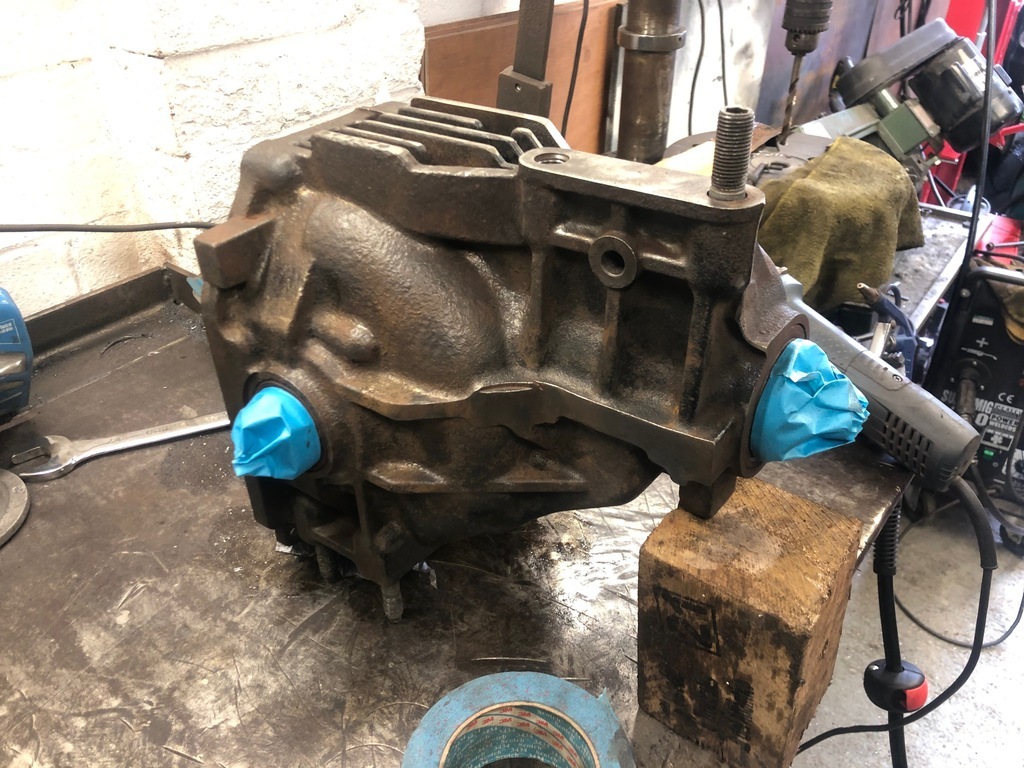
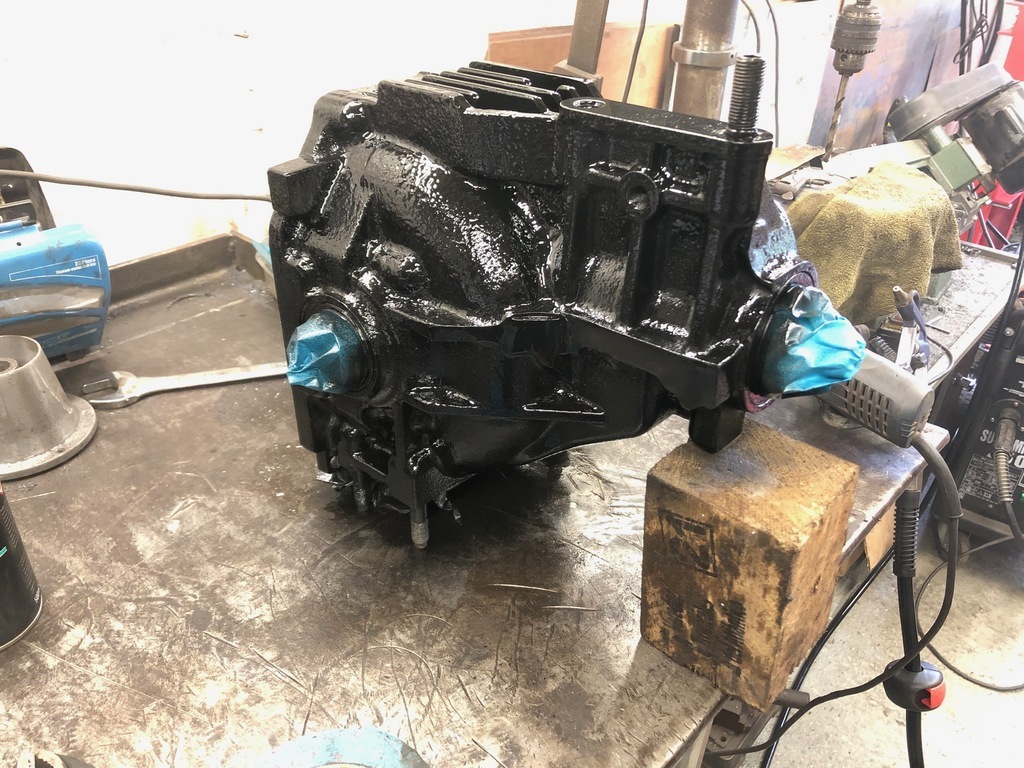
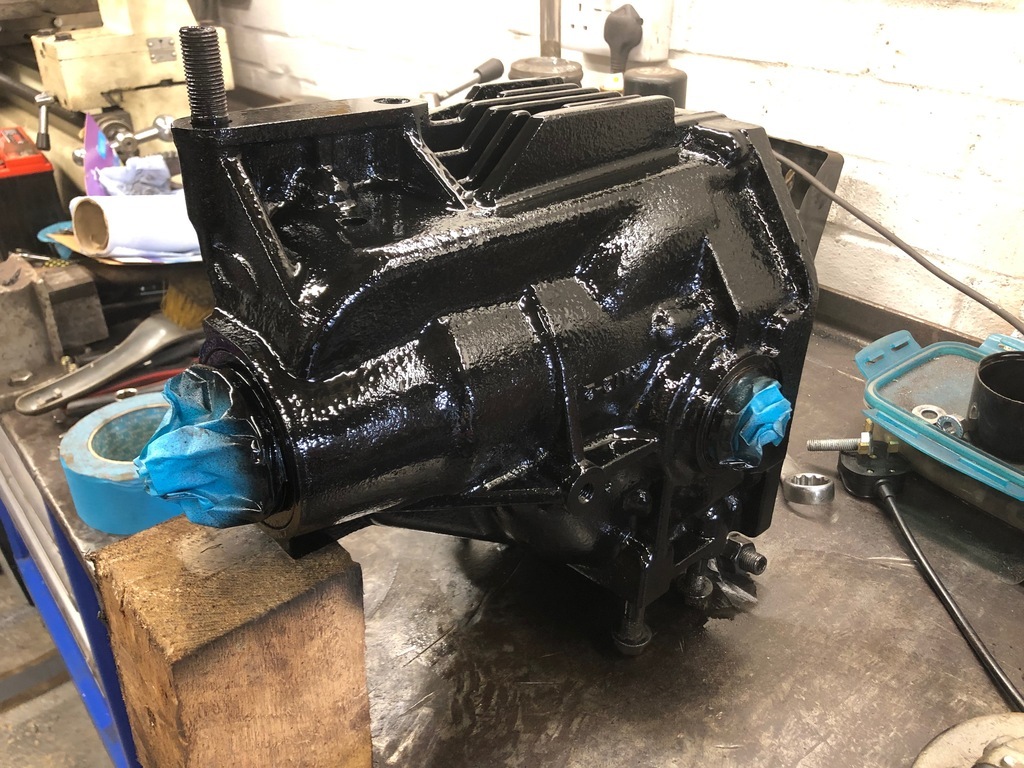
Rear suspension is now fitted. 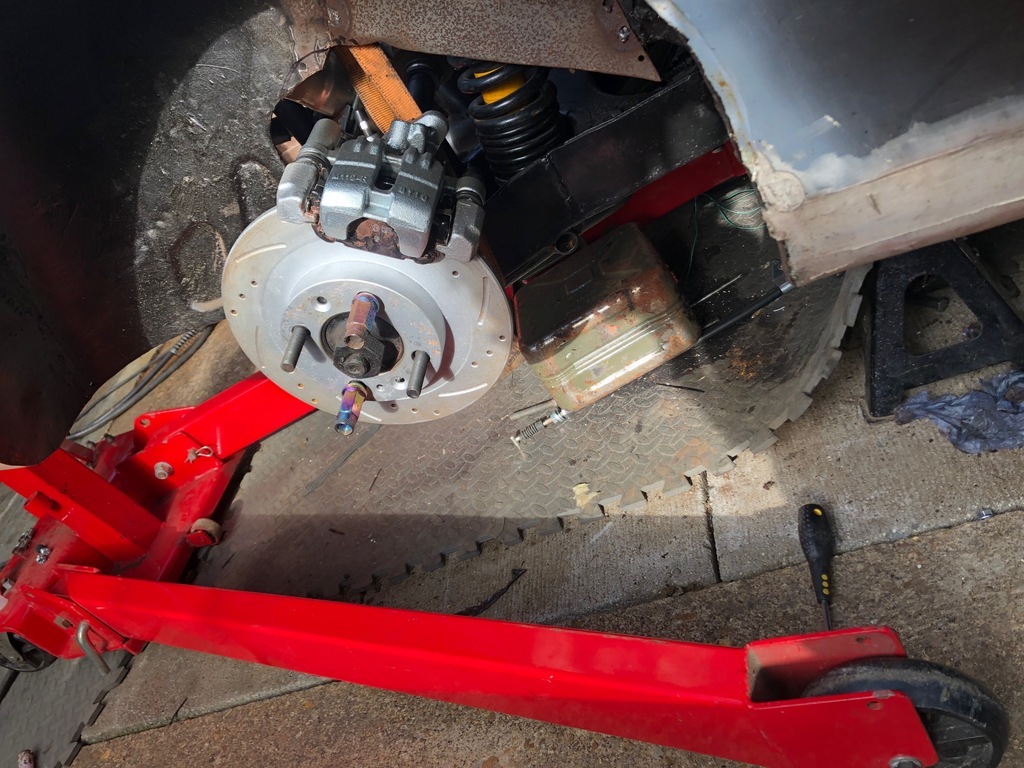 The handbrake is all fitted and functioning. The diff oil feed system is all mounted and plumbed. Its just waiting on a temp sensor and some oil before I call it finished. This also means the coolant system is finished as the heat exchangers (factory engine one and this diff one) are plumbed. 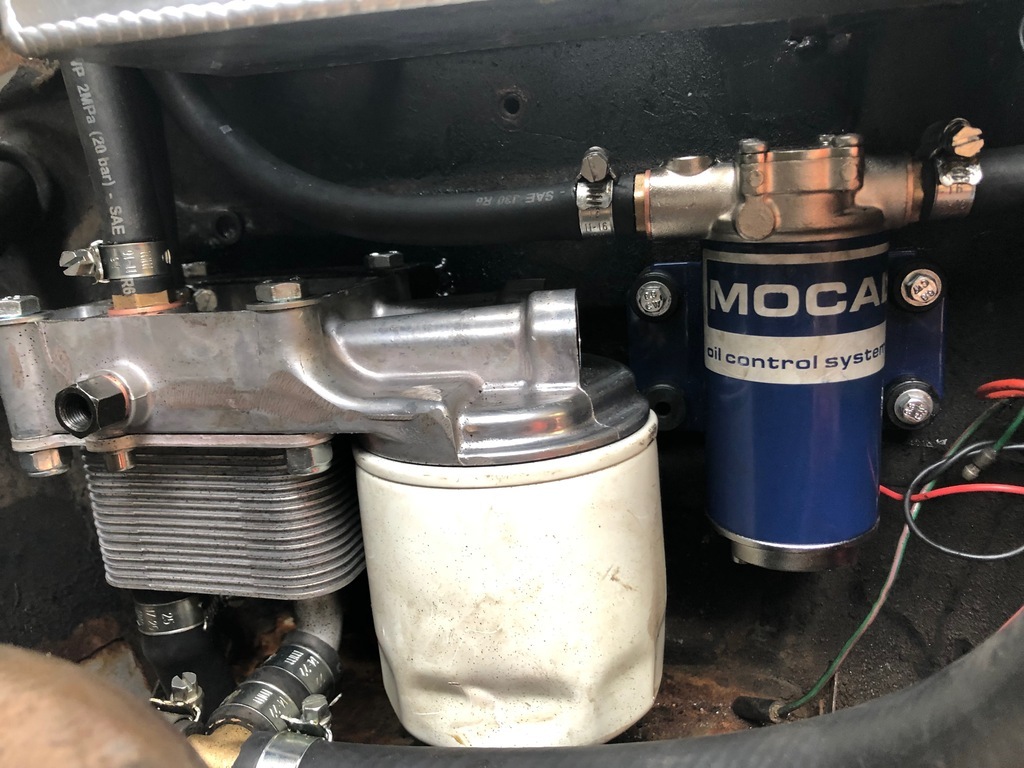 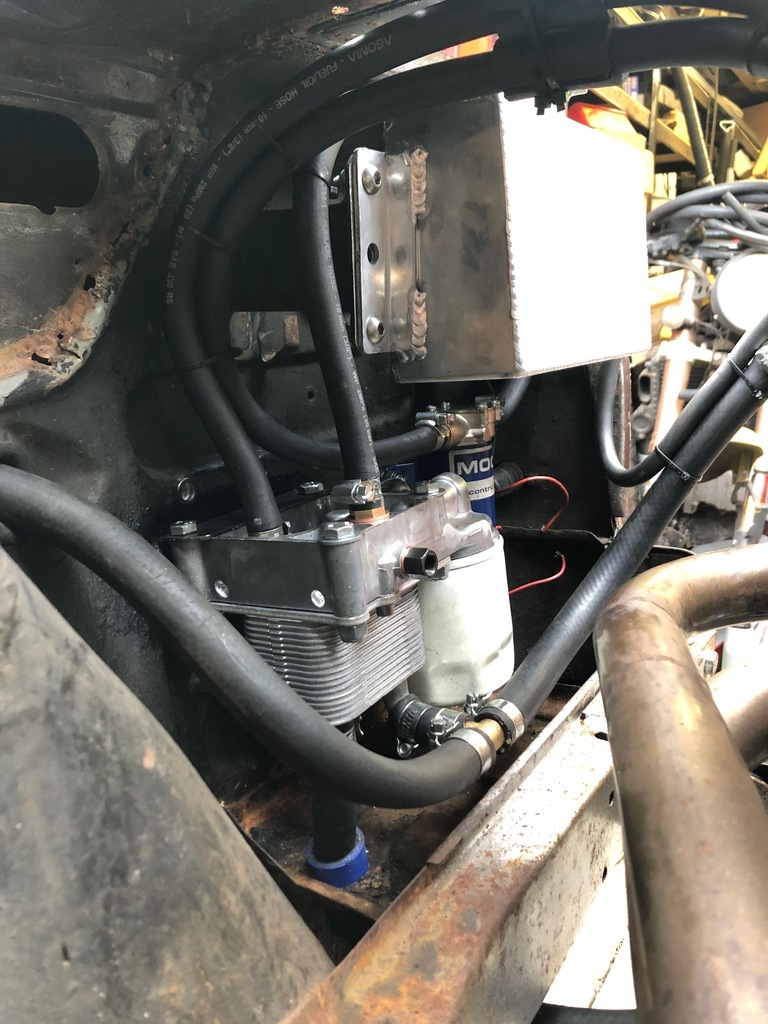 The day seemed to zoom by but I got into routing a clutch line before I called it a night. 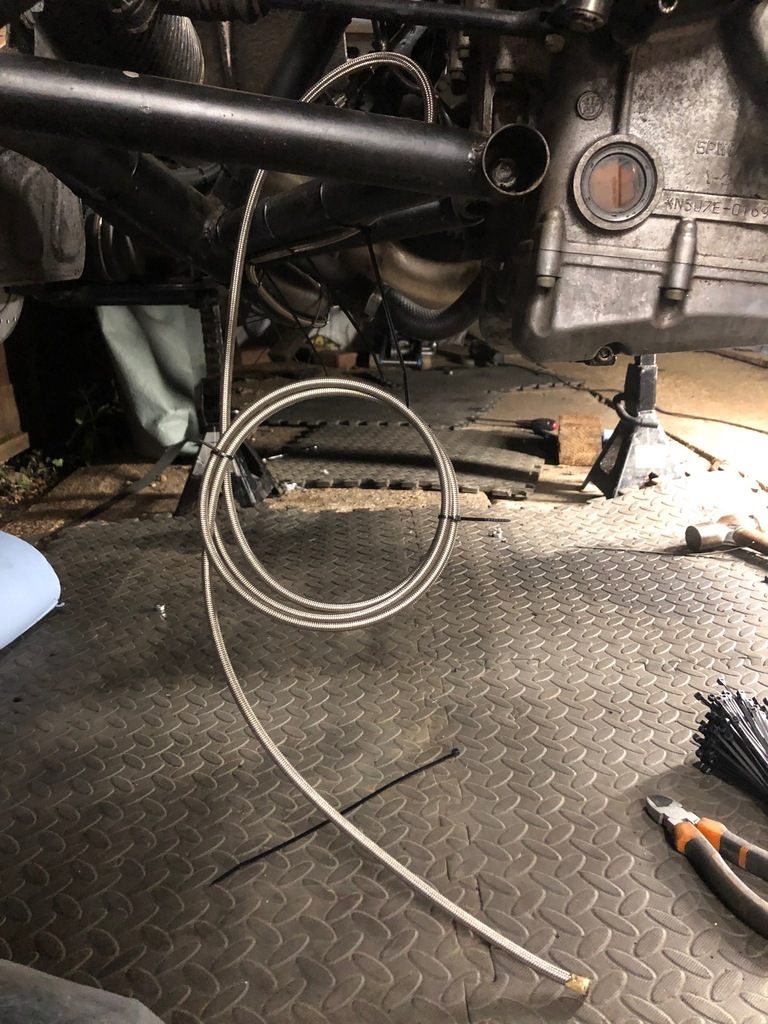 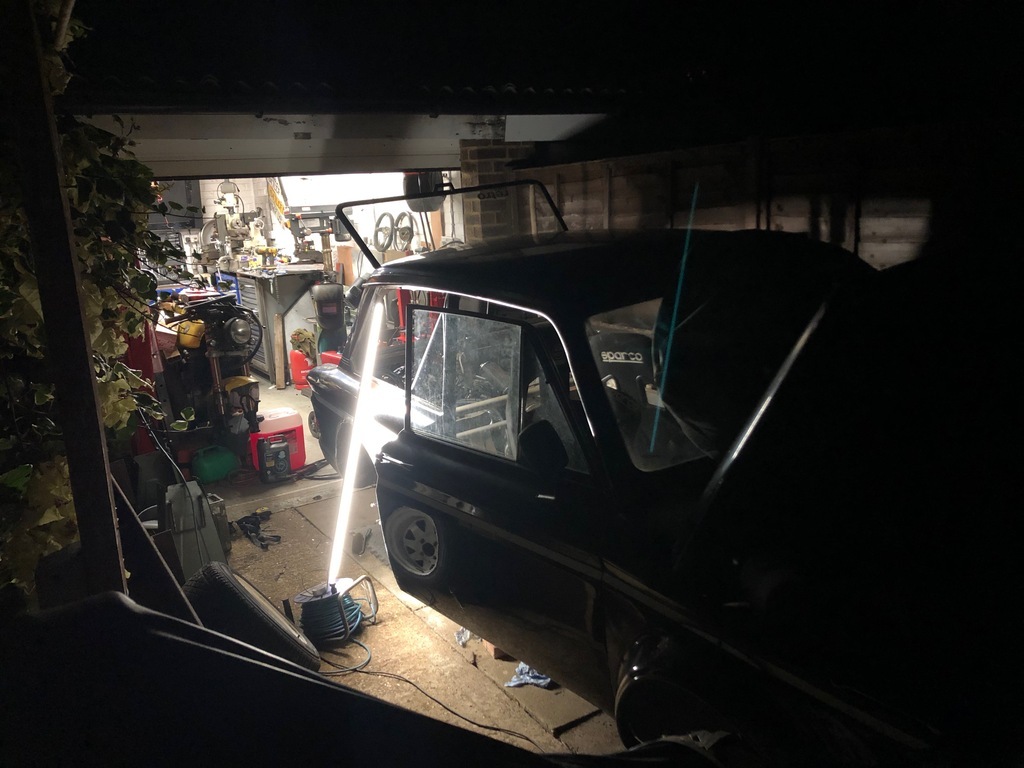 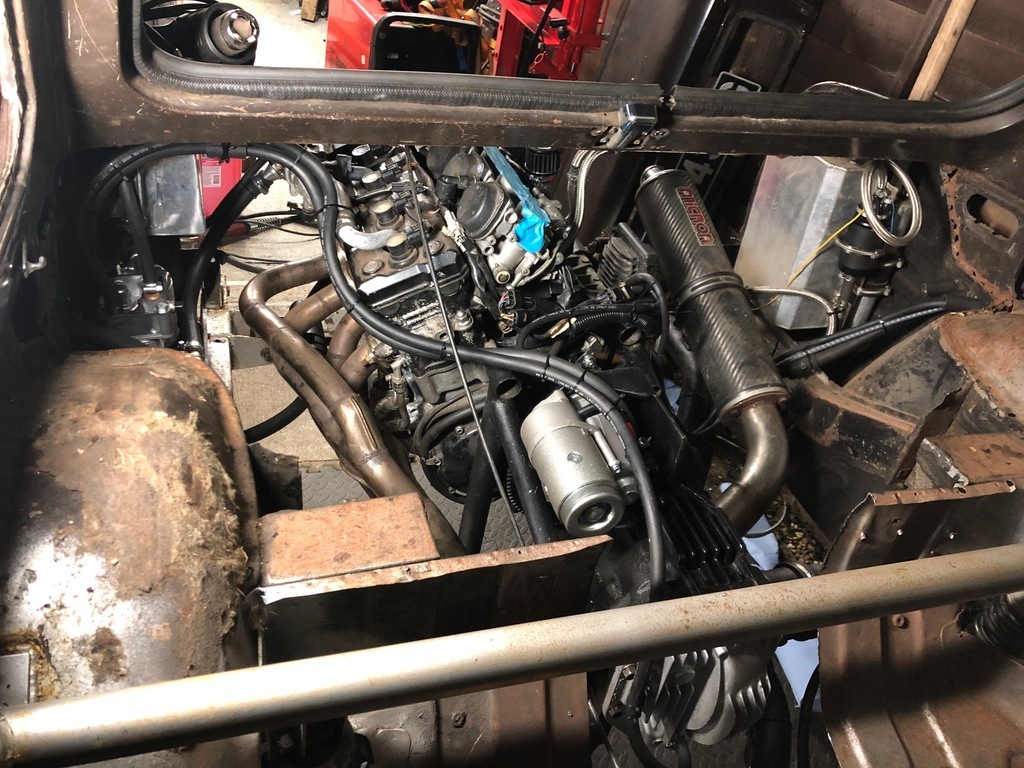 |
| |
'91 BMW E30 318is
'91 BMW E31 850i
'96 BMW E38 750i
'68 Singer Chamois (Yamaha R1 Engine... )
'95 Mini 1.3i
'61 Lamborghini 2241r
'64 Lamborghini 1R
'57 Lamborghini DL25C
Plus a few others...
|
|
|
|
