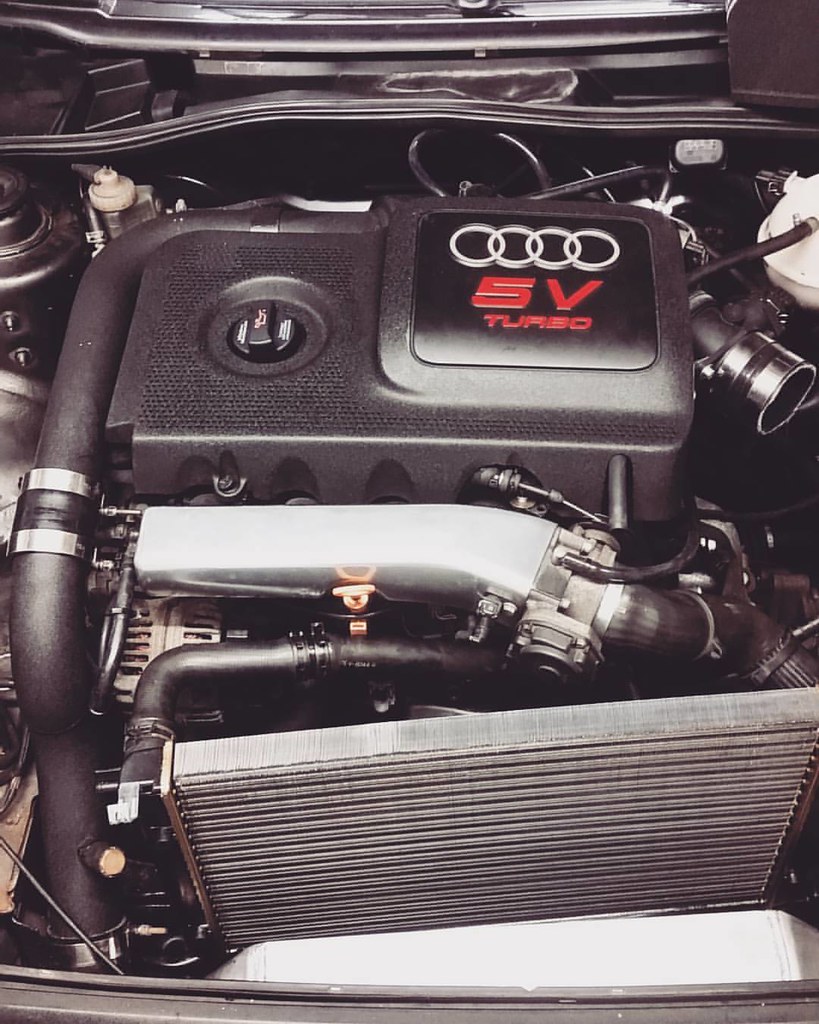
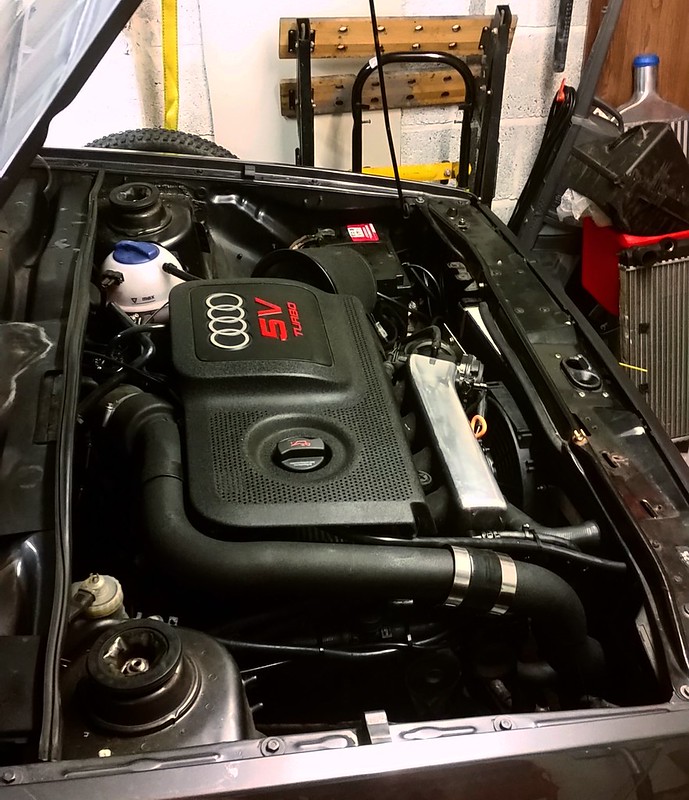
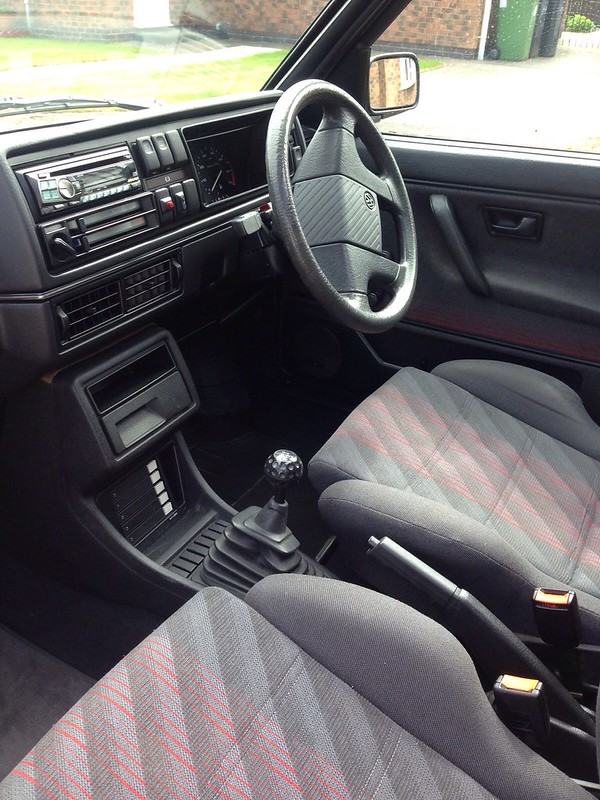
Hi, this is my mk2 golf GTI that ive spent some time on making it into a bit more of a modern capable hatch.
i've had the car about 2 years now and spent the first year just driving it about, but then looked into more power and the 20v made complete sense, easy enough to do at home a good first project to work on (i've not done anything like this before).. ive put this build thread together from my posts on the mk2 forum, i've missed out lots of things like running brake lines etc, but it should give you an idea of the work gone in and the learning involved.
Pictures from when i purchased it and drove it back from Newcastle.
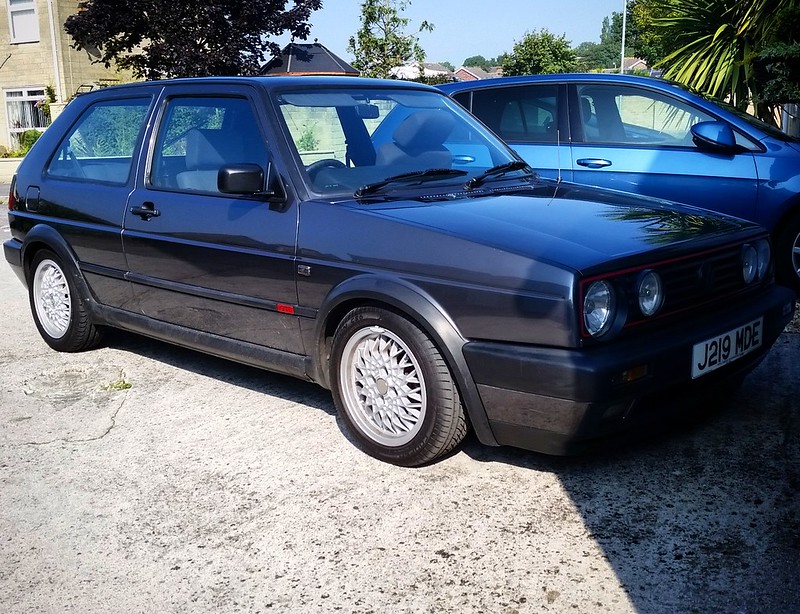
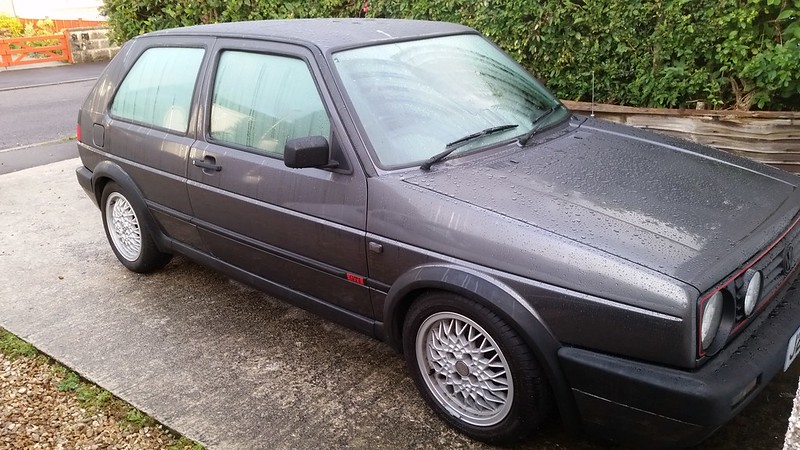
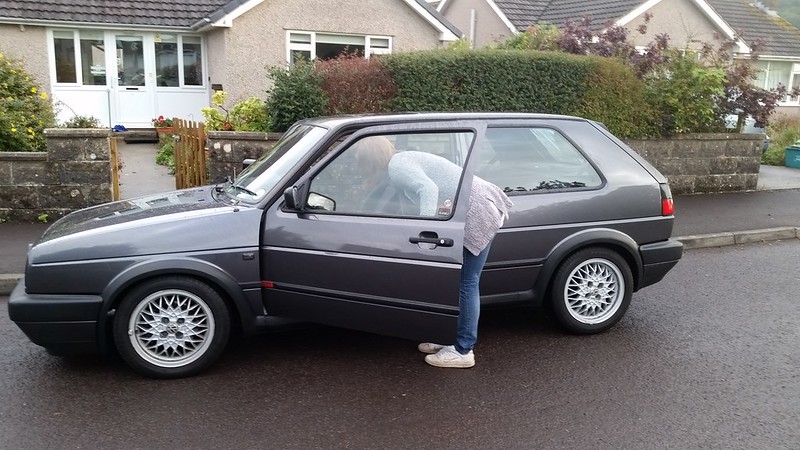
Ordered some wheels, they are pretty much done to death, but they are the perfect wheel in my opinion.
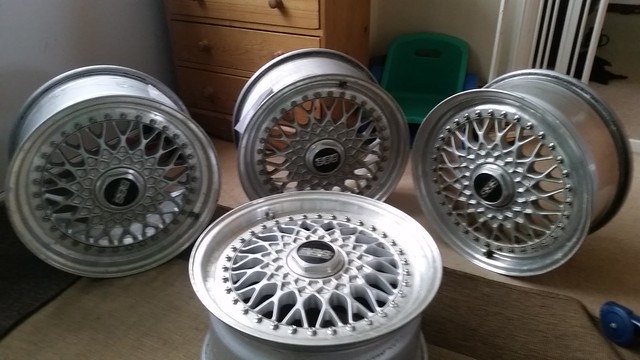
I Split 2 for the time being - one 7 and one 8 j
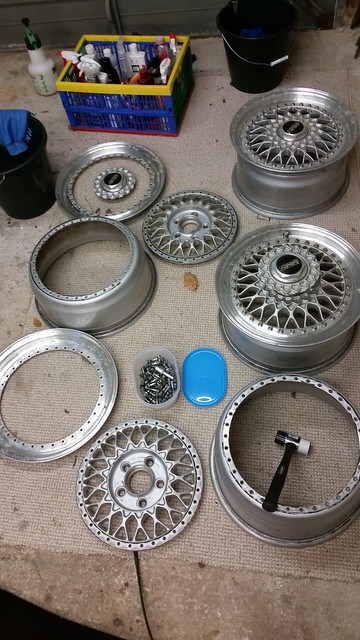
A very poor marry up saw this
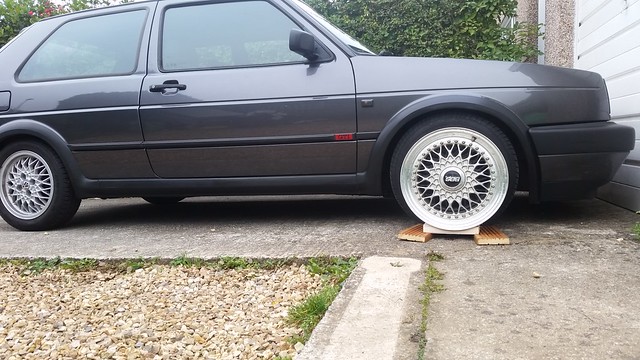
A better marry up with 20mm spacer saw this - it was not bolted on, just say up against it, so imaine it coming in a couple of mm slightly.
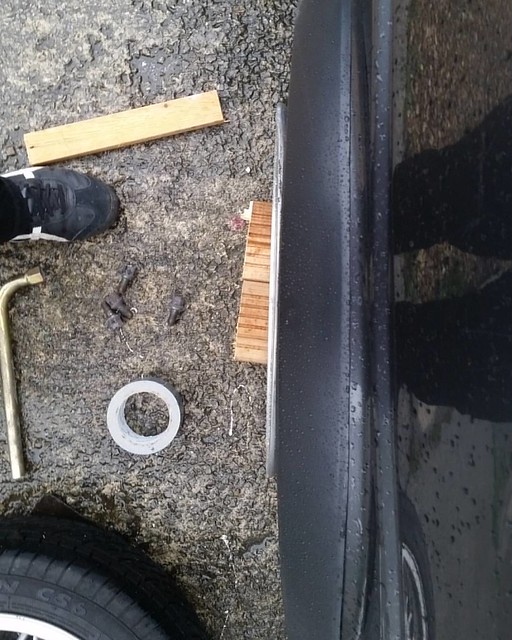
Some work with the NitorMors saw this
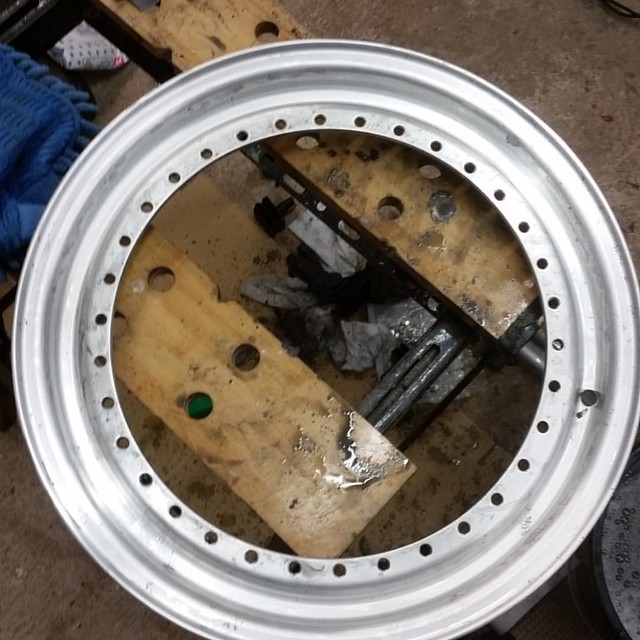
And thats pretty much where i am until my backs better and i can spend some evenings in the garage sanding, i could just sit on the floor and do it i guess
had a busy xmas and got some bits done.
Had the exhaust re-hung as the rubbers had gone again, i purchased some chain strengthened rubbers to replace all the under side with though. they should do the job.
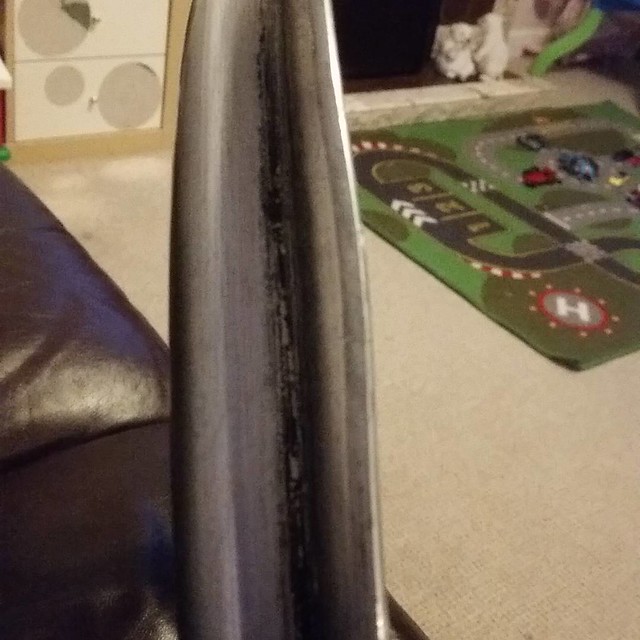
i sent my 2 BBS lips off to a local engineering company to be repaired, one was slightly bent and the other had a chunk out of it from the previous owner. Both have been fixed and they have charged me £50 to do that...so I'm happy..pics of the bend below.
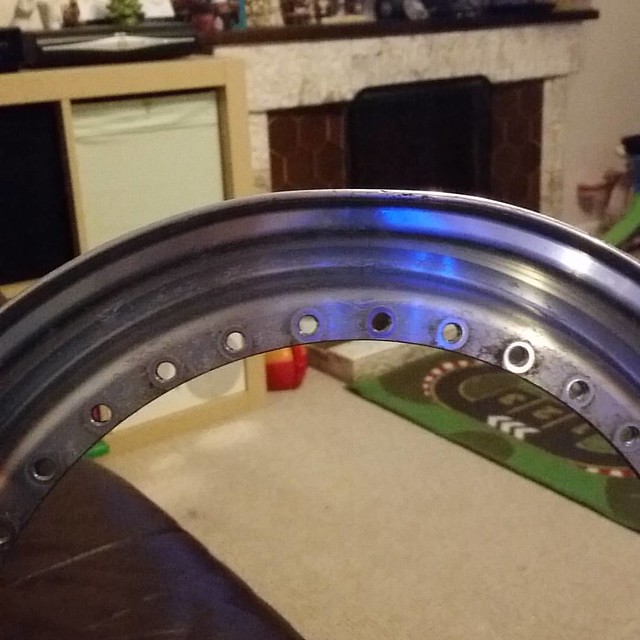
I stripped all the wheels of the paint with some chemical stripper, amazing stuff!
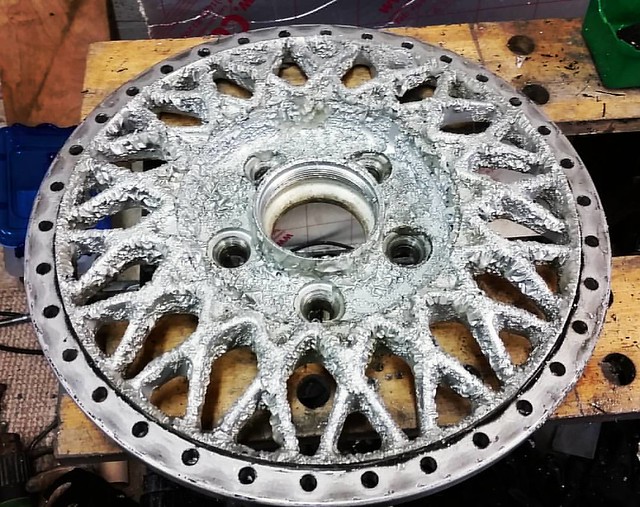
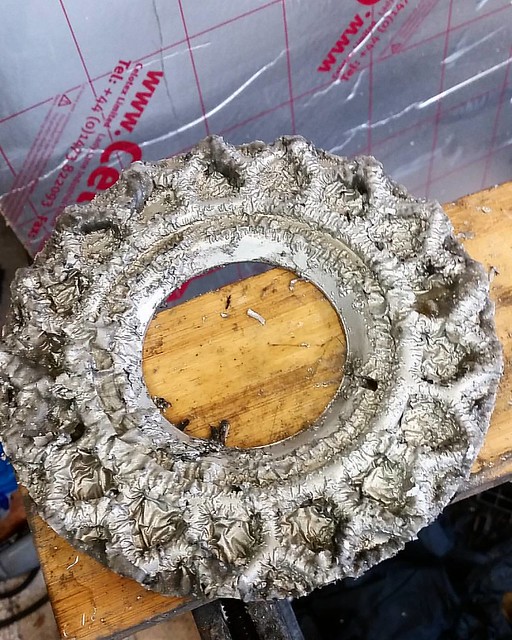
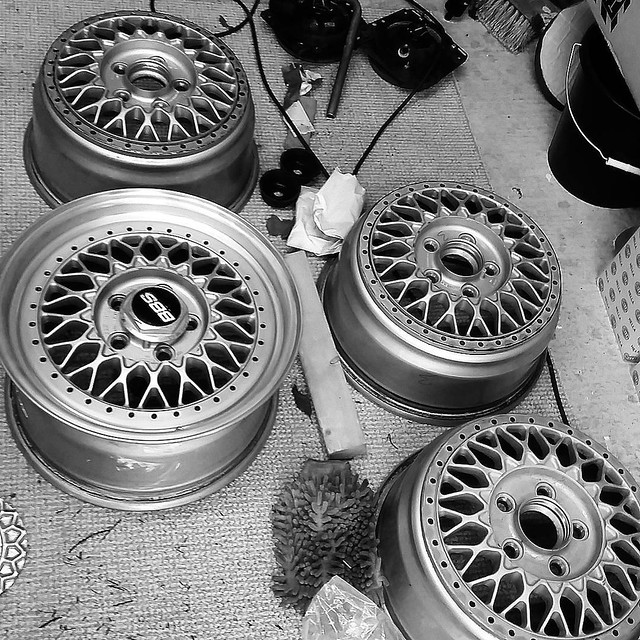
Picking up the lips tomorrow and then sending off the centers for paint this weekend.
Work to do -
Sand out the defects in the hex nuts - get polished
sand back the 2 dishes once returned - send all 4 off for polishing
Polish 144 bolt heads
fun times! NOT...but it will be worth it
back from paint:
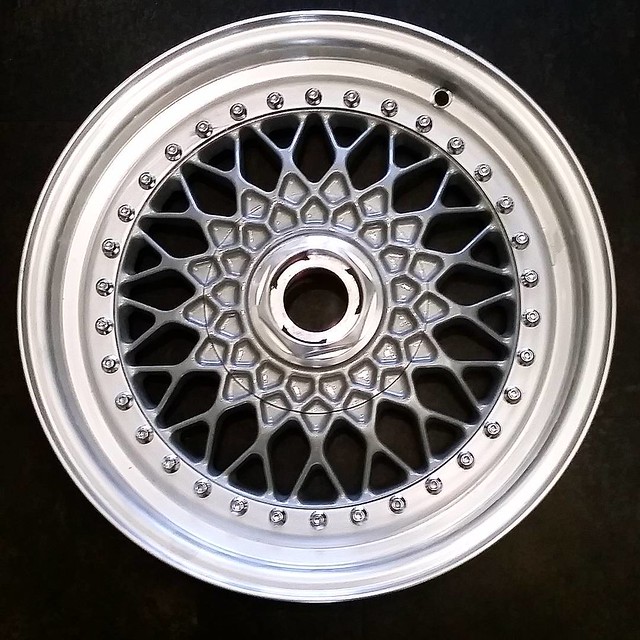
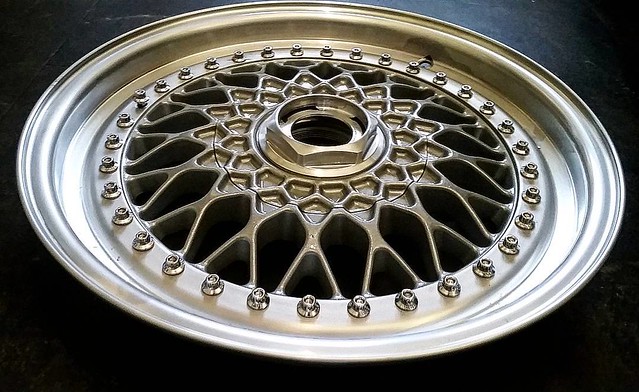
Been looking at the paint and its been looking a bit shabby..so decided to get out the polisher this weekend and have a go at the bonnet as it was swirly and scratched.
Before:

During:
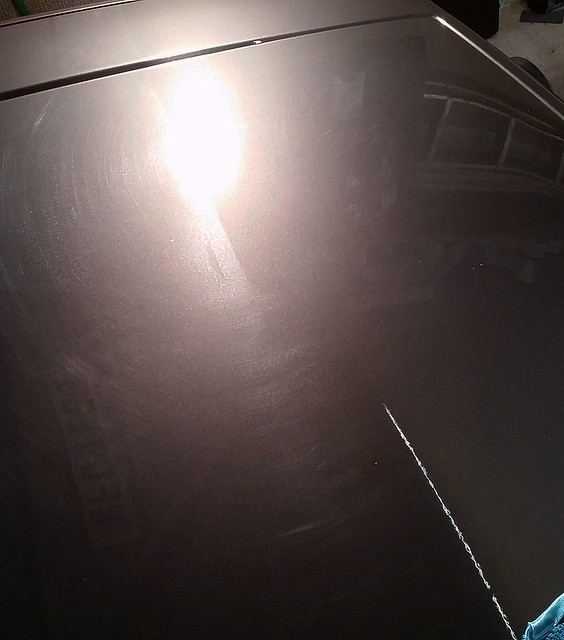
After:
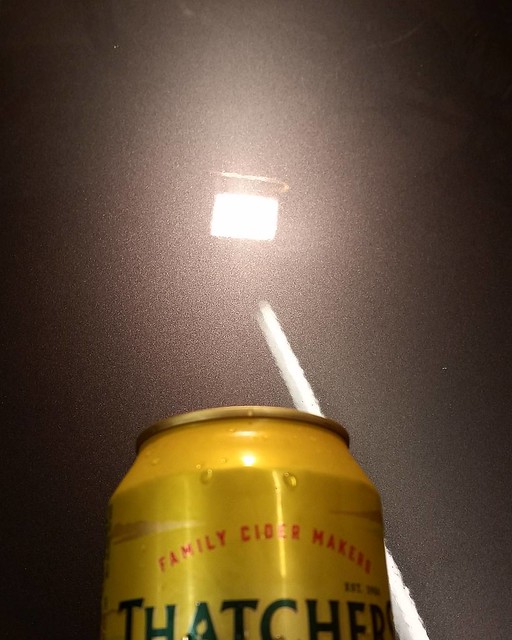
Much better!
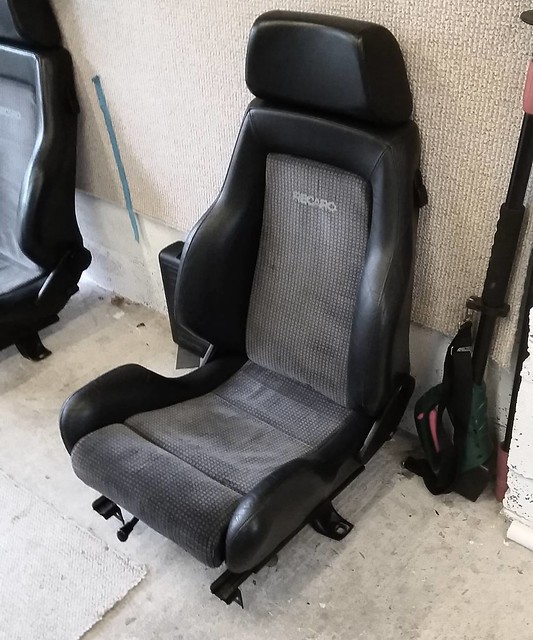
Also picked up some bargain Recaros.... just need to get the bases changed, and a retrim
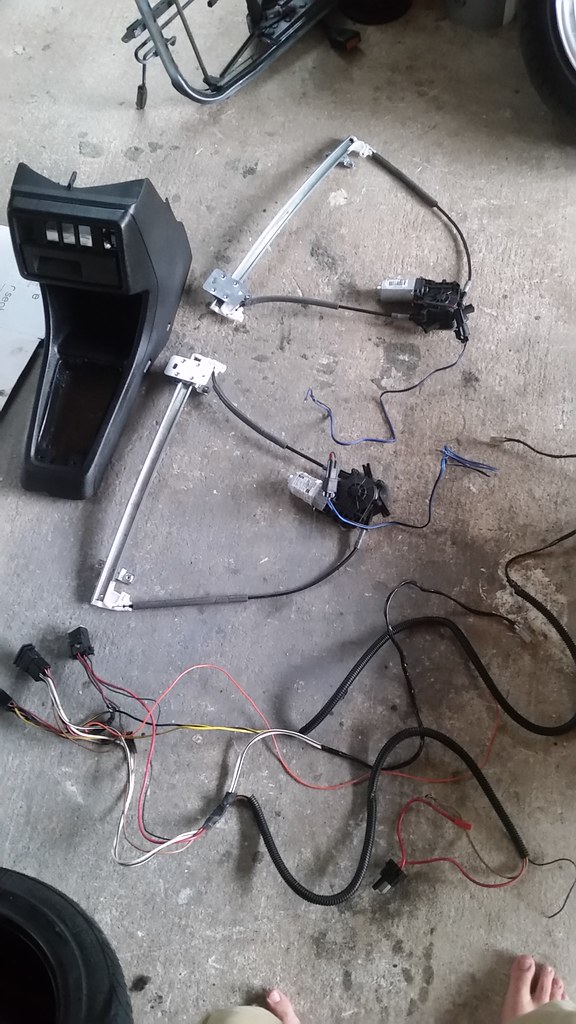
full electric window setup!
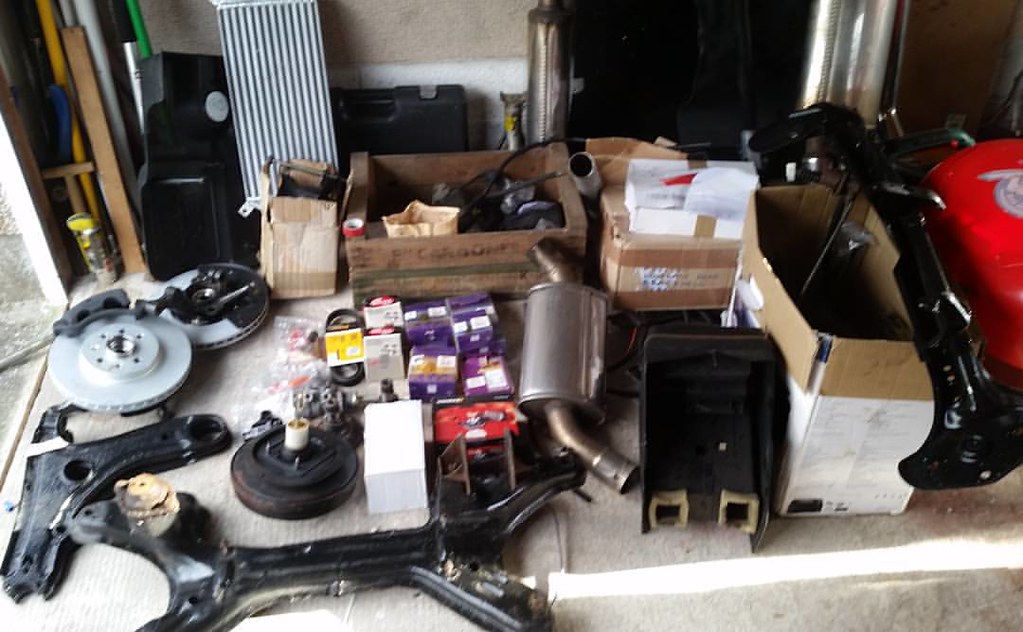
the parts haul just stepped up a gear!
Clutch has been swapped for a SMF from the DMF and thats a nice big job done. Cambelt to be done this weekend.
Charge pipe mounted and new connection pipe to the turbo has been cut to size.
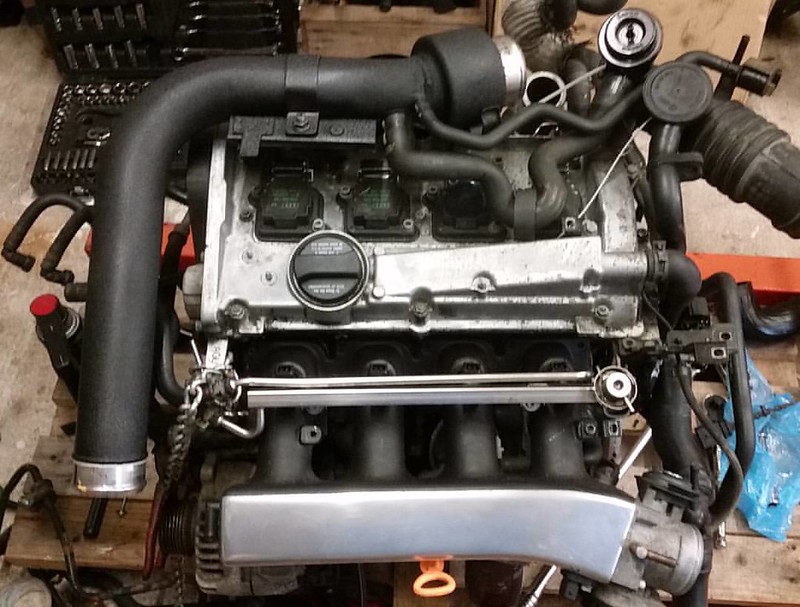
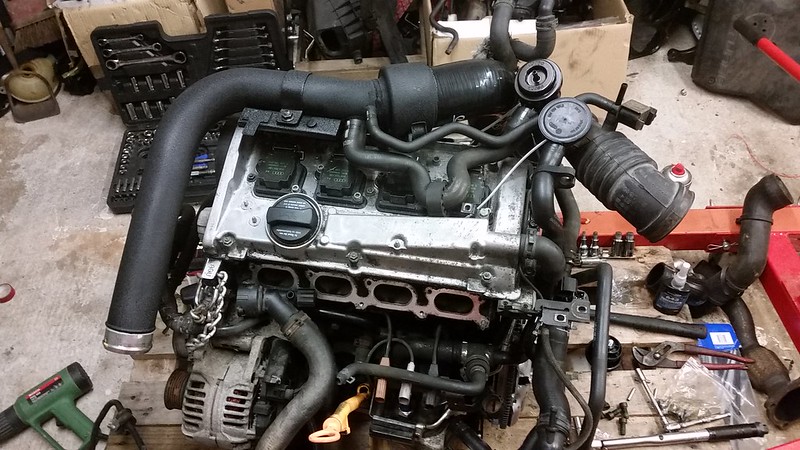
Dash came out to get to the loom
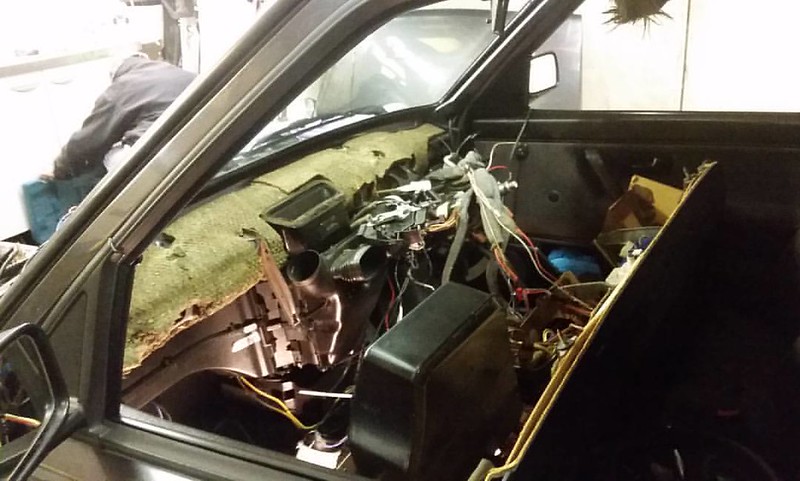
Old engine came out, bit of a shame really as it was very solid, but i just wanted more power.
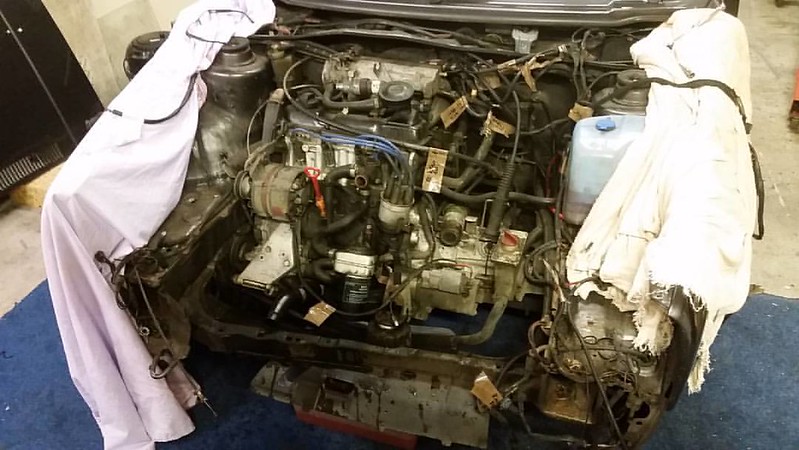
had to make some changes to the tunnel in order that the cable shift would fit, a few cuts and then primed and painted the metal to protect it.
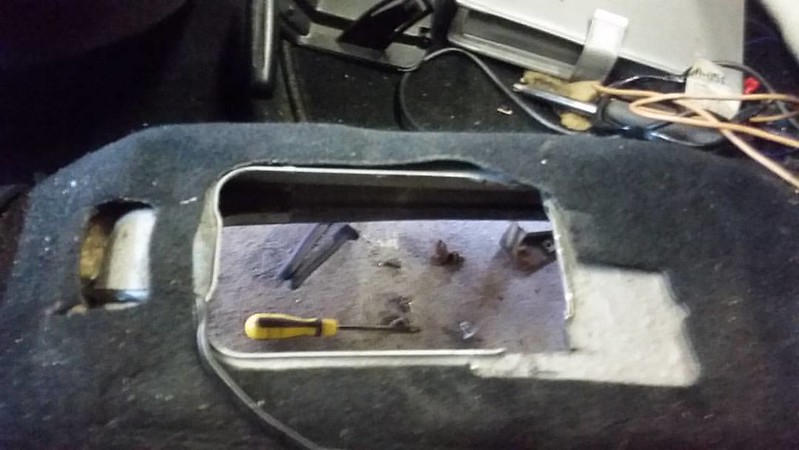
nearing mechanical completion
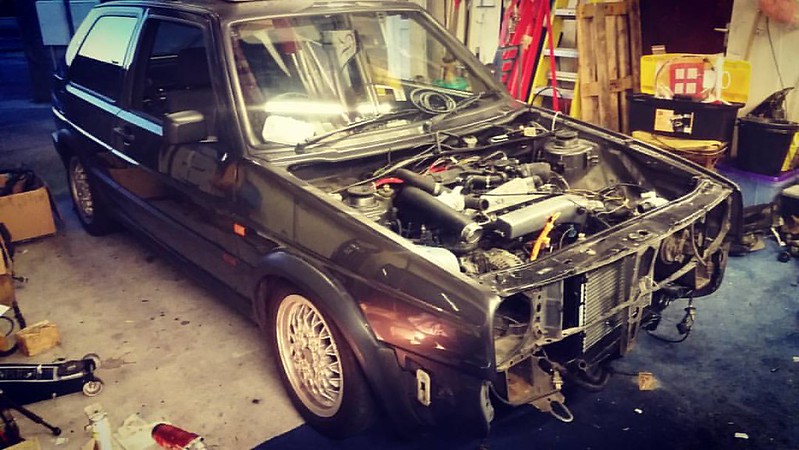
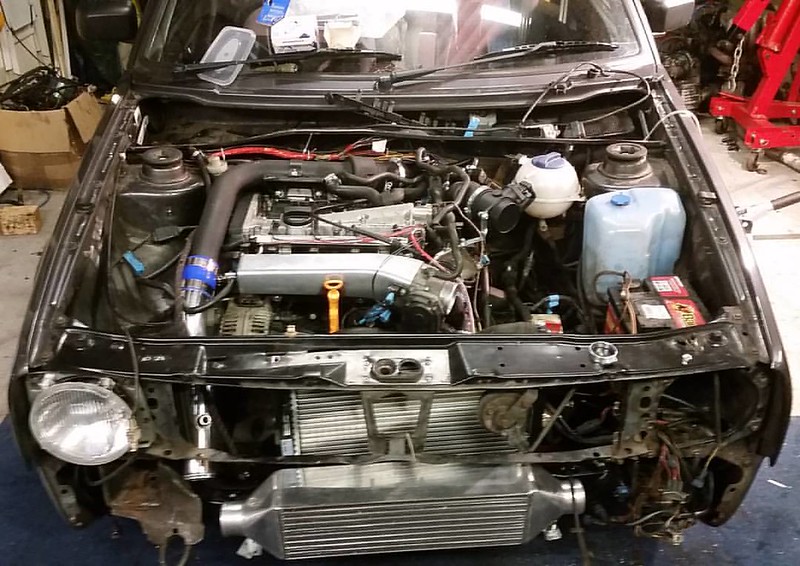
little update:
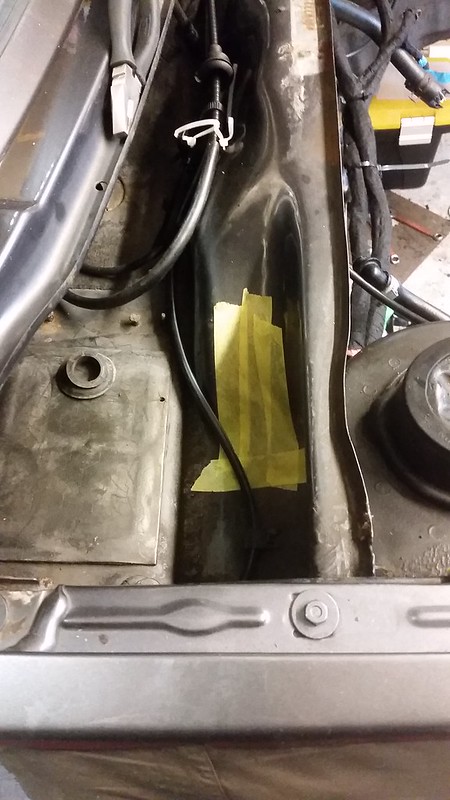
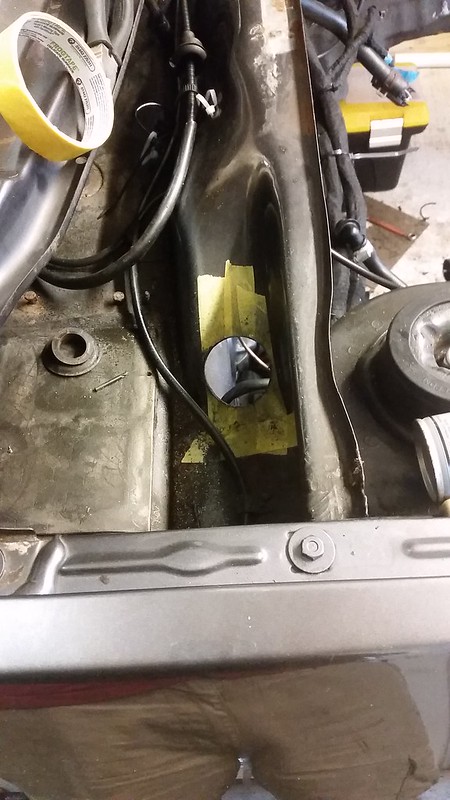
new loom hole, to run it through the scuttle and avoid the heat from the turbo
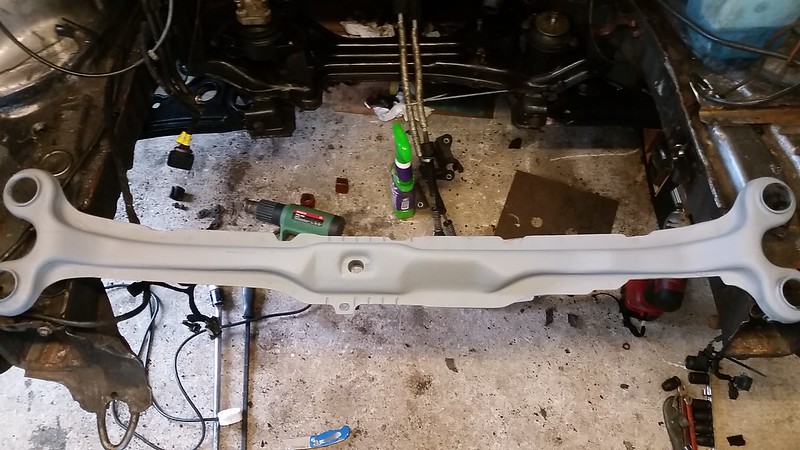
took some time to give the new subframe some TLC and gave it some layers of paint, also painted up the front cross member and power steering rack
ready to install at a later date
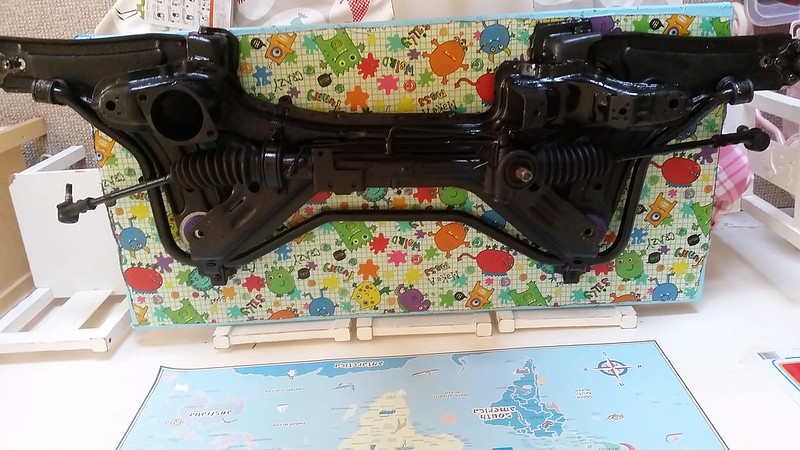 20170302_102715 by Cragmire40D, on Flickr
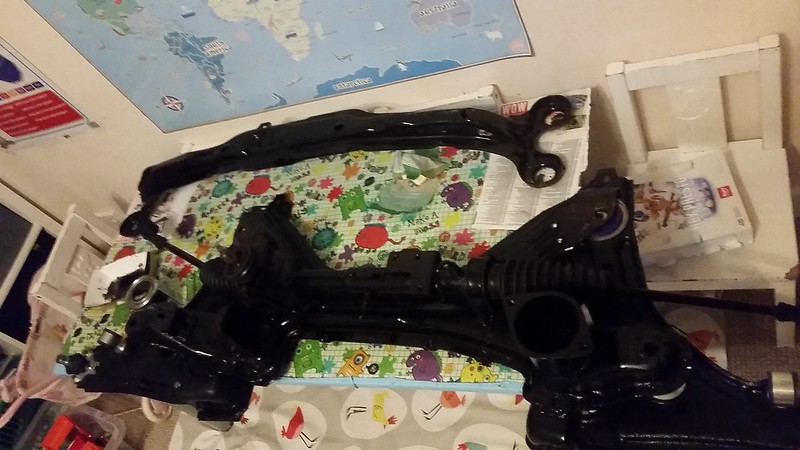 20170227_211203 by Cragmire40D, on Flickr
so i mocked up an initial heat shield and i thought it was ok...
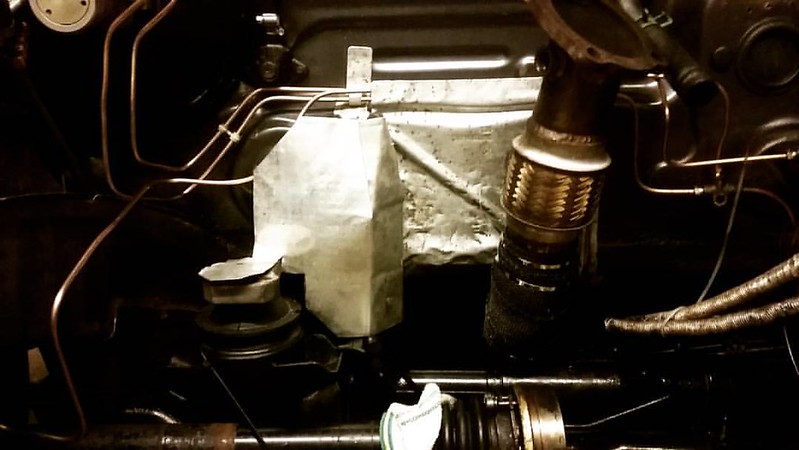
thought it was too big so i revised it with something that attaches at the base of the boot which is actually much more secure and a much better fit.
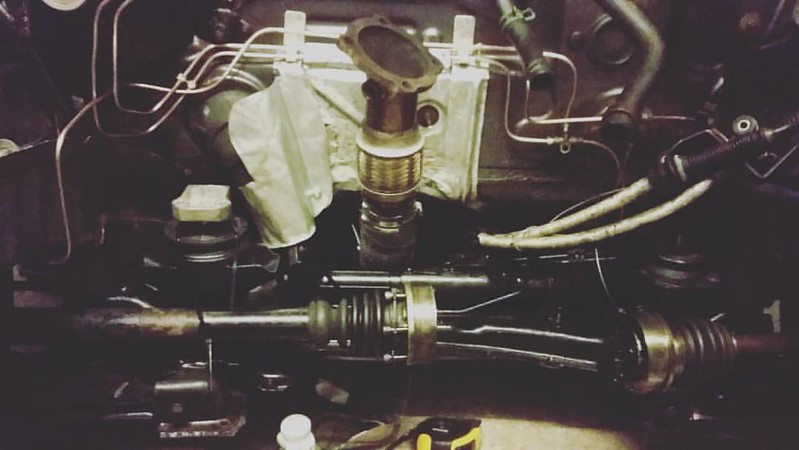
also managed to get the polybushes in on the front cross member
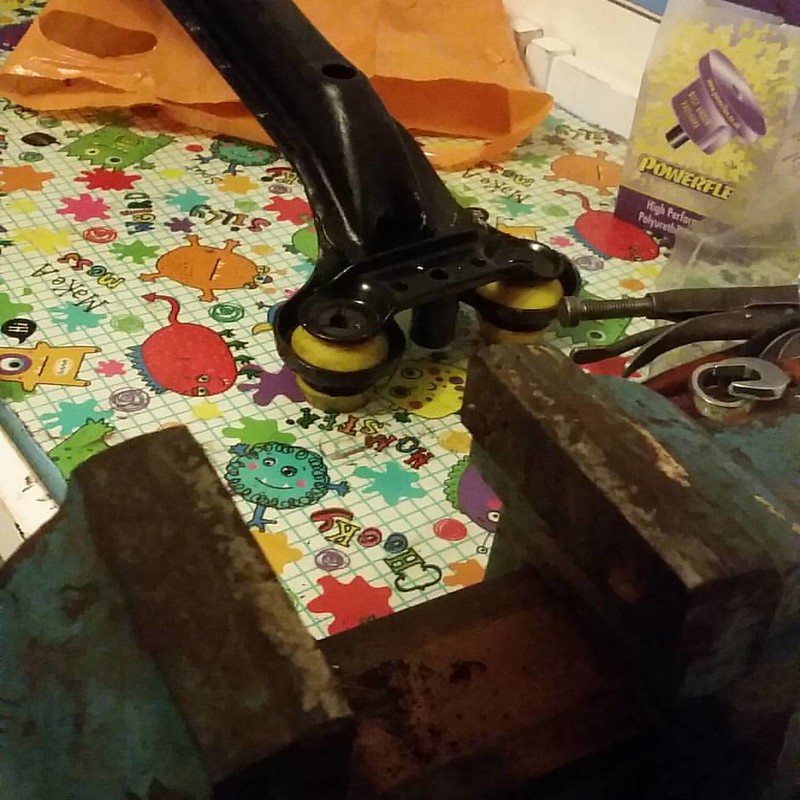
also sorted the brake bits. so basically I'm ready to put the engine back on now.
now with lots of clearance on the pump
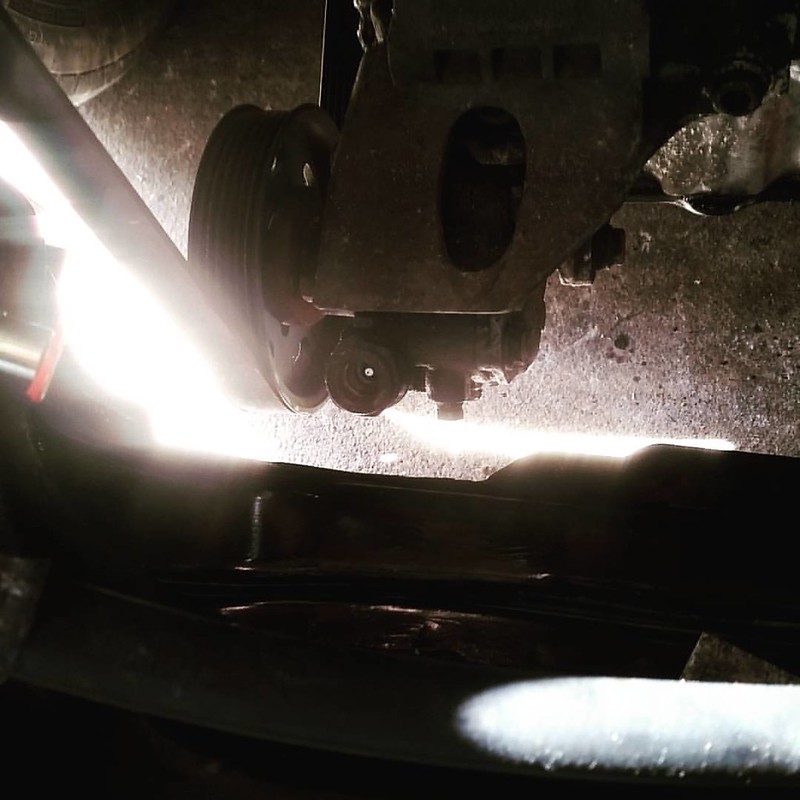
also had some time to fit the trackslag system on the same day
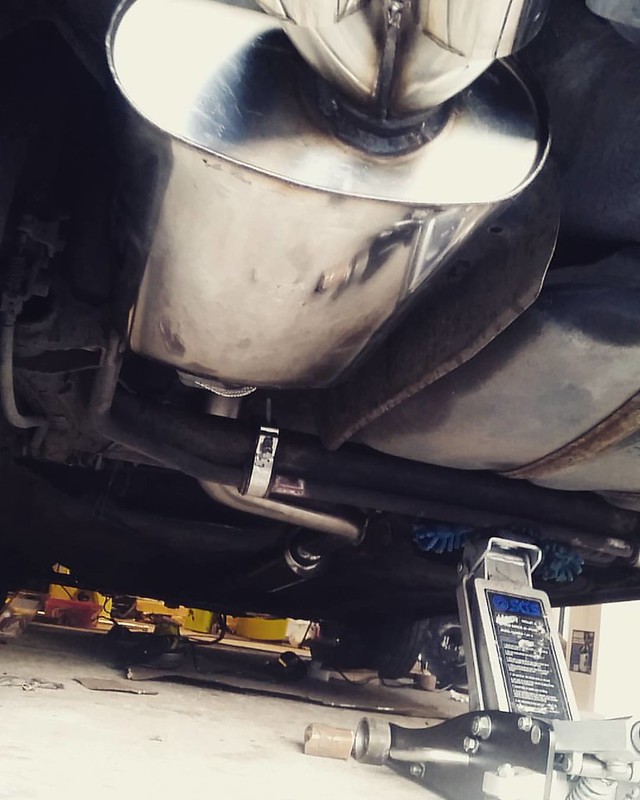
the front drivers side wishbone joint was looking a bit sorry for itself
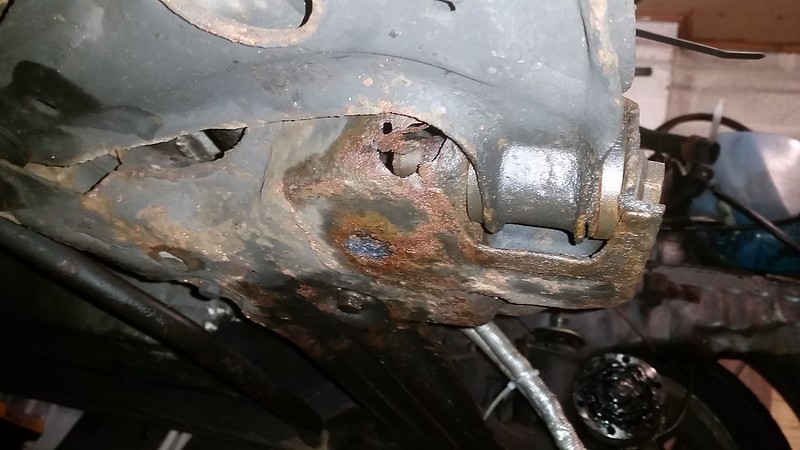
so ive added on some S2 twin pots

changed the charge pipe setup for that of a k04
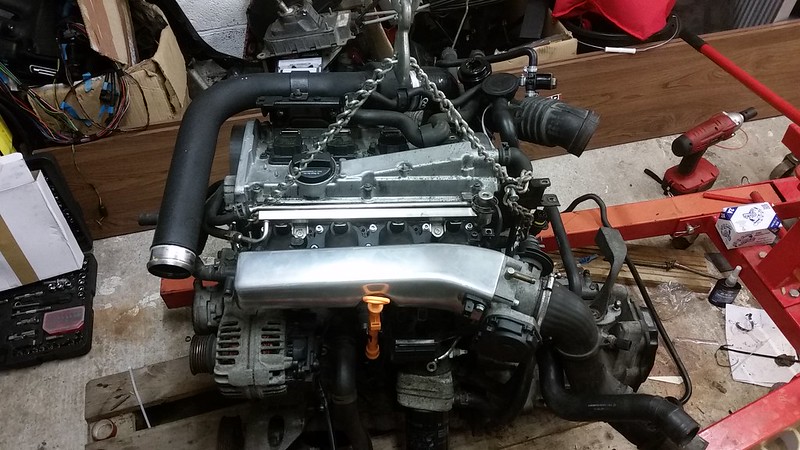
new genuine mounts:

got it all in the car

a couple of nights of work and its back like this:
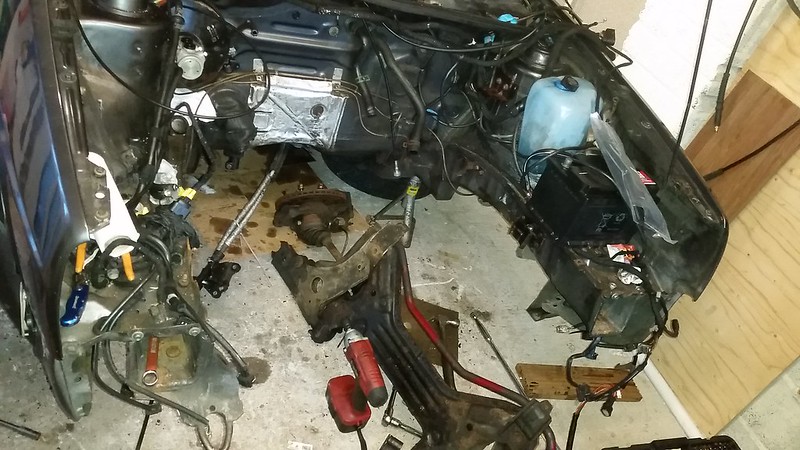
just loosly put in the new subframe while i clean up the engine bay and the old power steering rack
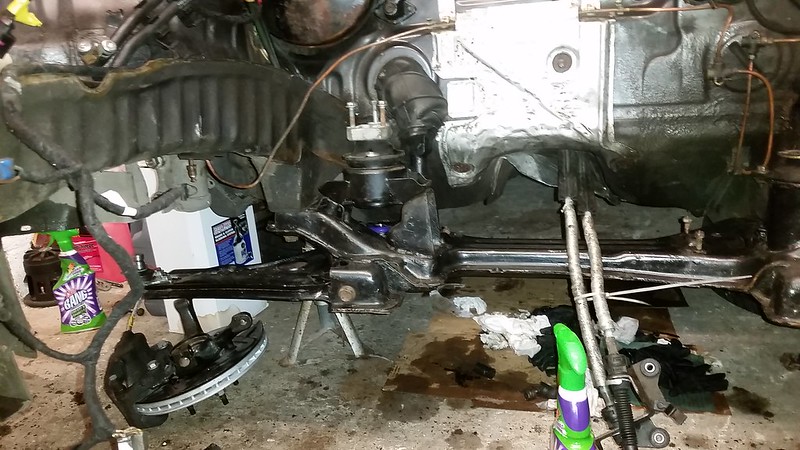
the new daily :violin:
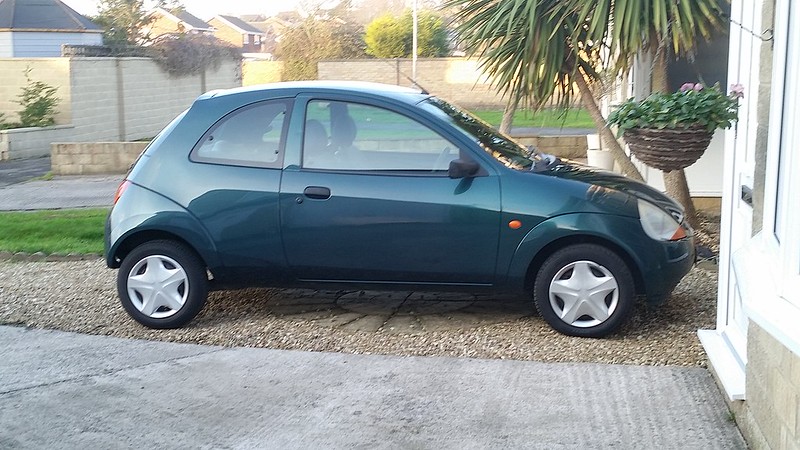
also ordered a new trackslag exhaust today, the slanty tip one to look OEM.
its no longer my daily driver but also not a show car
So much for waiting for winter...
i've changed up the adapters for 18mm all round ready for a BBS rebuild.
Played with the idea of fitting the original airbox and as a result ive removed the washer bottle and moved that to the boot. Just awaiting some more cable to extend the loom for that.
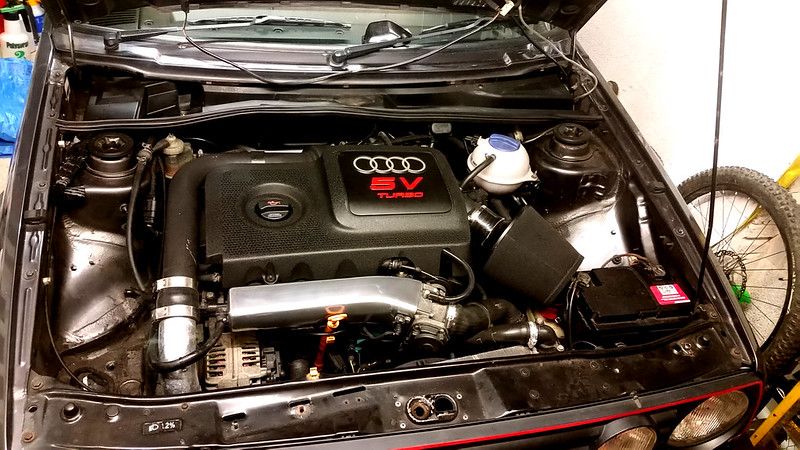
now looking at moving the battery to the boot for a more empty engine bay (that needs some TLC over winter)
Also going to an Aluminium rad / E36 rad with in built expansion tank
Heres how it sits now.

So much for waiting for winter...
i've changed up the adapters for 18mm all round ready for a BBS rebuild.
Played with the idea of fitting the original airbox and as a result ive removed the washer bottle and moved that to the boot. Just awaiting some more cable to extend the loom for that.

now looking at moving the battery to the boot for a more empty engine bay (that needs some TLC over winter)
Also going to an Aluminium rad / E36 rad with in built expansion tank
Heres how it sits now.

Still lots that I'm doing to it and updating, but overall a good project to work on and now much more fun to drive
i've had the car about 2 years now and spent the first year just driving it about, but then looked into more power and the 20v made complete sense, easy enough to do at home a good first project to work on (i've not done anything like this before).. ive put this build thread together from my posts on the mk2 forum, i've missed out lots of things like running brake lines etc, but it should give you an idea of the work gone in and the learning involved.
Pictures from when i purchased it and drove it back from Newcastle.


Ordered some wheels, they are pretty much done to death, but they are the perfect wheel in my opinion.

I Split 2 for the time being - one 7 and one 8 j

A very poor marry up saw this

A better marry up with 20mm spacer saw this - it was not bolted on, just say up against it, so imaine it coming in a couple of mm slightly.

Some work with the NitorMors saw this

And thats pretty much where i am until my backs better and i can spend some evenings in the garage sanding, i could just sit on the floor and do it i guess
had a busy xmas and got some bits done.
Had the exhaust re-hung as the rubbers had gone again, i purchased some chain strengthened rubbers to replace all the under side with though. they should do the job.
i sent my 2 BBS lips off to a local engineering company to be repaired, one was slightly bent and the other had a chunk out of it from the previous owner. Both have been fixed and they have charged me £50 to do that...so I'm happy..pics of the bend below.


I stripped all the wheels of the paint with some chemical stripper, amazing stuff!


Picking up the lips tomorrow and then sending off the centers for paint this weekend.
Work to do -
Sand out the defects in the hex nuts - get polished
sand back the 2 dishes once returned - send all 4 off for polishing
Polish 144 bolt heads
fun times! NOT...but it will be worth it
back from paint:


Been looking at the paint and its been looking a bit shabby..so decided to get out the polisher this weekend and have a go at the bonnet as it was swirly and scratched.
Before:

During:

After:

Much better!
Also picked up some bargain Recaros.... just need to get the bases changed, and a retrim

full electric window setup!

the parts haul just stepped up a gear!

Clutch has been swapped for a SMF from the DMF and thats a nice big job done. Cambelt to be done this weekend.
Charge pipe mounted and new connection pipe to the turbo has been cut to size.


Dash came out to get to the loom

Old engine came out, bit of a shame really as it was very solid, but i just wanted more power.

had to make some changes to the tunnel in order that the cable shift would fit, a few cuts and then primed and painted the metal to protect it.

nearing mechanical completion


little update:

new loom hole, to run it through the scuttle and avoid the heat from the turbo


took some time to give the new subframe some TLC and gave it some layers of paint, also painted up the front cross member and power steering rack
ready to install at a later date
 20170302_102715 by Cragmire40D, on Flickr
 20170227_211203 by Cragmire40D, on Flickr
so i mocked up an initial heat shield and i thought it was ok...

thought it was too big so i revised it with something that attaches at the base of the boot which is actually much more secure and a much better fit.

also managed to get the polybushes in on the front cross member

also sorted the brake bits. so basically I'm ready to put the engine back on now.
now with lots of clearance on the pump

also had some time to fit the trackslag system on the same day

the front drivers side wishbone joint was looking a bit sorry for itself


so ive added on some S2 twin pots

changed the charge pipe setup for that of a k04

new genuine mounts:

got it all in the car

a couple of nights of work and its back like this:

just loosly put in the new subframe while i clean up the engine bay and the old power steering rack

the new daily :violin:

also ordered a new trackslag exhaust today, the slanty tip one to look OEM.
its no longer my daily driver but also not a show car
So much for waiting for winter...
i've changed up the adapters for 18mm all round ready for a BBS rebuild.
Played with the idea of fitting the original airbox and as a result ive removed the washer bottle and moved that to the boot. Just awaiting some more cable to extend the loom for that.

now looking at moving the battery to the boot for a more empty engine bay (that needs some TLC over winter)
Also going to an Aluminium rad / E36 rad with in built expansion tank
Heres how it sits now.

So much for waiting for winter...
i've changed up the adapters for 18mm all round ready for a BBS rebuild.
Played with the idea of fitting the original airbox and as a result ive removed the washer bottle and moved that to the boot. Just awaiting some more cable to extend the loom for that.

now looking at moving the battery to the boot for a more empty engine bay (that needs some TLC over winter)
Also going to an Aluminium rad / E36 rad with in built expansion tank
Heres how it sits now.

Still lots that I'm doing to it and updating, but overall a good project to work on and now much more fun to drive


 Retro Rides seems to be one of the most active about