|
|
|
|
|
Yesterday I started welding up any pin holes I could see in the shell. Not rust holes, but holes in welds etc. 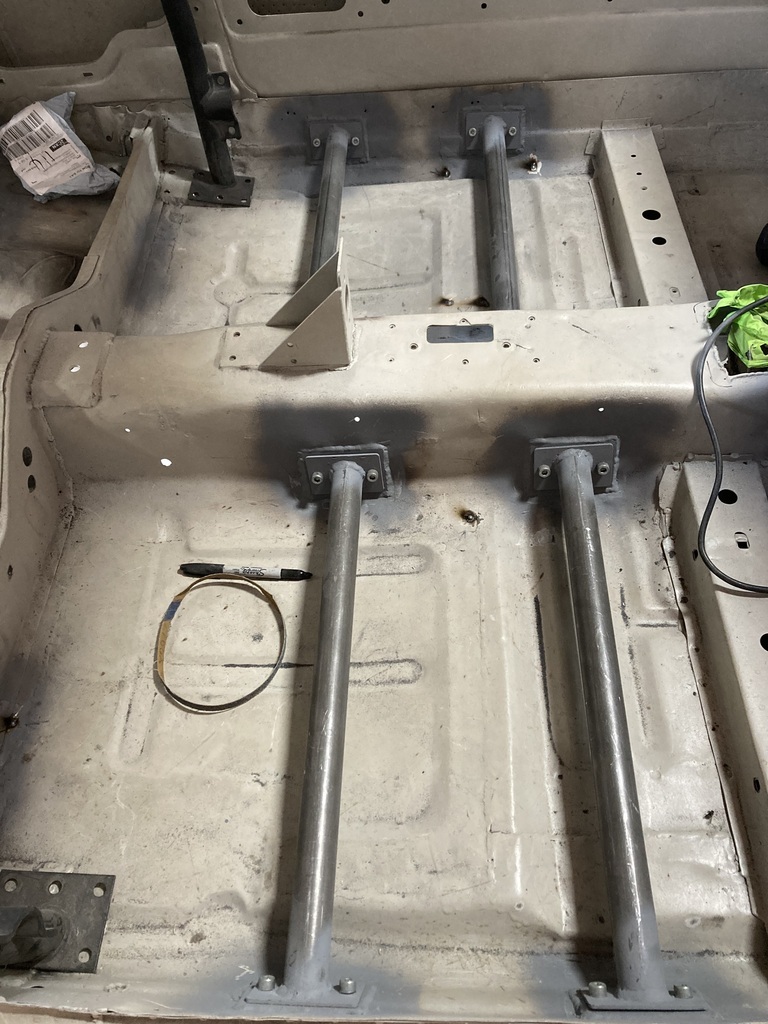 I ground them down and primed them but no photo. I wanted to tidy the welds up on the diff tunnel. 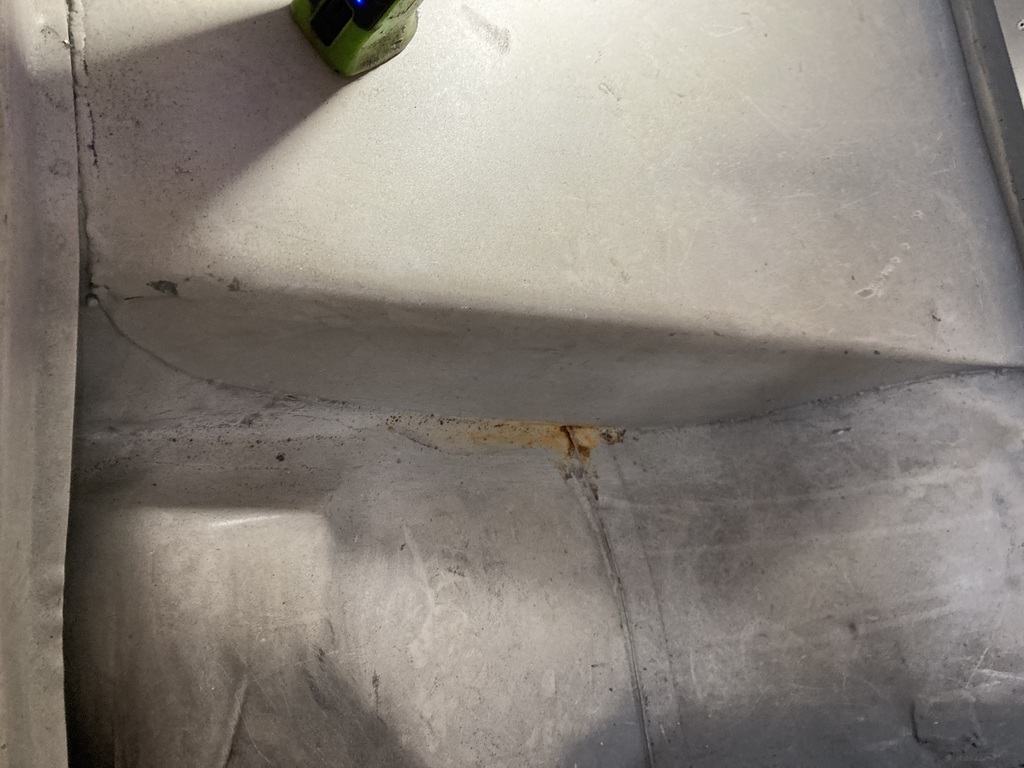 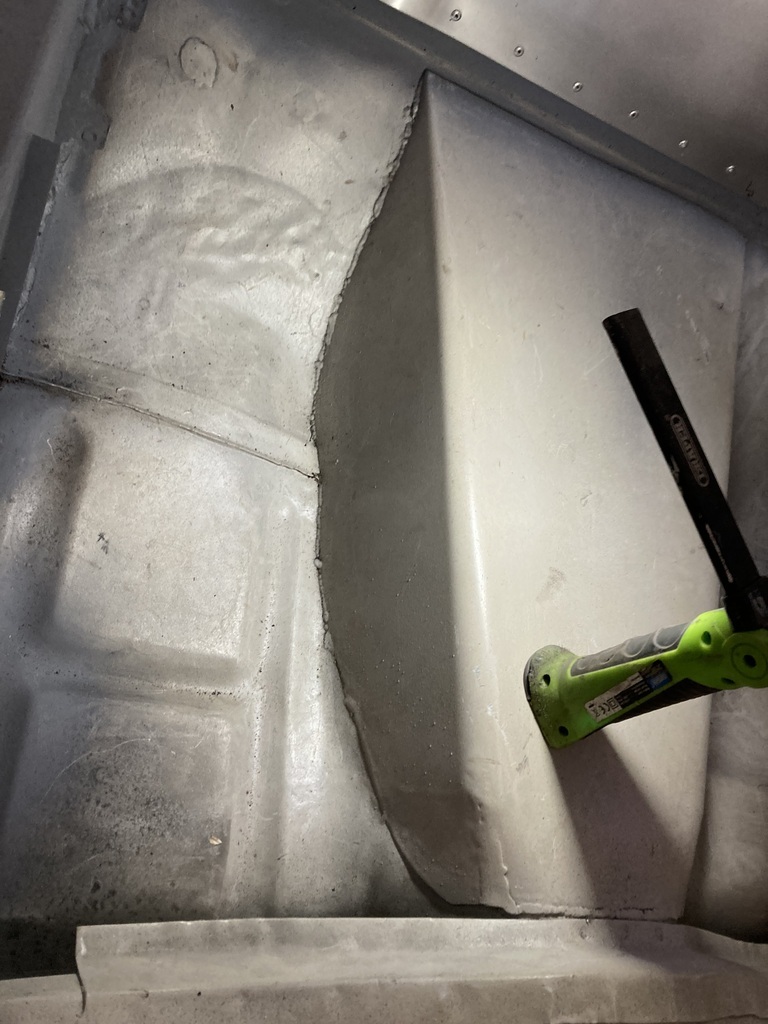 When I fitted it last year I only welded it on the outside so it was a bit blobby on the inside. The epoxy got removed with the wire wheel on the grinder and welded up from inside 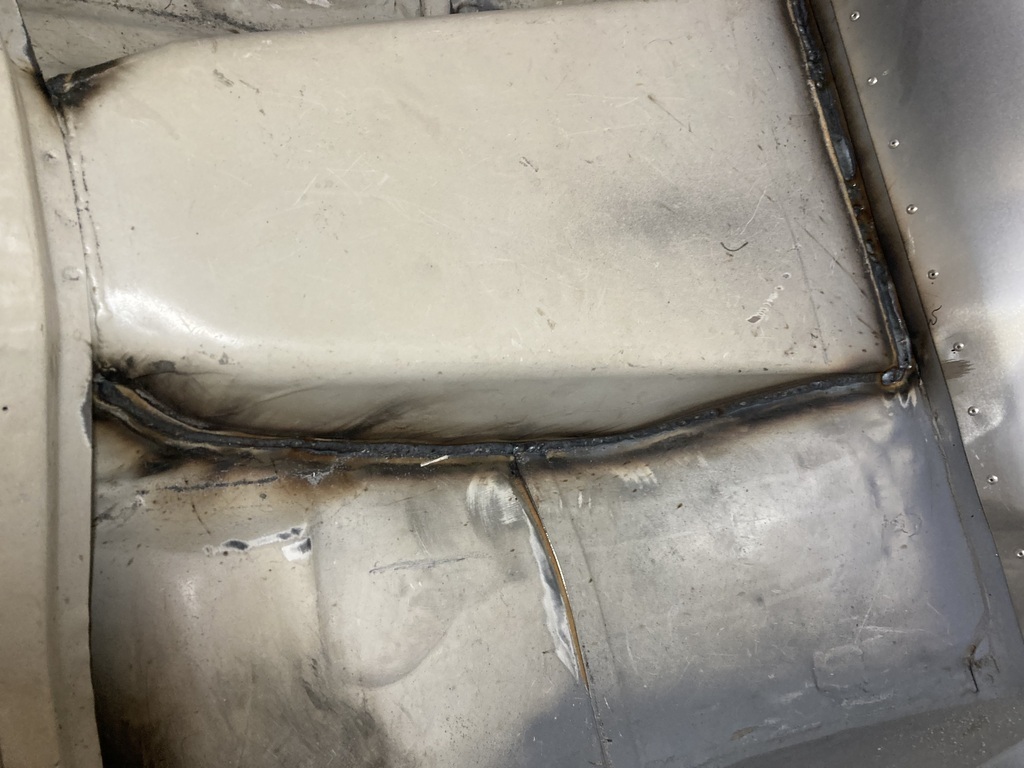 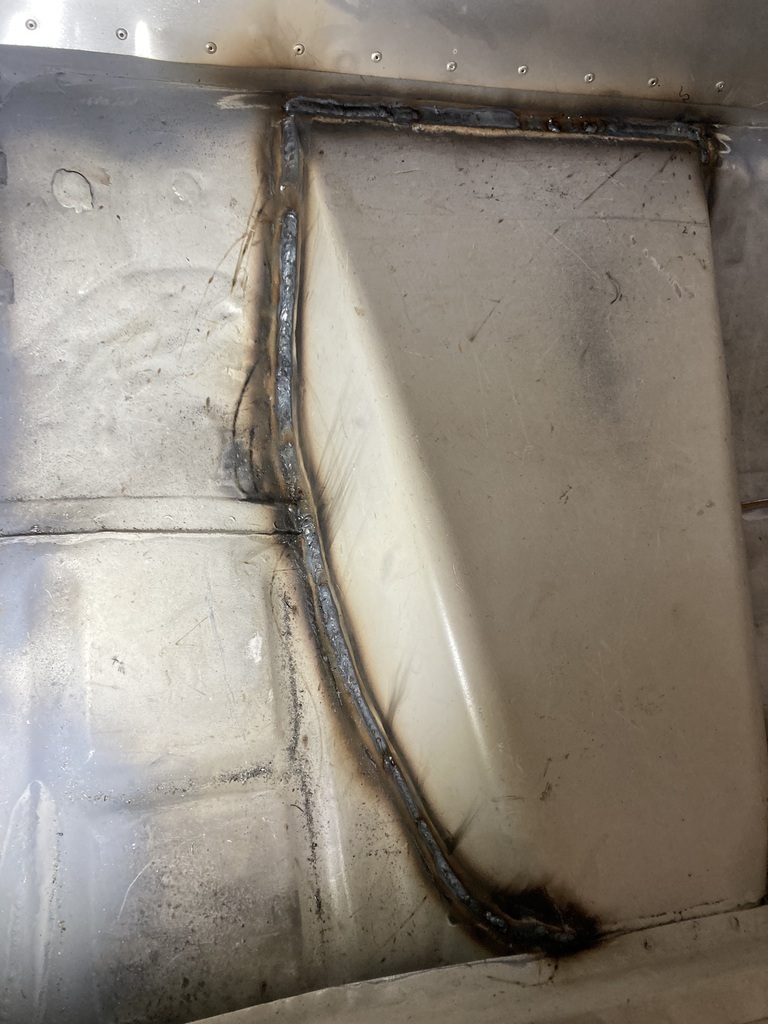 This left the outside looking like this 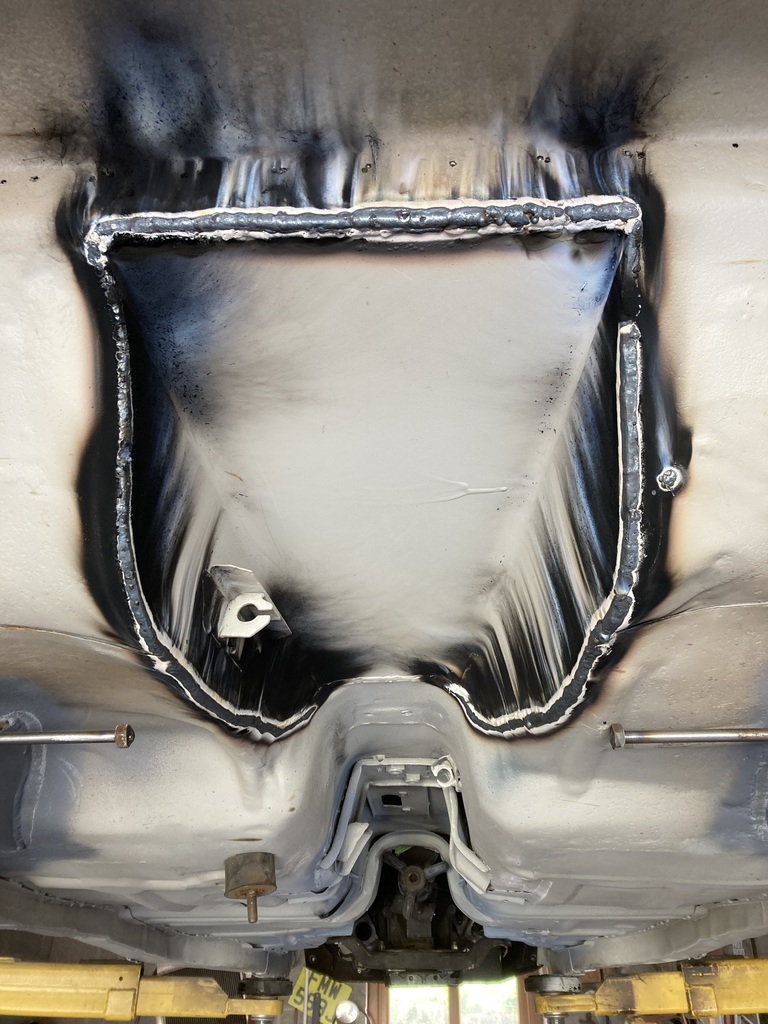 The outside received a going over with a flap wheel and everything got primered. I may revisit the blobby weld in the first photo when it’s back on the rotisserie 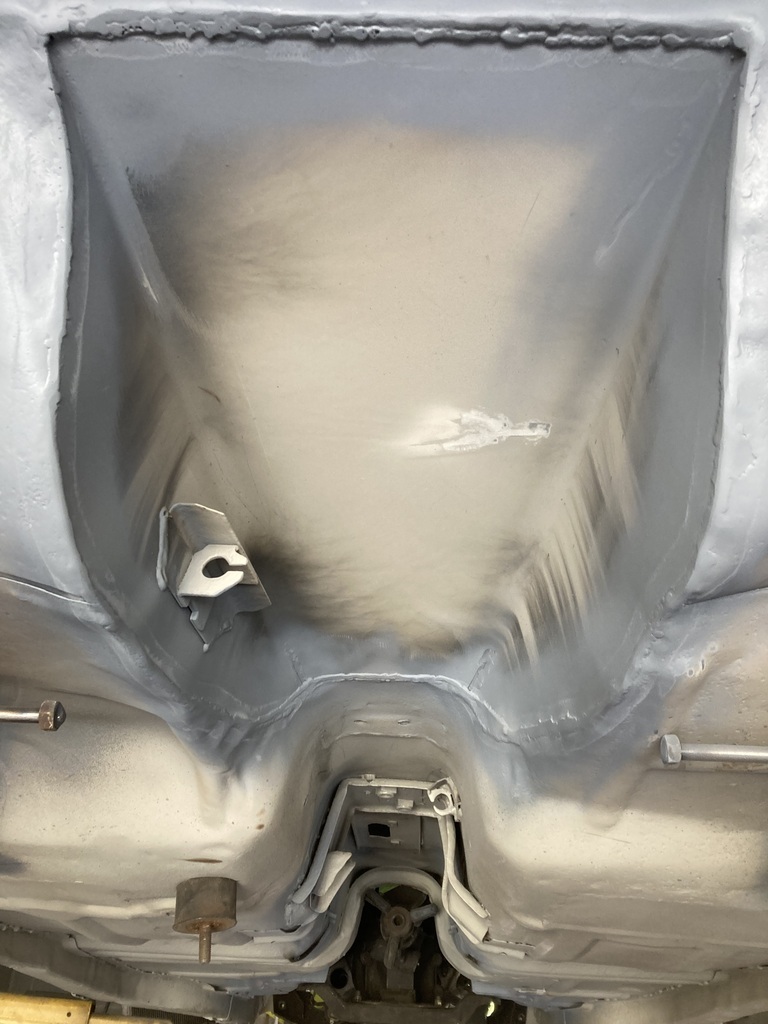 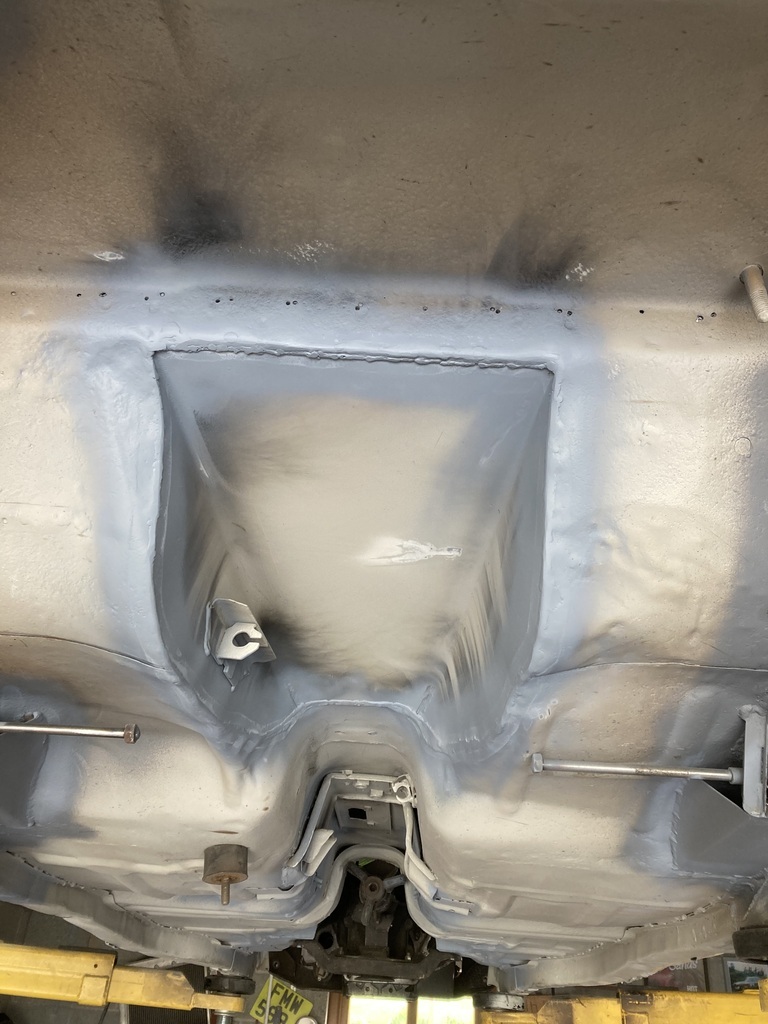 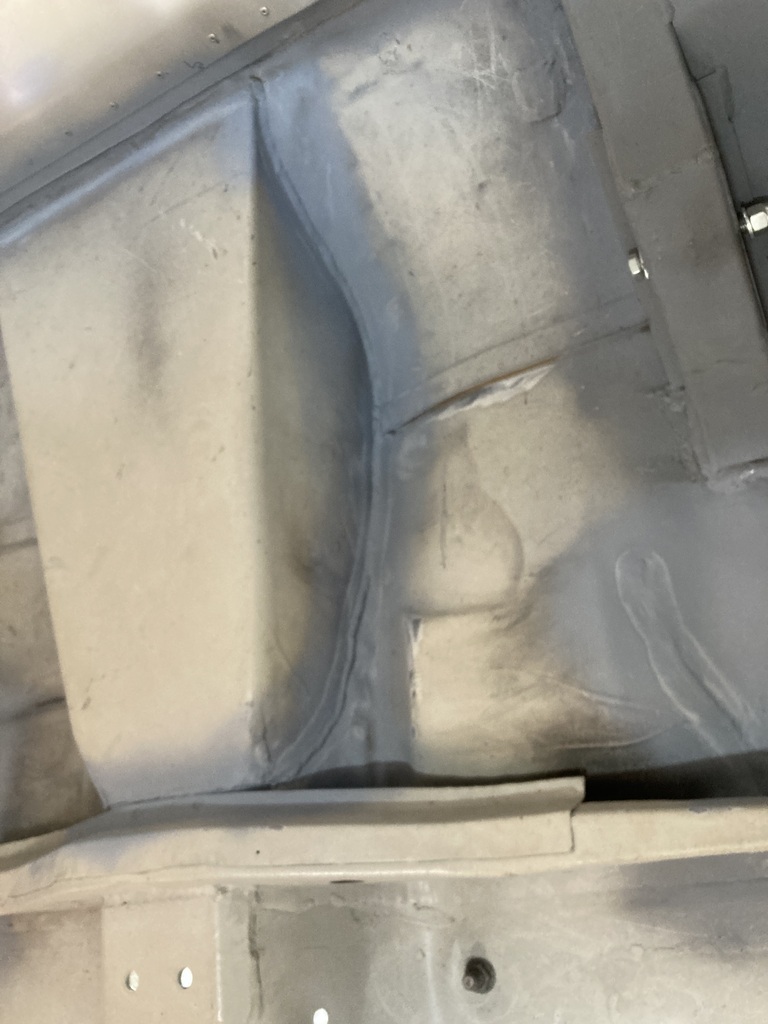 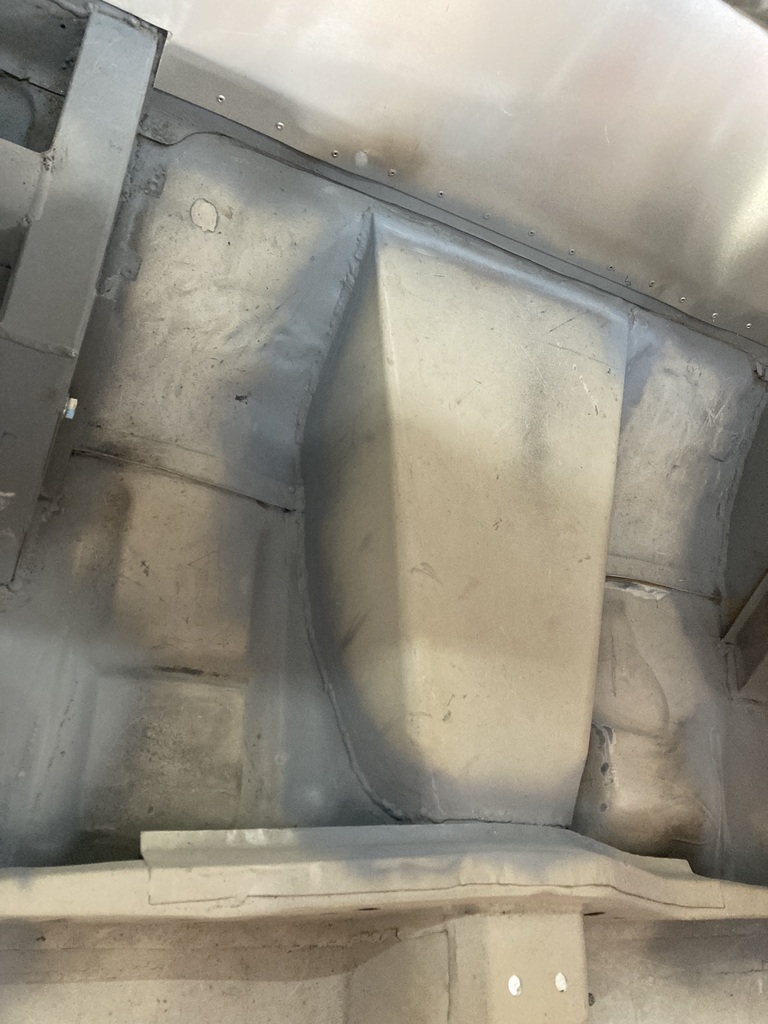 Nothing got done today as we went out last night so I was feeling a little delicate. Nothing will get done tomorrow as I’m on call 😩 |
| |
|
|
|
|
|
|
|
|
|
|
The Escort is coming along nicely Jonsey
|
| |
1966 Ford Cortina GT
2018 Ford Fiesta ST
Full time engineer, part time waffler on Youtube - see Jim_Builds
|
|
|
|
|
Apr 11, 2023 18:20:21 GMT
|
The Escort is coming along nicely Jonsey Thanks for the kind comment Jim 👍 |
| |
|
|
|
|
|
Apr 16, 2023 17:18:35 GMT
|
I didn’t have a lot of time yesterday as I was going out for a meal early afternoon but I did get the leaf springs back on the axle and the axle back on the car 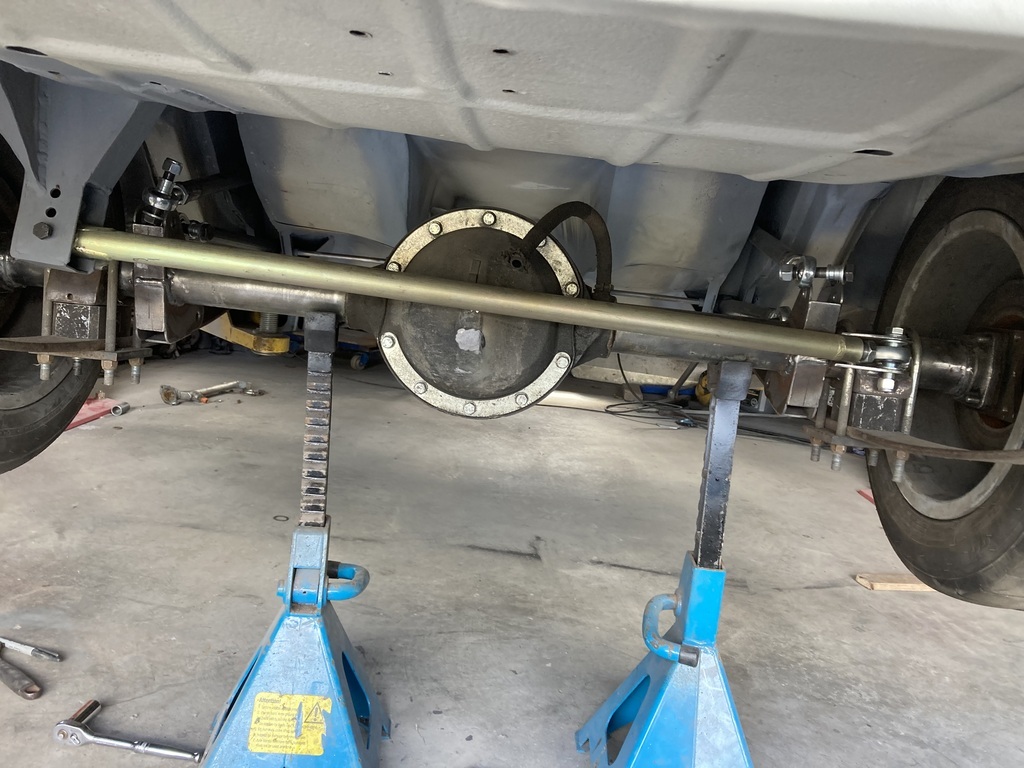 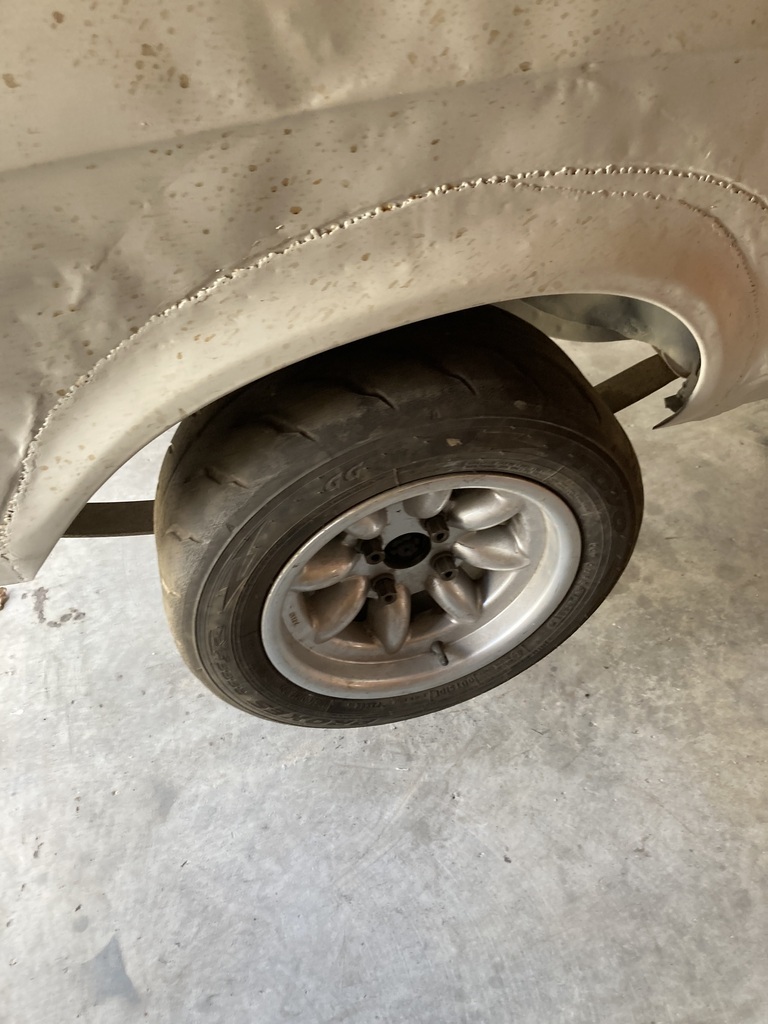 This was so that I could use this 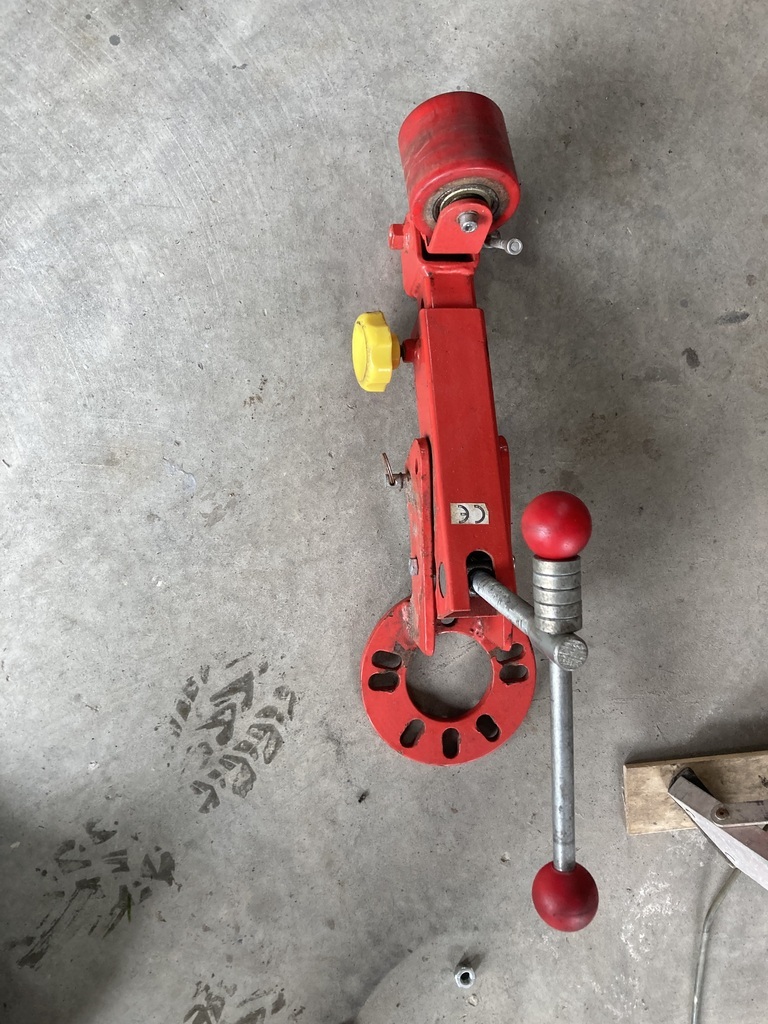 Why Phil? I hear you ask. Well not really as 1, you probably didn’t know my name was Phil, and b, you probably don’t care. But the reason is I have not quite given up on fitting coil overs on the rear yet. I have 2 last options. Well 3 actually, but I’m not fitting bubble arches so it’s 2. So option a. Use the wheel arch tool to stretch the arch out a bit more. I can then run a spacer (which totally defeats the point of me spending a small fortune building a narrowed axle) to move the wheel further out giving me room for the spring on the coil over. No photos but after an hour or so pishing about with the wheel arch tool, I only gained 5mm. See, not worth a photo. With option 1 shot down in flames, we move onto my final option. Last year when I was looking for some Mexico arches to replace the GRP ones I had on my front wings, the sprayer I know who paints new build rally Escorts said he had a set. When I looked at them they were only standard front Escort arches so no good to me. What’s this got to do with my rear arches? Well my mate who has a mk1 has actually put front arches on the rear of his car 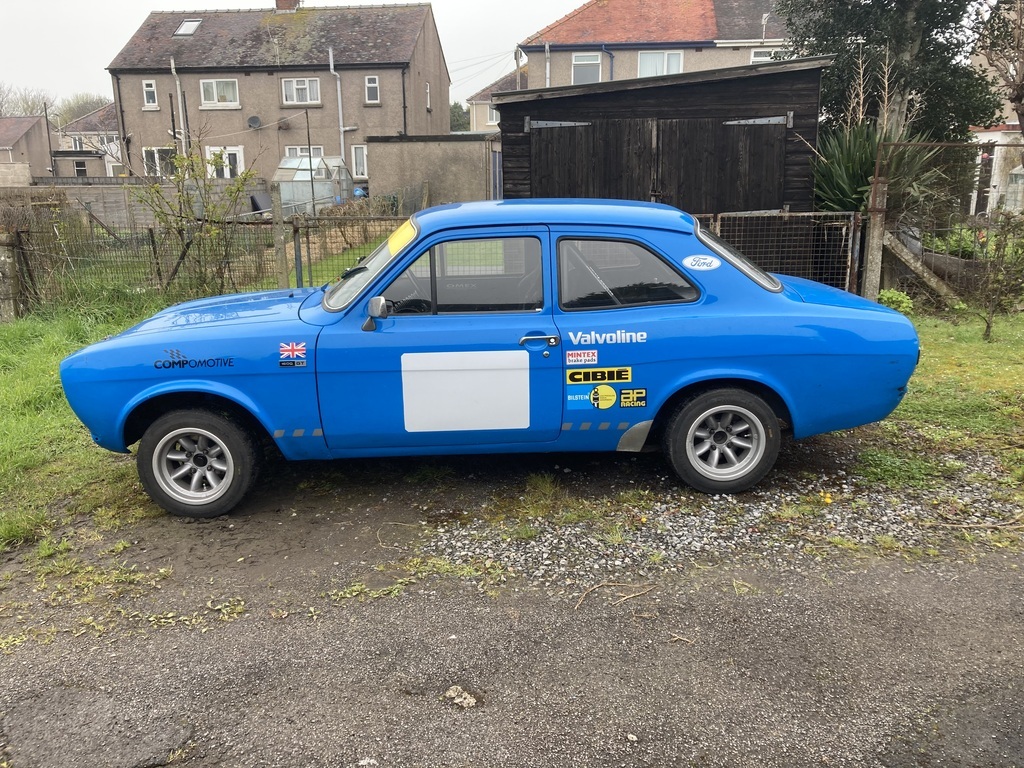 These are now about 2” higher up than standard. And he is running 8” -5 off set wheels on a standard width axle and they don’t stick out of the arch 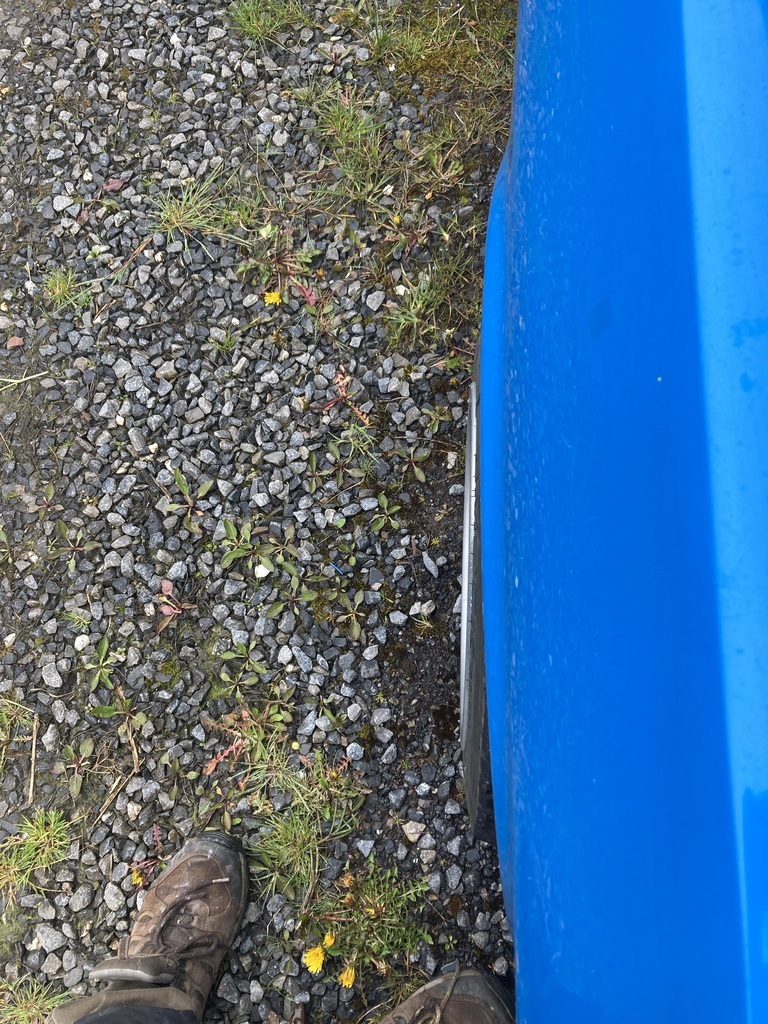 We’ll only just, but they don’t rub as the arch is so much higher. What’s more, the change is quite subtle. Some rally Escorts have some really bad looking rear arches to get more room. So I phoned the painter to see if he still had the arches. He did. So now I have them. For free. 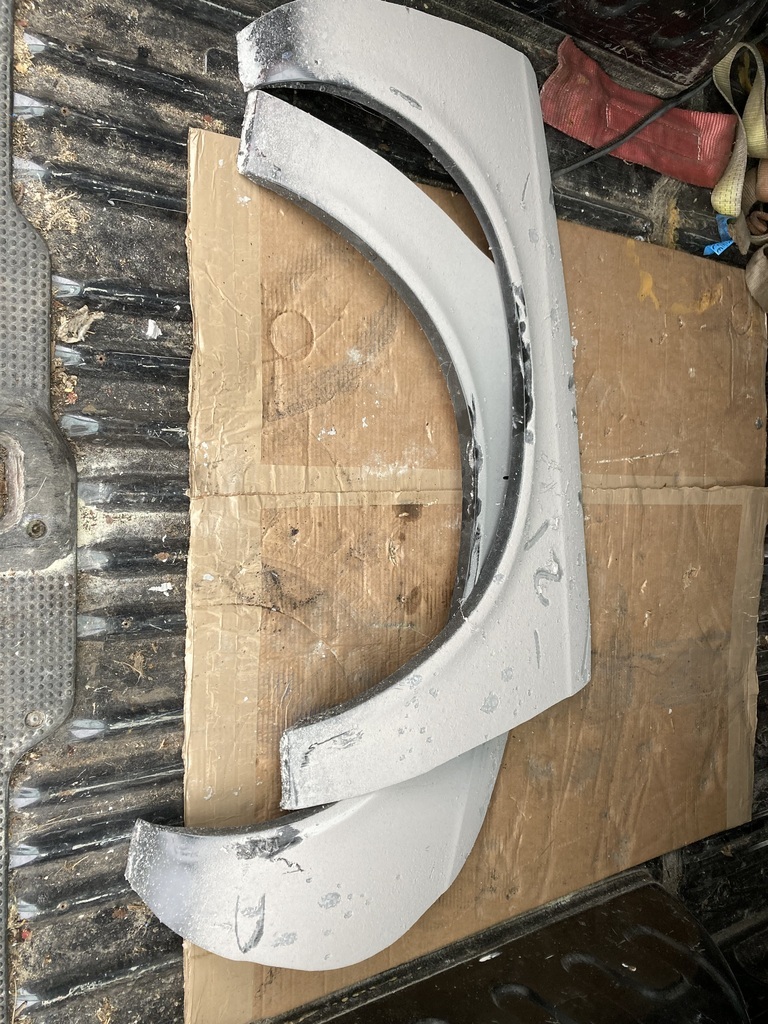 When I saw them last summer they were like new in black paint. They are now covered in a thick layer of filler dust. His lungs must be shot. So I put them up against the car to demonstrate the difference 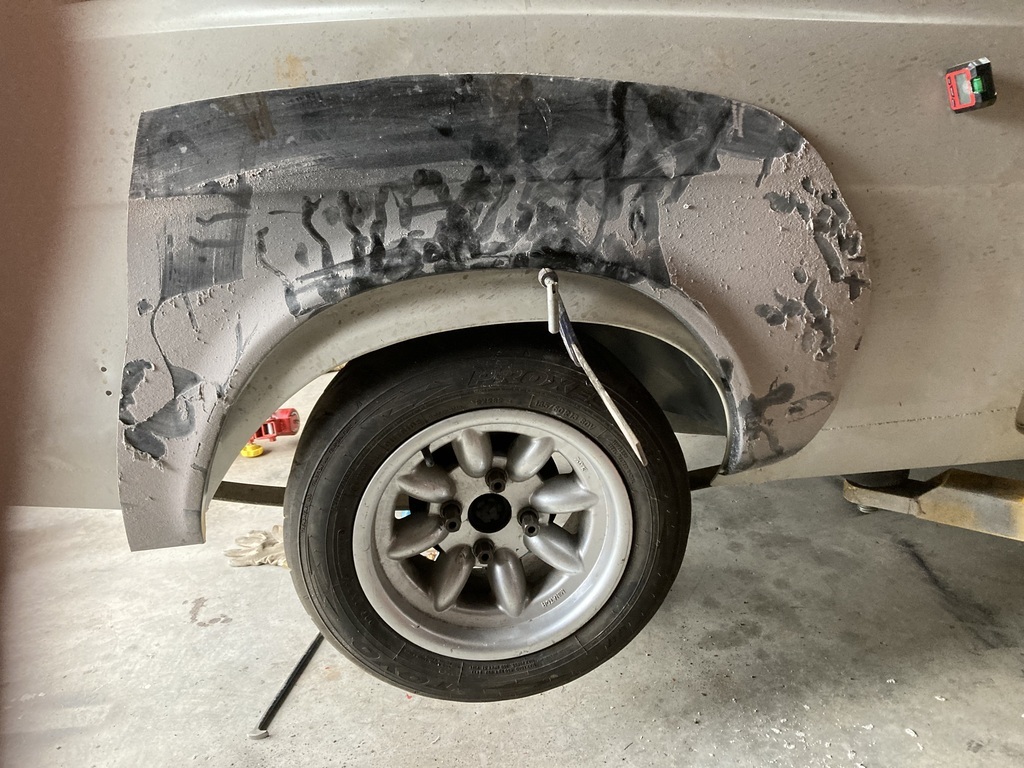 The front of the arch is the wrong shape as it curves in a lot where it traditionally met the front valance. My mate sorted this by cutting it off and making an aluminum cover that can be seen on the photo earlier. I have a shrinker so will try to straighten it out a bit. As the rear has been tubbed previously, the inner arch no longer exists. So the outer arch is purely decorative. This makes it a lot easier to cut the old arch off and weld on a new one. It also has the added bonus of a lot of the scabby dents / welding will also go. This will be the 3rd time I’ve fitted rear arches to this car. I think I’m loosing the plot I keep making up excuses to keep welding this thing Is there a name for this? |
| |
|
|
glenanderson
Club Retro Rides Member
Posts: 4,357
Club RR Member Number: 64
|
|
Apr 17, 2023 10:19:15 GMT
|
|
“Welderitis” is the more common affliction. However, I suspect that you have the much less common, and sadly incurable, “Chronicprojectcreep-itis”
Keep it up. 😃👍
Or,
|
| |
My worst worry about dying is my wife selling my stuff for what I told her it cost...
|
|
|
|
|
Apr 17, 2023 17:57:10 GMT
|
“Welderitis” is the more common affliction. However, I suspect that you have the much less common, and sadly incurable, “Chronicprojectcreep-itis” Keep it up. 😃👍 Or, The second one sounds more like it Glen. But it has to end sometime. |
| |
|
|
|
|
|
Apr 21, 2023 16:21:59 GMT
|
Today I booked a day off. Eye balls been playing up so I had booked an opticians appointment. Nothing sinister going on. Just new reading glasses required. I’ve only had the last pair a year. Anyway, one pub lunch later and I went out the garage. I had planned to use some washers to space the wheels out to see what I could get away with. But I had no washers that fitted the studs. No worries, I’ll cut some tube. Couldn’t find any of that either. So I did this 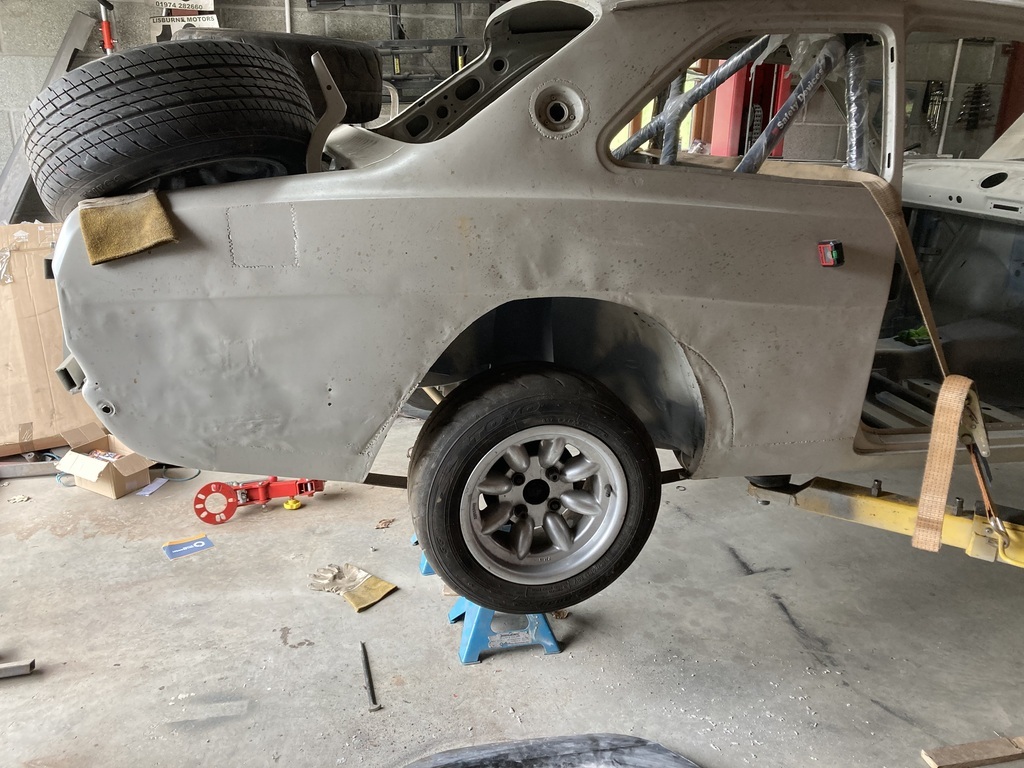 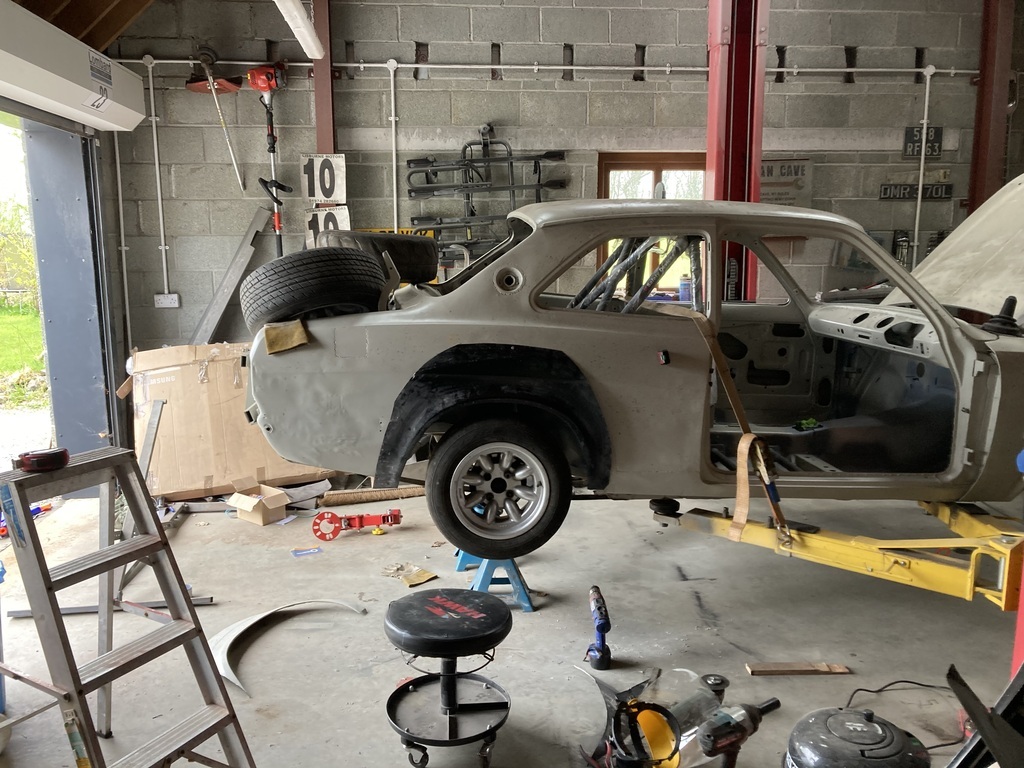 I guess that’s the wheel arch decision made then. The front of the new wheel arch curves in a bit where it meets the front valance so I used the |
| |
|
|
|
|
|
Apr 21, 2023 16:49:14 GMT
|
Today I booked a day off. Eye balls been playing up so I had booked an opticians appointment. Nothing sinister going on. Just new reading glasses required. I’ve only had the last pair a year. Anyway, one pub lunch later and I went out the garage. I had planned to use some washers to space the wheels out to see what I could get away with. But I had no washers that fitted the studs. No worries, I’ll cut some tube. Couldn’t find any of that either. So I did this  I guess that’s the wheel arch decision made then. The front of the new wheel arch curves in a bit where it meets the front valance. 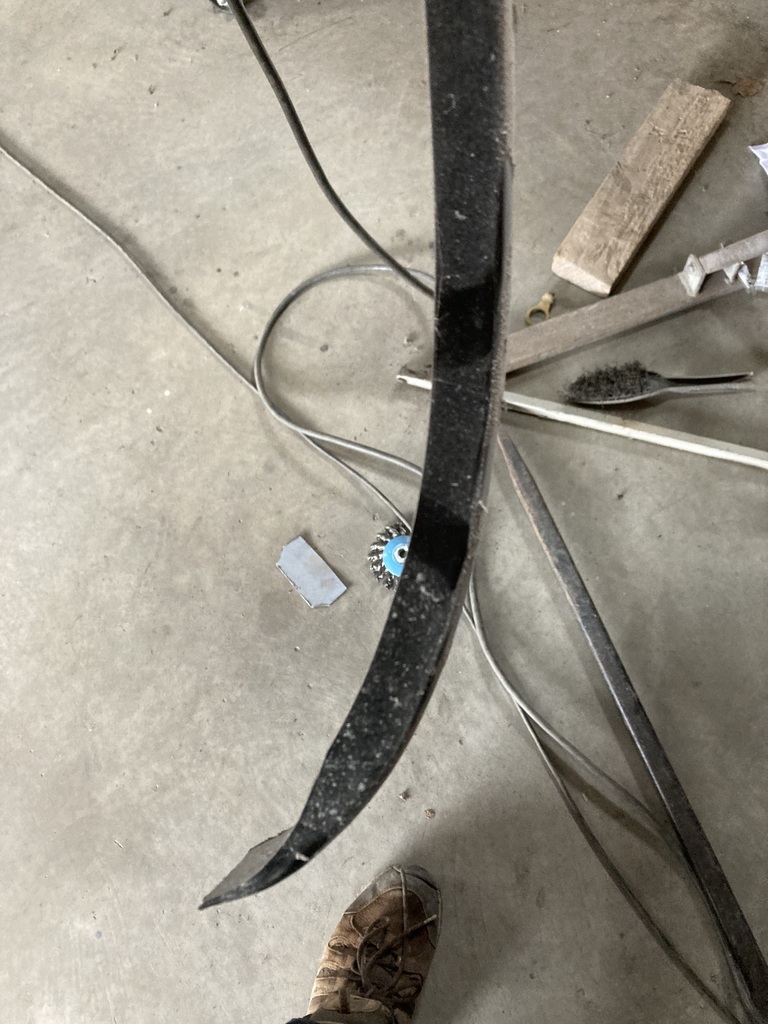 I used the stretcher to straighten this out (no photo) and trimmed the arch down a bit until I reached the flat section . I then screwed it onto the car 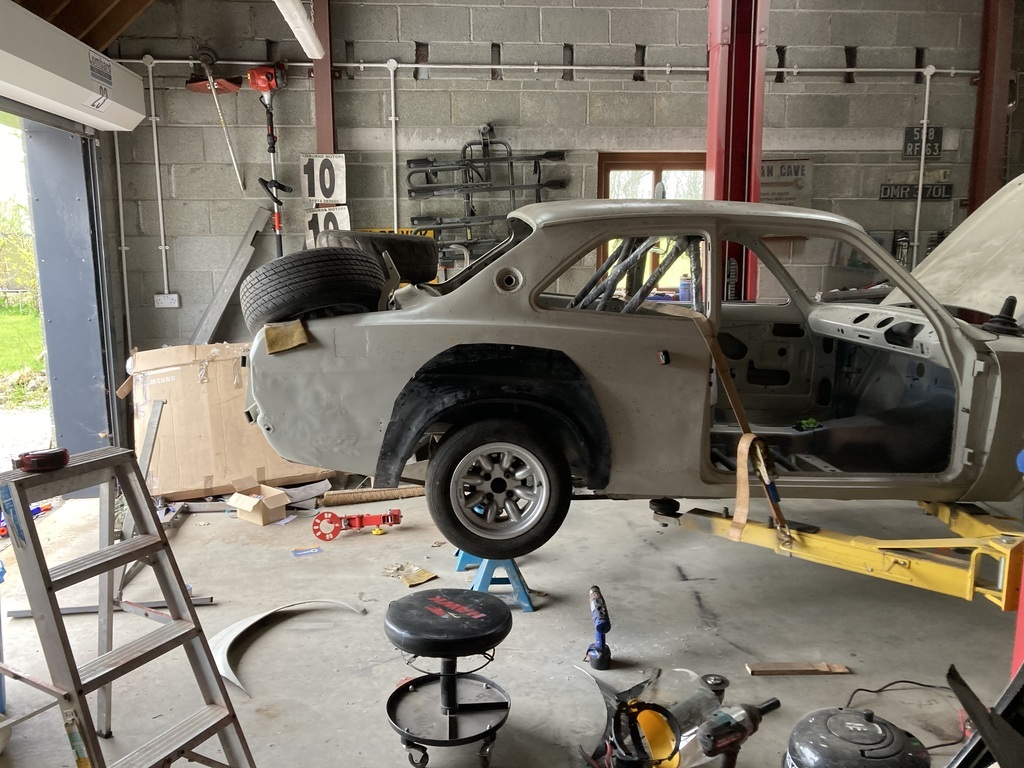 With it being black I couldn’t see how it was “looking”, probably because I need new glasses too, so I put some primer on 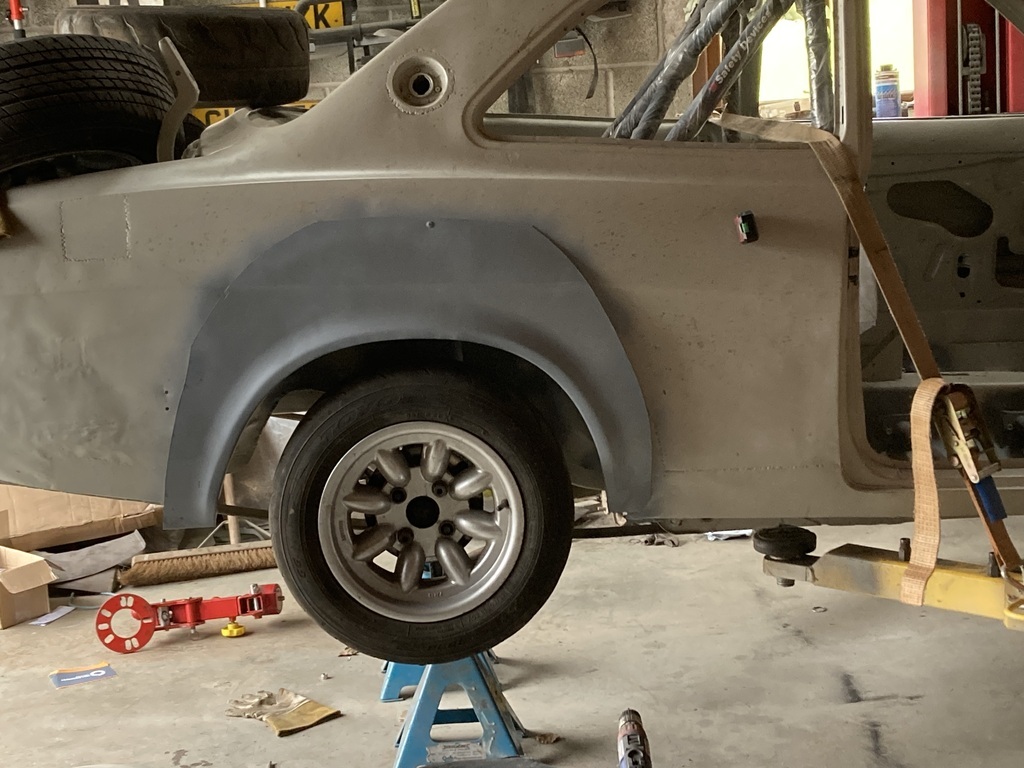 This is placed where the standard arch sat. The 2 bottom edges in the same place. It looks like the arch is too far back for me. I compared it to my mates car 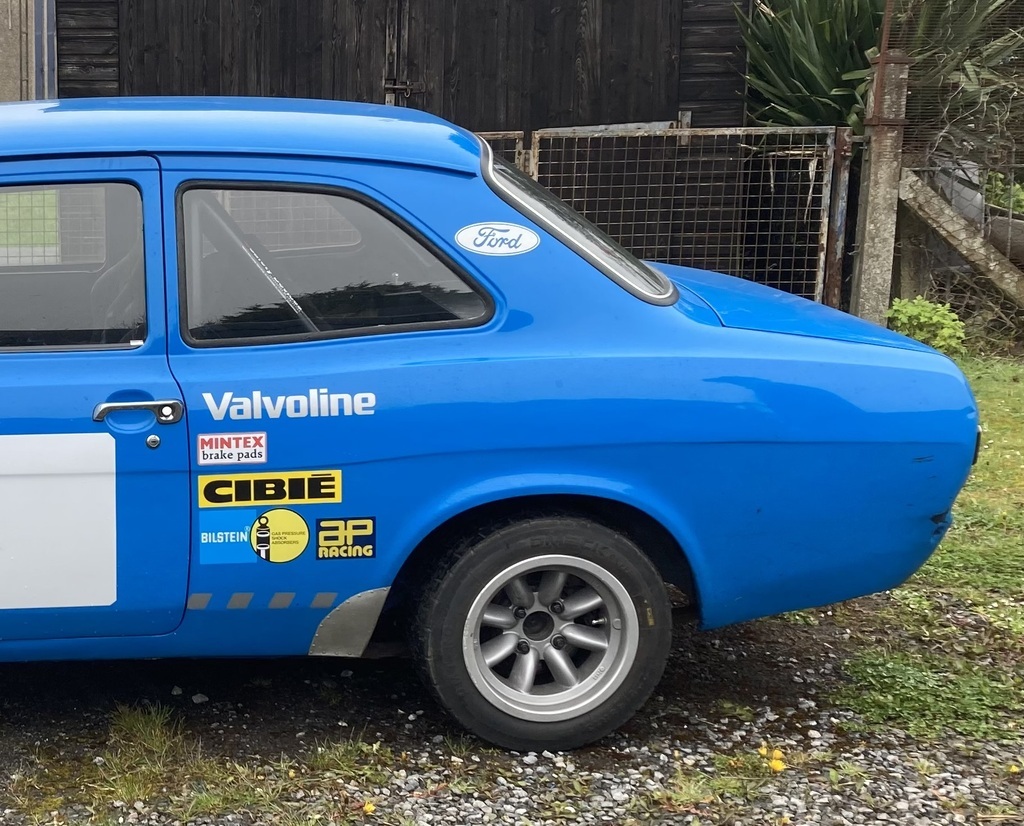 His now looks a bit to far forward, but only when I zoom in for some reason. So I moved the arch forward an inch 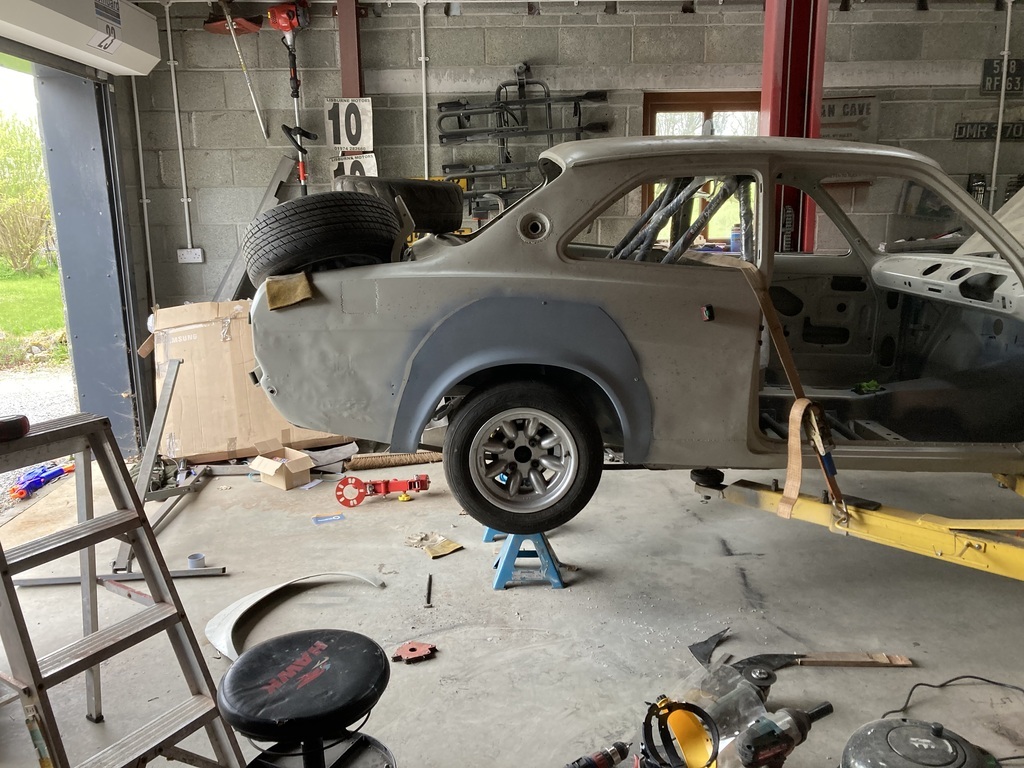 Looks a lot better, to me anyway, I’ve got dodgy eyes remember. I then realised that the rear had dropped about 10mm when I screwed the arch back on so I adjusted it 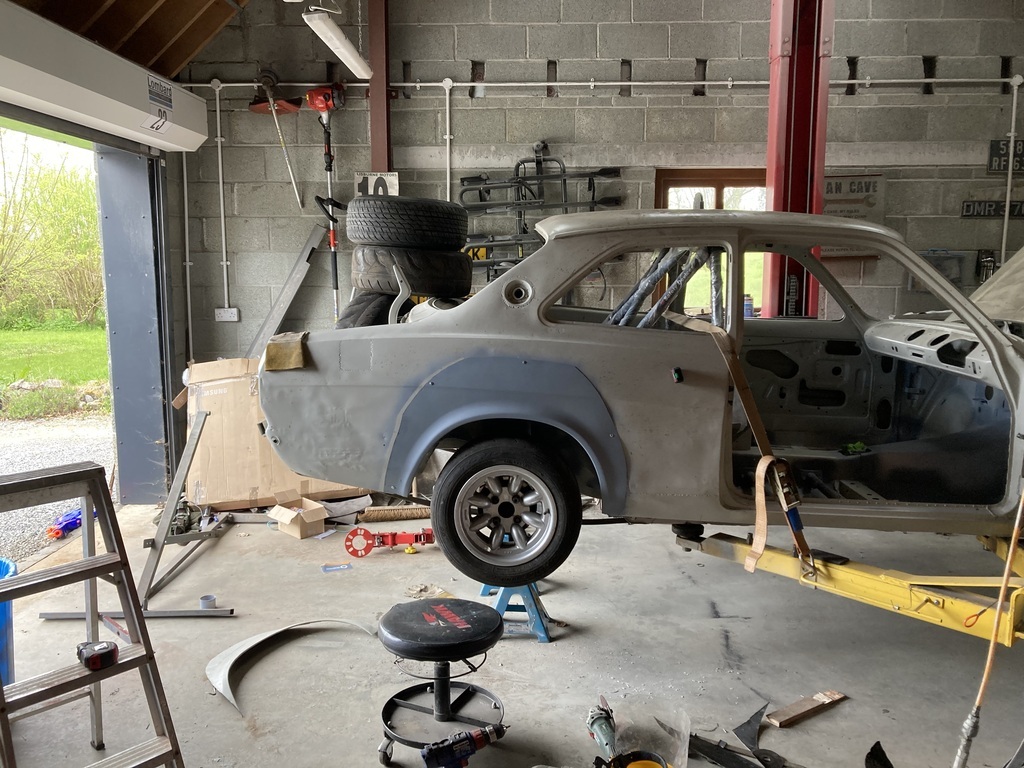 Looks nuts at full droop 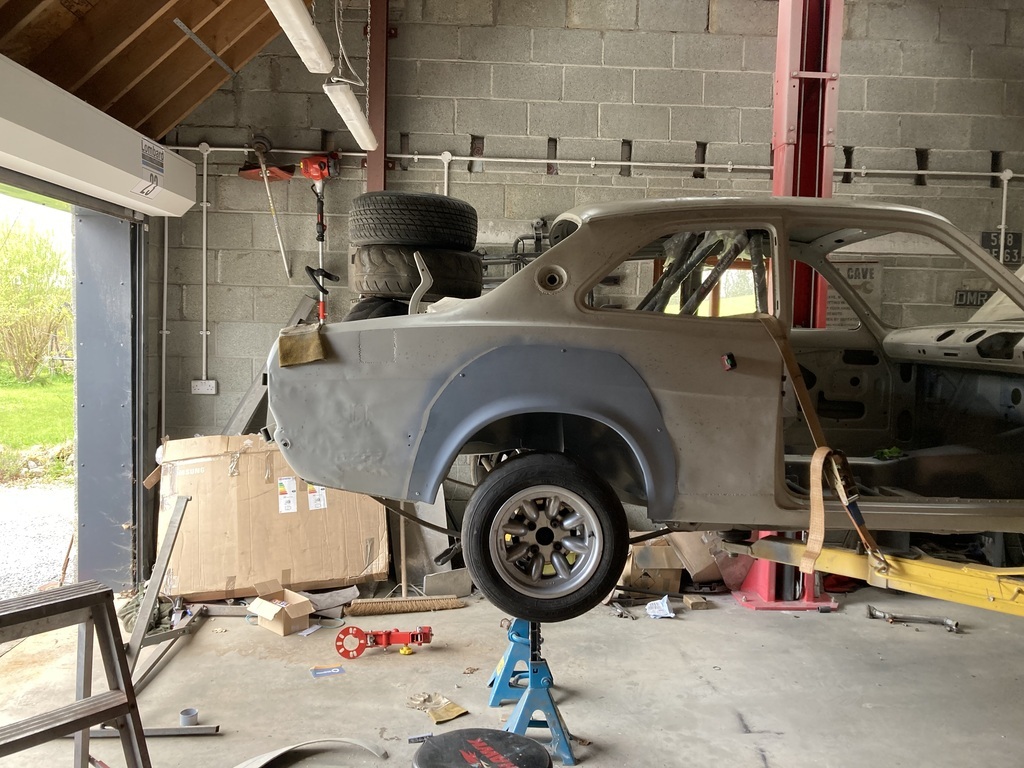 But that’s not really and issue. When I cut the old arch off I’d left about 10mm lip. I decided to remove this but not the top section as the body line above the arch won’t be correct. I also cut a grotty piece out of the bottom and straightened the tub where it had been smashed in previously. 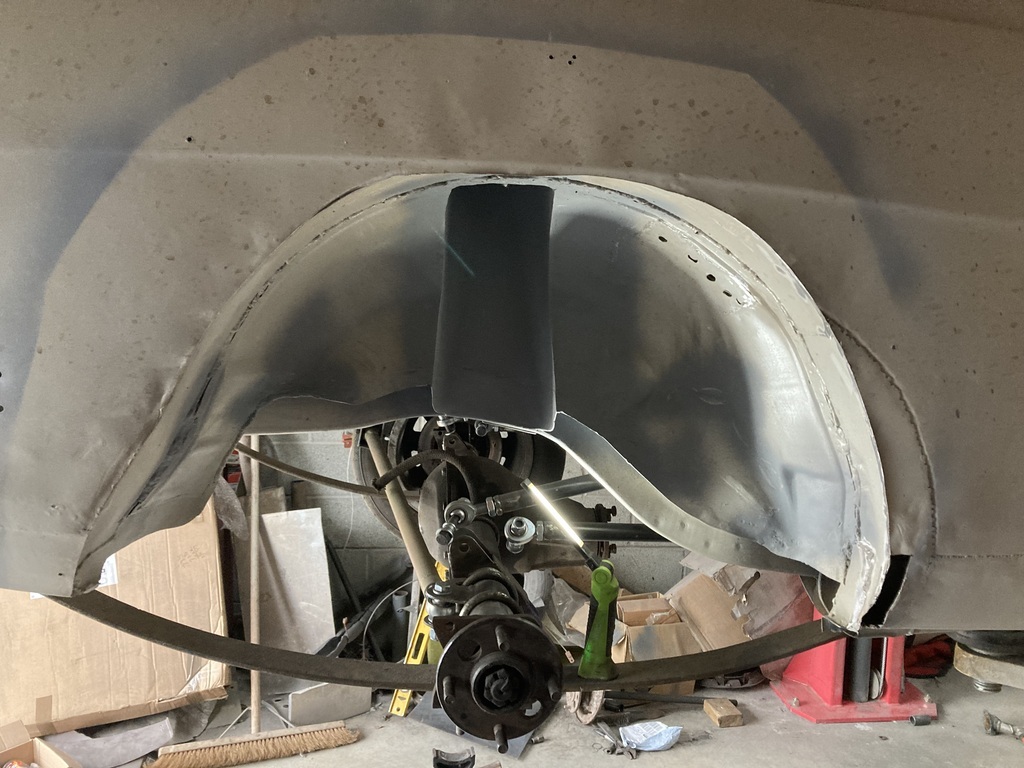 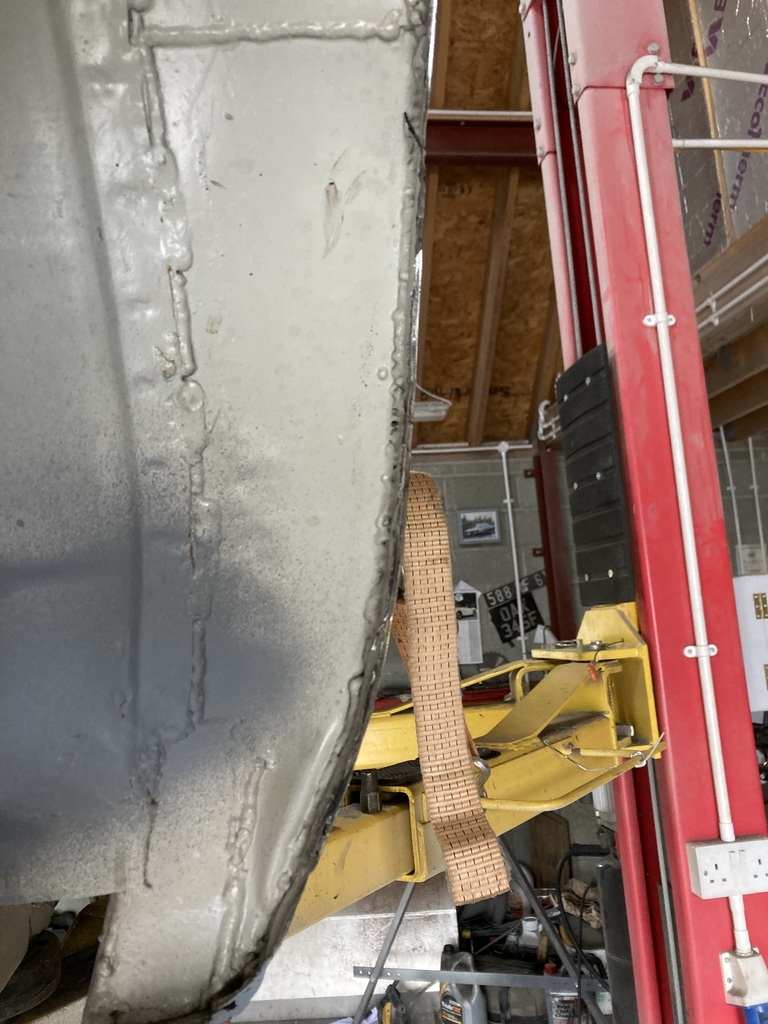 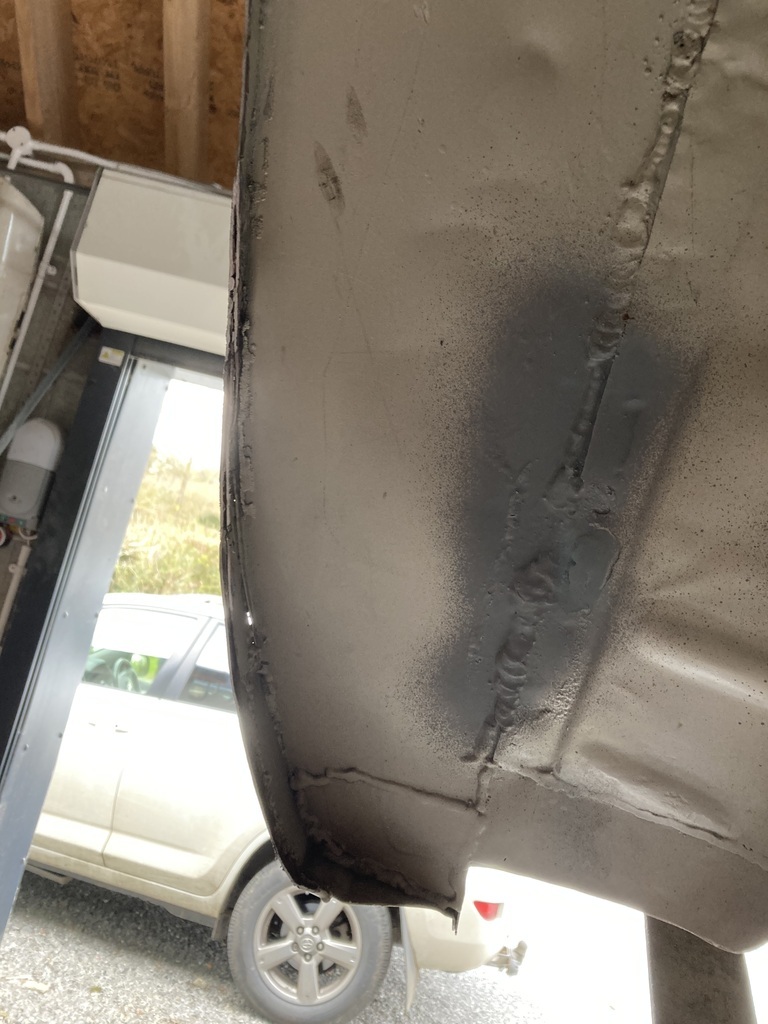 I’m undecided how to fix the new arch on. Some parts of the tub to rear quarter welds need redoing now. I could weld this up and the weld the arch on top. It’s going to need a ton of filler as the quarter is so damaged. Or I could cut the the tub from the quarter, trim the new arch down to go past the 20mm ish, butt weld the arch in and then reweld the tub to the new arch. I need to sleep on it. Here’s an old arch - new acre comparison 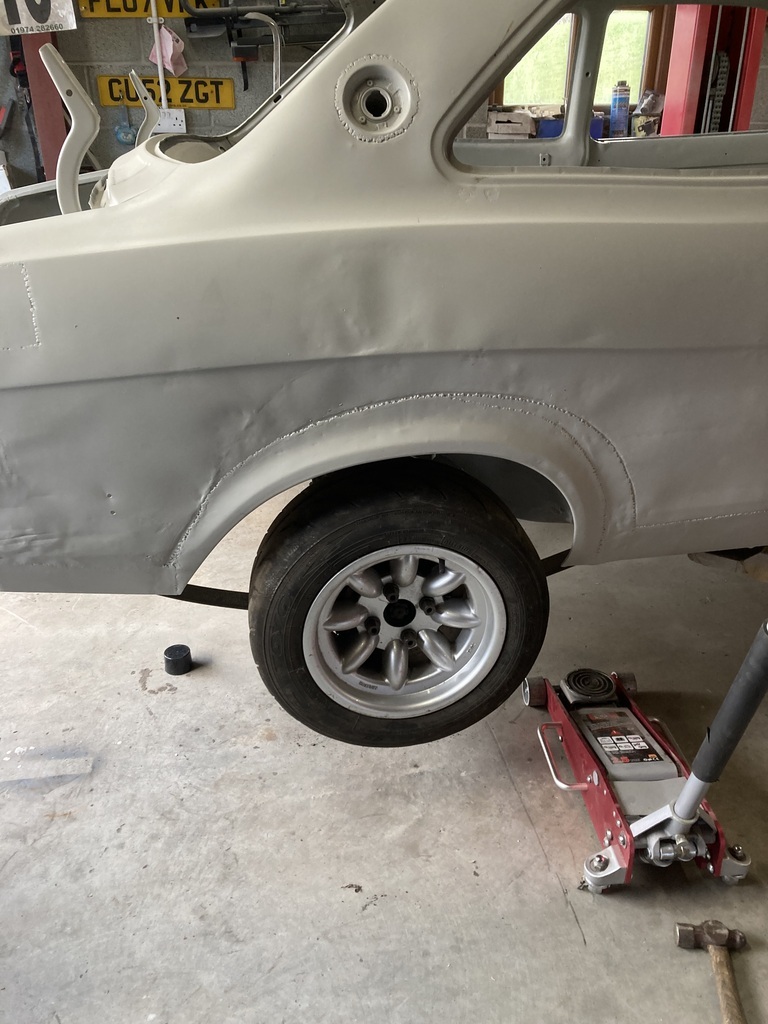 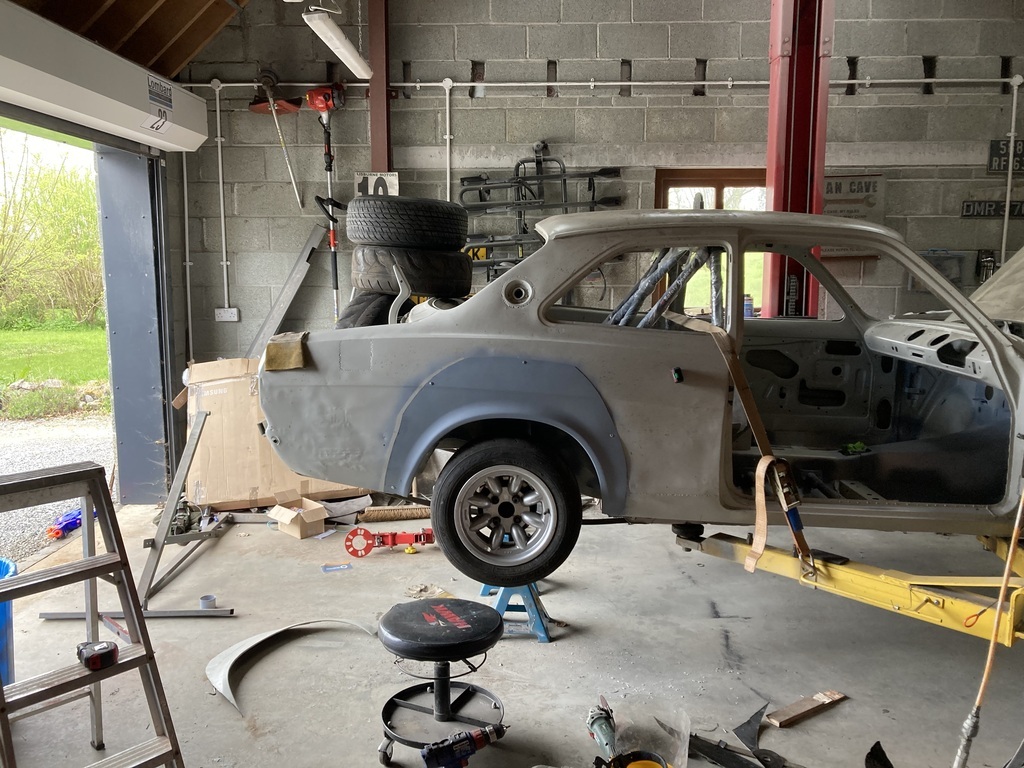 |
| |
Last Edit: Apr 21, 2023 16:51:47 GMT by jonsey
|
|
|
|
|
Apr 22, 2023 16:35:25 GMT
|
Fry up, lawns mowed, garage. I sat and pondered for a good while of how to do the arch. I came to no conclusion. So I just picked up the grinder and started cutting. I cut about 10mm past the tub except at the top because the swage line on the top of the arch was straight and the rear quarter has the Coke bottle curve. 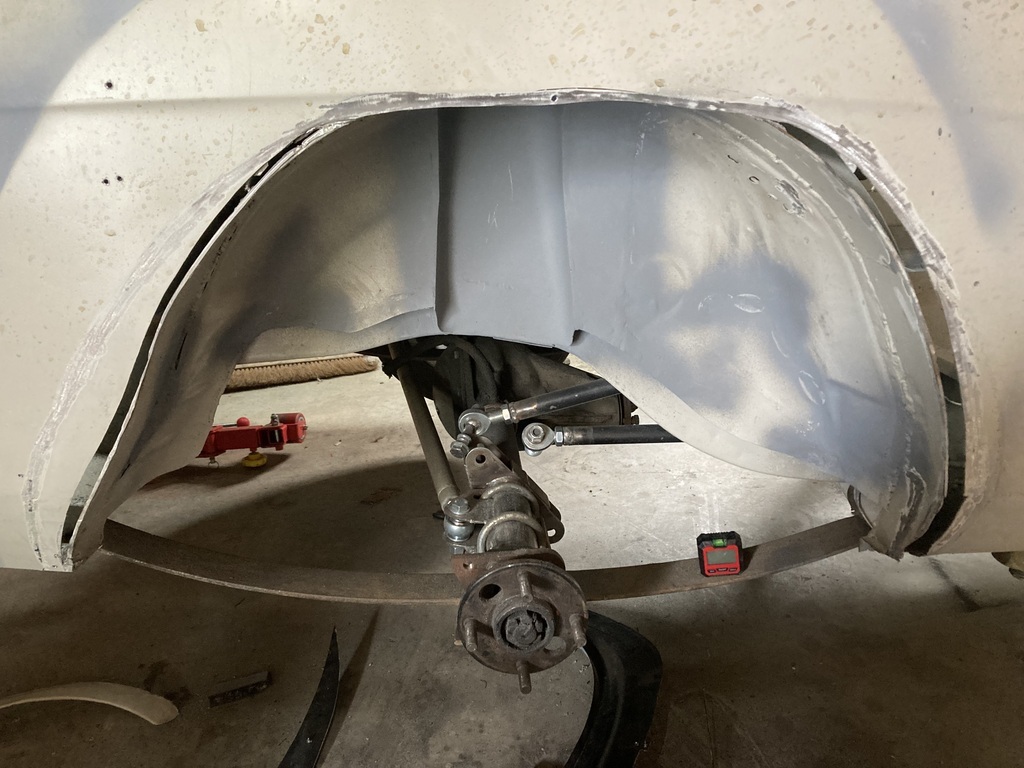 Next I marked and trimmed the arch. I left a little tab at the top so the screw could support it. Apart from the top, the rest of the arch was left over size slightly. 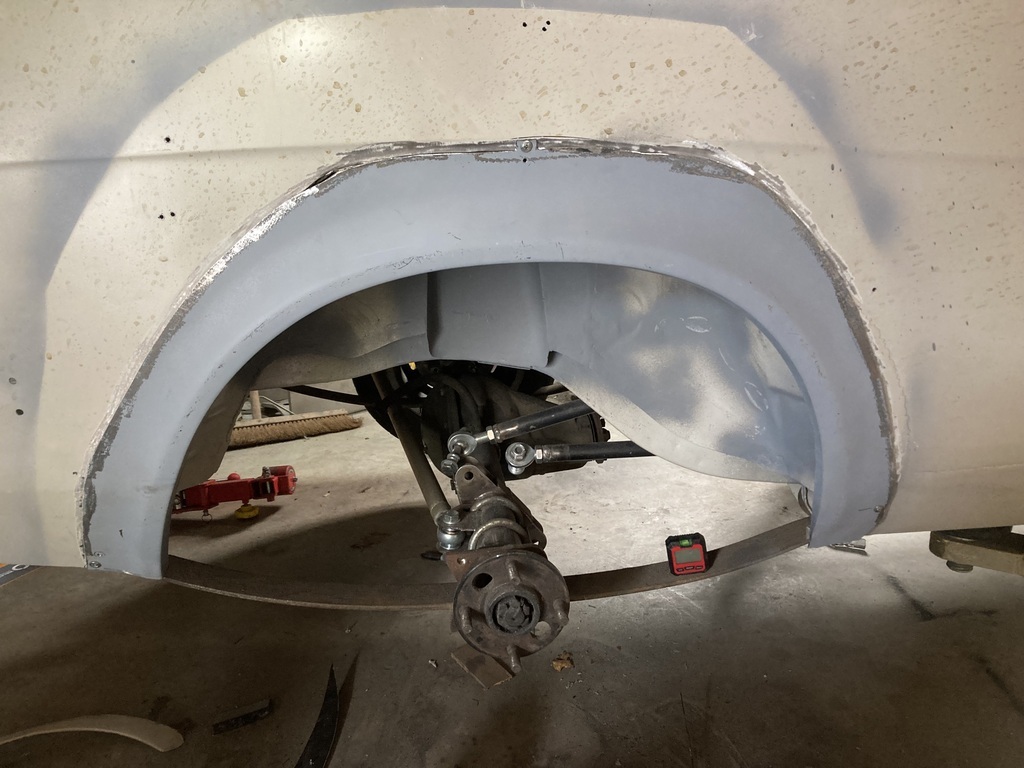 This is so I could do a “cut and butt” joint. Tack a bit on, cut through the rear quarter at the edge of the arch panel with the grinder tilted at 45deg, tack and keep going 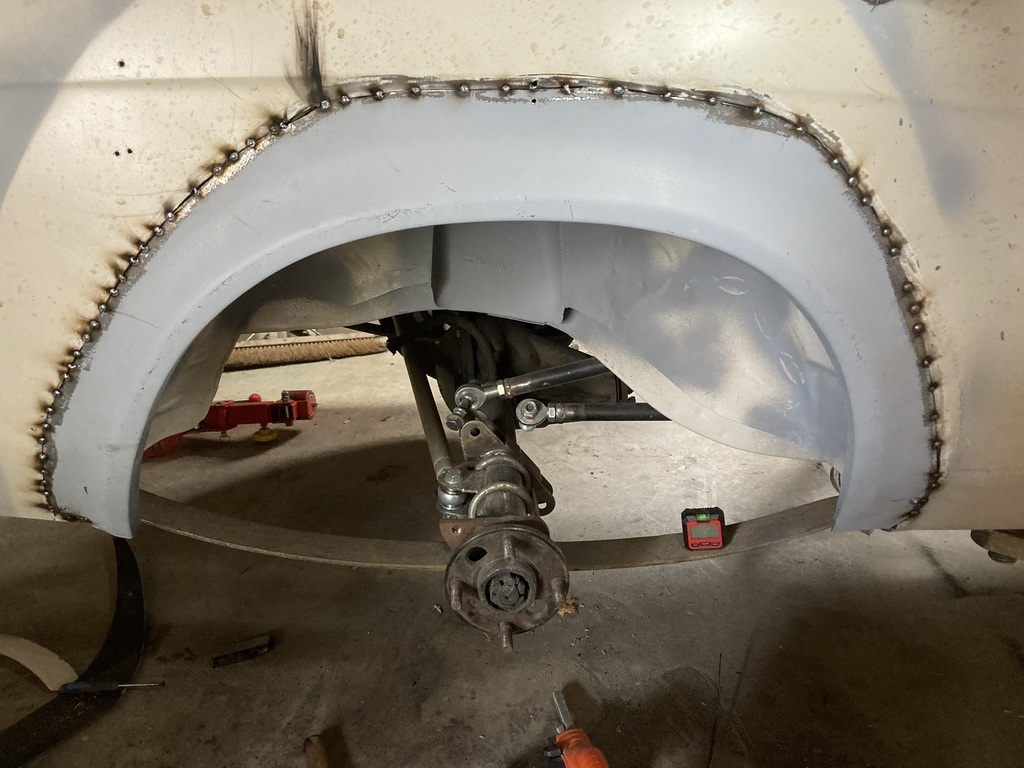 I’d meant to cut out this grotty bit where the old arch was, but I forgot when I trimmed the arch down 😩 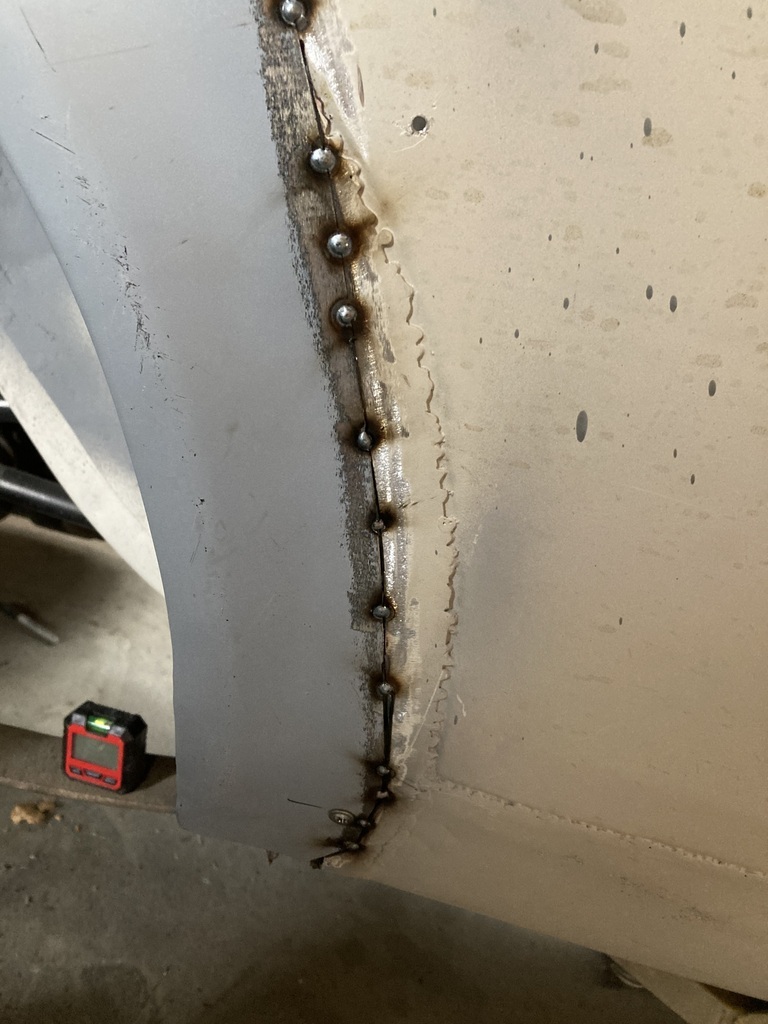 Never mind. I then went round the arch doing a set of small tacks and then power filing them off until we had this 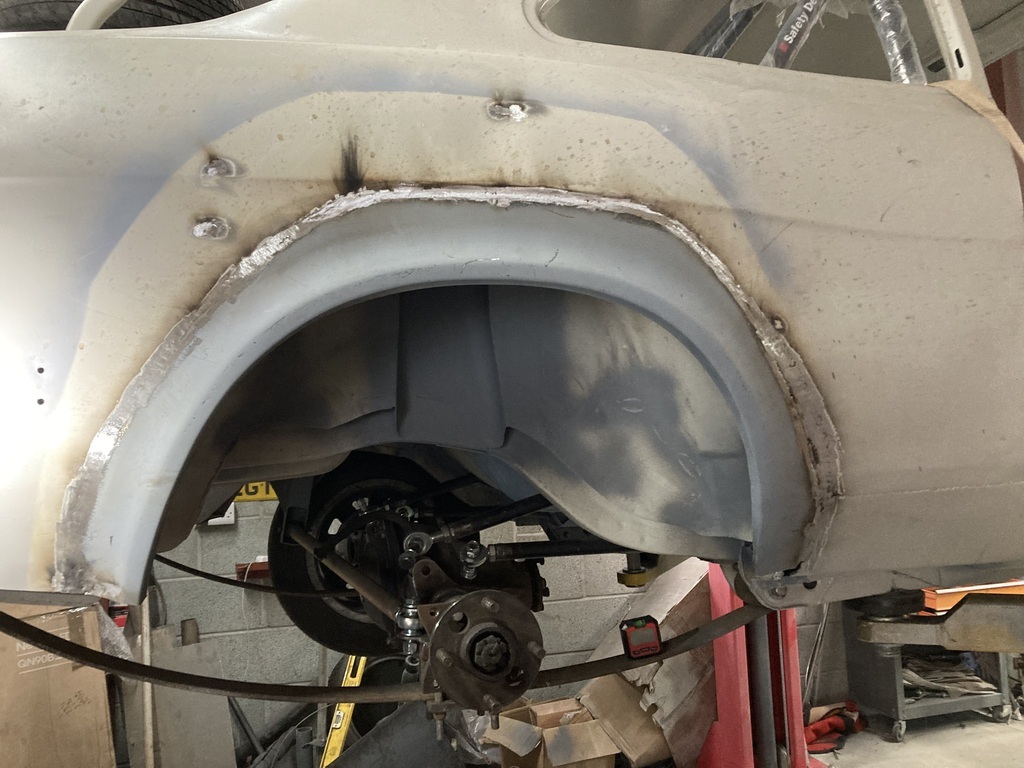 The rear got trimmed and welded. I might revisit this bit as as the arch “feature” line goes to the bottom instead of phasing out, but I don’t know how to tackle that yet. 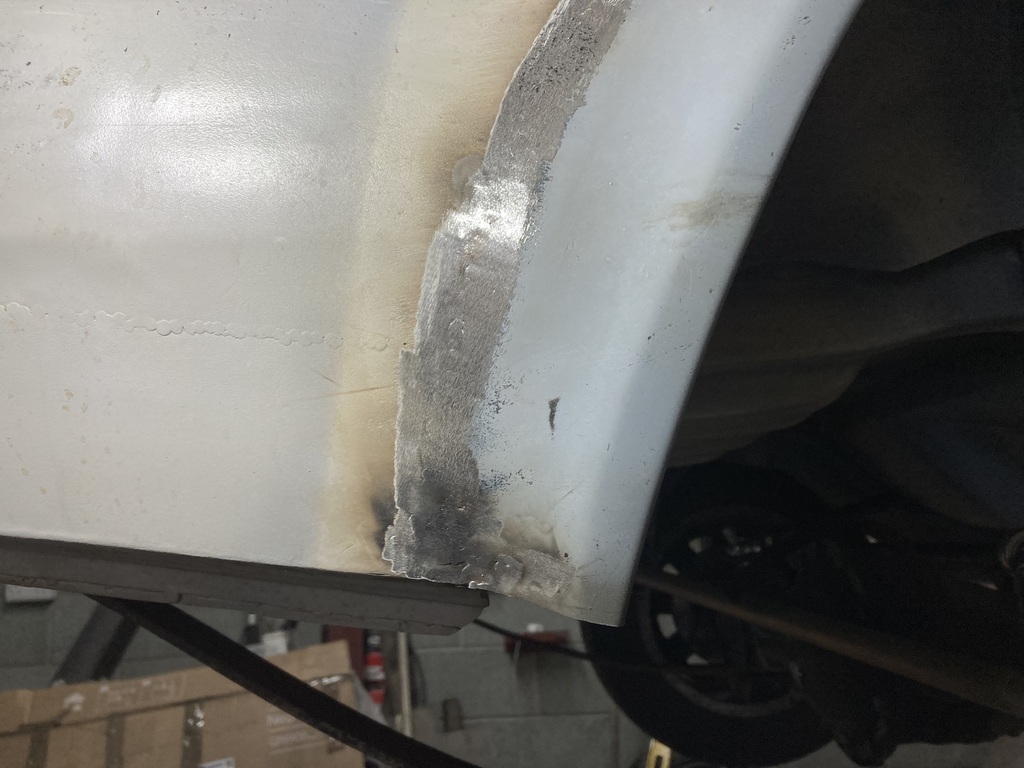 The front wasn’t long enough so I squared it off and welded in the bit I cut off the rear of the arch. 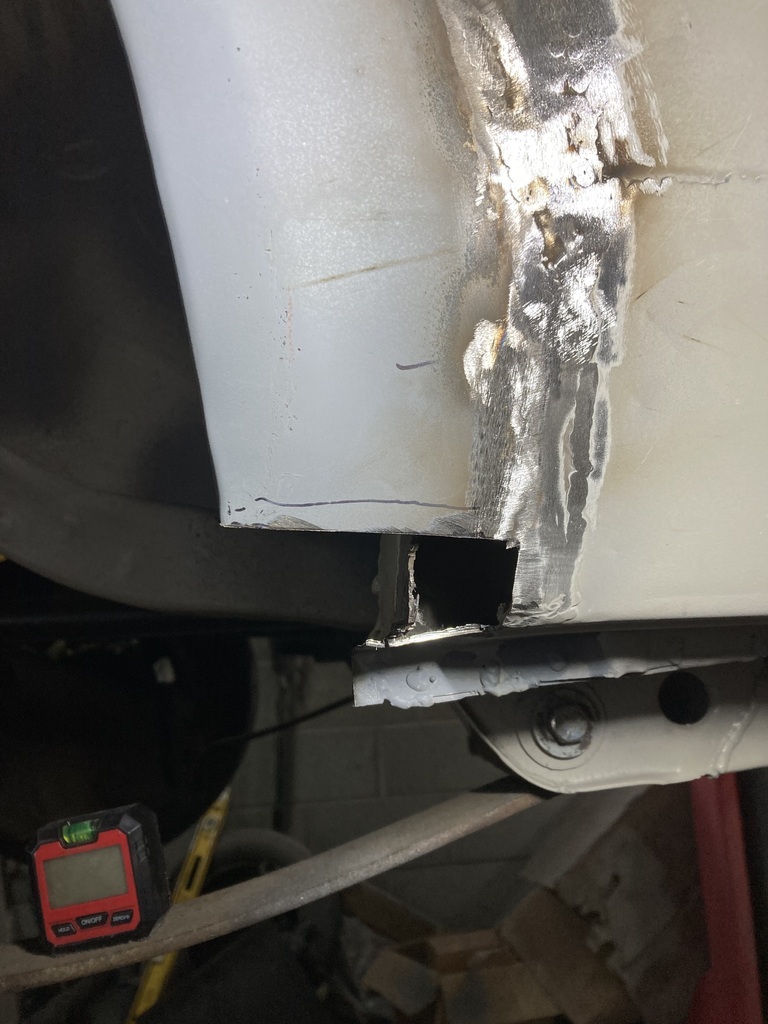 No photo of it welded on. So I then blasted it with a bit of primer and put the wheel back on 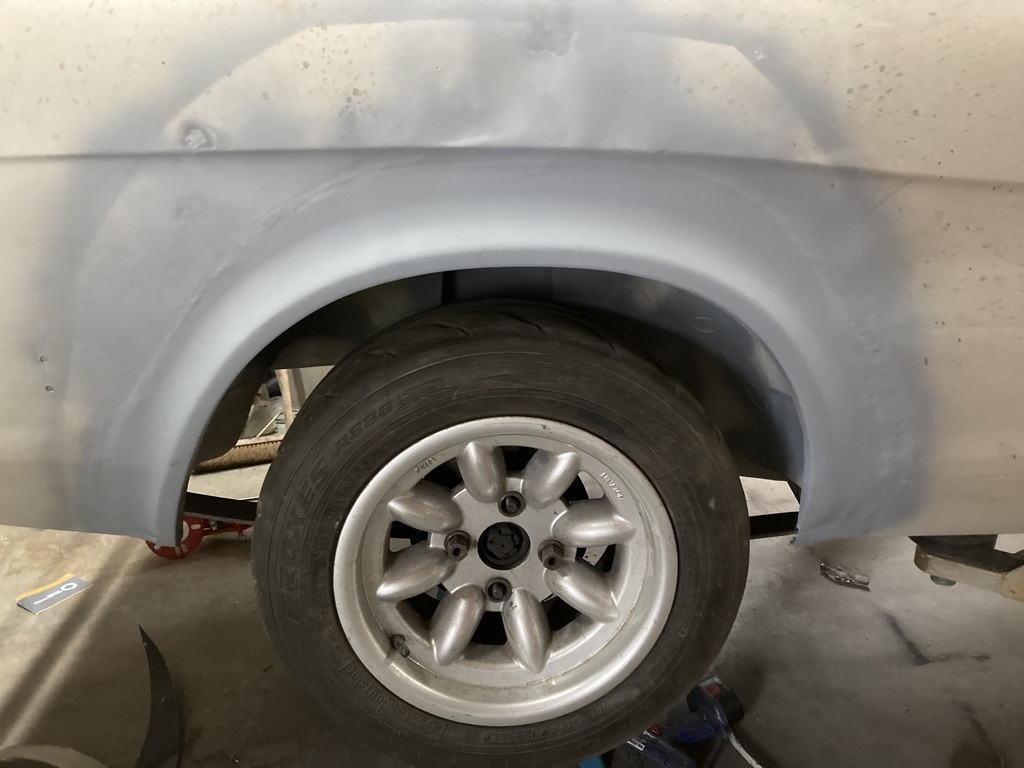 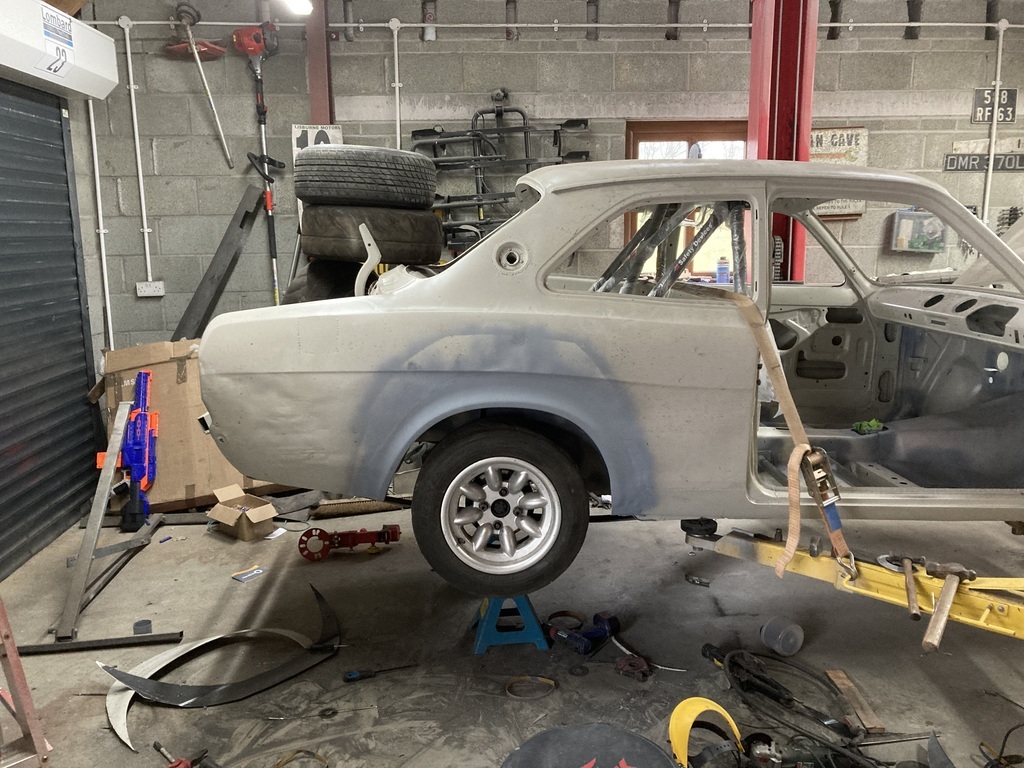 Better? |
| |
|
|
|
|
|
Apr 22, 2023 17:02:38 GMT
|
|
Looks good from here!
|
| |
|
|
ChrisT
Club Retro Rides Member
Posts: 1,670
Club RR Member Number: 225
|
|
Apr 22, 2023 17:24:29 GMT
|
|
Looks good to me too.
|
| |
|
|
teaboy
Posted a lot
   Make tea, not war.
Posts: 2,125
|
|
Apr 22, 2023 17:28:37 GMT
|
|
Looks ace, Phil.
|
| |
|
|
|
|
|
Apr 22, 2023 19:11:59 GMT
|
|
One of my very first body repair jobs was welding a rear arch in to my Mk1 Escort. That's when I learnt that too much heat buckles the c##p out of the rear wing! That was roughly 27 years ago....hopefully things have improved these days.
Anyway, nice repair....it's a big improvement on how it was 👍🏻
|
| |
Opel Commodore A Coupe
Opel Rekord C Coupe
Opel Rekord C Saloon
Vauxhall Magnum Coupe V8 (Magnumania)
Mk1 Scirocco GLS
Mk1 Scirocco GLS (early chrome bumper)
Corrado G60
Mk1 Cortina 2 door Pre Airflow
Mk2 Escort 1300 2 Door
VW LT35 Tipper Truck
BMW 320D E91 Tourer
|
|
|
|
|
Apr 22, 2023 20:36:00 GMT
|
|
|
| |
|
|
|
|
|
Apr 22, 2023 20:36:40 GMT
|
|
|
| |
|
|
|
|
|
Apr 22, 2023 20:36:57 GMT
|
|
|
| |
|
|
|
|
|
Apr 22, 2023 20:44:29 GMT
|
One of my very first body repair jobs was welding a rear arch in to my Mk1 Escort. That's when I learnt that too much heat buckles the c##p out of the rear wing! That was roughly 27 years ago....hopefully things have improved these days. Anyway, nice repair....it's a big improvement on how it was 👍🏻 Thanks Commycouper The first thing I welded on this car was the front floors. I welded all around the edges and was relatively pleased with my efforts. I then went to weld the floors to the chassis rails and they had risen by about 1/2”. So I then had to hammer them down. That was 26 years ago. I’m still warping panels. |
| |
|
|
|
|
|
Apr 25, 2023 17:58:01 GMT
|
Right all you panel beaterer types. I need some help. The standard rear arch lip used to blend into the lower rear quarter like so 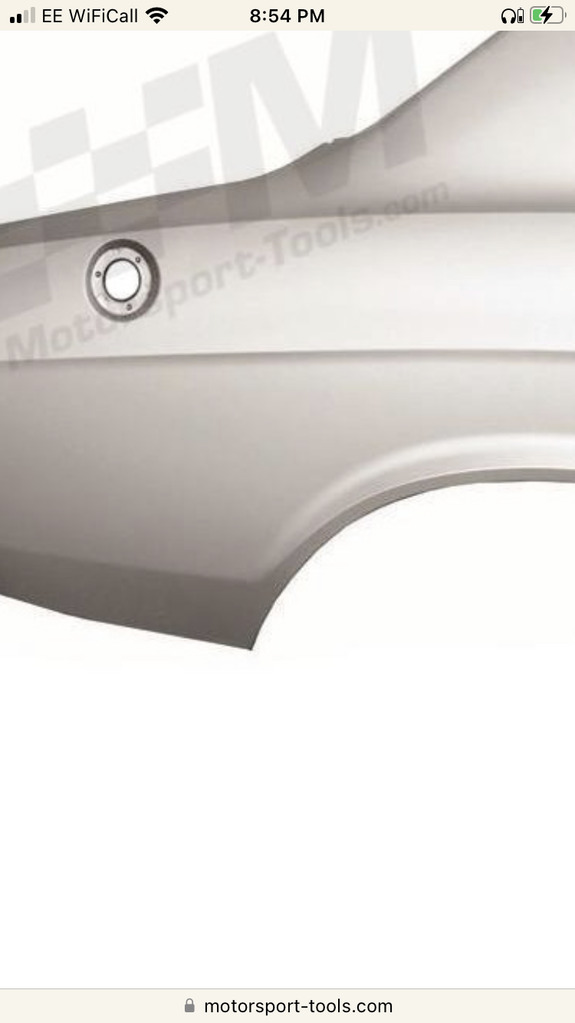 My new front arch on the rear is like this 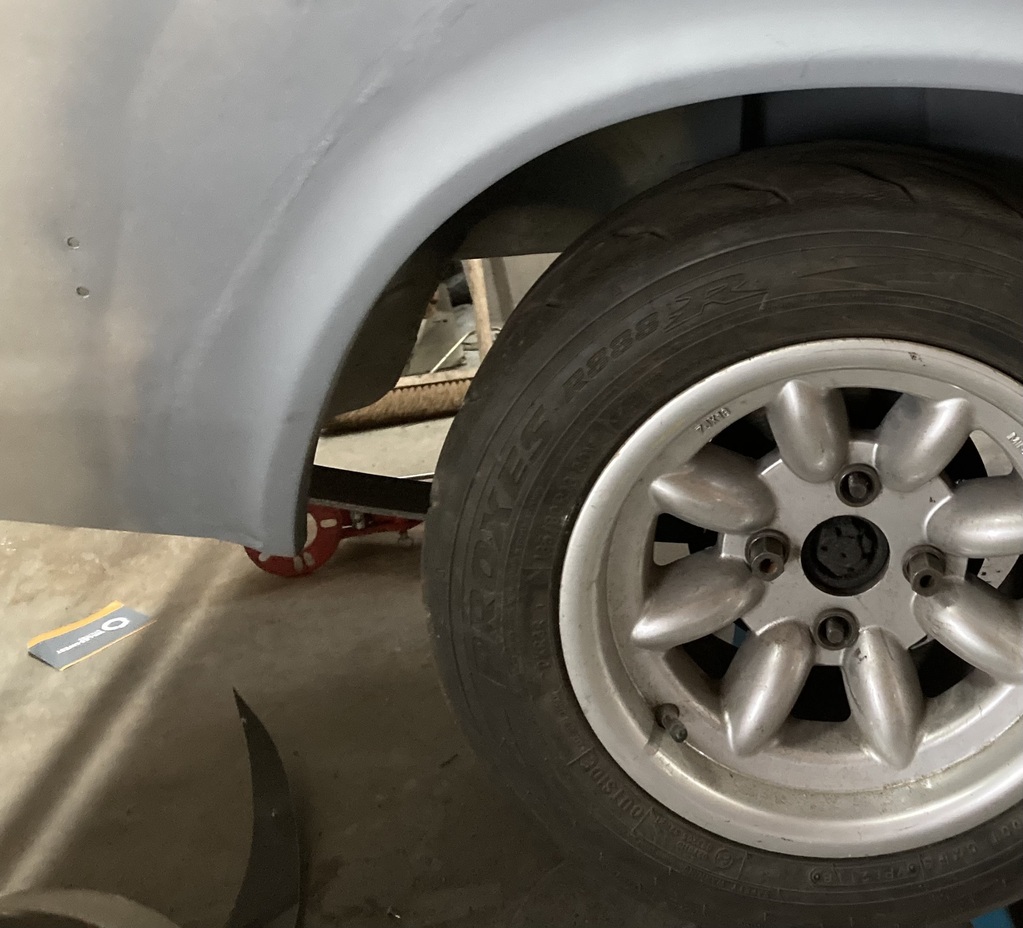 The lip goes all the way to the bottom. I would like to make it look like the top picture. Anyone have any idea how I could do this without ruining the arch. I was thinking cutting along the line where the flat of the wheel arch lip meats the curved bit, curving the lip in and then bashing the curved bit flat and reweld it (if that makes sense). But for some reason I can’t see it working in my head. Any ideas? |
| |
|
|
teaboy
Posted a lot
   Make tea, not war.
Posts: 2,125
|
|
Apr 25, 2023 18:02:18 GMT
|
|
Sounds feasible, Phil.
You will probably have to cut some slots in the wheel arch return lip as well, to get it into the position you want it.
|
| |
|
|
|
|
|
Apr 25, 2023 18:13:39 GMT
|
Sounds feasible, Phil. You will probably have to cut some slots in the wheel arch return lip as well, to get it into the position you want it. 👍. I was going to use the shrinker for lip return. I saw a photo on here somewhere recently where someone had bolted a plate to the bottom of their shrinker to use as a handle and make it mobile. I can’t remember who it was, but I’m stealing that idea (if I can fit it in the arch) |
| |
|
|


