Well. Today I was industrious! Maybe not efficient, but industrious.
I had a full day free, so figured it was the best time to do the service items that needed doing most, as I figured it might take me a while.
So here is an engine. It goes vroom.
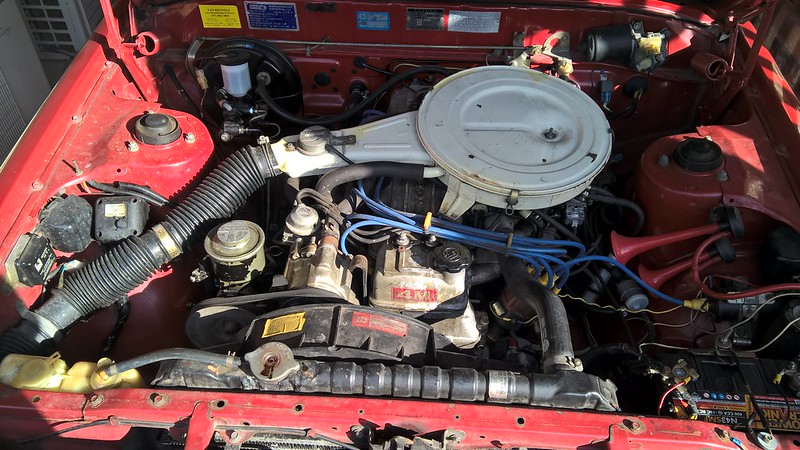
To start off nice and easy, I decided to check the air filter to see if I needed a new one.
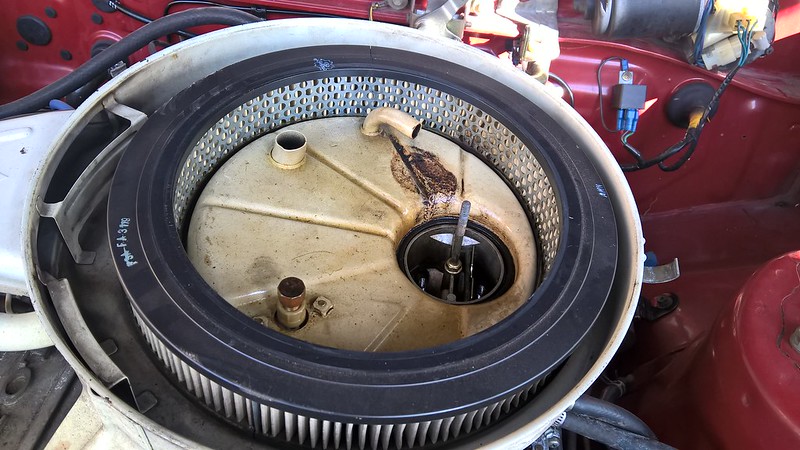
It's probably about due, I guess. But not urgent. Look at that oil splurge, though. Nice!
I looked at the flappy paddle that is attached to the bit that makes it go vroom.
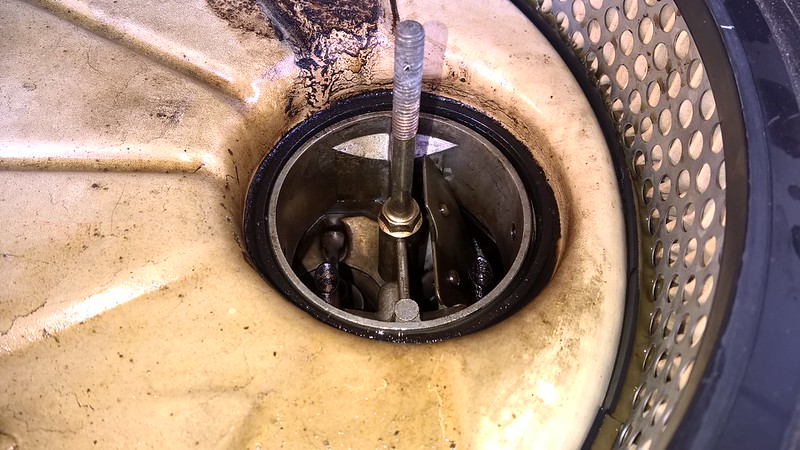
I noticed that it gets a little stuck after throttle is engaged. A bit of carb cleaner would probably fix that!
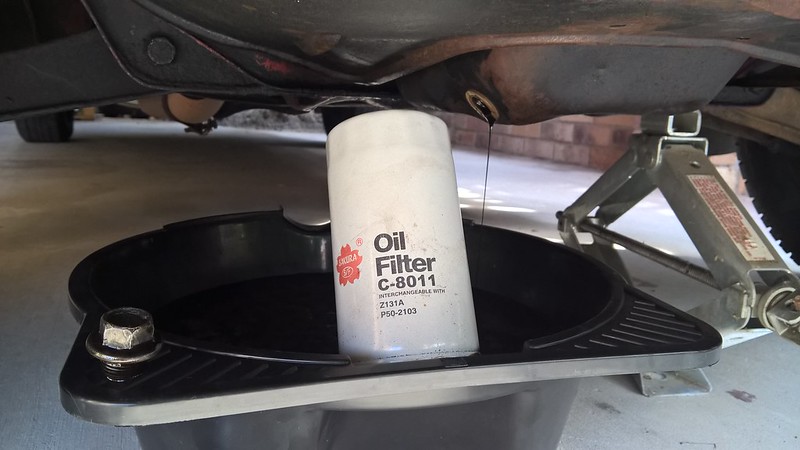
Anywho, jack it up, drop the oil. Look, a Japanese oil filter!
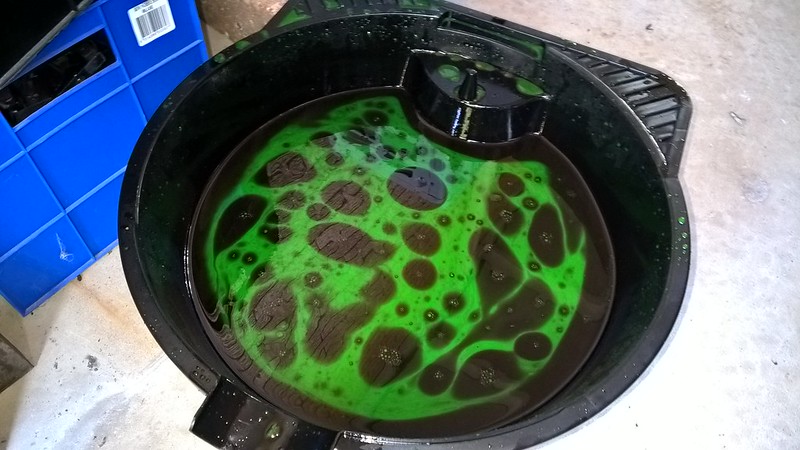
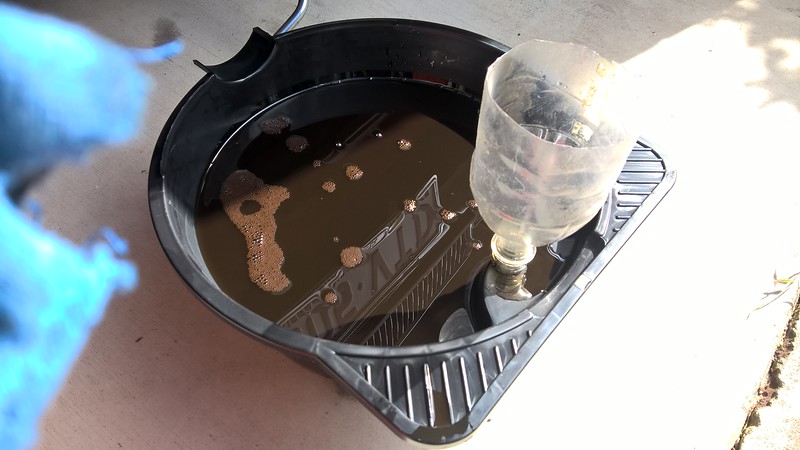
Oil looks...great.
Spark plugs next. Cylinder six: No problem! Once I went to work and got a spark plug socket as I couldn't find mine.
Cylinder five: Problem! The lead came out of the boot, and I couldn't get the boot off the plug! And I had no pliers that I could find anywhere.
I knew where MINE were. Down the shed next to the Minor.

So back to work I go, to get a cheap pair of long nose pliers. And swap a belt because I cleverly got a 13A and an 11A belt for the alternator.
Boot removed, I continued on my way, marveling at how tiny peoples hands must have been to seem like it was a good idea to put plugs underneath everything.
Then I got to cylinder one. Cylinder one spark plug is not very accessible.
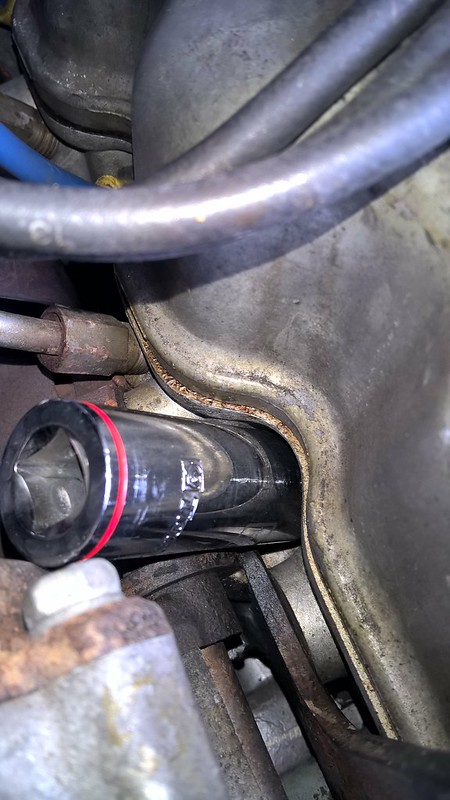
The smog pump or whatever it is, is slightly an afterthought, and thus, in the way. A quick google tells me it DOES clear the spark plug hole if you drop it on it's bracket (it's the tensioner for the power steering belt), despite it not looking like it will. So add in a bendy bit and I kept on keeping on.
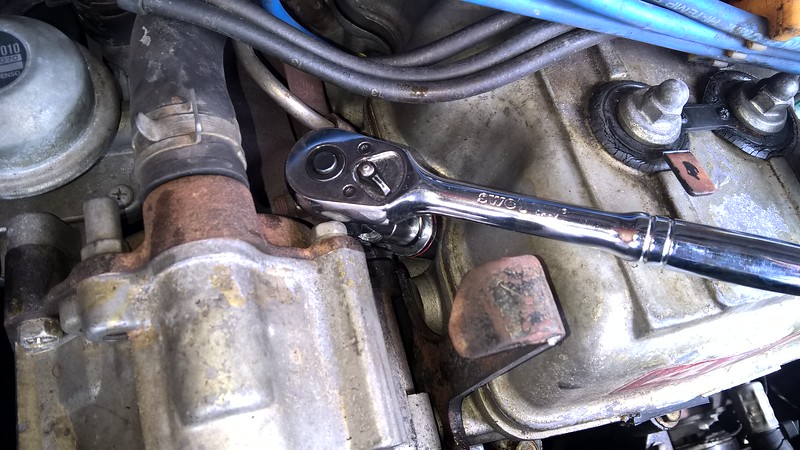
All plugs swapped. They all looked much like this one.
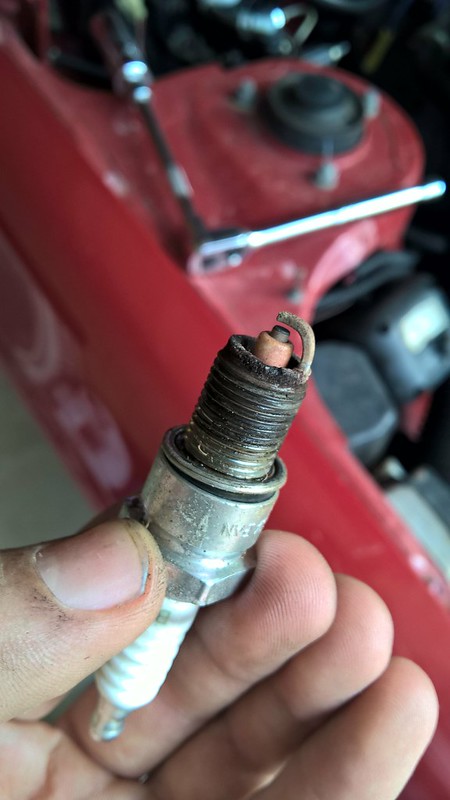
Plugs done, it was time to take a look at the belts and hoses!
Belts needed doing sooner rather than later, as they were not in the best condition.
Hoses were kind of soft and bulbous so figured with a flush and a new stat, might as well do hoses too!
The hoses were...fun. I got the top one off easily enough, although I had to pry it off with a screwdriver to get it to let go of the inlet.
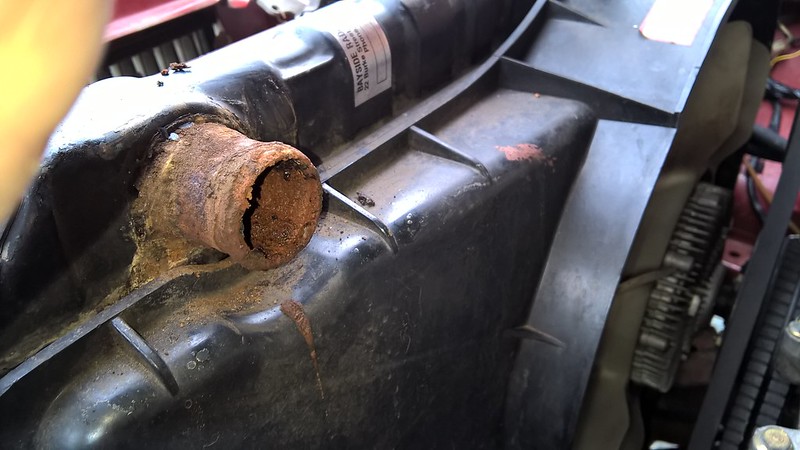
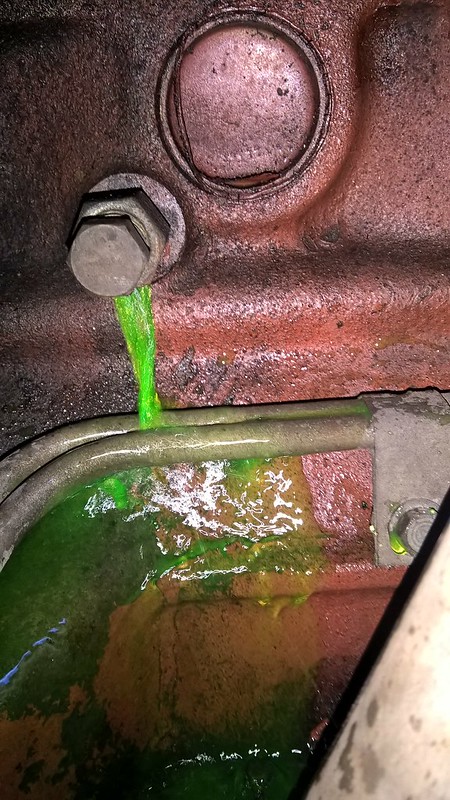
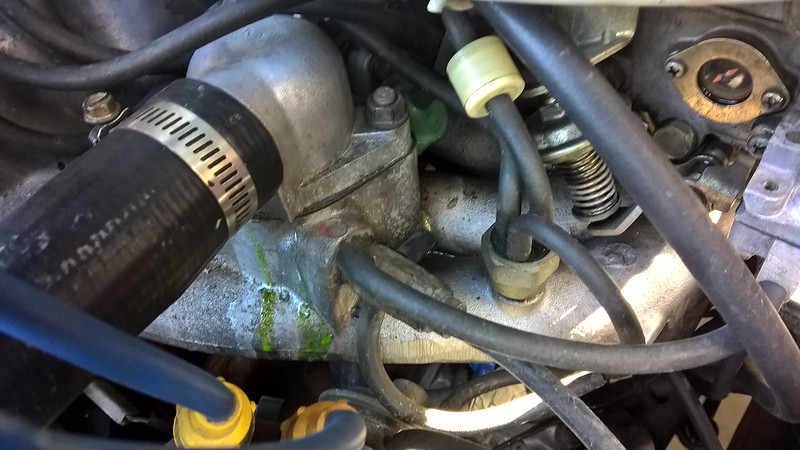
Hmm. Well, that doesn't look the best, does it?
The stat housing was crusty but cleaned up okay with some sandpaper. There is some heavy pitting in it, though. So will try and source a new housing when I have some spare cash.
The radiator side of things is pretty manky, though! I scraped a bunch of the crud off with a screwdriver and then sort of sanded it all back in to roughly the right shape...
The bottom hose was a completely different kettle of fish. To the point where I was questioning why one would put fish in a kettle in the first place.
The outlet is right against the wheel arch at the bottom of the engine bay, but tucked in a position where it's very difficult to do anything other than slip a brand new probably greased hose on to a brand new radiator outlet, and then use your tiny hands to tighten up the hose clamp.
The inlet to the pump on the other hand, is tucked up under all the gubbins on the drivers side of the engine, including that fancy afterthought I had to move earlier.
I pretty much had to resort to brute force after removing the skid pan so I could get slightly better access. After sanding the outlets, of course. The top radiator one was by far the worse.
I think. I couldn't really see the bottom one.

New radiator is on the list, too!
So hoses off, stat swapped for a new one and a new gasket after cleaning up the mating faces, I rammed a hose up inside her and flushed everything out.
Or tried to.
Apparently the garden hose does not like to hold pressure, so every time I tried to get up underneath to flush from the pump/bottom of the radiator, the nozzle would fire off and EVERYTHING would get wet.
This made me wet and angry, so I gave up and just flushed it back from the stat housing and forwards through the radiator.
Because the stat housing exits directly above the distributor, I thought I'd be smart and remove the leads and wrap the cap in a plastic bag so it didn't get wet.
Uh oh! He forgot the order or something, didn't he?! I hear you chuckle.
But no! I labelled them! And started to mark the cap, too until I noticed it has markings on top of it, haha.
But I noticed a lot of... calcification? inside the hole for lead number three.
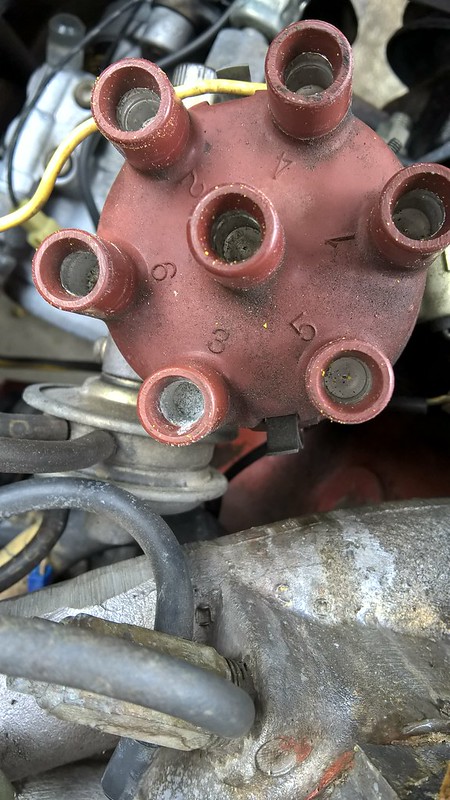
I'm assuming this is a BAD THING, and thus should be rectified. I already have a cap organised, I just need to have enough money to pay for it.
For now, I cleaned it out as best I could.
I turned my attention to the belts. There are four! With a lovely big viscous fan in the way of easy removal.
I already knew how to remove the powersteering one. Just got to ease off my favourite smog machine.
Next off is the airconditioning belt. That was relatively easy to work out, one pulley is on the compressor, one is the crank, so the last one must adjust it.
Took a bit of a beating to free it up the point where it would move, but it's all good now.
The last two belts are the main ones, and the ones I was keen to get sorted to see if it solves my alternator light problem.
Oooooh this one was fiddly.
So there is an adjustment screw, below the water pump, which moves the alternator. It is a 10mm nut that you need to jam a spanner in to the fan to be able to move.
It was a sllooow process loosening it up enough to get the belts on and off, but I got there eventually. Then I had to find a crowbar to lever the alternator back down tight as I couldn't get enough leverage with my hands or a screwdriver. I also had to go back to work for I think the fourth time, as the airconditioning belt needed to be about 10cm shorter than it was.
Now all the belts are new and nice and tight.
This done, I started to fill the radiator back up.
Now this bit has got me a bit stumped.
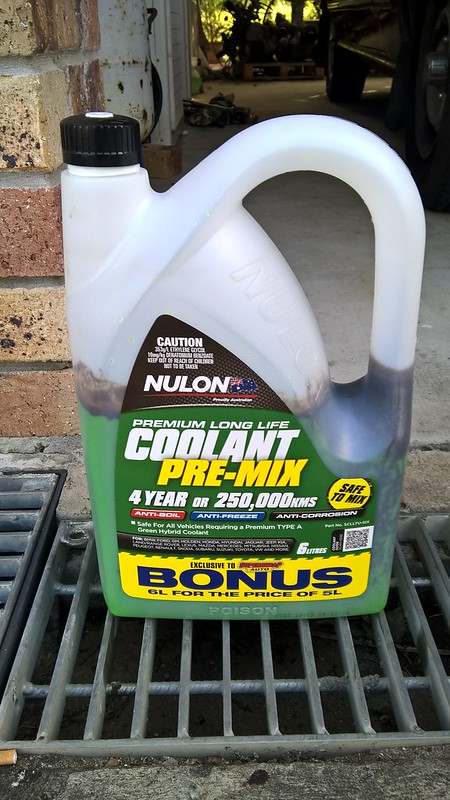
The system is meant to take 11L, I didn't measure how much poured out on to the ground.

But I barely got 5L in to the radiator before it was full. So I squeezed some hoses and didn't get much better.
I figured I'd have to bleed it while running, but I thought I'd get more in to it. Like, most of another bottle, more.
So I made sure everything was tight, put my ignition leads back on and fired her up.
She idles better now while cold, so new plugs must have helped some.
Got up to temp a bit faster, too.
But even at temp, there's no bubbles coming out of the radiator cap hole and there's only slight movement across the top.
This seems like waterpump to me but I can feel it chugging along through the hoses?
But it still doesn't explain why I can't fit another 5L of coolant in it!
Any suggestions? I wanted to take her to work tomorrow but I'm a bit cautious as I don't know if she's got a massive air lock or something.
I jacked her up so the cap was the high point but it made no difference.
Oh, I put a new cap on it for good measure, as the old one looked like this.
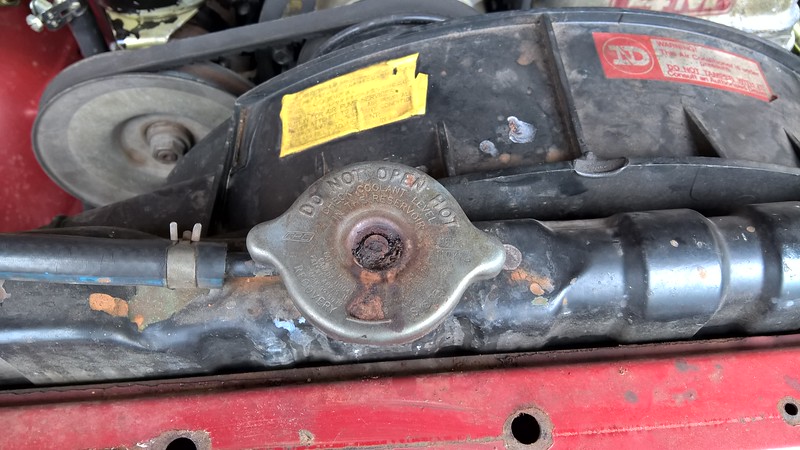
That's where I was up to after a whole day of faffing around. Was a bit frustrating how slow I got stuff done, but it's done now.
Sort of. I need to work out what the issue is with the coolant.
I ran her with the heater on and the air doesn't really get hot, so I'm not sure if that's even doing anything.
But she didn't move above her standard temp reading, whether there's enough coolant in there or not. :\
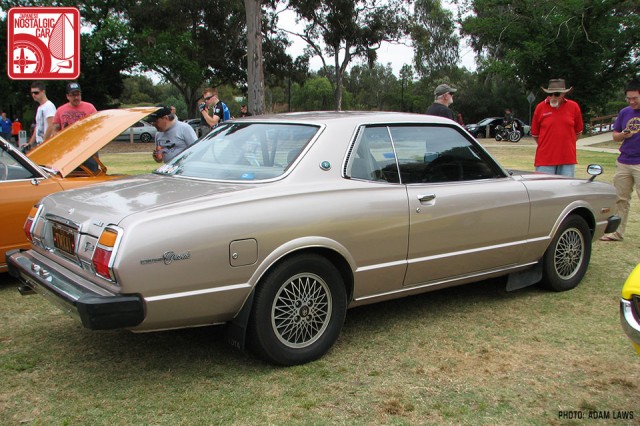
On a different note, I was having discussions about wheels with a few people today, not just for Seedy, but just in general.
I stumbled across this while doing a bit of research.
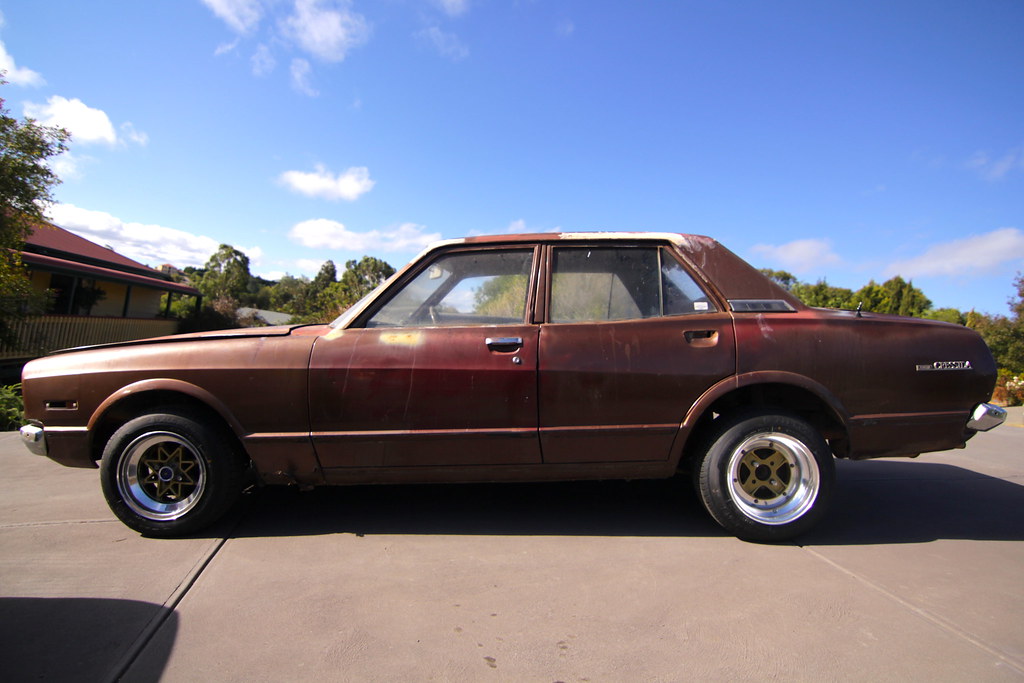
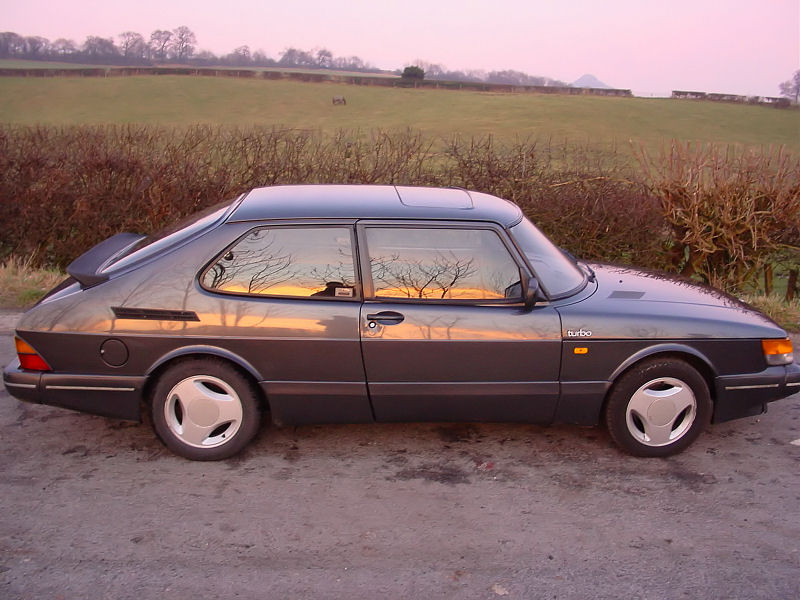
It's interesting how much difference sidewall makes, haha. Those are 14's same what I'm rolling on at the moment, just much smaller profile.
I think it looks bad.

Needs to be muuuuuch lower to get that to work. I don't think I can go that low, though. There is too many places I wouldn't be able to get.
As it is I have to come in at a mad 'look at me I'm so low I have to go sideways over speedbumps' angle to get in to the carpark at work. :\
I need to work out what I'm scraping on. It looks like it could only be the mudflaps but sounds like metal. Granted the mudflaps are very old hard rubber now.
Things to sort:
Coolant issue
Radiator
Thermostat housing
Distributor cap + internals
Oil hoses
Throttle linkage squeak
HIDs
Wash!
Cheers,
Matt


