|
|
1985 Honda Acty Show Truckfr€$h&m1nt¥
@freshandminty
Club Retro Rides Member 99
|
May 25, 2020 17:02:24 GMT
|
A bank holiday you say? With sunshine?! Get outta town! Let’s get the crates out!!! 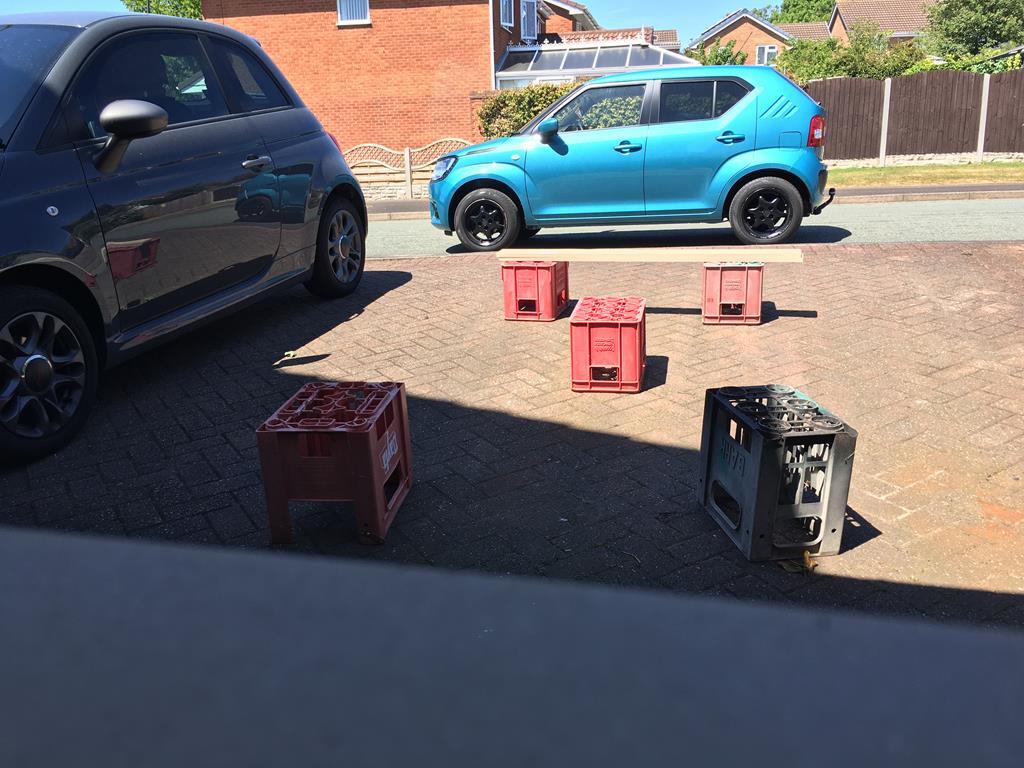 And put some MDF sheets on top... 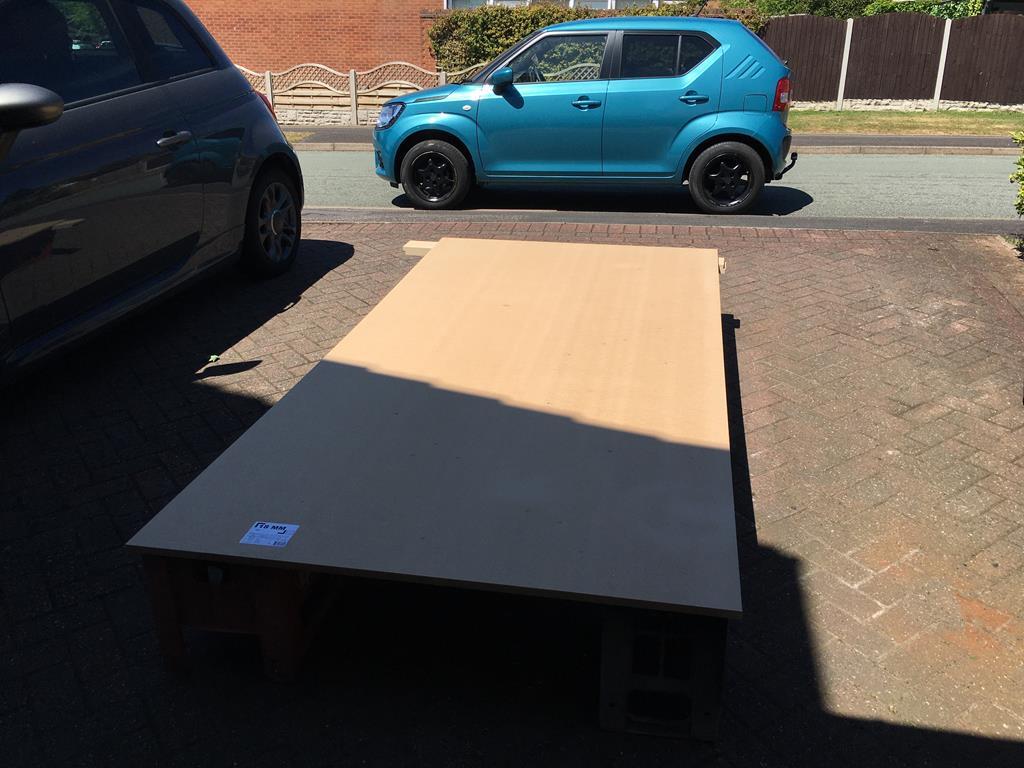 Manual saw to start off the line at the edge and b&d scorpion for the rest of the cut, width cut to fill width of bed... 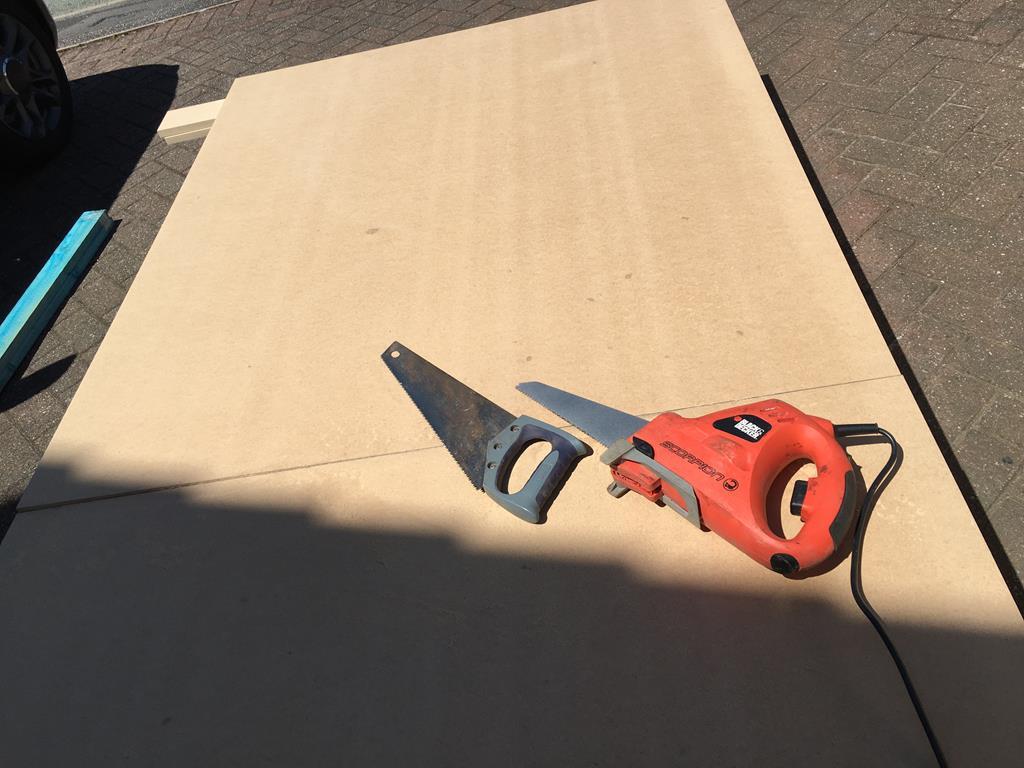 Length cut to maximise space before the engine cover... 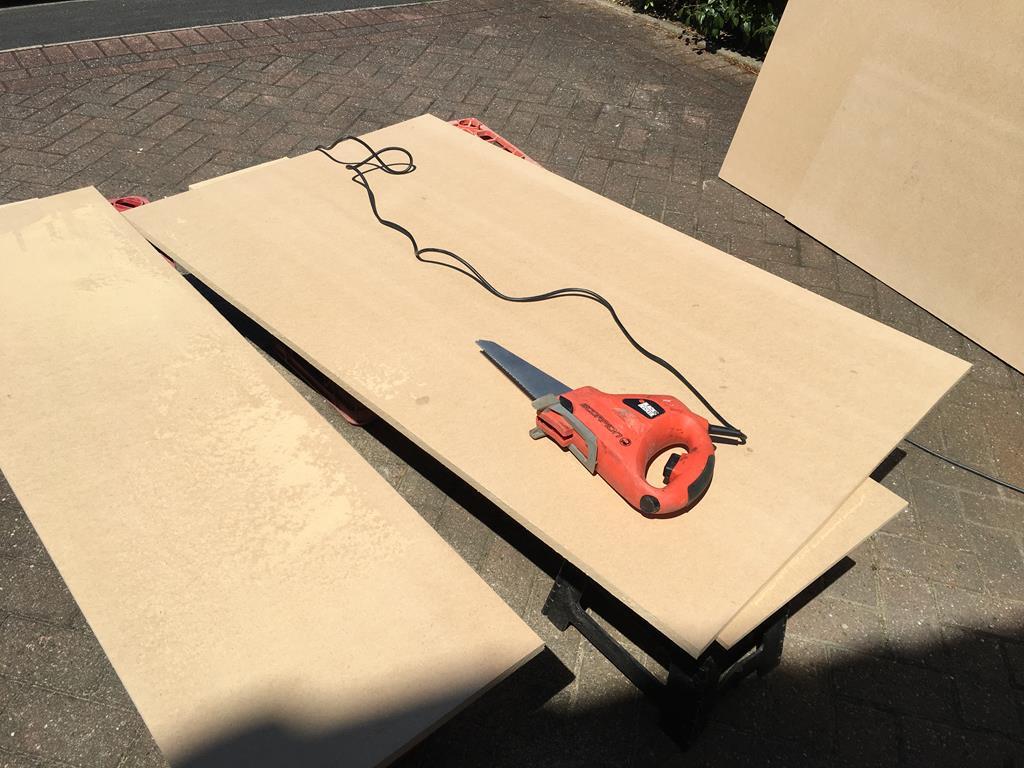 The original test piece placed on top to use as a template for holes and cut around for the hydros kit... 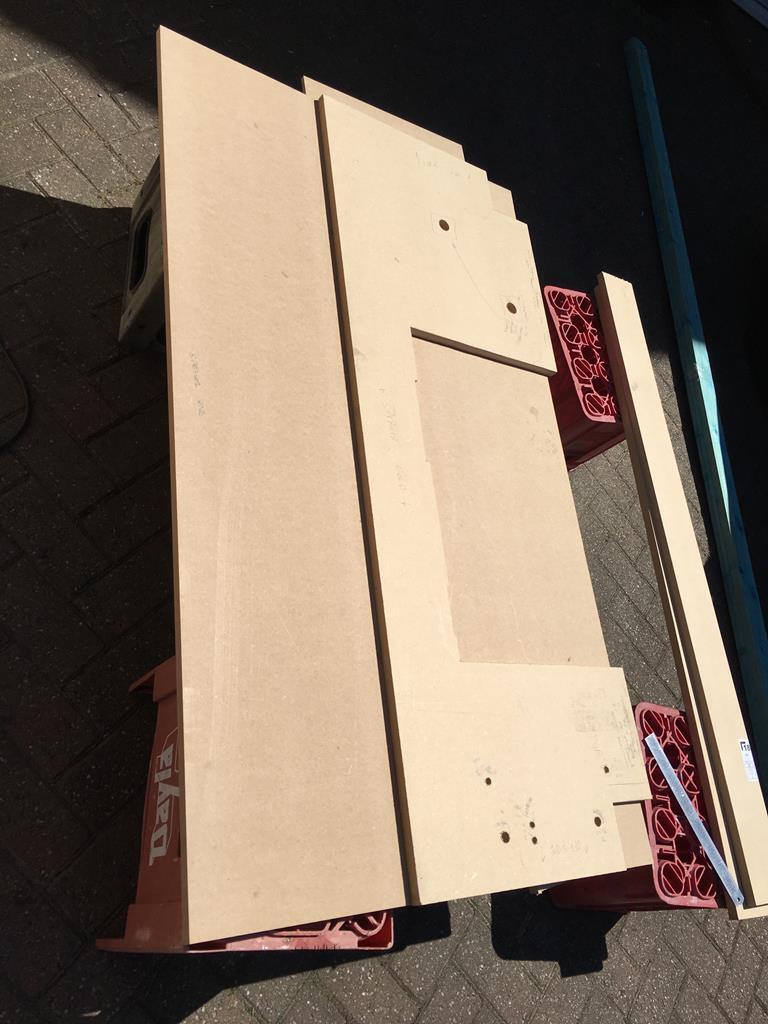 More later, got the bbq to do! |
| |
|
|
|
|
|
|
1985 Honda Acty Show Truckfr€$h&m1nt¥
@freshandminty
Club Retro Rides Member 99
|
May 25, 2020 19:15:37 GMT
|
Hydro kit space cut out and holes drilled for fixing points and cable access... 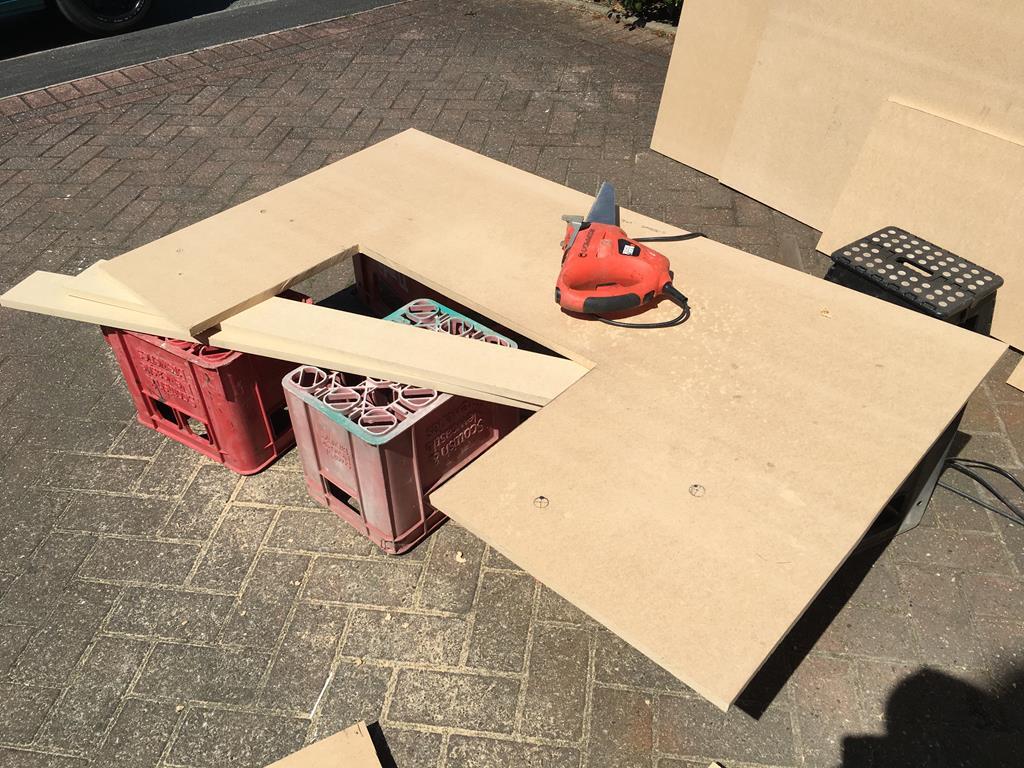 Next came the head spin of getting the corner cut outs right - it took a few attempts as I kept reversing the measurements. Luckily I kept thinking it through and when I looked at the drivers side and then back to the passenger side I realised my initial lines had gone in the wrong direction. It’s easier to rub out pencil lines than it is to start again due to a wrong cut! All photos from the passenger side to make it flow better but I measured the same both sides rather than just flip... 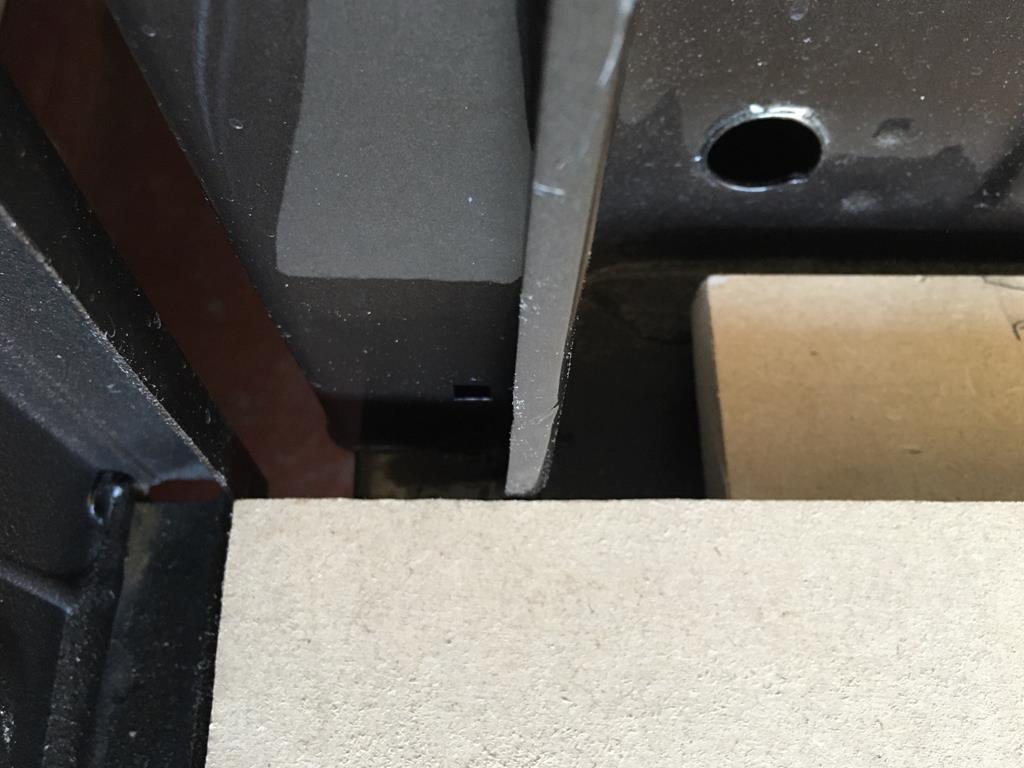 I used the contour gauge but decided to cut wider than this any way to give more wiggle room.... 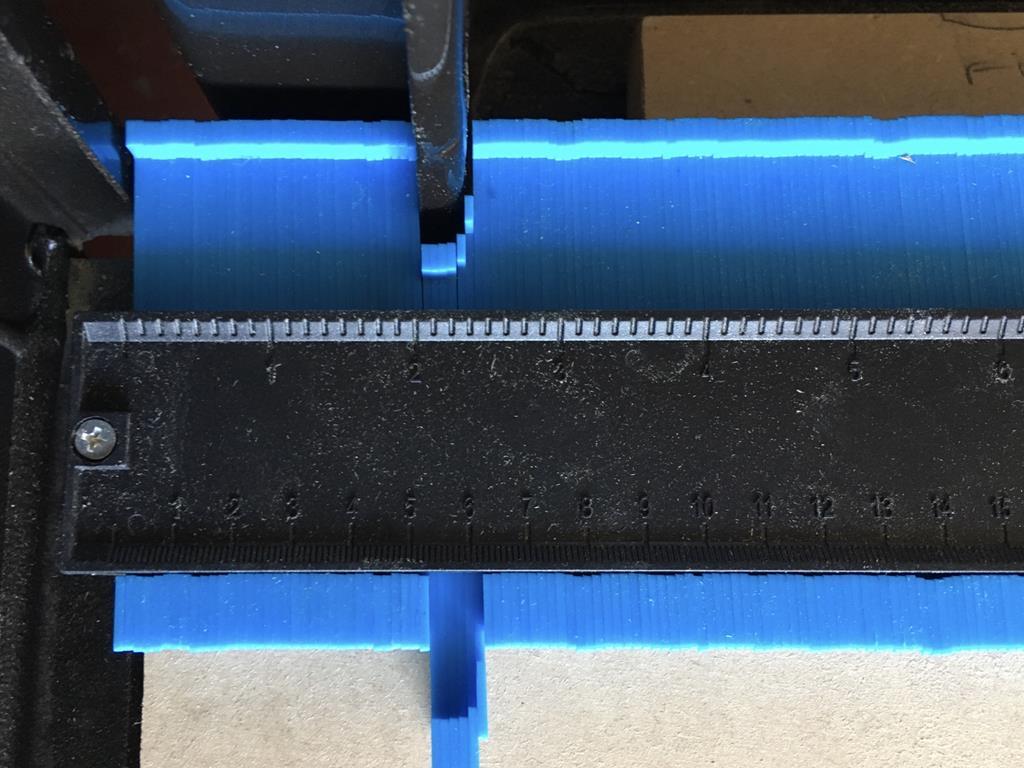 Final lines drawn... 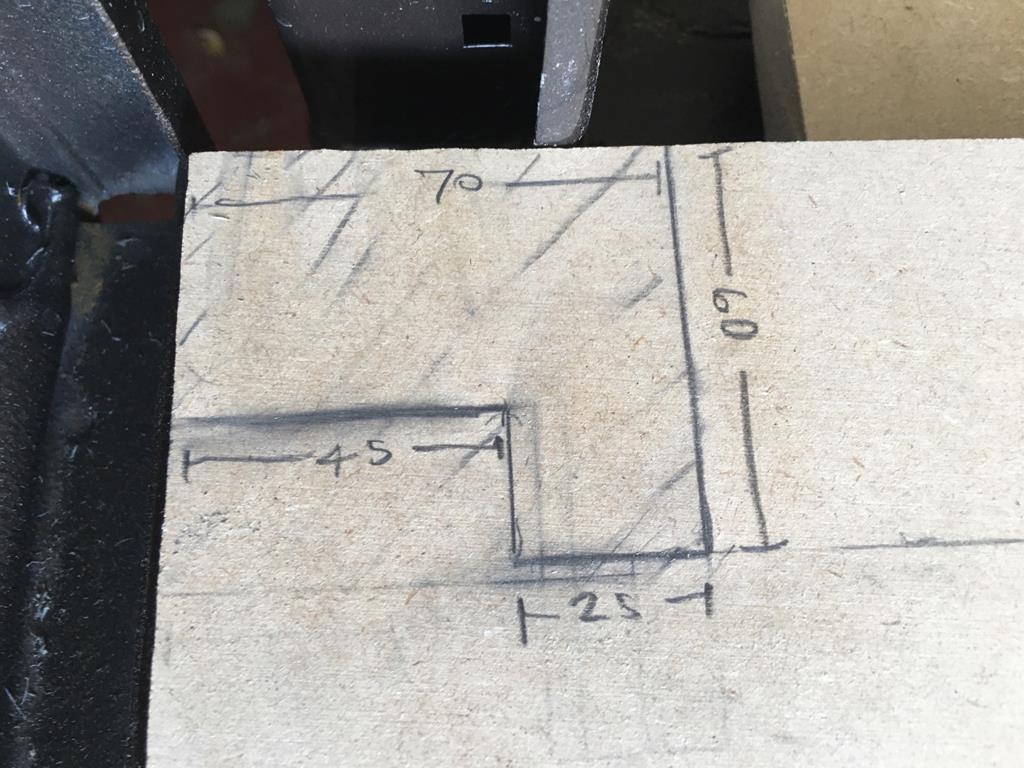 Originally I used a 25mm drill bit to give a curve but had to cut that out later as it wasn’t clear of the edges enough... 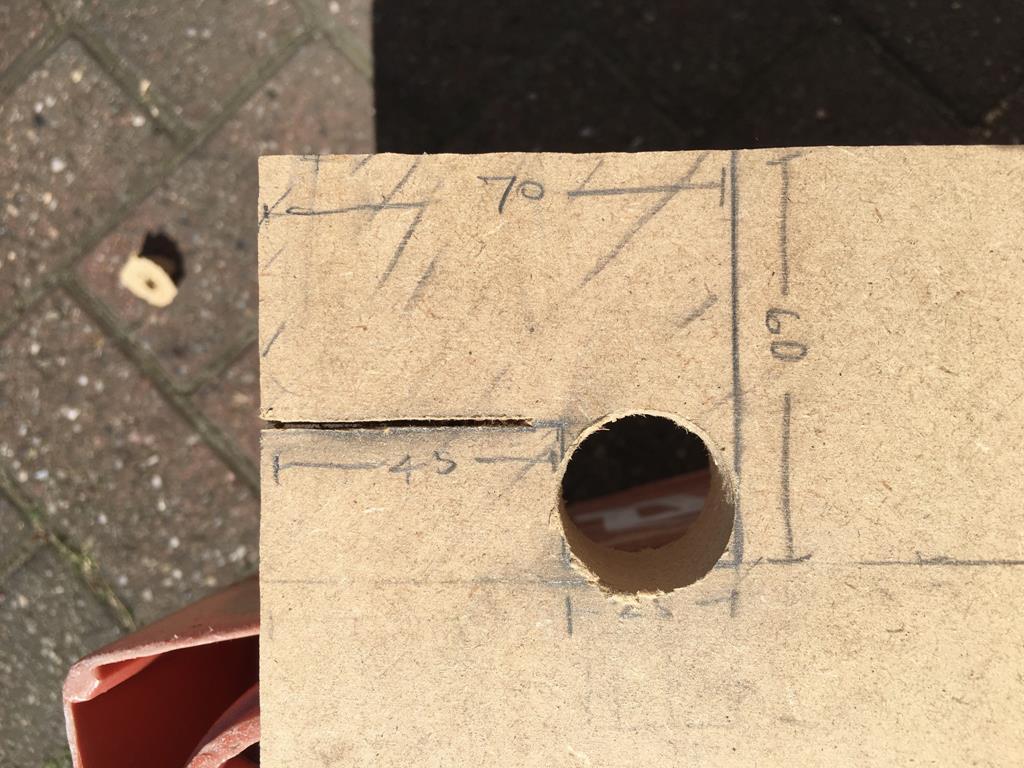 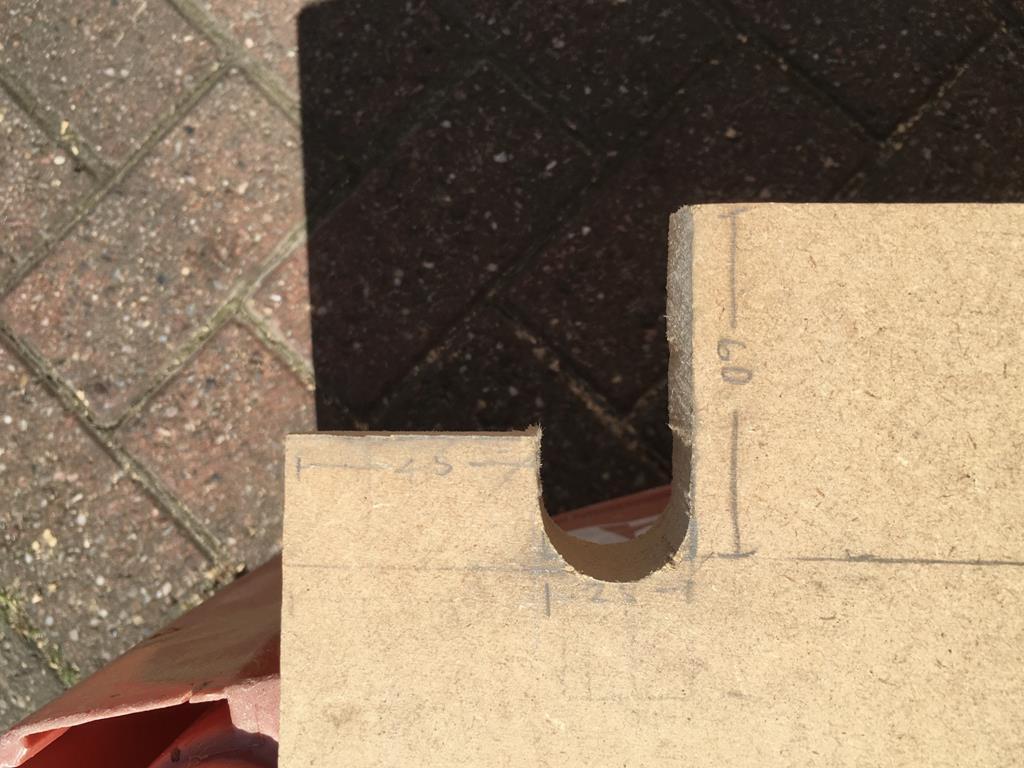 Base panel all complete with the exception of a hole required for access to top up oil, holes for fixing bolts and cable access all line up to the bed. 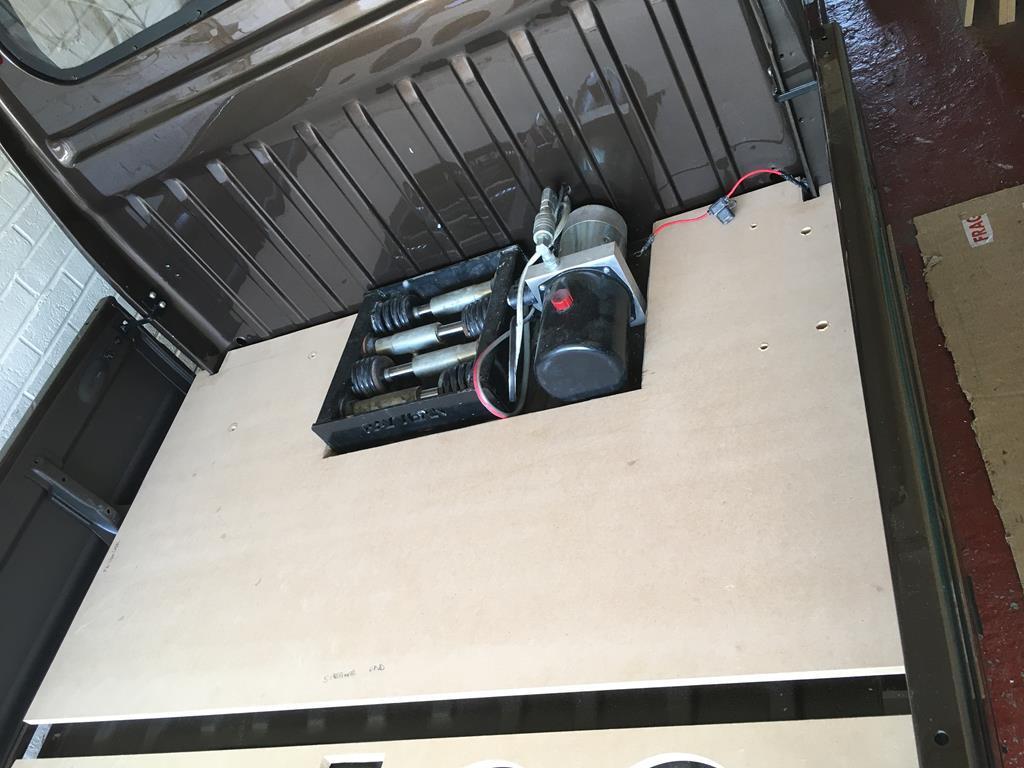 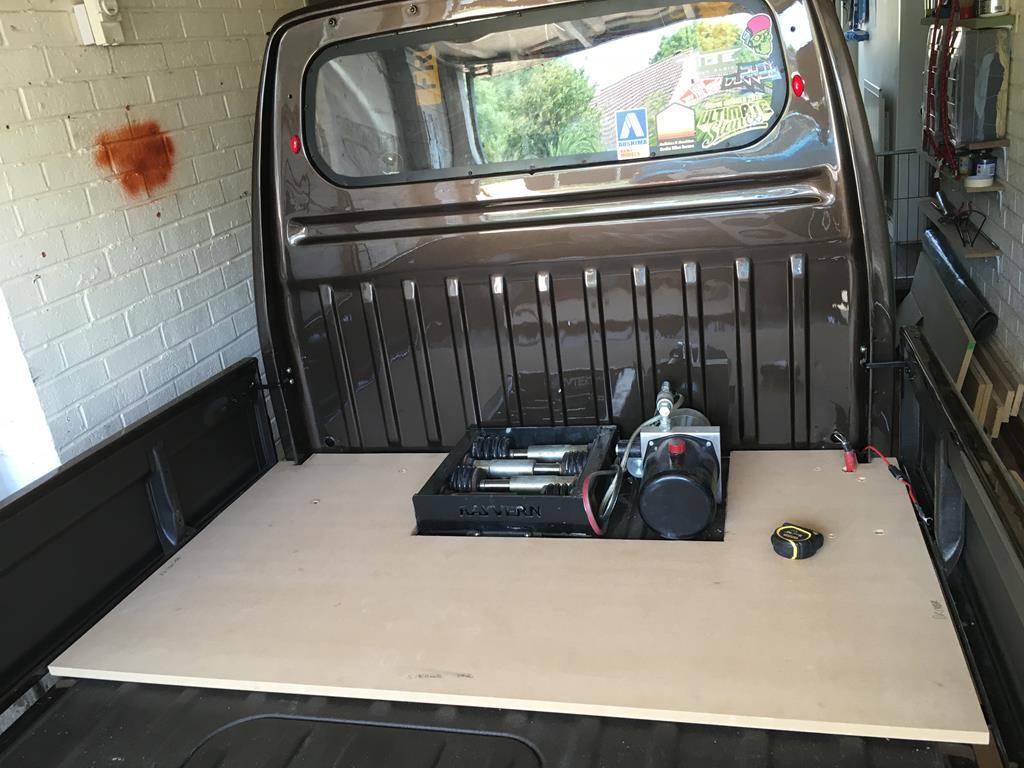 Next steps are to cut the side, cross, and back pieces before working on a top piece. A close up of the paint as it was fizzing and glinting and sparkling in the sunlight, probably not visible at all in a photo.... 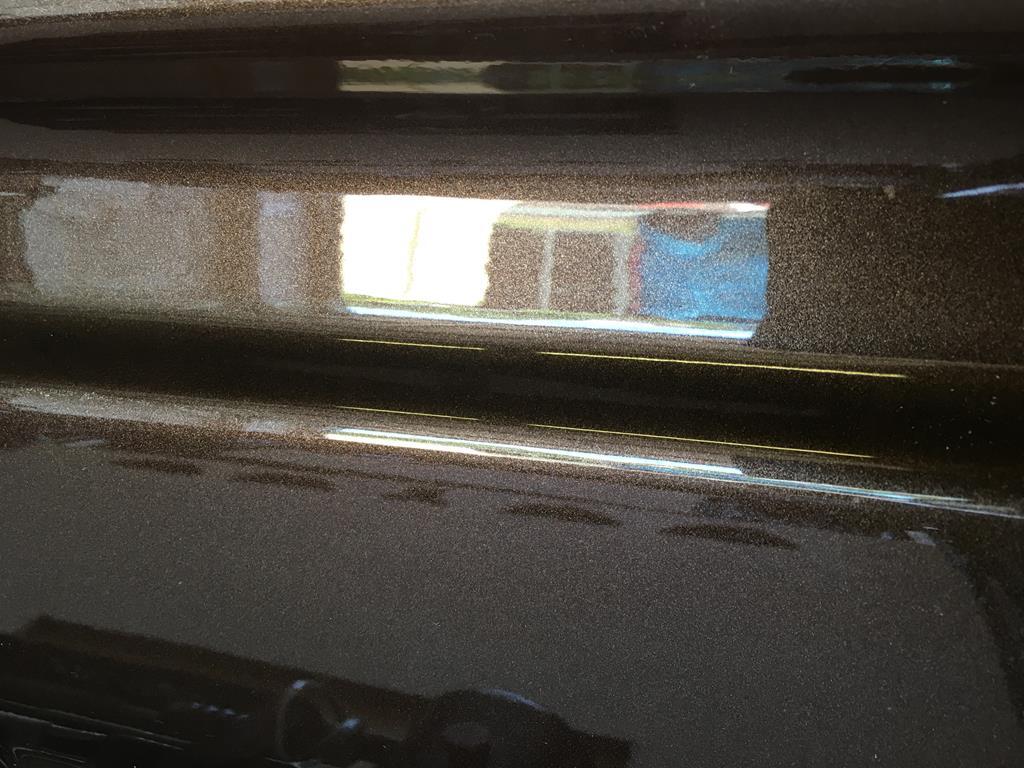 |
| |
|
|
|
|
1985 Honda Acty Show Truckfr€$h&m1nt¥
@freshandminty
Club Retro Rides Member 99
|
May 26, 2020 22:35:36 GMT
|
One advantage of having annual leave to use up but nowhere to go is getting the chance to have days off for tinkering. This gave me another 4.5 hours spent this Afternoon mostly looking and measuring and thinking but also a fair amount of progress. I’d originally planned to start this project last year so luckily got the pieces I’m using as the uprights cut to the right height back in the good old days when the b&q custom cutting service operated. The brackets you see in the photos are just temporary fixings to keep everything together while I build it in situ and once I’m happy with how it all fits together and that everything is accessible and there’s space for everything I’ll glue the panels in place and bolt in beams in the corners. Back board done... 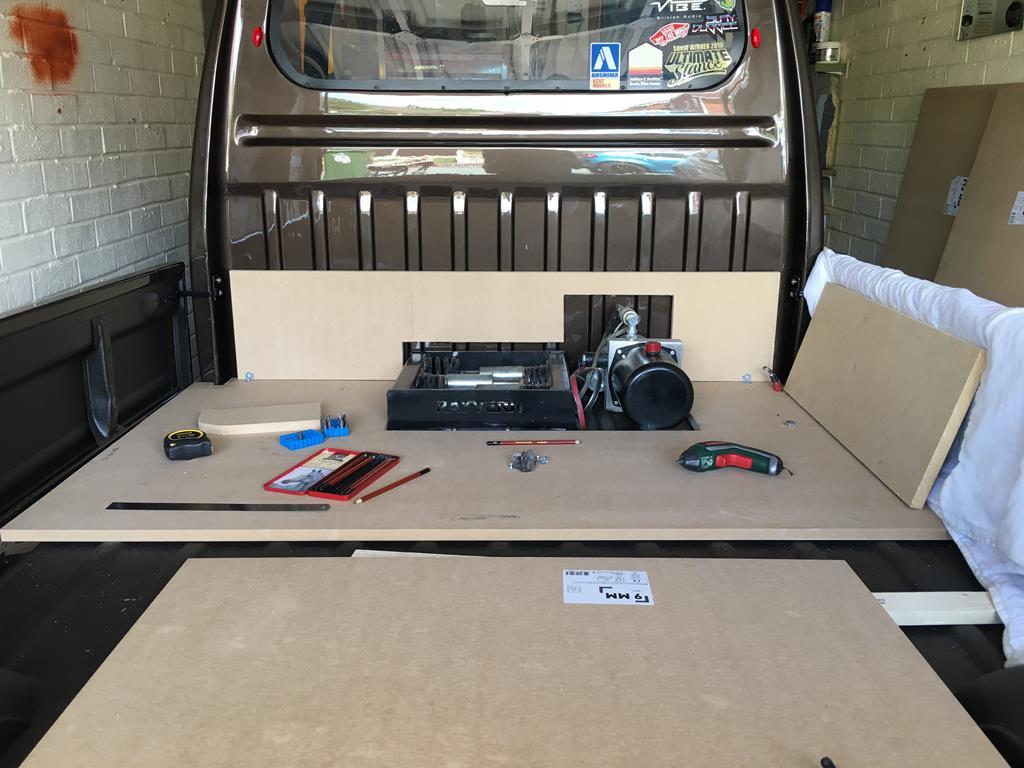 Temp fixed... 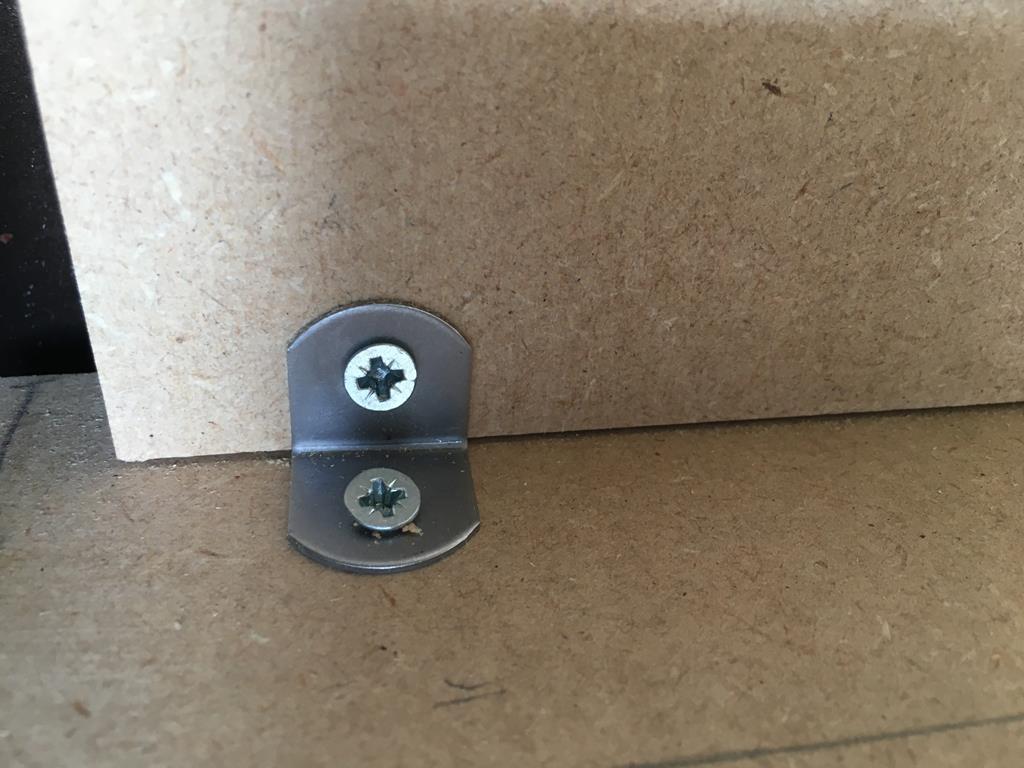 Corner piece cut...  Next piece needed a recess where the extended drop side bracket sits so out came the router... 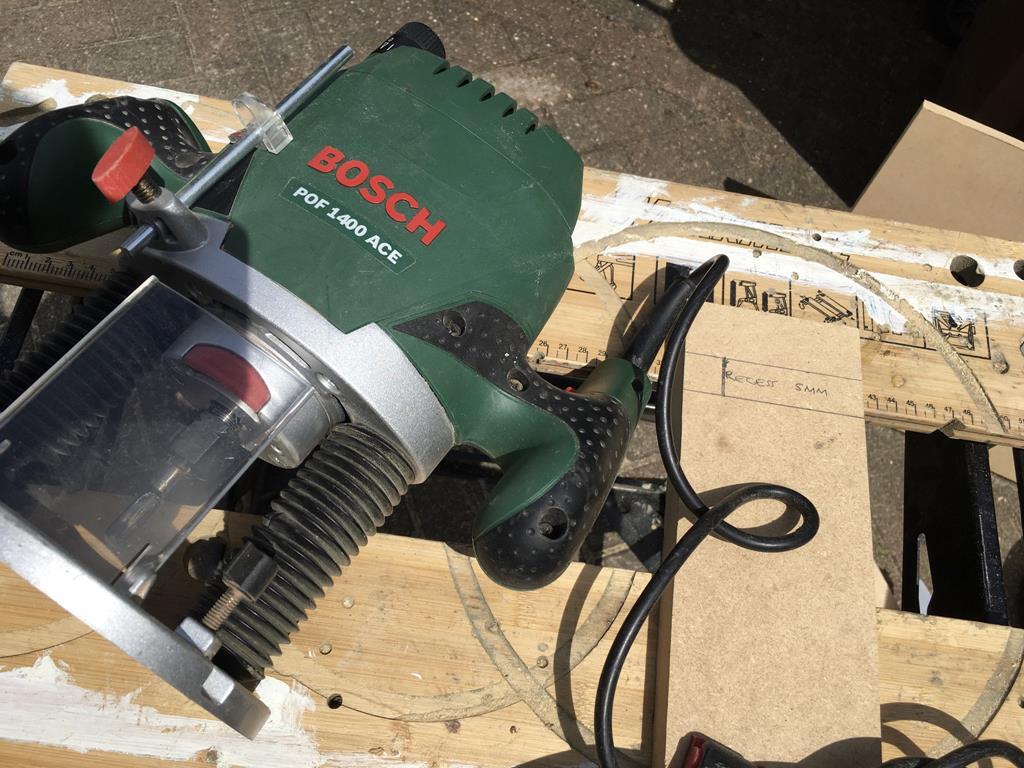 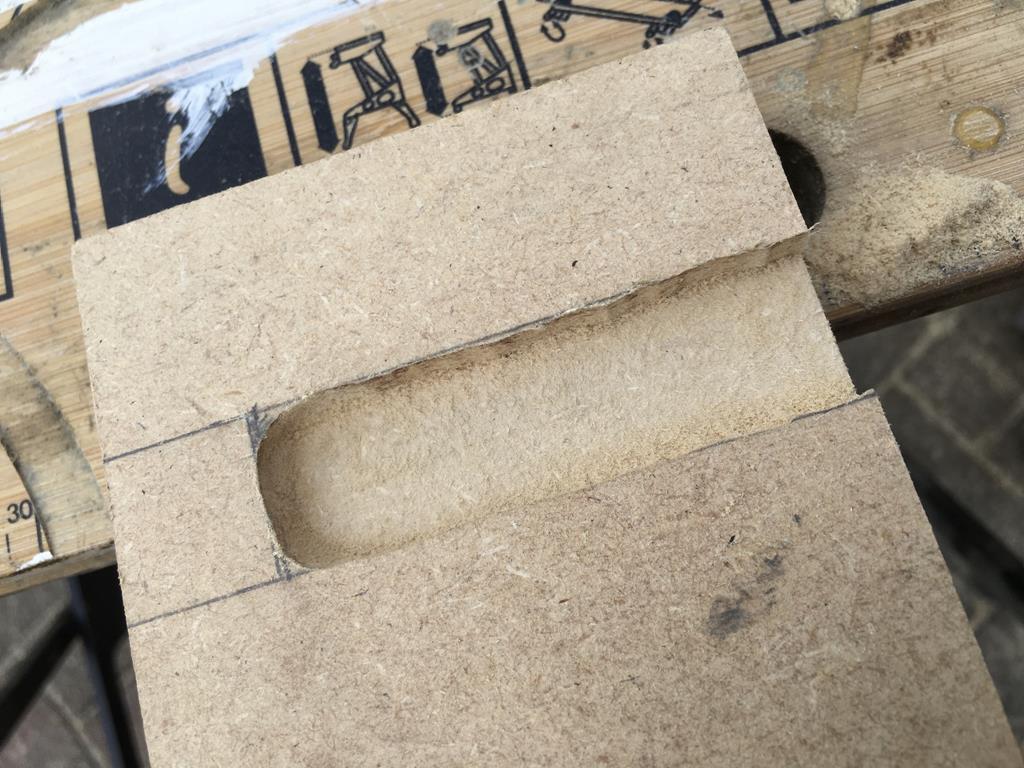 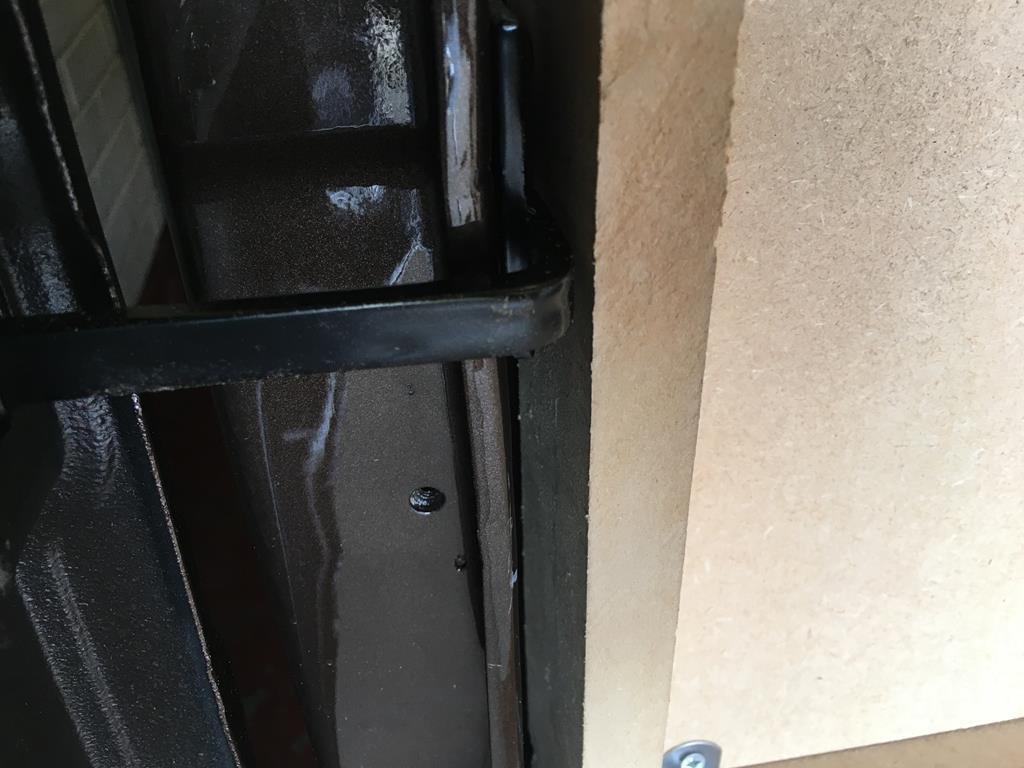 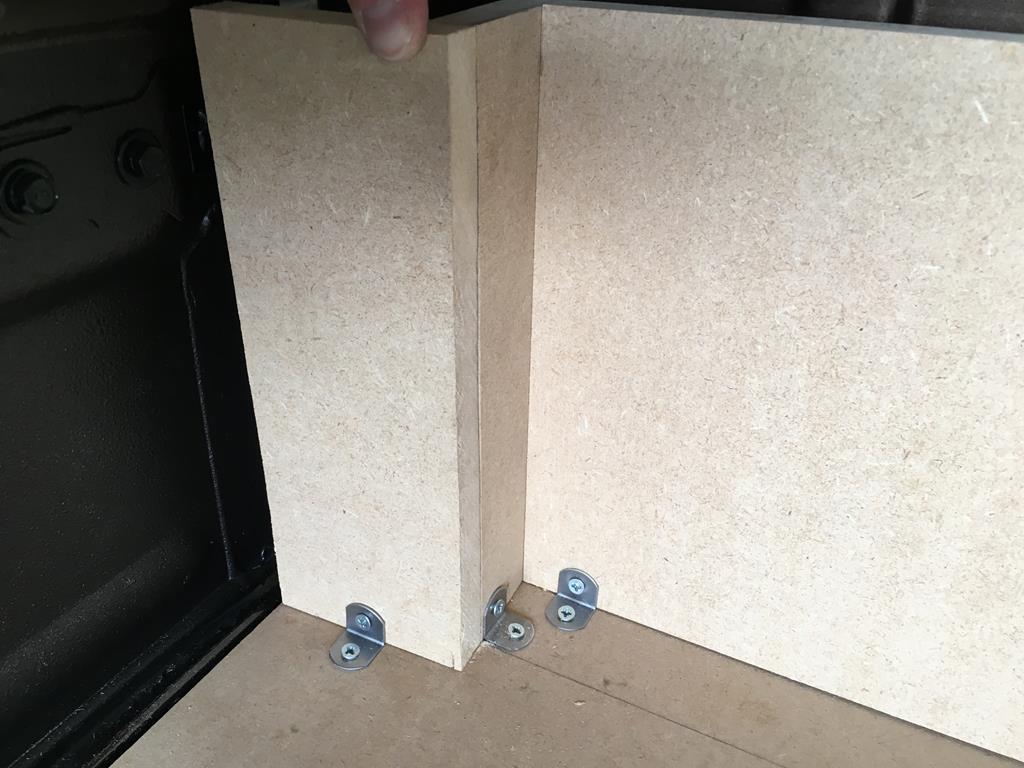 Front panel temp secured so I could measure the side panel needed... 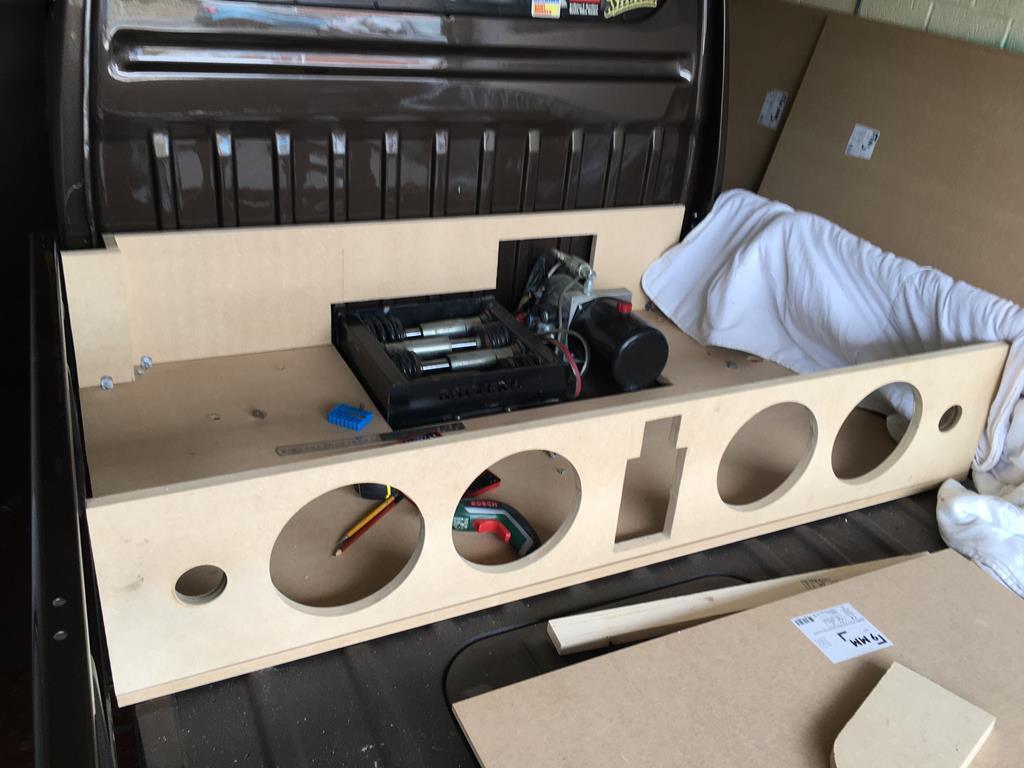 Nearside side panel cut and temp fixed... 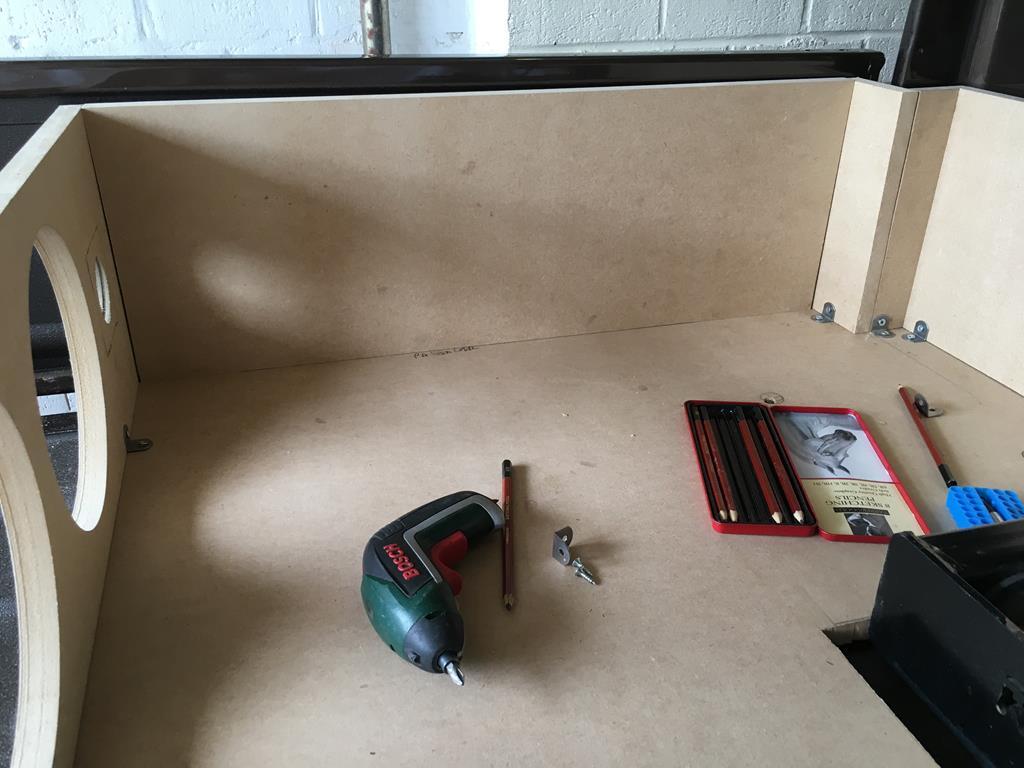 Then the same on the offside... 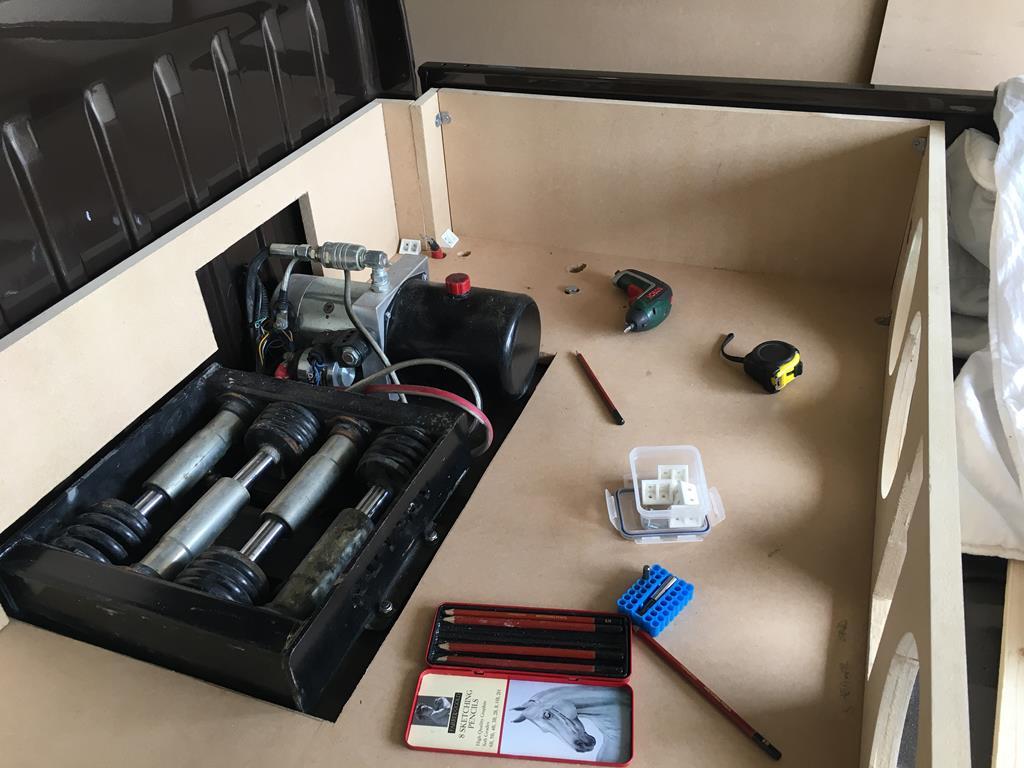 The board that divides the speakers from the other area was then cut and positioned whilst I worked out best locations for various items seen in the photos... 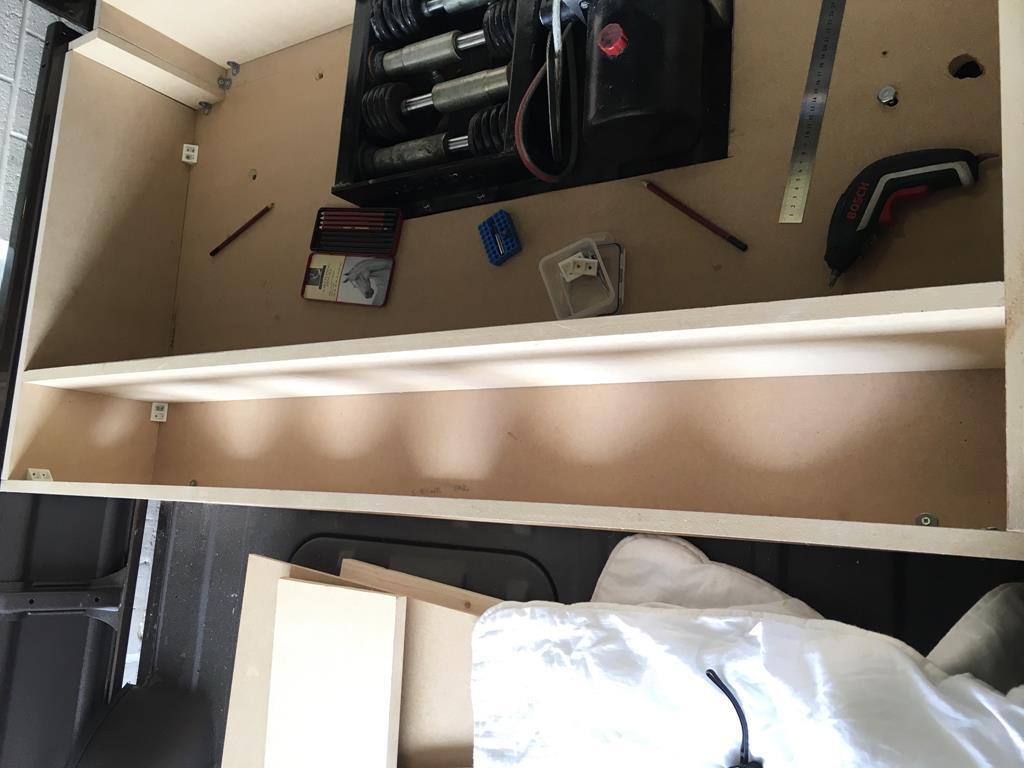 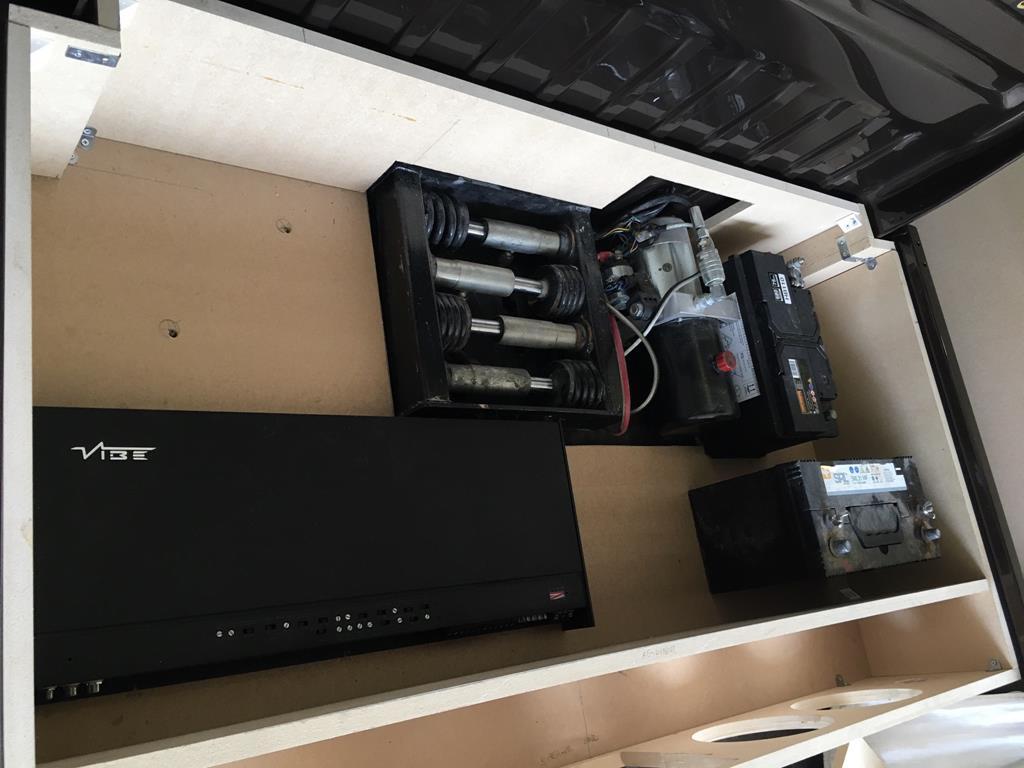 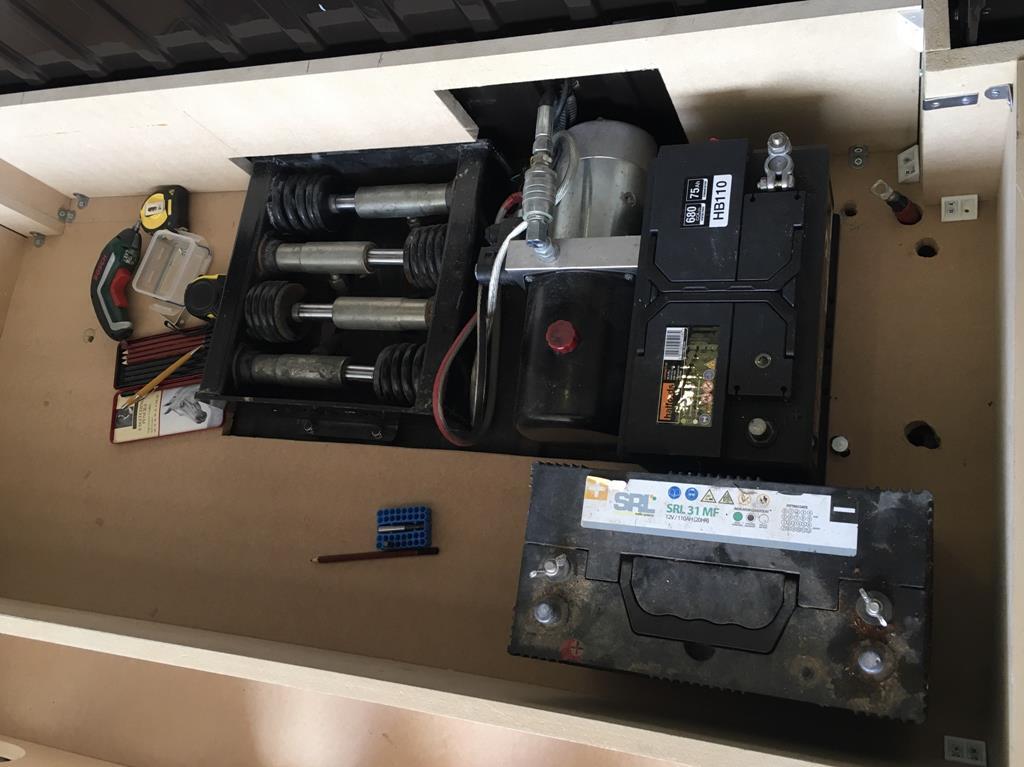 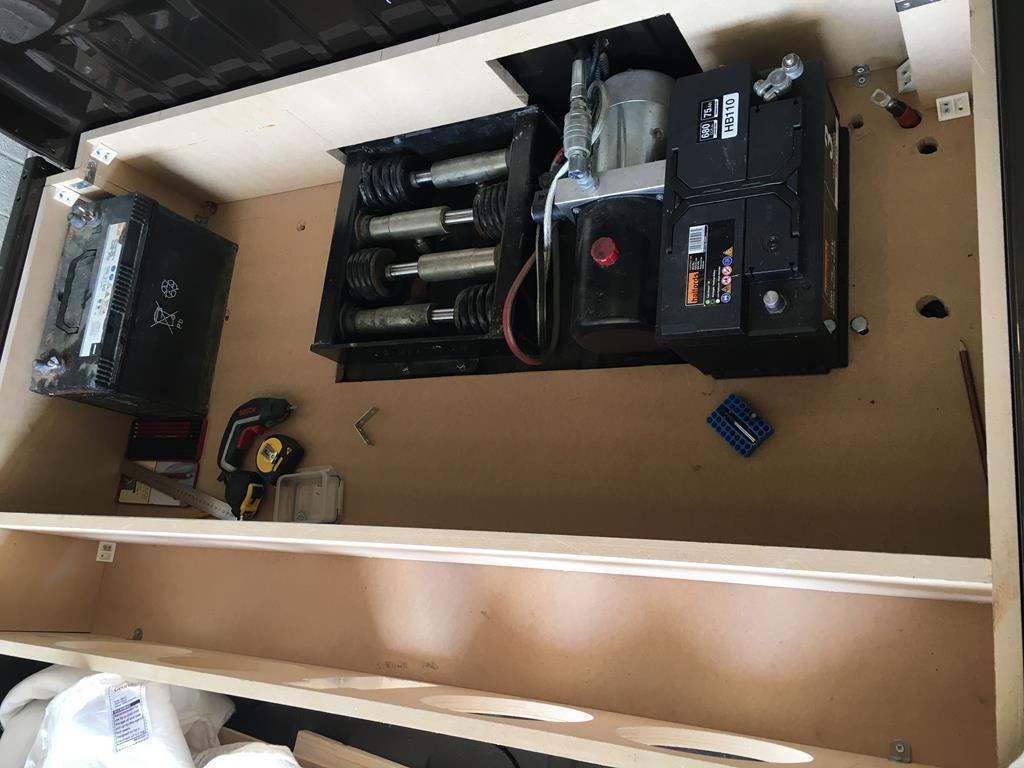 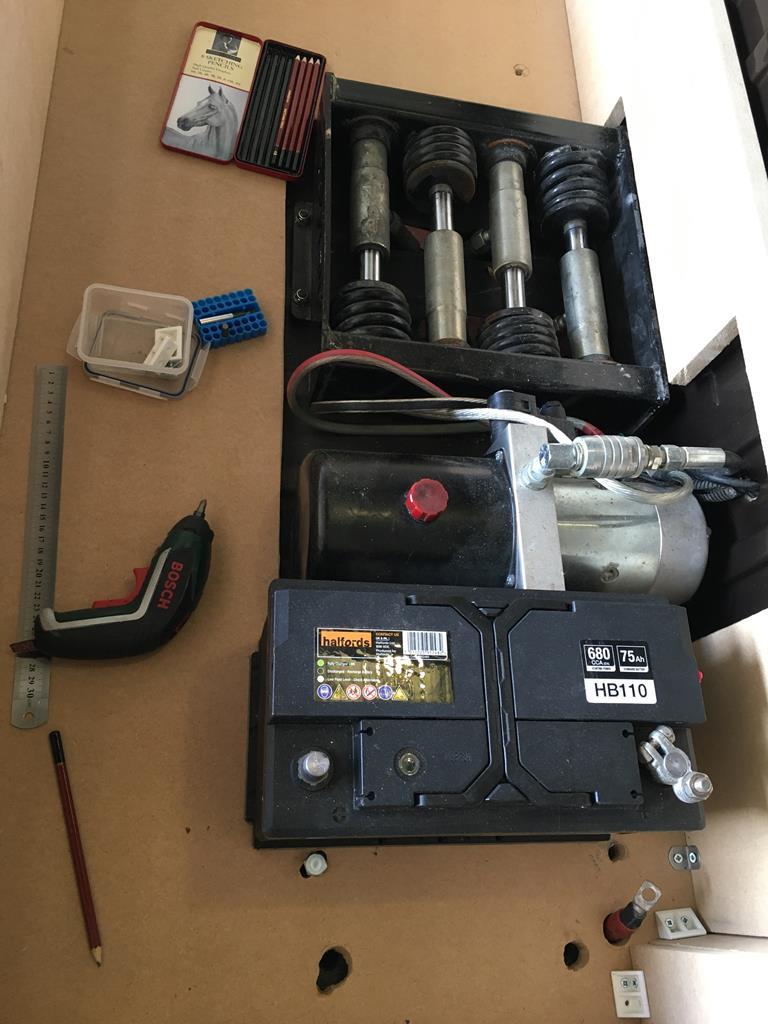 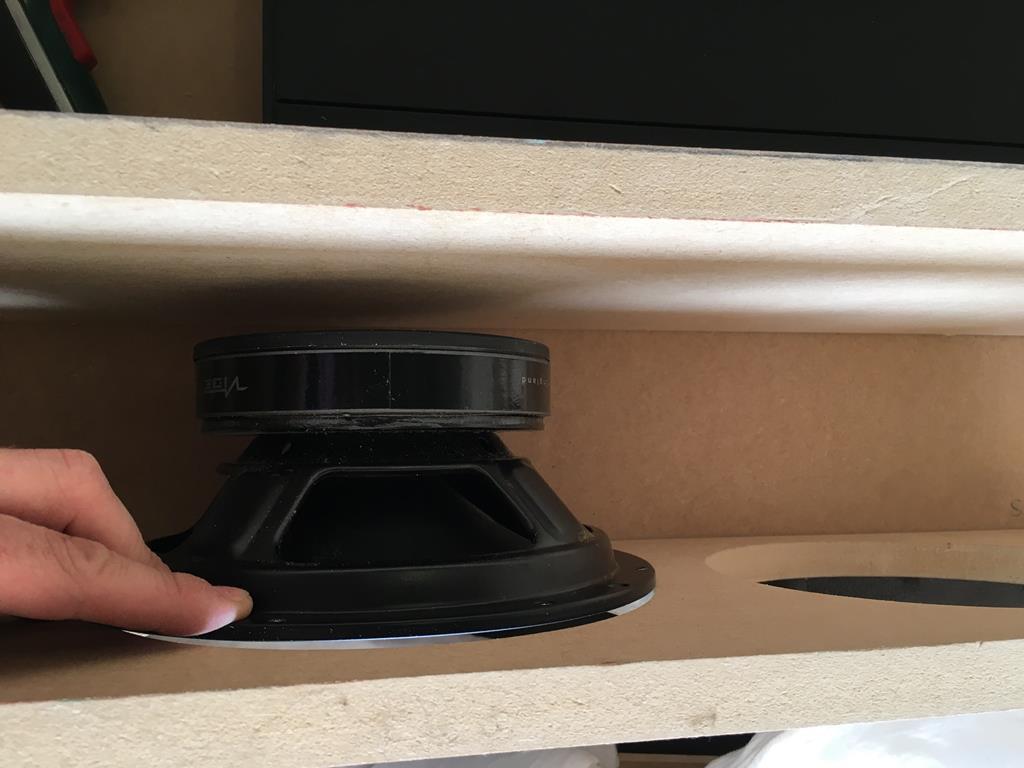 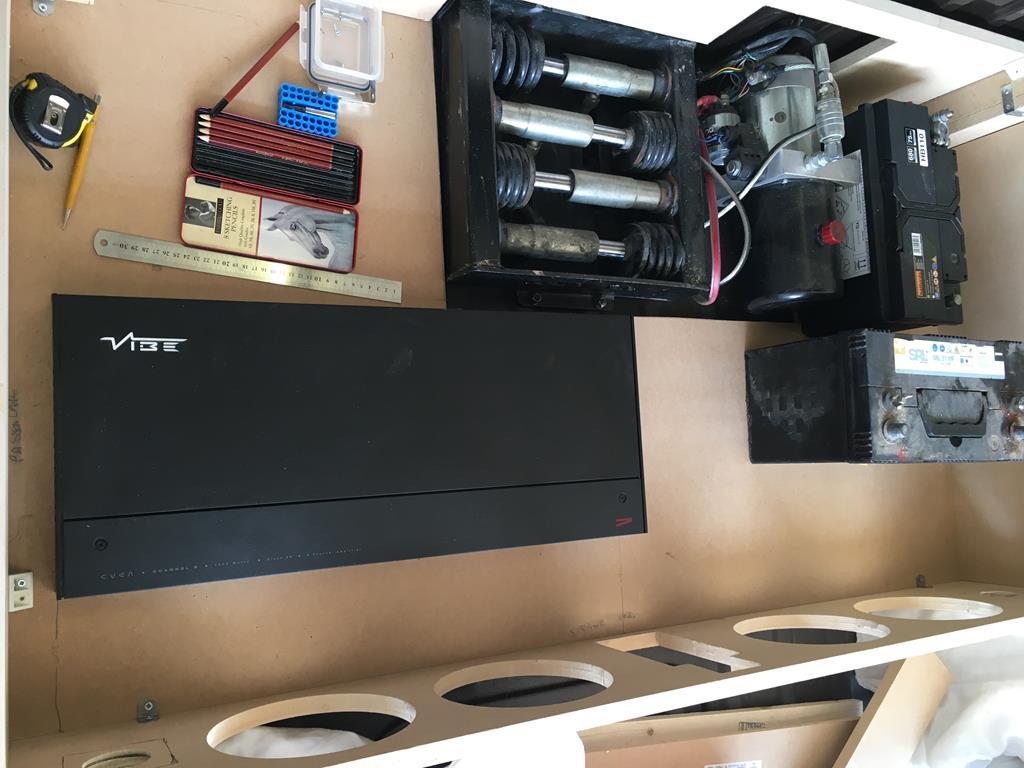 I think this will be final positioning, the board behind the speakers will be removable for access in case any speakers need swapping out... 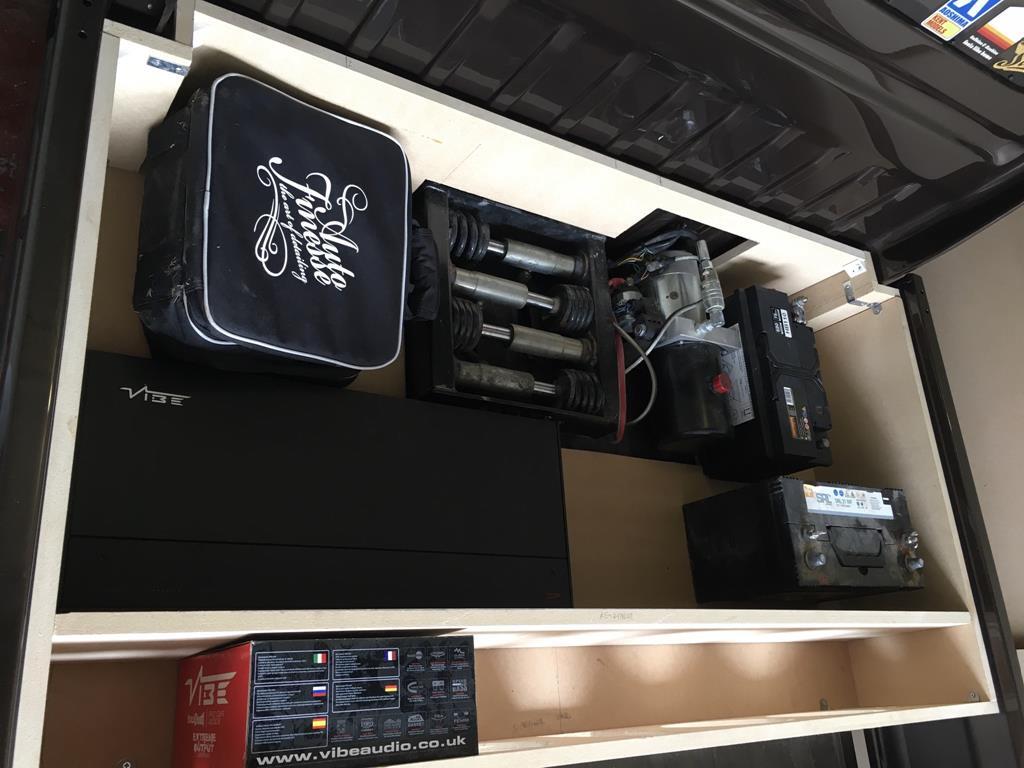 I don’t think I’ll do any more tomorrow but should get chance to do the lid sections on Thursday. |
| |
|
|
sjp001
Part of things
 
Posts: 19 
|
|
May 26, 2020 23:02:58 GMT
|
|
Hey, I just wanted to say it's really cool that you often choose vehicles that many don't give a shot, then prove that they can be really cool with a little (a lot of) work. The acty is really the culmination of all this for me as you have just gone for it. Just to say nice job. Also I'm sure you've thought of it but if you decide that your bed enclosure works well then it could easily be copied in welded alluminium/steel/stainless + some rubber seals to make an all weather affair. Keep up the great work, enjoying following the build!
|
| |
Last Edit: May 26, 2020 23:03:33 GMT by sjp001
|
|
|
|
1985 Honda Acty Show Truckfr€$h&m1nt¥
@freshandminty
Club Retro Rides Member 99
|
|
|
Hey, I just wanted to say it's really cool that you often choose vehicles that many don't give a shot, then prove that they can be really cool with a little (a lot of) work. The acty is really the culmination of all this for me as you have just gone for it. Just to say nice job. Also I'm sure you've thought of it but if you decide that your bed enclosure works well then it could easily be copied in welded alluminium/steel/stainless + some rubber seals to make an all weather affair. Keep up the great work, enjoying following the build! Thanks for your comments.  Funnily enough the thought hadn’t even crossed my mind to get an alloy one made up using this as a template. Although this will be all weather once I’ve waterproofed all of the wood an alloy one would be a lot lighter so something to think about in future. |
| |
|
|
|
|
|
|
|
|
That’s a lot of work.
Looking smart.
Well done mate.
|
| |
|
|
|
|
|
|
|
Phil - I just hope that those speakers are not going to emit the god awful stuff that is pushed out today has being cool & awesome NOT - my vote is that it should be banging out the sounds from the era that the Acty was built in - its all the rage now days (well on Radio 2 anyway) or maybe you can just keep a 80's mix tape of Simple Minds / OMD / Level 42 & the likes for us older generation RR's  PS - When you are done with all woodwork etc can you just pop down to Hampshire for a few days and give me a hand to build the new cupboards in the utility  |
| |
|
|
|
|
1985 Honda Acty Show Truckfr€$h&m1nt¥
@freshandminty
Club Retro Rides Member 99
|
May 27, 2020 11:49:20 GMT
|
That’s a lot of work. Looking smart. Well done mate. Thanks, more functional than smart at the moment but hopefully it will be looking good when I’m done.  |
| |
|
|
|
|
1985 Honda Acty Show Truckfr€$h&m1nt¥
@freshandminty
Club Retro Rides Member 99
|
May 27, 2020 11:55:48 GMT
|
Phil - I just hope that those speakers are not going to emit the god awful stuff that is pushed out today has being cool & awesome NOT - my vote is that it should be banging out the sounds from the era that the Acty was built in - its all the rage now days (well on Radio 2 anyway) or maybe you can just keep a 80's mix tape of Simple Minds / OMD / Level 42 & the likes for us older generation RR's  PS - When you are done with all woodwork etc can you just pop down to Hampshire for a few days and give me a hand to build the new cupboards in the utility  The main use of the speakers will be to output the sounds from the retro gaming PC I’ll be running so period 80s but more Mario or space invaders rather than music I’m afraid but if it was 80s music it would b me more of the synth based pop like Human League / New Order / Kraftwerk. My skills are passable for my own creations but far from up to standard for other’s use I’m afraid!  |
| |
|
|
|
|
1985 Honda Acty Show Truckfr€$h&m1nt¥
@freshandminty
Club Retro Rides Member 99
|
May 28, 2020 21:36:59 GMT
|
Another 6 hours today, keeping it brief as i just typed a load and put my phone down to sort tv reception and lost it all so hopefully the photos tell the tale, basically the build of a fixed section and hingeable lid...  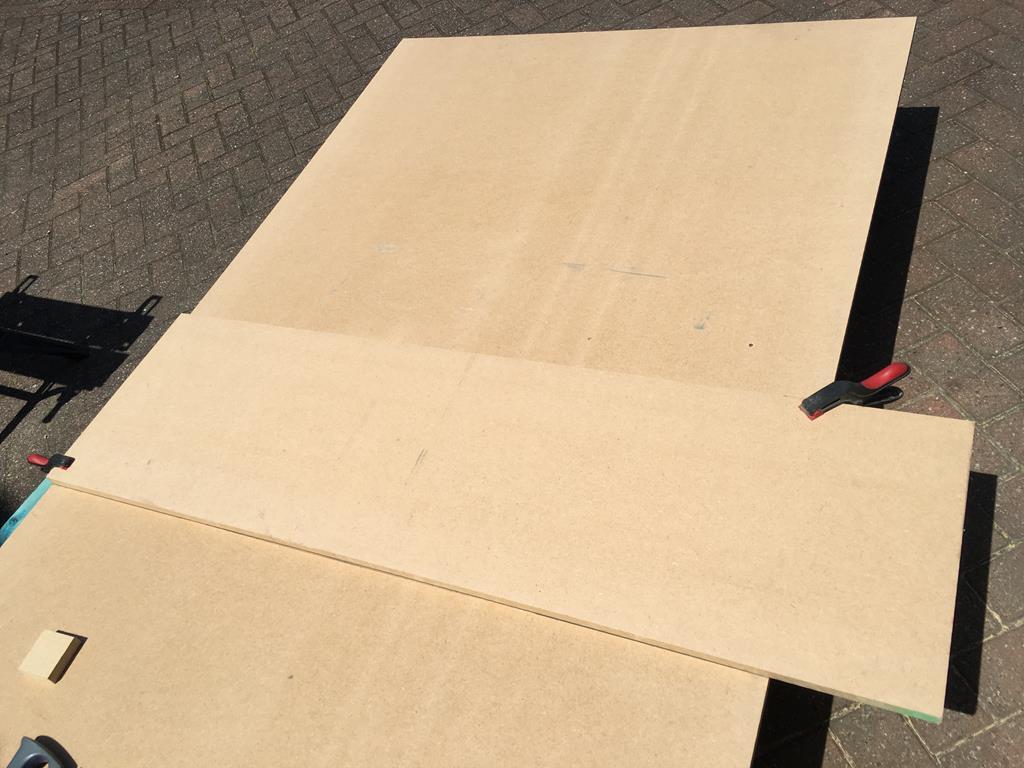 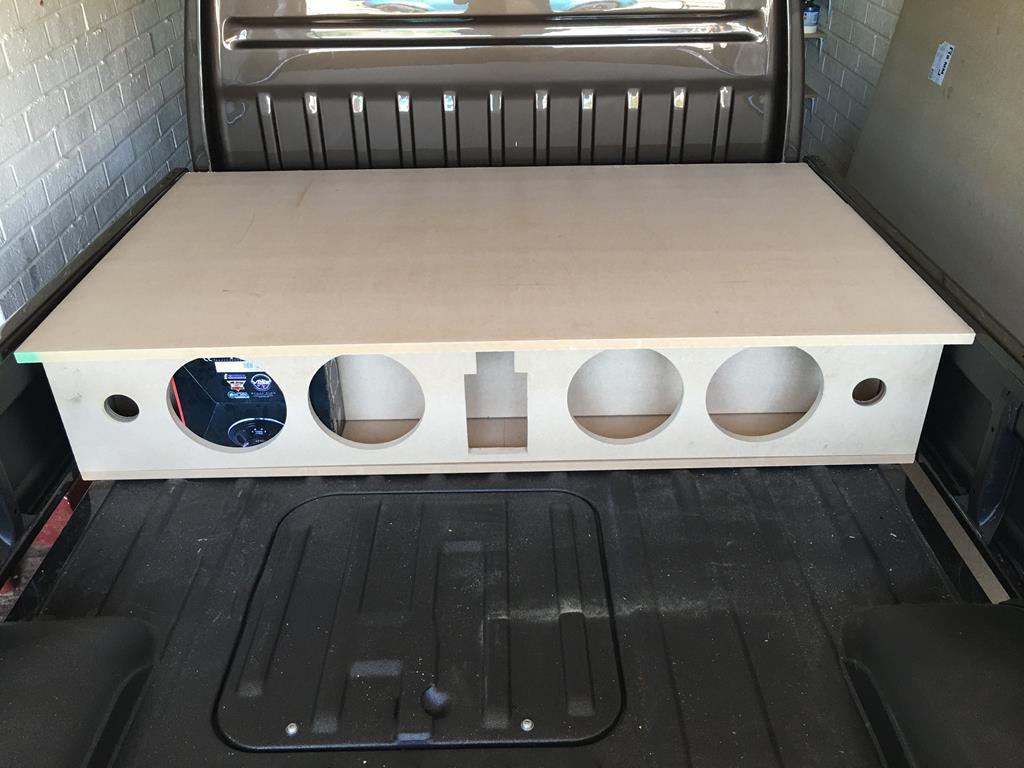 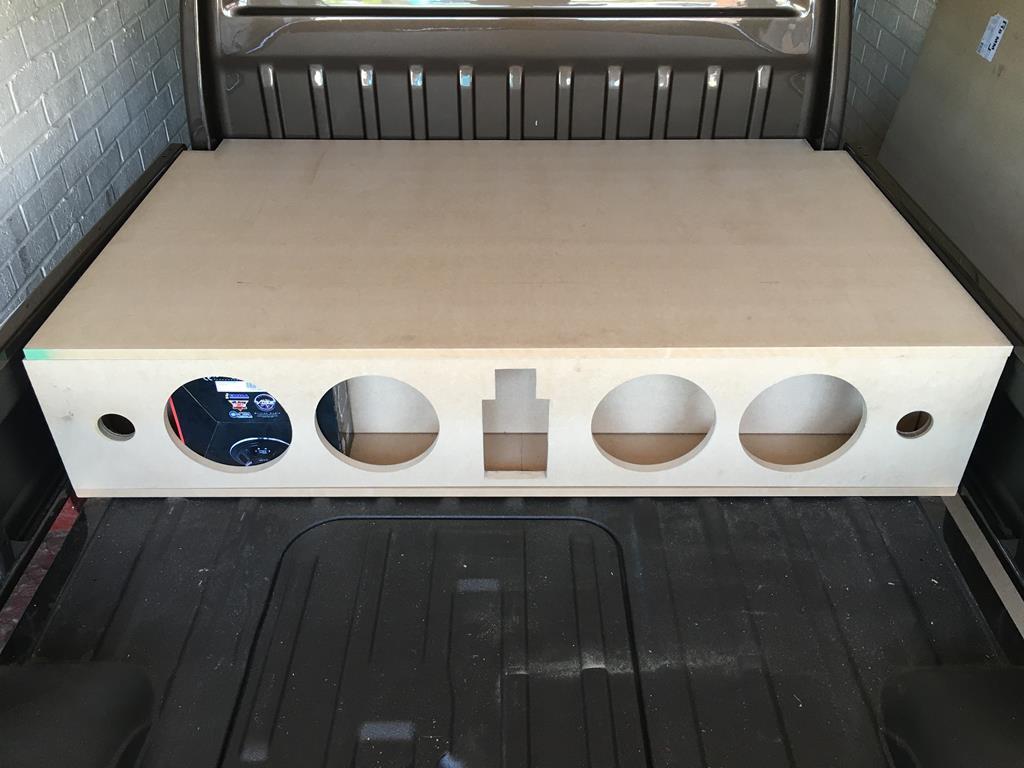 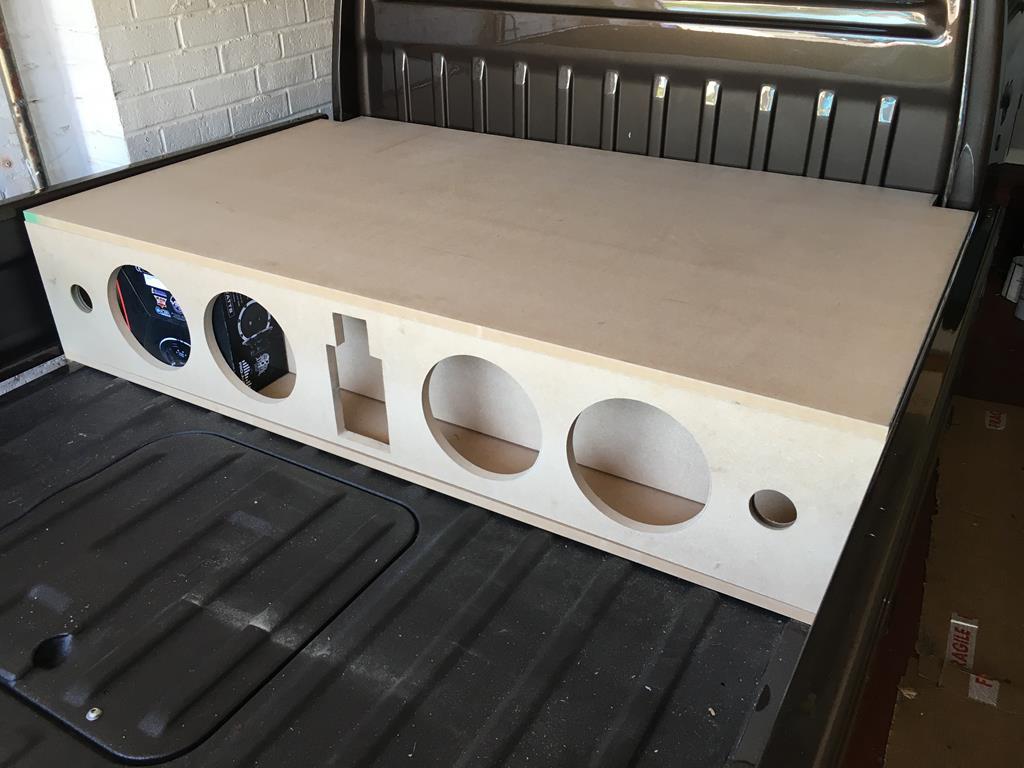 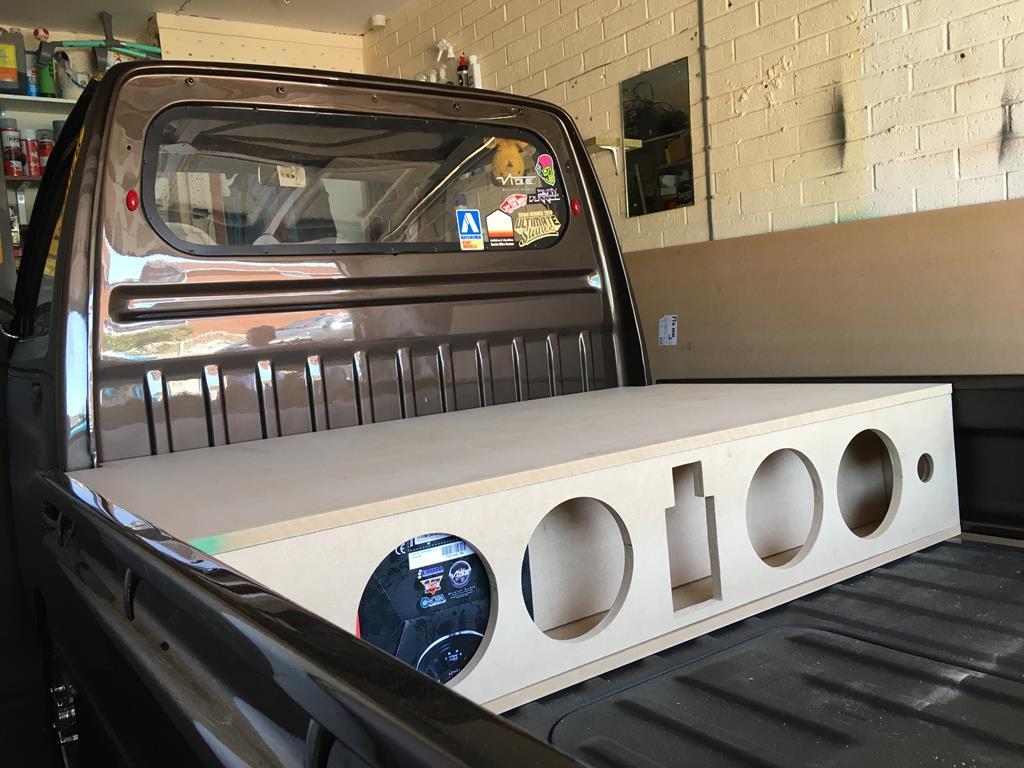 Stencil for curved corners looking decent on second attempt...  Hinges and liftable lid cut to size... 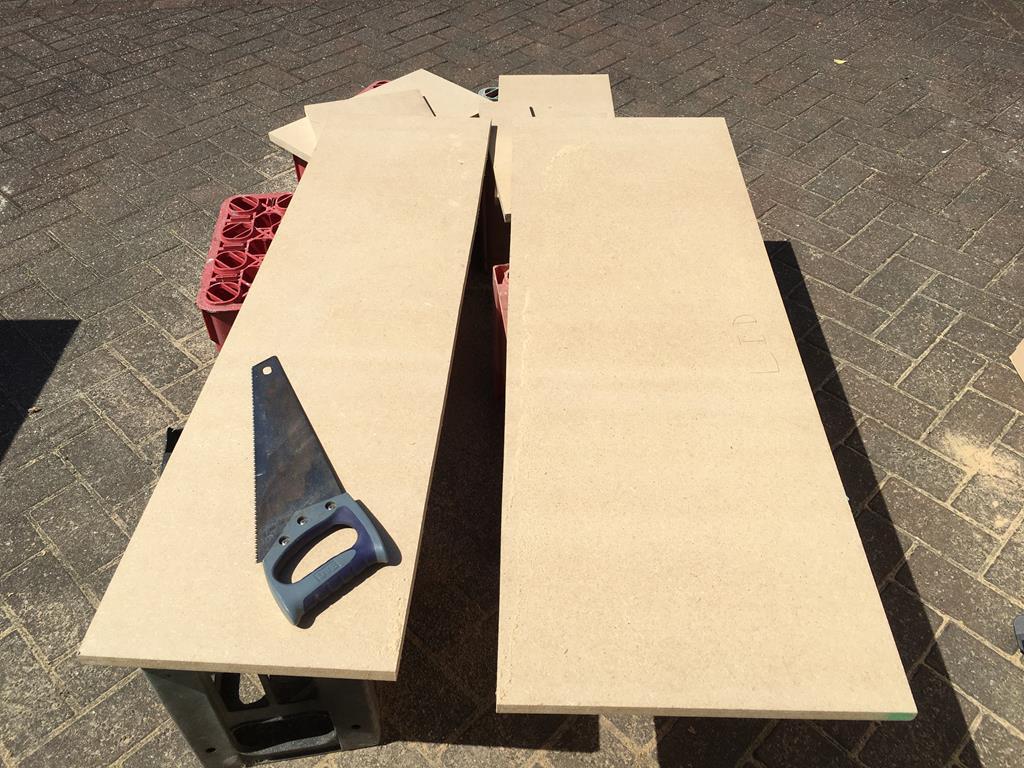 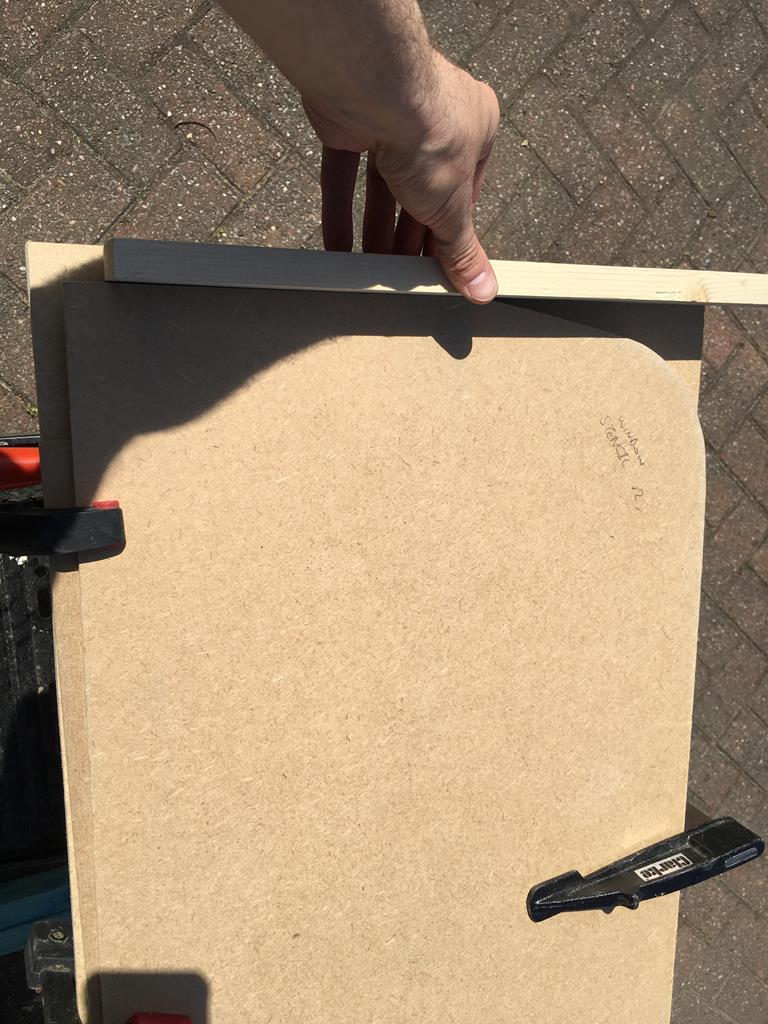 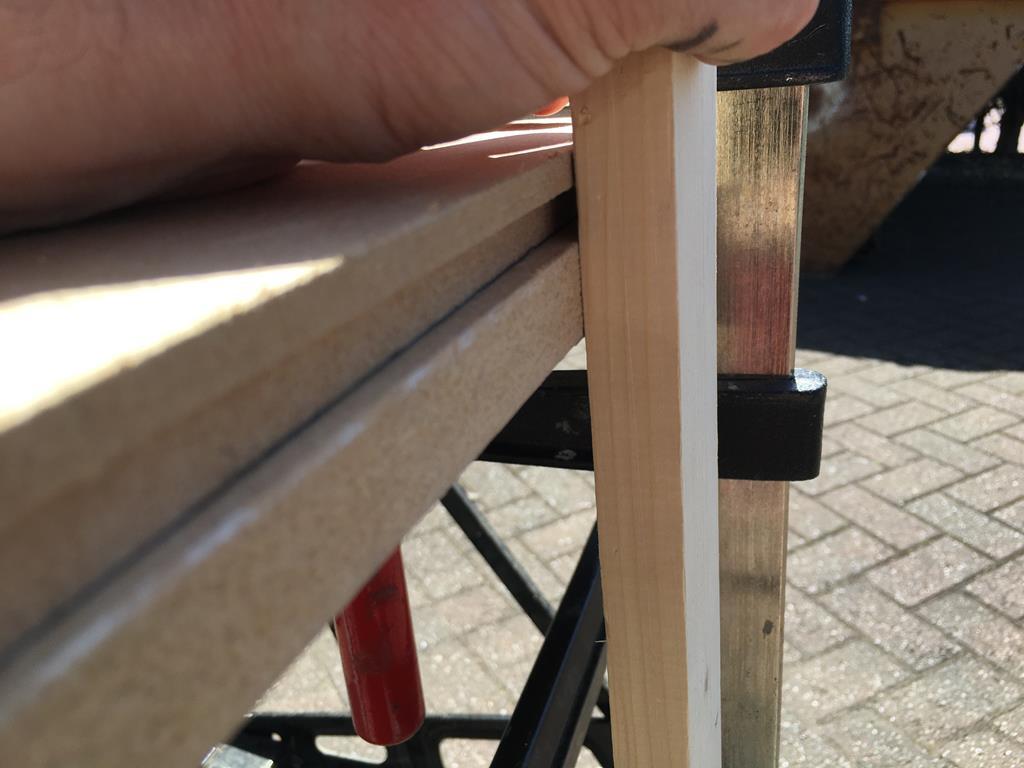  Test fit... 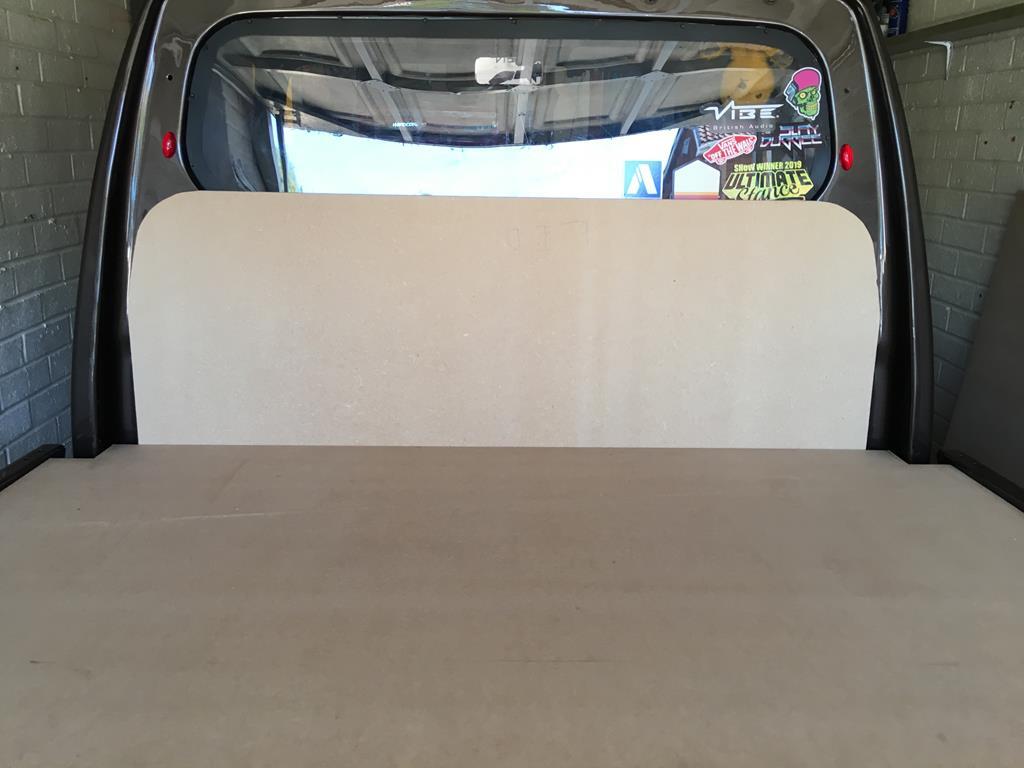 Next part was to create a recess for the hinged lid to sit in by setting the correct maximum depth on the router and using the lid as a stencil... 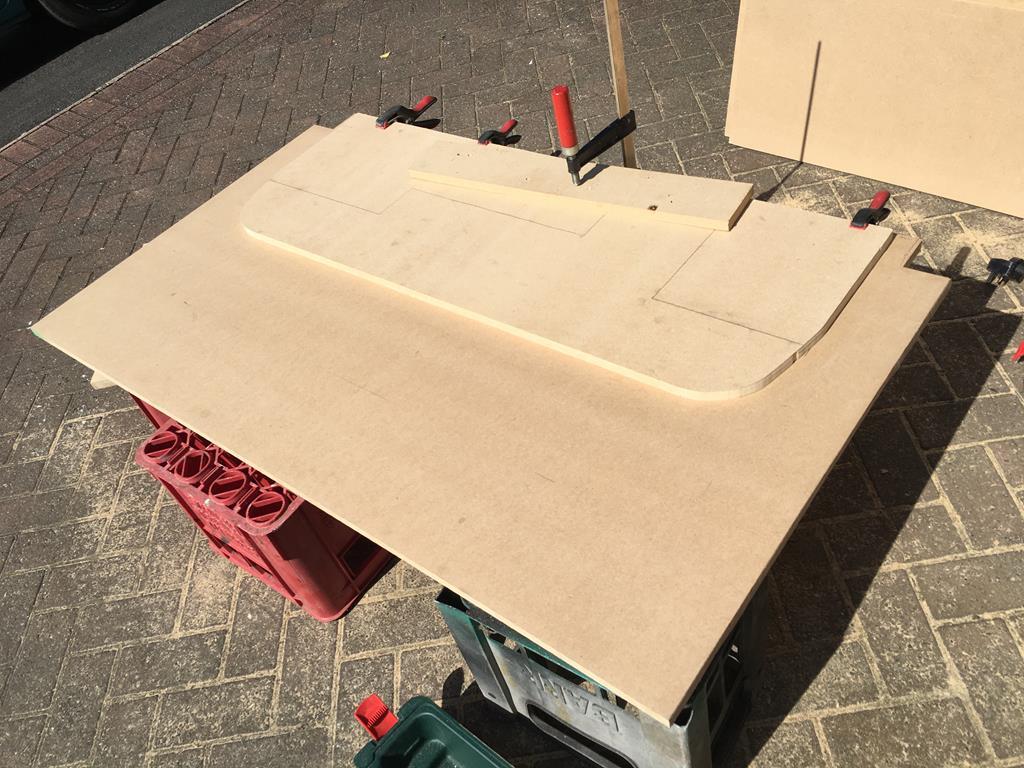 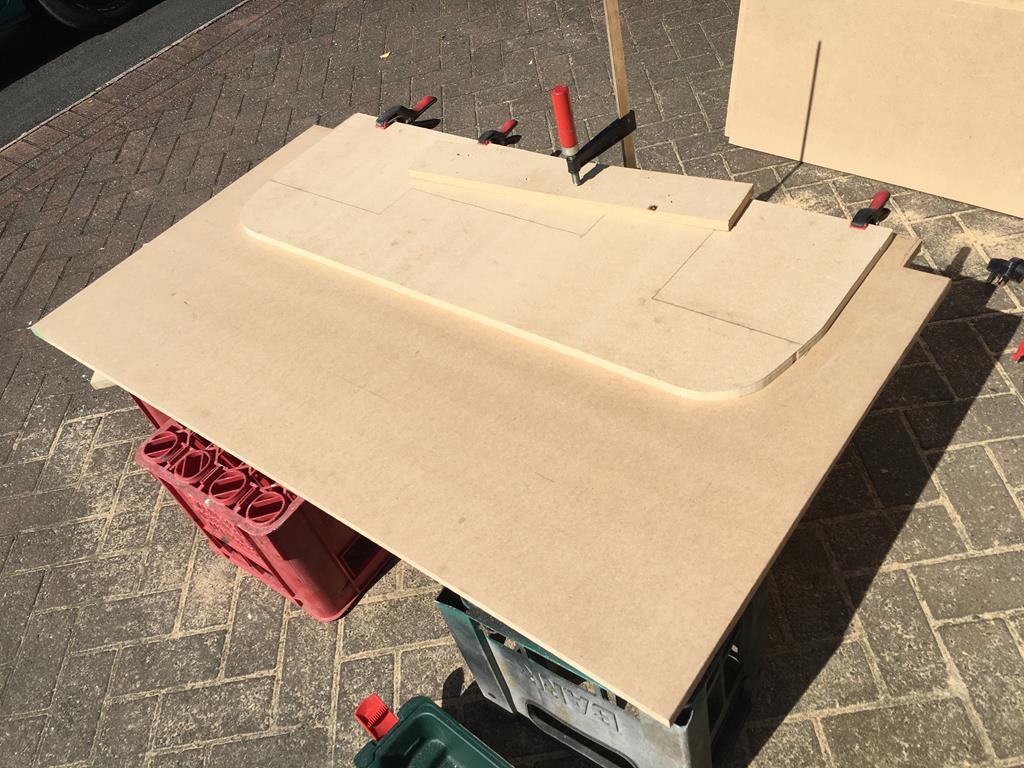 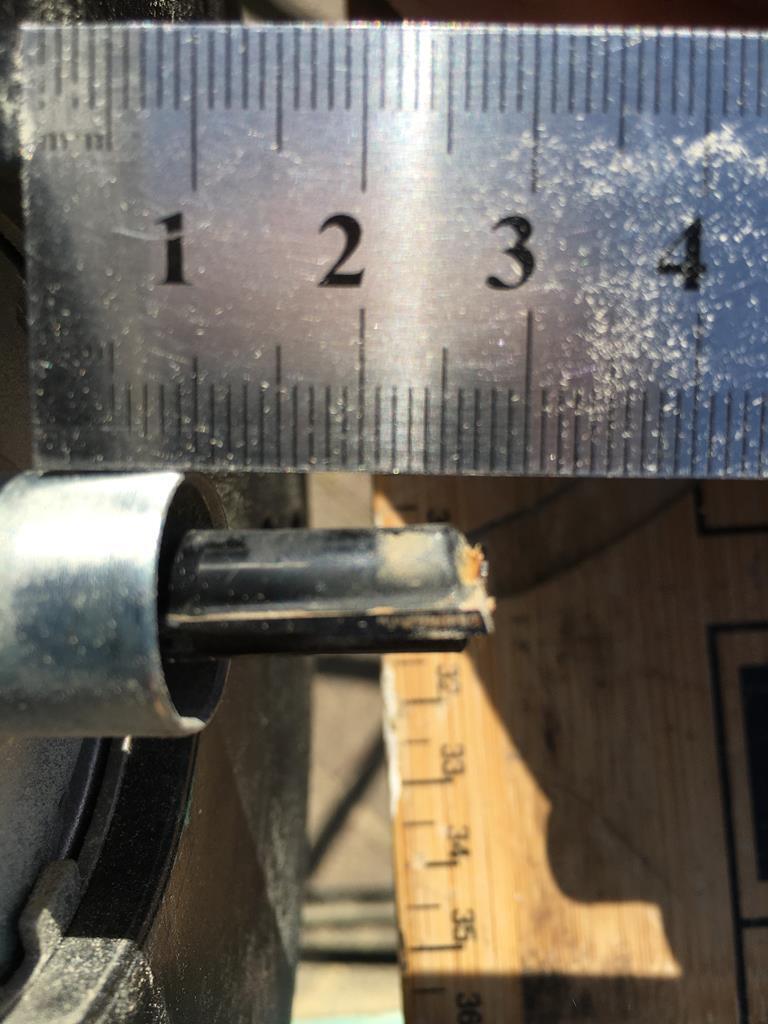 Straight sections done using a spare known straight piece... 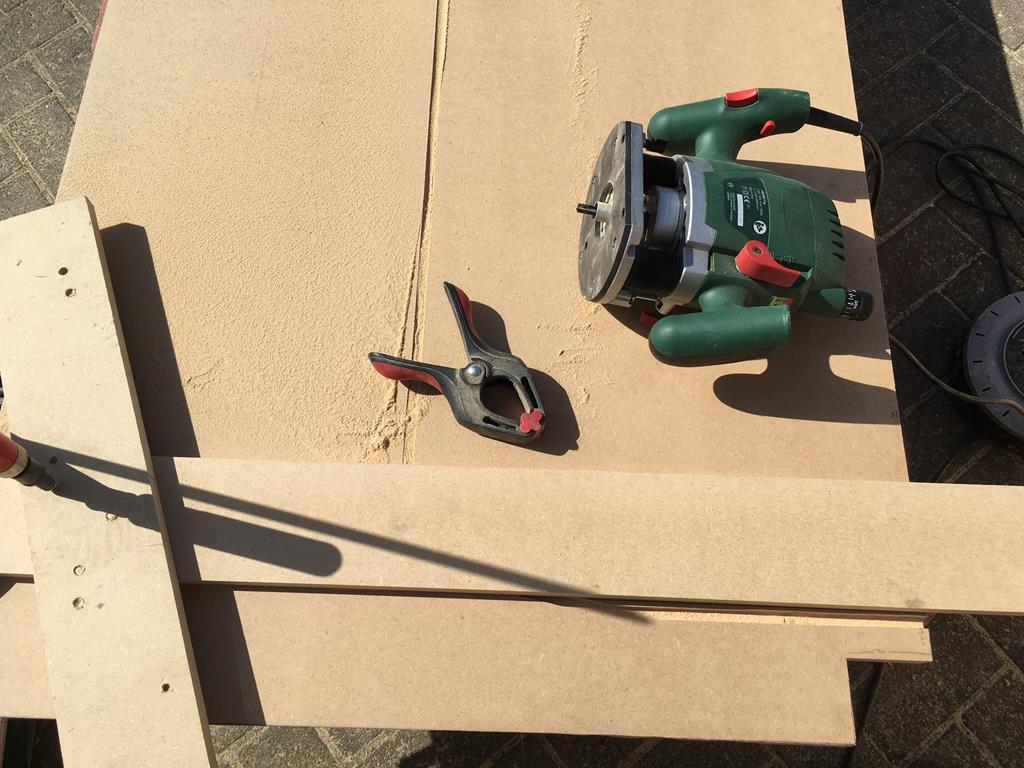  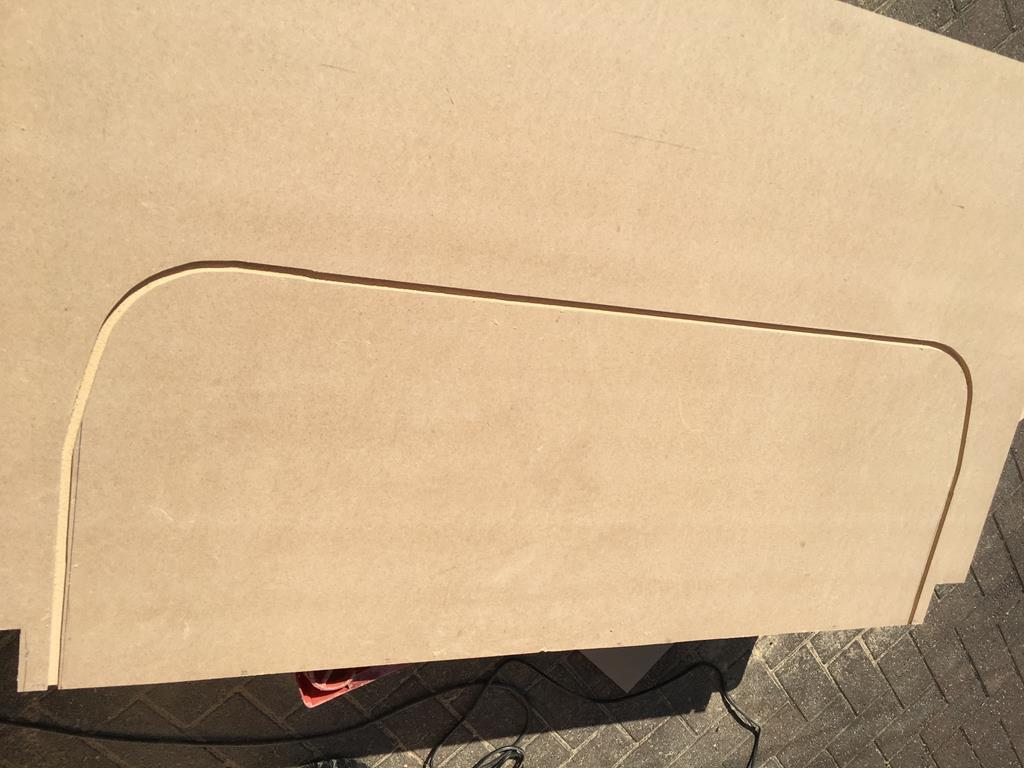 With first recess complete I moved the lid back and to one side so I could make the recess wider in both directions... 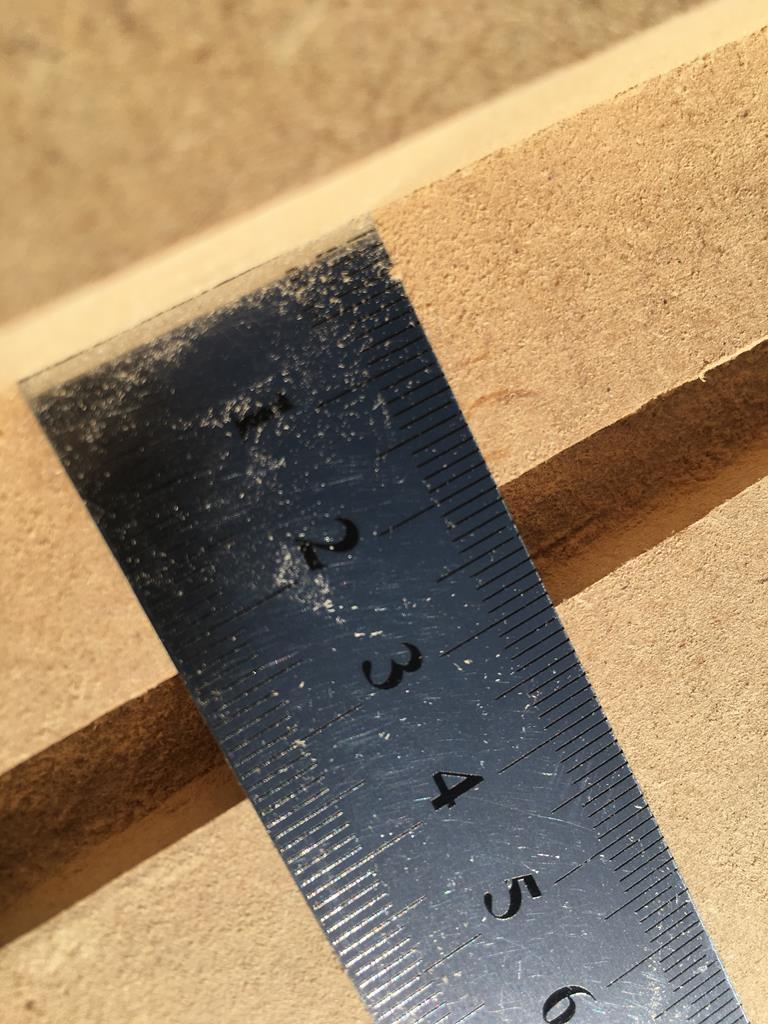   This left with me two recesses and using the router, reset to the correct depth, free hand I carefully chopped out the middle section leaving a wider band... 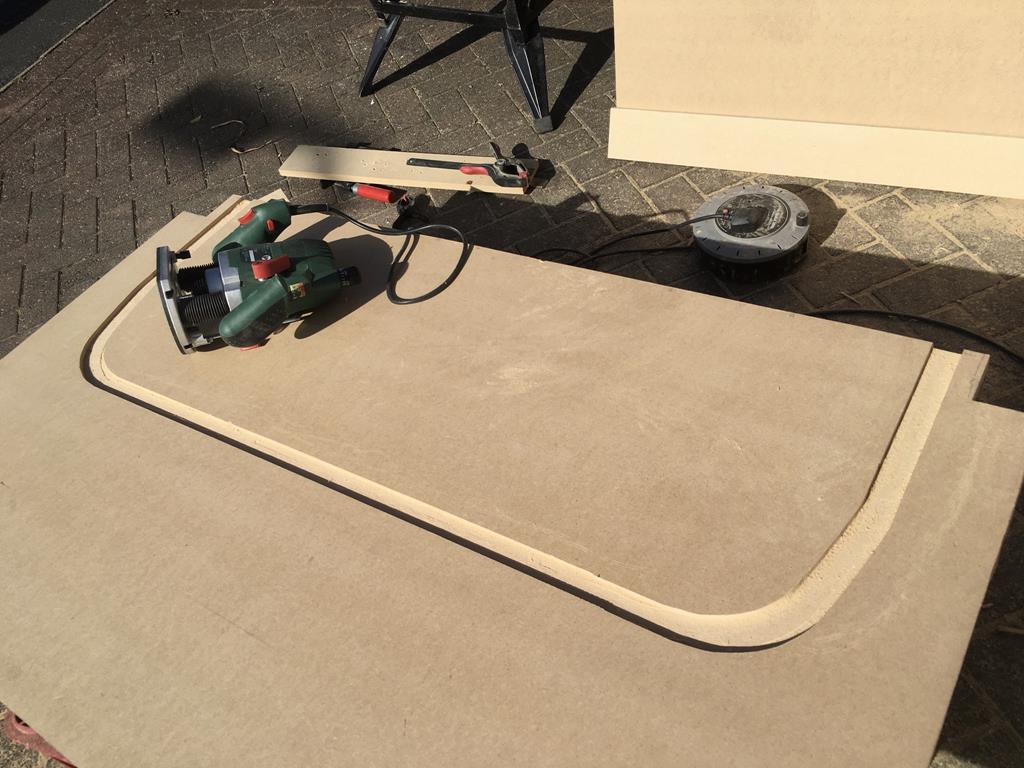 Using a handsaw for straight lines and a jigsaw around the curved corners I cut along the inner edge of the recess I cut out the centre section... 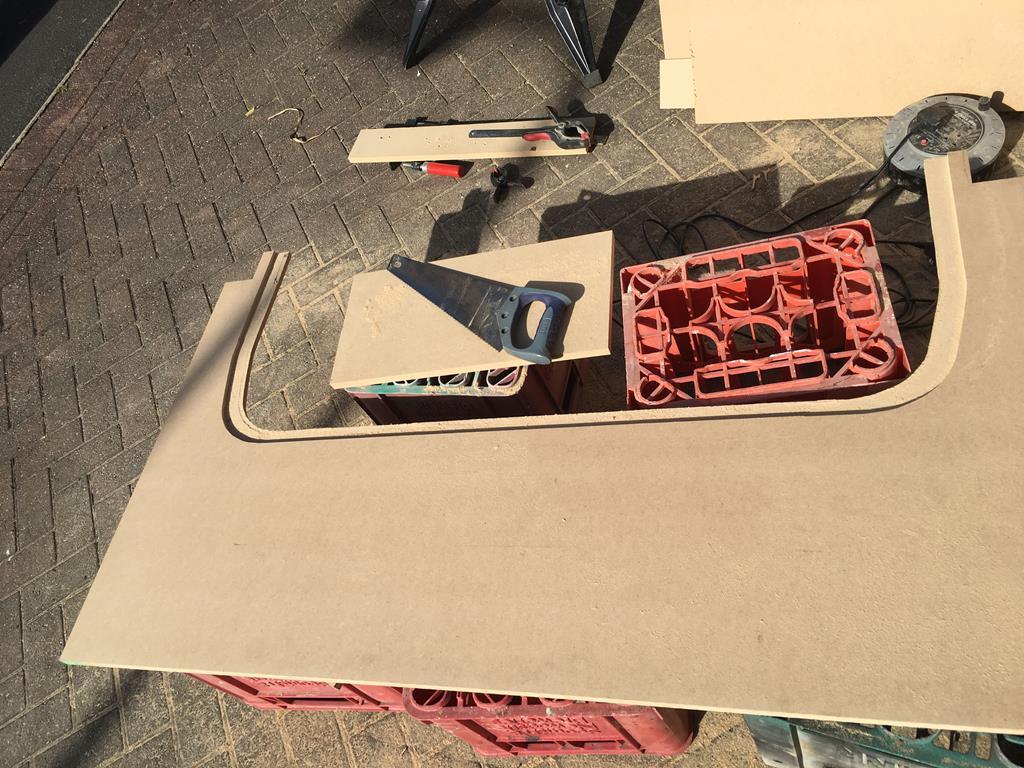 A quick test fit before packing up for the day... 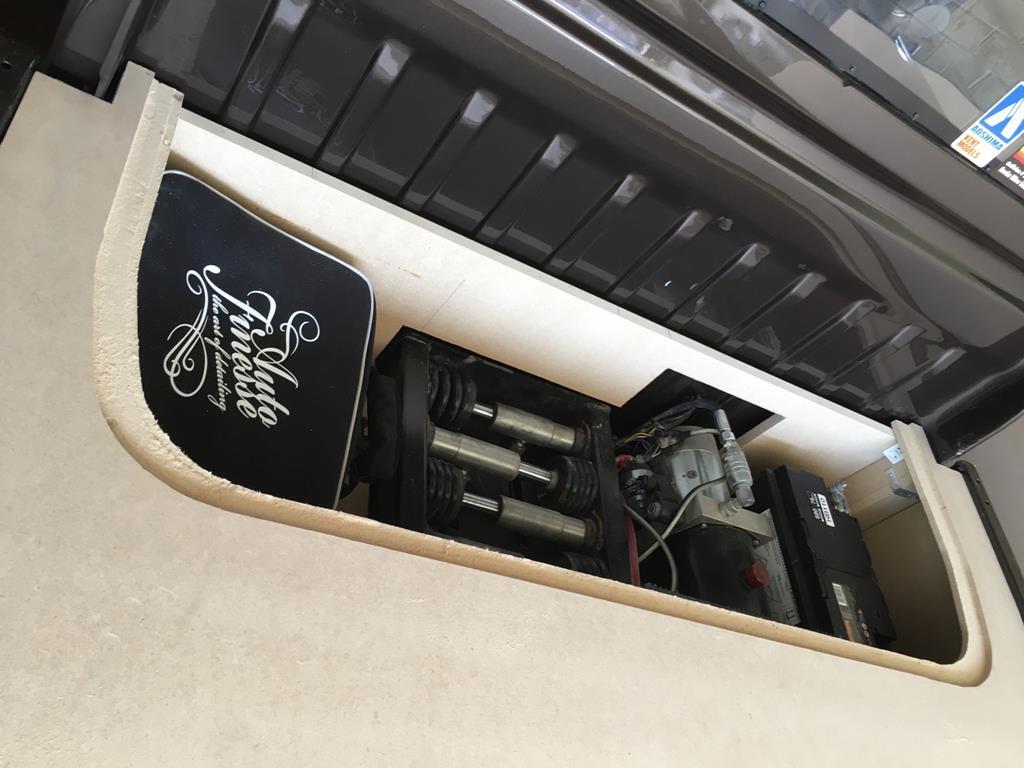 Ignore the pencil lines they were from a different planned use of this board... 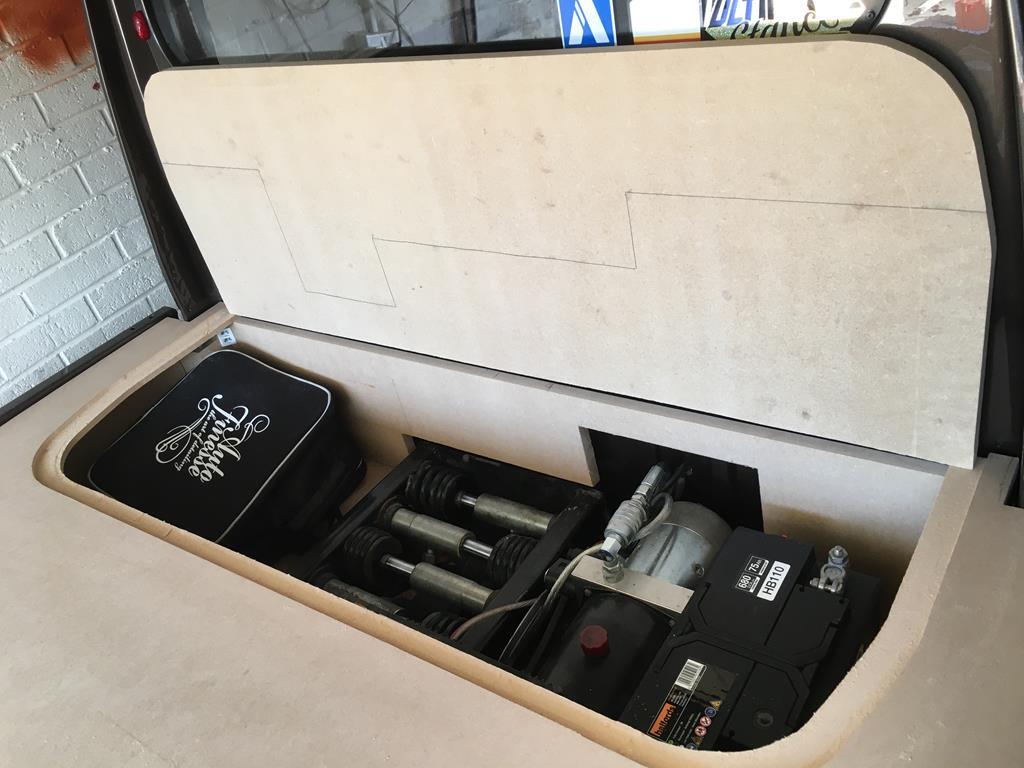  Once I’ve cut an equivalent recess into the lid that will open, it should sit flush rather than proud as it does in this photo... 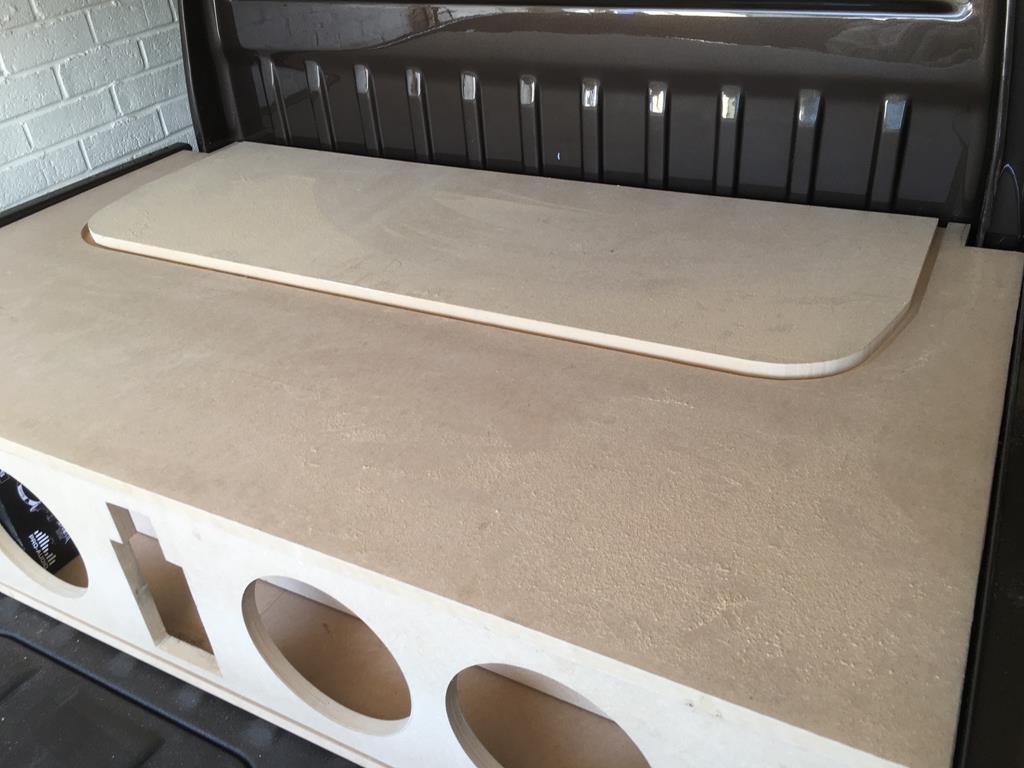 The it’s on to hinges, gas rods, permanent fixings, a bit more recessing, some edge rounding, etc etc.. |
| |
|
|
samta22
Club Retro Rides Member
Stuck in once more...
Posts: 1,276  Club RR Member Number: 32
|
1985 Honda Acty Show Trucksamta22
@samta22
Club Retro Rides Member 32
|
|
|
|
Cracking work Phil, coming together nicely
|
| |
'37 Austin 7 '56 Austin A35 '58 Austin A35 '65 Triumph Herald 12/50 '69 MGB GT '74 MGB GT V8'73 TA22 Toyota Celica restoration'95 Mercedes SL320 '04 MGTF 135 'Cool Blue' (Mrs' Baby) '05 Land Rover Discovery 3 V8 '67 Abarth 595 (Mrs' runabout) '18 Disco V |
|
|
|
|
May 29, 2020 10:34:52 GMT
|
|
Great work mate
|
| |
smoke tyres not drugs
|
|
|
|
1985 Honda Acty Show Truckfr€$h&m1nt¥
@freshandminty
Club Retro Rides Member 99
|
May 31, 2020 19:53:09 GMT
|
I've not been happy with the finish on the wheels on the ignis since I first sprayed them and got grass stuck to them before they'd dried and liked them even less after kissing the kerbs a few times. Due to driving it every day to work and back I've never had the chance to get them sorted properly and decided to sort them when I had to replace the tyres but that would have meant getting nearly worn out tyres fitted back to the standard steels to keep the car in use whilst they were refurbed. The lockdown situation has lead me to working from home for the foreseeable future and the lack of need to drive daily has given me the opportunity to get her up on sleepers... 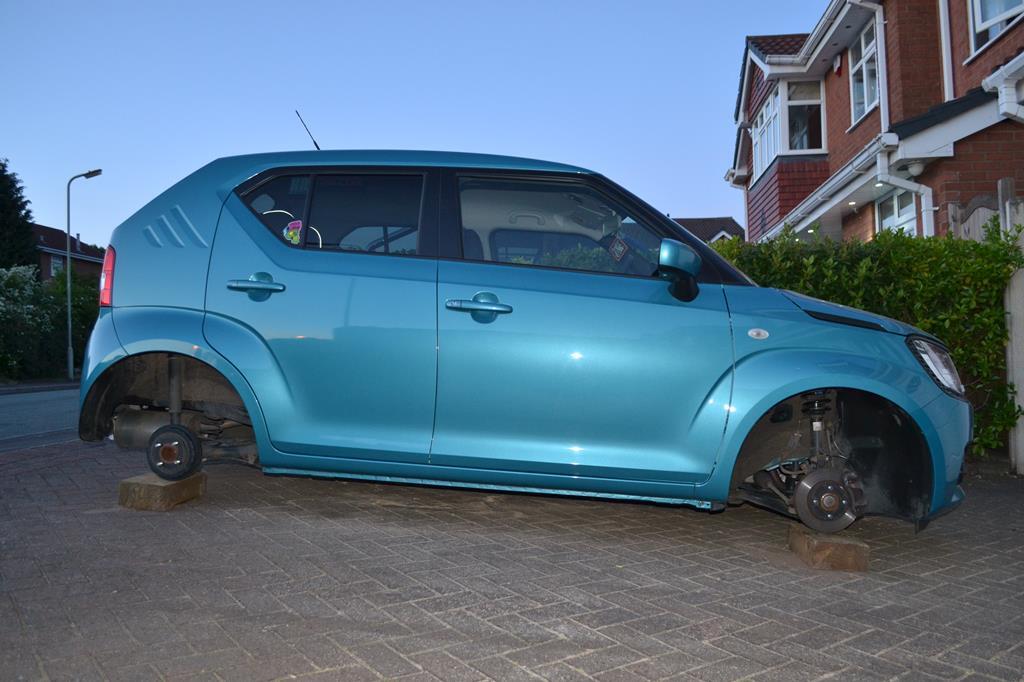 The wheels are off to be powdercoated in satin black, I was tempted by dark bronze but stuck with the black as satin black is the only other colour on the car so decided it would fit in best. I posted somewhere further up my thread about the arrival of the new tyres last week - 195/60/15s are a fraction larger than the standard diameter but as close as I could find compared to standard but wider to give better protection to the wheel edges. Inspired by a lego Chevrolet camaro that we bought mini minty recently... www.smythstoys.com/uk/en-gb/toys/lego-and-bricks/lego-speed-champions/lego-75891-speed-champions-chevrolet-camaro-zl1-race-car-set/p/8039709… I ordered a set of these that arrived within 2 days from Turkey, a set of four obviously, including rubber glue... 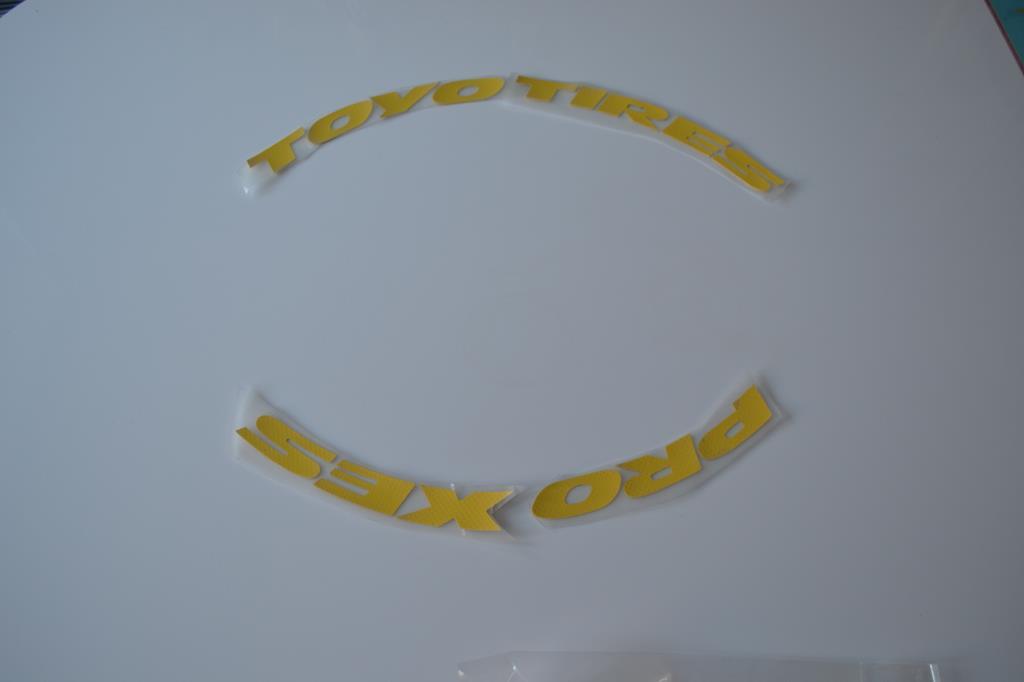 I taped them in place with masking tape to check fitment... 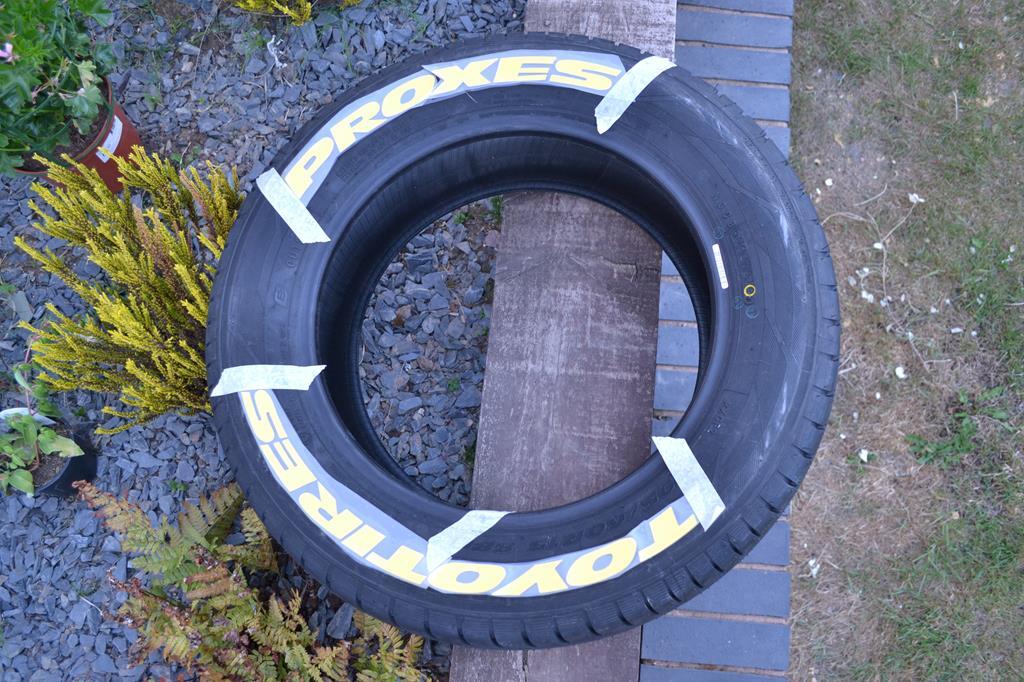 ... then moved the tape around to the end of the sections... 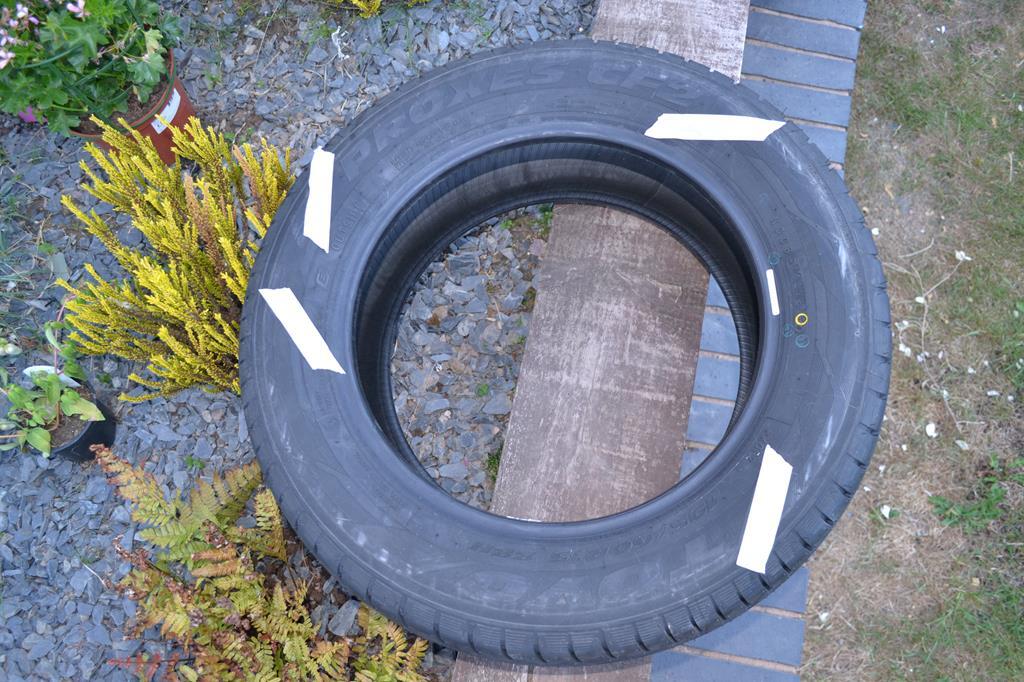 ... and attacked them with 120 grit sheets on the mouse sander... 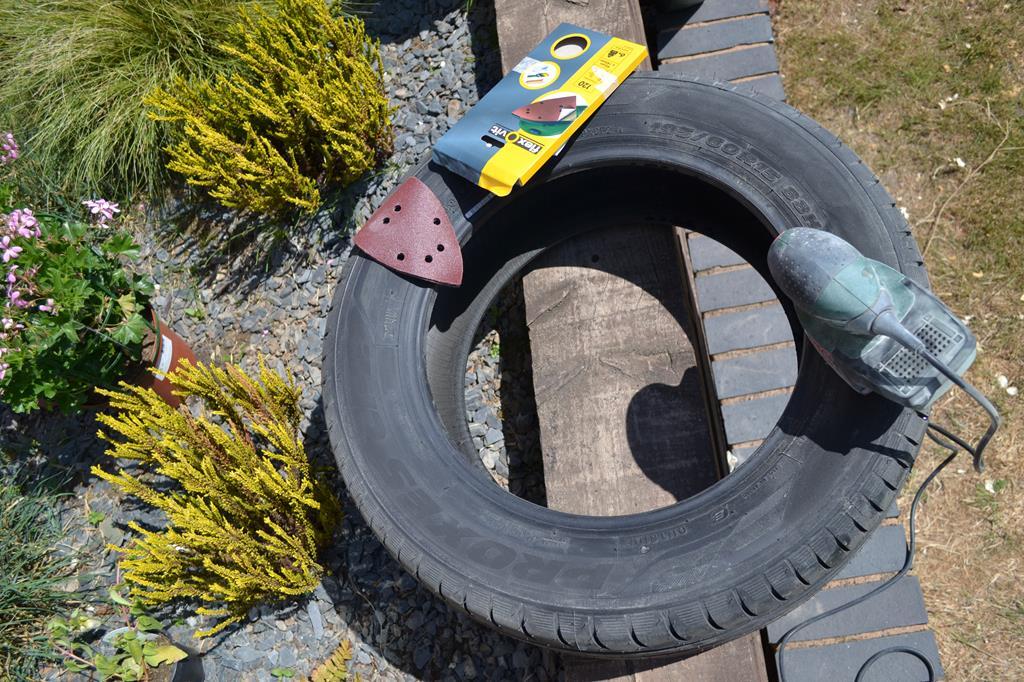 ... Not glued in place yet but placed on to check the sanded back letters weren't visible in the areas where the yellow letters don't cover them up and that they sit on the tyrewall tight enough. 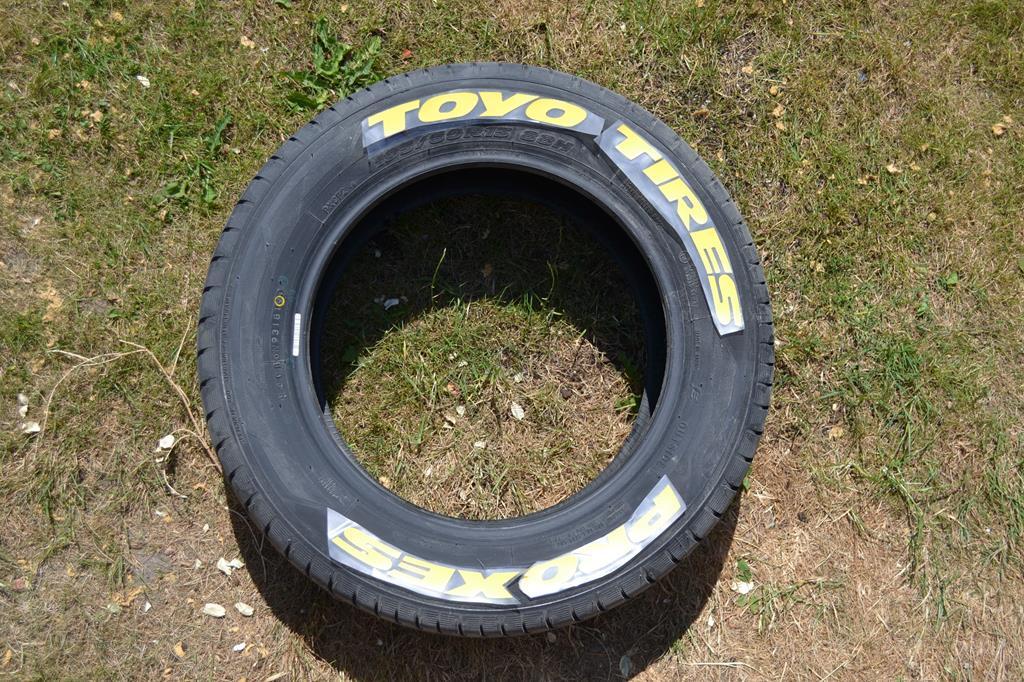 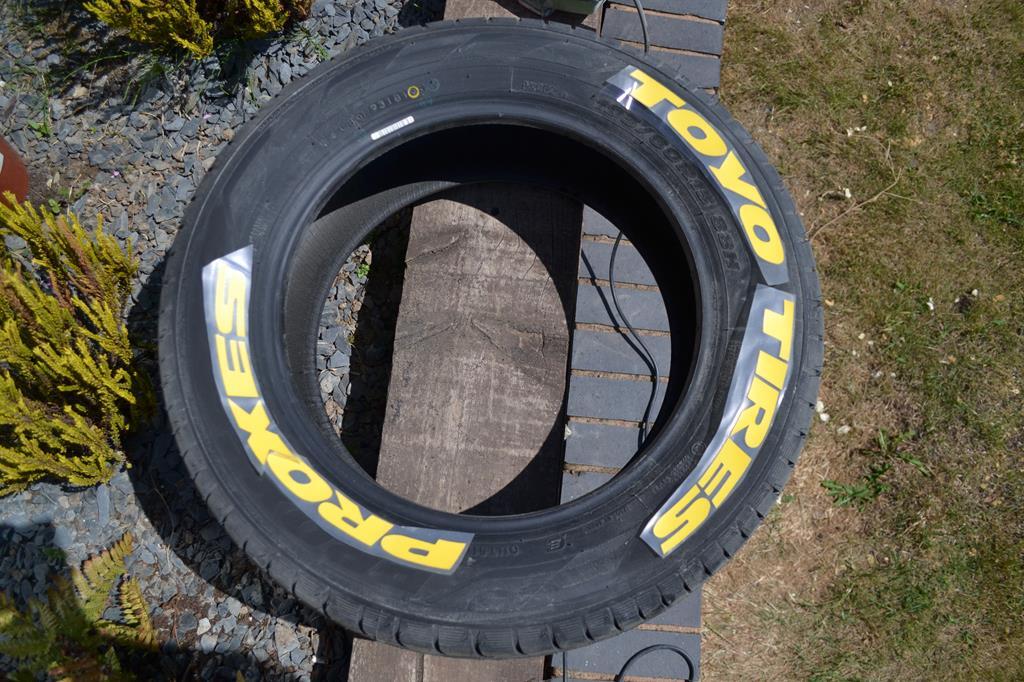 I'll glue the letters on once the tyres are fitted to the wheels when I pick them up from the wheel refurb place. |
| |
|
|
|
|
1985 Honda Acty Show Truckfr€$h&m1nt¥
@freshandminty
Club Retro Rides Member 99
|
|
|
I picked up the wheels from the refurb place today, that was a bit of a game as they couldn’t get the bead to seal on one of the wheels but luckily they charged me £26 less as a result but then when I eventually got through a massive diversion due to a road closure and got to the local tyre place they popped it on for free within five minutes although I gave a tenner as a thanks. They’re not perfect and the weights on one of the wheels look terrible but they look good apart from on close inspection so perfect for the daily. Wheel and tyre... 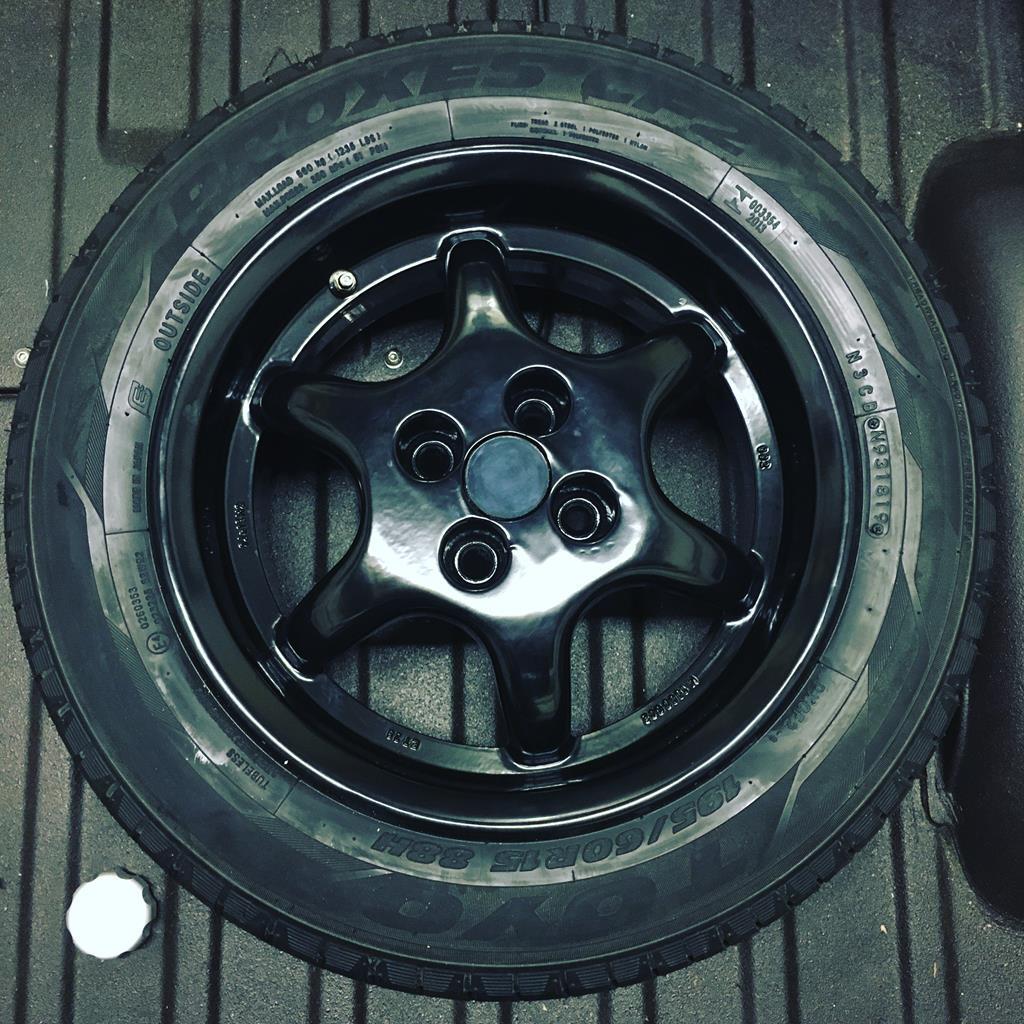 I’ve not had chance to glue the letters on this evening but couldn’t resist a photo of them placed on again now the tyres are fitted to the wheels. 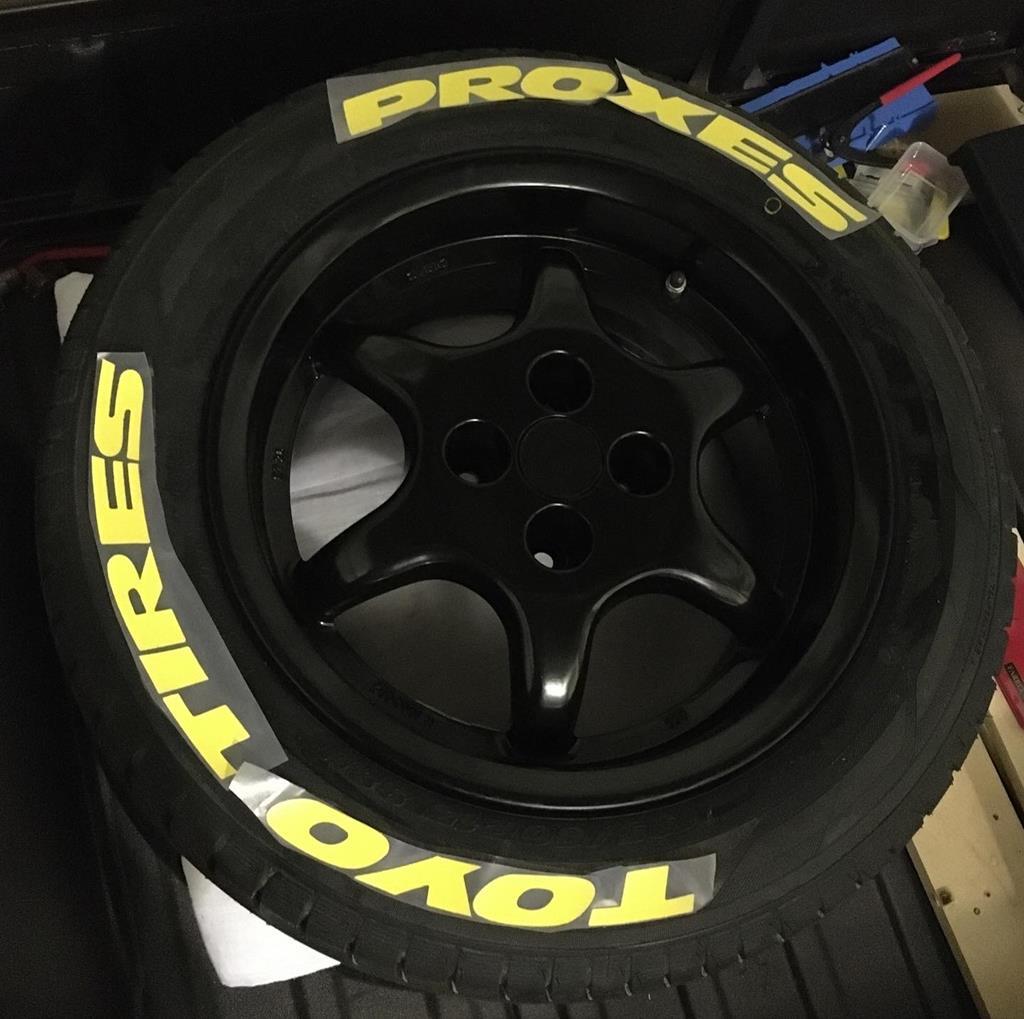 This Chevrolet Camaro Lego piece is what inspired me to go down this route... 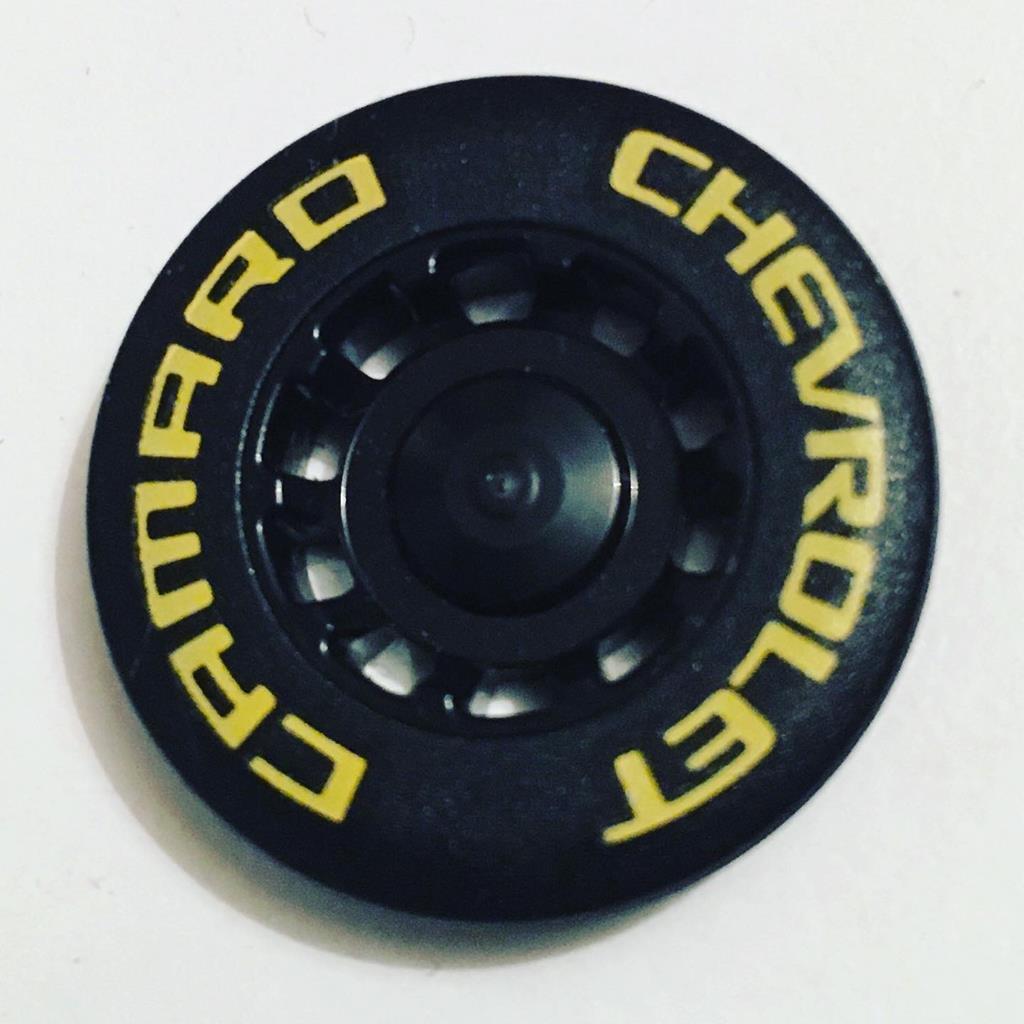 |
| |
|
|
|
|
1985 Honda Acty Show Truckfr€$h&m1nt¥
@freshandminty
Club Retro Rides Member 99
|
|
|
After work this afternoon it was time to get everything set up and apply the letters, the only addition to the provided kit was a pair of cotton gloves as they peel apart easier than rubber gloves when glued together, and a takeaway sauce pot to pour the glue into and some glue spreaders made from a cut up pot noodle pot. 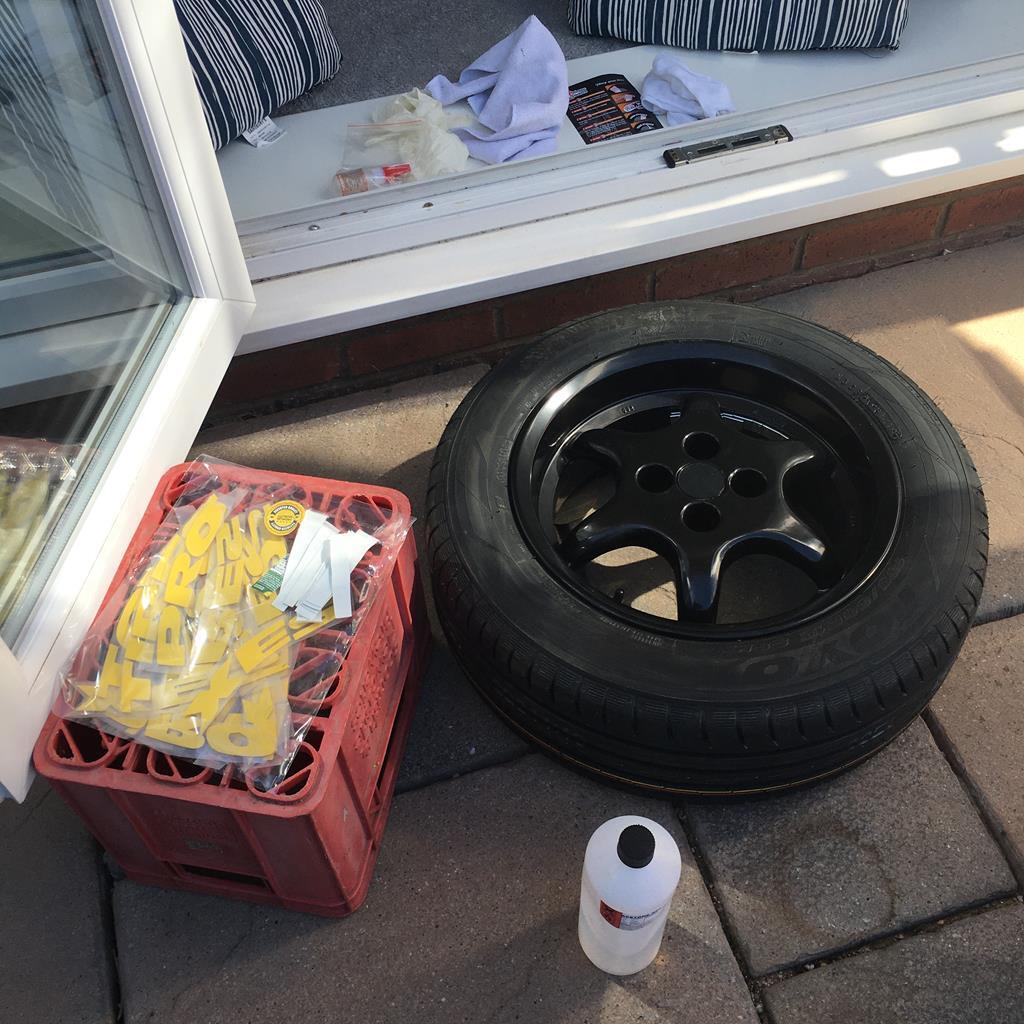 Instructions ... 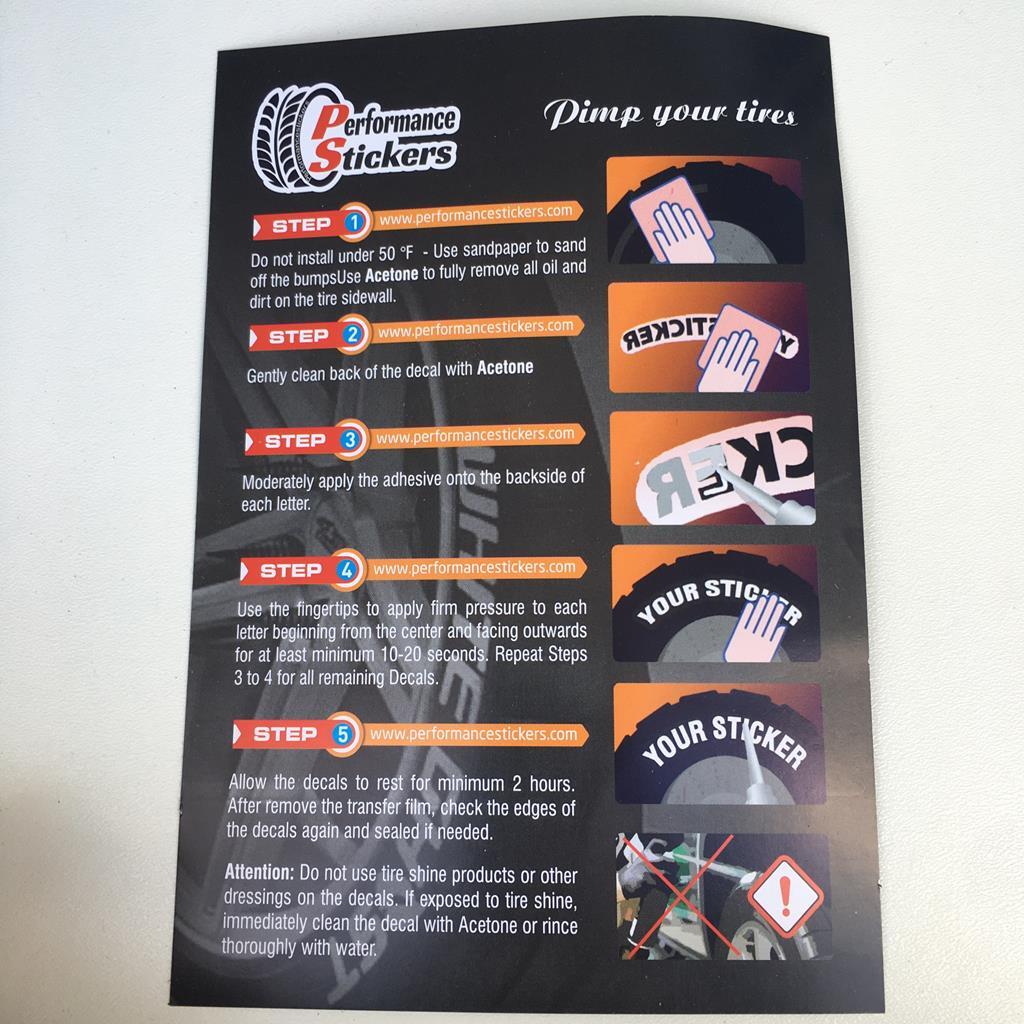 The first one took 45 minutes... 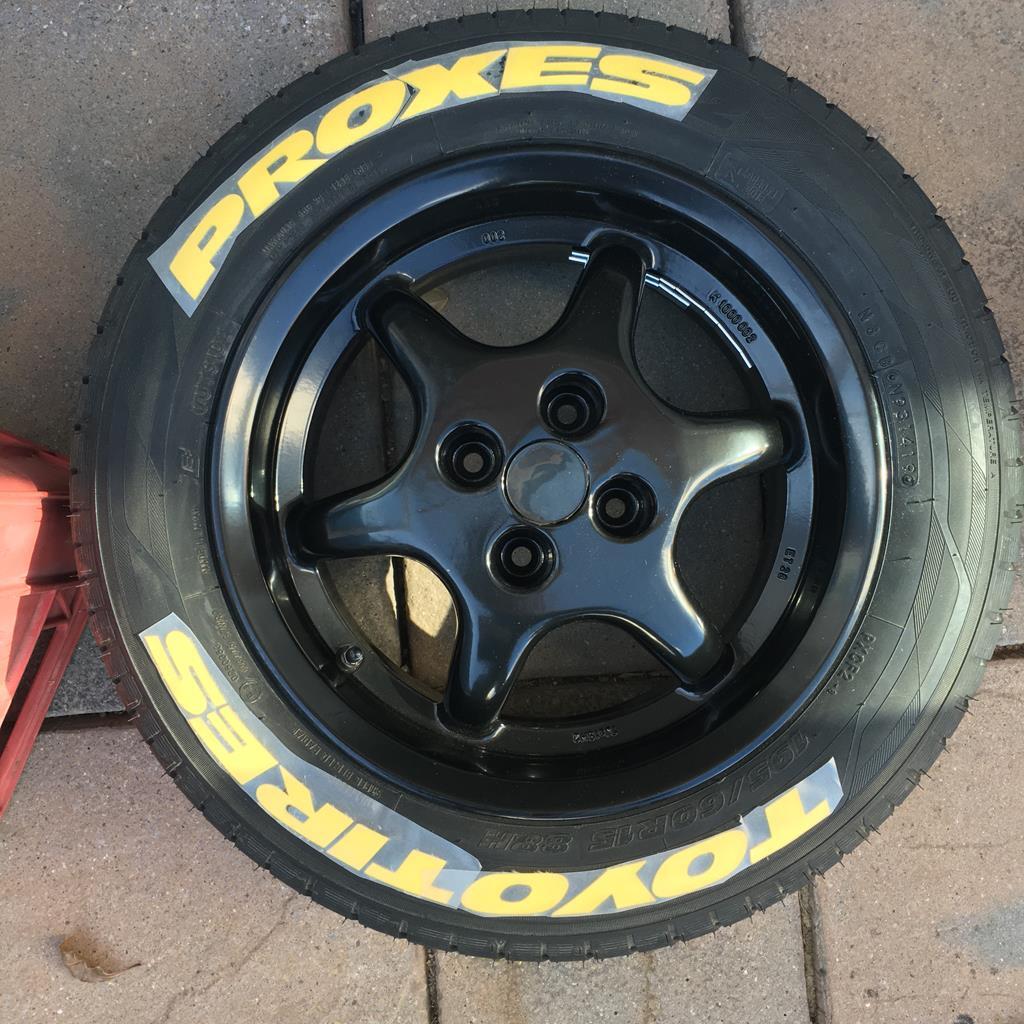 Pot and glue spreader brought the process down to about 30 minutes each wheel for the remaining three... 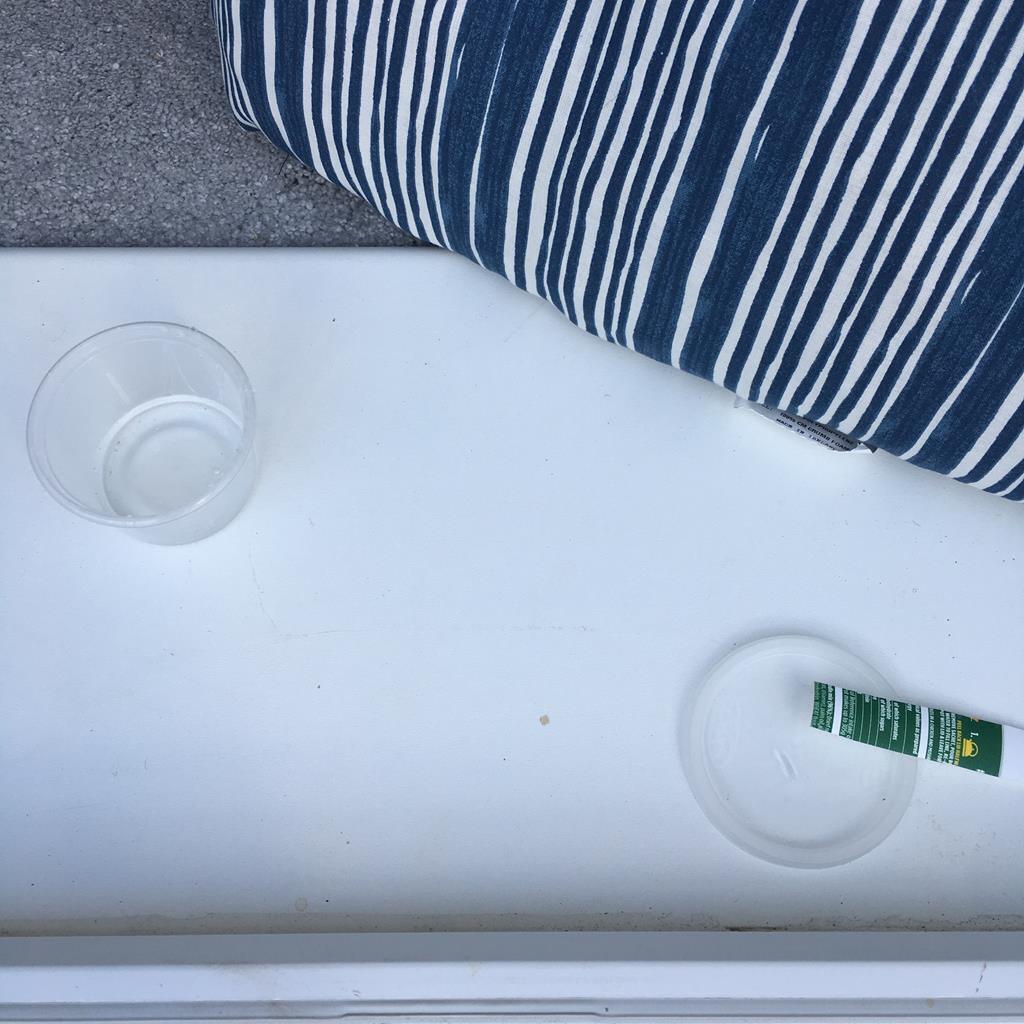 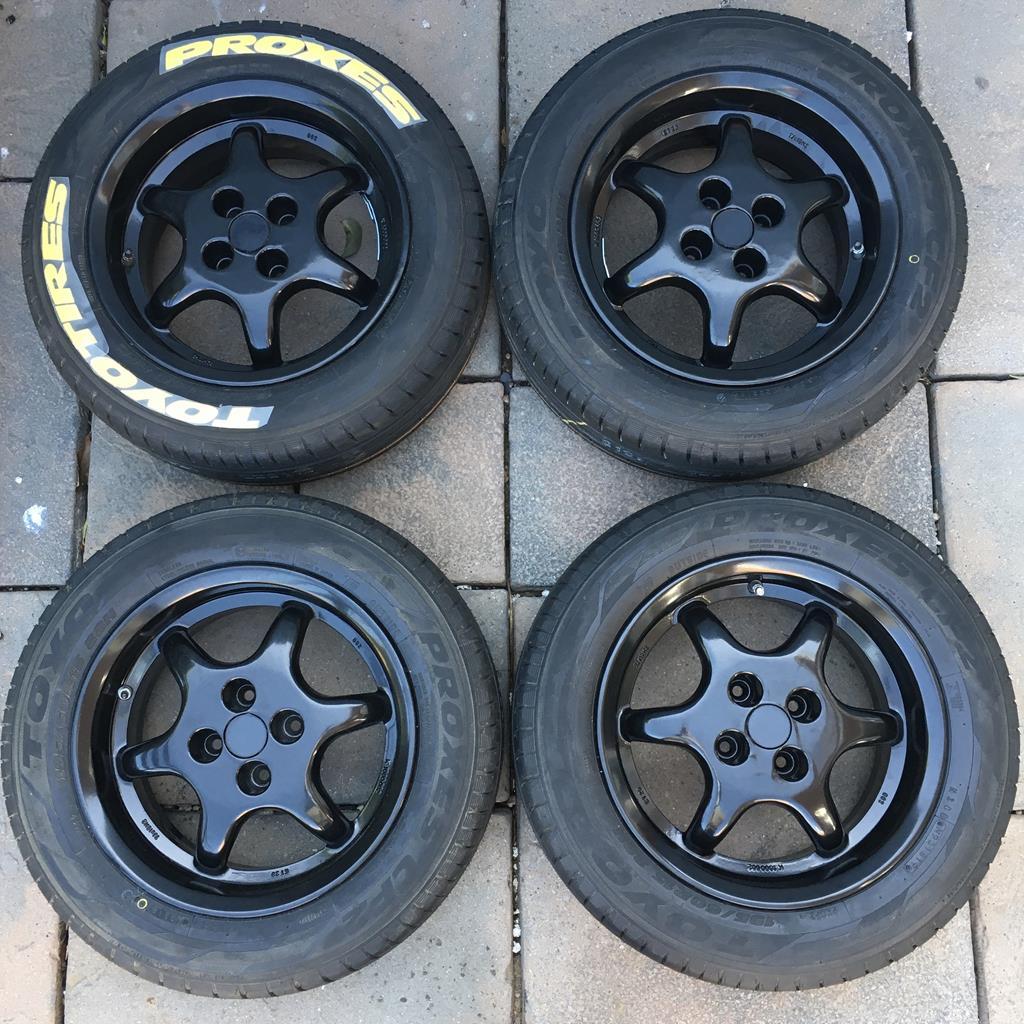 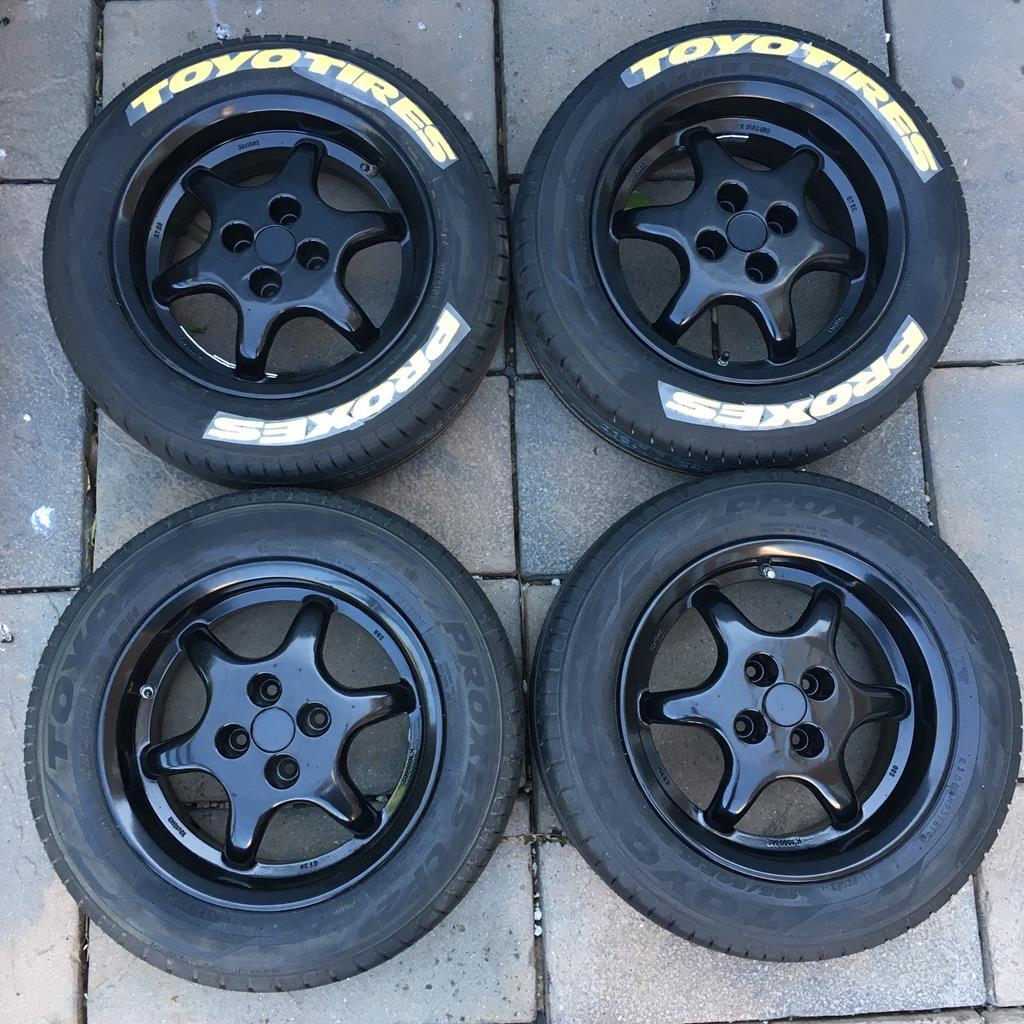 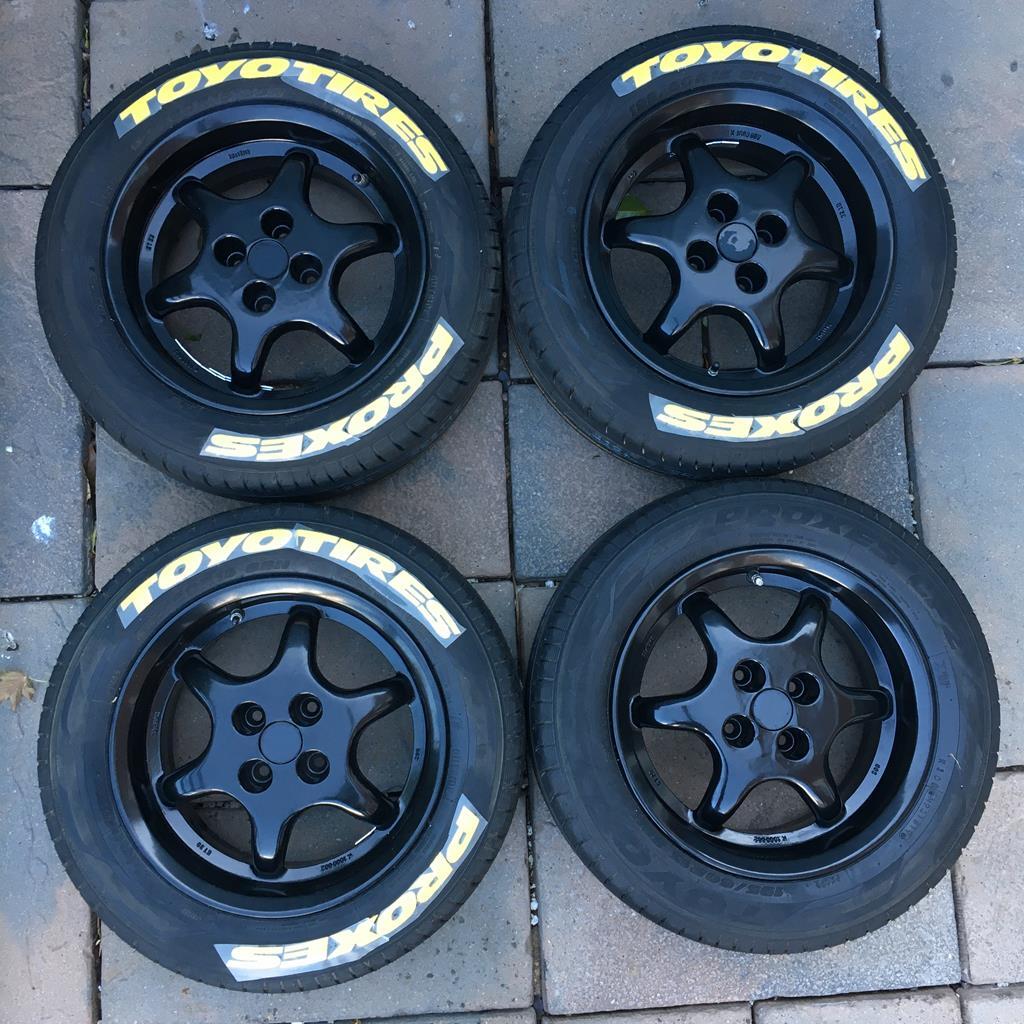 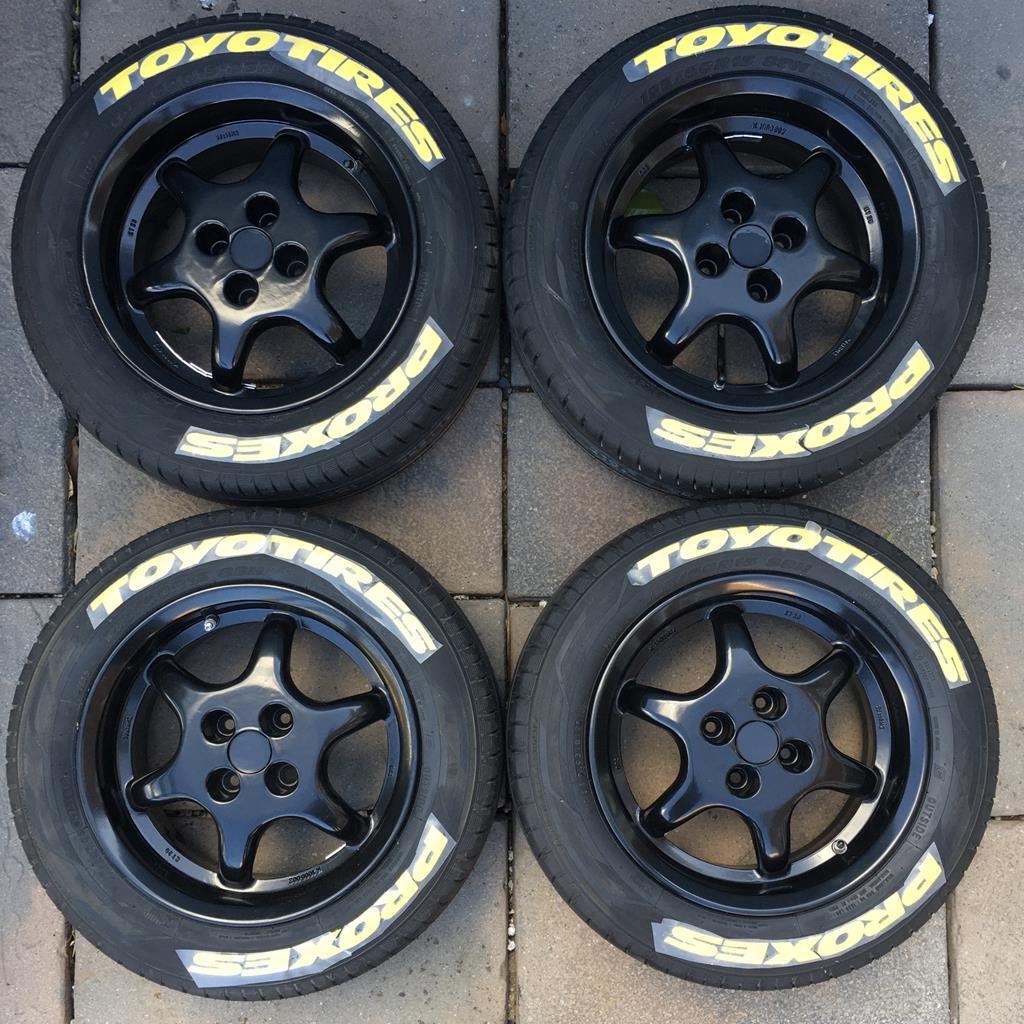 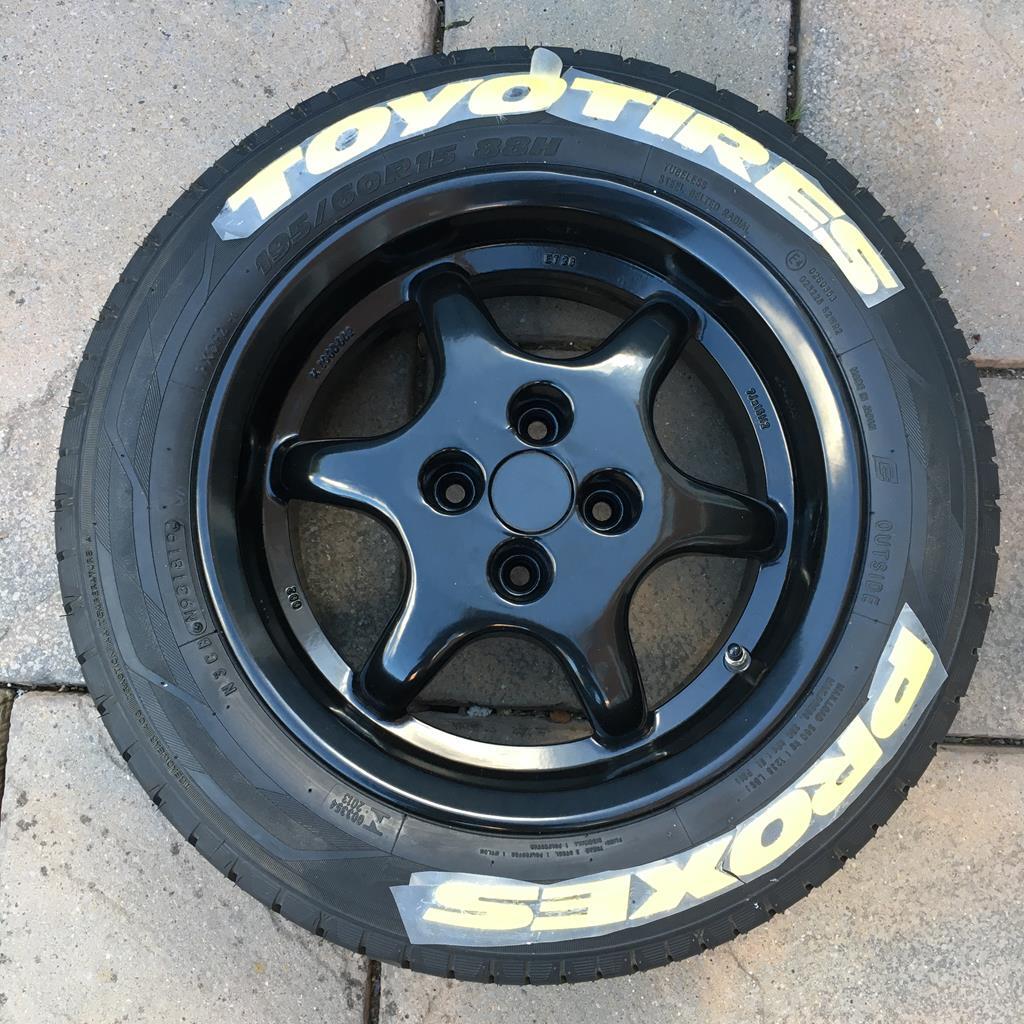 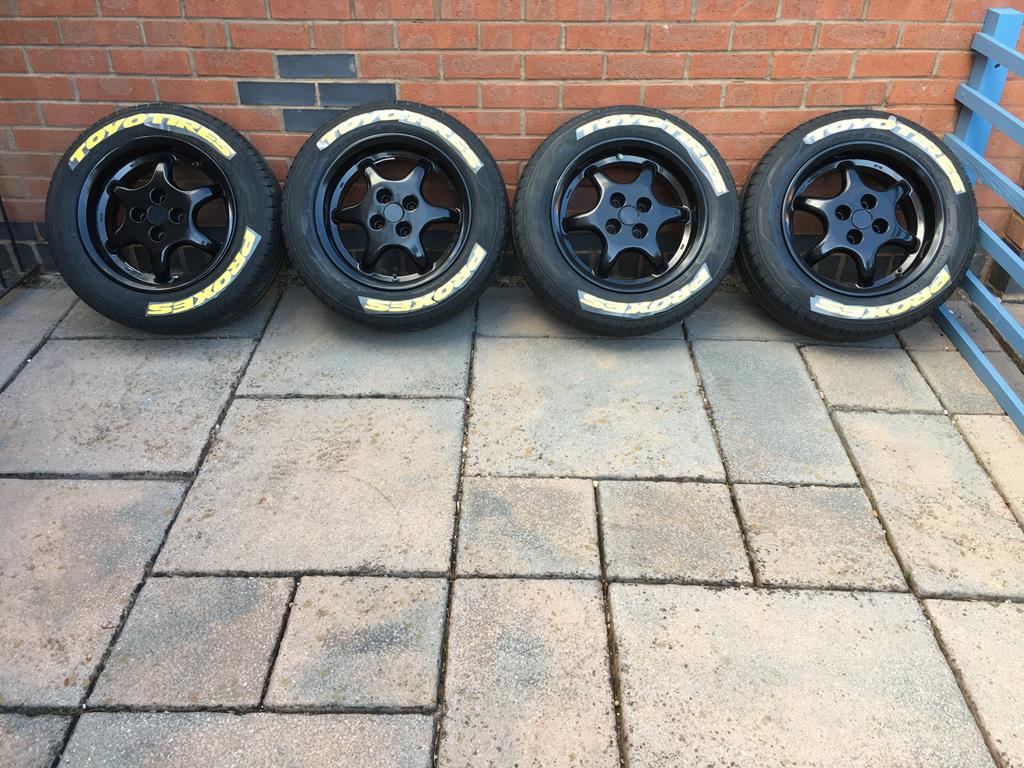 After 2 hours from the completion of the fourth tyre I peeled off the masking tape... 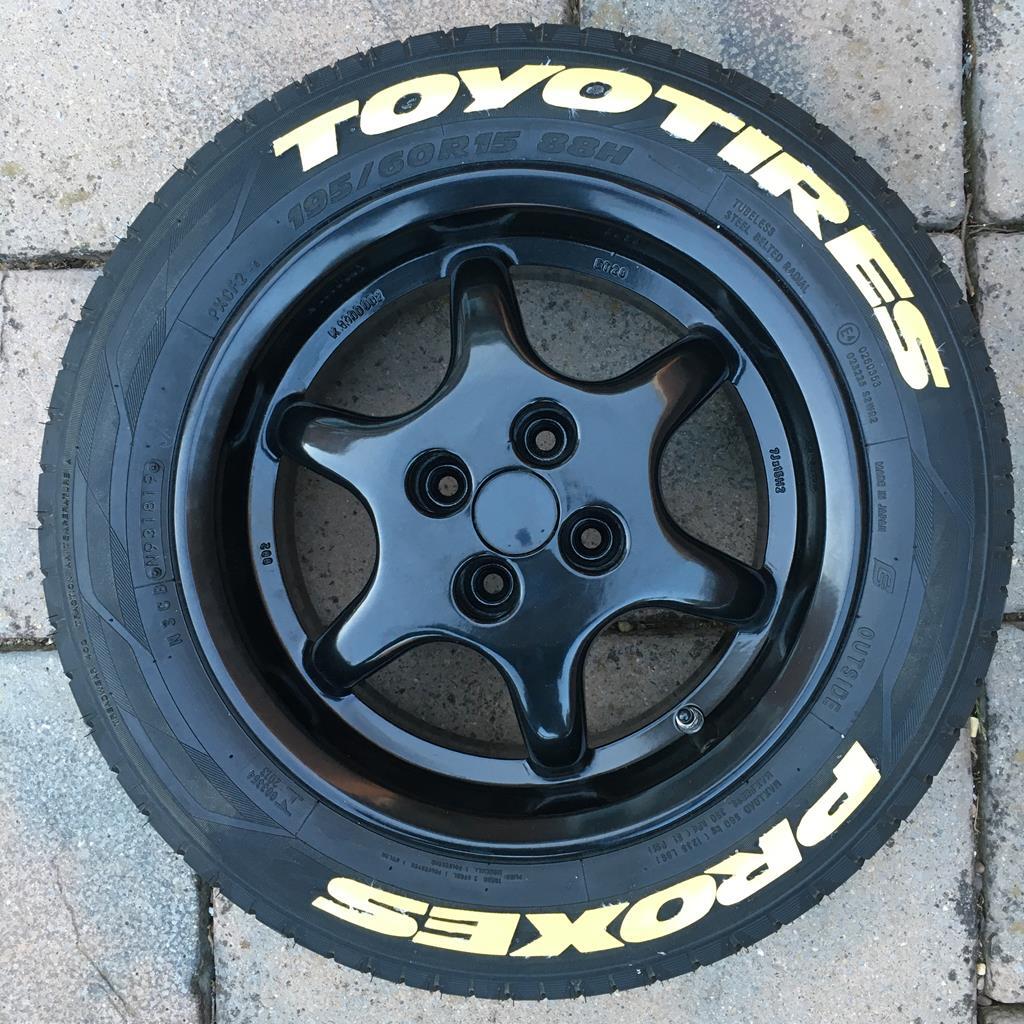 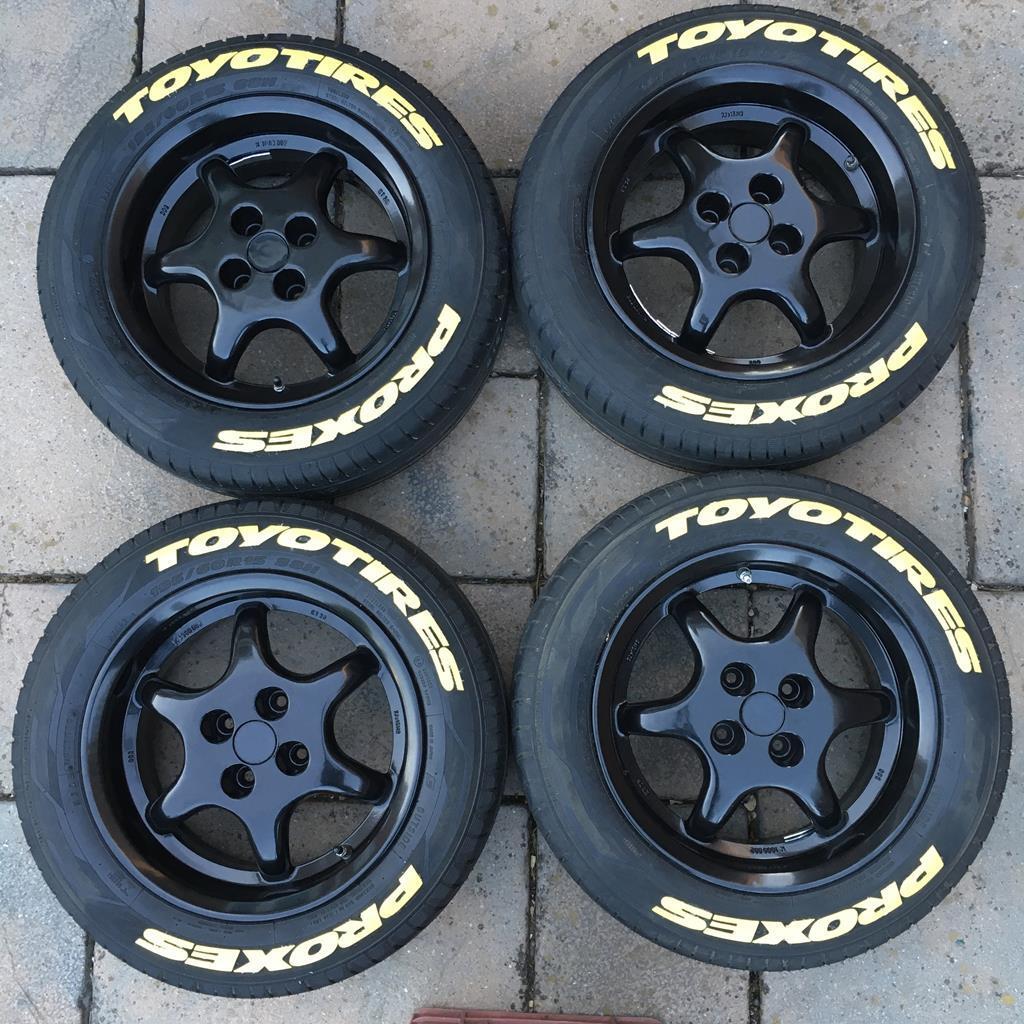 One corner of the Y on the first tyre I did - the only one I didn’t use the spreader for requires glue adding to it. All the rest have a small amount of excess glue that needs to be scraped off. Overall I’m really pleased with how they’ve turned out. The only disappointment is the location of the wheel weights on the three wheels that the refurb company balanced, the one wheel that ATS balanced put the weights on the back edge of the wheel nicely out of view. That leads me to a question that I’ll ask on a separate thread too, but if I buy my own wheel weights could I position them in the equivalent position albeit deeper in or would it not balance in the same way? I’m sure they’ll be less noticeable once they have a coating of brake dust on them or if I paint them in a bit of black paint? |
| |
|
|
|
|
|
|
|
Phil - A bit of black paint on those weights and they will all but disappear - they only stand out because of the different colour and the fact that you are going looking for them - that's no criticism either - you are very much like myself and driven by detail and detail in our own world matters  If you hadn't already planned it I would strongly advise applying a good quality paste wax (none of this liquid spray on wax miracle nonsense) to both the rear & front faces of the rims - it makes cleaning the grot off them when you wash the car very, very easy |
| |
Last Edit: Jun 6, 2020 8:22:07 GMT by Deleted
|
|
|
|
Rich
Club Retro Rides Member
Posts: 6,341  Club RR Member Number: 160
|
1985 Honda Acty Show TruckRich
@foxmcintyre
Club Retro Rides Member 160
|
|
|
Cheers @grumpynorthener yes I agree I think we’re all more critical of our own cars / work As someone who has fitted tyres to a high standard if that makes sense if I’d have fitted that and seen the balance weights for a centre balance were that high I would have broke the bead and turned the tire to see if I could lower the weight amount required. It doesn’t always help but sometimes it can. Like the tyre letters. Pretty neat! |
| |
|
|
|
|
1985 Honda Acty Show Truckfr€$h&m1nt¥
@freshandminty
Club Retro Rides Member 99
|
|
|
Cheers @grumpynorthener yes I agree I think we’re all more critical of our own cars / work As someone who has fitted tyres to a high standard if that makes sense if I’d have fitted that and seen the balance weights for a centre balance were that high I would have broke the bead and turned the tire to see if I could lower the weight amount required. It doesn’t always help but sometimes it can. Like the tyre letters. Pretty neat! Lesson learnt from this is to get the tyres fitted and balanced by a proper tyre place rather than the refurb companies. Reason I didn’t was because I didn’t want to be stuck in the middle if they were damaged during tyre fitting. If the refurb company damaged them then they could refurb them again. |
| |
|
|
Rich
Club Retro Rides Member
Posts: 6,341  Club RR Member Number: 160
|
1985 Honda Acty Show TruckRich
@foxmcintyre
Club Retro Rides Member 160
|
|
|
As someone who has fitted tyres to a high standard if that makes sense if I’d have fitted that and seen the balance weights for a centre balance were that high I would have broke the bead and turned the tire to see if I could lower the weight amount required. It doesn’t always help but sometimes it can. Like the tyre letters. Pretty neat! Lesson learnt from this is to get the tyres fitted and balanced by a proper tyre place rather than the refurb companies. Reason I didn’t was because I didn’t want to be stuck in the middle if they were damaged during tyre fitting. If the refurb company damaged them then they could refurb them again. Completely understand the logic there. Thing is finding a fitter that would actually bother doing that rather than peeling and sticking 3 strips of weights is sadly a little hard. I use a local place for my fitting but I don’t trust them to remove and fit the wheels, I take them loose, and they also have no idea how to mount alloys to balance them so it’s a bit hard work. They couldn’t do the tracking on my Cherokee despite me taking them them the workshop instruction. Pro tyre on the other hand set it up with no trouble, taking the instructions to hand and doing it by the book. So yea. |
| |
|
|


