|
|
|
May 29, 2020 18:36:29 GMT
|
A few odds and ends this evening, there is a patch on the mx5 bonnet where someone there are some marks in the paint, someone has tried to polish it out and gone through the laquer, I tried to patch the laquer in but it looked terrible with a very obvious edge. So I wiped it off ( fortunately the original is 2 pack so celly thinners took the acrylic off ok) and buffed it up, came out ok unless you know where to look for it. 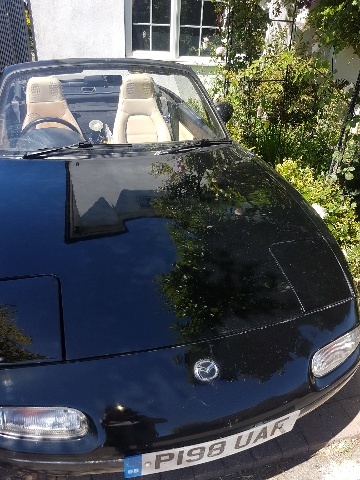 Eventualy I will repaint it they list it with and without laquer (the car seems to be a mixture already) I will use gloss 2 pack which gives me a bit more oppurtunity to rectify mistakes. Then I did a bit more prep on the TR. I had griund back and taped the tissued over the damaged areas. 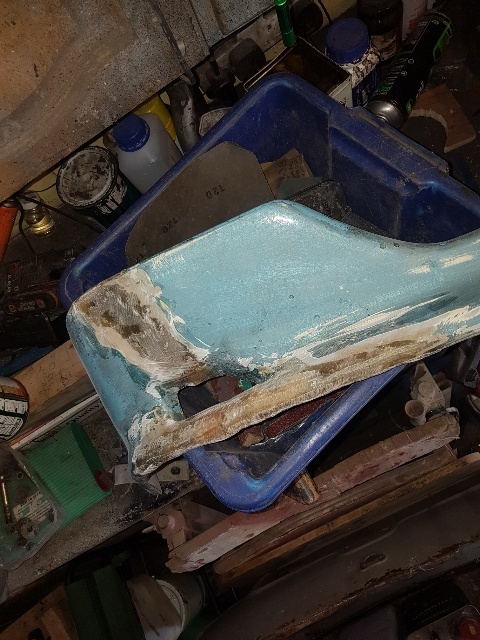 Then filled and fisrt cut and sanding back. 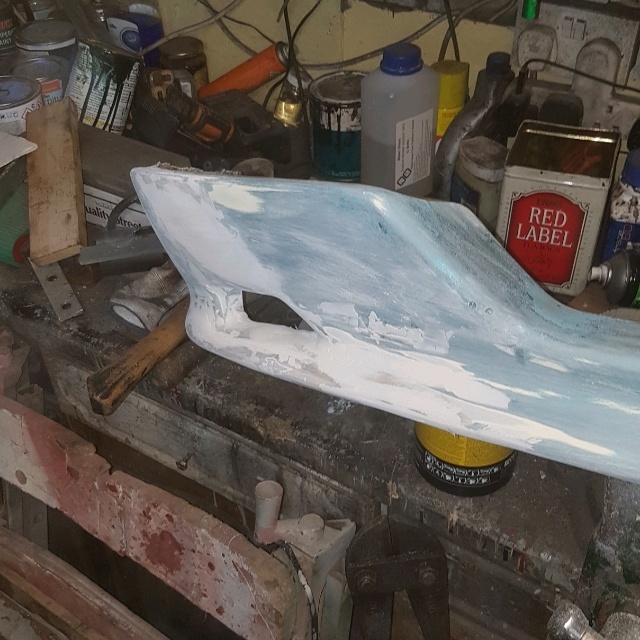 Hopefully get some epoxy primer on it tomorrow. |
| |
|
|
|
|
|
|
|
May 31, 2020 17:39:14 GMT
|
Main thing I've done today is paint the back of the house, kind of get snow blindness painting walls white in this sunshine. Did manage to get some epoxy primer on the TR. 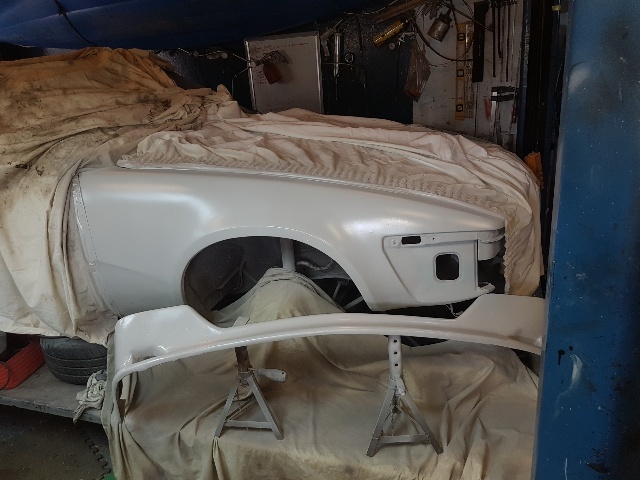 As expected a few areas on the spoiler need a bit more work, but this type of work fits in well with working from home, half an hour to do something tfen 3 or 4 hours to dry. Also made a bracket and moved the minoe coil onto the inner wing. 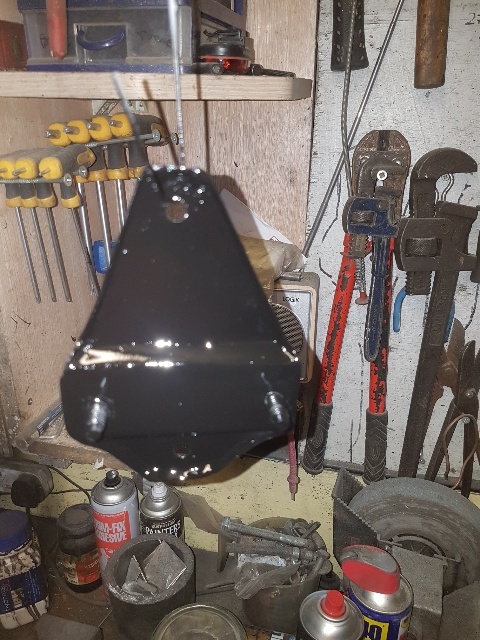 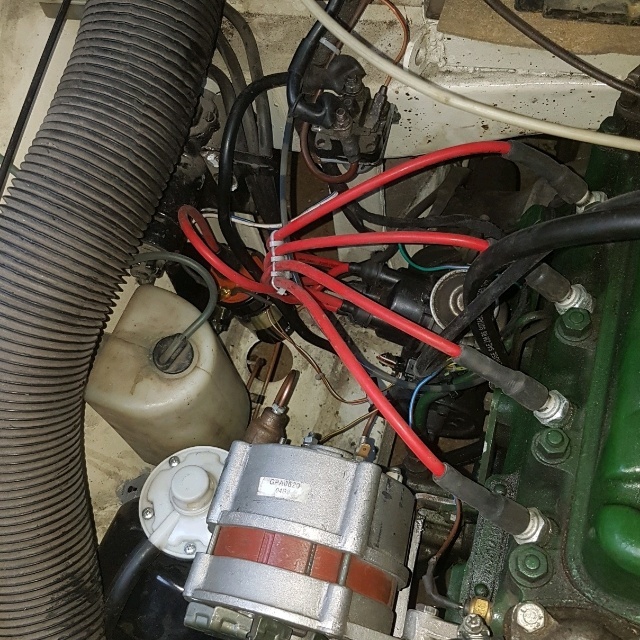 |
| |
|
|
|
|
|
|
|
Bit more on the TR, although there were no holes like on the drivers side the seam between the wing and lower front panel was swoen on the passeger side so I decided to cut that out and seam weld a piece in as well, there was also some slight accident damage. So the slide hammer was deplyed to knock it straight and the new picec welded in, not the pretiest but strong enough. Areas with surface rust were then given a coat of converter. 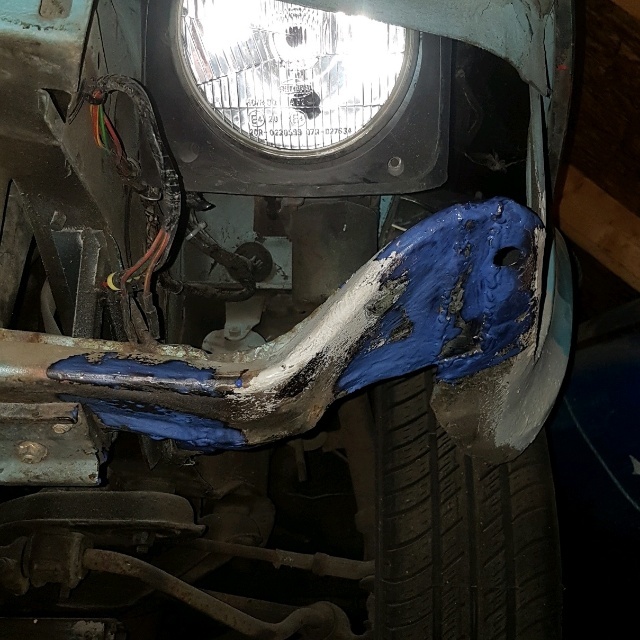 After this i continued with the prep of the spoiler, a few spots of filler and further rubbing down has got me to a point I am pretty happy with. 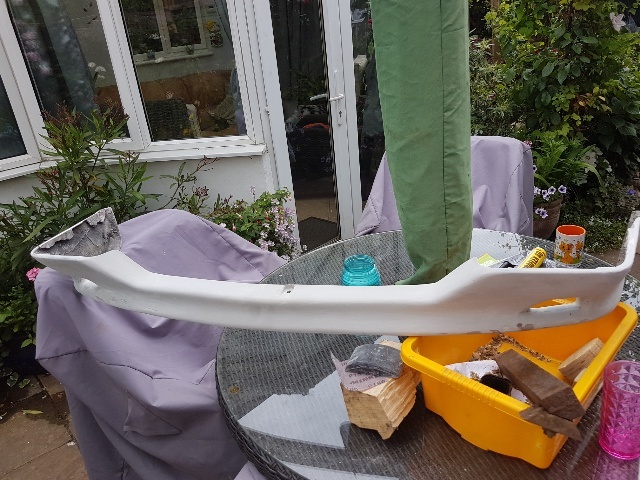 Next step is to fit the spoiler, PU adhesive is great for this sort of thing where you are joining very different materials so I will be using that, then it will be another coat of primer and hopefully topcoated over the weekend. |
| |
Last Edit: Jun 3, 2020 19:12:13 GMT by kevins
|
|
|
|
|
|
|
Managed a bit more progress. On the range rover tried to fix a bit of the dash trim, epoxy renforced with fiber glass tape. 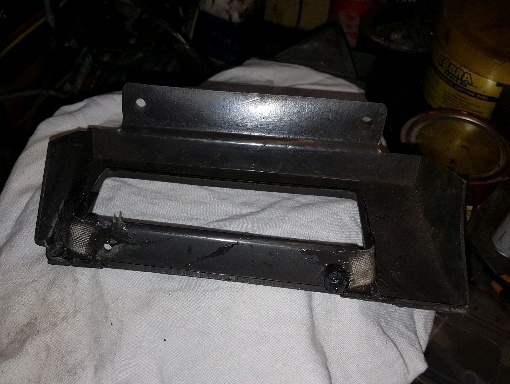 Some of the trim they added on these early vogues is awful, its cheap nasty vac formings, the usual leyland problems of cutting corners and doing it on the cheap. On the TR I have fitted the spoiler and am now preping it for paint, I don't really have the patience for paintwork but if there is one thing I have learnt its that if you can see or feel a mark in primer it will show in the topcoat, so a fair bit of filling and re-priming going on some of which must have been there before but might as well do it right while I an at it, almost done now. 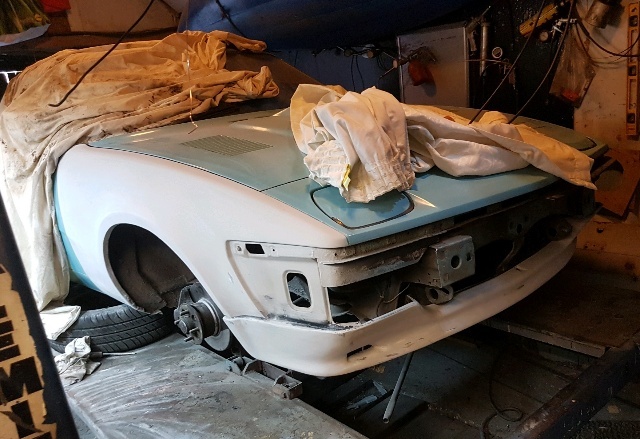 I have also started on the back, the problem was cracks over most of the back panel like these. 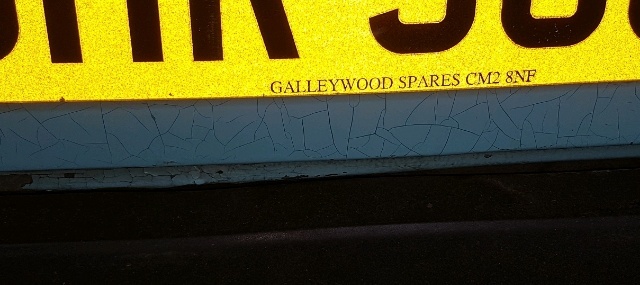 After taking the number plate off I found this. 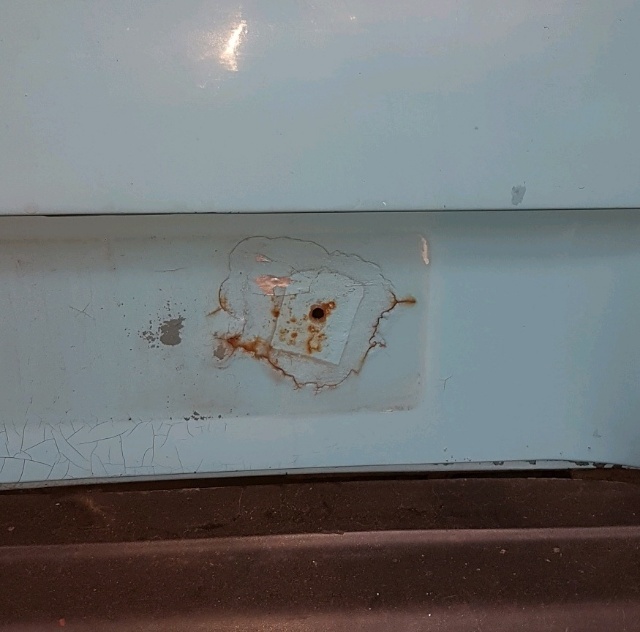 Decided the only option was to strip all the paint and filler off, started with a hot air gun to get most of it off then used a sanding disc on the grinder, wire brush on the grinder and a power file to get it back to bare metal. 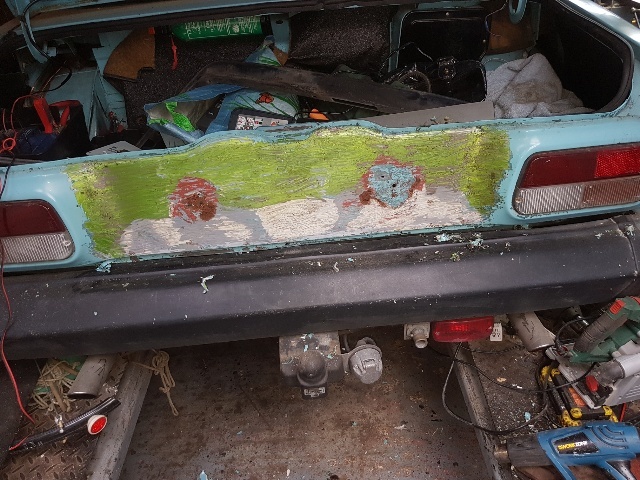 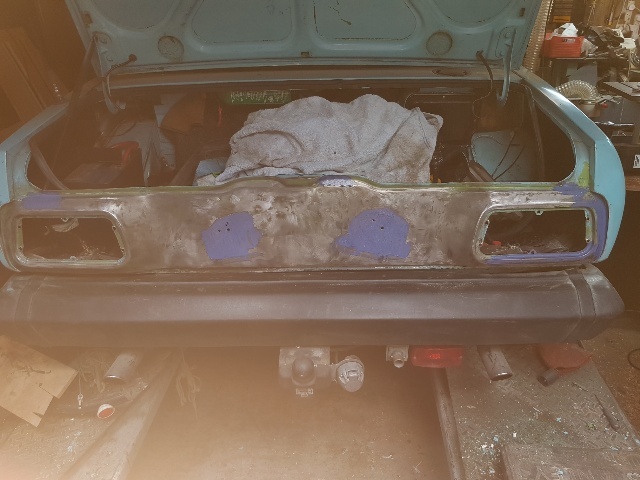 There was a fair bit of rust but it cleaned up fairly well, the filler was in a shallow dent which pops in and out, to avoid stuffing it with filler again I might glue a piece of plastic between the reinfircement and the skin inside to hold it out |
| |
|
|
|
|
|
|
|
Took the TR bumper off, good news is the body was fine, bad news is I forgot it weighs around 20kg and dropped it breaking one of the end caps which will cost £50 to replace, at least you can get them. 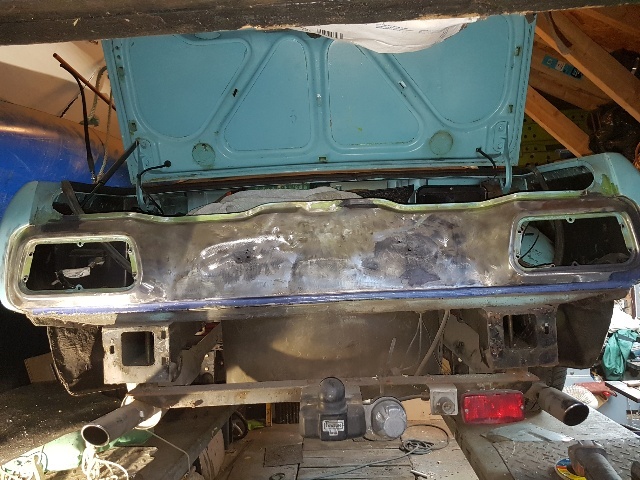 I did save some money though, one of the rear lights had the studs pulled out of the lens, but I managed to find a spare in the loft. 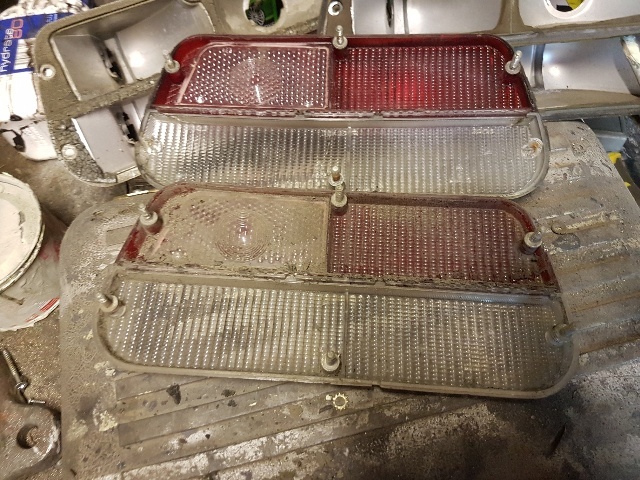 It's Currently in the dishwasher Finally need to repair the beam, the lip the skin slides under has rusted away, I might even go mad and cut a load of lightening holes in it, it is simply massive being about 3mm thick. 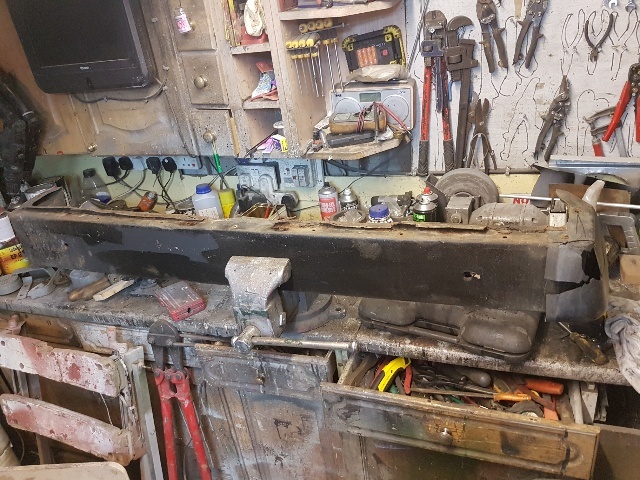 Also managed to turn the large depression in the rear panel into a series of much smaller ones which should only need a light skim of filler, plan is to seal the panel with epoxy primer prior to filling though. Lights after the dishwasher, they have come up like new. 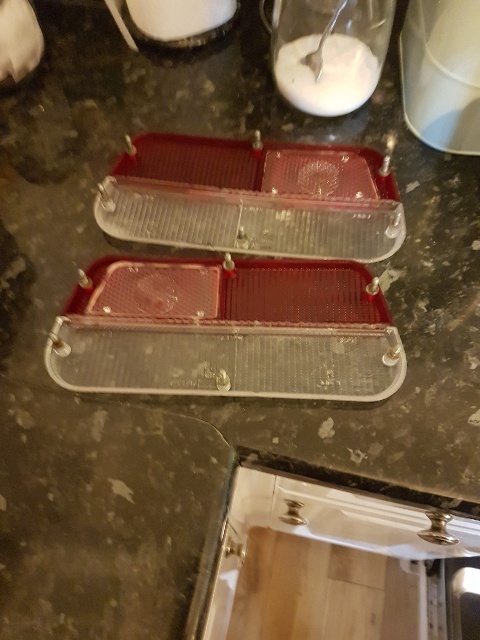 |
| |
Last Edit: Jun 9, 2020 10:58:44 GMT by kevins
|
|
|
|
|
|
|
|
Great work, as ever. Love your thread.
|
| |
|
|
|
|
|
|
|
|
Thanks for the feedback, just managed to buy a complete new bumper for £30 it doesn't look as rusty as mine either, only problem is I need to drive to king's Lynn to collect it, Fortunately I can still get a van from work so will go up weekend after next.
I'm thinking of getting a new hole saw and cutting loads of large holes in each of the beams should be able to keep most of the strength but aim to reduce the weight by around 50%
I also started it up yesterday as I had robbed most of the ignition system and re-fitted it when the minor broke down, after sitting there for about 3 months it started on what must have been the first compression, and unlike the range rover on 80's Lucas efi, idled perfectly when cold as well (it has SU's). I'm thinking of trying a potentimeter in the temperature signal on the Range rover to give me something like a choke function, it starts fine, is fine after it's done about a mile from cold but in between it is clearly much too rich. I understand the fueling on them is analogue and determined by a combination of resistances in the ecm, I might even try replacing the resistors and capacitors on the spare (faulty) ECM I have to see if that makes a difference.
|
| |
Last Edit: Jun 9, 2020 11:20:02 GMT by kevins
|
|
|
|
|
Jun 10, 2020 20:33:49 GMT
|
Bit more progress, Dug out the best 2 light housings (the ones that had been in the loft for 30 years) and put them through the dishwasher 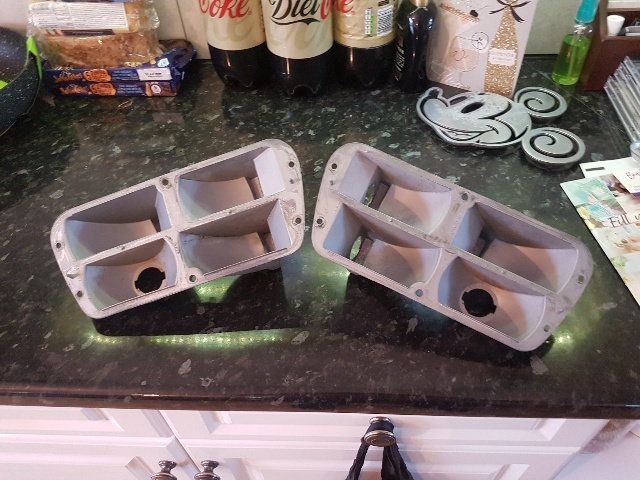 Then gave them a coat of etch followed by silver. 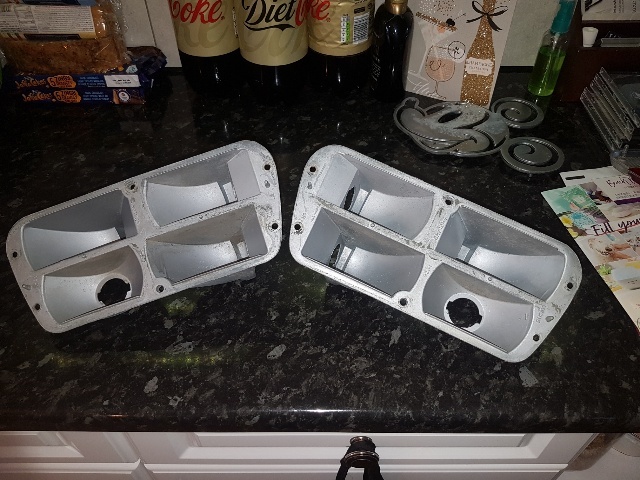 Gave the rear panel a coat of epoxy. I've also bought a new set of light gaskets. 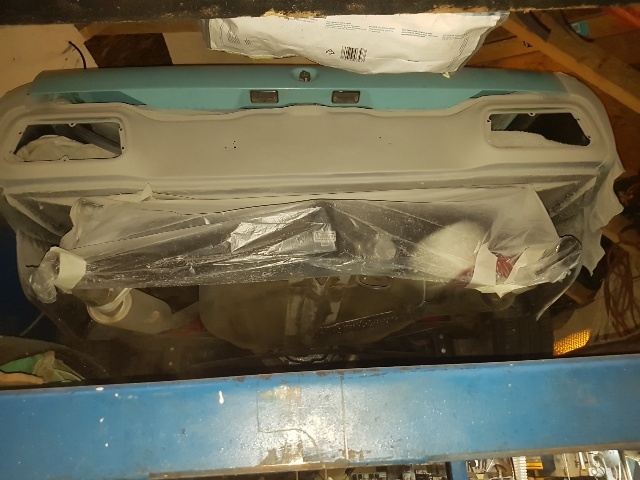 Also getting carried away now, cleaning up and tidying the bottom surface of the wing, usually I would just wax it, I think its watching the standard of work some of the rest of you achieve. |
| |
Last Edit: Jun 11, 2020 12:06:15 GMT by kevins
|
|
|
|
|
Jun 10, 2020 23:59:05 GMT
|
|
That Diet Coke is good for cleaning stains off of concrete, BTW.
Nice work,
John
|
| |
|
|
|
|
|
Jun 11, 2020 12:09:39 GMT
|
|
strangely enough one of the things I have been trying to clean up is the oil stains all over the block paving where the TR leaked (also why I am trying to plug some of the leaks), I might give it a try when I move the Range Rover which strangely enough for an old Land rover product doesn't seem to leak any fluid enough to drip (and yes it has got some in it!)
|
| |
|
|
|
|
|
Jun 11, 2020 16:14:27 GMT
|
Today, I did a few odd jobs on the range rover, firstly replaced the oil pressure switch, pretty obvious why it didn't work, the top was smashes off, most Likely I caught it when changing the steering box. Next up was to fit a lumbar cusion to the drivers seat, I bought a blow up cussion ages ago for a couple of pounds, took the back off the seat, released a couple of springs then slid it behind the wire frame. 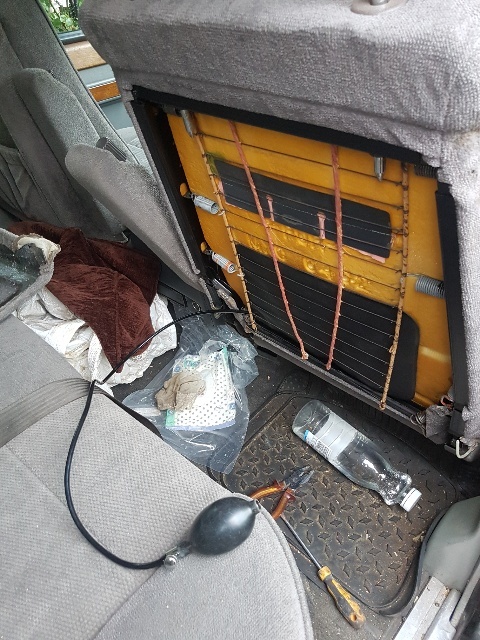 After this I also put a piece of leather between the cusion and the wire frame fir protection, put the back on and it works a treat. Finaly I polished the bonnet, at christmass I replaced the back 3 inches of the centre due to rust, it was too cold to paint really and I used it too thickly to blend in properly, so it looked like this. 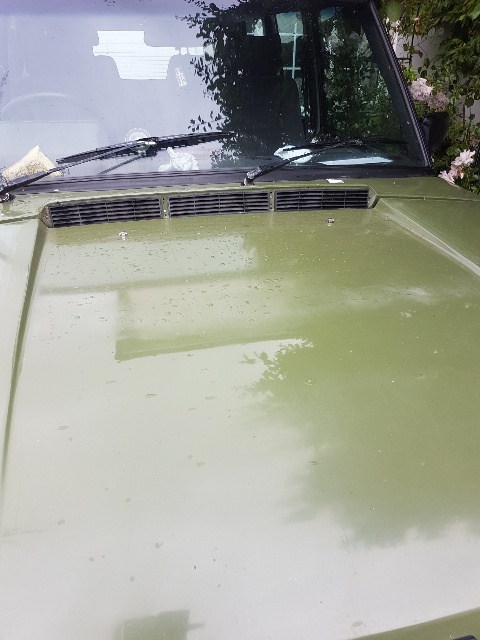 There was though plenty of paint on it, so half an hour of various grades of wet and dry then G3 on the polisher got me this. 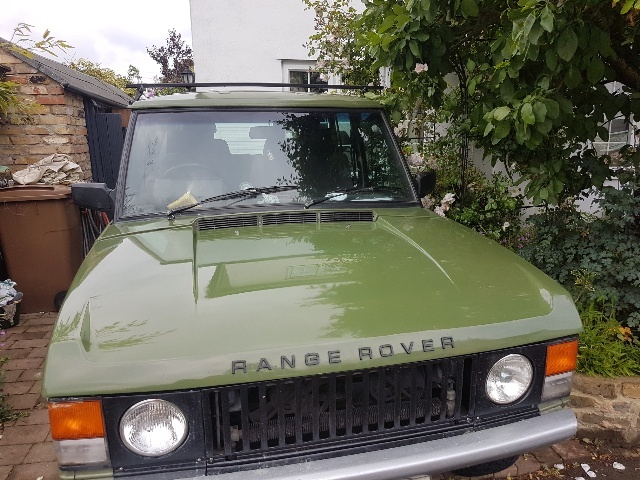 If you know where too look you can still see the join as the colour didn't quite match but It certainly looks better than it did with the rust. Finaly I did a bit more filling and priming on the TR, hopefully as it's warming up a bit I should be able to get the colour on this weekend. |
| |
|
|
trimtechniques
Part of things
  Porsche 928 4.7 ltrs of German grunt. Mazda MX-5 MK1 Dakar. VW T4 camper
Posts: 158
|
|
|
|
|
I really don't know how you find the time to keep your magnificent fleet so well maintained and on the road. Fantastic work and ingenuity. Your work and your thread make great reading.
|
| |
|
|
|
|
|
|
|
|
Thanks, nice to hear people enjoy reading my ramblings, working from home is a mixed blessing you can' really get stuck into any major or dirty jobs but things like painting where you can do half an hour here or there when I would normaly take a break work well, plan is topcoats today, want to get it more or less done as a truckload of timber is arriving friday for garden projects, the ramp makes a superb workbench for long timbers.
|
| |
|
|
|
|
|
Jun 13, 2020 18:55:37 GMT
|
Top coats on the TR today, flatted back wet with 400 grit, masked wiped, tacked and then painted with cellulose. 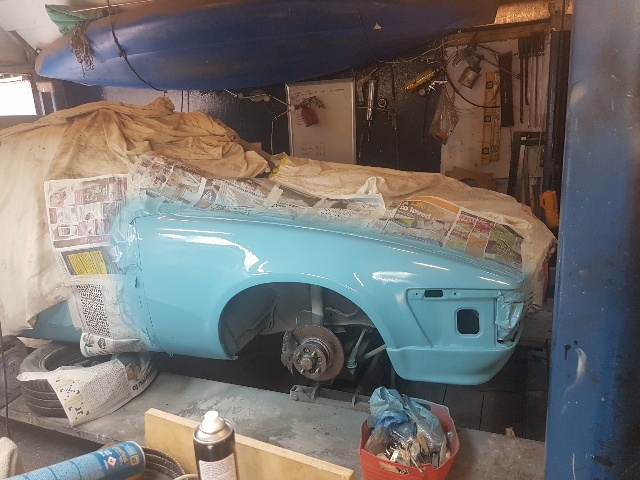 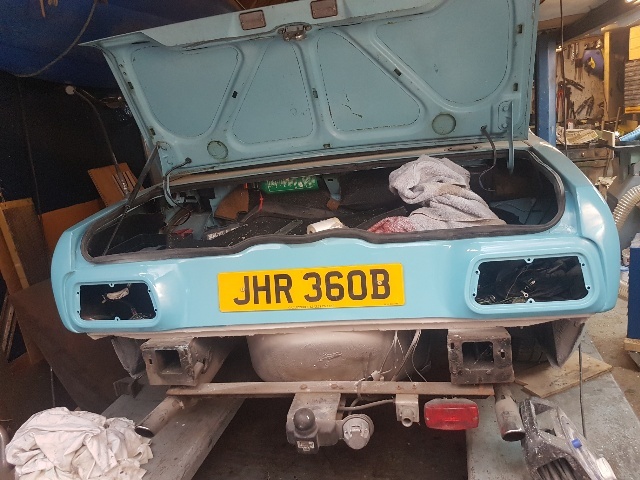 Looks shiny but the surface was pretty rough to touch, it came up to a good shine with 1500 grit and a light going over with g3, only problem was there are a few tiny darker blue spots seems like some pigment had seperated in the paint (I did stir it for a good couple of minutes) any way I decided I would live with this and pulled the masking off to reveal this 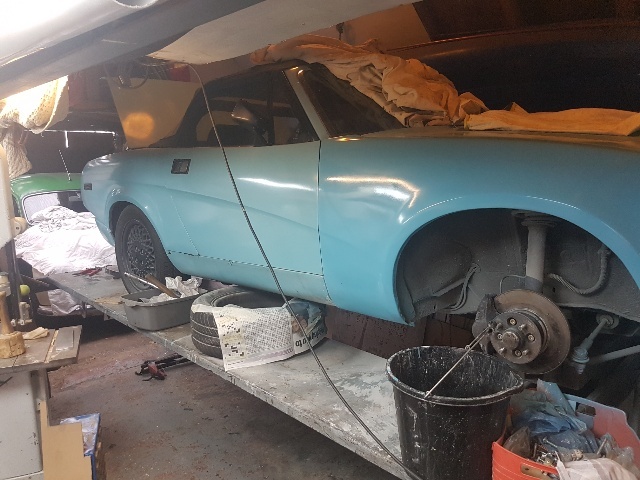 It's the wrong colour! I've bought and touched up several areas before, it's a RAL colour and has always matched pretty well. I bought the paint at the start of lockdown and thought I'd bought it from simply coatings in Luton who I usualy use and who use ppg paints, turns out I hadn't, came from someone else with no description of the paint base, they also appear to be colour blind! Pretty frustrating but at the end of the day it just needs flatting and a couple more coats with the right colour paint, plus of course the cost. Off to spend more money! |
| |
|
|
eurogranada
Europe
To tinker or not to tinker, that is the question...
Posts: 2,556
|
|
|
|
|
Oh, that must have been a little blow to the system after all that effort. But as you say, can be fixed...
|
| |
|
|
|
|
|
Jun 15, 2020 14:26:29 GMT
|
|
The strange thing is I actually prefer the new colour!
In reality though as a non standard colour you would never be able to match it and I don't want to enter into a full re-spray which in it's self would probably end up a complete re-build! that can wait till I retire in something like 5 years time!
|
| |
|
|
|
|
|
Jun 20, 2020 18:41:57 GMT
|
Spent most of the last few days building a pagola in the garden for plants to grow over, we appear to have run out of spacecat groind level! Finished that this morning so I re-painted the TR. 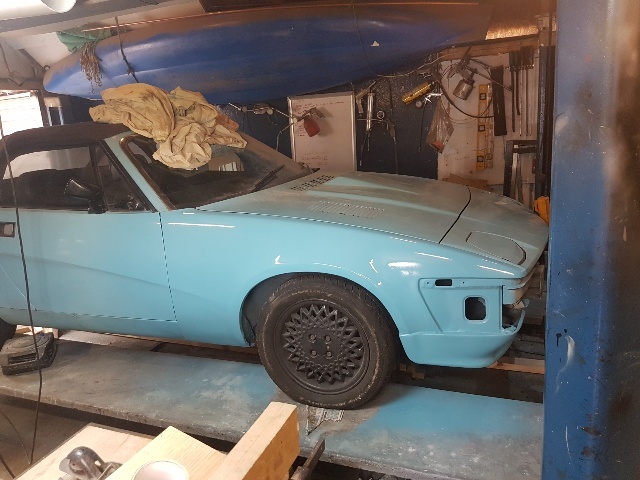 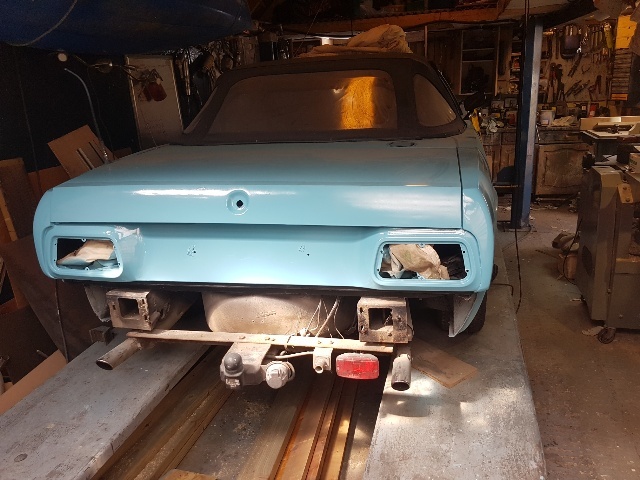 Still not a perfect match so I blended it over the door and I'm re painting the bonnet next anyway. Decent paint went on much better and no flecks this time, I can start putting it back together now. I,ve also been trying to improve the awful finish on the minor roof, I painted it in a rush up against a wall and it shows. So I've been filling in the deeper marks with a brush, flatting it back to a level surface and airbrushing any thin areas, not finished yet but it's looking promisimg. I've slso been driving the Range Rover with the new oil pressure switch and now when its hot the warning light comes on at Idle! I doesent come on at the 850rpm idle but does in drive which pulls it down to around 550rpm, no knocks, rumbles or clackety lifters so I don't think there is much wrong. Might try tge TR switch or even go madcand change the oil(wonder if there may be fuel dilution from a leaky injector) Finaly i got this out for the first time since February. Supringly it started straight up everything works and even the tyres were still pumped up. 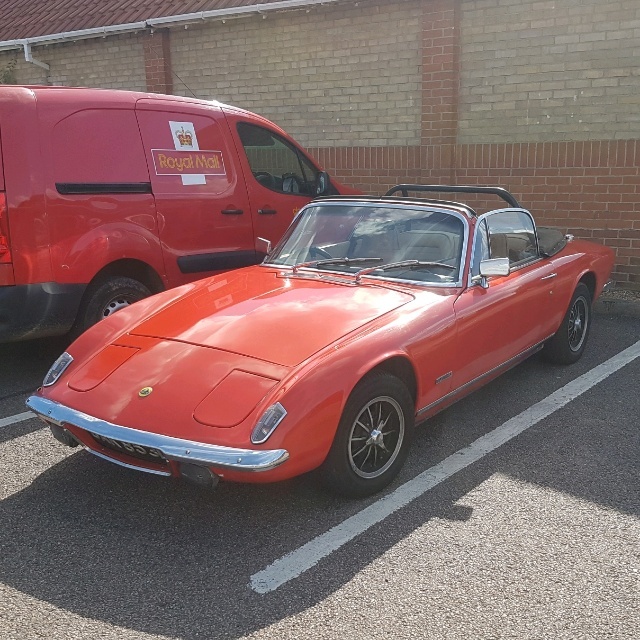 Just need to repair the bootlid but might actually finish one of the others. 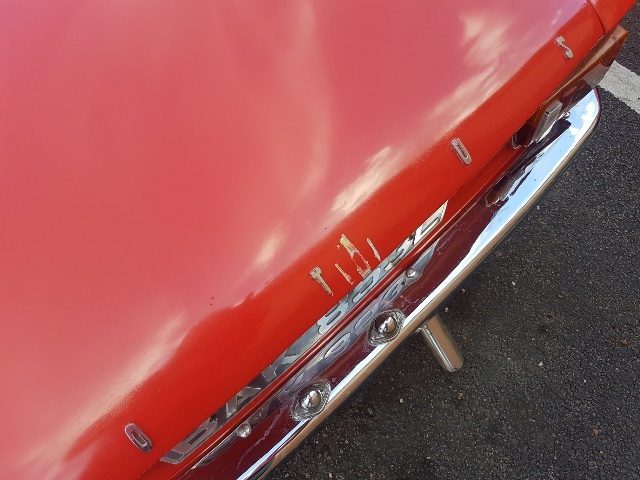 |
| |
Last Edit: Jun 20, 2020 18:58:03 GMT by kevins
|
|
|
|
|
Jun 24, 2020 21:31:56 GMT
|
A bit of progress today, The gaskets for the tail lights arrived so I put them together. 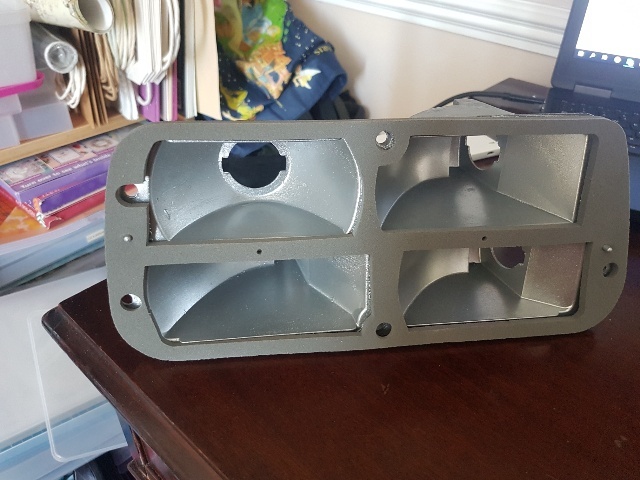 BL had an interesting approach, while others designed lights to stay dry, they just put a hole in the bottom to let the water out ! 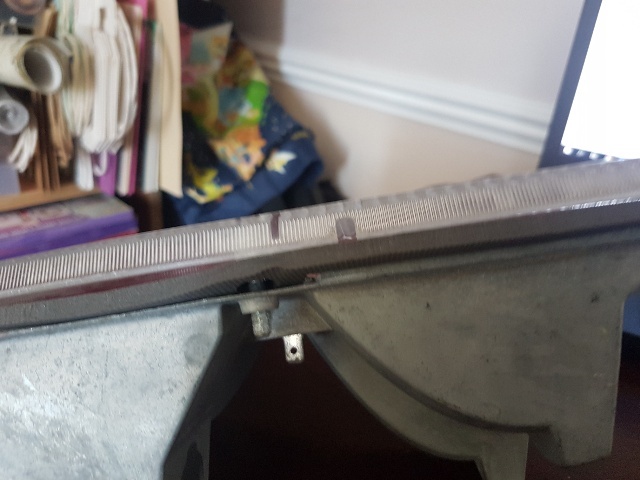 This is why they were so dirty inside. Before I can fit them I need to flat and polish it up, might wait til it cools down a bit to get the motivation though. On the other end before I put the bumper back on I was intending to go over the centre part (fiberglass replica) with a rattle can to tidy it up, I ended up going much further though, firstly there were a few splits and bits chipped off the ends so these were built up with fiberglass tape, then because there were so many cracks the whole top surface was covered in tissue. 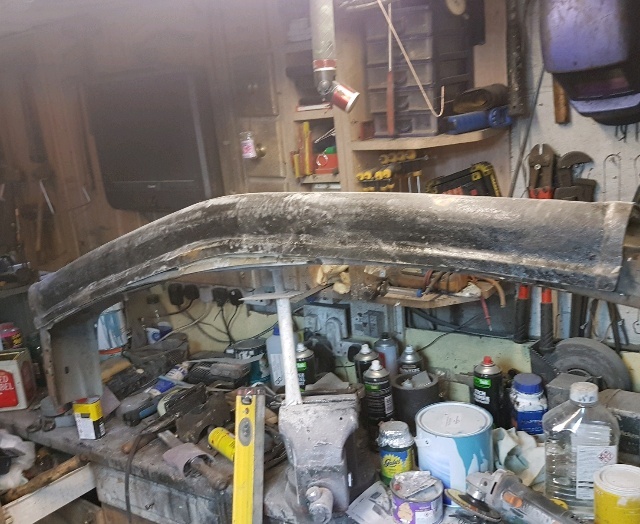 Then covered in flexible filler and sanded back. 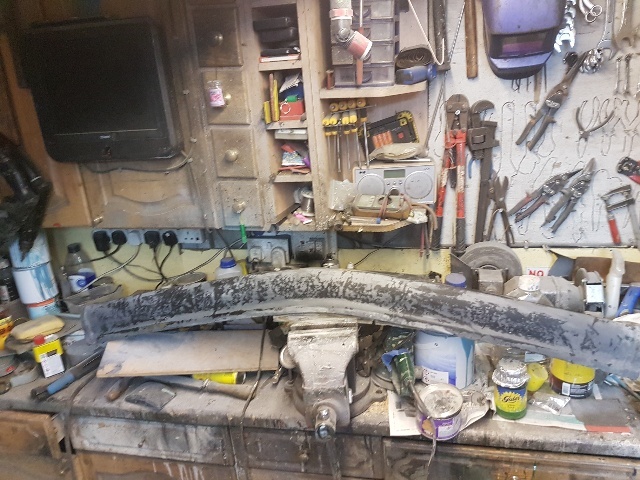 Finaly gave it a light coat of primer. 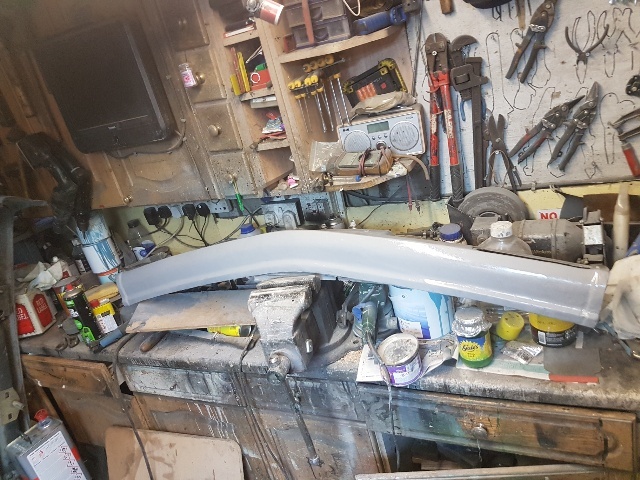 Still a few scratches and marks but nothing deep so I think a couple of coats of epoxy and some flatting back should get it looking OK. Just need to work out how to do a really rough textured paint job, managed it unintentionaly many times before so it can't be that dìfficult ! |
| |
|
|
|
|
|
Jun 28, 2020 17:19:41 GMT
|
A couple of steps forward and one back. Polished up the minor roof. 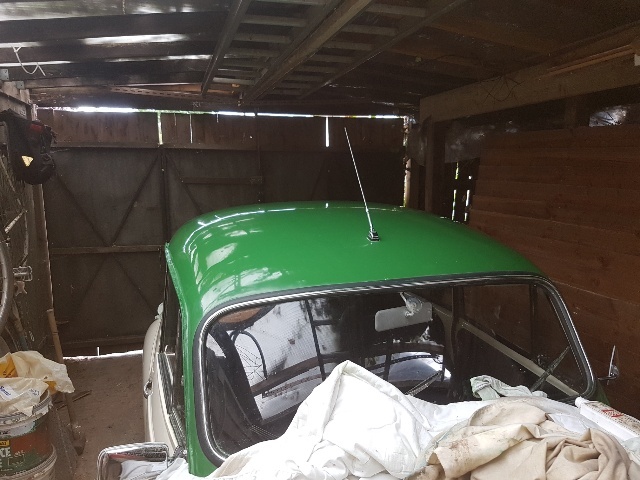 It started out looking like 120 grit, with loads of marks and scratches in it, I've use a combination of a brush to touch them in and an air brush to cover thin areas, nowhere near perfect but also massively improved. Then I started on the TR, polished up the rear and put the lights and number plate on. 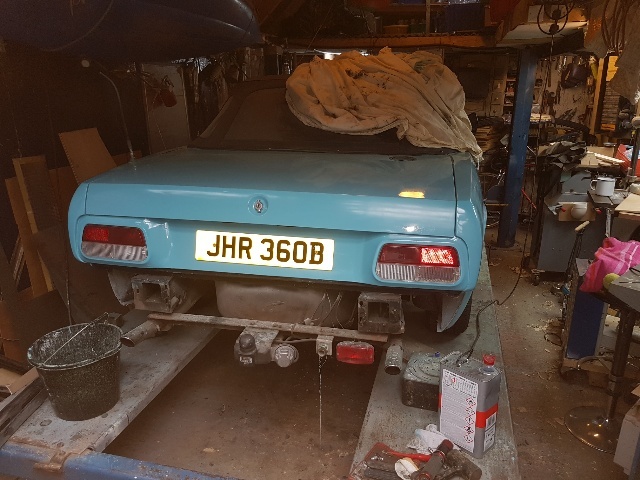 Then started on the front, polished up the new paint, finish is pretty good. 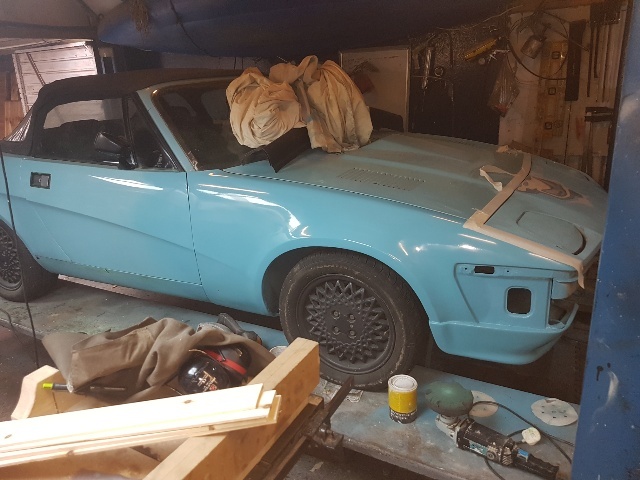 Still not a great colour match to the wing but if you look closely the door is bluer near the rear where it's been blended into the wing already, I think its primarily the door wjich is the problem, I might end up painting the door eventually. After this i decided to look at the blisters on the front panel. 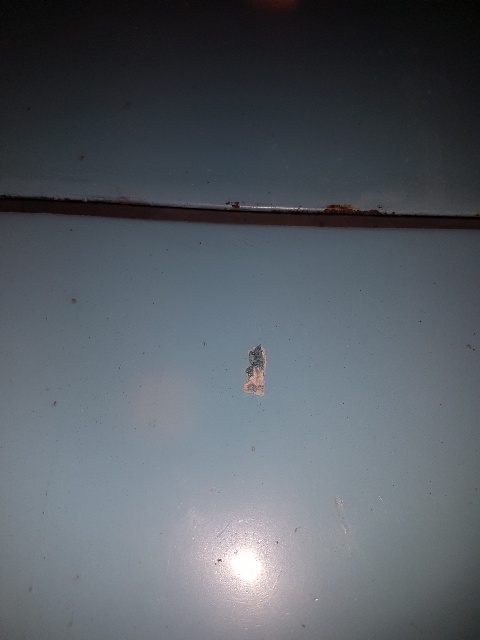 Dug one out and its some sort of reaction where it has been filled not rust so I set to it with the DA. 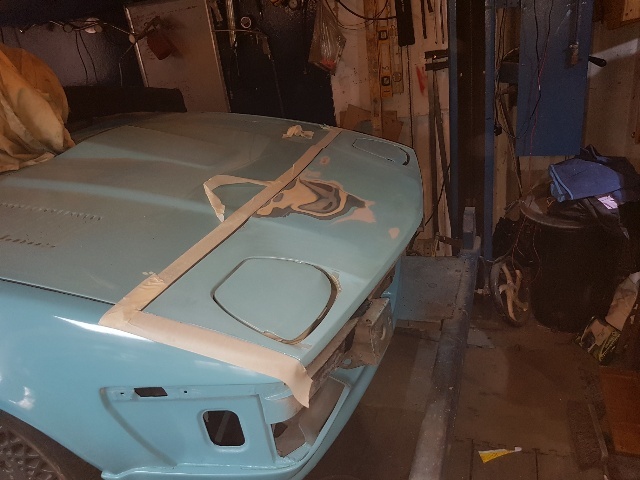 Followed by some epoxy primer. 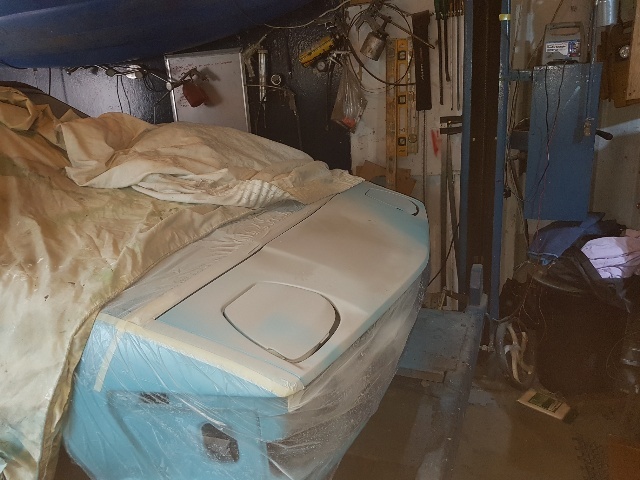 This is where it went wrong, it didn't seem to be curing, then i realised why, I'd forgotten the hardener, wiped it all off with thinners which in turn pickled a few areas of the underlying paint, so I've left it to dry out and will set too it with the DA again. Finaly picked up the new rear bumper today, much better than mine, still a fair bit of surface rust but no holes and the plastics are in perfect condition. |
| |
Last Edit: Jun 28, 2020 18:03:36 GMT by kevins
|
|
|
|
|
|
|
Picked up the bumper, plenty of surgace rust but nothing deep much better than old one. Old one 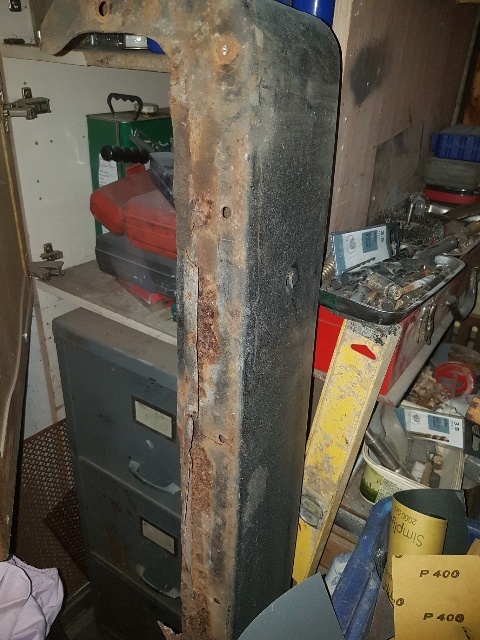 New one 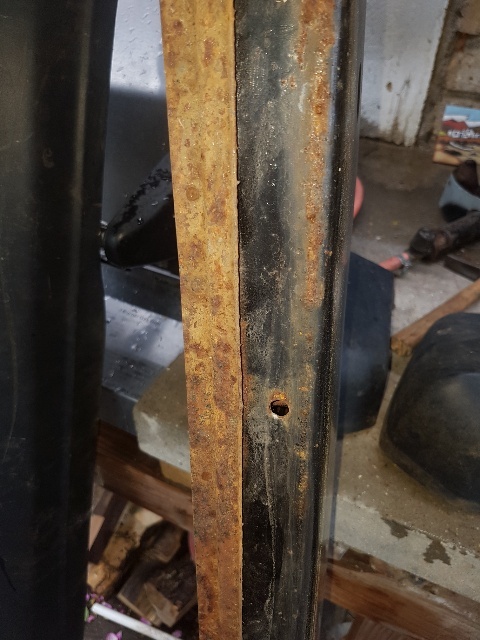 Cleaned it up, treated it with converter, a coat of epoxy and finaly black stone chip over the visible areas.. 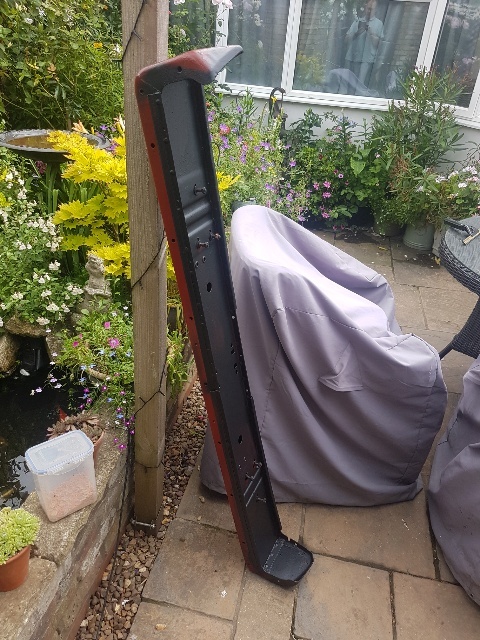 Also primed the front panel no problems this time, i've also decided I am going to repaint the drivers side rear wing and door to get a better colour match, only the door handle and mirror to take off the a light flatting as there is nothing wrong with the paint or finish here to start with. |
| |
|
|


