|
|
|
Jun 17, 2015 16:00:58 GMT
|
|
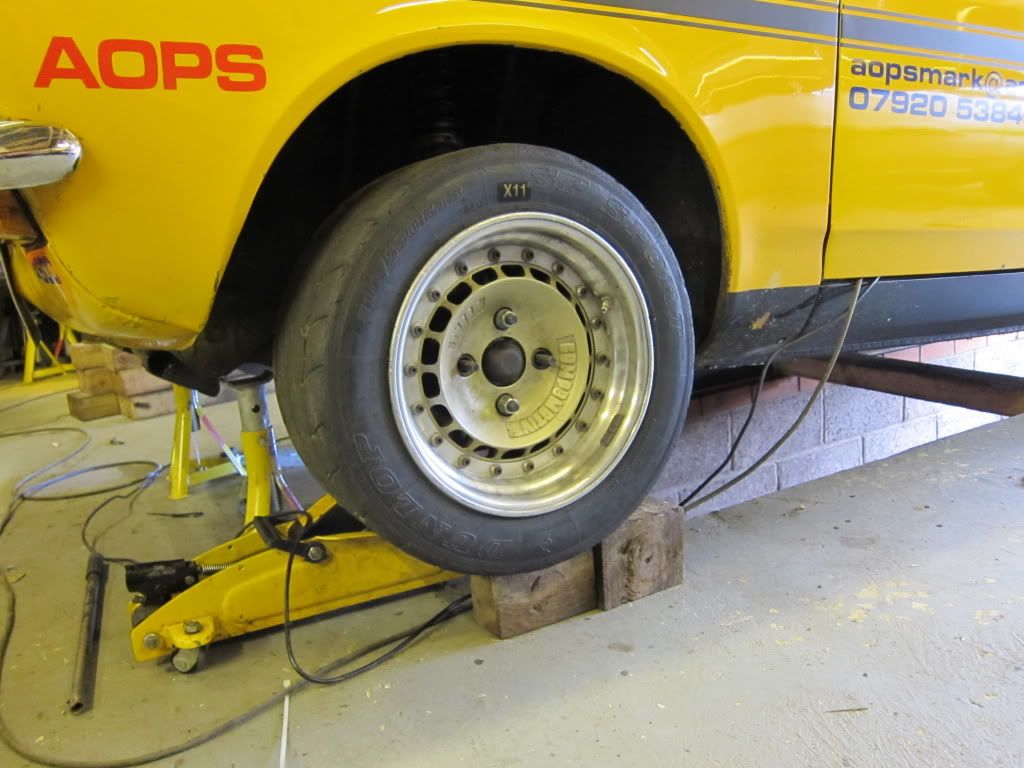
Wiscombe Park Hillclimb on Sunday. Up way too early on a Sunday and off down the A303 not impresed when it started to rain!
First practice was in the pouring rain, second practice was just wet!
Car was going well but i was very circumspect of parts of the course as its a tricky place to learn.
First timed run and on the way to the start line i warmed up the brakes and then just as i got to the start line the pedal slowly sunk to the floor!!!!! Deep joy.
I thought i would give it a go as it was fairly dry and not too slippery under the trees apparently so off i went, it was an interesting run trying not to use the brakes and managed to beat my two practice run times but still a slow time non the less..........
An inspection showed that the off side front Princess caliper had failed where i had filed it down to fit. Ho hum i guess i was lucky to to get as much use out of them as i did.
The drive back up the A303 was slow to ensure i did not have to use the brakes to hard.
I had thought i might try and get some AP Forest calipers for the front to give me a bigger pad and lighter caliper. Guess i need to keep my eye open a bit more now!
I have just found out that the CP3228 caliper uses the same pad as the CP2361 Forest caliper and fits in the same envelope. They are also lighter and cheaper! Could be a bargain about if some one does not realise they are used as an alternative to the Forest caliper by Gartrac.
|
| |
|
|
|
|
|
|
|
Jun 17, 2015 16:02:25 GMT
|
September 2010!!!!! No more events for the year now so lots to do on the car for a move to the C2 class. So i guess lots of updates! Any way a couple of photos. Off the line at Gurston: 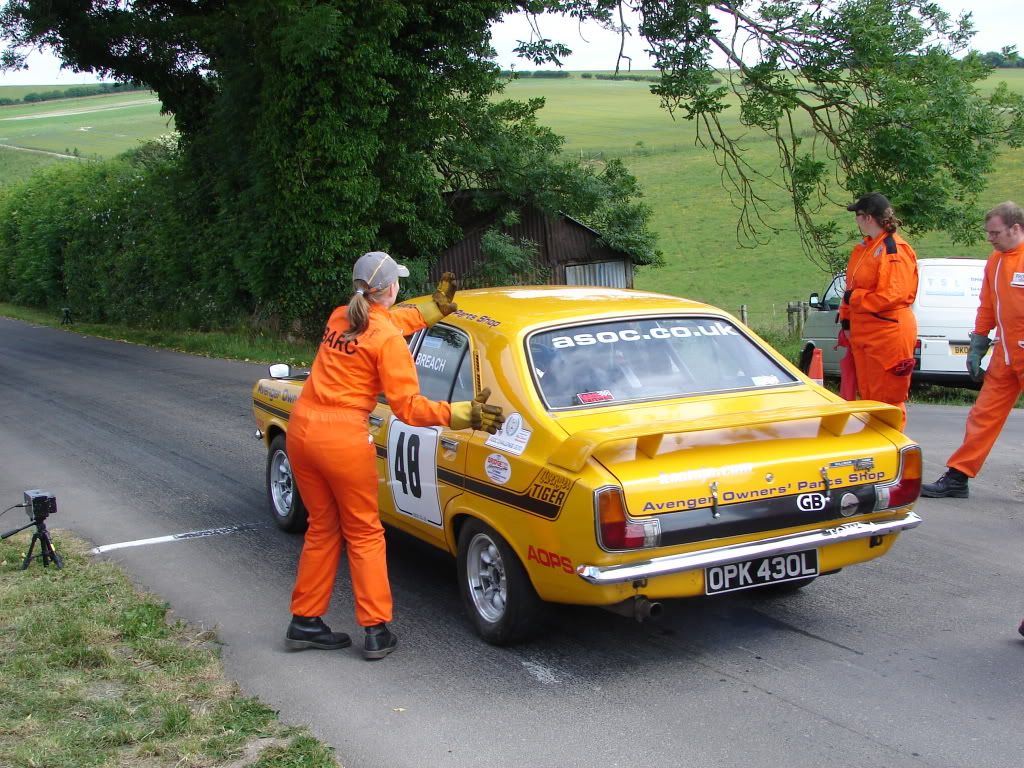 Coming back down at Wiscombe Park: 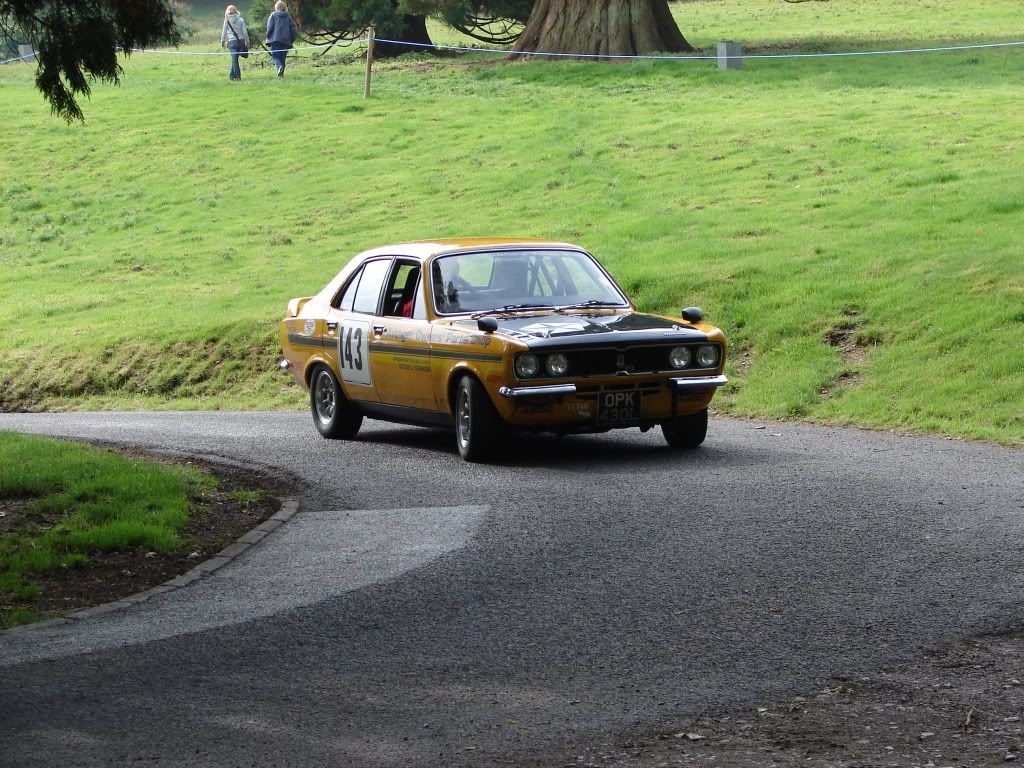 |
| |
|
|
|
|
|
Jun 17, 2015 16:03:45 GMT
|
|
|
| |
|
|
|
|
|
Jun 17, 2015 16:04:13 GMT
|
|
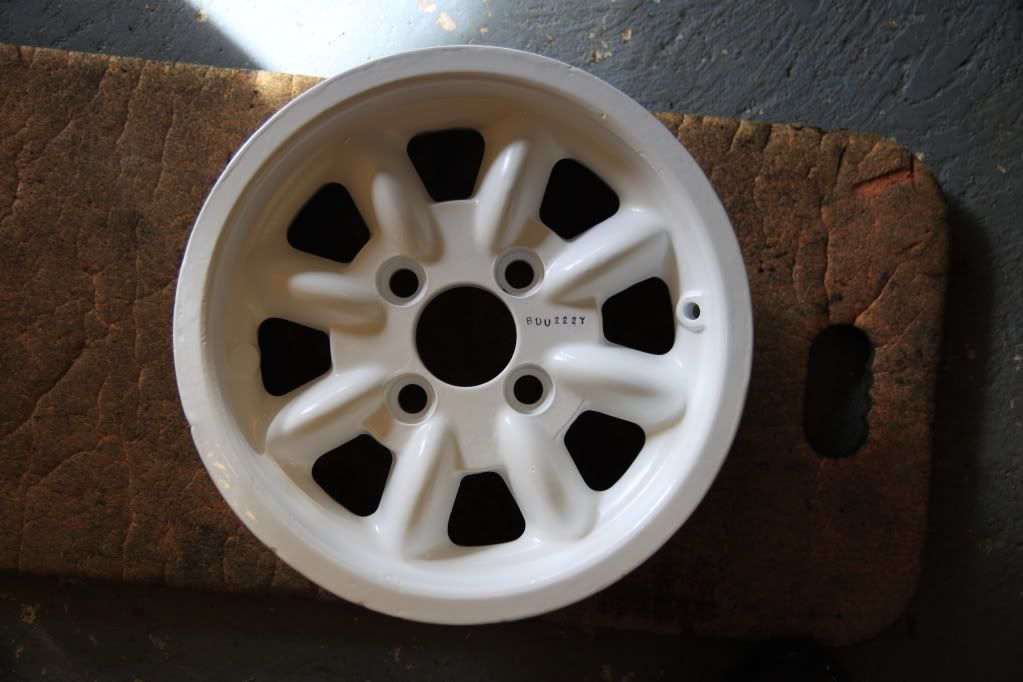
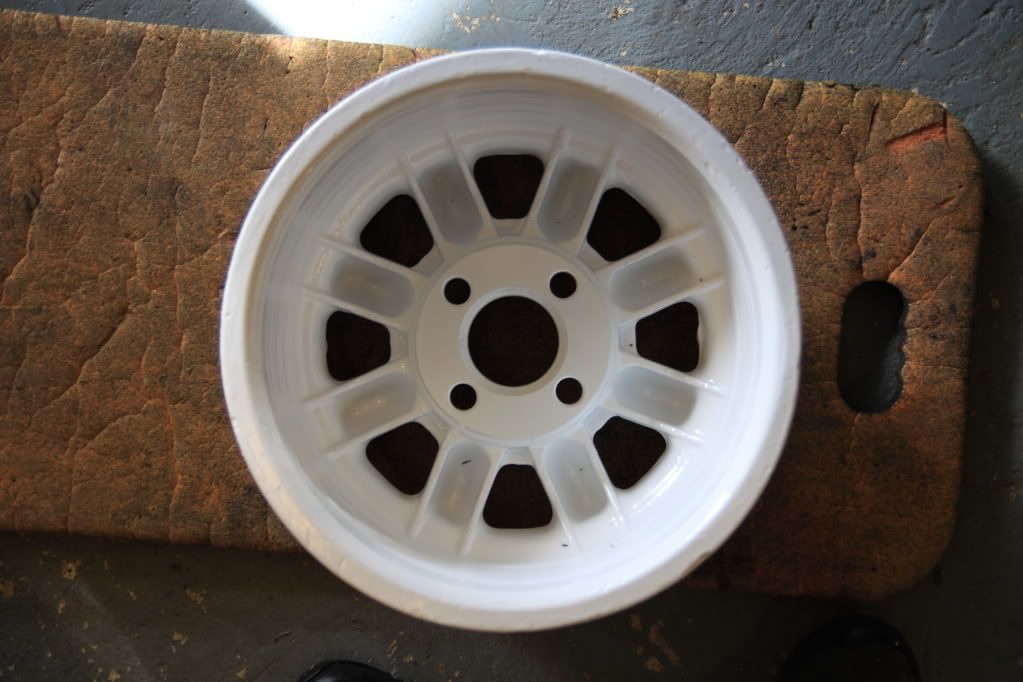
I got some white epoxy undercoat and then sprayed normal white over that. A right faff!
|
| |
|
|
|
|
|
Jun 17, 2015 16:04:35 GMT
|
|
I did want to make them Silver but at the time of painting i only had white so..........
The car is now up on stands so am just about to start the modification of my spare tank to be able to take the Range Rover pump. I have a late Classic model platic tank and intend to meld the two together to create an Avenover fuel tank if you see what i mean!
I need to do some brazing on the tank which needs access to my fathers workshop and he is away on holiday so cant start till he gets back.
Once the tank is modified then i can plumb in the fuel lines, change carbs to the TB's and start tuning.
I have already started on the wiring i need to add into my ECU loom which - for me - is the easy part!
Then fit the new front calipers and pedal box and obtain new gear box and i am ready for next season.
However, i am going to have a change of the front suspension to get it to work a bit better and try and get it a bit lower.
|
| |
|
|
|
|
|
Jun 17, 2015 16:06:59 GMT
|
A weekend free so i managed to get into the garage  I finally started on the wiring of the extra bits and bobs for plumbing in the fuel injection. I made a new centre consul from some Aluminium James let me have. Every time i do something to the car now i try and make it lighter than the bit it replaces/modifies which will all help in the end. Here is the consul where it will end up and a new switch panel in the old radio slot for some more switches! 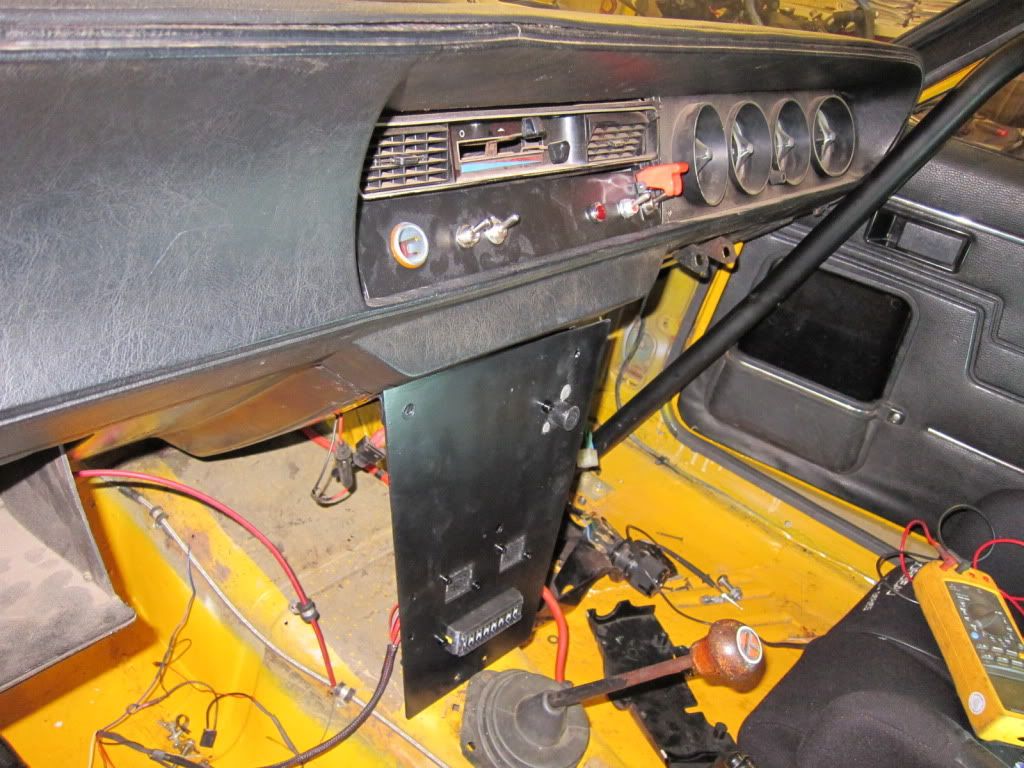 And begining to add the extra wiring in: 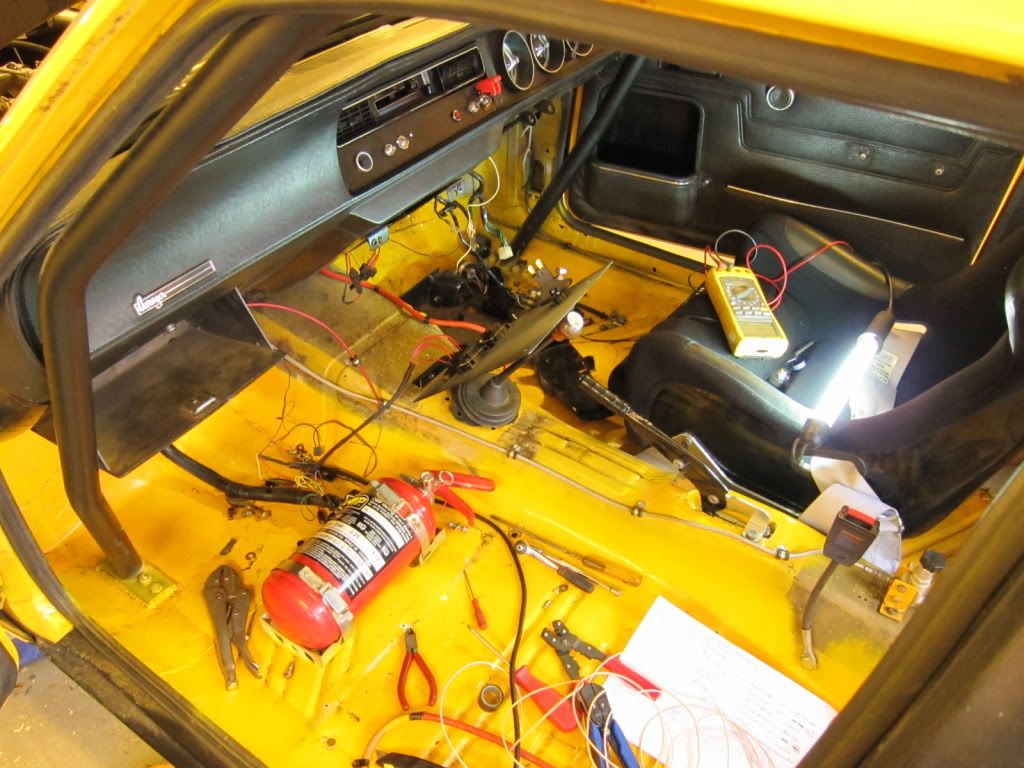 I am having quite a tidy up of the wiring in general as i thought it was a bit messy and now all the seats are out it was all too obvious  The setas will stay out but the door bars will go back in - they are just removed so i can gain access a bit more easily............. Whilst i have been doing the wiring i have also been having a look at fitting the Bias Pedla Box. My new calipers will turn up next month so wanted to get on with that as well. In the photo above you can see the old proportioning valve which i can now remove, which will also tidy up the cabin. My Tiger used to have the remote servo, the bulkhead was drilled for the direct acting one from the factory and now has even more holes for the bias pedal box!! 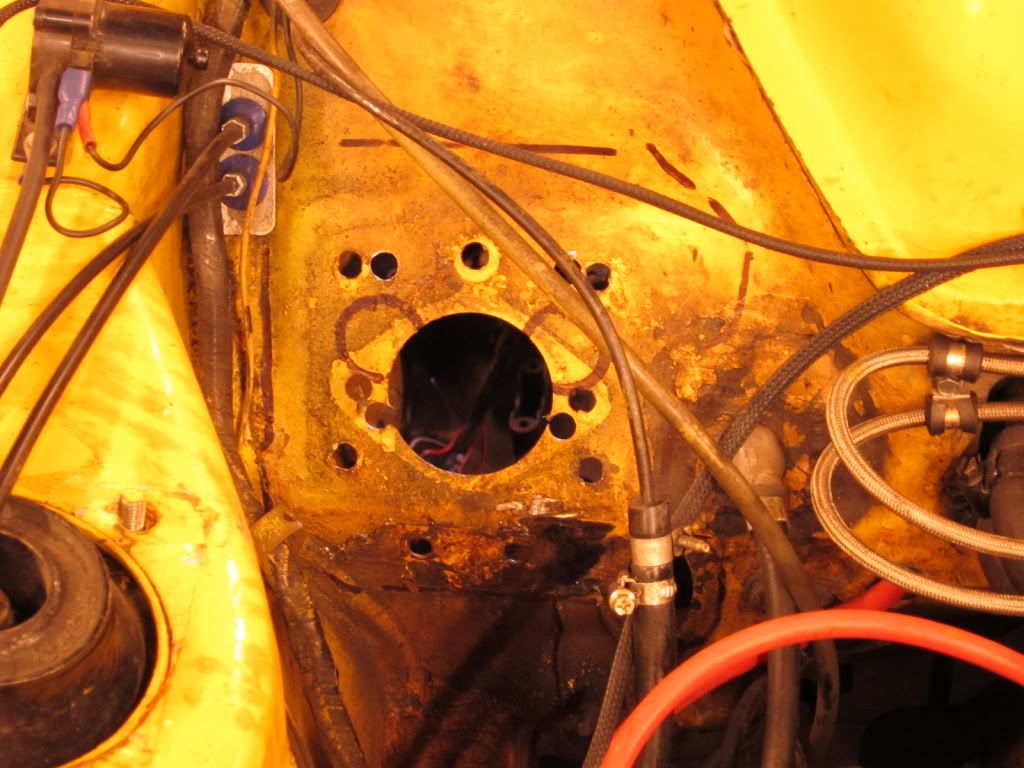 There are still the two holes for the M/C mountings to create as well, as seen by the marker pen. I have made a plate to go over this area to strengthen it and tidy it up. I had never fitted the plate for this area that came with the chassis strengthening kit so it was more or less right for the job. There is not much wiring left to do but i have not started on plumbing in the fuel lines or creating the tank yet. |
| |
|
|
|
|
|
Jun 17, 2015 16:17:22 GMT
|
We have not had the Internet at home for a little while and that fell at the wrong time as it only seemed to be working when i was away working!!! So i finally got a couple of days off and toddled over to see dad with the two tanks, one an Avenger tank  and one a plastic range rover tank from circa 1992  All we needed to do was combine the two to get an Avenger tank that mounts a range rover fuel pump, so out with a jig saw  and viola a bit of plastic that needs attaching some how......  So we cut a hole in the Avenger tank  dad cleaned up the edges whilst i directed things.....  Which left us with making the bit that the plastic threaded portion will affix to. And in good Blue Peter tradition dad said 'here is one i made earlier from an old baking tray, lets see if it fits?'  It does! So next was fixing the threaded bit to the baking tray.   As can be seen this was done with rivets and epoxy glue. The base of the plastic bit had been filed flat and the glue is fuel resistant and very strong. Put it all together using the same glue and rivet method  We did this over 2 days as it was so cold on the first day the glue would not run or mix due to the low temperature but it soon cured in dads kitchen! A new Britpart pump - at a 1/3 the price of a genuine part - with copper plumbing fittings ready to mate up to the JIC-6 fittings of the fuel system  I then painted the tank on the inside with POR 15 just to be on the safe side. Whilst paint was drying etc i started to have a look round the Tiger to do stuff and found the rear parcel shelf with two massive holes cut with a gas axe for fitting speakers! So out with the grinder and after a bit of a tidy up   |
| |
|
|
|
|
|
Jun 17, 2015 16:22:51 GMT
|
Work cancelled so Sunday at home! With cleaning up the rear parcel shelf it made me think about the other bits in side the cabin and maybe i should give this all a bit of a tidy up so:  Primer done with Mr Halfords grey which turned out to be wrong really as i should of used white to go under the Yellow but i live and i learn........... Yellow done from pre-mixed rattle cans. An expensive way of doing it i suspect but i don't a compressor in the garage. Maybe something for chistmas, hmmmmm.  I must remember to take the bird seed out of the boot too. As i had broken the Princess calipers i bought these, they were sold to me as fitting the Forest disc but were actually drilled for 285mm disc. So i got the hole plugged as can be seen here:  A bit of fettling to do but they now fit, although my disc is bit thick with the new pads so i have had the discs skimmed down by 1mm to let the pads in easily. Mucho agro as i really wanted a bolt on job for once, but where is the fun in that! New pads are very different to the Princess pads   Much longer but not as deep they do, however, now fit the disc perfectly. Pagid RS 5 material which by all accounts is much better than the EBC Red or Yellow but we will see, however the RS 5 has a very flat co-efficient of friction response curve to temp and is good cold as it is at max temp and still provides massive stopping power. A shot of the finished tank ready to take the fuel pump and put in the car.  As an aside i have been looking at suspension books and software to try and work out how to improve what i have got. A very interesting subject and as i can now move suspension pick up points in my class something i will have a go with next year! |
| |
|
|
|
|
|
Jun 17, 2015 16:25:37 GMT
|
managed to sneak an hour or two down the garage before having to go Xmas shopping. Luckily not as cold as it has been but still less than warm. I have now fitted the calipers and plumbed them in:   Which meant i could get up off the floor and have a go at mounting the master cylinder resevoirs:  You might notice that the interlinking pipes are a bit long! Rather than make them myself i bought some ready made ones but they have proved a bit excessive. Once i had swapped the M/C's over - as the cold had affected my vision and i had fitted the 0.75 to the front brakes  - i was then able to spend an enjoyable 30 minutes upside down under the dash attaching the m/c rods to the bias bar assembly. I even got to start bleeding the the front calipers but shopping time caught up with me........................... |
| |
|
|
|
|
|
Jun 17, 2015 16:26:48 GMT
|
|
Its a mix of bits and indeed bob's.
Discs are Peugeot 505GTI/206GTI/406Diesal 266mm x 21mm fronts
Hubs are a set of Ben Grenters, turned up to standard dimensions except the bit that centres the disc.
Calipers are CP2361 with Pagid RS-5 which were manufactured for an escort running 285mm discs it seems but since modified by me and machined by Cross Country engineering in Andover.
So no Ford bits really but the wheel studs are from a Subaru (competition type) as they are the same thread but longer!
I am rather hoping it stops better than the Princess calipers and EBC pads (when they were working and not split that is!!!!)
|
| |
|
|
|
|
|
|
|
Jun 17, 2015 16:31:38 GMT
|
The first chance since last year to get at the car and do some stuff! I put the new exhaust manifold (not an Ashley one) on so that i can fit the new 21/4 Ashley system. I will wrap this up with the heat tape before i fit it for final. The carbs are just throttle bodies now but any reduction of heat below them has to be a good thing. 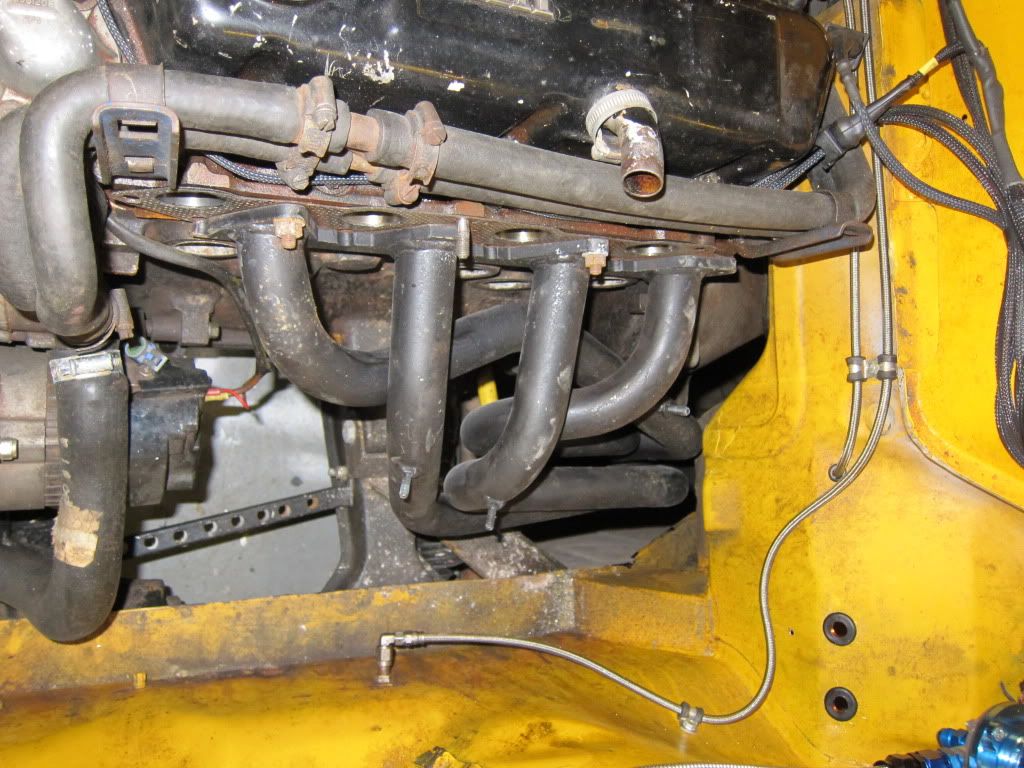 On with the carb/throttle bodies and start plumping in the fuel pipe, they appear to hang down but that is because i have not bolted them up correctly yet! When attached they will sit 7 degrees up from horizontal which will allow a straighter shot into the head. 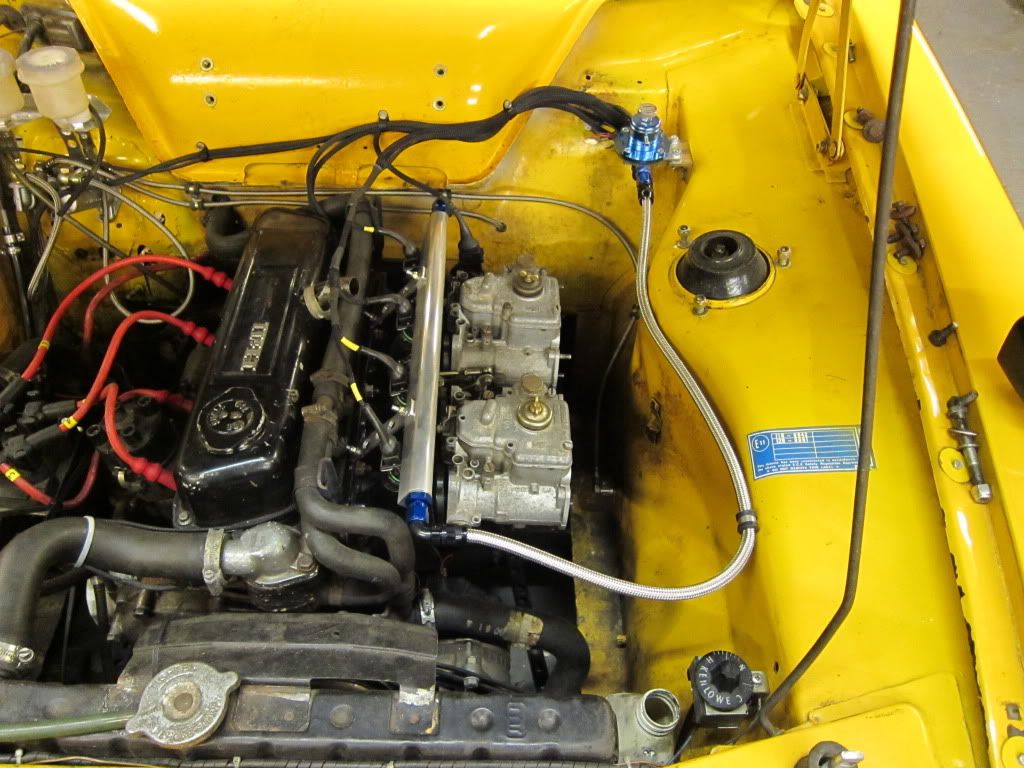 And here is the fuel filter tucked up out of the way. If the car was used as a rally car i would have to fit a gaurd of some sort but it should be ok on the hills! 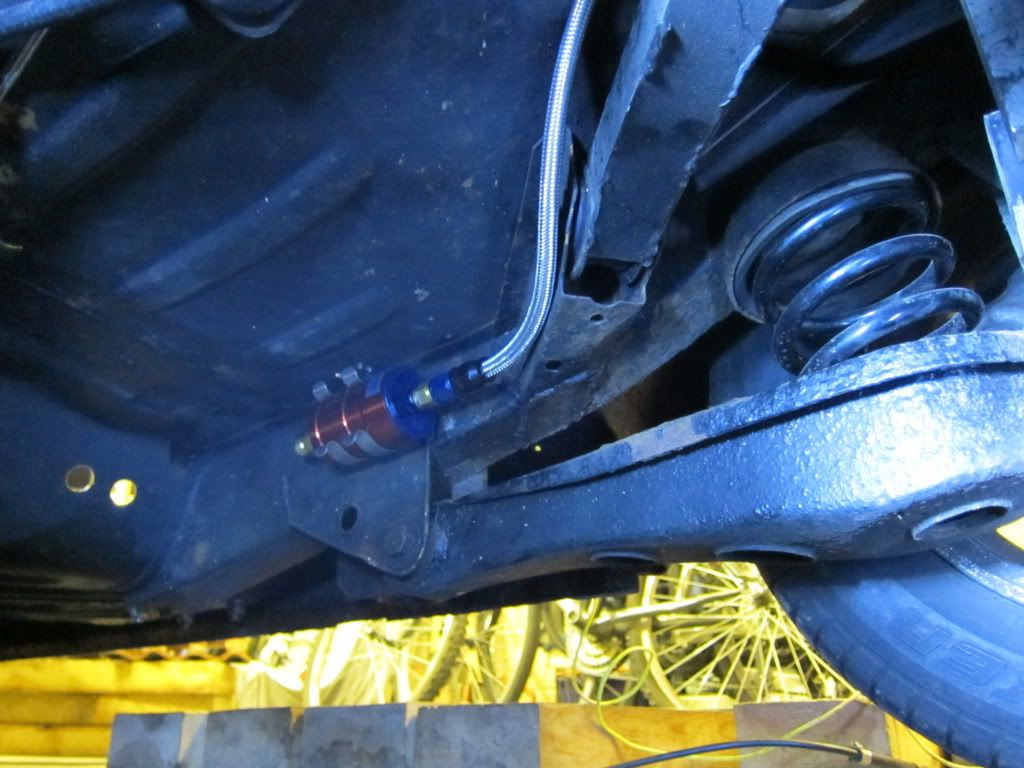 I also fitted one of the 7" Minilites with the 200/530 tyre to see what clearnce the exhaust will have. The exhaust i think will be ok but its very close to the trailing arm  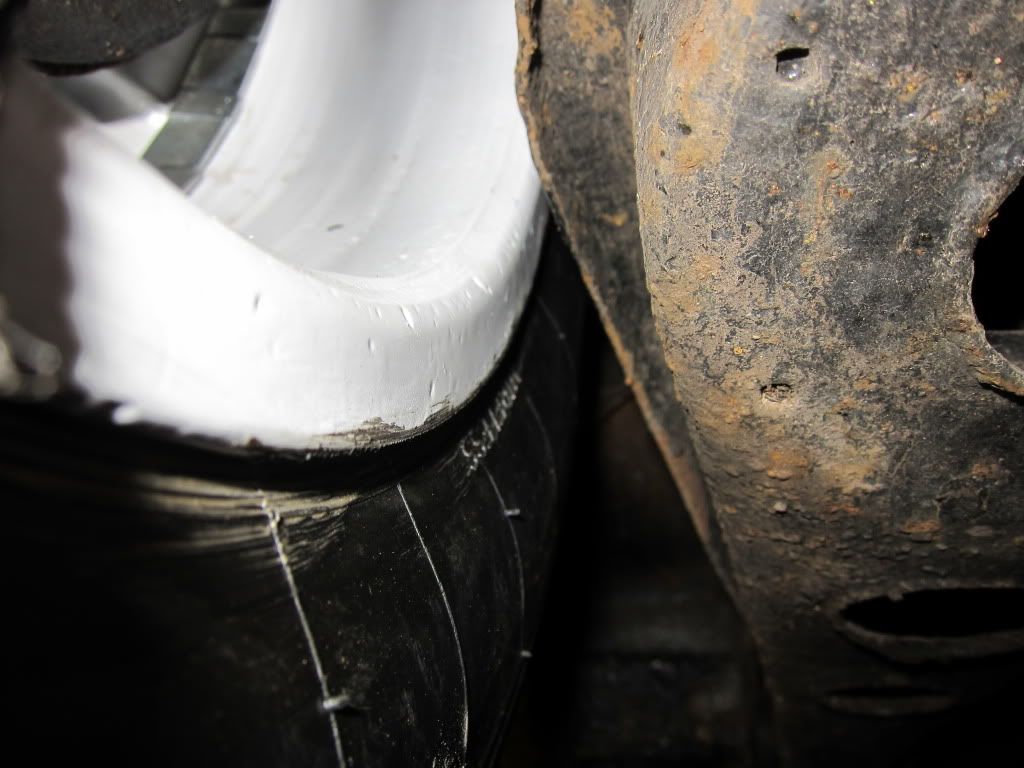 Its about 5mm........ Plenty of clearance on the outside though! 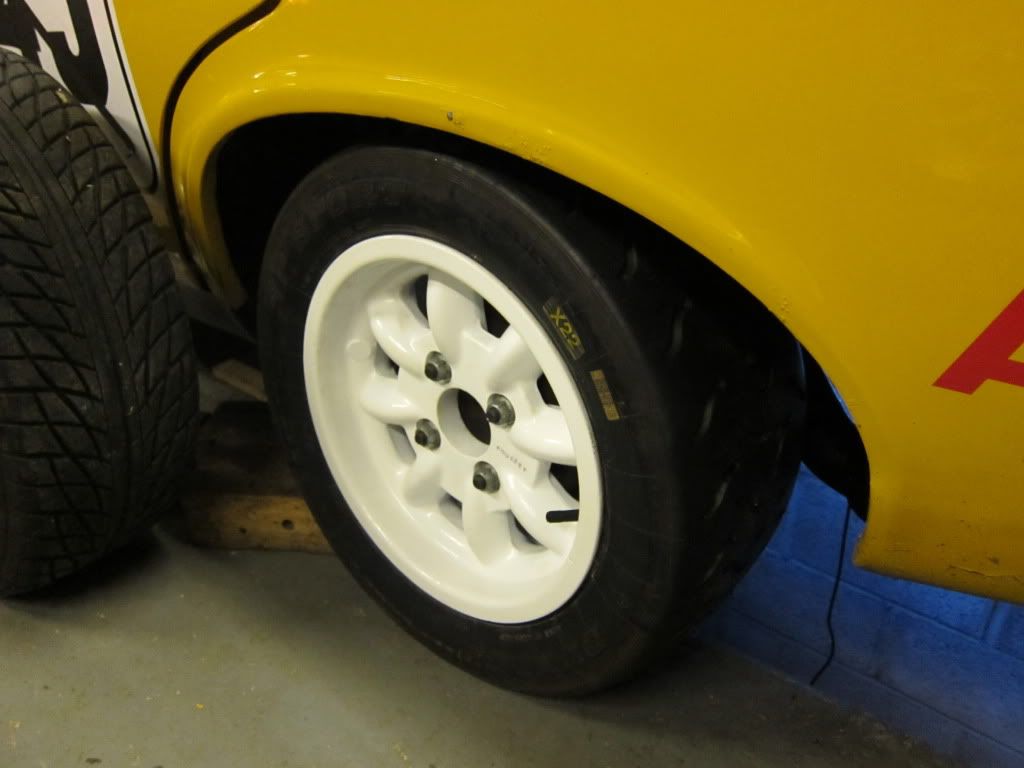 I almost finished the plumbing along with a part of the exhaust today so that should get wrapped up next time i get to the grotto at the bottom of the garden. |
| |
|
|
|
|
|
Jun 17, 2015 16:38:11 GMT
|
I managed 2 days back at home after my holiday before going back to work a week ago but have only just had a chance to put these up now! The manifold is now on and with its thermal wrap to help keep the temperatures down:  Which then let me put the exhaust on. This took most of the two days. Its a 2 1/4" Ashley system and it fits quite well but with the car quite low, the rear anti roll bar and the axle brace there is not much room for the exhaust to feed over the axle! I also had to join the 2 1/4" pipe to the 2" pipe coming from the manifold at a specific distance and that occured at a bend which did not help things.....:   You can see that i had to remove one of the axle brace mounting blocks for clearance but as its a hillclimb/sprint car it should be ok.  With the exhaust done it was time to assemble the carbs into throttle bodies and have a look down at the unrestricted bore:  Maybe a bit big for the current engine but will be good for the new engine! I have started to fit up the wiring and fitted the new Varley Red Top 25 battery under the passenger seat rather than in the boot .  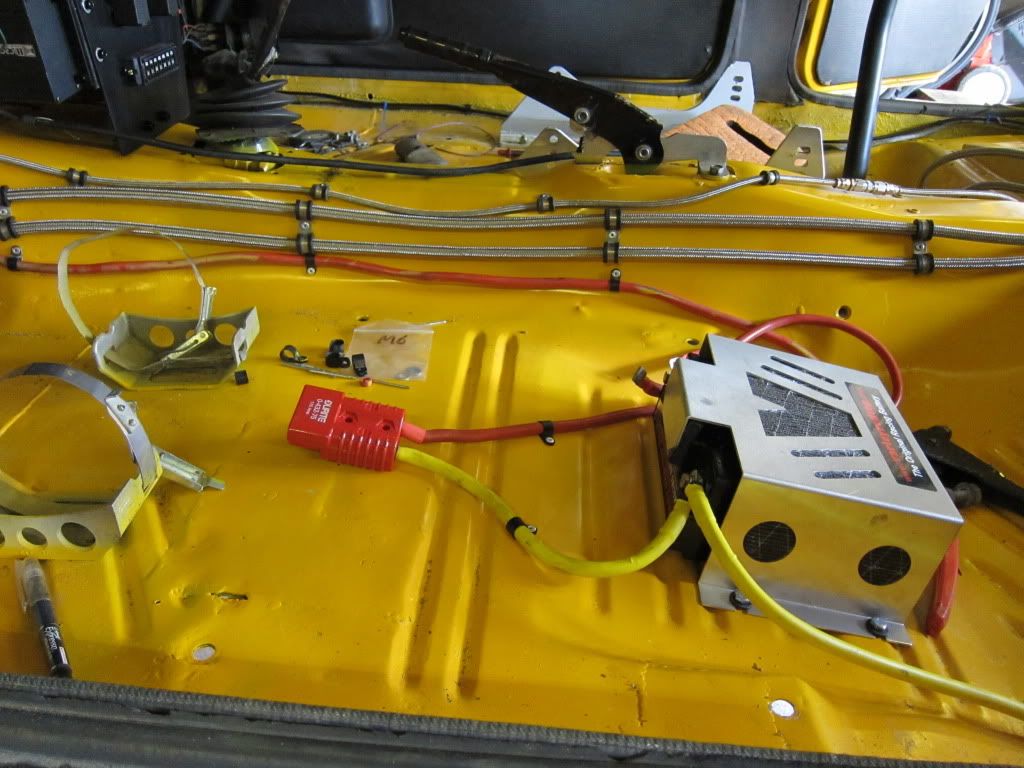 I could not resist putting the carbs on and having a day dream with some engine noises............ The carbs sit up at an angle now too to help airflow, 7 degrees rather than 0 degrees.  |
| |
|
|
|
|
|
|
|
|
Jim,
No its all ready to start bar the fiddly bits like throttle cables, steering coloumn! etc.
I am now off for a few days so will be hopefully getting to a point of getting it started soon. I am as i type this just going through the software settings for priming pulse and cranking fuel getting my head round it!
The axle clamp i will move along slightly, its the easiest option for me.
The car has run out of MOT so its going to be difficult to tune to be able to get it to run properly for an MOT. Bit of a catch 22 situation but we shall see.
|
| |
|
|
|
|
|
|
|
A bit of time off soon helps the car come along! I have been tidying up the car ready to start it up and started by changing the exhaust clamps to proper ones:  Then i remembered i still had to fit the steering coloumn and figure out the throttle pedal attachment to the cables. The second hand bias pedal box came with a throttle pedal very different to the one that i had used previously, also note the old pedal assemblis bent from too much trying to go faster!!!: 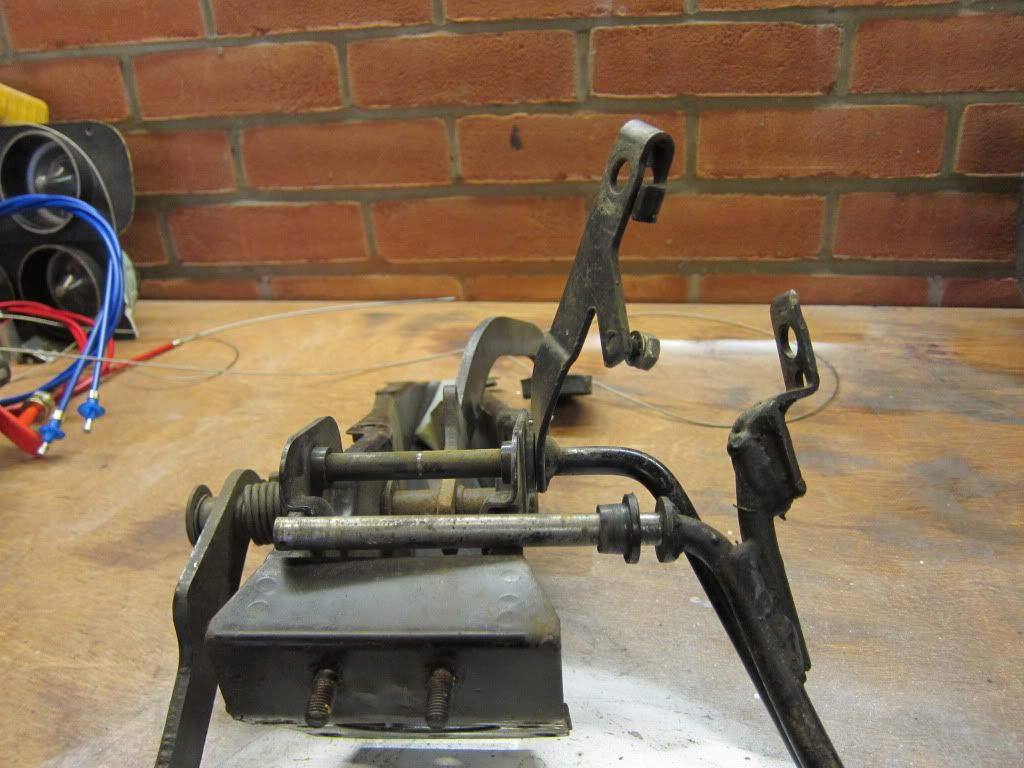 I cut off the version that was on there and after a bit of trial and error ensuring i got a straight pull on the cables and full throttle (very important......) i came up with this: 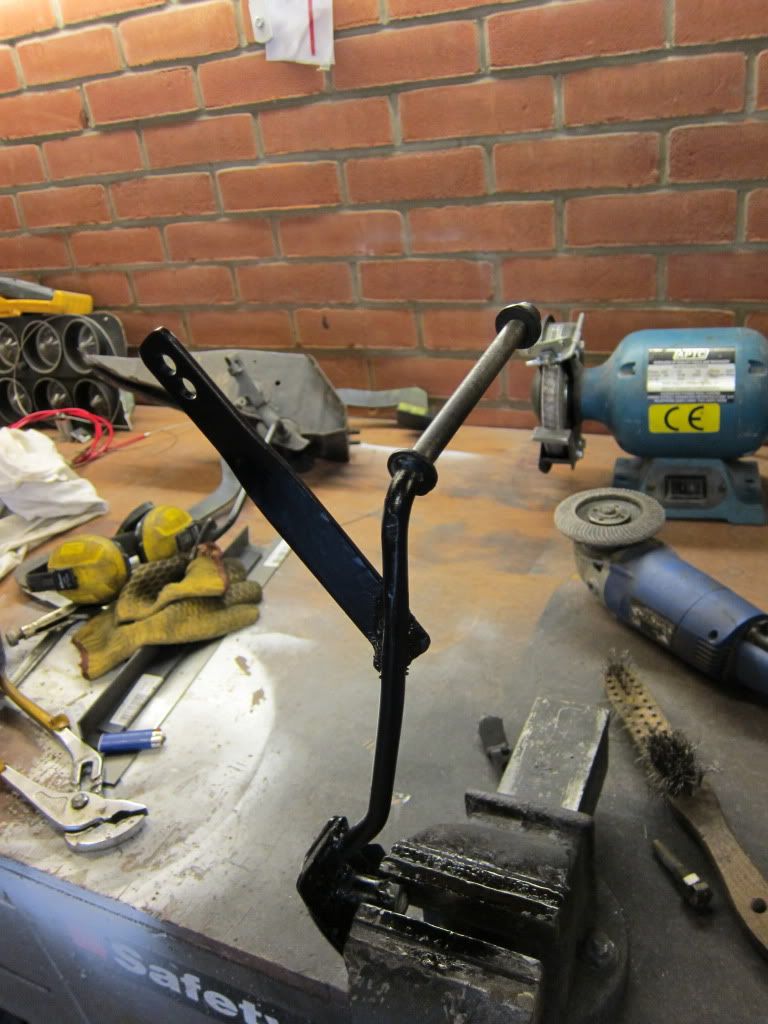 Which really is just another piece of metal welded onto the throttle pedal. The only difference being that i welded it, i painted it and i worked out the angles so if its wrong i can only blame me  Actually photos of throttle pedals are really boring and a little 'special interest'. SO here is the carb/injection set up all bolted up:  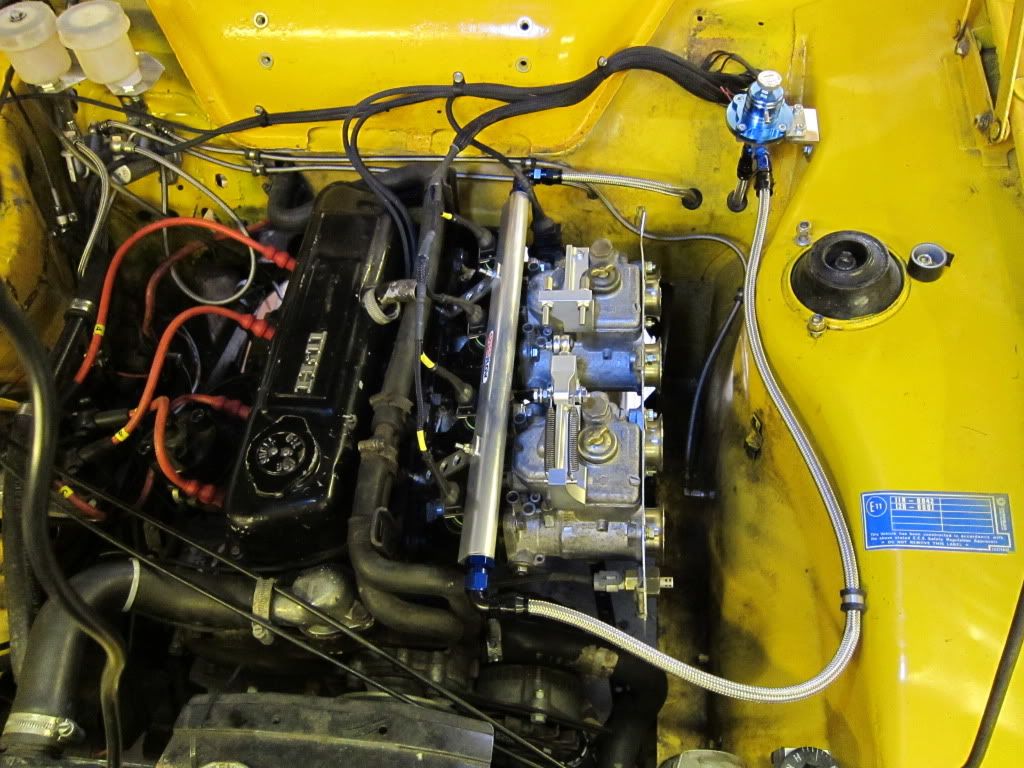 |
| |
|
|
|
|
|
|
|
|
This morning i thought it was about time i thought about starting the car!
I false fed the pump to get the pressure up to check for leaks and see what pressure the regulator was set at. One leak which was quickly sorted and then a check of the pressure to be seen at 2.5 bar.
Then my dad turned up to say hi and as it turned out to be there when the injection system fired into life!
The tuning software and firmware need a base calculation caled Required Fuel which sets everything else. With this calculated at 16.5ms i tried to start it up on the default settings. It would fire but not catch.
I quick play with the Req_Fuel soon flooded the engine so once the plugs were dried out i returned to the calculated value and increased the Cranking Pulse Width, which gives the engine extra fuel to start it (like pumping the pedal on Webers). With a figure of 320% it caught and nearly ran.....
The next thing to adjust is the After Start Enhancement which adds extra fuel when the engine is running but not upto full temprature. These figures i had to increase from default to 80% when cold. This ramps down to 0% at full operating temp. The % refers to the extra fuel being added over the fuel supplied by the Map at that particular load site. Are you following this? Hmmm sounds a bit techno but all that is happening is that the engine is getting the correct fuel for the amount of air and the temprature of the engine on start and warm up.
SO it runs. Not very well though because i cant balance the throttle butterflies at present so i came in for a cup of tea. I think i know what is wrong, so as long as i can find a biscuit to go with my brew all will be good with the world.
Now it runs i will be able to 'self tune' a bit on the way to the MOT and then i can tune it properly.
|
| |
|
|
|
|
|
|
|
After i bit of a faff with the throttle linkage and a pipe in my ear to balance the carbs/throttle bodies it runs and ticks over very well. I even started to tune the idle but whilst doing that my Wide Band Inovate LC-1 controller has gone AWOL. I had a problem last time i tried to use it but thought it was the sensor its self, but both the new and old old sensor display the same fault after about 3 minutes operation. Cant tune it like that!!! Photos of the screen whilst playing around. 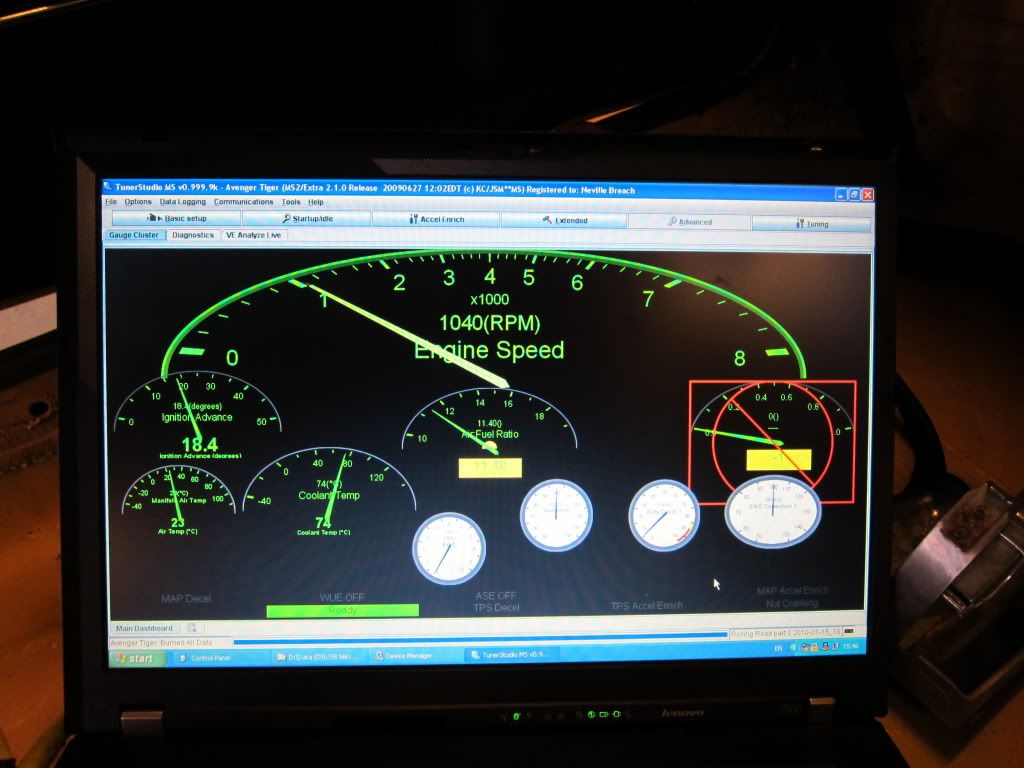 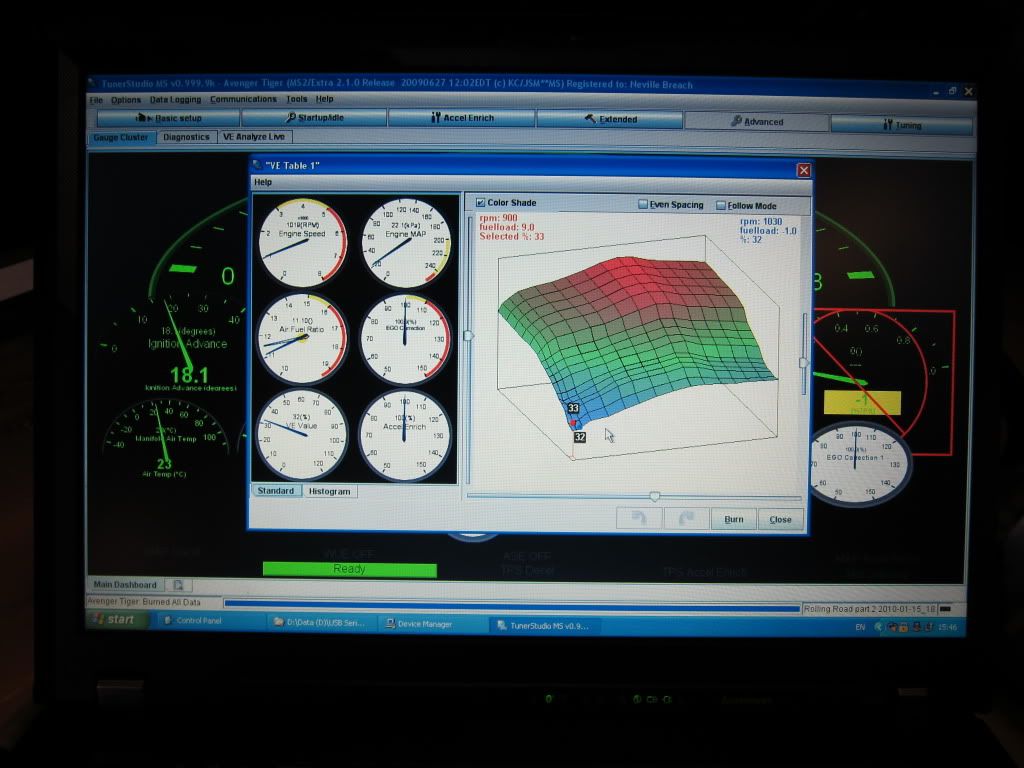 |
| |
|
|
|
|
|
|
|
This afternoon i carried on sorting out the cold start settings on the engine - the only problem is it takes a while because a true cold start only really happens once a day! Inbetwen times i fitted 21/4" springs to give my self some more clearance on the from 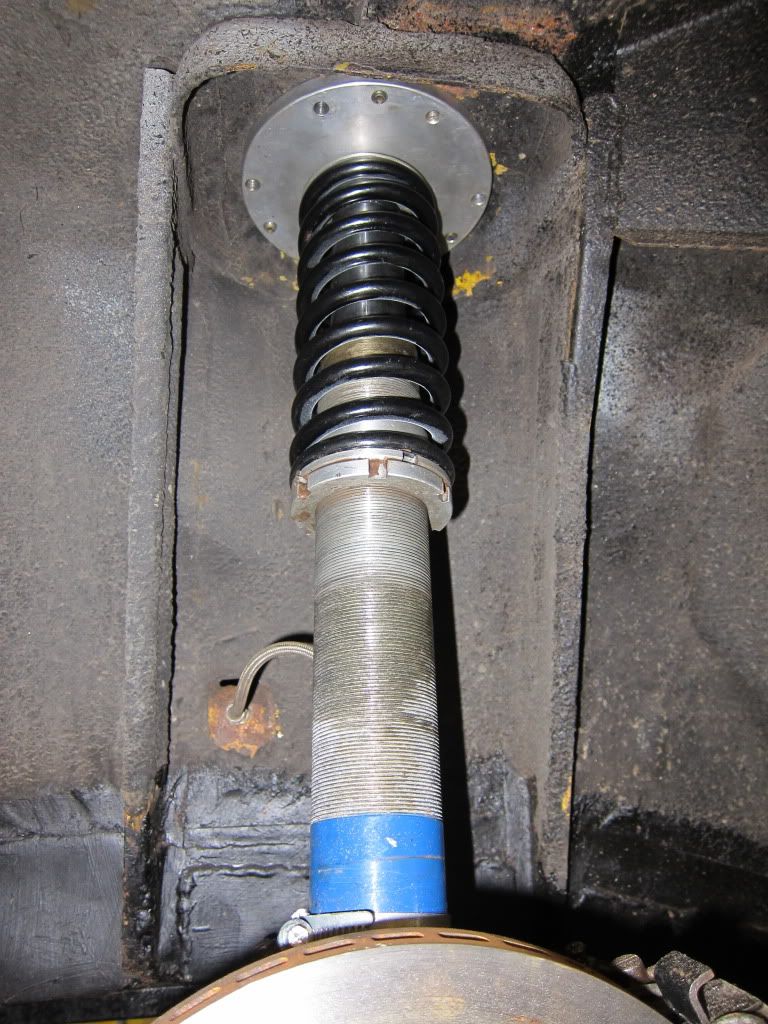 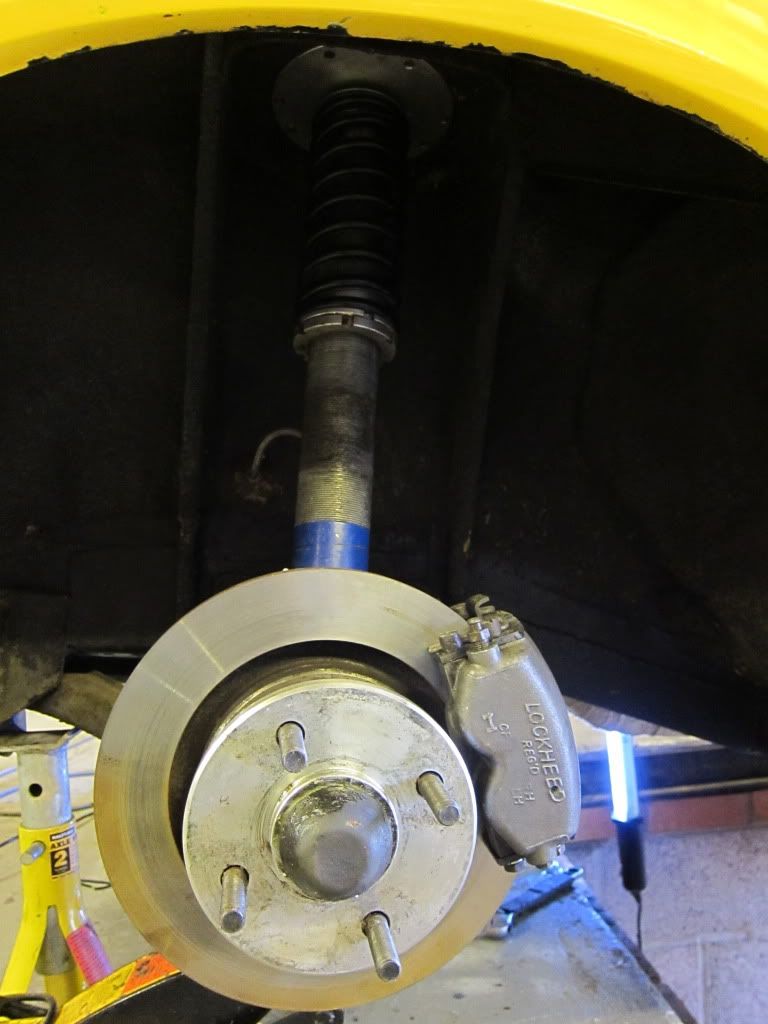 The engine is now getting to the point where almost fires first turn but i have not got the warm up enrichment any where correct yet but its getting there. To amuse myself i thought and see if some 9/10" wheels with 235/530 Tarmac tyres would fit. The simple answer is no. But with very little effort they will  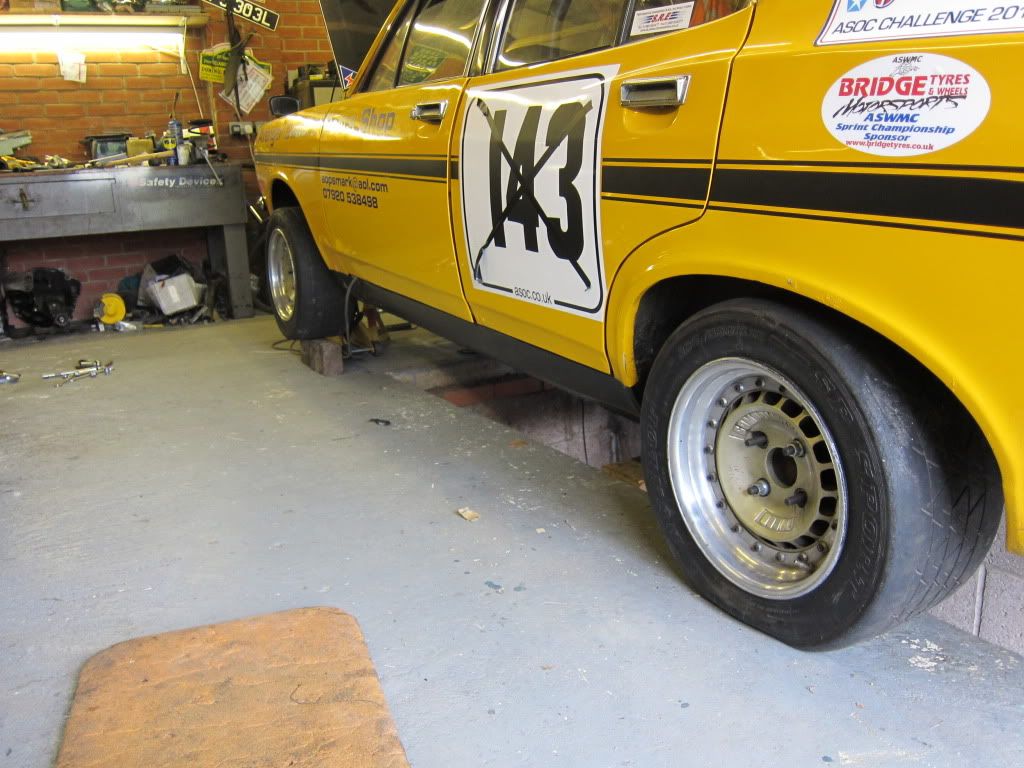 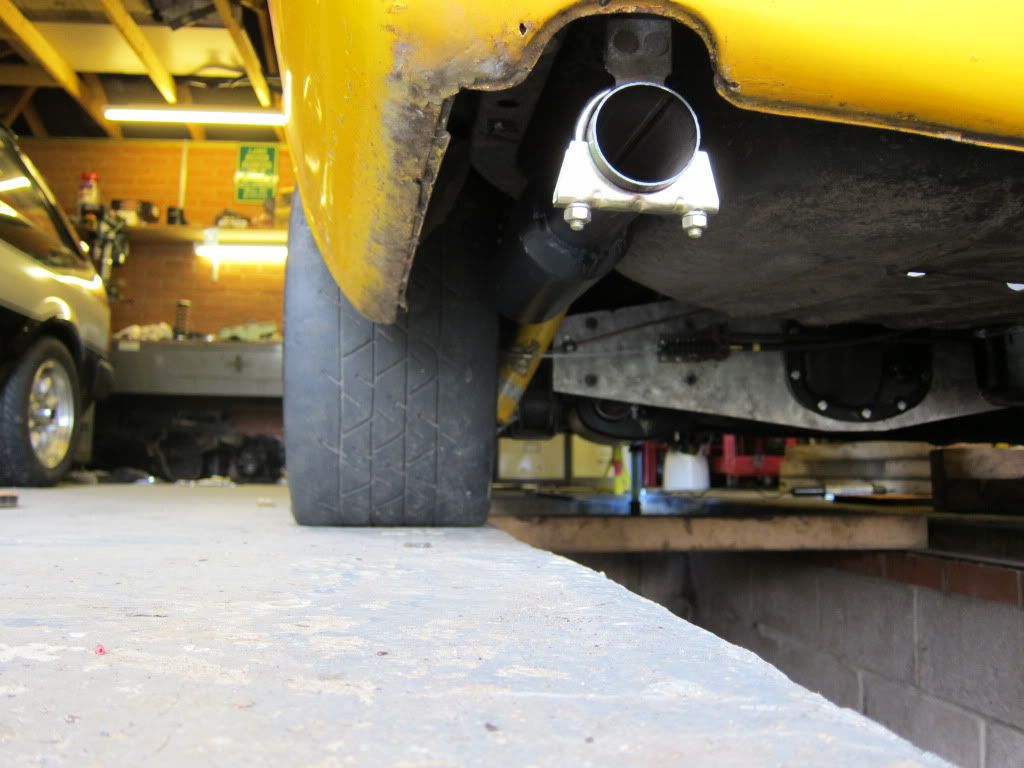 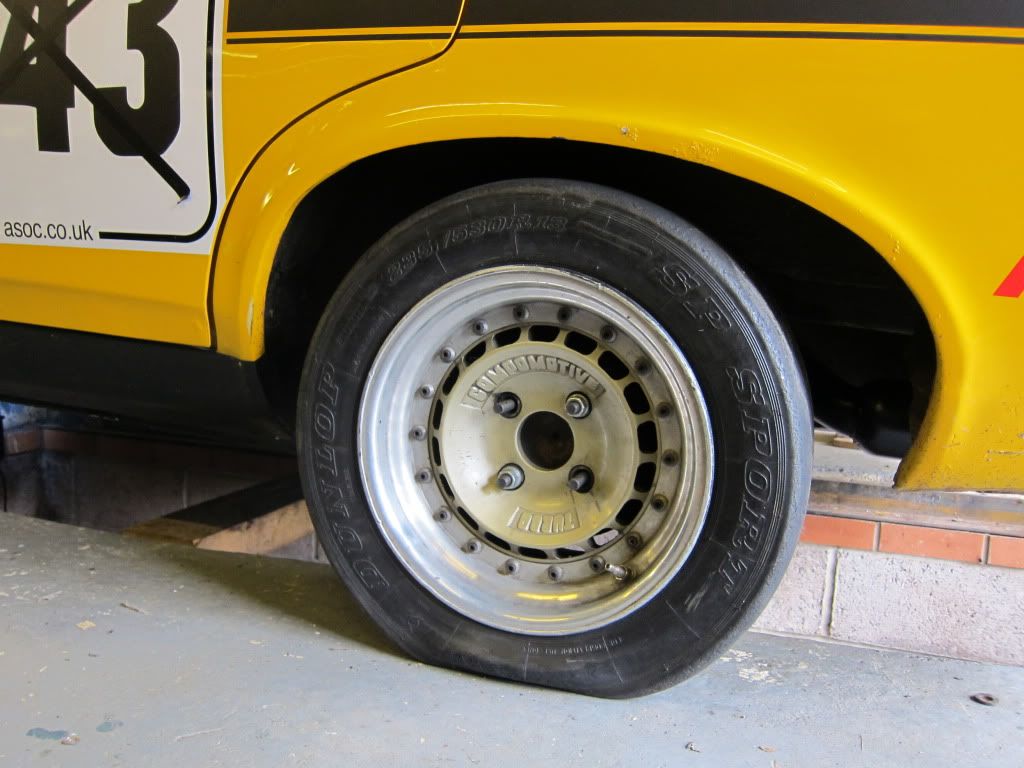 I like these wheels - they are also a particular favourite of Mark Higman too!! More starting and fuelling and everything tomorrow, but now is time to go to the pub and congratulate myself  |
| |
|
|
|
|
|
|
|
|
what a great car, i love all the work that has gone into it.
first time i've seen a bolt on exoskeleton for diff/axle strengthening too, mad !
|
| |
|
|
|
|
|
|
|
|
Cheers
We are only up to Feb 2011 as well!!
|
| |
|
|
|
|
|
|




 The setas will stay out but the door bars will go back in - they are just removed so i can gain access a bit more easily.............


 - i was then able to spend an enjoyable 30 minutes upside down under the dash attaching the m/c rods to the bias bar assembly. I even got to start bleeding the the front calipers but shopping time caught up with me...........................


 Actually photos of throttle pedals are really boring and a little 'special interest'.


