Paul Y
Posted a lot
  
Posts: 1,951
|
|
|
|
No pictures but just come in from a 4 hour welding session. As a first attempt I would have to say that its a good job they sell this in 3.5L tins...  And there is a multi tin discount.... P.  |
| |
|
|
|
|
Paul Y
Posted a lot
  
Posts: 1,951
|
|
|
|
Right, a real quick update after another couple of hours in the shed. Panel on and, remarkably, actually quite straight!    I have a number of pin holes in my welds, not sure what to do with them as I am chasing myself with trying to fill them up, plus I am worried about warping the panel. A light skim and we should be golden, especially compared to what was there before! Off too bed as all this welding has knackered me out. Comments welcome. P.  |
| |
|
|
|
|
|
|
|
Massive improvement. Fortunately your weld lines are where you can mostly hide them like you said with a skim if pog. Do you have a section of plate to weld over the side door section? Been down to he garage this morning. 8.75" X 9" X1" This what you need? 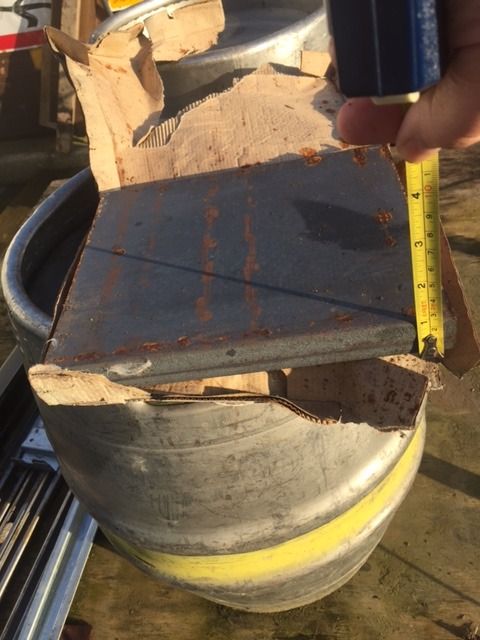 Hand for size perspective. It's quite heavy, so no good for posting. 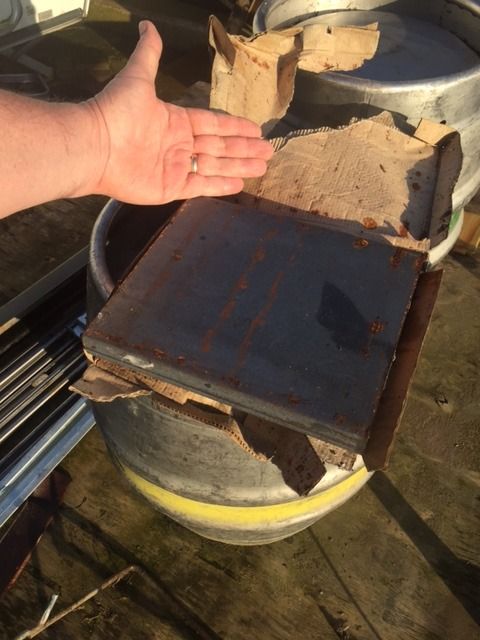 Let me know what you need. |
| |
|
|
|
|
|
|
|
Looks like Martins truck is really helping people in all four directions of the compass. A load of the panels went to Andy Übercool for his build. I will cut the flat section off this piece and keep the curvy bits for my own repair as I am now scraping the barrel for repair bits for the holes I know my panels still have. Will see when we can meet up over the weekend. Maybe I can bribe Nicola with an IKEA breakfast of meatballs and fries tomorrow, followed by a bottomless coffee. 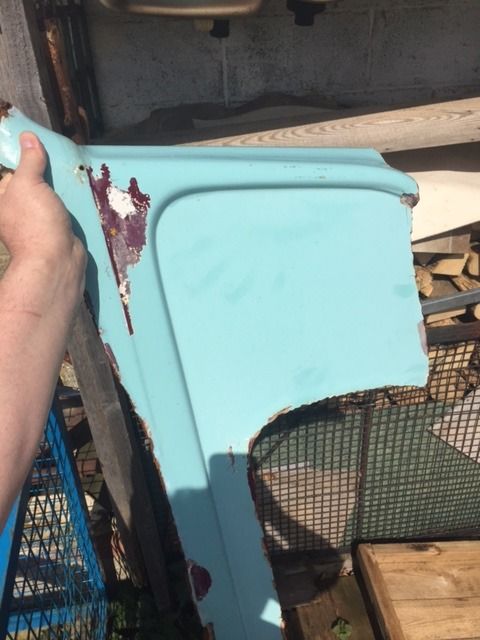 Alternately of course, you know where I have stored the bits for you. |
| |
Last Edit: Apr 8, 2016 14:14:14 GMT by grizz
|
|
Paul Y
Posted a lot
  
Posts: 1,951
|
|
Apr 10, 2016 11:27:26 GMT
|
So… After way more hours than is probably economic may I present the panel, which…. 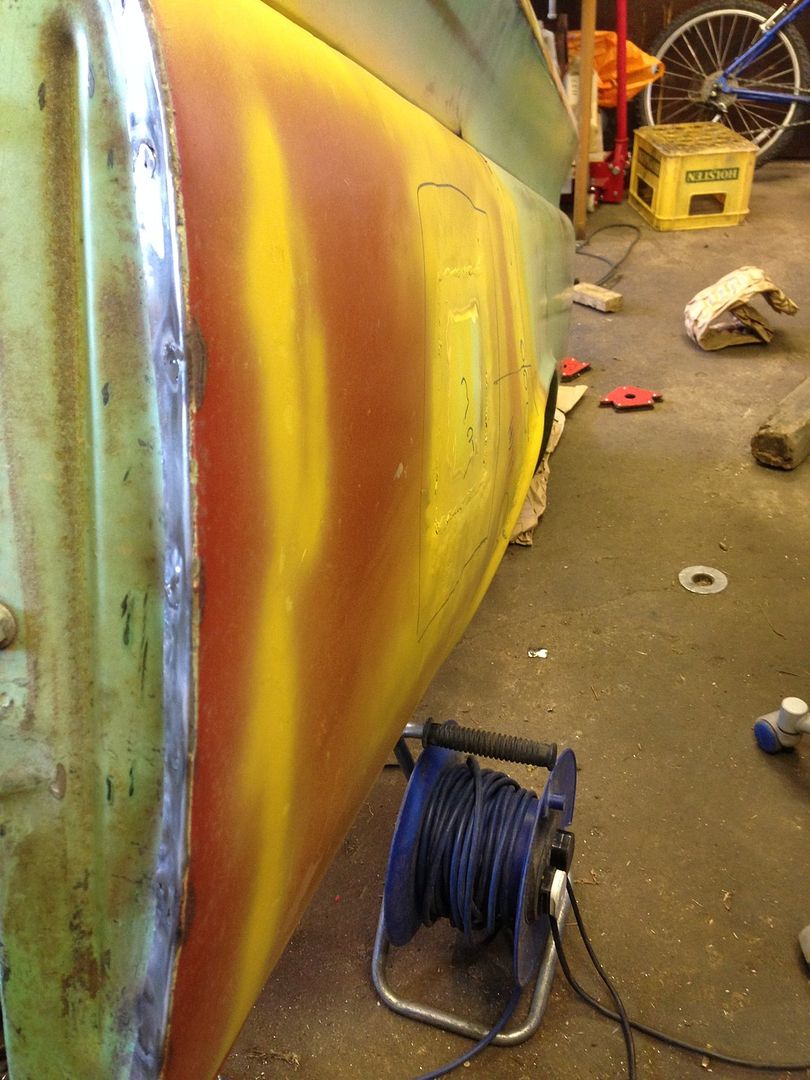 When compaired to…. 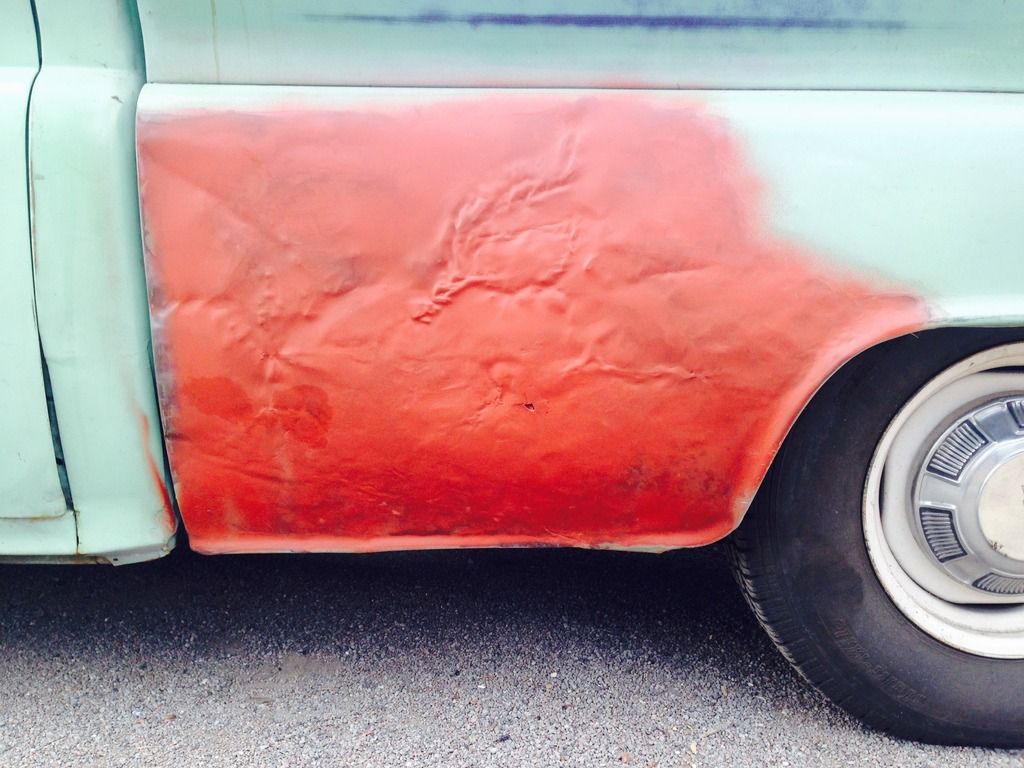 is a vast improvement… However, I appear to have a rather large high spot near the arch which I am pretty sure was part of the original damage to the bed side. To quote the illustrious Mr. James May…Oh Cock… Where I have stuck another bit of Martins truck into the flanks I have a rather low spot but that is a bit easier to fix with a heat gun and a spot of Mr Isopons finest.  Decided that I am making things worse by chasing the dents and pin holes so am going to wait until my good friend Mr J ( he of classic Porsche restoration fame) comes and makes it all wonderful. Or less like a fat girls  … During all of the pulling, pushing, welding, grinding, welding. grinding, swearing etc I made a bit of an interesting discovery. Can you spot what it is yet? 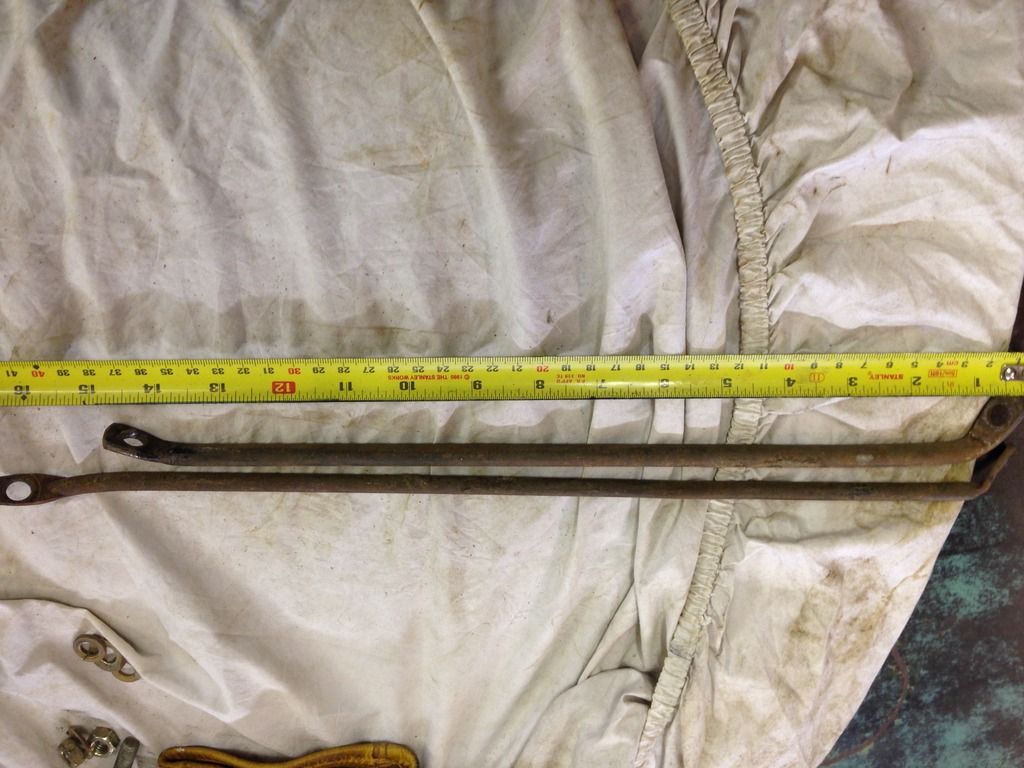
The bed side ‘stay’ on the damaged side was different by a total of over 2”, not sure, but it looks like a rear stay.
Anyway, quick measure. Cut, File, and stuck in a fixture
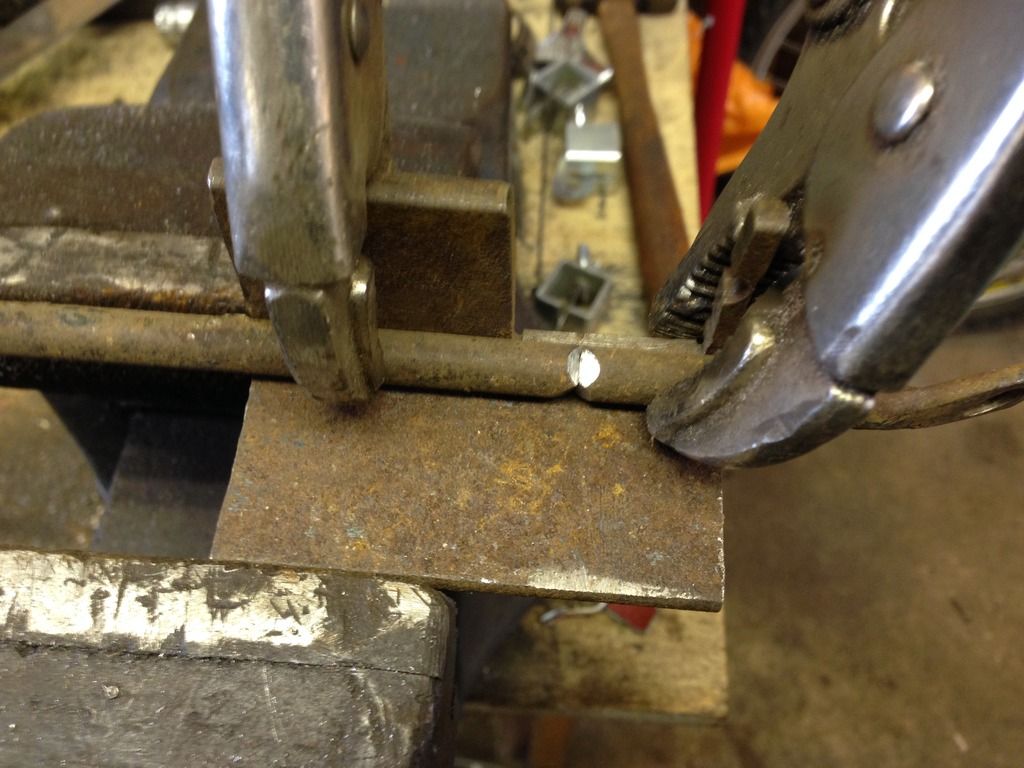 all was good and managed to get the panel pretty much where I wanted it. Well apart from the high spot… Grrr…. 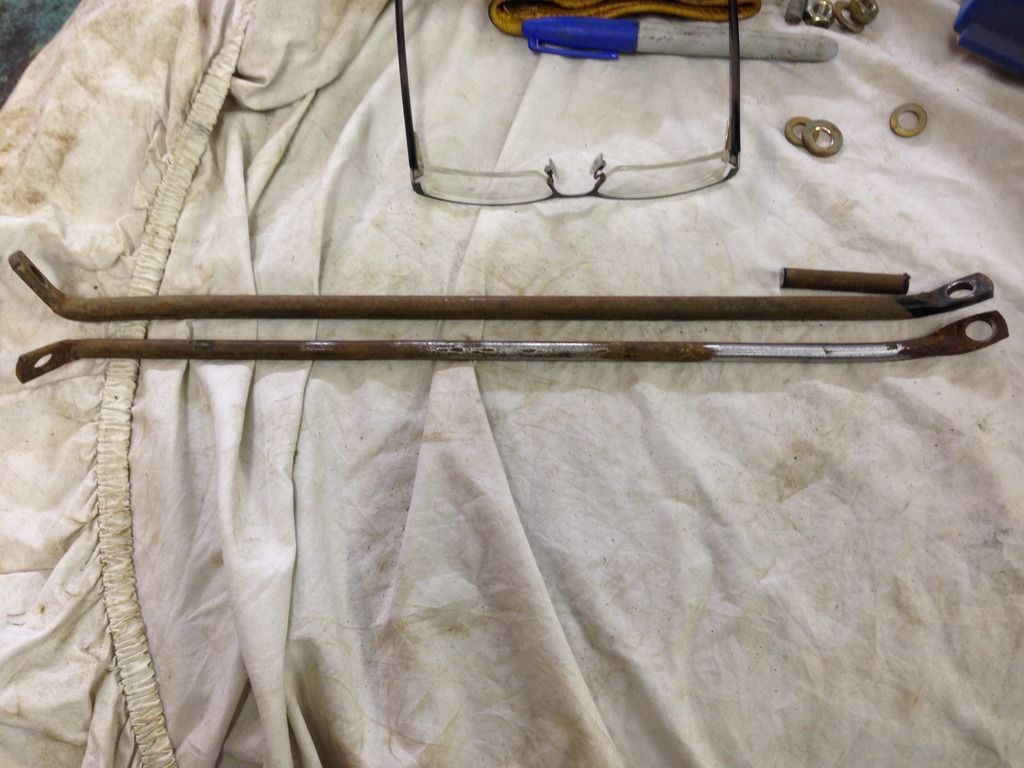 Now embarking on the next repair before the bed goes back on using, this… 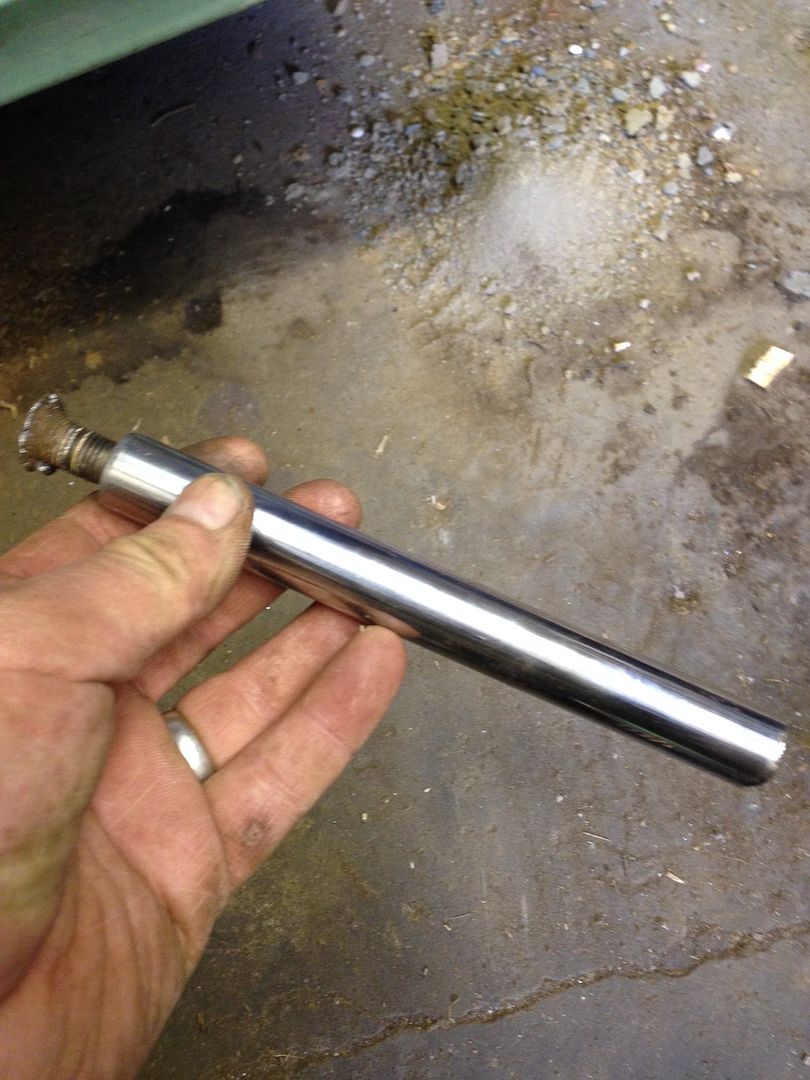 this… 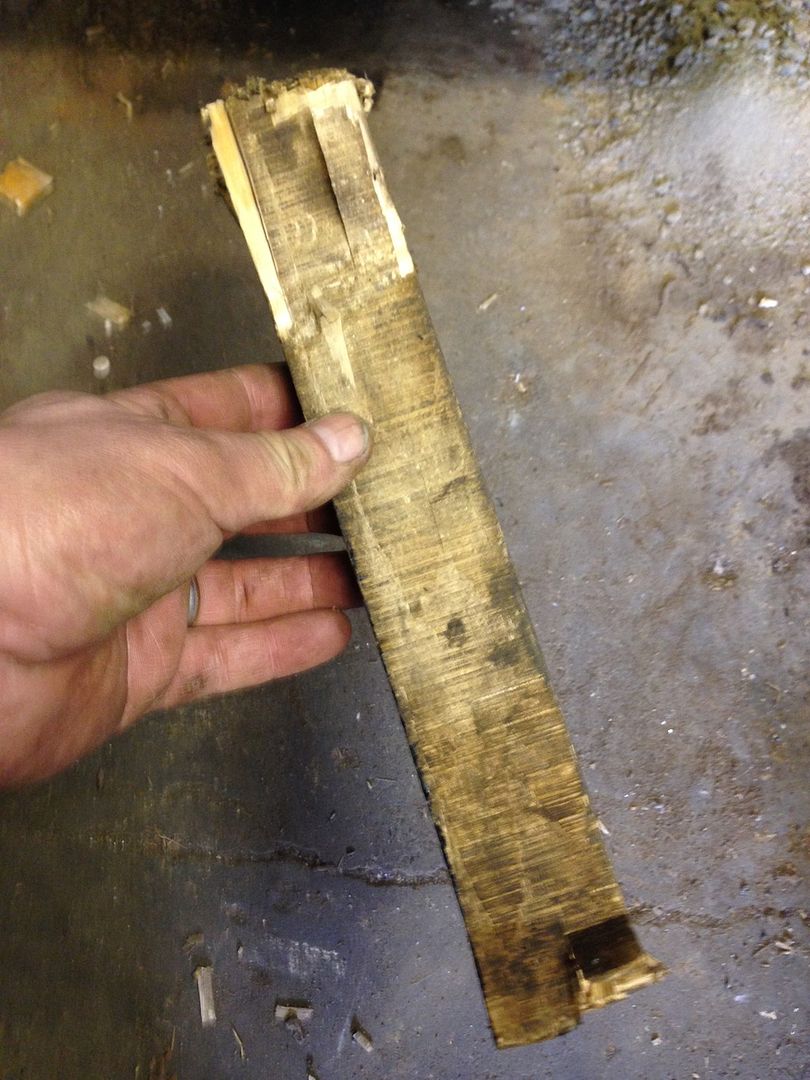 and, most importantly this. 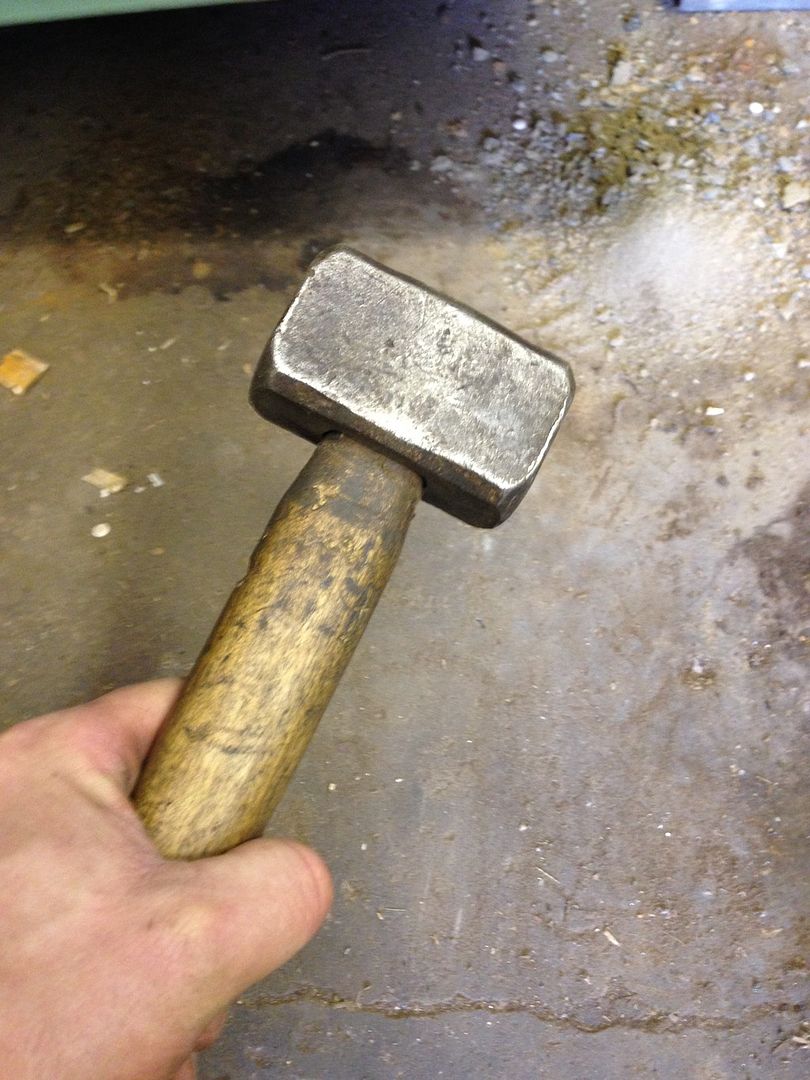 Stay tuned Campers! P.  |
| |
Last Edit: Apr 10, 2016 17:22:40 GMT by Paul Y
|
|
Paul Y
Posted a lot
  
Posts: 1,951
|
|
Apr 11, 2016 21:31:07 GMT
|
Looking for a little advice. The bed damage was not the sum total of Woody's woe's. The B pillar had a fail hefty whack as well. Managed to pursuade the vast majority of the metal back into shape using the above but am struggling with the inner mounting surface, the bit that the cab corner attaches too. It doesn't matter how hard I hit it, how big the slide hammer or, indeed, the volume of swearing, it refuses to move. Or rather it does but seems to spring back to its damaged position. As per everyone's advice I am working the dent backwards ( last area to move the first to be pushed back) but it is this first area of impact that is not playing ball. Any advice on what I can try? Have pictures but had enough of it tonight.... Grrrrr..... P.  |
| |
|
|
Paul Y
Posted a lot
  
Posts: 1,951
|
|
Apr 11, 2016 22:17:16 GMT
|
OK, Because I have now had a medicinal glass of Corona I am going to throw these pictures up and hope somebody can advise. These are all before the beating commenced. 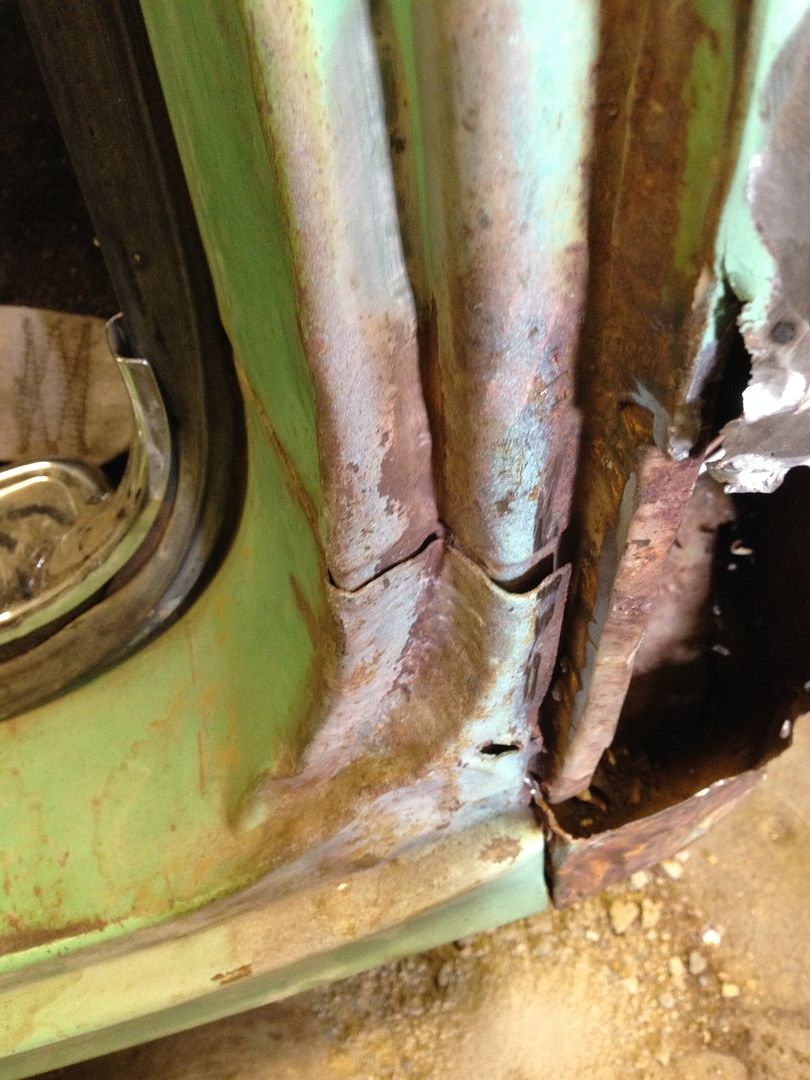 In this you can see the original damage, the part I am struggling with is the 'middle' and outer piece.Managed to get the inner (left hand side of the picture) pushed out and looking ....meh... but the rest of it wont move. So, all you super heros of the metal shaping world, how do I fix that! P.  |
| |
|
|
|
|
|
Apr 12, 2016 17:02:45 GMT
|
|
without access to pullers, slide hammers or hydraulic assistance, and it were me, i would cut the whole corner out, with greatest compassion, splitting the layers as i go (if there are any) then re shape, seamweld back on.
|
| |
|
|
Paul Y
Posted a lot
  
Posts: 1,951
|
|
Apr 12, 2016 17:22:35 GMT
|
So… Tried this.  With some help from a nicely drilled hole and this  And achieved the square root of Diddly Squat… 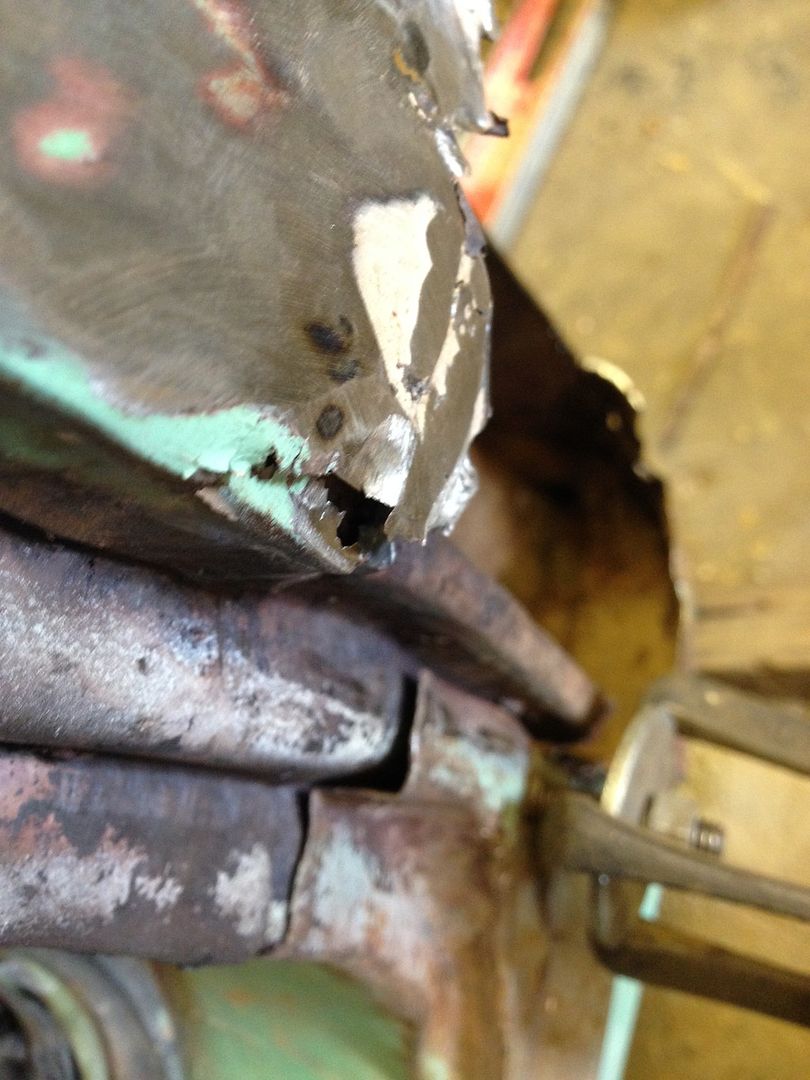 This was the same as several hours of using blocks of wood, large hammers etc. So, took a big deep breath, pulled on my Big Girl Pants  And… 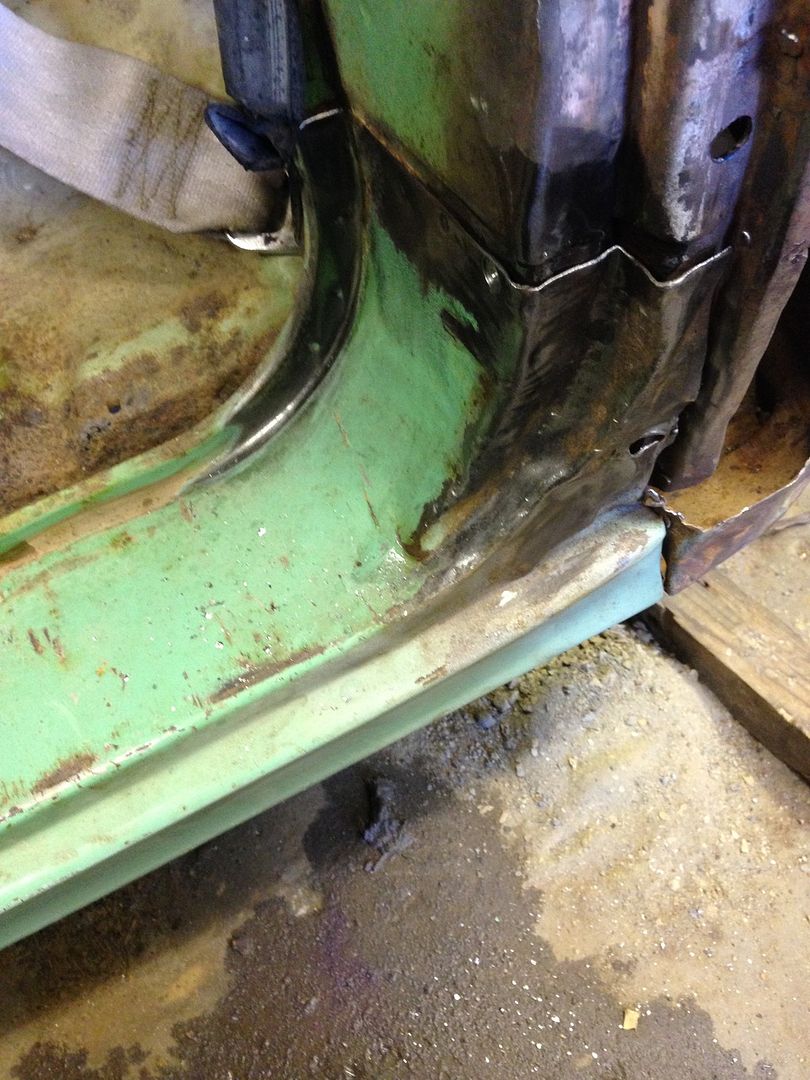 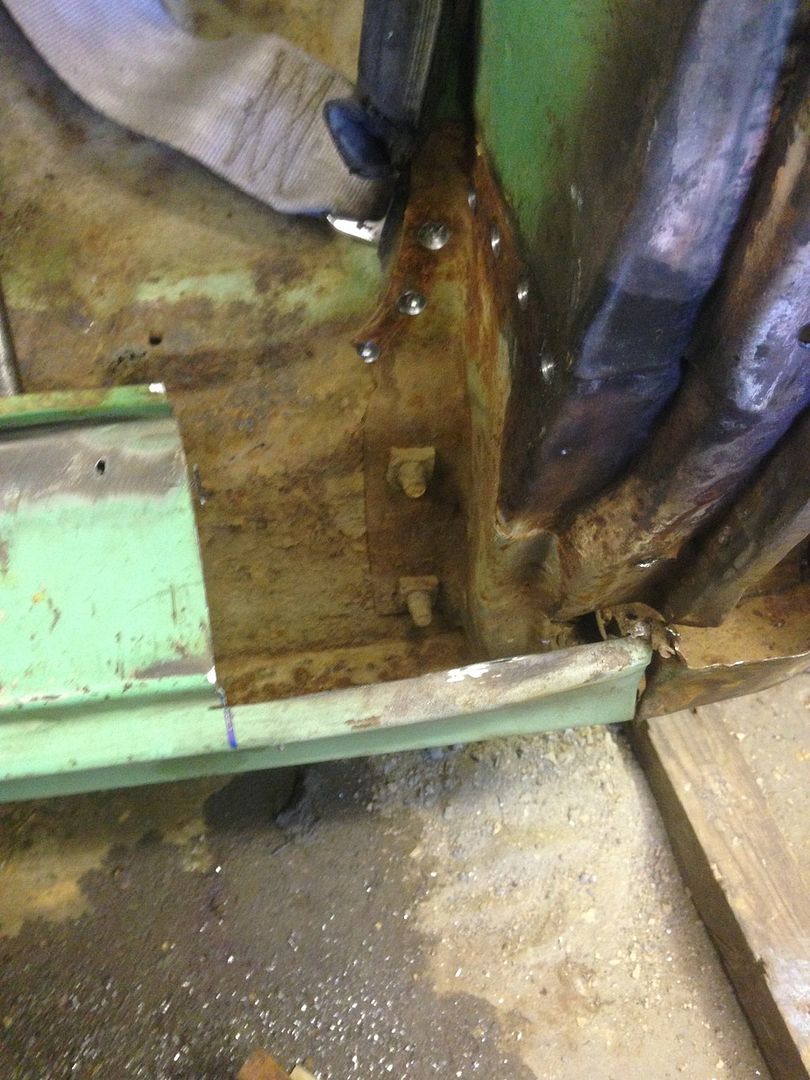 Which also harvested me. 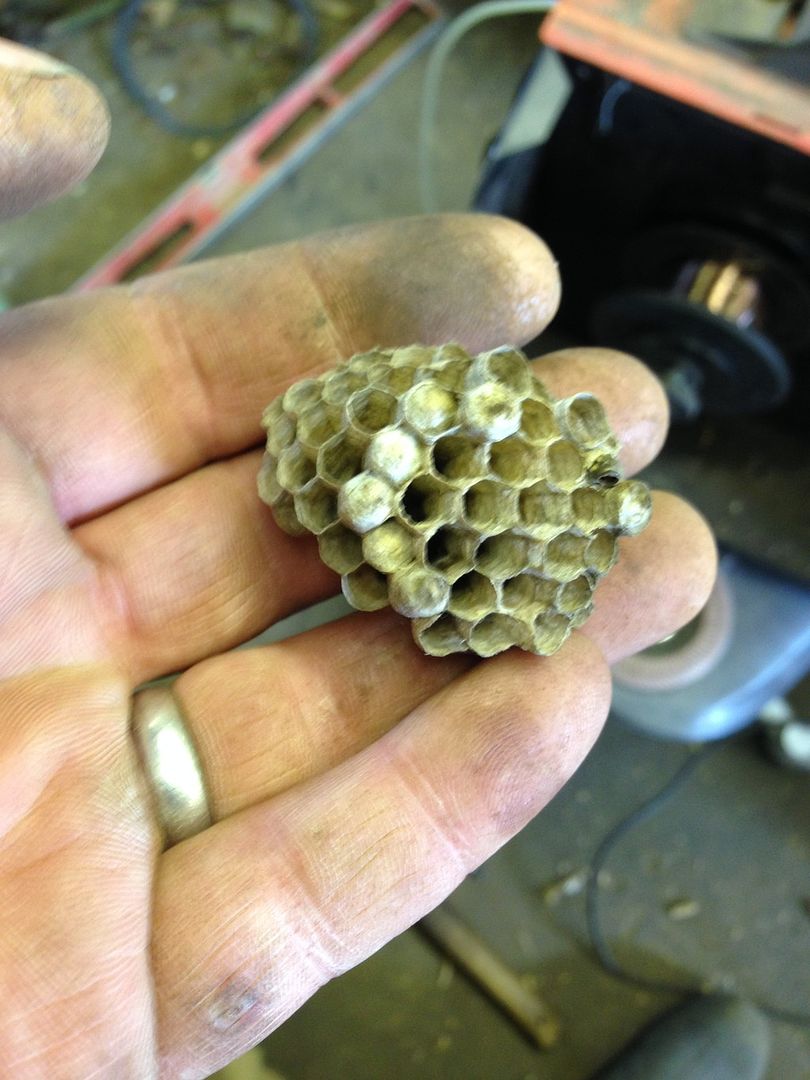 That was hiding in the inner sill and a whole load of Californian dirt. 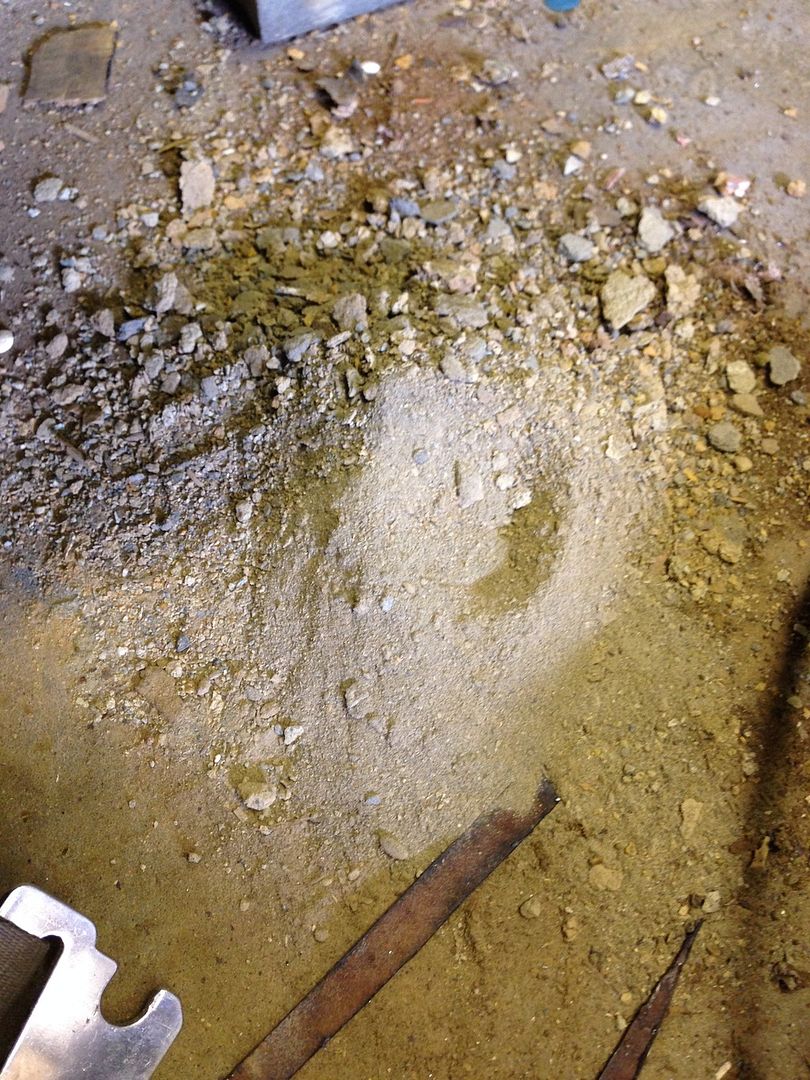 Wonder if I paid extra for that… Anyway, Martins truck keeps on giving so I have this 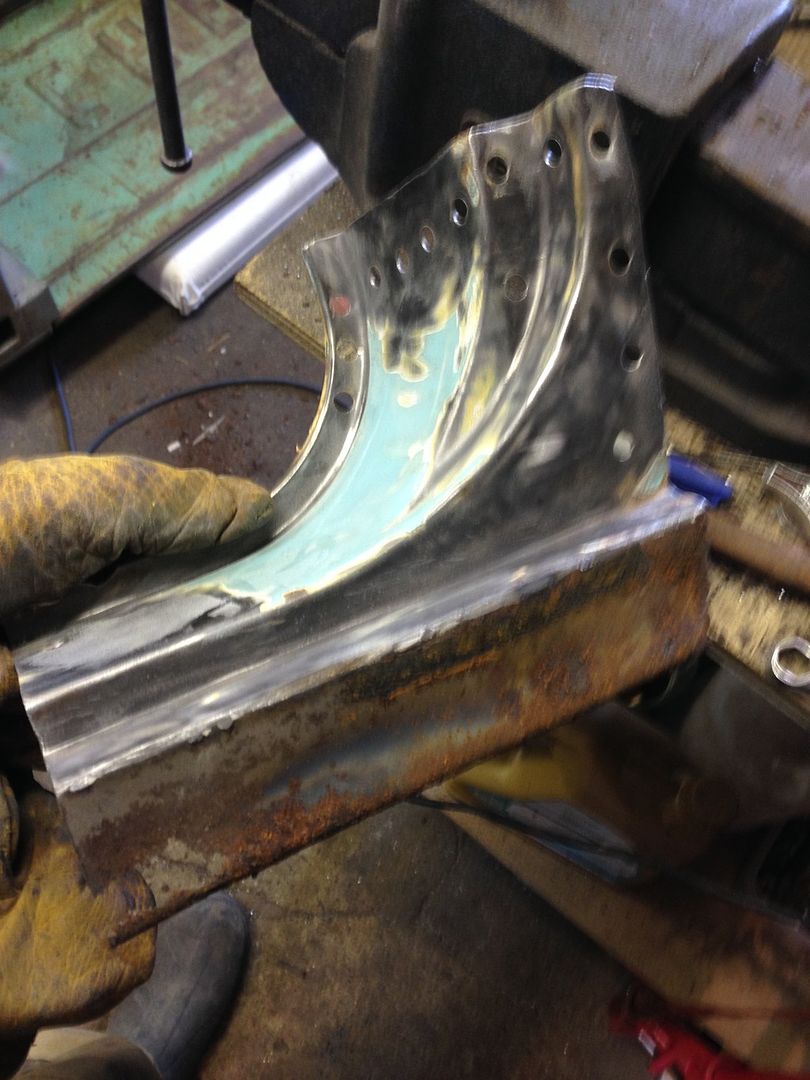 to replace the cut out portion once I work out where to make the cut on the sill line. With everything out of the way I have managed to persuade the inner panel into shape.  Not perfect but a lot better than before and still more thumping to do. Good job I had a really awful day at work and threw the towel in at 1pm for a little garage R&R. Further advice, encouragement or general Urine taking greatly accepted. P.  |
| |
|
|
Paul Y
Posted a lot
  
Posts: 1,951
|
|
Apr 12, 2016 17:29:13 GMT
|
without access to pullers, slide hammers or hydraulic assistance, and it were me, i would cut the whole corner out, with greatest compassion, splitting the layers as i go (if there are any) then re shape, seamweld back on. You must have read my mind Darren... P.  |
| |
|
|
|
|
|
|
|
Apr 12, 2016 17:51:32 GMT
|
|
excellent !! donor panel even better
|
| |
|
|
Paul Y
Posted a lot
  
Posts: 1,951
|
|
Apr 12, 2016 20:41:24 GMT
|
After a lot of bumping the ‘new’ section does not fit, indicating that the inner panel is still twisted somewhere. 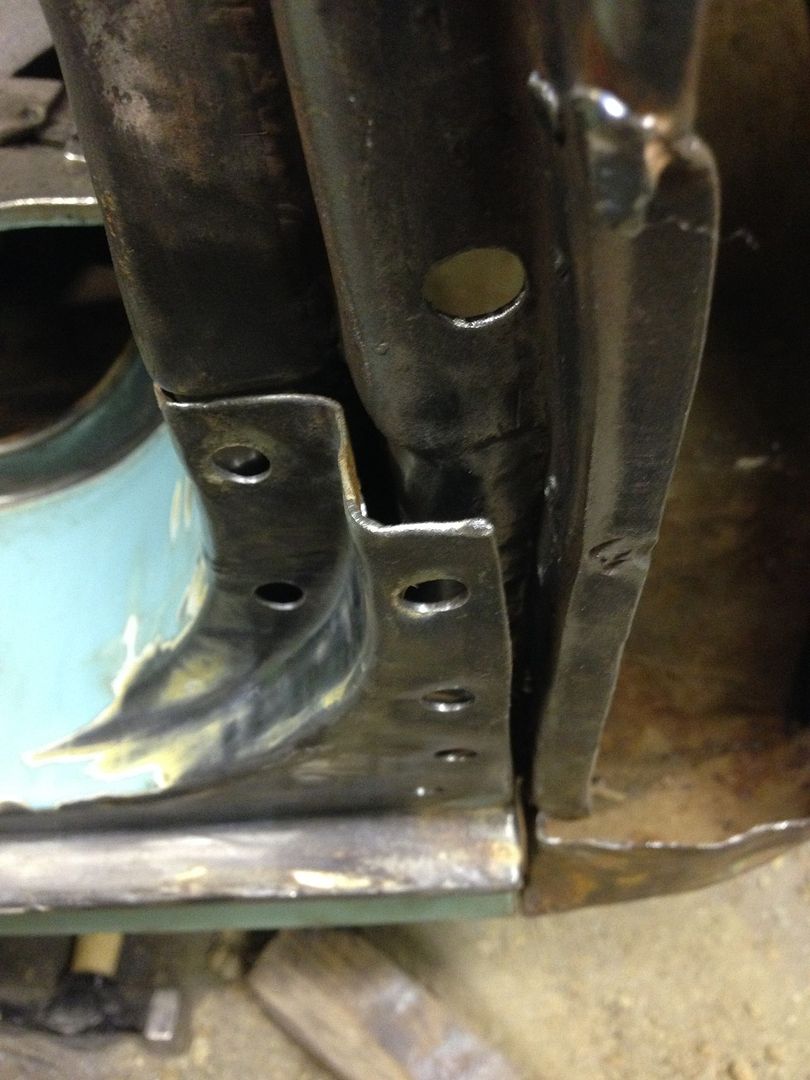 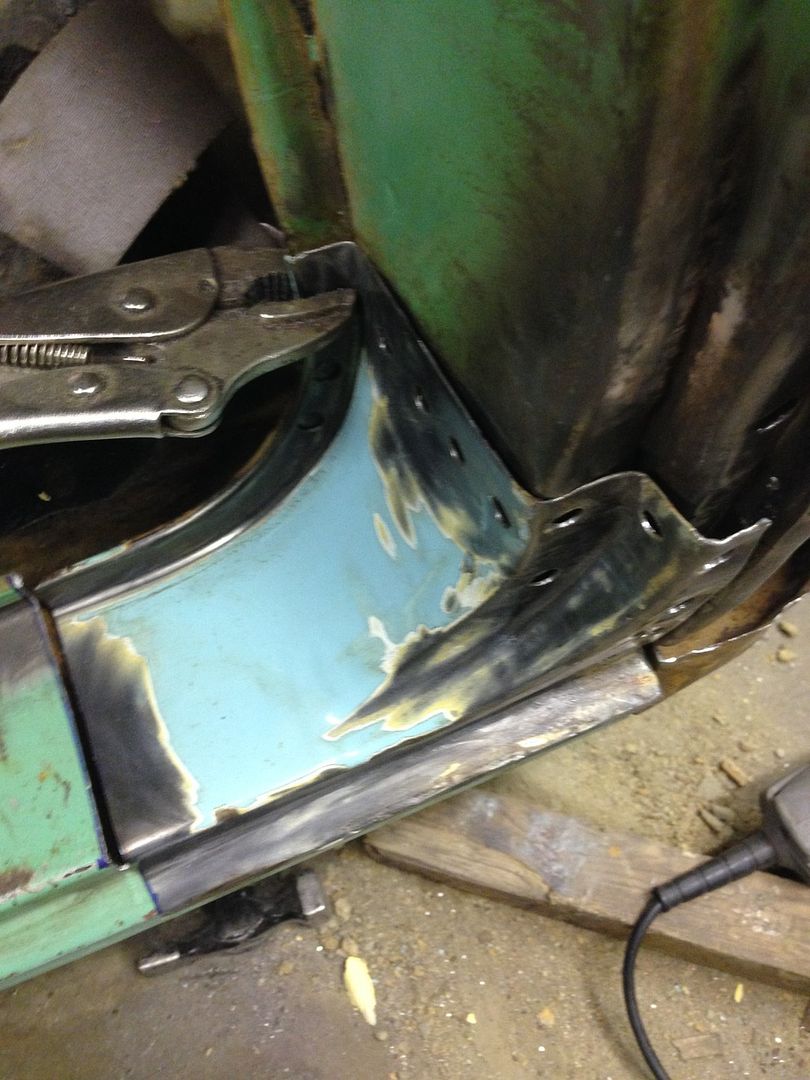 So. This is my thought on repairing. I have the B pillar from Martins truck. Unfortunately the bottom is corroded beyond repair below the first captive nut.  Therefore this is my plan. Cut the panel along the blue line. 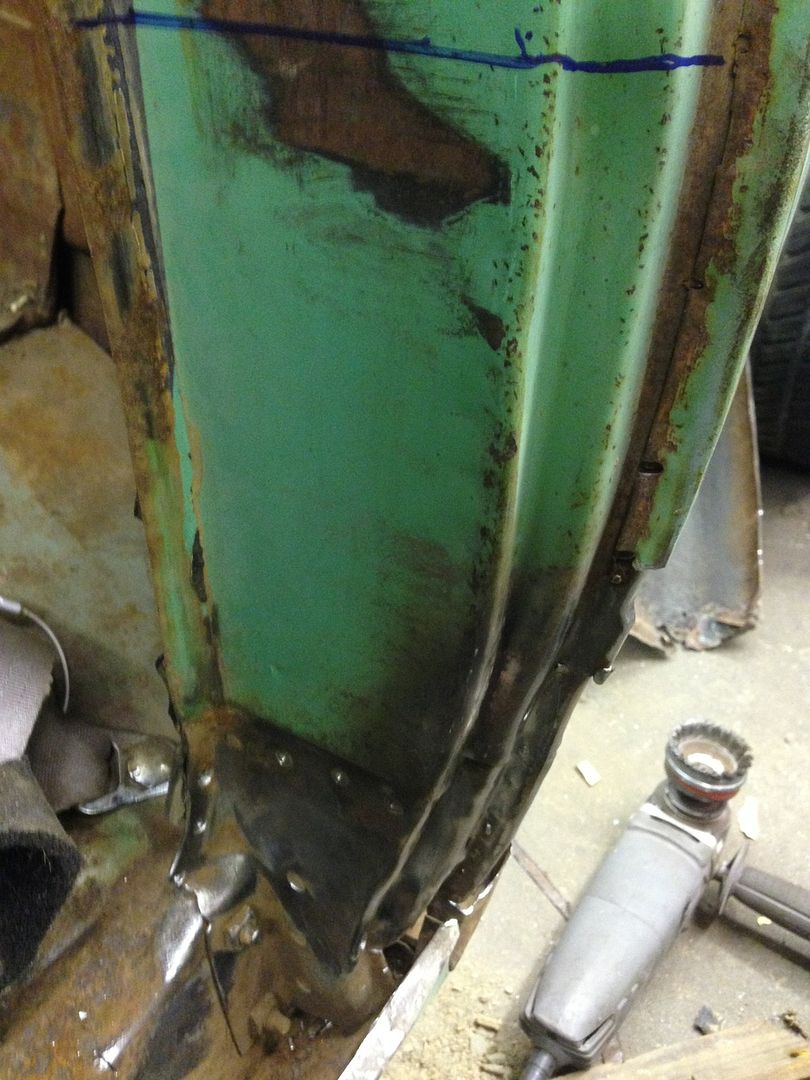 Use the original lower part of the B panel to repair the replacement.  Weld the new panel back in. 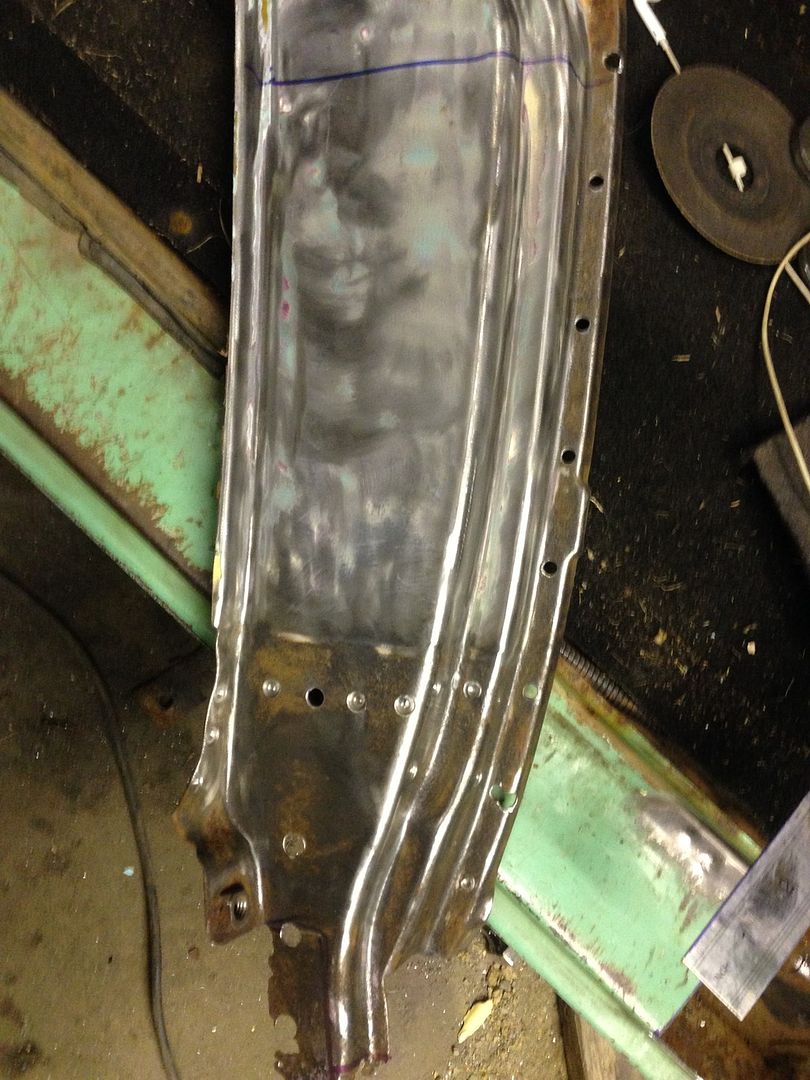 I am making the cut at this height as it is where the final bit of damage ends Does that make sense? Or how would you approach this repair. Again, advice welcome. P.  |
| |
|
|
|
|
|
|
|
How would I approach it......  Seeing as I have not started on that part of my truck........ Nervously. I do not really know Payl, but we both know that you need a replacement panel of sorts. Just a pity you,cannot buy one form a member on here, or that someone does not have a lump of cab to donate to your progress as the fun of the big girl pants really should be reserved for Friday evenings. Watching with trepidation |
| |
|
|
Paul Y
Posted a lot
  
Posts: 1,951
|
|
|
|
Rian, I have the right panel (just needs a little...love...) What I need is some of what this chap possesses...  P.  |
| |
|
|
|
|
|
Apr 13, 2016 15:57:00 GMT
|
|
brave pants version 2
|
| |
|
|
Paul Y
Posted a lot
  
Posts: 1,951
|
|
Apr 13, 2016 21:25:51 GMT
|
Well. Taking a leaf out of my fury friends book I have grown a pair of Cajones. And a new cutting disk… 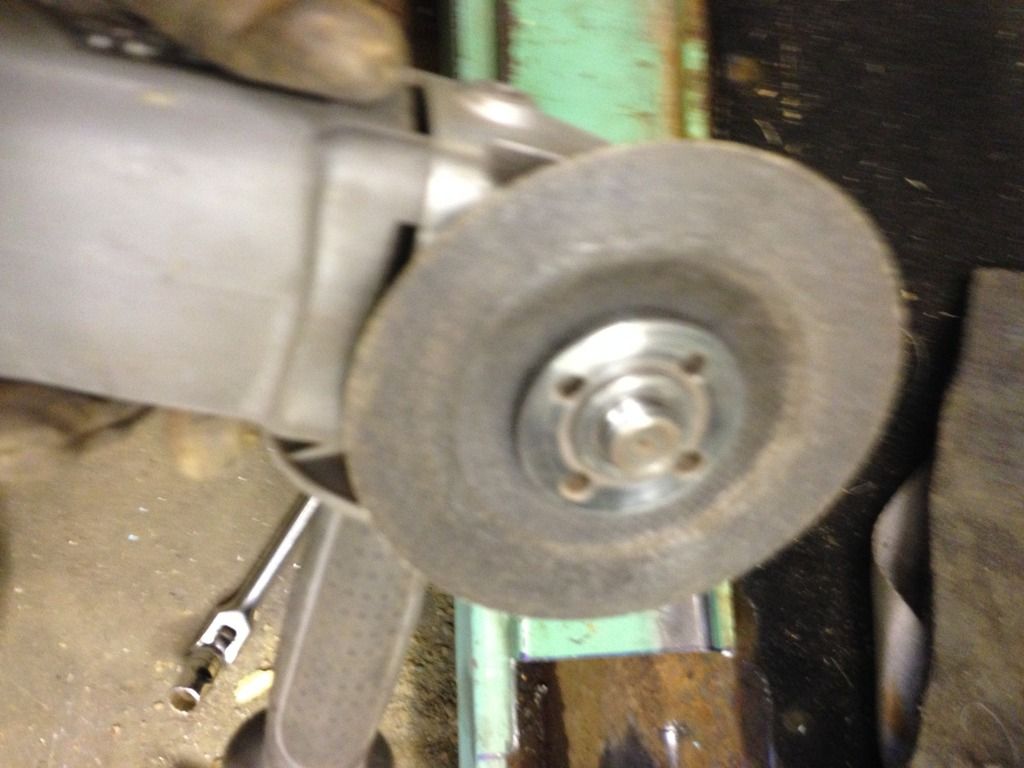 No going back now… 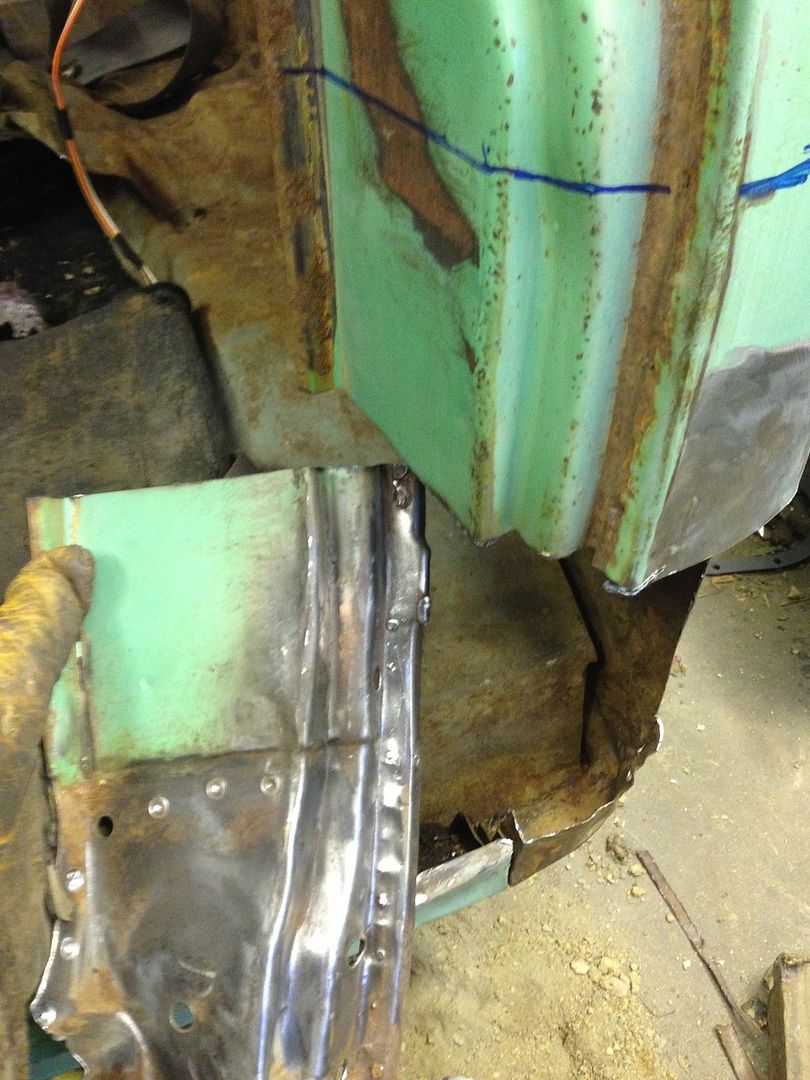 Purposefully made the cut a lot lower down than the ‘blue line’ as todays task was to repair the bottom section of the replacement B pillar. With thanks to Jim and a few others I had thought long and hard about how I was going to ensure that these two holes… 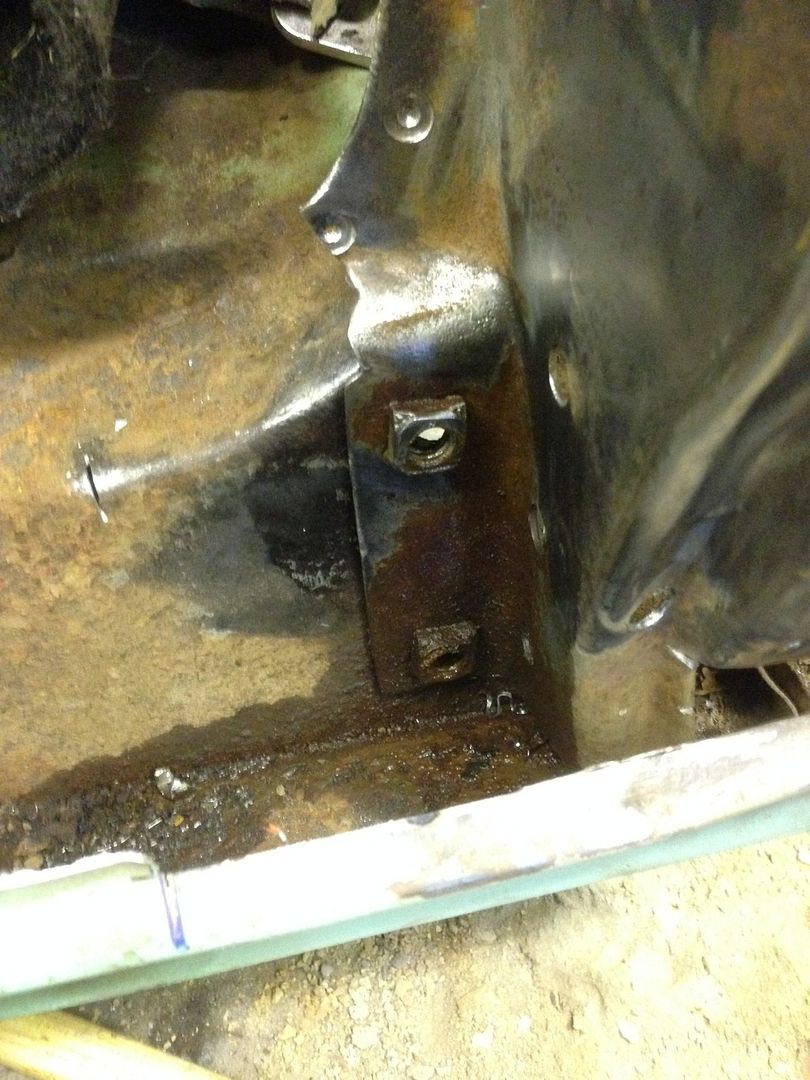 …Lined up after surgery. So I knocked up this fixture using existing holes in both panels. 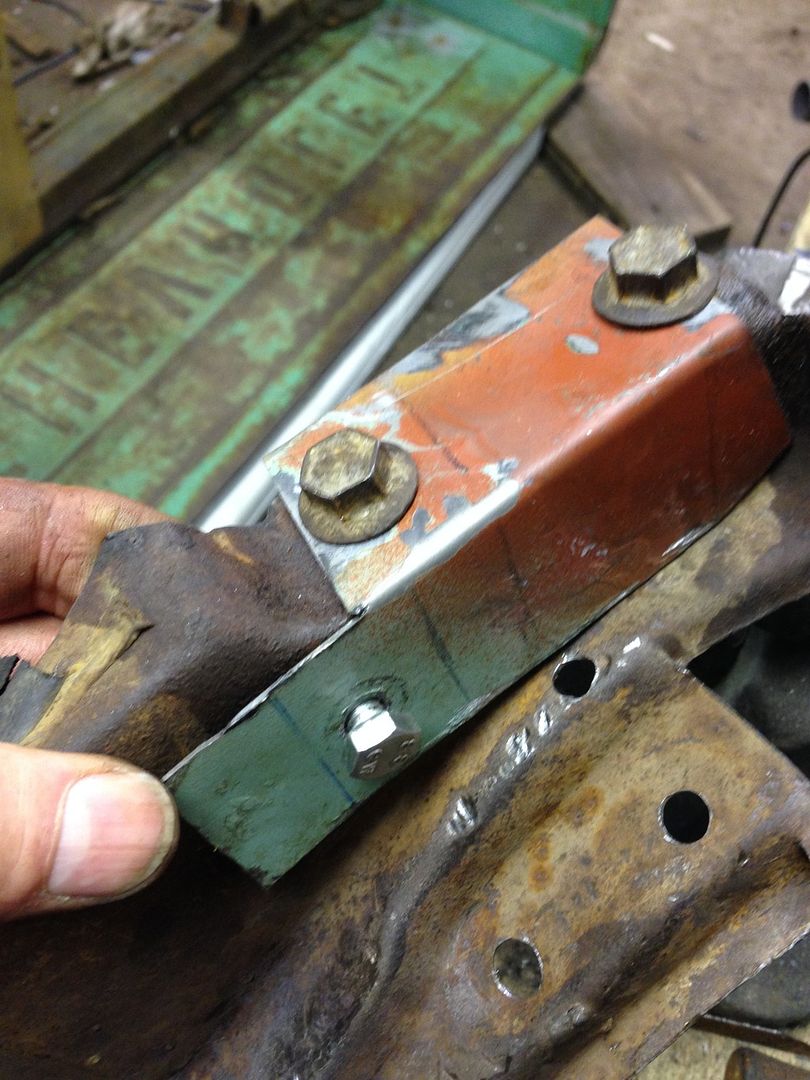 Once I knew I could line it all back up I cut out the cotton bit of the good panel…Chop Chop 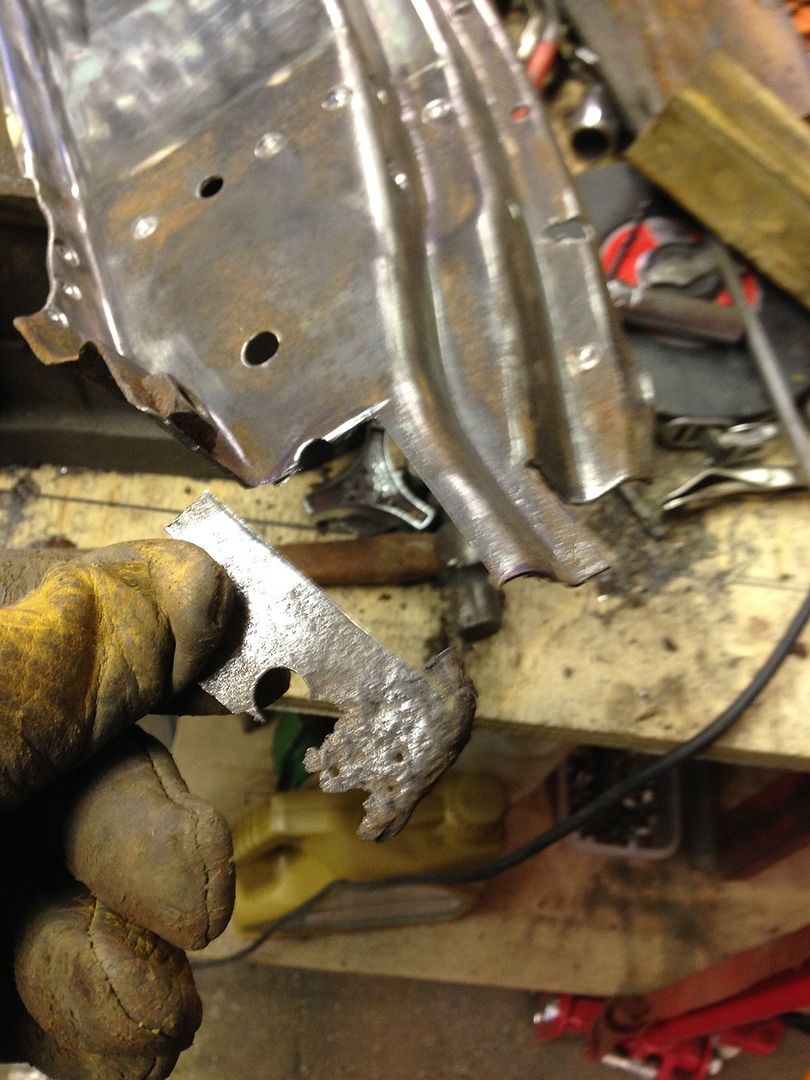 Tacked the new bit in place with the fixture 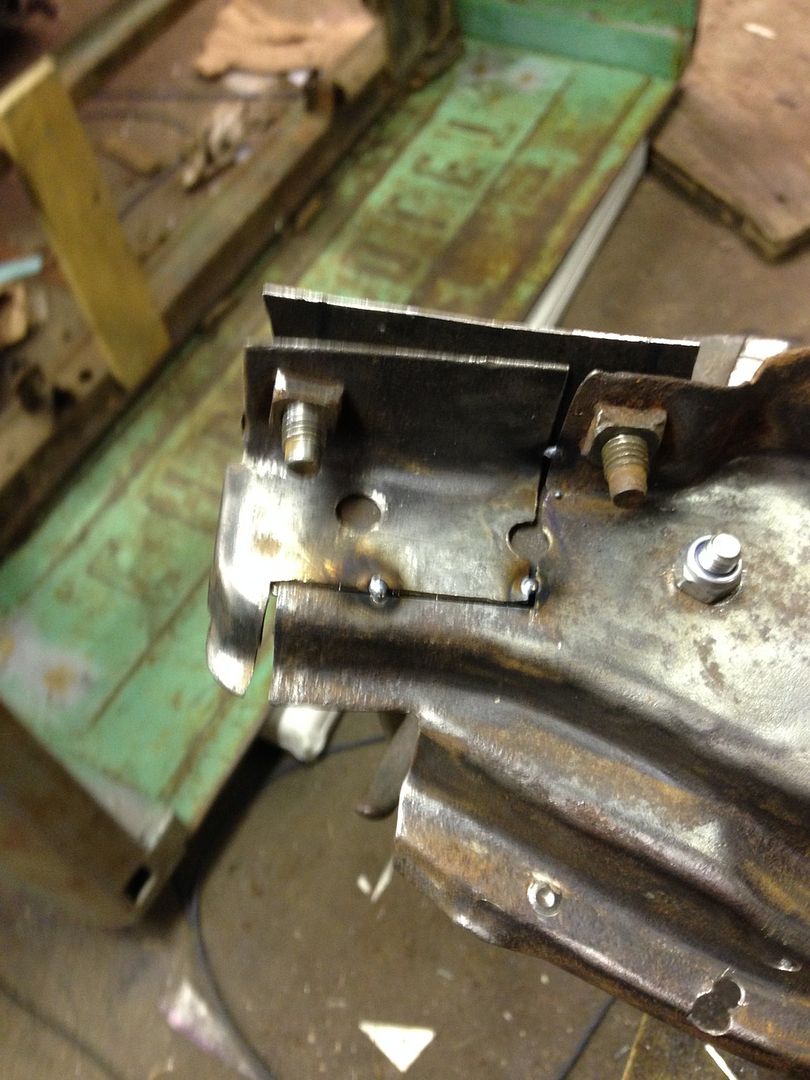 Yes I know it is not the tightest fit…. And…Taa- Daa!! 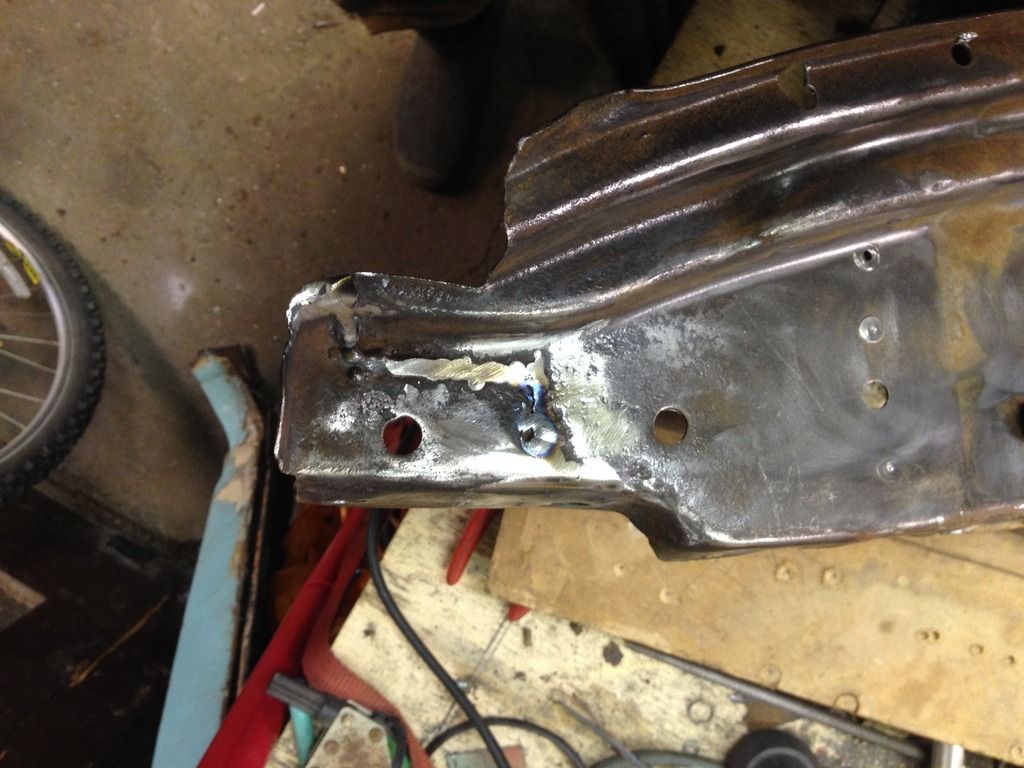 Utilised the old sill to show it is all still lined up. 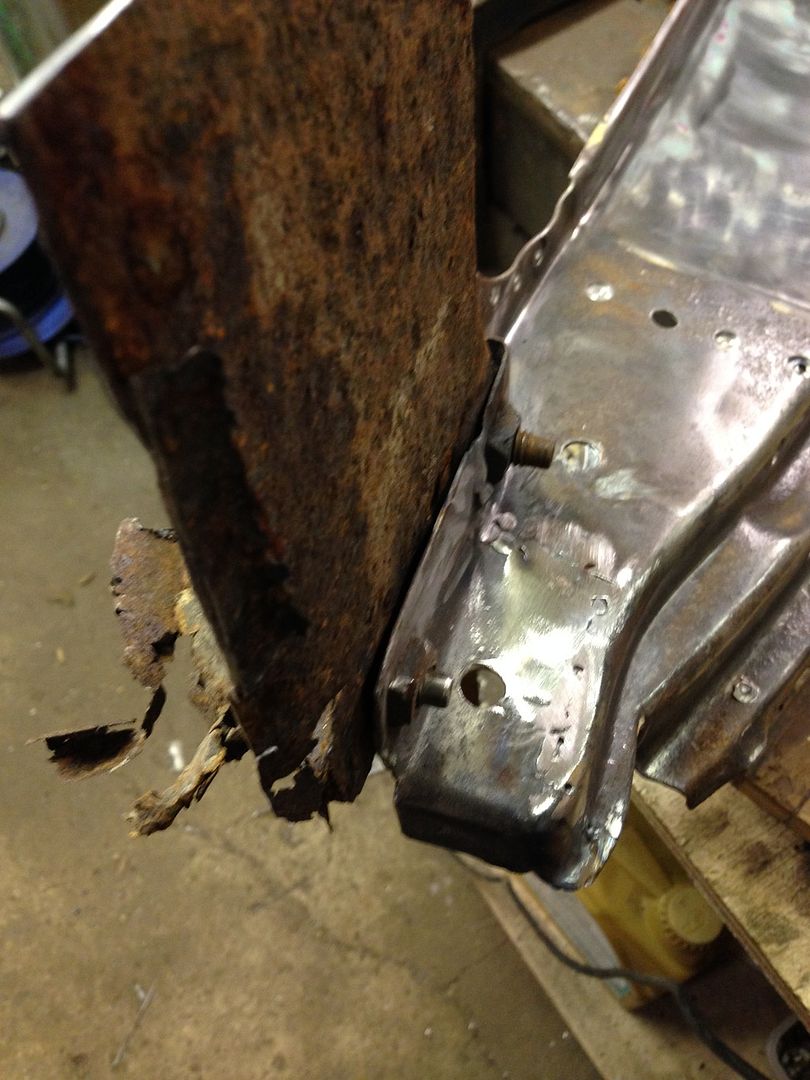 And threw some rust converter on it ahead of Phase 2.  That took me the best part of 3 hours so I am not going to be making a living out of this anytime soon. But! After the rather unpleasant couple of days I have had doing this has really relaxed me. Better than spending time in the Pub and Mrs Y knows where I am because she can hear the grinding, banging and general bad language from her seat on the sofa. So… Stay tuned for the next update which will probably be at the weekend. Phew! P.  |
| |
|
|
|
|
|
|
|
|
Better than most body shops would do it.
Phase two....... Hmmmm ??
Time for a G-string or something more lacy?
|
| |
|
|
|
|
|
Apr 14, 2016 17:09:52 GMT
|
|
no guard on your grinder, now that gives me the willys more than slicing up your cab !
|
| |
|
|
gt
Part of things
 
Posts: 136
|
|
Apr 14, 2016 19:11:13 GMT
|
no guard on your grinder, now that gives me the willys more than slicing up your cab ! +1 learnt my lesson running a grinder with no guard on it,managed to cut though my nail and into my finger. |
| |
|
|
Paul Y
Posted a lot
  
Posts: 1,951
|
|
Apr 14, 2016 21:44:49 GMT
|
I knew that was going to get a comment! I wear heavy leather gauntlets and a full face guard when using the grinder, I know that is no excuse but it is what it is. Moving on.... P.  |
| |
|
|
|
|


 …
…


