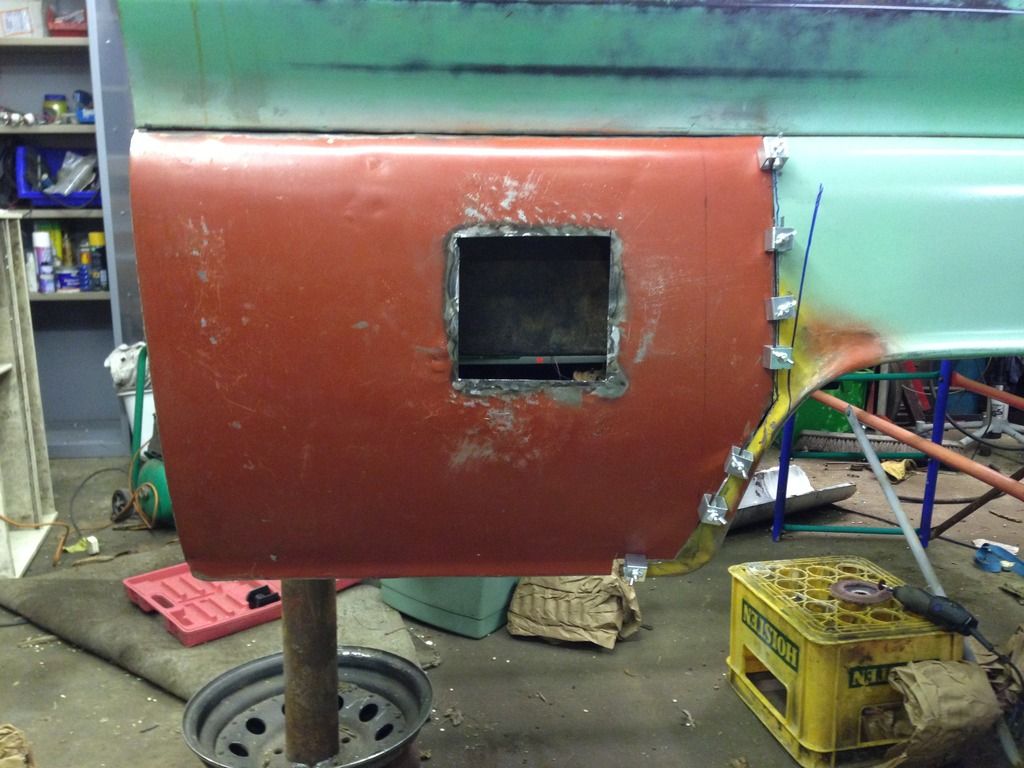
Those of you still interested in my ramblings will remember the above from a year ago.
Well I was getting pretty bored of thumping panels with a bit of twig and a rock so decided to progress things along with the instrument cluster.
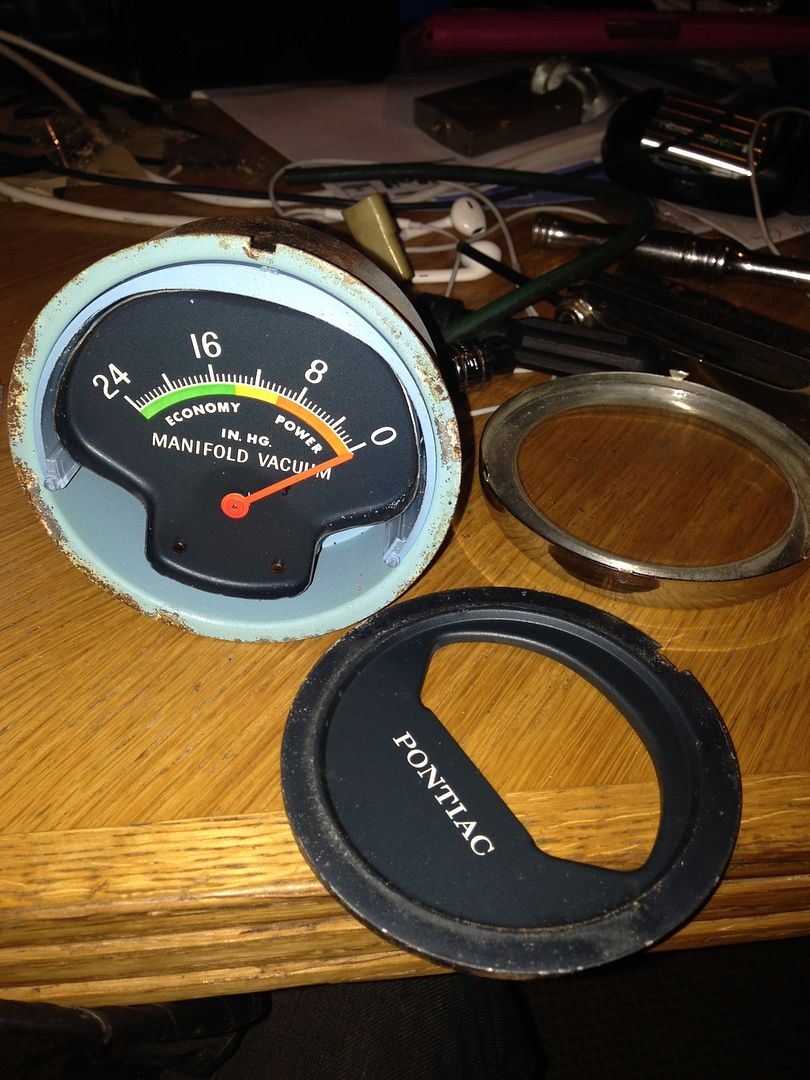
Started off by separating the vacuum gauge from its home of the past 40+ years
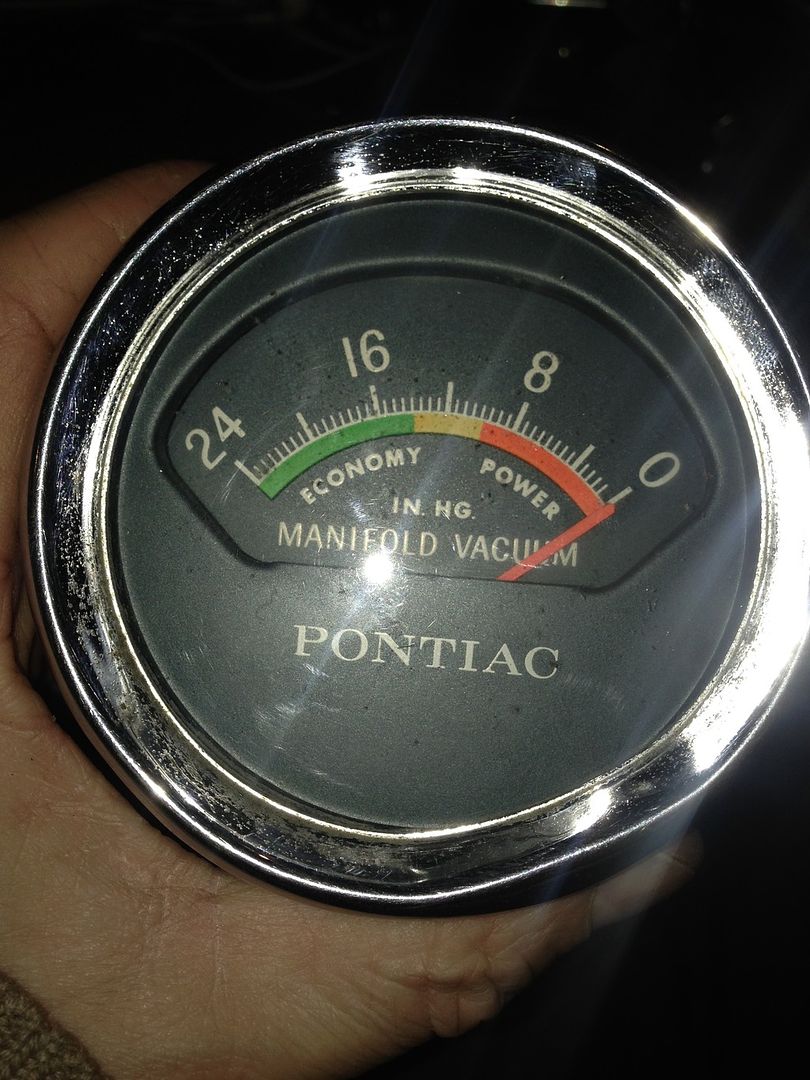
A bit of gentle pressure with my favourite screw driver
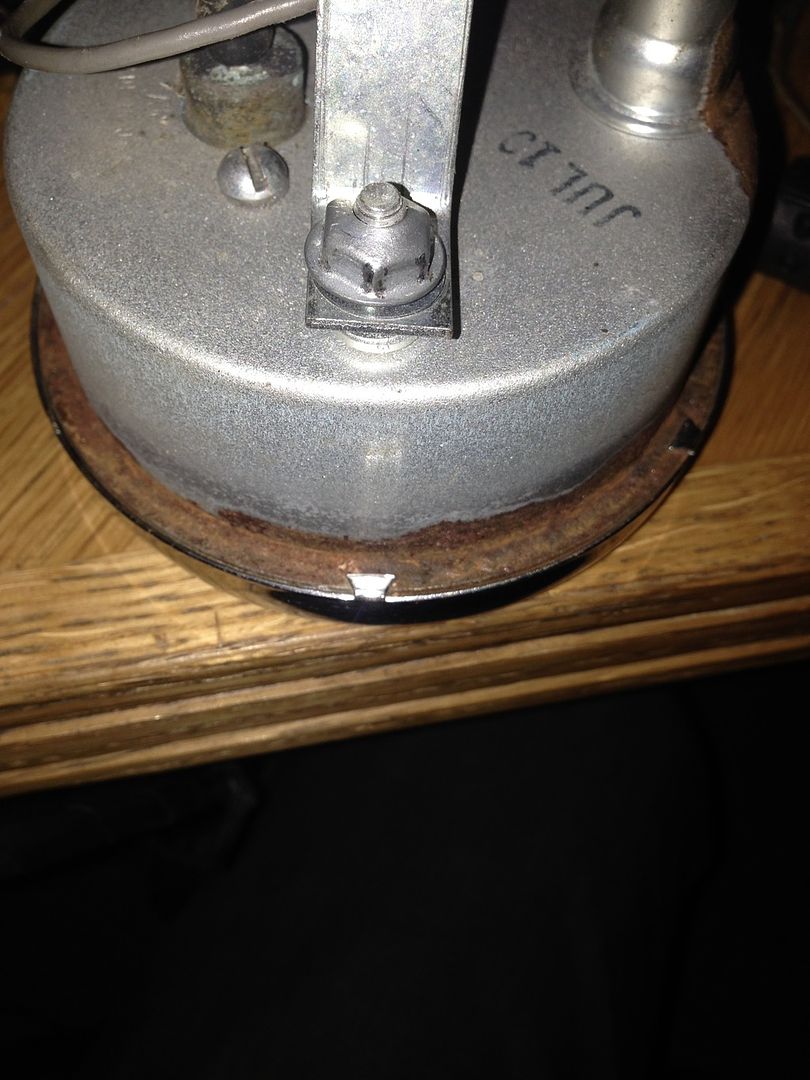
And we have separation!
A quick position in its new place and….ahh…
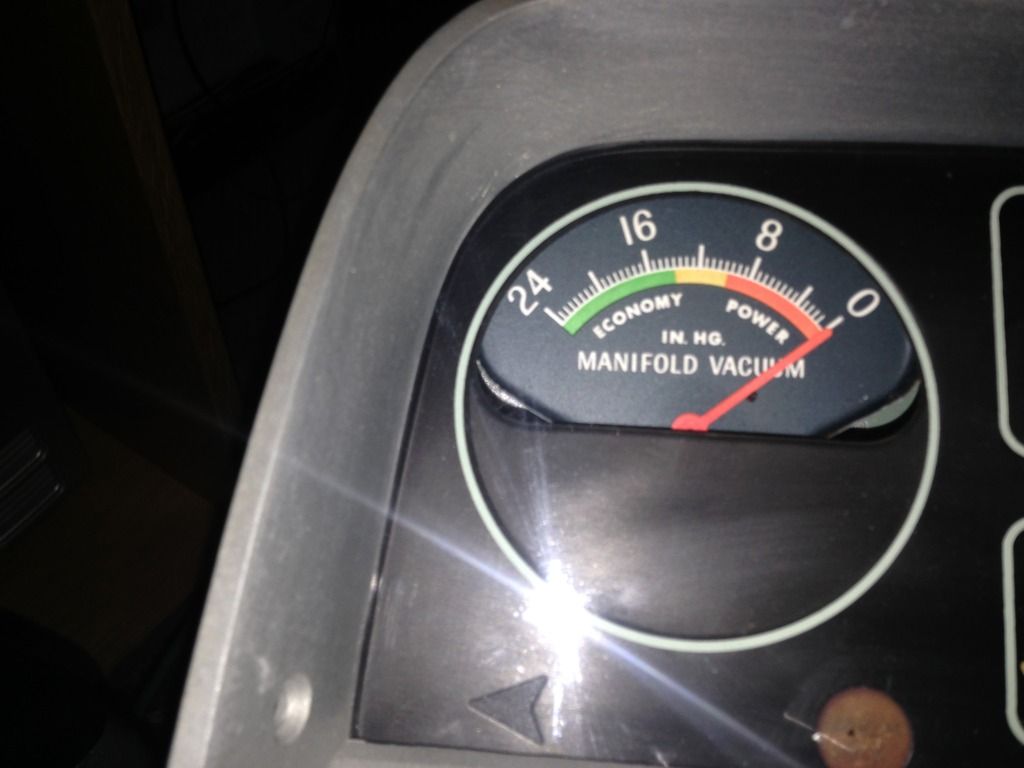
Thats when one of the most informative and useful threads happened to come into play, thank you Mr Chevyrestoguy who outlined how to take a Pontiac vacuum gauge and make it fit a C10 cluster!
Amazing that all this stuff just fits….
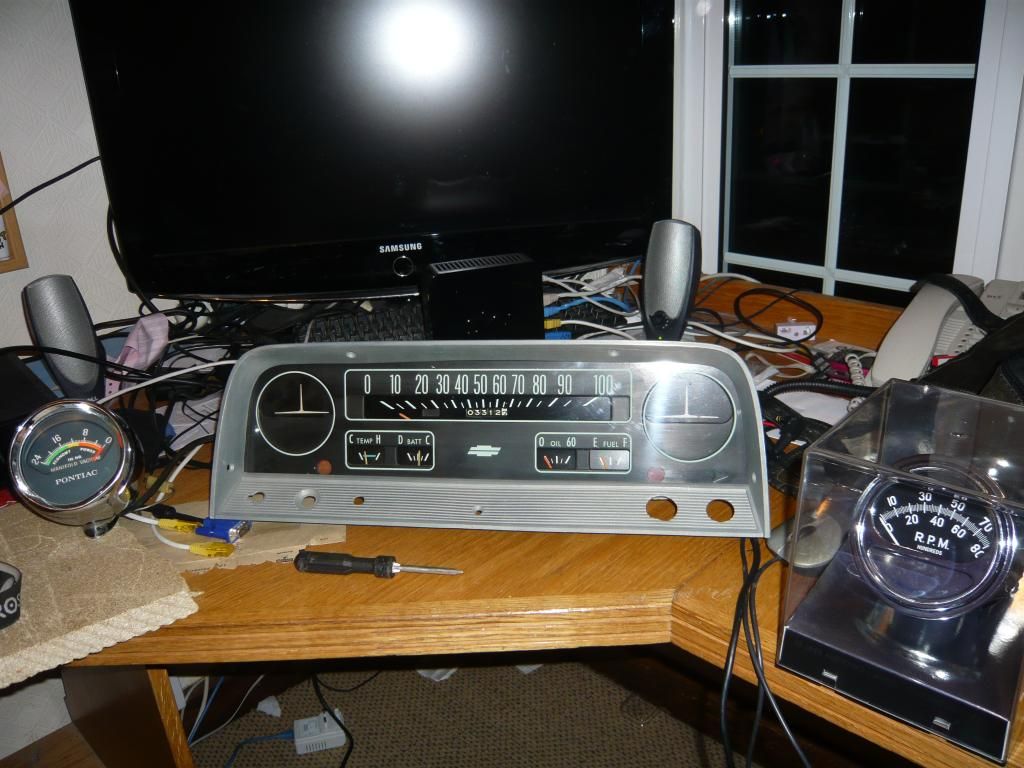
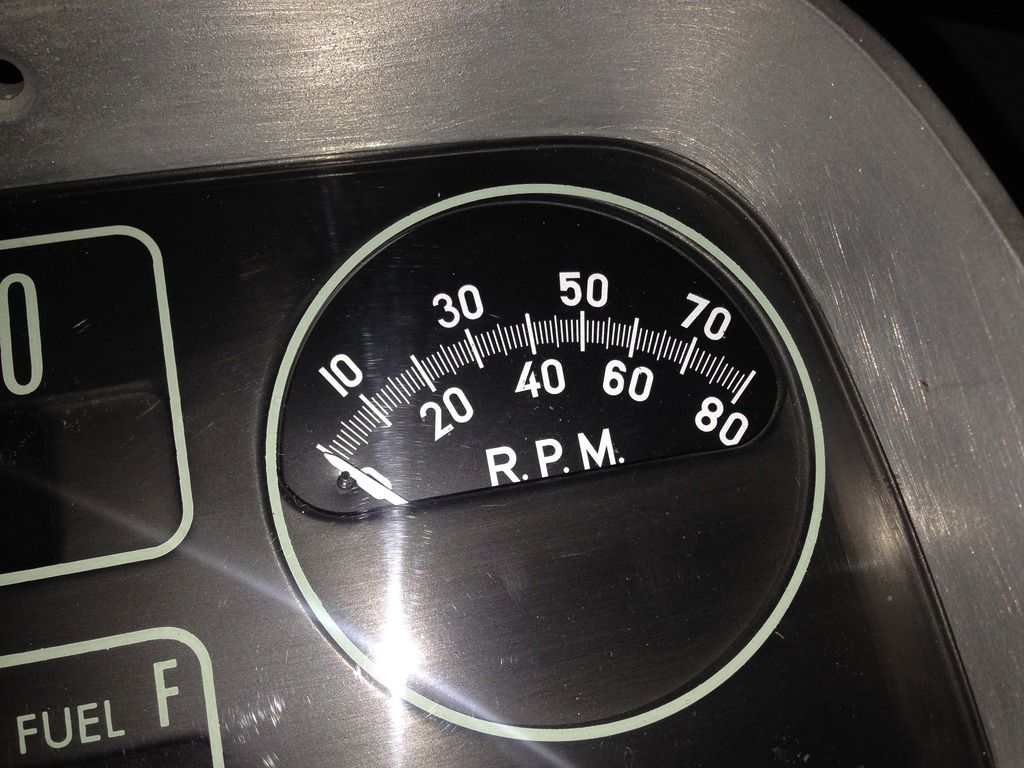
Anyway, with that bit done I turned my attention to the rev counter. Not going to bore you with pictures of me prying the backing off but here is the mock up once the face was removed.
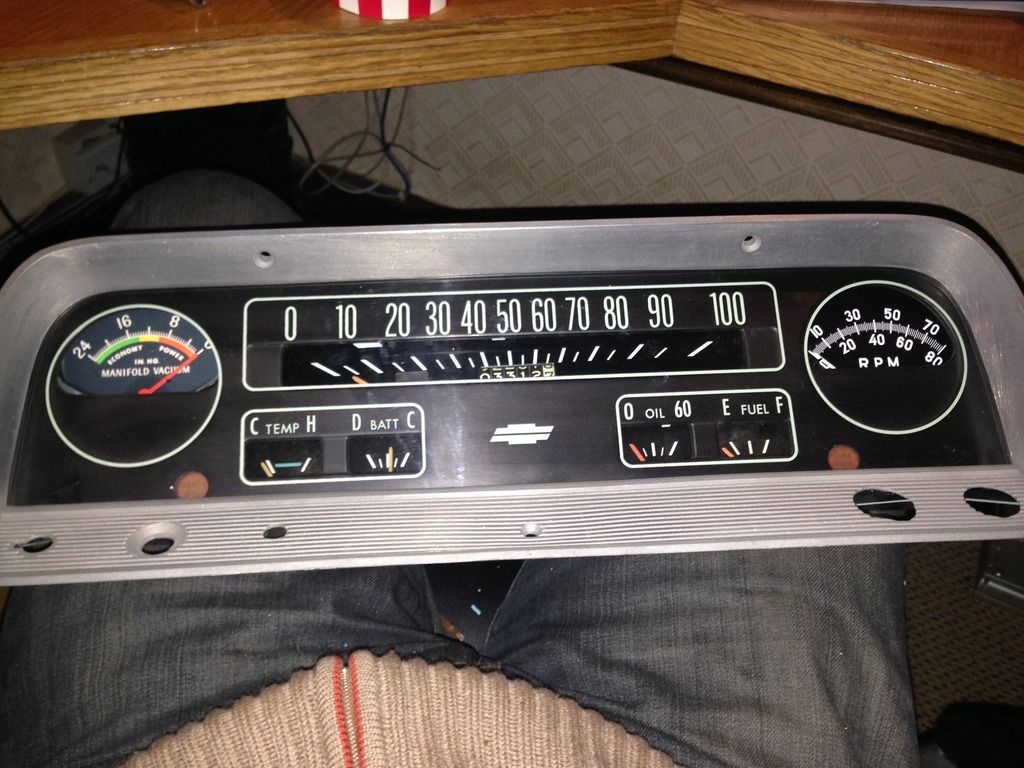
And a random mock up picture before the vacuum gauge was made to fit.
 [/.URL]
I think that is going to look rather spiffing
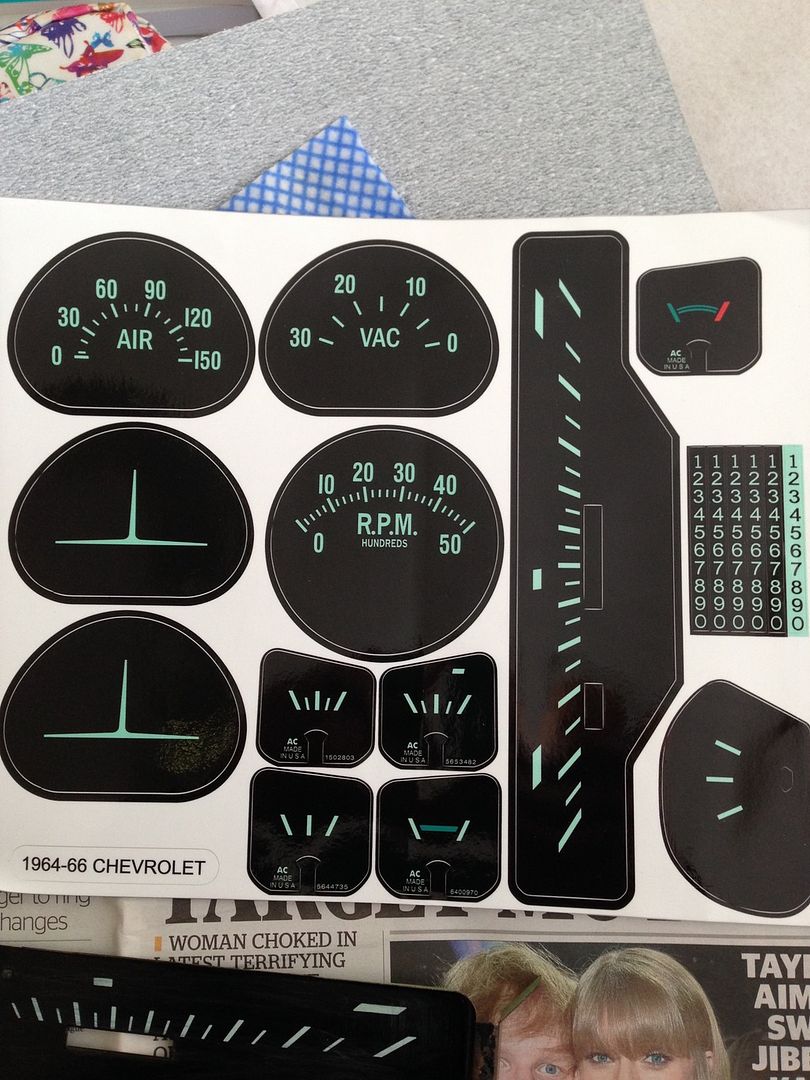
Armed with these I started the rather easy process of applying the new decals to the gauges, have to admit it did look rather good…
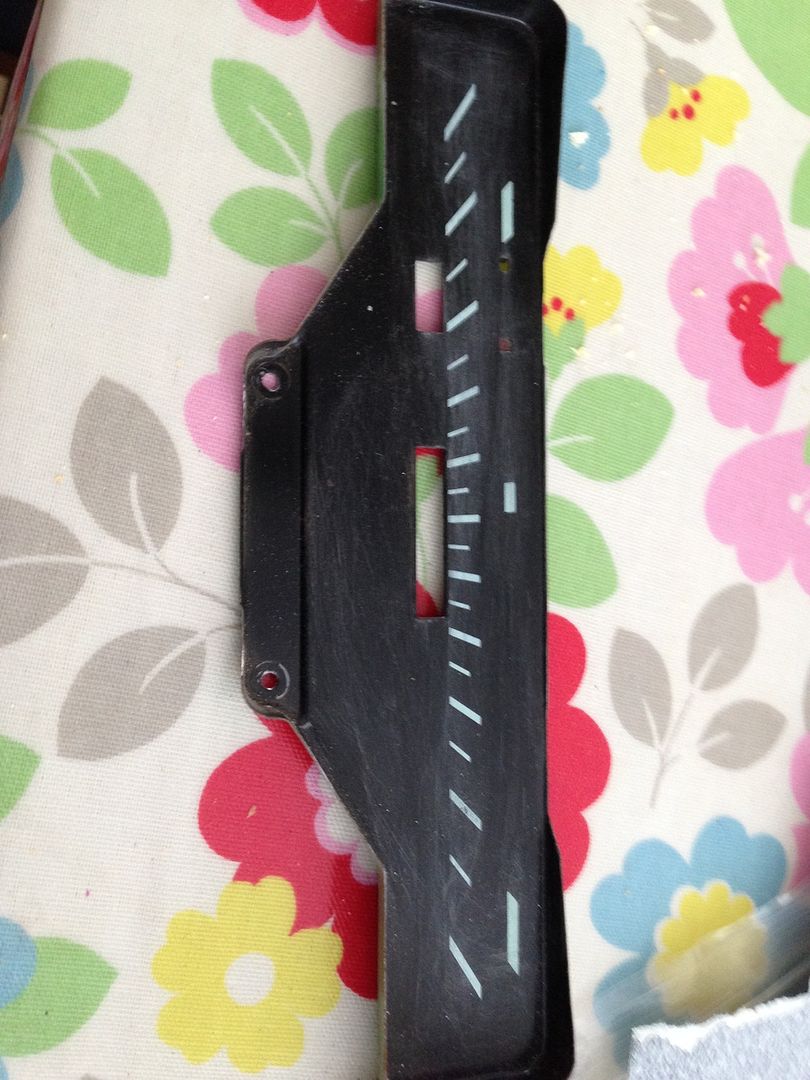
Before.
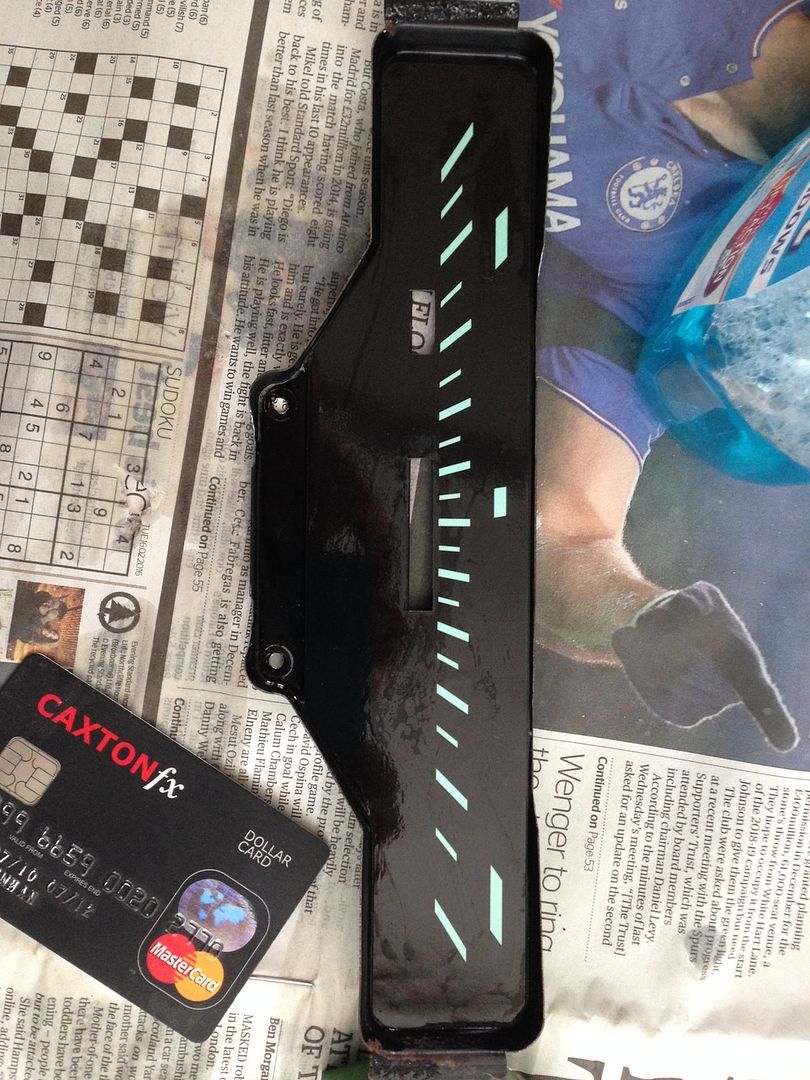
After.
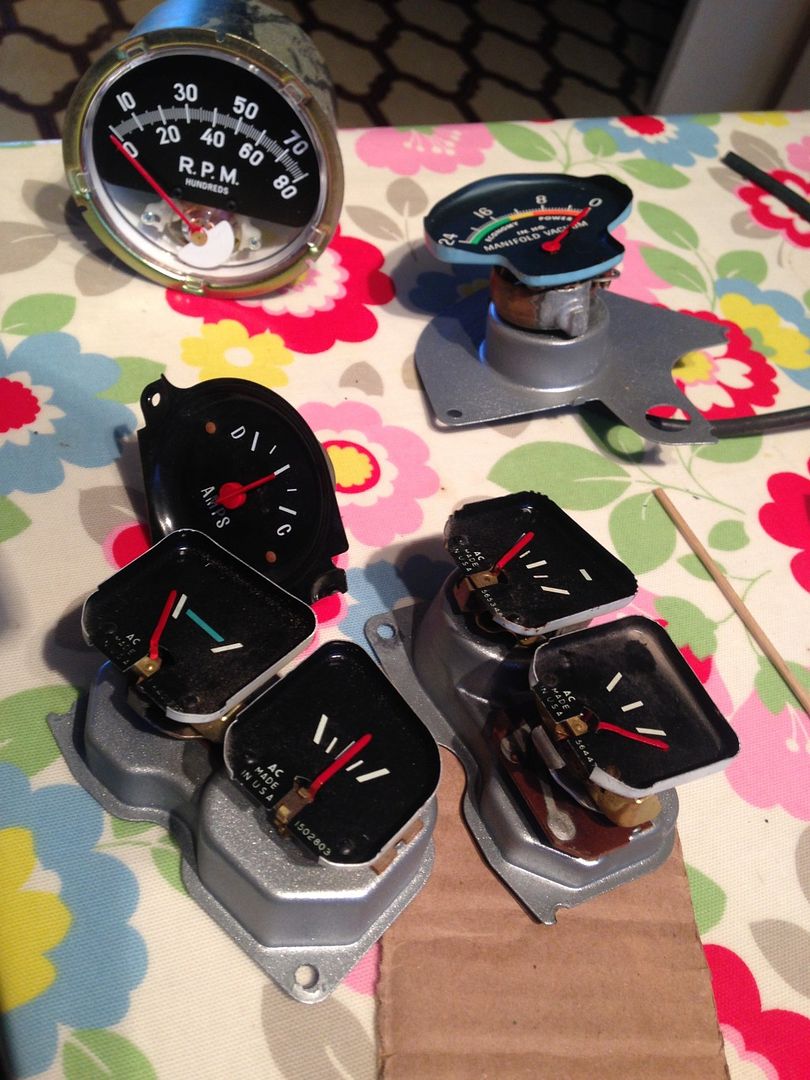
Random picture of the needles after painting.
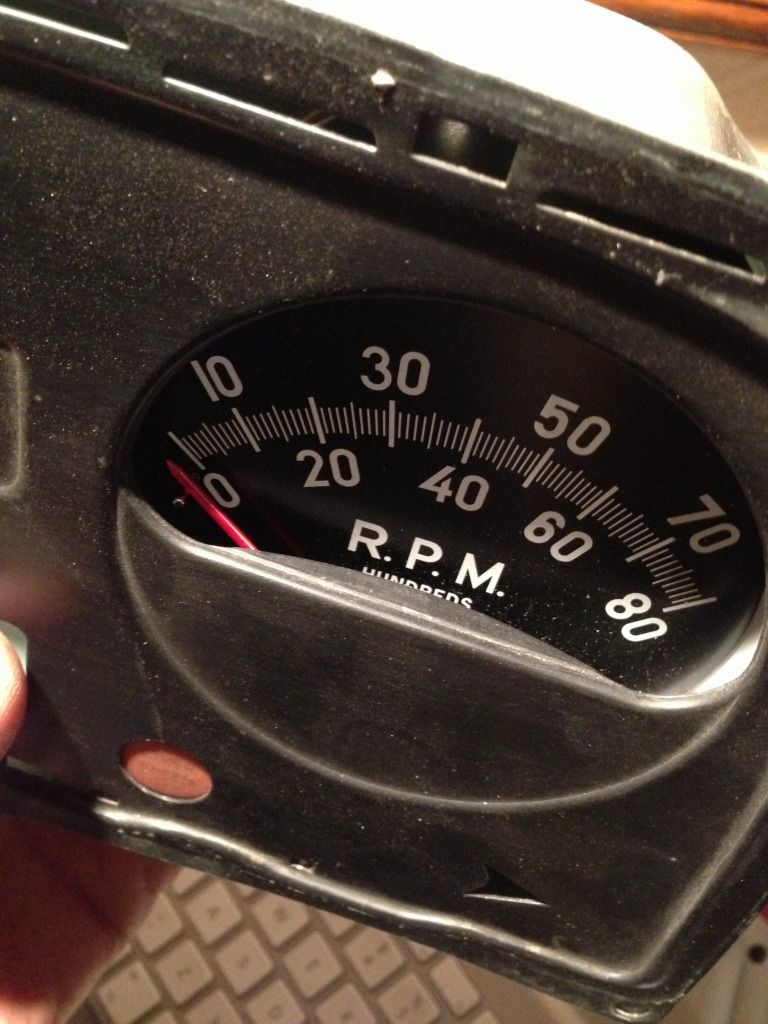
When fitting the rev counter it became very clear that the needle was not going to clear the gauge face and there was also the slight issue of how to retain it.
Now, Mr Astronaut did provide me with a couple of extra ‘bits’ and a diagram that would enable me to fashion a retainer for the rev counter but, because I always fail the tests that ask you to put the square peg in the round hole,true to form, I could not work out how to insert tab A in slot B so had to resort to CAD (Cardboard Aided Design)
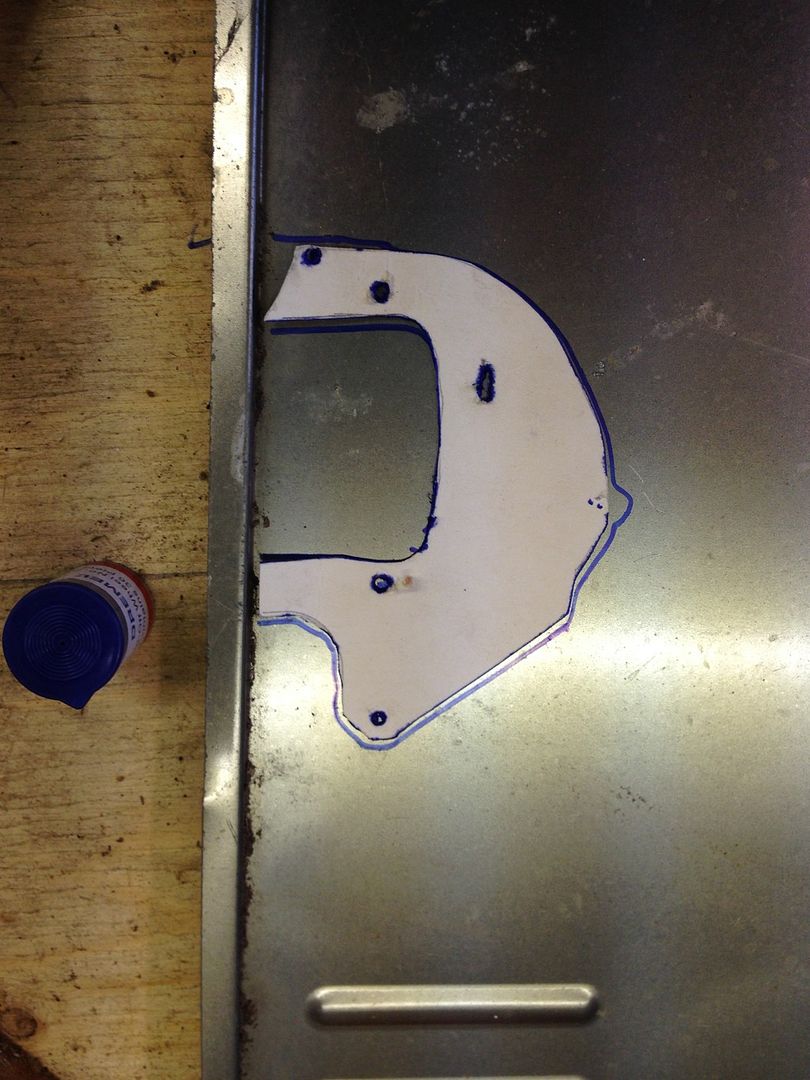
So with a rough template made and transferred to the sides of an old washing machine I made this wonderful bit of tat.
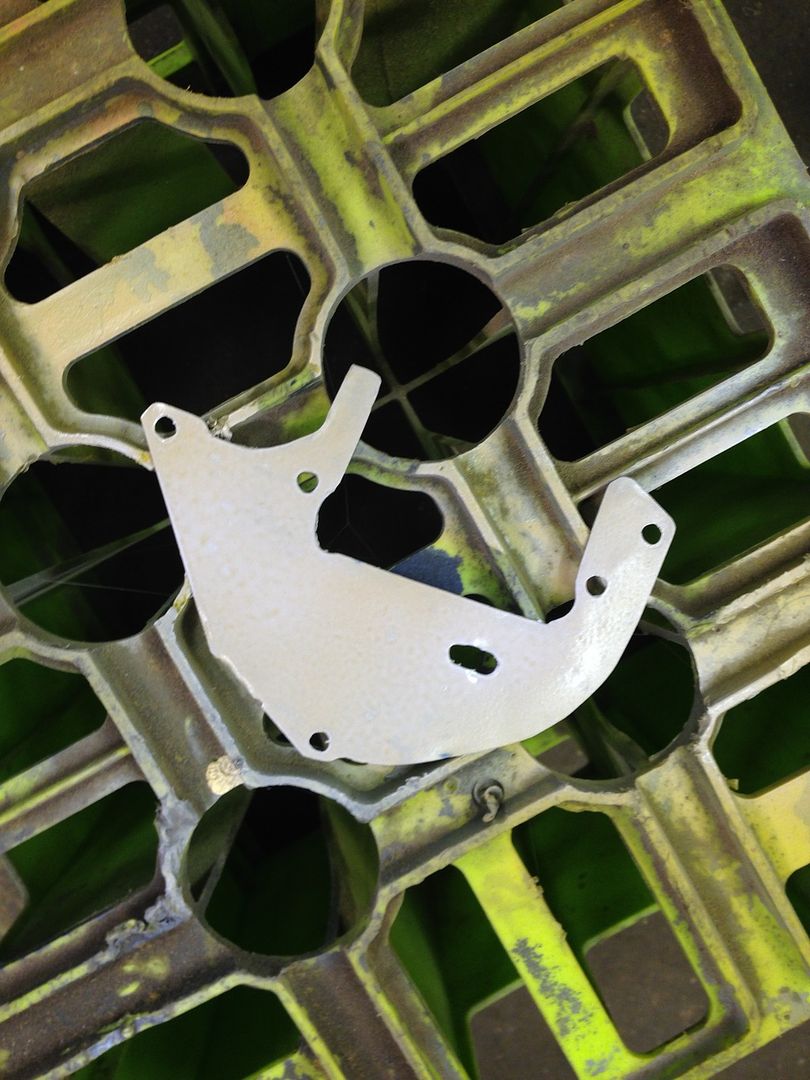
Which when mated with
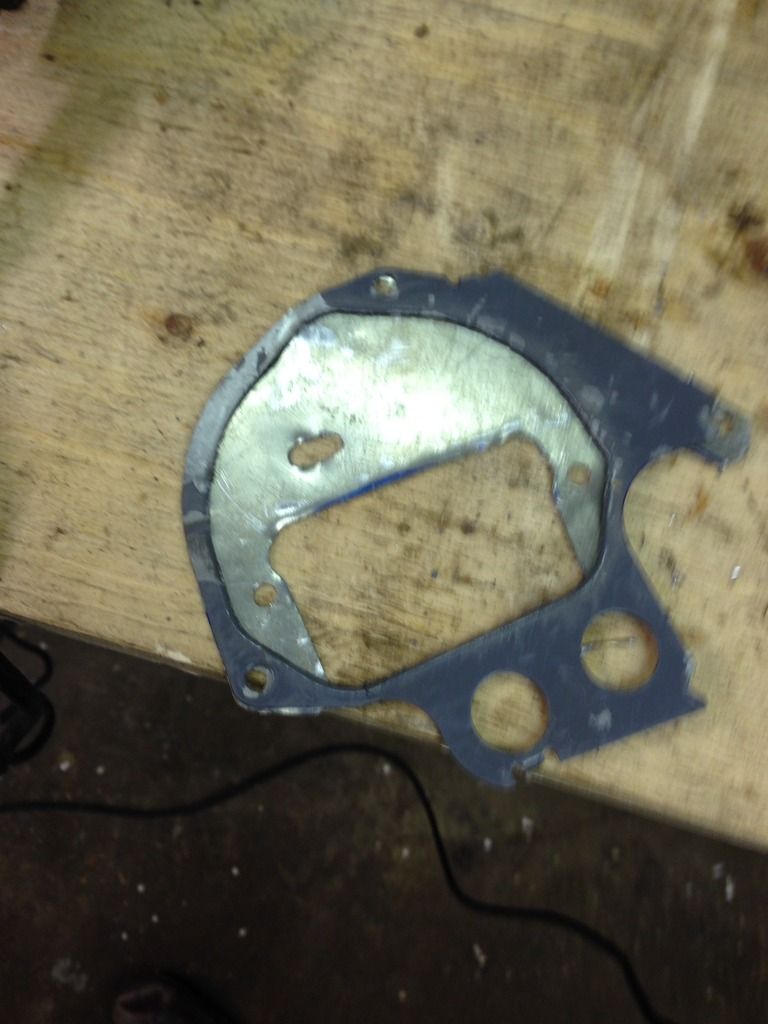
Enabled me to mount the rev counter so that it missed the gauge face and was nice and secure. Huzzah!
Next on the list was to instal a volt meter in place of the Ammeter.
So, again thanks to Mr Chevyrestoguy I learnt that a Voltmeter from a late 70’s C10 can be made to fit the 66 cluster.
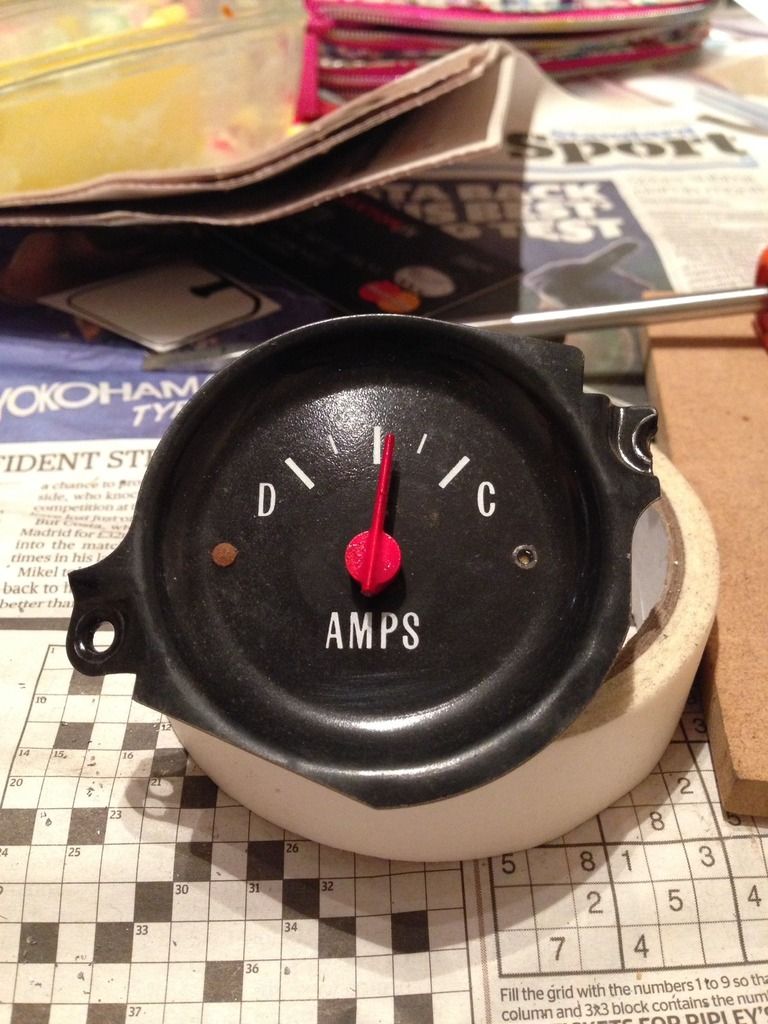
Bit lacking in pictures as it was taking a lot longer than I had hoped but here is the disassembled gauge with a spacer made from a suitable piece of copper pipe
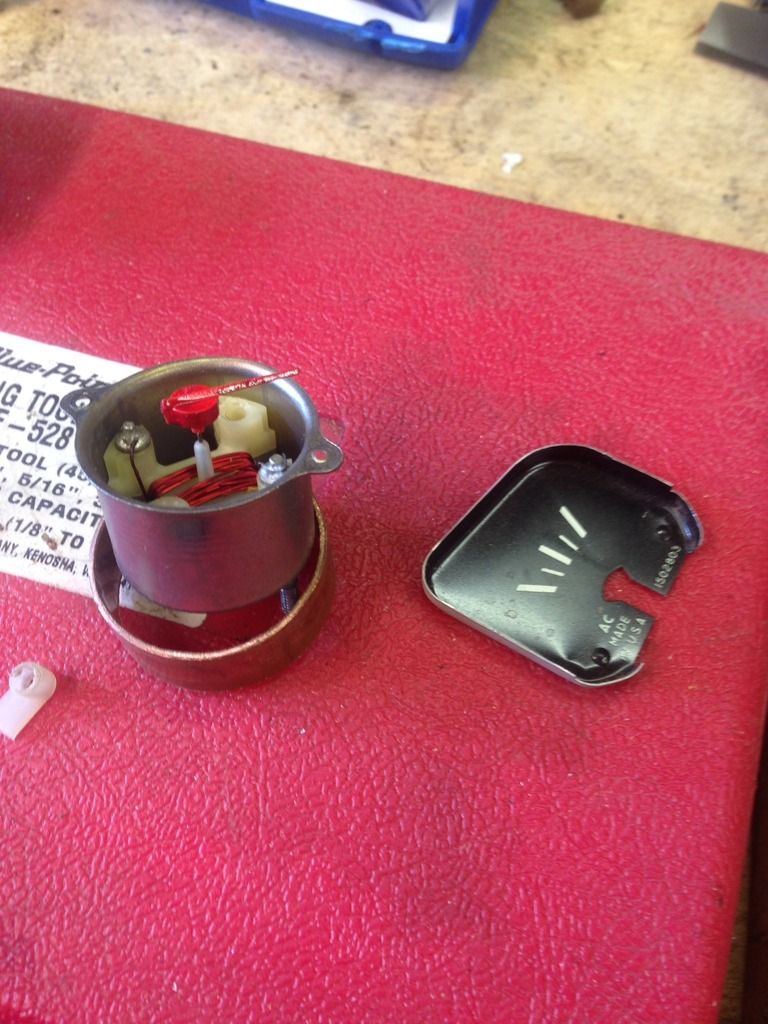
Reason for the spacer? The old gauge holder has to be drilled out to allow the new gauge to fit in the correct place. The spacer is just that, a spacer to hold it in the right relative position.
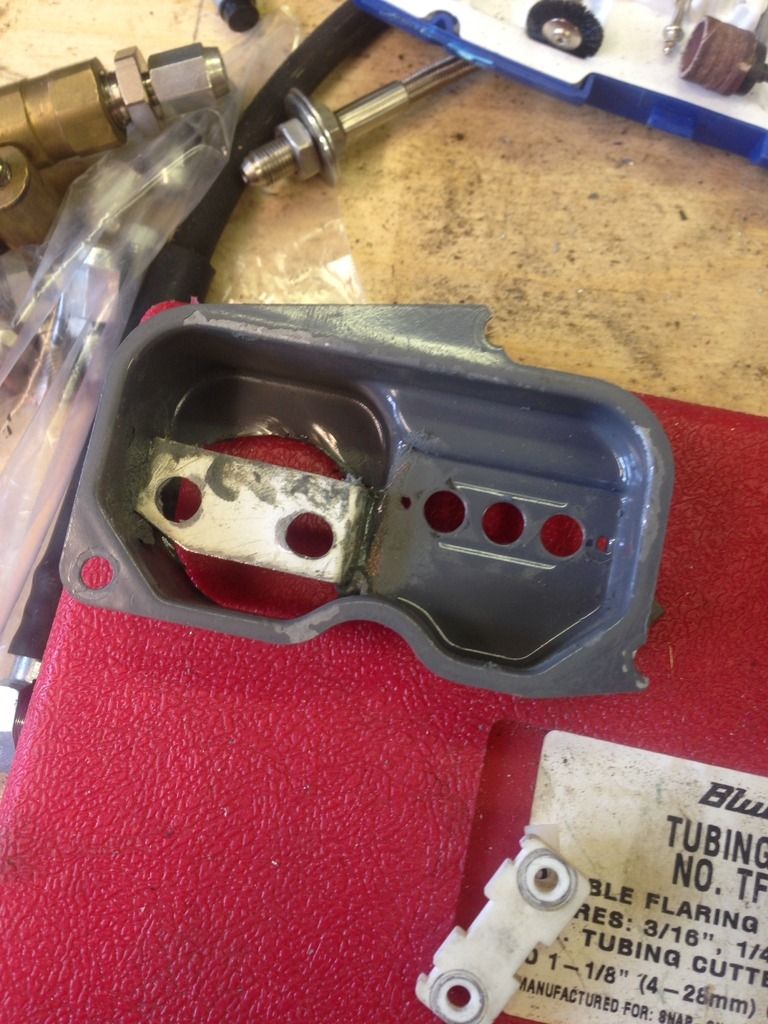
Here you can see the support made to hold it in place along with the hole required.
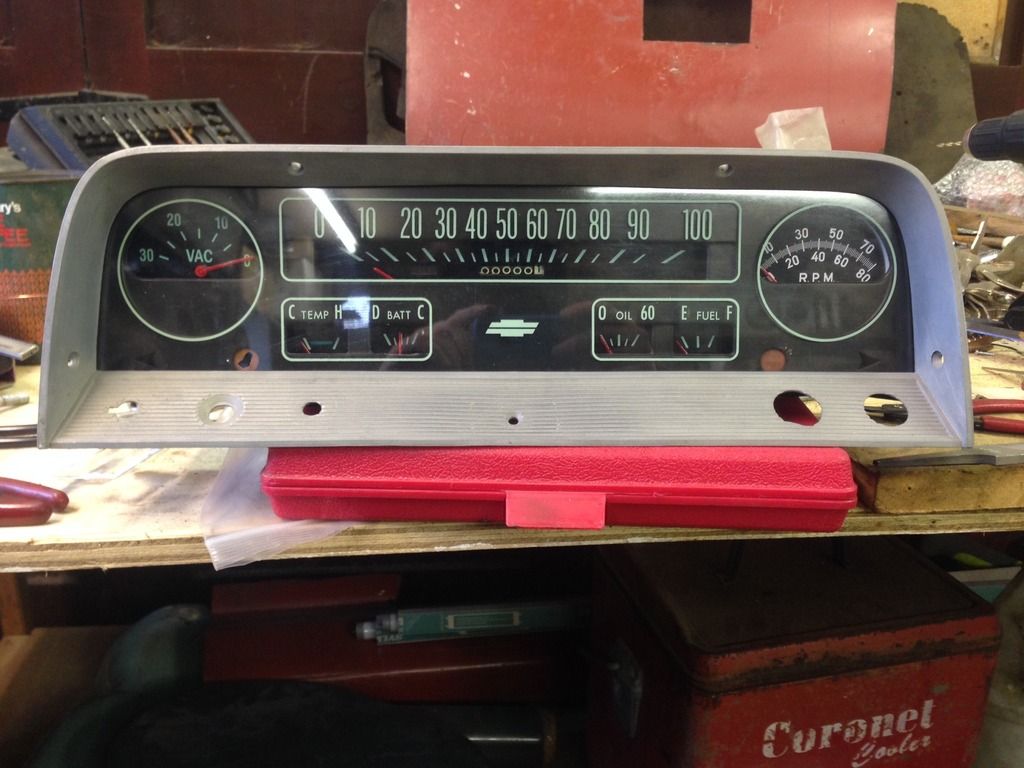
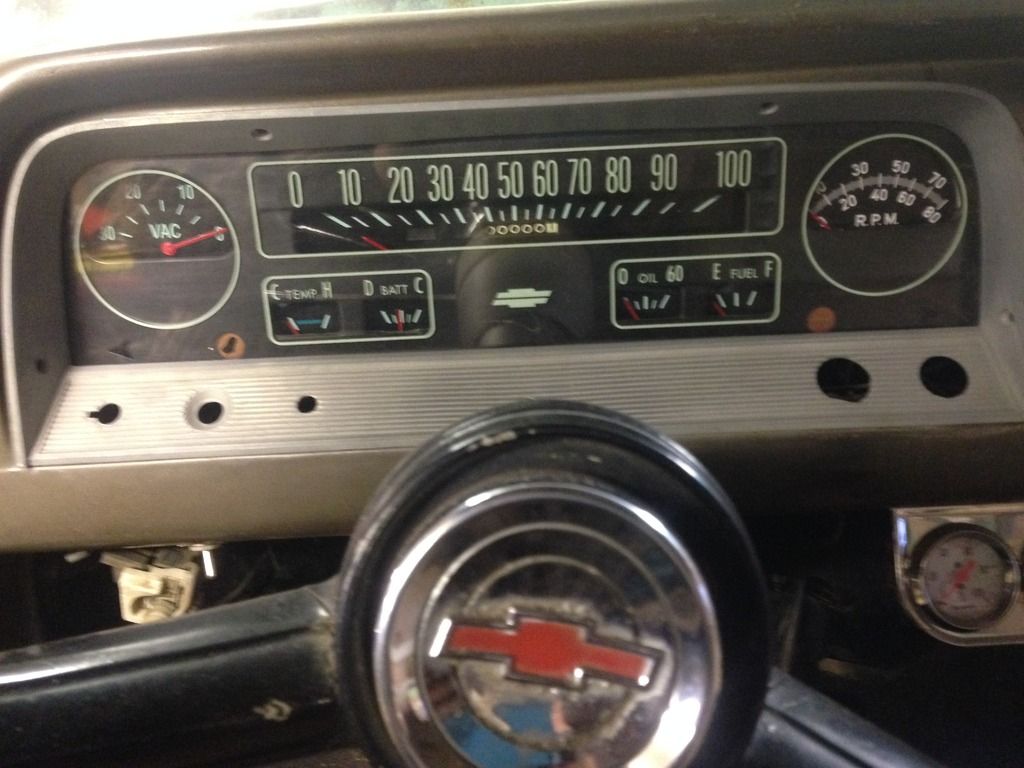
And here is the complete cluster, all done apart from the wiring.
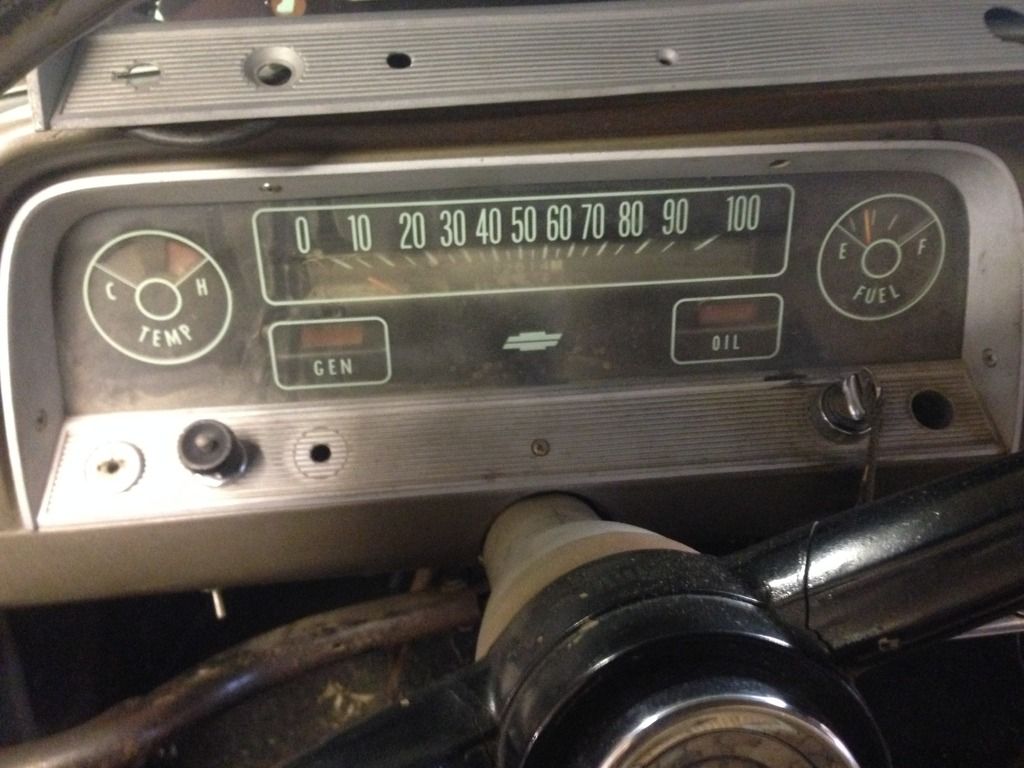
This is the original cluster that Woody arrived with
And the new one mocked in place just because I needed to see something shiny…
First time I have had to use a Sawsall to remove an instrument cluster but that is another story all together…
Next will be wiring it up.
And on that bombshell….
P.





 [/.URL]


