vulgalour
Club Retro Rides Member
Posts: 7,285
Club RR Member Number: 146
|
|
|
|
|
Sometimes, annoyingly, the guard has to come off to get access to the thing you're cutting. Someone should invent some sort of guard that protects fingers but doesn't get in the way of the metal you're cutting. Oh, and while they're at it, maybe a device that can cut out rot and create perfectly shaped repair sections to go back in. Since I'm wishing, a welder that always welds perfectly and never blows holes.
Some brave repair work happening on this truck.
|
| |
|
|
|
|
Paul Y
Posted a lot
  
Posts: 1,951
|
|
|
|
I will take one in Orange and another in Black please. Woody is remarkably rot free, the damage I am attempting to repair was the result of an accident that had been repaired in an even more amateur fashion than my attempt at repair. Mr Vulgalour, the work that you do on your fleet is a lot braver than mine. This is just replacing a bent panel with a good'ish original cut panel rather than fabricating and modifying. Anyway... Hope to get some Shed Time this evening and we will find out if what I have done makes the door fit any better. Or if I have just been using up cutting disks and CO2... P.  |
| |
|
|
|
|
|
|
|
|
And always make sure you do not run out of gas on a Saturday evening.
I think I have time off tomorrow too, to strip down my door for Ian Brown.
Being home will be good too.
|
| |
|
|
Paul Y
Posted a lot
  
Posts: 1,951
|
|
Apr 15, 2016 21:52:03 GMT
|
Right! Phase 2, in which my Cajones grow to the size of Cantaloupes as I use the awesome power of Mr Grinder and Mrs Welder…. After sitting on my favourite milk crate for a good 45 minutes I reconsidered my cut line as I wanted to make sure that the join for the B pillar and the cab skin did not over lap - not sure if it is relevant but it just sort of seemed like a good idea.  With the panel mocked up, securely bolted to the sill I took another 45 minutes looking, measuring and taking deep breaths until I could feel the power emanating from my loins reach sufficient levels to make the final cut…  Held in place with the finest Unicorn Poop - and a pair of dodgy mole grips and a panel clamp… Quite pleased… 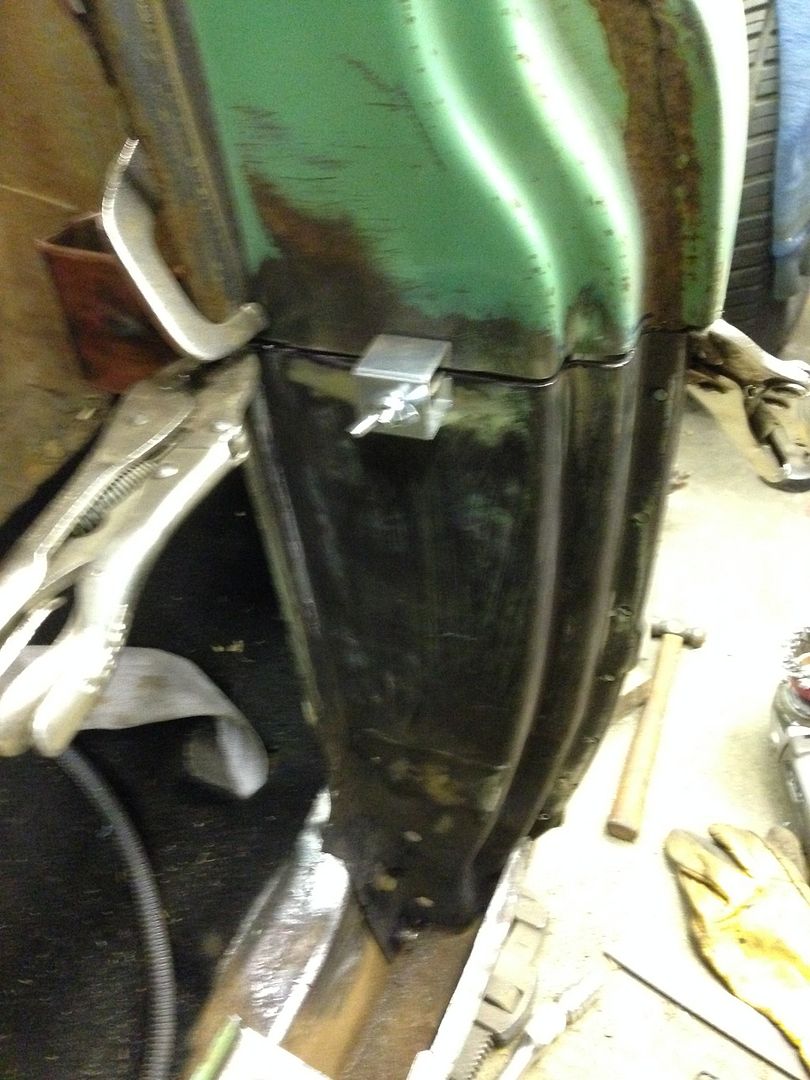 Managed to tighten the gaps up a bit by moving the pillar up on the bolts. but not before I checked that the sill panel fitted. New  Old 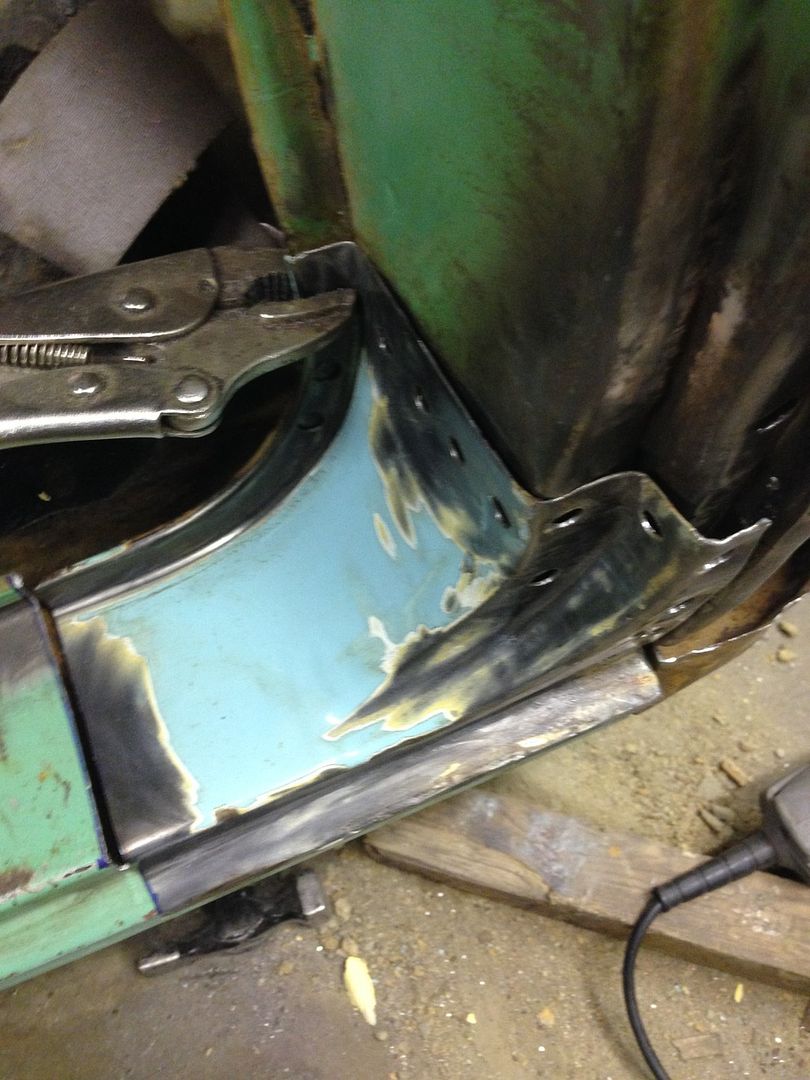 VICTORY!!!!!!!!!!!! And here it is all stuck together with more Unicorn Poop and Rainbow Kisses….  Little bit more grinding will get that looking lovely… 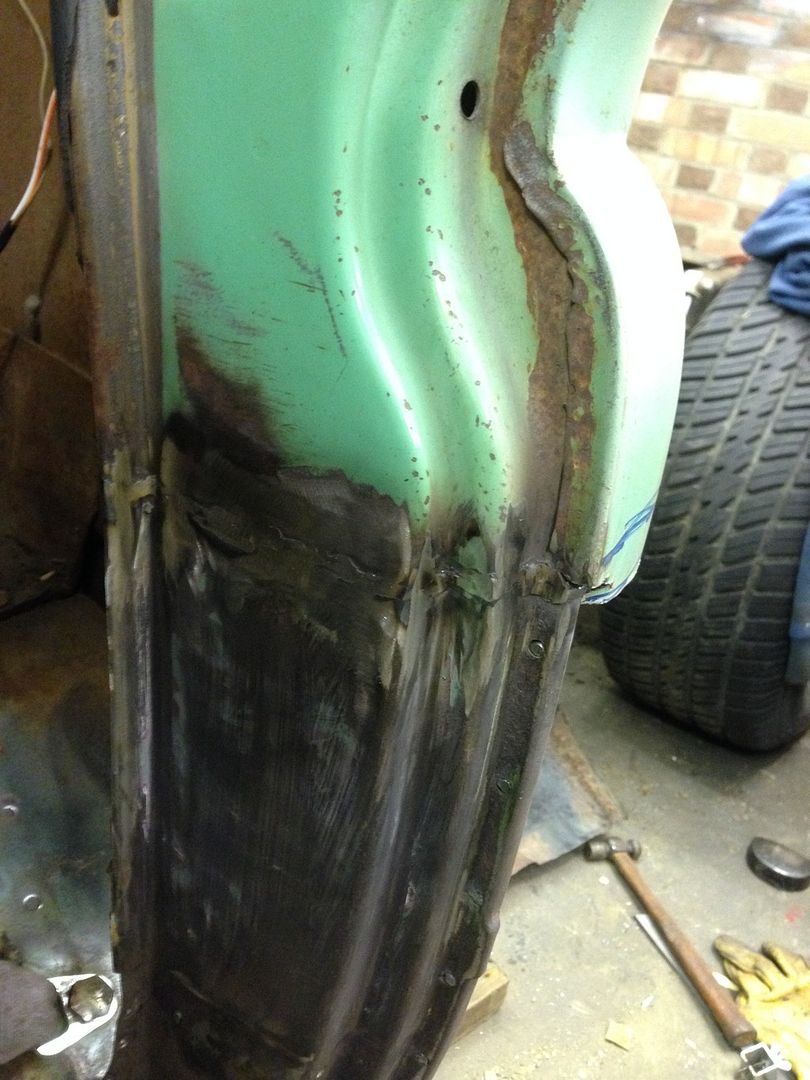 And the Money Shot… 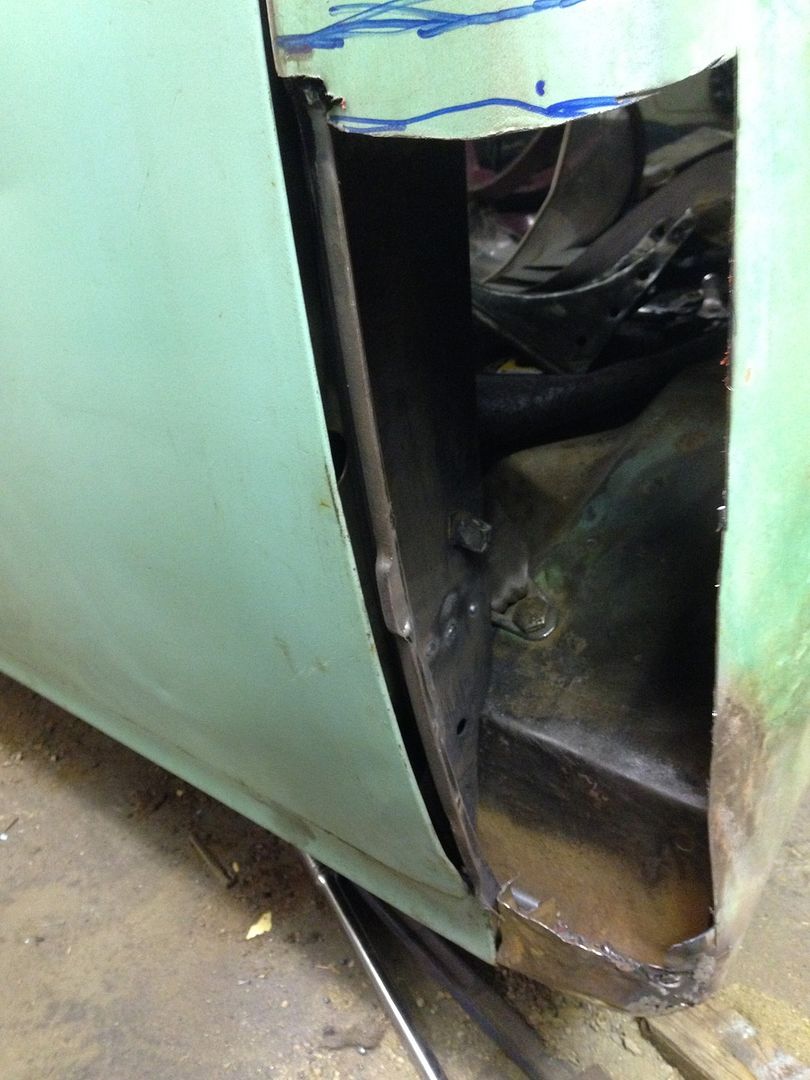 Have to thank everyone for their encouragement and advice on undertaking what, for me anyway, was a pretty major task. Having got this bit in I am feeling rather good - think it is time for a celebratory beer and the 50th Episode of RoadKill! Hope to get the cab panel all sorted over the weekend, but things change rapidly here at Chez Y so we will see. BAM! P.  |
| |
|
|
vulgalour
Club Retro Rides Member
Posts: 7,285
Club RR Member Number: 146
|
|
Apr 15, 2016 23:30:50 GMT
|
|
That's a very nice bit of work there, paid off to take your time with it I reckon.
|
| |
|
|
|
|
|
Apr 15, 2016 23:48:07 GMT
|
Good work there Paul. Now go and enjoy that beer!  |
| |
|
|
|
|
|
|
|
|
BOOOOOOMM... !!!
As you say.
|
| |
|
|
Paul Y
Posted a lot
  
Posts: 1,951
|
|
Apr 17, 2016 20:09:30 GMT
|
I never knew that body work was so mentally and physically taxing… I am knackered. Right, lets pick this up from Saturday morning. The rather wonderful Lady P told me that it was pointless spending a week of nights getting the repair finished, and the knock on effect this had on my working week, why didn't I just spend the weekend finishing it off? I was quick to take full advantage of this but not before I had procured 2 bottles of a rather nice white to ensure that the path to the shed was properly…lubricated.. I know I have said this before but this was the hardest cut I have made to date. 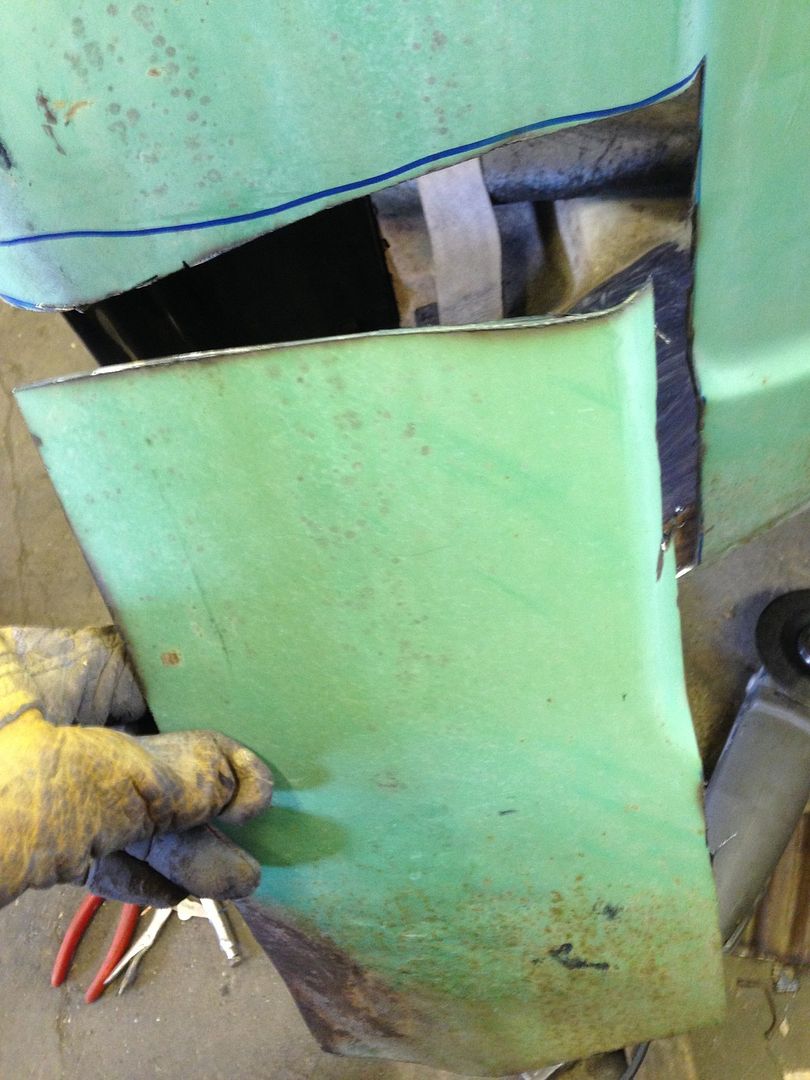 I ummed and ahhed on this one for ages. Do I make a smaller cut and leave the slightly crumpled area or bite the bullet and chop it all out to the good. Suppose that picture answers that one! With the cut made I trimmed down the last bit of Martins truck to fit the hole.  Problem was I couldn't get it to fit as I wanted it. There was too big a gap around the top and getting the swage line to line up around the back of the cab was causing all sorts of issues 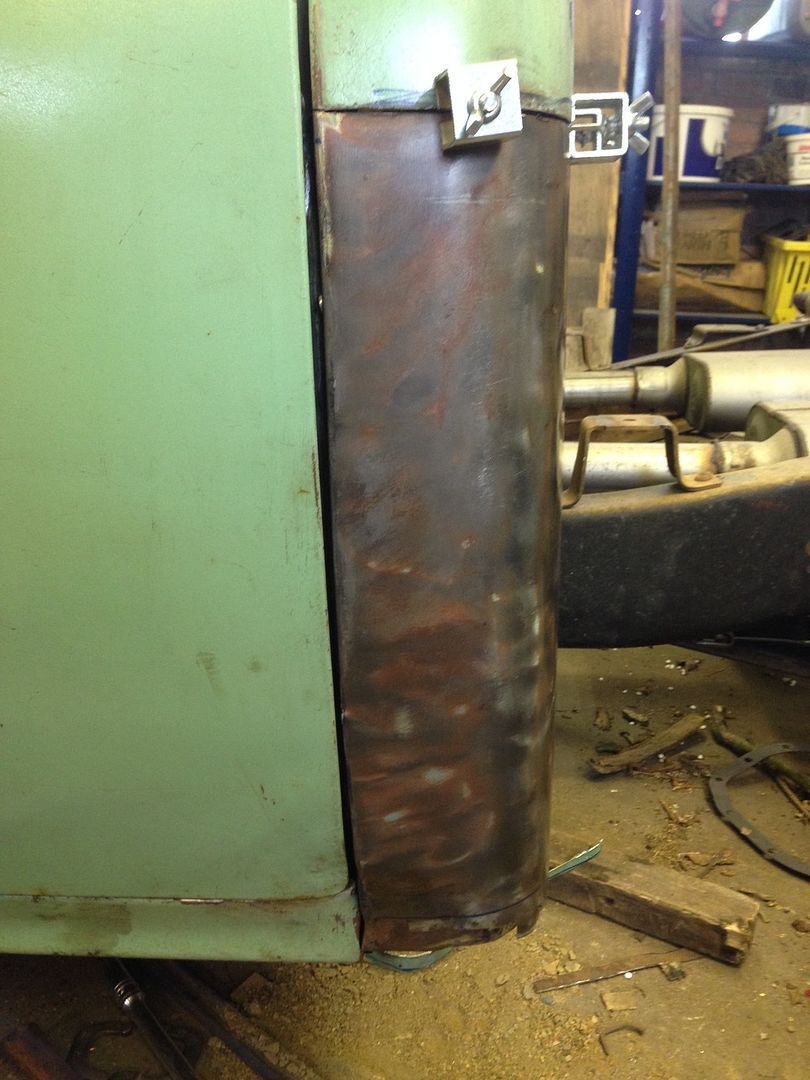 Martins panel had some fairly heavy rust issues at the cab bottom and Woodys bottom was a bit beaten and full of filler (narf narf) so I decided to make that repair once I had everything else done as it would/should be easier to melt them together once everything else was lined up. More of that later… More pushing and more cutting  but still not happy until I just decided to drill a few holes and use self tappers to hold it in place whilst I tacked it together.  Still not perfect but getting there  Nearly! They say that out of the mouths of Babes and Children comes forth truth… Well after sitting looking at the pigs ear I had made of cutting the panel and still not getting it to fit, my youngest son ventured forth into the night with a beer and stern words from Lady P that I was taking the P at 10.30pm. His comment? I’ll hold, it you tack it.  And just like that it all lined up! Sure the Beer helped….  Fast forward to this evening because I am fairly sure you are all bored with my ramblings may I present…  All buzzed in. I knew it was time to call it quits as the more astute amongst you will notice the rather odd pattern to the welds on the lower repair patch… Yup, forgot to turn the gas on… Gap pretty good.  Still got to finish off the bottom and tidy up the sill ahead of putting that patch in but quite please compared to what was there before… 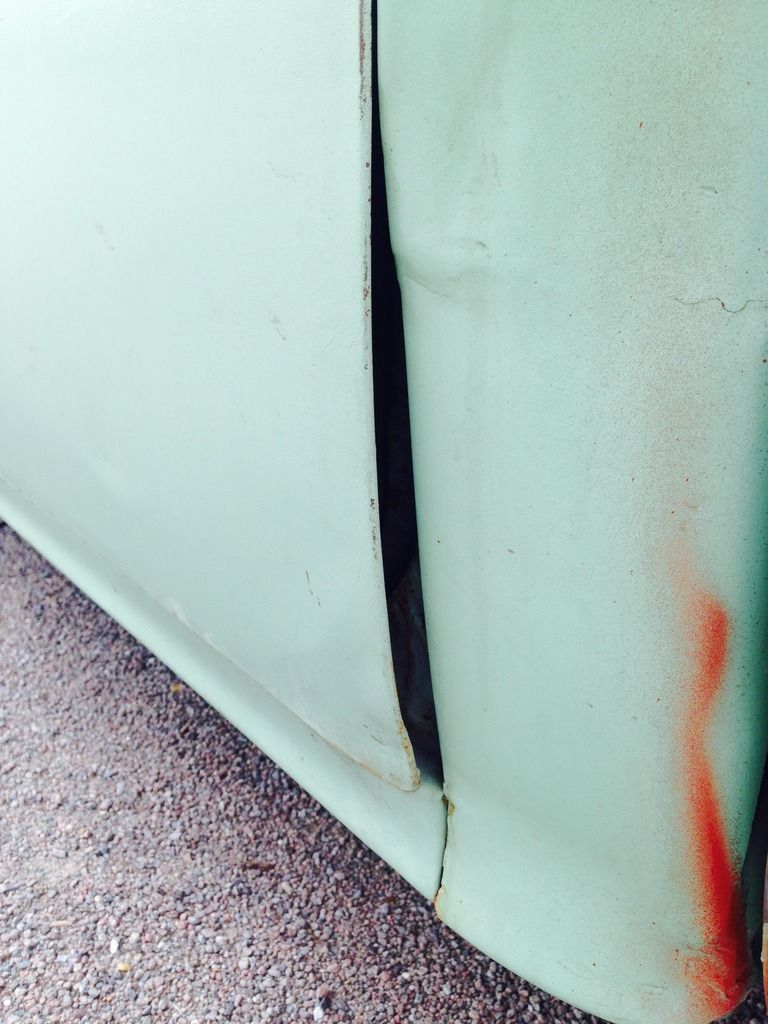 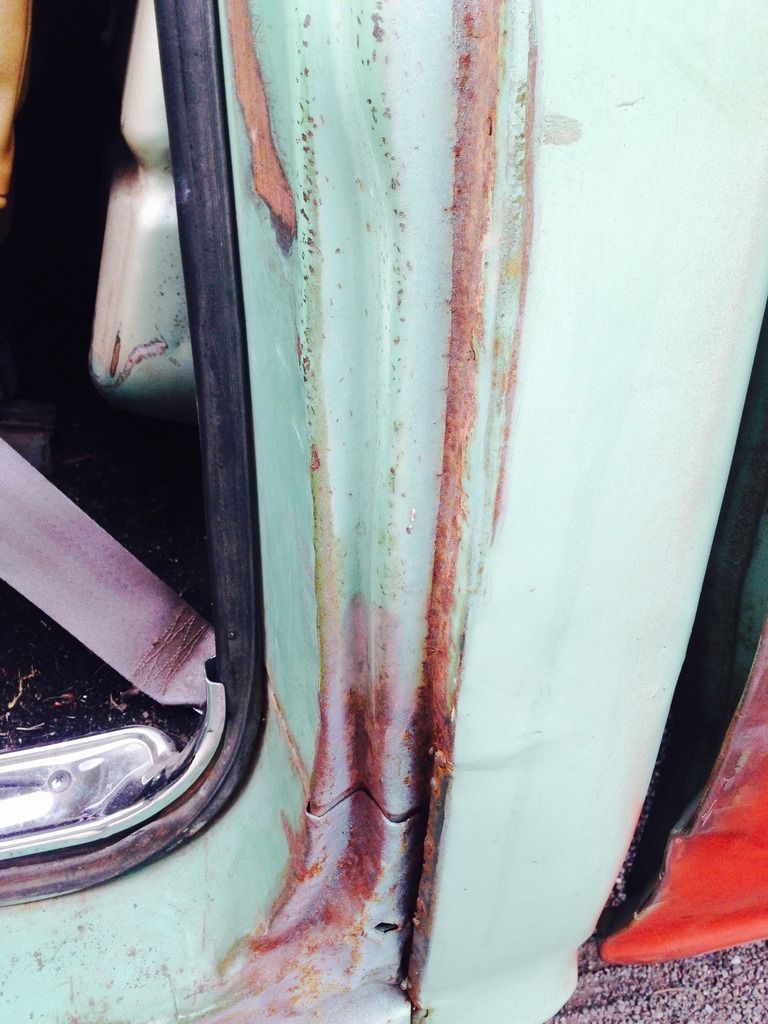 Bit annoyed with myself that I warped the top of the panel (will be hidden behind the bed) but if I had paid to have the work done, there would have been a layer of Glenn Miller over it and I would never have known. At my work rate I hope to have this all finished by Tuesday evening at which time I will stop boring you all with this particular stage of body work and go back to talking about interesting stuff. So, on that bomb shell…Goodnight!! P.  |
| |
Last Edit: Apr 17, 2016 20:15:08 GMT by Paul Y
|
|
|
|
|
Apr 21, 2016 11:31:26 GMT
|
|
excellent work though, attempts to play it down don't wash with us !
|
| |
|
|
vulgalour
Club Retro Rides Member
Posts: 7,285
Club RR Member Number: 146
|
|
Apr 21, 2016 20:29:37 GMT
|
|
Thoroughly respectable work.
|
| |
|
|
|
|
Paul Y
Posted a lot
  
Posts: 1,951
|
|
Apr 21, 2016 20:37:59 GMT
|
Thank you Gentlemen, I keep looking at it and seeing all the bits I have done wrong! Anyway, a learning experience, the next time I do it will be better but for a first attempt I think it is passable.. Not finished as yet - life once again has got in the way of play - but hope to have it all buttoned up by the end of the weekend. P.  |
| |
|
|
|
|
|
Apr 21, 2016 21:26:07 GMT
|
|
It still fascinates me how so many guys on here just cut shapes from sheet steel, bend them into place and with dedication and effort there's a repaired panel with perfect panel gap.
|
| |
|
|
Paul Y
Posted a lot
  
Posts: 1,951
|
|
Apr 24, 2016 17:11:08 GMT
|
You may think that your car is relatively rot free but, nobody really knows until they play… The Knot Wheel of Truth!(™)  ( a bit like Wonder Womans ‘Lasso of Truth’ But without Linda Vaughn…and the shorts…and Boobs) As I had stripped out the interior- well as much as there is- to perform the repairs above - I decided that a quick run over with ‘The Knot Wheel of Truth’ (™) was in order to knock off the ‘surface’ rust and dirt accumulated over the years before treating with a layer of Schutz to help protect and reduce the noise level in Woodys cab. Looks good…  Now, I already knew about this -  - on the drivers side toe board but ‘The Knot Wheel of Truth’ highlighted a few other issues… This on the bottom of the ‘A’ pillar  A number of ‘pin holes’ 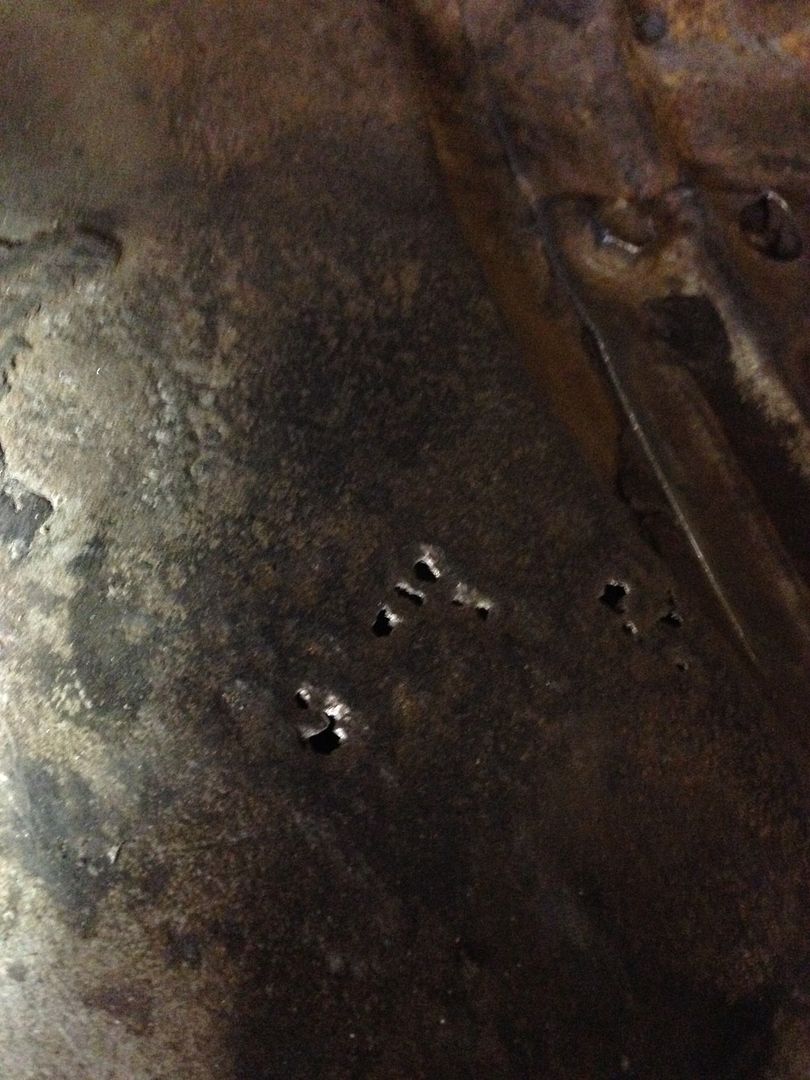 And a corresponding bit of Frilly on the passengers side toe board  (That is a shadow by the way - just looked at the picture and had to go back out to the shed to check as gave myself a fright!) So…All in all not so bad, in fact a lot better than I was expecting for a 50 year old ex service truck. Question is… On the ‘pin holes’ the surrounding metal is pretty good, not soft and took a fairly good beating from a pair of scissors I happened to have to hand. Would you cut it out or spot repair it with weld and grinding? It is the area under the drivers heel below the accelerator pedal. Using only the highest quality CAD  I used some of the removed panels to shape this. 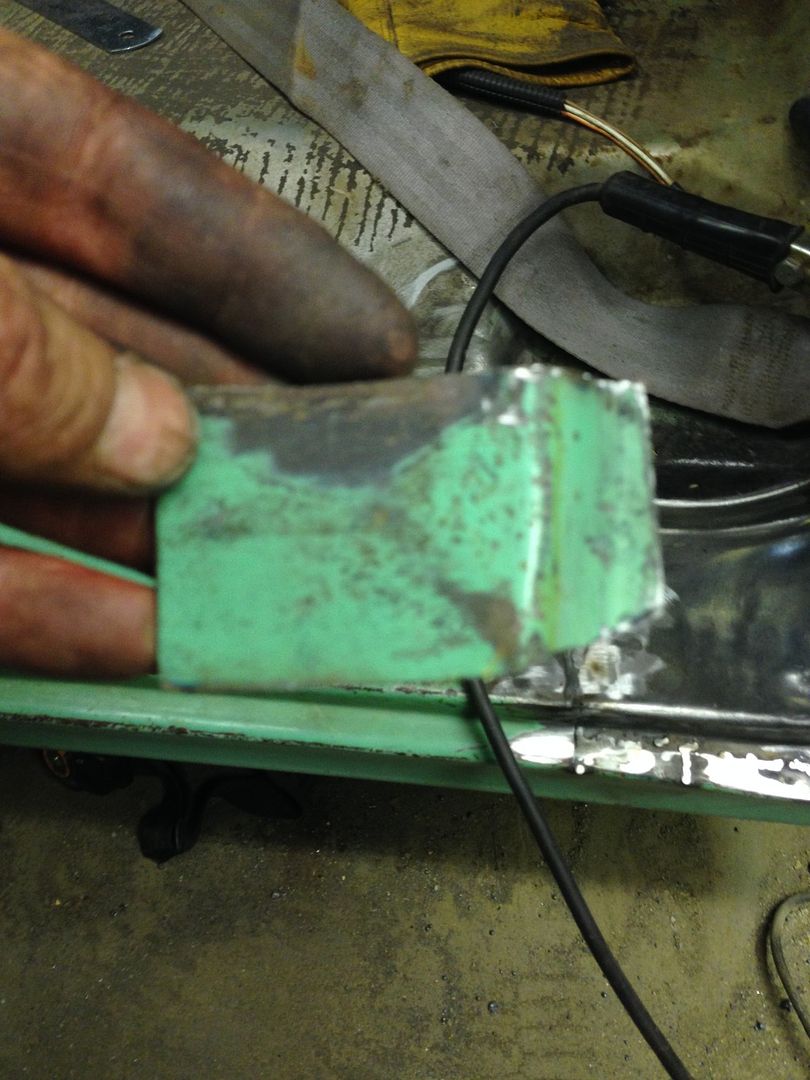 To repair the ‘A’ Pillar. No picture of the finished item but looks pretty good. Toe board was repaired in an equally ‘Womble’ way Cut Cut  ( I tacked the bolt on there to give me something to hold whilst positioning the patch and also somewhere to stick the earth) Buzz Buzz 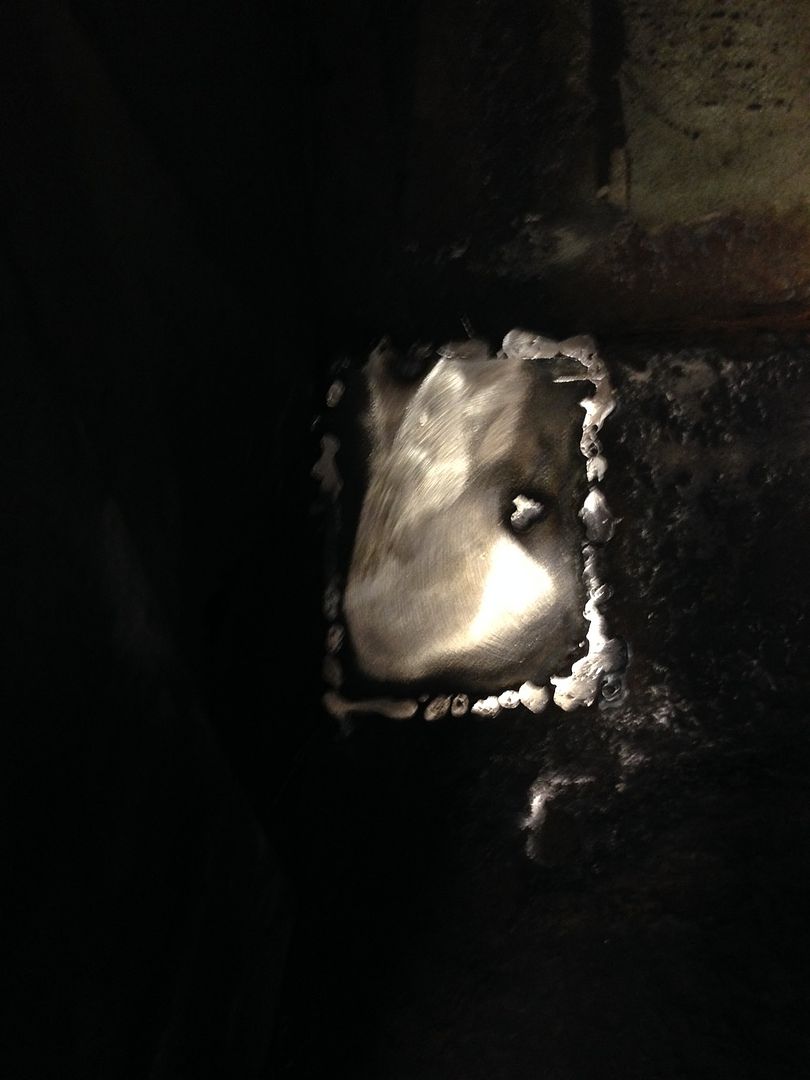 Quite pleased with that. Running out of time to patch up the passenger side I decided to finish off the ‘B’ Pillar  And throw some red oxide at the back of the cab.  The sins can now be seen in all their glory…An appointment with Mr Millar will be forth coming soon. Next will be to repair the passengers side, fix the pin holes (method dependant on advice) then a skim of seam sealer, paint and seal the floor, and move on to the next thing on the list. P.  |
| |
Last Edit: Apr 24, 2016 18:04:46 GMT by Paul Y
|
|
|
|
|
Apr 24, 2016 17:55:11 GMT
|
Knot wheel of Ooohh Sh1T. How I deal with pin holes. Note: I did try to weld the tinfoil thin metal, unsuccessfully. Calling Mr Grinder.... 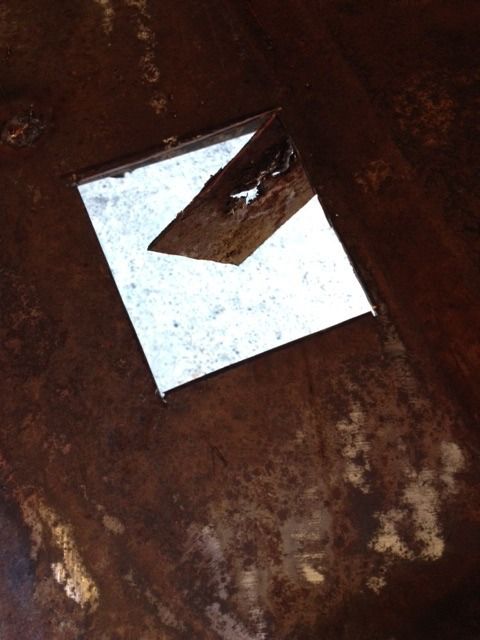 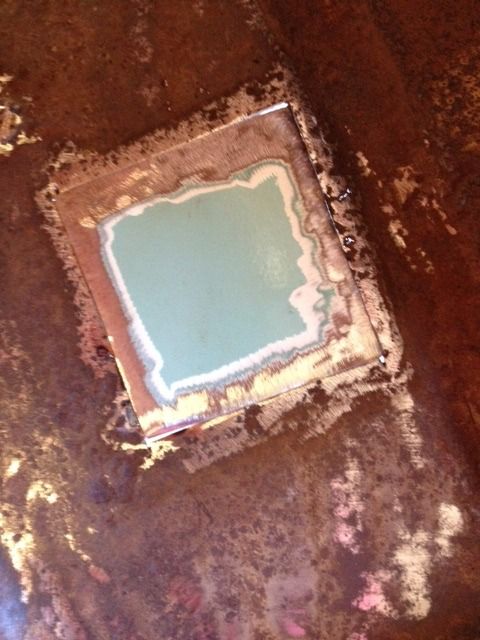 Ending there...... 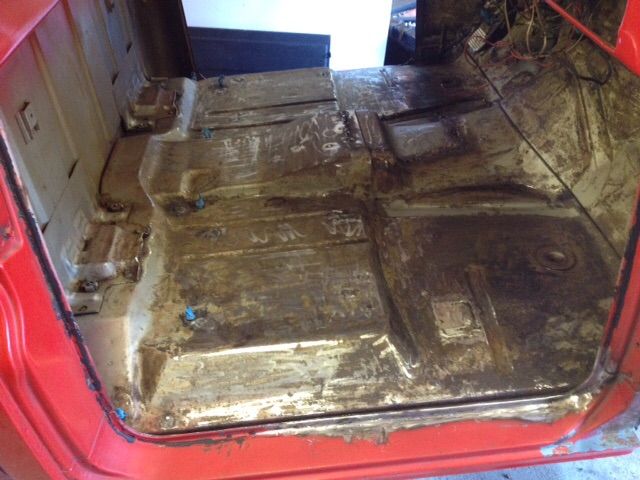 |
| |
Last Edit: Apr 24, 2016 17:56:08 GMT by grizz
|
|
|
|
|
Apr 24, 2016 18:05:37 GMT
|
I call it "the wheel of truth, death and destruction"  Your repairs are absolutely fine  You would not believe what I've seen from professionals with "decades" of experience. Maybe "decades of experience" in many cases translates into "runing out of f*cks to give" - I don't know. I'm continuing to watch this thread in silence. Nice car, good to see it's getting the love it deserves!  Cheers, Jan |
| |
|
|
drdick
Part of things
 
Posts: 359
|
|
Apr 24, 2016 18:27:16 GMT
|
|
Whilst its always tempting to fill pin holes with weld you invariably make them bigger to the point that its always easier to cut out a nice regular square and blat that in.
Looking good this, might have to finish the welding on my car as I've been puting off the last few bits.
|
| |
|
|
Paul Y
Posted a lot
  
Posts: 1,951
|
|
Apr 24, 2016 18:54:02 GMT
|
Another bit of Martins truck I see Rian! There were a few other little holes that I filled using a lump of copper and my ever improving Skilllzzzzz with the Buzz stick that have come out fine. But... I think I am going to chop it out and replace, just seems to make sense. Really looking forward to doing something other than welding and grinding. So I took the eldest and youngest Y and went and did this... Apparently I am Irresponsible... Direct quote from Lady P P.  |
| |
|
|
|
|
|
Apr 24, 2016 20:45:56 GMT
|
|
That is funnneeeeee..!!
|
| |
|
|
Paul Y
Posted a lot
  
Posts: 1,951
|
|
Apr 26, 2016 21:20:42 GMT
|
Quick update for those of you that are interested and for those of you that are not….Meh… Decided to cut the pin holes out and make a proper repair on the drivers side. Started with this. 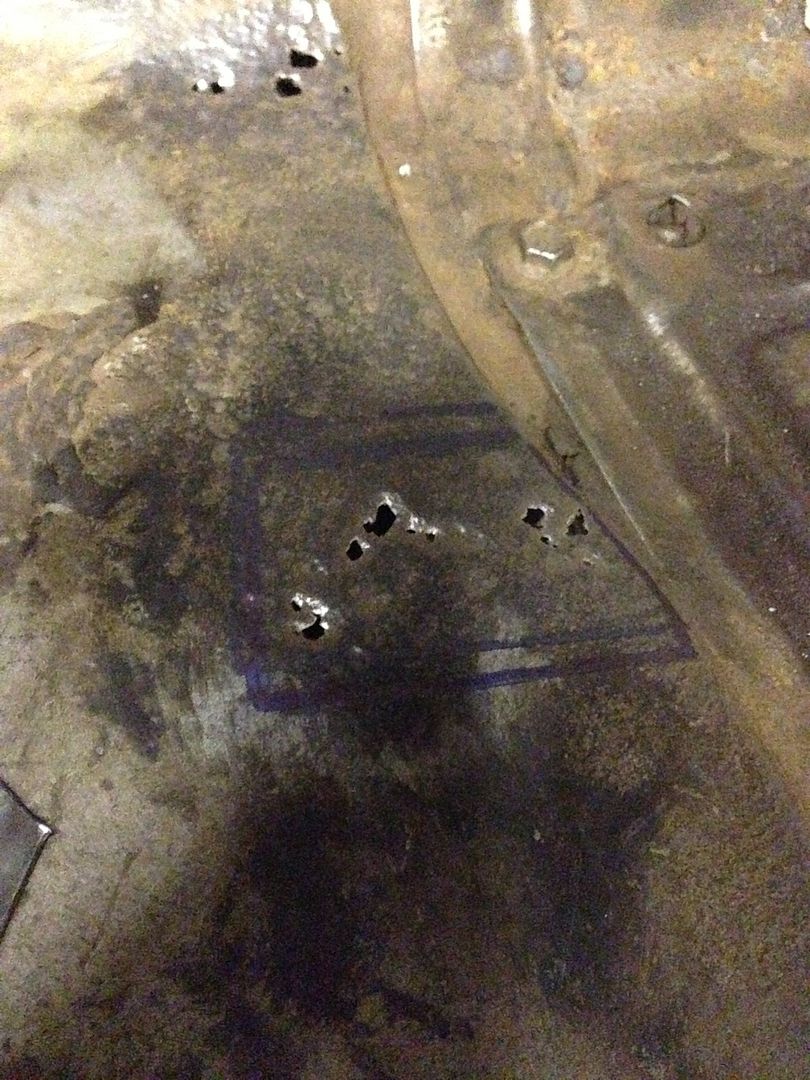 The other holes will be attended to tomorrow before you ask. After a little measuring and some Chop Chop action…  Knocked up a patch.  Aannnnnnnndddddd… 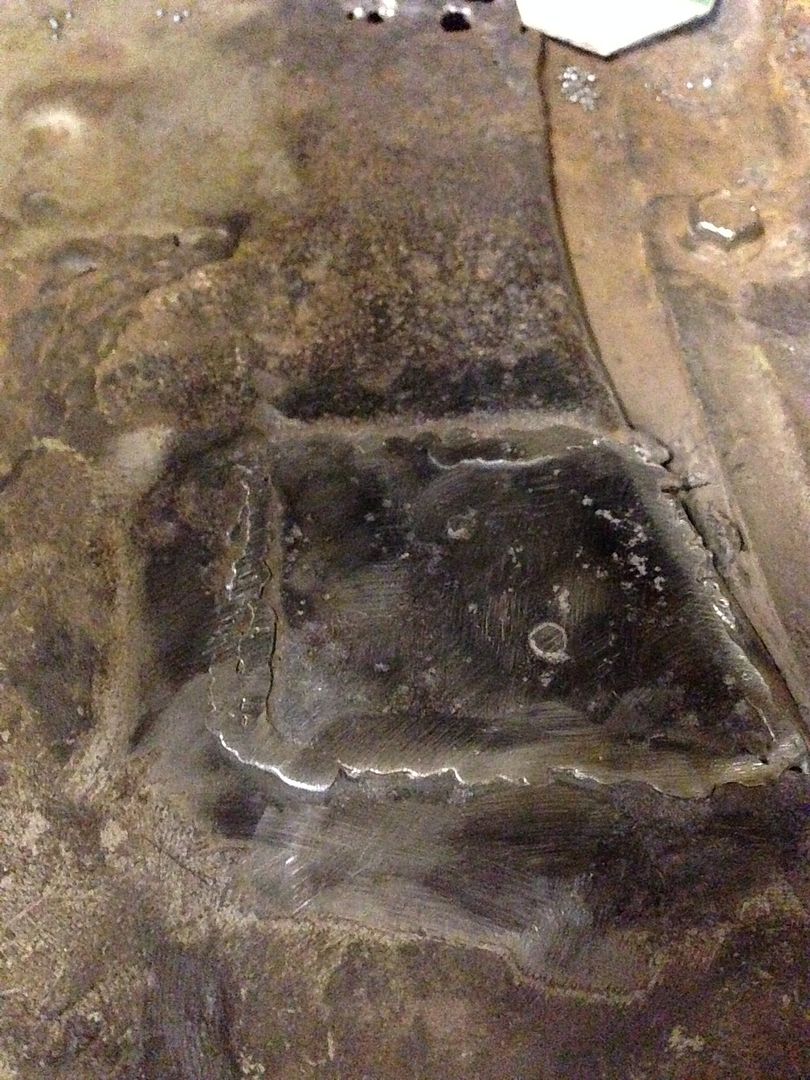 Glad I did decide to replace as the offending bit of removed floor board was getting a little thin.  So…tomorrow is parents evening for my Little Princess/ Evil Witch so will get back on it Thursday. NEXT!!! P.  |
| |
|
|
Paul Y
Posted a lot
  
Posts: 1,951
|
|
|
|
 I have no idea why this, and the corresponding hole in the bed, where made but they signify the last holes to be filled with the aid of the sparkly stick. I bet you are as bored with these updates as I am…. So have a picture of the floor  painted with 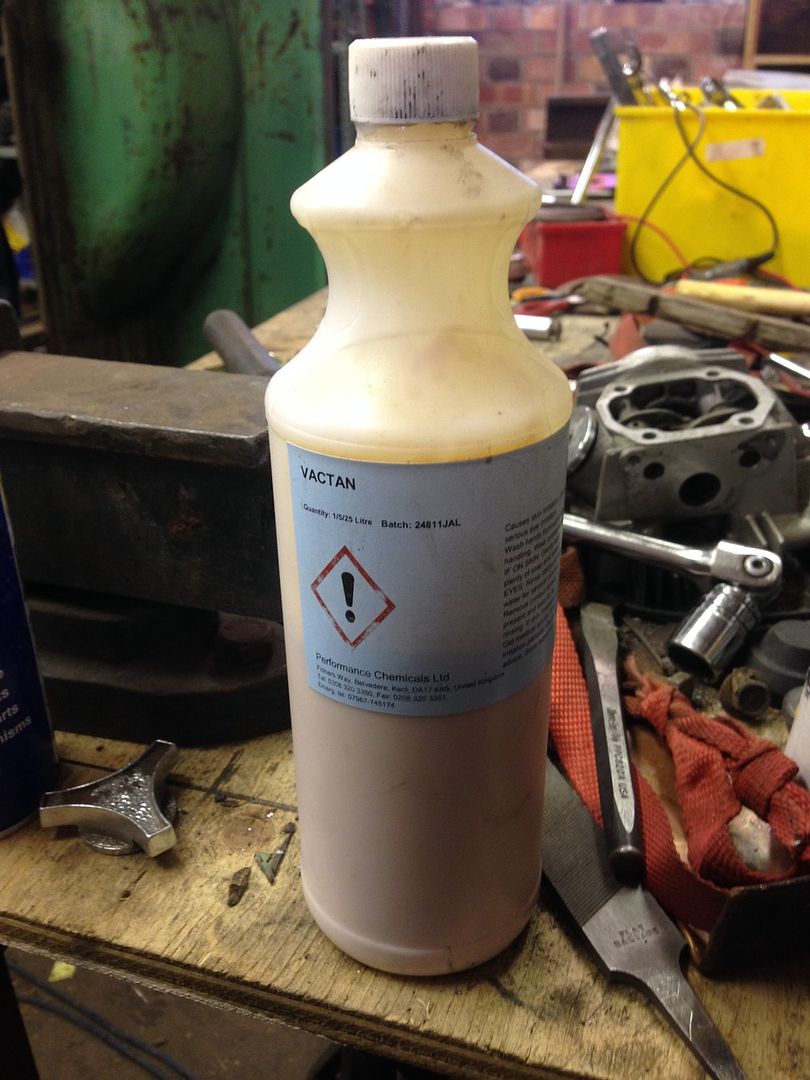 and then covered in  Managed to start finishing off the brake instal  and spent a hour making a rather fetching bracket to move the rear brake hose from the passenger side to the drivers side.  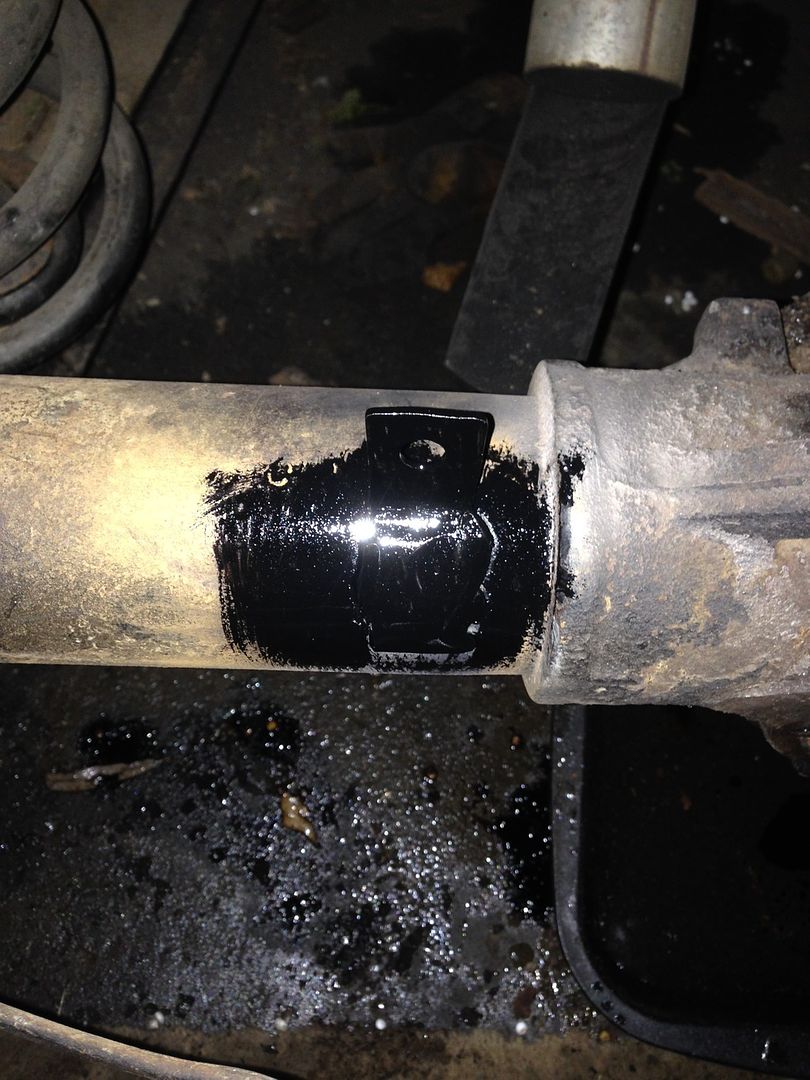 Did a whole bunch of other bits including installing the PCV but nothing that warrants any of our time to record. Boom. Etc. P.  |
| |
|
|
|
|


