Paul Y
Posted a lot
  
Posts: 1,951
|
|
Apr 18, 2022 21:19:25 GMT
|
After a few weeks absence from the shed I decided that enough was enough and I was going to get the exhaust system finished. It might not be right but it is done. So...lets recap shall we. When we left it the discussion was cannon or duel pipes. As much as I would have liked to go duel to single it just wasn't happening and I was getting more and more frustrated with the amount of time it was taking to go from the mufflers and out over the axle. Unlike me there are not a whole lot of picture but for you viewing pleasure may I present exhibit a) 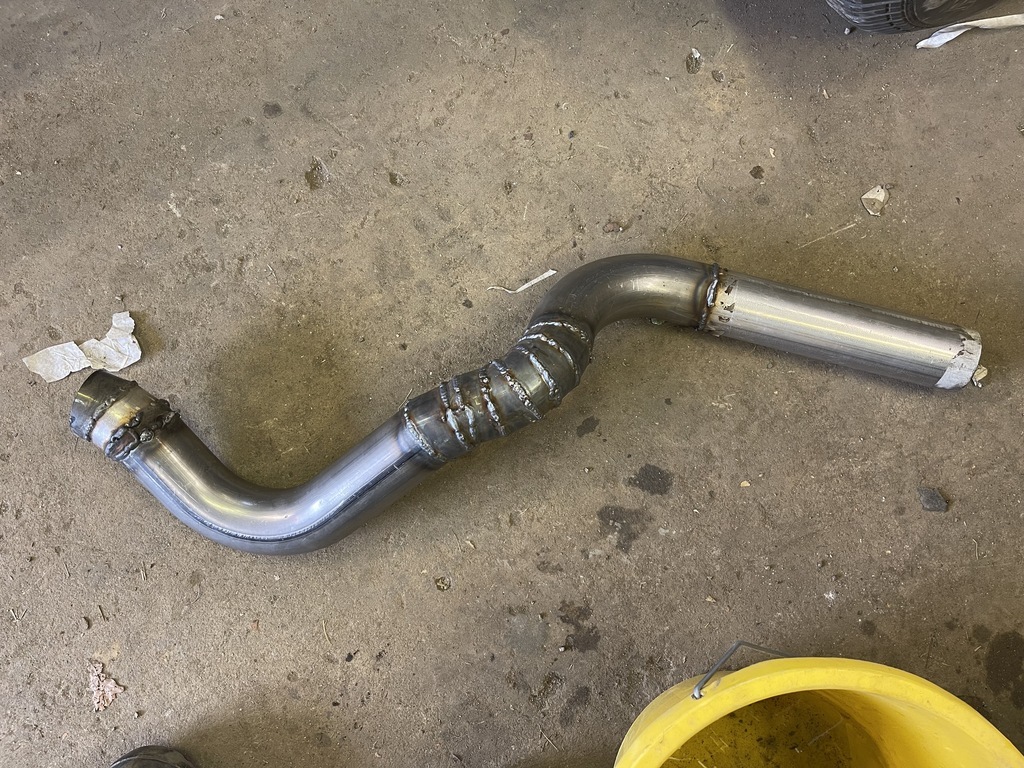 Yup. It really is as bad as it looks - crudely pie cut exhaust with terrible fit up and some pretty substandard welding. BUT! It fits through the through the tiny gap between panhard bar, fuel tank and crossmember. If you want YouTube welds you have come to the wrong place.... 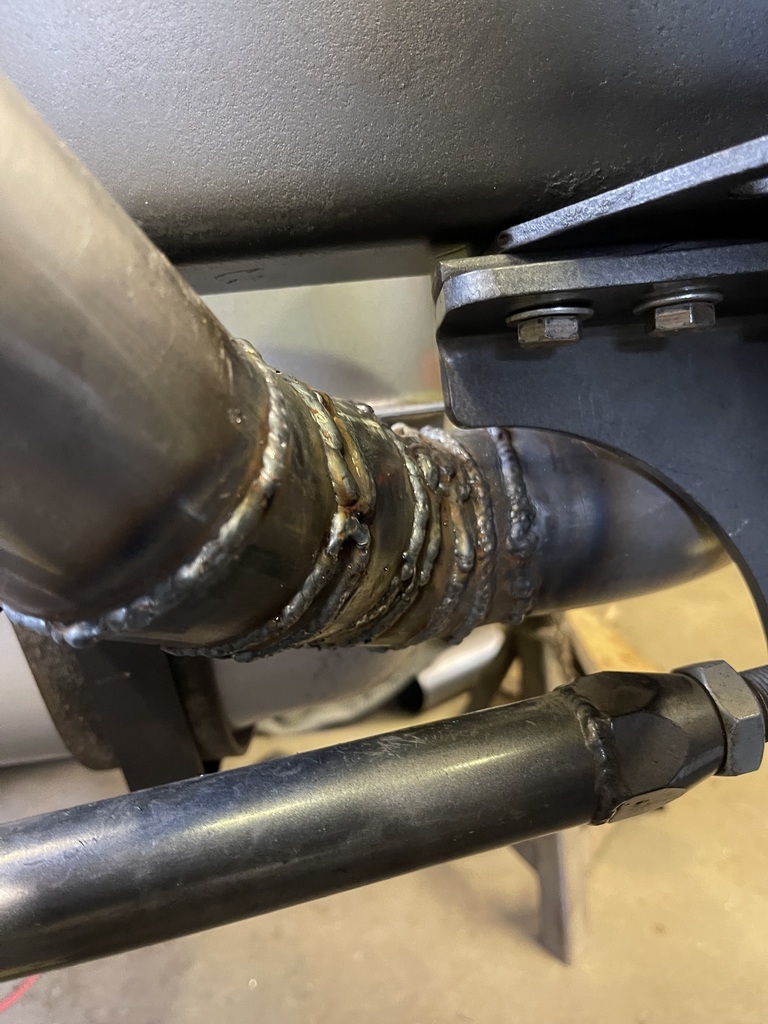 Its a bit tight (narf, narf) but it all fits. 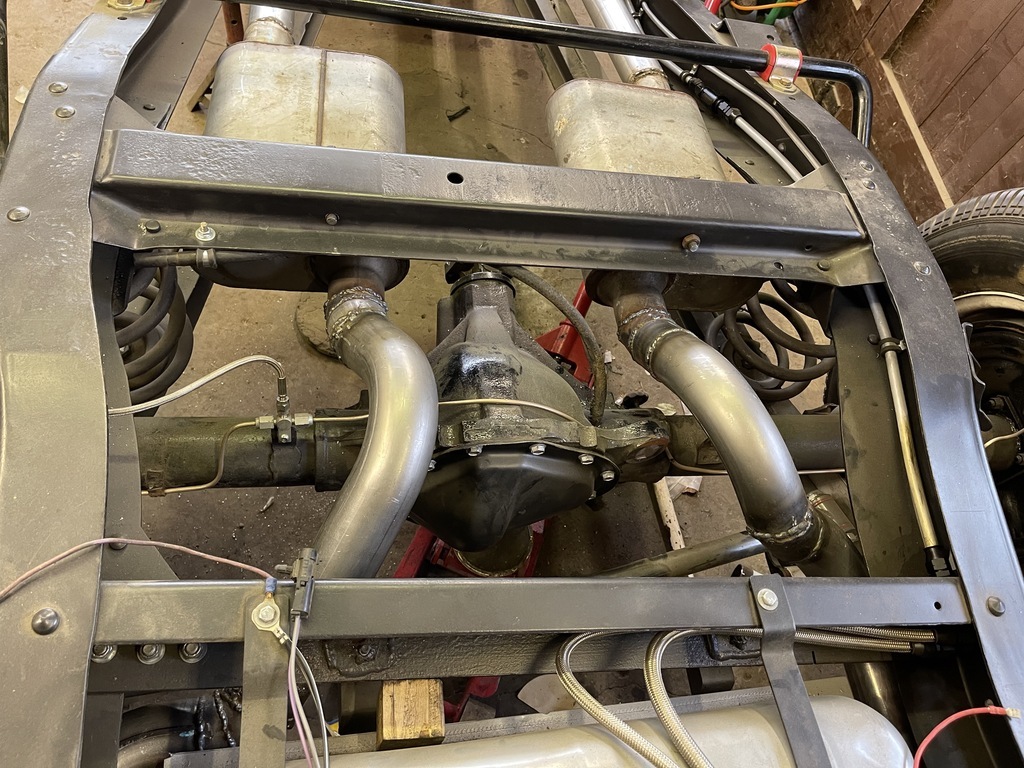 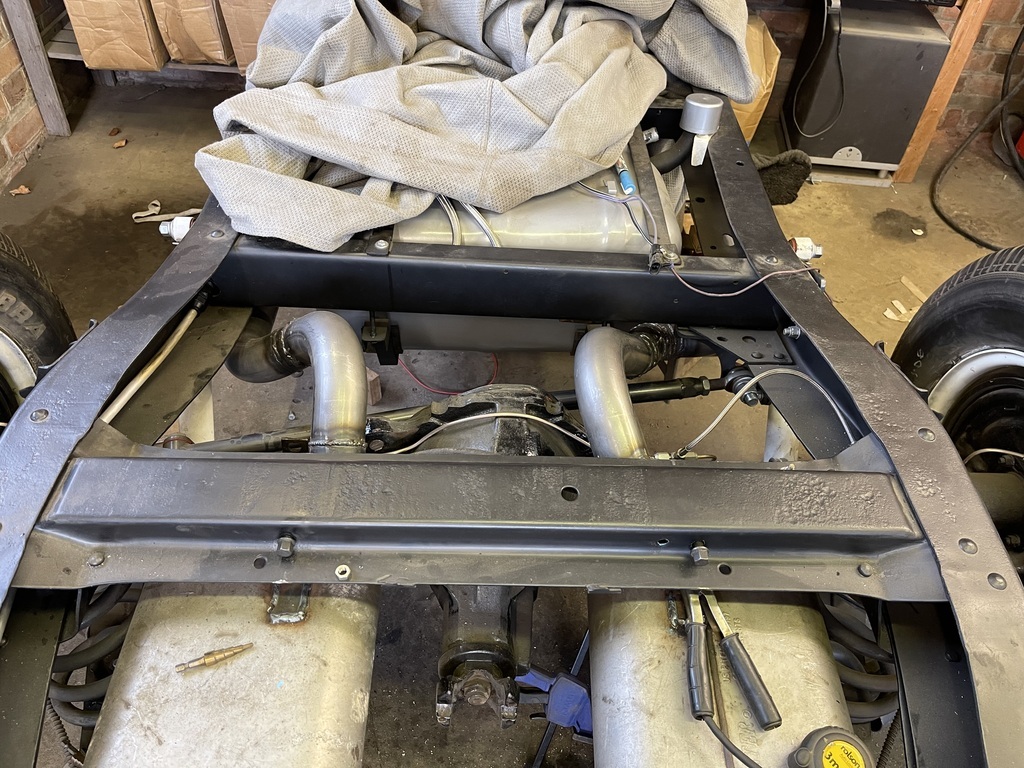 I have already seen that there are two problems. 1) there is little to no give in the system so looks like a couple of flex joints will be needed. 2) I made a mistake on the drivers side routing as I think the axle will hit the pipe on full compression. However. Those are tomorrow Pauls problems so, apart from the tips, the exhaust is done. Next job is to make up a rear mount for the battery and route the cables etc. Not an exciting update but an update none the less. Until the next time. Onwards!!!! P.  |
| |
Last Edit: Apr 18, 2022 21:20:53 GMT by Paul Y
|
|
|
|
|
|
|
|
|
|
Function over Form mate.
When you race off into the sunset, nobody is going to care.
And I challenge anyone with a bad word to say, to PAY Up or SHUT UP if they are that desperate to see any changes.
Job done.
ONWARDS.
|
| |
|
|
|
|
|
|
|
|
Welds look nice and strong, gastight and it fits, that's all the requirements of an exhaust met.
It will grow by quite a bit (probably 1/2") when hot so given how tight the fit is flexes are your only option, the place in Basildon should have them.
|
| |
Last Edit: Apr 19, 2022 8:14:25 GMT by kevins
|
|
Paul Y
Posted a lot
  
Posts: 1,951
|
|
May 15, 2022 13:34:37 GMT
|
So.... The last time we left the saga it was on the realisation that I would need some flexies in my exhaust. 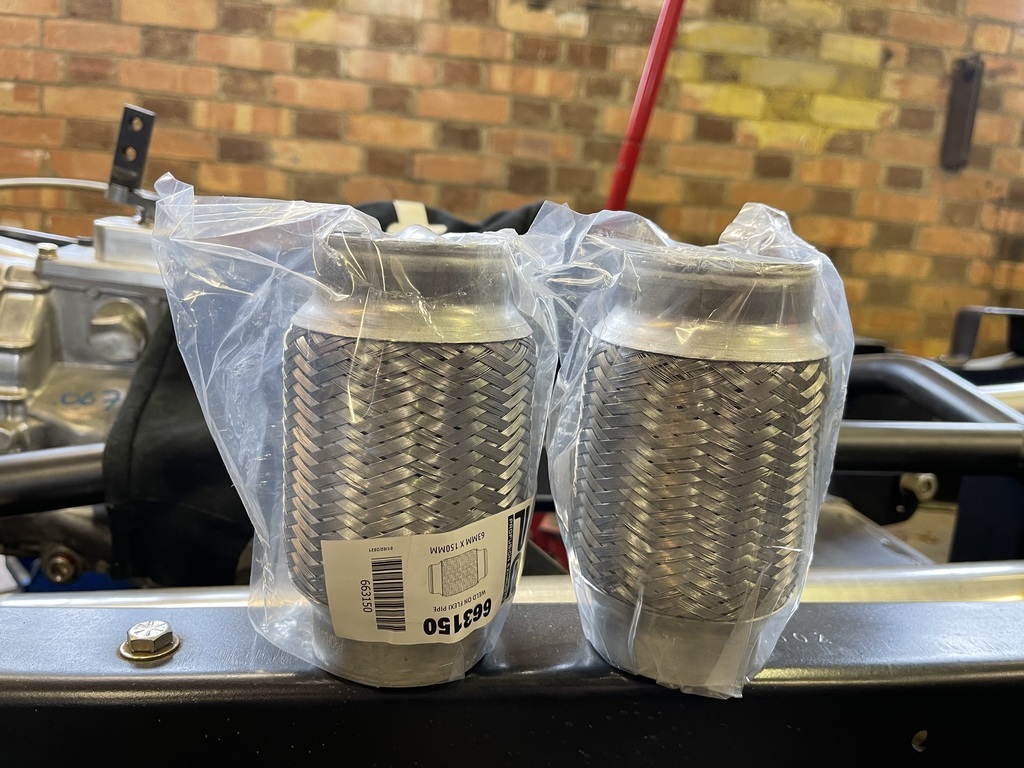 4" of eBay special.... Aaaaannnnnd... installed. 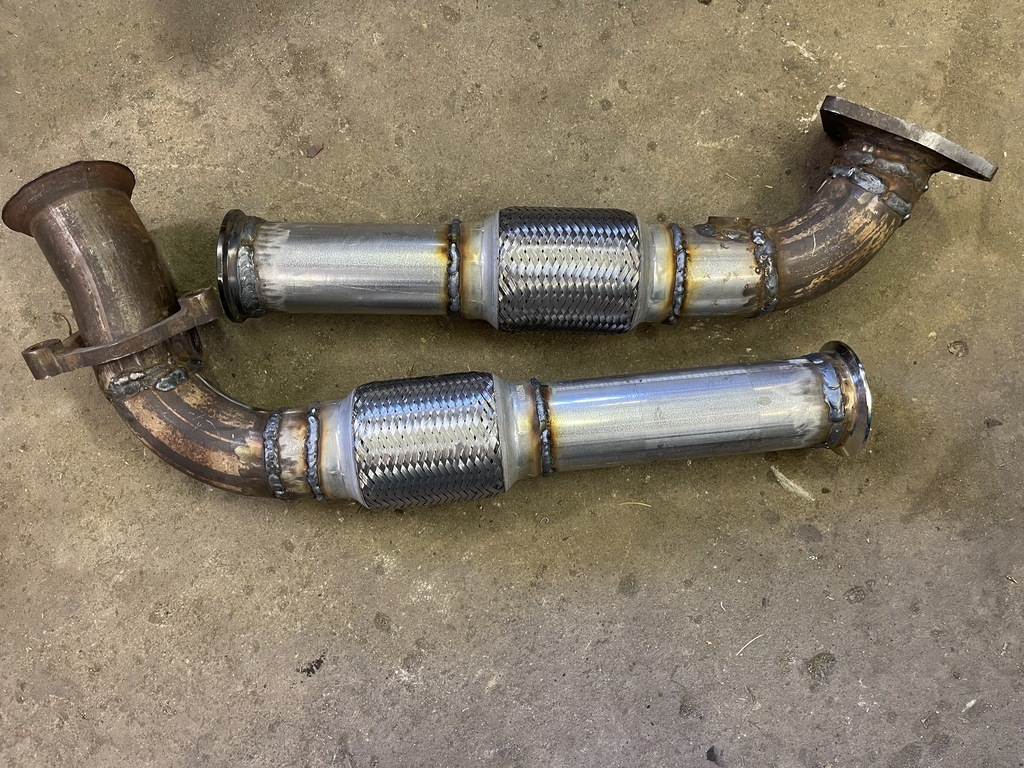 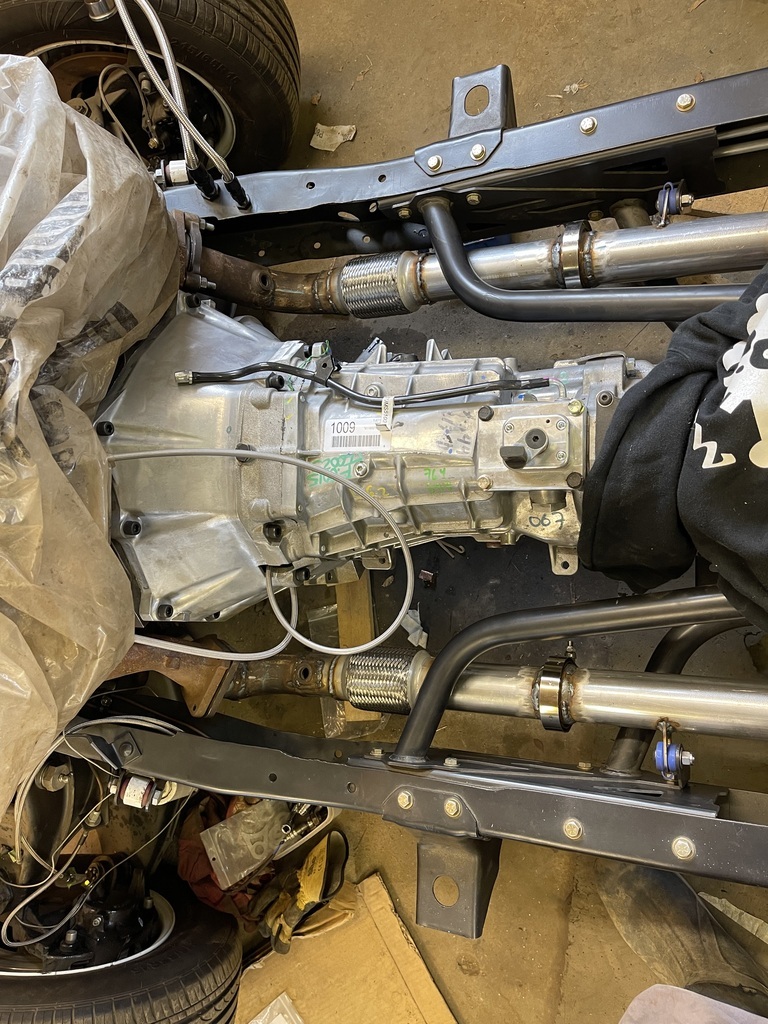 NEXT! Relocate the battery to the rear. Why? Well there is a Tuuuurrrbbboooo going to be residing where the battery currently lives at some point in the near future PLUS weight distribution. I did look at buying a tray but then looked at what I had and decided I would see what I could cobble together from the original tray and the one from my 56 - nostalgia.... 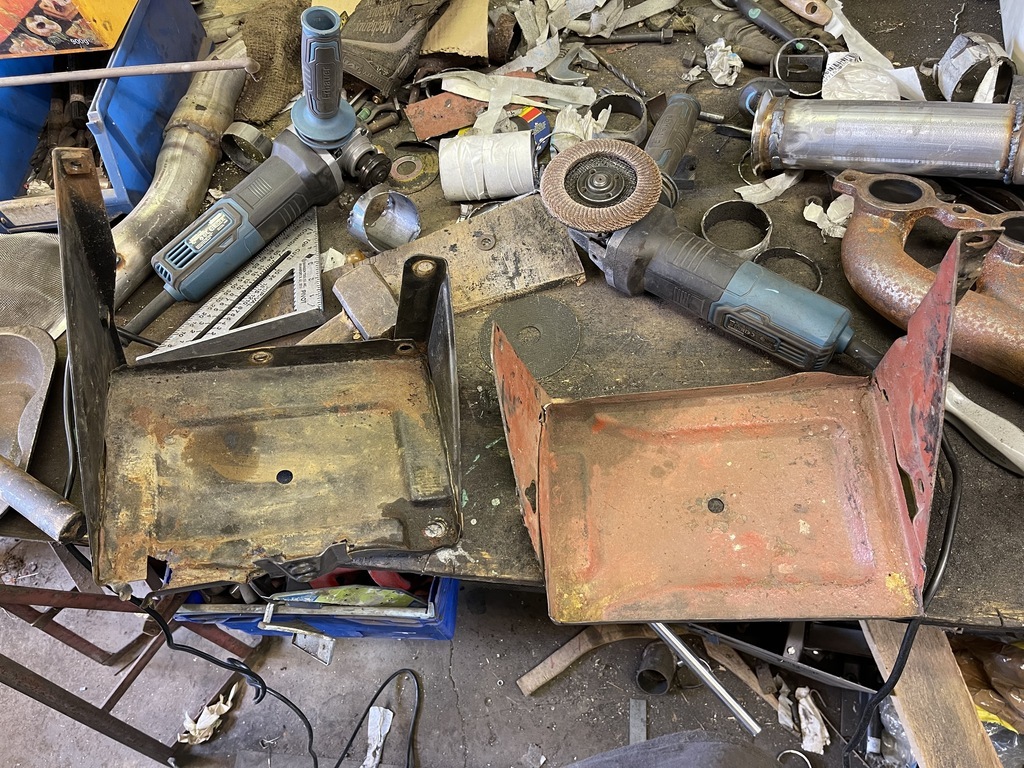 The tray from Woody was a bit rotten, the one from my 56 was remarkably solid so... Drill drill... 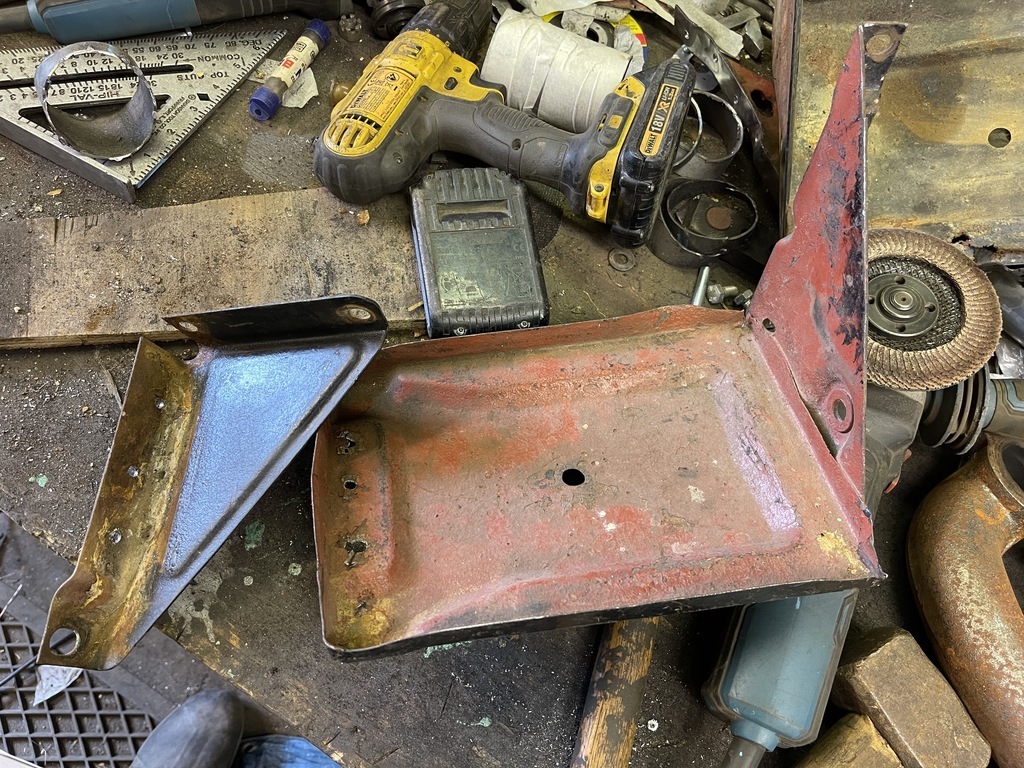 Bend bend... 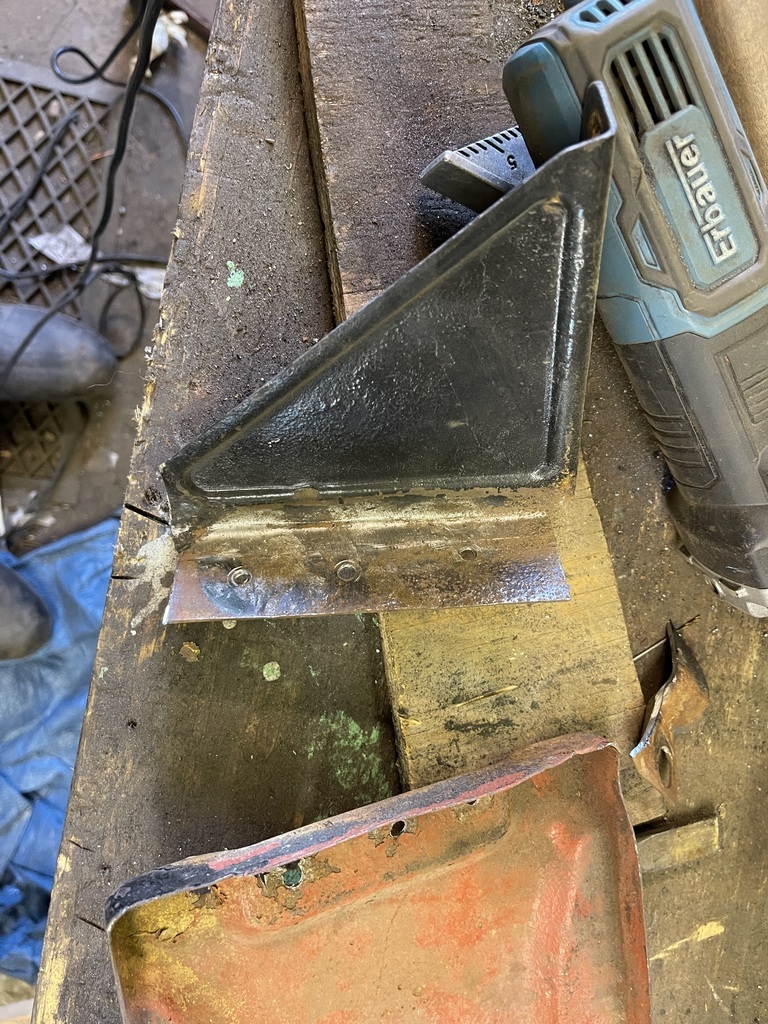 Blast blast... 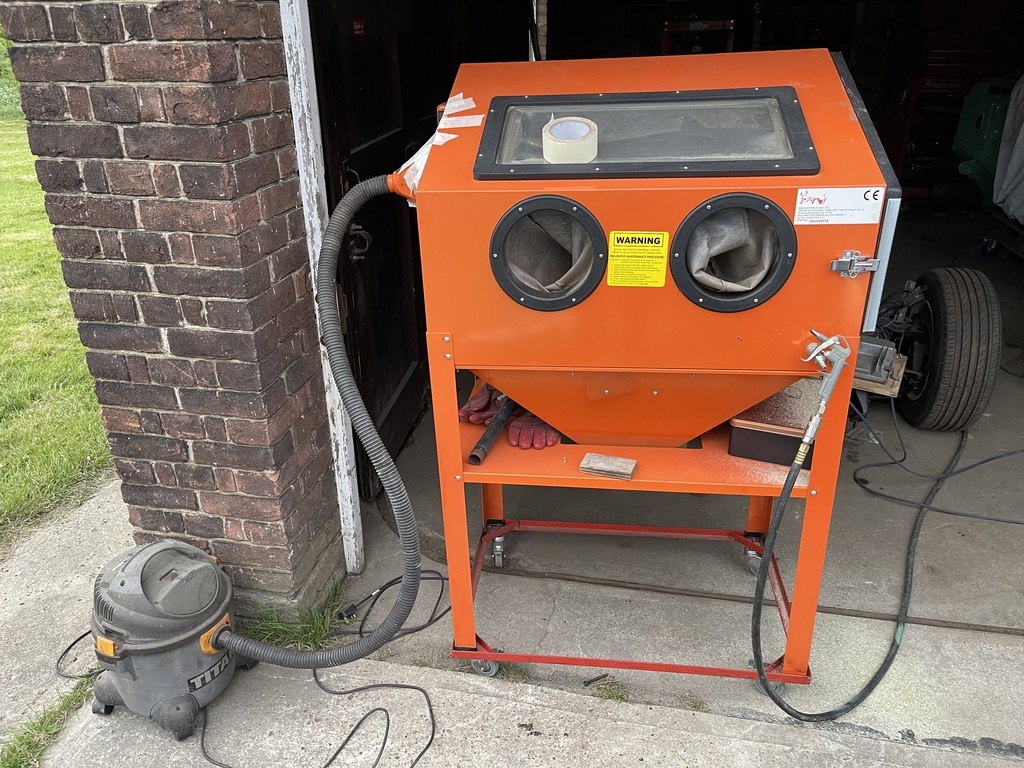 Paint paint... 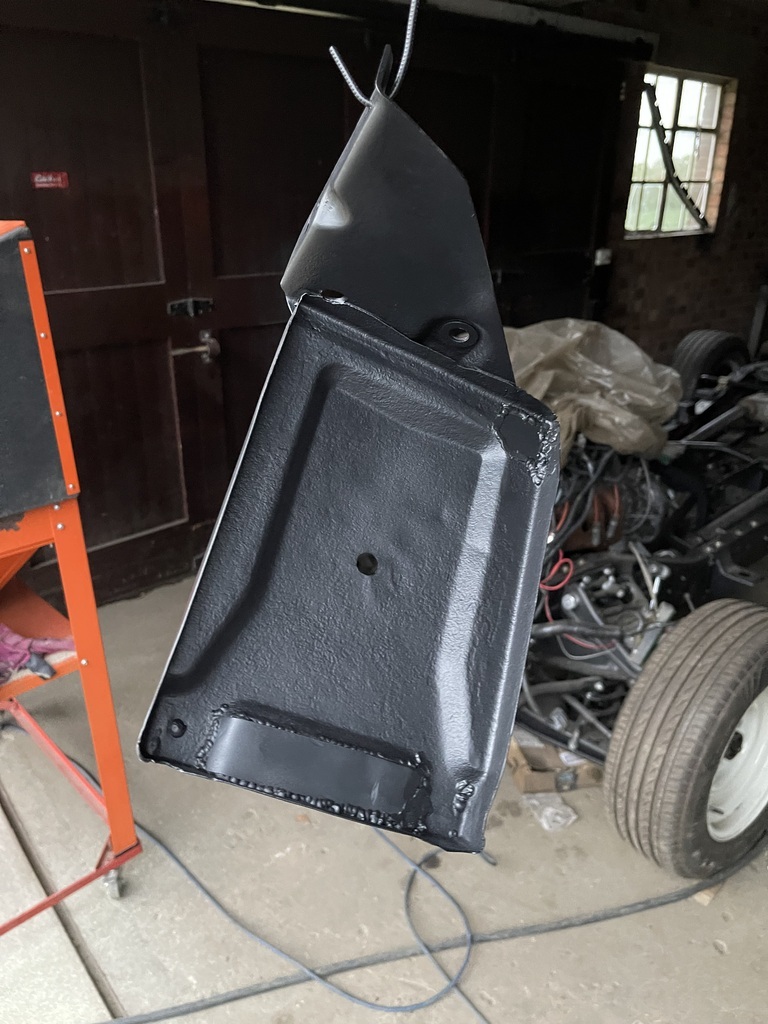 Pictures of the finished item later. Whilst I had the blast cabinet out... 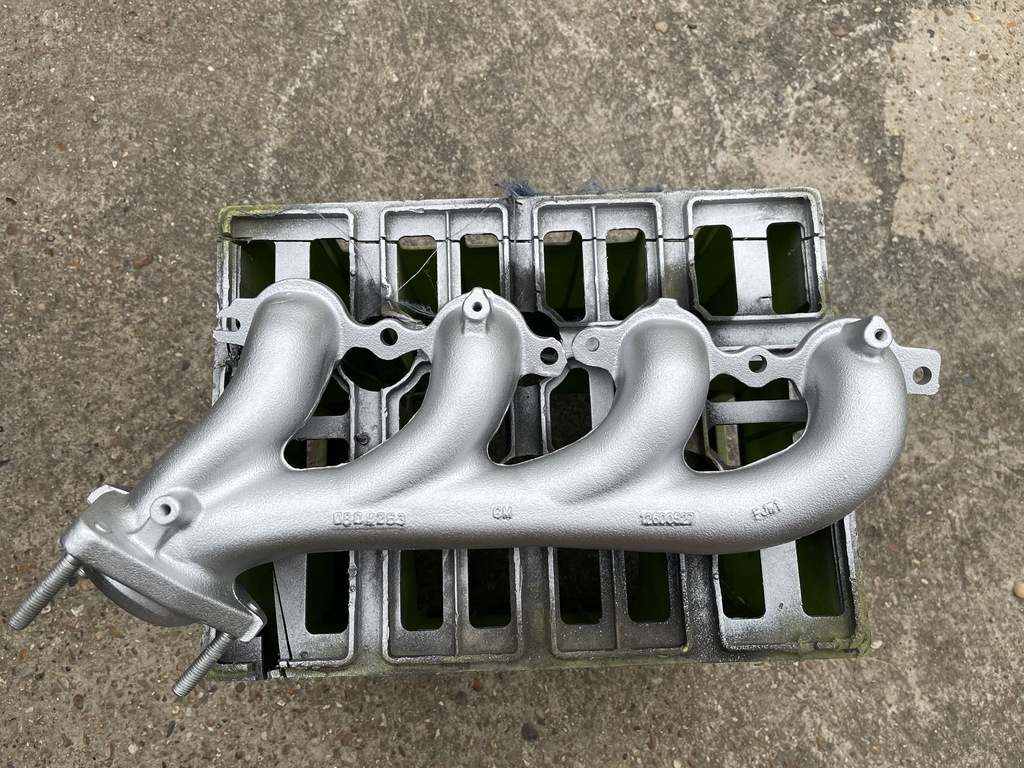 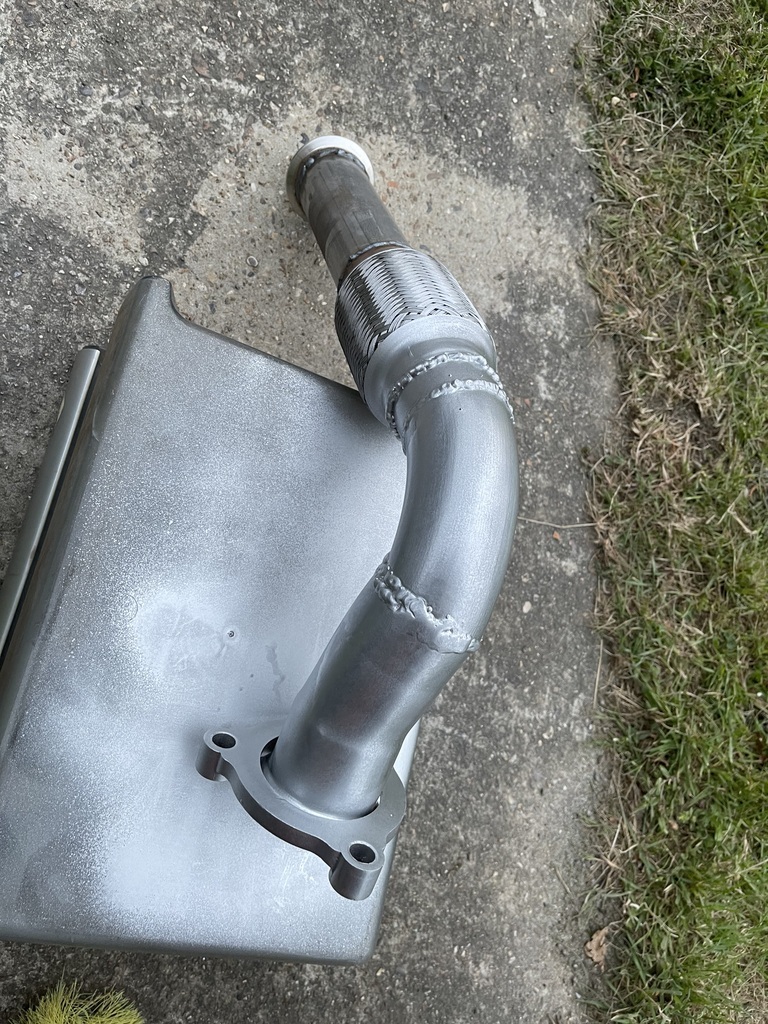 Not a show truck..... Next was to run the battery cables to the new location and make up the ends. 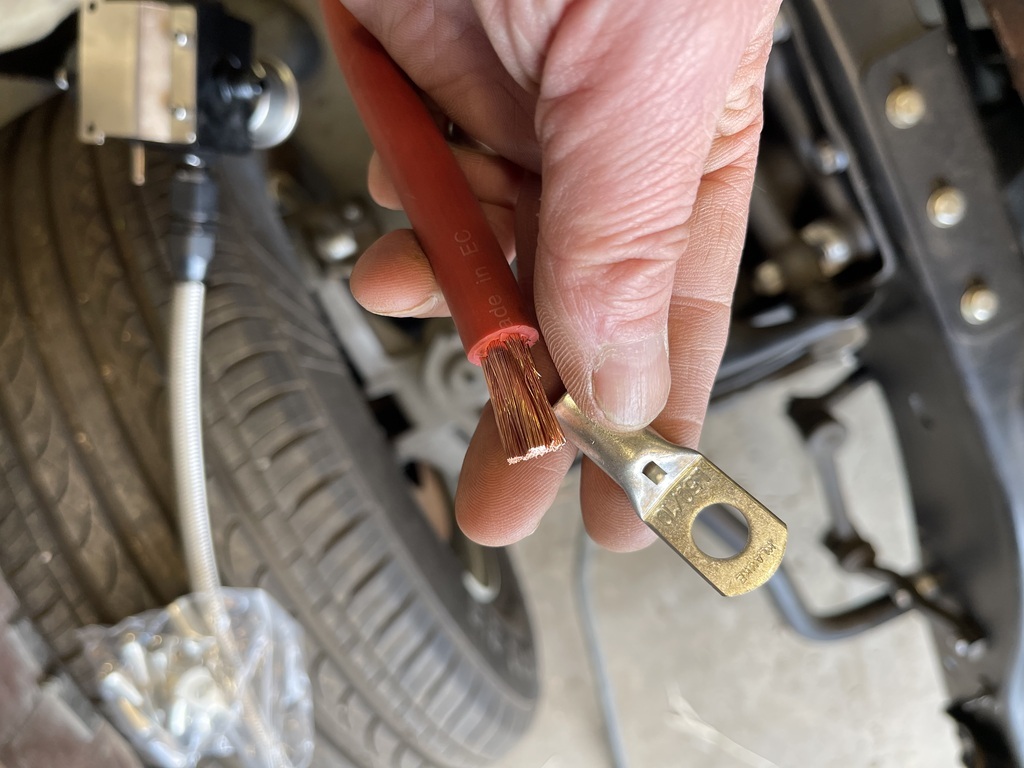 Measure up, use my posh box of shrink wrap 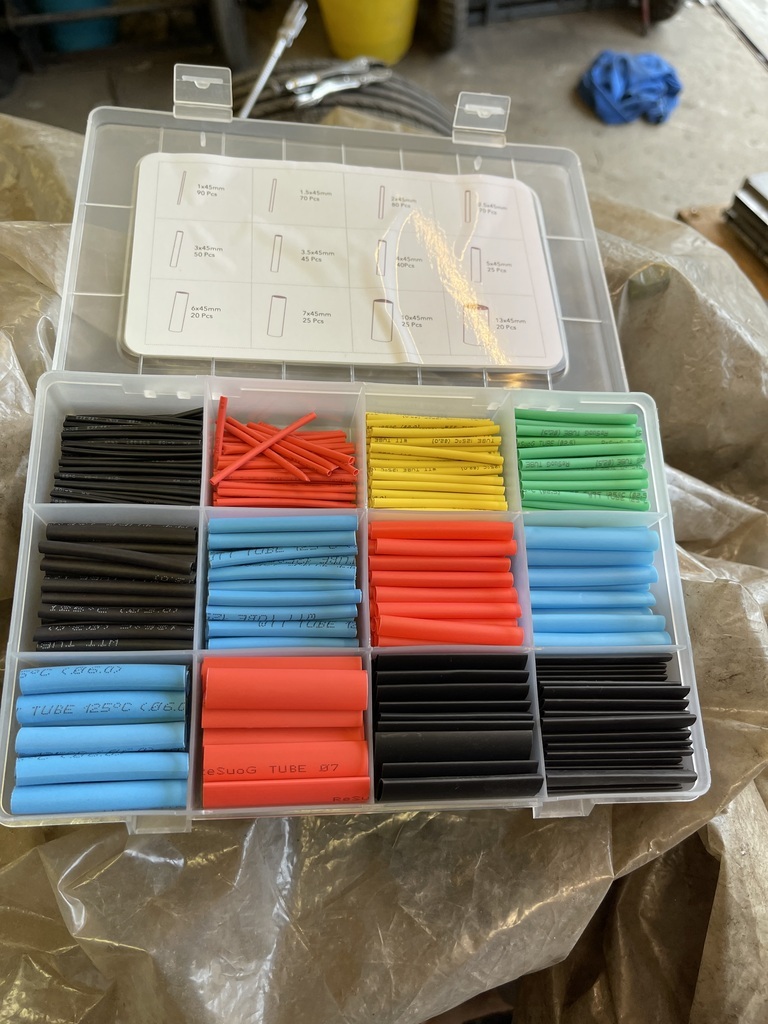 And then use this bit of wonderfulness, after a recommendation by Dez, which was a massive game changer in how easy it was to make up these and future big cables. 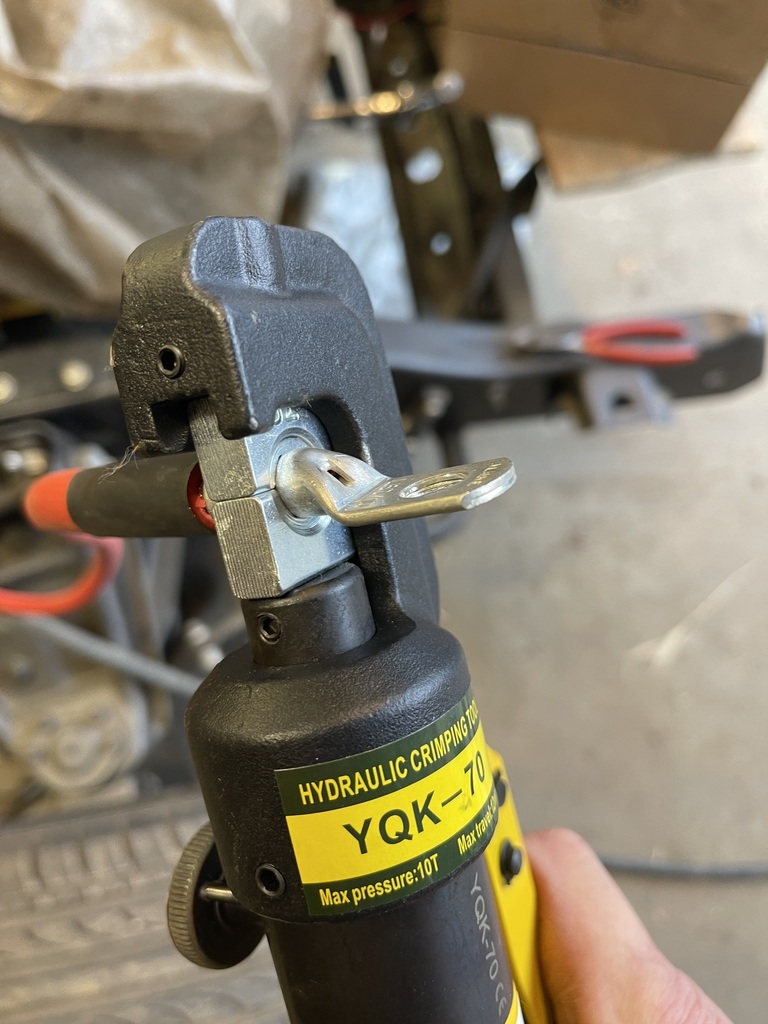 Next step was to wash all the grime and muck that had accumulated and...shock horror... apply a coating of Autoglyme polish to add another layer of protection and further proof of non show carness. 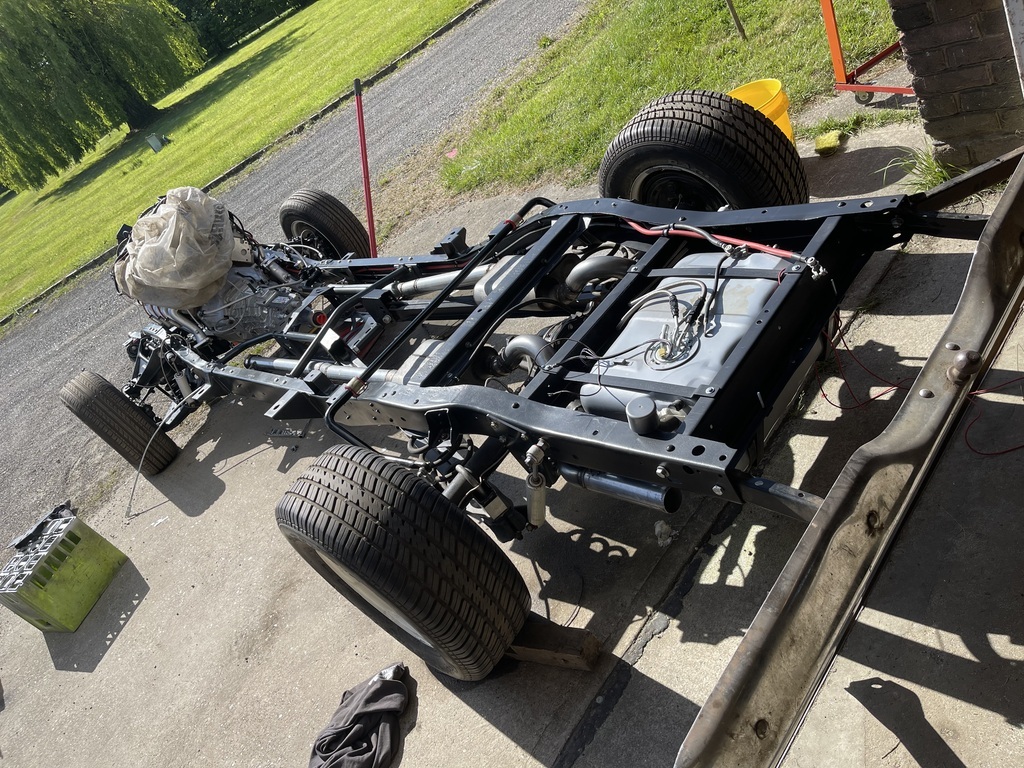 Yup. Looks quite good. 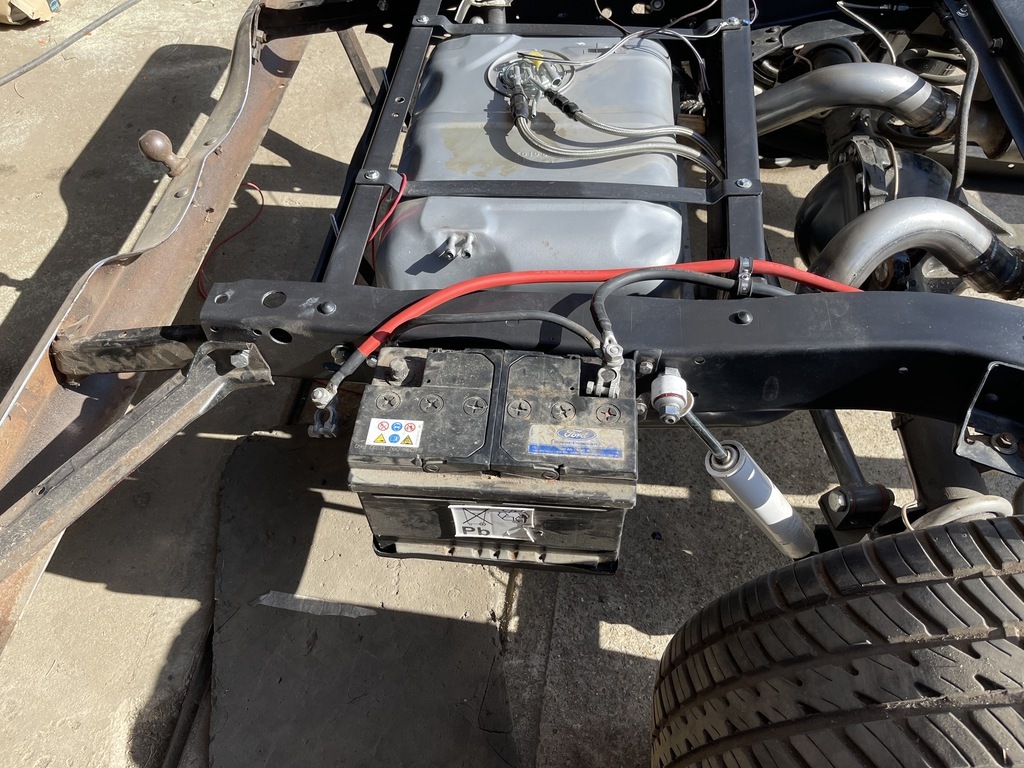 With that completed fitted up the battery tray and cables, threw in an old battery to double check fitment and temporarily fitted the rear bumper to make sure there was no interference. Pretty sure that I am going to end up building some more protection around the battery to protect it from rubber etc.... But that is tomorrow Paul's problem. And with that, the chassis is 99.9% done. There are a few odds and ends to tidy up, torque the suspension up and finish the exhaust when the bed is back on etc but there was no reason that I couldn't put the cab back on. So that's what I did. 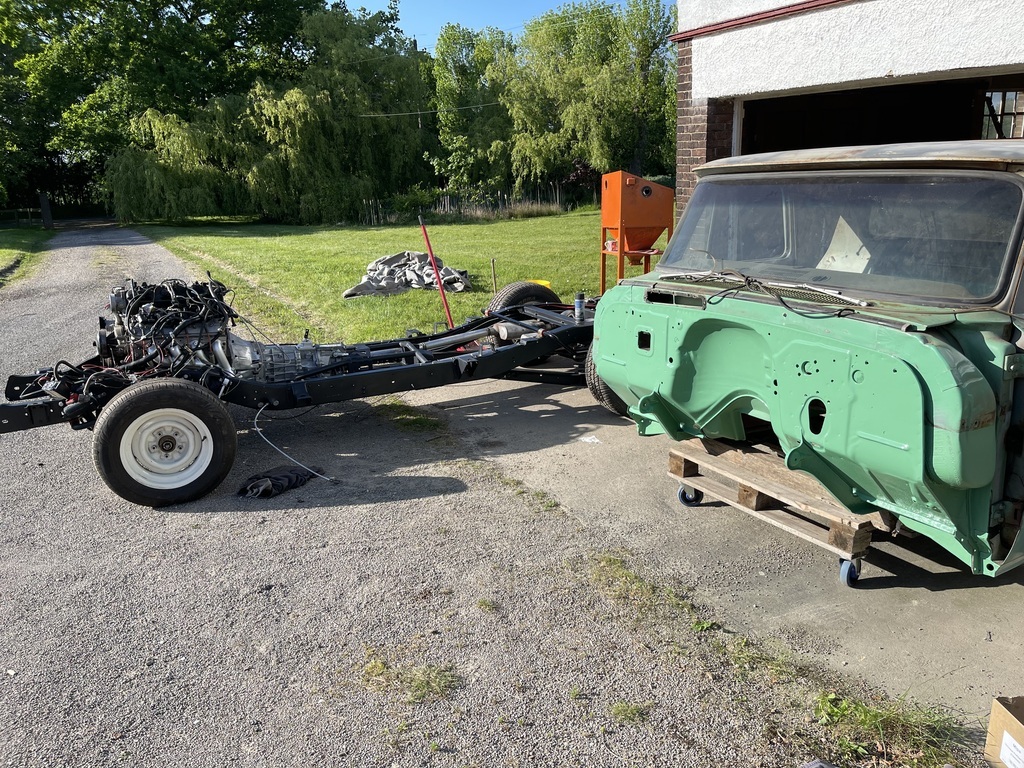 Ta Da! 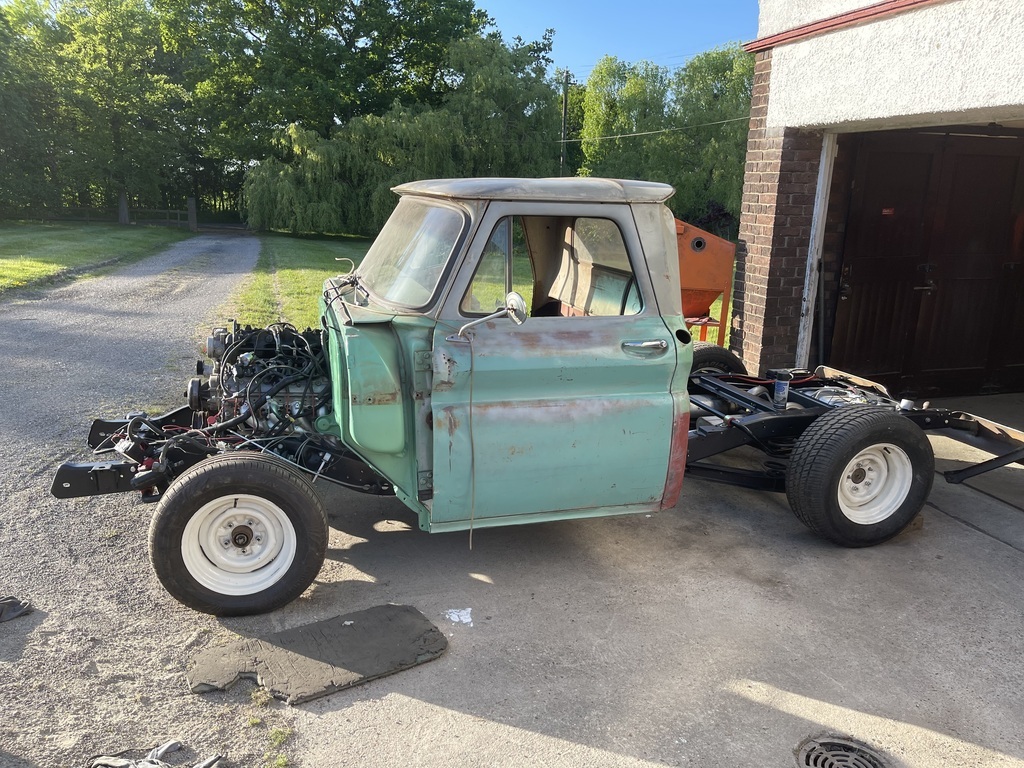 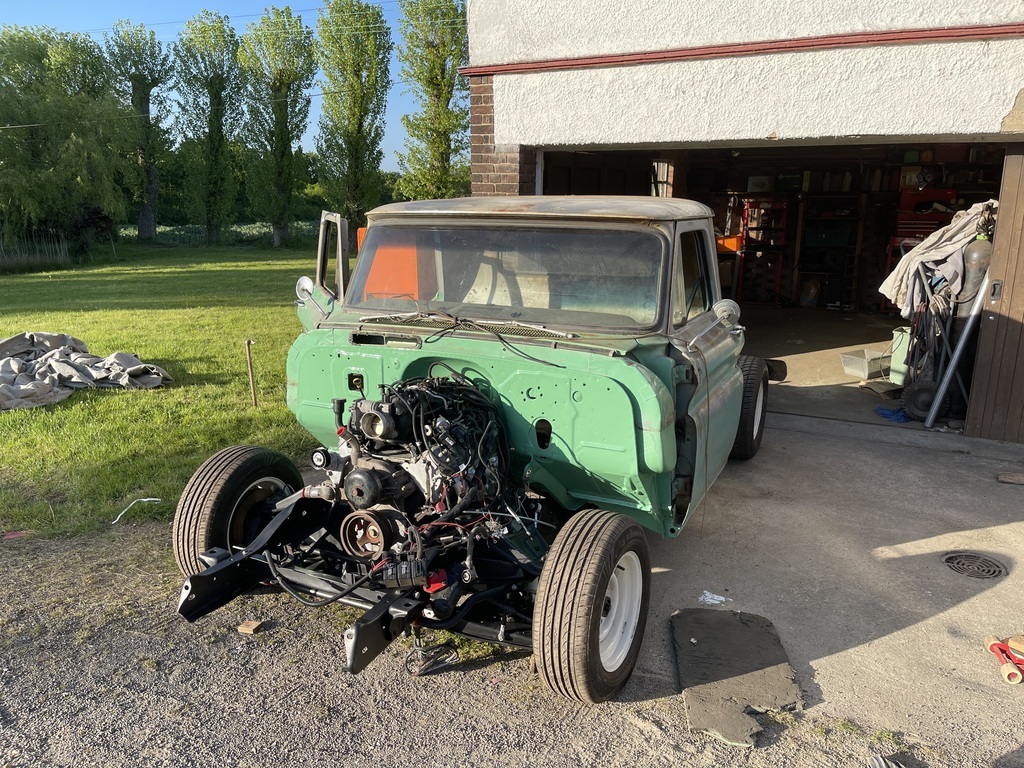 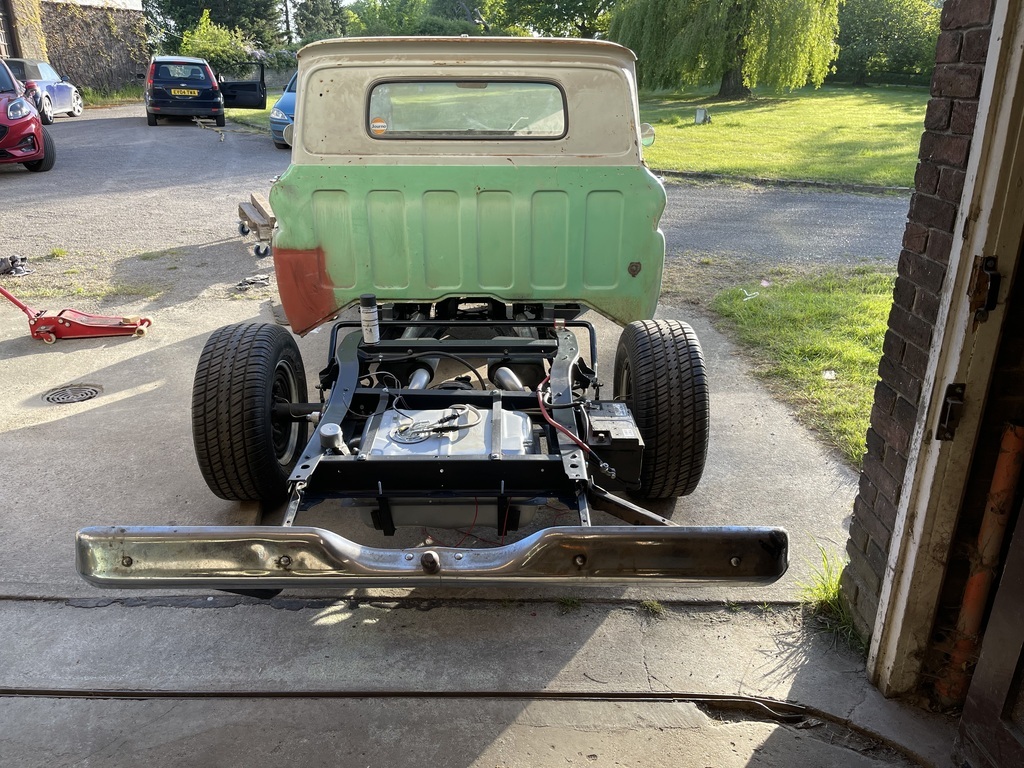 So with that I am back to where I was a few months ago but this time it is final assembly rather than checking it all fits. Next step is to write the long list of stuff that needs to be completed but will comprise of a small repair to the drivers door, completely stripping the interior so that it can be painted and put together with the new loom, insulation and nice interior etc. Sure that is only the first 3 things on a list of millions.... So, with that little update all that needs to be said is... ONWARDS! P.  |
| |
Last Edit: May 15, 2022 13:37:01 GMT by Paul Y
|
|
|
|
|
May 15, 2022 14:42:42 GMT
|
|
You have been busy.
|
| |
|
|
Paul Y
Posted a lot
  
Posts: 1,951
|
|
May 15, 2022 16:42:42 GMT
|
If I could get all that done in one day I would be very happy, however..... That is the culmination of about 3 weeks worth of 30mins here and there of an evening and then one thrash session on Saturday. Have a new target completion date but not going to share it as when I miss that one only I will know.... P.  |
| |
|
|
|
|
|
|
|
|
Absolutely mega step forwards! That's some motivation seeing the cab back on!
|
| |
|
|
Paul Y
Posted a lot
  
Posts: 1,951
|
|
Jun 16, 2022 13:43:29 GMT
|
Not quite sure when Woody's revival turned into a restoration but going to have to knock that on the head pronto! So, what have I been up to for the past month? Lots of bits really, but all moving in the right direction. Actually lots of little bits as I wait for Jay the Spring Slasher's diary to free up and come and help with throwing a bit more paint on things. First off I made a list. On cardboard. Just like all the YouTubers do. You know. Cool. Realised I didn't have enough cardboard so created a list on my PC and printed it off - still had to add some things however.... 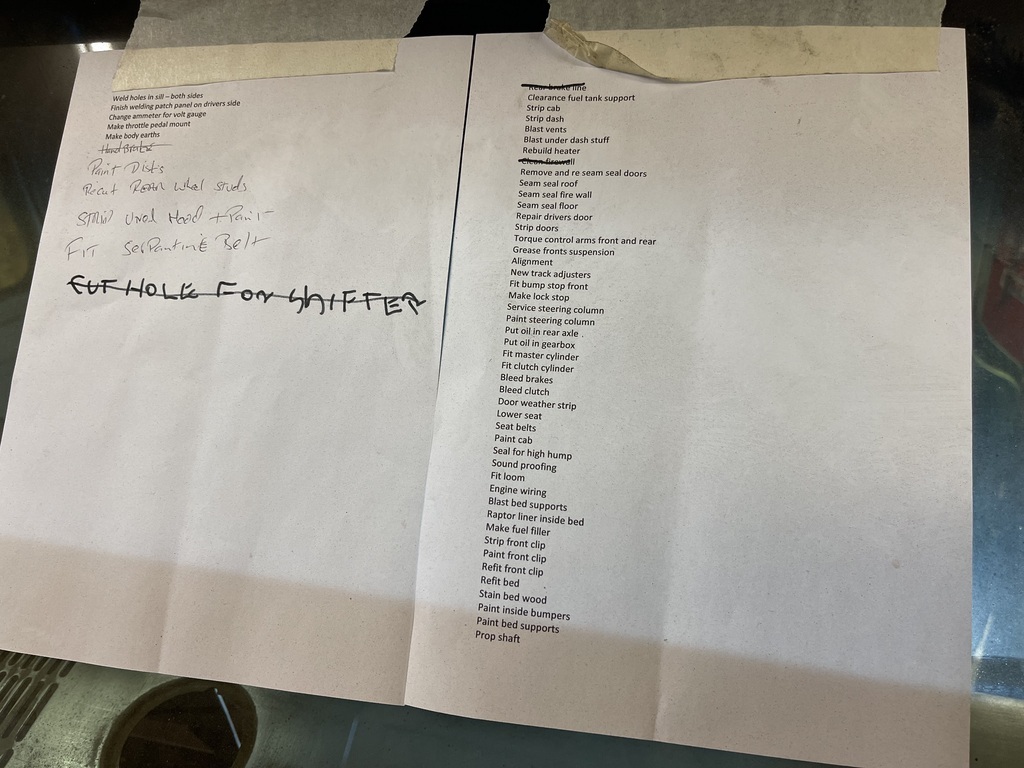 And there are some more to be added but pleased to say I crossed a few things off. First things first, a little tidy up on the front accessory mount and fitting the belt - picture instead here so I have the number saved if I need another one 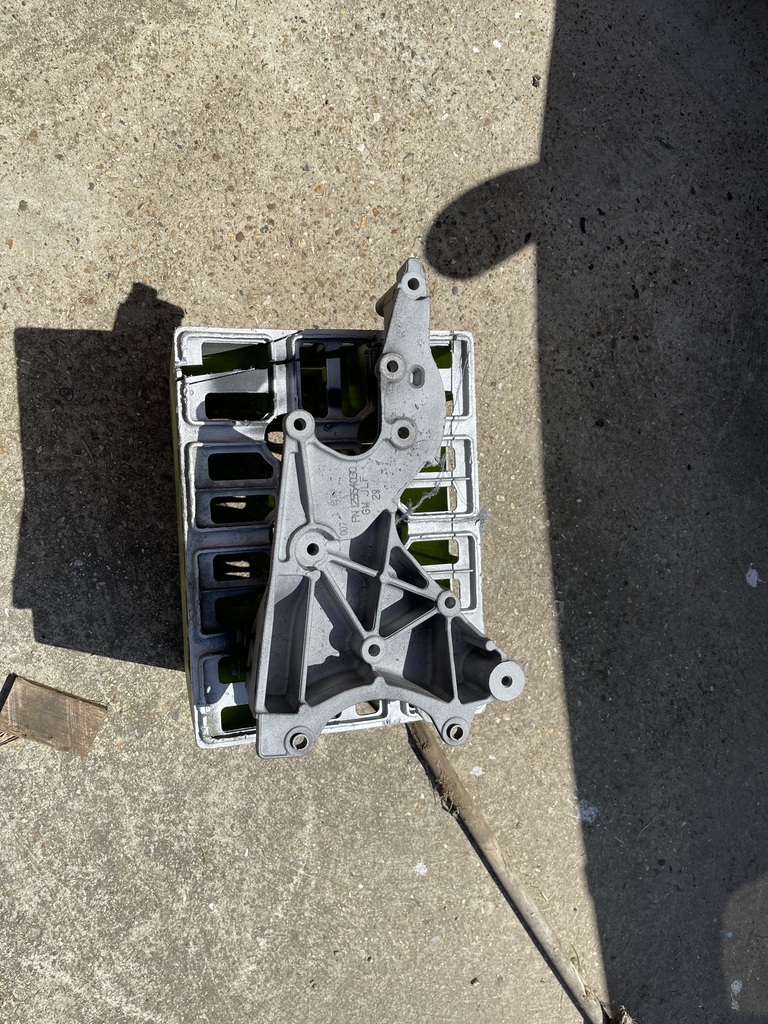 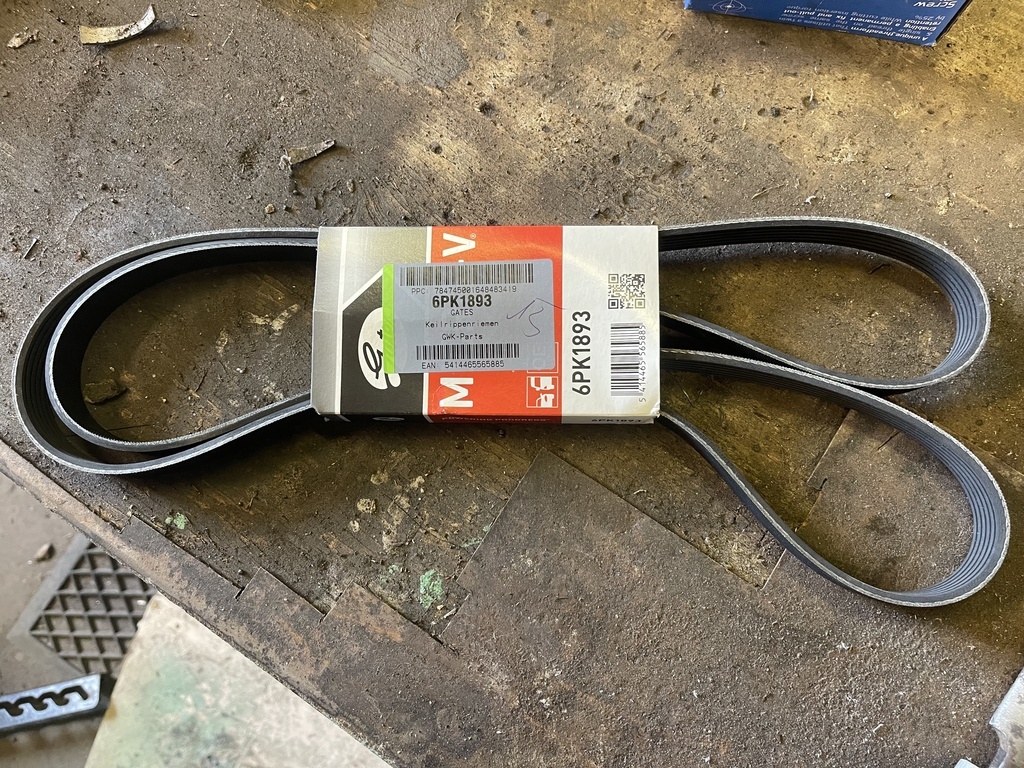 Next job was to strip out the remaining detritus from the cab along with the HVAC - made a nice pile on the floor of the garage.... 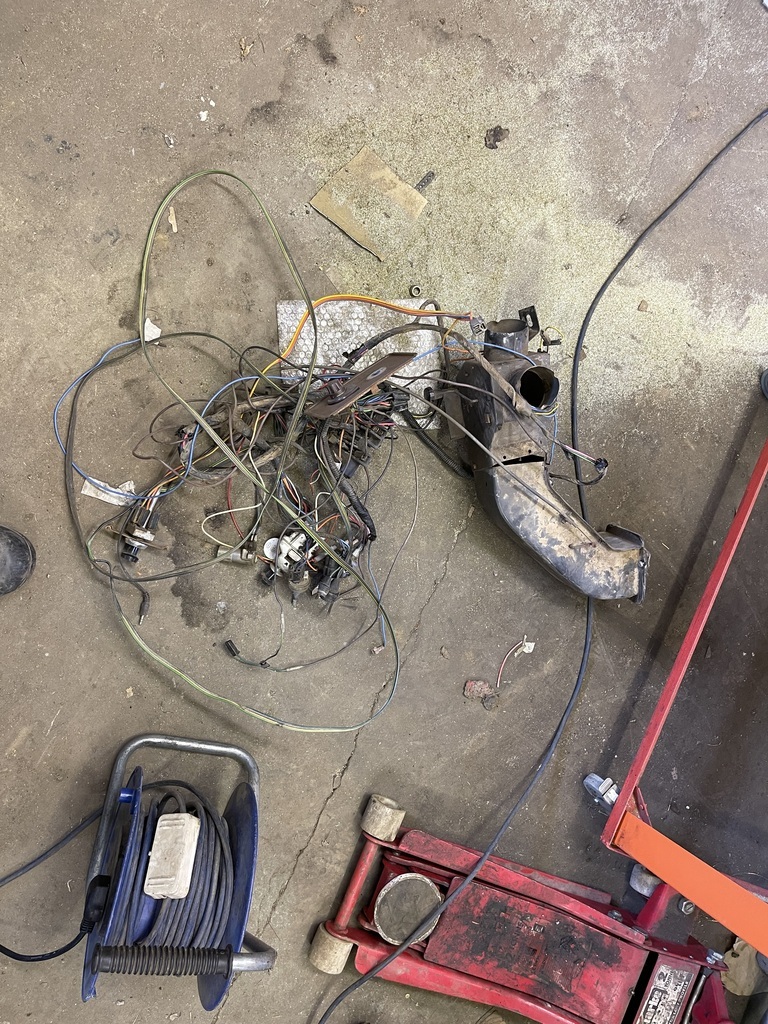 Which resulted in this. 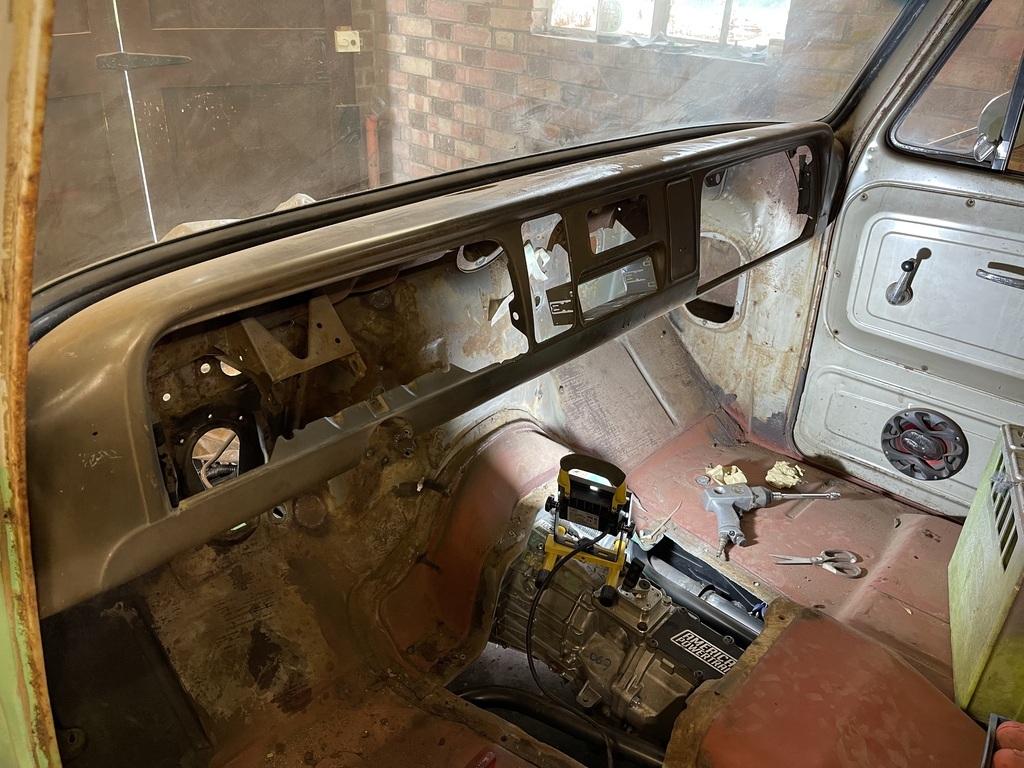 Leading to... 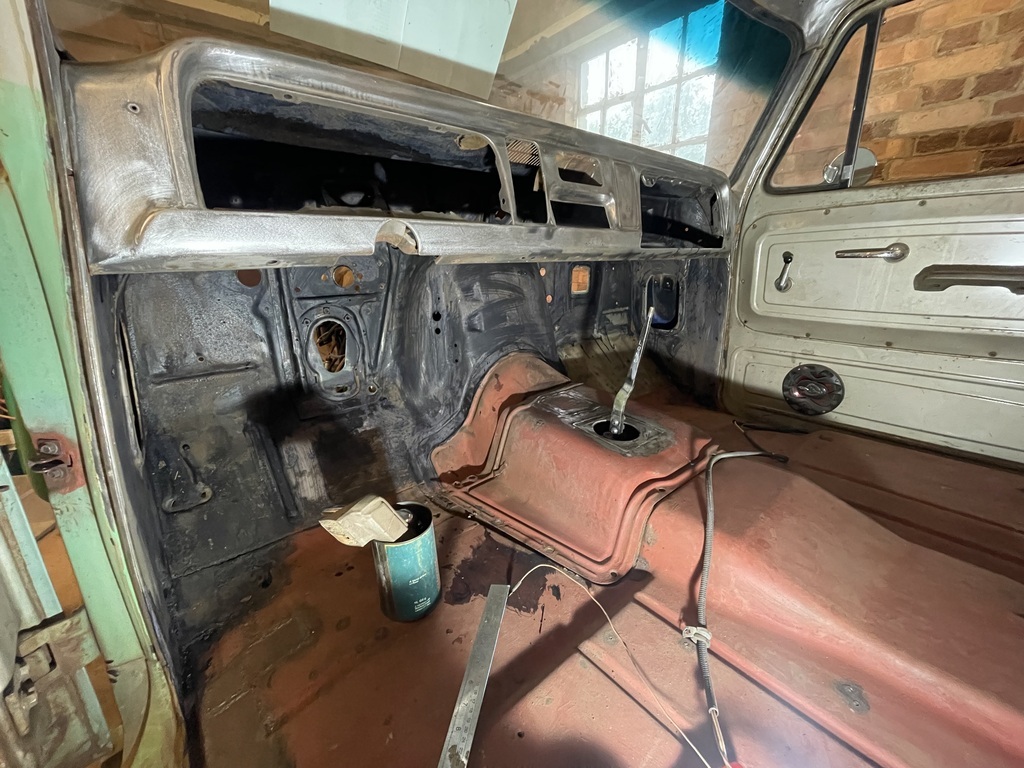 Hell Fire! the paint was baked hard onto the dashboard - took several days of 30 minutes here and there to get it stripped along with firewall and under the dash. Interesting bit was the lack of paint under the dash - quick rub down to get rid of the surface rust and threw a coat of Vatican on there to seal things up. Next! A session in the blaster got the pedal box and fresh air vents all sparkly. 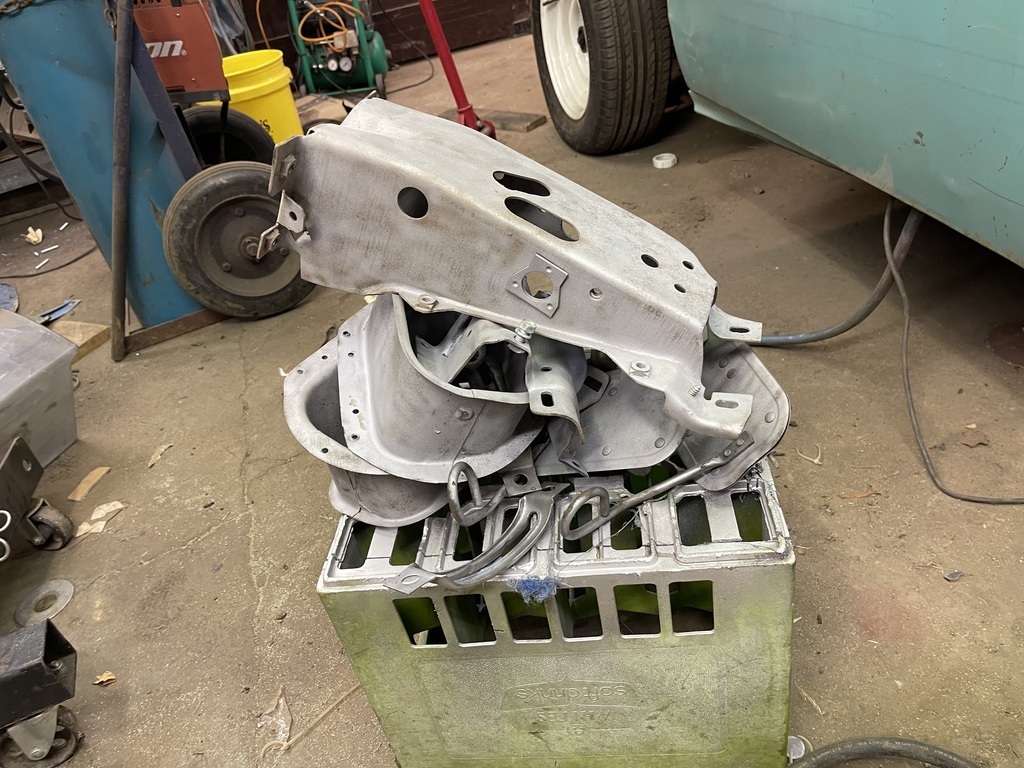 Psssssttttt....Psssssttttttttt.....Psssssssssssssssttttt.... 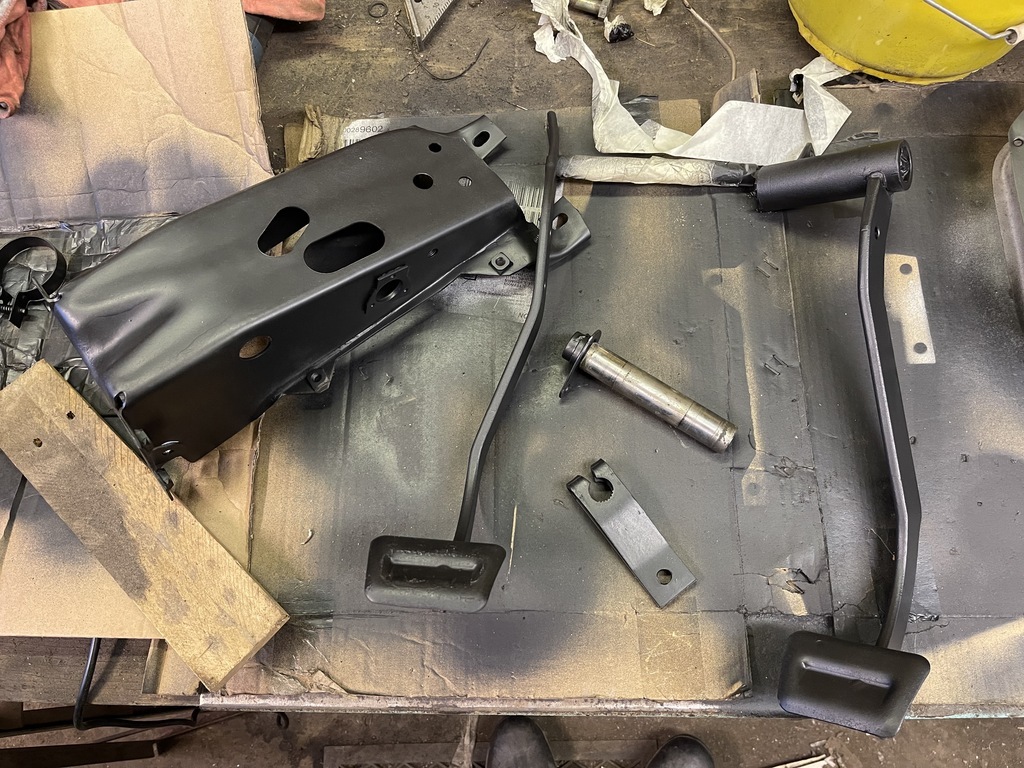 And fully rebuilt with fresh grease bushing etc. - just need to invest in some new pedal rubbers. 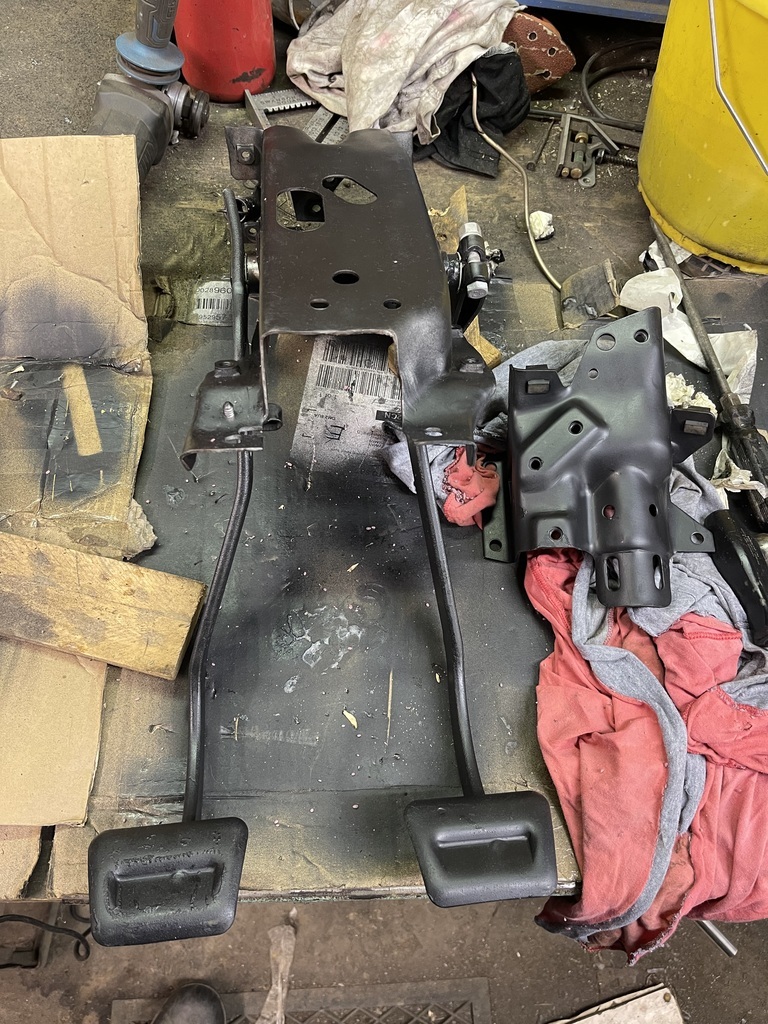 ONWARDS!!! Door off. 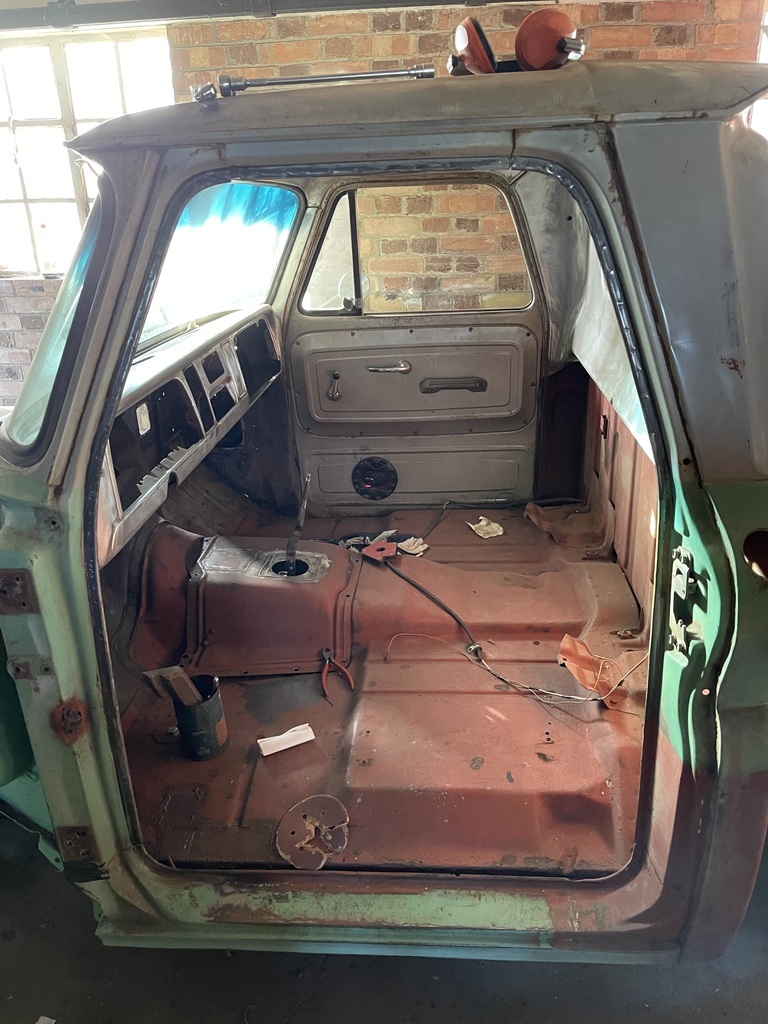 Quick stab with my trusty screwdriver showed the extent of the rust on the bottom of the drivers door 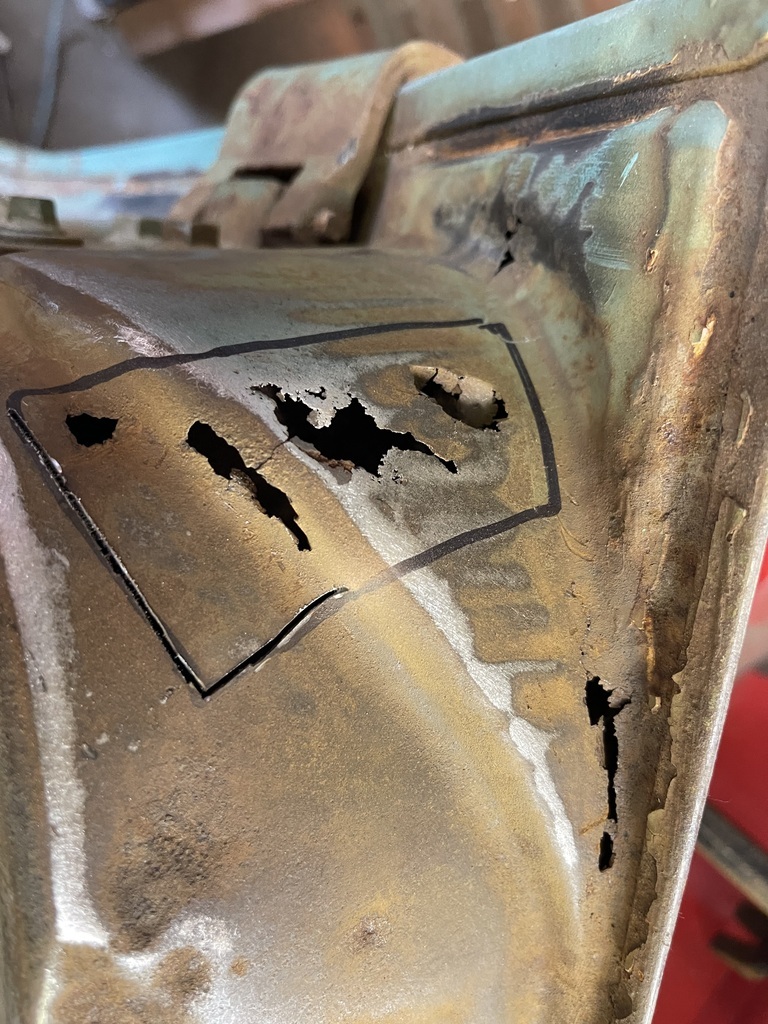 Not bad... Cut cut. 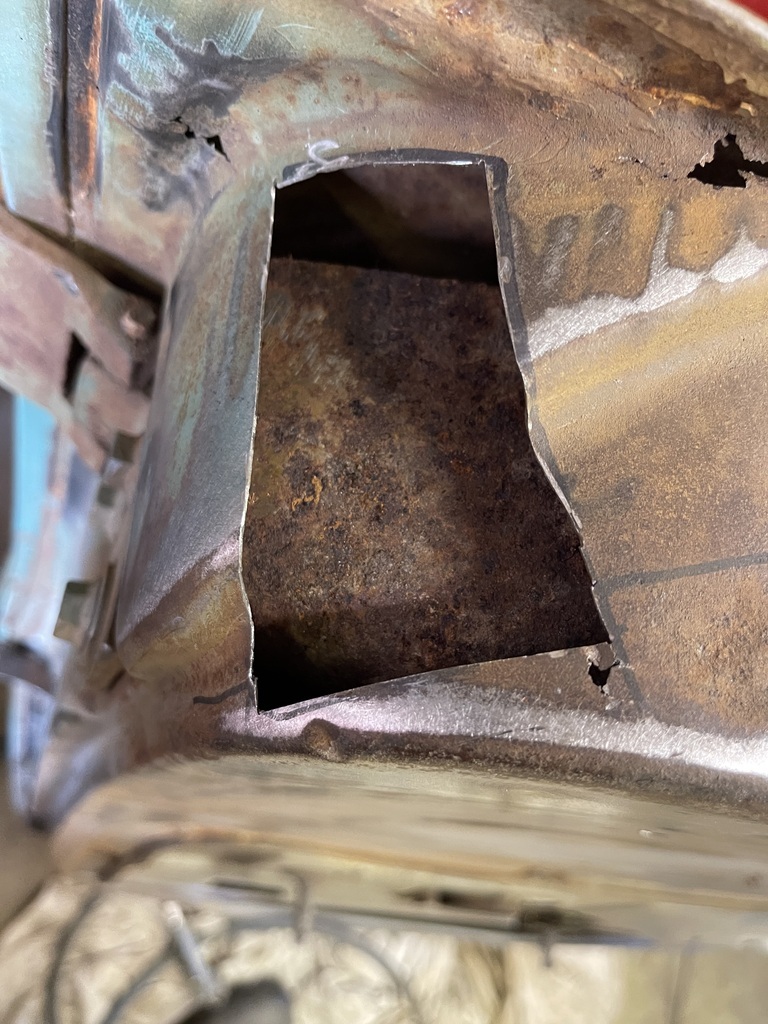 Bend, bend. 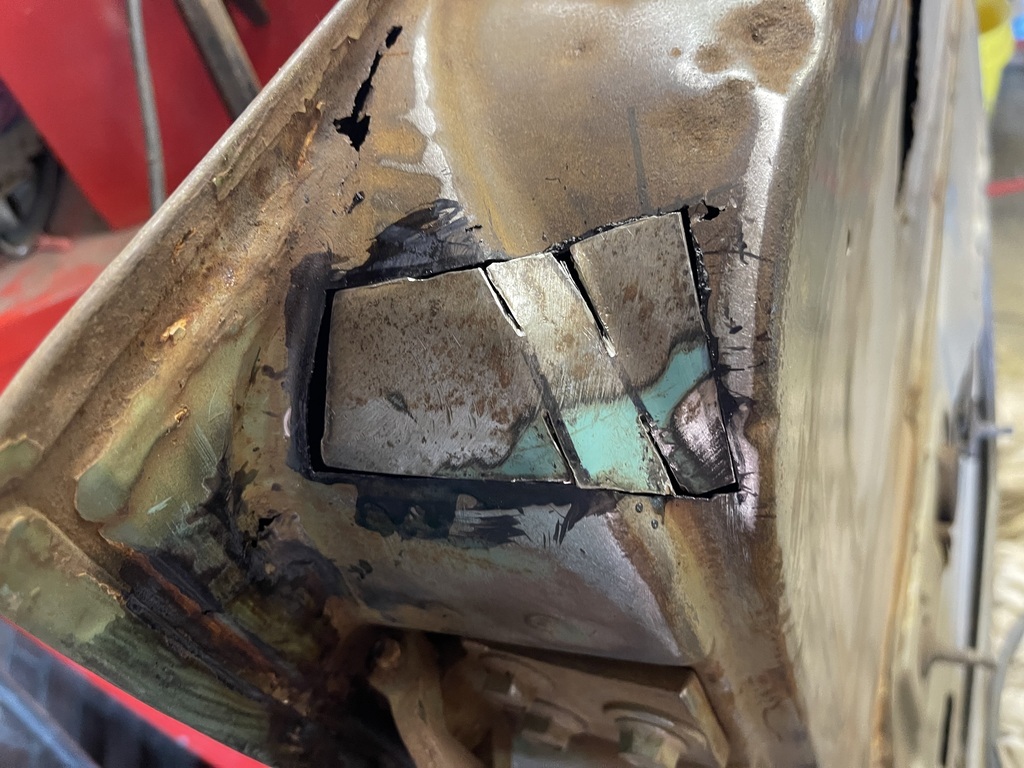 Stick,stick, grind, grind... 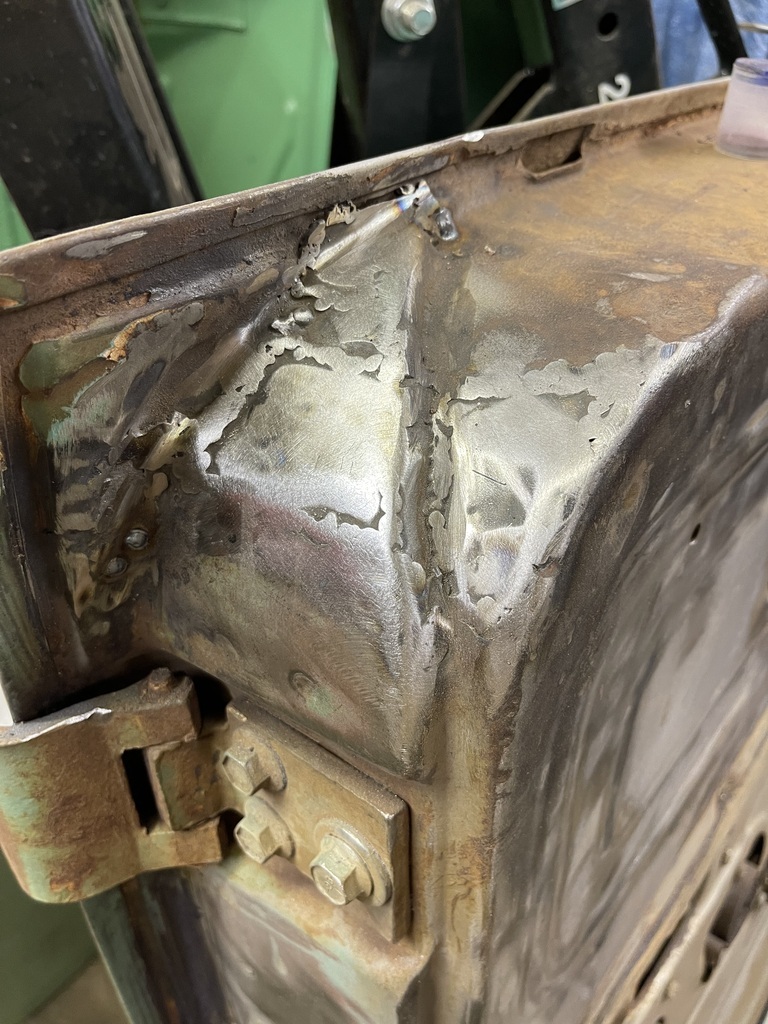 Little more massaging to do but I am getting better at this metal stuff. PLUS it is on the bottom of the door so nobody will see it... Result! Stripped the paint off the door and wondered at the marvel that was the hole for the speakers... sensational..... 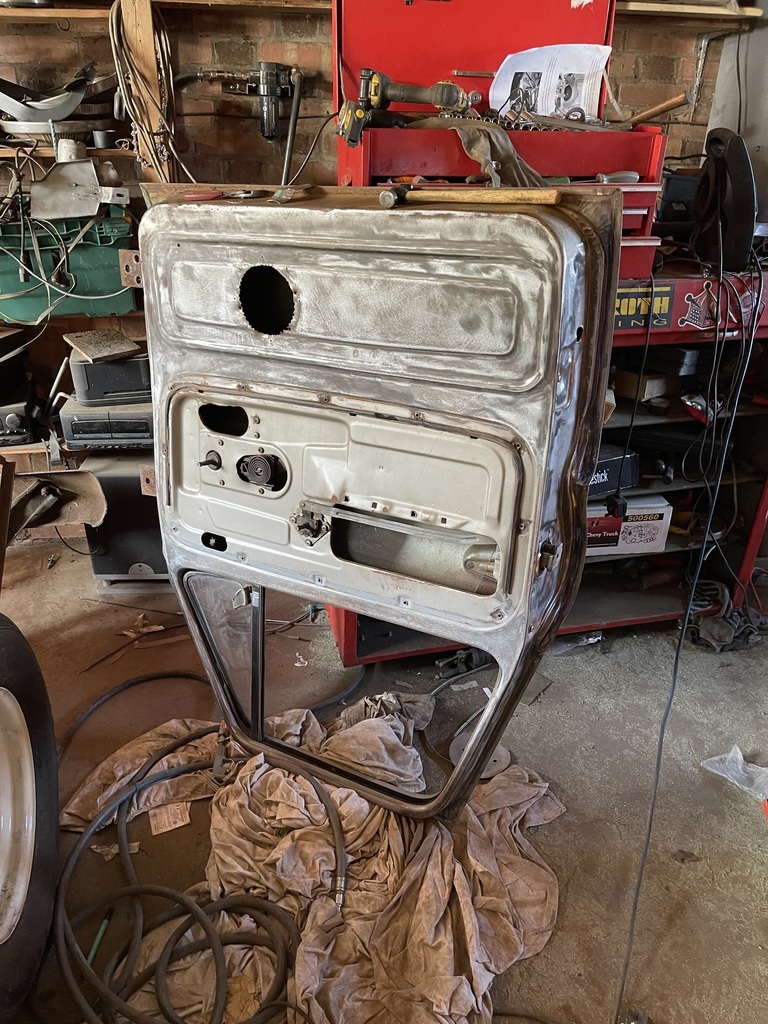 What's next then.... 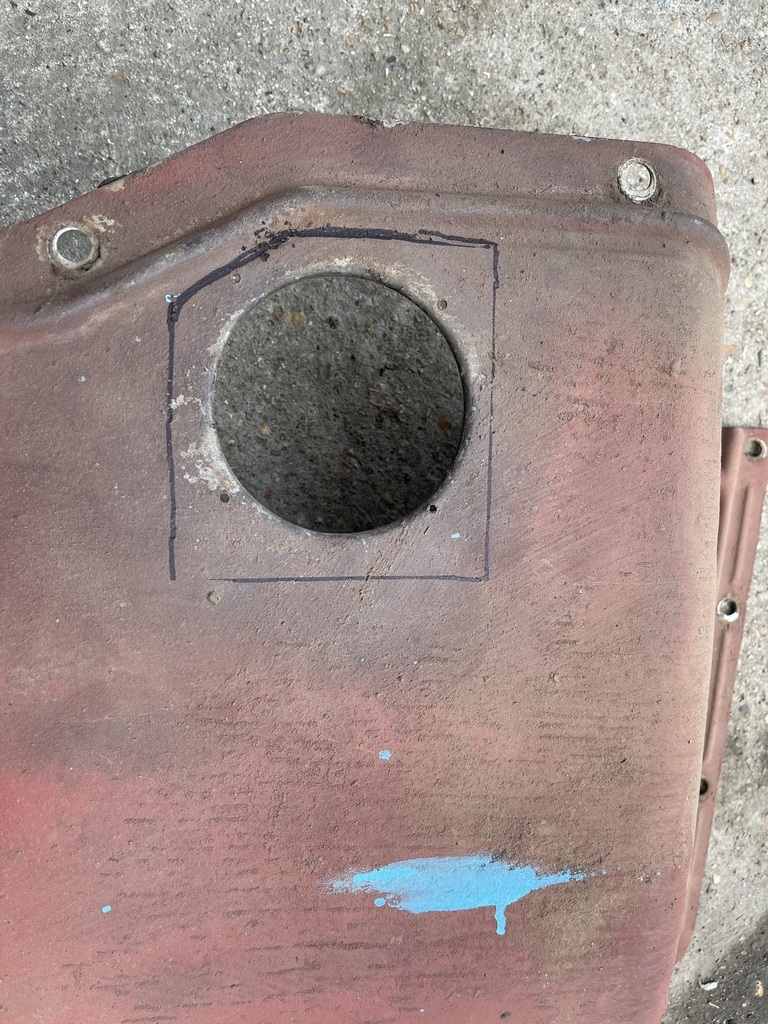 Let's get the hole for the shifter in the right place shall we. Cut, Cut. 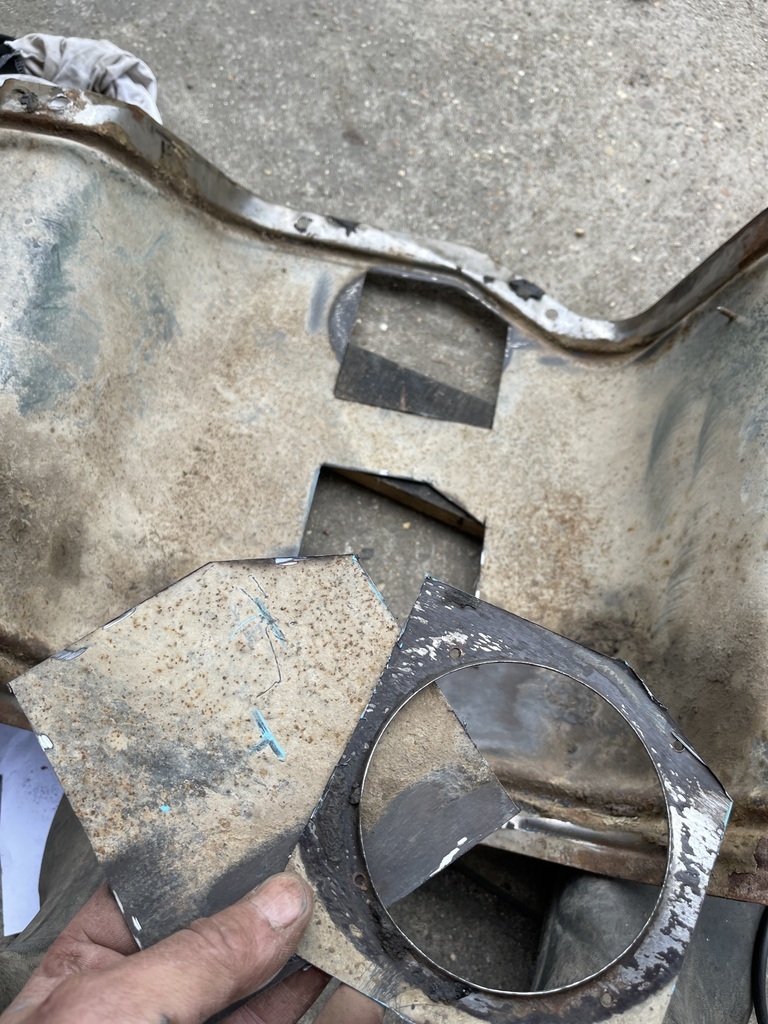 Swap,swap 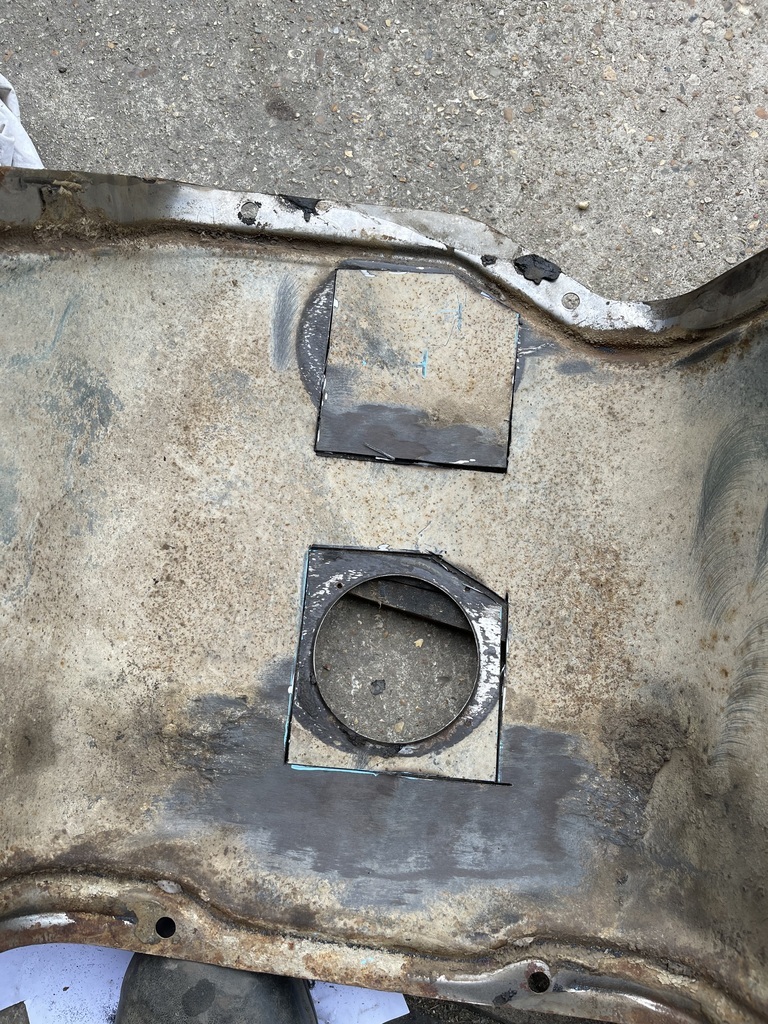 Glue, glue 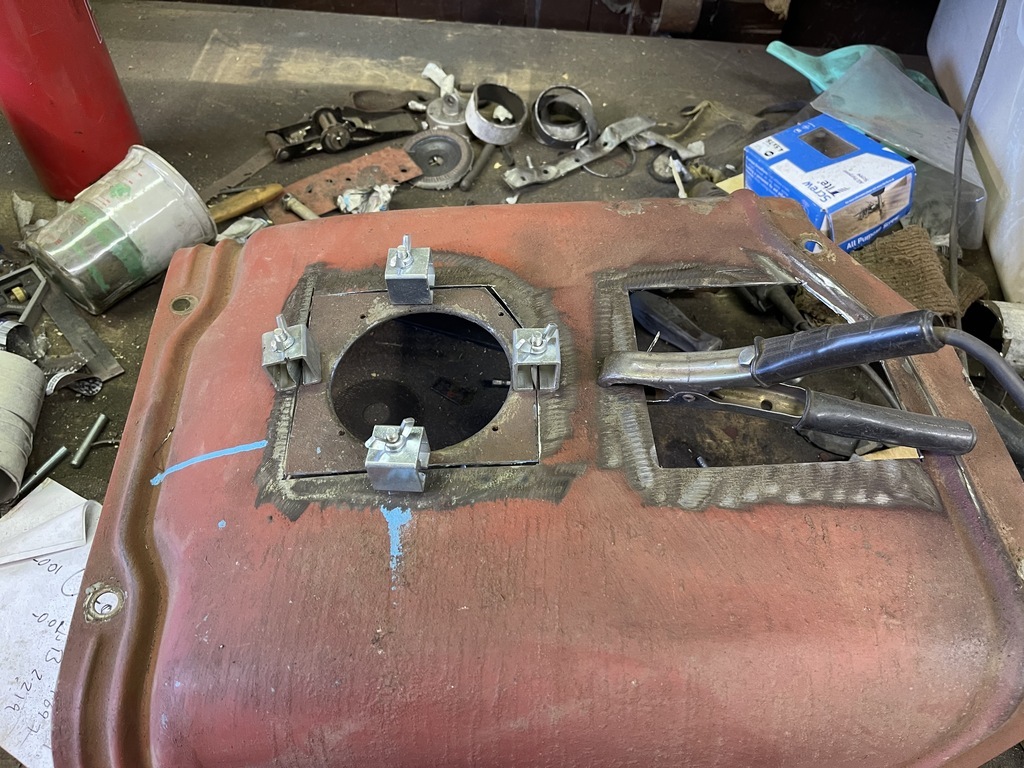 Approved. 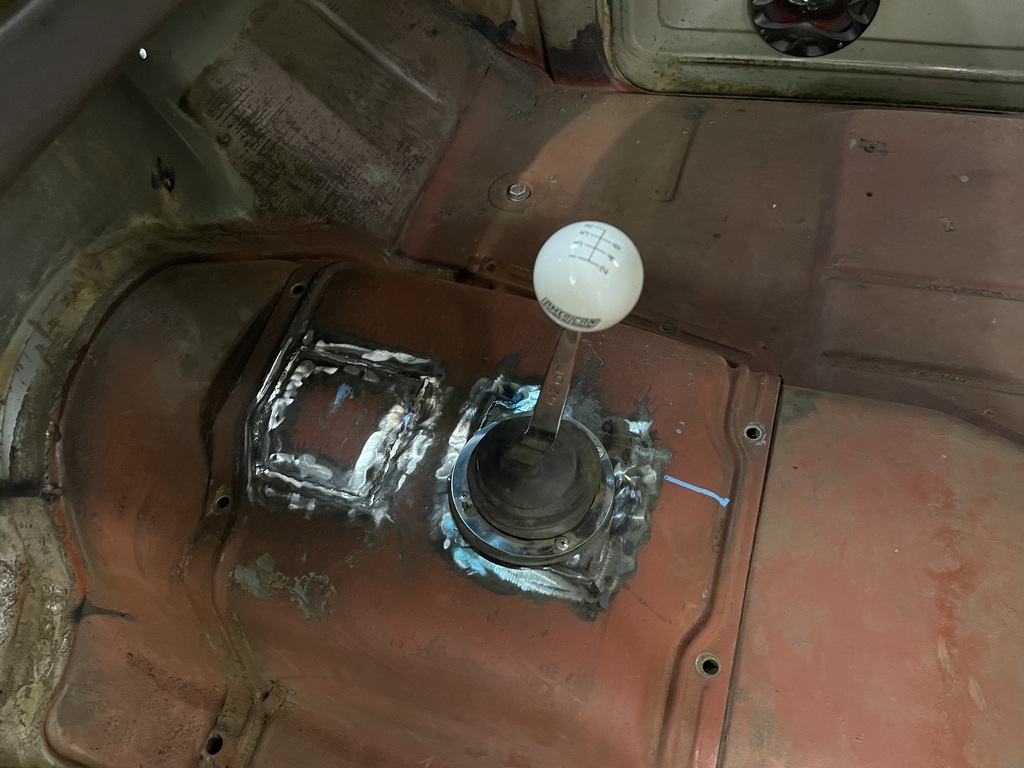 Thankfully that brings me up to date. Next job is to finish stripping the passenger door, paint under the dash, epoxy the firewall along with some seam sealing and start to lay out the loom ahead of painting the cab. Hopefully it will not be a month until the next update but......you never know..... Until the next time dear readers.... ONWARDS!!! P.  |
| |
Last Edit: Jun 16, 2022 13:56:31 GMT by Paul Y
|
|
mk2cossie
Club Retro Rides Member
Posts: 3,061  Club RR Member Number: 77
|
|
Jun 16, 2022 16:22:09 GMT
|
Does that mean that post was "Woodys Round Up"?  Good progress made there tho, must be quite a mojo boost when you get a thread update like that and have photo evidence of progress  |
| |
|
|
Paul Y
Posted a lot
  
Posts: 1,951
|
|
Jun 16, 2022 18:32:46 GMT
|
Does that mean that post was "Woodys Round Up"?  That will be used for my next update! I try and do something every evening, even if it is just 15-20 minutes. I thank the God's for Love Island as it give me an hour to escape without guilt.... There is actually a lot more that has been done but it is all pretty boring stuff that doesn't warrant inclusion but you are right - it is a nice record of what has been achieved, sometimes being so close to it you don't actually see how far you have come. Anyway, got a new toy in the post tonight so off to the garage to try it out. And on that bombshell..... P.  |
| |
|
|
|
|
Paul Y
Posted a lot
  
Posts: 1,951
|
|
|
|
Thanks to mk2cossie I proudly present this weeks edition of Woody's Round up....  I am at the stage where there is a little of bits that have to be done but there doesn't appear to be any major forward movement - frustrating to say the least... A tip I was given many years ago was to paint under the dash white so that when you are laying on your back gazing into the abyss you can actually see what you are doing. So that's what I did. Quick rub down to get rid of the surface rust and a quick coat of that Vactan stuff resulted in this. 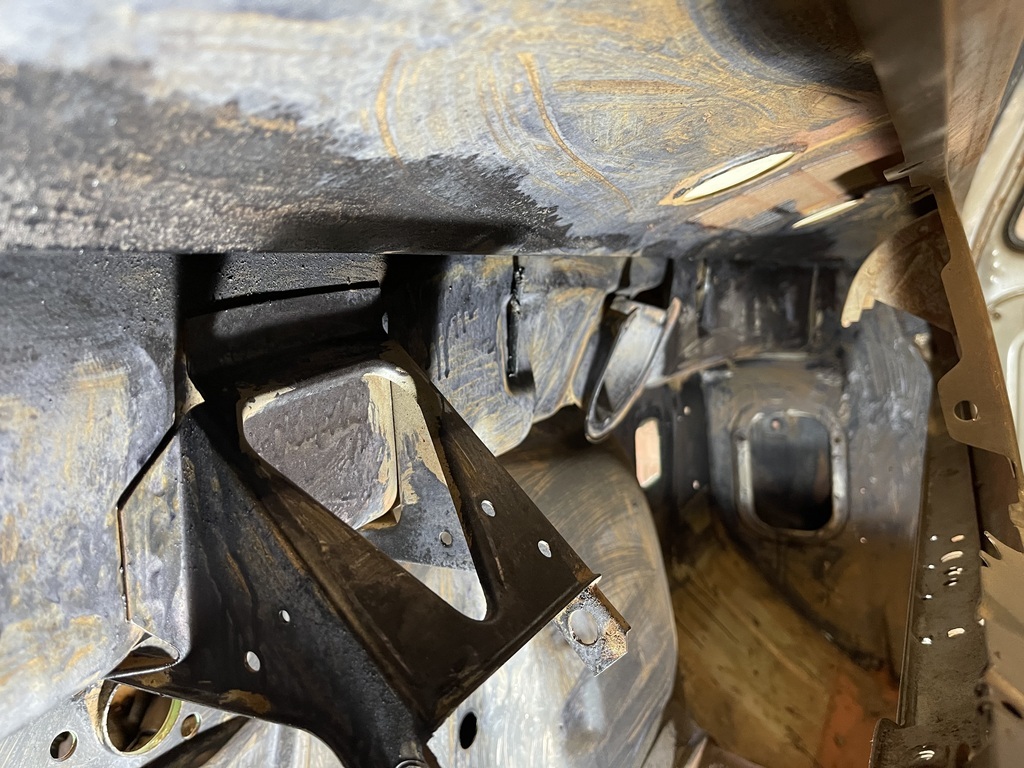 And looked like this after I had hit it with the left over spray can of high build and white. 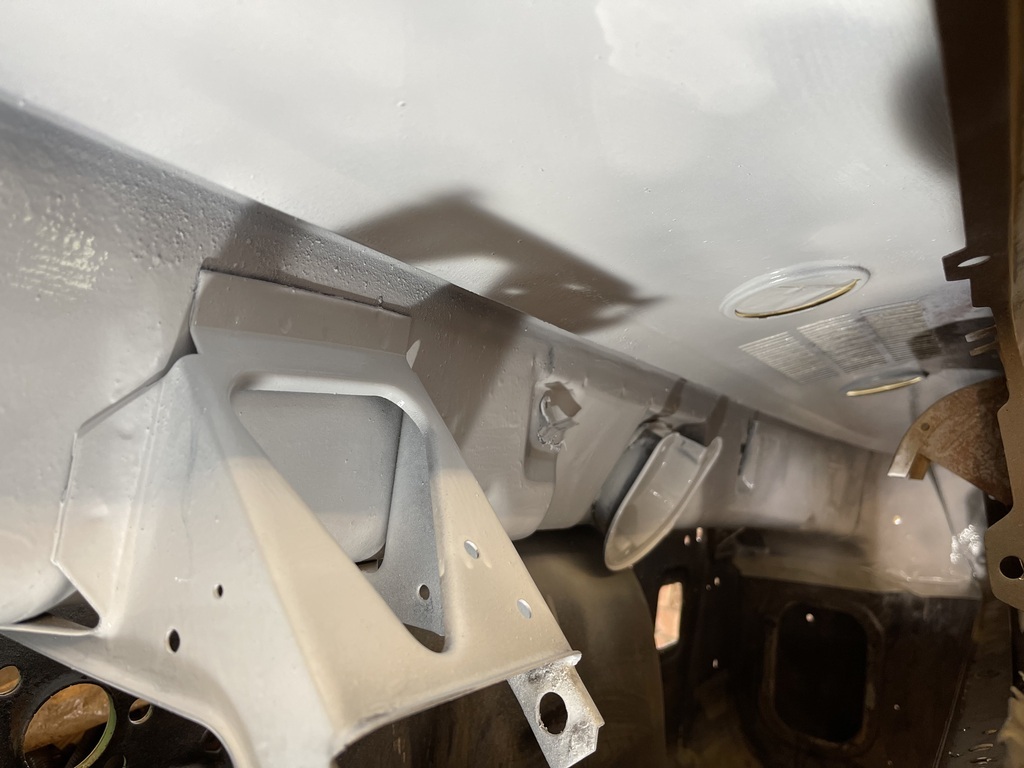 Not perfect but just right for the intended purpose. I have done this on the last 3 cars I put together and it really works - would recommend Next was to remove the passenger door as there were a few pin holes in the bottom of the door in teh same place as the drivers side. Not too bad but after cutting out where the metal had got a bit thin I discovered that the bottom of the door was packed with dirt. Not the end of the world until I discovered a huge lump of filler intermingled with Californias finest forestry dirt - which it turn manifested into this.... 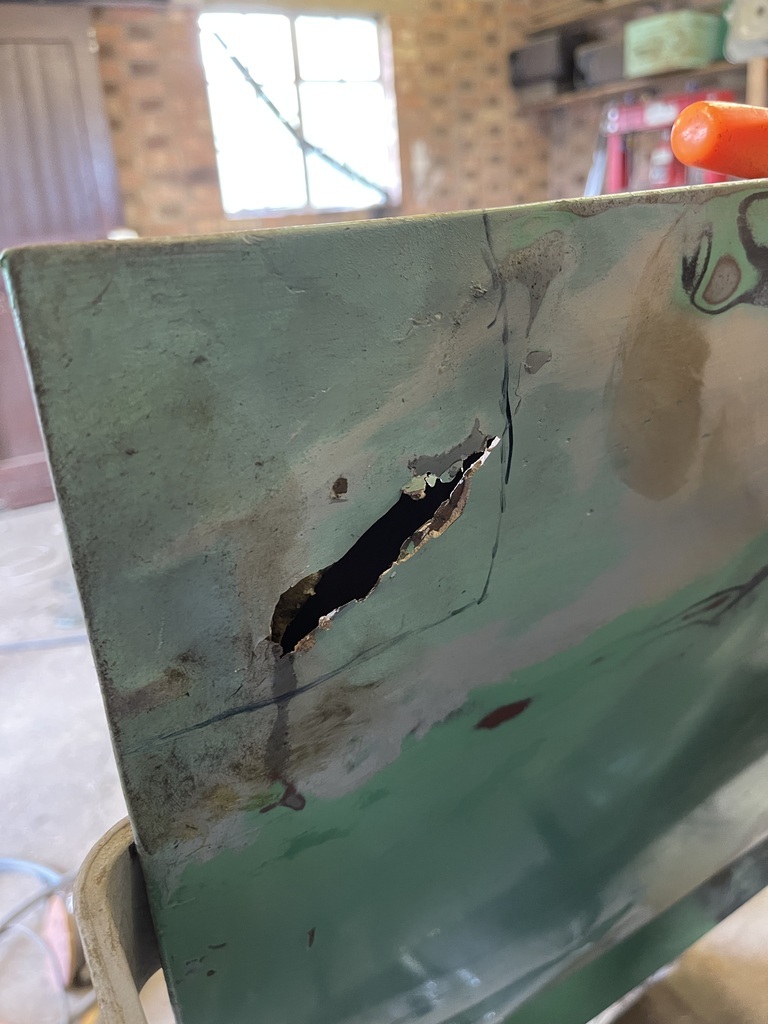 Oh dear.... Lets zip that out then shall we. 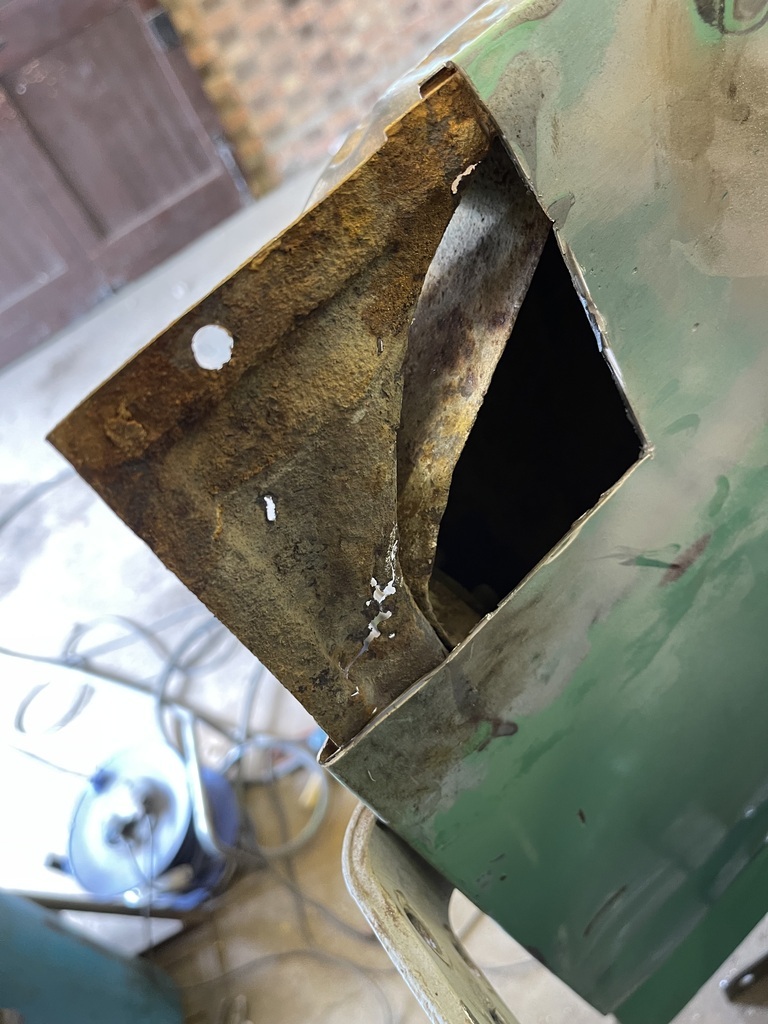 The offending article. 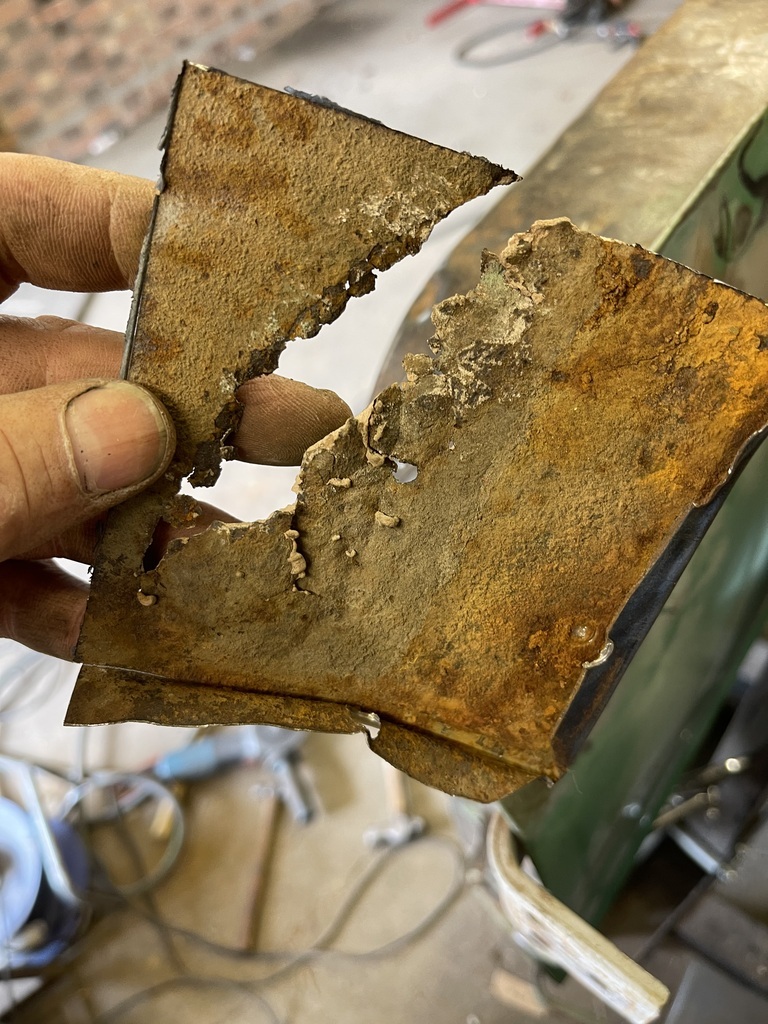 I am in no way a bodywork guy but, as I now have a big hole where metal used to be, now was the time to see if my skills had improved over the past couple of years. First thing was to select a part of the lunar landscape that was Woodys damaged bed side which could be repurposed. More by luck than good judgement there was one bit that had no damage which was about the right size. 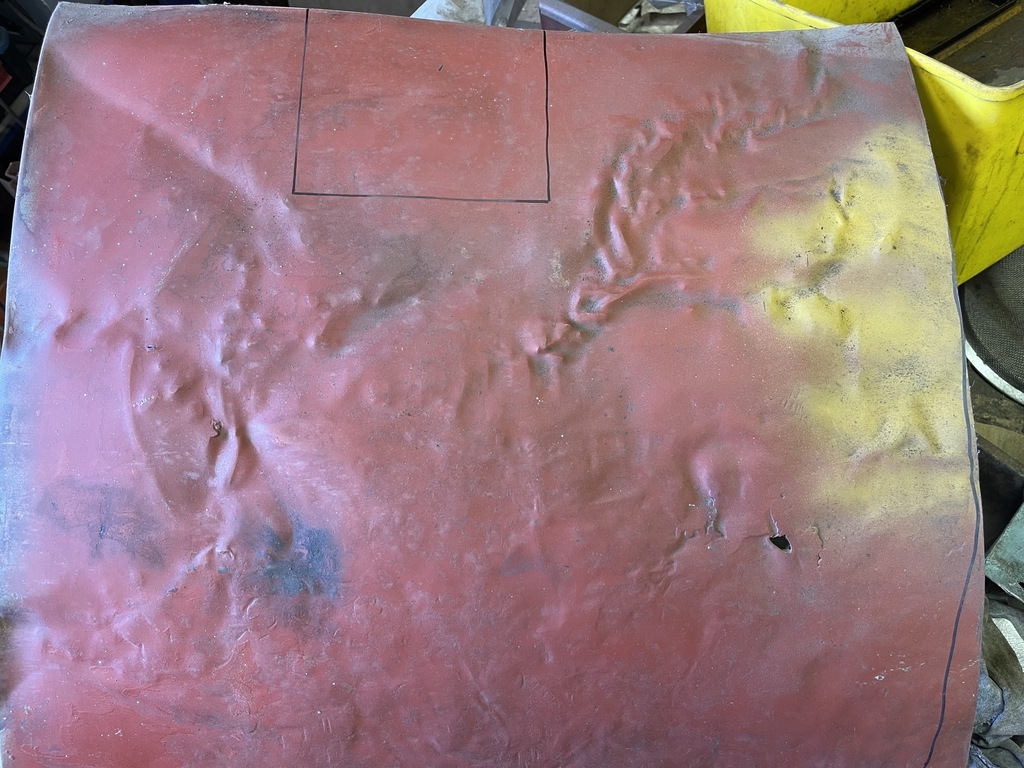 (never throw anything away kids!) Before sticking it in I cut out a dodgy looking bit of the door frame and threw a coat of weld through primer on it. 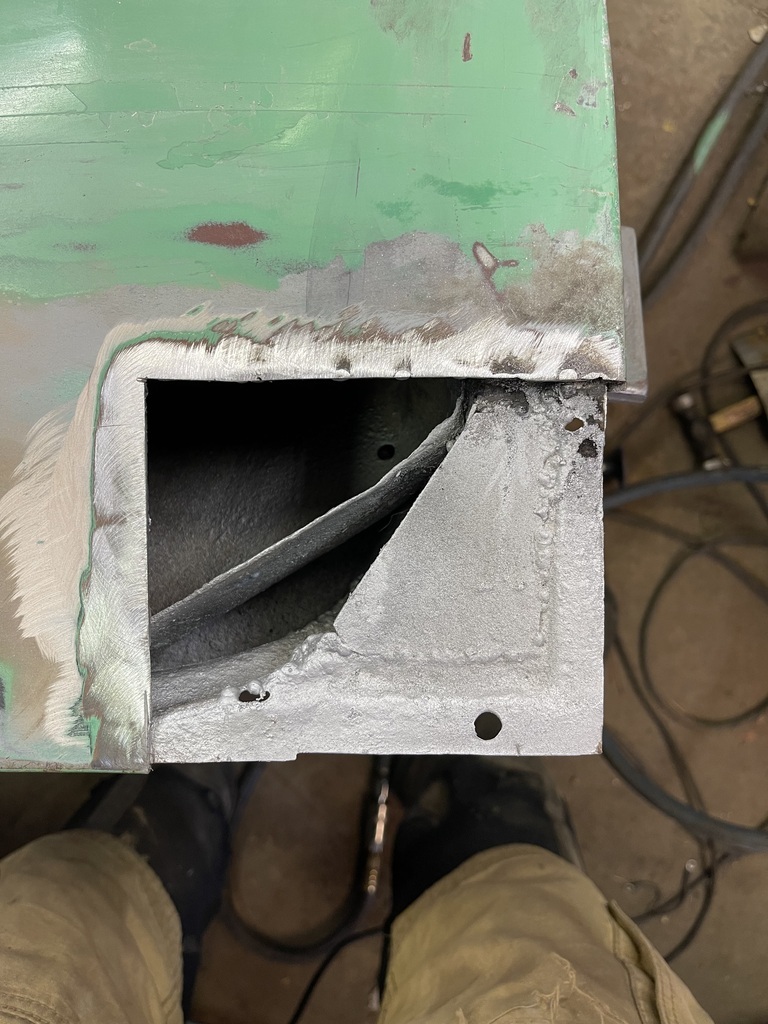 Then took a big deep breath and stuck it in (Narf,Narf) 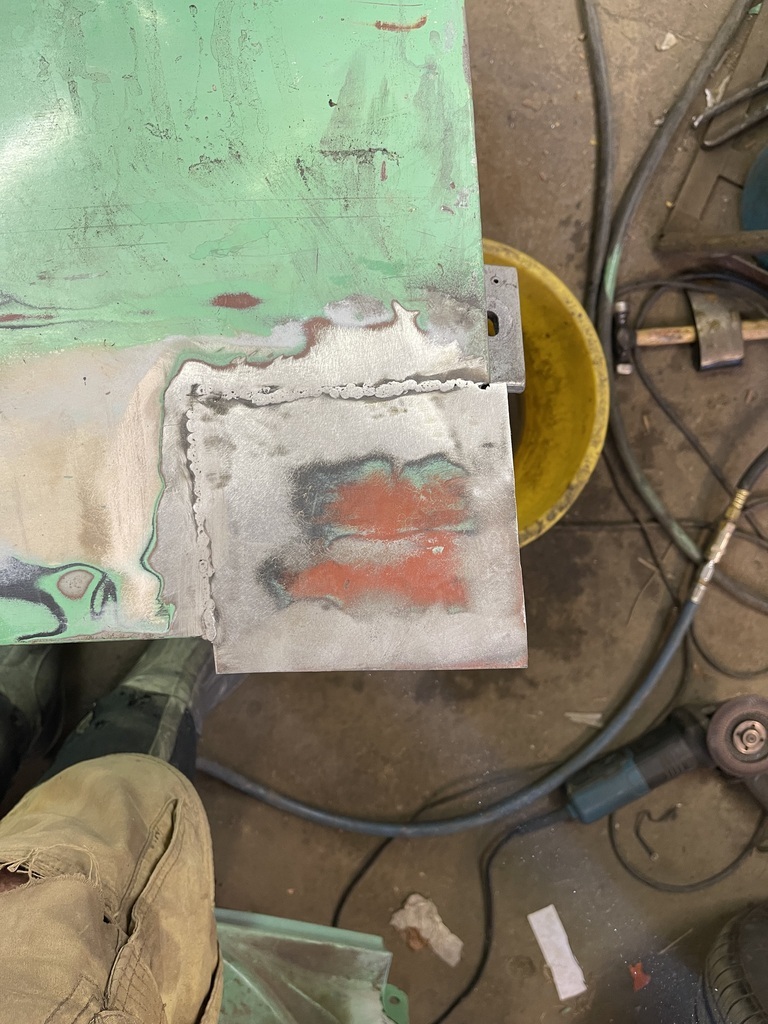 Now, some of you will have read elsewhere that I was having trouble with my welder - thankfully my elderly father fixed it for me - but something was not quite right with the welds after the repair. I thought it was because of the water I was using to stop warping, which worked very well, but after I had completed the repair I discovered that Pops had taken the wire guide wheel off and had not tightened it down fully on reassembly meaning the wire was not feeding at a constant rate. My fault, should have checked it but meant the weld was not as good as I would have liked. However, it is in - I am not metal finisher and a skim of Glen Miller will sort that right out. To my surprise there was no distortion and it fitted in nicely. Maybe not such a surprise when you consider it was at an edge but I will take that. A bit of improvisation with angle iron, mole grips and assorted hammers.... 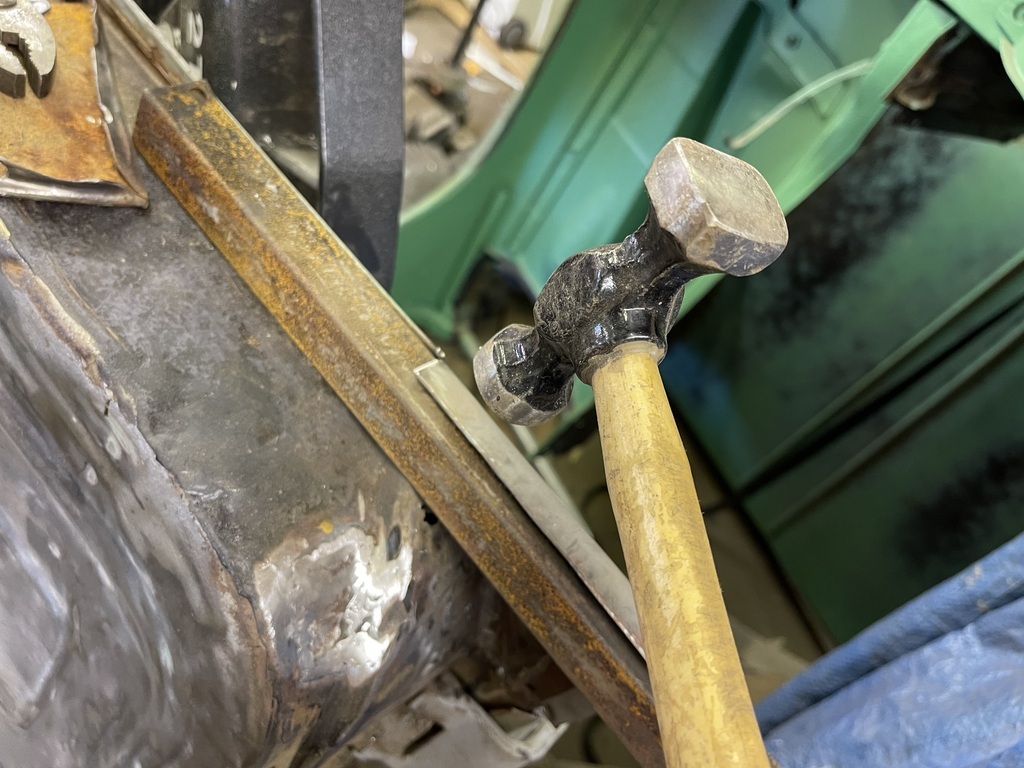 Resulted in this. 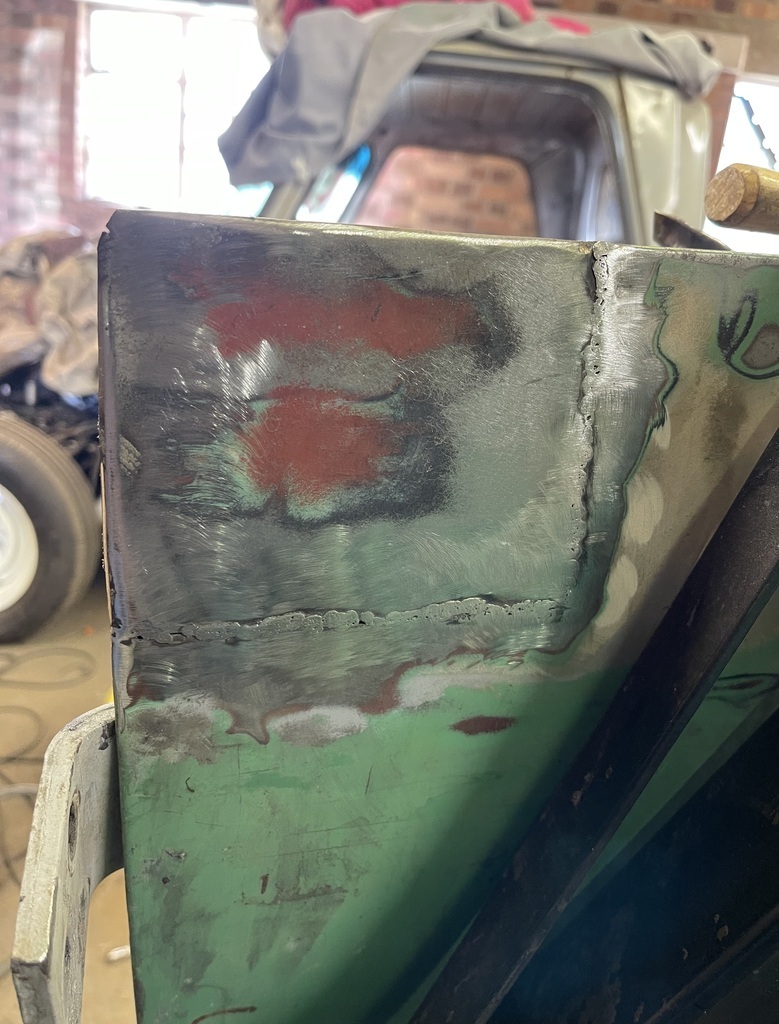 Which I am reasonably happy with. It was also where my phone run out of battery charge so no more picture - Phew I hear the collective sigh.... Hopefully next stage will be to throw some paint on but that is down to Jay the Spring Slashers time schedule. So, until the next time. ONWARDS! P.  |
| |
Last Edit: Jun 22, 2022 8:37:51 GMT by Paul Y
|
|
|
|
|
|
|
|
Excellent work there, it's really coming on well,
Not long before it's "on the road",
Can I ask, will it be painted or patina ??
Nigel
|
| |
BMW E39 525i Sport
BMW E46 320d Sport Touring (now sold on.)
BMW E30 325 Touring (now sold on.)
BMW E30 320 Cabriolet (Project car - currently for sale.)
|
|
Paul Y
Posted a lot
  
Posts: 1,951
|
|
|
|
Thanks Nigel, Nope will not be painted, will stay as is. I might get the repairs blended in at some point in the future but having had cars with paint jobs worth many thousands of pounds I do not want to go down that route with Woody. This is to be thrashed mercilessly, used like a truck and generally enjoyed. P.  |
| |
|
|
|
|
|
Jun 22, 2022 18:38:32 GMT
|
|
Looking good Paul.
And agreed with the paint,choices.
Woody’s patina is also good in that colour.
|
| |
|
|
|
|
|
Jun 23, 2022 14:36:38 GMT
|
|
Are we there yet??
SOOOOON !
|
| |
|
|
Paul Y
Posted a lot
  
Posts: 1,951
|
|
Jun 23, 2022 16:21:13 GMT
|
Never gets old…. P.  |
| |
|
|
|
|
|
Jun 23, 2022 17:01:54 GMT
|
Never gets old…. P.  Furniture on the back. Neighbours choking on their tea and gins. As always, a surprise worth waiting for, |
| |
|
|
Paul Y
Posted a lot
  
Posts: 1,951
|
|
Aug 14, 2022 15:54:52 GMT
|
 Volume 3 of Woody's round up where I moan a bit, generally get curse word off with everything, decide if a better hobby would be knitting and generally have a total lack of enthusiasm. So... With that out of the way let's get on with it shall we. When I left you last time I had thought that the days of chopping out bits of rot and glueing in replacements was behind me and I could get on with the stuff I actually enjoy. You know, driving and vulcanising rubber. The standards. To get to this nirvana I had to throw some epoxy primer on the inside of the cab so that Jay The Spring Slasher could drop over and put on some colour. Before I go any further I am going to let you into the inner workings of my smooth brain here as, I am sure many of you will be asking, 'Paint?" I did mention this before but my thinking for Woody has been a sort of Poor Mans Derelict - a homage to the dedicated team over at Icon but done on a fraction of the budget by a monkey in a shed. You get the idea. To that end I want to make the inside as nice as I possibly can - all new rubbers, sound insulation, new carpet, paint and a cost effective audio solution. The seat is in rather good condition but I will eventually get this redone in a combination of leather and hounds tooth or pasha along with the door panels. You know. Nice. Outside is going to stay as it is as I am not spending another fortune on paint and body work. No Sir. Anyway, back to my current state of Blah. As I was sweeping out the interior, hoovering and generally clearing up I noticed a small hole on the drinkers side A pillar right at the bottom. Not noticed it before but with my new work light there it was for all to see. Ok. Let me give that a gentle dig with my faithful screw driver. Oh dear..... 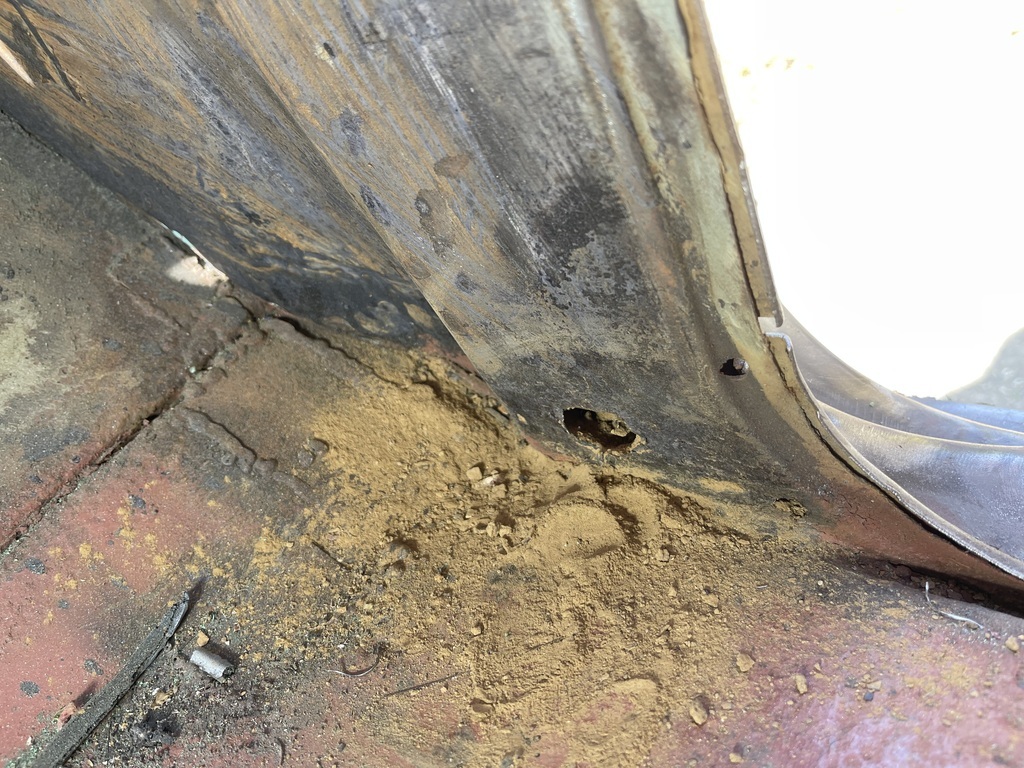 Oh dear indeed..... 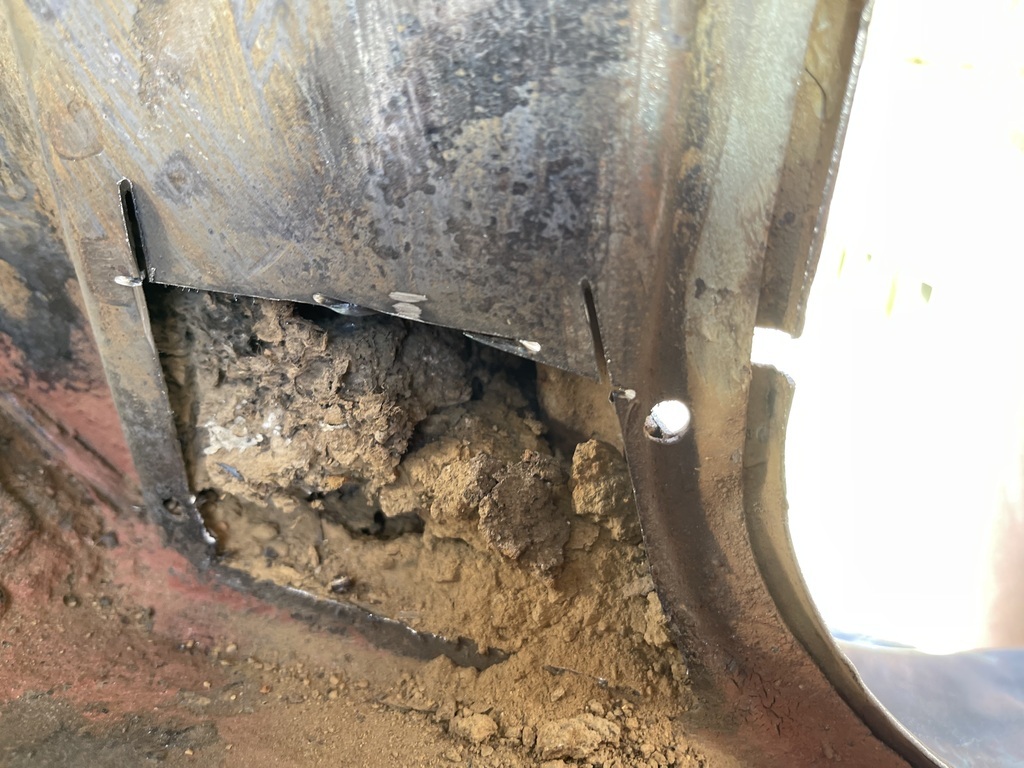 Oh for goodness sake..... 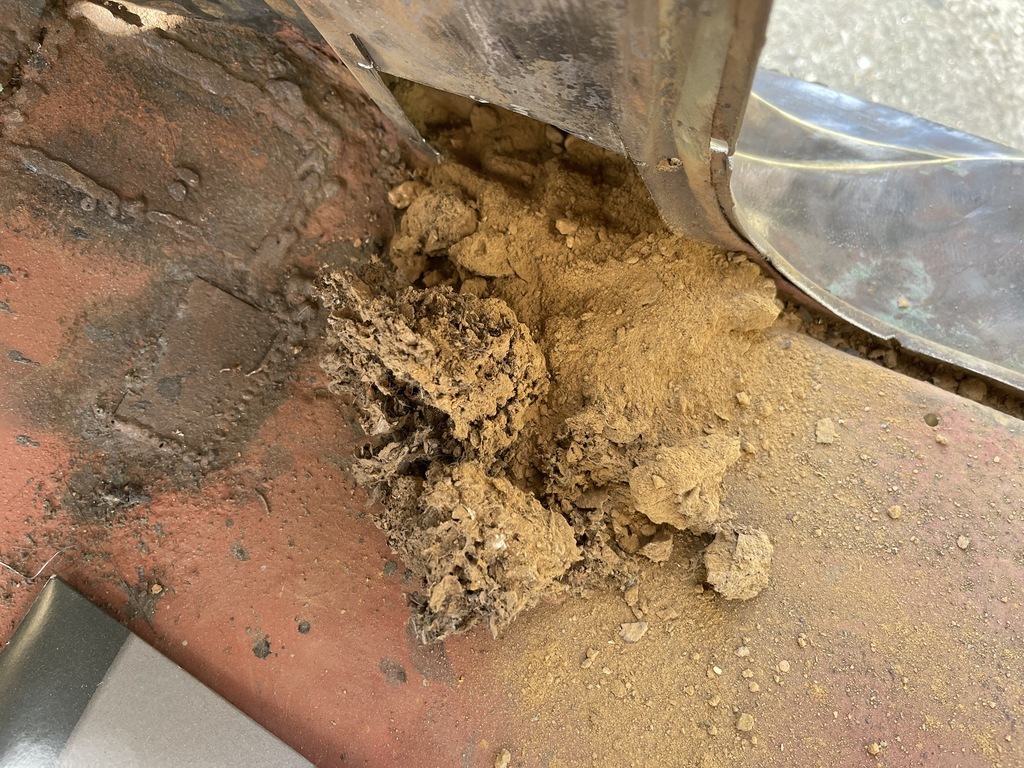 How this all got in there I have no idea bit after using my Mouse Sucker 4000 I extracted the rest of the detritus, gave it a quick coat of that Vactan stuff and then a coat of Zinc primer before sticking a bit of replacement tin back in the hole. 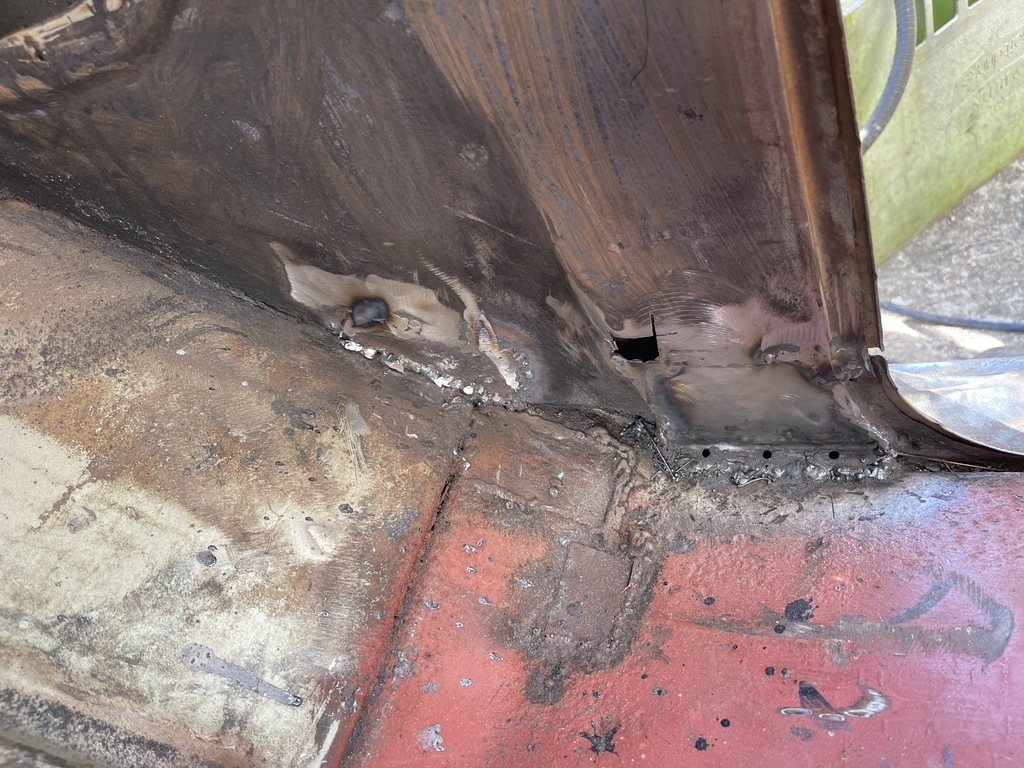 Not my finest work but its in and solid. The extra hole at the top is where I had to add another bit of metal as I didn't cut the original hole big enough and there was still some weakness there when I was welding it up. Now this brings me onto what is probably one of my biggest faults during this whole 'build'. I don't cut out enough metal when making a repair. This then leads to me having several smaller repairs rather than one big one. Which causes me more work. And it looks a bit pants. 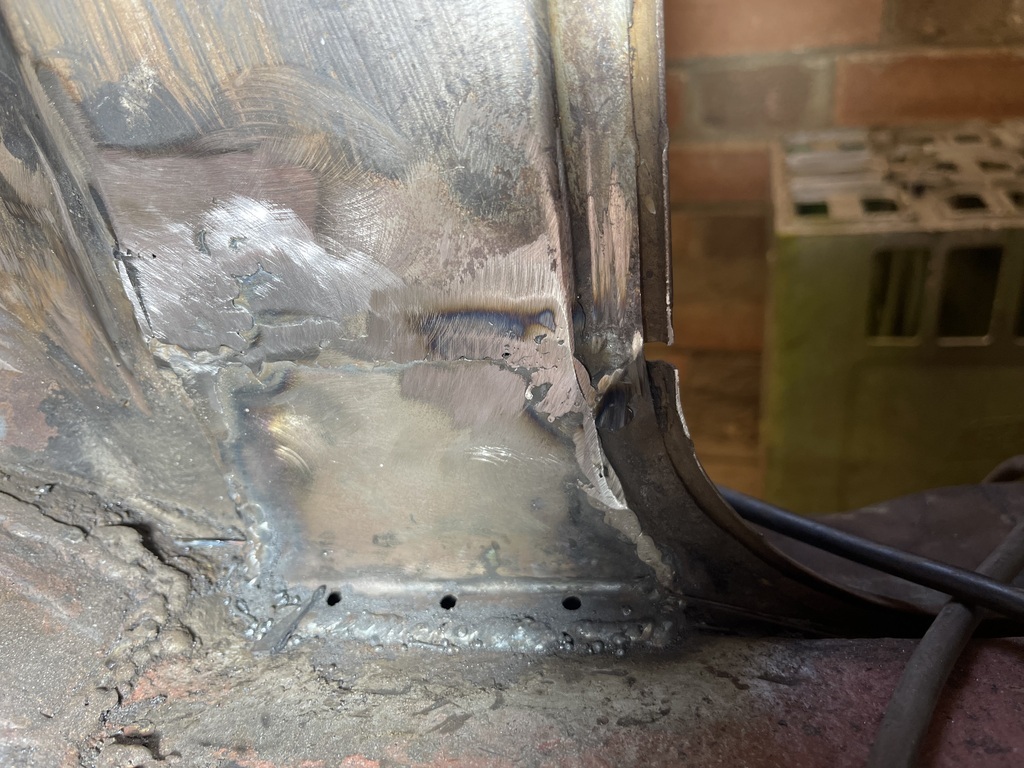 Anyway. I have now, FINALLY, at the point where I can put away the welder for a few weeks and start the next part of the process, masking. Great.... 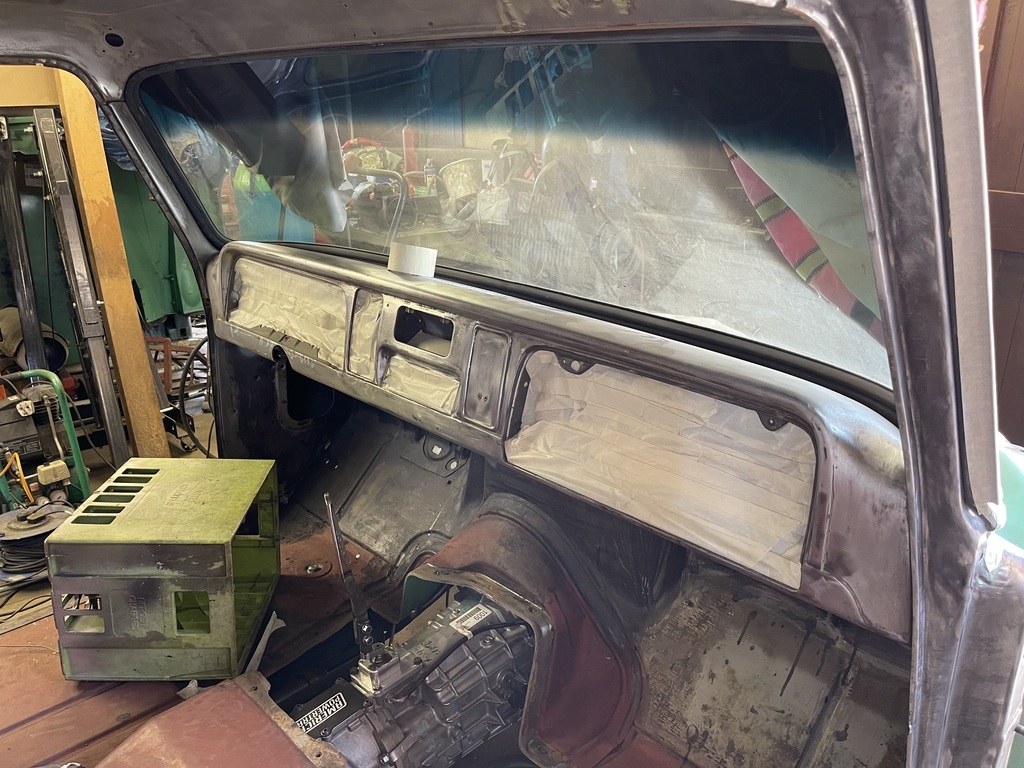 Dash and doors jams masked. Question for those masochist amongst us that actually enjoy this sort of thing. How do you mask up the windows and rubbers? The rear window rubber is a bit old and hard as my first thought was to lever it up and put the tape under it and then pull it over the rubber before using masking paper (does that make sense?) 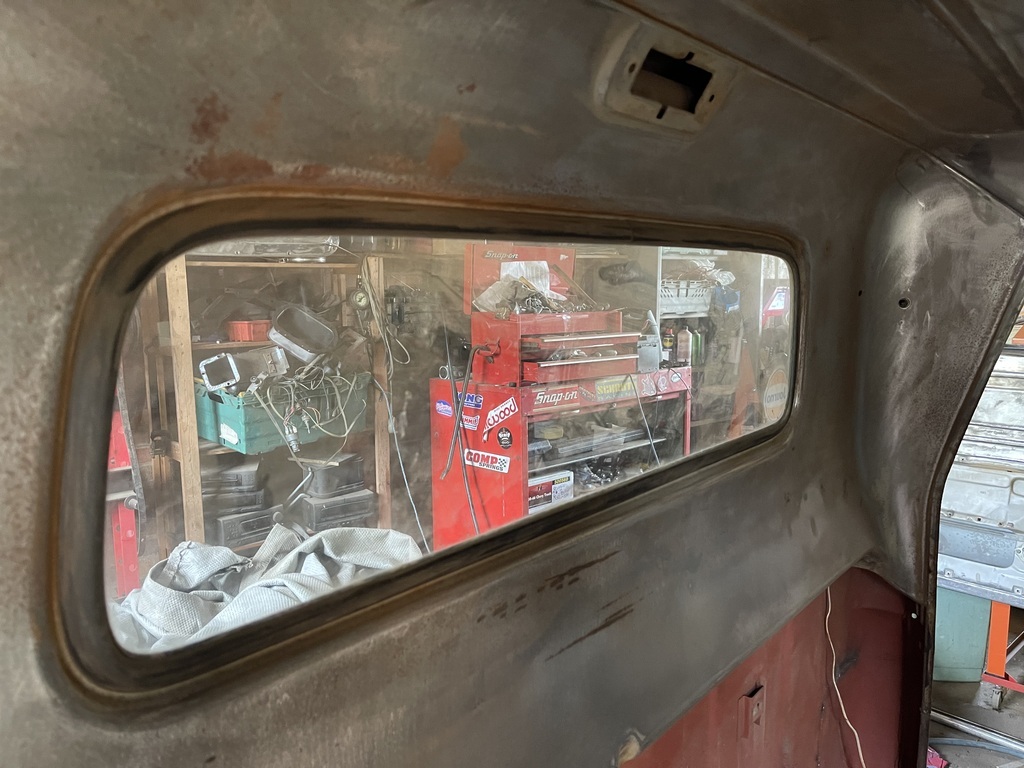 What is the right way - or the easiest way to do this. Mmmm... The picture highlights that a little more rubbing down is required... Anyway. Still urinated off but would appreciate thoughts on the masking. Until the next time. ONWARDS!!!! P.  |
| |
Last Edit: Aug 14, 2022 16:00:59 GMT by Paul Y
|
|
|
|
|
Aug 14, 2022 16:15:12 GMT
|
Nice glassless Terarium there Paul. Not sure if it will work, but I was taught 33 years ago by a syndicate car thief to change colours on a car, you lift the glass rubbers, tuck in some,twin core flex and mask, tucking the masking tape in under the rubber, and painting in under the rubber……. It worked on a 63 Beetle I changed colour on. forum.retro-rides.org/thread/52792/1963-beetle-resto-long-timeGood luck with that. |
| |
Last Edit: Aug 14, 2022 16:17:34 GMT by grizz
|
|
|
|
|
Aug 14, 2022 20:21:30 GMT
|
|
Yep I have used the electrical flex method and it works a treat.
|
| |
|
|
|
|


