hario
Part of things
  S202 C300STD
Posts: 421 
|
|
Aug 26, 2017 15:13:44 GMT
|
|
We now use postimages.org which is ok, but apparently you get 15gb with a gmail account also, might try that. Whichever is easiest to get photos from camera phone directly up.
Keep up the build! I'm building a garage for my parents so I can fill it with a series 1 and om60-something conversion, and so I read threads like yours with interest and inspiration
Beers!
HH
|
| |
Last Edit: Aug 26, 2017 15:14:39 GMT by hario
*S202 C300TD Wagon*
Installed:
OM606 & 722.6, Evo6 IC, S600AMG callipers & 345mm rotors. No catz. Leatherish seats.. Rust..
Future:
DIY manifolds & turbo compound build.
Built IP, & some kind of software. Less rust..
|
|
|
|
sowen
Club Retro Rides Member
Posts: 2,245
Club RR Member Number: 24
|
|
Nov 22, 2019 21:22:24 GMT
|
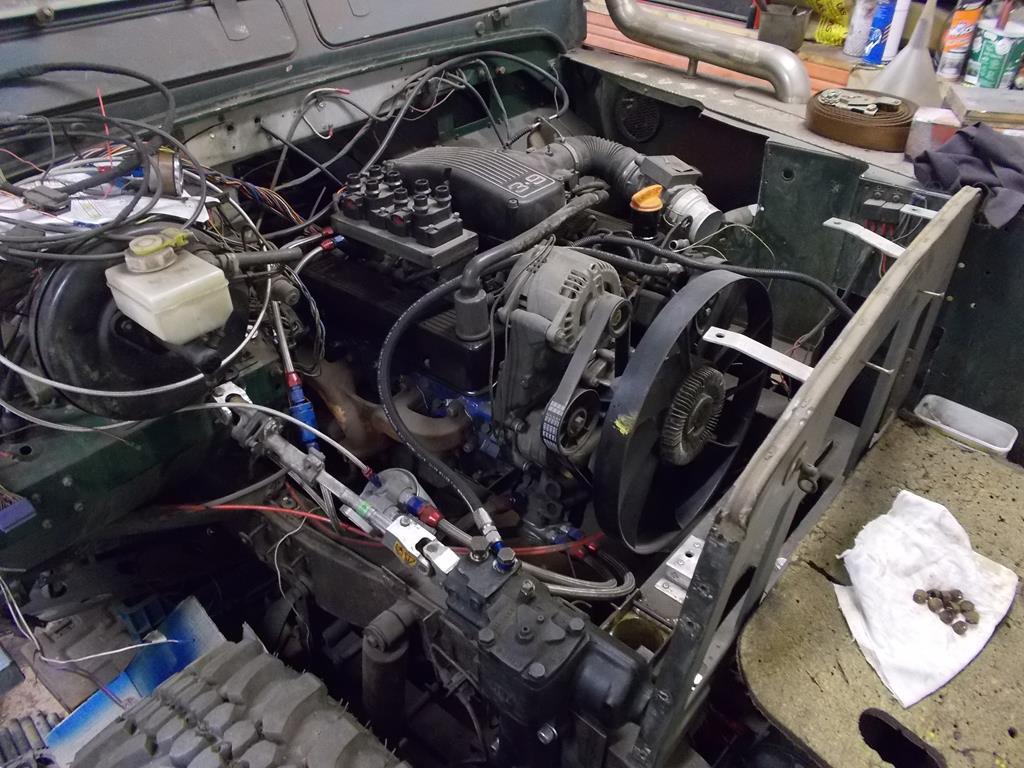
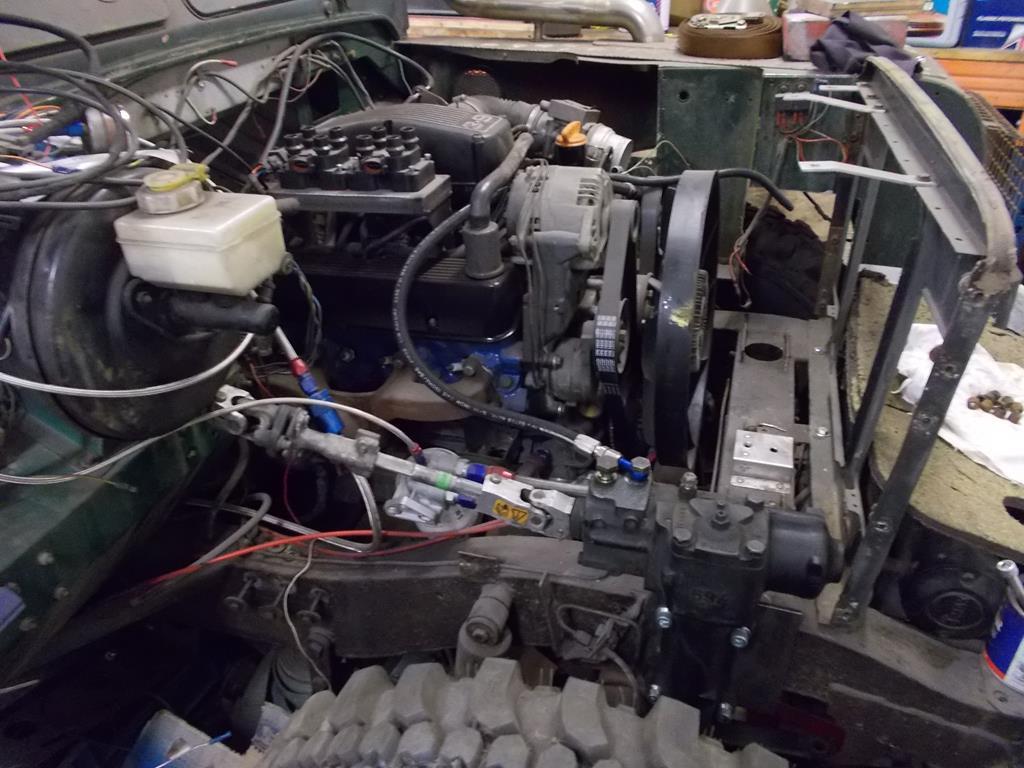
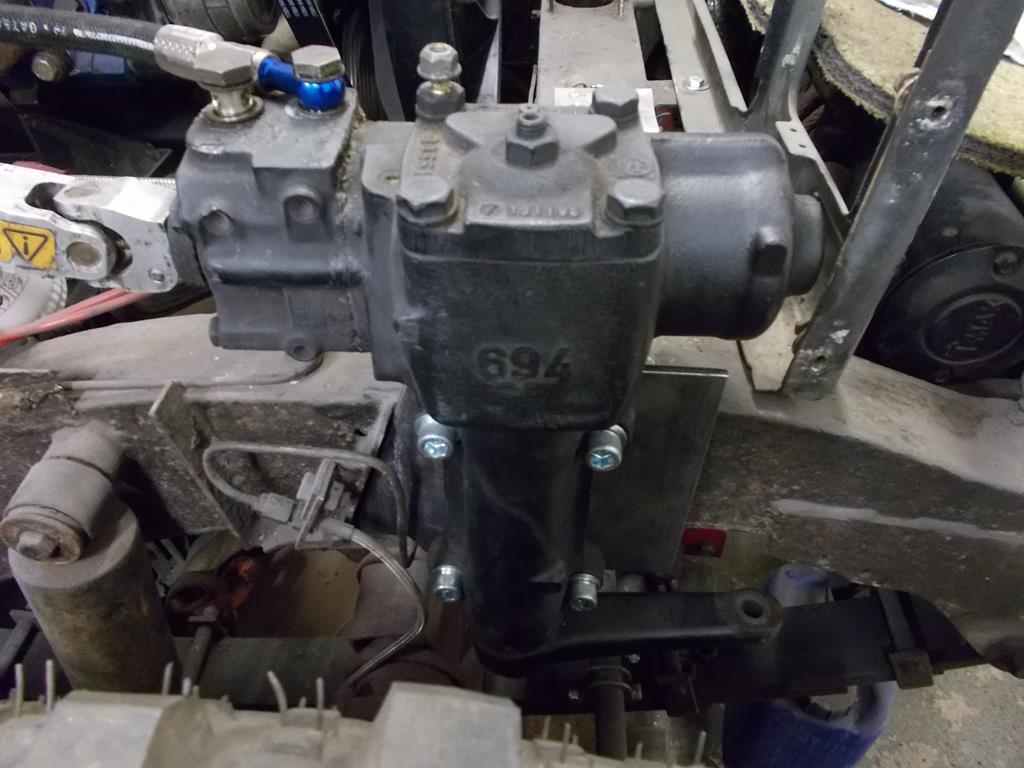
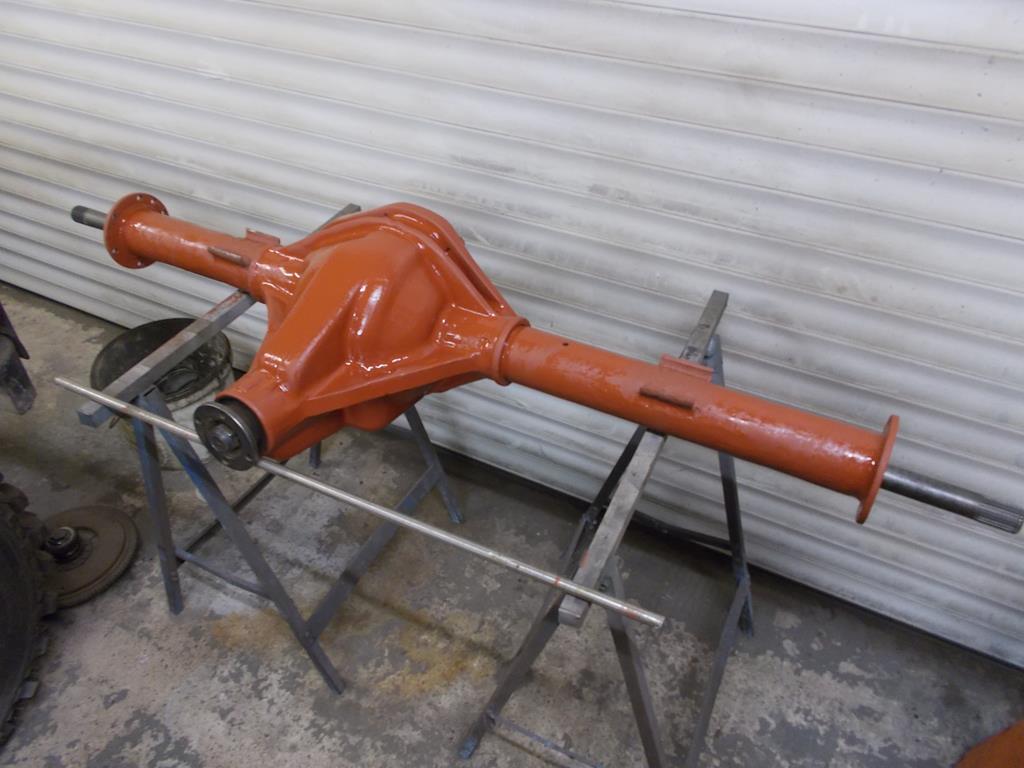
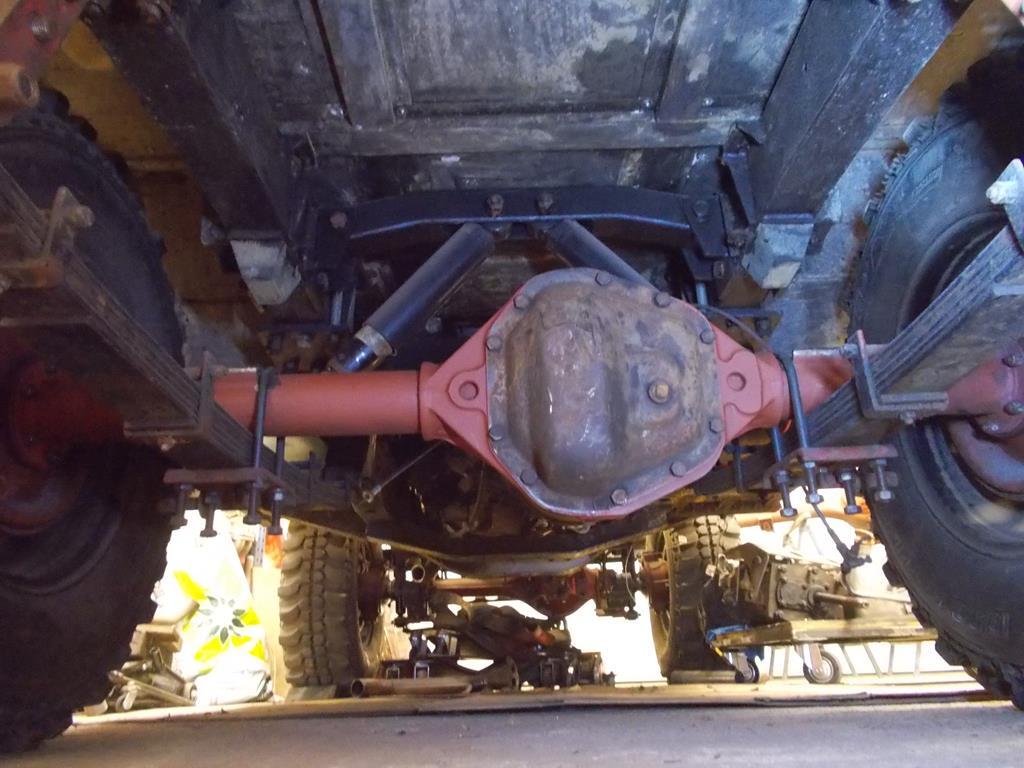
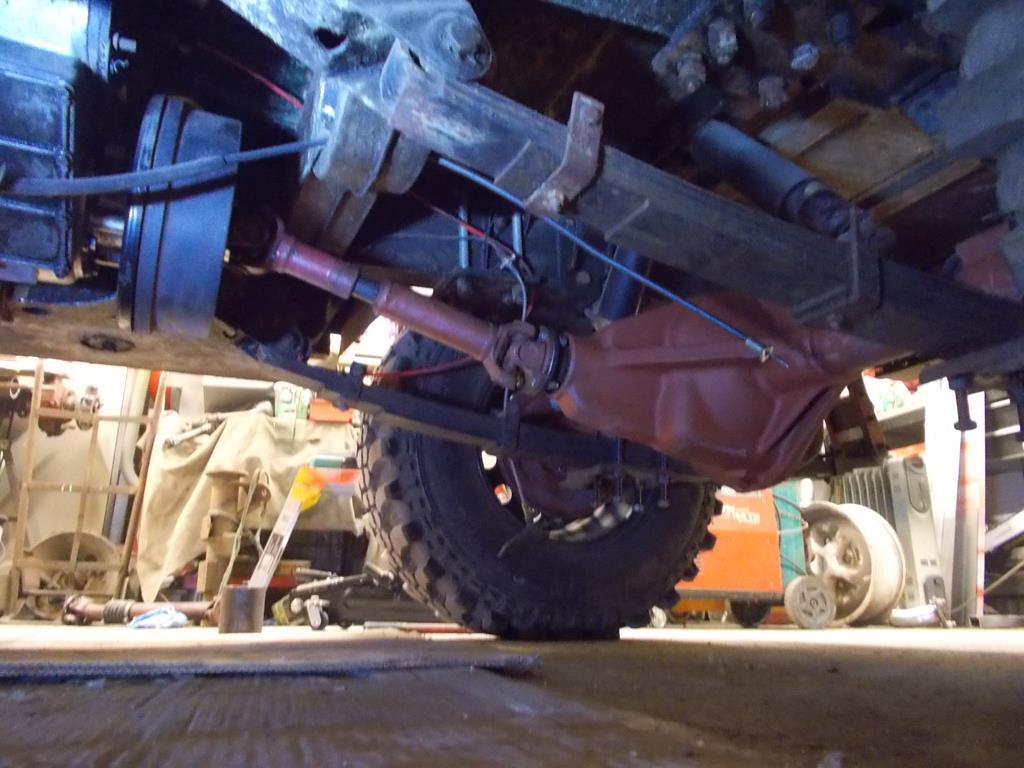
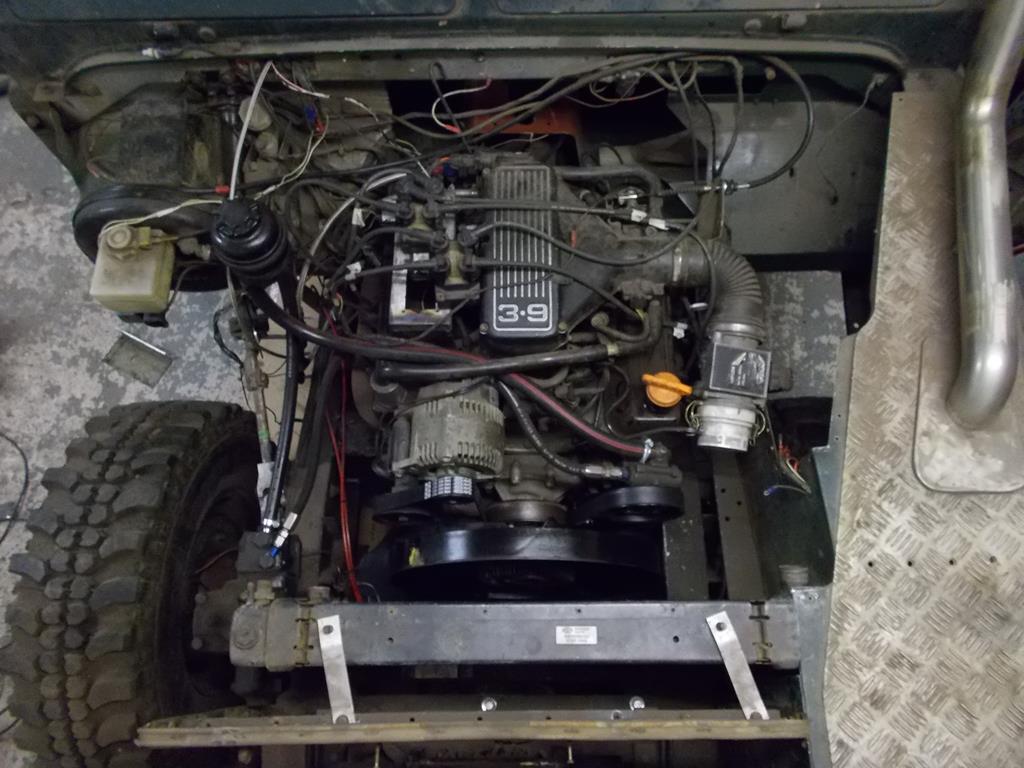
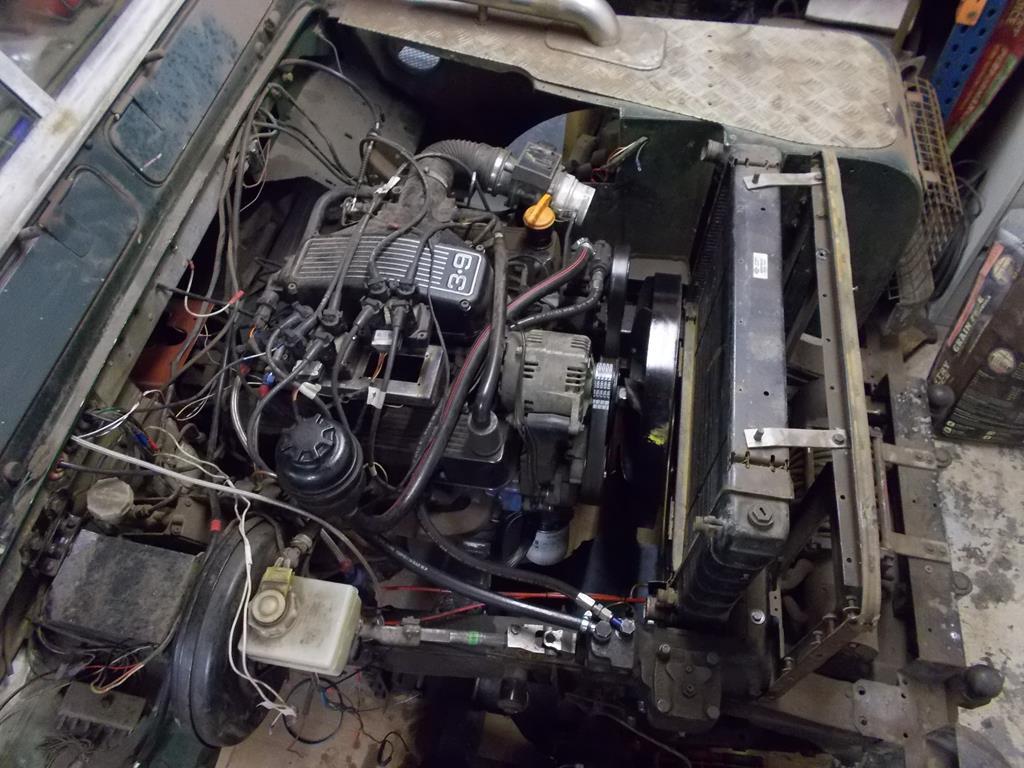
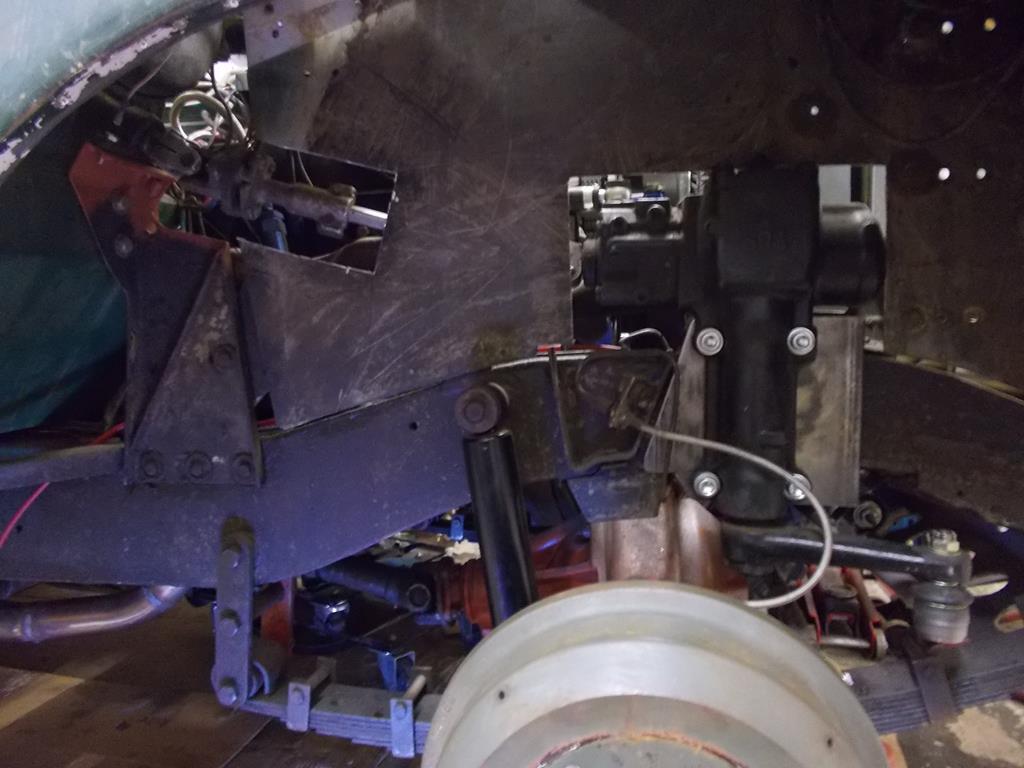
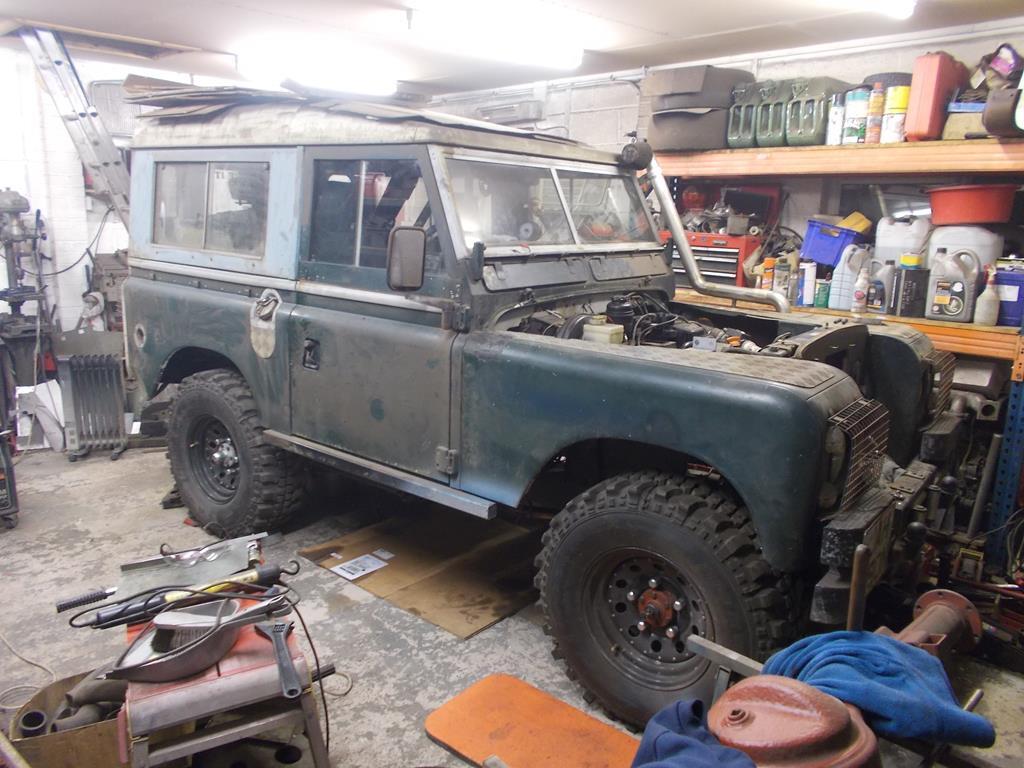
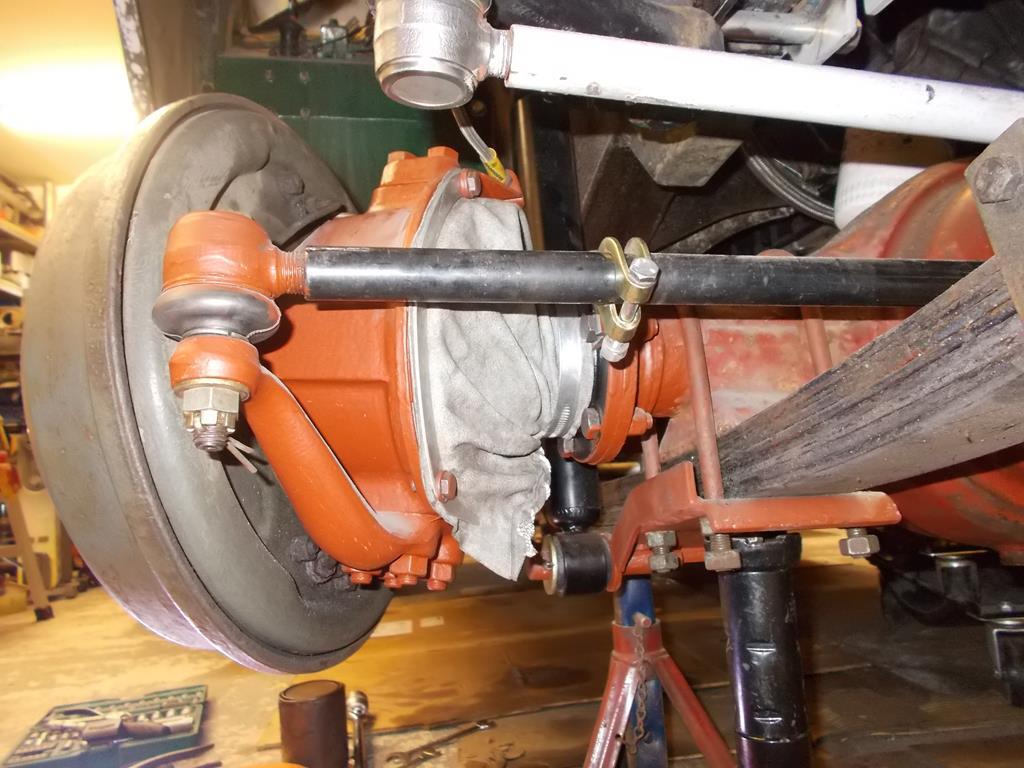
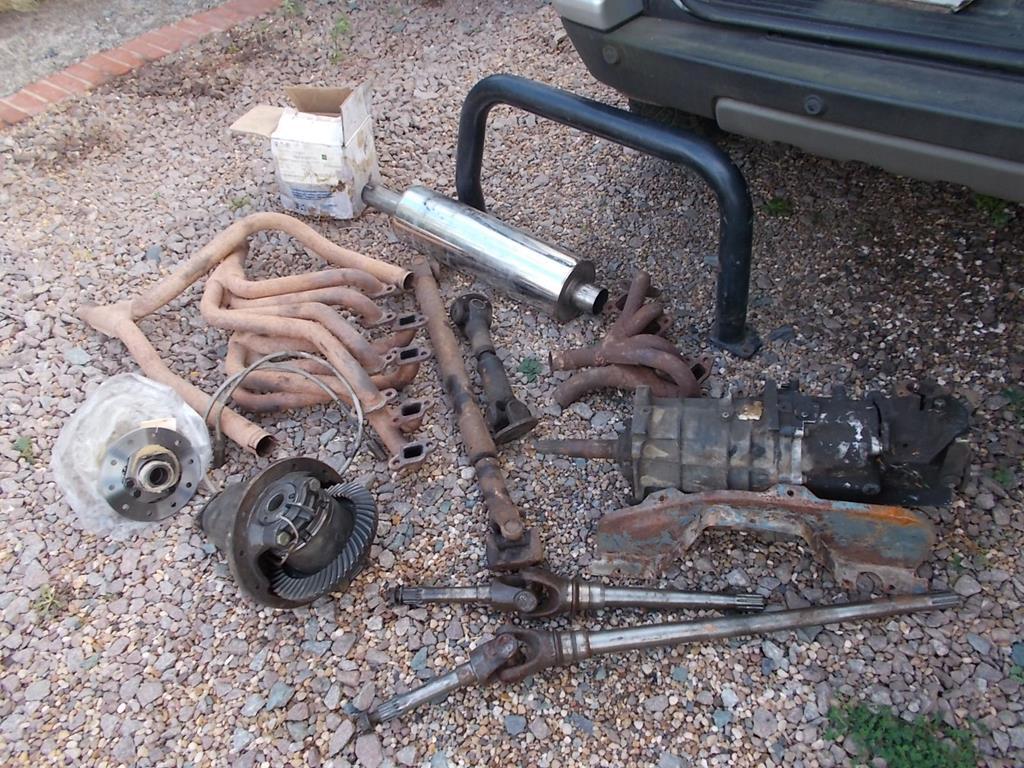
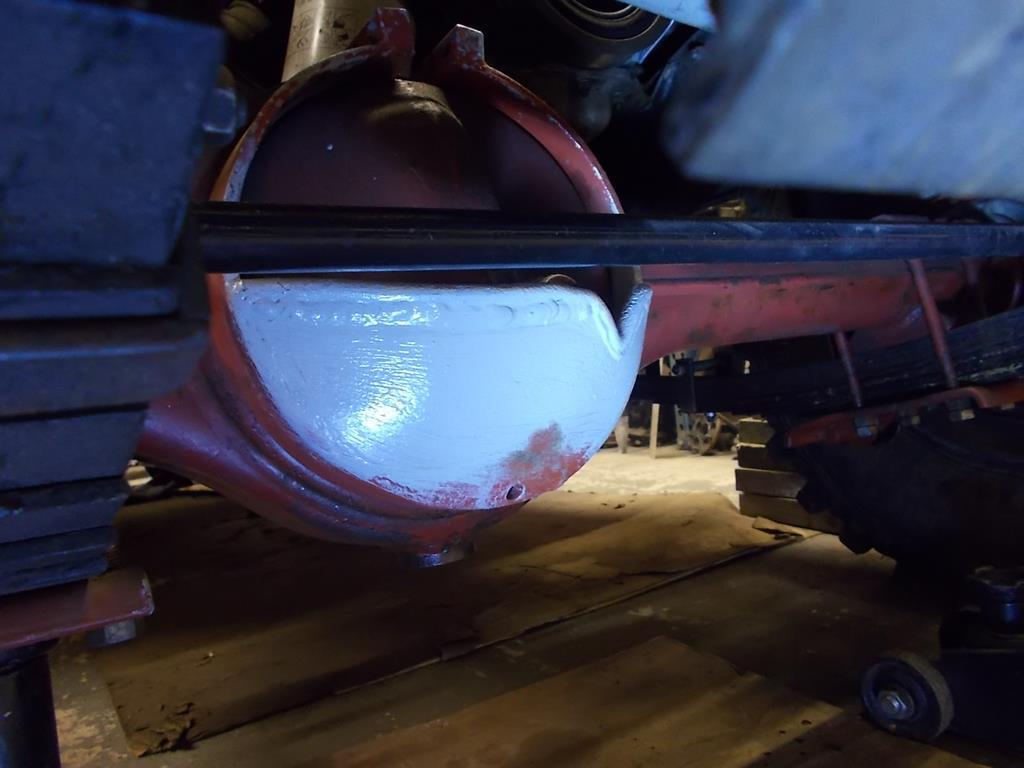
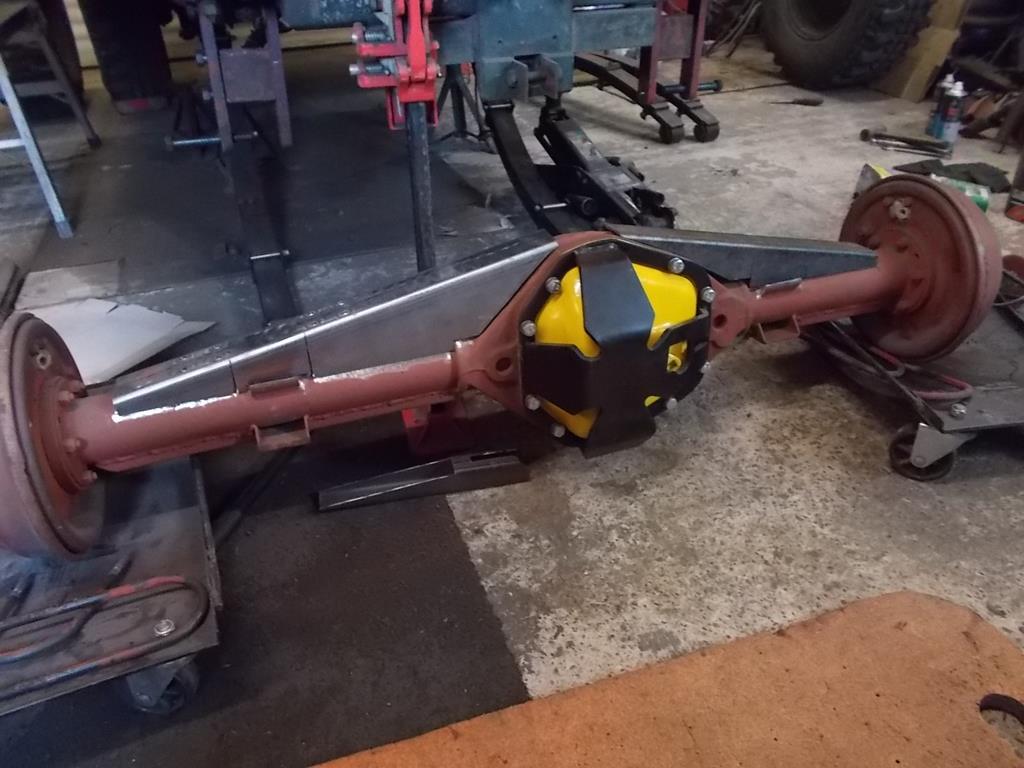
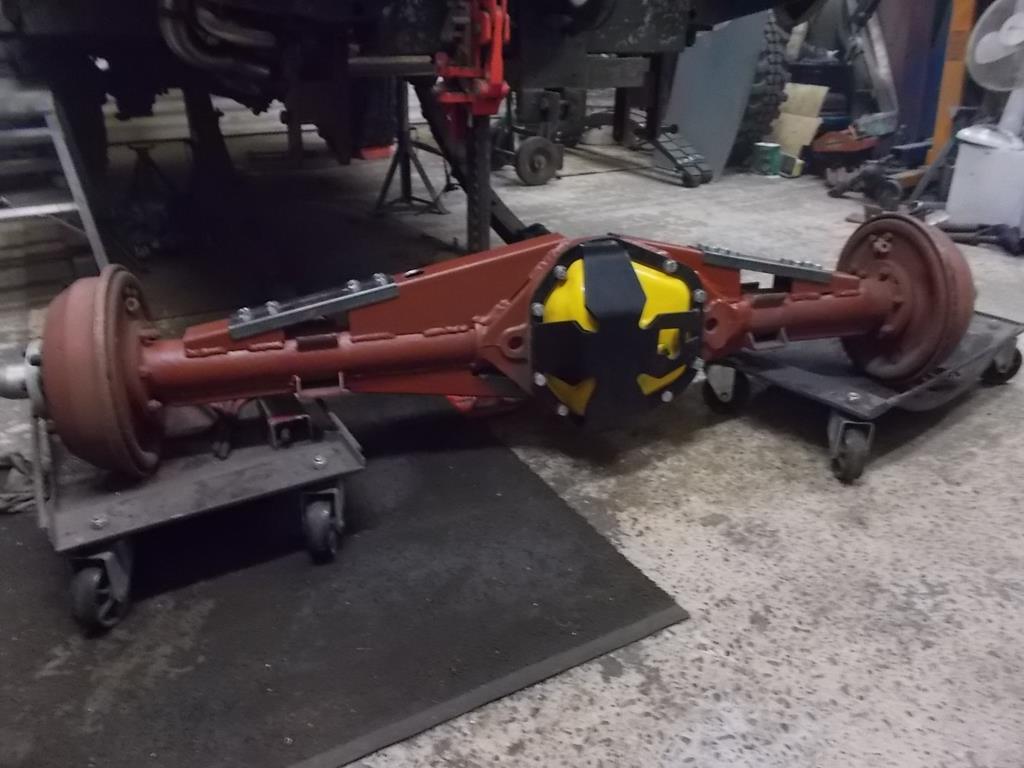
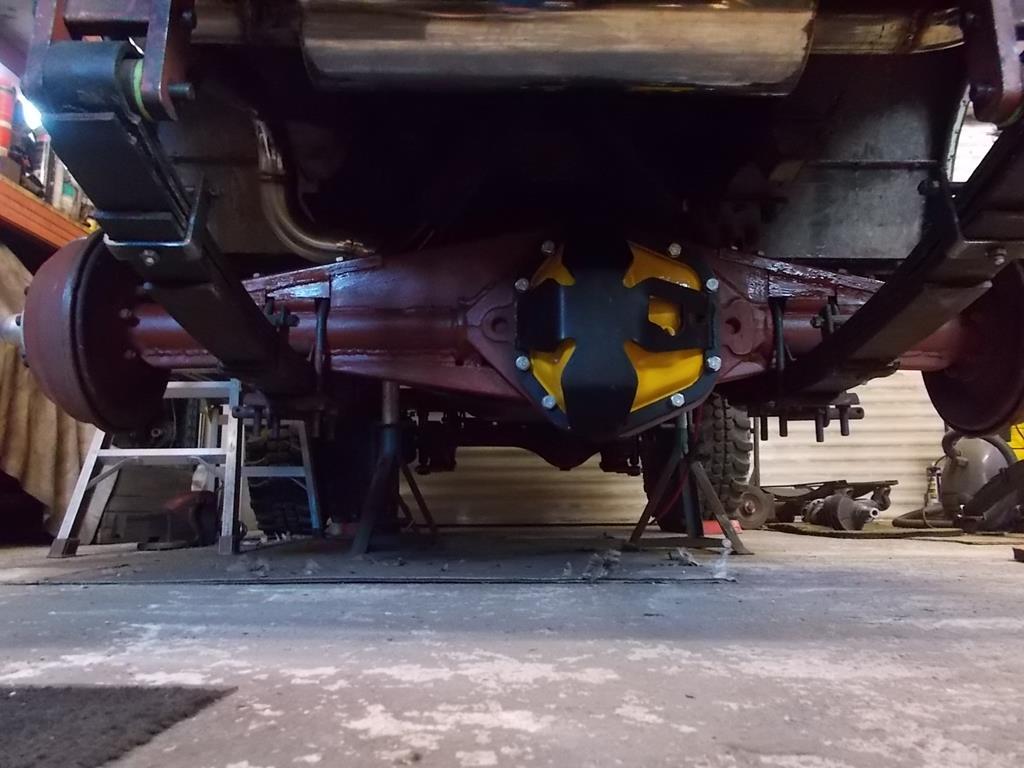
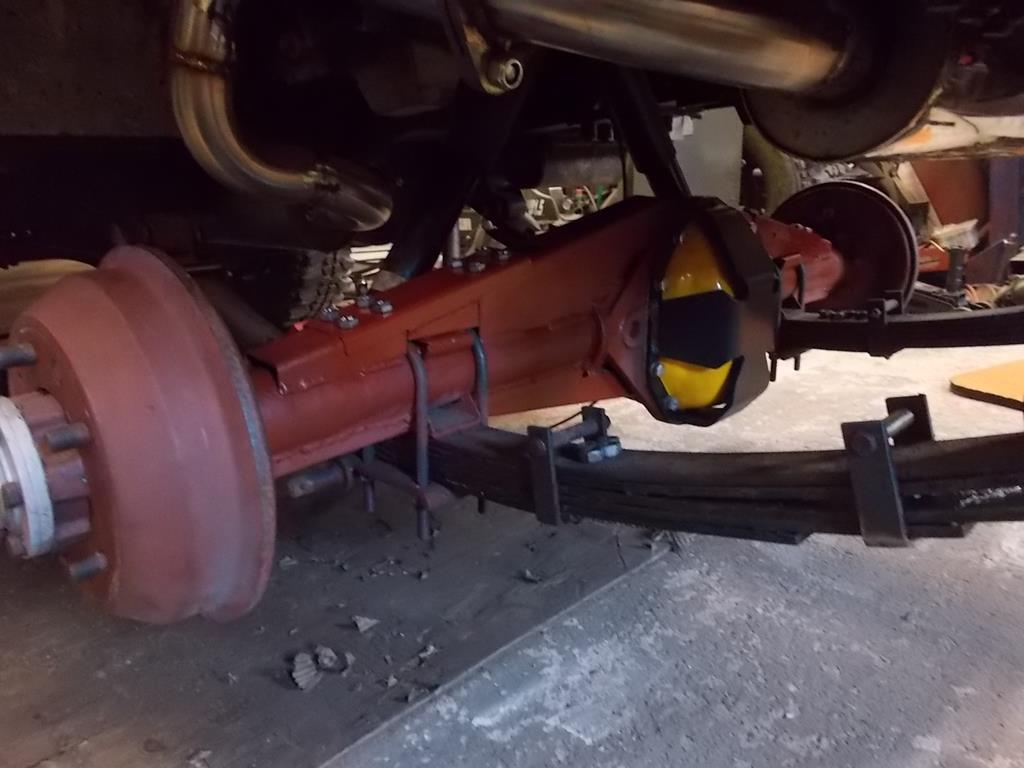
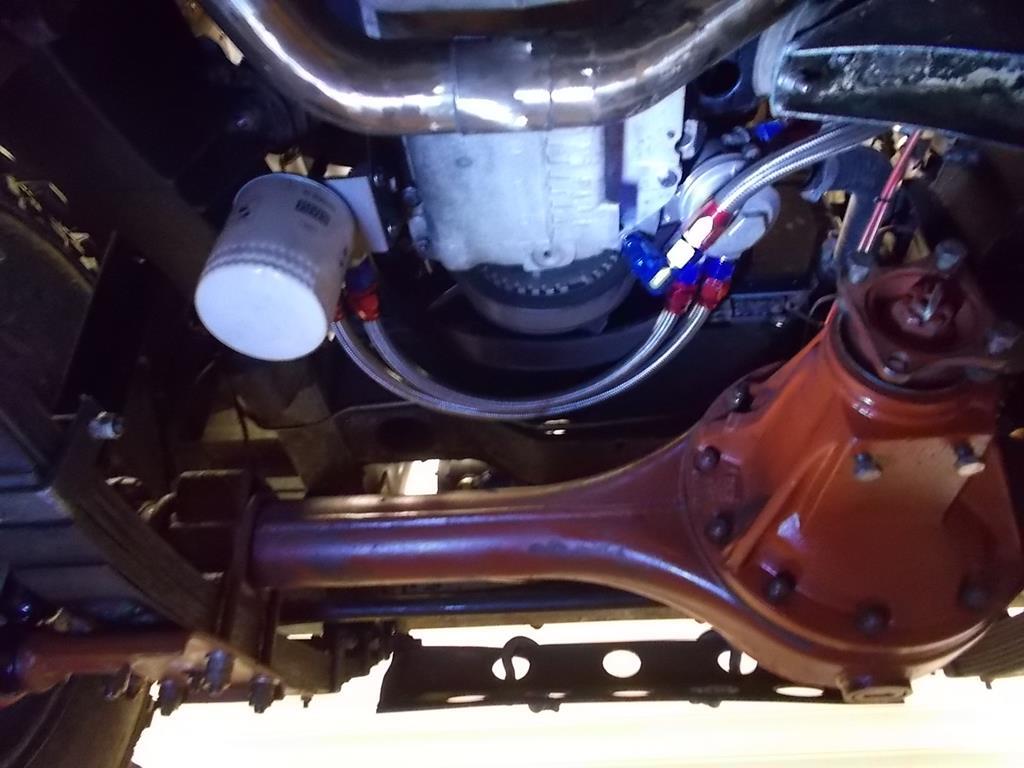
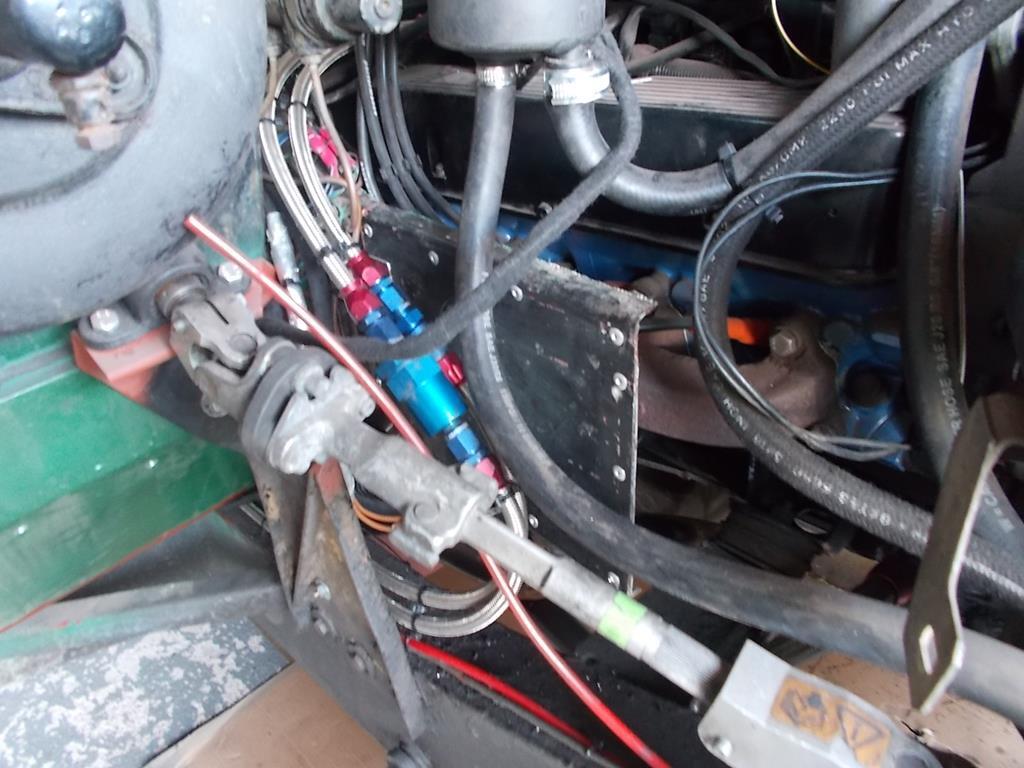
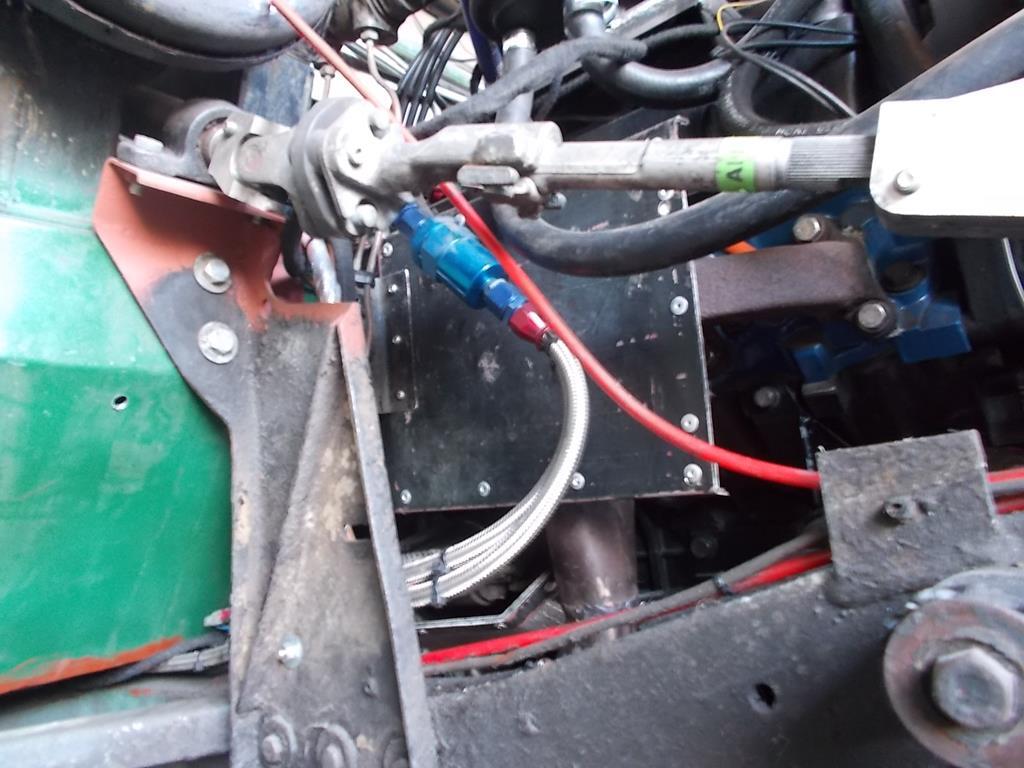
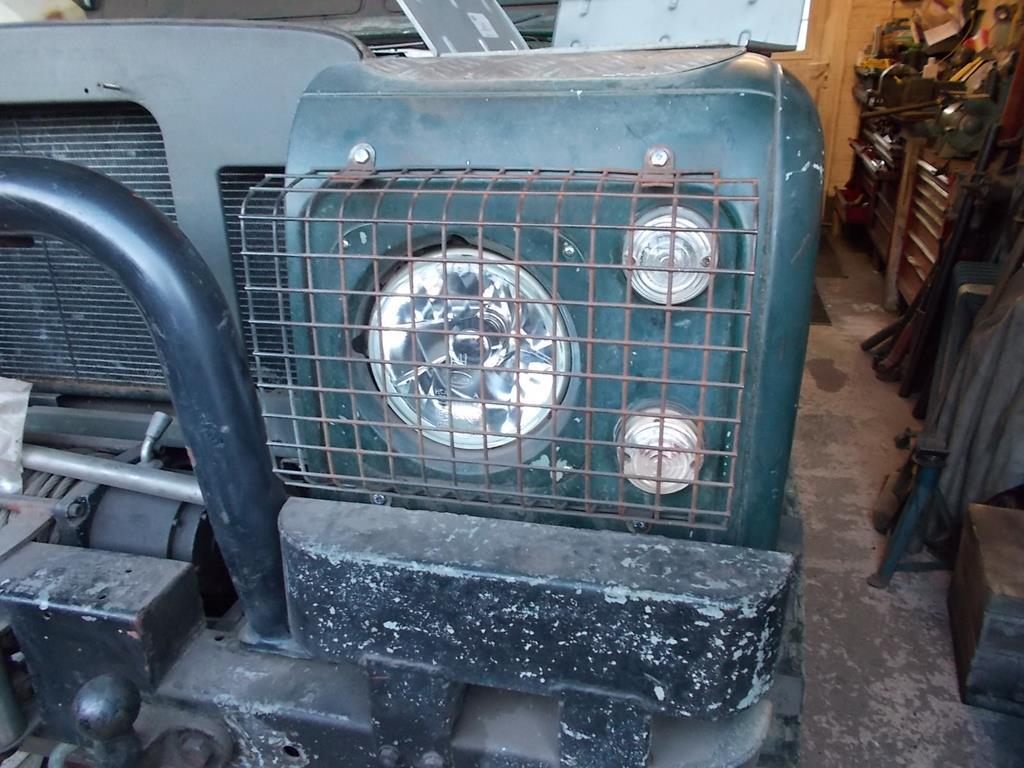
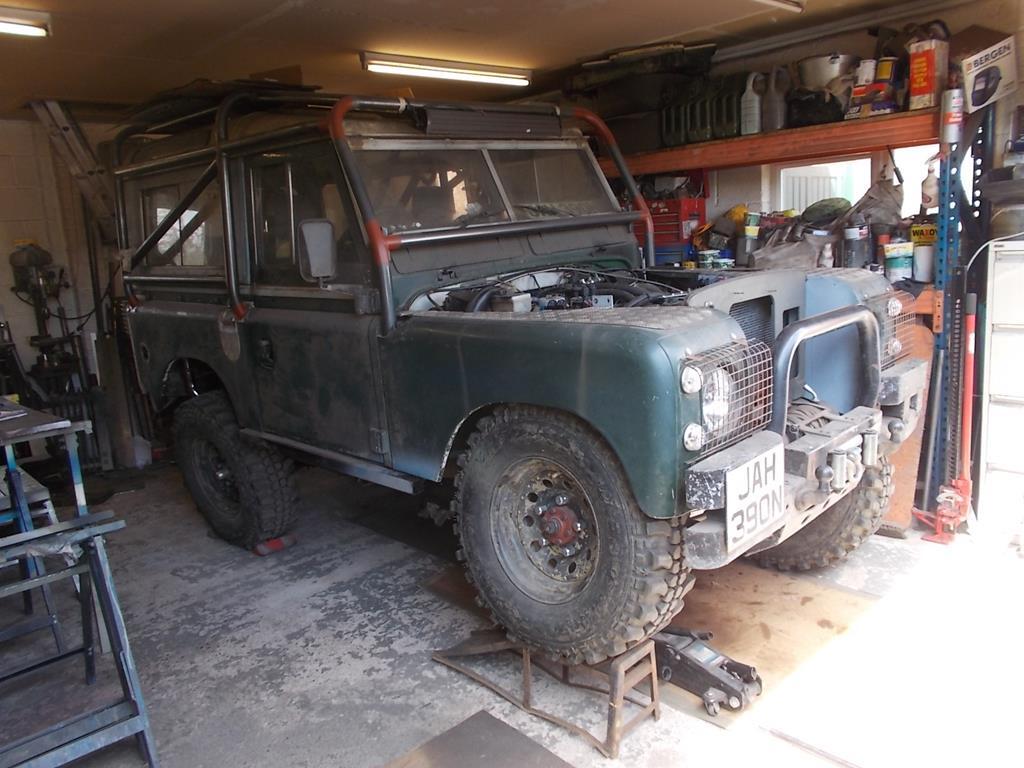
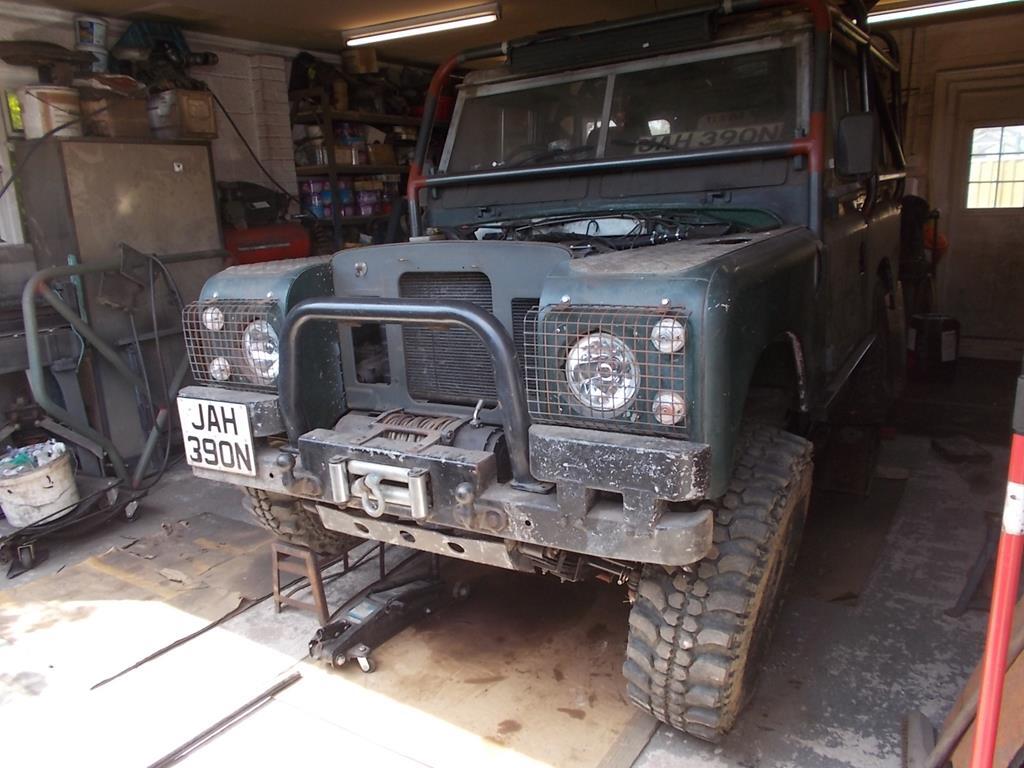
I think it's time to drag this one back up from the depths and do a little updating! Last proper update was way back at the beginning of 2016, at the time I believe I was still tinkering with the spring over and OM606 conversion. The OM606 was pulled out back in 2017 to go in my 109", leaving the little 88" heartless. It didn't take long to come up with a new plan and crack on with making it live again.... 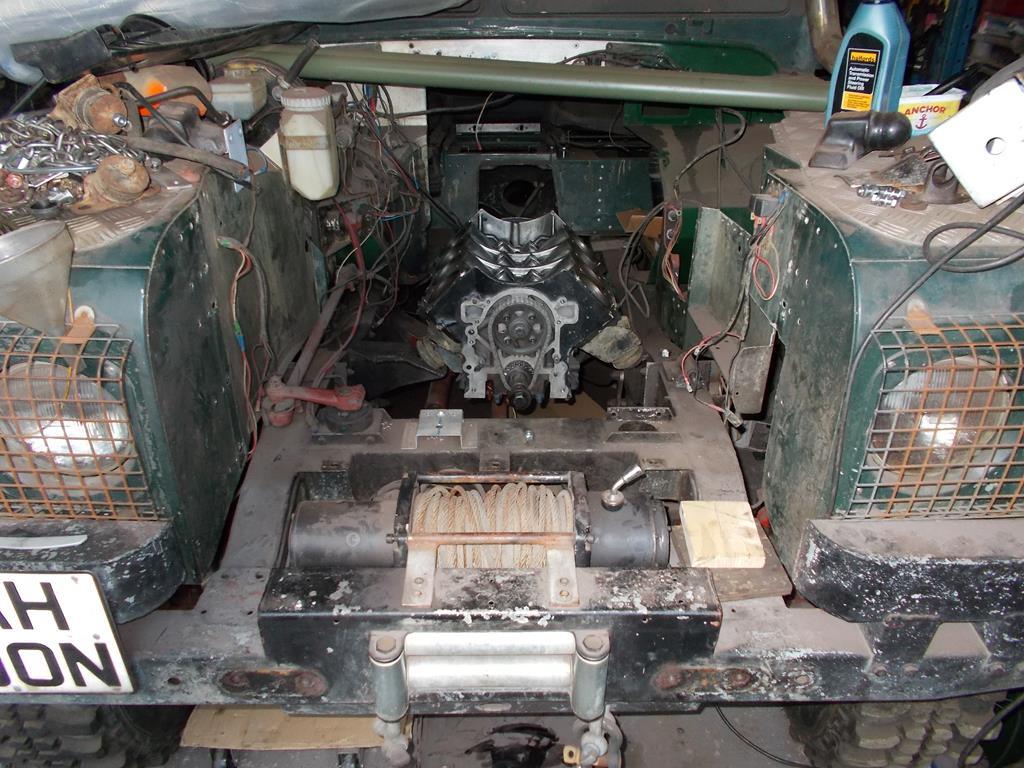 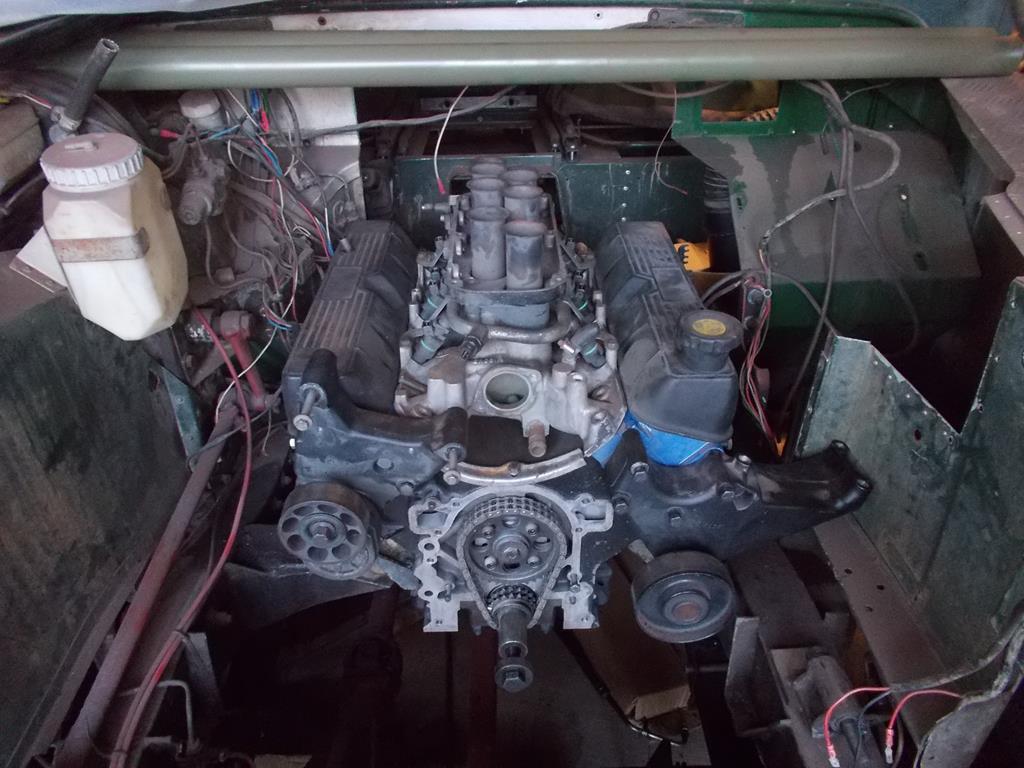 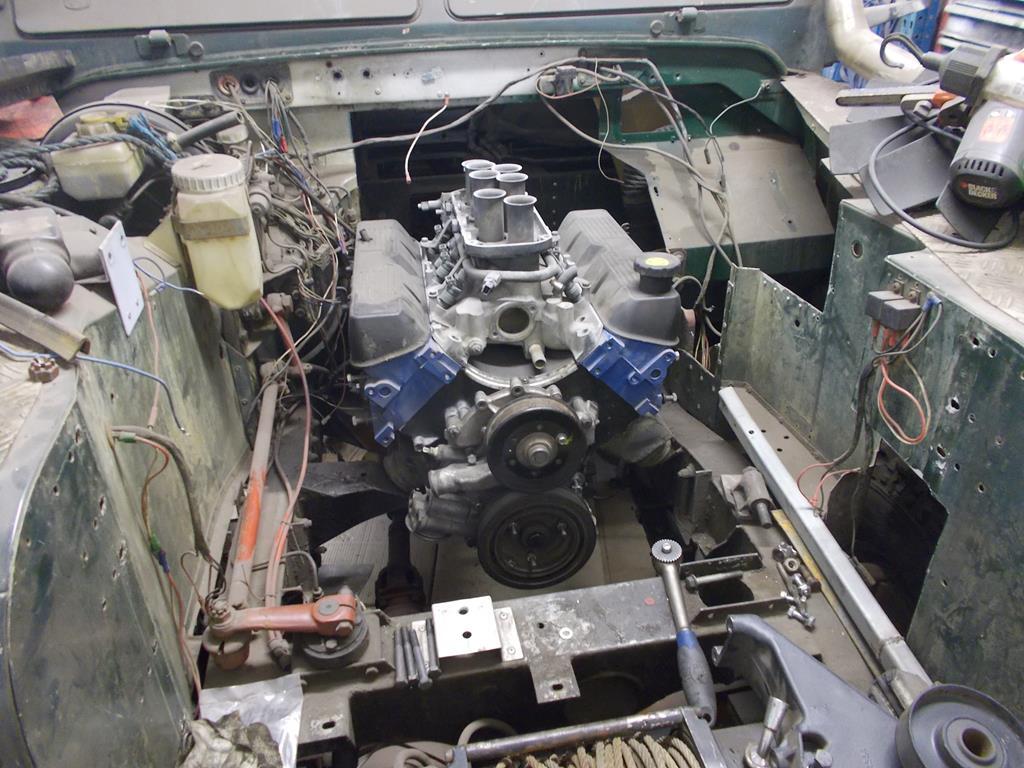 There's my little 3.9 Rover V8, with a spare set of 10 bolt heads and mocking up a P38 timing cover And to go behind the V8 I've stripped a spare R380 gearbox and fitted a stumpy input shaft and bellhousing 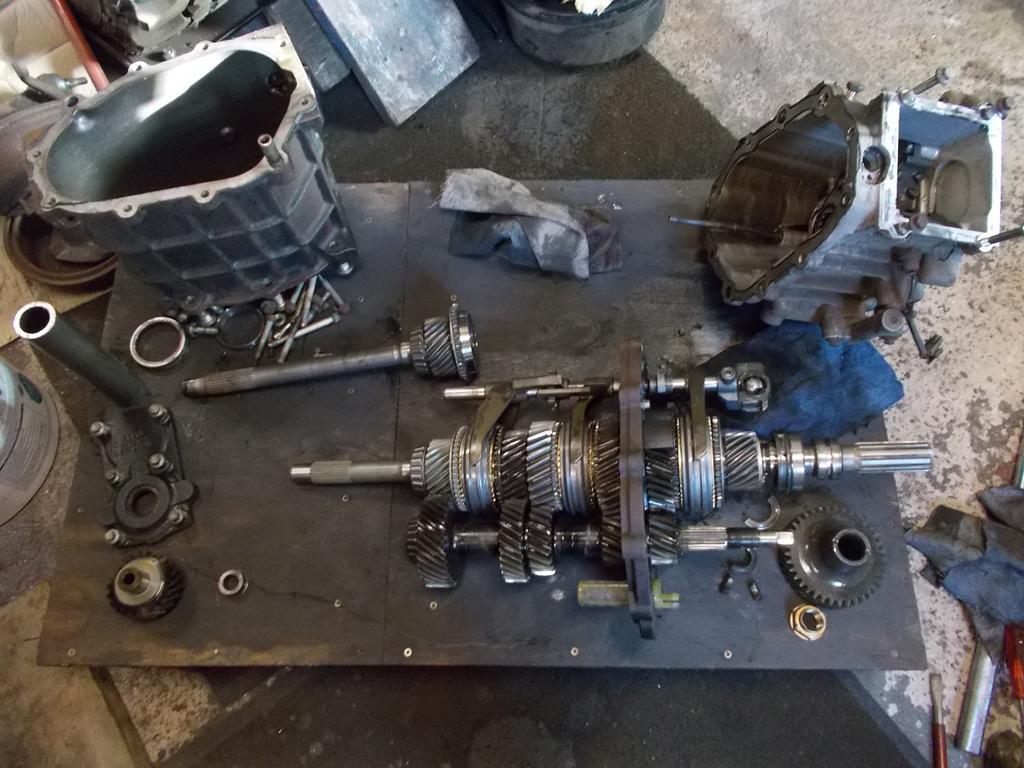 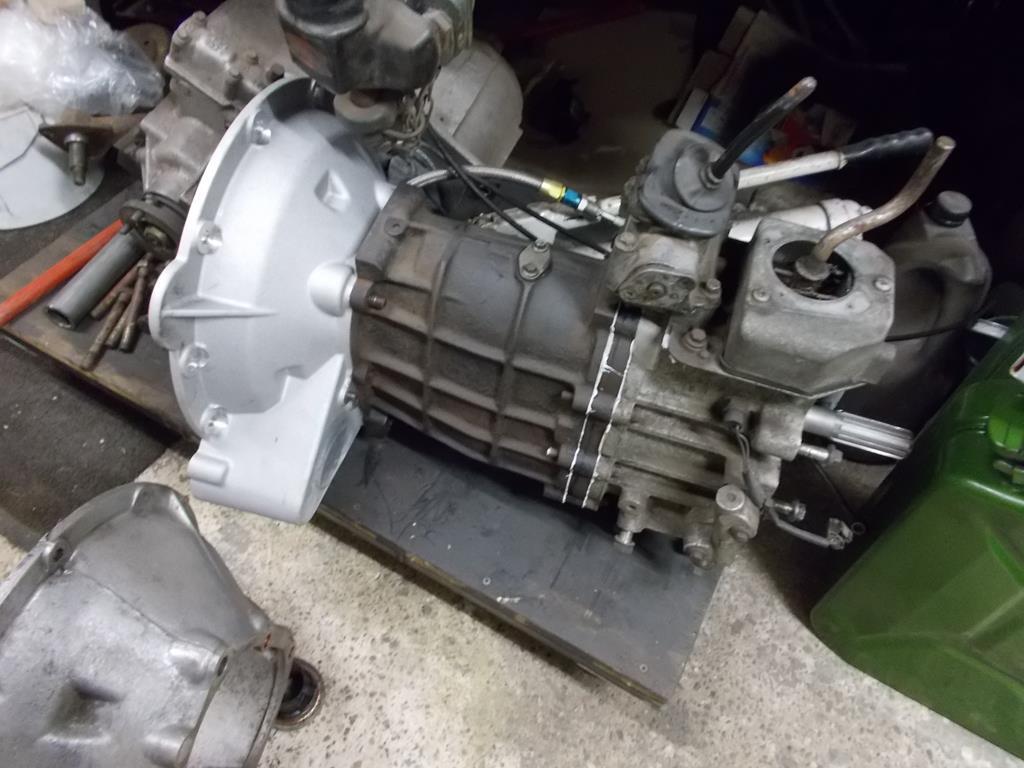 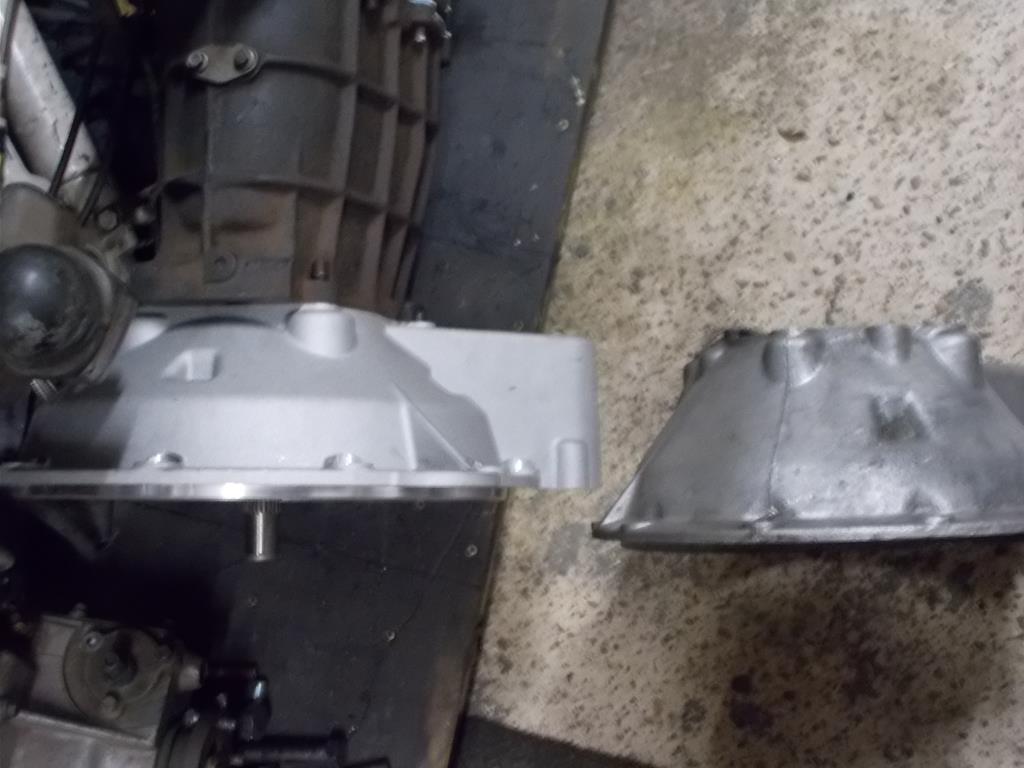 The heads were tidied up on a surface plate and fitted, the P38 crank pulley fitted with a 36-1 tooth trigger wheel and the 3.9 crankshaft keyway extended to take the longer P38 key to drive the oil pump 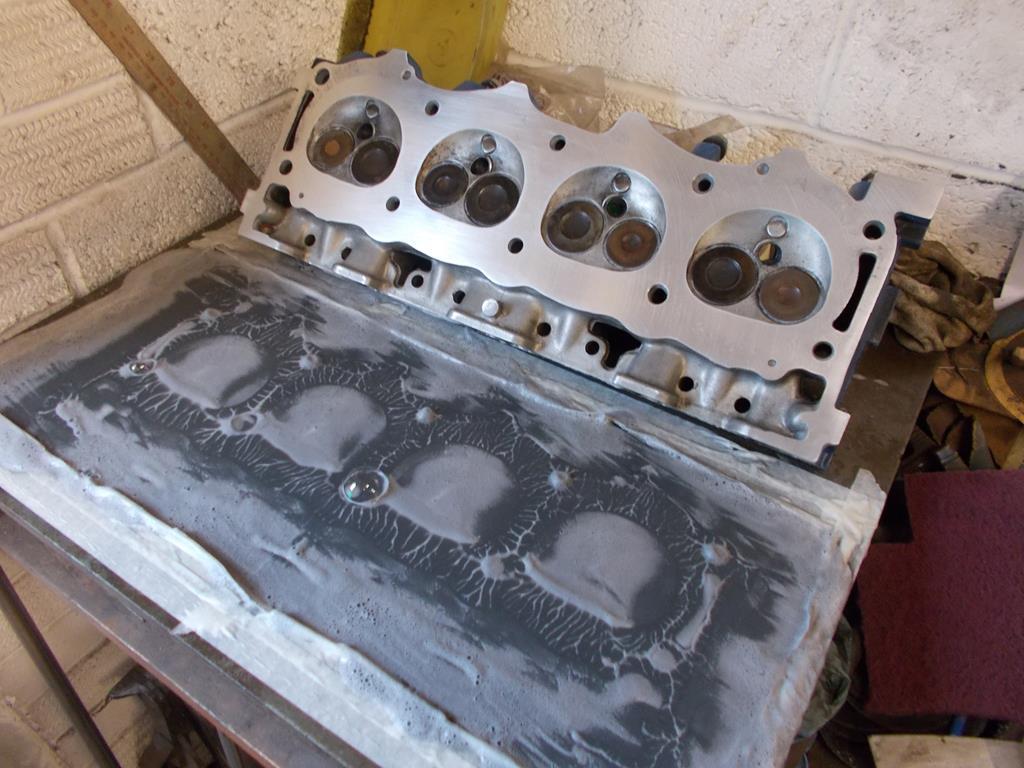 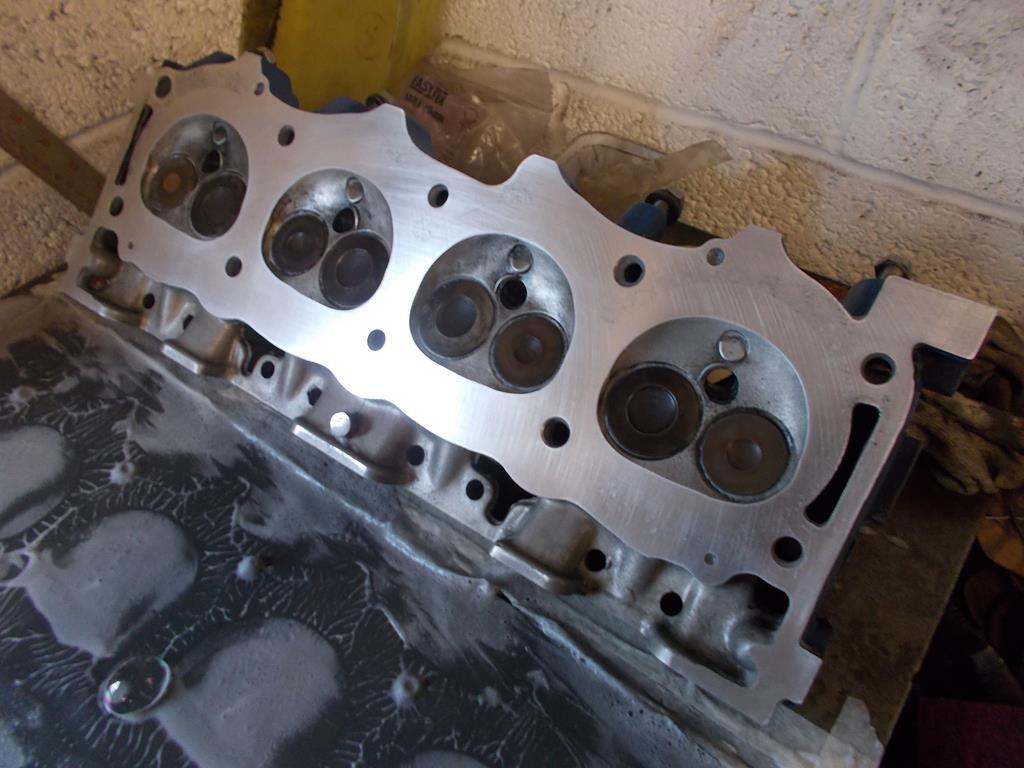 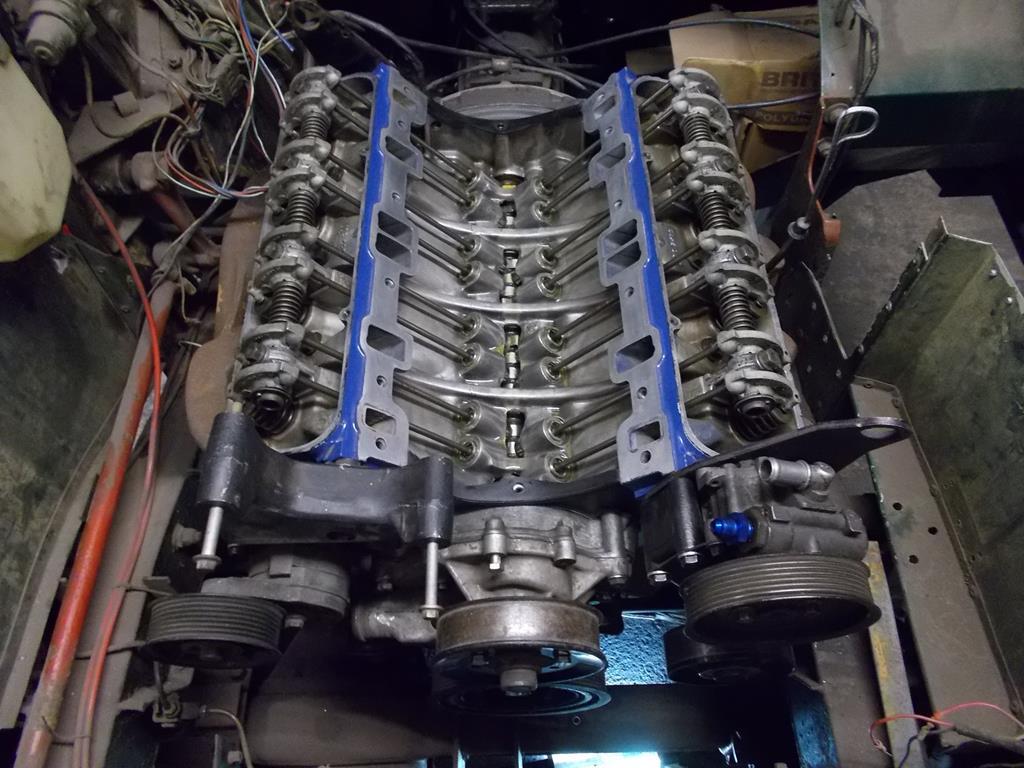 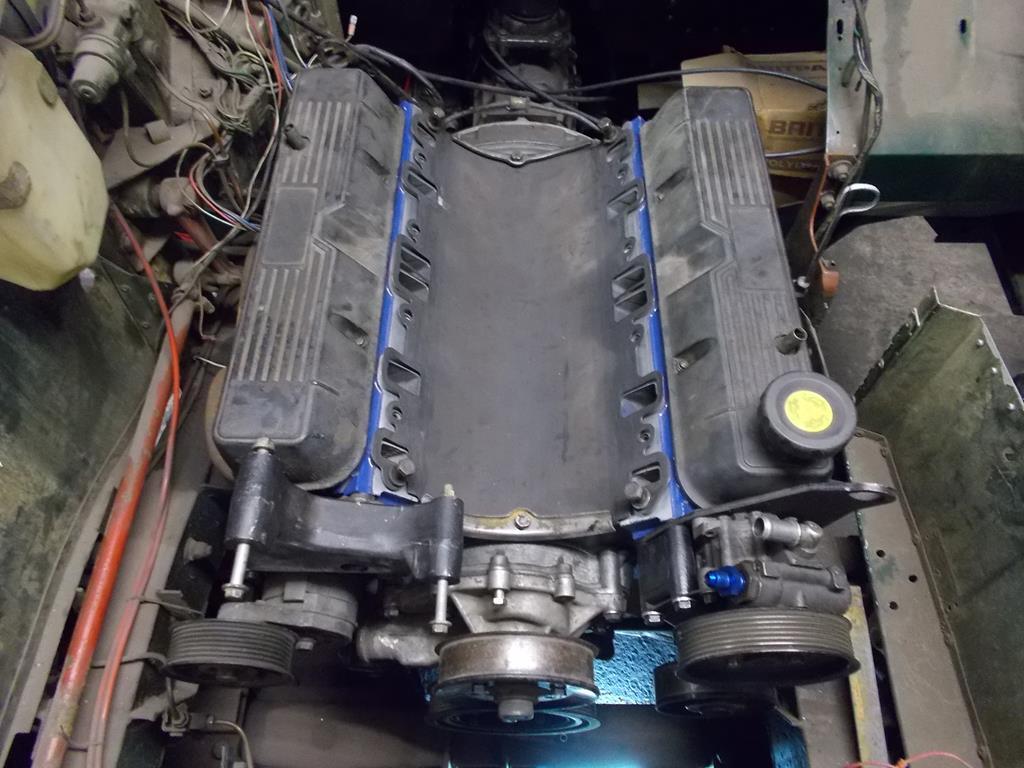 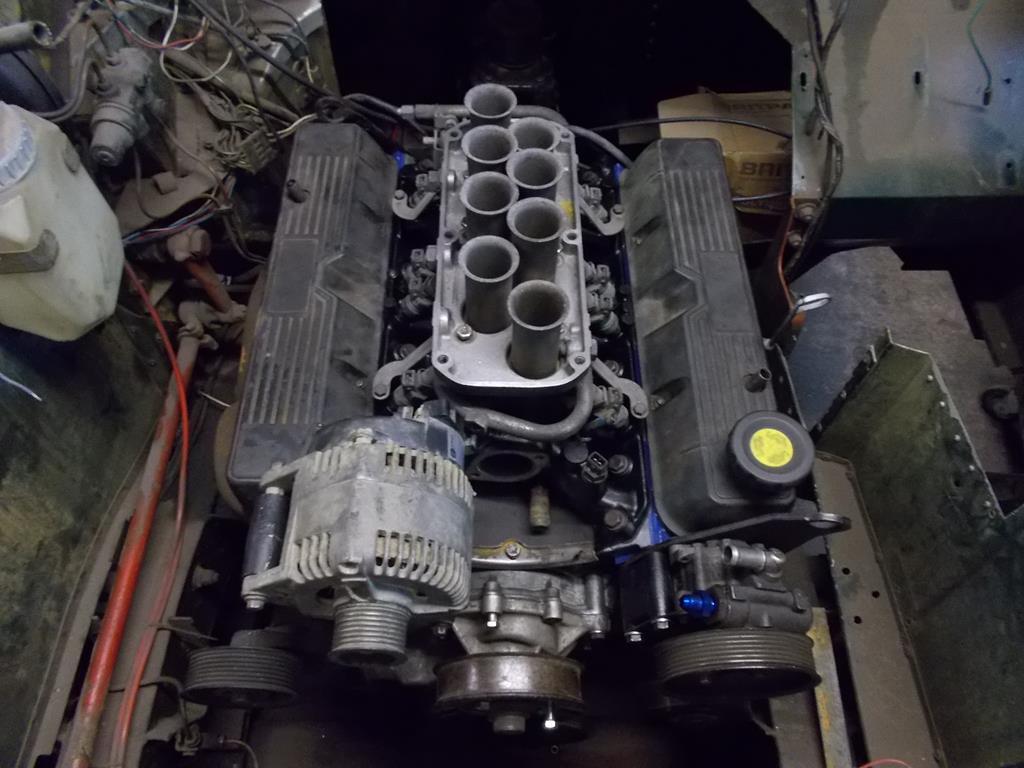 A coilpack mount was made, and the engine dressed up with remote oil filter, manifolds, airflow meter, viscous fan, radiator etc.... 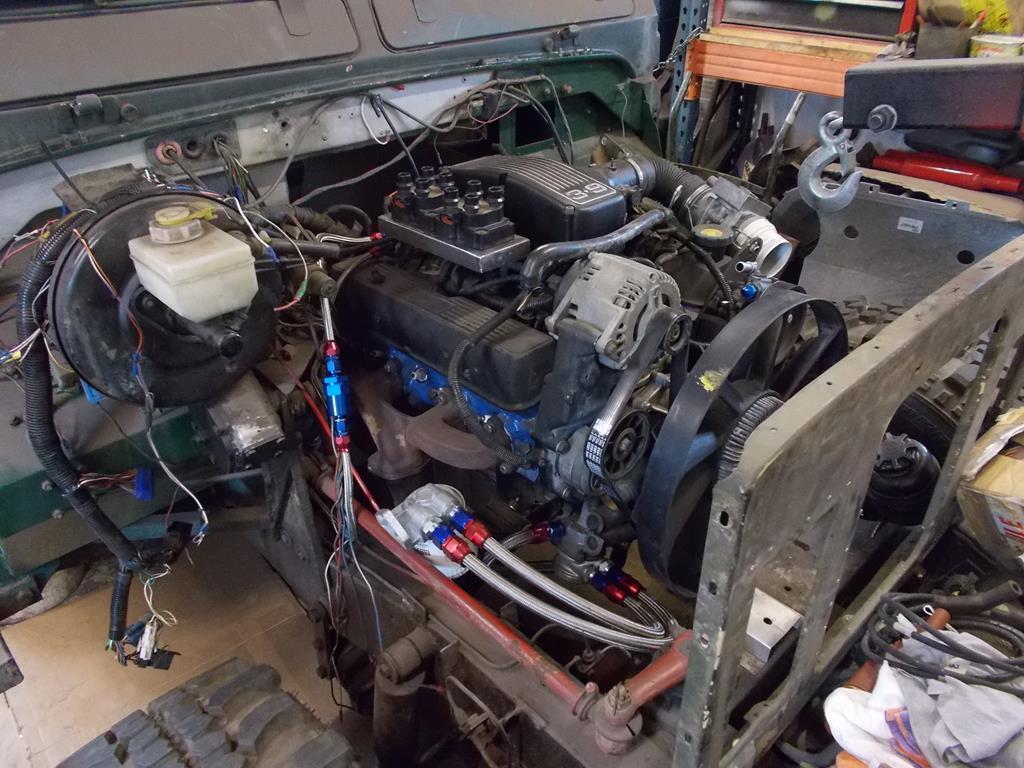 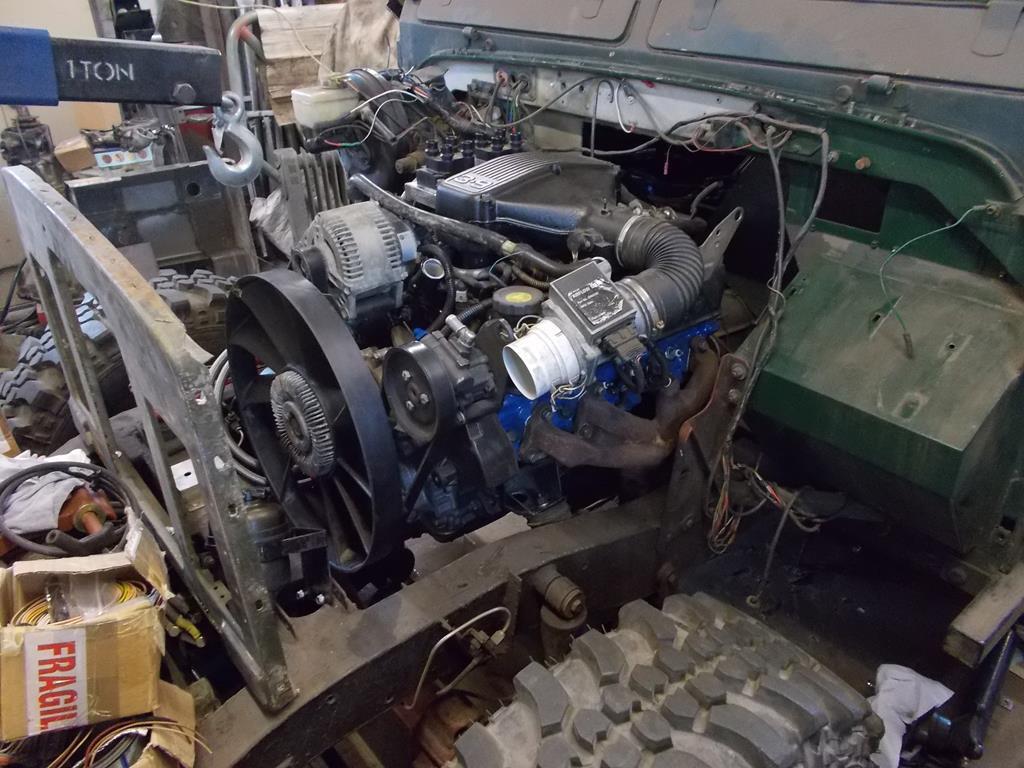 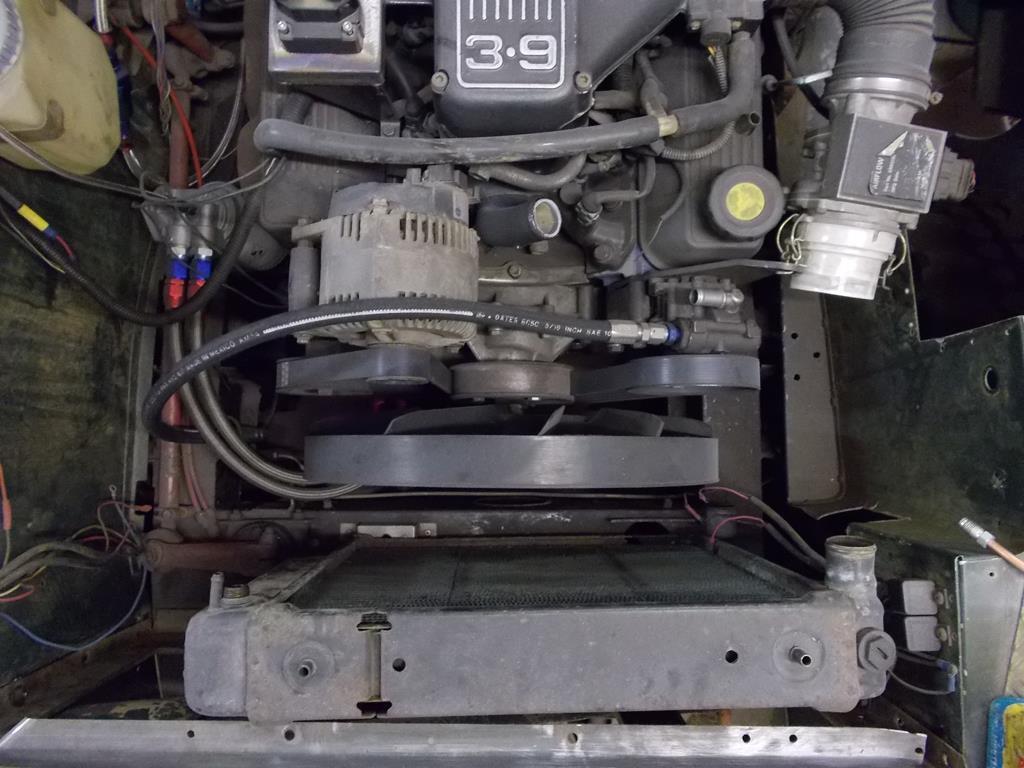 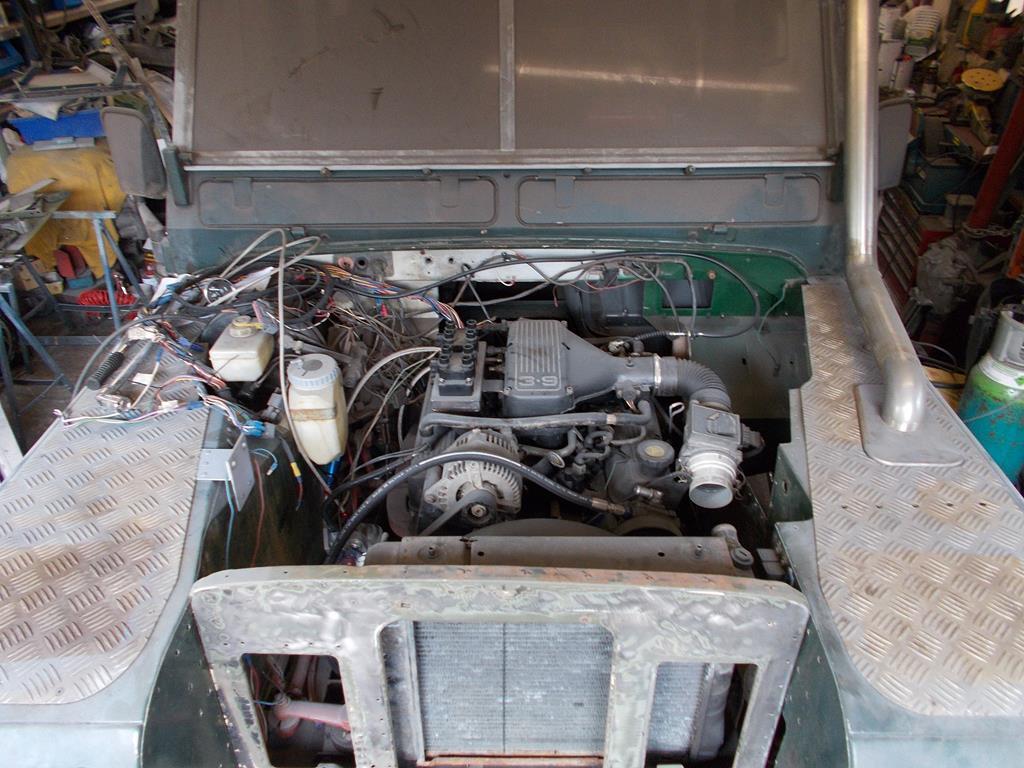 In the meantime the old axles were refitted, I'd come to the conclusion that going spring-over was just too ambitious with the quantity of projects I have and I couldn't really justify the conversion anymore. This brings it up to the beginning of 2018, and I was quite heavily involved in working on the P6 and 109 so the little 88" was duly buried under junk yet again and left to gather dust..... 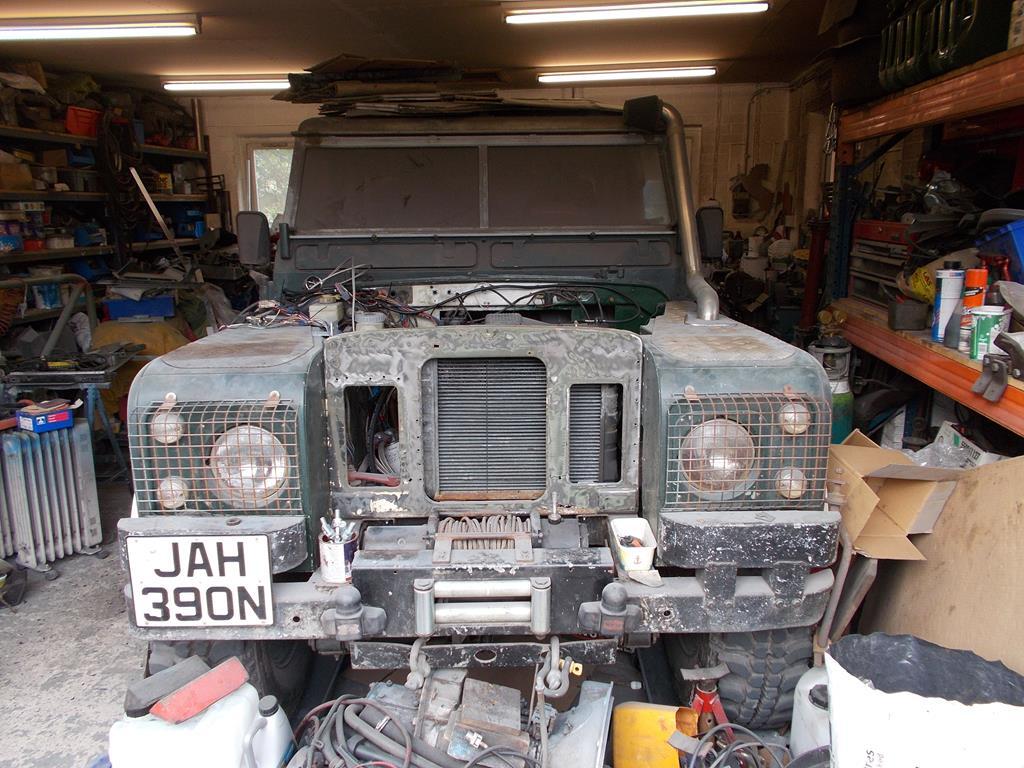 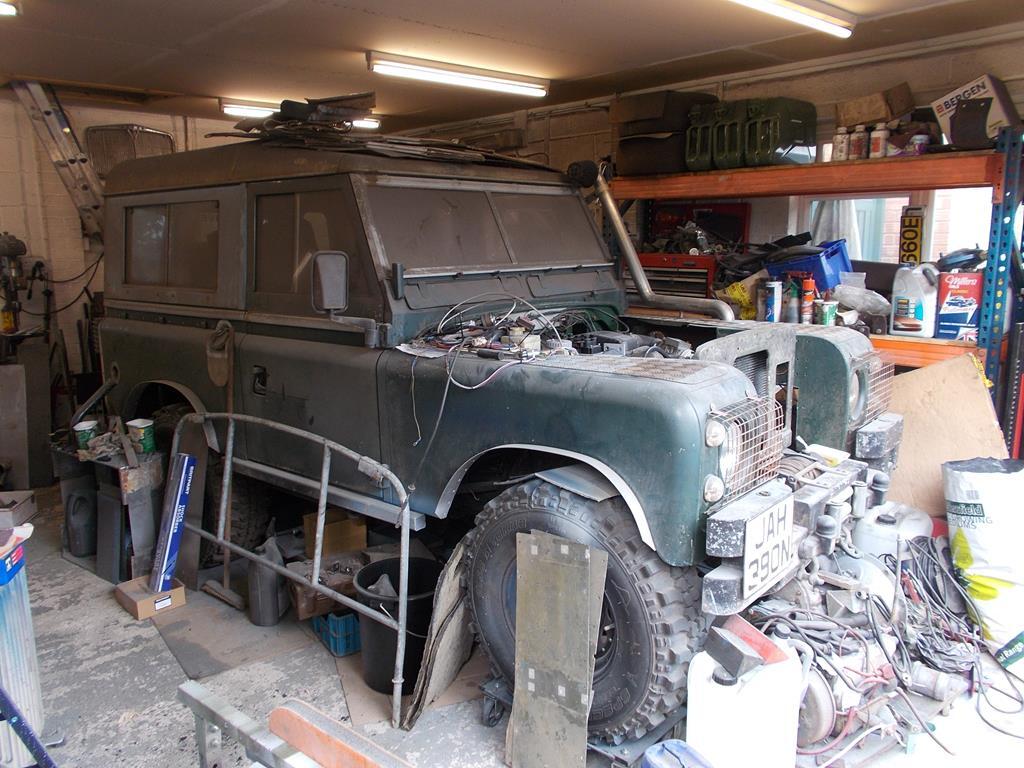 |
| |
|
|
|
|
|
Nov 22, 2019 22:53:49 GMT
|
|
More please. John
|
| |
|
|
sowen
Club Retro Rides Member
Posts: 2,245
Club RR Member Number: 24
|
|
|
|
|
|
| |
|
|
sowen
Club Retro Rides Member
Posts: 2,245
Club RR Member Number: 24
|
|
|
|
|
|
| |
|
|
sowen
Club Retro Rides Member
Posts: 2,245
Club RR Member Number: 24
|
|
Nov 23, 2019 11:00:03 GMT
|
|
|
| |
Last Edit: Nov 23, 2019 11:04:39 GMT by sowen
|
|
sowen
Club Retro Rides Member
Posts: 2,245
Club RR Member Number: 24
|
|
Nov 23, 2019 17:50:20 GMT
|
|
|
| |
|
|
sowen
Club Retro Rides Member
Posts: 2,245
Club RR Member Number: 24
|
|
|
|
|
|
| |
|
|
sowen
Club Retro Rides Member
Posts: 2,245
Club RR Member Number: 24
|
|
|
|
|
|
| |
|
|
|
|
|
|
|
|
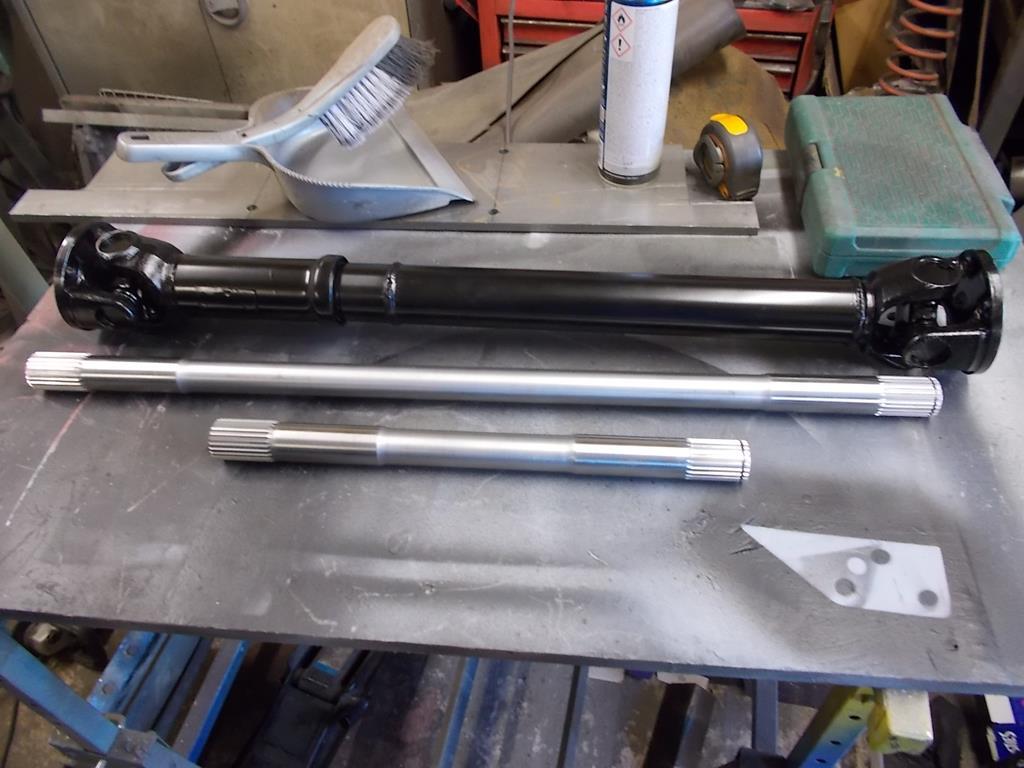
Interesting, who made the shafts for you?
Daan
|
| |
|
|
|
|
|
|
|
|
|
|
I'm never likely to own a land rover or want to own a land rover but I do like a sowen update! I like what you do so keep the updates coming they are always very interesting!
|
| |
|
|
sowen
Club Retro Rides Member
Posts: 2,245
Club RR Member Number: 24
|
|
|
|
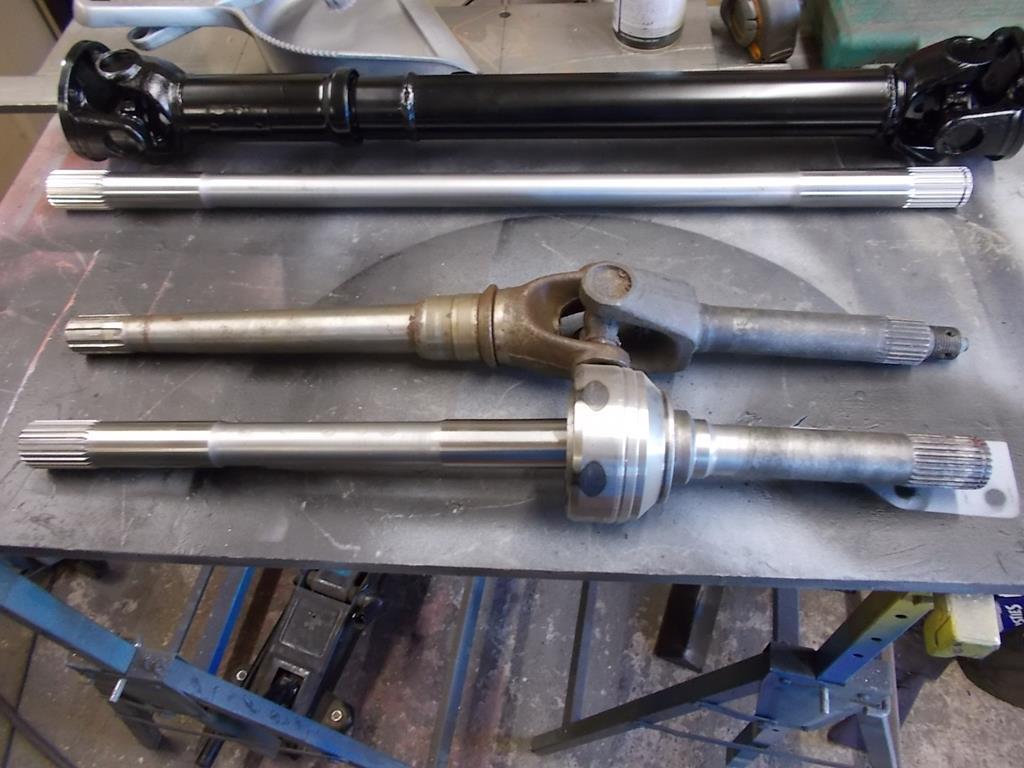
Interesting, who made the shafts for you? Daan This company has just had a batch of shafts made. They also supply the standard 10 spline shafts for the Stage1 V8. Design & Development EngineeringI'm never likely to own a land rover or want to own a land rover but I do like a sowen update! I like what you do so keep the updates coming they are always very interesting! Thanks! Should be another update later as I'm still tinkering away in the garage fabricating stuff.... |
| |
|
|
sowen
Club Retro Rides Member
Posts: 2,245
Club RR Member Number: 24
|
|
May 10, 2020 20:31:46 GMT
|
|
|
| |
|
|
|
|
|
May 10, 2020 21:29:57 GMT
|
|
Good progress, puts me to shame! Have you considered parabolic springs? They will allow you to get the full extension of the shocks. They regularly appear on the Bay.
Daan
|
| |
|
|
sowen
Club Retro Rides Member
Posts: 2,245
Club RR Member Number: 24
|
|
May 10, 2020 21:40:12 GMT
|
|
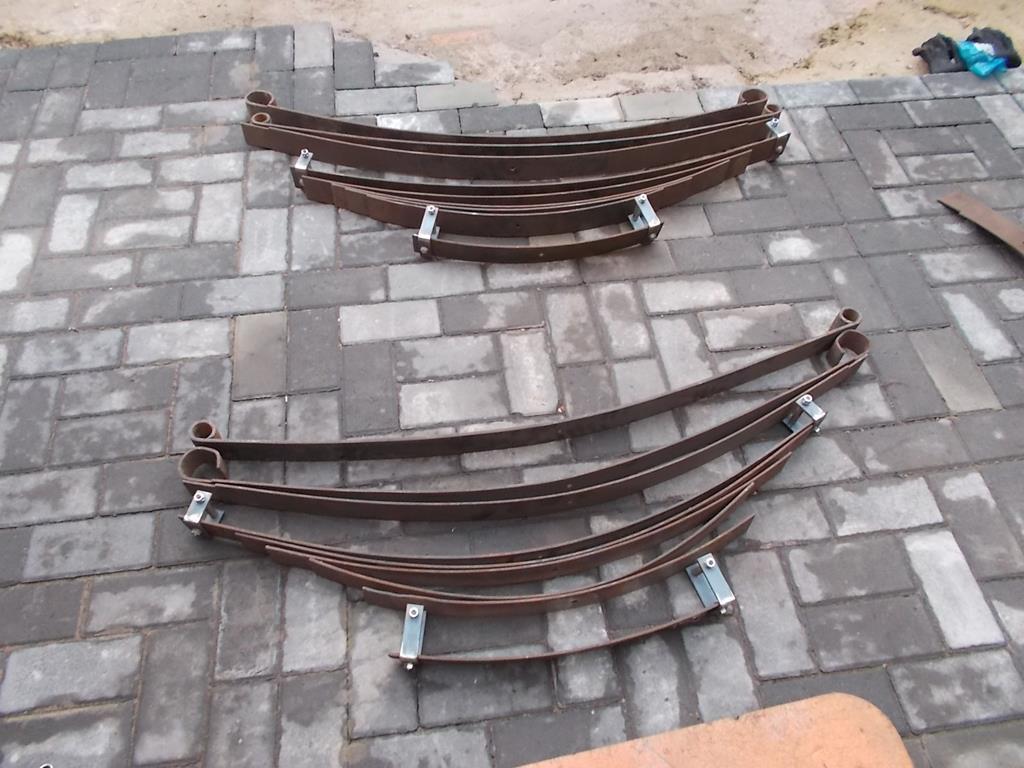
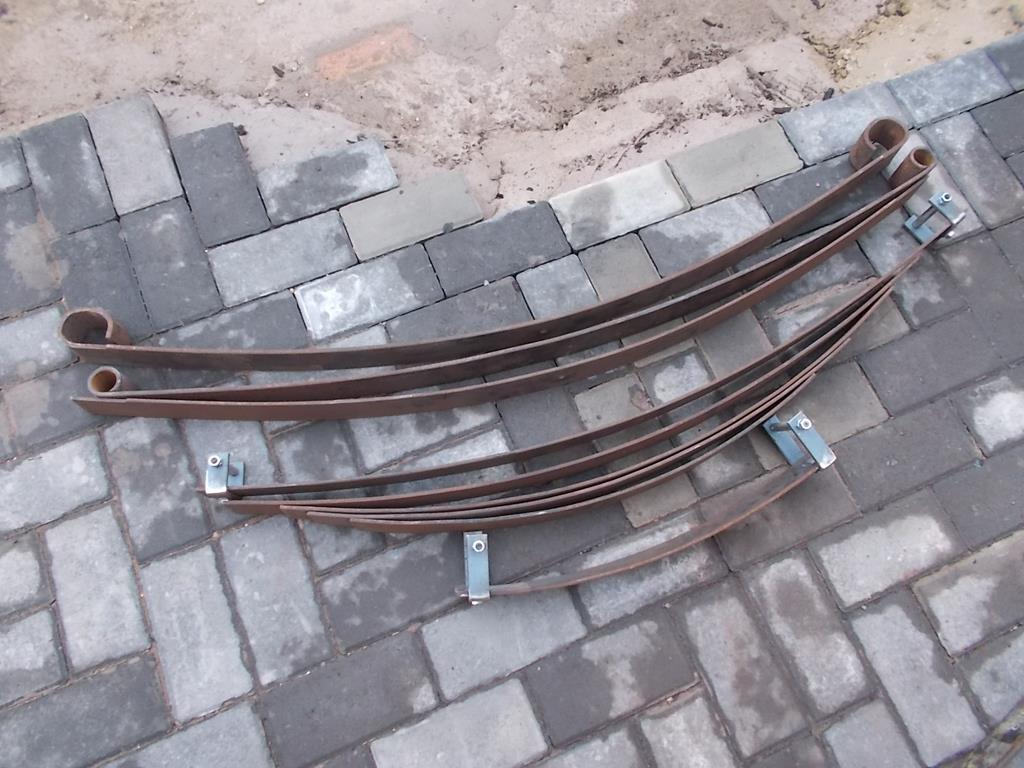
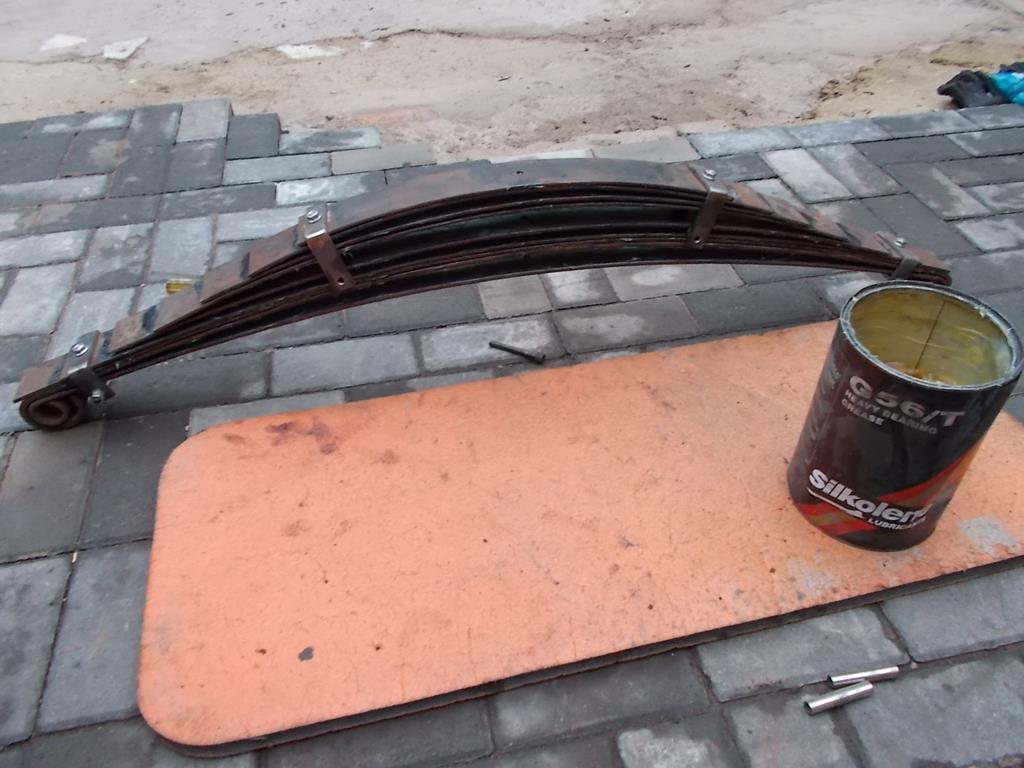
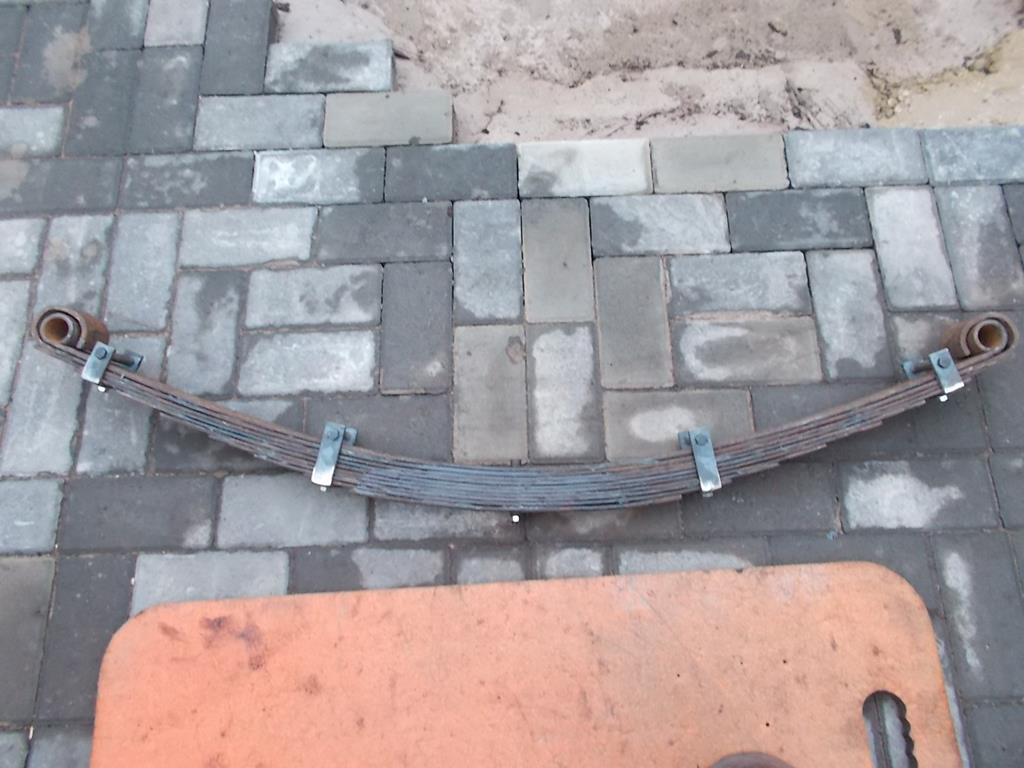
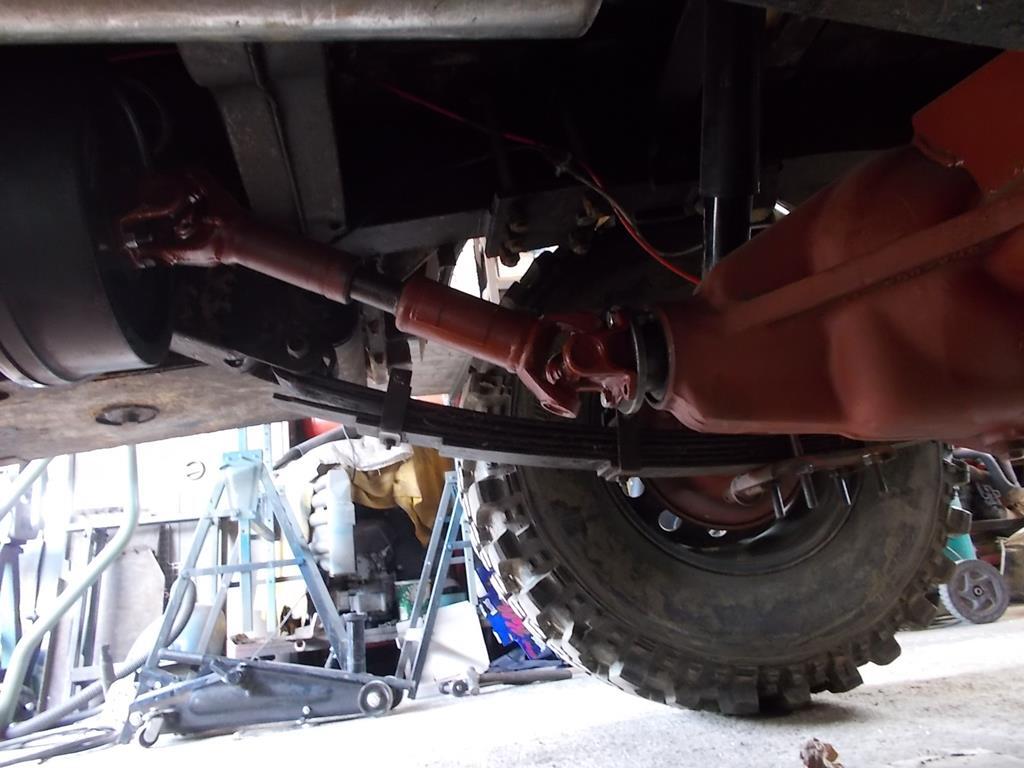
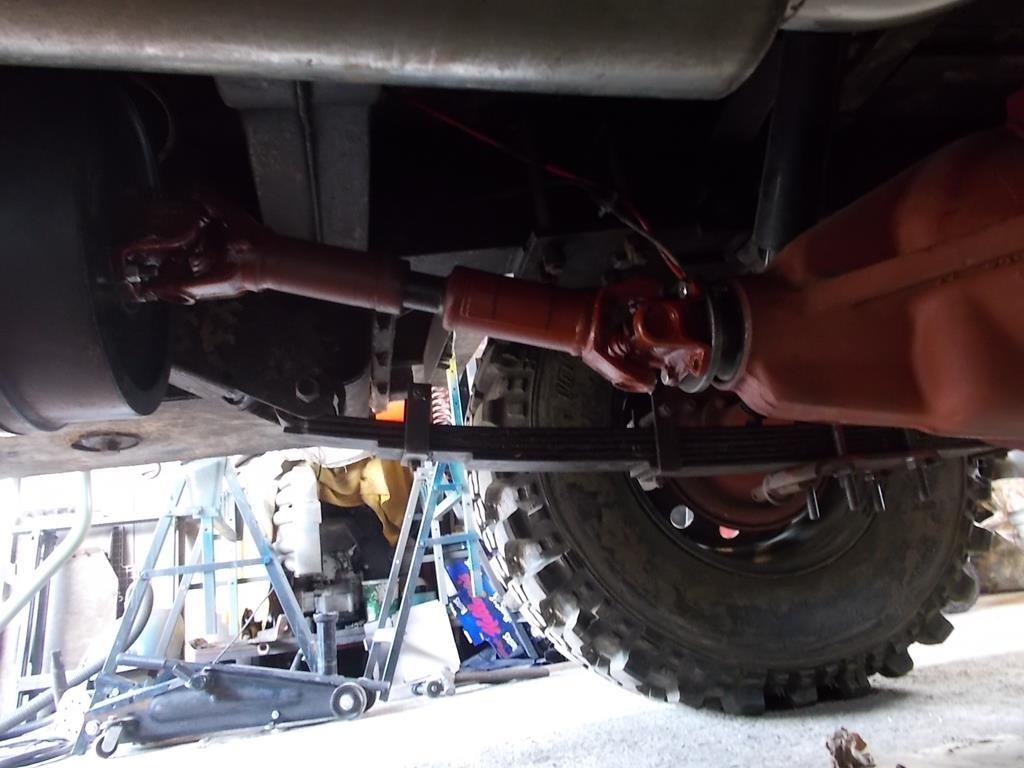
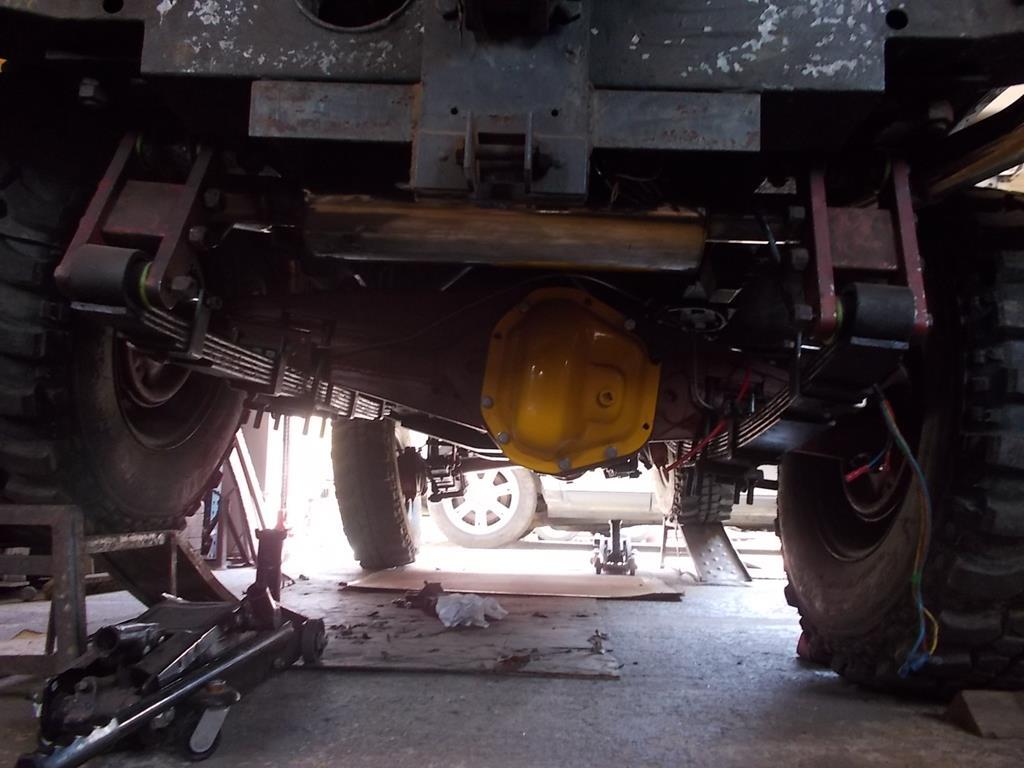
I'm not going parabolic springs, I've seen them permanently deformed from abuse and I plan to give it some abuse! Multileaf springs support the axles properly with the propshafts getting close to their limits on the u/j's. Splitting the spring packs and fitting new loose clamps seems to be a good all round option from experience
|
| |
|
|
sowen
Club Retro Rides Member
Posts: 2,245
Club RR Member Number: 24
|
|
|
|
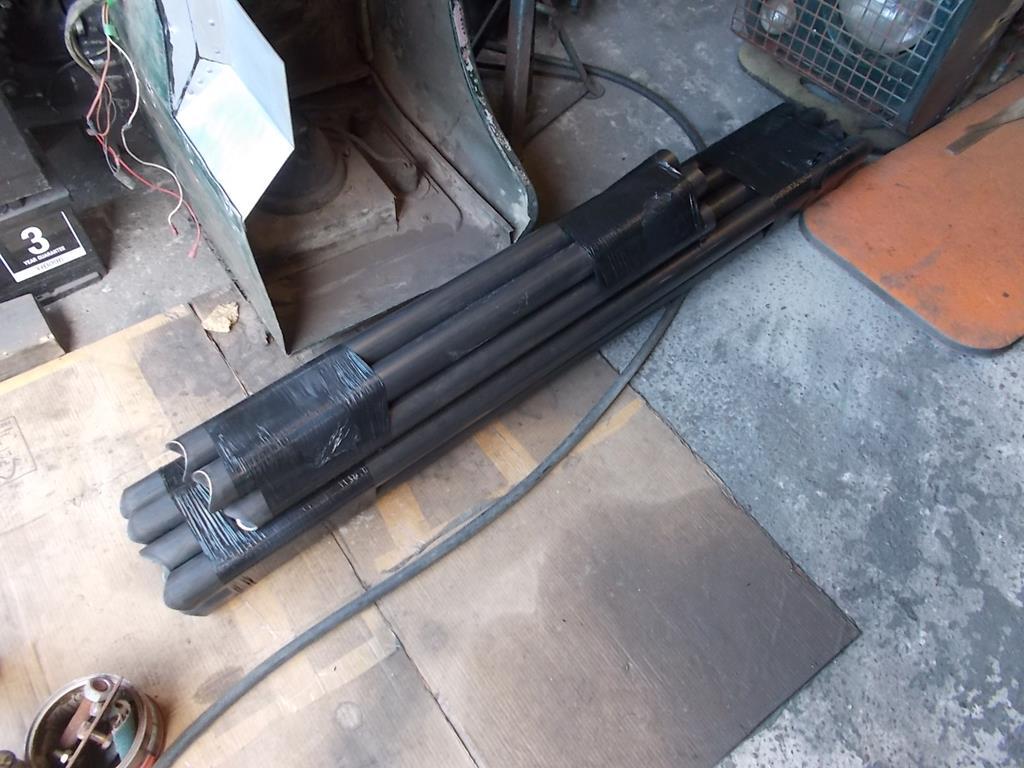
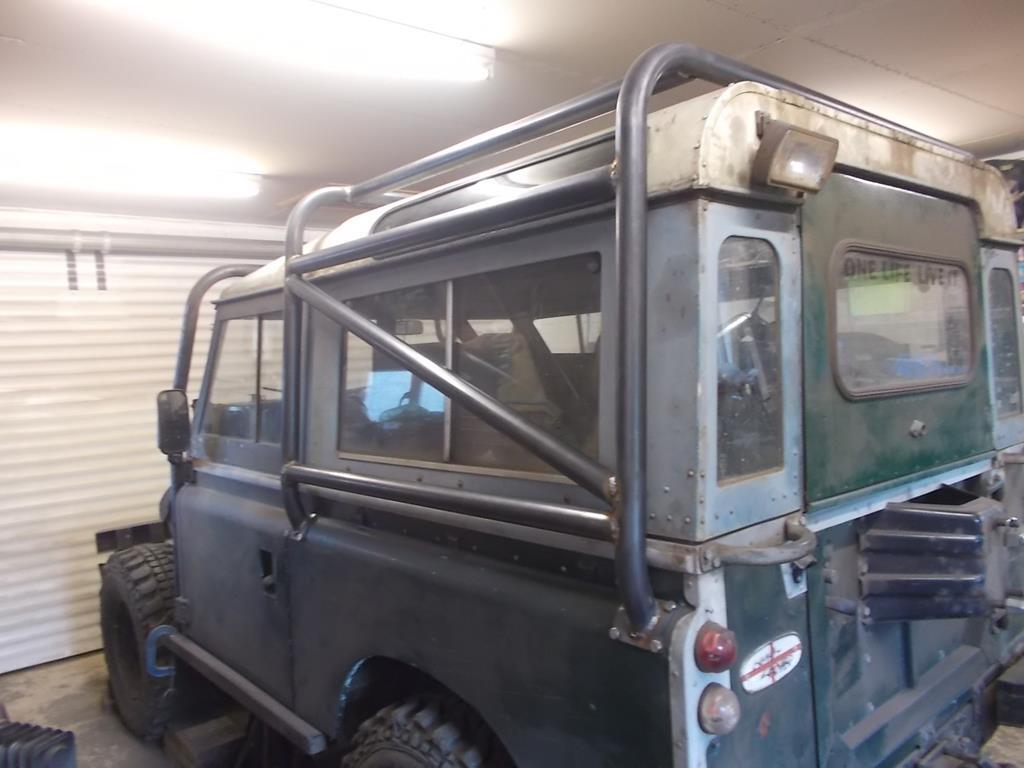
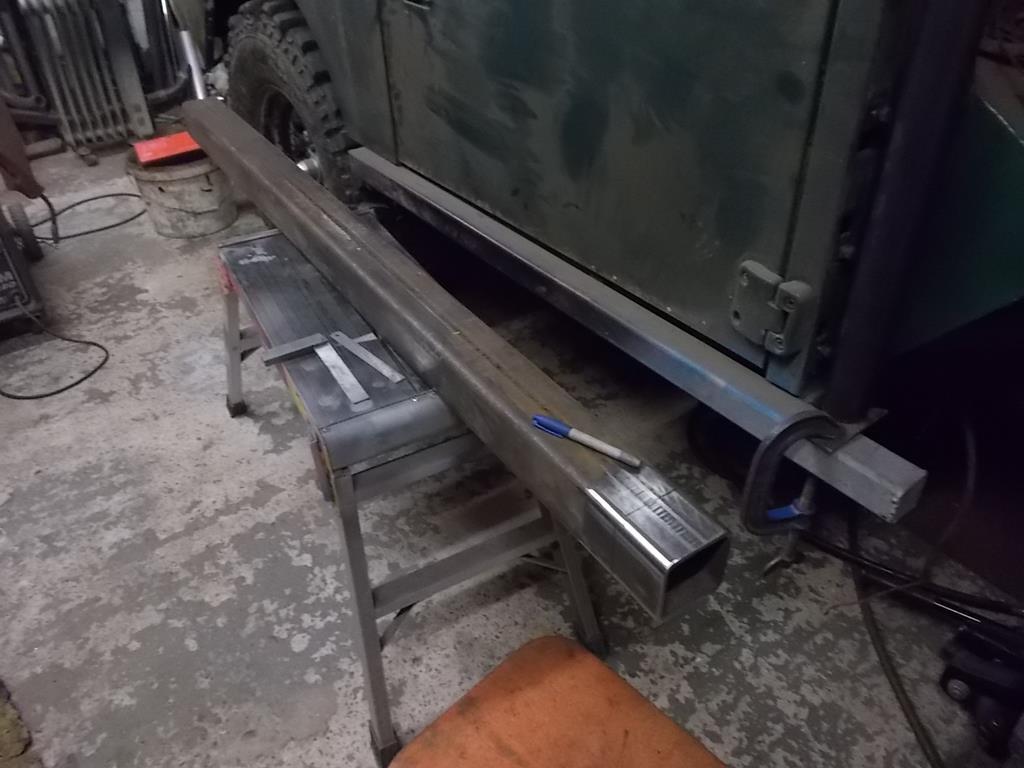
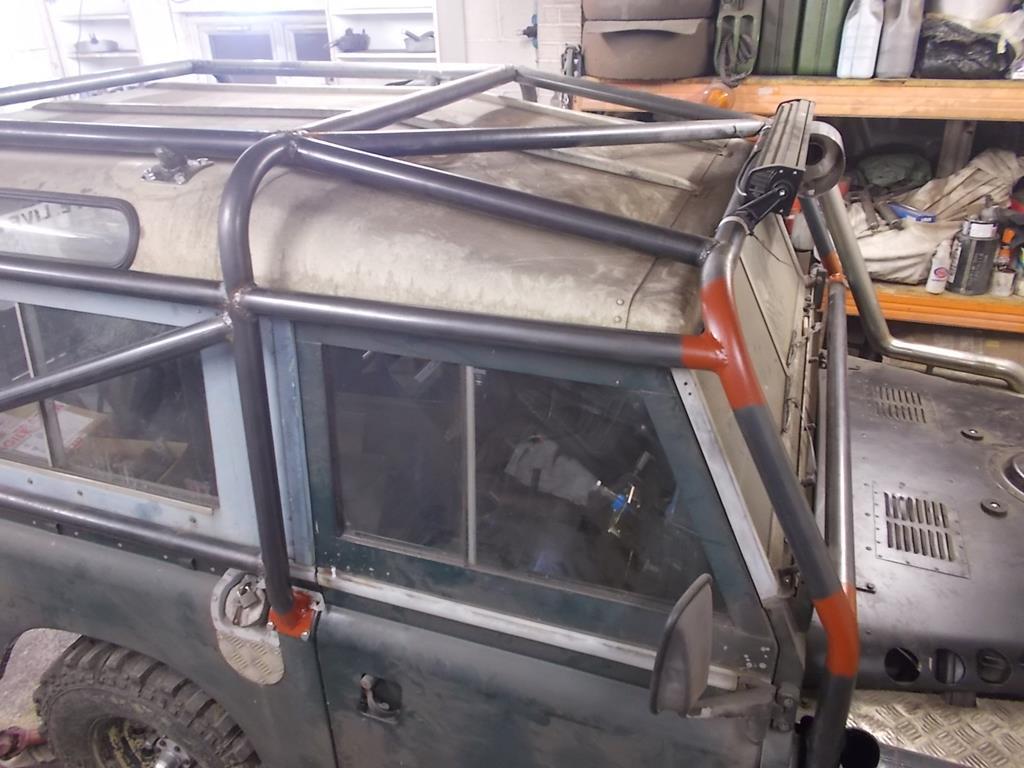
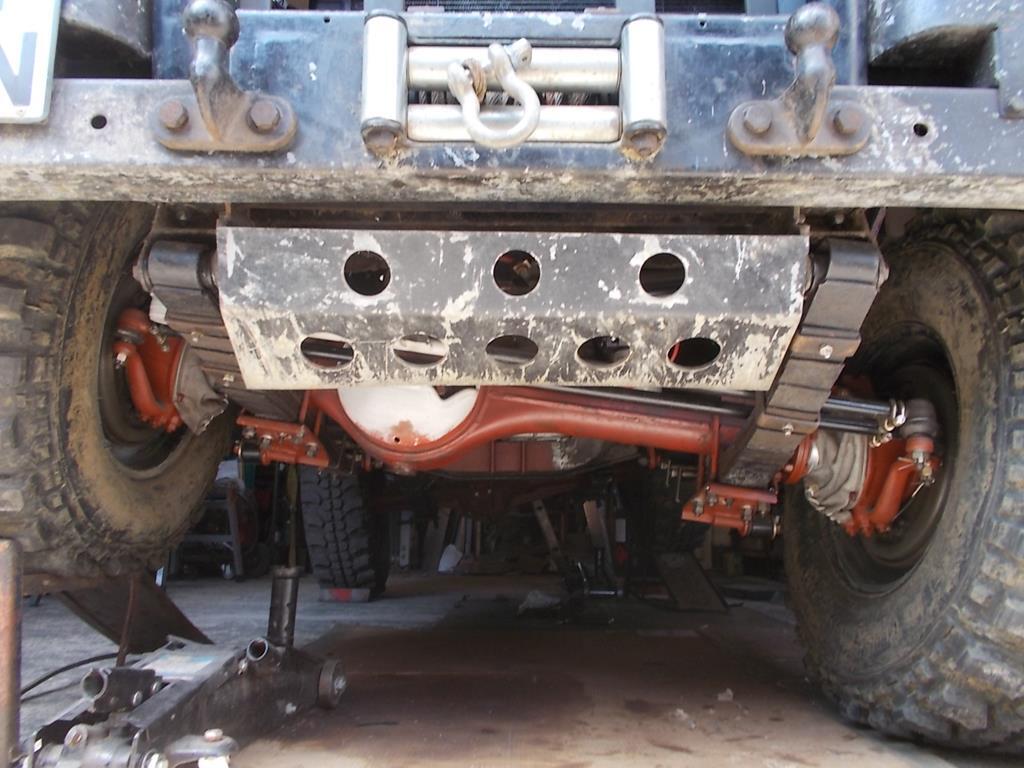
More parts deliveries! Megajolt to control the EDIS8 coilpacks 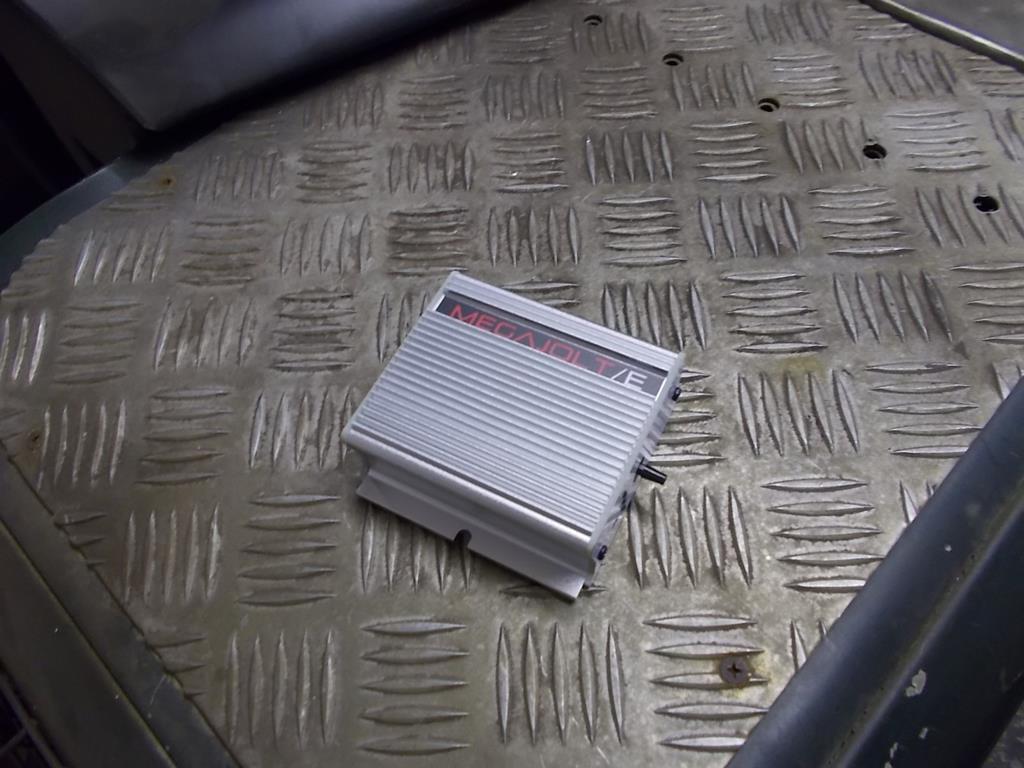 More tube for the rollcage 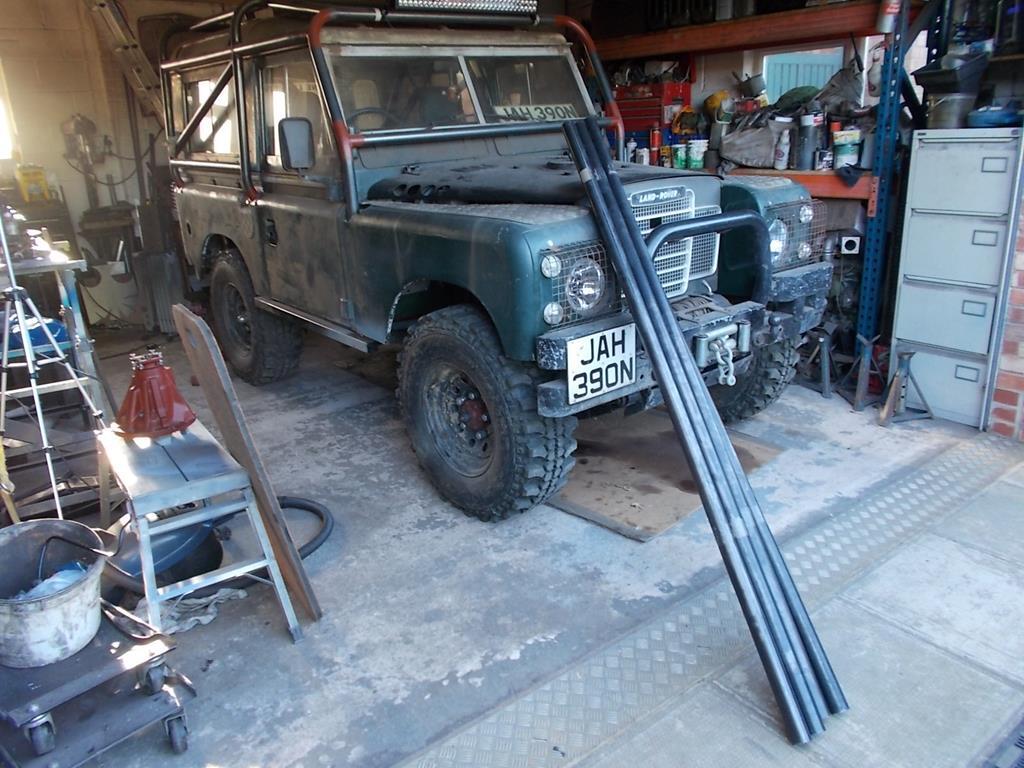 Goodies for the front ARB air locker 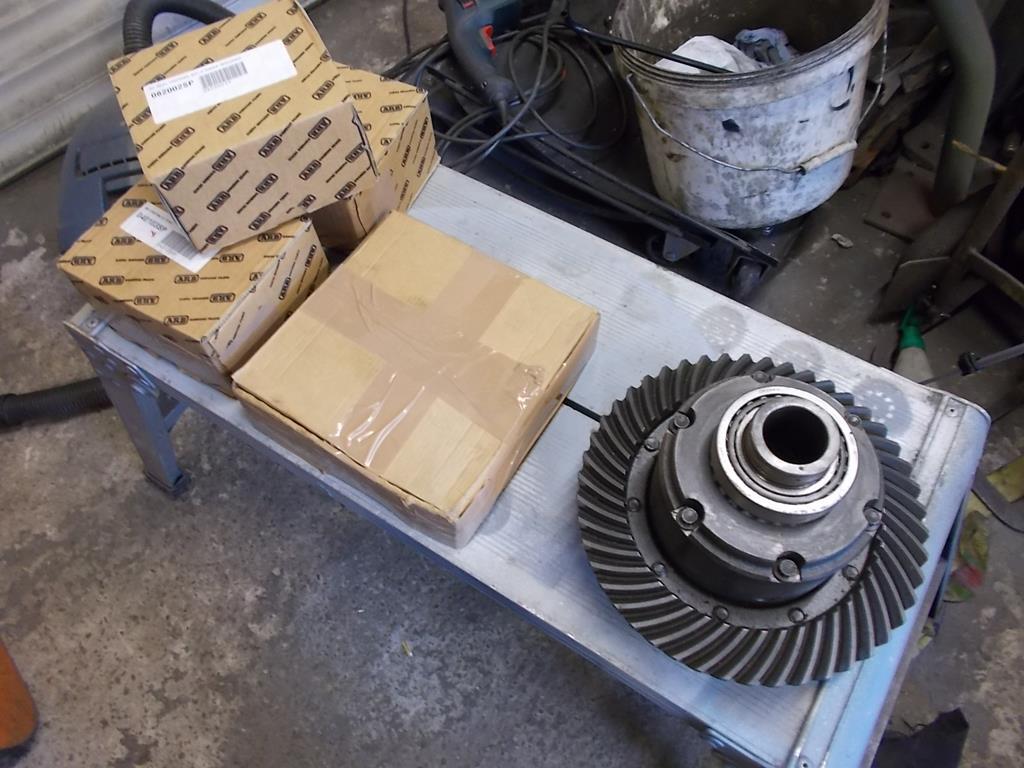 And two more boxes of brand new ARB bits  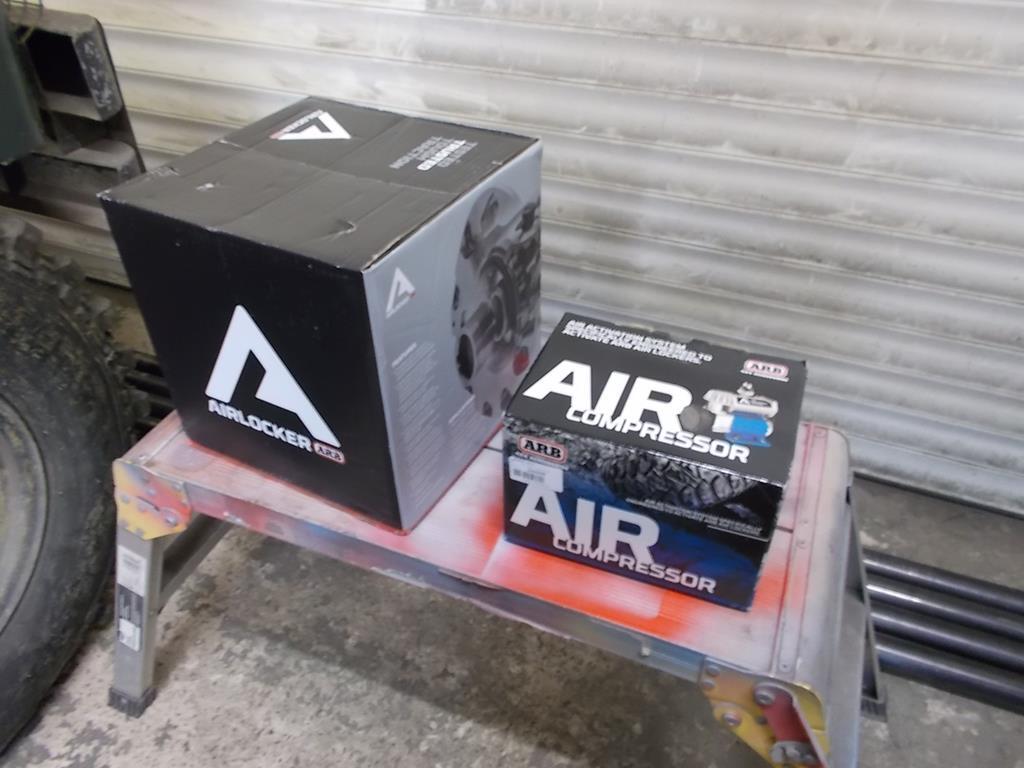 And a little vid demonstrating how effective the P38 viscous fan is with my radiator shroud  |
| |
|
|
|
|
|
|
|
|
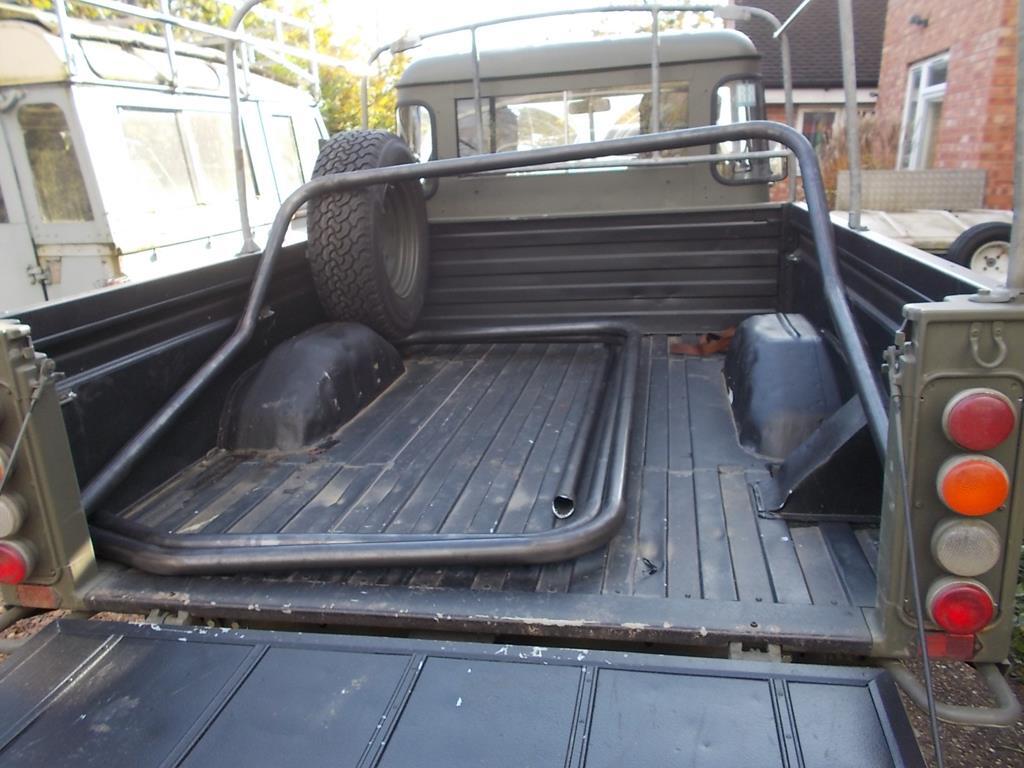
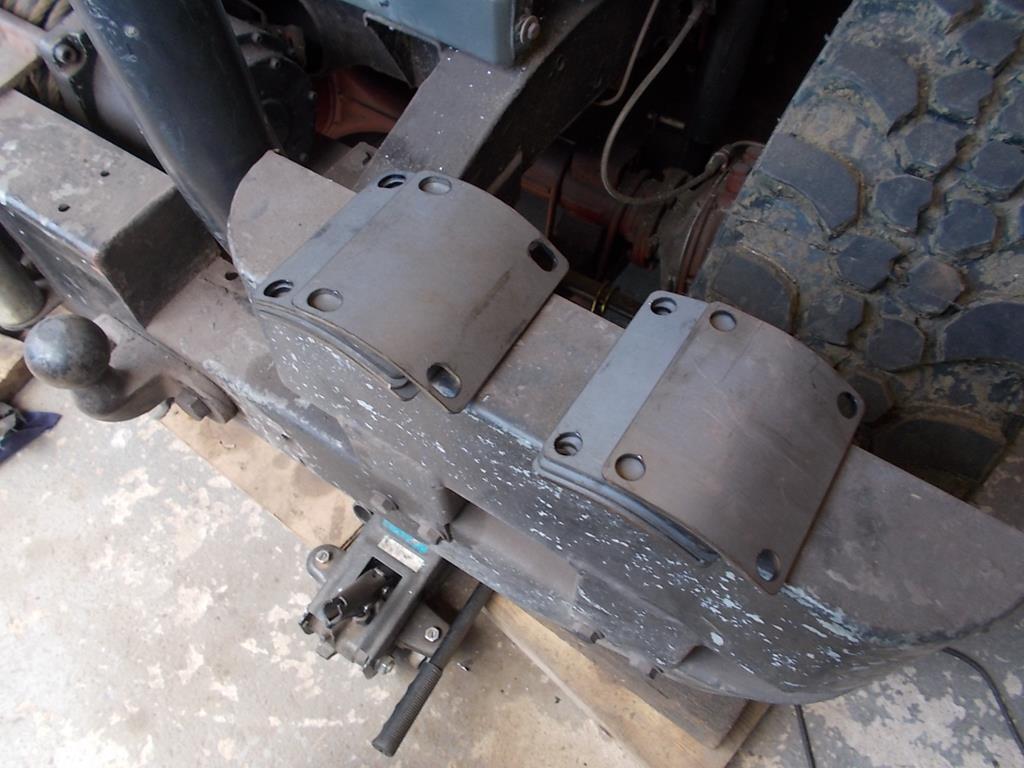
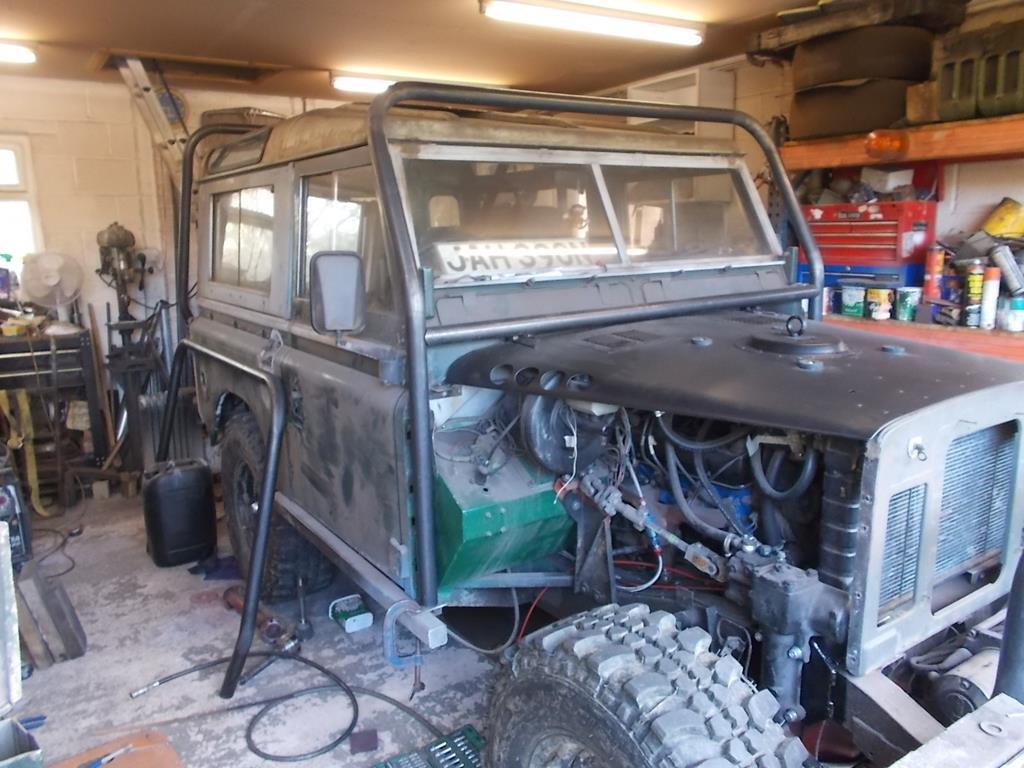
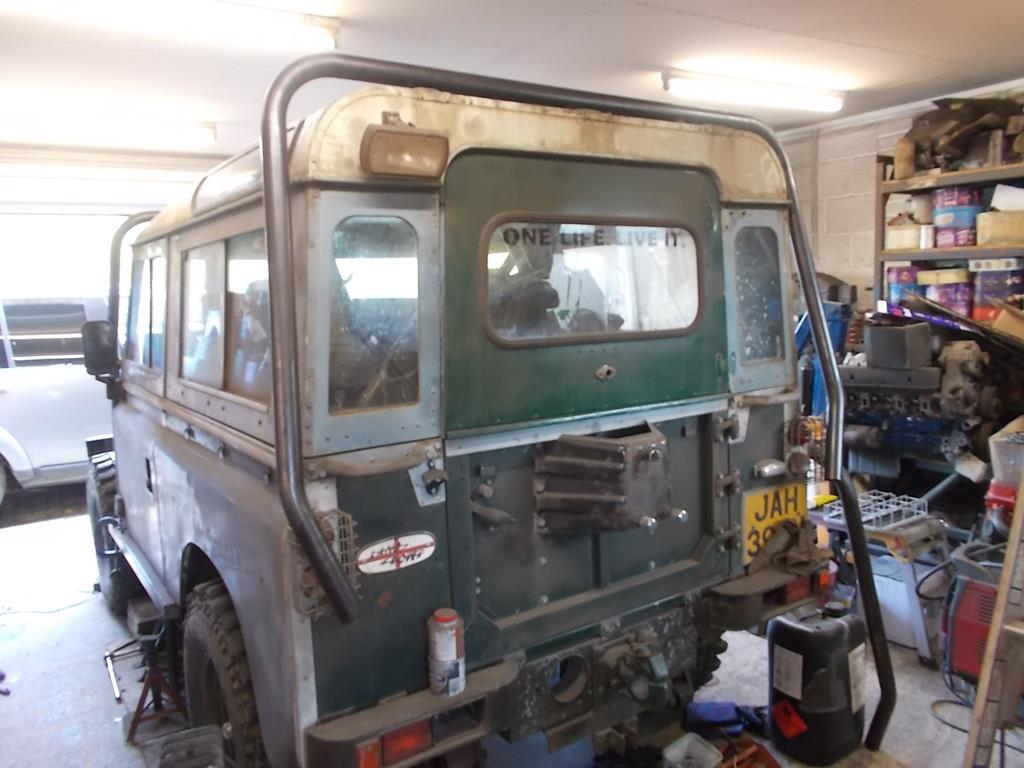
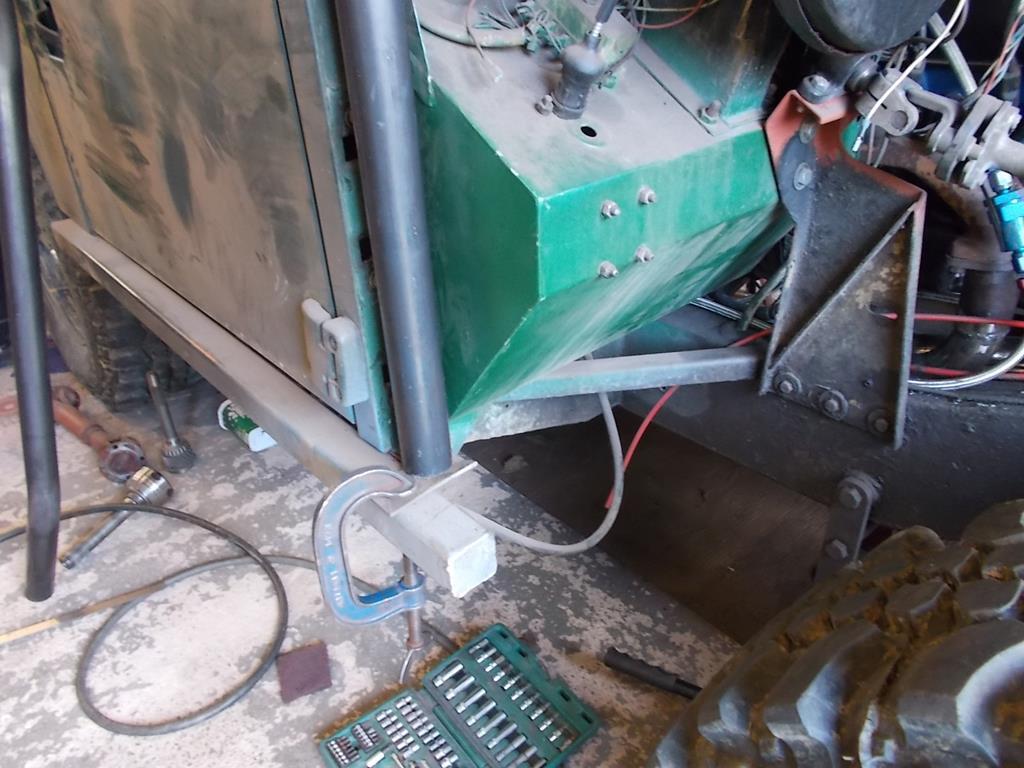
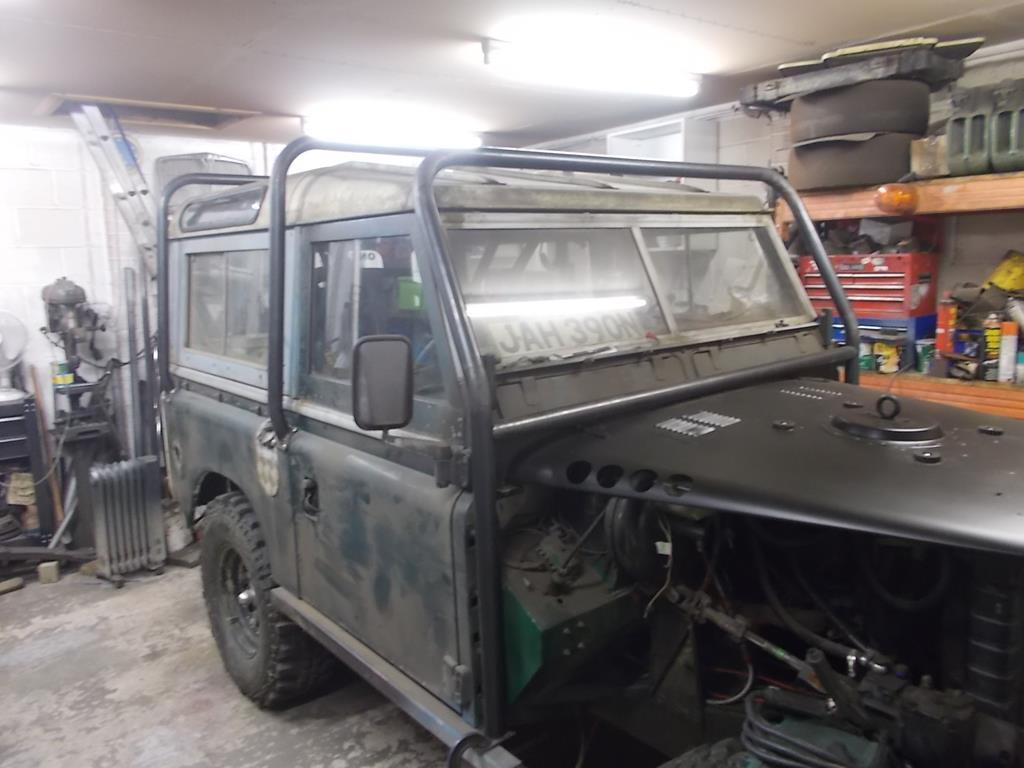
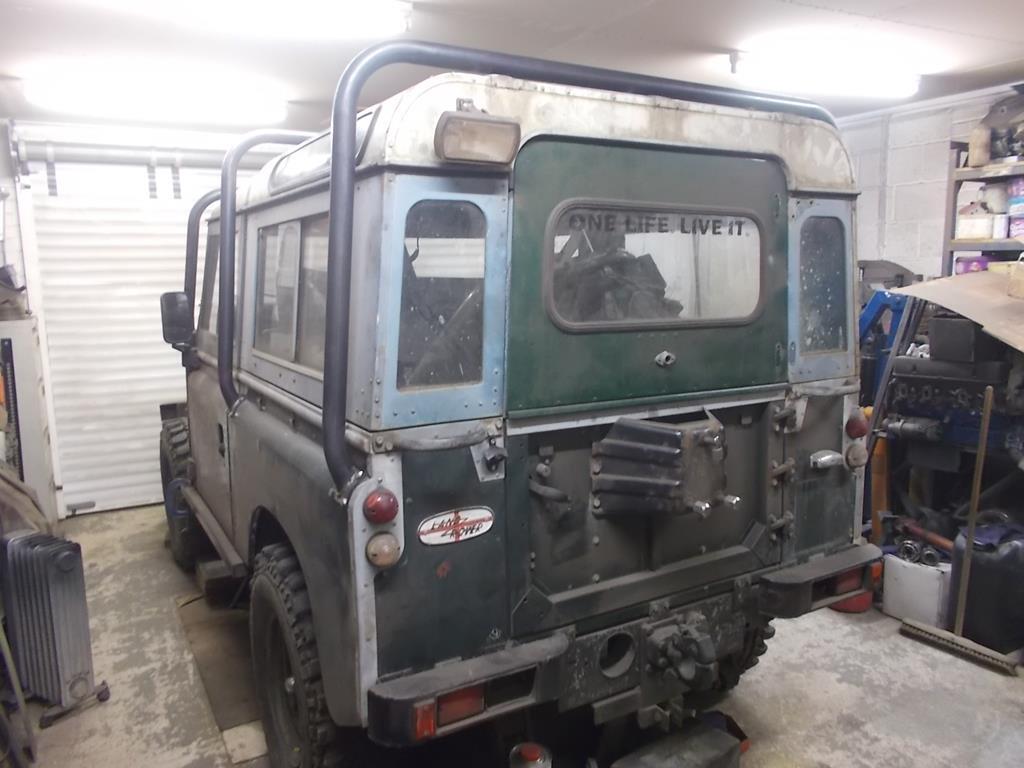
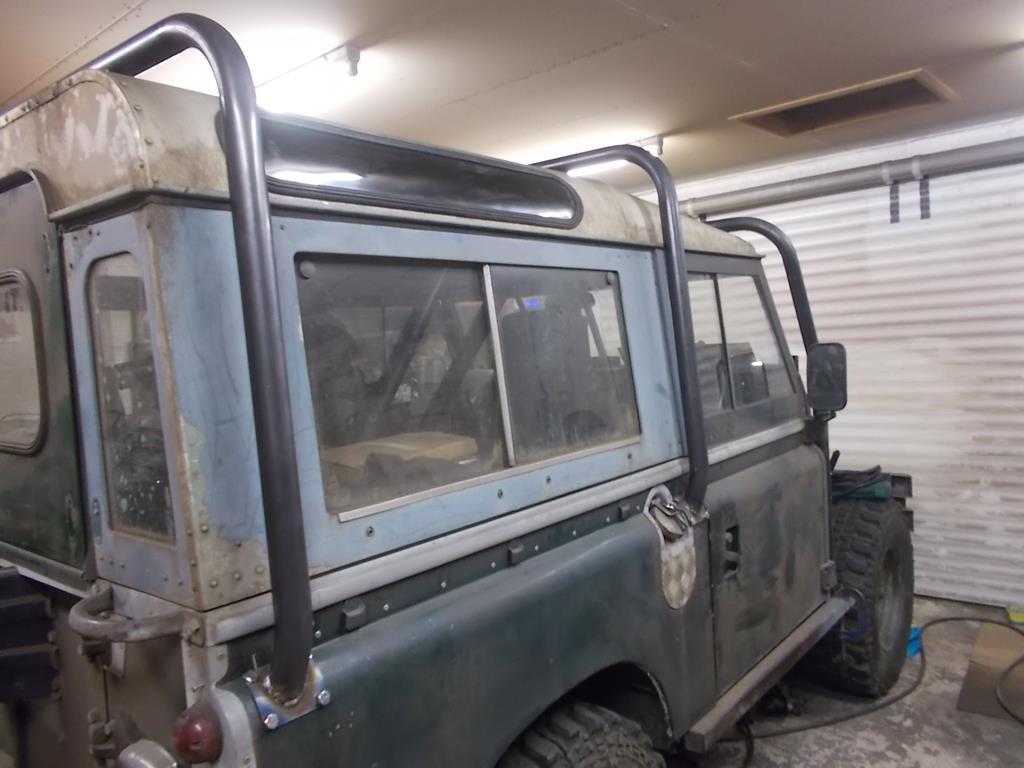
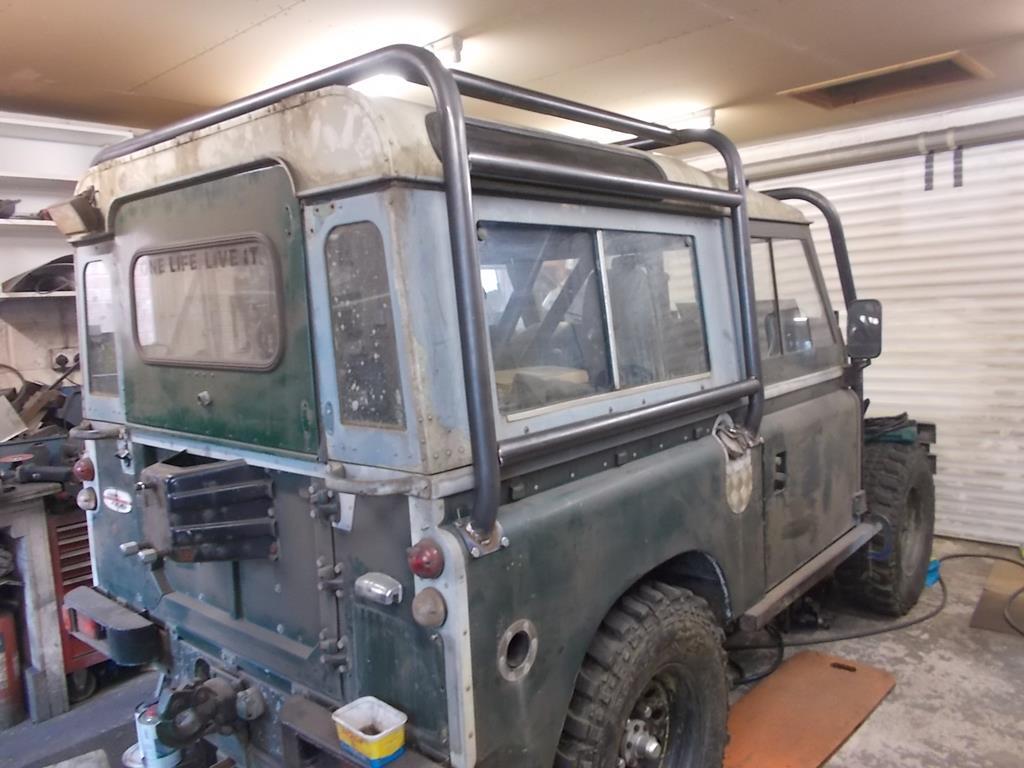
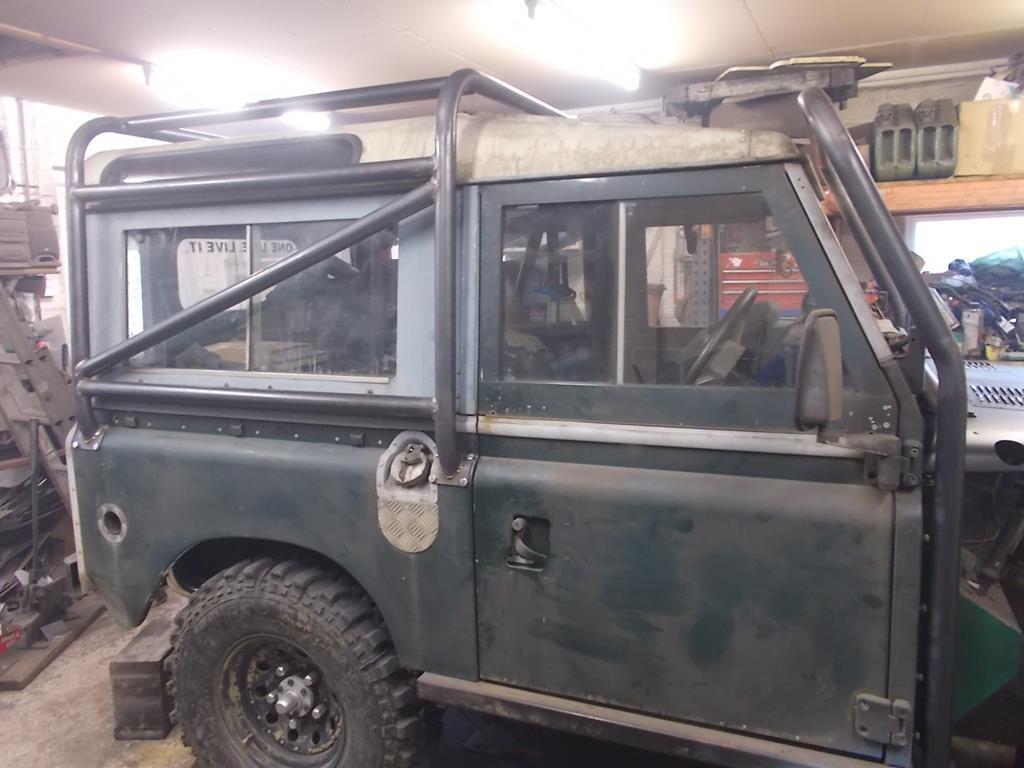
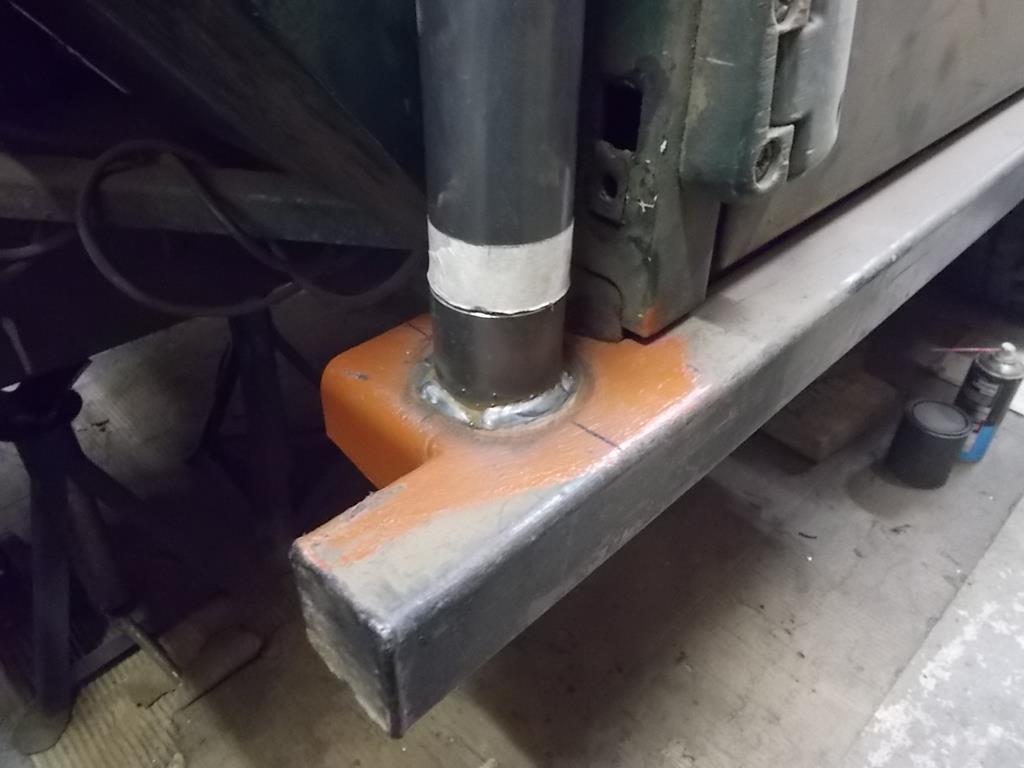
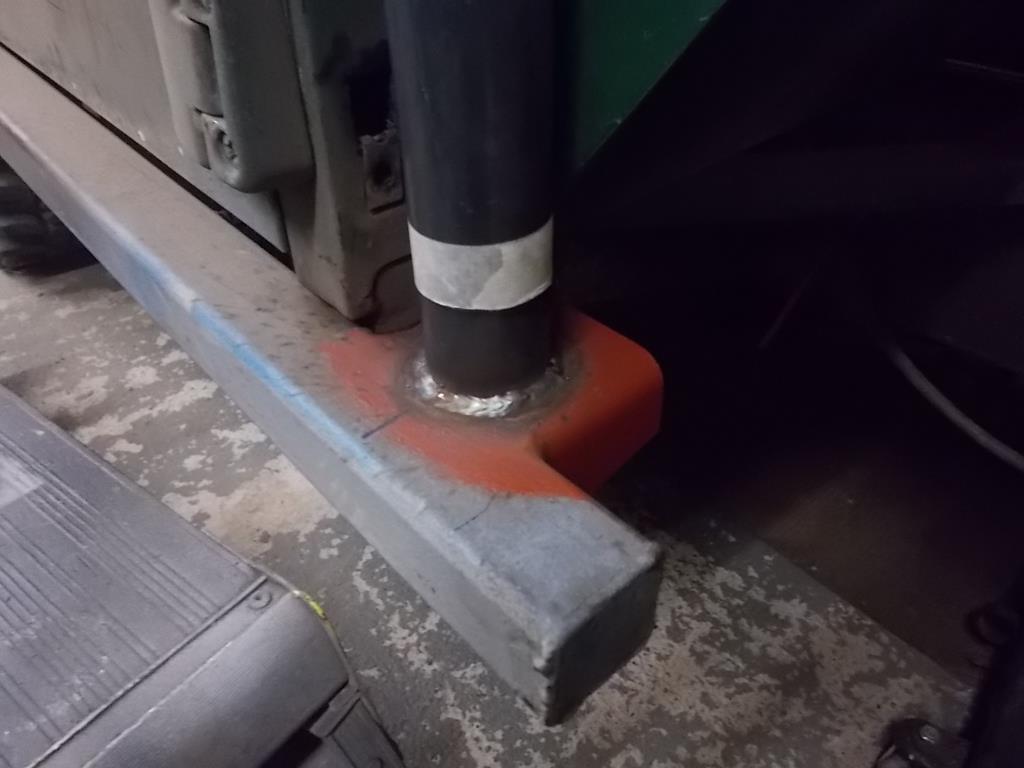
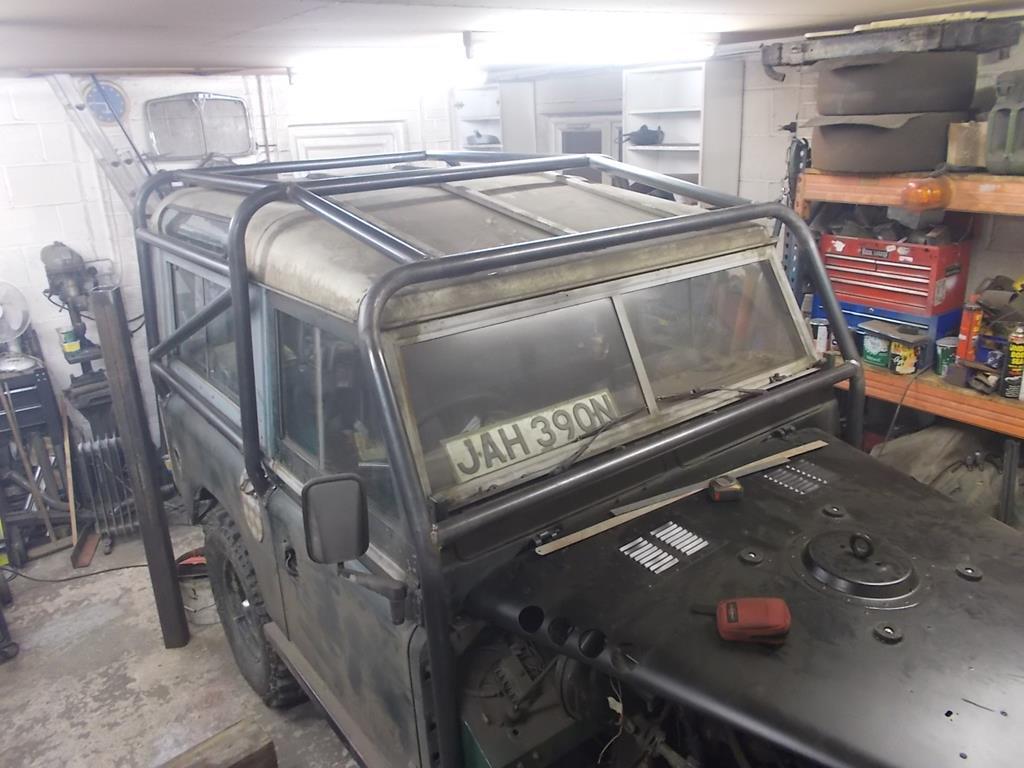
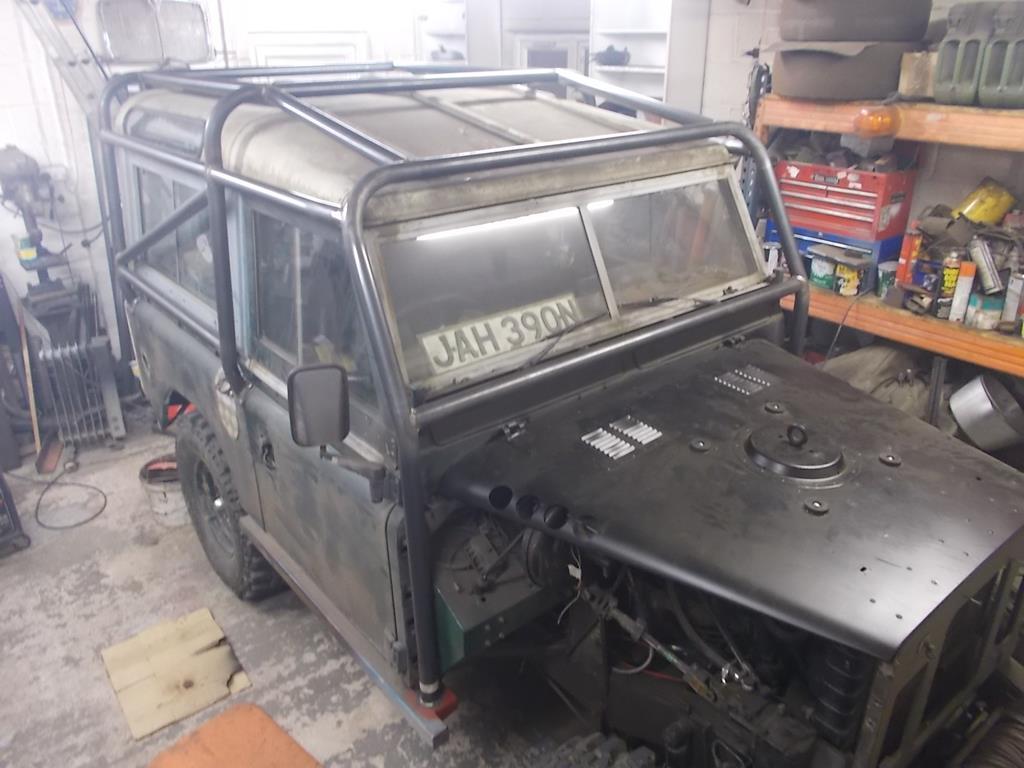
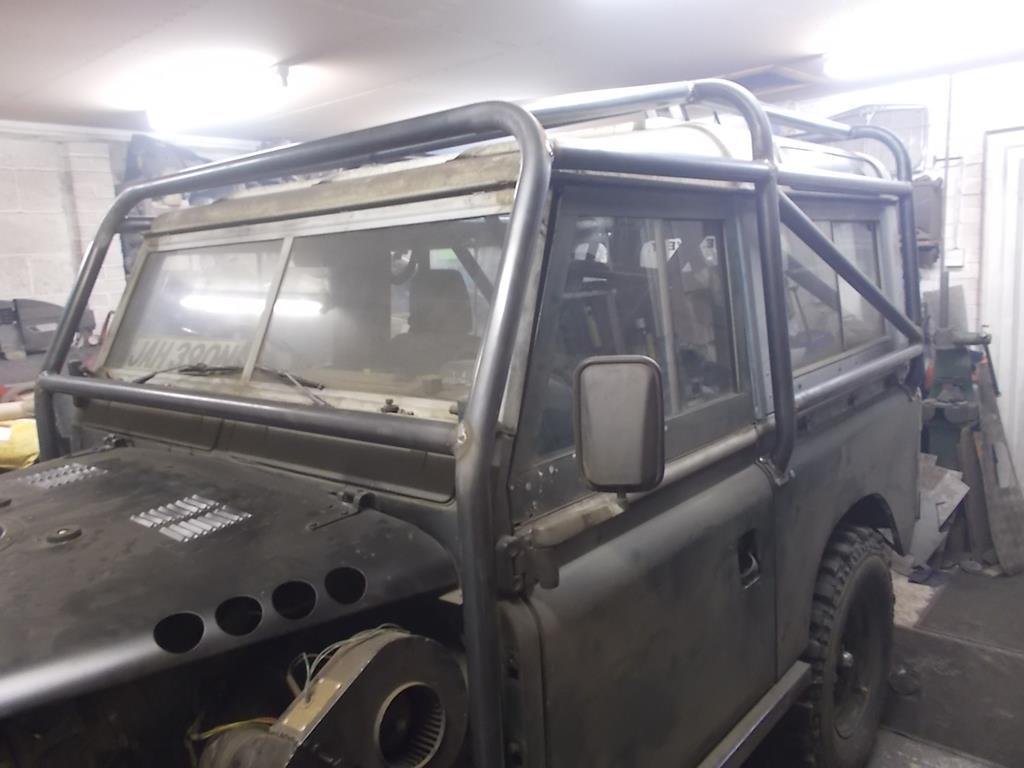
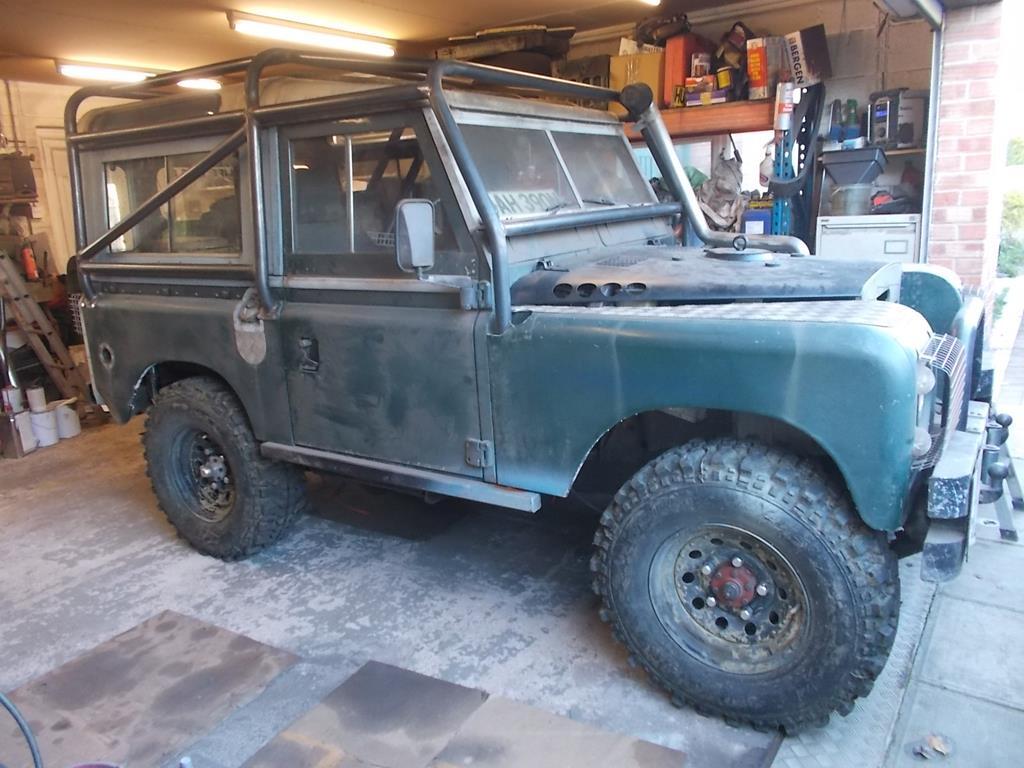
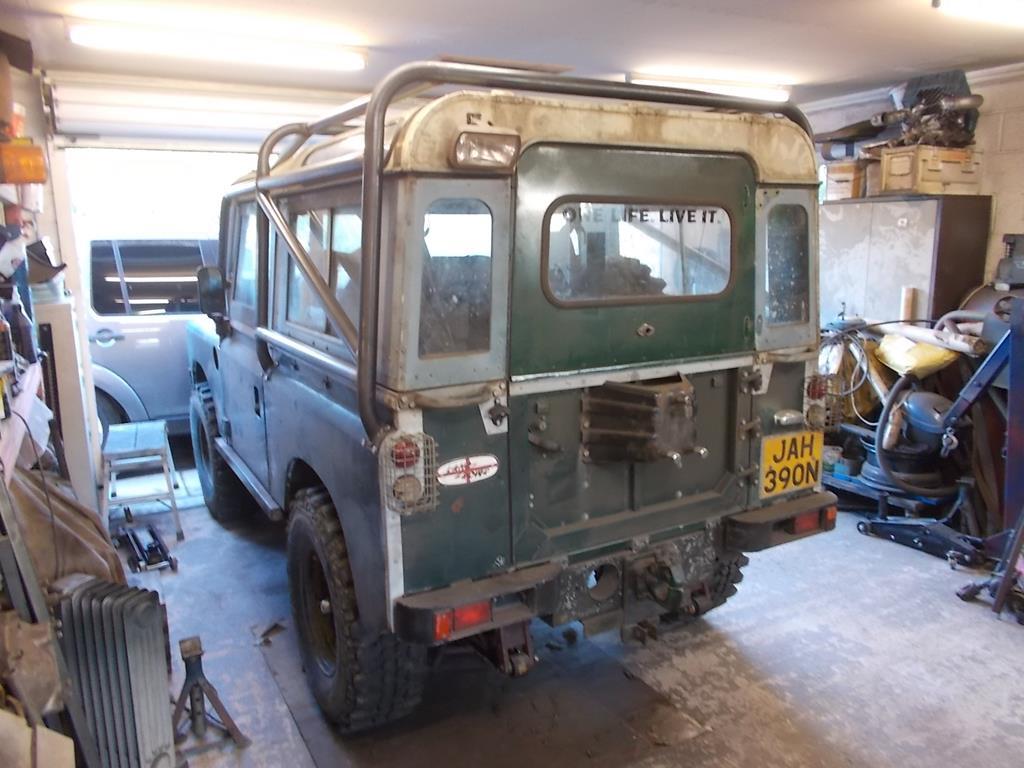
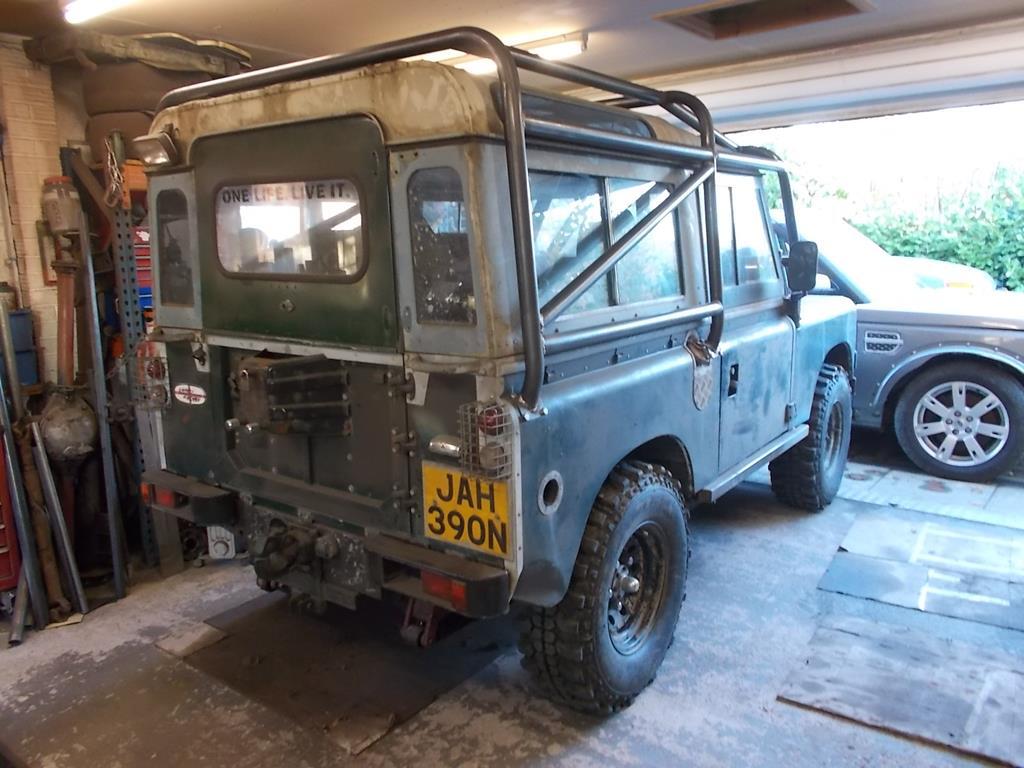
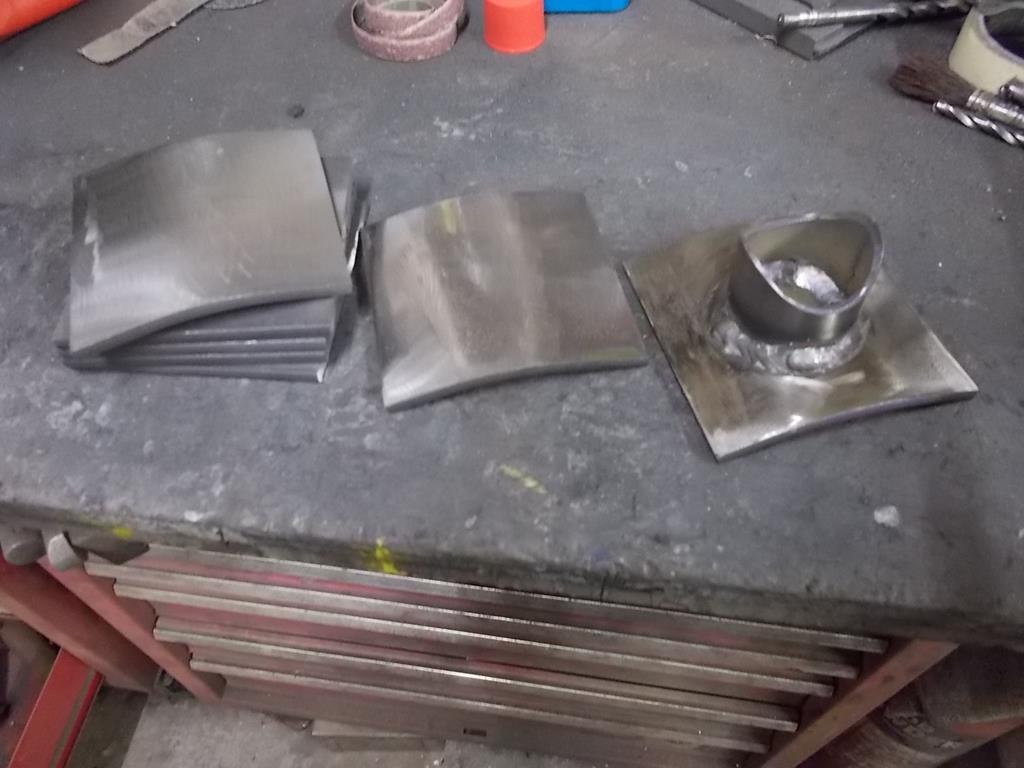
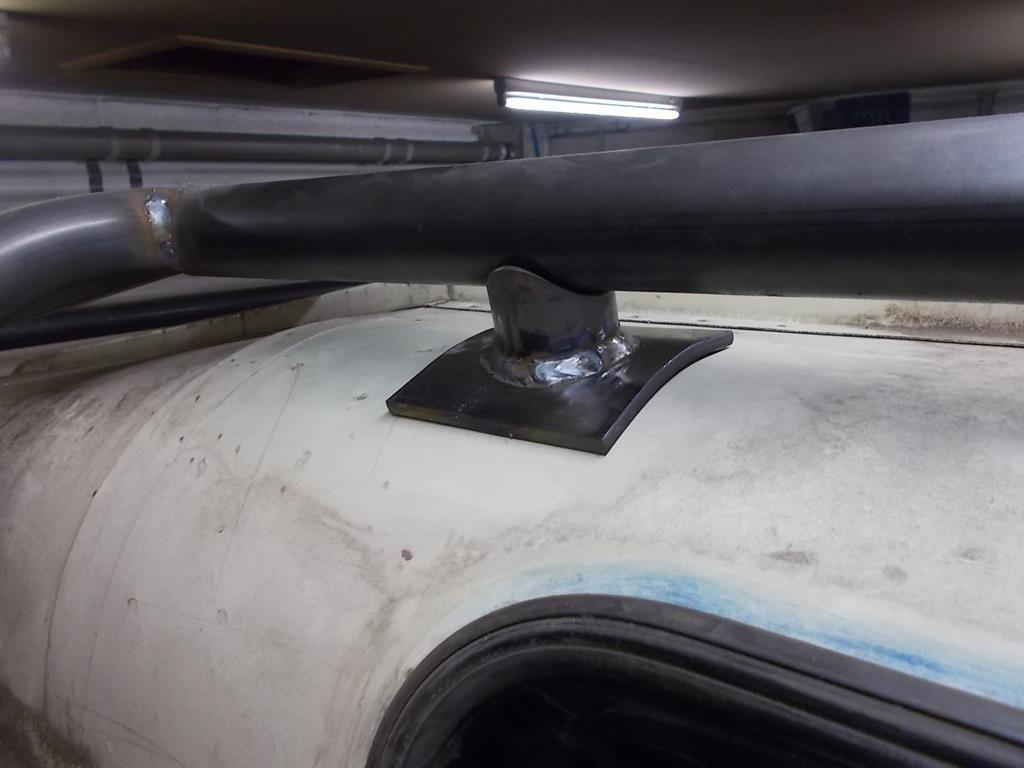
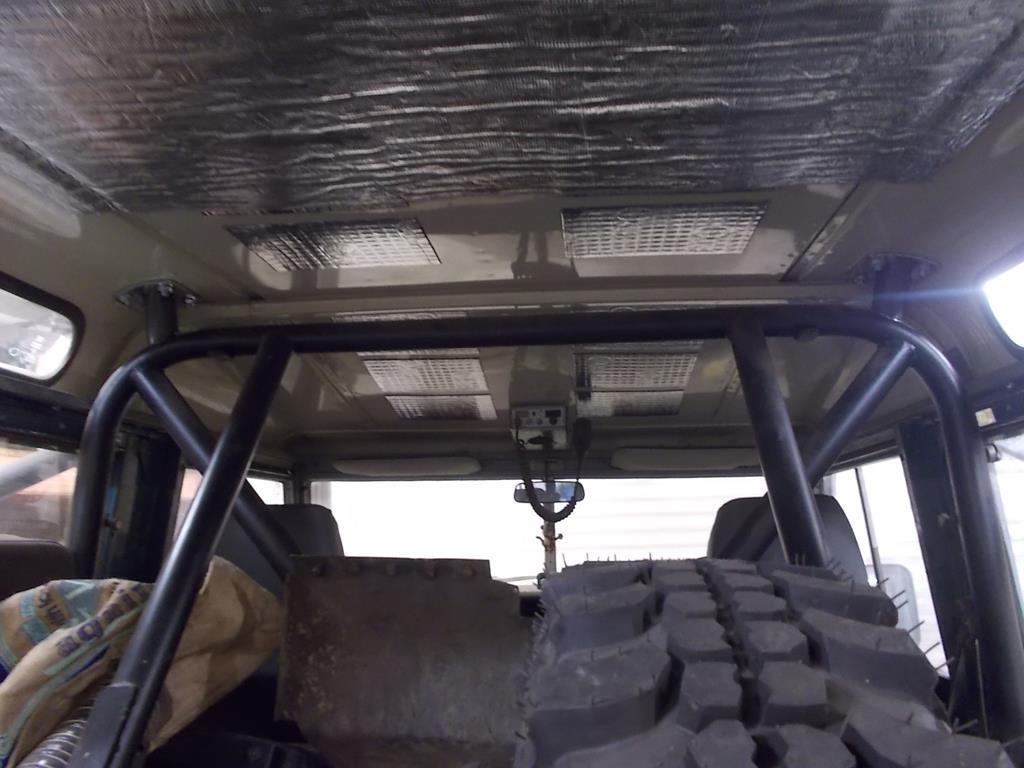
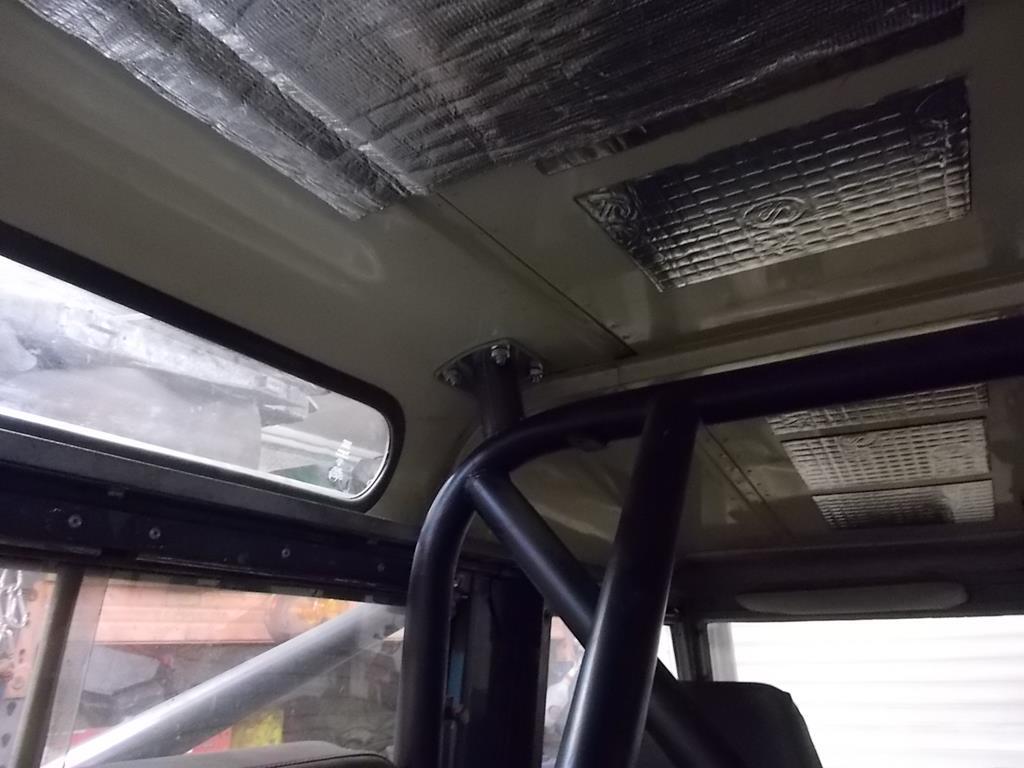
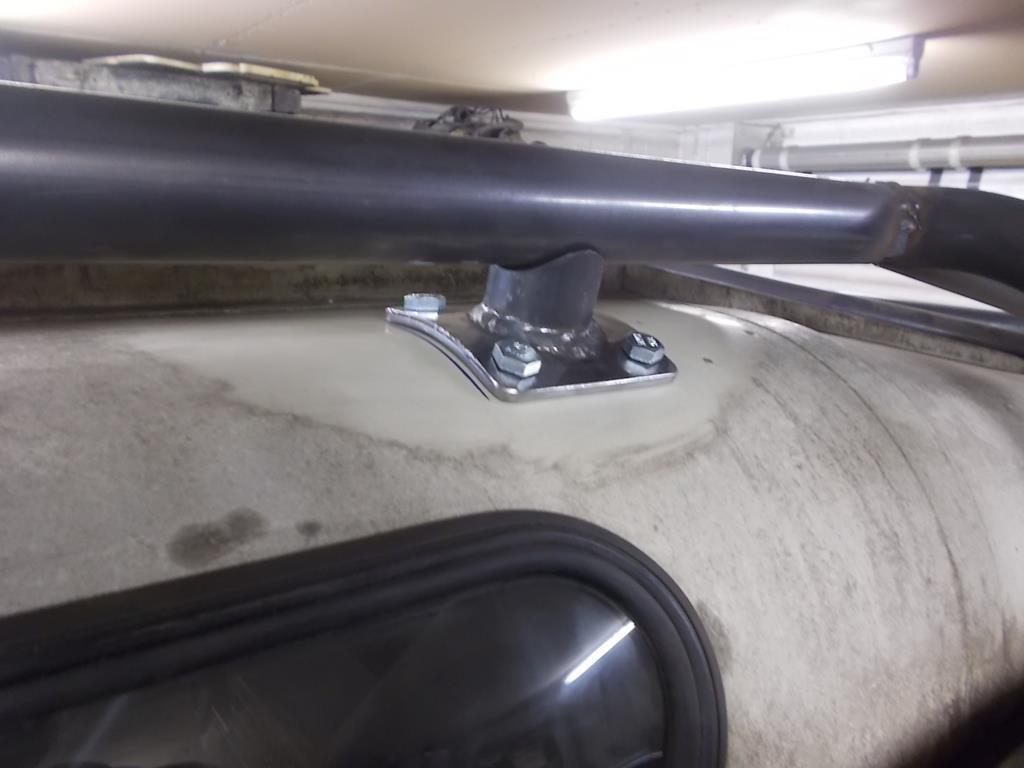
love the cage work! how does it pass through the hips on the bodywork? just another convex plate on the inside, 4 bolt sandwhich through the body panels, then tube carries onwards to the chassis rails ?
|
| |
|
|
sowen
Club Retro Rides Member
Posts: 2,245
Club RR Member Number: 24
|
|
|
|
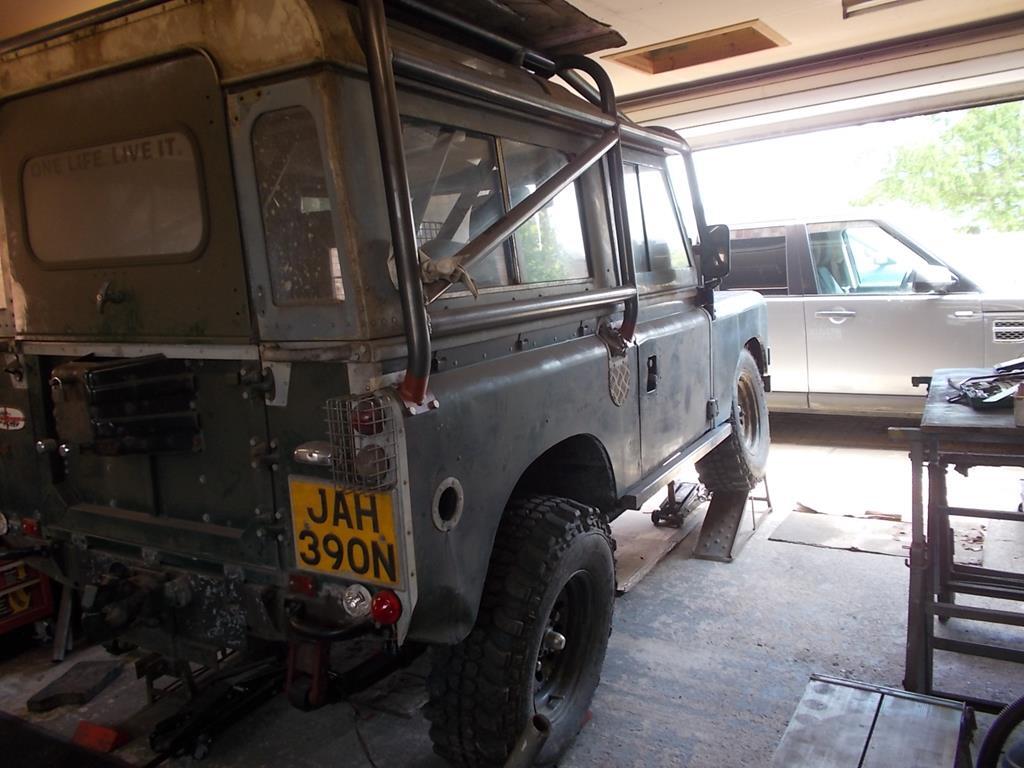
love the cage work! how does it pass through the hips on the bodywork? just another convex plate on the inside, 4 bolt sandwhich through the body panels, then tube carries onwards to the chassis rails ? That's the plan! Rear corners should be easy, just make a set of short tubes to link through down to the existing internal rear stay mounts. Middle will be more tricky as that's right up against the tub bulkhead. I'm thinking of trying to pass the tubes rearwards into the loadbed and pick up on the main internal hoop mounts, or I'll need to be clever and run them direct down to the chassis? Picking up on existing mounting points is the easiest option for the middle hoop, but I would like to go full chassis mount if I could? |
| |
|
|
sowen
Club Retro Rides Member
Posts: 2,245
Club RR Member Number: 24
|
|
|
|
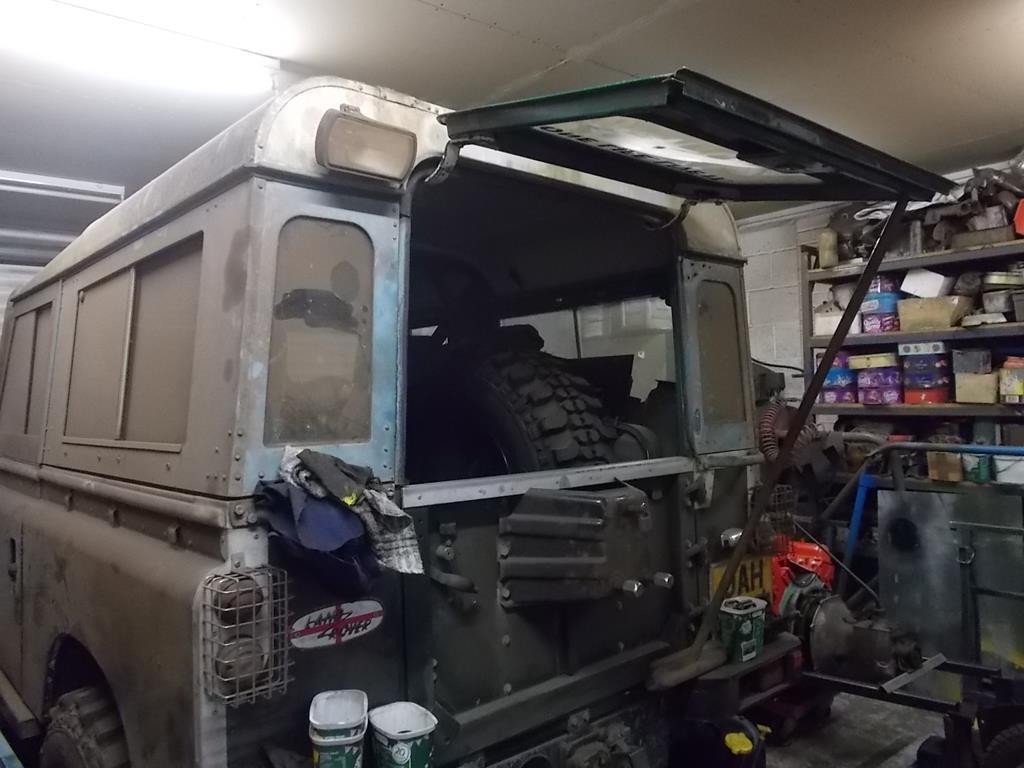
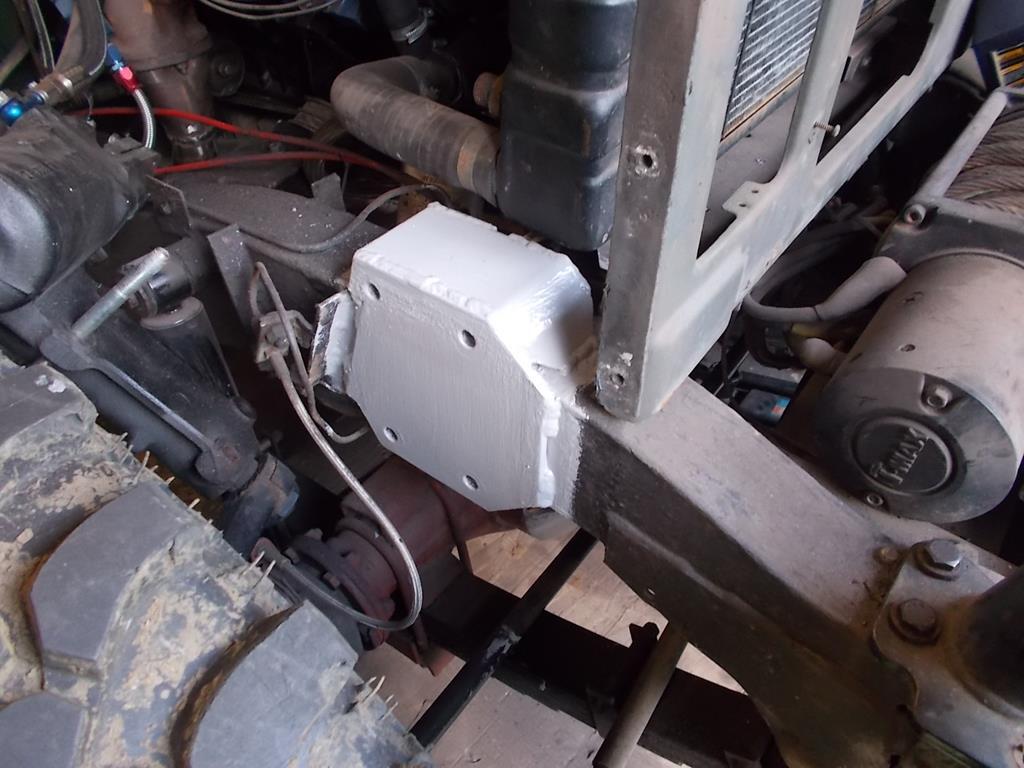
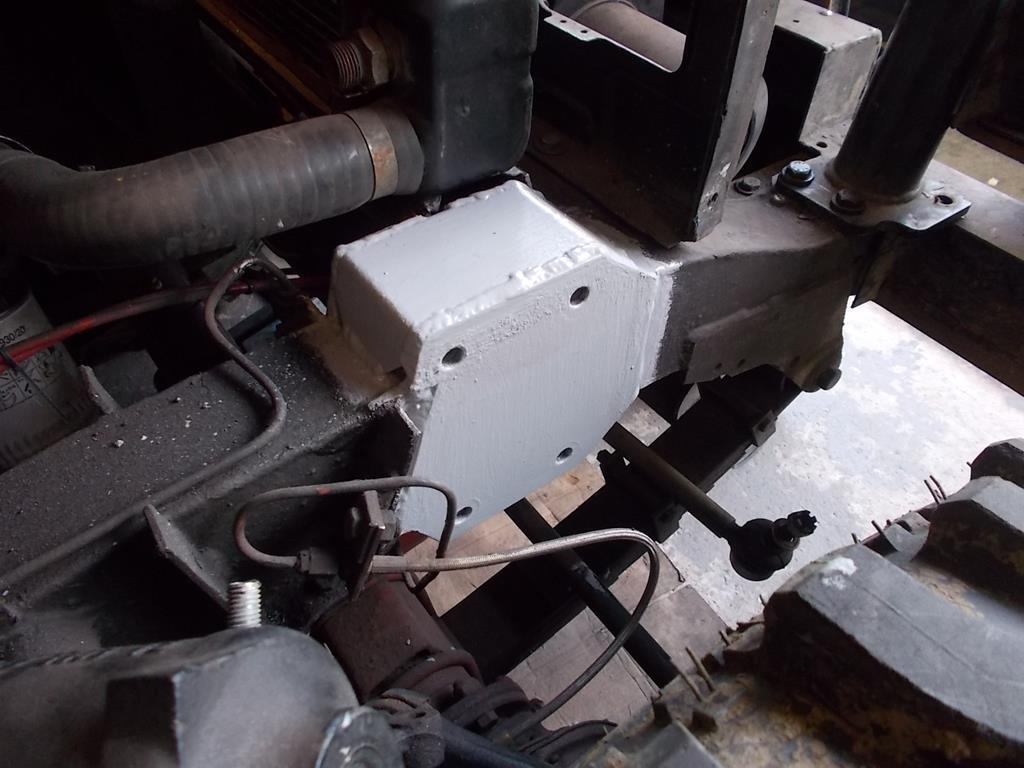
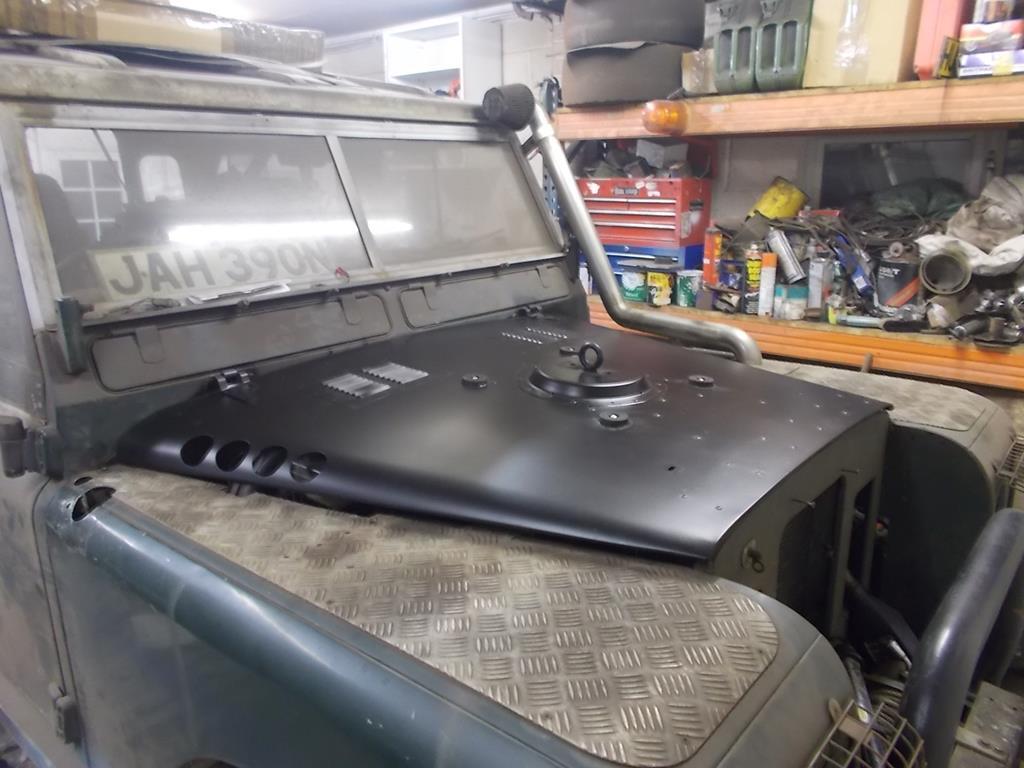
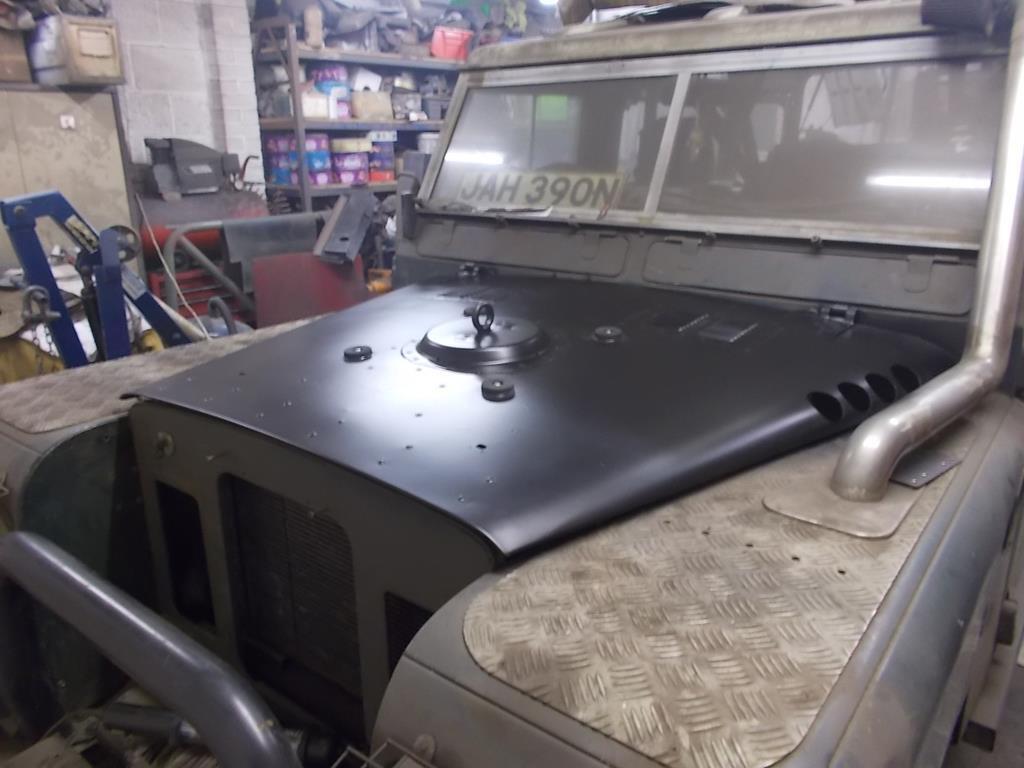
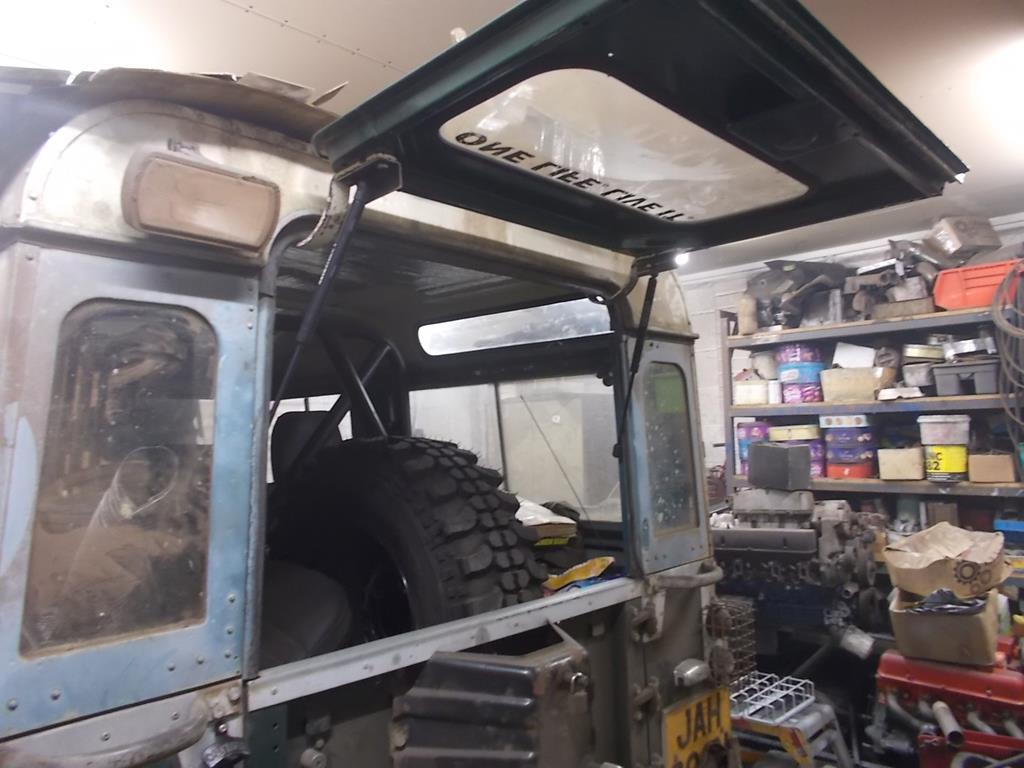
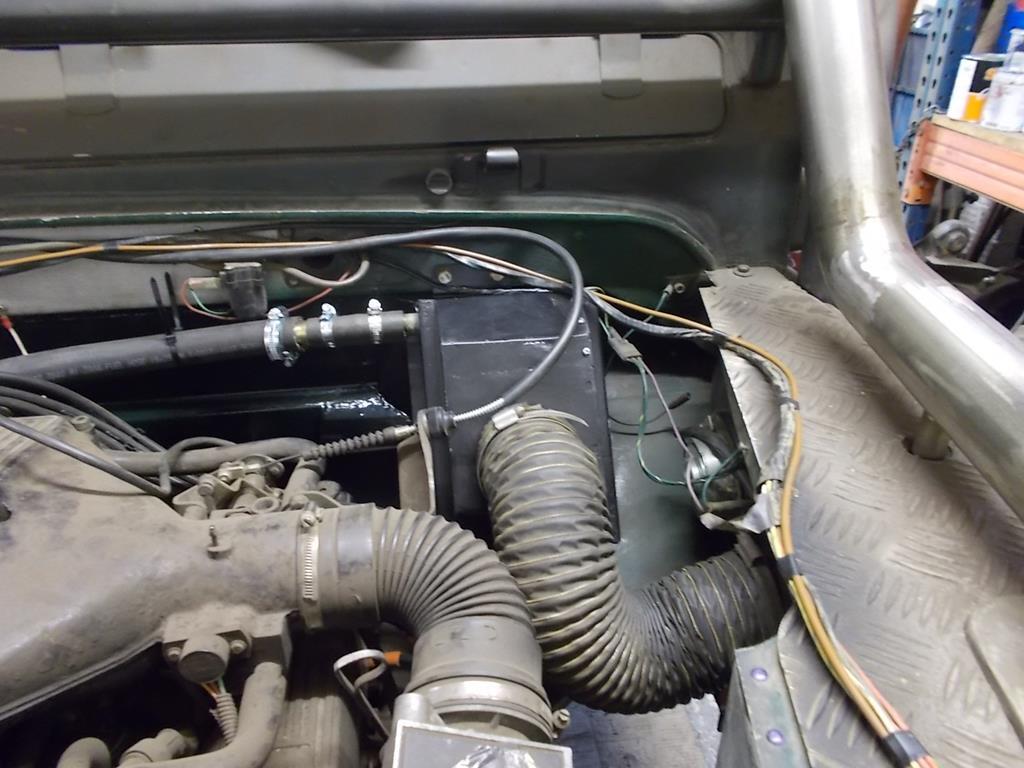
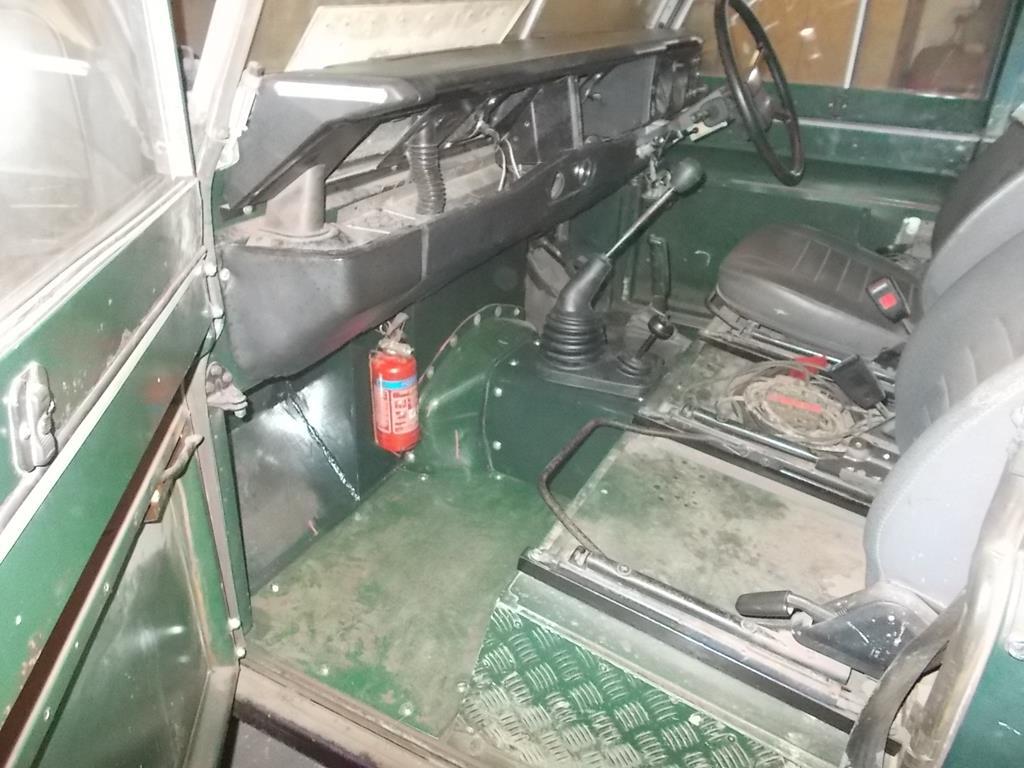
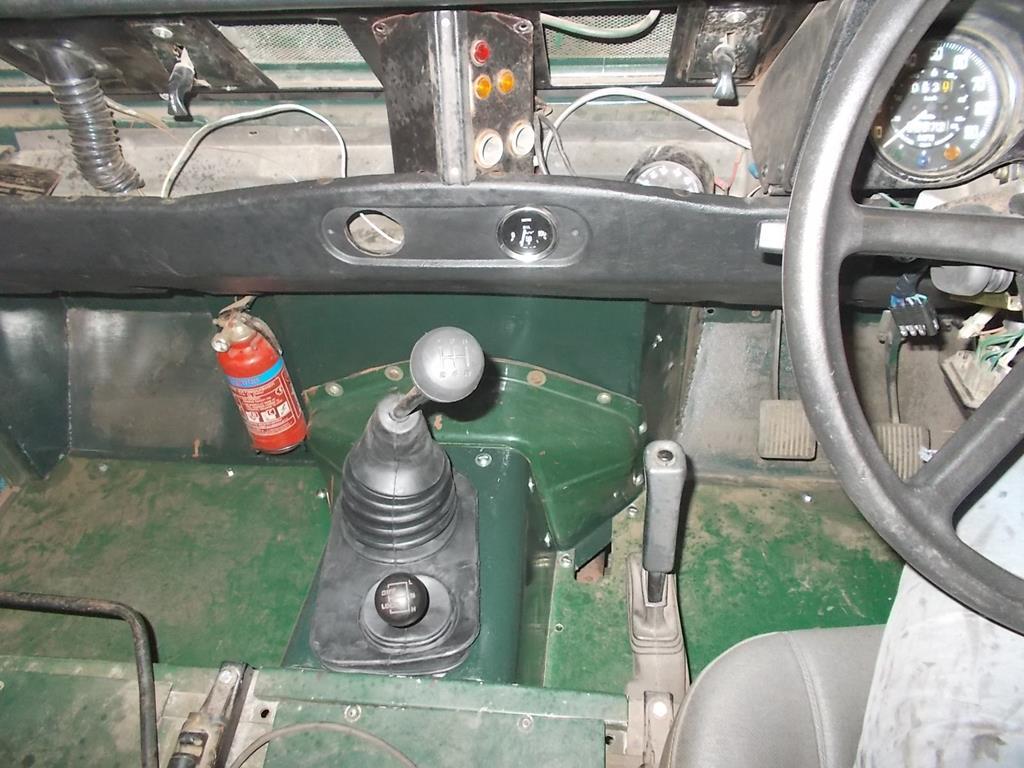
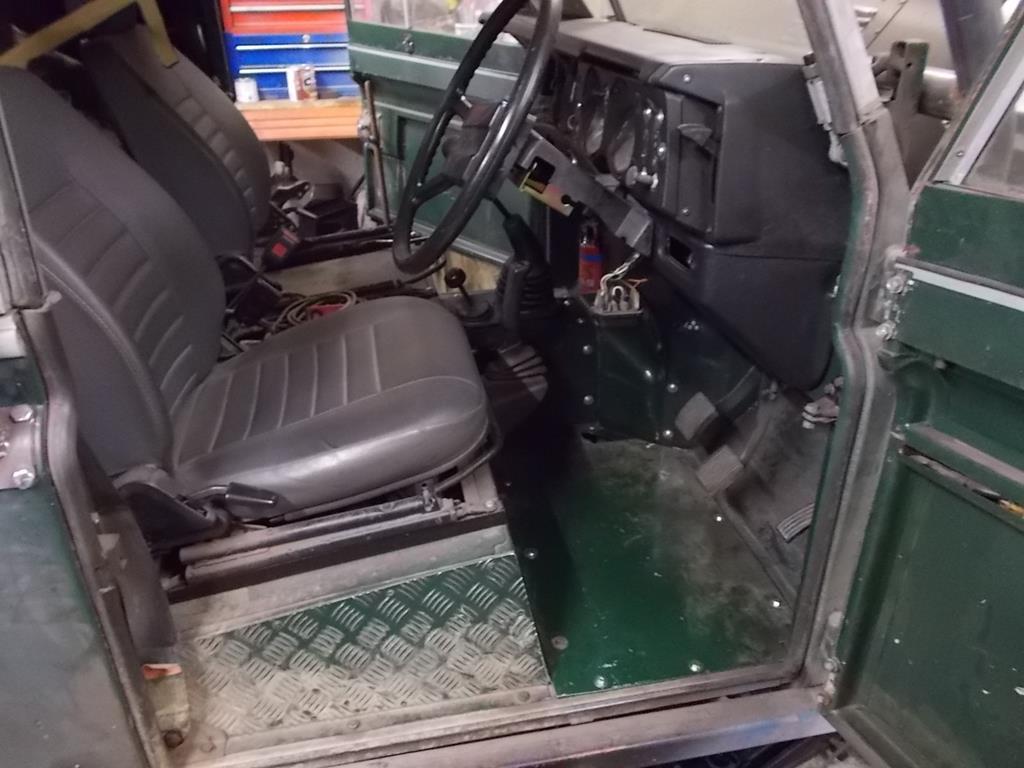
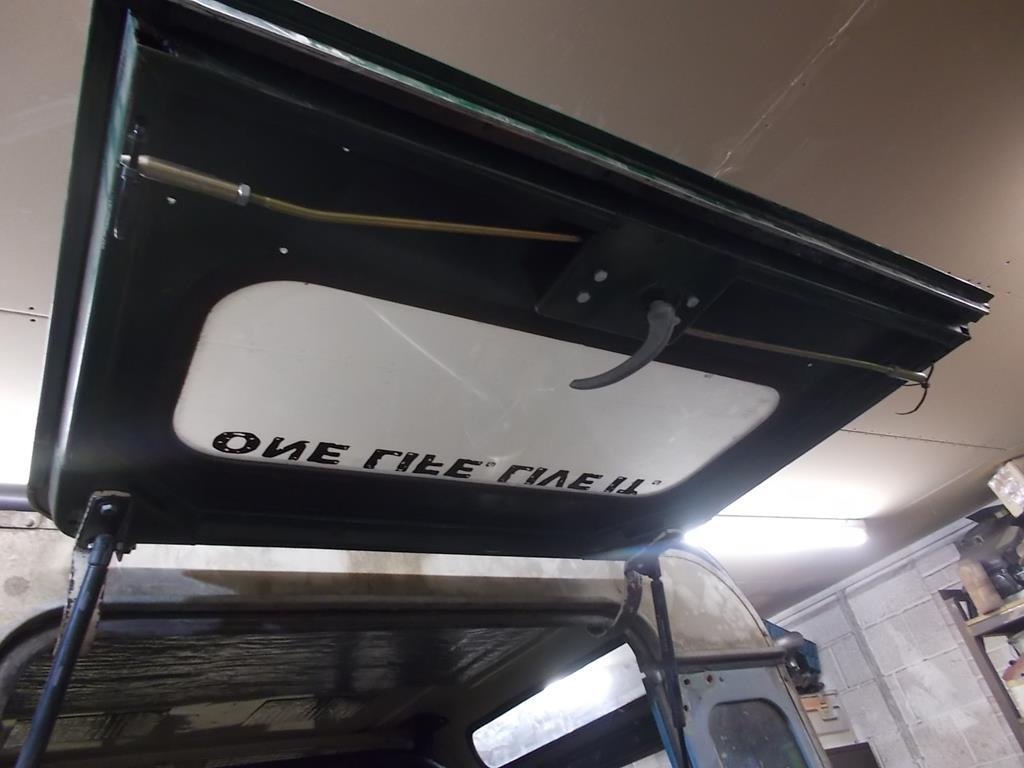
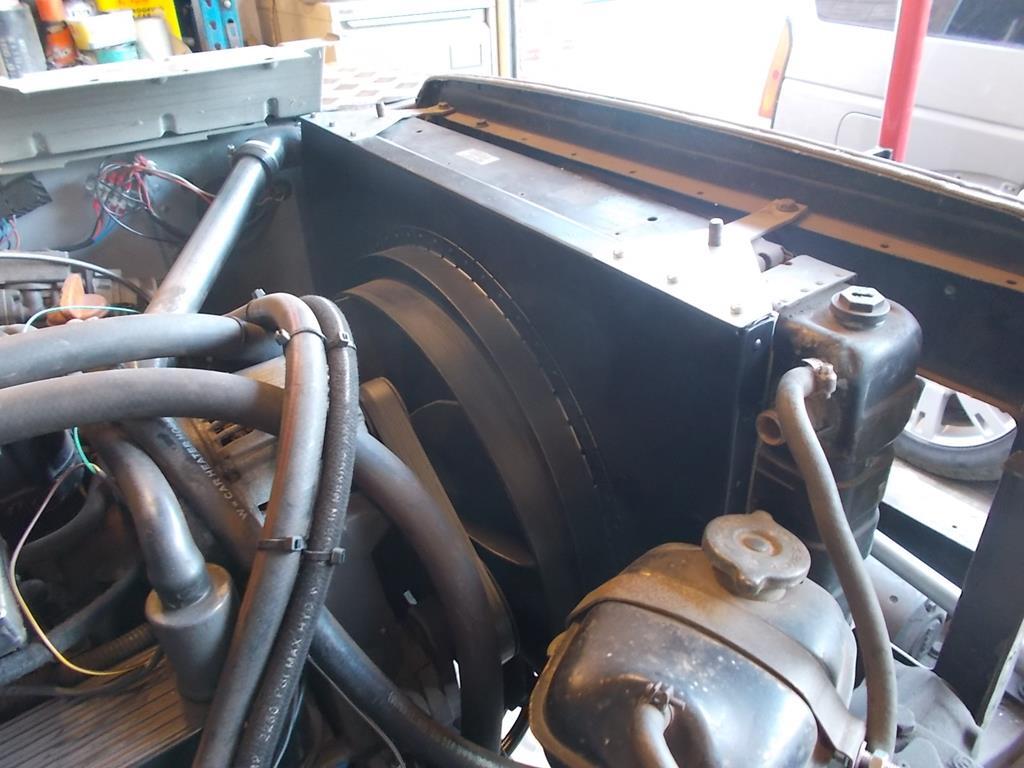
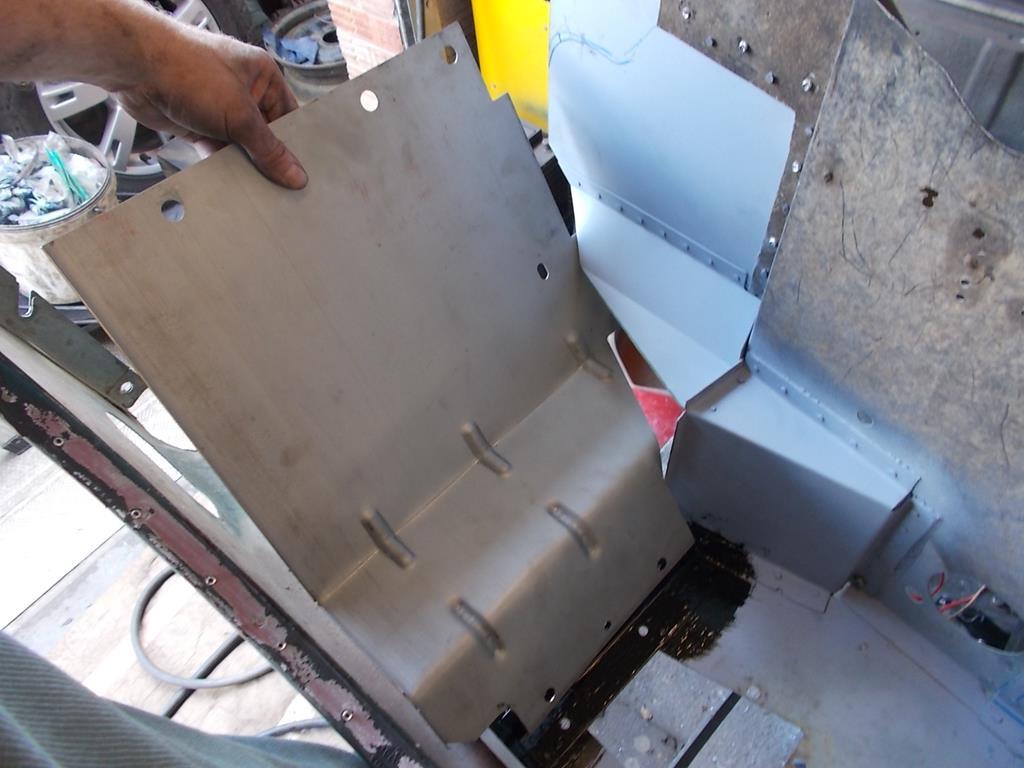
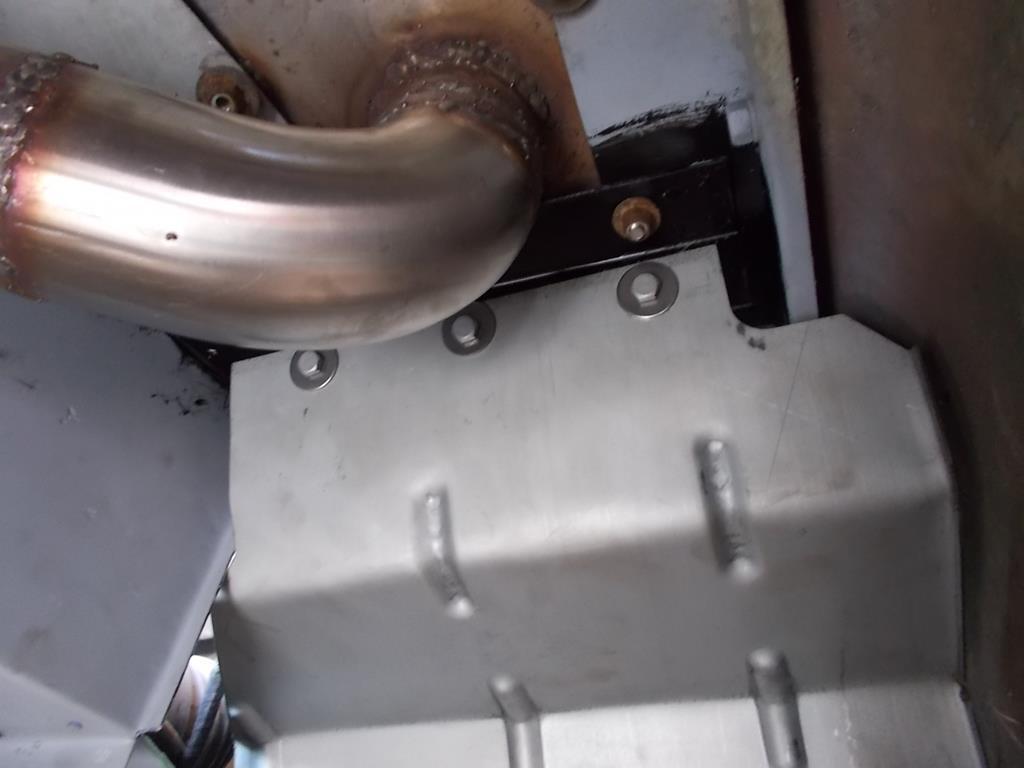
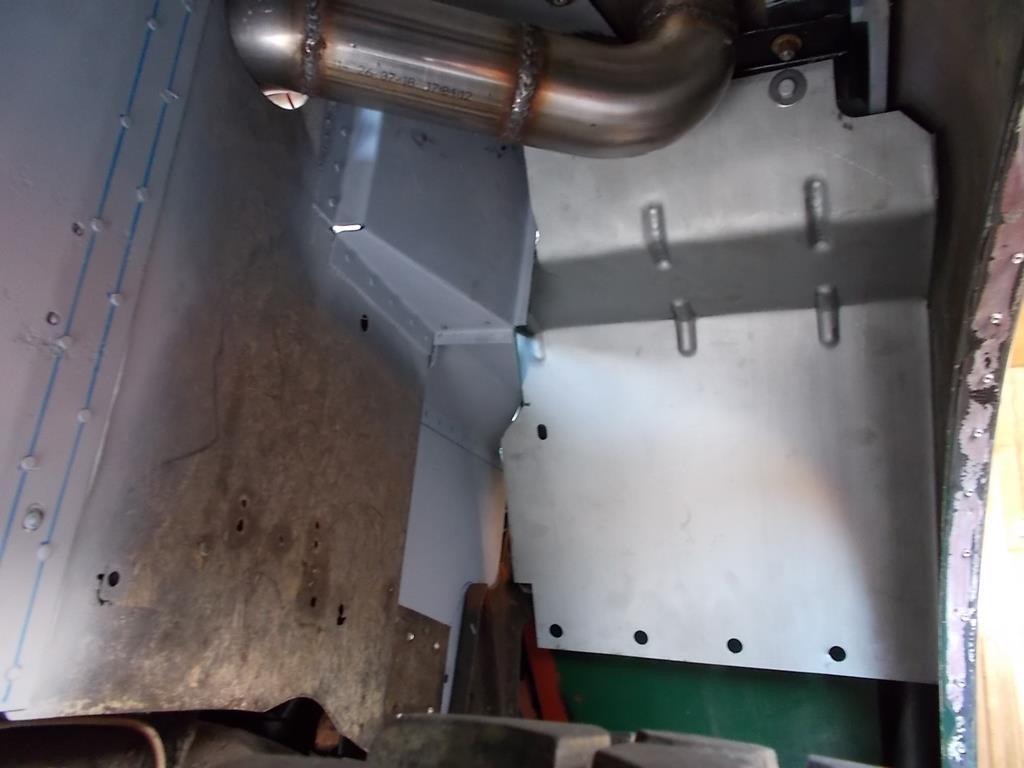
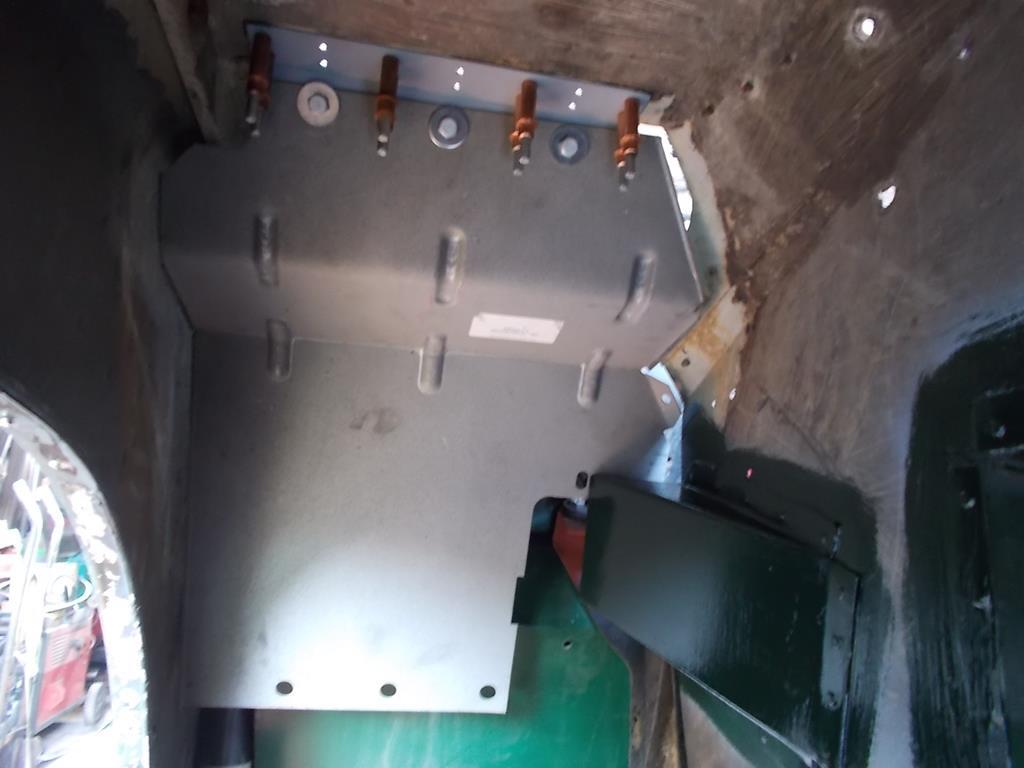
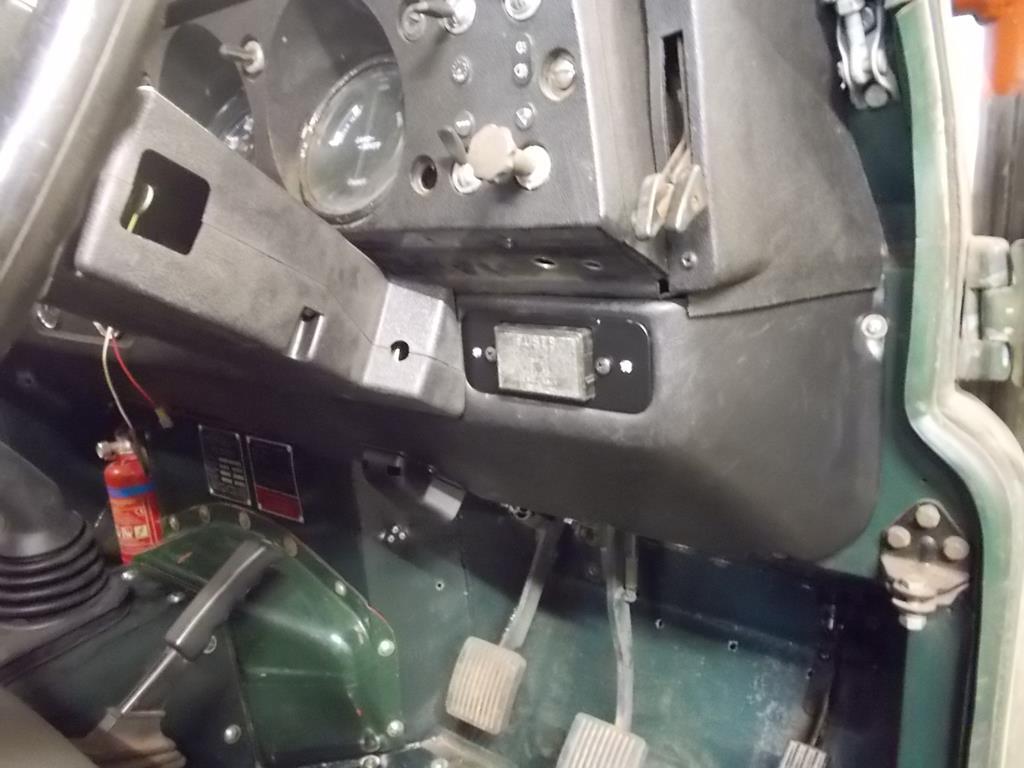
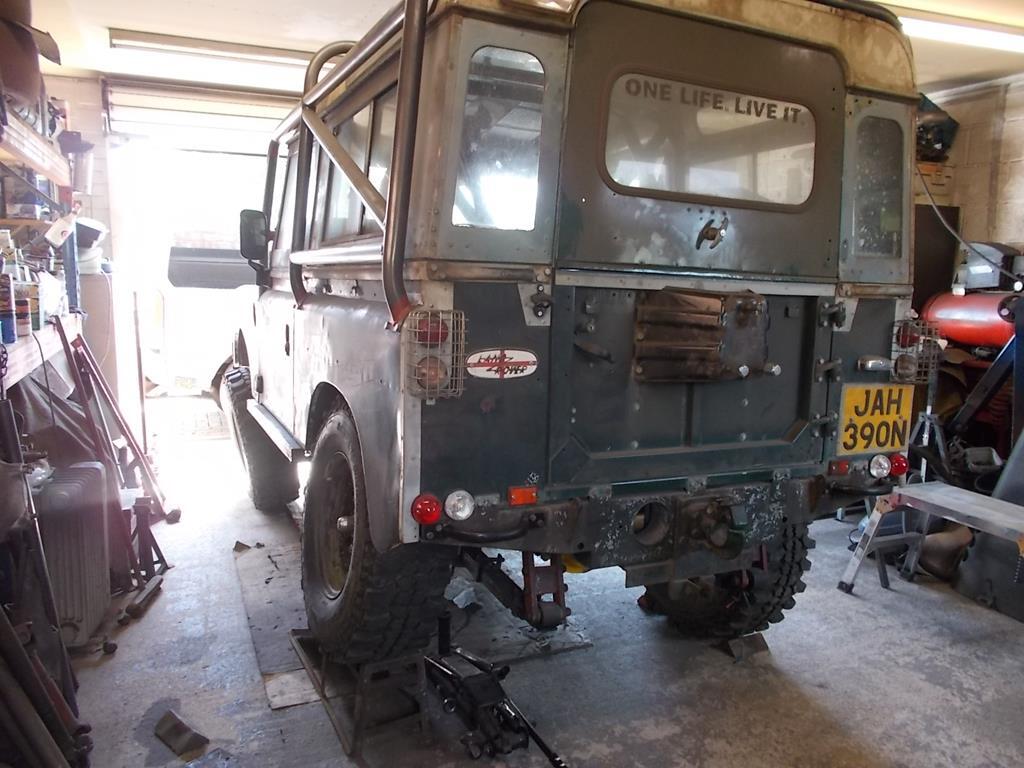
Some more progress. Got the last parts for the latching mechanism on the catflap fitted. Found them nos! 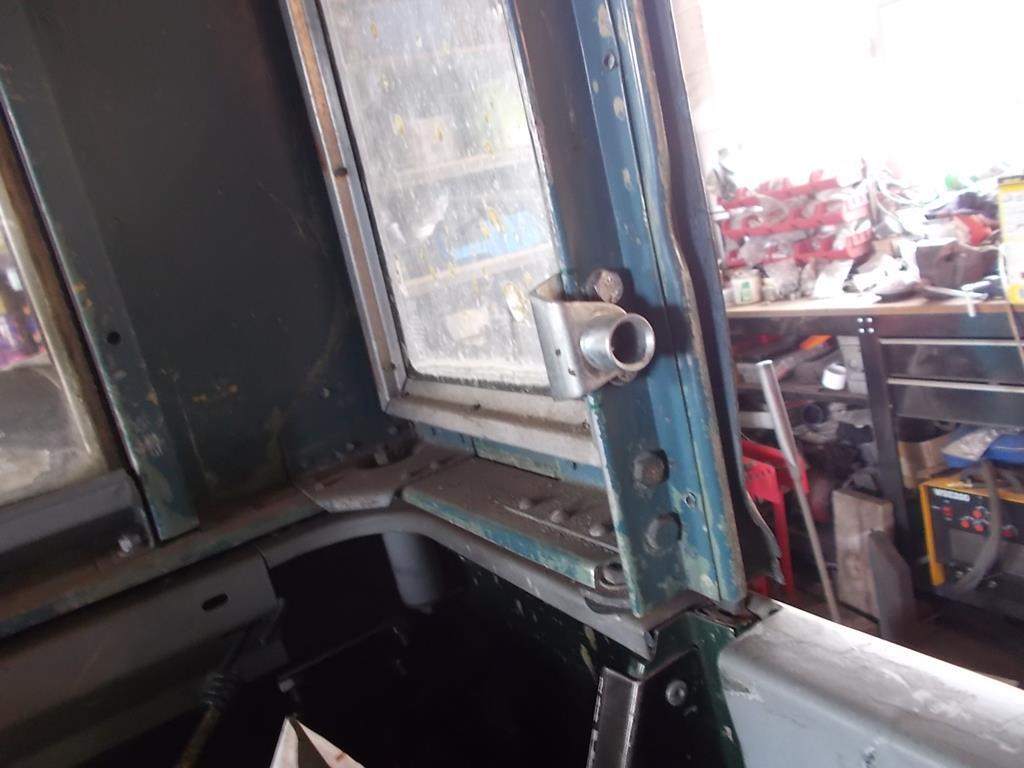 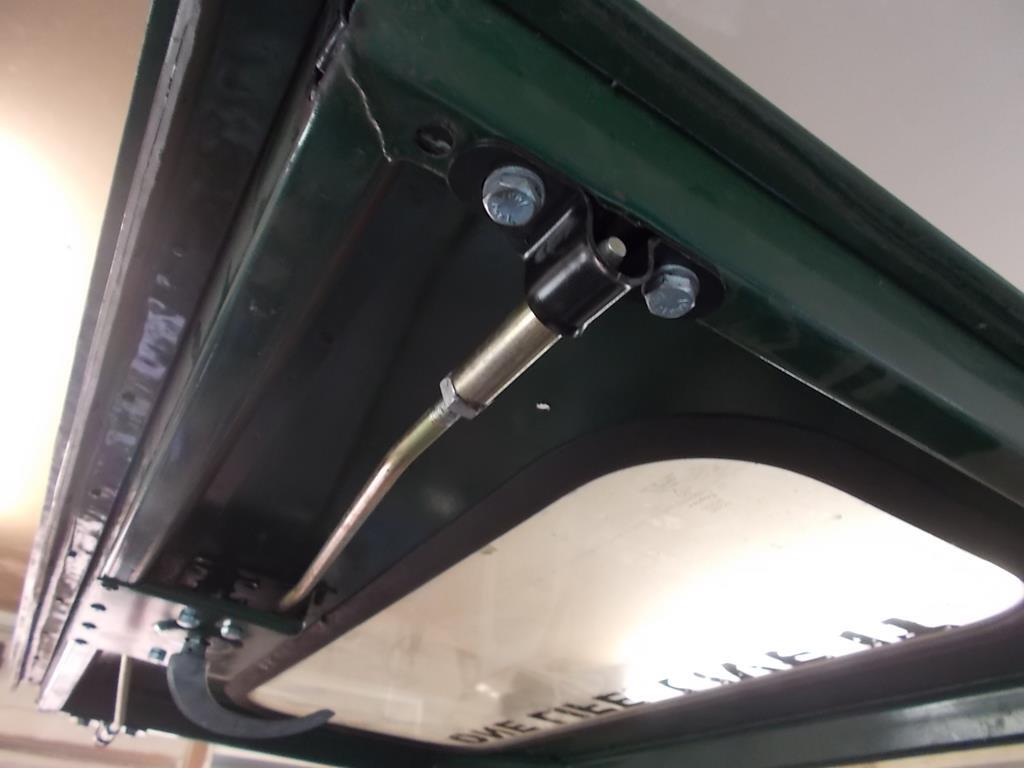 Swapped the dead alternator for a working spare. Now it's running and charging! 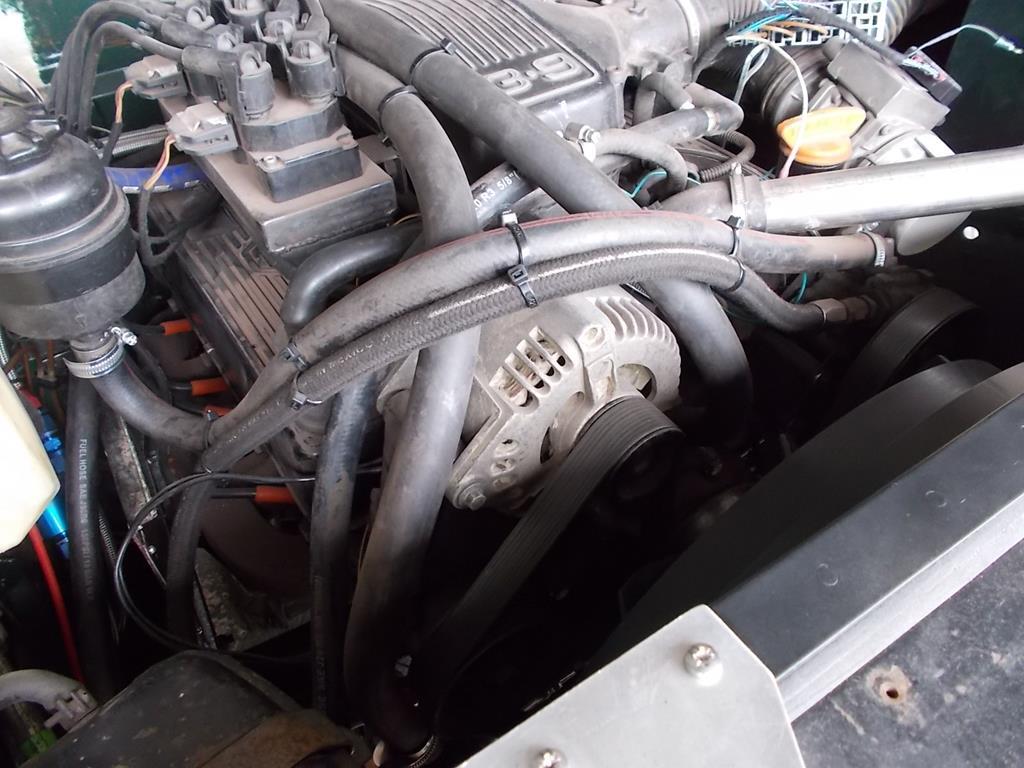 Also got round to removing all of the old rubber spring bushes from the front to fit polybushes. A problem I've noticed with polybushes on the front suspension is the shackle end where the inner shackle has the spacer, the poly tends to slip over it. Solution was to weld a spreader washer on the end of the spacer which holds the polybush fully in place 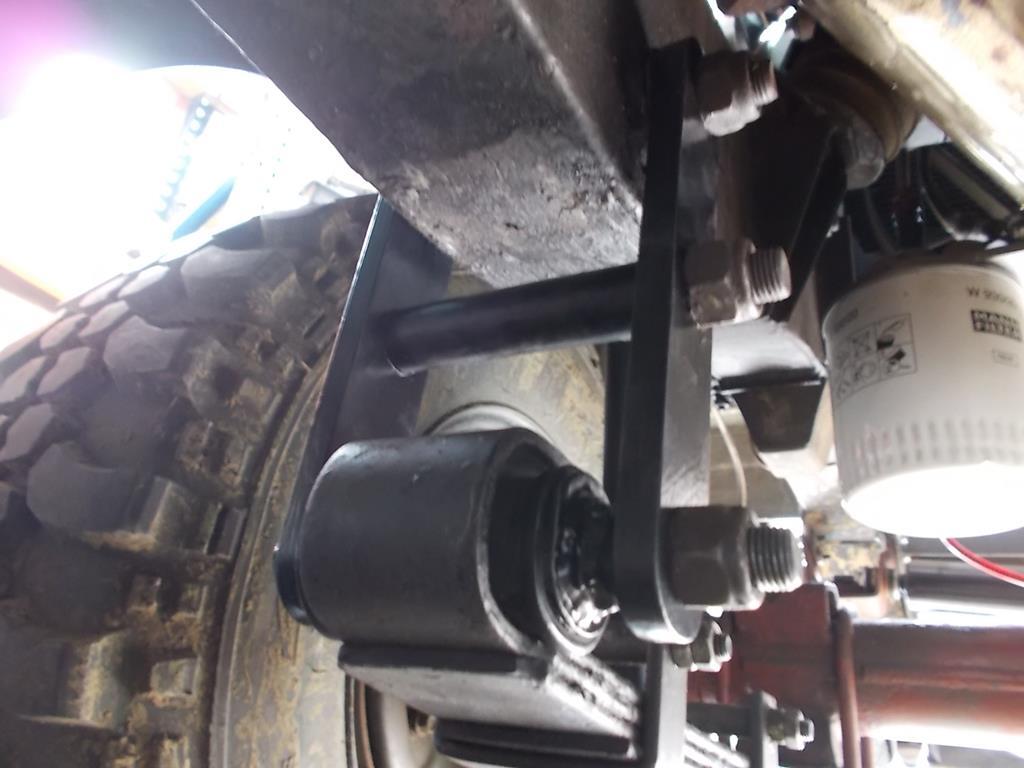 And since moving the radiator forwards I've lost the original bonnet latch mechanism position. Solution is a cable pull latch from a later Defender. I've made a bracket to hold the cable in the footwell and modified the bonnet frame to move the pin forwards infront of the radiator 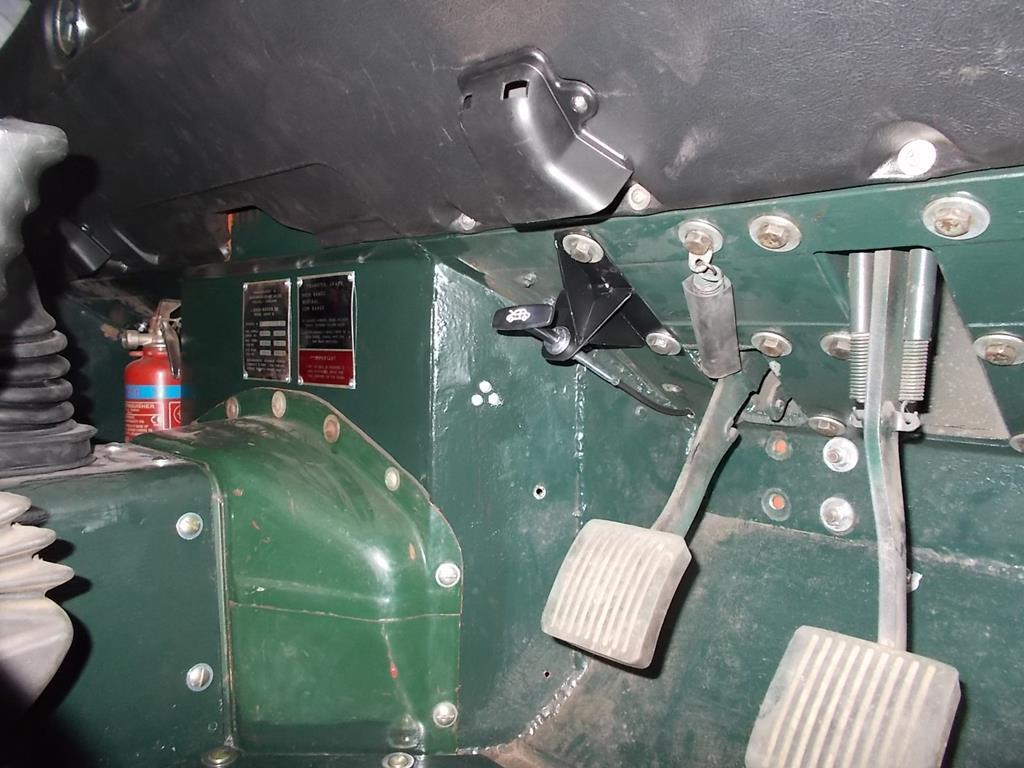 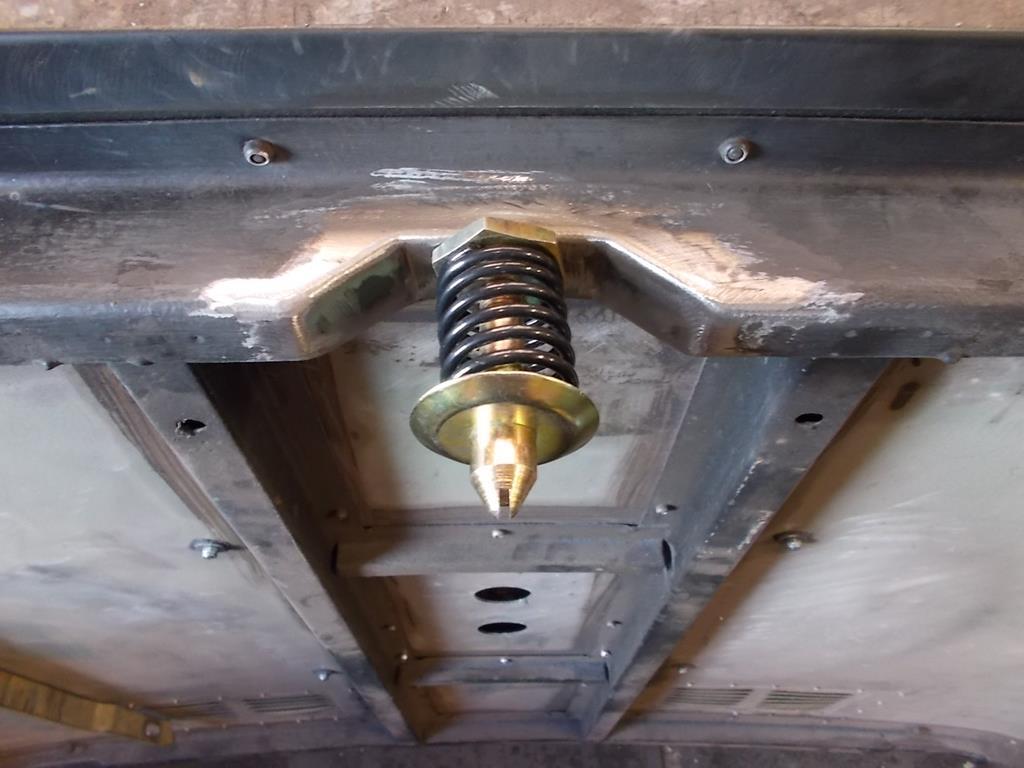 |
| |
|
|
|
|
|
|
|
I'm sure I had this bookmarked once. So it either fell off, or my memory is failing!  Great build, as always. Is the 3.9 going to be man enough to haul all that pipework around?  |
| |
|
|
|
|


