sowen
Club Retro Rides Member
Posts: 2,245
Club RR Member Number: 24
|
|
|
|
I'm sure I had this bookmarked once. So it either fell off, or my memory is failing!  Great build, as always. Is the 3.9 going to be man enough to haul all that pipework around?  Yeah the 3.9 will be plenty, the old 3.5 had more than enough! 3.9's are used to propel the much heavier Disco's and nobody complains about performance in those (maybe economy  ) |
| |
|
|
|
|
sowen
Club Retro Rides Member
Posts: 2,245
Club RR Member Number: 24
|
|
Jun 16, 2020 21:31:10 GMT
|
|
|
| |
|
|
sowen
Club Retro Rides Member
Posts: 2,245
Club RR Member Number: 24
|
|
Jun 16, 2020 21:41:57 GMT
|
|
|
| |
|
|
sowen
Club Retro Rides Member
Posts: 2,245
Club RR Member Number: 24
|
|
Jun 16, 2020 22:01:11 GMT
|
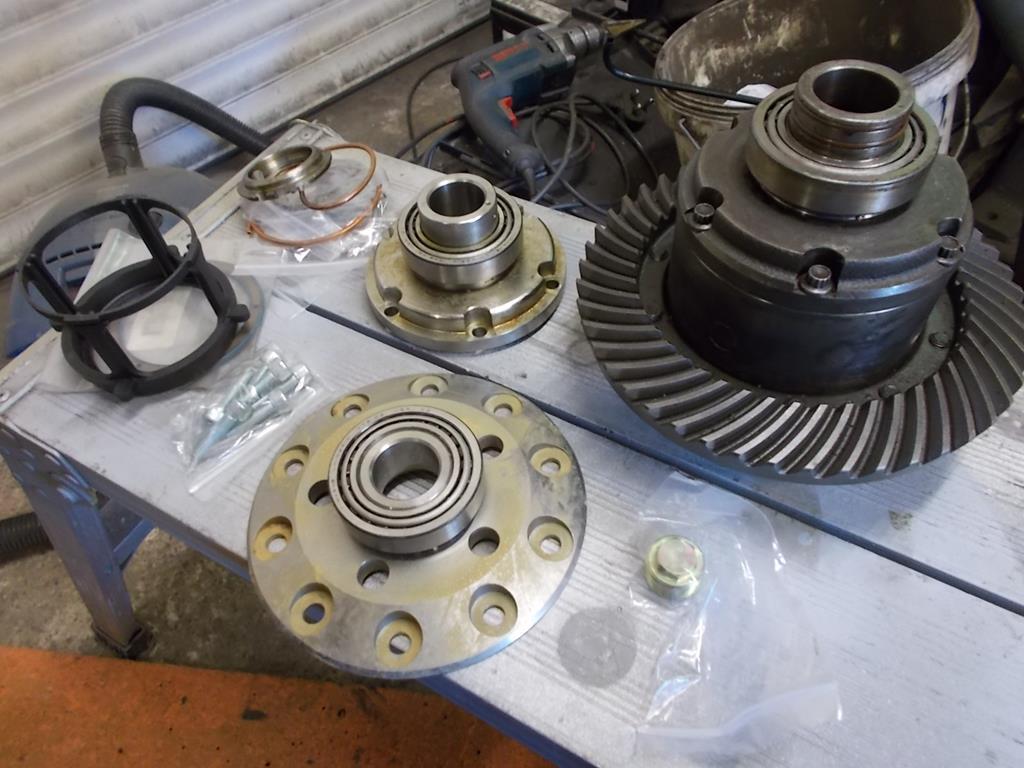
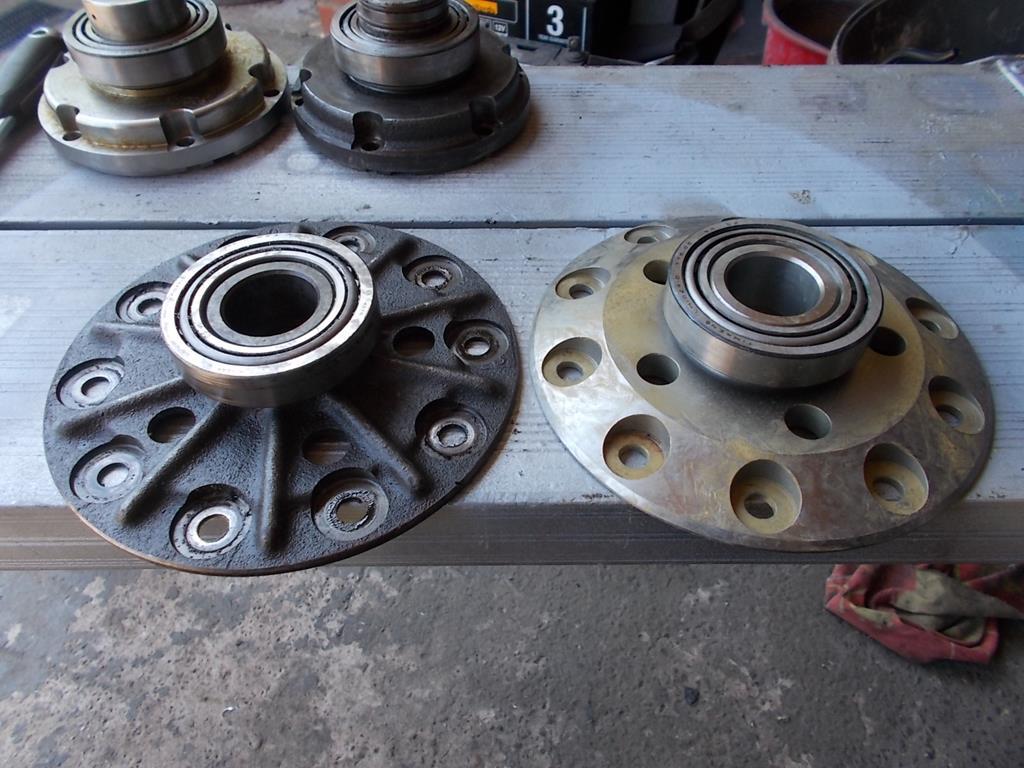
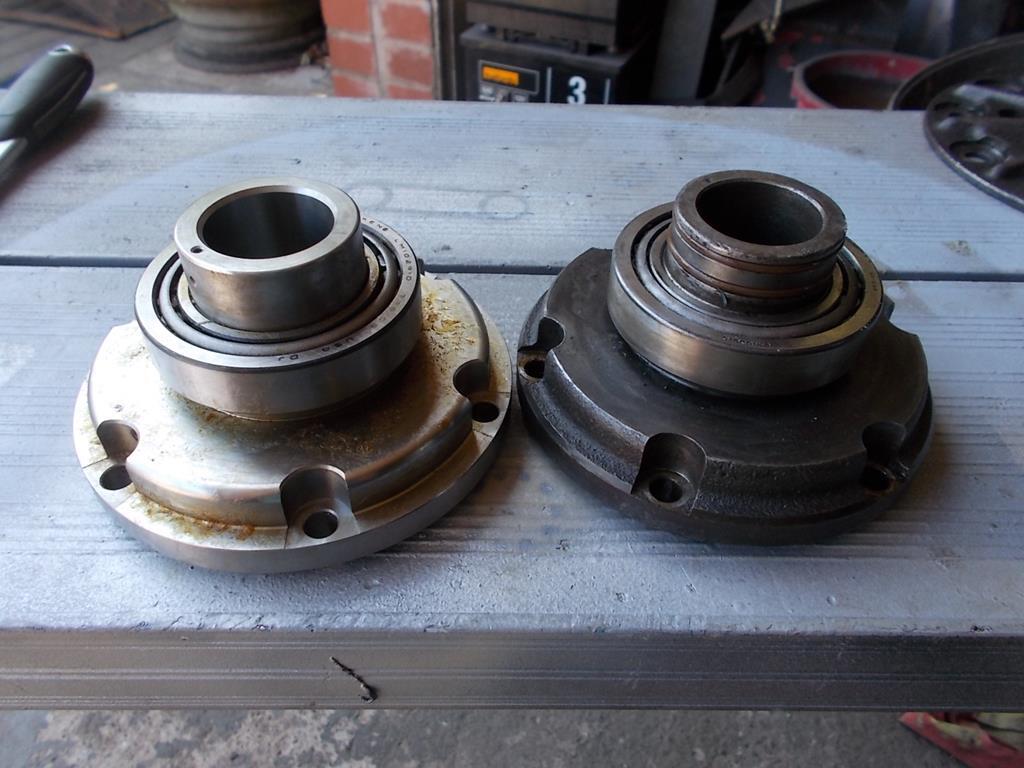
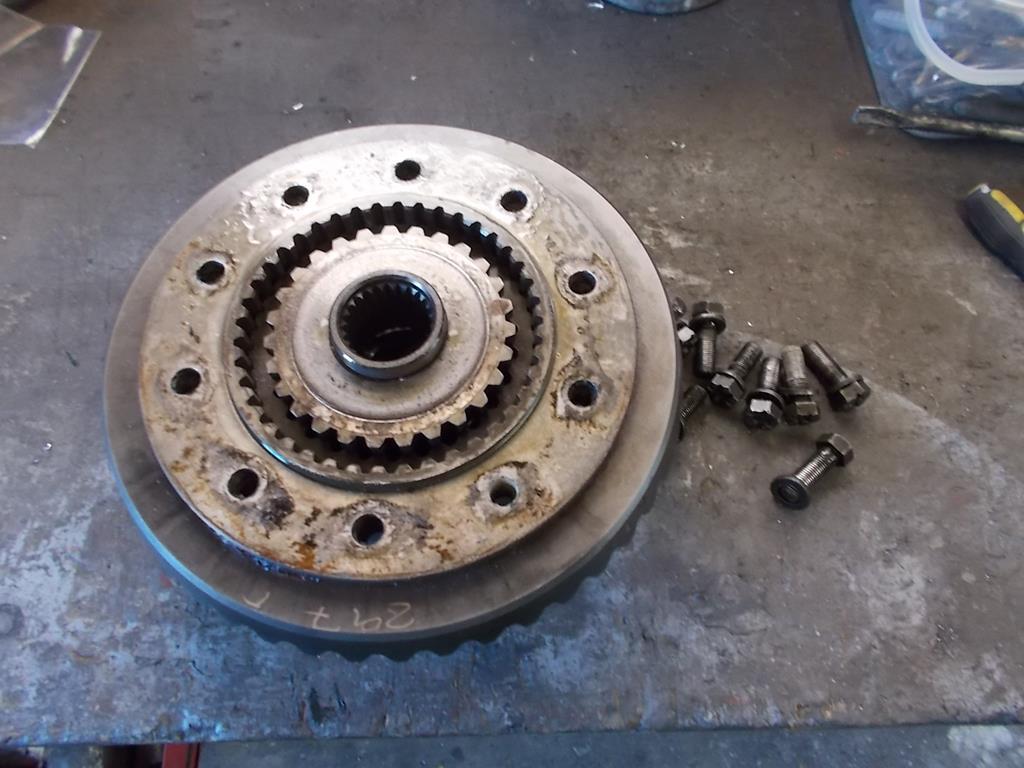
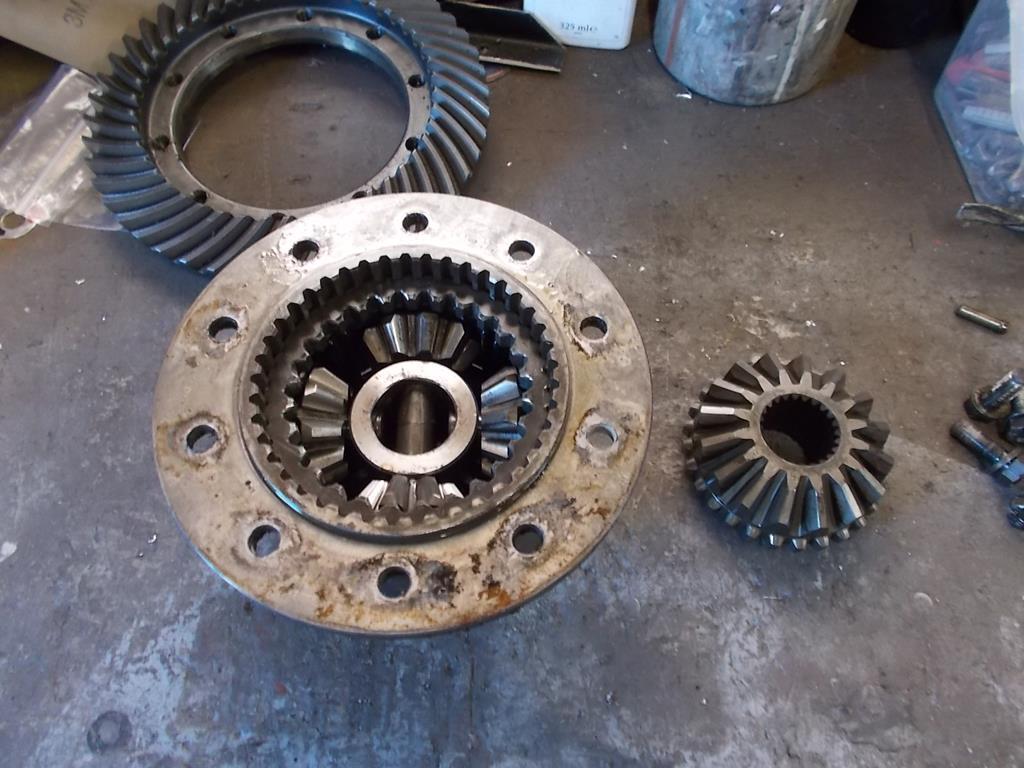
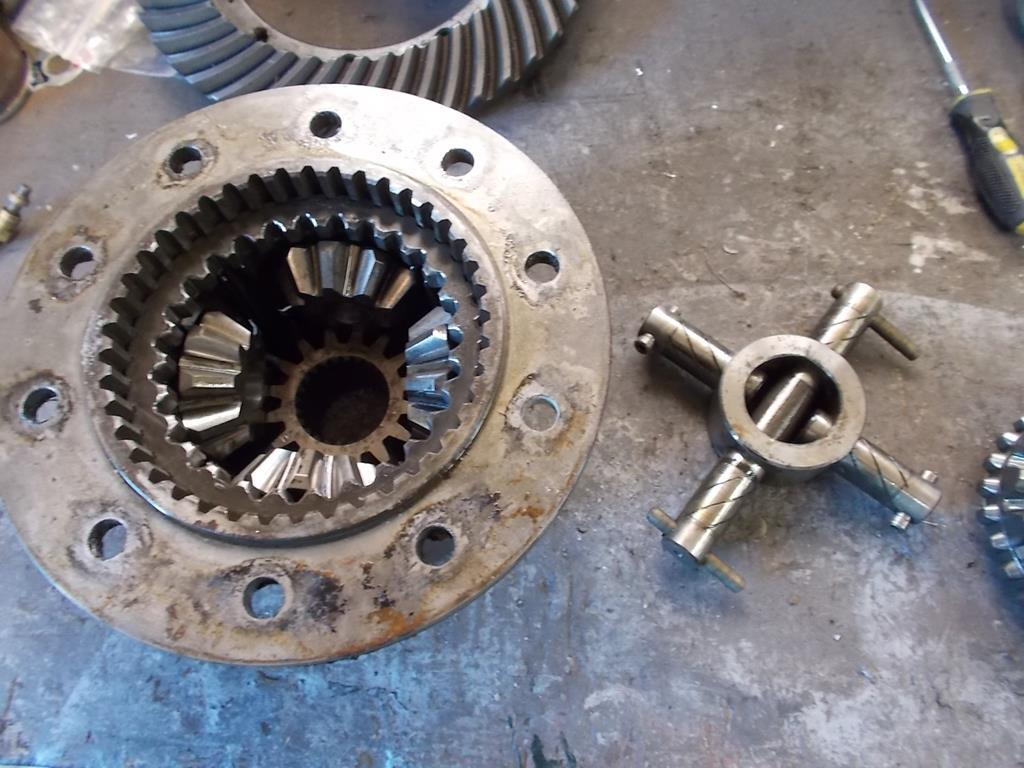
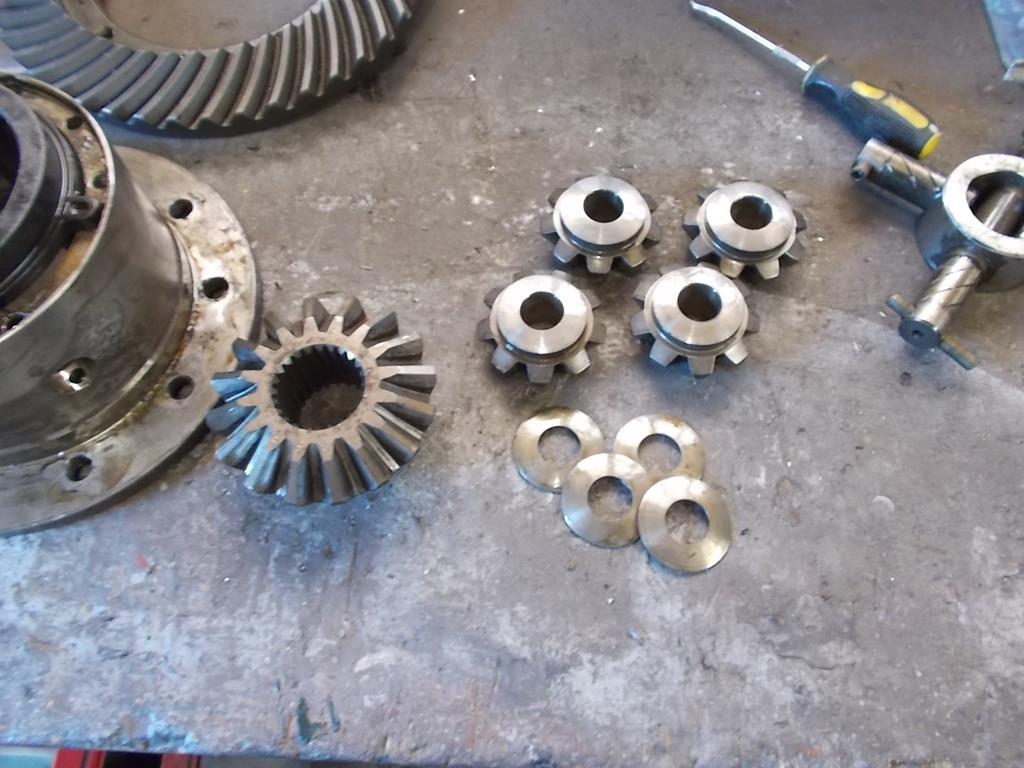
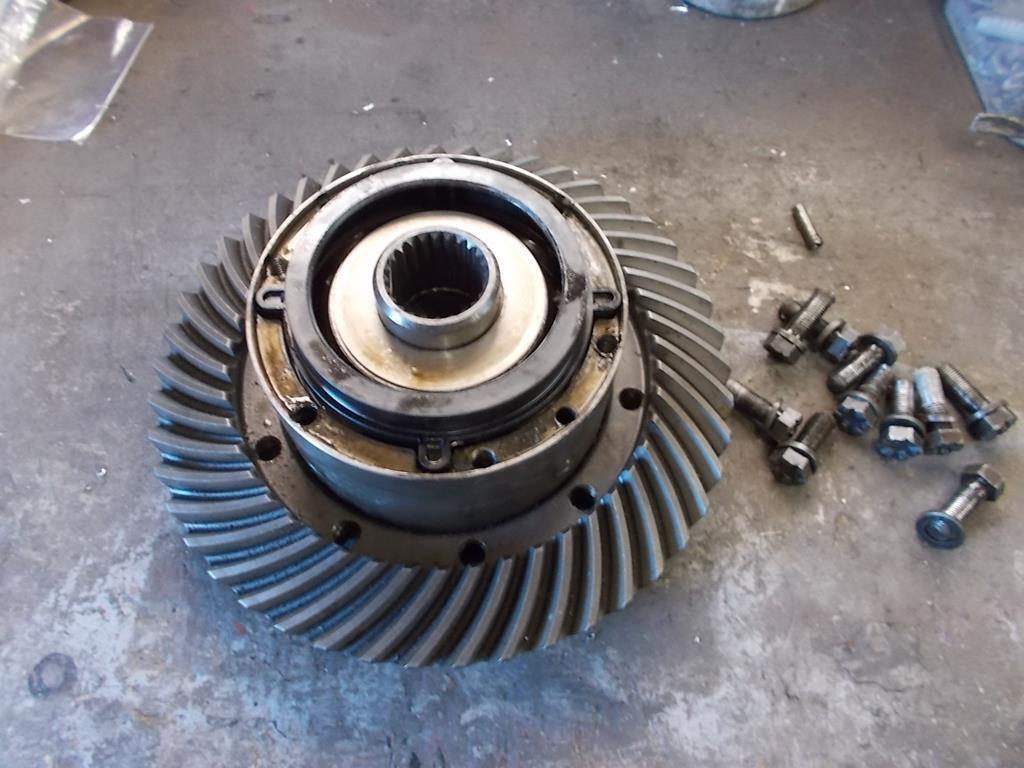
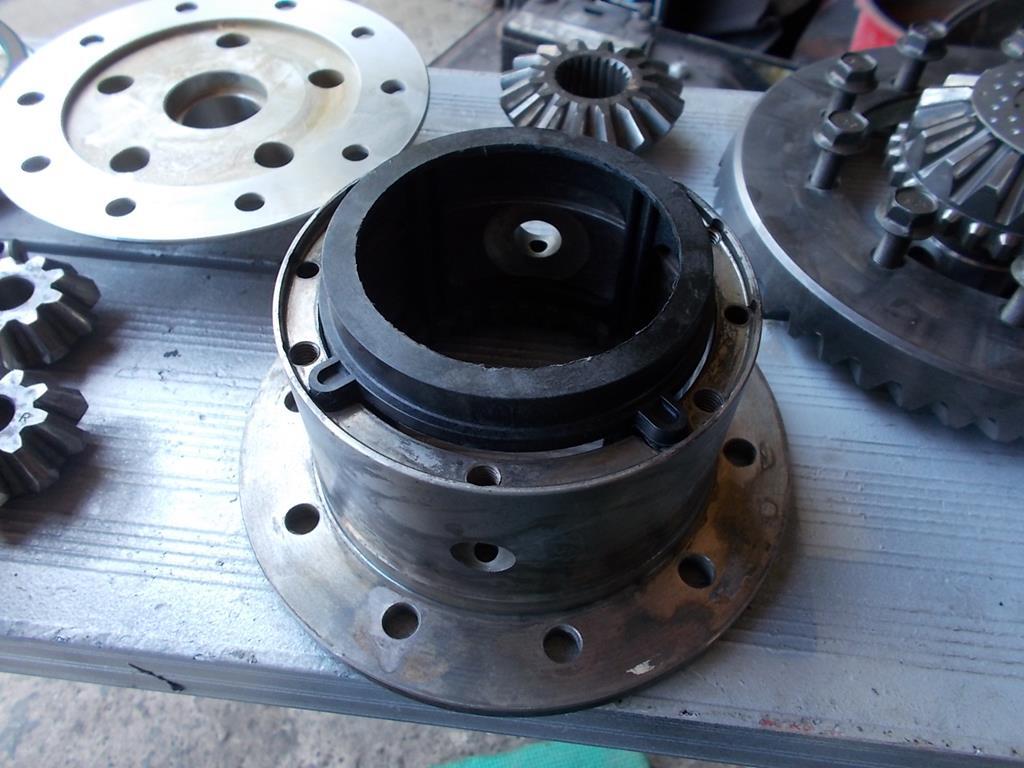
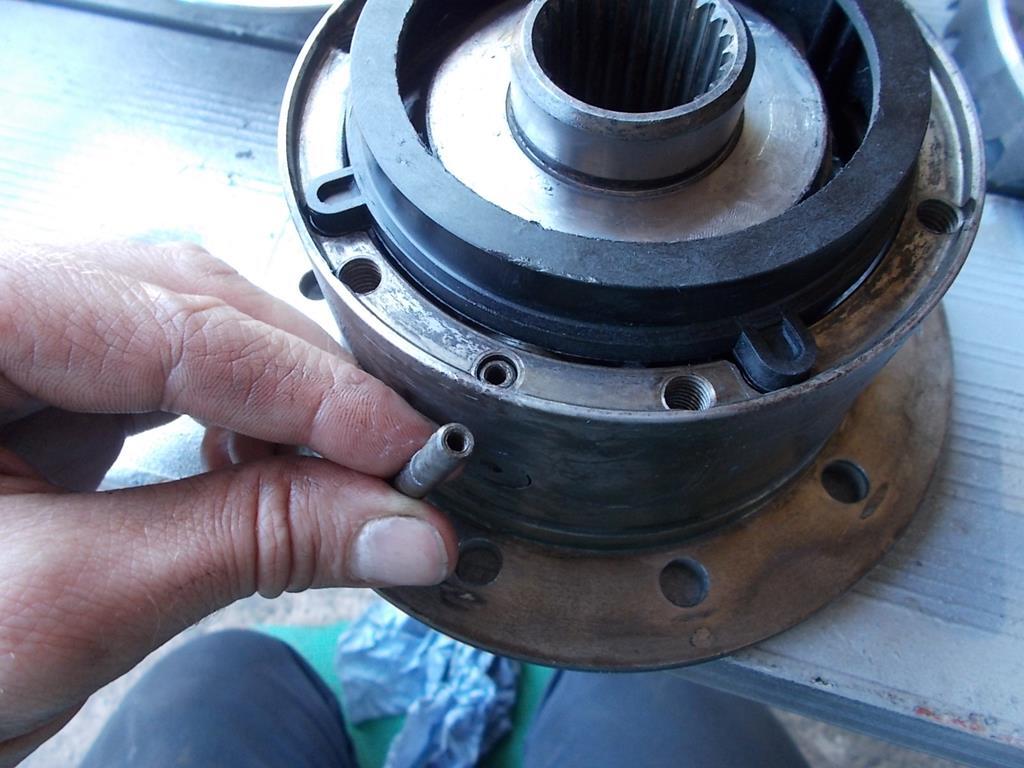
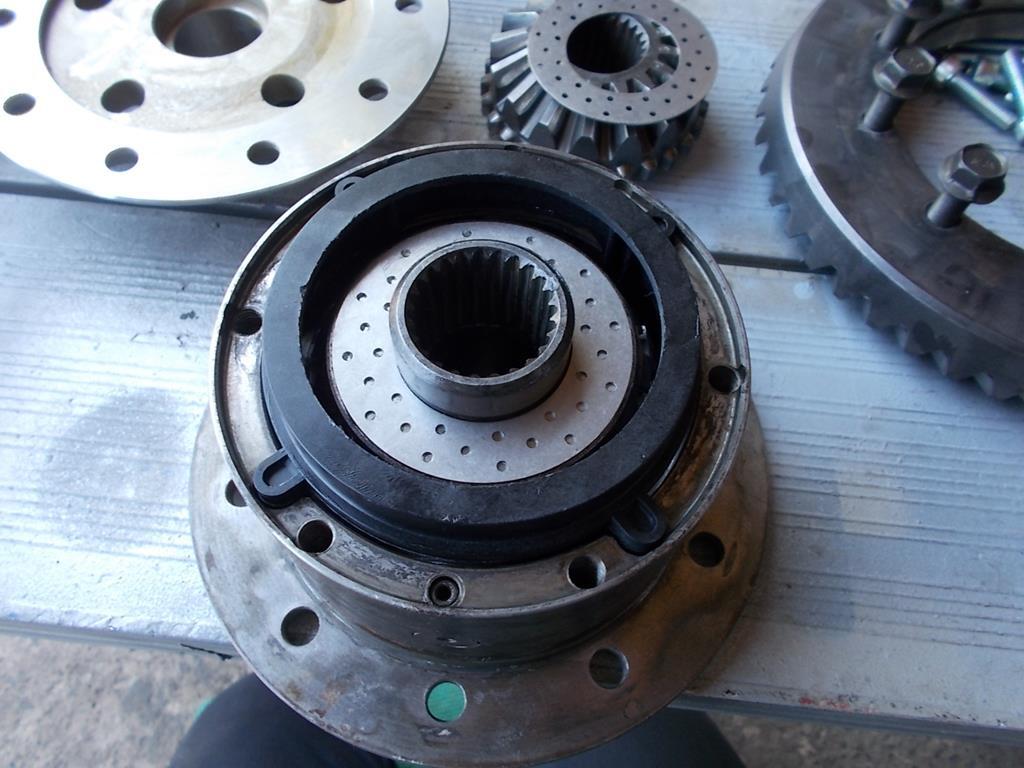
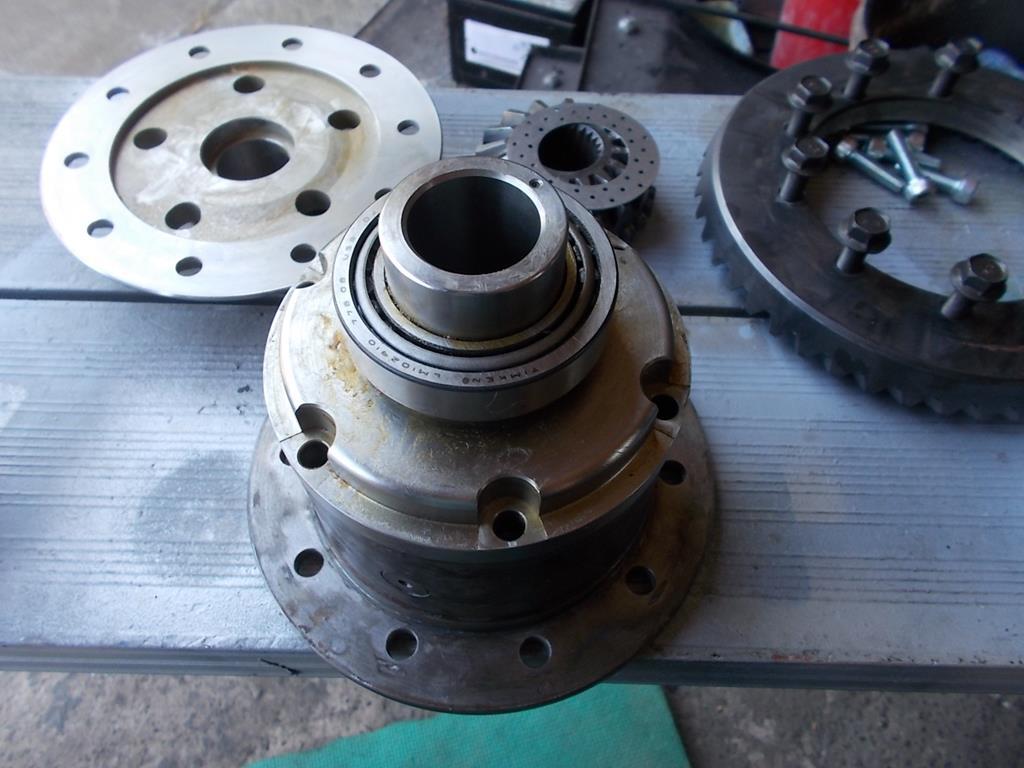
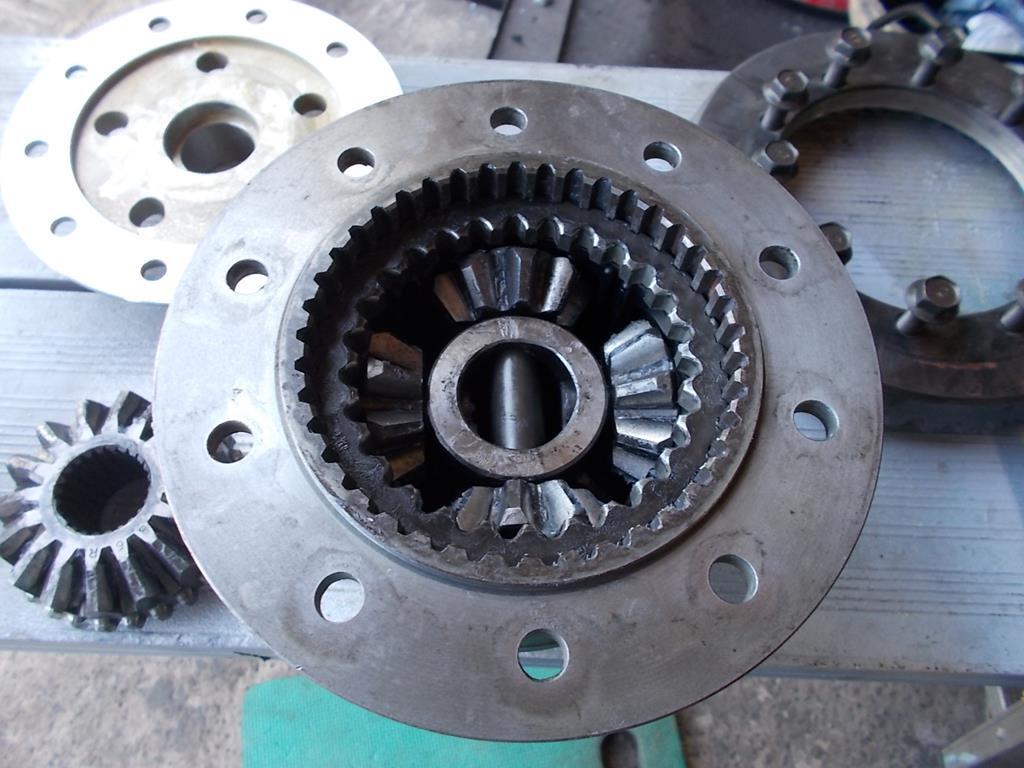
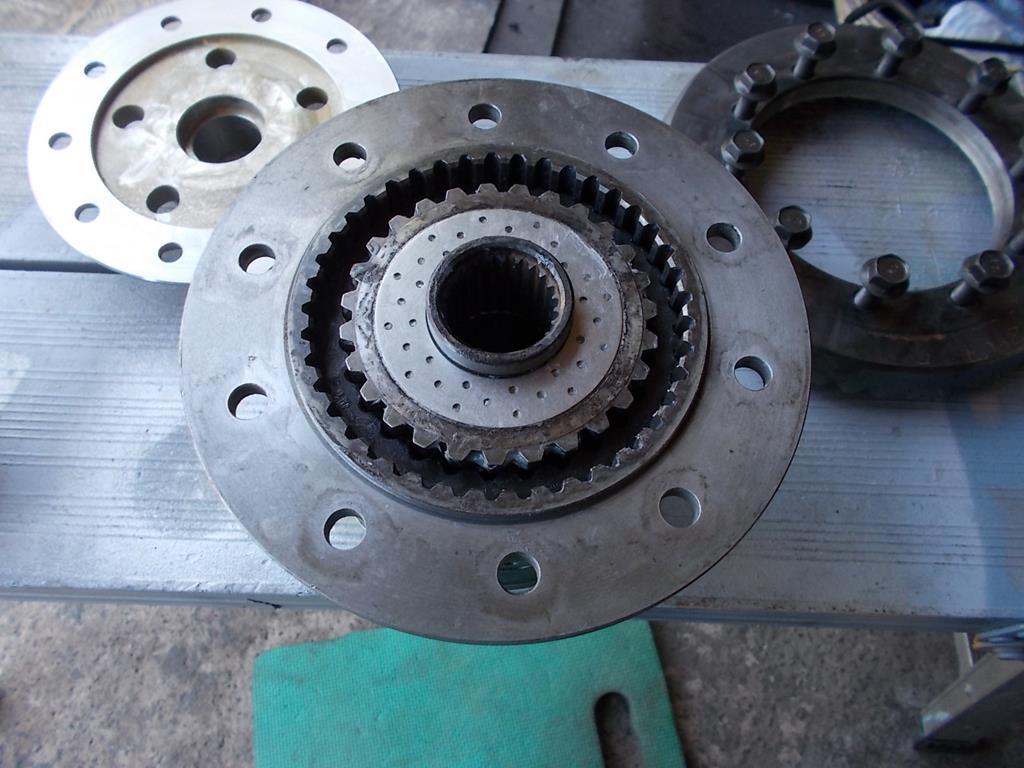
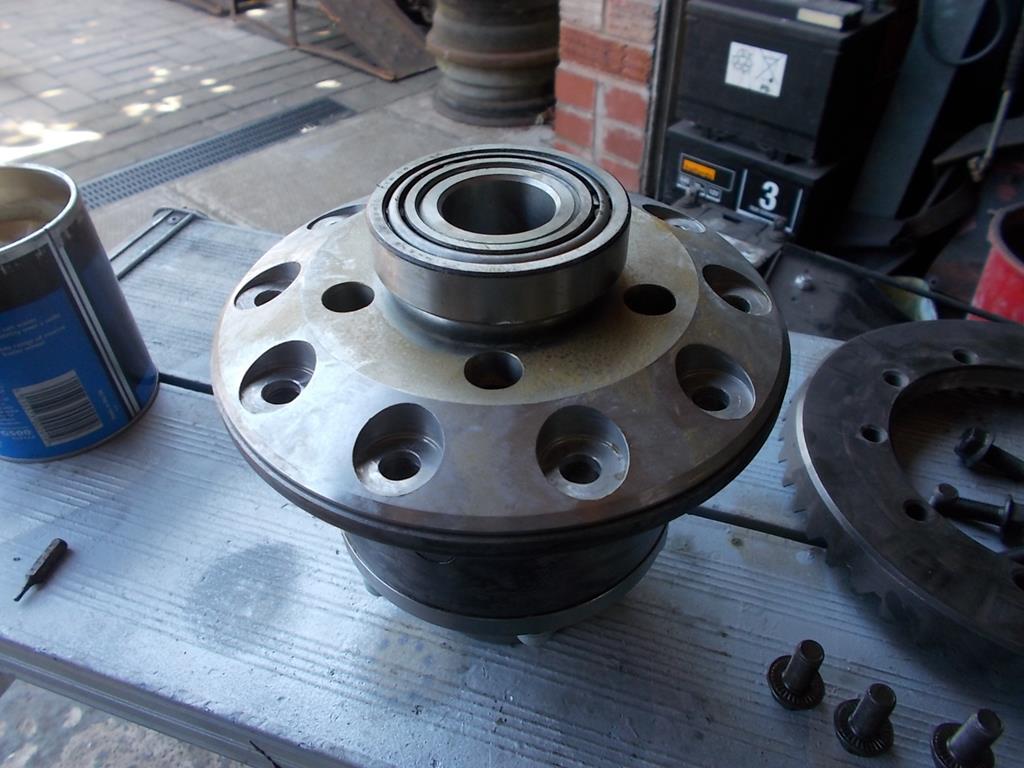
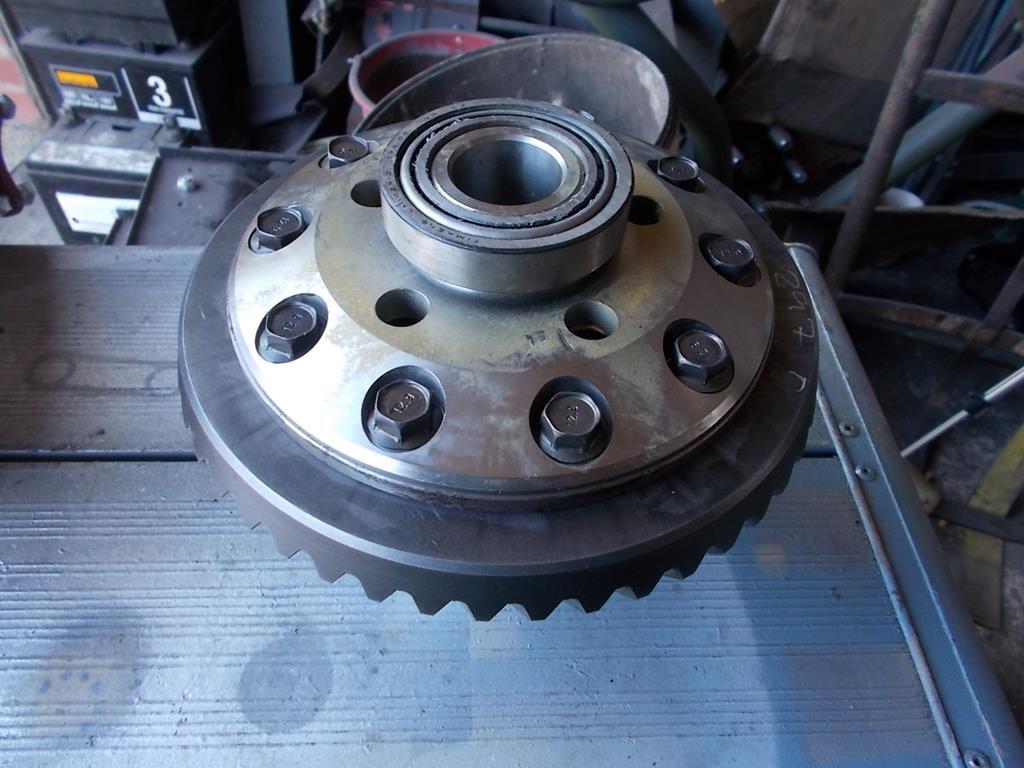
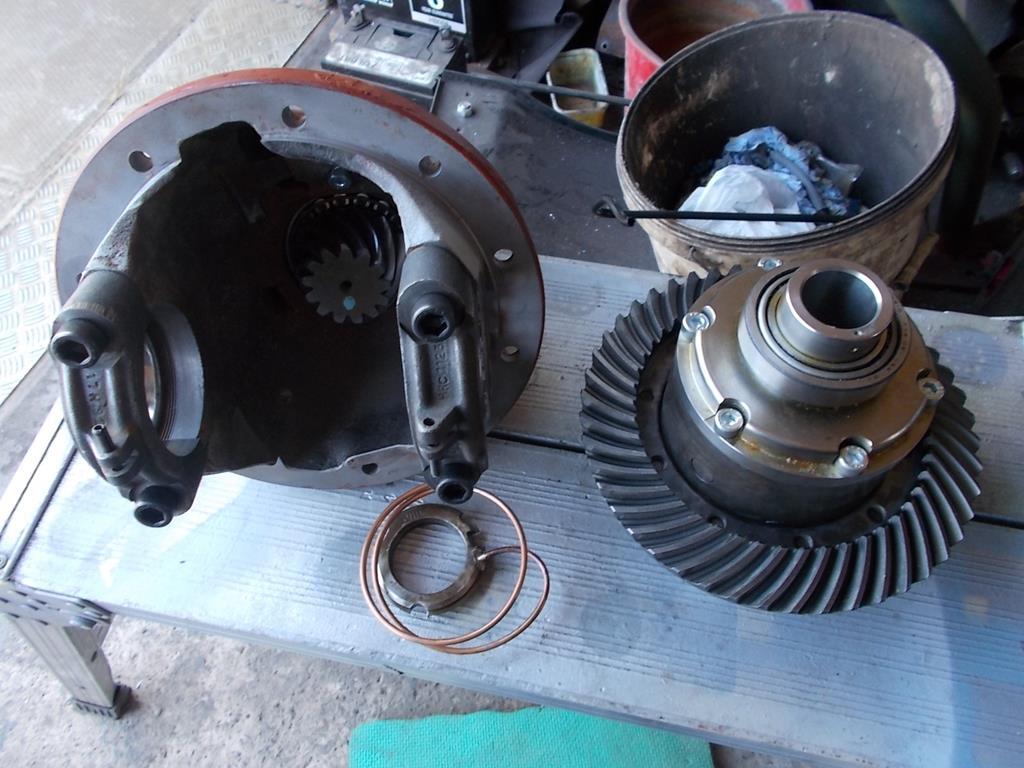
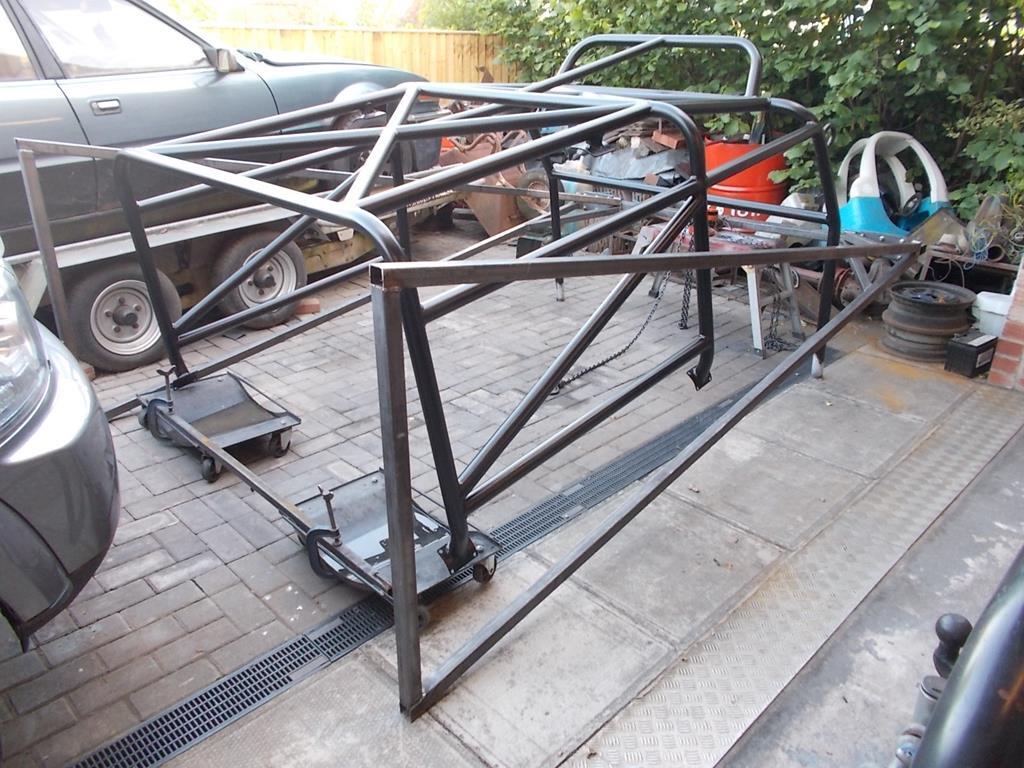
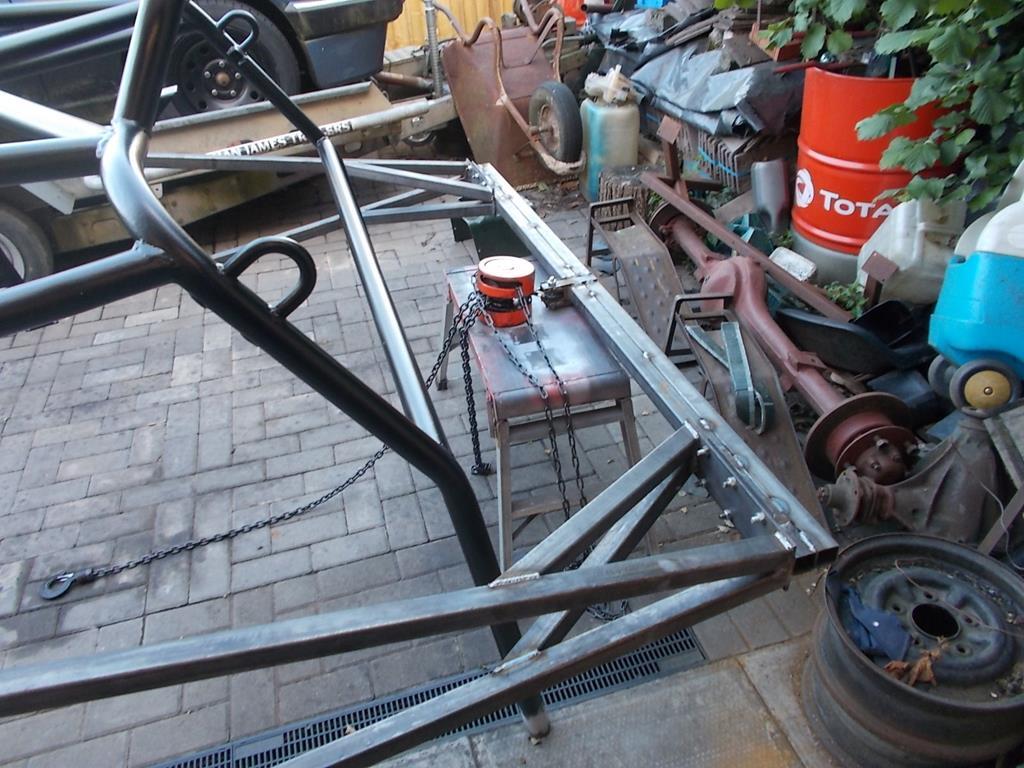
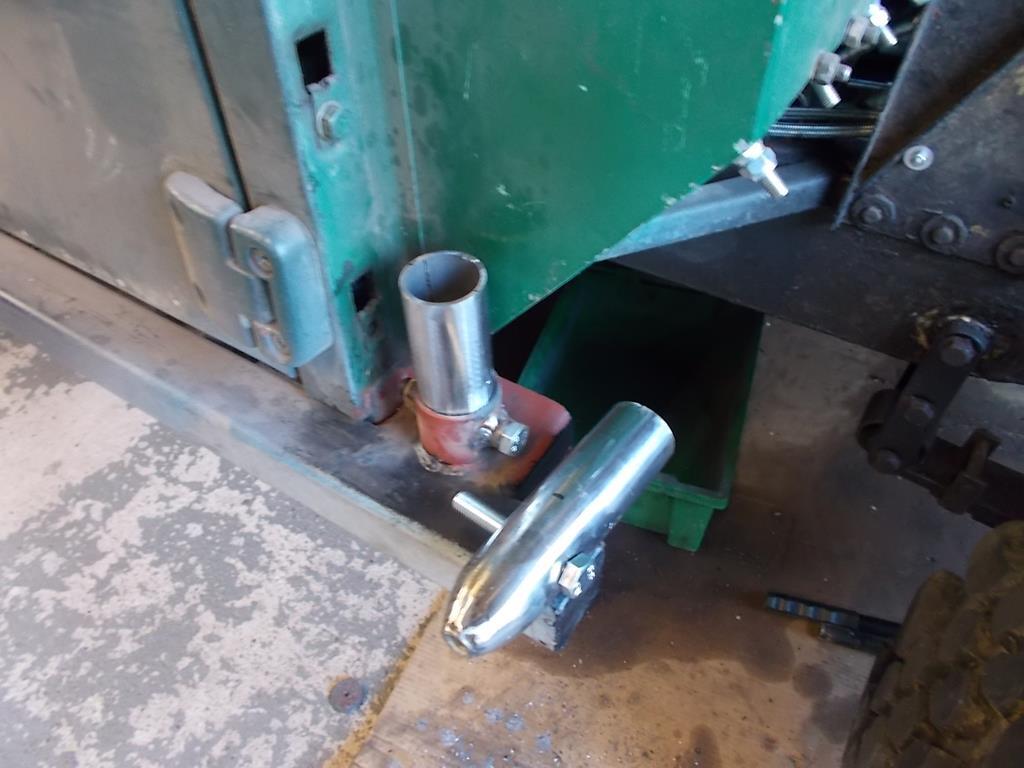
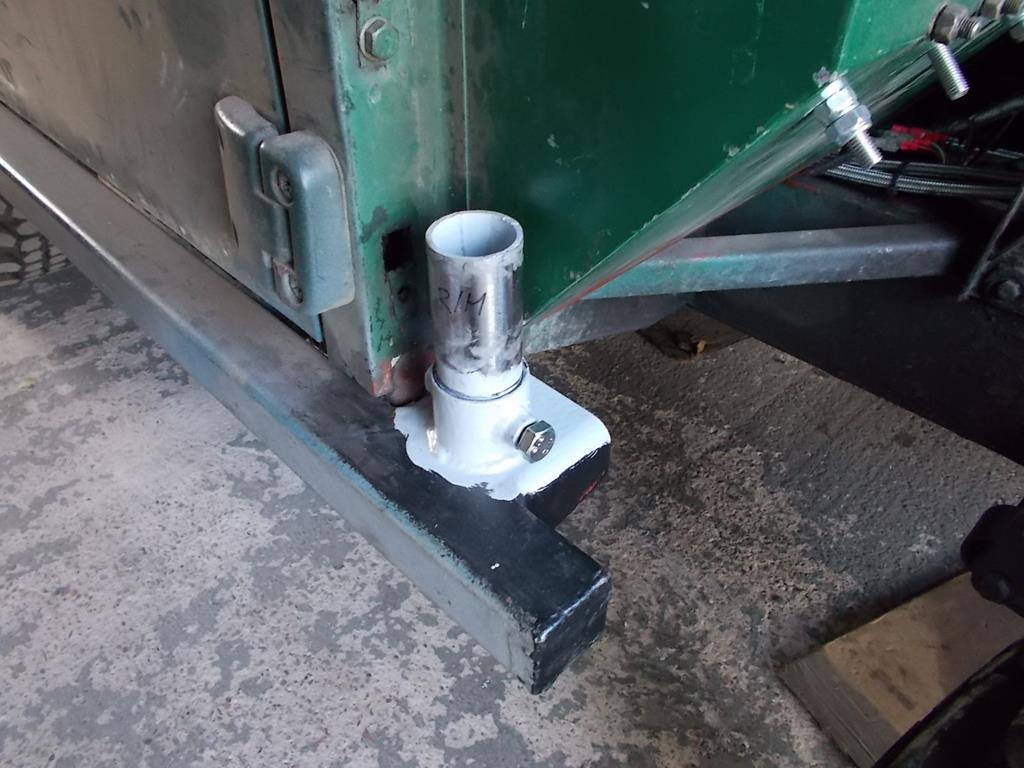
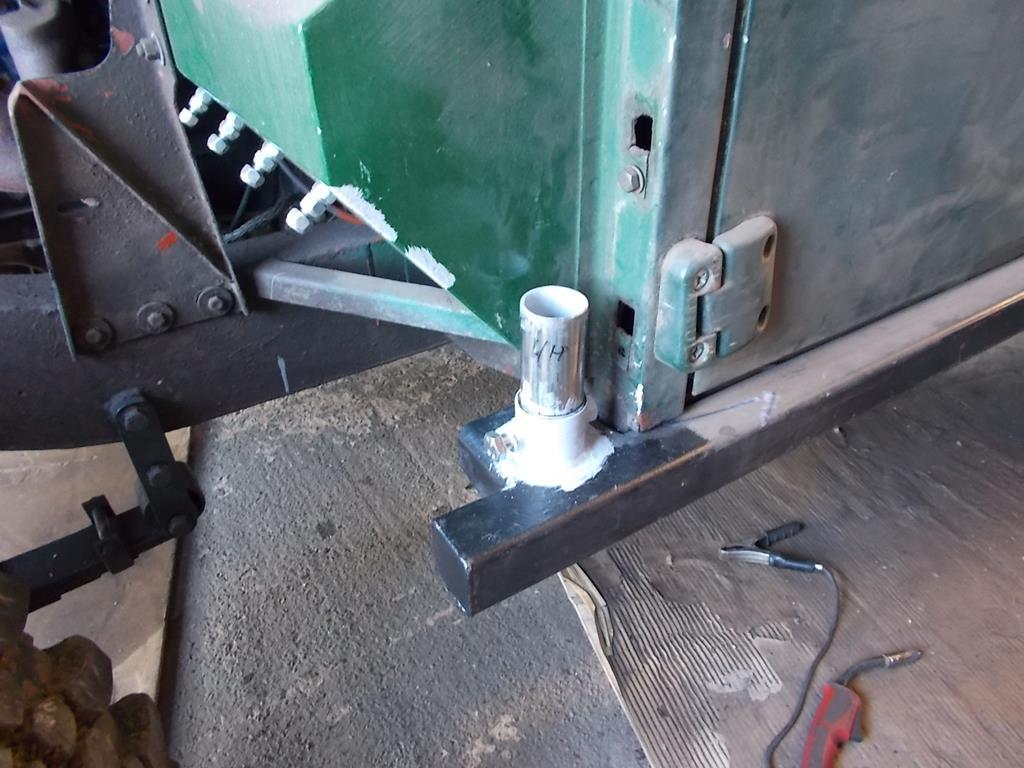
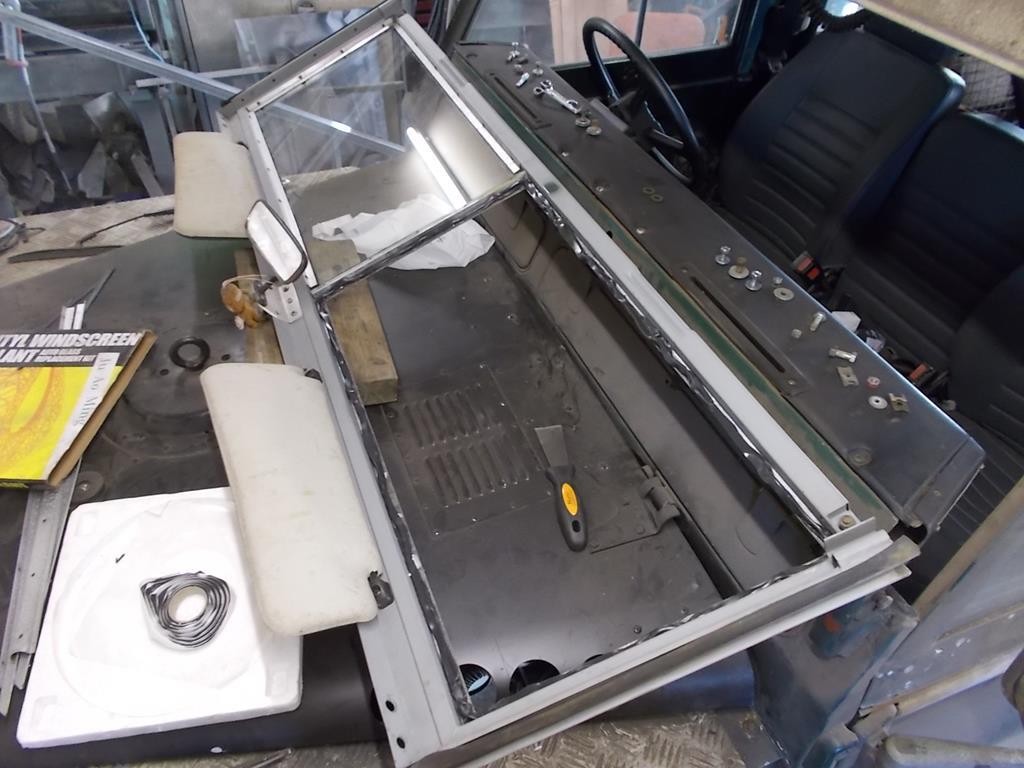
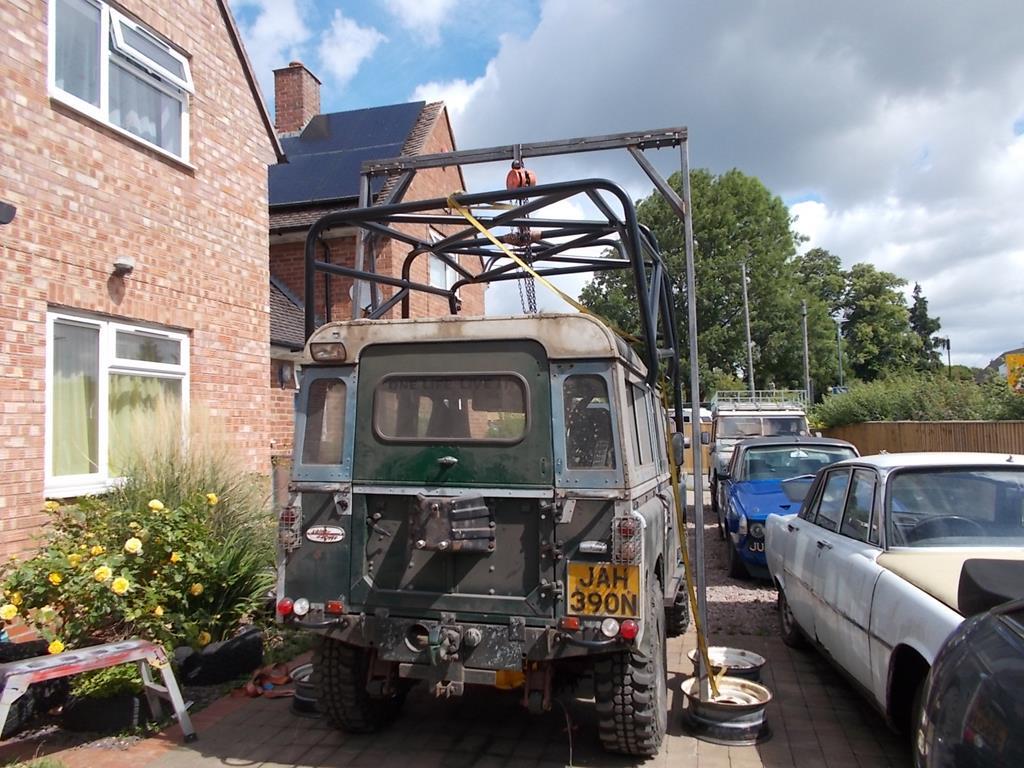
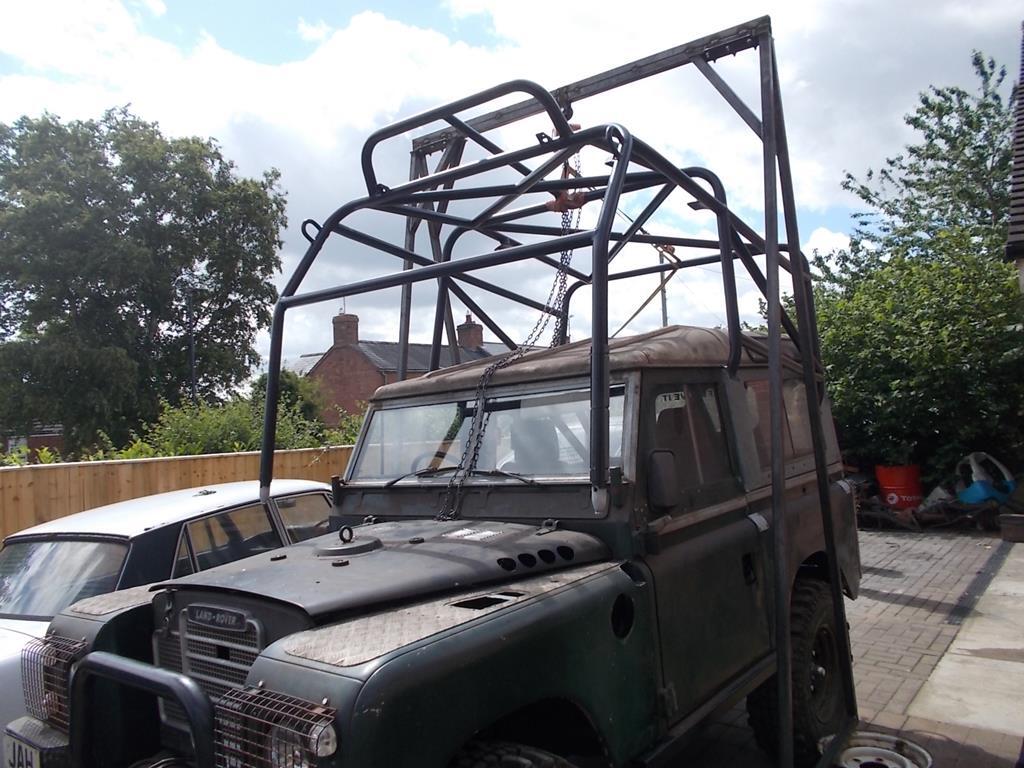
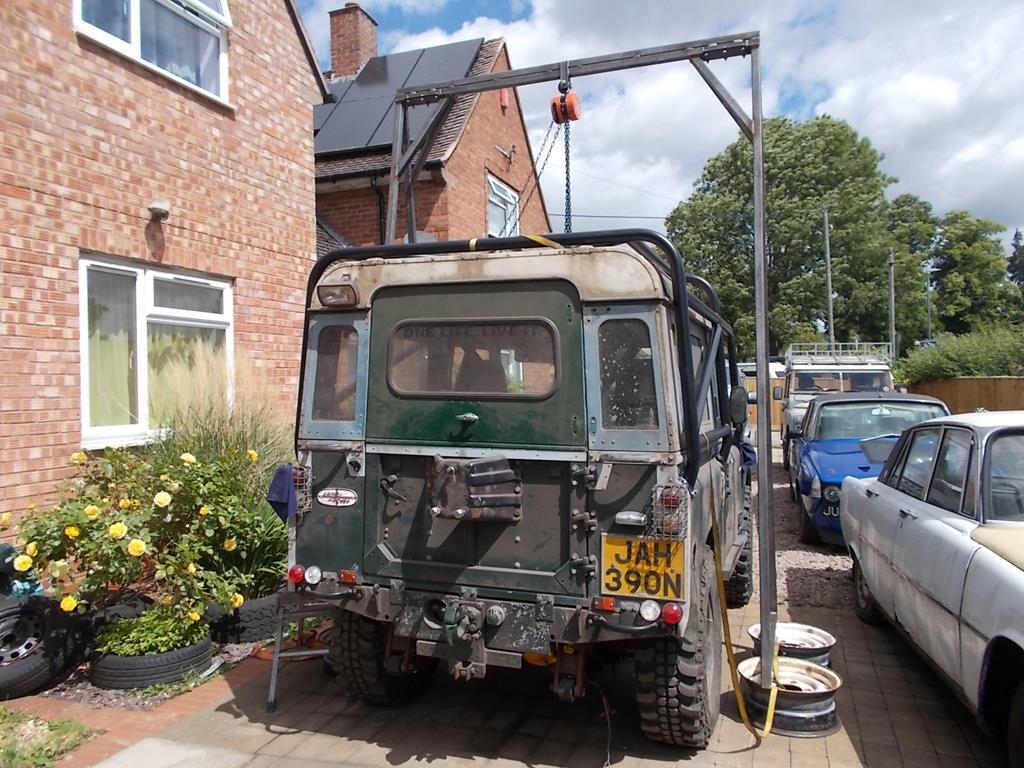
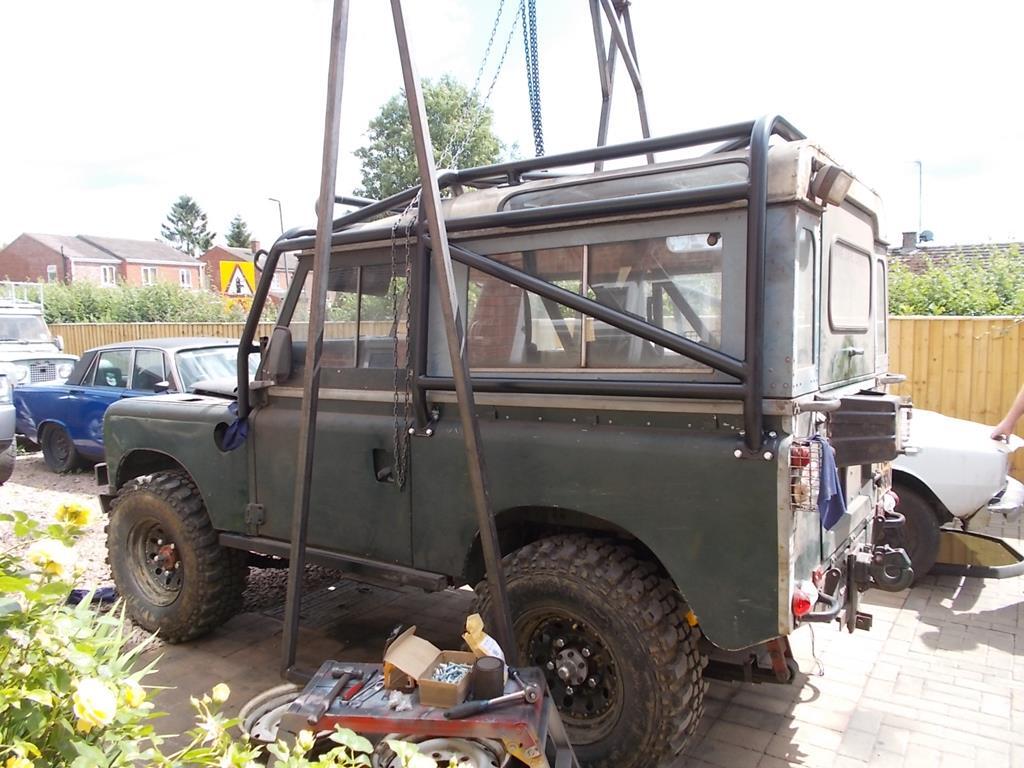
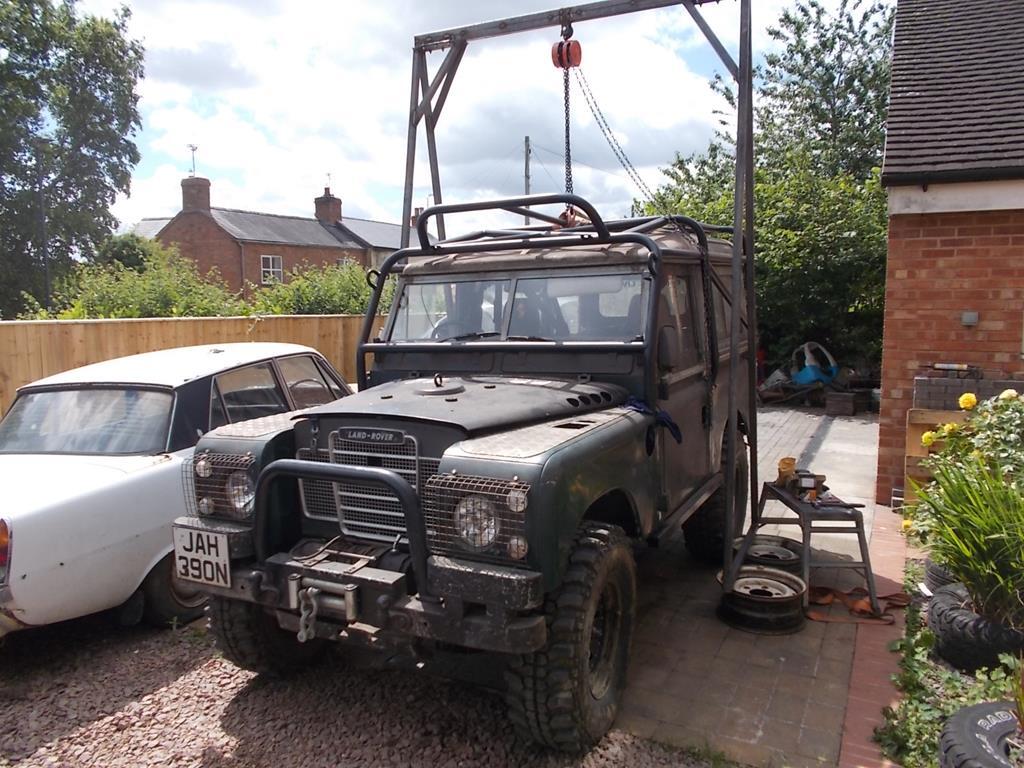
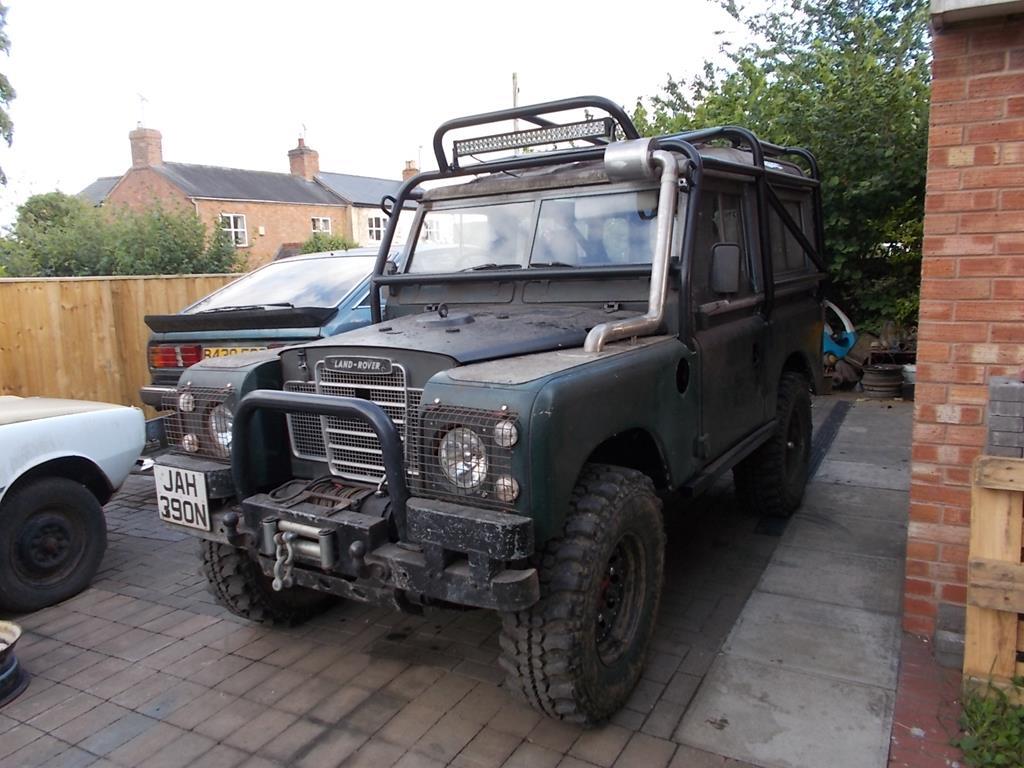
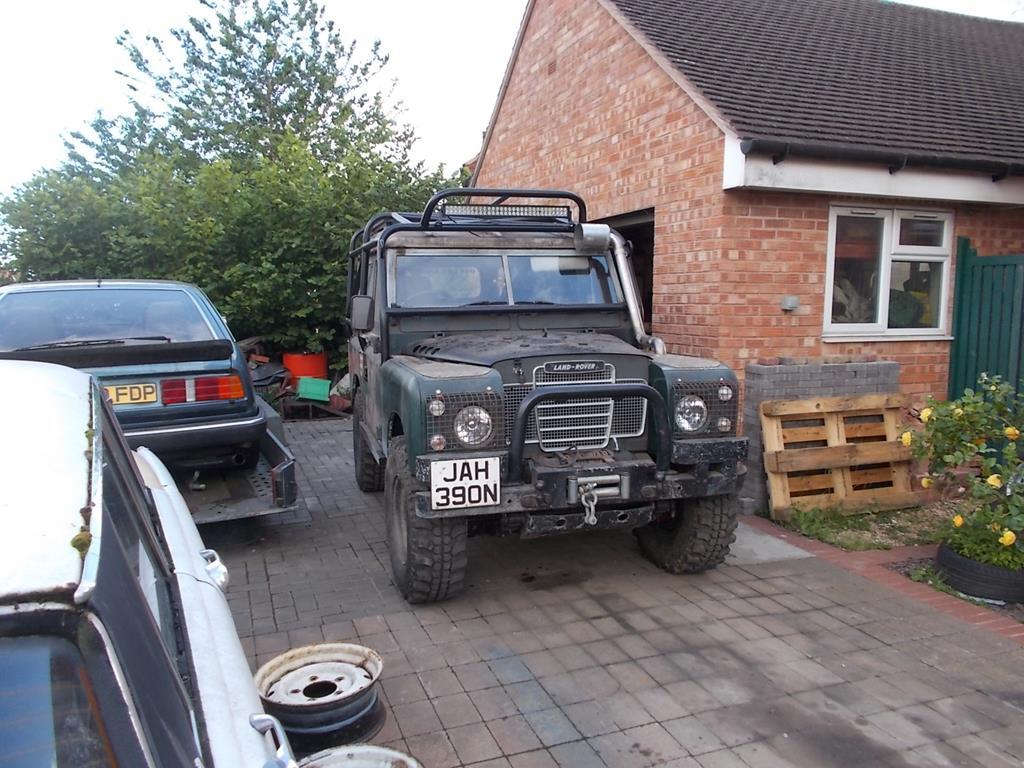
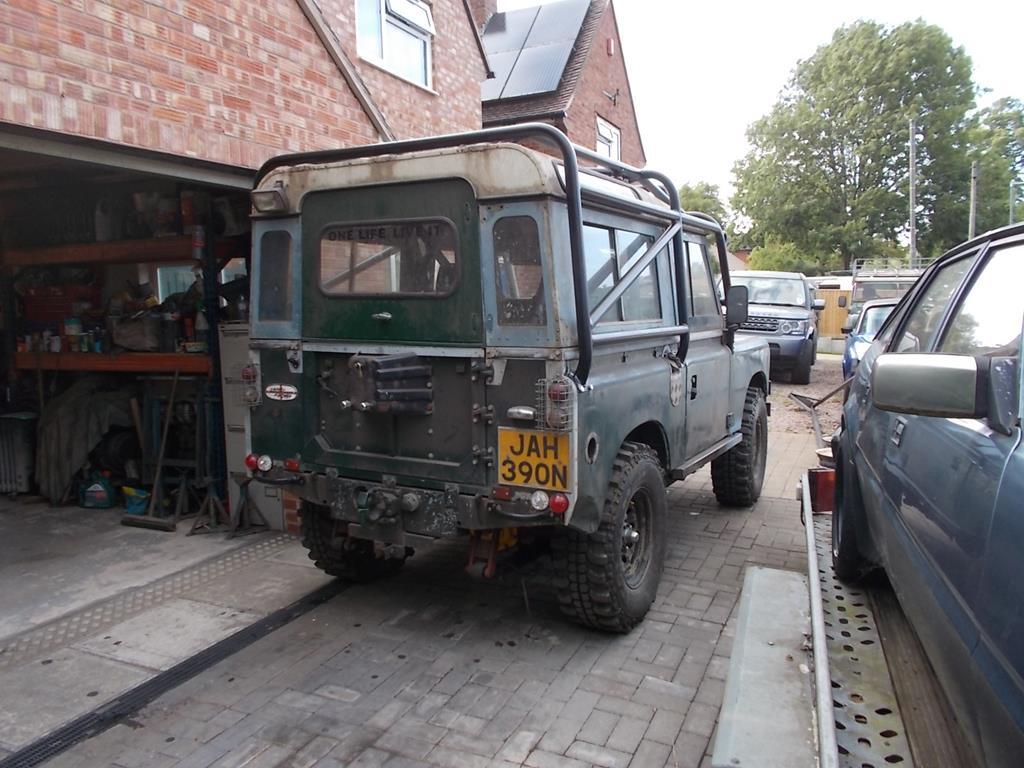
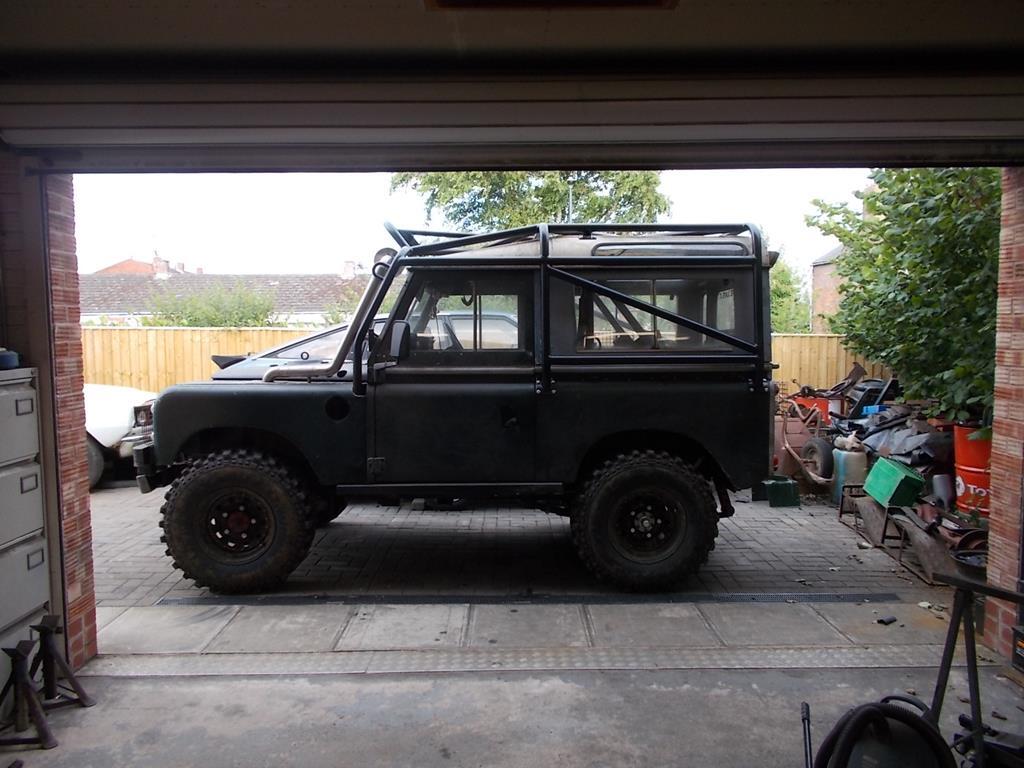
The other two boxes had the new ARB air locker for the Salisbury rear axle and the compressor pump to control the front and rear lockers 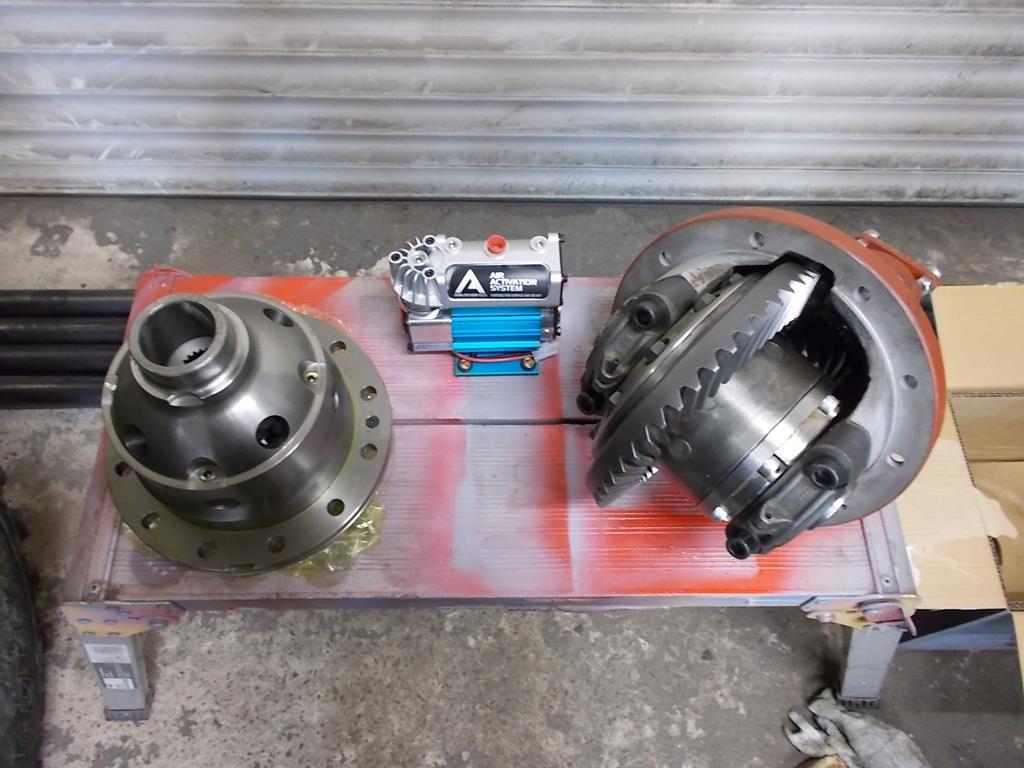 Trial fit of the air flange 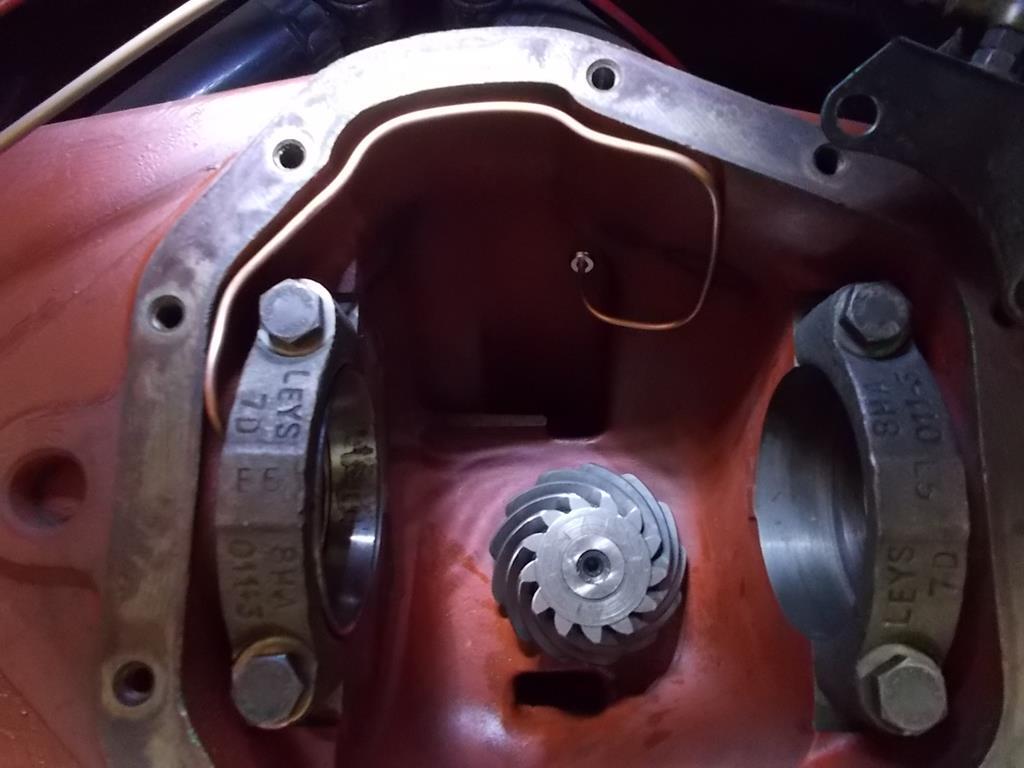 Trial fit with the ARB centre fitted with the CROWNwheel 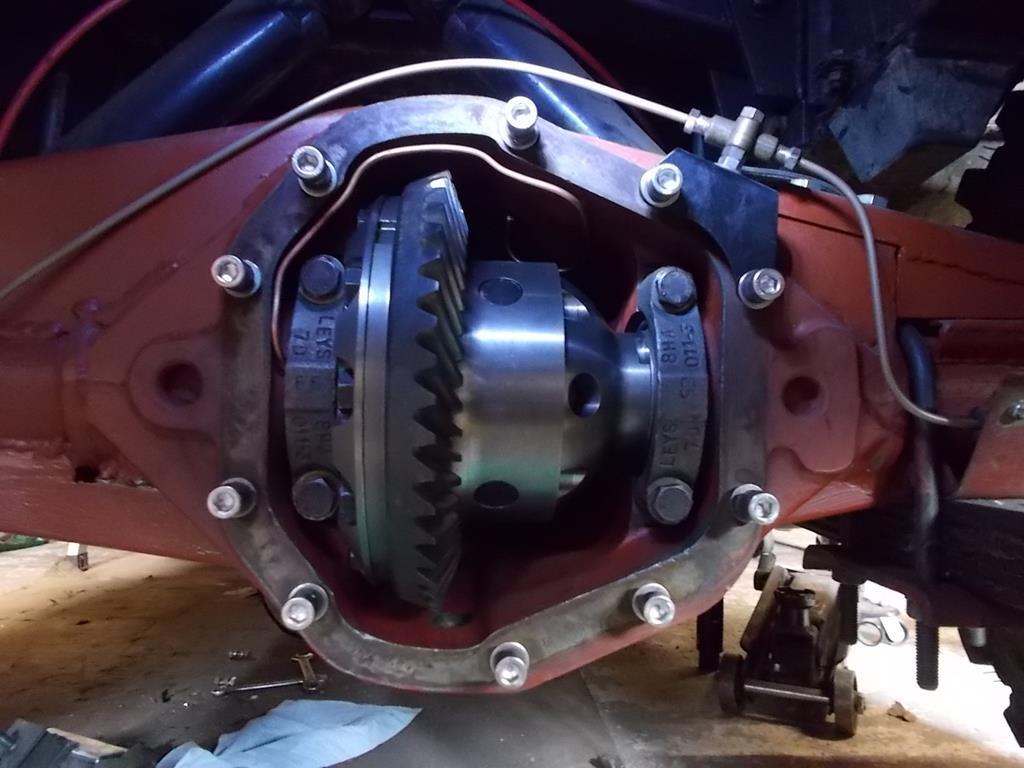 Once my new bearings arrive which I forgot to order I'll press them on and I'll need to make a case spreader tool since the ARB centre is shimmed outside the bearings, not inside like the original factory centre! Next up was adding the extra cage cross braces on top 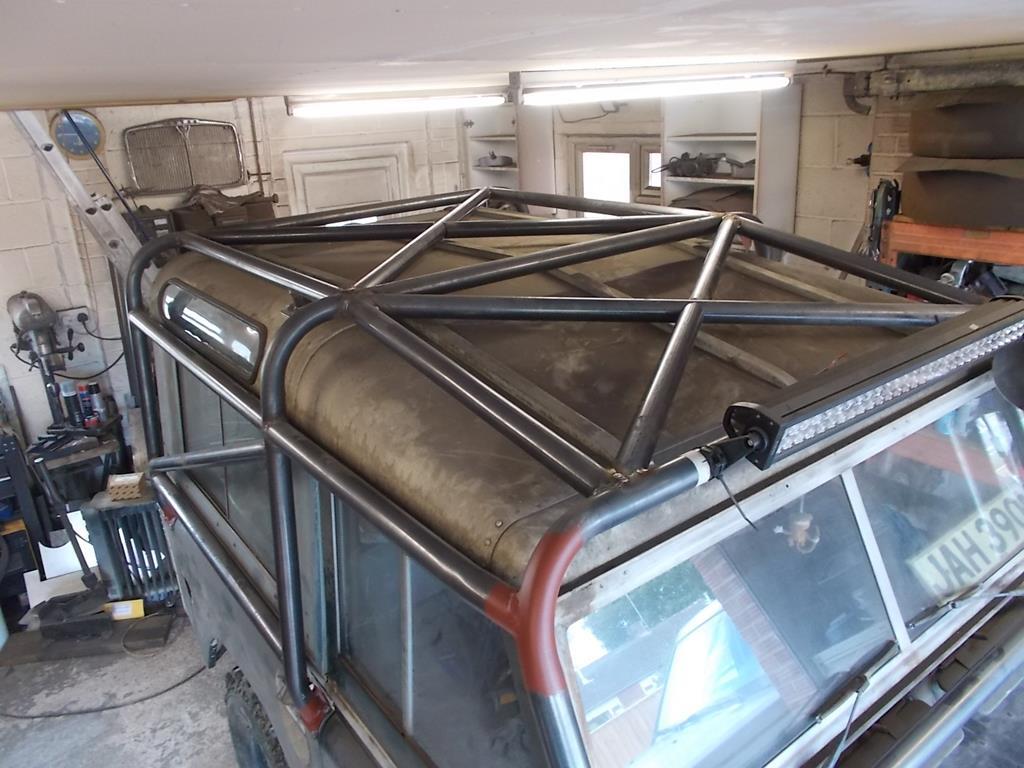 And with some extra hands it was lifted off to finish welding, just! I underestimated just how heavy it was. Lifted a little at a time until I could slide some metal bars between the roof and cage to slide it off and down to the ground 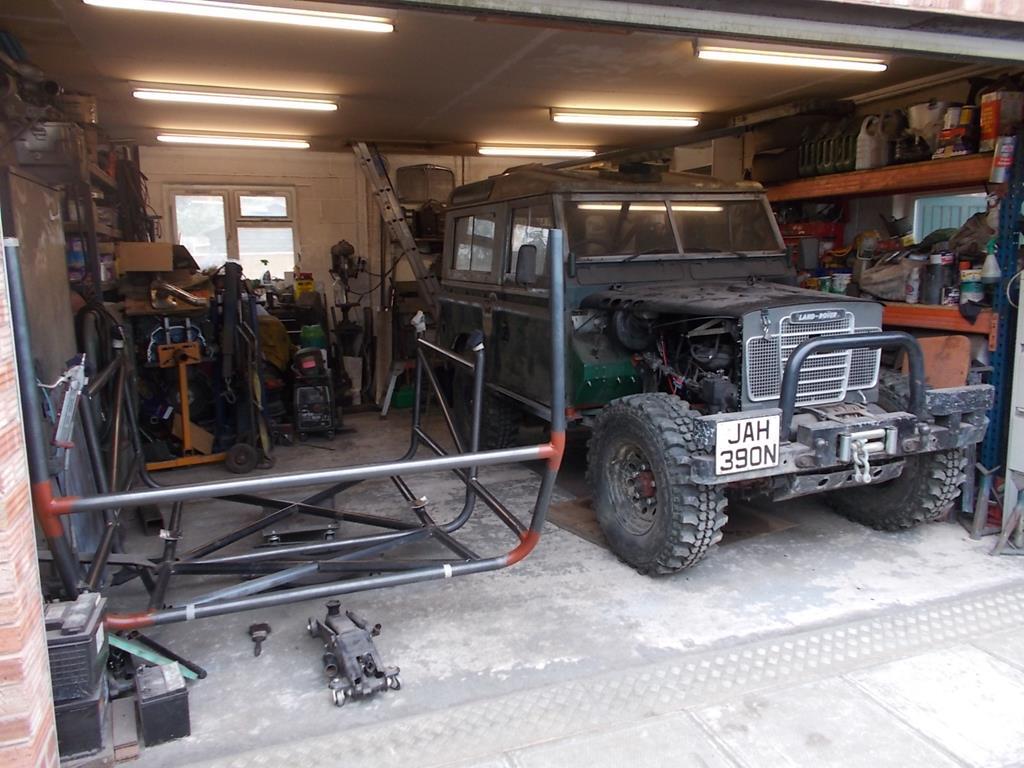 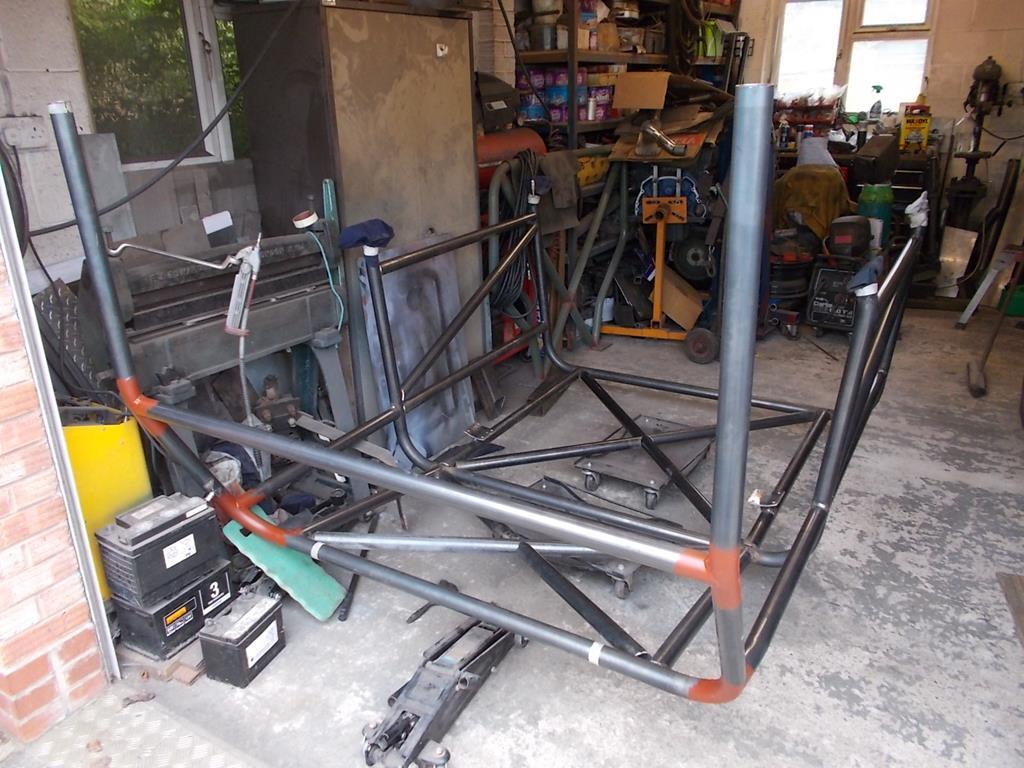 Once welded on the inside it was rubbed down and primed in grey epoxy primer 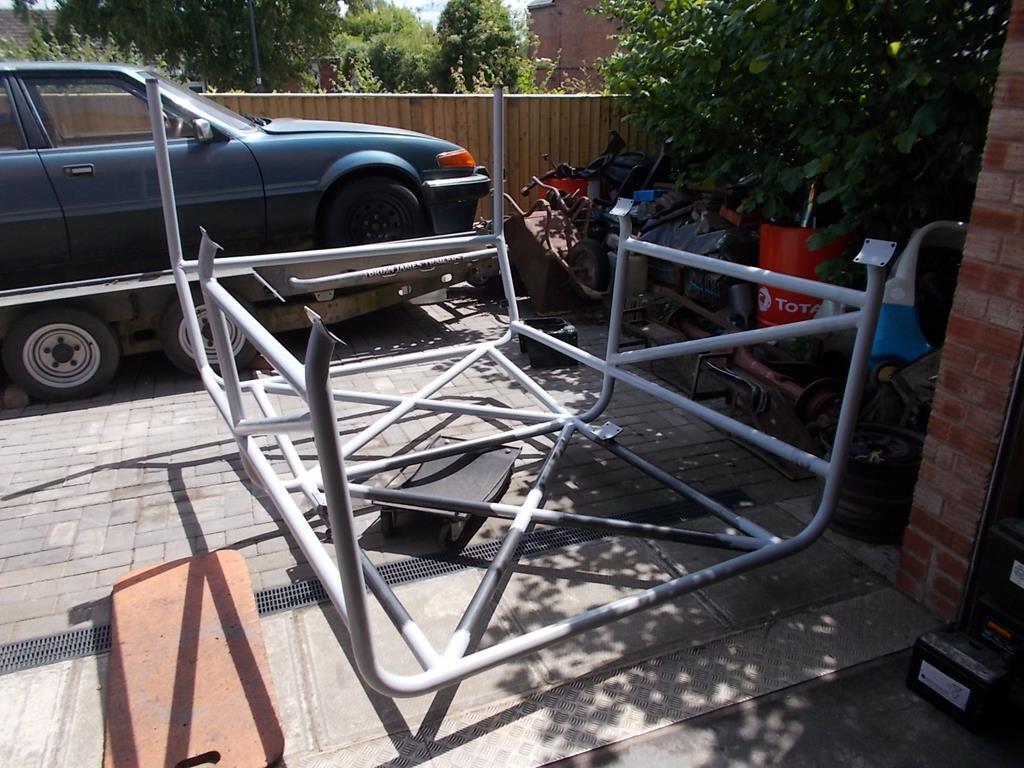 At which point I decided to fit a light bar guard on top 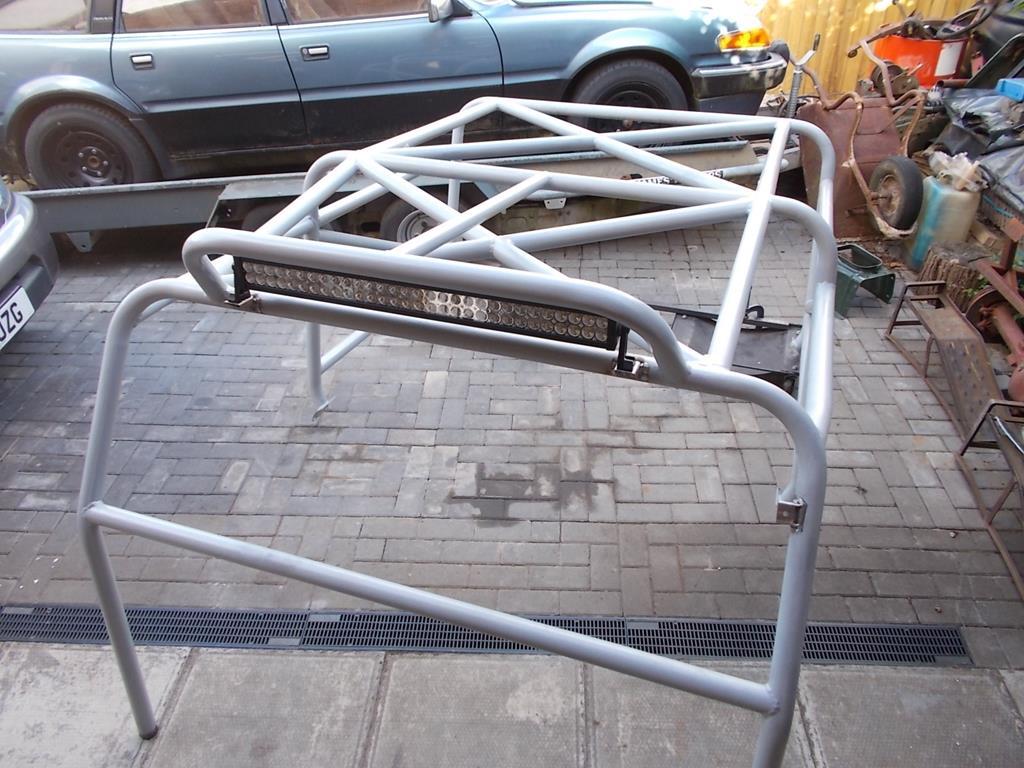 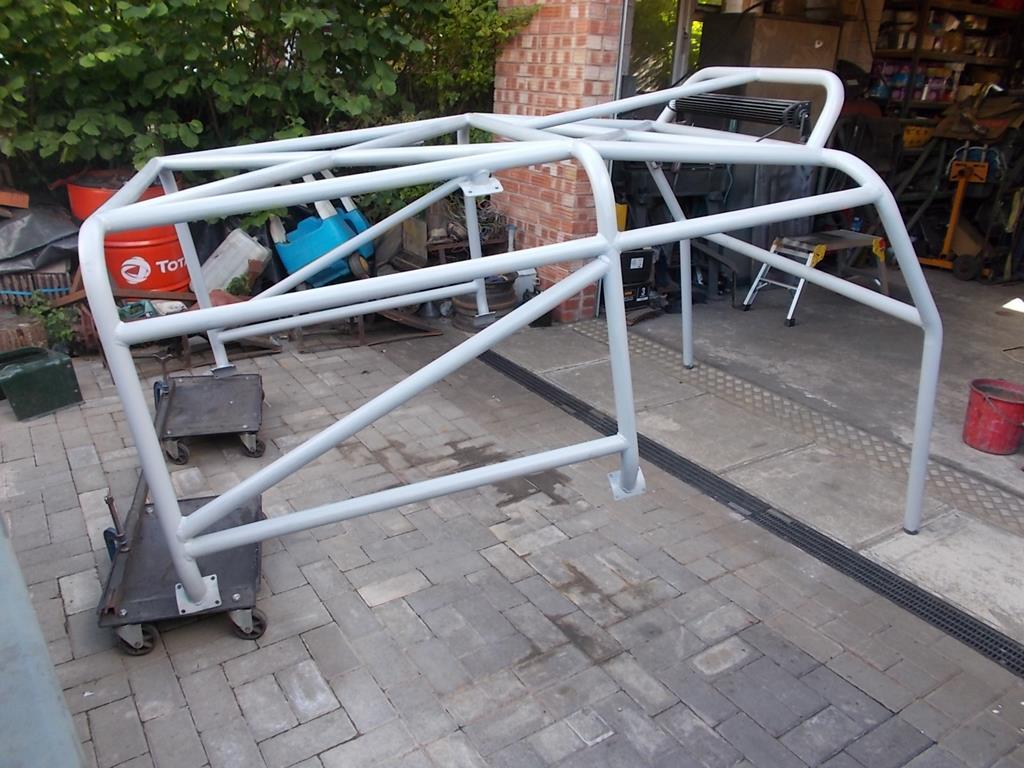 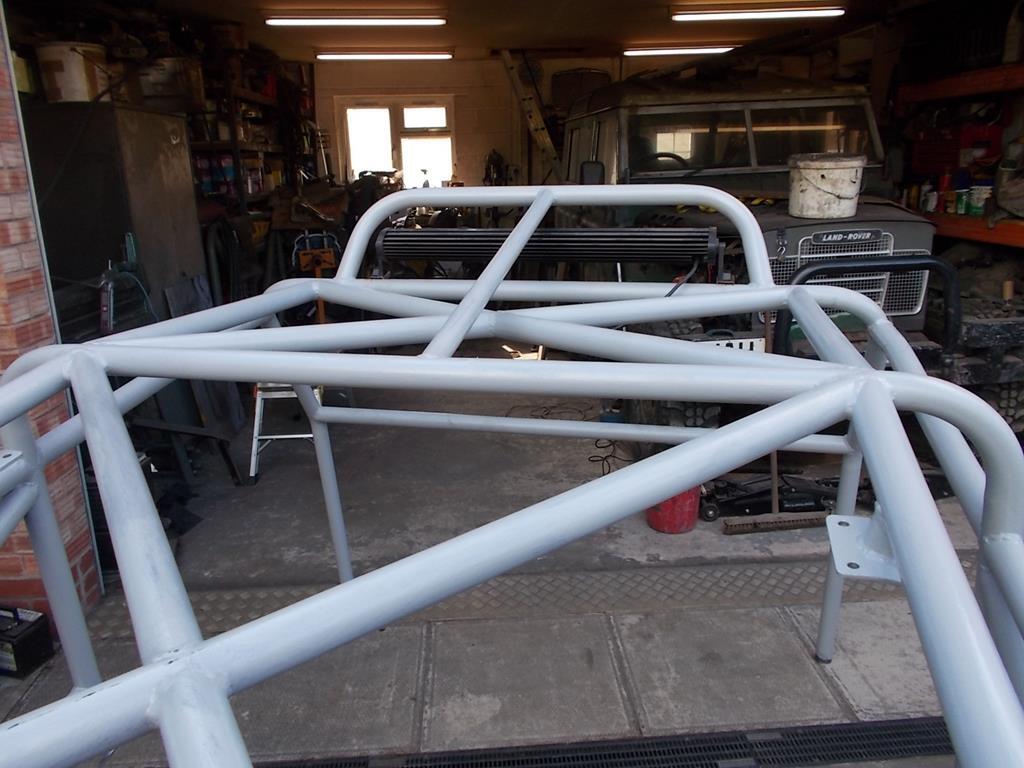 With the primer dry, it was roughed up and a coat of black brushed on 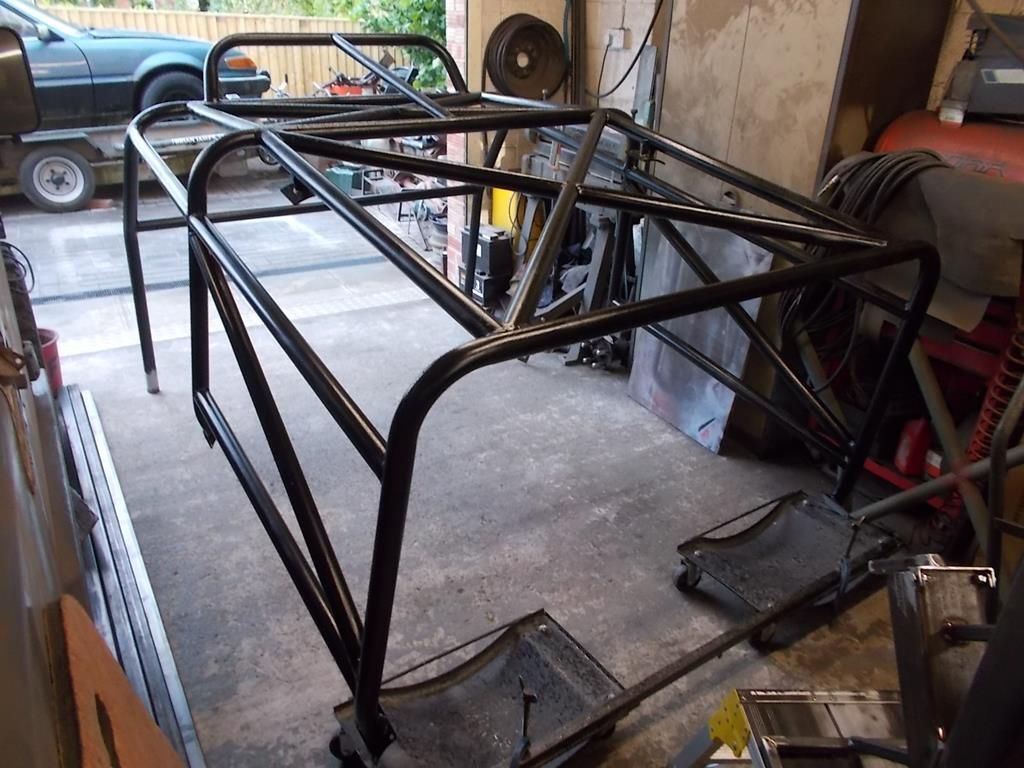 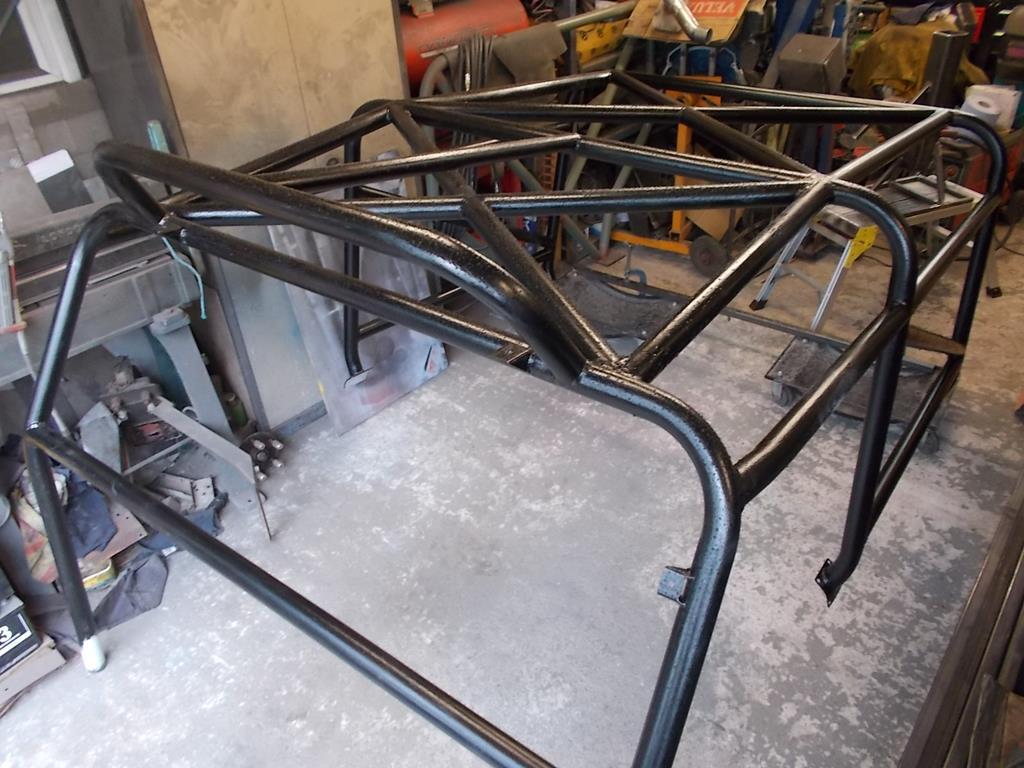 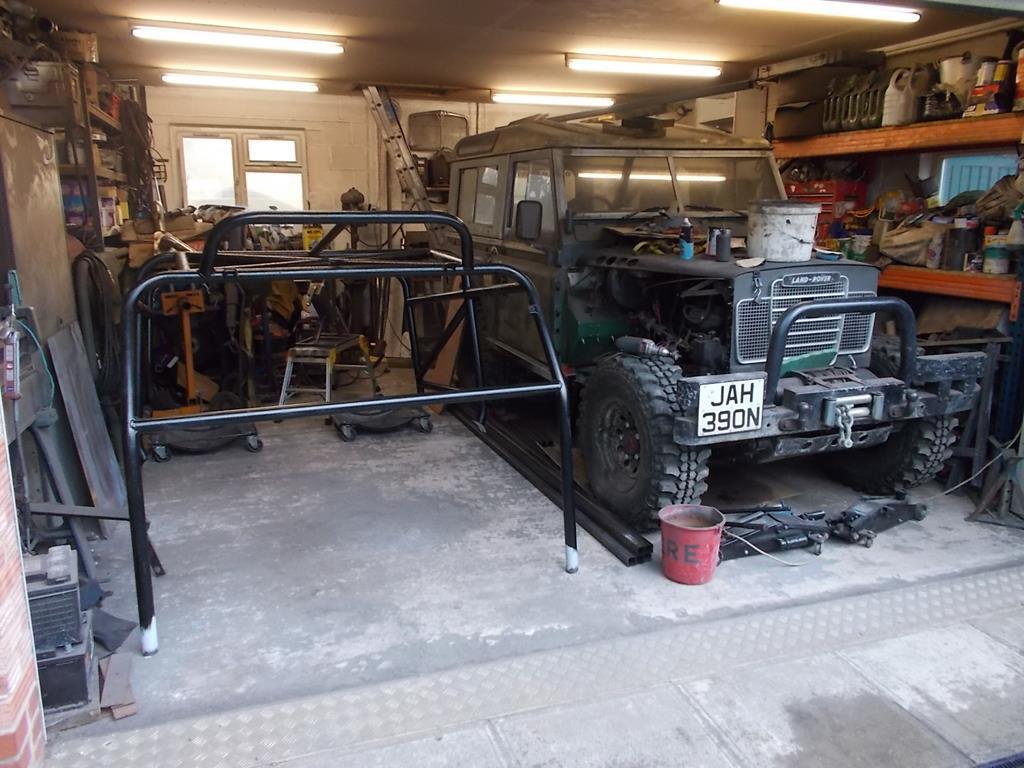 Still have the front leg sockets to finish fabricating and I have some more recovery rings to weld on the cage. Then the challenge of how to lift it up and refit it! Once bolted back on the outside I can look into making the internal lower brace legs to the chassis |
| |
|
|
|
|
|
|
|
|
That must weigh .... a lot!
John
|
| |
|
|
|
|
|
|
|
That must weigh .... a lot! John And that was before the light bar guard!  |
| |
|
|
sowen
Club Retro Rides Member
Posts: 2,245
Club RR Member Number: 24
|
|
Jun 28, 2020 20:40:22 GMT
|
|
|
| |
|
|
munky
Part of things
 
Posts: 462 
|
|
|
|
|
Loving the sound of that V8!
That’s quite a frame too!
Are those brakes going to be up to that engine and weight?
Great to see such an inspiring build.
|
| |
|
|
|
|
sowen
Club Retro Rides Member
Posts: 2,245
Club RR Member Number: 24
|
|
|
|
Loving the sound of that V8! That’s quite a frame too! Are those brakes going to be up to that engine and weight? Great to see such an inspiring build. The brakes will be returned to stage1 spec as I previously was running before the fun of the Range Rover axles. Just need to bring the other Landy onto the hardstanding to liberate the bits. They're fine on my 109 which is likely to be comparable in weight, if not lighter and similar power output. I'm more concerned about the soft leaf springs, it does rock easily! Such a story, but with a sad ending. A little more barwork and mesh window covers..... |
| |
|
|
|
|
sowen
Club Retro Rides Member
Posts: 2,245
Club RR Member Number: 24
|
|
|
|
|
|
| |
|
|
sowen
Club Retro Rides Member
Posts: 2,245
Club RR Member Number: 24
|
|
Jul 26, 2020 14:55:00 GMT
|
|
|
| |
|
|
heathrobinson
Part of things
  Broken everything
Posts: 848  Club RR Member Number: 111
|
|
|
|
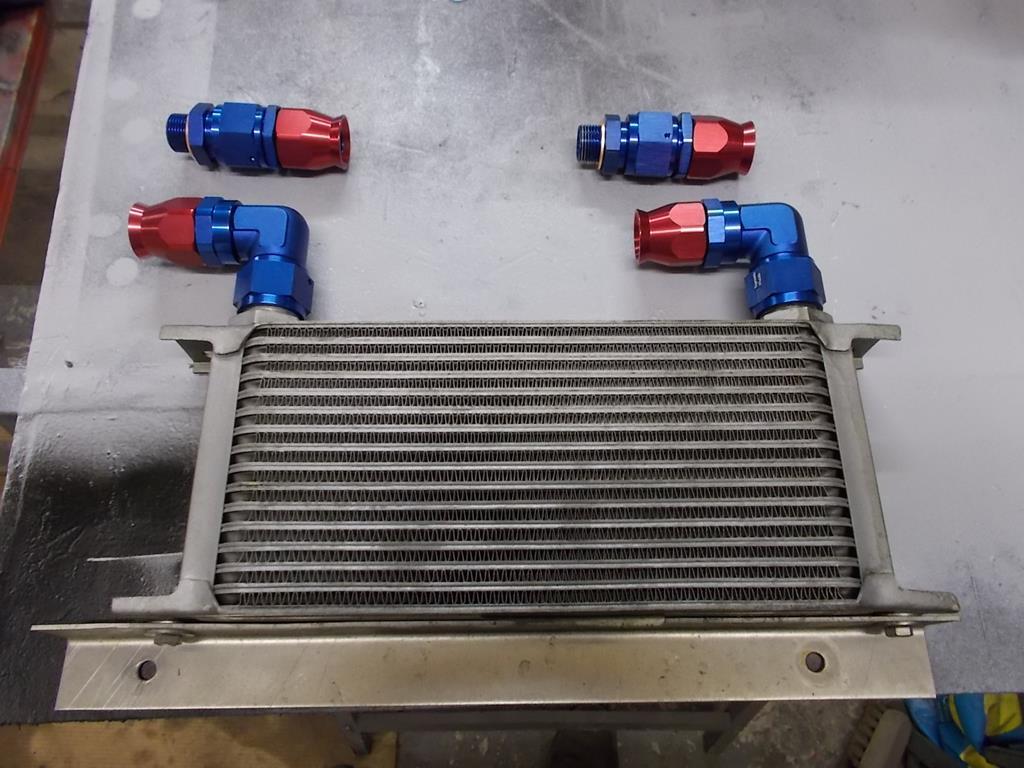
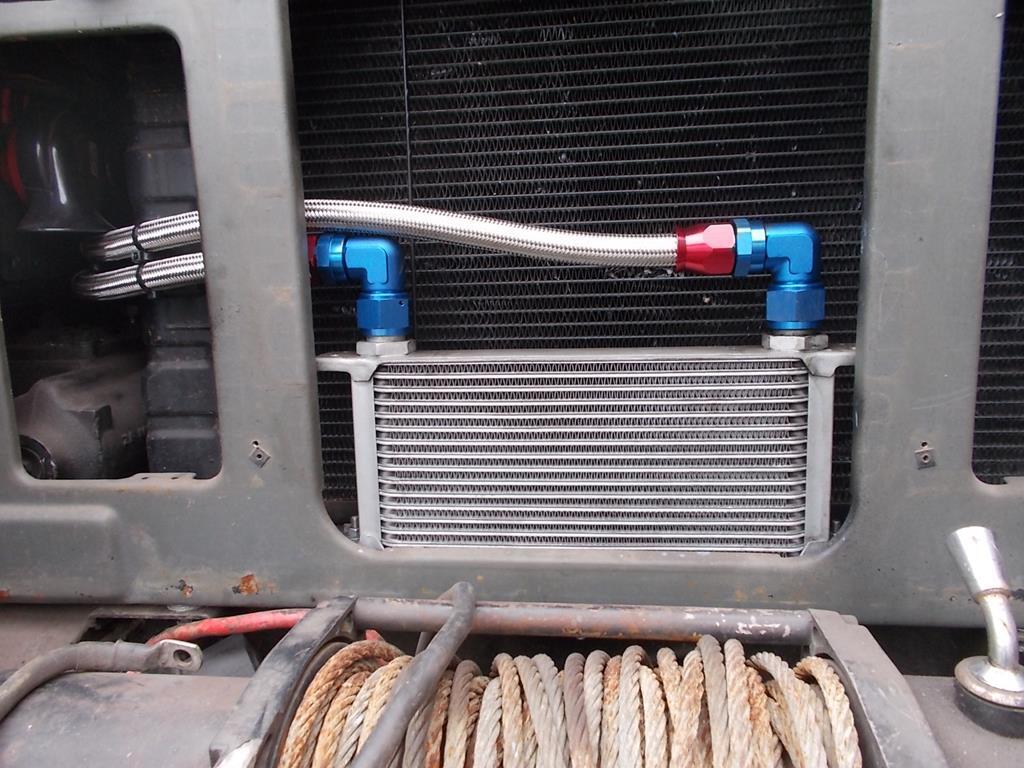
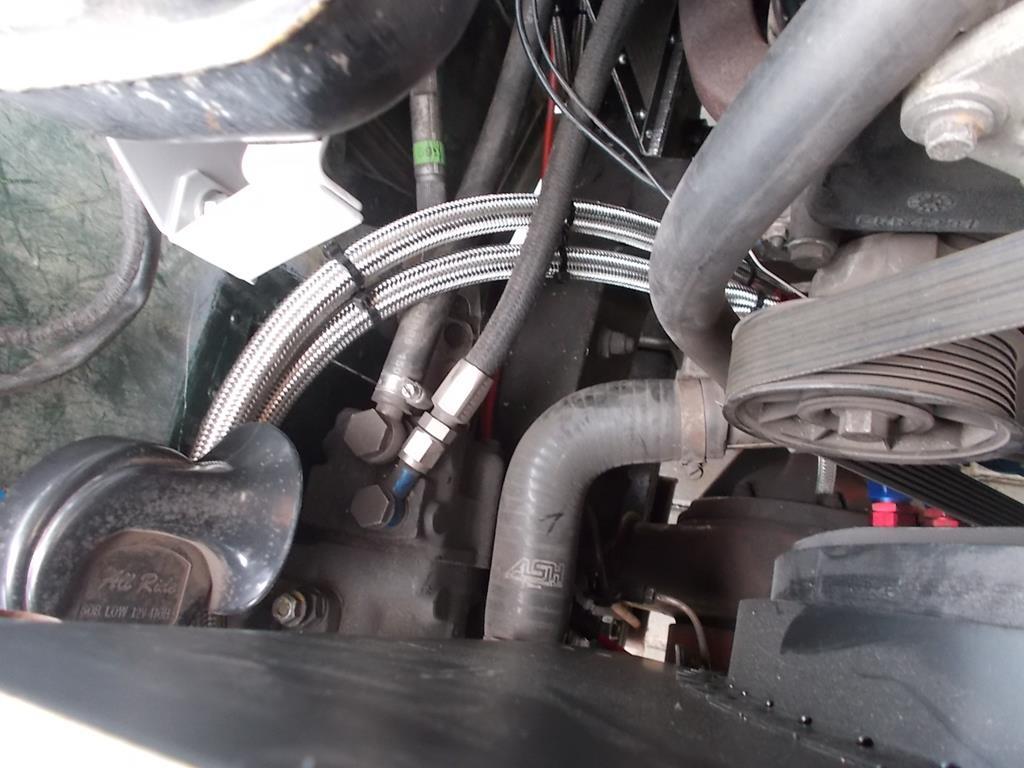
That thing looks so right! Are you sure you don't want to put that oil cooler on out on the front bumper, JDM-style, for extra scene points?  |
| |
|
|
sowen
Club Retro Rides Member
Posts: 2,245
Club RR Member Number: 24
|
|
|
|
That thing looks so right! Are you sure you don't want to put that oil cooler on out on the front bumper, JDM-style, for extra scene points?  Nooooooo! This is being built to work and be abused hard! I have no intention of babying it about..... Just plumbed in twin windscreen washer pumps, one for each screen/jet. And thinking of wiring in a third centre washer jet on another switch fed from a second washer bottle. I expect I may need all the screenwashing capabilities I can get once I get using it where it belongs! Also got the winch wired up. Presently running off the main battery, but there's provision to separate it and mount a second auxiliary battery with a split charging system to power the winch if it looks like I may need the extra electickery capacity. I've just had a second standard 10 gallon fuel tank delivered. My plan is to mount it in the rear loadbed and use it as an auxiliary tank with a pump on a switch to refill the main tank when that gets low. The big V8 will soon empty a standard fuel tank given half a chance in a very short time. I'm thinking of an aero style sealed fuel cap with an extended breather to keep the vented fumes out of the cab and should it roll over, fuel inside the tank where it belongs. The jobs list is ever shrinking  |
| |
|
|
|
|
|
|
|
You know you want to have it on a separate battery... for the time when you put a winch in the rear crossmember too... not that I'm putting ideas in your head.. Pretty much all normal split charges will melt trying to replenish the winch battery whilst you're winching under load and hence demanding a vast draw... on my two I am using a Sterling Power Pro Split R 120A OV drop Alternator Splitter. It's an intelligent device that'll prioritise the main battery for charging but when under stress from winching if it gets too much it will only draw up to its maximum and not catch fire, anyway, it explains its isolating deal betterer on its website. Usually around £100 on ebay. Greatly recommended - though I imagine you know about them already? sterling-power.com/products/volt-drop-alternator-splitting-system-pro-split-r |
| |
1987 Supercharged BMW R1150 Citroen 2cv Hillclimb Monster
1995 Renault Master Mk1 Race Transporter
1994 Mazda MX5 Mk1 / NA Road Going Class Hillclimber
1991 UMM Alter II Crew Cab OM606 SuperTurbo Diesel MegaUMM Overlander
1992 UMM Alter II Station Wagon
1980 UMM Cournil - survivor - resto project
1979 Lomax 224
2014 VW T5.1 Transporter Kombi Highline
|
|
|
|
|
|
|
|
Ohh and it looks badass with the cage on it! Excellent work... typical retro rides... I'll just build a gantry crane to lift....
|
| |
1987 Supercharged BMW R1150 Citroen 2cv Hillclimb Monster
1995 Renault Master Mk1 Race Transporter
1994 Mazda MX5 Mk1 / NA Road Going Class Hillclimber
1991 UMM Alter II Crew Cab OM606 SuperTurbo Diesel MegaUMM Overlander
1992 UMM Alter II Station Wagon
1980 UMM Cournil - survivor - resto project
1979 Lomax 224
2014 VW T5.1 Transporter Kombi Highline
|
|
sowen
Club Retro Rides Member
Posts: 2,245
Club RR Member Number: 24
|
|
|
|
You know you want to have it on a separate battery... for the time when you put a winch in the rear crossmember too... not that I'm putting ideas in your head.. Pretty much all normal split charges will melt trying to replenish the winch battery whilst you're winching under load and hence demanding a vast draw... on my two I am using a Sterling Power Pro Split R 120A OV drop Alternator Splitter. It's an intelligent device that'll prioritise the main battery for charging but when under stress from winching if it gets too much it will only draw up to its maximum and not catch fire, anyway, it explains its isolating deal betterer on its website. Usually around £100 on ebay. Greatly recommended - though I imagine you know about them already? sterling-power.com/products/volt-drop-alternator-splitting-system-pro-split-rWhen I get round to the rear winch it'll definitely need a second battery fitting. For now with just a front winch I'll run as is or if I get time I can mount a second battery in the back? Not seen those split chargers before, I'll have a read later, link saved  |
| |
|
|
heathrobinson
Part of things
  Broken everything
Posts: 848  Club RR Member Number: 111
|
|
|
|
That thing looks so right! Are you sure you don't want to put that oil cooler on out on the front bumper, JDM-style, for extra scene points?  Nooooooo! This is being built to work and be abused hard! I have no intention of babying it about..... Just plumbed in twin windscreen washer pumps, one for each screen/jet. And thinking of wiring in a third centre washer jet on another switch fed from a second washer bottle. I expect I may need all the screenwashing capabilities I can get once I get using it where it belongs! Also got the winch wired up. Presently running off the main battery, but there's provision to separate it and mount a second auxiliary battery with a split charging system to power the winch if it looks like I may need the extra electickery capacity. I've just had a second standard 10 gallon fuel tank delivered. My plan is to mount it in the rear loadbed and use it as an auxiliary tank with a pump on a switch to refill the main tank when that gets low. The big V8 will soon empty a standard fuel tank given half a chance in a very short time. I'm thinking of an aero style sealed fuel cap with an extended breather to keep the vented fumes out of the cab and should it roll over, fuel inside the tank where it belongs. The jobs list is ever shrinking  I was taking the pi$$, people who get all the gear then bling up an off-roader to make it usless are a pet hate, this thing's all go & no show which is perfect!
I've seen a few people who put truck-style washers down the wiper arms, which is fantastic for being in mud - you never miss bits of screen with the spray. If you can find a proper truck scrappy, you could pull the whole lot of a Daf 45 for instance. Probably a tenner and an hours work to have the best washers of any landy ever!
I put a pair of the Duracell hybrid batteries in our 110, as opposed to separate winch and starter batts. They've done us proud so far, though I only use it for recovering goons at festivals and tree work, not the constant use of a winch challenge etc. I also bunged in a decent set of bus bars and wired in anderson connectors at the same time, so I can plug in jump leads without having to pull the seat out etc.
|
| |
|
|
sowen
Club Retro Rides Member
Posts: 2,245
Club RR Member Number: 24
|
|
|
|
Nooooooo! This is being built to work and be abused hard! I have no intention of babying it about..... Just plumbed in twin windscreen washer pumps, one for each screen/jet. And thinking of wiring in a third centre washer jet on another switch fed from a second washer bottle. I expect I may need all the screenwashing capabilities I can get once I get using it where it belongs! Also got the winch wired up. Presently running off the main battery, but there's provision to separate it and mount a second auxiliary battery with a split charging system to power the winch if it looks like I may need the extra electickery capacity. I've just had a second standard 10 gallon fuel tank delivered. My plan is to mount it in the rear loadbed and use it as an auxiliary tank with a pump on a switch to refill the main tank when that gets low. The big V8 will soon empty a standard fuel tank given half a chance in a very short time. I'm thinking of an aero style sealed fuel cap with an extended breather to keep the vented fumes out of the cab and should it roll over, fuel inside the tank where it belongs. The jobs list is ever shrinking  I was taking the pi$$, people who get all the gear then bling up an off-roader to make it usless are a pet hate, this thing's all go & no show which is perfect!
I've seen a few people who put truck-style washers down the wiper arms, which is fantastic for being in mud - you never miss bits of screen with the spray. If you can find a proper truck scrappy, you could pull the whole lot of a Daf 45 for instance. Probably a tenner and an hours work to have the best washers of any landy ever! I put a pair of the Duracell hybrid batteries in our 110, as opposed to separate winch and starter batts. They've done us proud so far, though I only use it for recovering goons at festivals and tree work, not the constant use of a winch challenge etc. I also bunged in a decent set of bus bars and wired in anderson connectors at the same time, so I can plug in jump leads without having to pull the seat out etc.
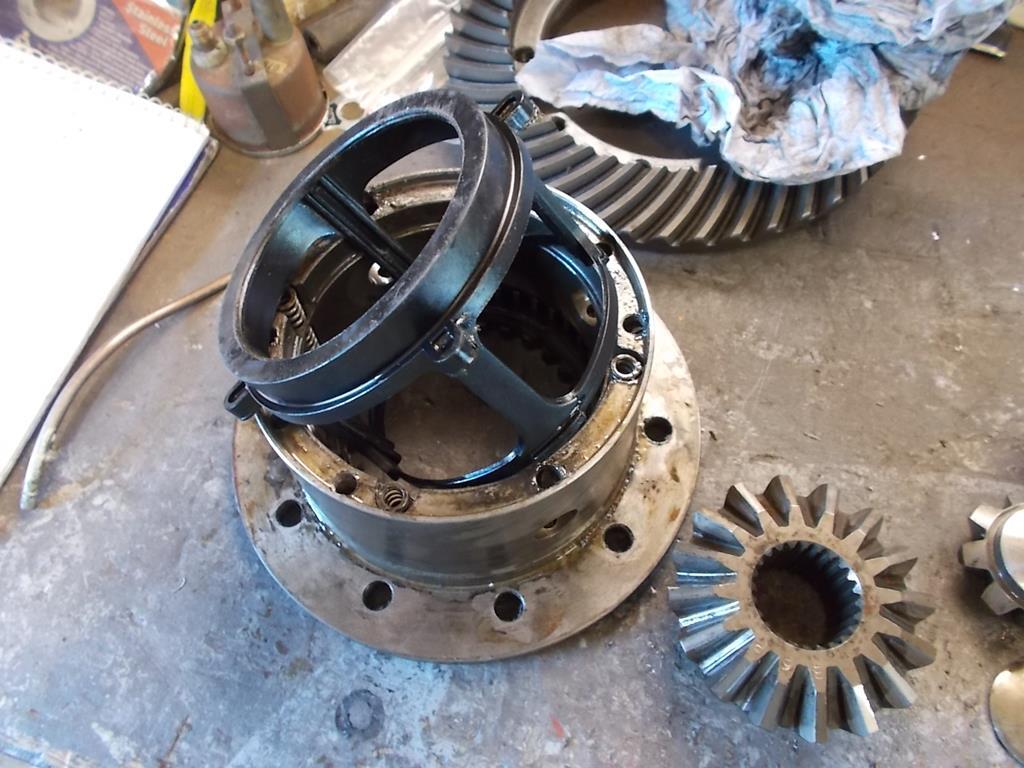
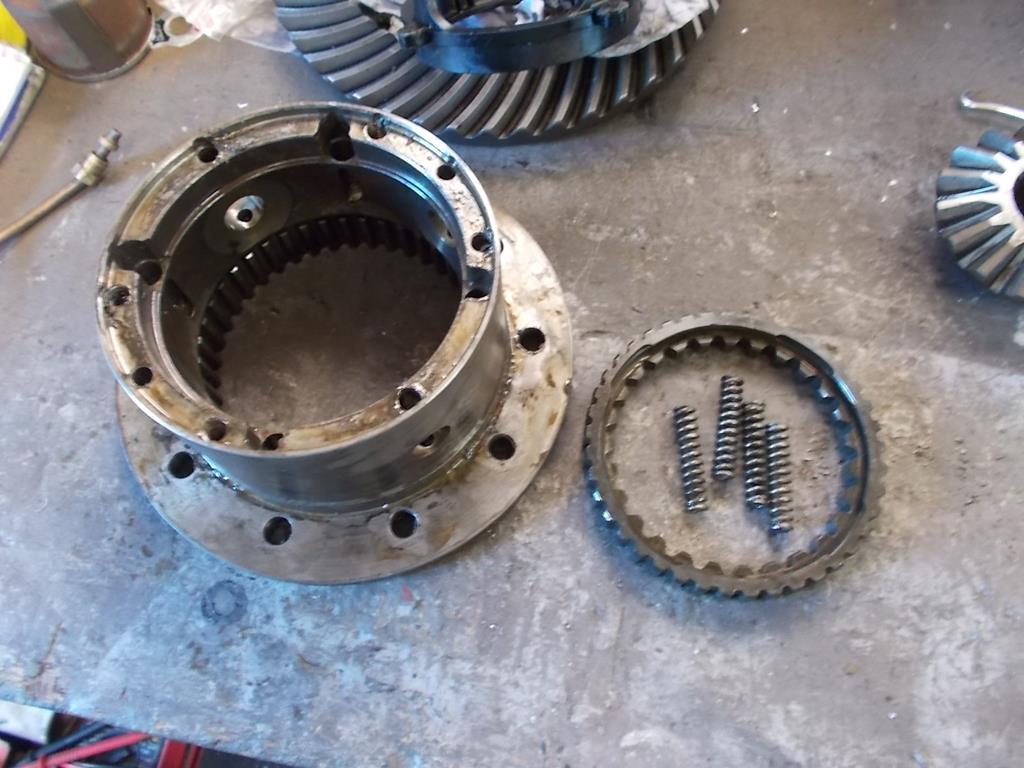
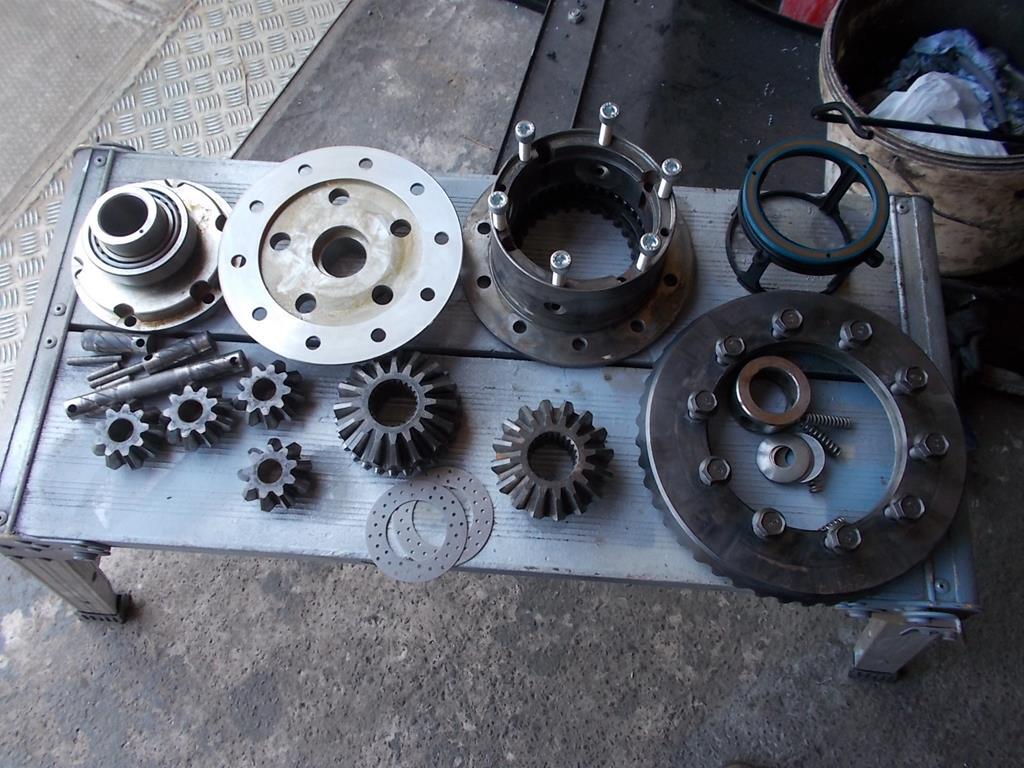
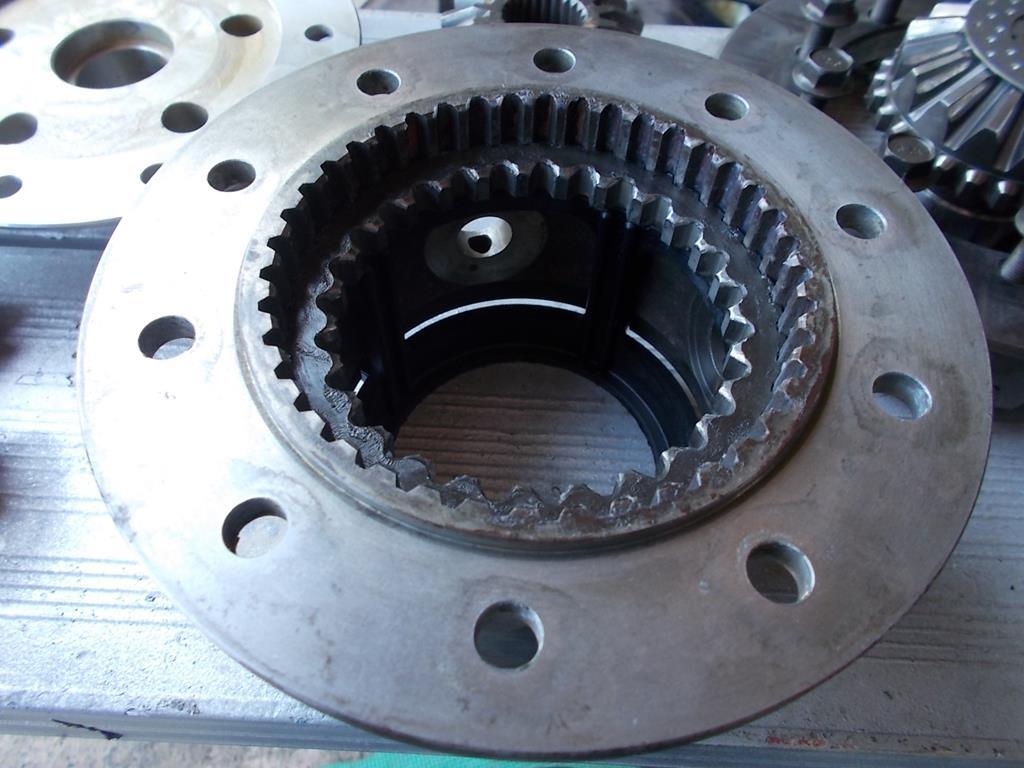
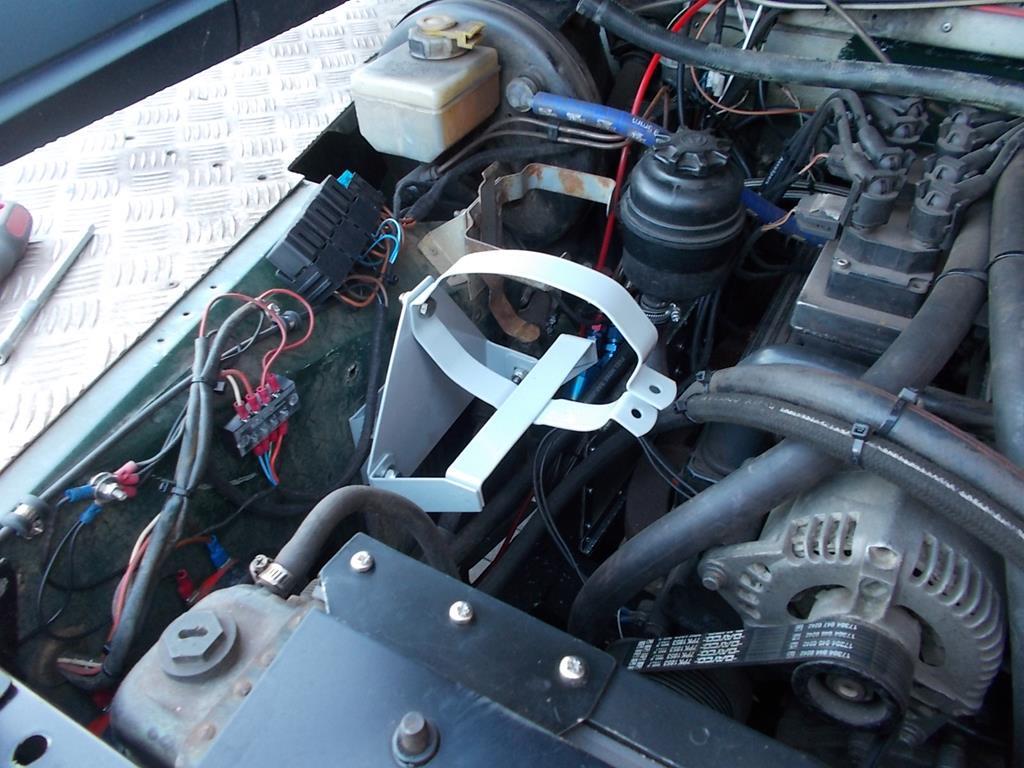
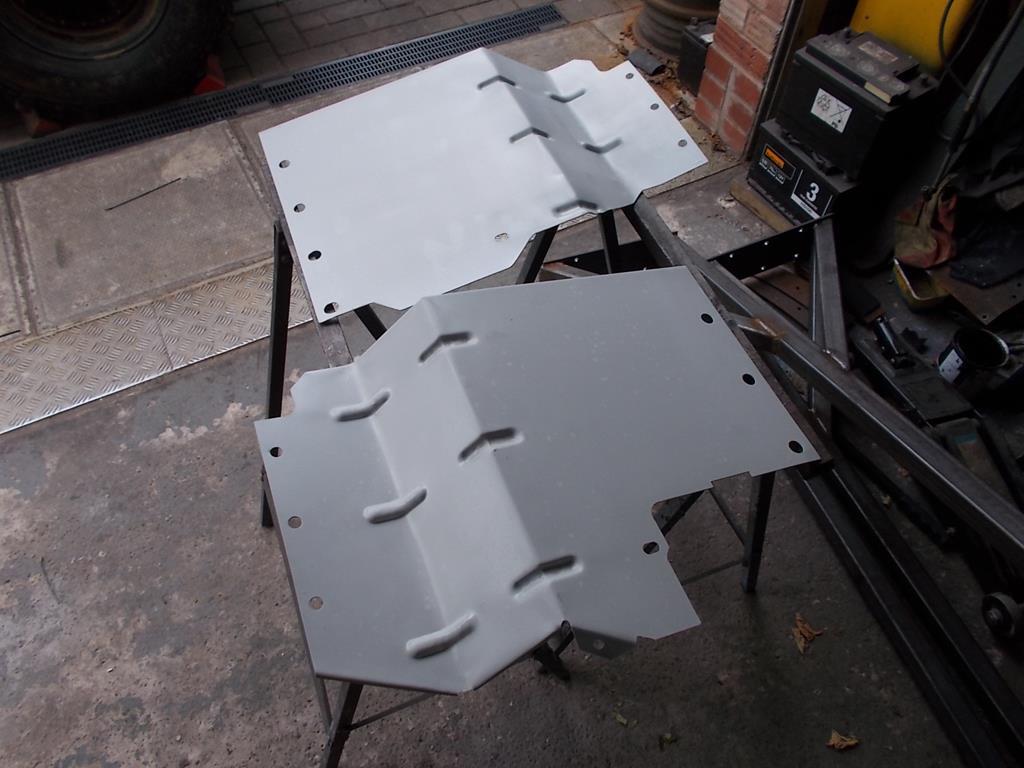
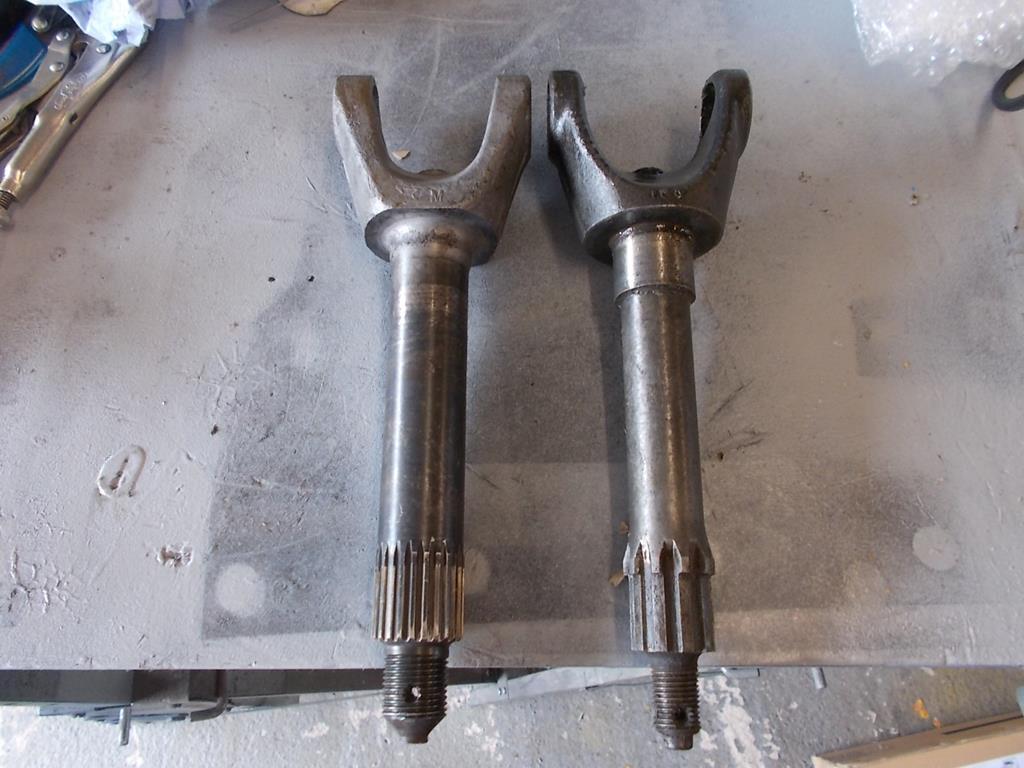
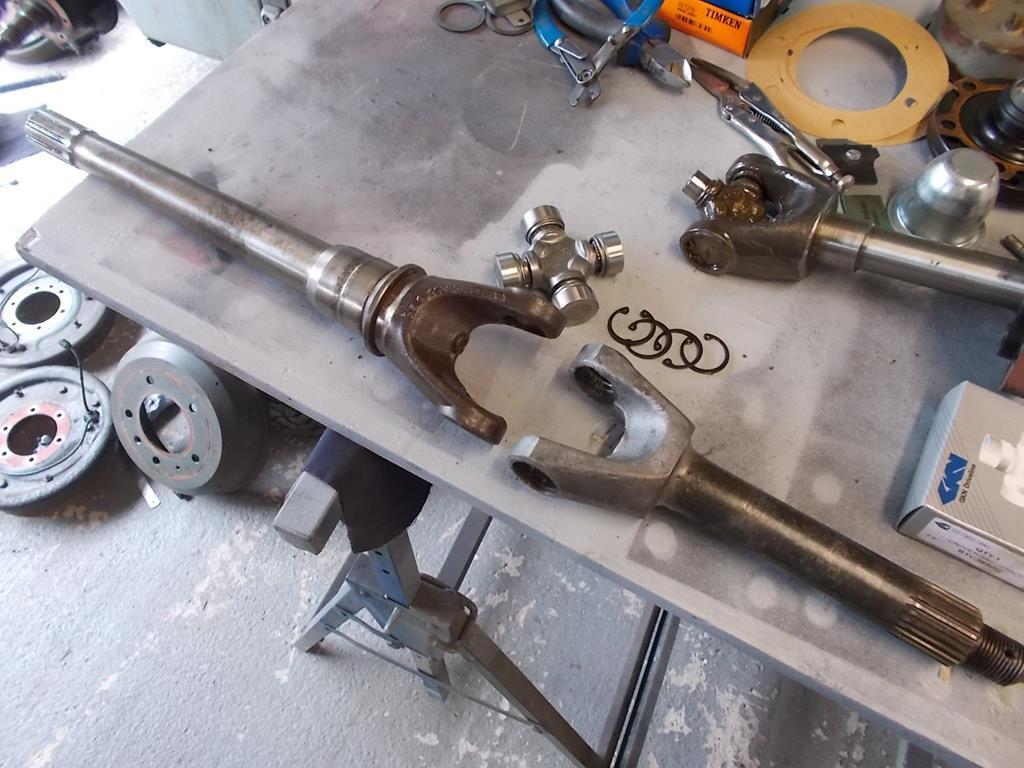
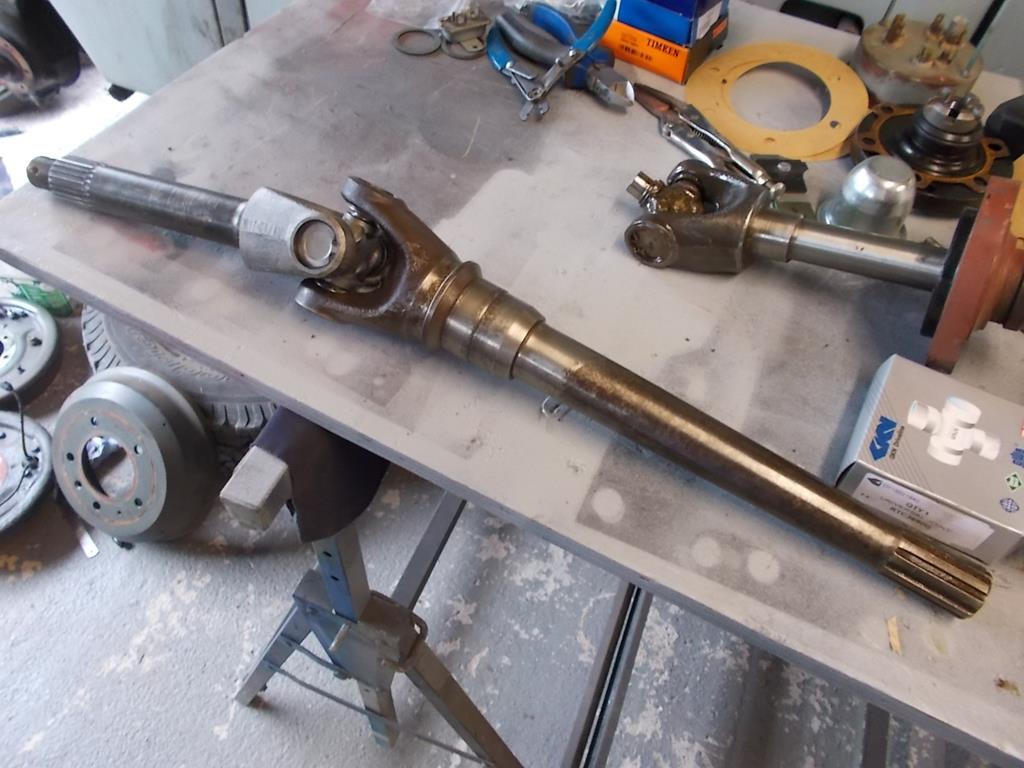
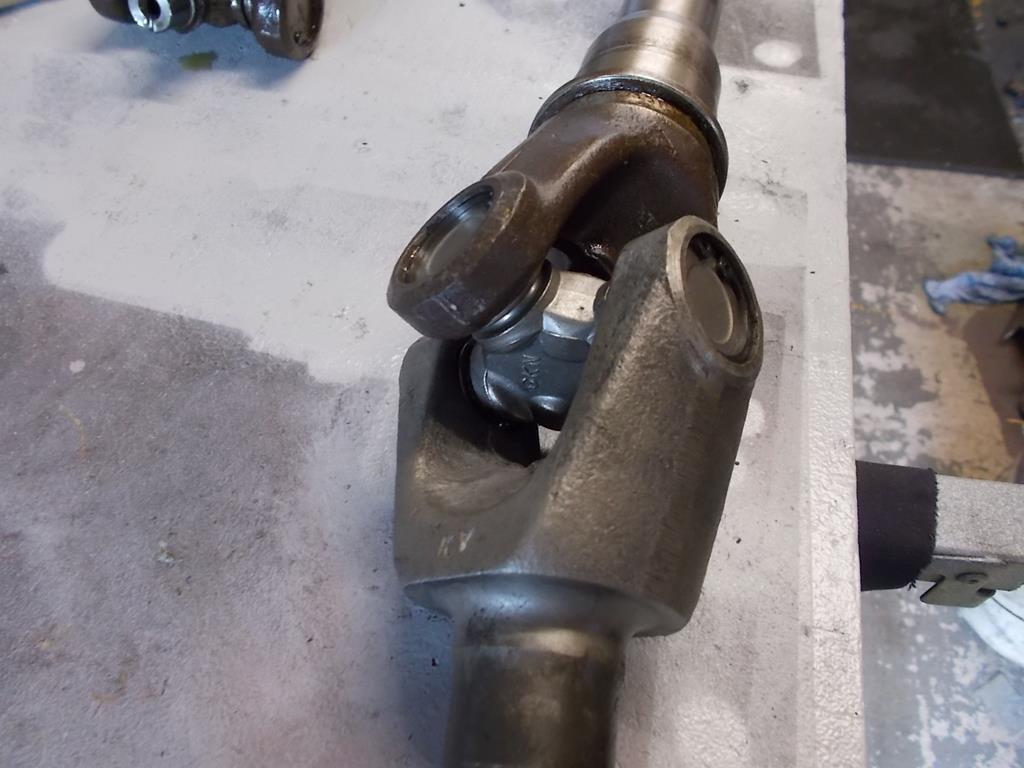
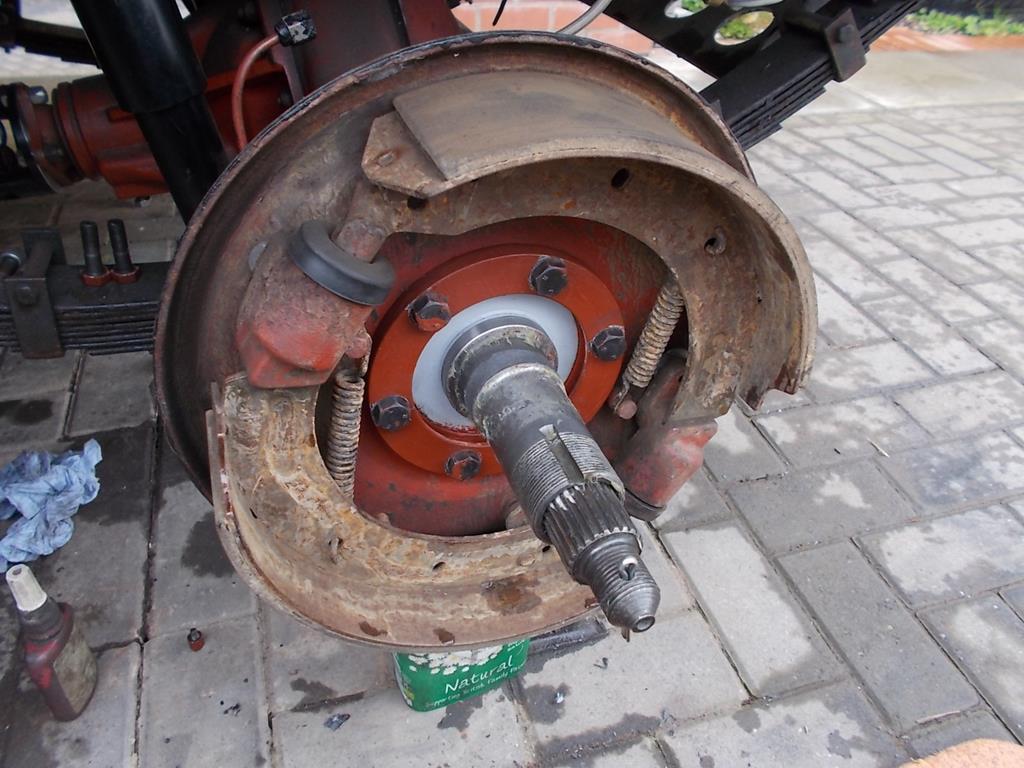
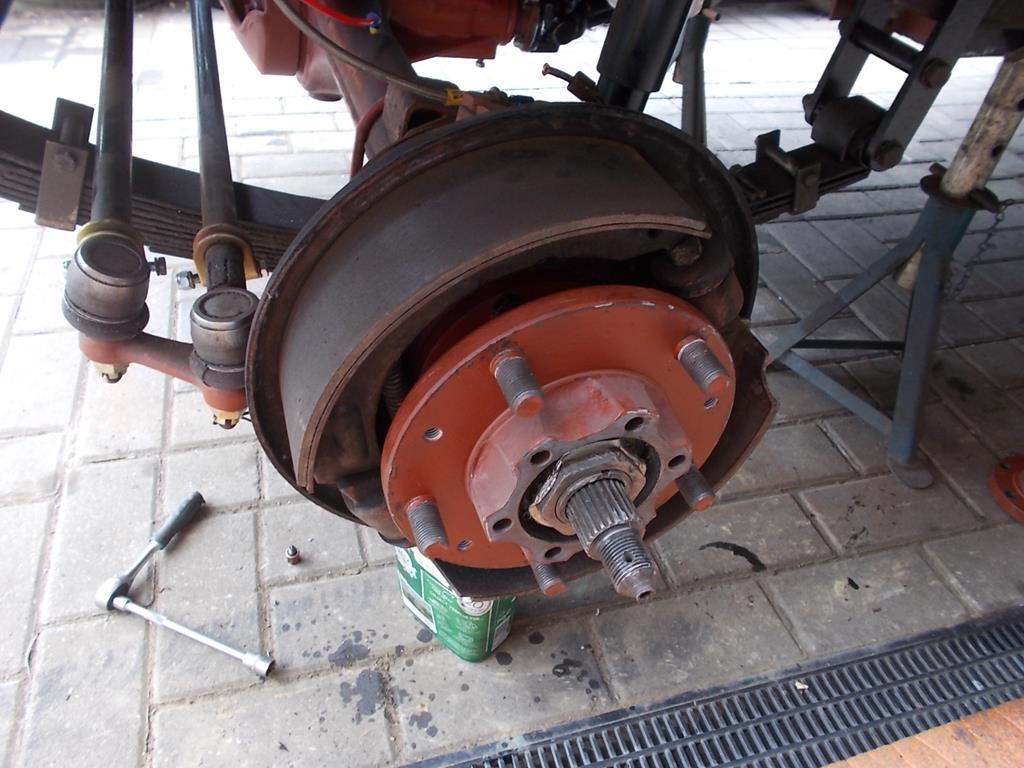
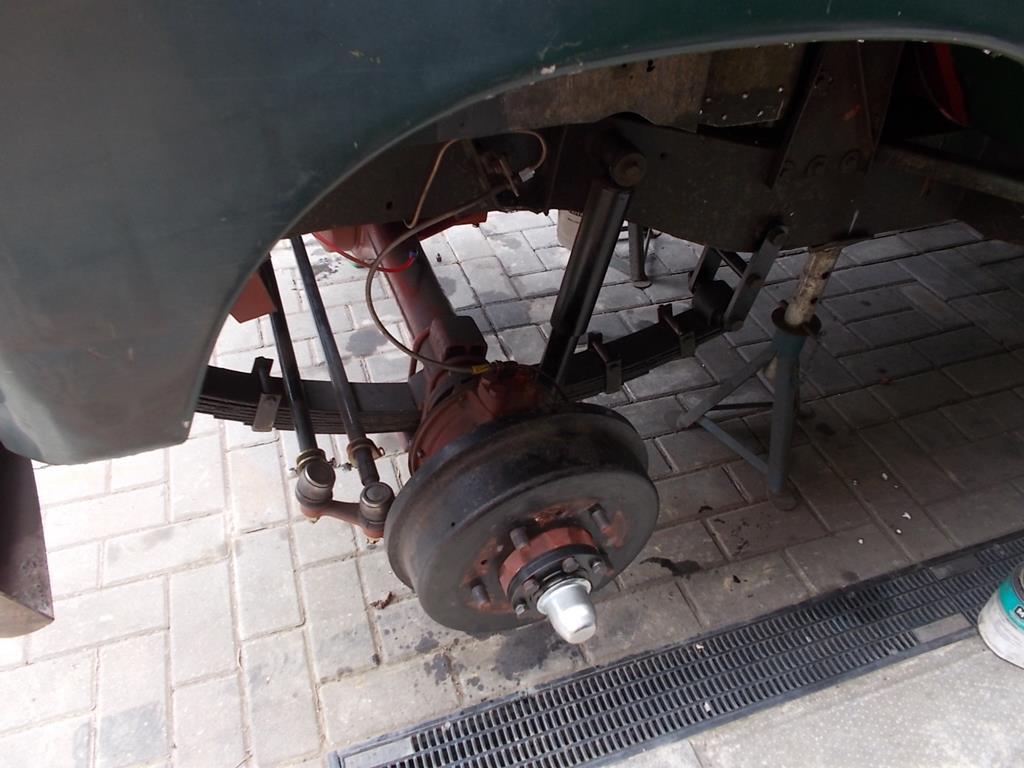
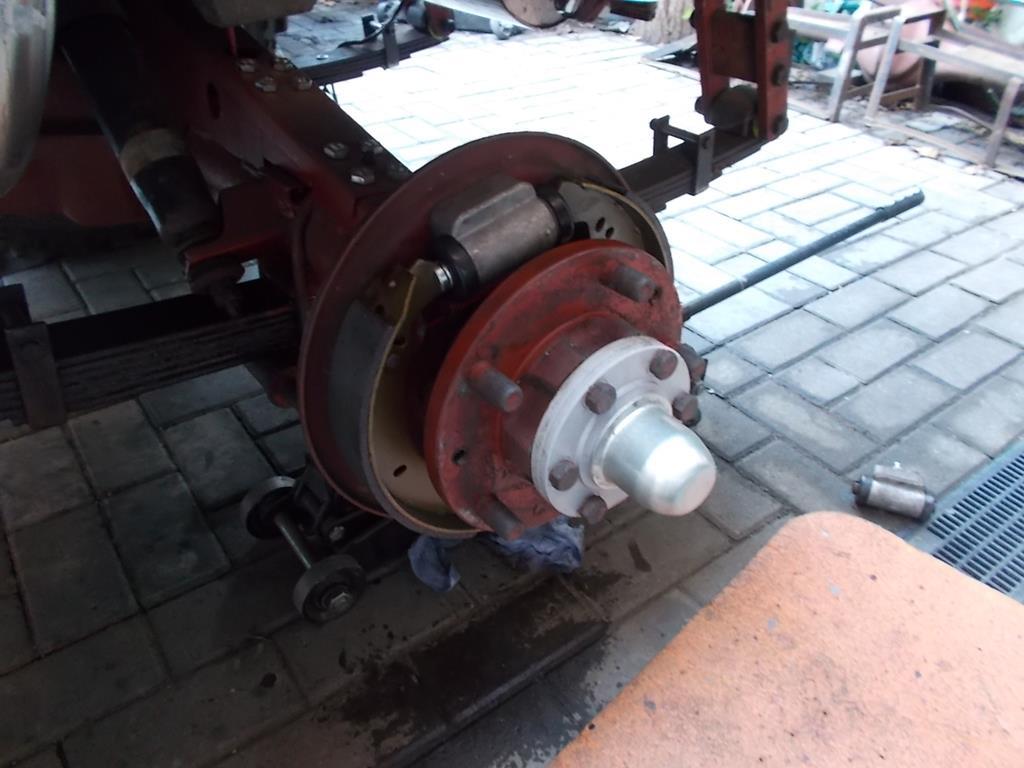
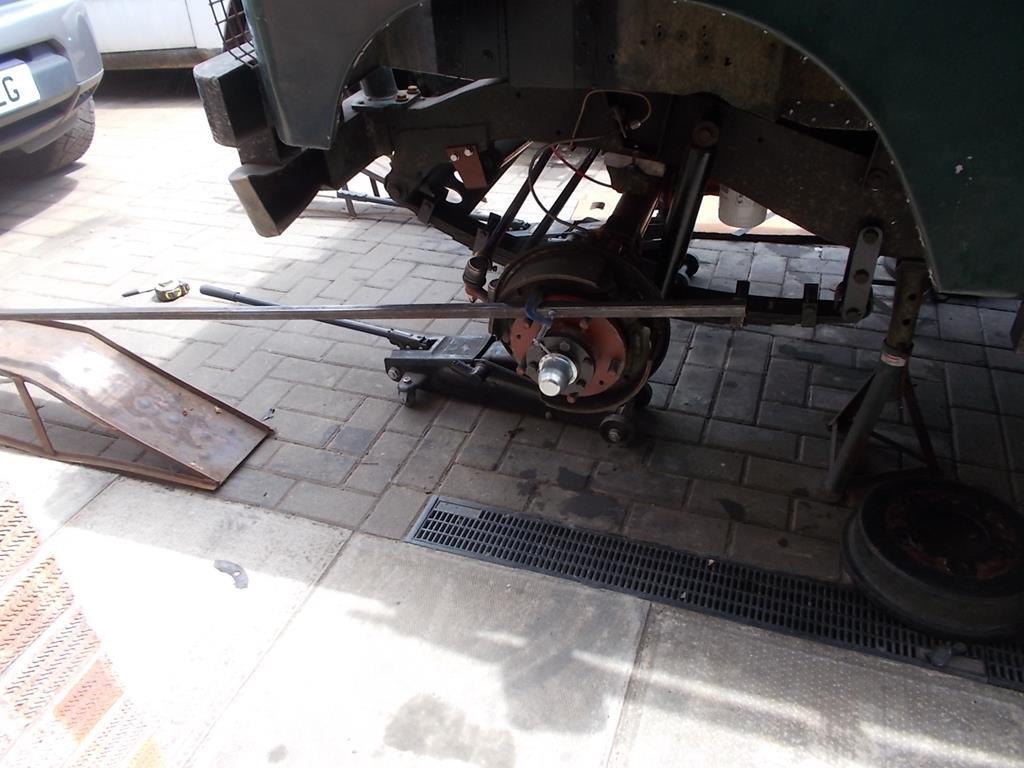
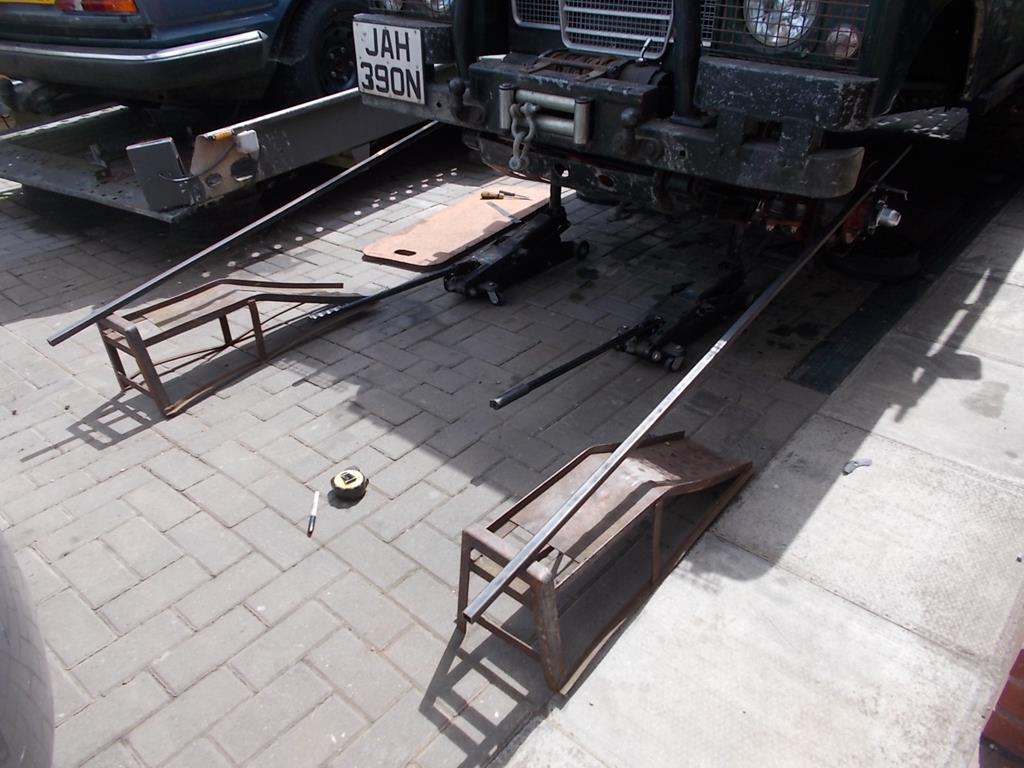
In a perfect world I'd have liked to let the little Landy evolve as and when I needed to upgrade, not go in a huge leap to a respectable if not pricey spec of twin air lockers, full cage, front and rear winches etc. However going by some of the stuff I've done in the past I think I've got a good base spec there now that can be tweaked as and when. I've seen washer tubes zip tied to the wipers and pour water over the screen which could work well in a real claggy muddy environment. If the standard washers prove inadequate then I'll upgrade. Didn't know some of the trucks had washers on the arms? The main battery has a spare set of leads off it to an accessible point with an Anderson plug already attached. The winch just happens to have it's power cable run to the same place with an Anderson plug too! There isn't anything stopping me from strapping another batter down in the back and attaching it via Anderson plugs which was plan A before looking into wiring up a split charge system. I'm still on leisure batteries which may not be hugely ideal for a vehicle with winches! I'm going back to my local offroad site at the end of the month (subject to the world not ending) and last year my 109 with only a few recovery straps and open diffs managed to do over half of the site without getting stuck hard. I'll work myself up gently to full hardcore winch challenge style offroading! Little series Landy's are lighter which should aid in easy recoveries anyway.... But most importantly, I had some more deliveries today  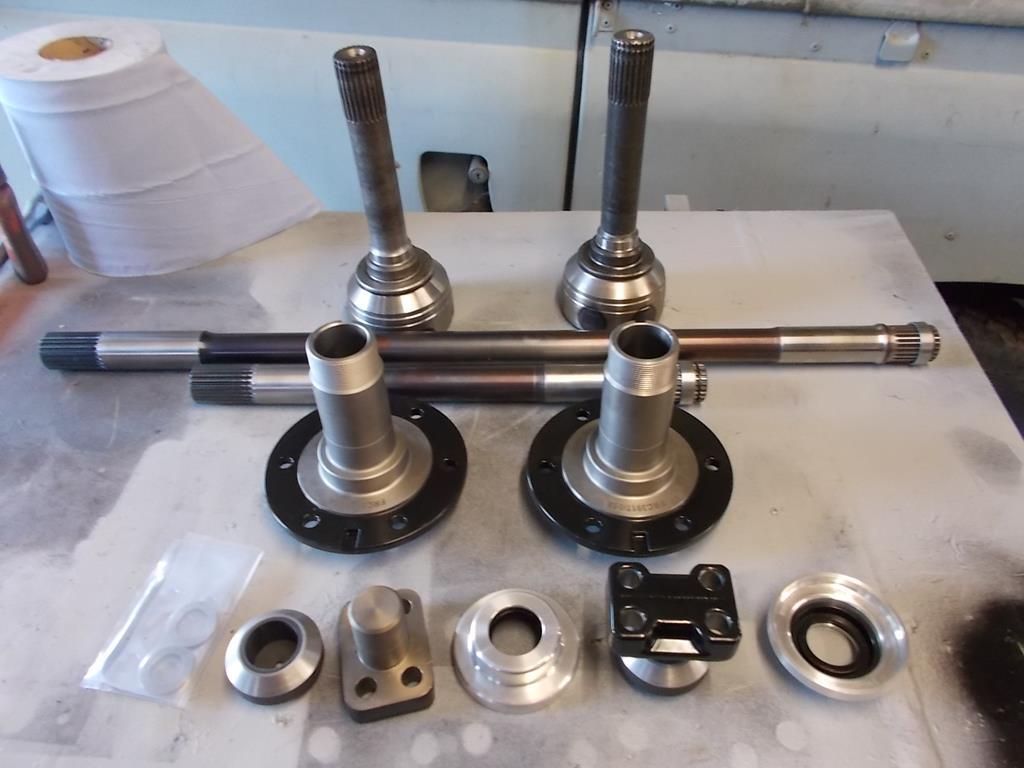 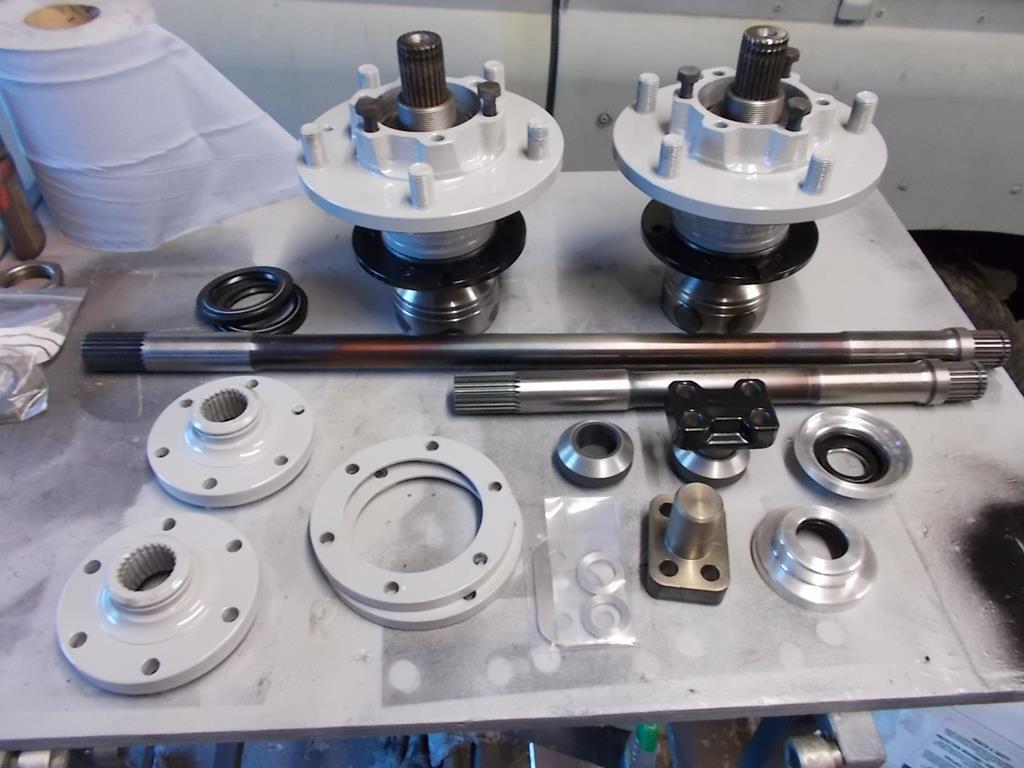 The new reproduction stage1 stub axles have arrived. I have all the parts to pull the front axle apart and rebuild it with 24 spline shafts for my ARB air locker and CV joints  |
| |
|
|
|
|
|
|
|
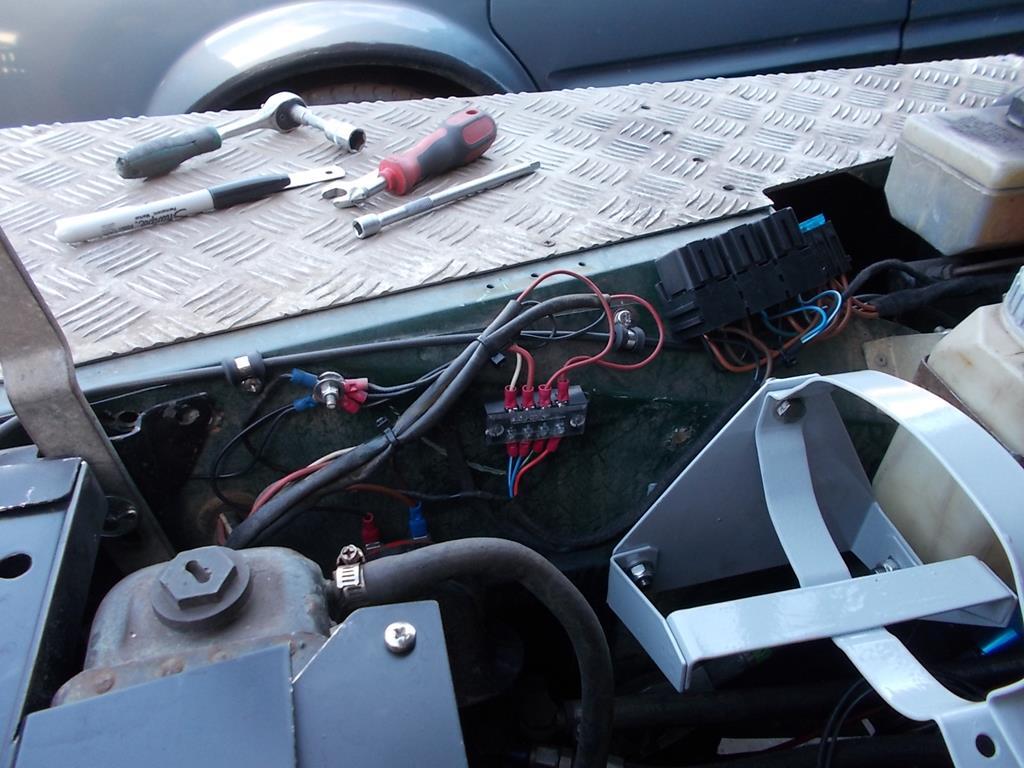
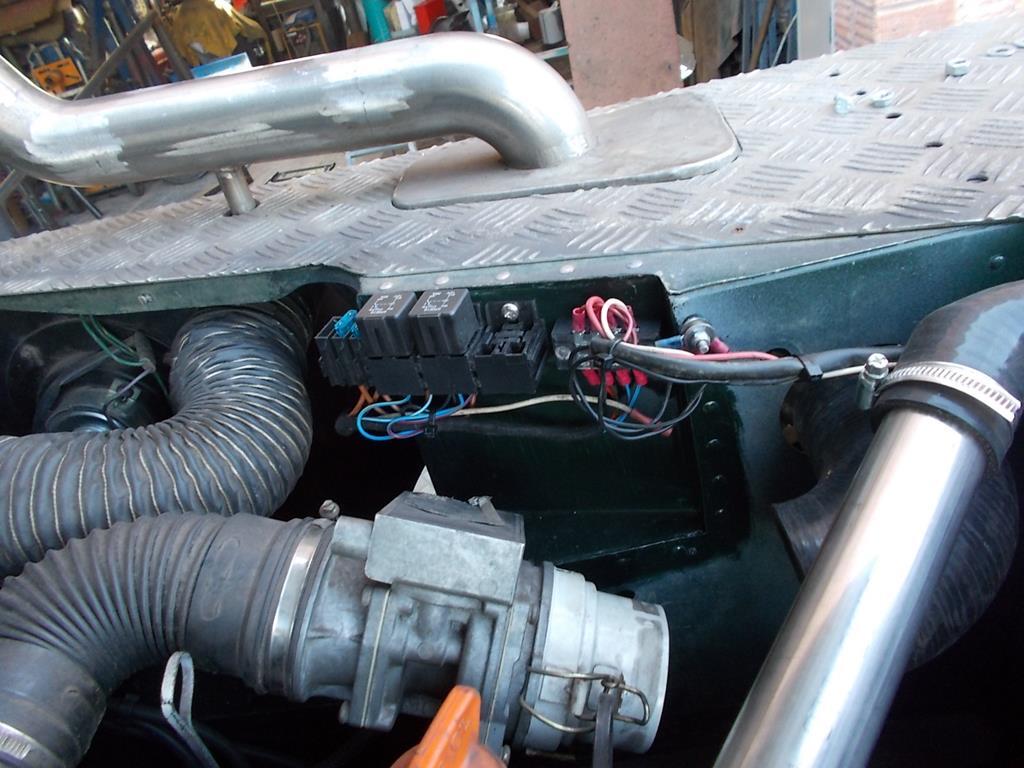
Not seen those split chargers before, I'll have a read later, link saved  More a twin battery charger the way it splits it straight from the Alternator, don't even bother with a traditional split charge  Honestly, love what you're doing here. Your two Landy threads gave me the inspiration to crack on with my little UMM to how I want it for offloading and also for the OM606 in MegaUMM. Just looking through the pics above, I am out of love with those plastic covered electrical crimp connectors and have changed all of those to the double mechanical joint ones where it clamps on both the inner core and onto the outer protection, then I heat shrink over that joint with some of the stuff that has the extra glue inside it. The crimp tool I use is the same as this one www.carbuilder.com/uk/ratchet-version-proper-f-crimp-tool-kit highly recommended, it's got dies that the connector goes in so you get a perfect crimp every time. I use that and then some heat shrink with the added glue to just cover the crimped area and heat that with an old desoldering gun, works really nicely. |
| |
1987 Supercharged BMW R1150 Citroen 2cv Hillclimb Monster
1995 Renault Master Mk1 Race Transporter
1994 Mazda MX5 Mk1 / NA Road Going Class Hillclimber
1991 UMM Alter II Crew Cab OM606 SuperTurbo Diesel MegaUMM Overlander
1992 UMM Alter II Station Wagon
1980 UMM Cournil - survivor - resto project
1979 Lomax 224
2014 VW T5.1 Transporter Kombi Highline
|
|
|
|


 )
)


