adam73bgt
Club Retro Rides Member
Posts: 4,975
Club RR Member Number: 58
|
|
|
|
Well not such a great update, my T handle attachment arrived for the screw extractor so I could get that spill jet out of the carb. Thought as it had moved slightly before, it would give up fairly easily and come out. I was wrong. 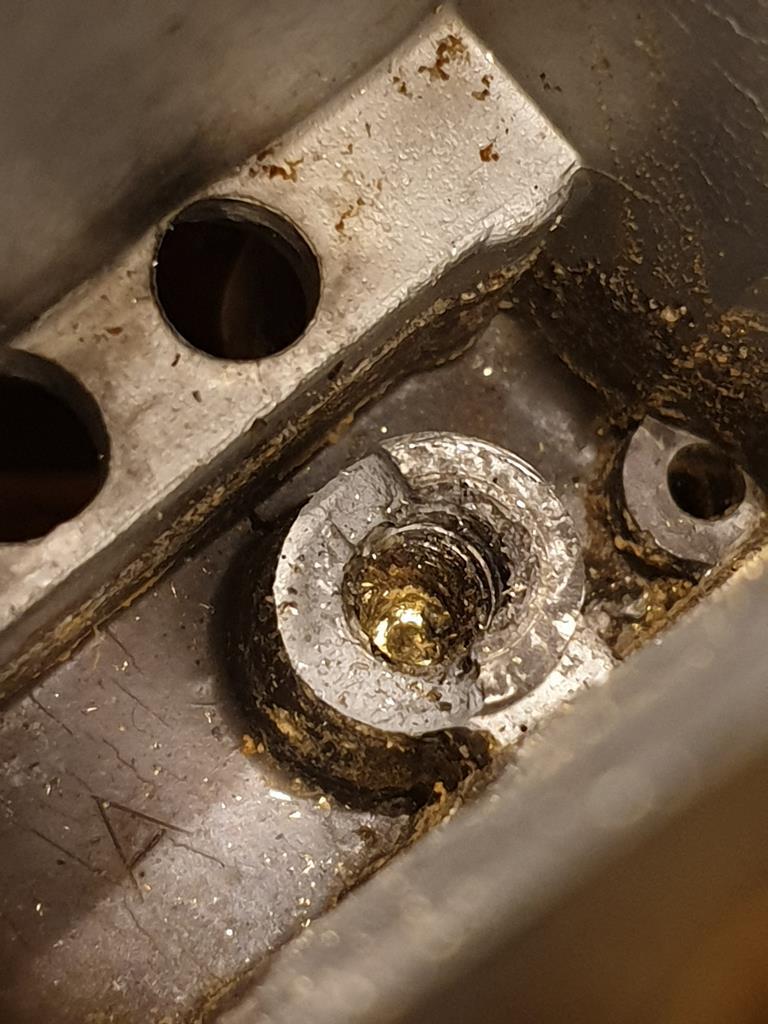 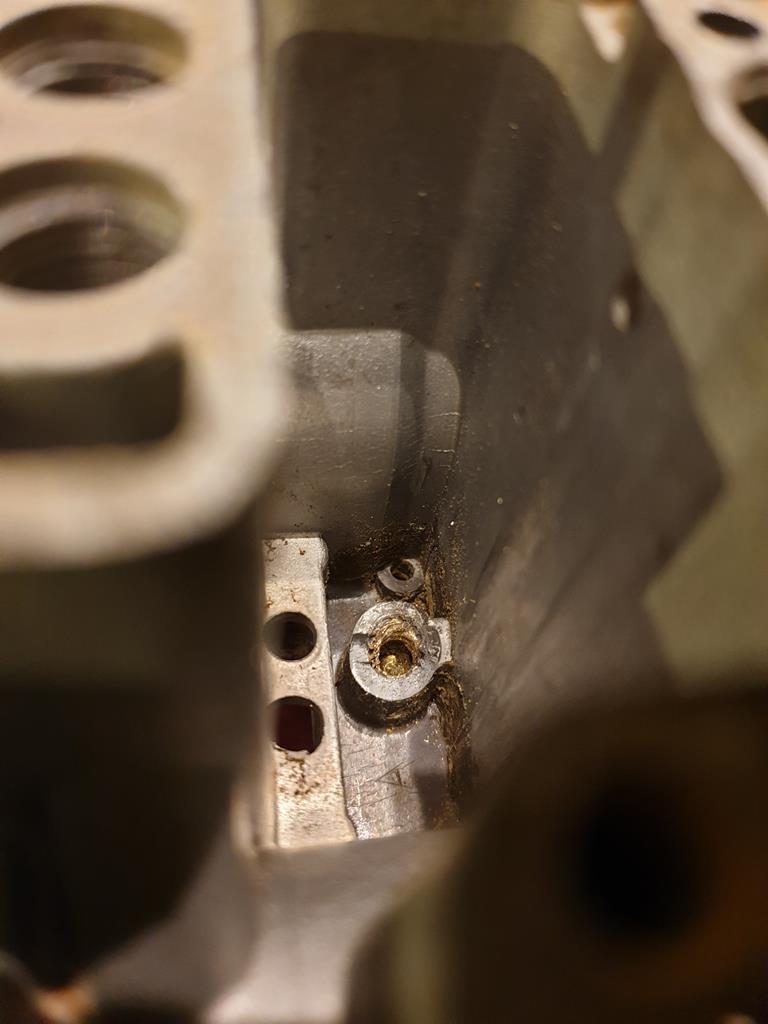 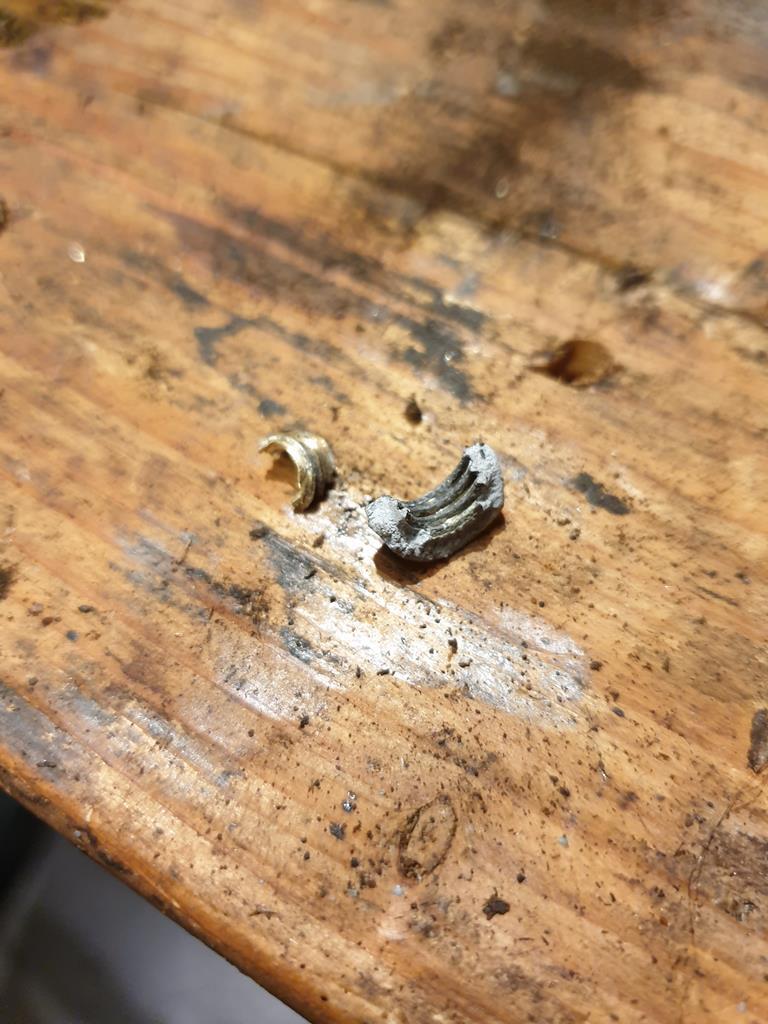 The aluminum boss cracked and broke off instead.. Managed to get some of the brass threads out but its a bit of a mess, not sure if its going to be repairable or I'll need to find another carb body.  Parking that balls up to one side. I got to work with my new valve spring compressor, getting all the valves out of the head. 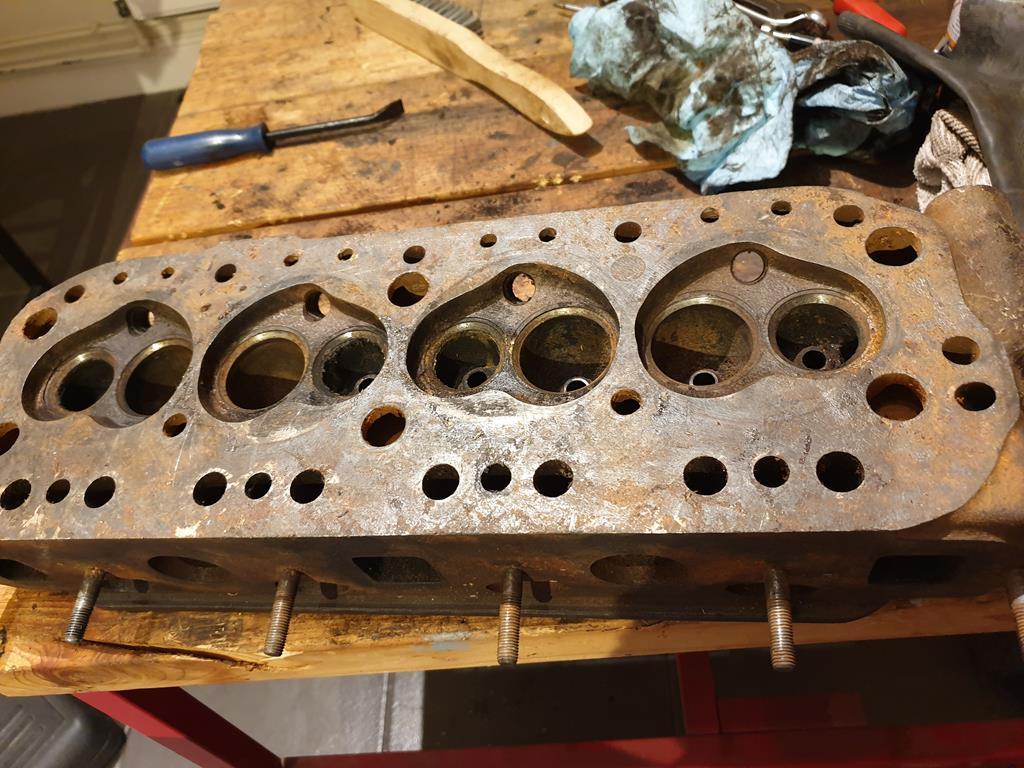 I'm not sure if this is right, but they seemed a bit tricky to get off. They would compress so I could get the collets out and look like this 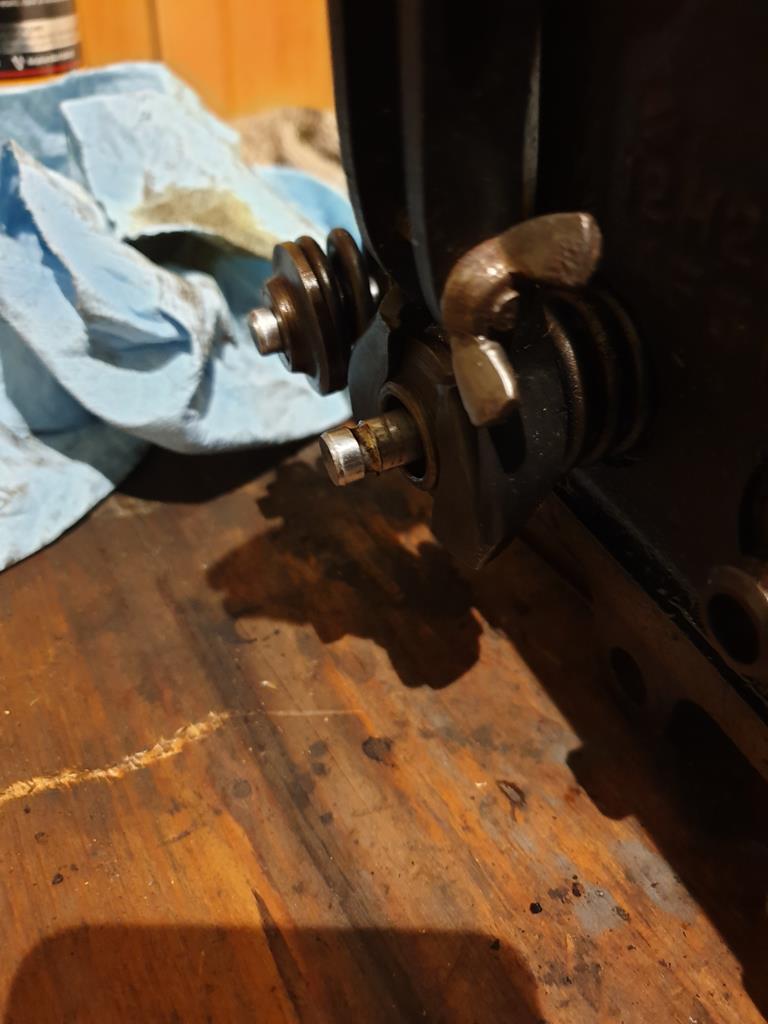 But the retainer and spring wouldn't come off. So back on with the compressor and a seal had magically appeared! 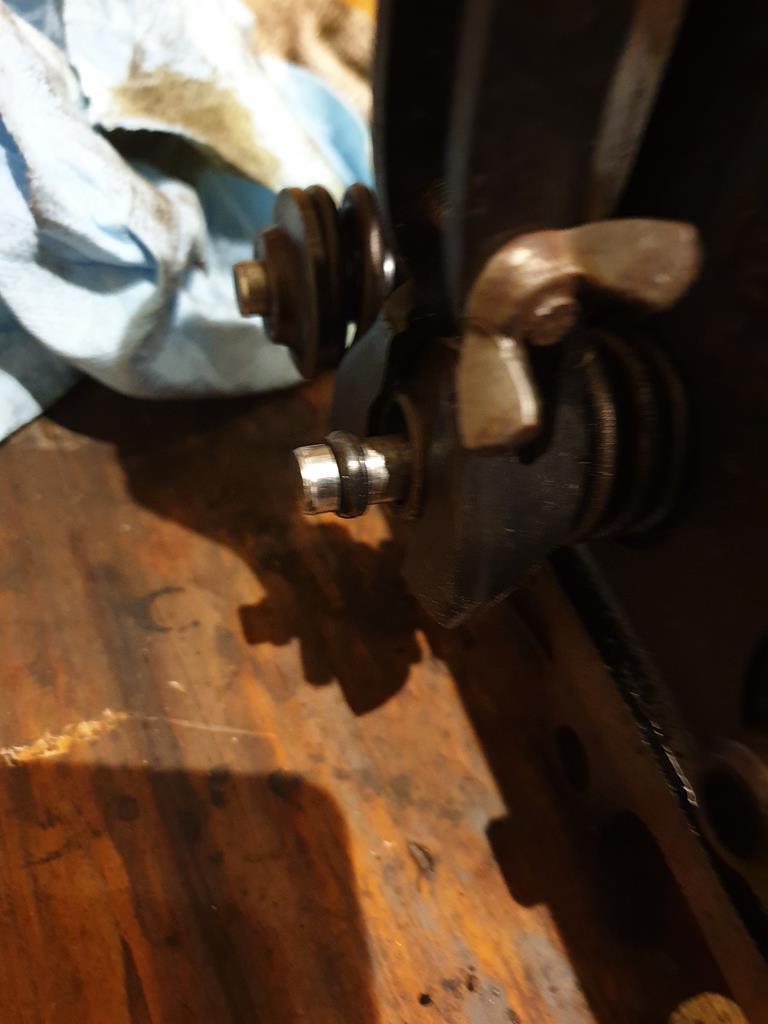 Hook that off with a pick tool and the retainer and spring basically fell off. The head is a bit crusty (my own fault for having it in a damp garage for so long) but I think should clean up. Looking down some of the ports, it almost looks as if some smoothing work might have been done previously? In any case, I think first thing will be to get it hot tanked or similar and just get it as clean as possible 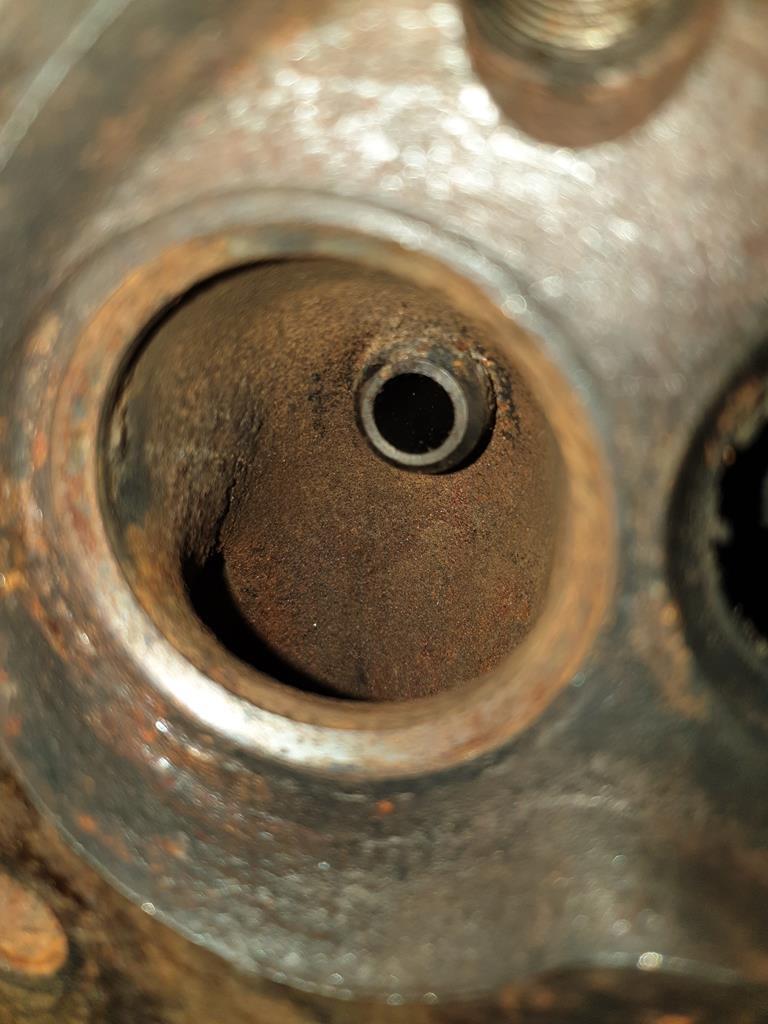 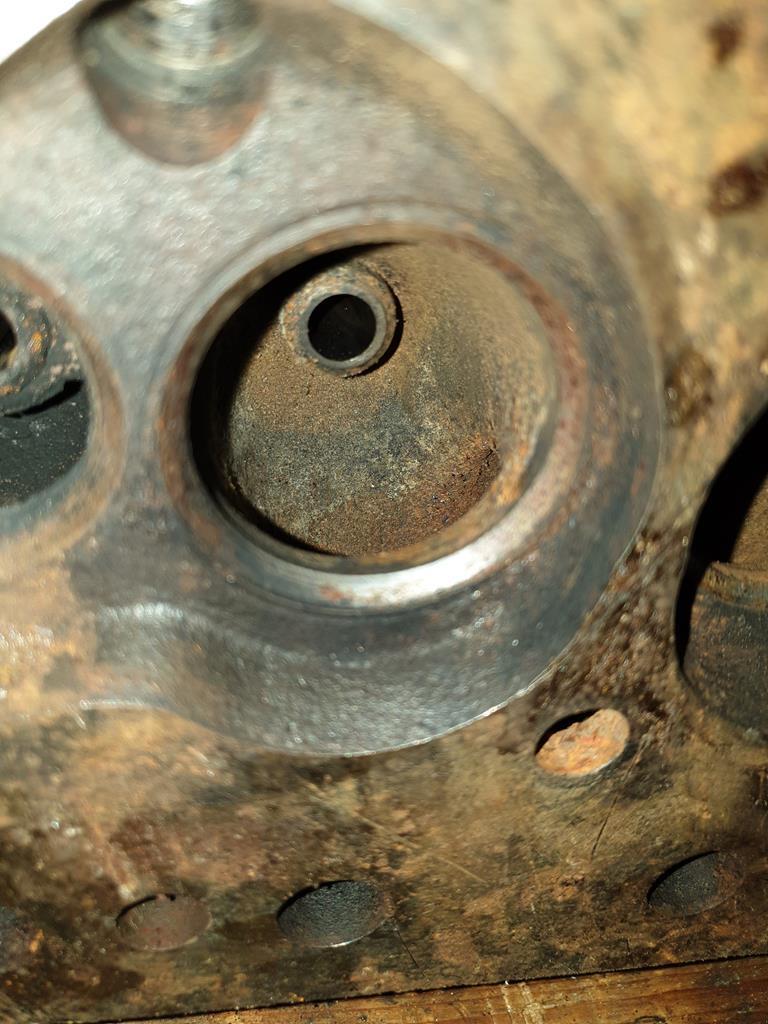 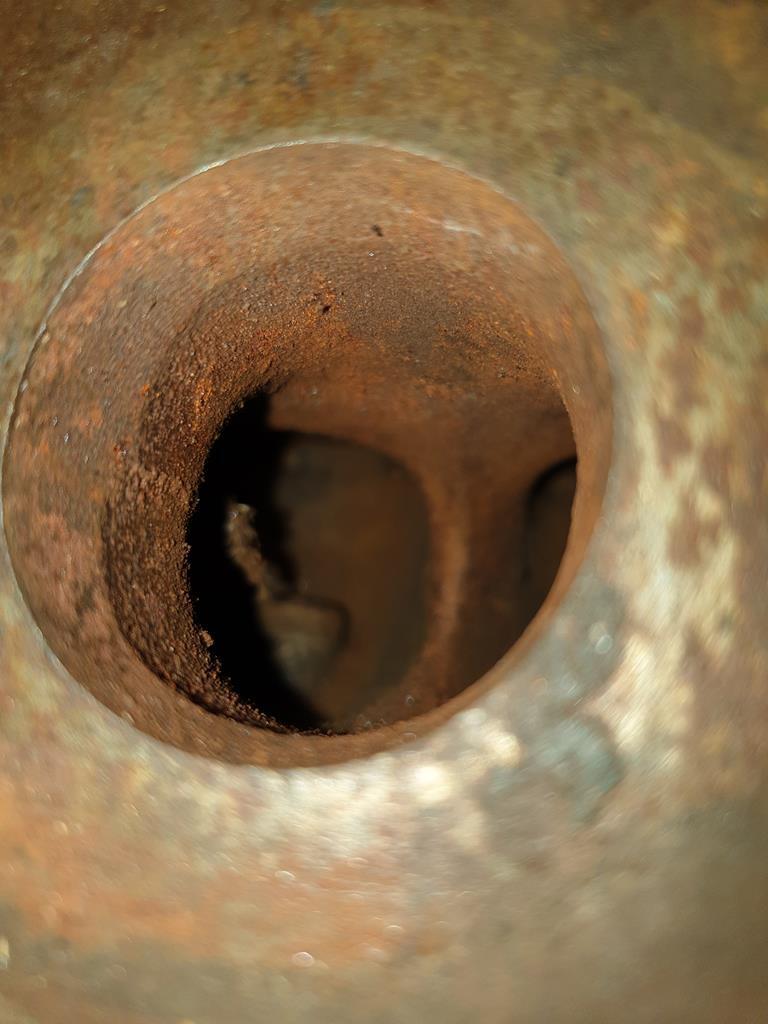 |
| |
|
|
|
|
|
|
|
|
|
Liked for progress, not broken bits  |
| |
|
|
adam73bgt
Club Retro Rides Member
Posts: 4,975
Club RR Member Number: 58
|
|
Feb 16, 2020 11:04:26 GMT
|
Weber 45DCOE take 2... 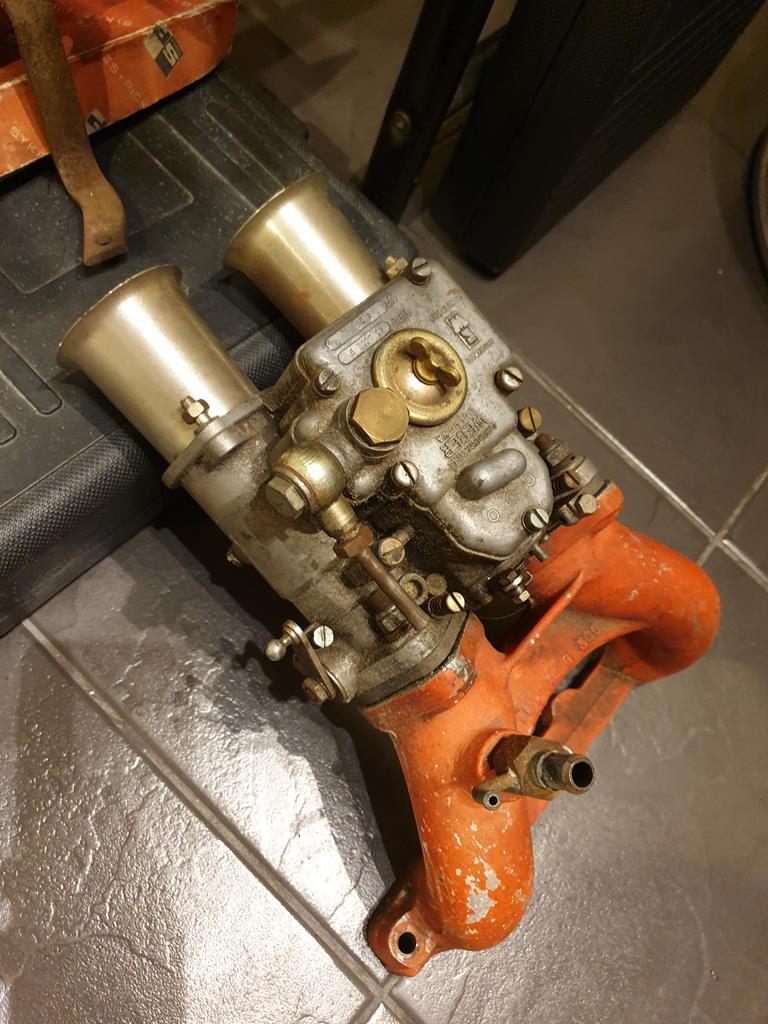 While I'm fairly sure the original one I bought will be salvageable with some careful work, I doubt I'll be the person to complete it! Also westbay popped up with this carb (thanks once again) and was local so made it a bit of a no brainer! To be honest, given the trouble I had with the first carb, I did leave this one for a few days before I had a go at tearing it down as there was a little aprehension! But there needn't have been as it came apart much easier as it was clear it hadn't been left standing as long as the first one. 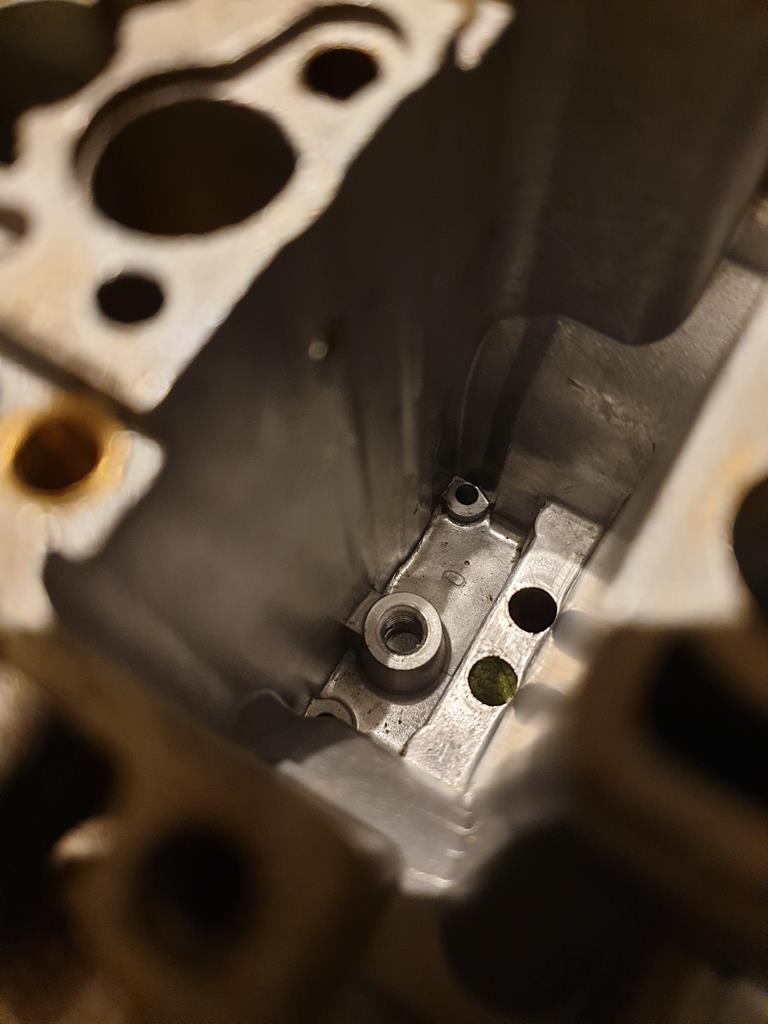 ^That is what it looks like when the spill jet simply unscrews as it is meant to!  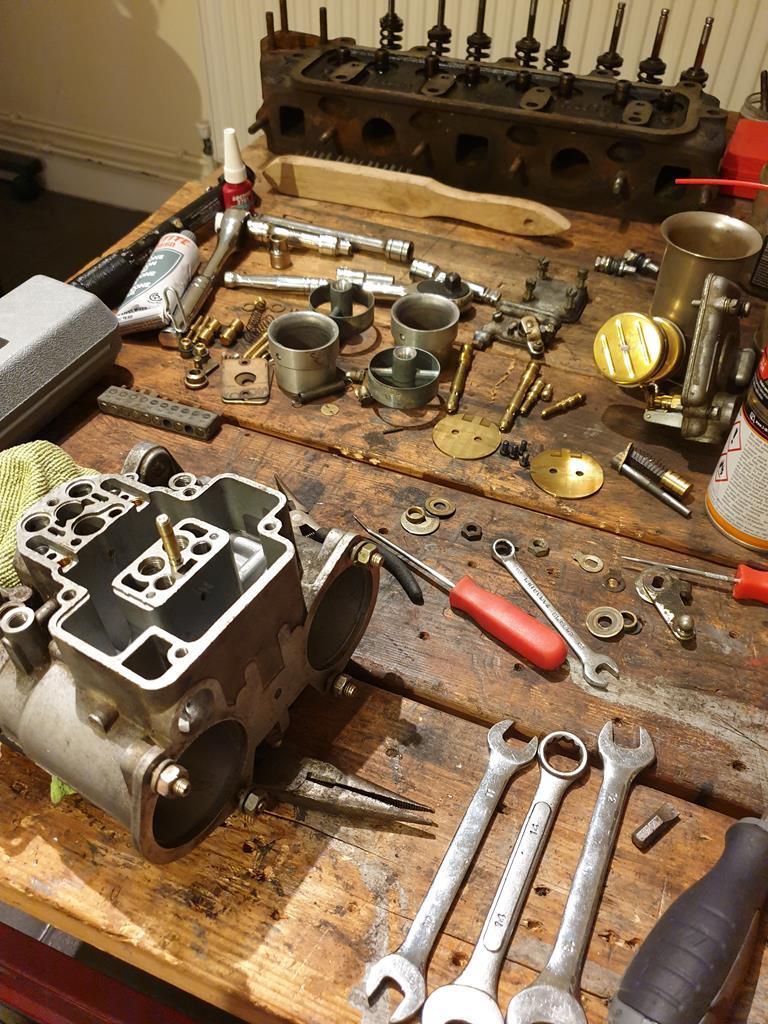 It didn't take long at all to get the carb pretty much totally stripped down to all its components, and everything seems in good condition. It appears to have the sealed type of throttle shaft bearing (one of which is being a bit of a pain to remove but I'm getting there). Also of note given the previous discussions on this thread, this is a 45DCOE9 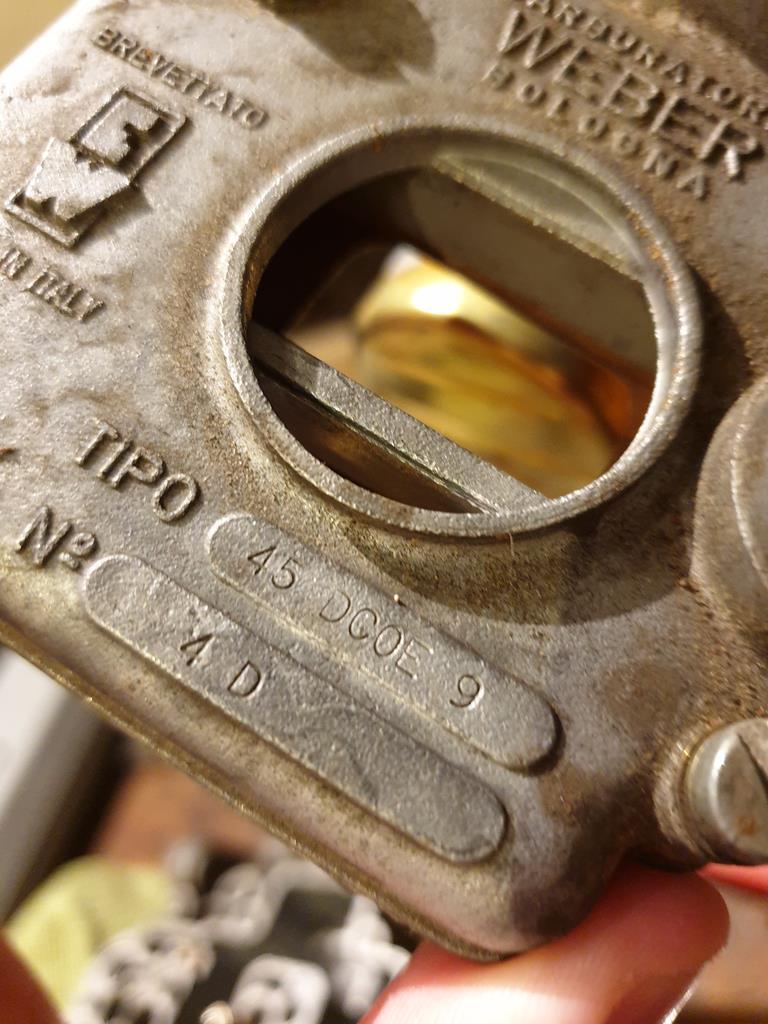 Which is technically more correct for an MGB than the 45DCOE13 I also have. Looking at the two carbs, there are some subtle differences. The 45DCOE9 has 3 progression holes compared to the 2 in the 45DCOE13 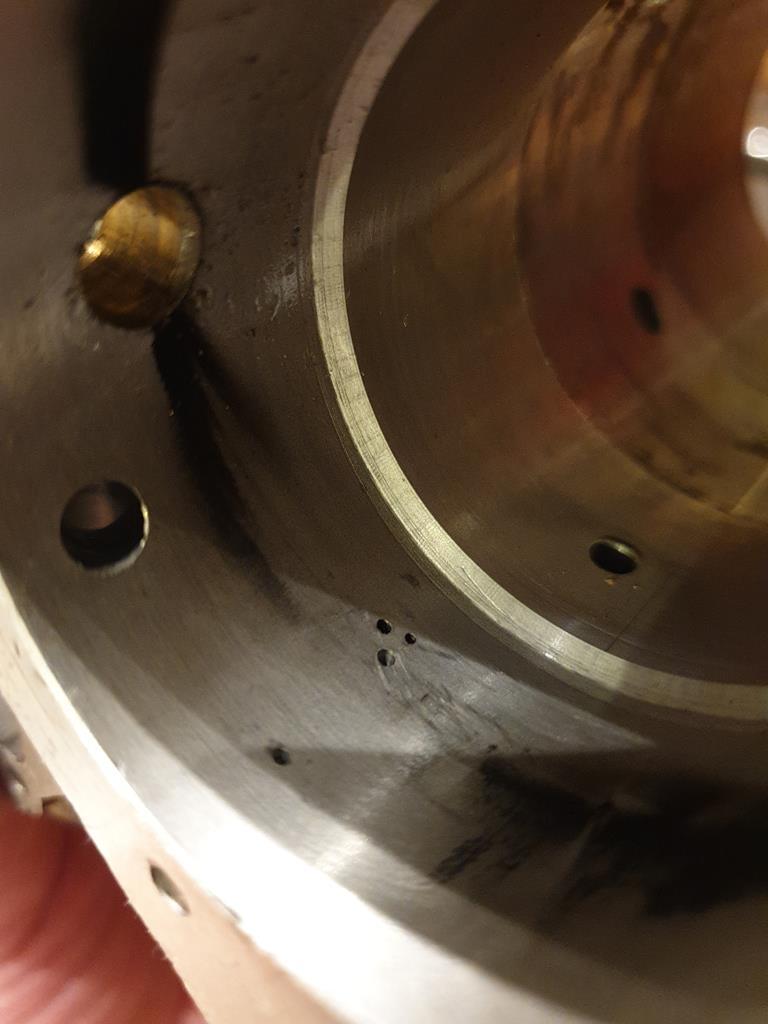 There is also a pressed in cap above the holes rather than the removable screwed plug on the 13 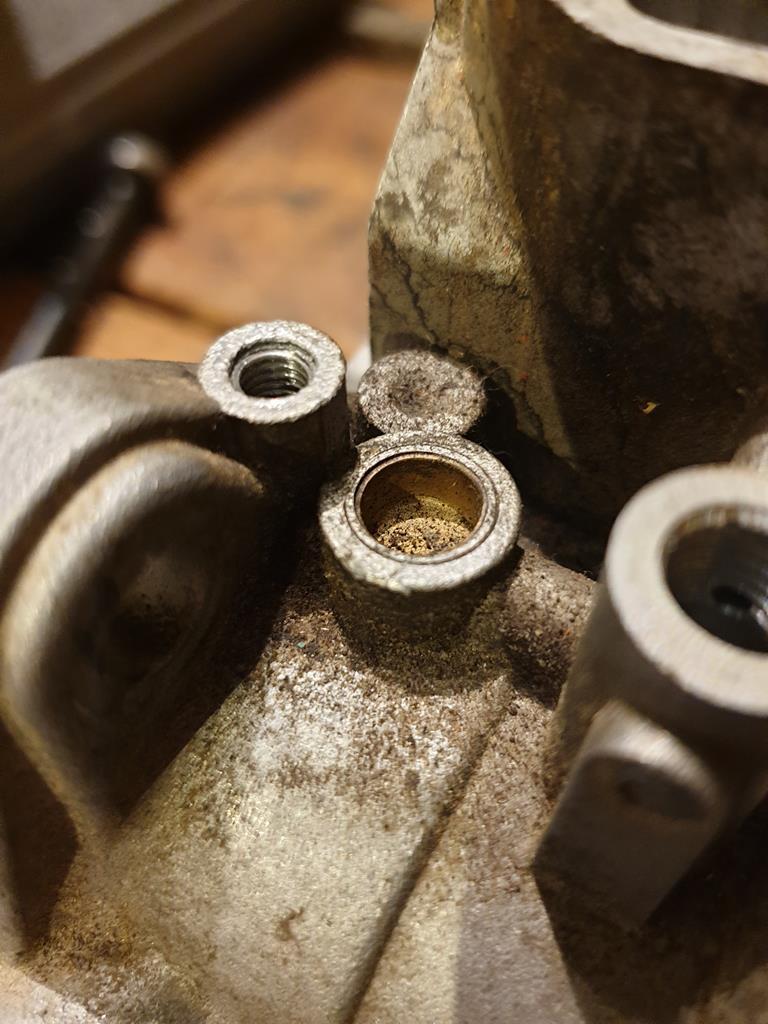 There are also some differences in the jets etc. within. The 9 has the correct F16 emulsion tubes that I need, I'll still need to buy some jets and bits as this appears to have been fitted on some sort of Vauxhall engine most recently looking at the manifold that came with it. Also the throttle discs have these scallops in them, which I'm not sure what their purpose is, must be something to do with how the progression holes get uncovered with throttle movements 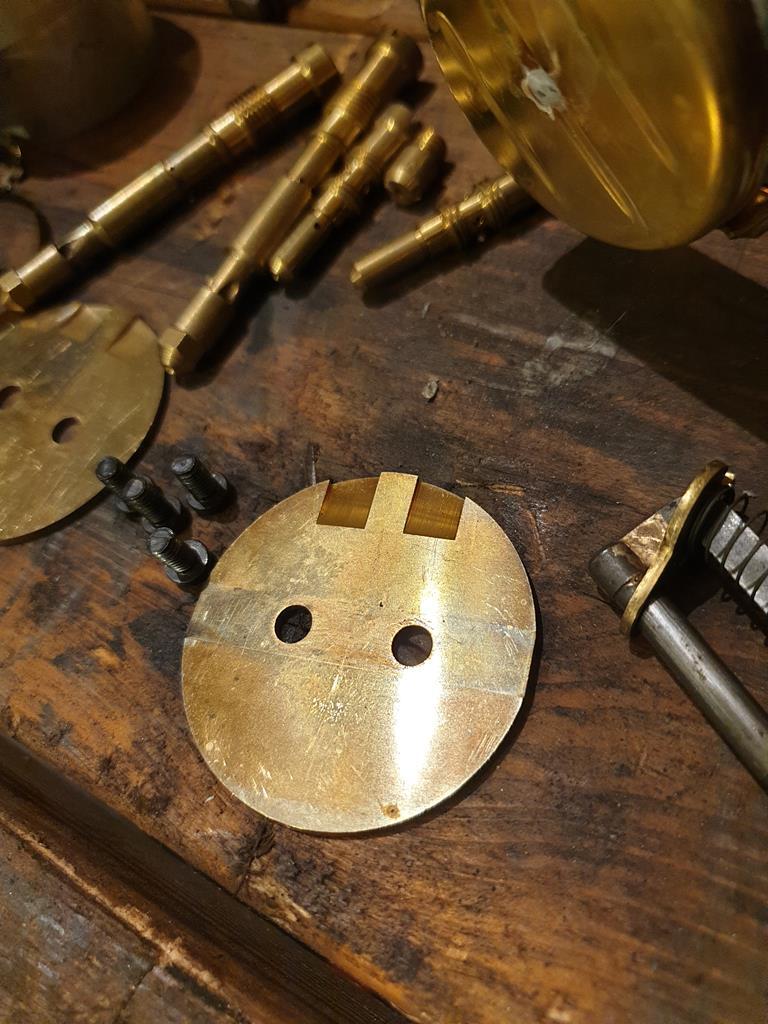 I'll get a rebuild kit on order and start cleaning up the carb body, although as you can see in the pictures, it doesn't need anywhere near as much cleaning as the other one, which probably bodes well for all the passages within the carb also. Another little purchase for the B arrived this week also 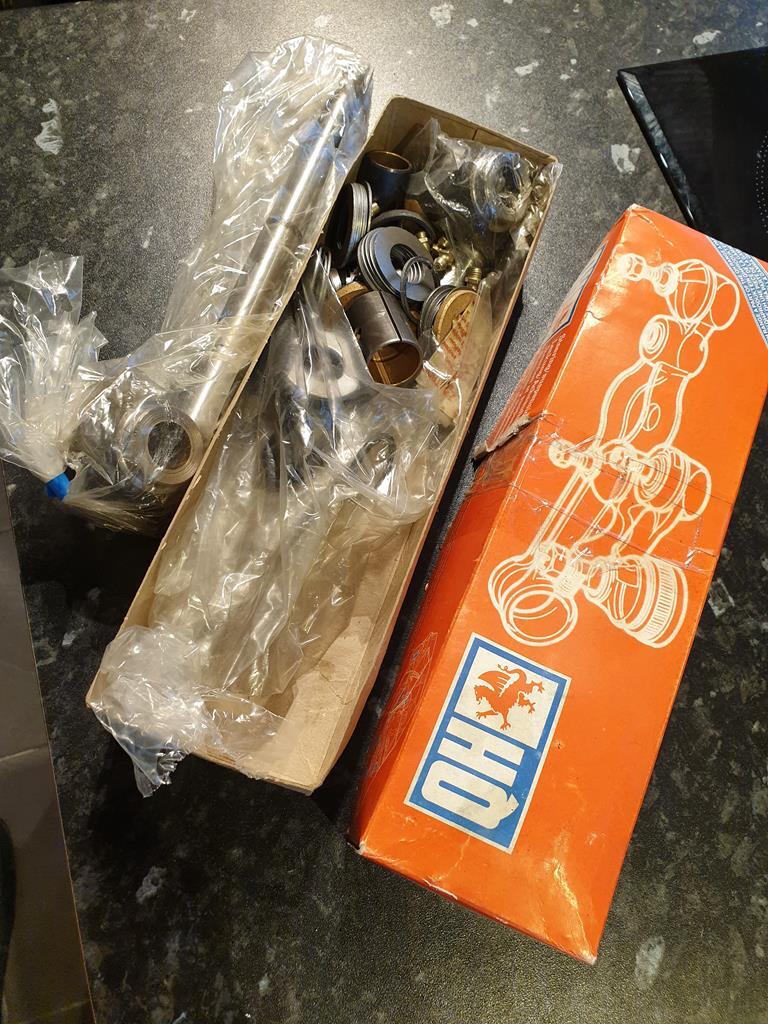 A pair of new kingpins and assorted bushes/washers etc. for the front suspension, came up for a decent price on ebay so decided to go for it. I have all the bits I need now to get the front stub axles rebuilt (well aside from bearings I suppose), there is a chap on one of the MG facebook pages who does drop spindle mods for B's so I'll be getting in touch with him soon! |
| |
|
|
adam73bgt
Club Retro Rides Member
Posts: 4,975
Club RR Member Number: 58
|
|
|
|
Made progress in cleaning up and rebuilding the Weber. It didn't really need too much as it was in pretty good condition to start with, mostly it was just a case of getting the right size jets and stuff to suit the B engine. (Mostly so I've got it written down for myself  ) As a starting point I've gone with: F16 Emulsion tubes 185 Main jets 160 Air corrector jets 55F8 idle jets 38mm Choke 5.0 Aux venturi 100 Spill jet 225 needle valve 60F5 Starter jet 45 Pump jet As and when I get the engine all built up, it'll have some dyno tuning to perfect the settings. Was quite nice to clean up the various bits and add new jets, it all fits together nicely. Below is the idle jets and emulsion tubes with main and air jets 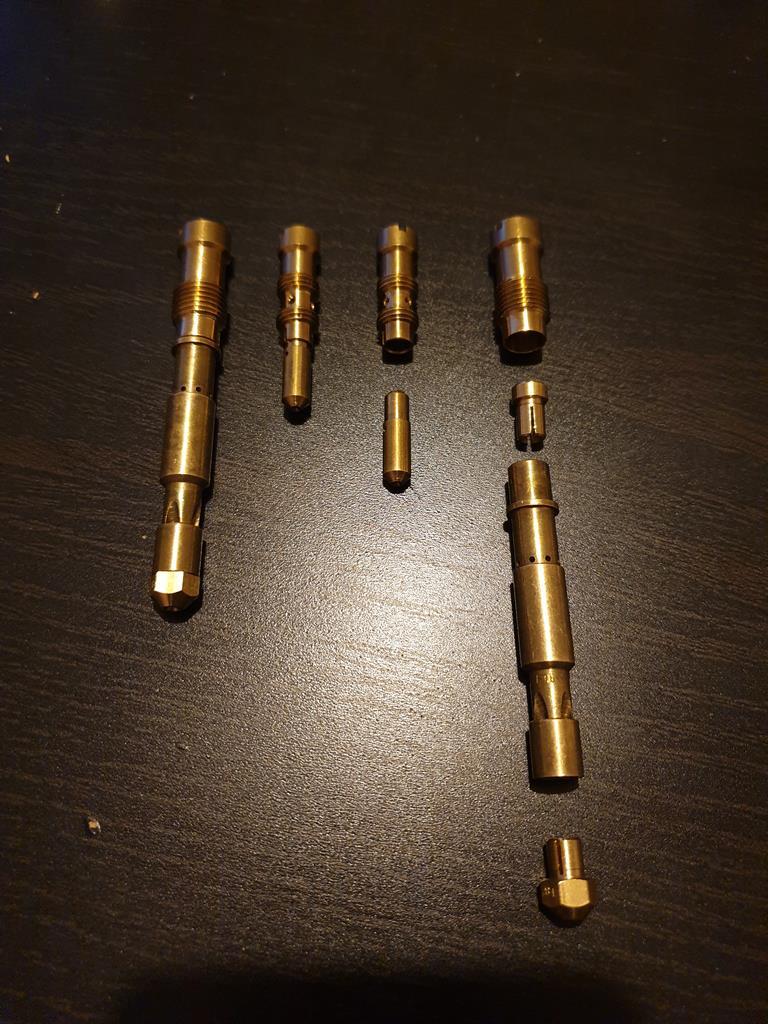 The lid cleaned up nicely and added a new filter with the cover polished up 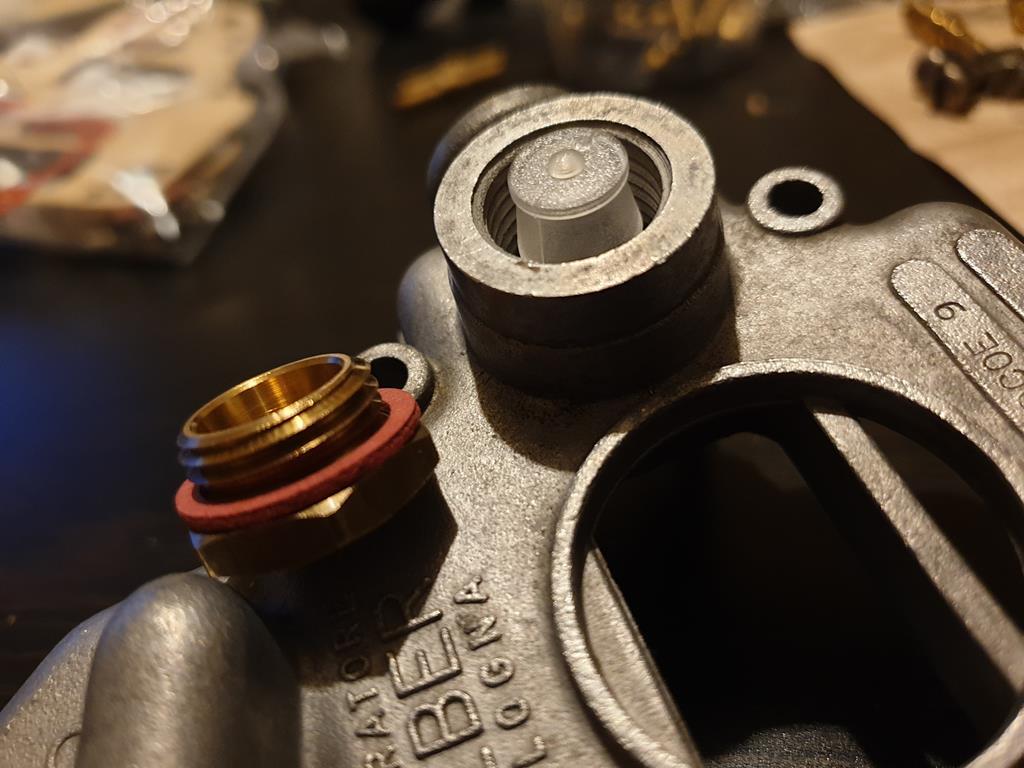 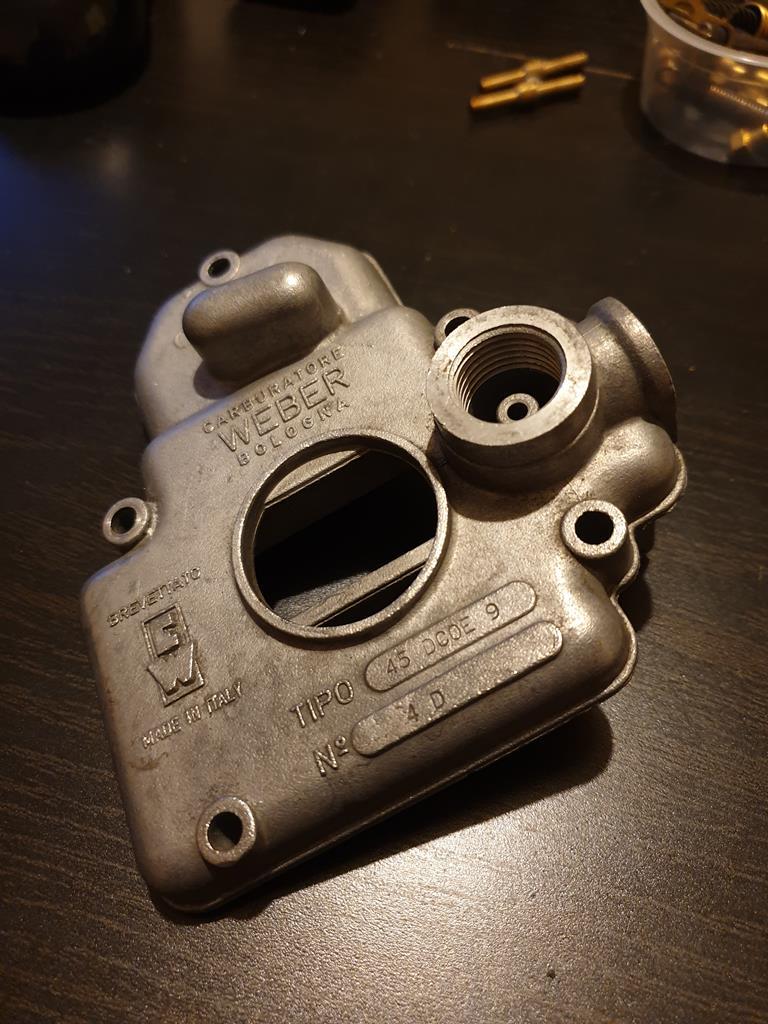 I didn't go overboard with the cleaning and polishing as I'm not builing a concours type car, so its just a nice clean but used look. The Choke/starter, accelerator pump mechanisms all went back together nicely, with the use of a flat head screwdriver to help clip the retaining circlip-type clips in place 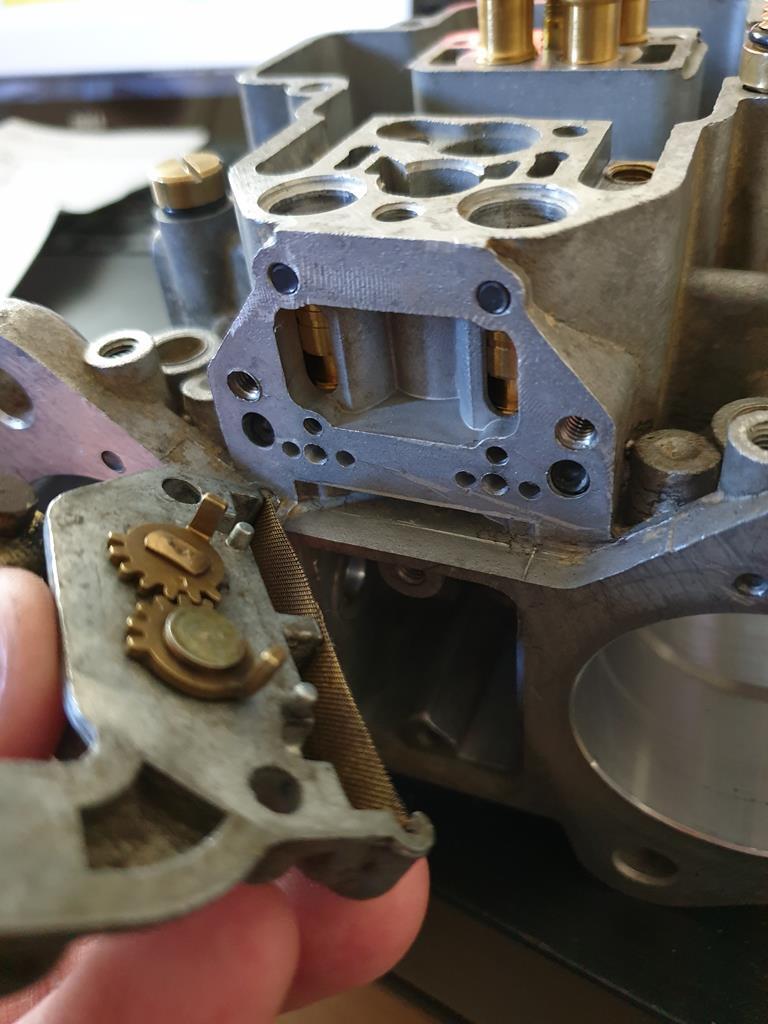 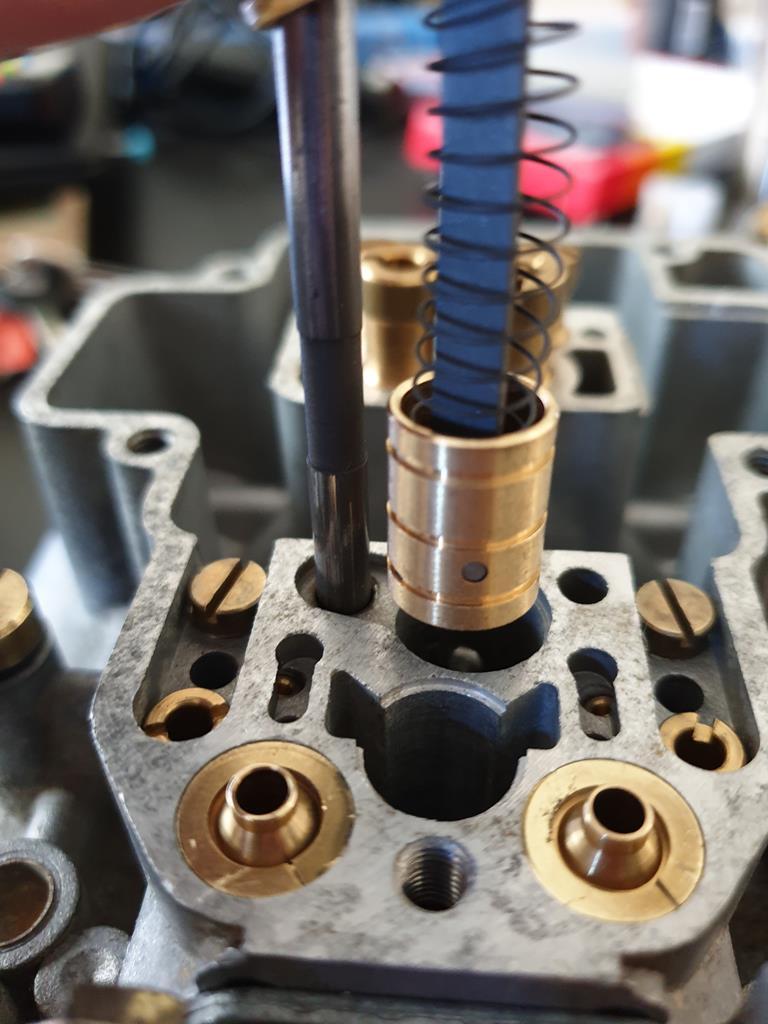 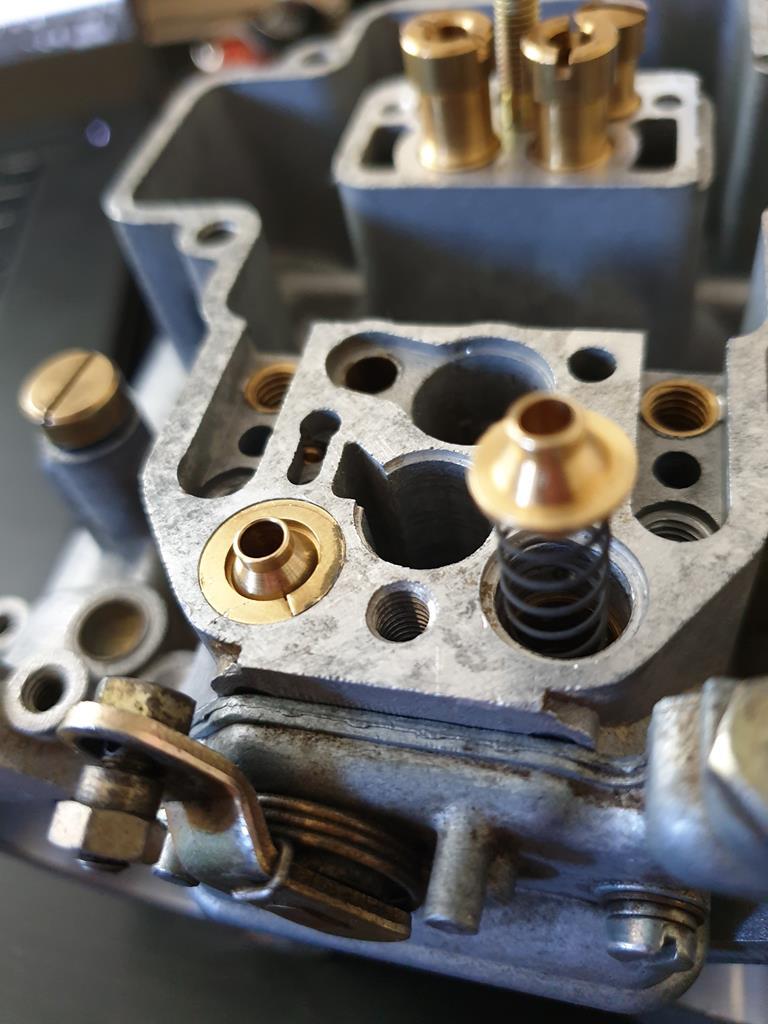 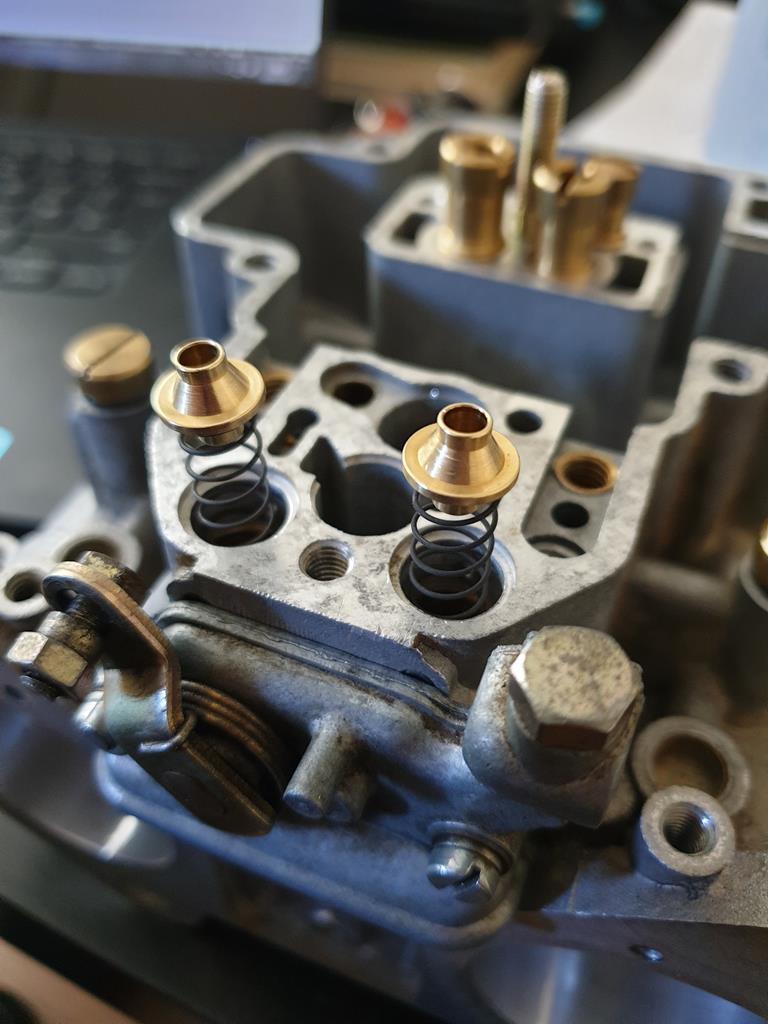 I've invested in a heatshield for the bottom of the carb as well, as being a non-crossflow engine, the carb sits right over the exhaust manifold. 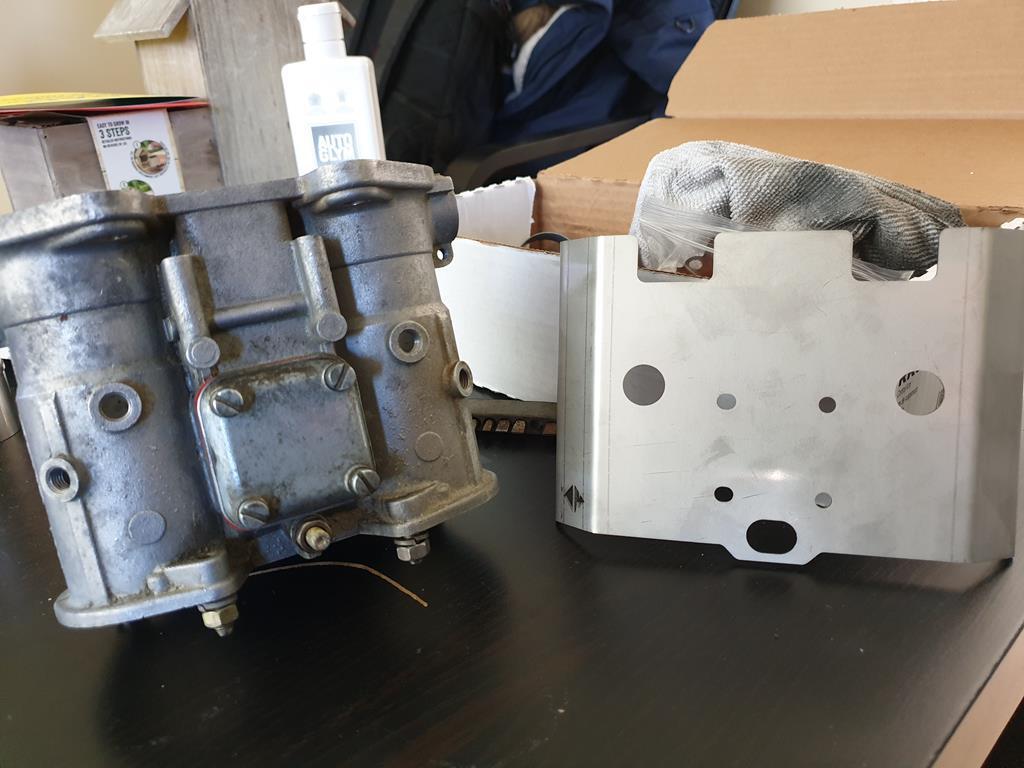 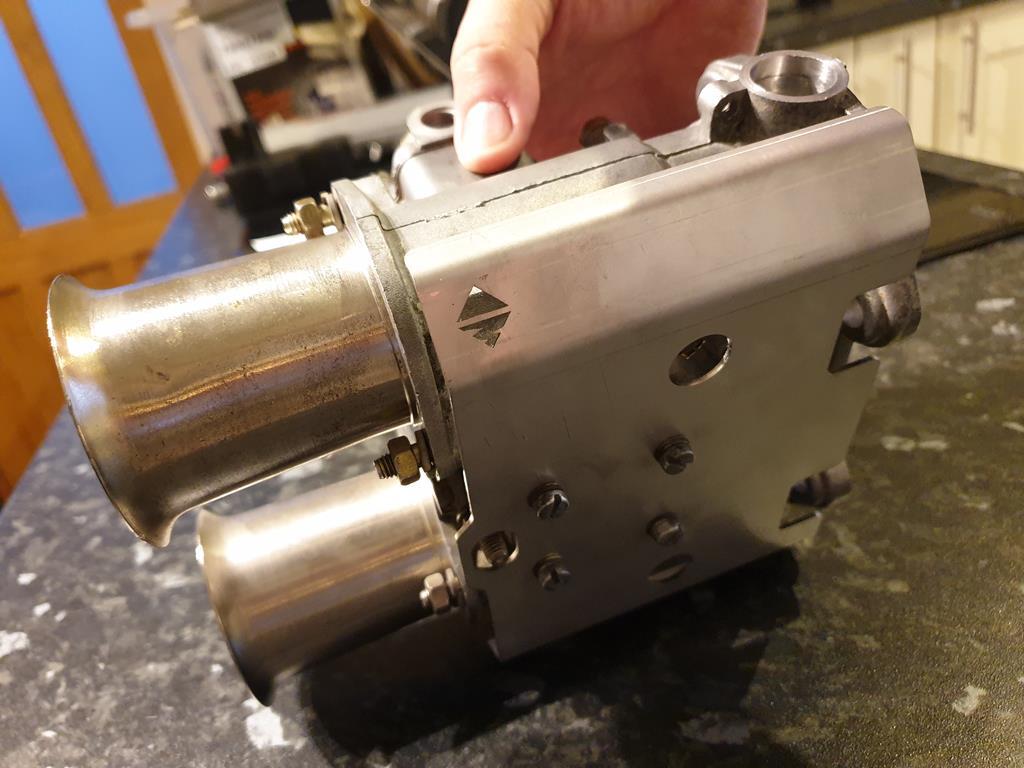 It's a properly thick bit of metal and simply bolts on over the bottom cover. The carb itself is all looking pretty good so far, it's not finished yet as I still need to put the new bearings in and fit the throttle shaft with plates 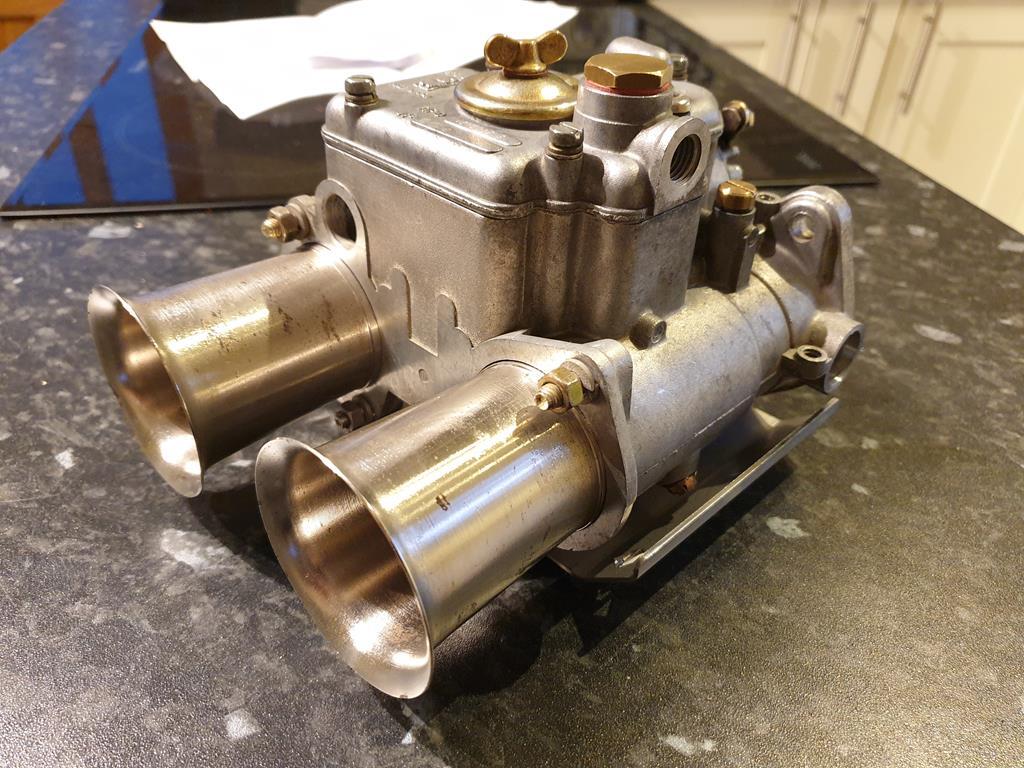 Very nearly bought myself a complete cylinder head yesterday as I happened to stumble across it on ebay but got outbid, so back to the original plan of getting it worked on, and I still need to get the kingpins sorted so I can roll the car out of the garage, but any progress is good progress to me  |
| |
|
|
820
South East
Posts: 793
|
|
|
|
|
Loving the closeup photography. Nice work on the carb, heat shield looks neat too, what metal is it?
|
| |
|
|
adam73bgt
Club Retro Rides Member
Posts: 4,975
Club RR Member Number: 58
|
|
|
|
|
Thanks, its Ally, got it from Webcon although there seem to be a few places selling them
|
| |
|
|
|
|
|
|
|
|
Is it spaced off so you don't get heat soak, or would it not make that much difference?
|
| |
|
|
adam73bgt
Club Retro Rides Member
Posts: 4,975
Club RR Member Number: 58
|
|
Mar 12, 2020 20:05:56 GMT
|
Is it spaced off so you don't get heat soak, or would it not make that much difference? It bolts on top of the bottom cover of the carb so its got a bit of an air gap to most of the carb body 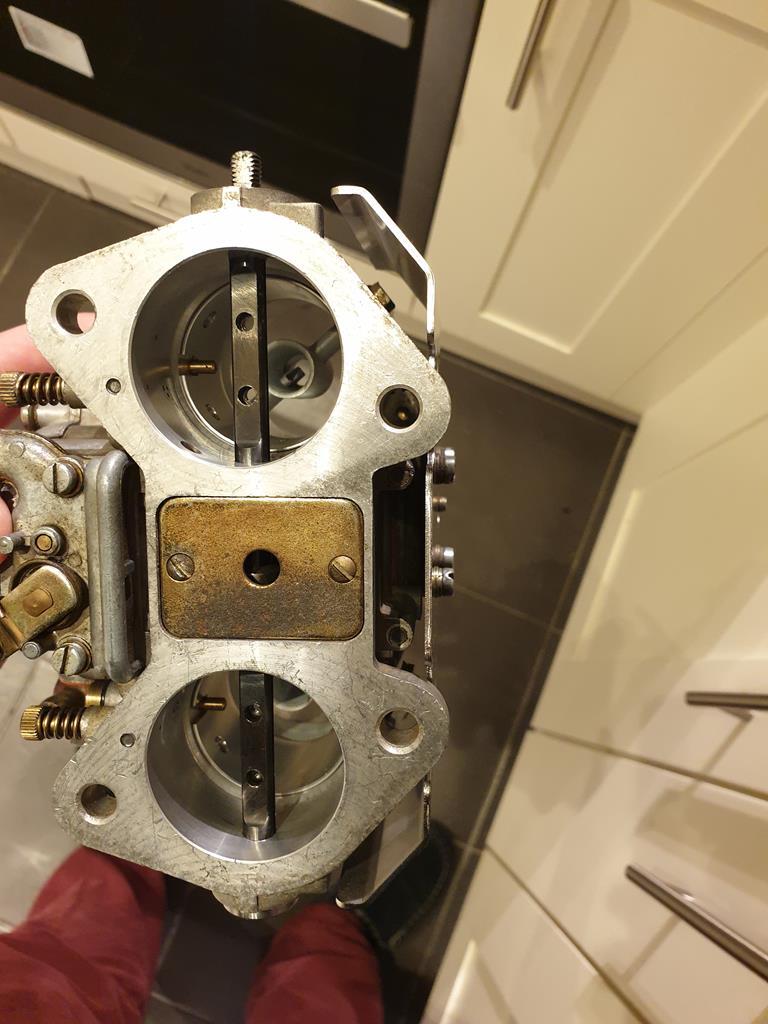 Time will tell if its good enough, I expect I'll do some wrapping/coating to the exhaust manifold as well |
| |
|
|
adam73bgt
Club Retro Rides Member
Posts: 4,975
Club RR Member Number: 58
|
|
Mar 14, 2020 19:09:28 GMT
|
Lets finish off the carb rebuild. Last time I was just about to fit the new sealed throttle shaft bearings and associated parts The throttle shaft itself had to go in first, now there is a correct way round for this to go. The hole for the roll pin to secure the internal lever has to be to the correct side of the carb 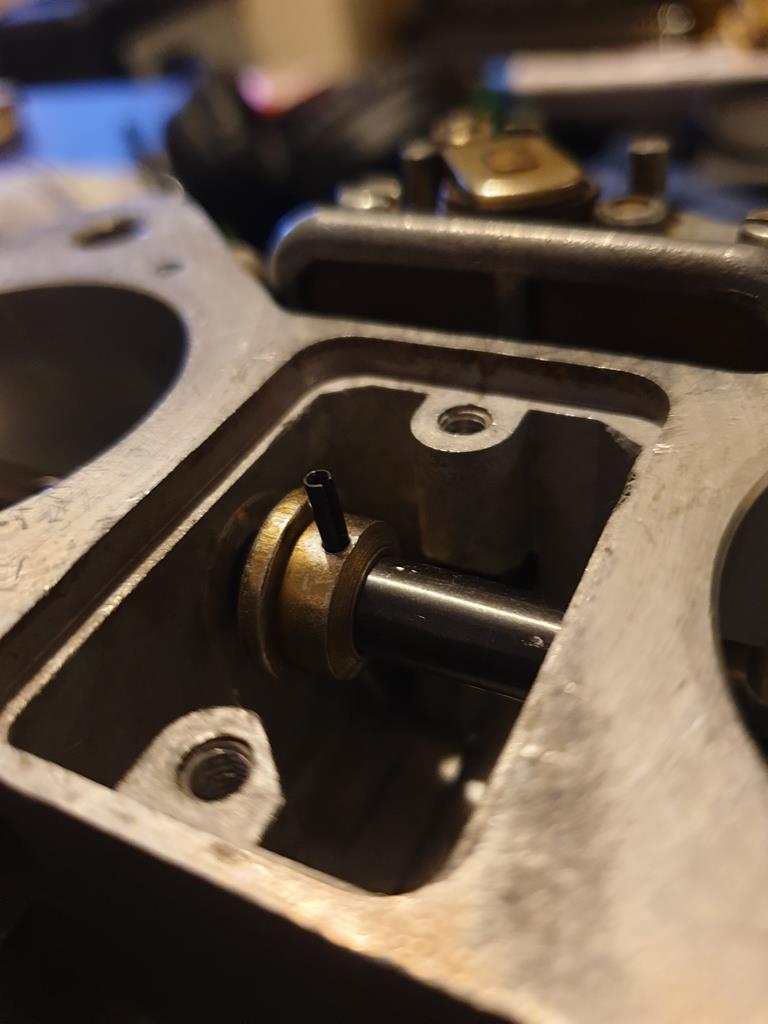 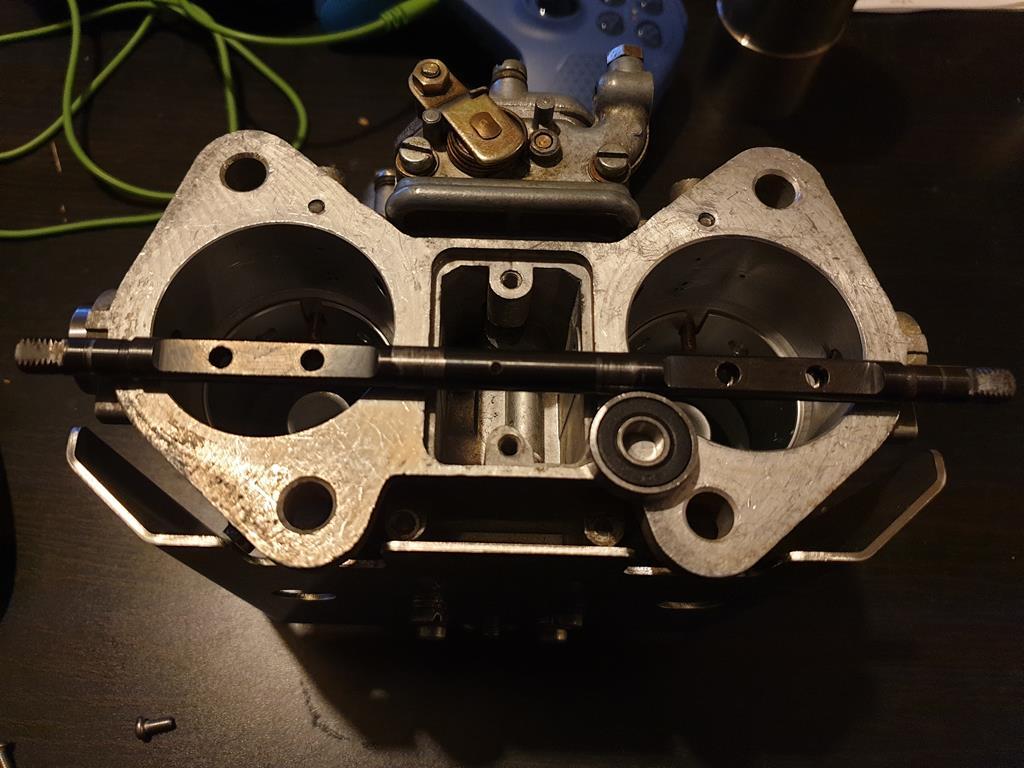 But there is another pitfall you can fall into (and I did), you must also check the throttle shaft isn't back to front, the screws for the throttle plates go in from the back and the threaded bit of the shaft was on the wrong side! 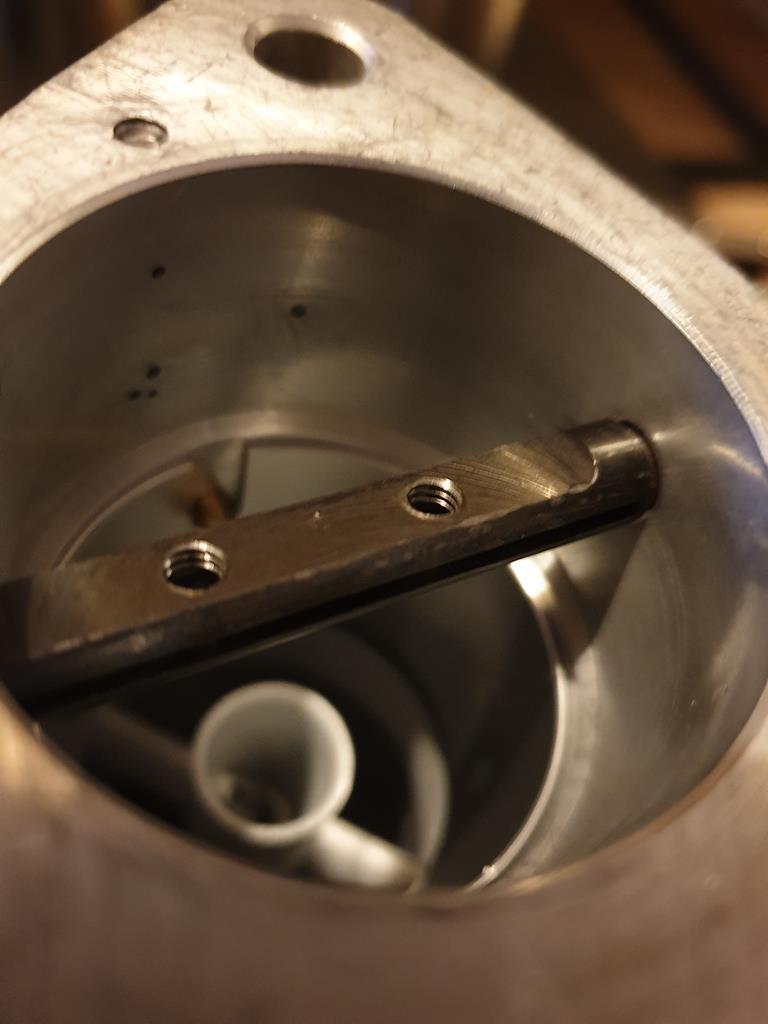 Luckily I hadn't tapped the roll pin fully home, so pulled it out, turned the throttle shaft so that the threaded bit of the hole was in the right place and carried on. I was following some guides on youtube for the internal throttle return spring, it seemed easiest to insert the spring via the rear cover, hook it over the lever, then from the top of the carb, use a hooked tool to pull it up and over the retaining plate. None of which I took a photo of, but I did do it honest  I had to wait a coupleof days after that as I ordered a kit for the ends of the throttle shaft (there's a brass cup and spring that retain the bearing), but I originally got sent the wrong kit! Eurocarb did sort it quickly and sent the right kit though so top marks there, and I seem to have gotten a free soft mounting kit out of the bargain as well... 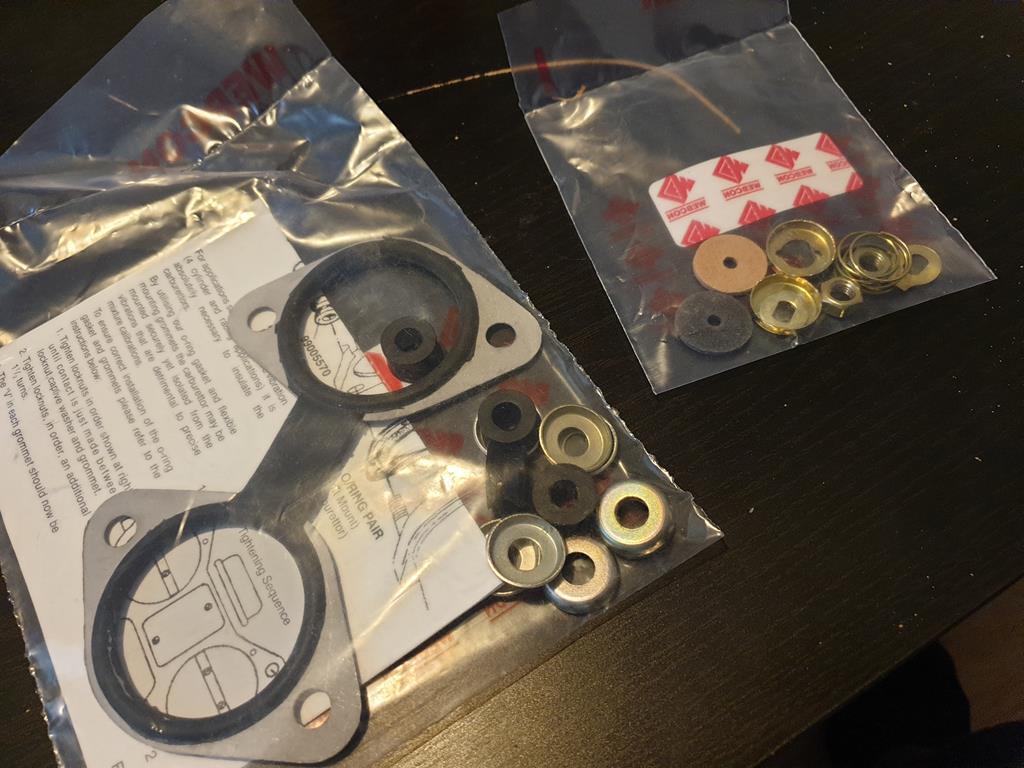 Starting at one end of the carb, I tapped the bearing down into place using a 13mm deep socket and a hammer 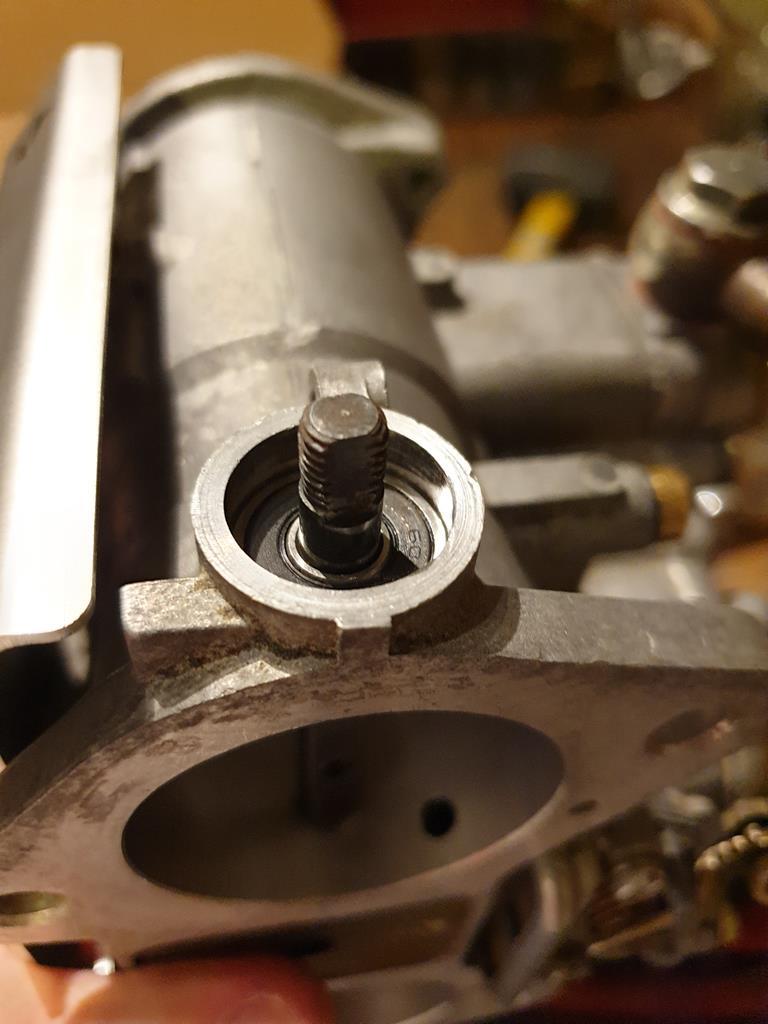 Below are the bits of the aforementioned retaining kit. Spring, cup, lock tab then nut, pretty straightforward. There is also a leather seal which I'm not using as I've got sealed bearings. 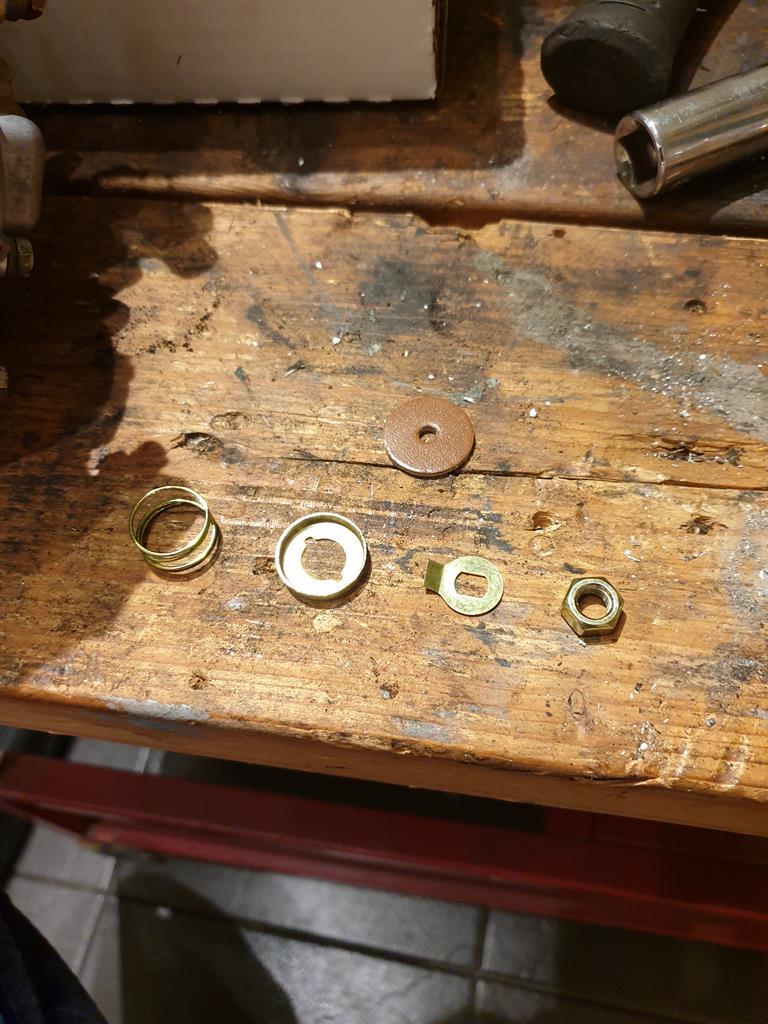 What I did forget to take a photo of is the metal disc which goes between the cup and the locktab, one one side its a plain disc, on the other it has the arm for the throttle linkage attached. It all went together pretty easily, the brass cups are practically an interference fit to the carb but are quite soft so care does need to be taken when tapping them into place, I even had to do a little file work to chamfer them slightly. The nut on the end doesn't need tightening too tight at all or the assembly will bind up, the locktab holds it on. Once I did one side, flipped the carb over and did the same on the other side, then was able to hold the throttle shaft in place using the linkage lever so that I could slip the throttle plates in place. These have a slight chamfer on the ends to make sure they go in one way but its all pretty straightforward (I also forgot to take pics..) Dab of threadlock on the throttle plate screws and its all done! 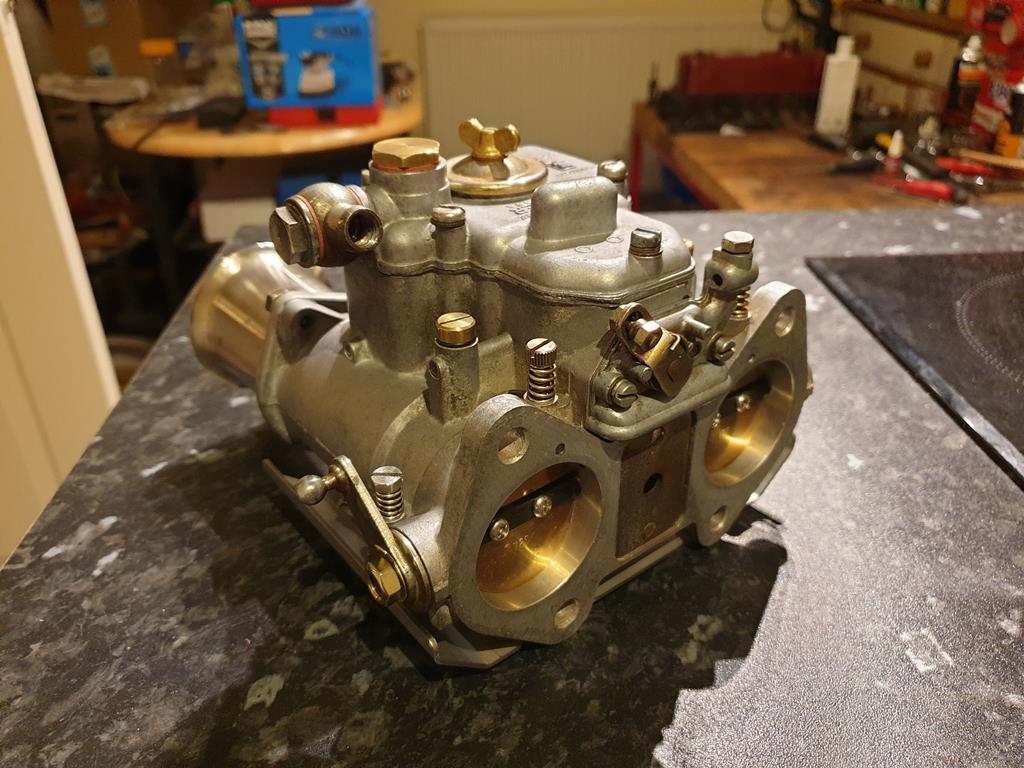 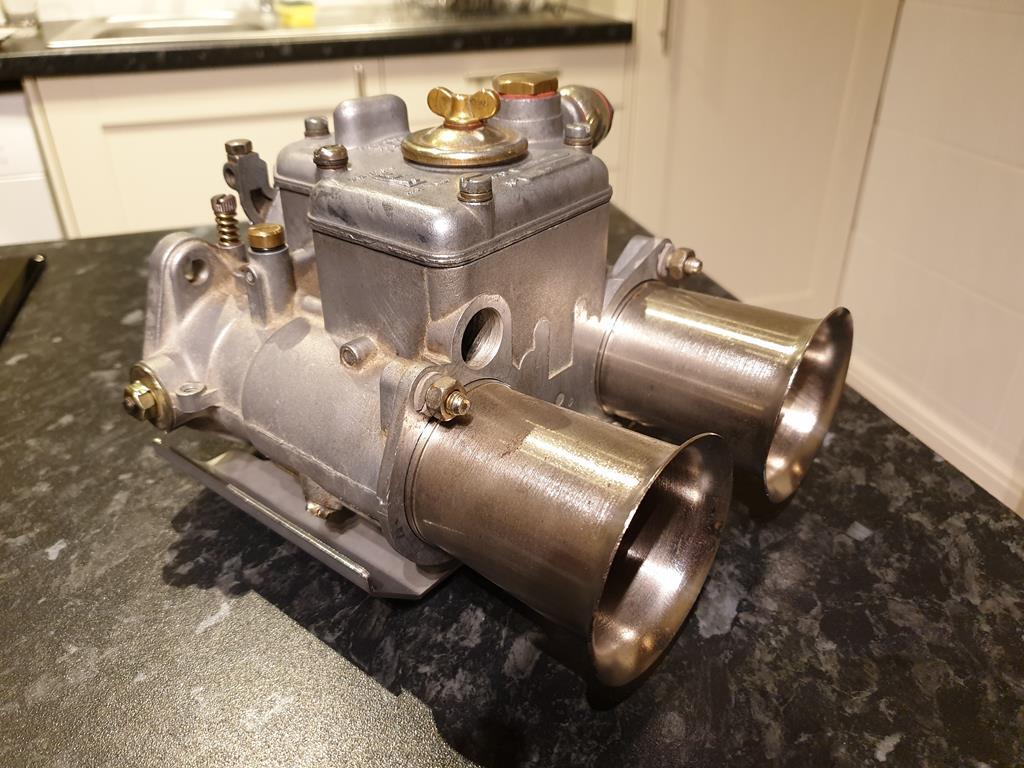 Very happy with that. I made a start on cleaning up the manifold also, I may paint this but I'm not sure what colour I'm going with the engine yet so may hold off for the time being! I also don't know if I'm going to run the trumpets on the Weber, need to look into filtration options. I do still have the casing of the old box filter that came with the carb, but it will need painting up to look passable and a new filter sourcing 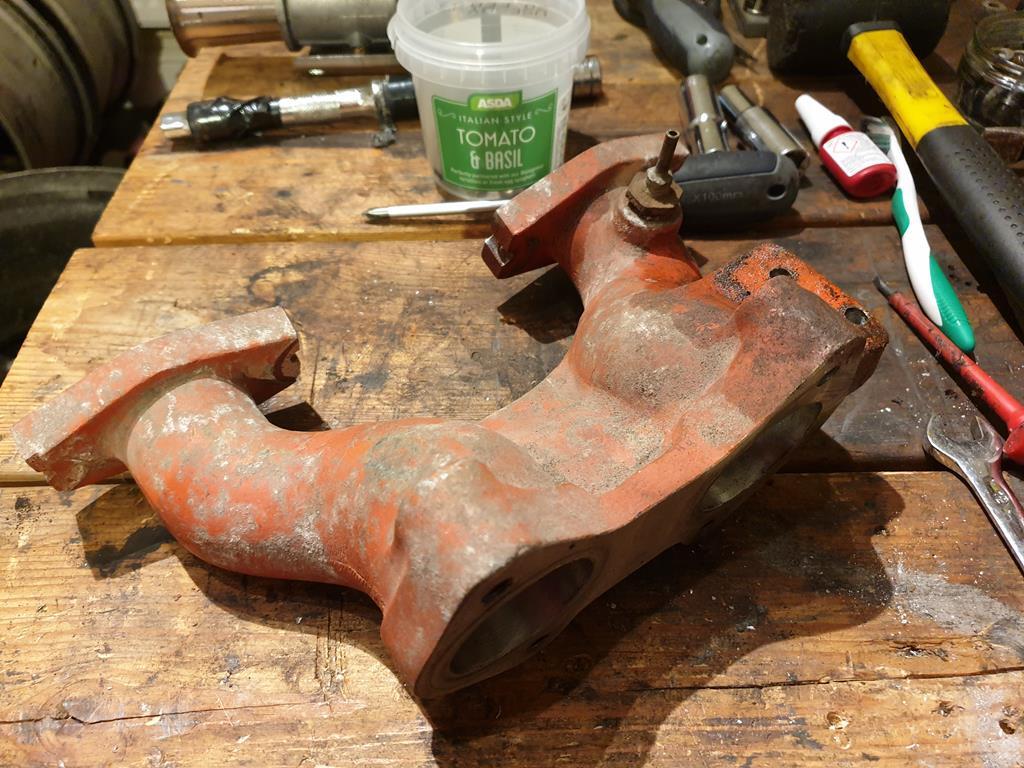 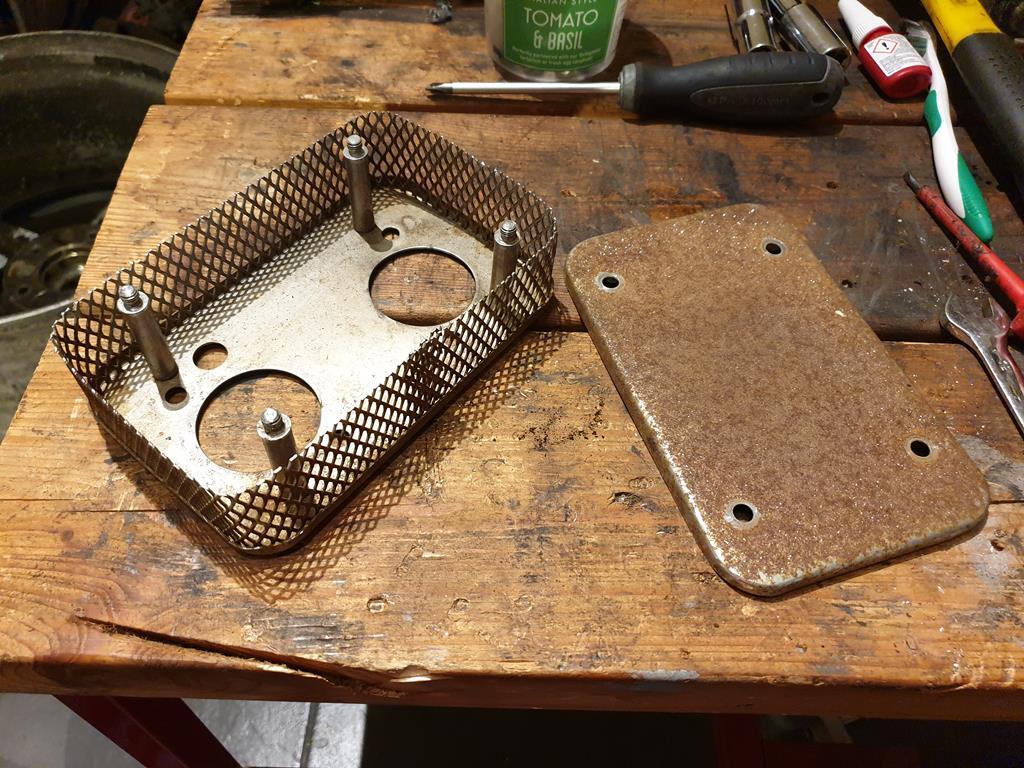 Away from this work, I have been keeping my eye out for decent MG bits going cheap and picked up a few things I'll need. Firstly, a rocker cover. It hurt having to buy one of these as I used to have an alloy one which I also painted and a standard tin one which I both sold when I thought I was going to do an engine swap  I think this is an early one anyway as its got the extra breather port on the top, so might be handy for a catch can or similar  It will get a paint in due course 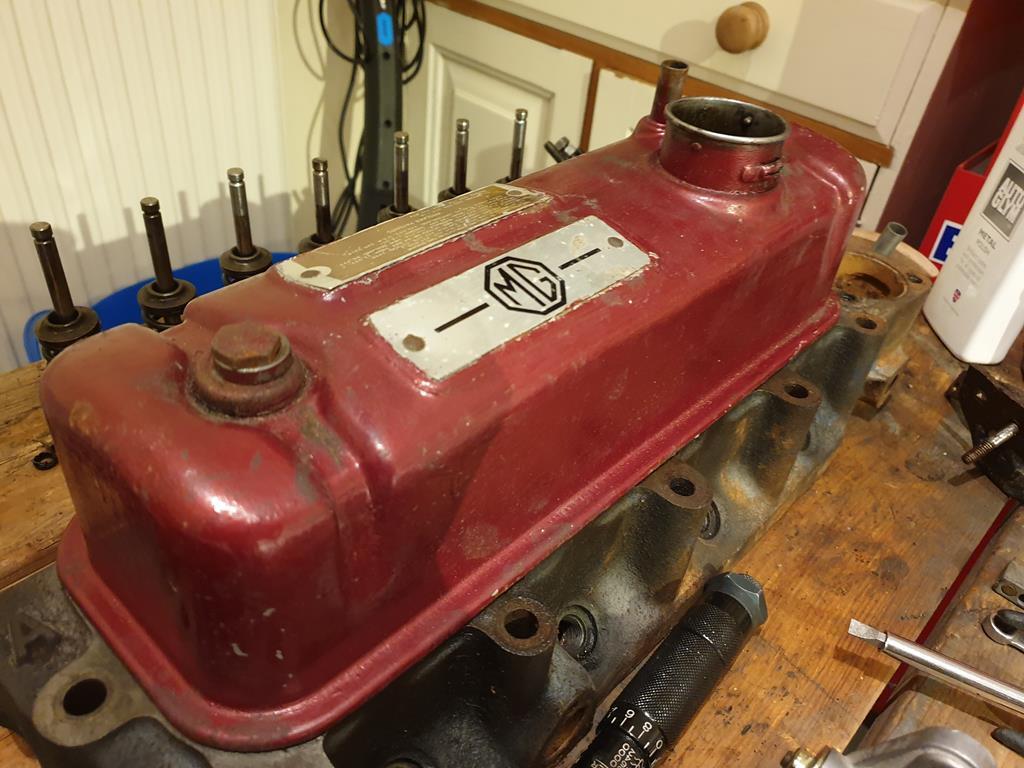 I also picked up some Mk1 MGB interior door pulls. I never liked the look of the big plastic "arm rest" type pulls that came in my car and they never fitted right, These should be a cleaner look 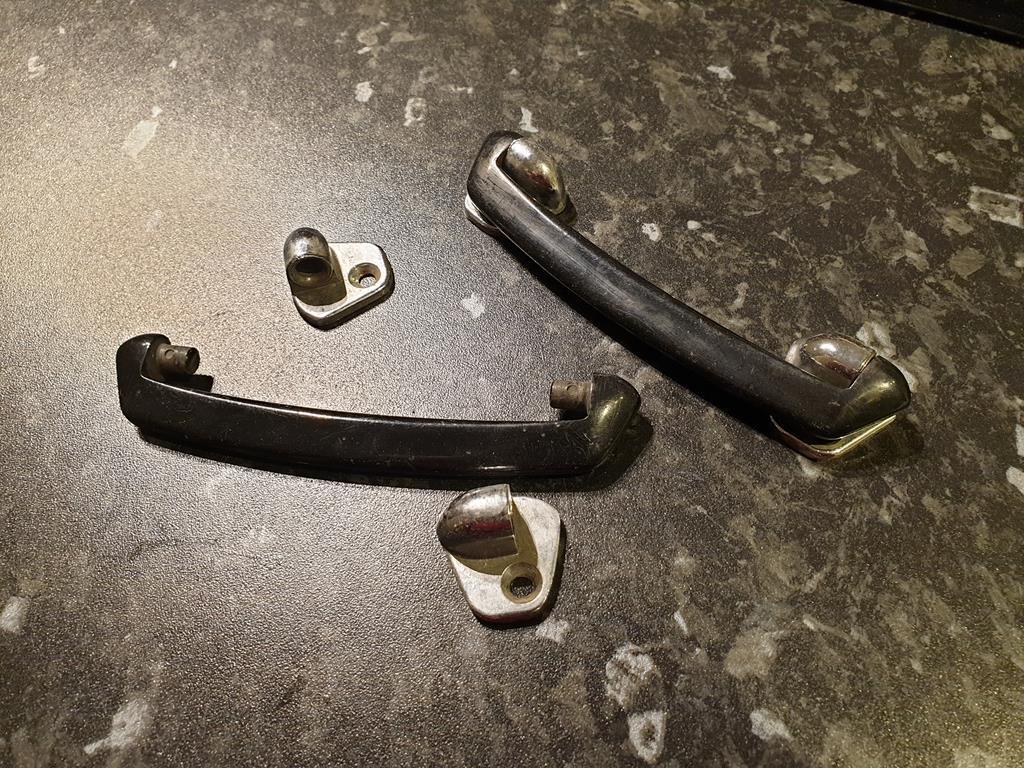 Last thing I've bought recently are these 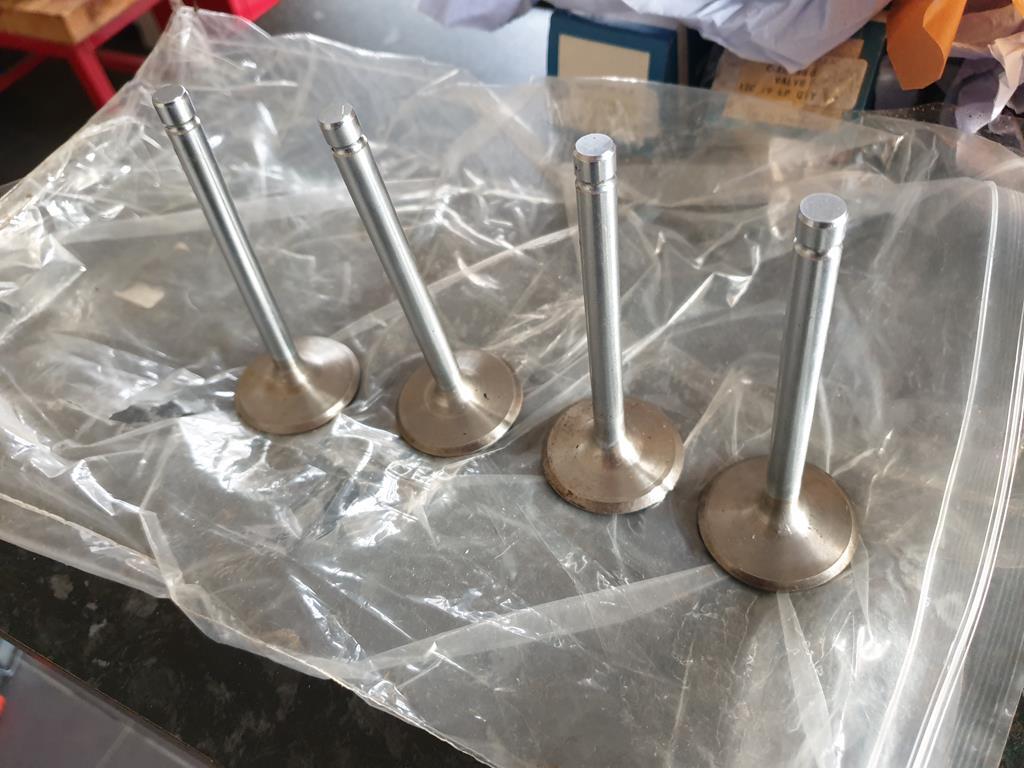 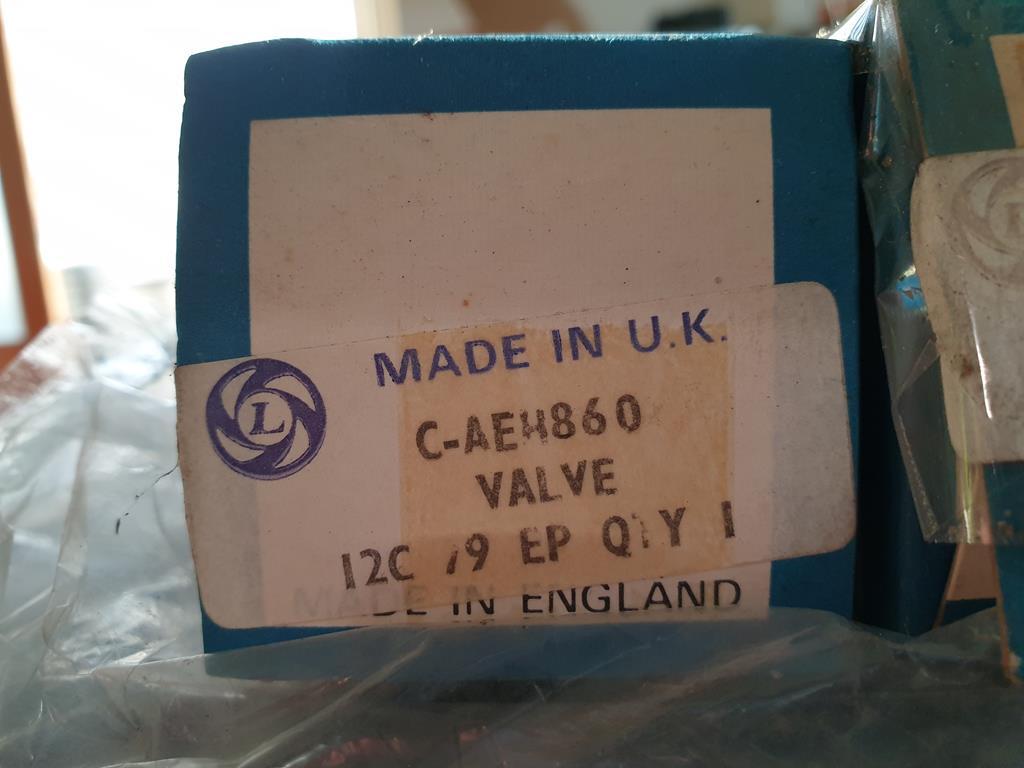 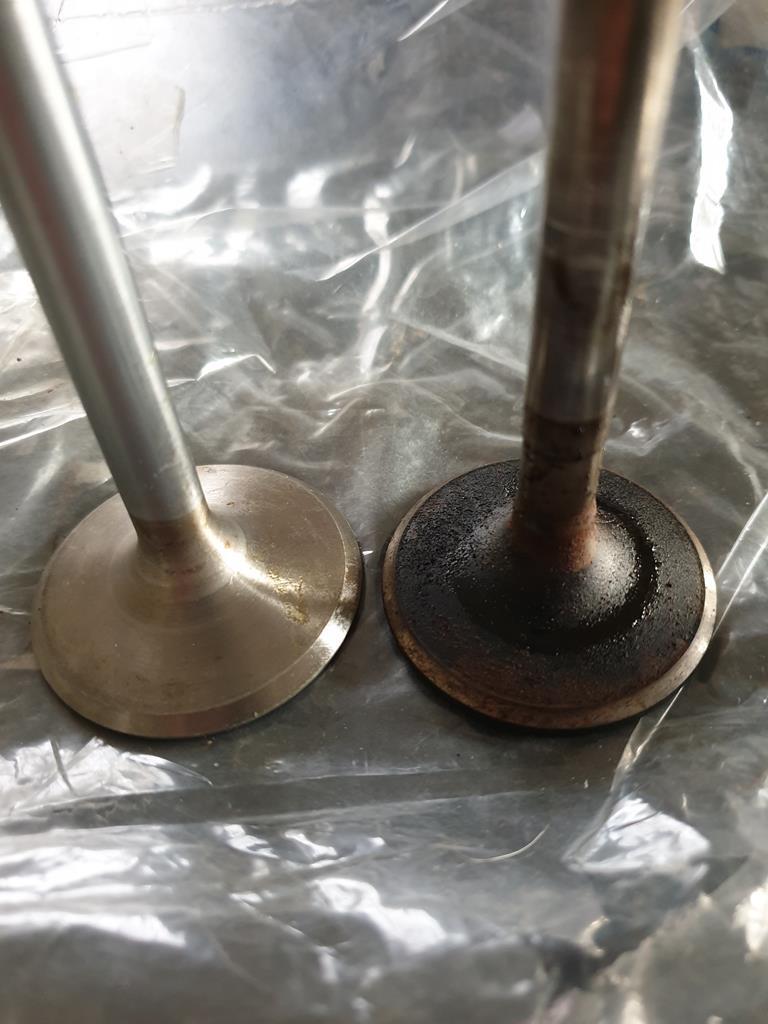 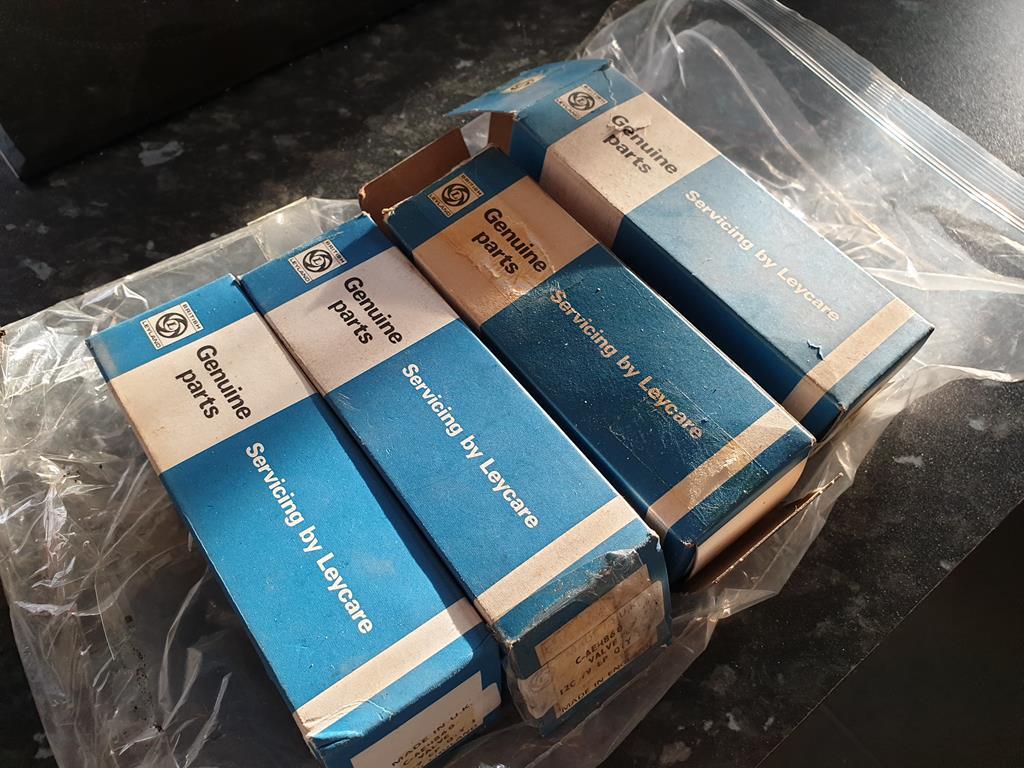 NOS BL Special Tuning 1.69" inlet valves. The head from my engine is a 12H-2709 which is a factory "big valve" engine with 1.625" inlet valves over some of the other heads which had 1.56" valves, but as I'm hoping to increase air flow through my engine with some head work and a little capacity increase, these even bigger valves seemed a good idea! If nothing else, they were at a good price and I love finding NOS parts like this  Oh, one other quick job I did do was use some TFR to clean up the remote oil filter housing, no before photos as it was a sludgy mess but it came out really nicely 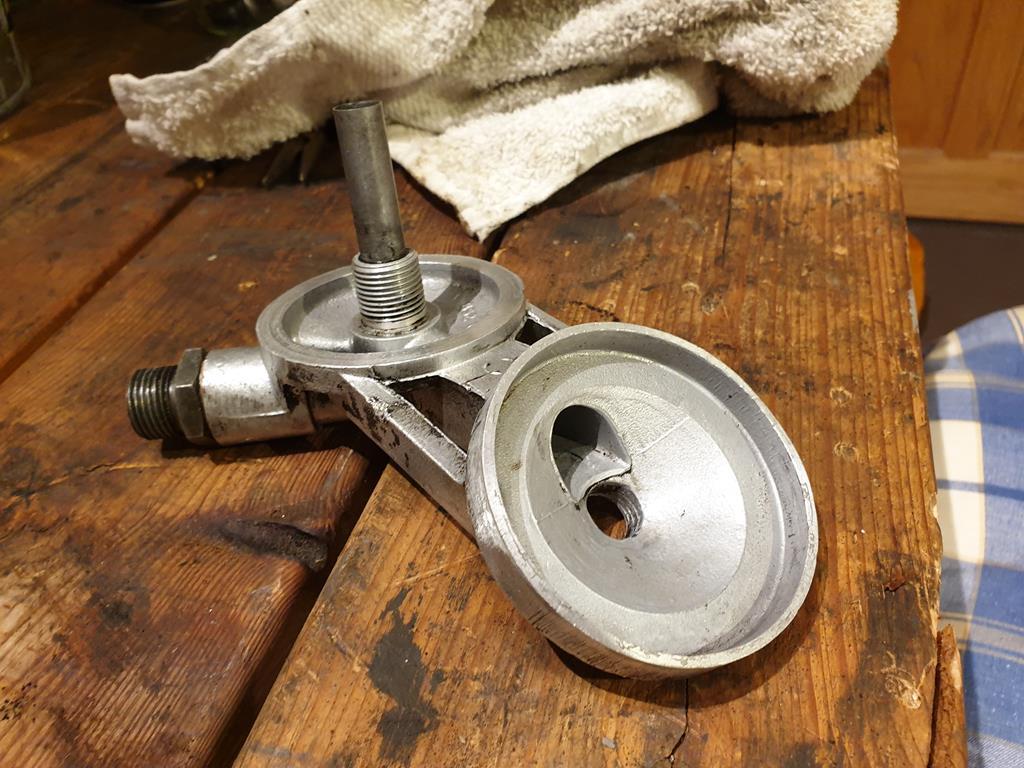 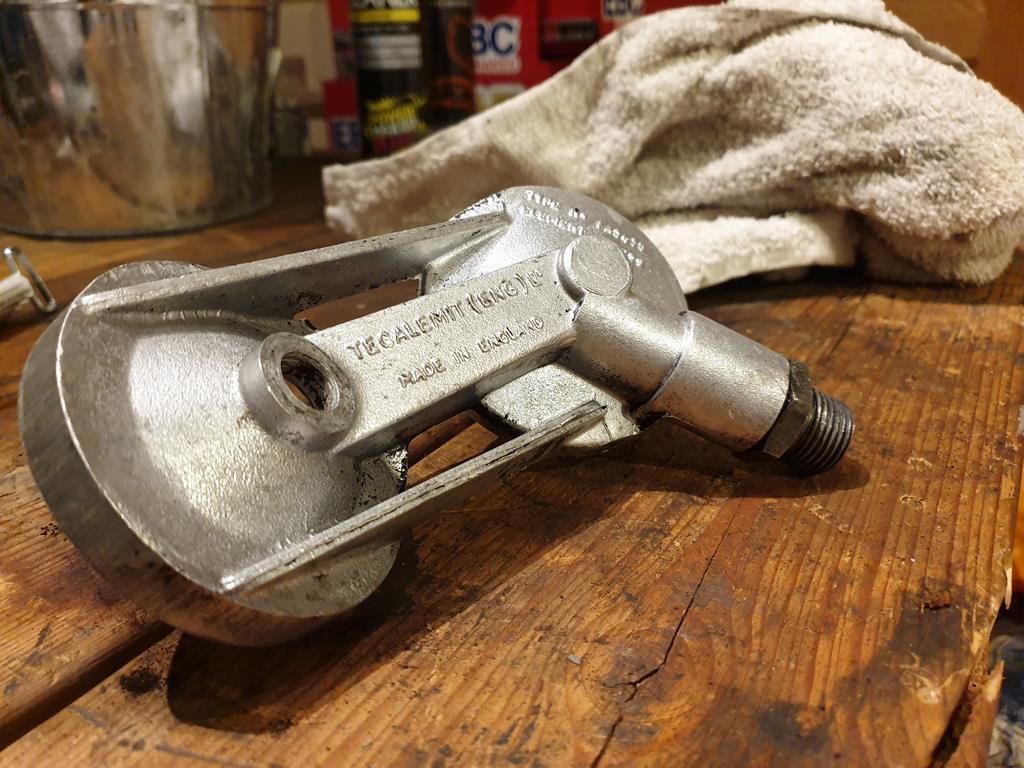 Next jobs... Front suspension drop knuckles, Cylinder head work, or Engine block work... all of which cost money  I'll see which I end up doing first! |
| |
|
|
820
South East
Posts: 793
|
|
Mar 17, 2020 22:09:42 GMT
|
|
Those valves are a great find, I know what you mean about the NOS parts, they are just better made too, you have to keep those boxes.
|
| |
|
|
|
|
|
|
|
Mar 17, 2020 23:26:16 GMT
|
Nice work on the carbs. It's one of those jobs that, if you're in the right mood, can be very therapeutic.  |
| |
|
|
adam73bgt
Club Retro Rides Member
Posts: 4,975
Club RR Member Number: 58
|
|
Mar 24, 2020 12:23:19 GMT
|
Thanks guys, well all this virus stuff has limited what I can do on the car as I needed external help on a few jobs. I've been keeping busy with doing stuff that I can get done here though. Starting off with sorting out the intake manifold for the carb. 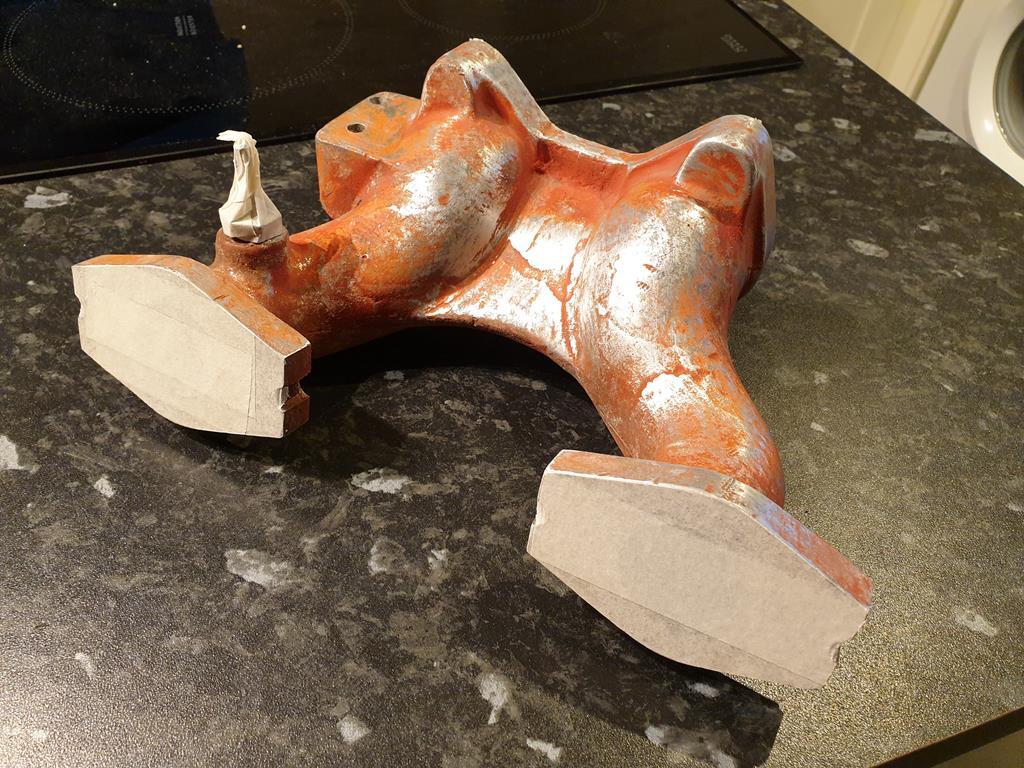 Nitromors had zero effect on the paint, so I gave it a bit of a sand all over ready for paint. The only stuff I had in was some Halfords Wheel paint "steel" colour but it came out alright. I couldn't find my etch primer until I'd already painted it but it seems to have covered the red fine. 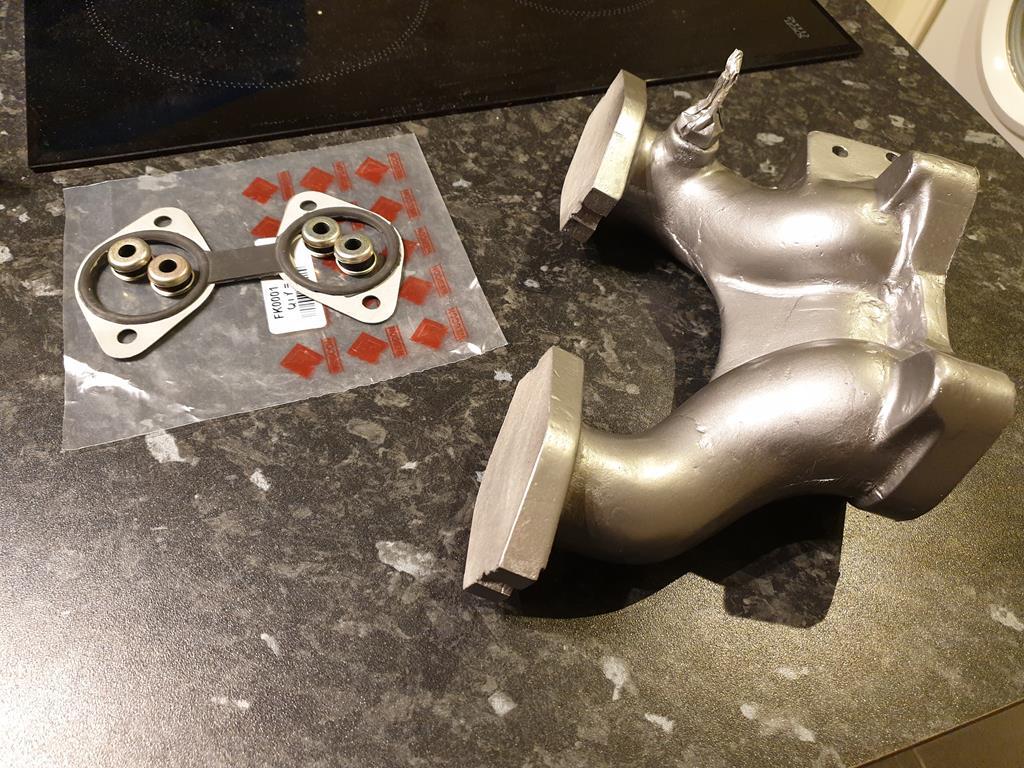 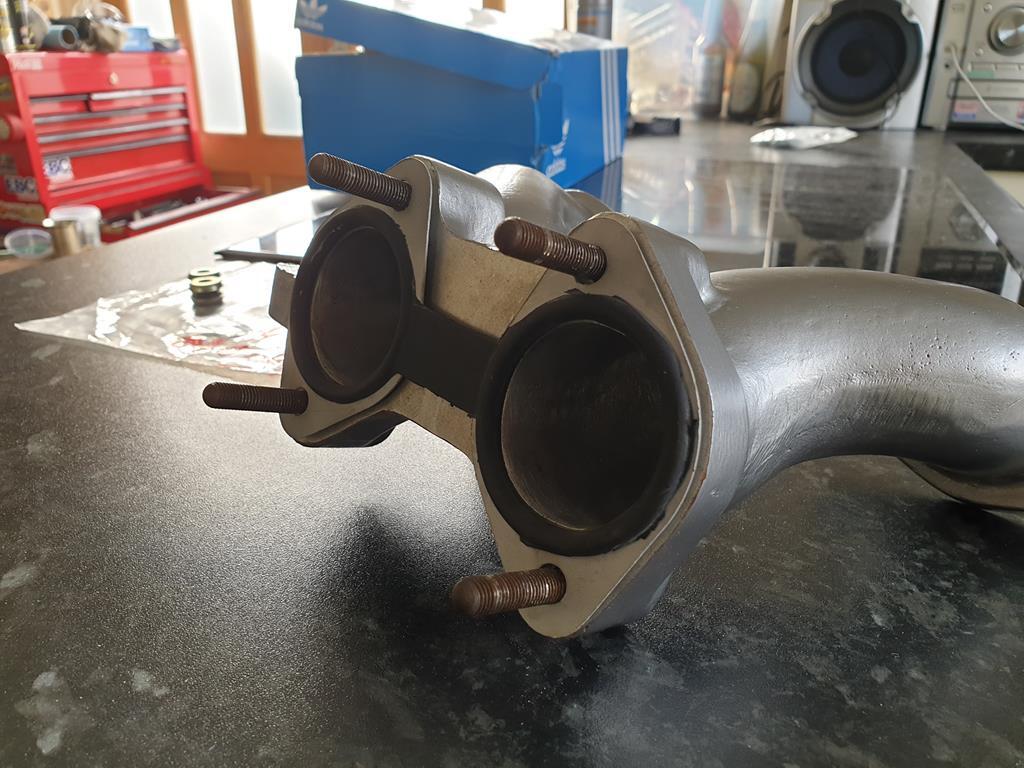 I did start using the rubber mounting kit that was incorrectly sent to me, but it didn't seem to work all that well, tightening the nuts just compressed the rubber isolators rather than closing the gap between the caliper, gasket and manifold. So I've got some new thackery washers coming instead. Given that we had some actually decent weather over the weekend, I decided to do a bit of spring cleaning in the garage 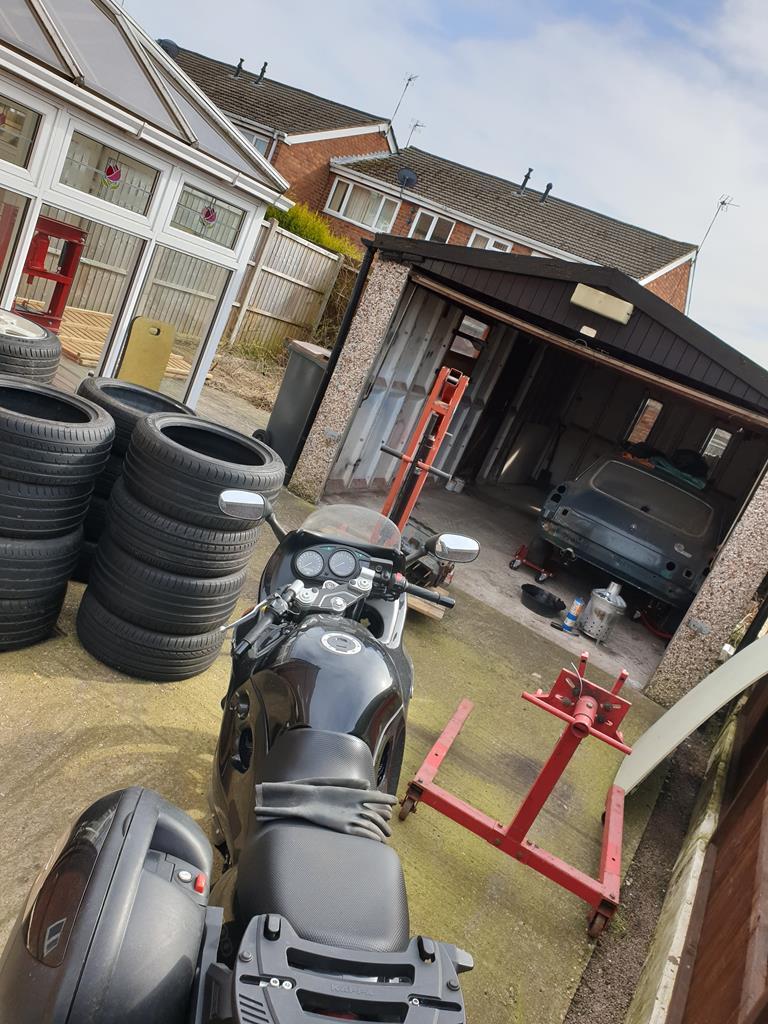 This allowed me to dig out the remains of the B engine. I'd stopped on stripping it previously as I had no way of removing the crank, I since got the right impact socket and with a bit of leccy gun action it came right off 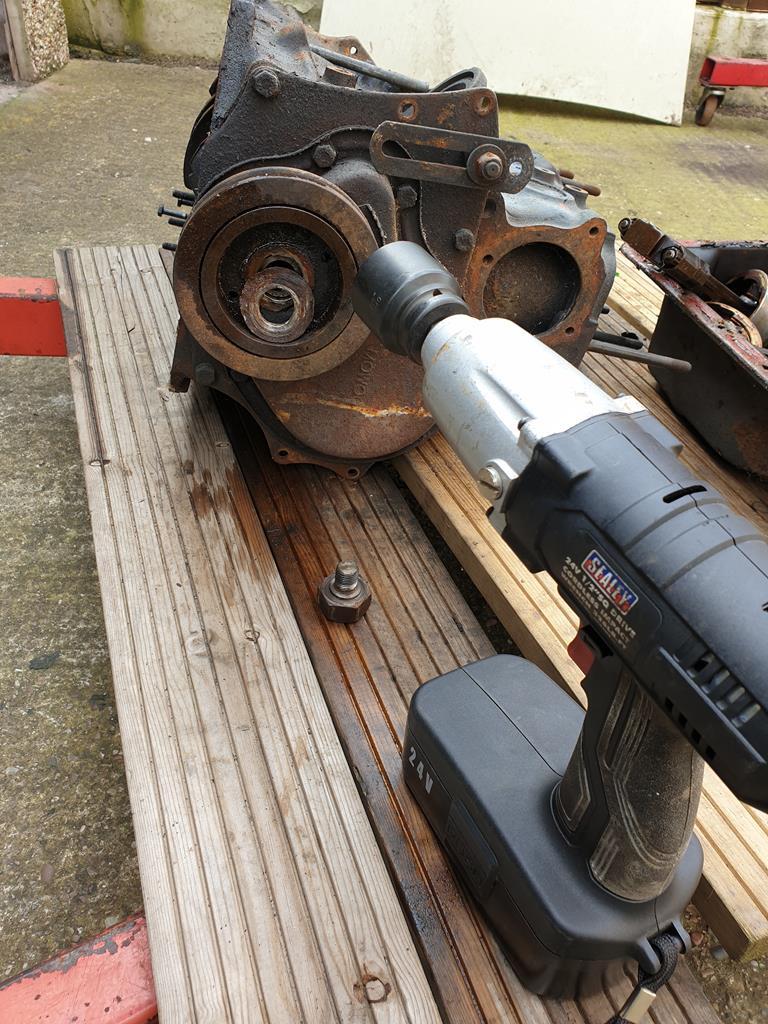 Pictures might get a bit sporadic as it was all very oily and I got on a bit of a roll  Timing cover and chain came off easily, my engine has the single row timing chain which I'll probably replace with the double row chain. 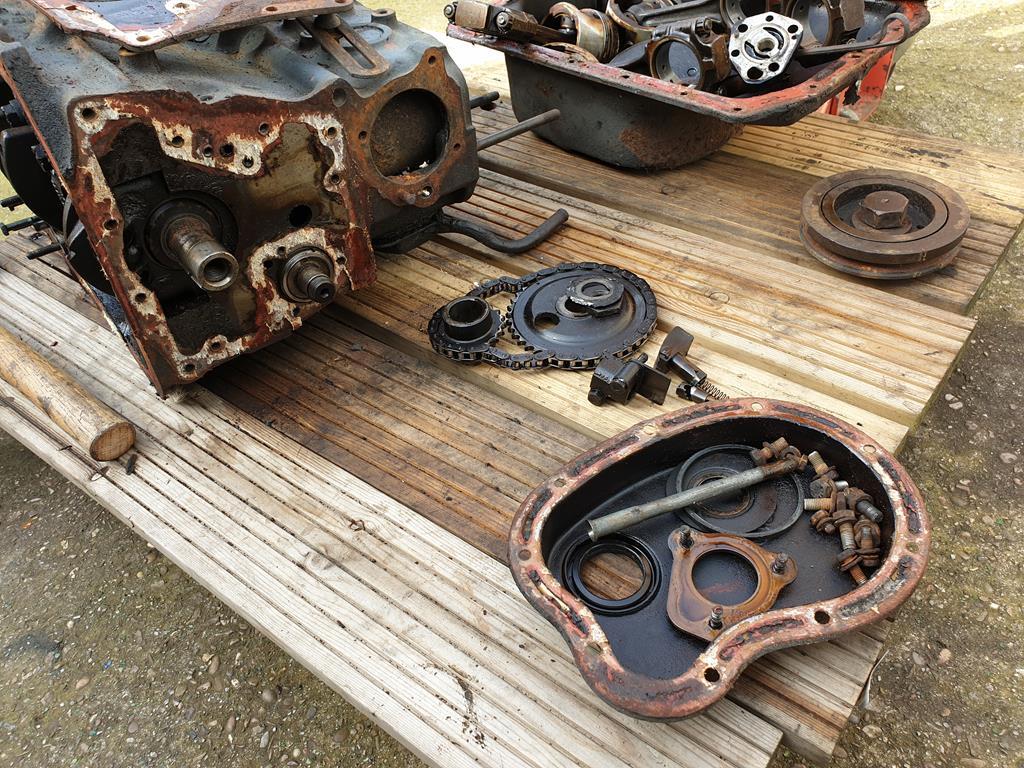 The crank main caps were a bit of a curse word to get off, they have threaded holes in them for putting in one of the main bolts to aid removal of the caps but the end ones in particular were very stuck in place. 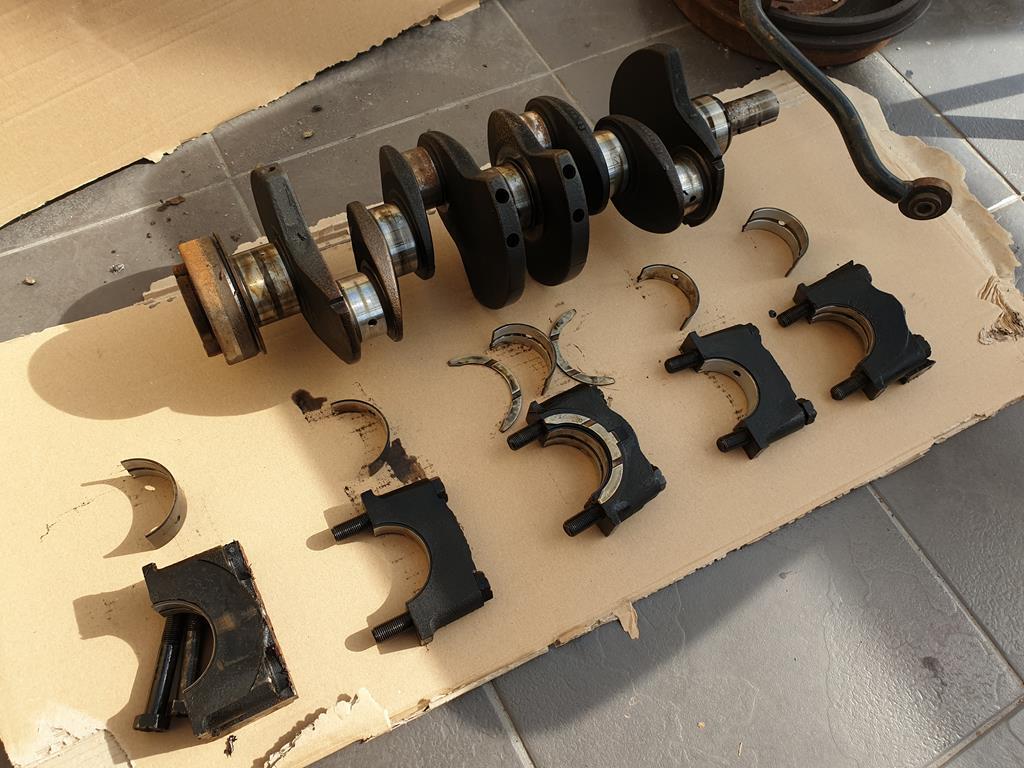 The good news though is that the bearings all looked in good condition, not that I was expecting them to be bad as the engine had always run pretty well. The bad news is that from leaving it in the garage, the big end journals have a little surface rust... so will need some attention at some point. Some bits of the block did fight me a bit, and the stud extractor set did see some use, firstly to remove the remains of this water pump stud 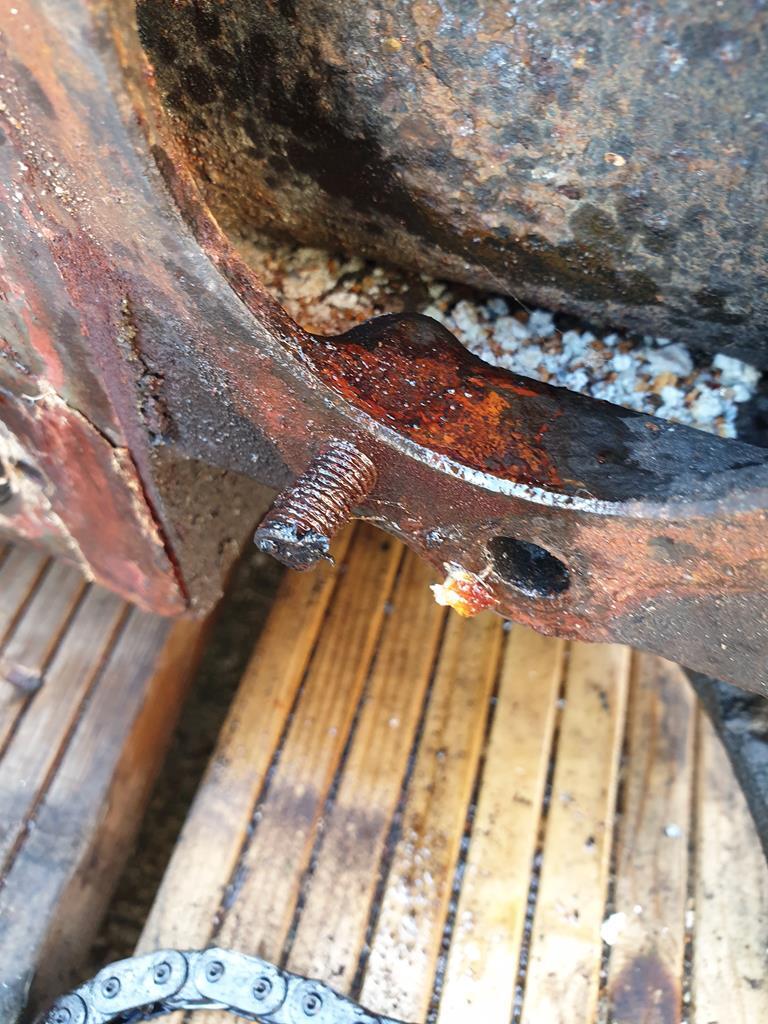 Which thankfully came out in one piece. The oil pump housing didn't want to come out so I took the studs out which finally allowed me to tap it free 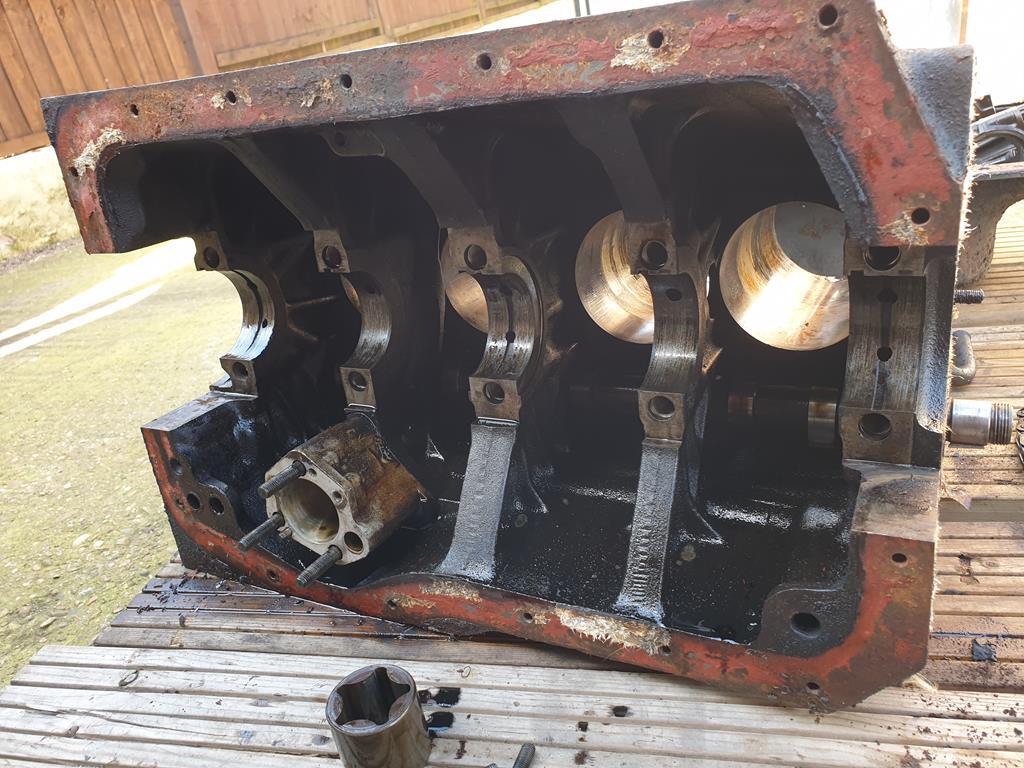 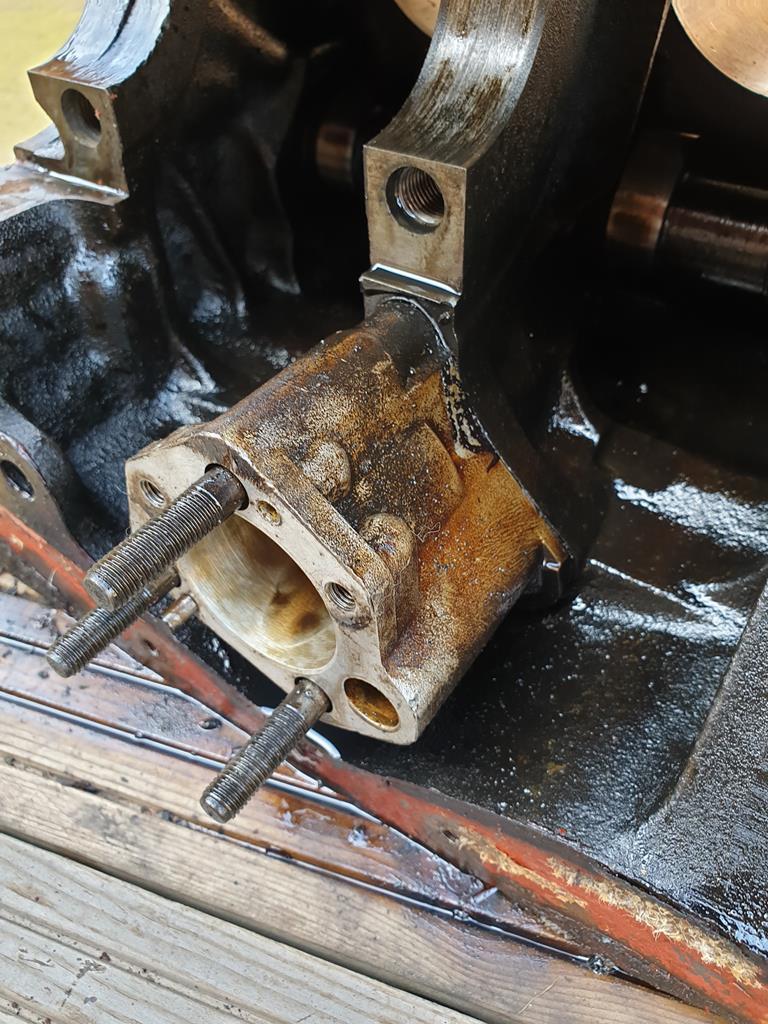 Then it was on to removing various other fittings, an oil gallery plug and oil pressure relief valve 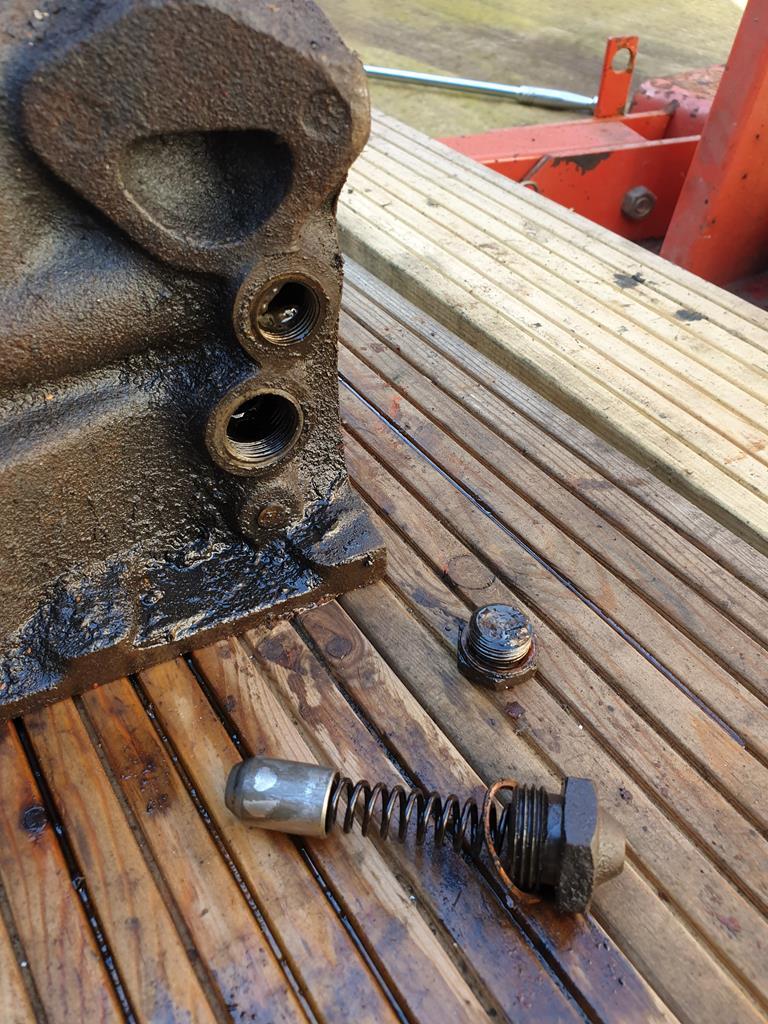 And on the other side of the block, the fitting for the oil pressure sender and a coolant plug which had a lot of silt built up behind it 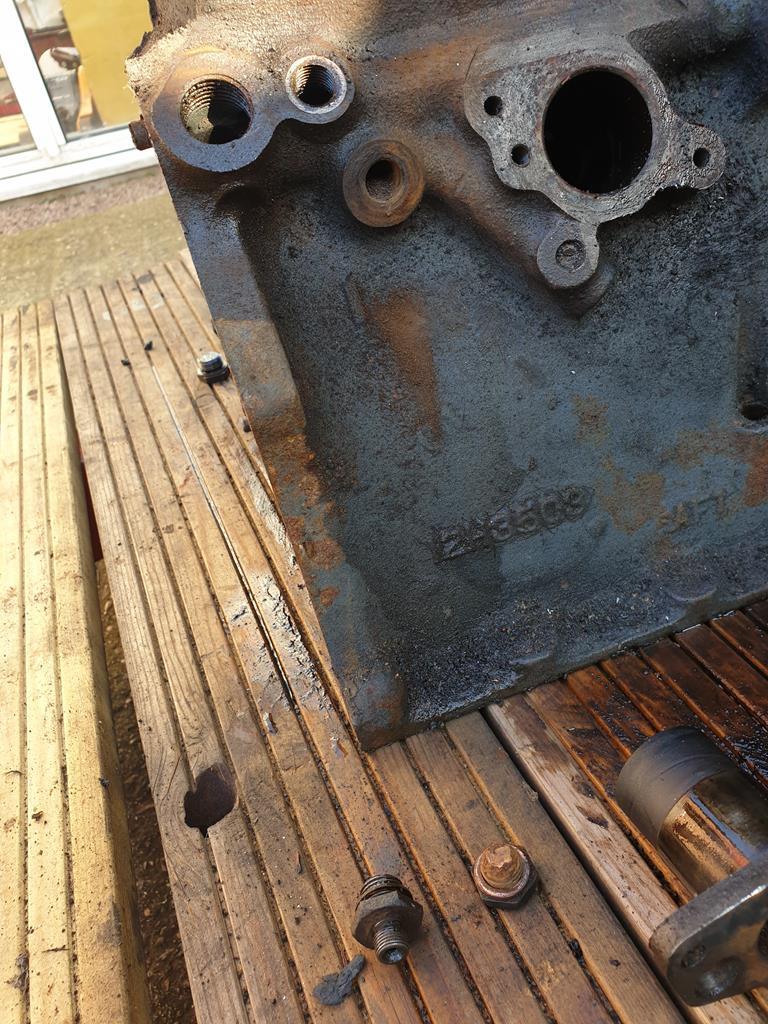 I then spent a while trying to remove the distributor drive gear so I could get the camshaft out before realising that the distributor base plate was still in place... 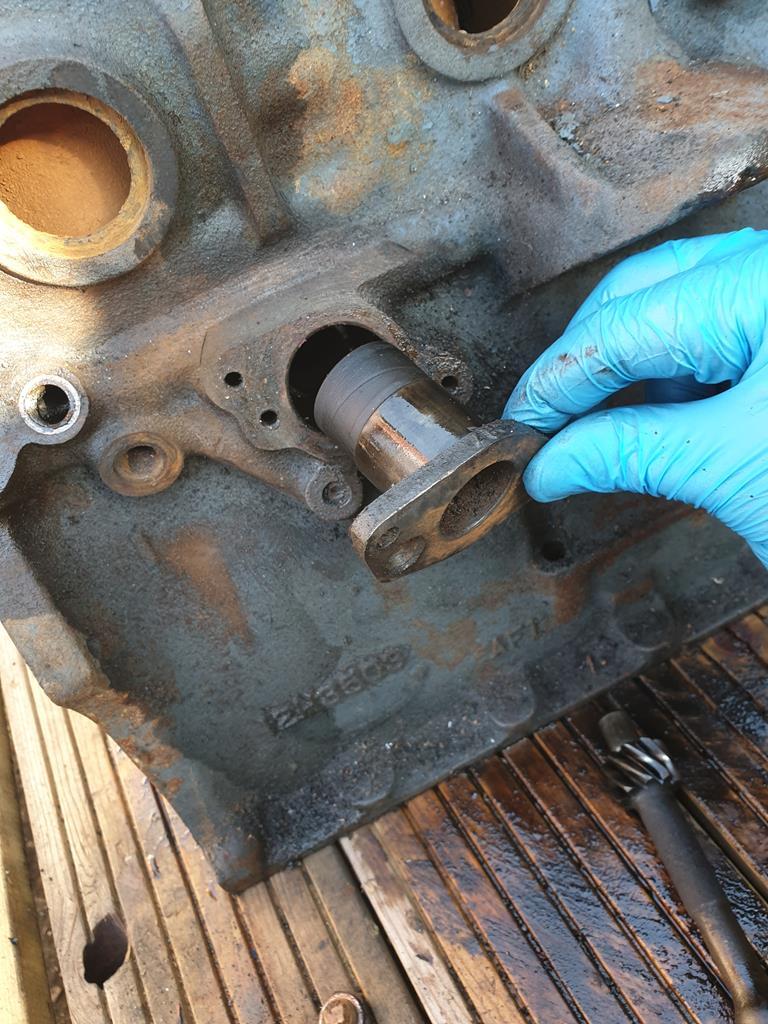 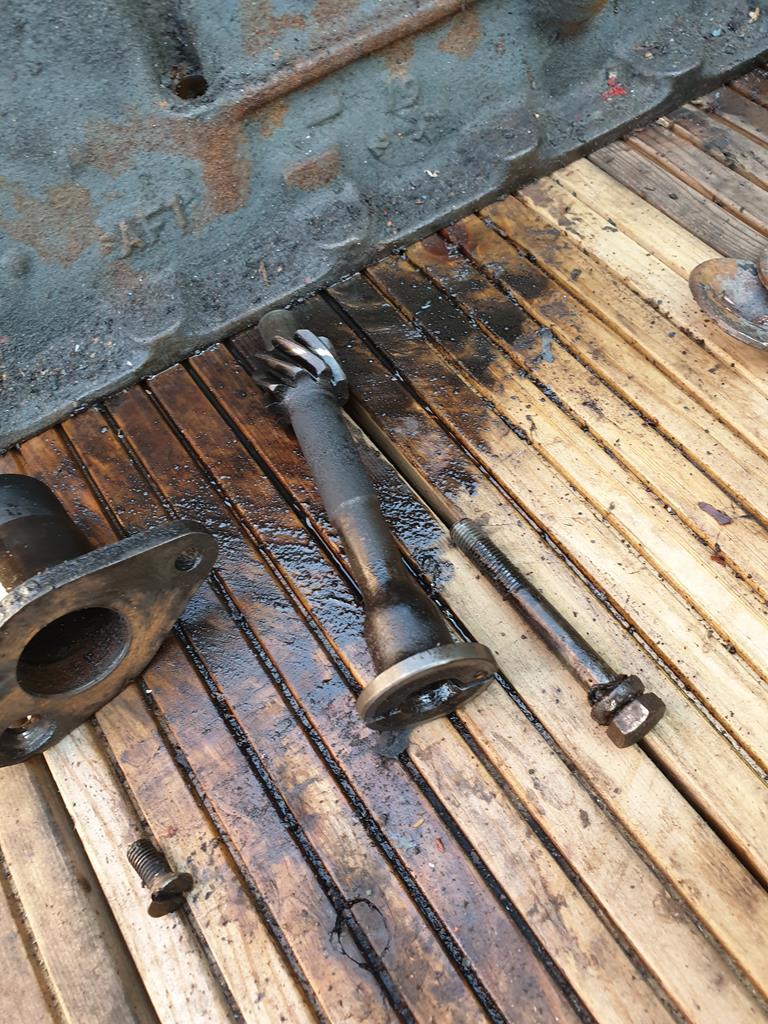 With that removed, the gear came out and the camshaft came out easily as well 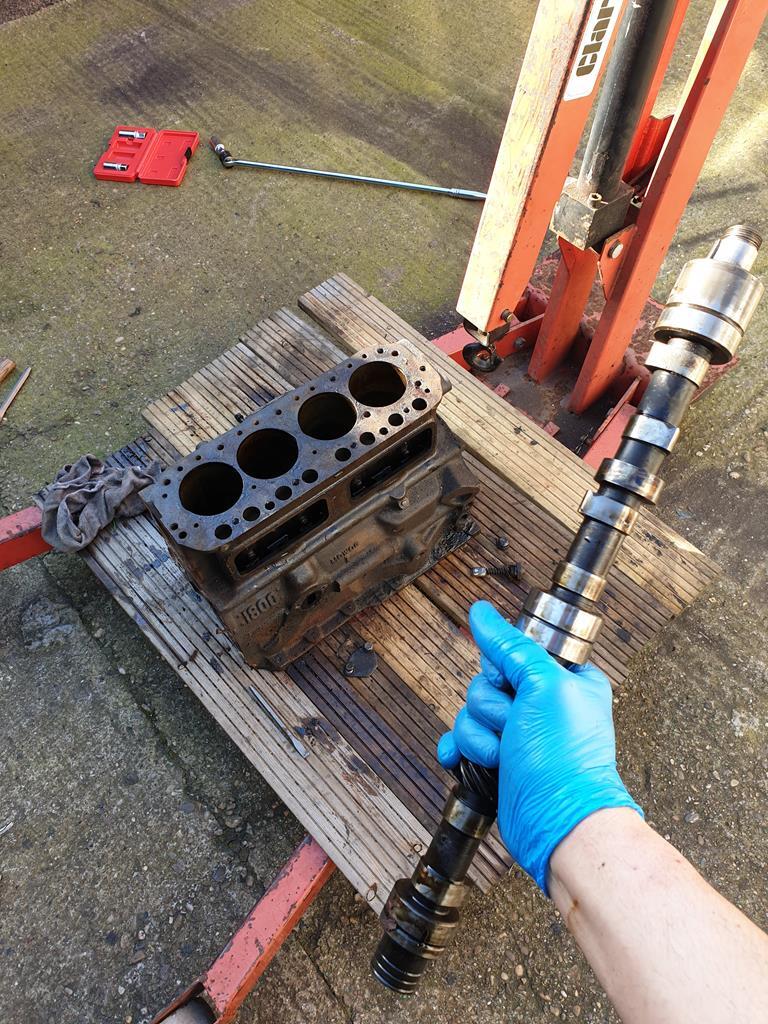 I knocked out the core plugs using a chisel and hammer then liberally coated the block in TFR and left to soak before jet washing it to get rid of most of the gunk, I also made sure to jet wash inside the coolant jacket as well. There are a couple of bronze oil gallery plugs which I haven't removed yet so this was more of an initial wash, it'll get a proper caustic tank dip whenever I'm allowed to take it to a machine shop  In the meantime, while we're locked down, I've got a lot of parts cleaning to be getting on with and planning what bits I'll need to add to the shopping list 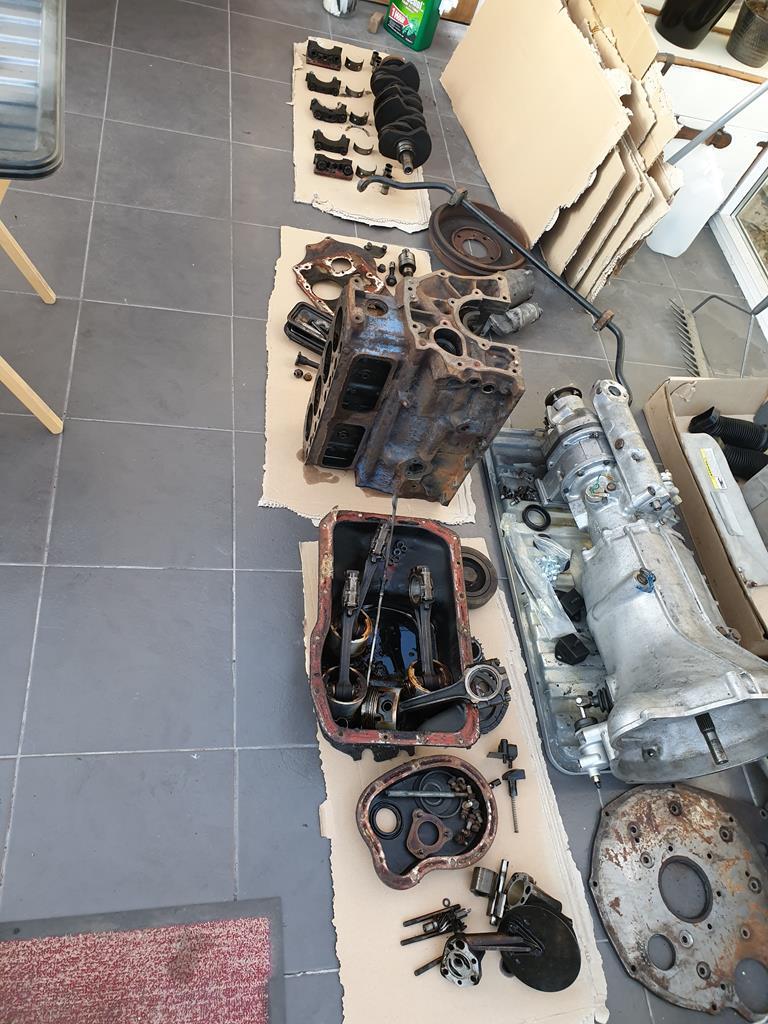 |
| |
|
|
samta22
Club Retro Rides Member
Stuck in once more...
Posts: 1,276  Club RR Member Number: 32
|
|
Mar 24, 2020 14:17:57 GMT
|
|
Looks like you have plenty to be keeping you busy! If you've not already seen it there's an excellent practical classics guide about rebuilding an MGB lump... can't remember the exact issues but it wasn't that long ago, will have a look through the archive to see which editions it was.
Part of my 'homework' is refurbing the steering rack for mine so will be following your previous efforts closely.
|
| |
'37 Austin 7 '56 Austin A35 '58 Austin A35 '65 Triumph Herald 12/50 '69 MGB GT '74 MGB GT V8'73 TA22 Toyota Celica restoration'95 Mercedes SL320 '04 MGTF 135 'Cool Blue' (Mrs' Baby) '05 Land Rover Discovery 3 V8 '67 Abarth 595 (Mrs' runabout) '18 Disco V |
|
|
|
|
Mar 24, 2020 15:47:42 GMT
|
|
Excellent progress!
|
| |
|
|
adam73bgt
Club Retro Rides Member
Posts: 4,975
Club RR Member Number: 58
|
|
Mar 24, 2020 19:30:54 GMT
|
I hadn't seen that I don't think samta22 I'll have to have a look out for that, I've got a few manuals and have been reading lots online as well so plenty of info out there thankfully Ah nice, should be a breeze for you  As I'm going to end up down a bit of a dead end on the engine work currently, I think I'm going to have to turn my attention back to the bodyshell again, or possibly get the rear axle/suspension removed... |
| |
|
|
samta22
Club Retro Rides Member
Stuck in once more...
Posts: 1,276  Club RR Member Number: 32
|
|
Mar 24, 2020 22:07:18 GMT
|
Practical classics mags from May 2018 to March 2019 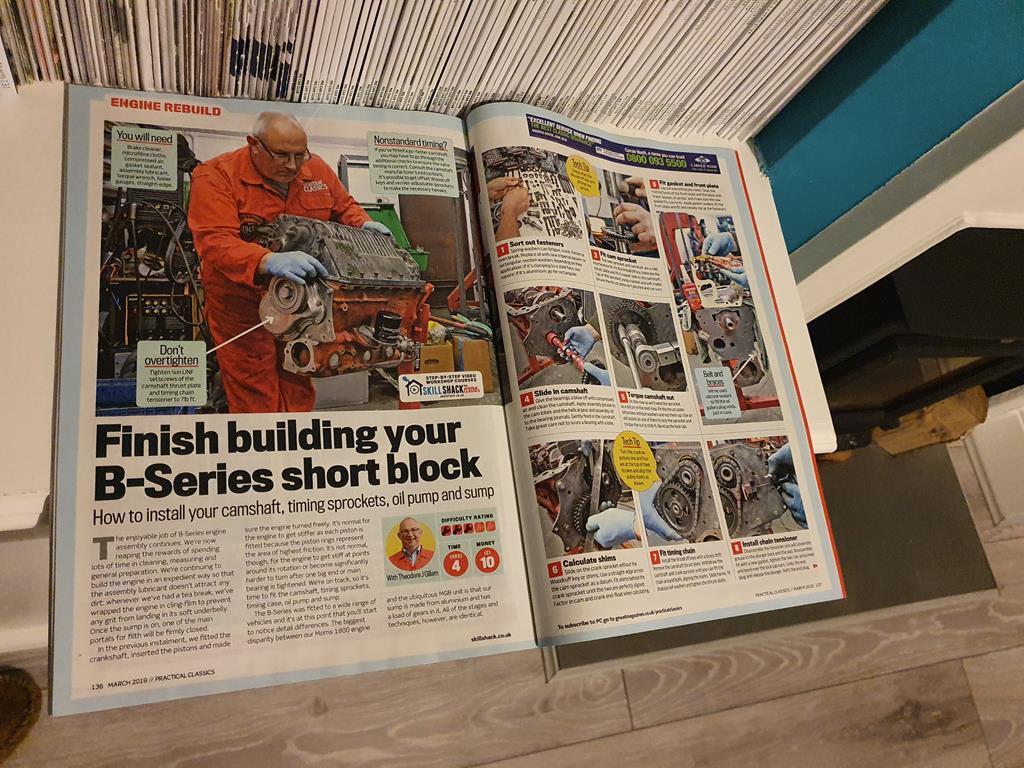 If you want me to take pics and send them over let me know. Took me a while to find as every time I flicked through a mag this @grumpynorthener chap kept appearing 🤣 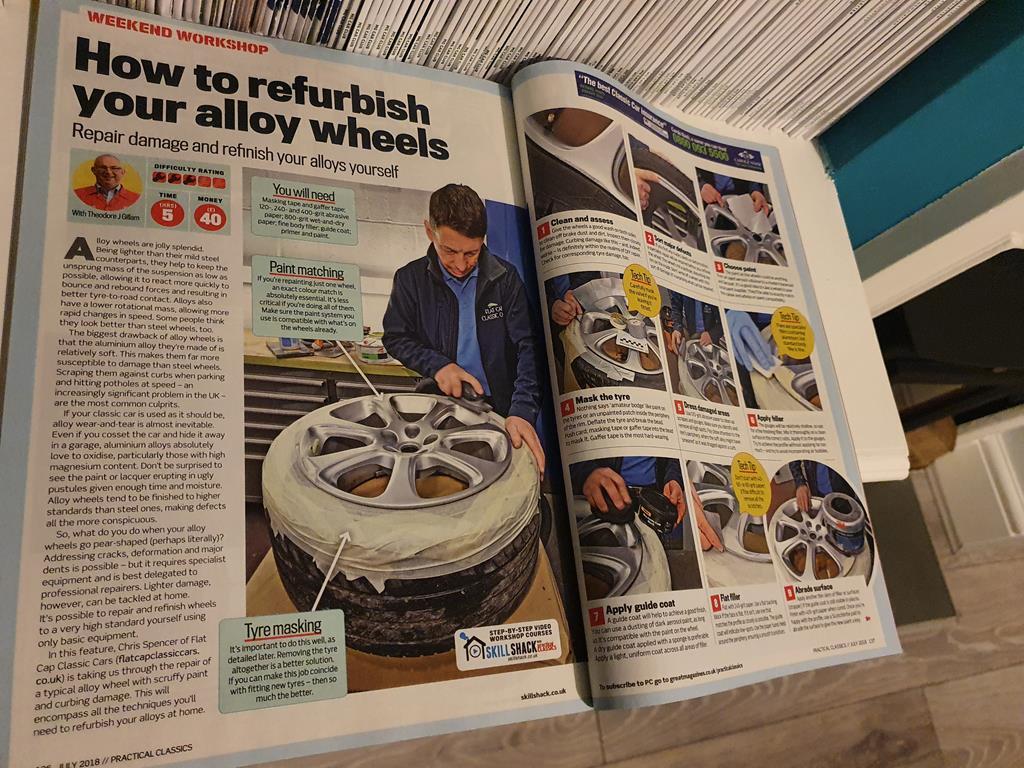 |
| |
'37 Austin 7 '56 Austin A35 '58 Austin A35 '65 Triumph Herald 12/50 '69 MGB GT '74 MGB GT V8'73 TA22 Toyota Celica restoration'95 Mercedes SL320 '04 MGTF 135 'Cool Blue' (Mrs' Baby) '05 Land Rover Discovery 3 V8 '67 Abarth 595 (Mrs' runabout) '18 Disco V |
|
adam73bgt
Club Retro Rides Member
Posts: 4,975
Club RR Member Number: 58
|
|
Mar 24, 2020 23:20:44 GMT
|
Aha thank you! As it so happens, refurbing a set of wheels (not for the MG) is also on my list of car based Lockdown chores  |
| |
|
|
adam73bgt
Club Retro Rides Member
Posts: 4,975
Club RR Member Number: 58
|
|
|
|
Been keeping myself busy with engine part cleaning, using this bucket of murky misery  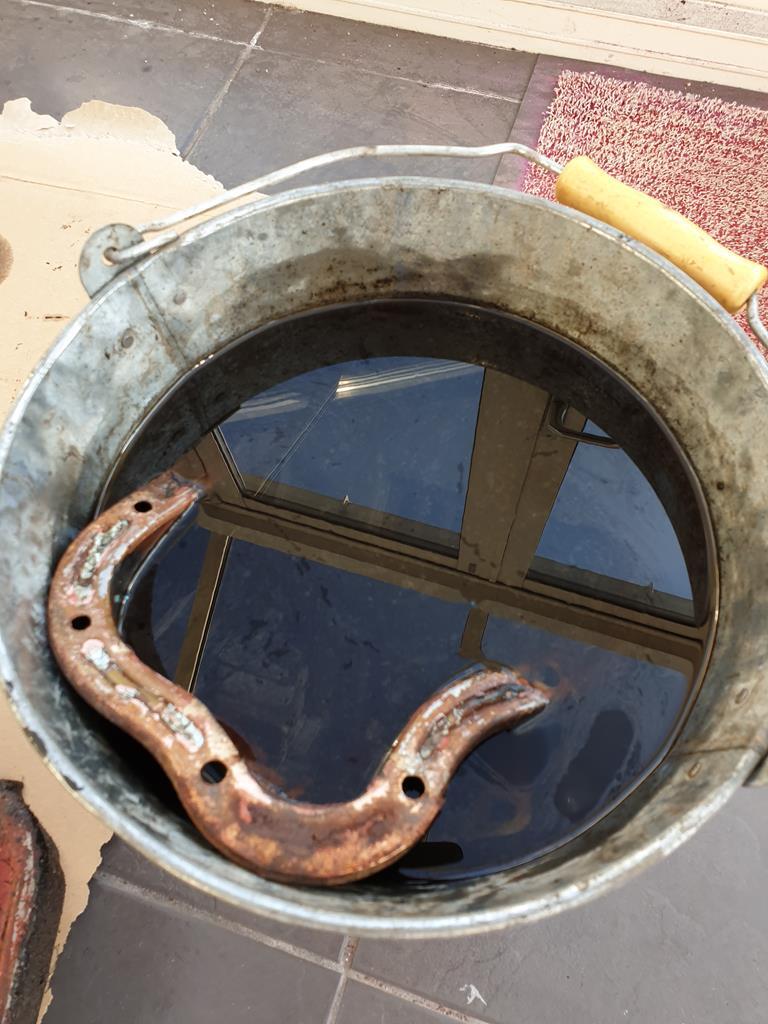 Its just a mix of TFR and water but actually does a pretty good job of getting the oil off the engine internal parts. This is the first lot of parts that came out 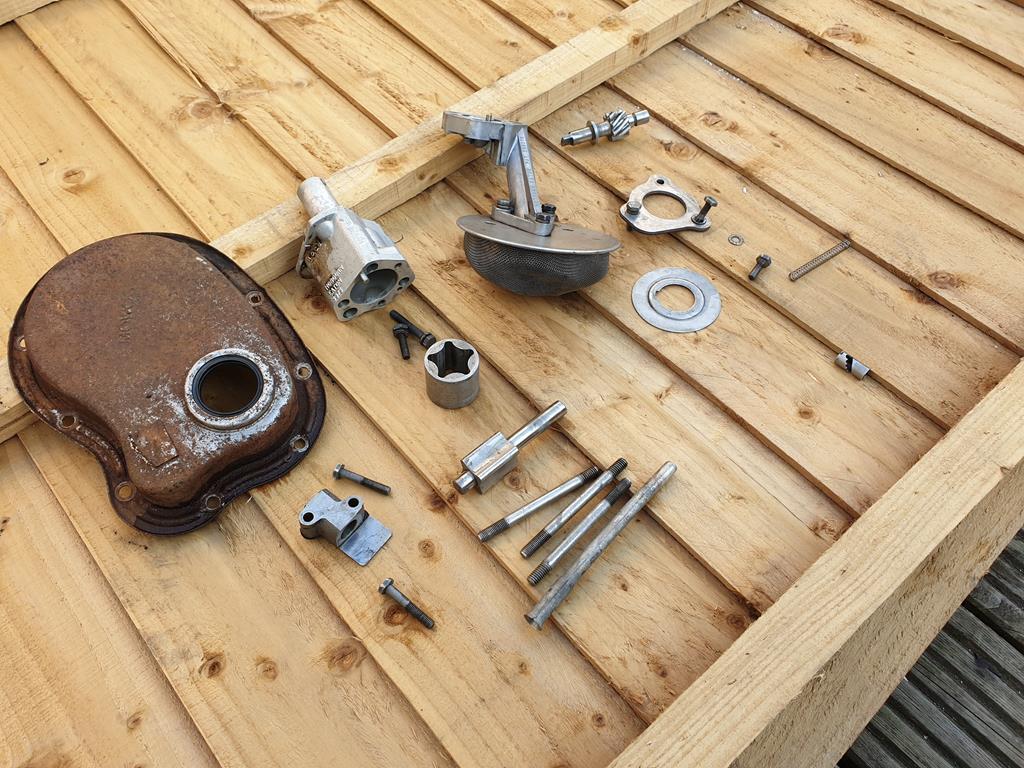 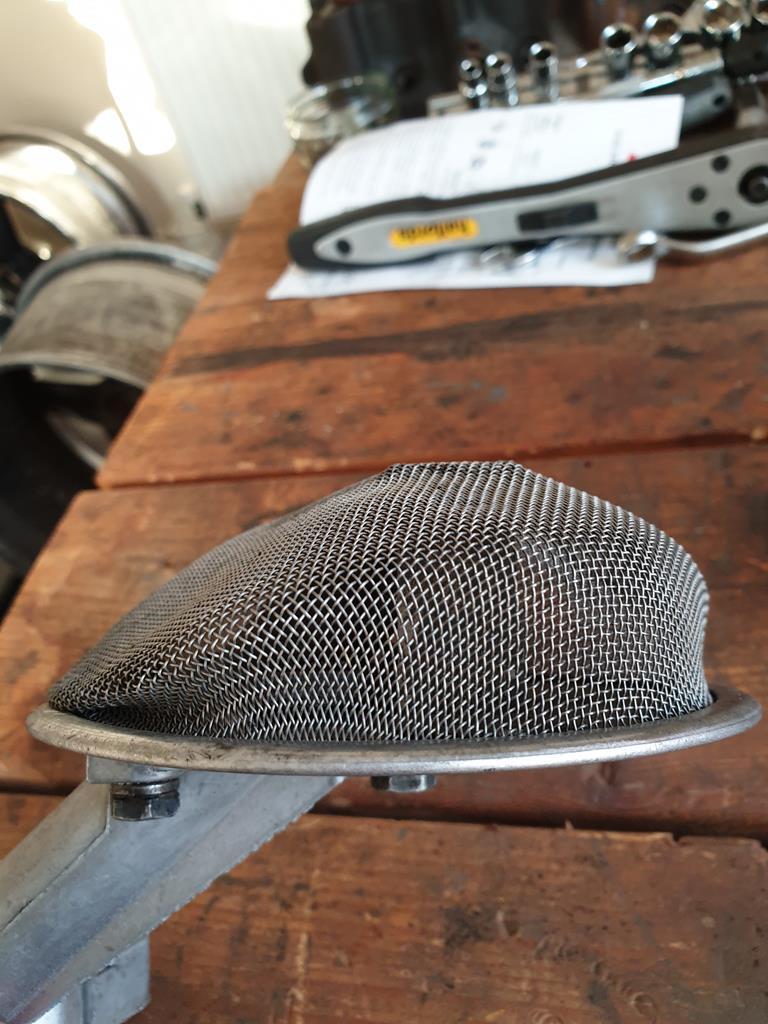 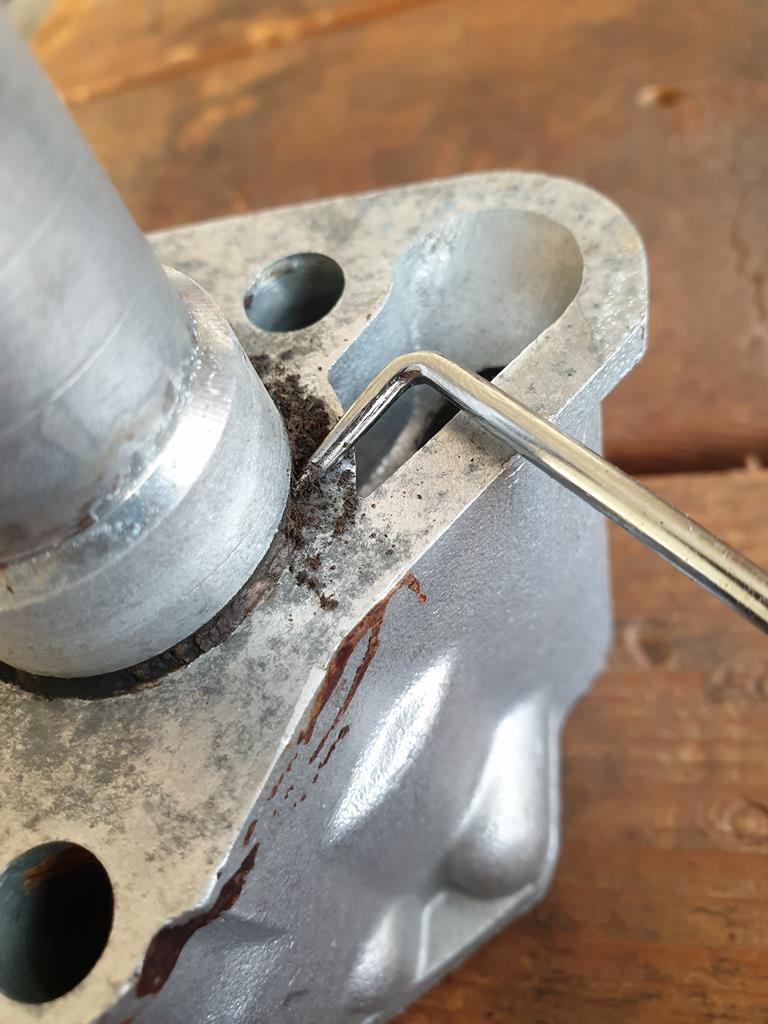 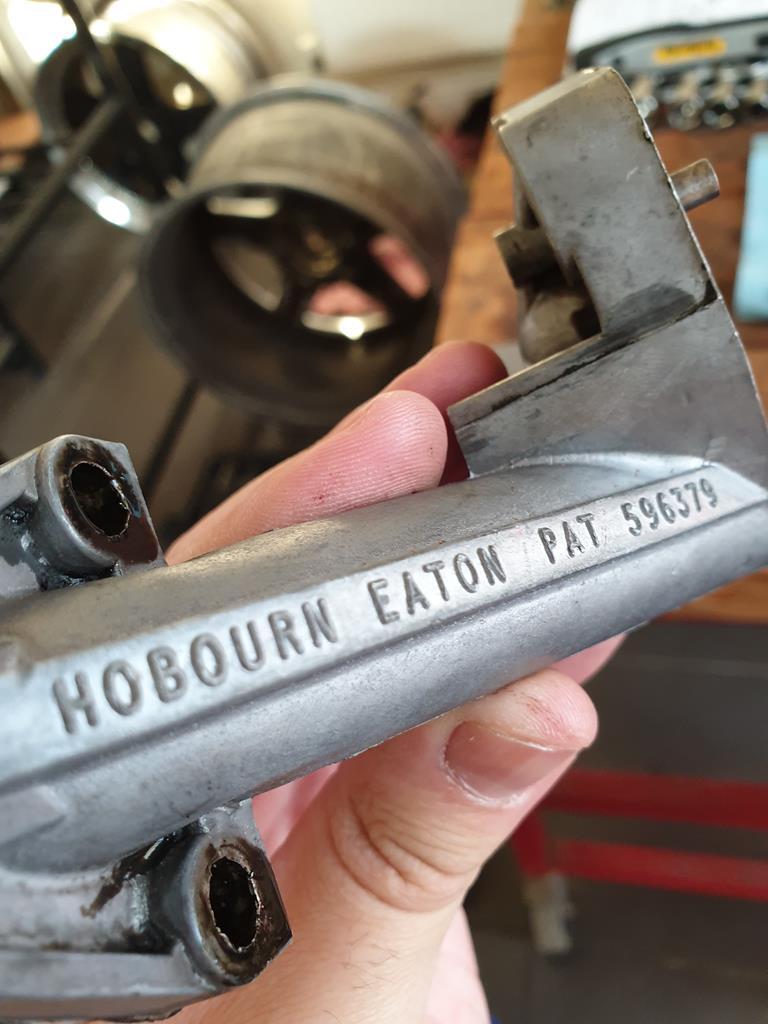 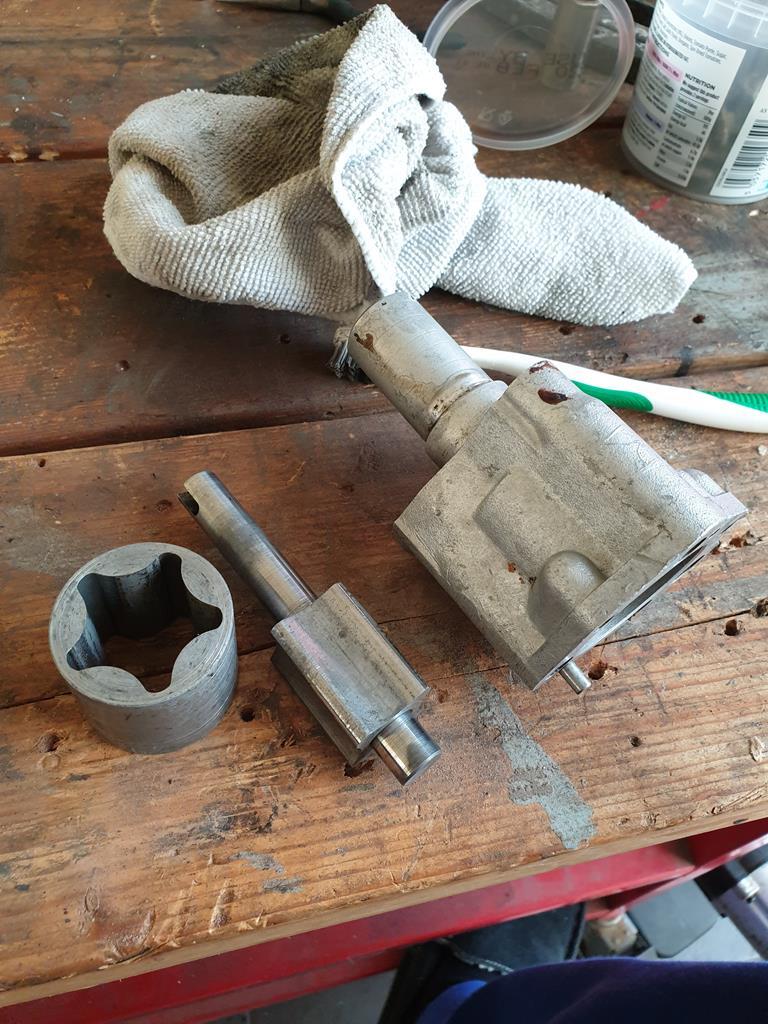 As you can see, the oil pump strainer is oddly collapsed and looking a bit second hand so that will get replaced. The oil pump cleaned up nicely but after checking it with a feeler gauge and looking at the rotor surfaces, I think it will get replaced with a new one anyway. The timing cover is a bit rusty but will clean up, as it so happens, the socket for the crank pulley nut is the perfect size for pressing out the front seal 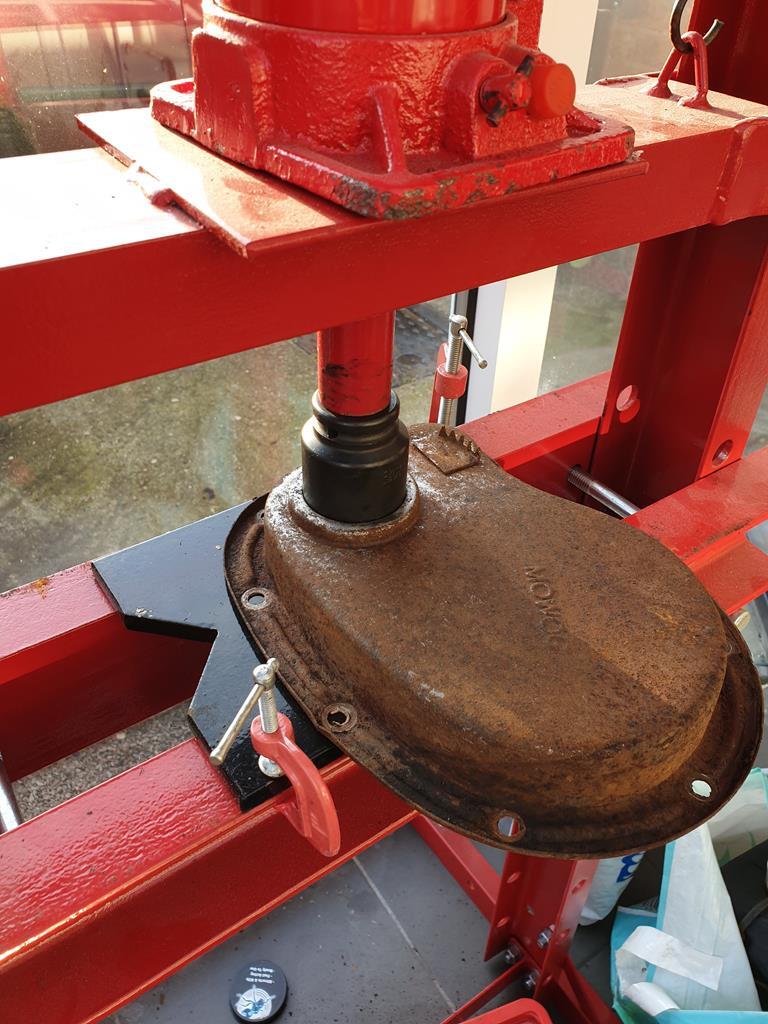 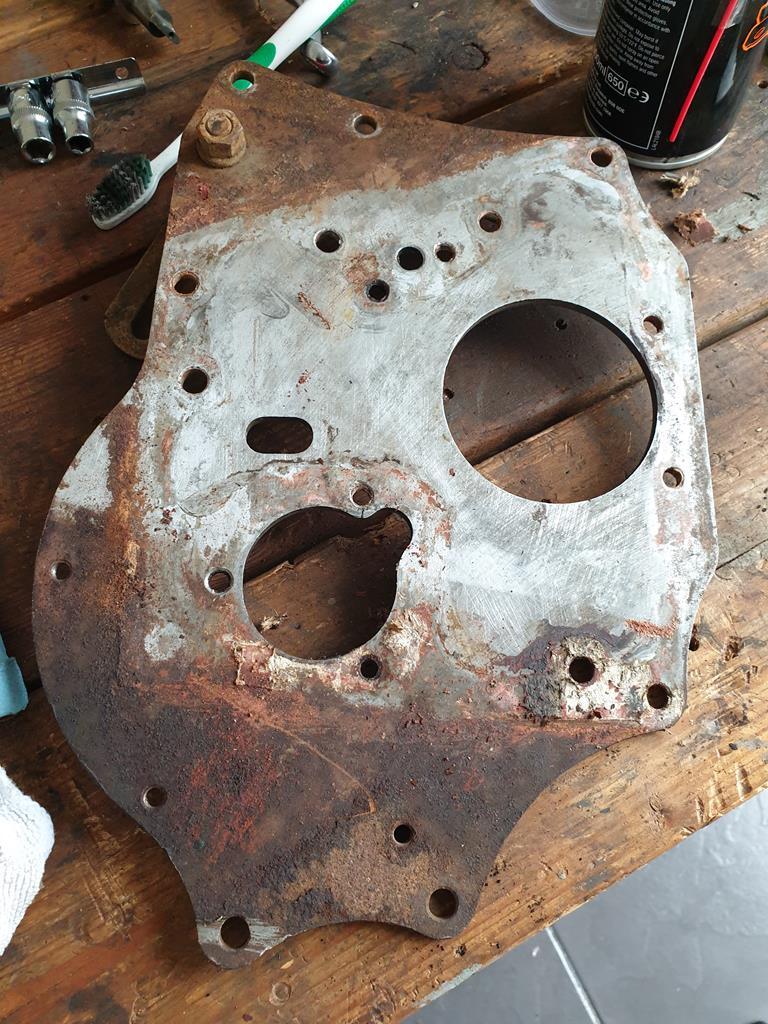 The front engine plate is getting cleaned up as well which is a pretty straightforward job. Going back to the carb quickly, I got my thackery washers and was still having issues getting the carb to seal to the manifold with the gasket, worked out why.. 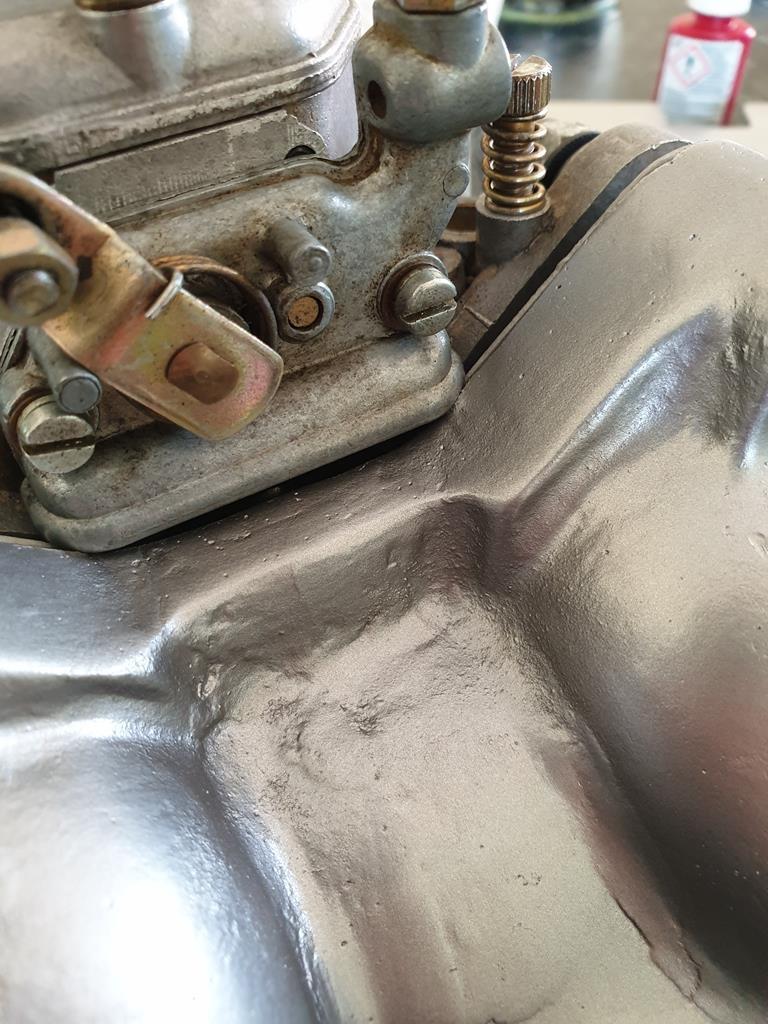 The choke mechanism is hitting the manifold. I did have some spacers that came with one of the carbs but I threw them out as I assumed the rubber O rings were all compressed and old etc... So some more parts to get there. Back on engine internal parts, I got to cleaning up the rods and pistons 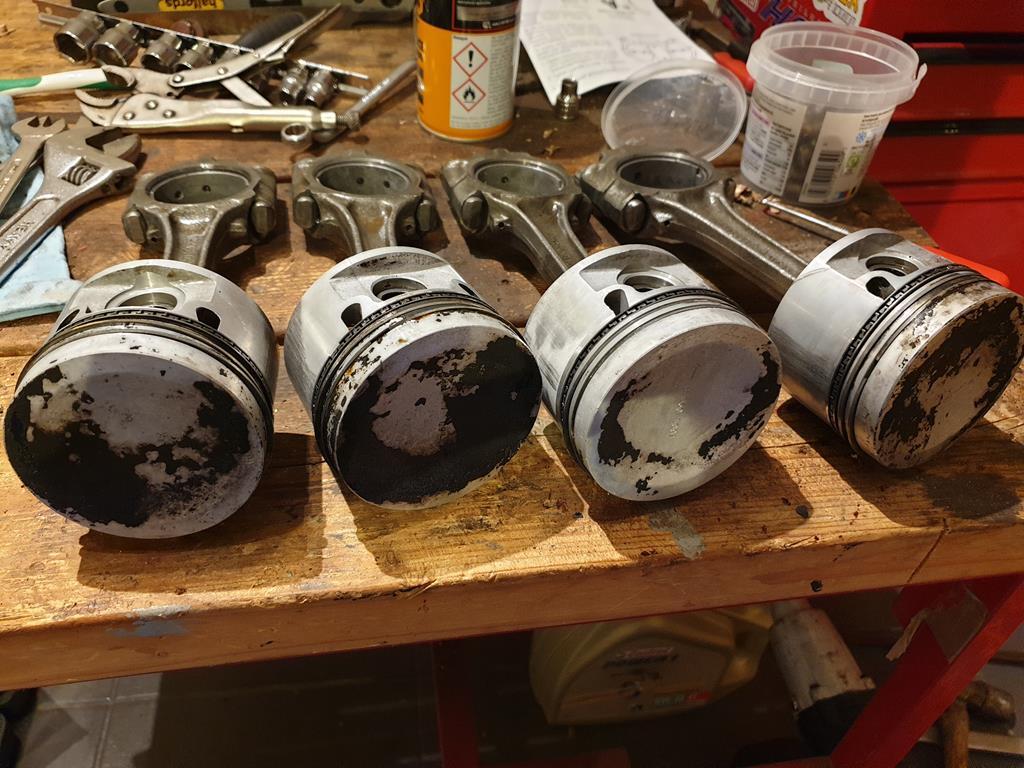 I can't remember if I've mentioned before but they're +.060 overbore which is about the biggest overbore you can do on a B series without getting into sleeves etc. I had thought about getting new pistons and getting it bored and sleeved to get to 1950cc but I don't think the extra outlay is going to be worth it, so as long as the current bores can be honed up nicely I'll stick with the current pistons which gives me 1868cc anyway. While cleaning the carbon off the tops of the pistons I did notice something a bit curious 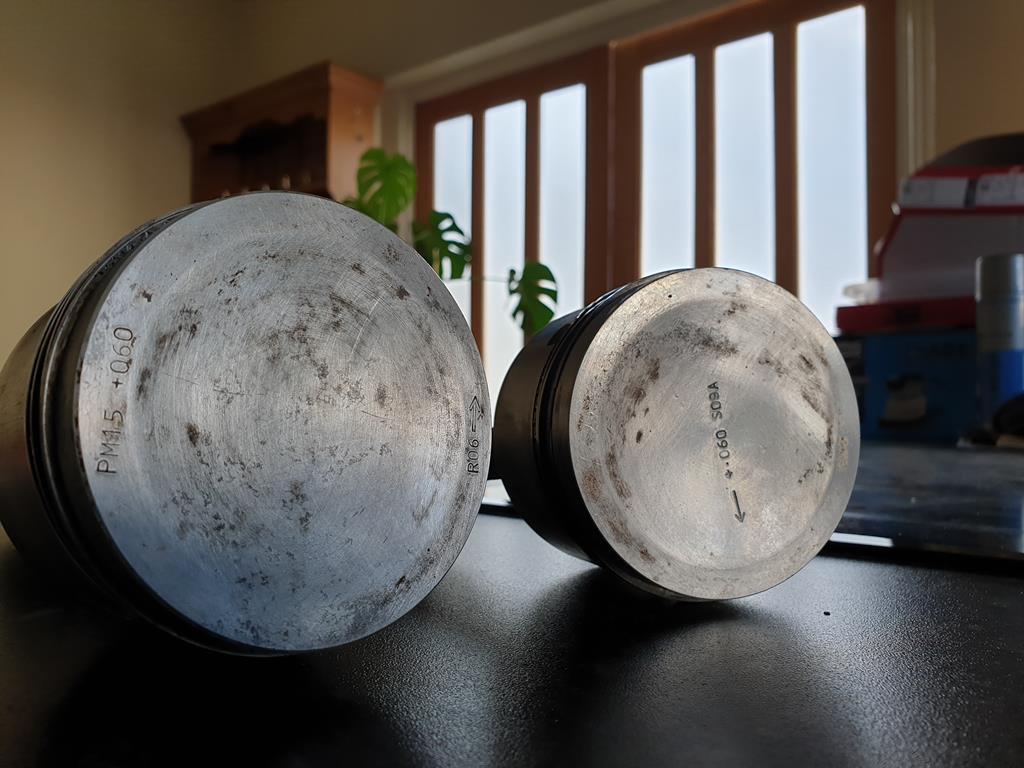 They're all the same size and design as far as I can tell, but the tops are marked differently, two are like the one on the left and two like the one on the right. I don't really think it affects anything, but just odd that they're not all the same. One last thing I have been doing is cleaning up the rocker cover ready for paint 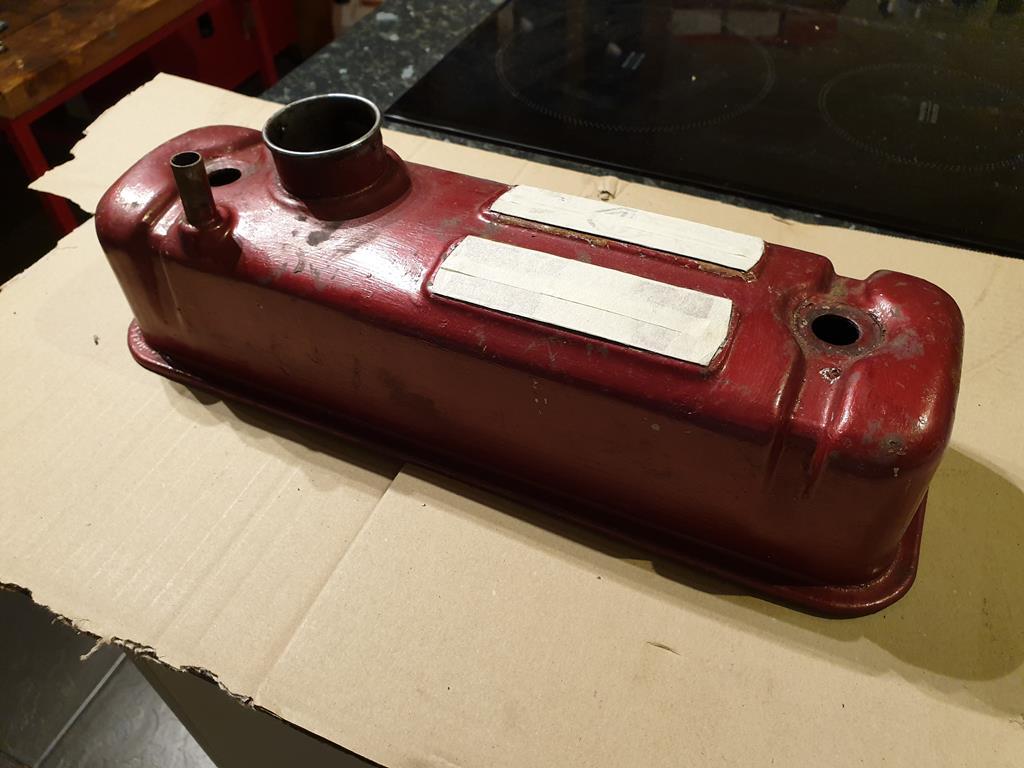 I gave some Nitromors a go but it didn't really do anything, after a couple of applications it finally started to peel in a couple areas 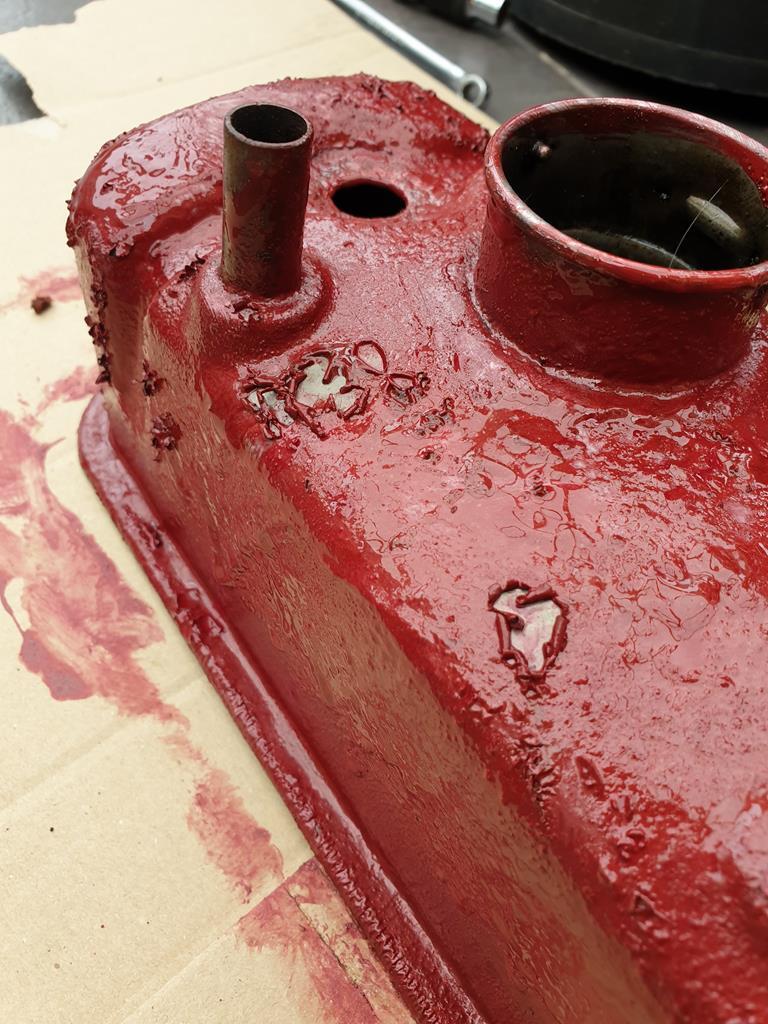 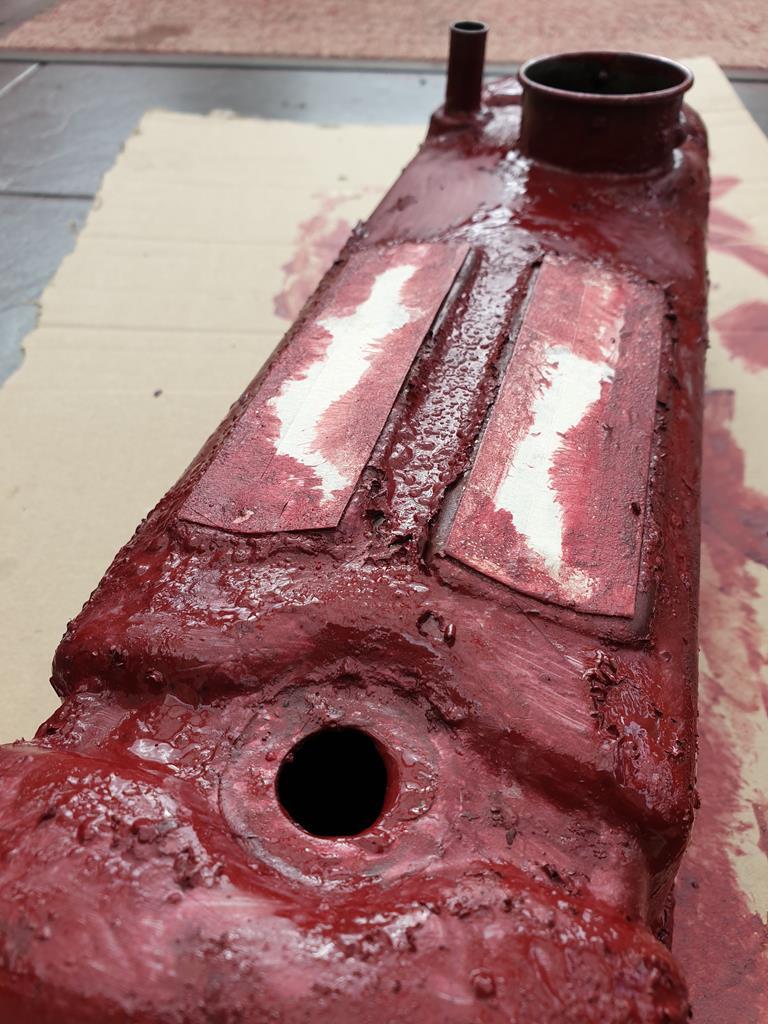 I got bored and hit it with the pressure washer which helped 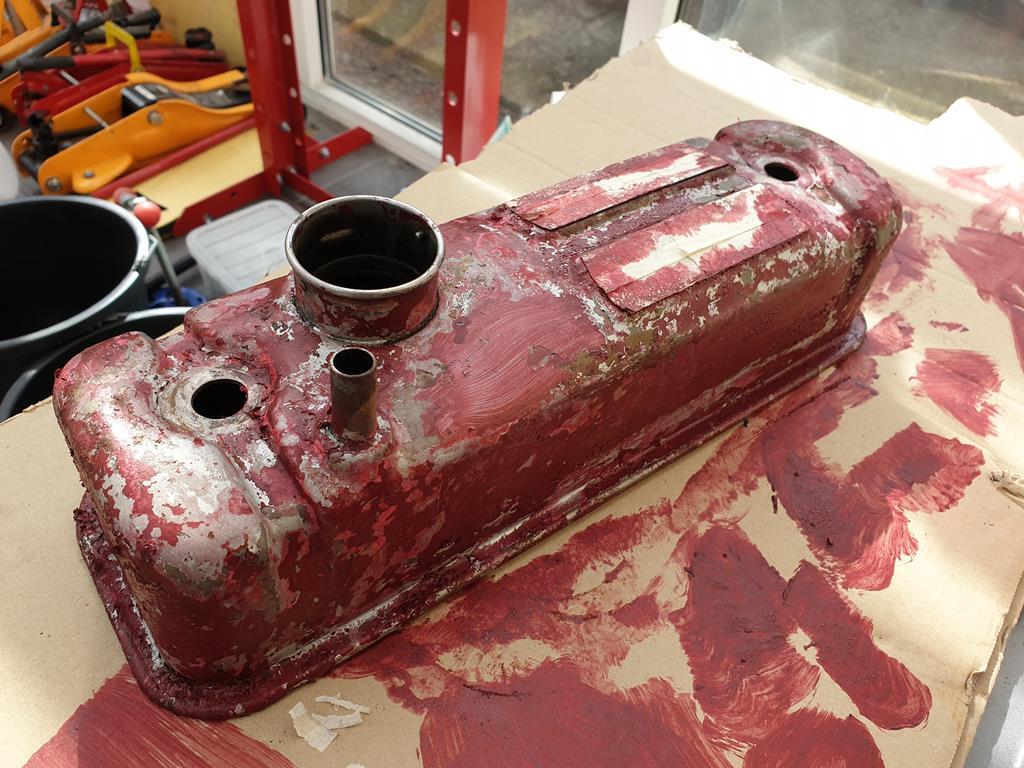 Since then I've been going at it with a sander and finally getting somewhere with it. And thats about all I've been doing to keep myself busy! I'll probably spend a bit of time getting the rocker cover looking nice, I'm also trying to spend a bit of time fixing up the daily instead as it has been a bit neglected of late! |
| |
|
|
|
|
|
|
|
|
If you've got some nasty old stripper in gel form, lay it on and throw the whole lot on a garbage bag for a while.
Just don't breath in when you open it up afterwards.
|
| |
|
|
adam73bgt
Club Retro Rides Member
Posts: 4,975
Club RR Member Number: 58
|
|
|
|
If you've got some nasty old stripper in gel form, lay it on and throw the whole lot on a garbage bag for a while. Just don't breath in when you open it up afterwards. I think it not being old and nasty is part of the problem  it seems a bit new and weak! A bit of perseverence with my new sander and also some scotchbrite pads got me something looking about ready for paint 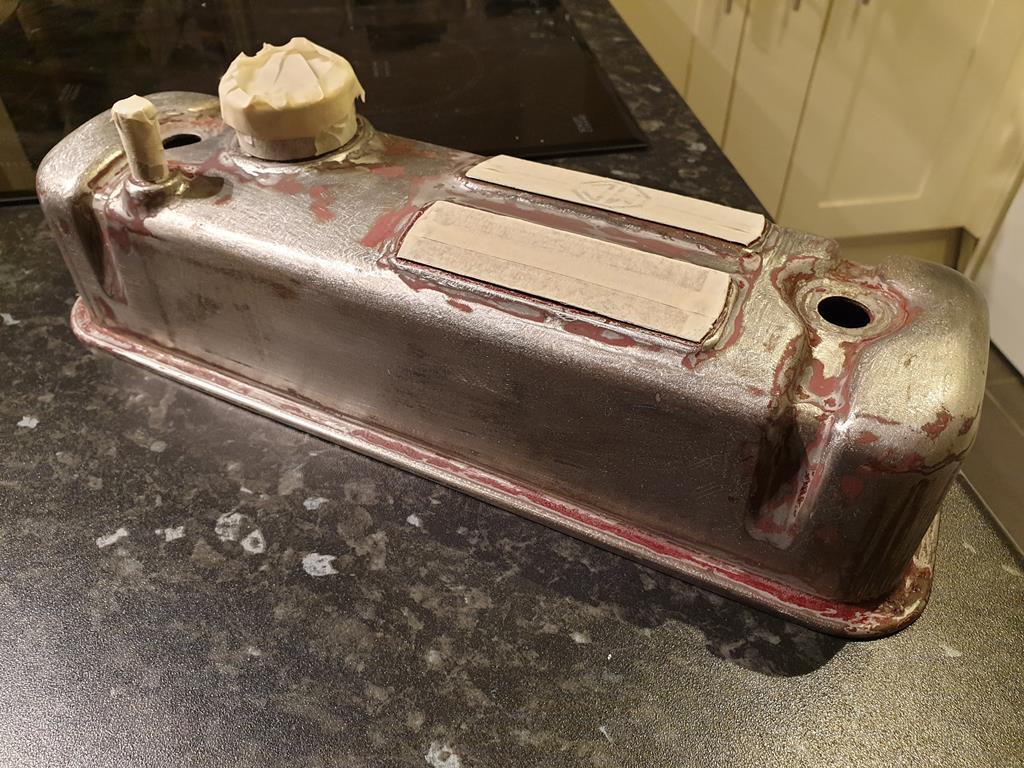 I put some etch primer on it (which wasn't really necessary but oh well) and got it ready for some black VHT paint 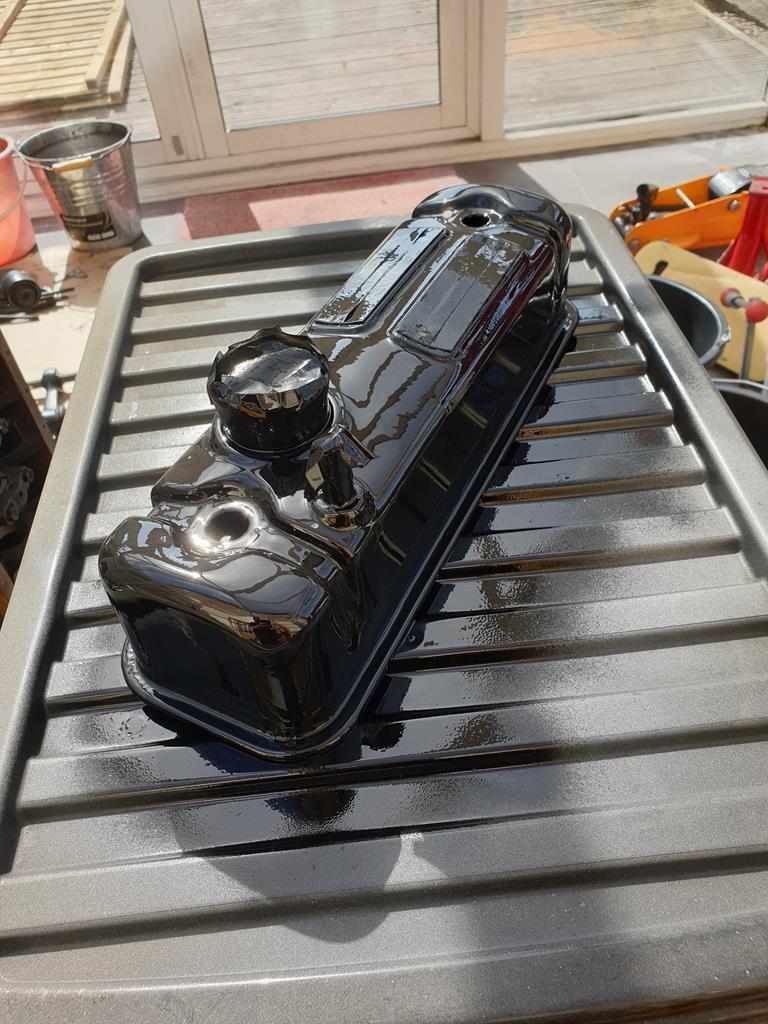 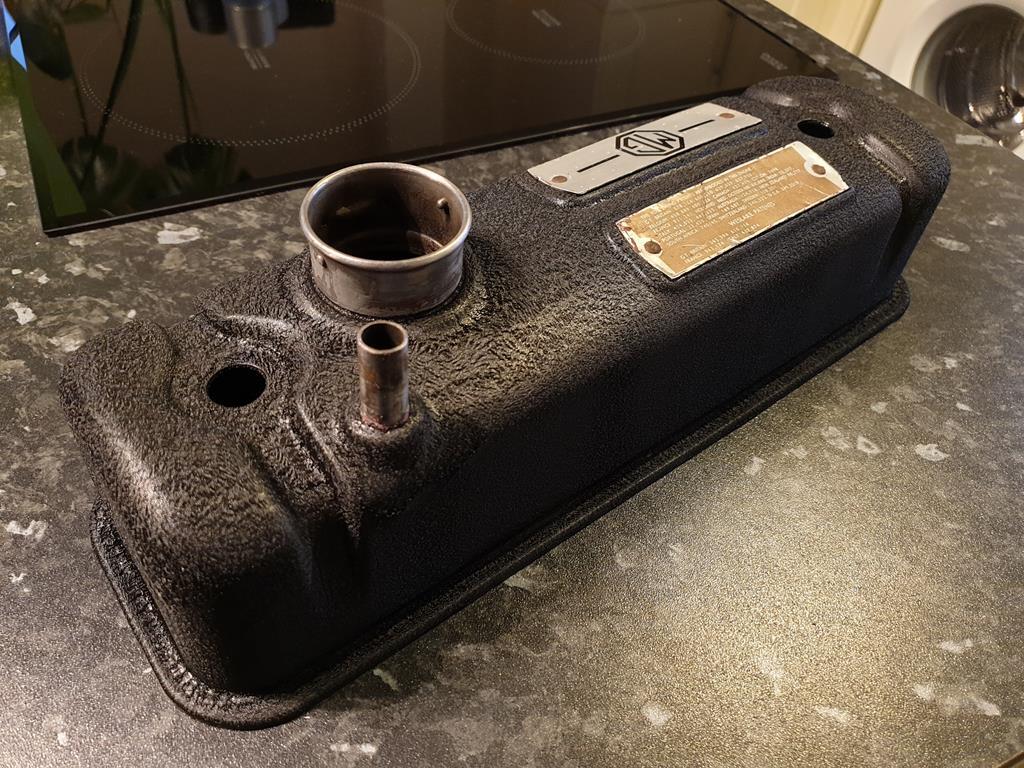 Difficult to photo but its a wrinkle finish which looks quite cool, at some point I'll get a chrome cap and all the tarty up bits for it as well Back at the grotty end of the scale, I've got this delightful sump to clean up 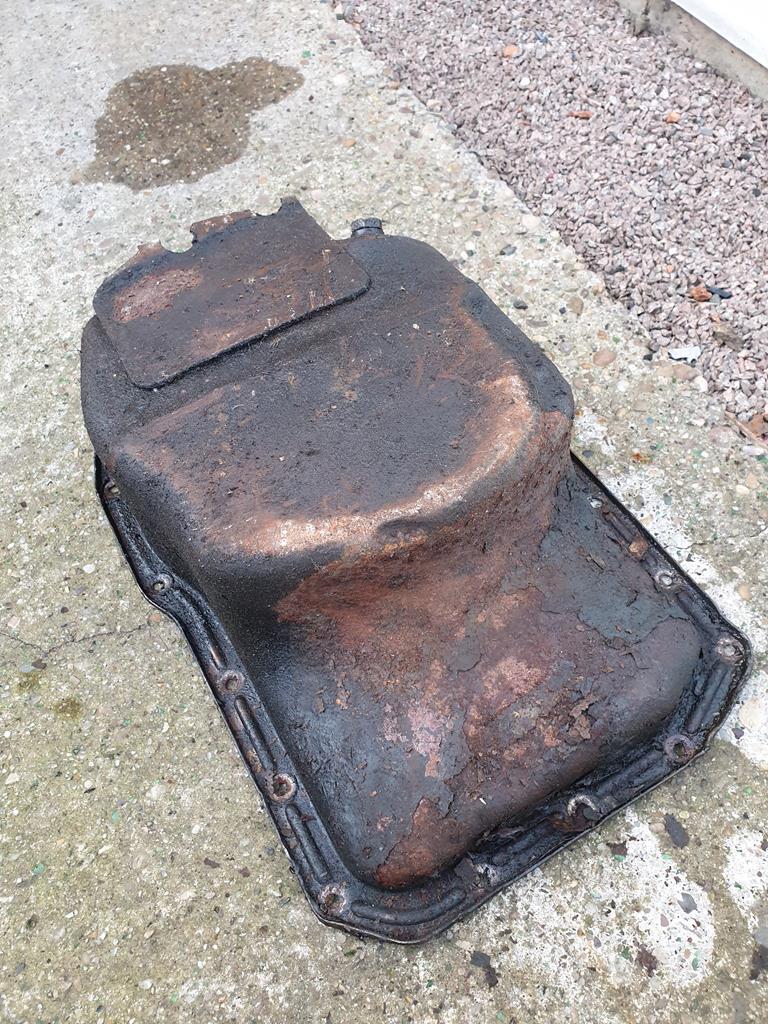 Cleaning, sanding, painting is pretty much the order of the day  |
| |
|
|
|
|


 Timing cover and chain came off easily, my engine has the single row timing chain which I'll probably replace with the double row chain.


