adam73bgt
Club Retro Rides Member
Posts: 4,975
Club RR Member Number: 58
|
|
Jan 15, 2020 23:33:29 GMT
|
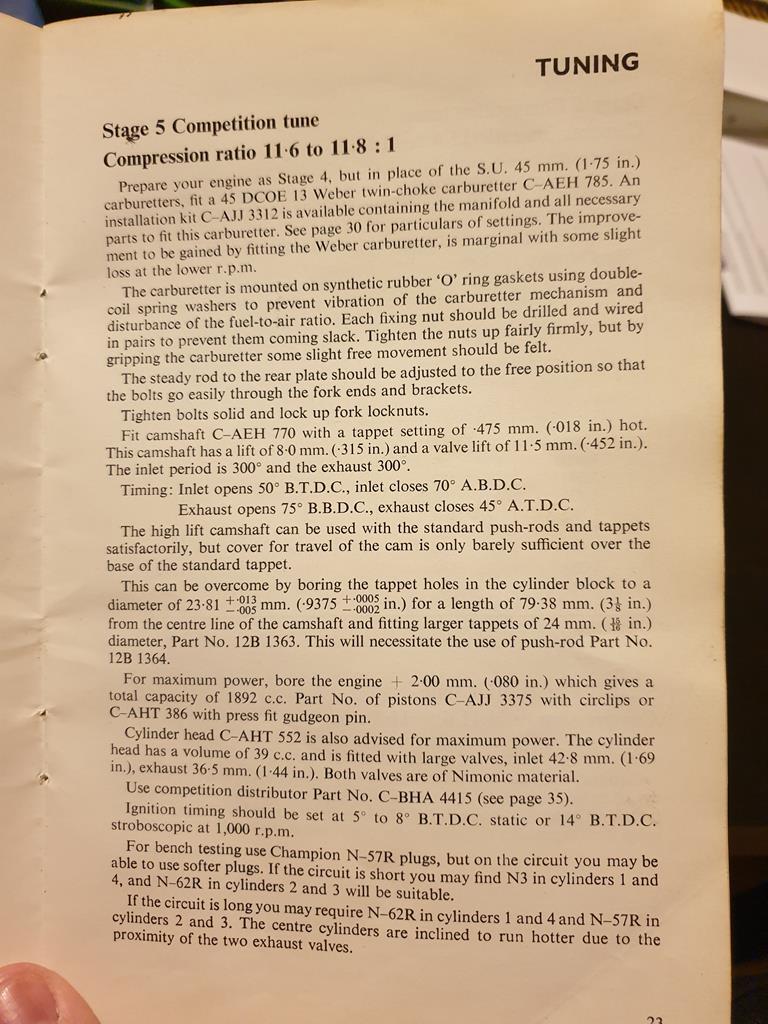
Wow, getting on for a month and a half since I last updated and not made massive progress, but I blame the "holiday season" for much of that  So I left off partway through dismantling my gearbox. It is still sat on the bench in my *ahem* kitchen taunting me, but I got myself a nice old imperial Micrometer to measure those shim fragments that came out of the front cover. 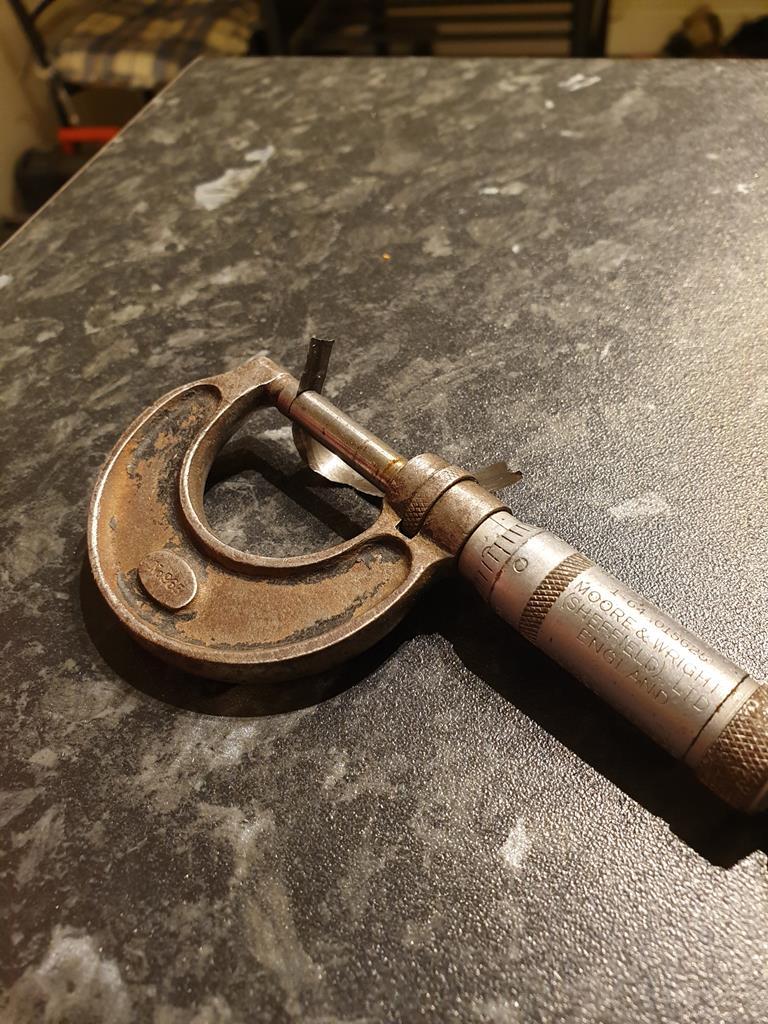 Came out as 0.002" so ordered a new one from moss, see the before and after 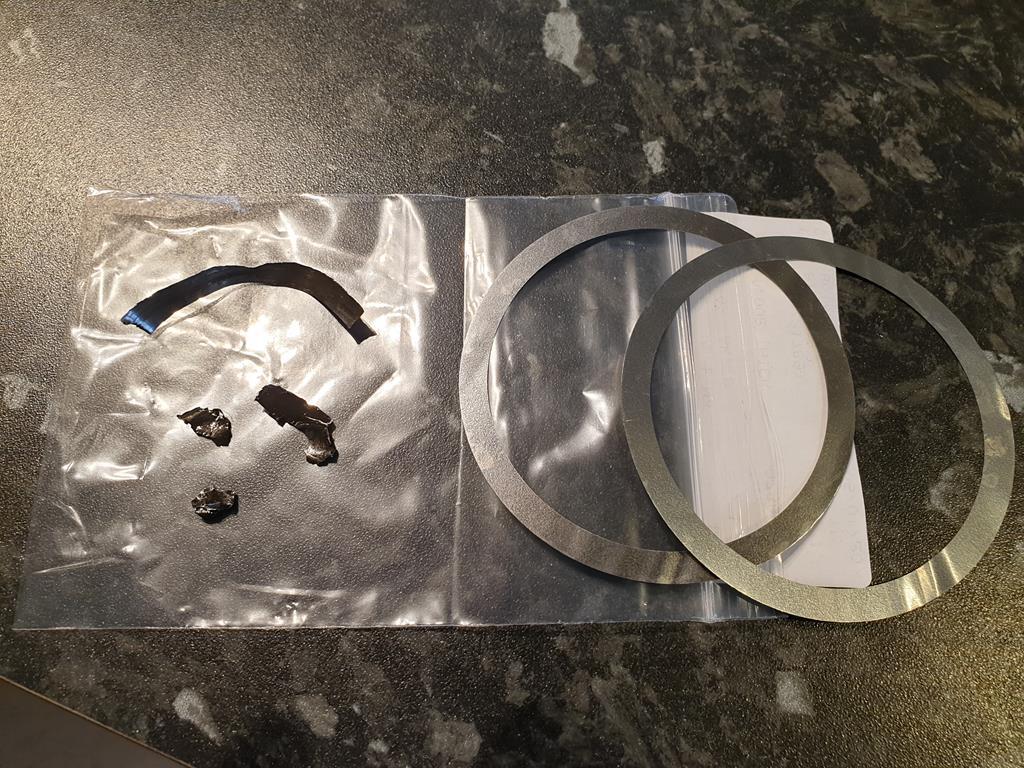 Curiously, the new shim came as two 0.001" shims, but whatever works. Meanwhile I cleaned up the front cover and put a new seal in 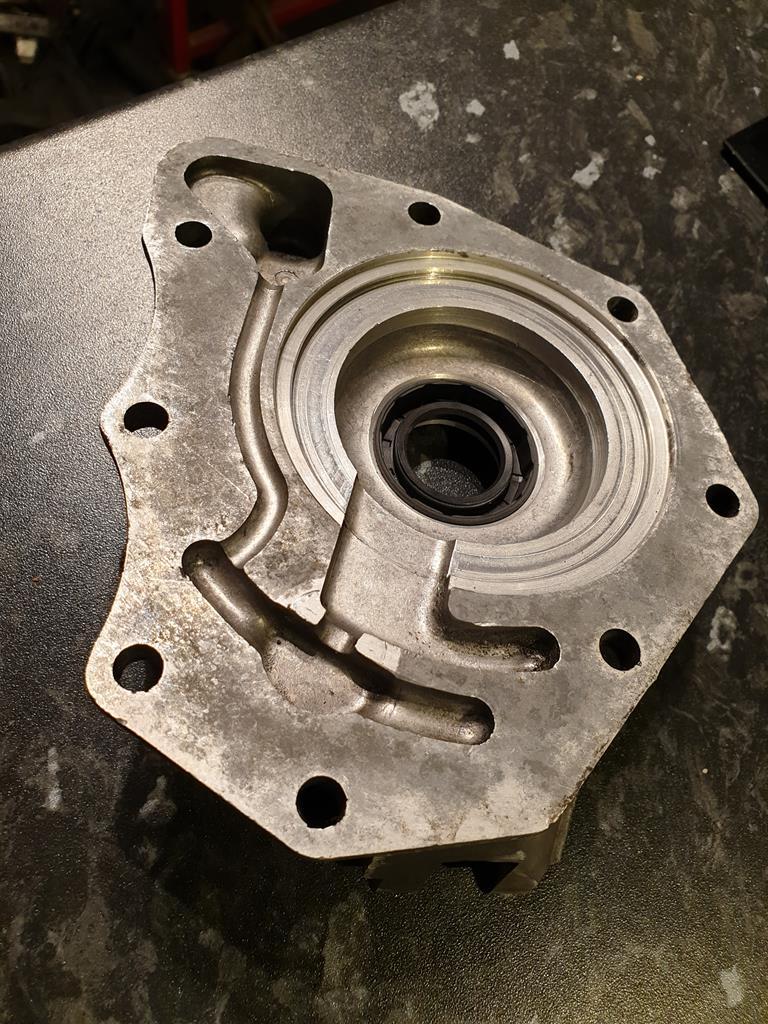 I've laid the shims in the slot in the front cover, using some 20w-50 oil to hold them in place. But before I did that, the Haynes manual recommended that I trial fit the cover so I duly did so 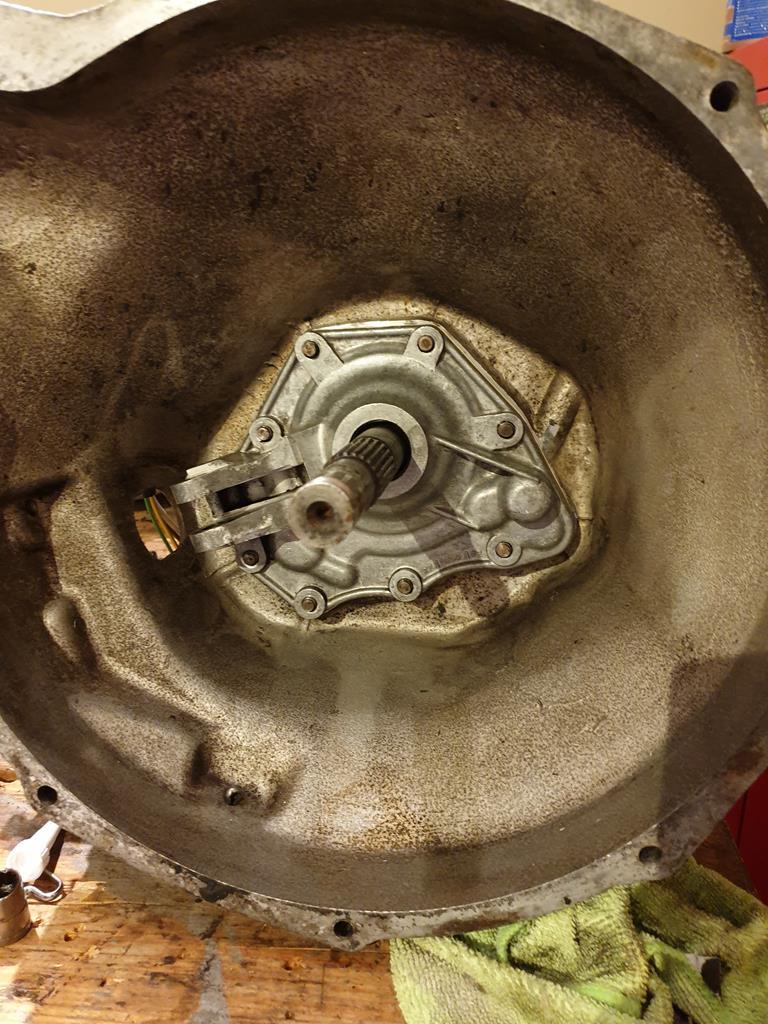 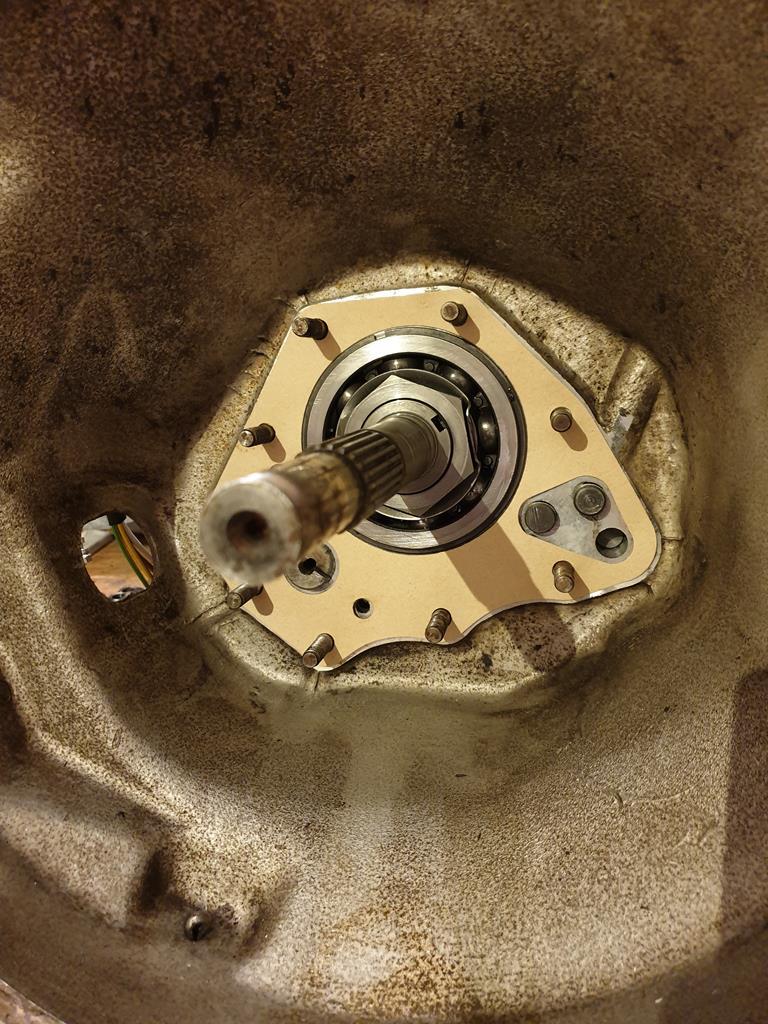 All good. That is now waiting for me to install it properly, I'm going to be giving the outer perimeter of the gasket a light coat of sealer to make sure it doesn't leak into the bellhousing. Other things I've done include picking up some 17x8 and 17x9 wheels. 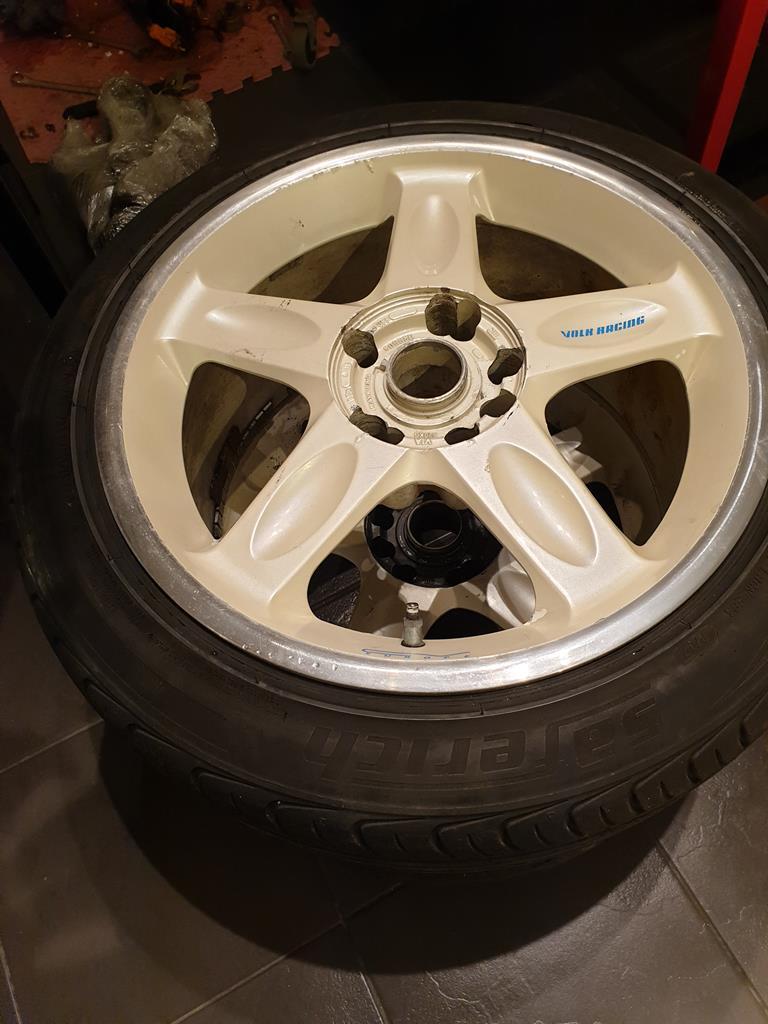 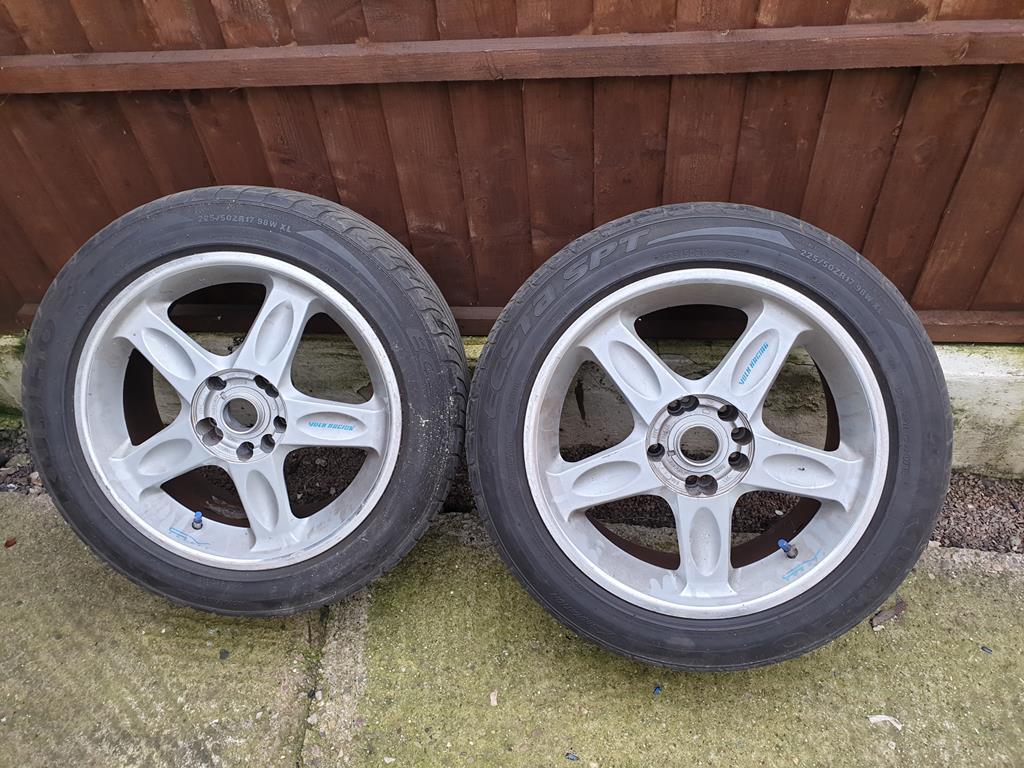 This may seem an odd choice for a car that runs 14" wheels from factory, but there is method in my madness! I have some Sebring arches which I bought... probably about 4 years ago or so. They were ones from a racing B so slightly wider than the "standard" Sebring arches, this is great as in my mind I've got a mental image of a properly low and wide B. The issue is to do this, I'll need wide wheels, and wide tyre availability for 14" or 15" wheels isn't great. The widest 15" tyres I've seen are 245 (aside from special Lamborghini Countach rear tyres which are 345 or so but I'm also not made of money!). Going to a 16" or more likely 17" wheel helps with tyres but I'm not usually a fan of that much diameter on a B so will do some mocking up and see where I get to! Lastly, made another little purchase the other day in the form of this 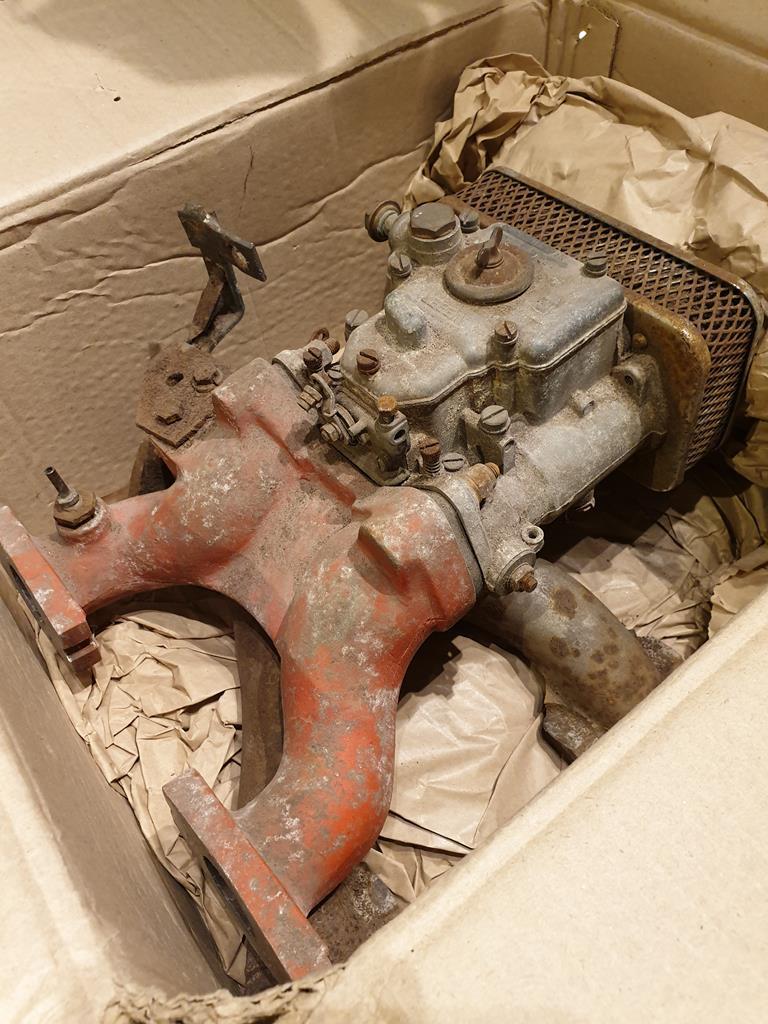 A Weber 45DCOE with accompanying manifold which was last fitted to an MGA B series engine fitted in a TVR Grantura of all things! I've had a Weber manifold before but this is my first time actually getting to play with a Weber carb. A lot of the MG guys will say you don't need one and SU's are better etc. etc. but eh, I'm going to enjoy taking it apart to refurb and learn how it works and it should look good and sound even better! First job was removing the manky old air filter 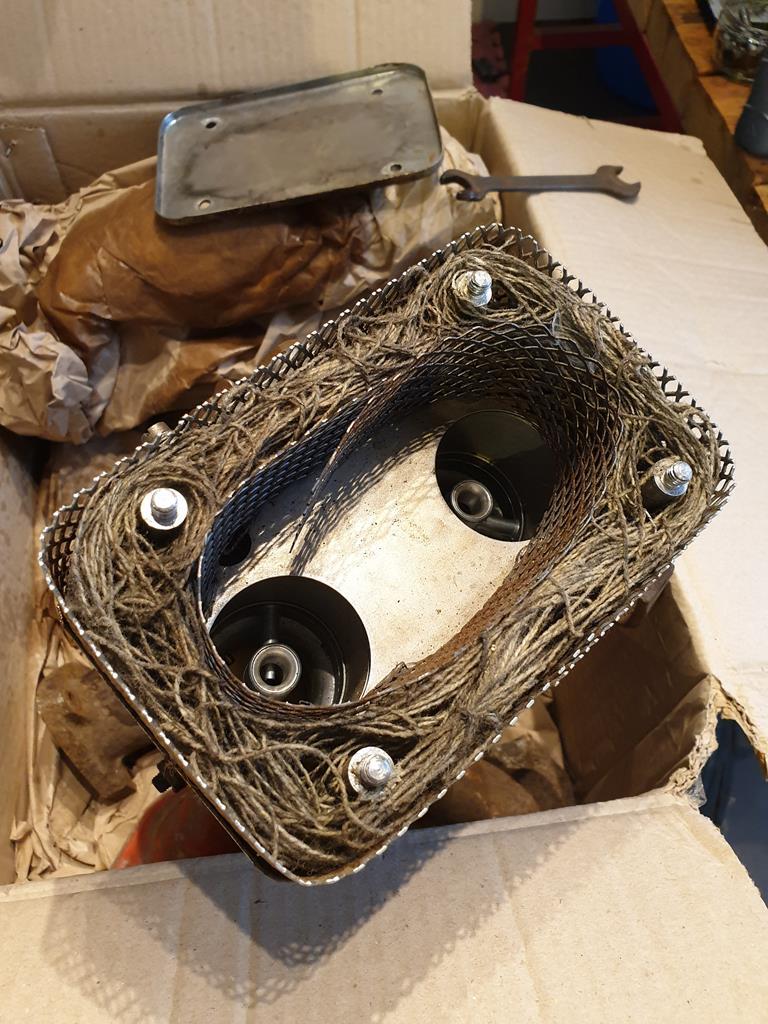 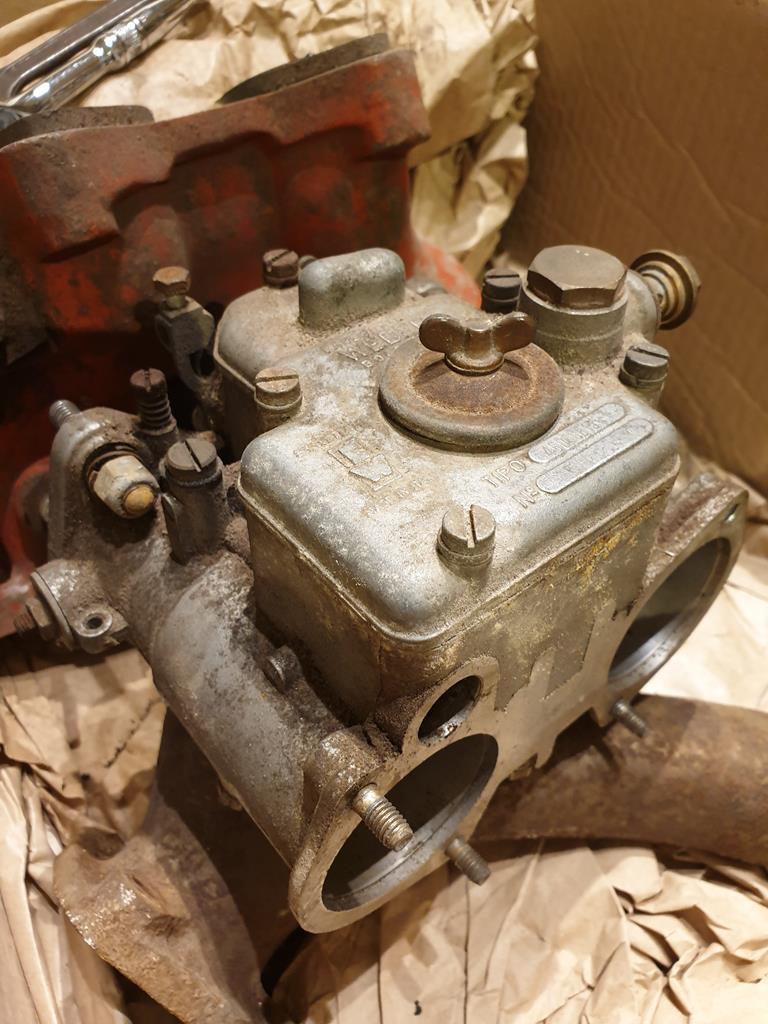 I've resisted tearing into it too much just yet until I've got a plan for organising all the little bits, but aside from being a bit dirty the carb looks in good condition, will just need a good clean up. |
| |
|
|
|
|
ChasR
RR Helper
motivation
Posts: 10,297
Club RR Member Number: 170
|
|
Jan 15, 2020 23:40:09 GMT
|
|
SUs are best but the DCOEs just sound so good on an MGB!
I bought one with an Oselli for mine. My regret was not fitting it to my engine primarily because people claimed I'd ruin my engine if I drove it like to that an RR (I'm not sure on that), and I didn't want to pay £300 for a rolling road to sort it.
That was a missed opportunity.
|
| |
|
|
|
|
|
|
|
|
Needless to say I also like Webers on a "B".....Keep up the good work!
|
| |
|
|
adam73bgt
Club Retro Rides Member
Posts: 4,975
Club RR Member Number: 58
|
|
Jan 19, 2020 22:52:50 GMT
|
Thanks guys, hopefully I can put together an engine worthy of the fancy carb  Made a start on tearing the carb apart this weekend, the previous owner had mentioned it hadn't been on a car in quite some time so I was expecting to have to take it all apart and clean it out. Sure enough, my expectations were well founded.. 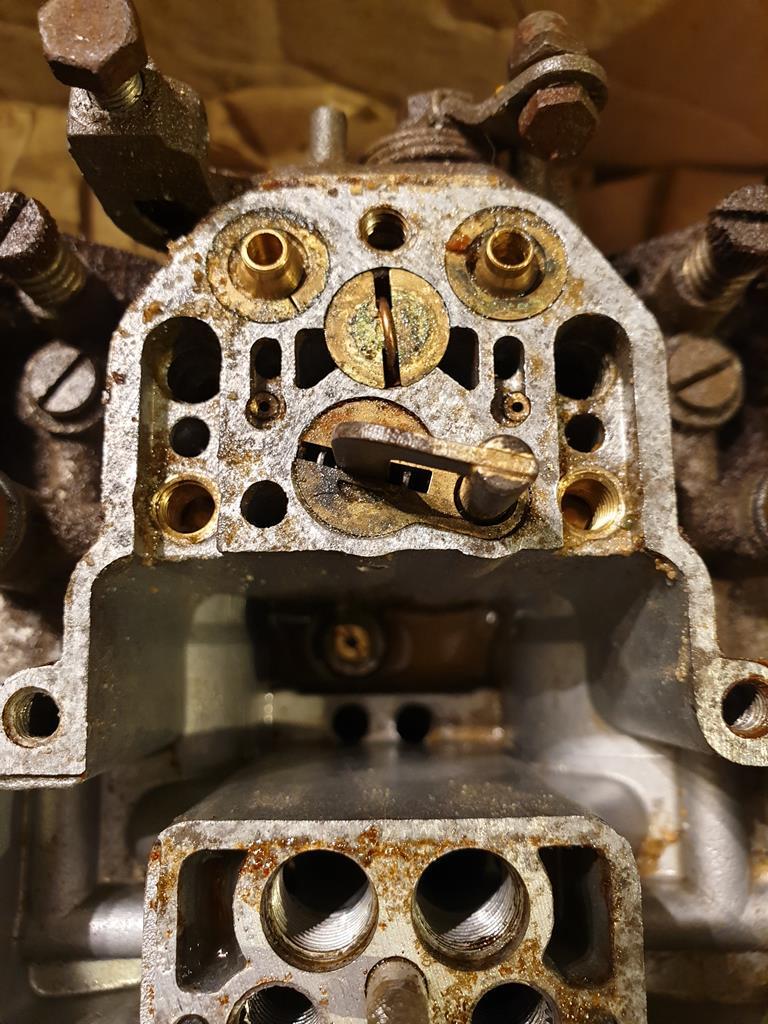 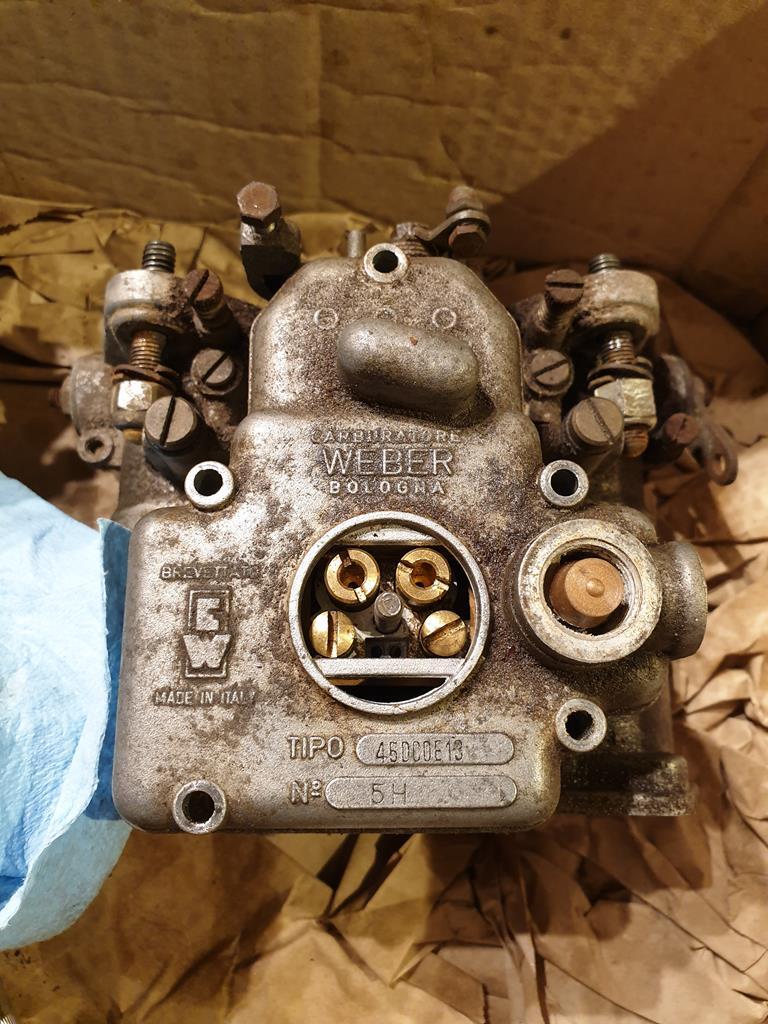 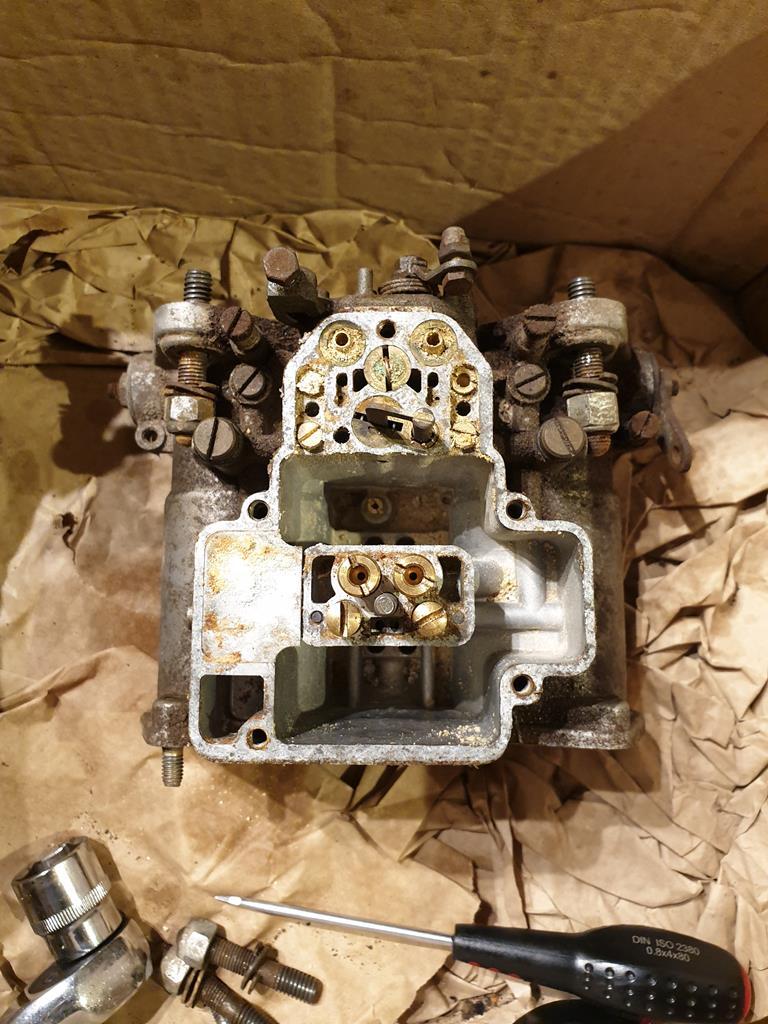 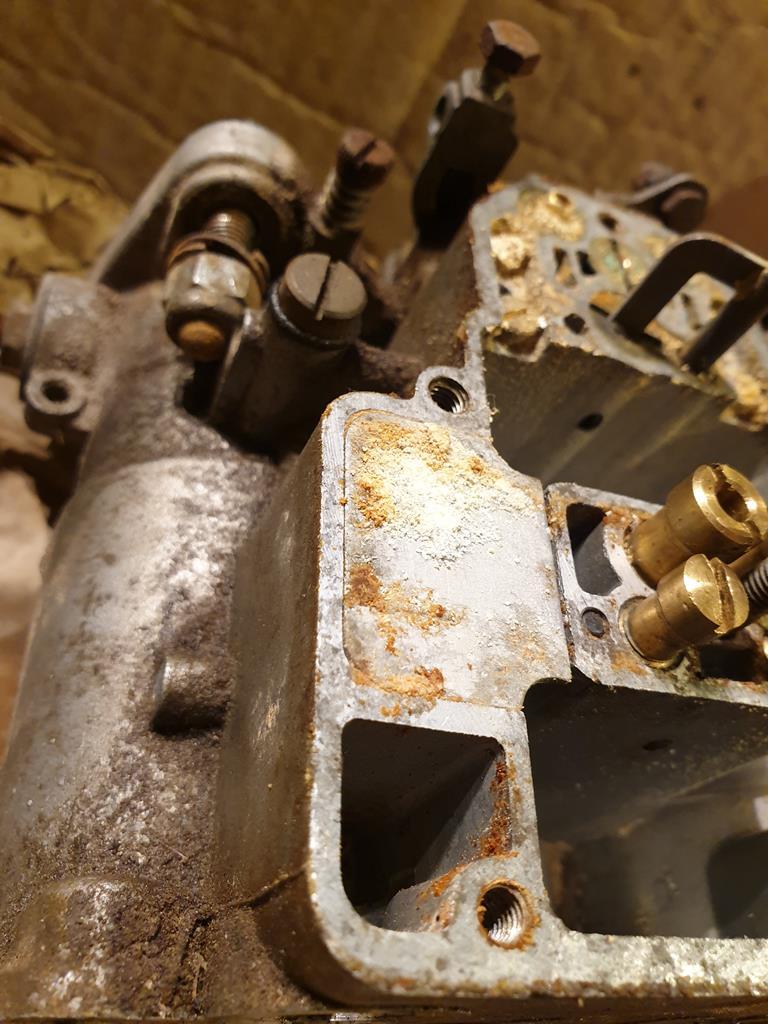 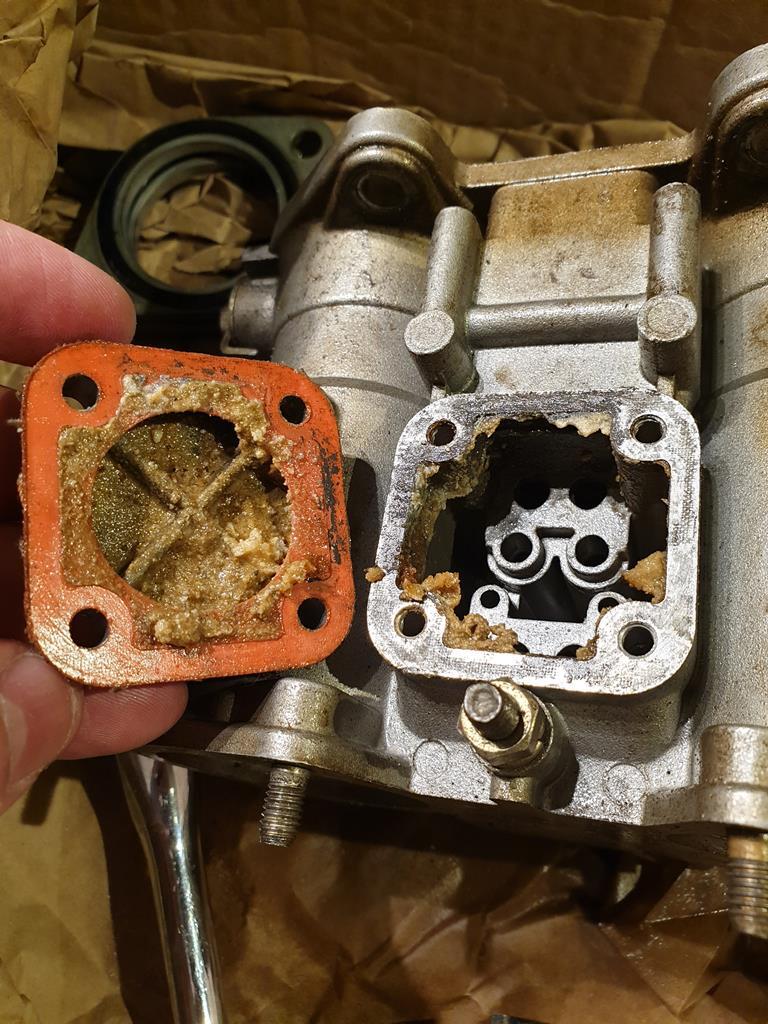 Quite a lot of crusty, grittyness in there, but most bits have come apart and should all clean out fine. The only slight issue currently is that the Accelerator pump spill jet, which sits at the bottom of the bowl, has a partially ruined head from when my screwdriver slipped out of it. What I do like about this carb is that its a proper original made in Italy model with the brass floats 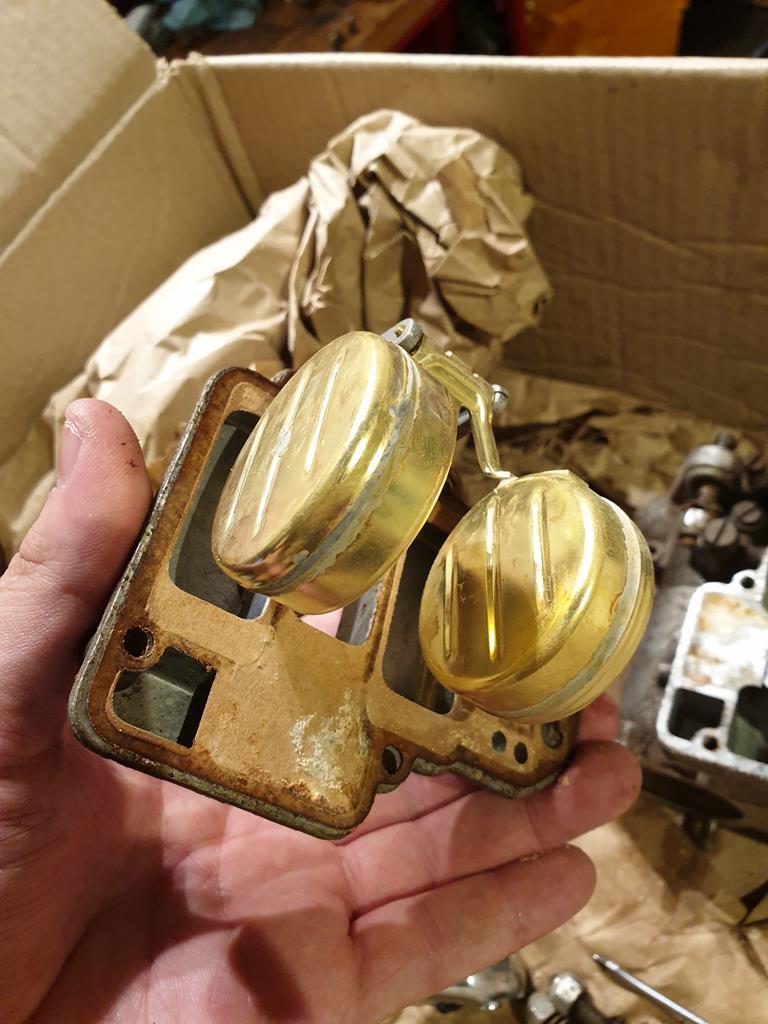 I will need to check that these still float and haven't developed any leaks. On the gearbox, did a bit more cleaning of the main casing, its not perfect but its good enough for me, and a million times better than it was when I started! Got the front cover installed and bolted down 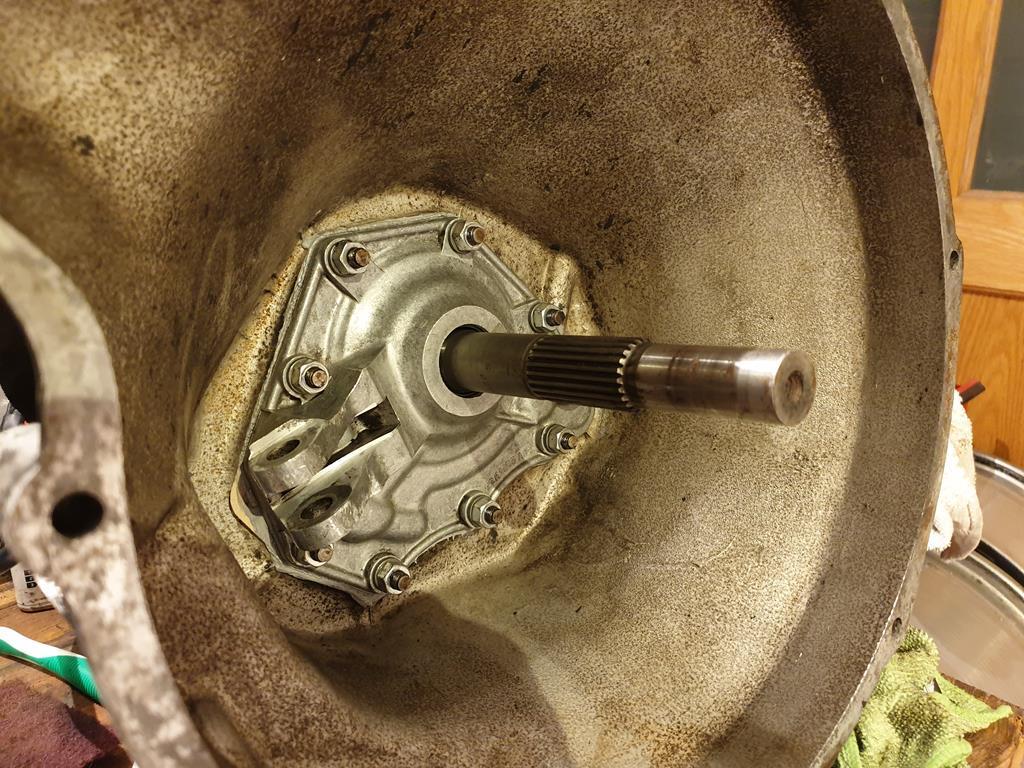 Then got the new clutch fork boot(which I seem to recall was missing when I removed the gearbox initially) installed, along with the new clutch slave cylinder which I was given as a spare to go with the car back when I bought it in 2012  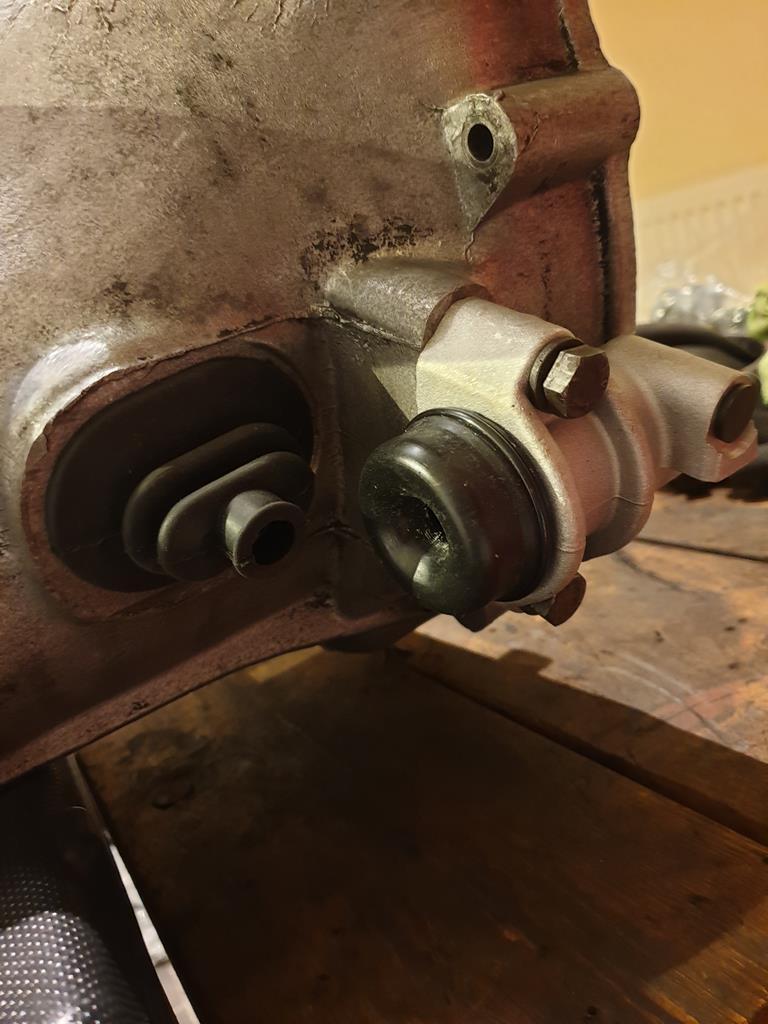 I was then aiming to put the middle gearbox housing back in place, but it appears I don't have the right gasket for it, so I've ordered one of those, along with a new clutch release bearing. Should be relatively straightforward from then on in  |
| |
|
|
adam73bgt
Club Retro Rides Member
Posts: 4,975
Club RR Member Number: 58
|
|
Jan 26, 2020 22:07:07 GMT
|
So new gasket set ordered and you can see the difference between the two here 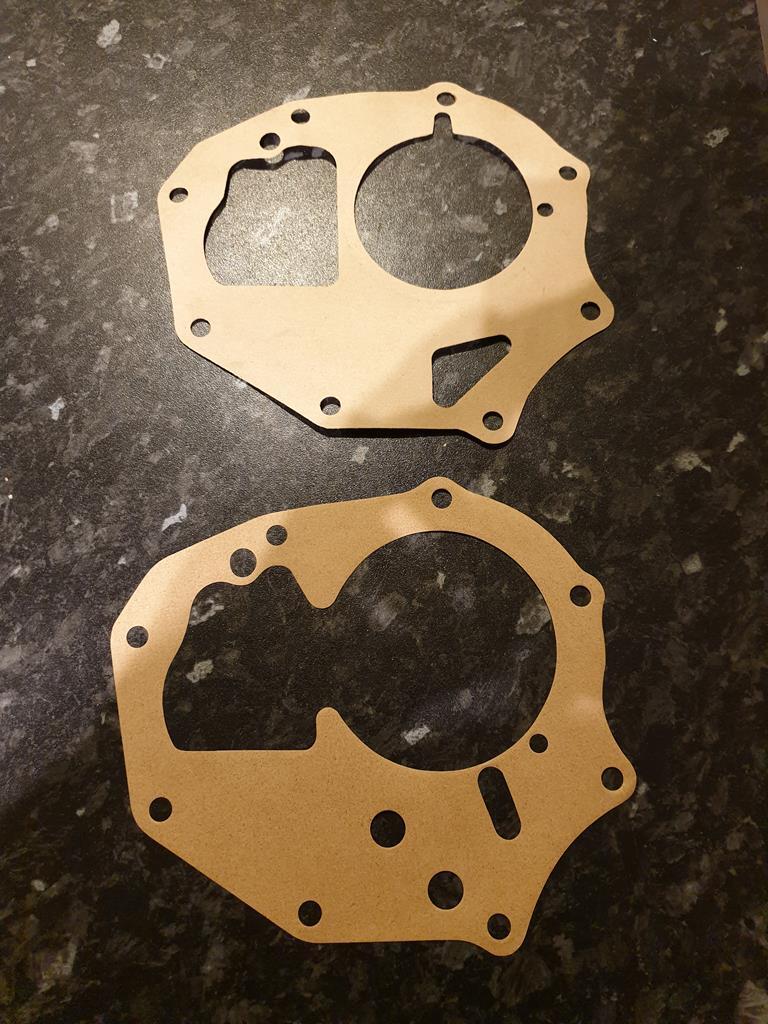 But when I offered up the new gasket, it didn't exactly go to plan.. 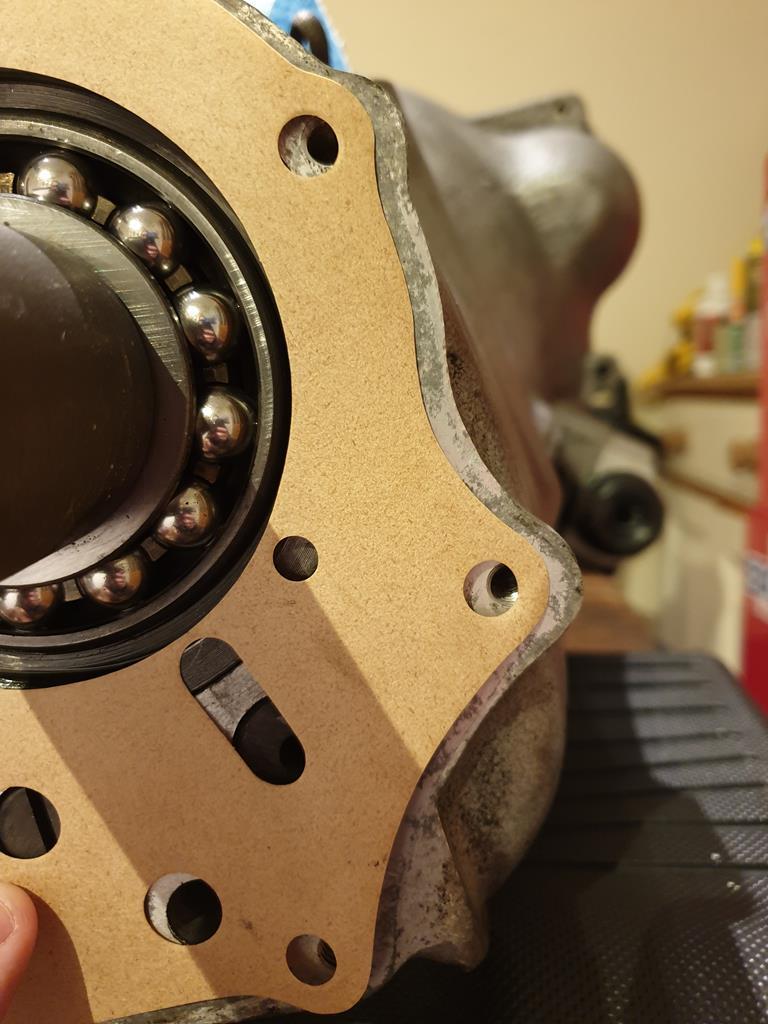 So I ended up getting out the gasket paper. Annoyingly I'd thrown out the original gaskets as I thought the set I had would cover everything 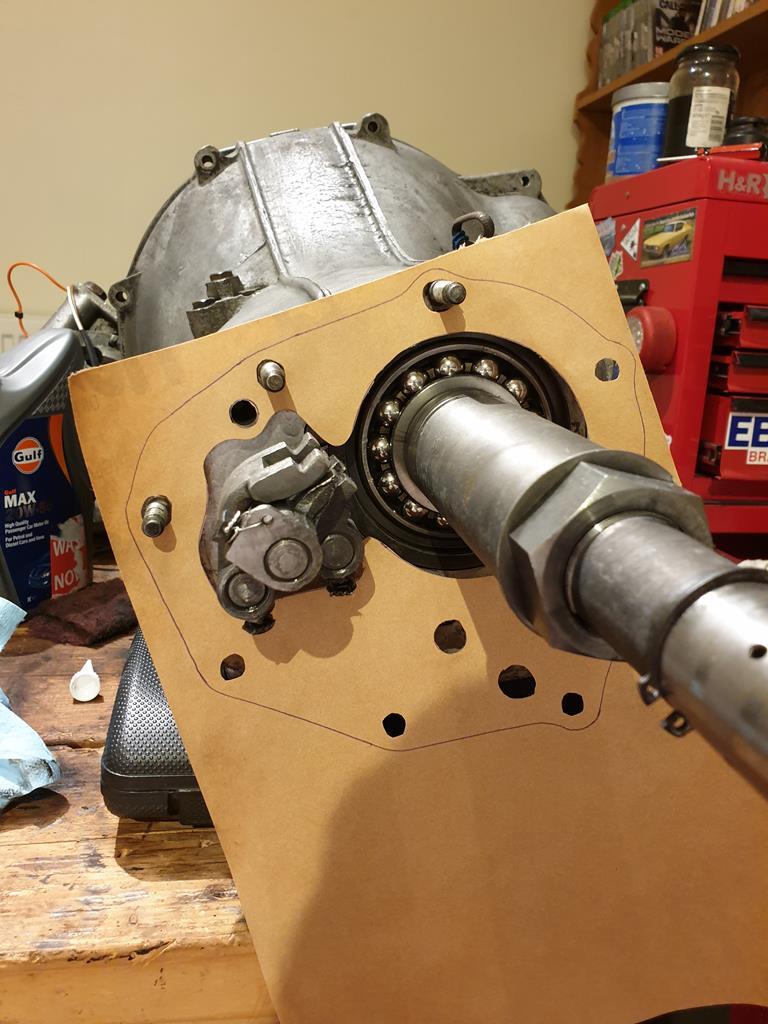 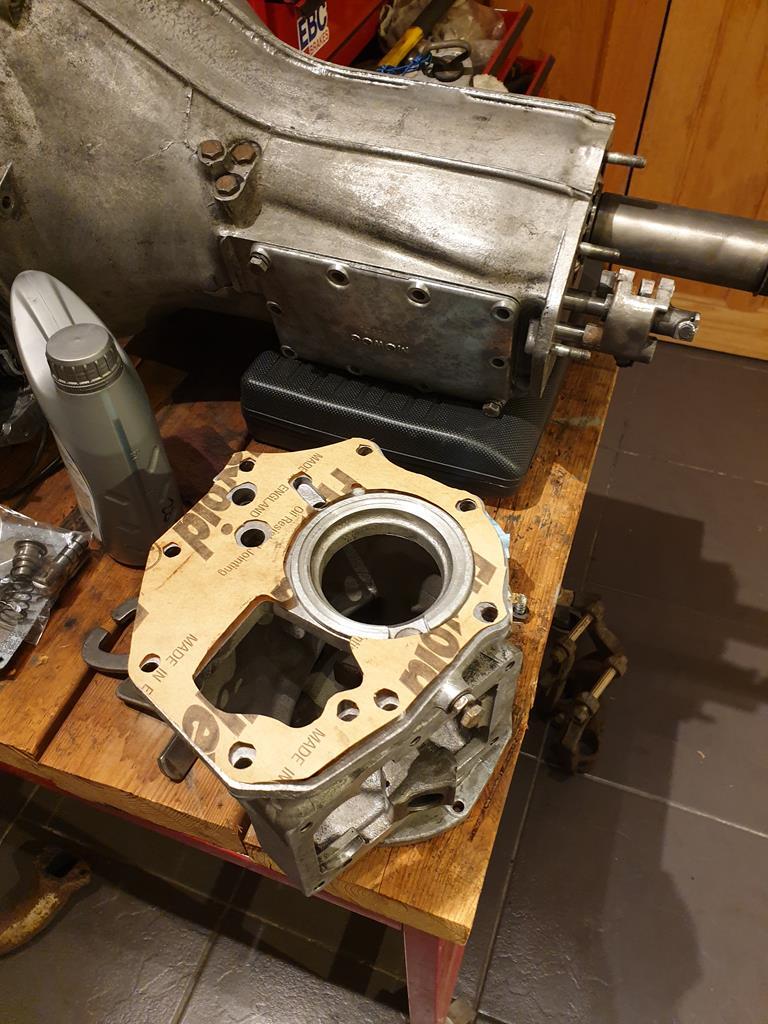 Not my finest work but accurate enough to do the job. Soon got the middle housing of the gearbox in place and bolted down. 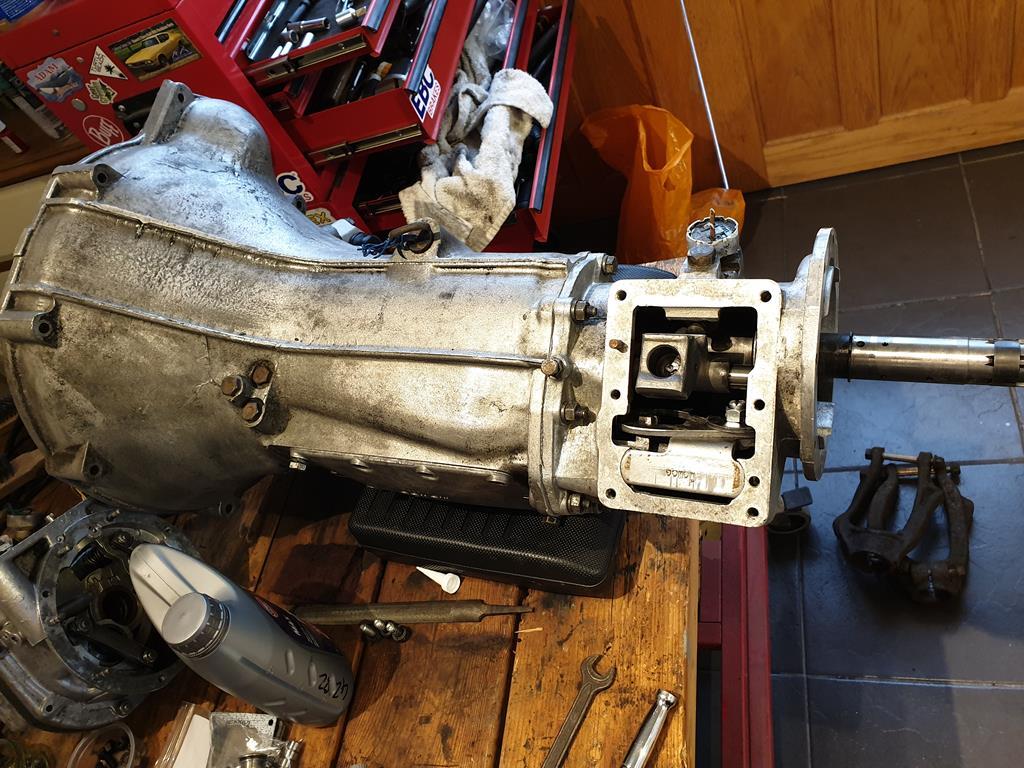 I've used a bit of sealant on all the gaskets, not so much that it all gets into the box, but hopefully enough to stop it leaking like a sieve! Next I tried to put the overdrive unit back on but ran into a bit of trouble.. More on that in a sec. I went back and put the side cover on 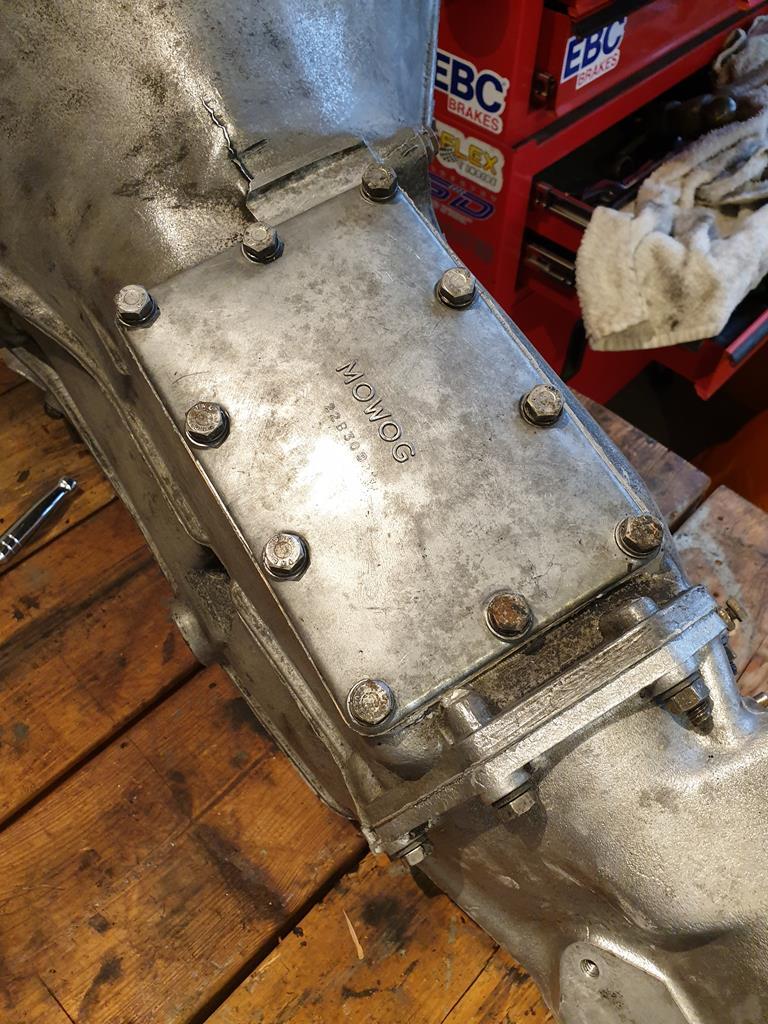 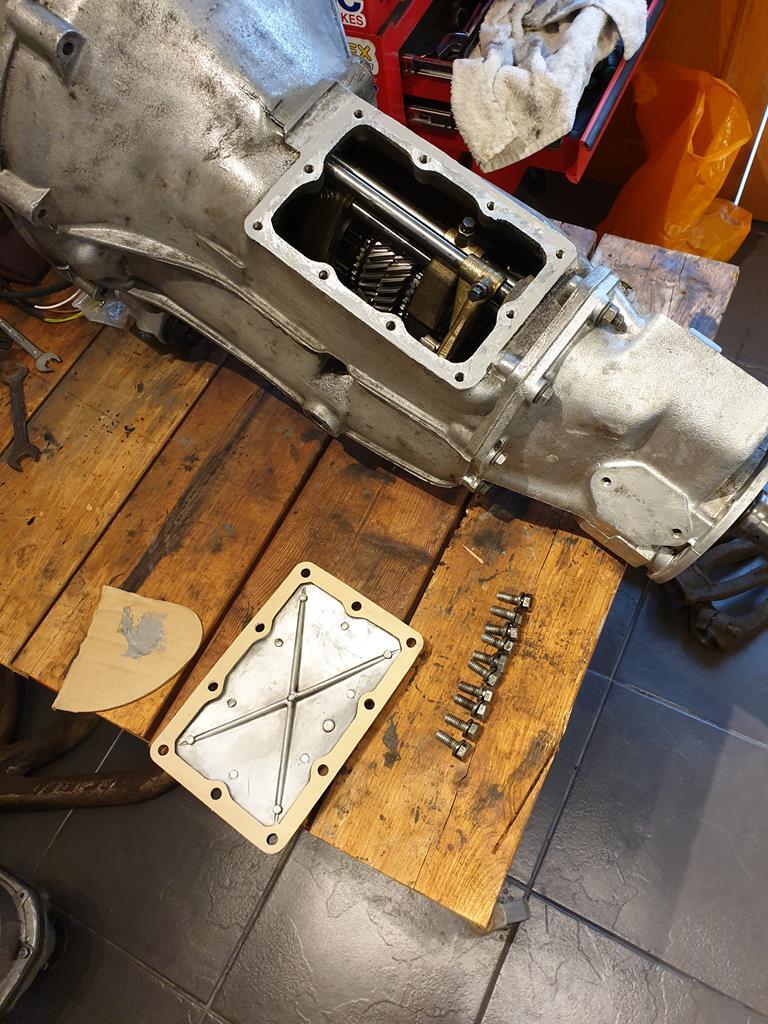 Anyway the overdrive. First key thing, there is a ball bearing which has to go in the slot near the circlip, then the cam for the overdrive oil pump can go over this. 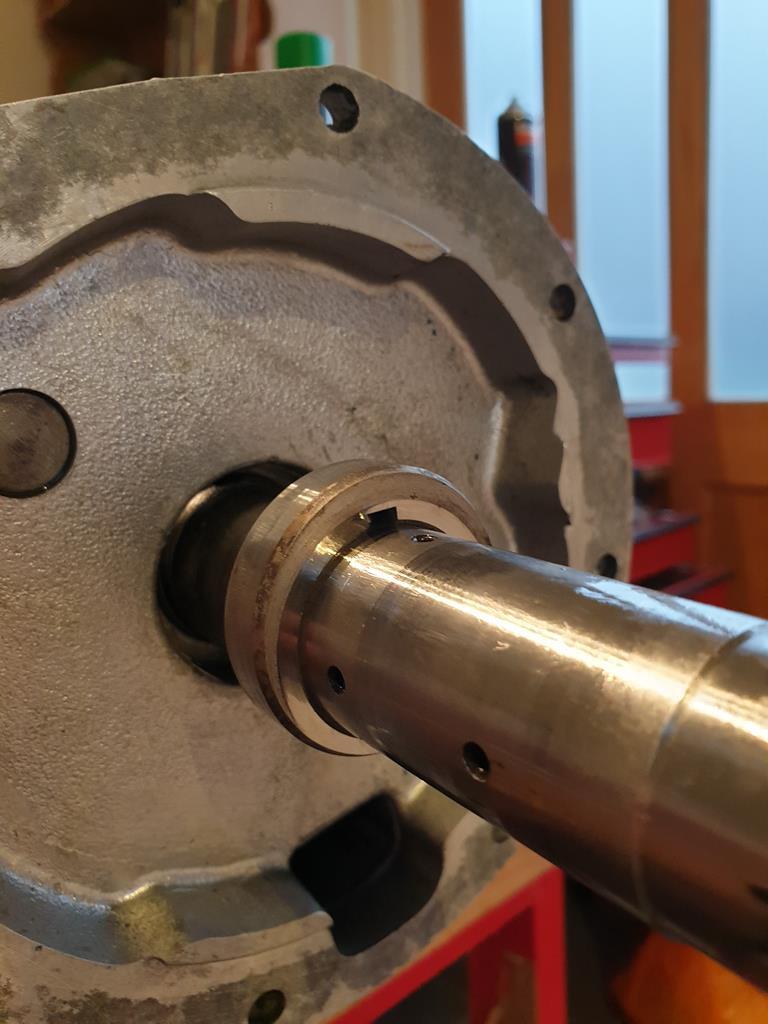 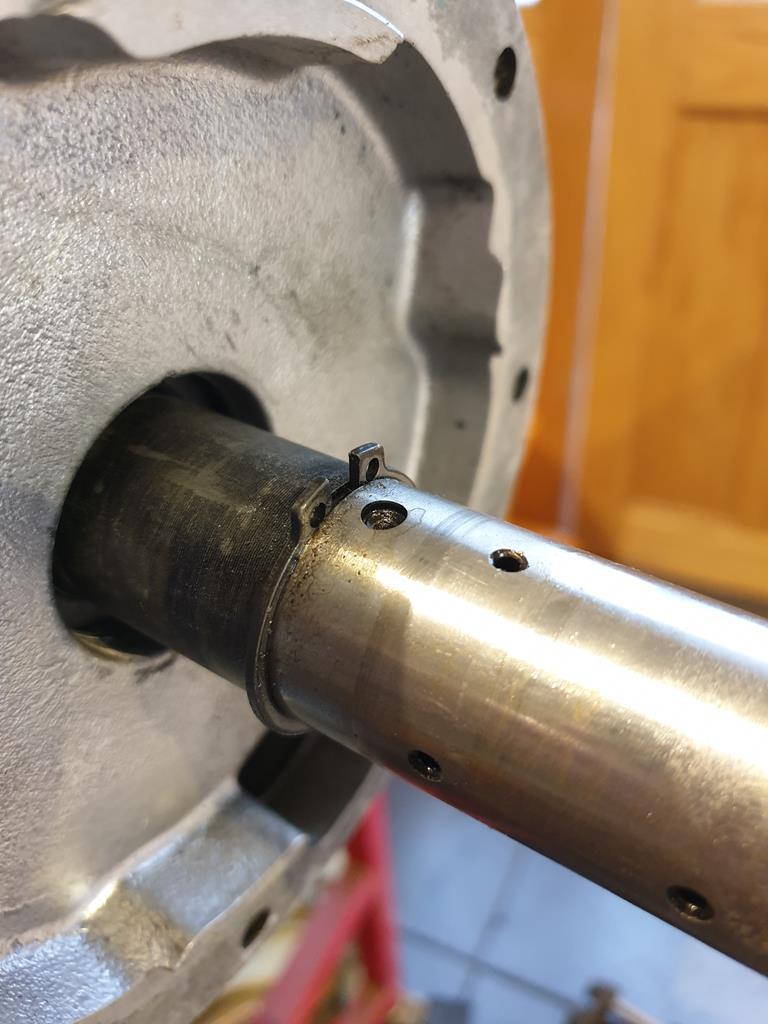 I tried to slot the overdrive on but it only got so far before getting stuck. Took it back off to see what it was getting hung up on 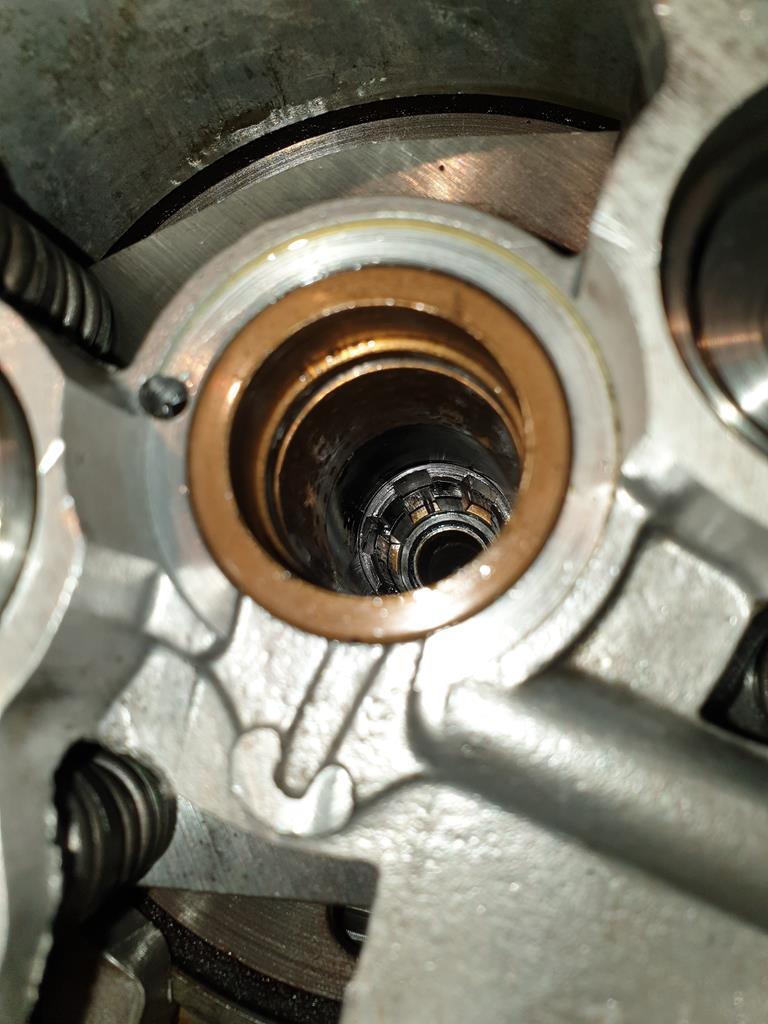 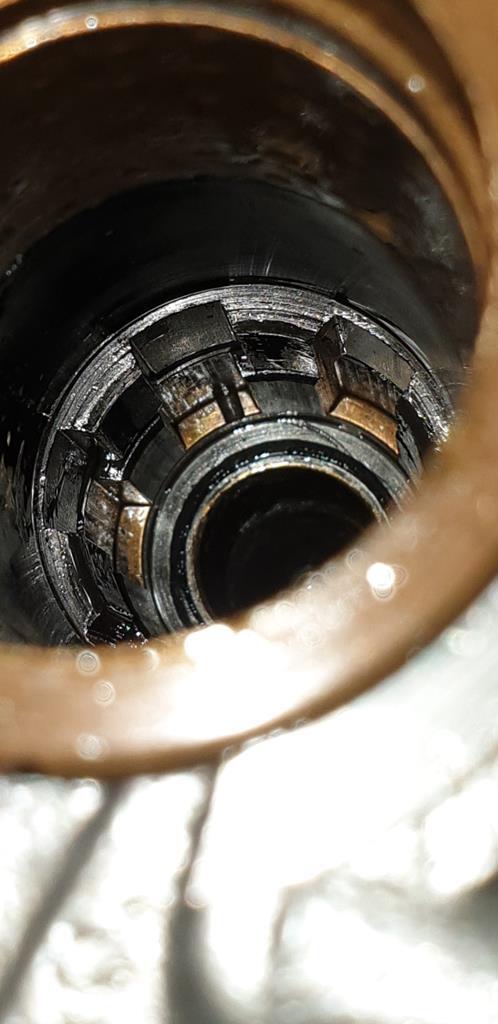 It's hard to see but theres two rows of splines for the gearbox shaft to mesh with, they'd become slghtly misaligned. To align them pressure has to be taken off the clutch in the overdrive by levering against the bars at the end of the unit like so 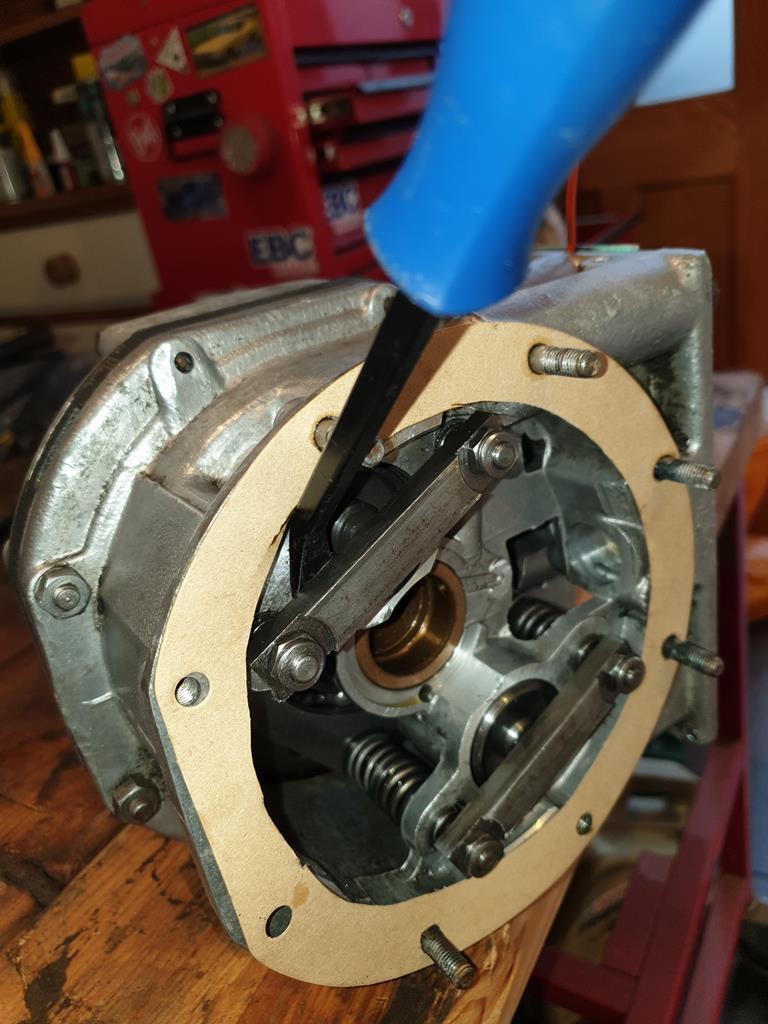 By levering there, I was able to reach into the splines with a flat head screwdriver and turn them independently. The annoying thing is that they only turn one way (I assume as part of the mechanism to stop the OD engaing in reverse) so if you turn it a bit too far you have to go round to the next spline. Anyway, I got them all aligned, put the gasket on with some sealant and slotted it in place. 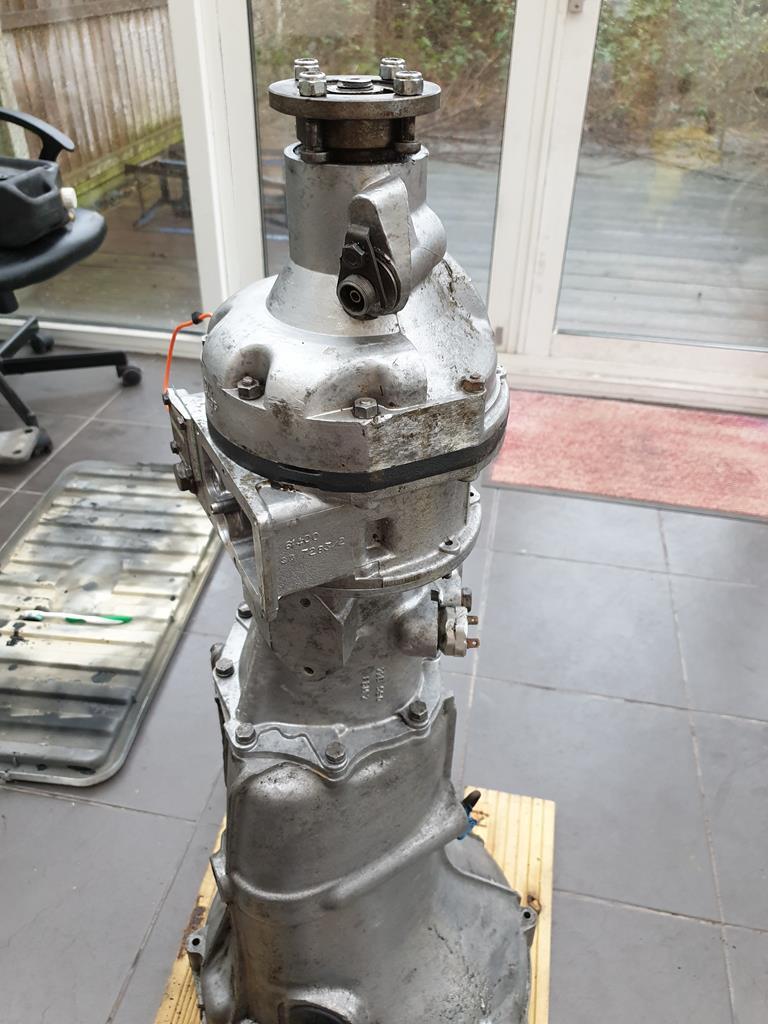 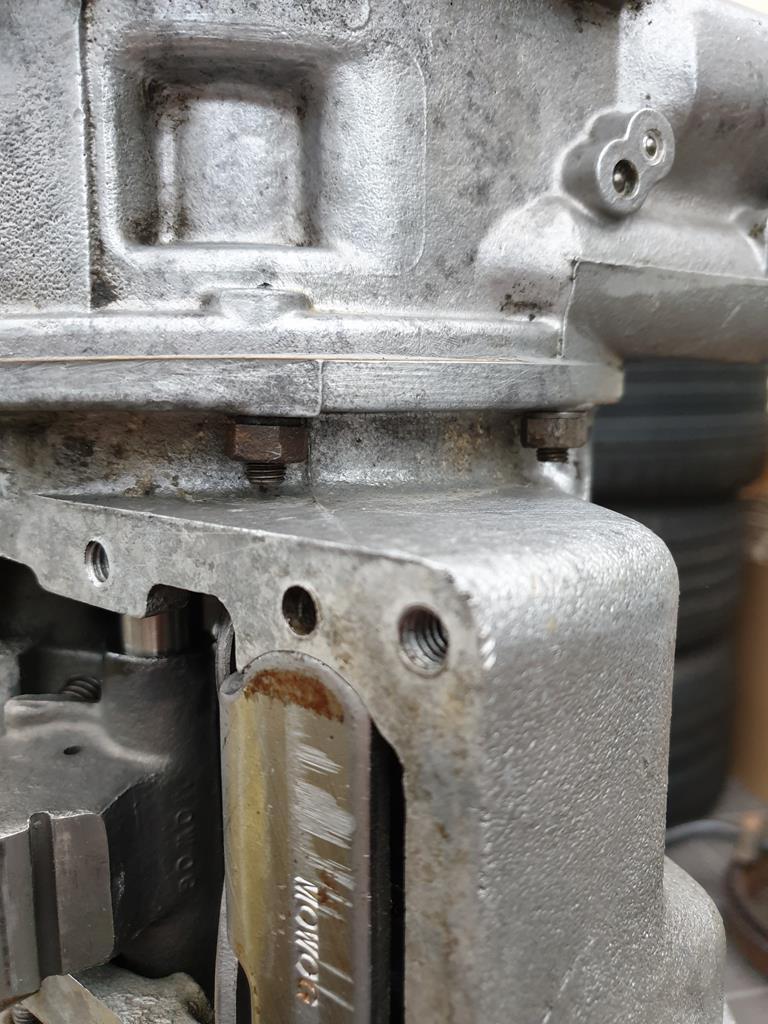 It's a bit fiddly getting all the nuts and bolts in as some of the nuts need you to lift the overdrive back up a bit to get the nut in. Next I had to get the oil pump itself into the overdrive. This was probably the most difficult part of the whole job, as I had to install it going up from underneath. Don't do it from the top as it is too easy to drop parts into the casing!! (yes I did it, but thankfully I managed to fish them out!) I didn't really take any photos as it was one of those jobs, but basically this is the hole for the pump and you can see the cam in there 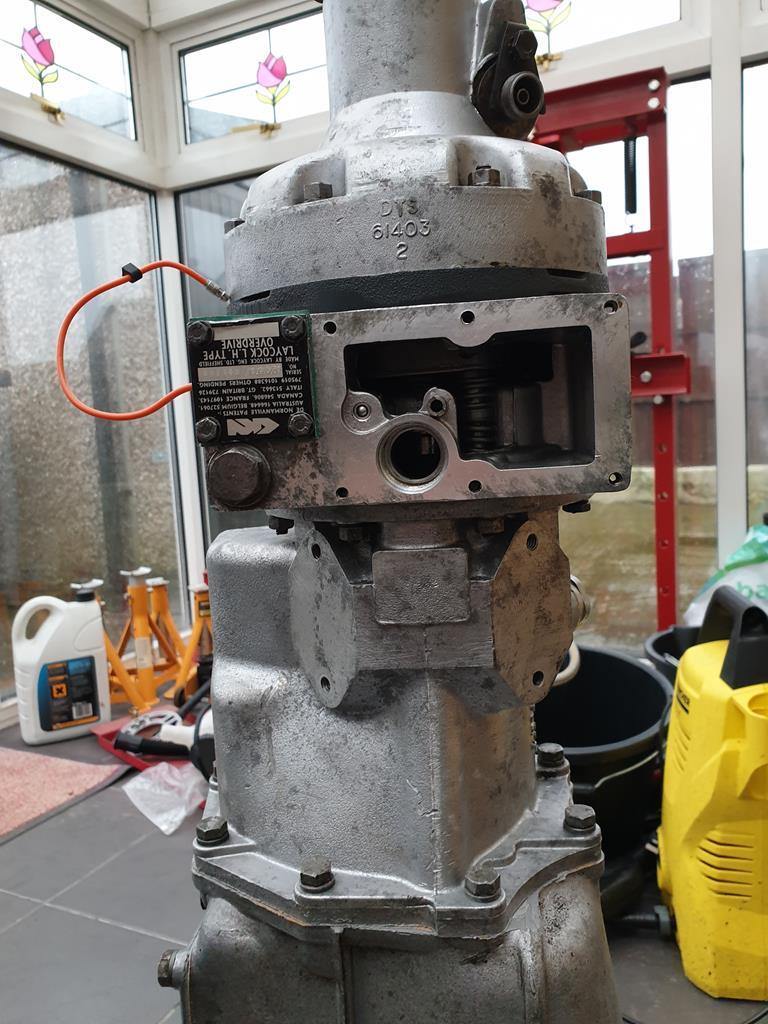 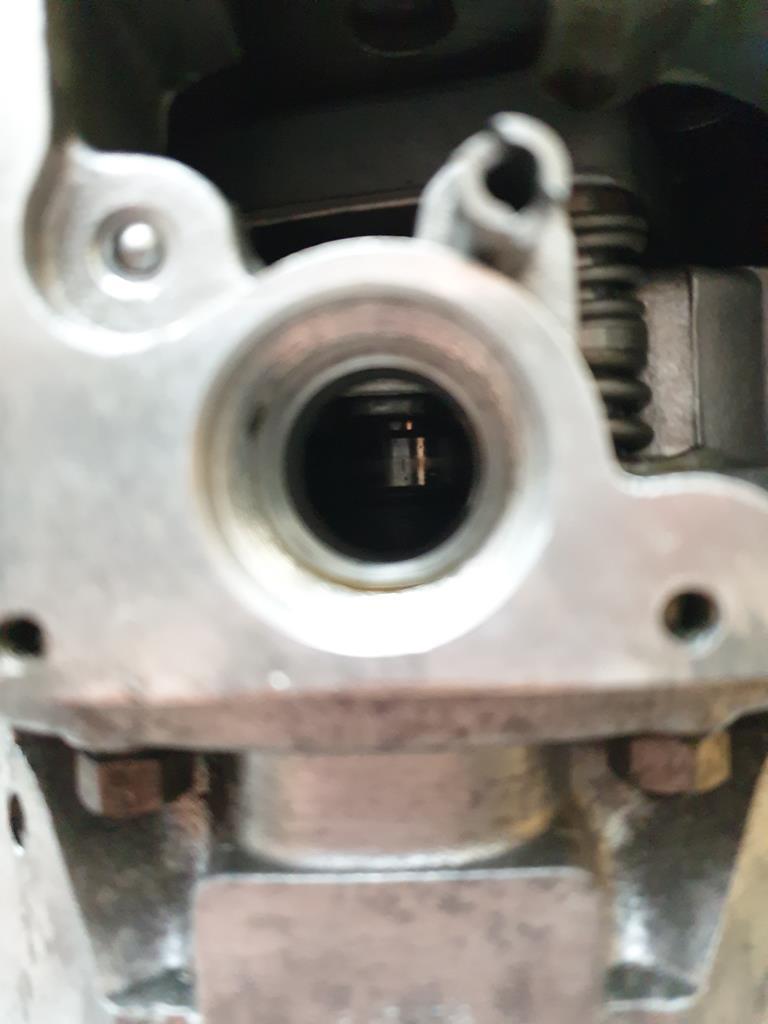 As the oil pump is sprung (I took a photo of the parts a couple pages back) its pushing back as you try to screw the plug in, but eventually I got it in place and tightened up. Once this was done I turned the gearbox over by hand and made sure I could see the oil pump plunger move as it rode on the cam. That was all good so chucked the sump back on 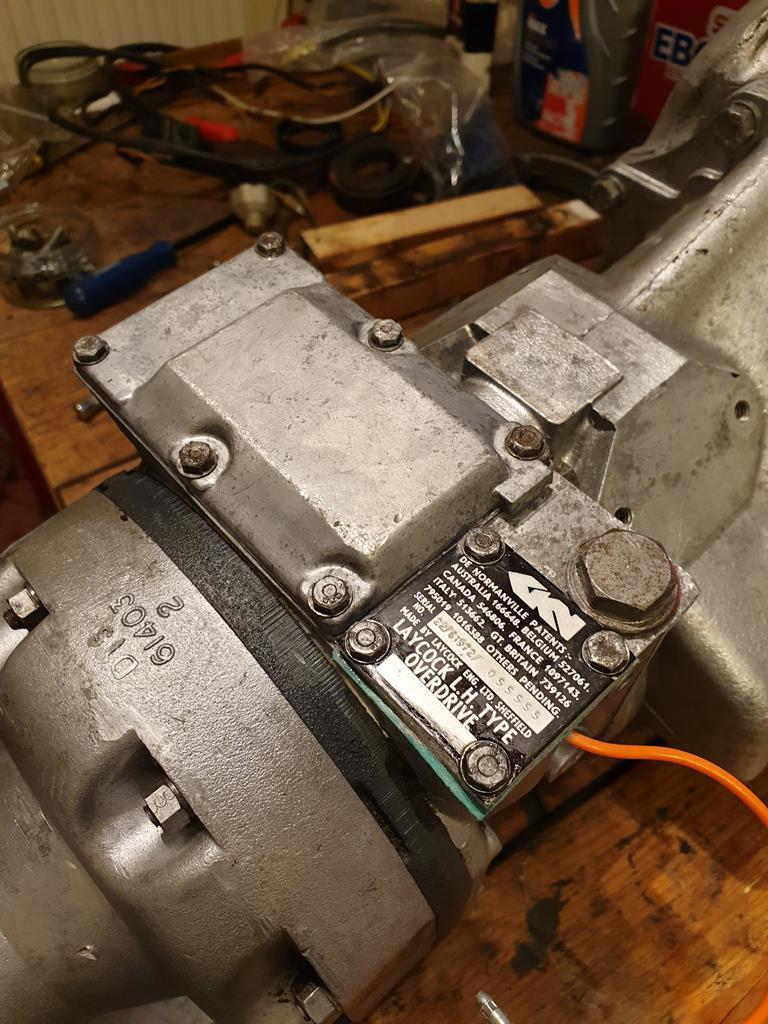 I changed over the reverse light switch which I bought yeaars ago back when I had the car on the road. Also put the remote housing back on the top of the box 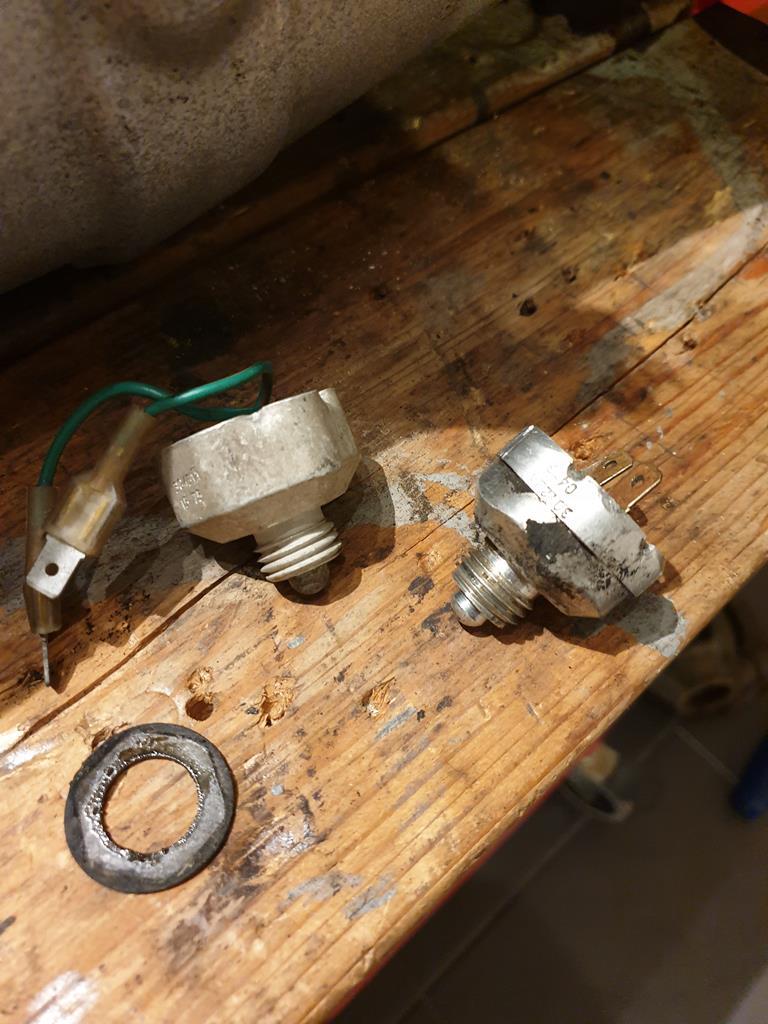 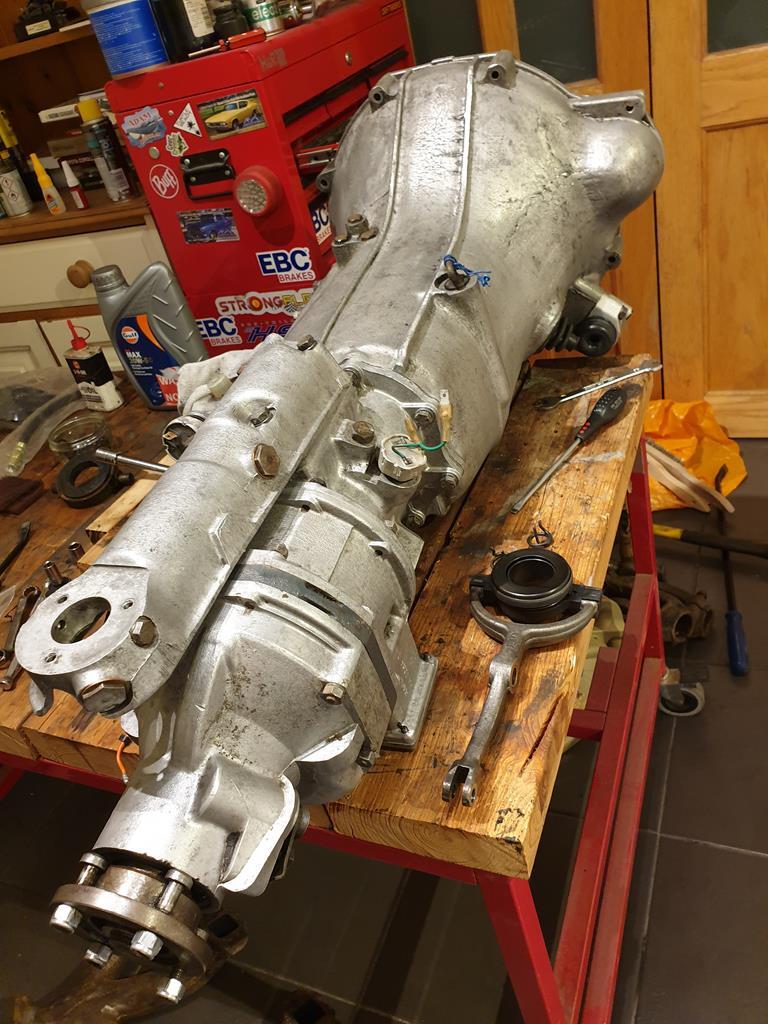 Last job for now was to put the new roller clutch release bearing in the clutch fork, I had planned to bolt the fork in also but I hadn't noticed that the old pivot bolt had some wear so a new one is on order 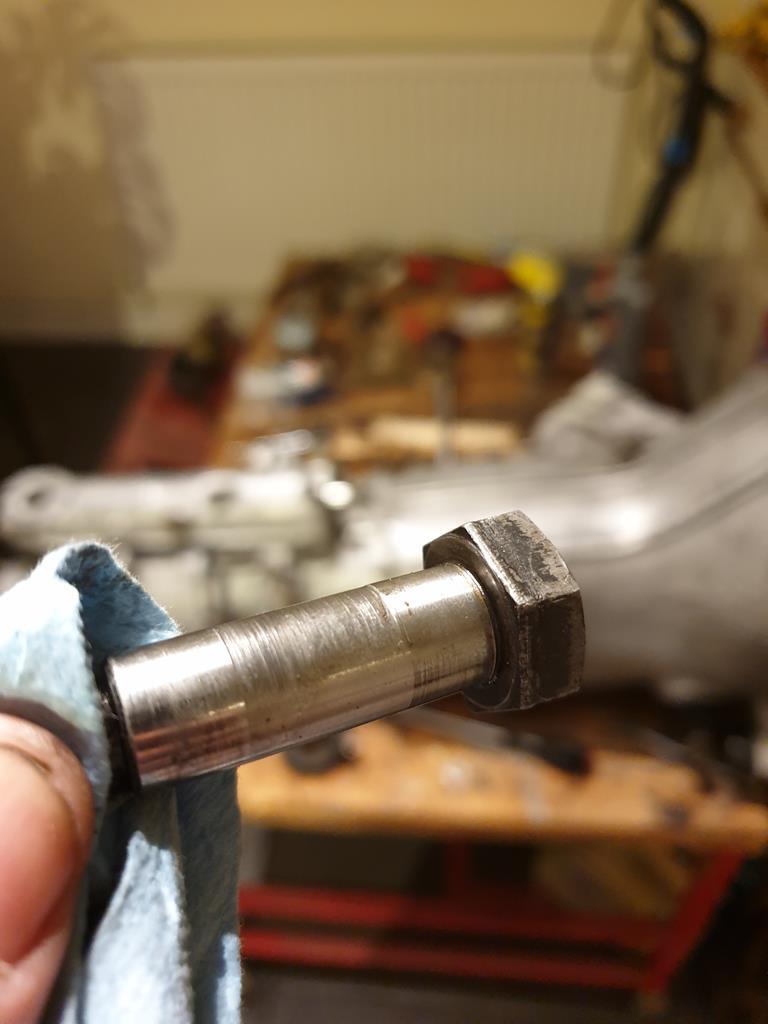 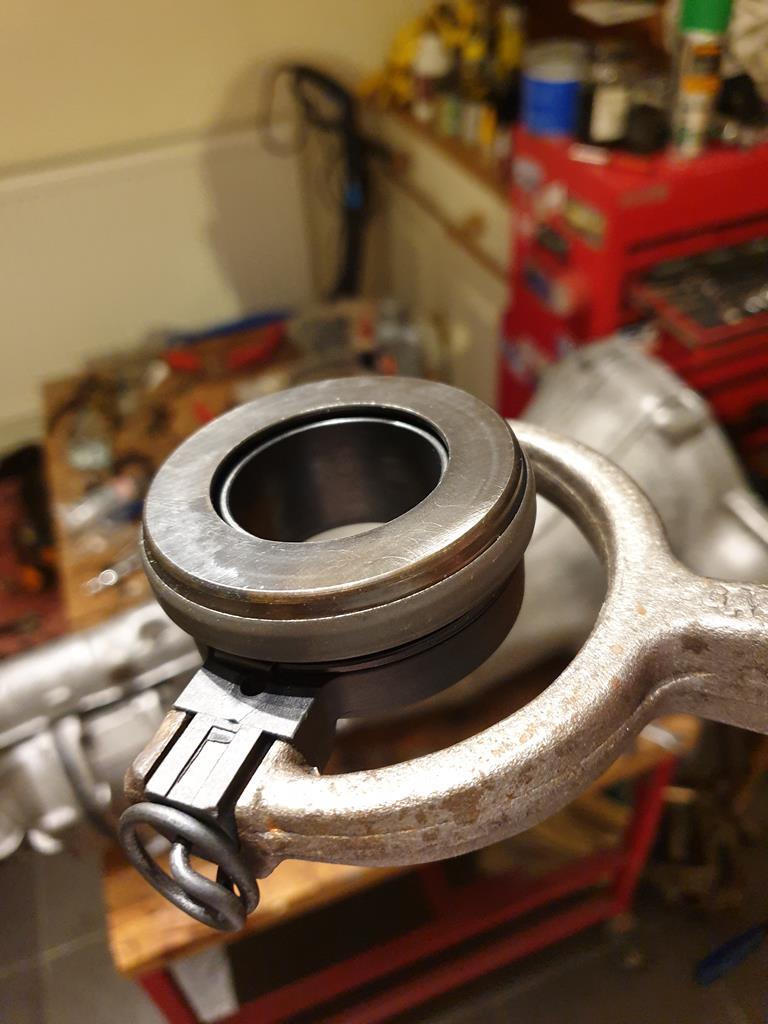 Aside from that, the gearbox is all but finished  So I can turn my attention back to the Weber and getting it cleaned up |
| |
|
|
820
South East
Posts: 793
|
|
Jan 27, 2020 21:01:14 GMT
|
|
Nice update, thoroughly enjoyed reading that with the problems details and your solutions.
|
| |
|
|
adam73bgt
Club Retro Rides Member
Posts: 4,975
Club RR Member Number: 58
|
|
Jan 27, 2020 22:56:45 GMT
|
Nice update, thoroughly enjoyed reading that with the problems details and your solutions. Thank you very much, if my ramblings can be of some entertainment then all the better! Tonight was spent looking over the Weber again, trying to remove the bits I hadn't already taken out and noting down the specs of all the various jets and tubes that go within. 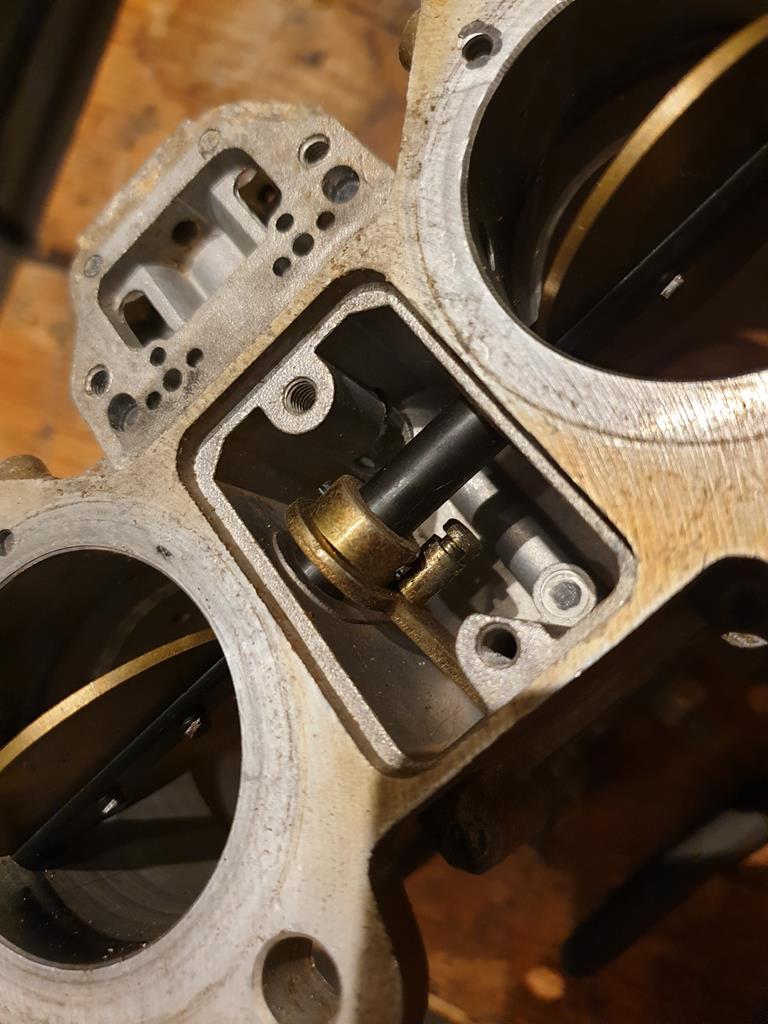 The internal throttle return spring was here, until I managed to shoot it across the room while removing it under tension  I did try to drift out the roll pin holding the lever to the throttle shaft but no luck so far. The screws for the throttle plates were very tight but eventually came out and now the aforemetioned internal throttle lever is about the only thing holding the throttle spindle in still. I got the float detached from the carb lid which revealed the needle valve and I also managed to wrench the fuel filter screen out using some pliers, there was a lot of sediment and gunk sticking it in place! 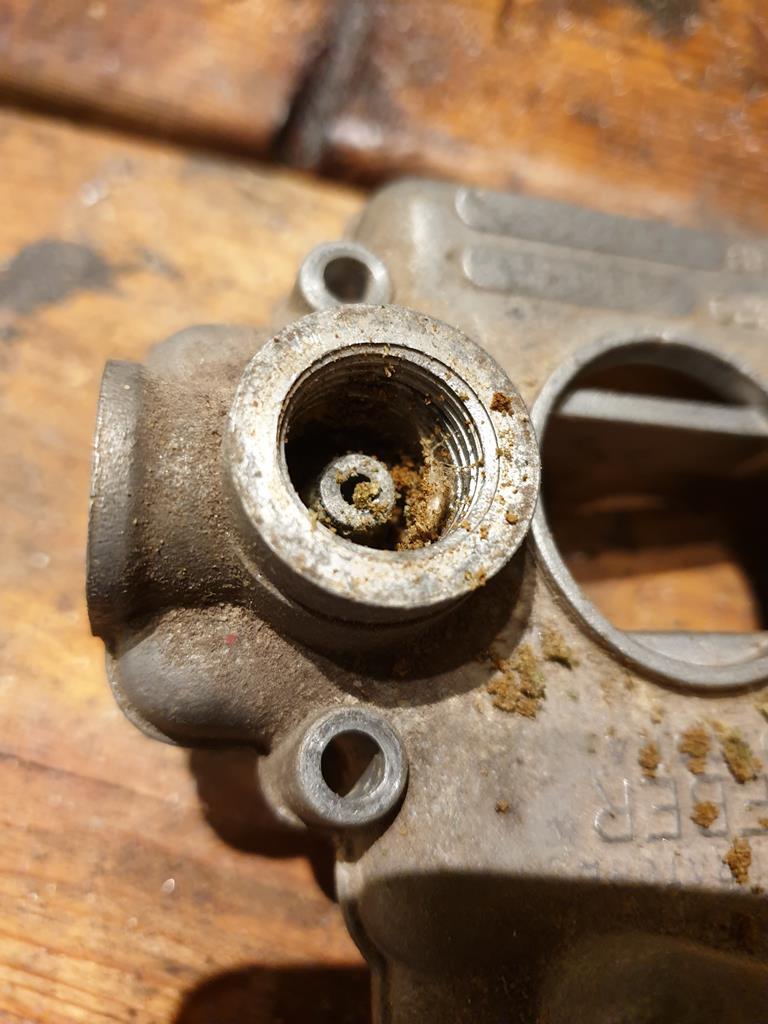 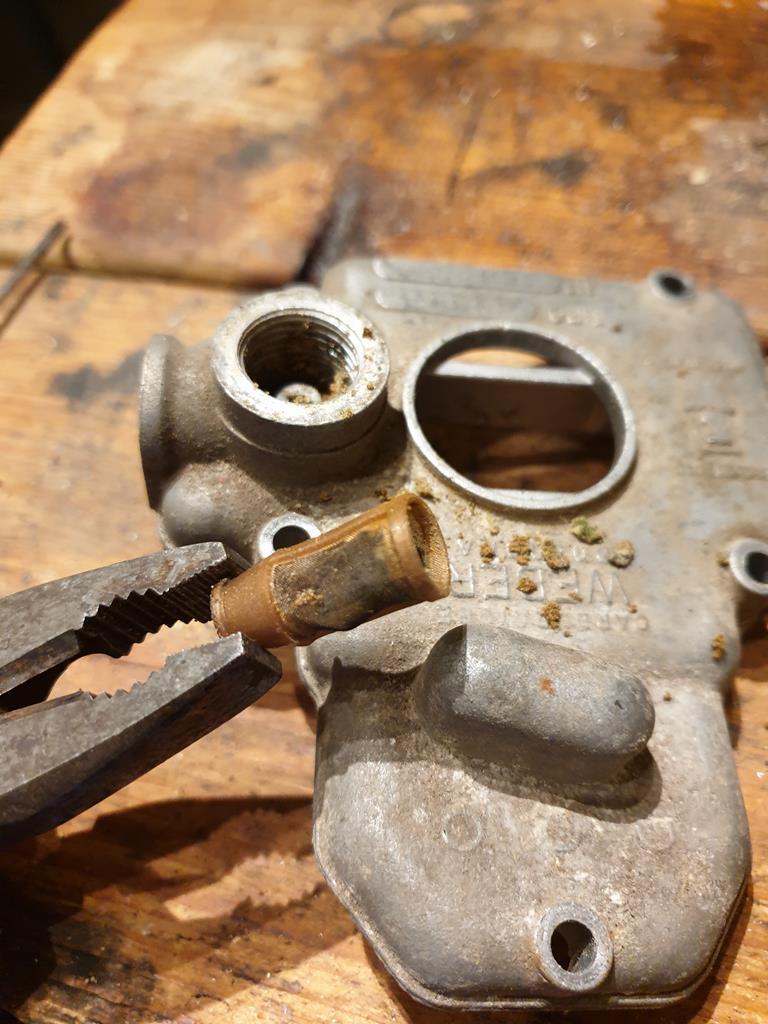 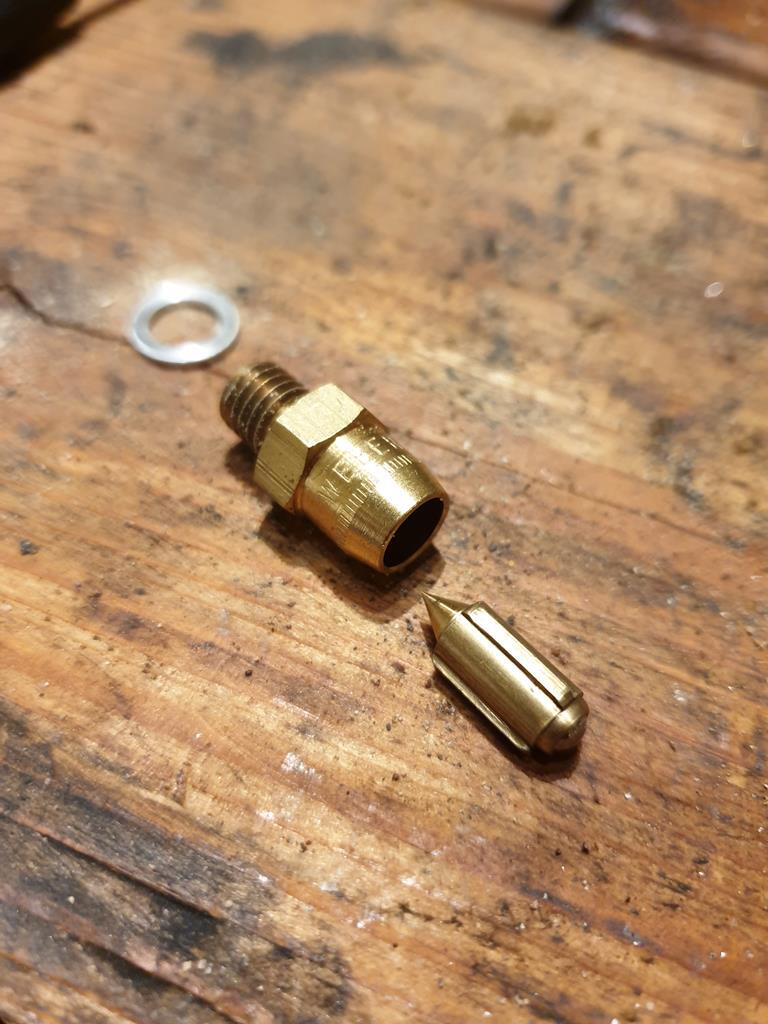 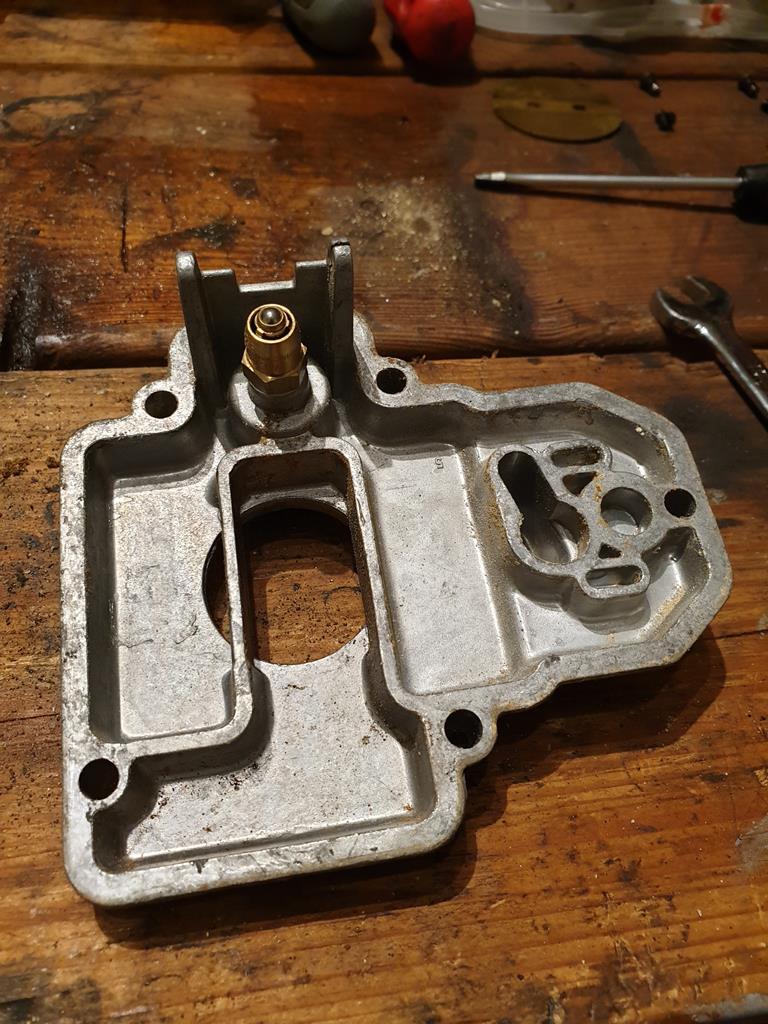 I've got a couple books which I've been using as references, How to Power Tune MGB Engines and Weber Carburetors Tuning Tips and Techniques, both of which have slightly different ideas on what the specs of the jets should be but they're not far off each other. The actual parts in the carb I have are quite a way off so maybe my thinking of "oh it came off an MGA engine, thats basically the same" wasn't well founded! In any case, I knew it was going to need some new parts, and will need some rolling road tuning at some point. So I'll order a service kit, and some other bits and try and find the best stuff to get everything squeaky clean with |
| |
|
|
|
|
|
Jan 28, 2020 11:31:09 GMT
|
|
Nice work Adam, I'm sure the Weber will clean up a treat. Your photography is great by the way!
|
| |
Last Edit: Jan 28, 2020 11:31:59 GMT by flyingphil
|
|
adam73bgt
Club Retro Rides Member
Posts: 4,975
Club RR Member Number: 58
|
|
|
|
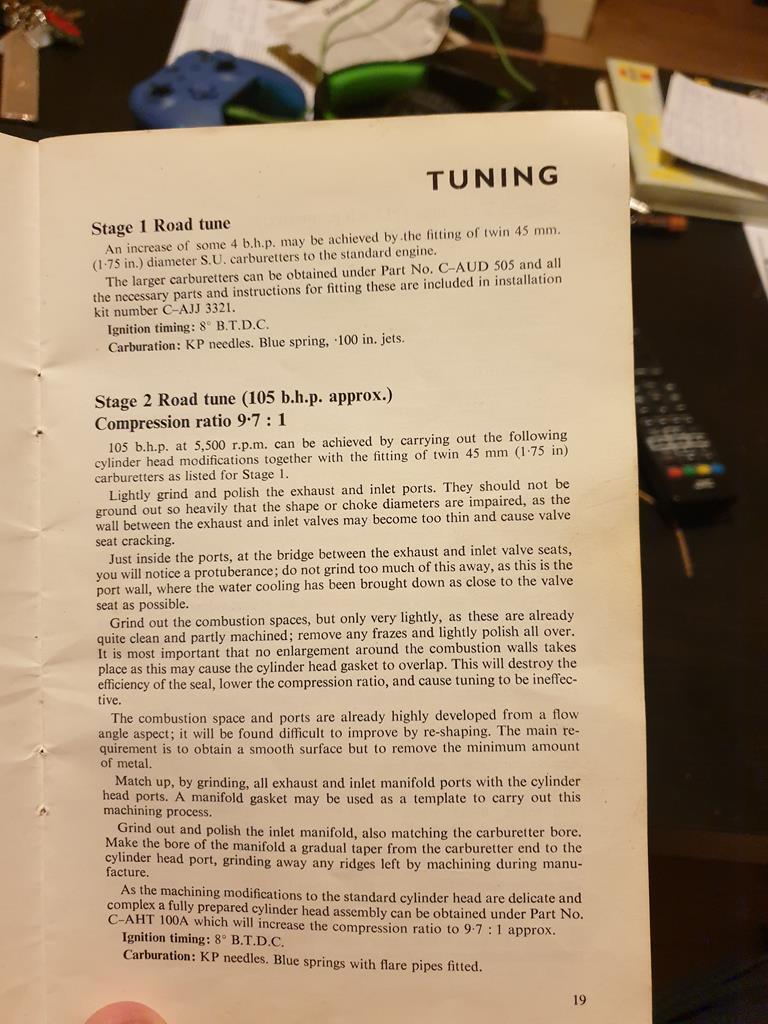
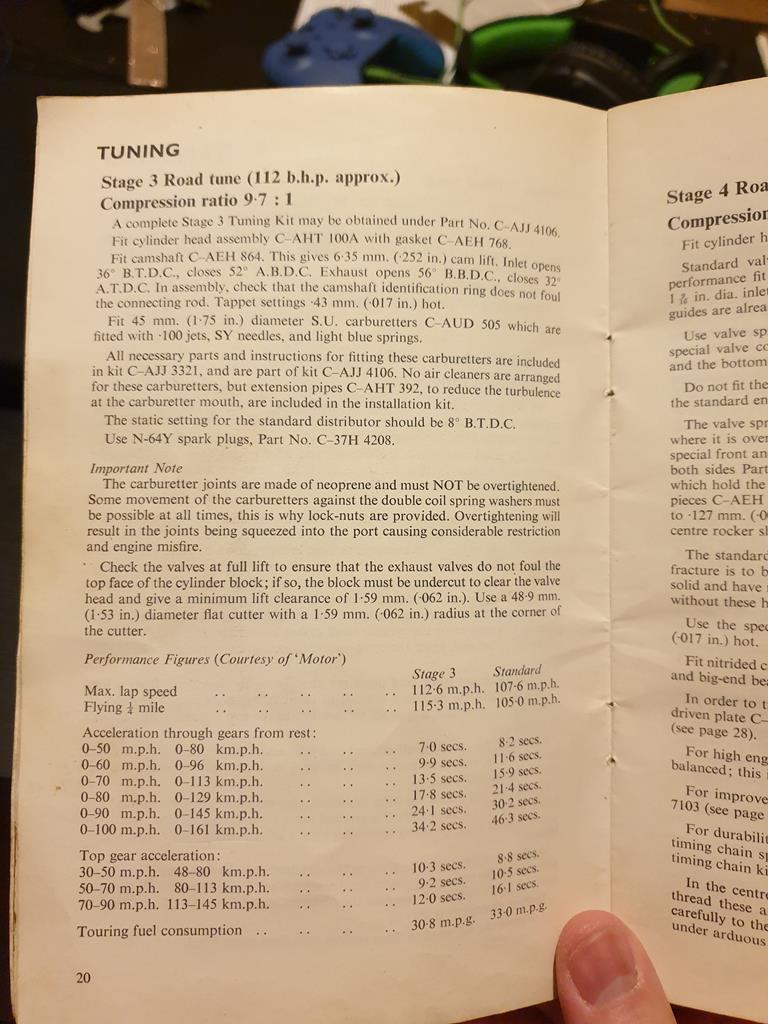
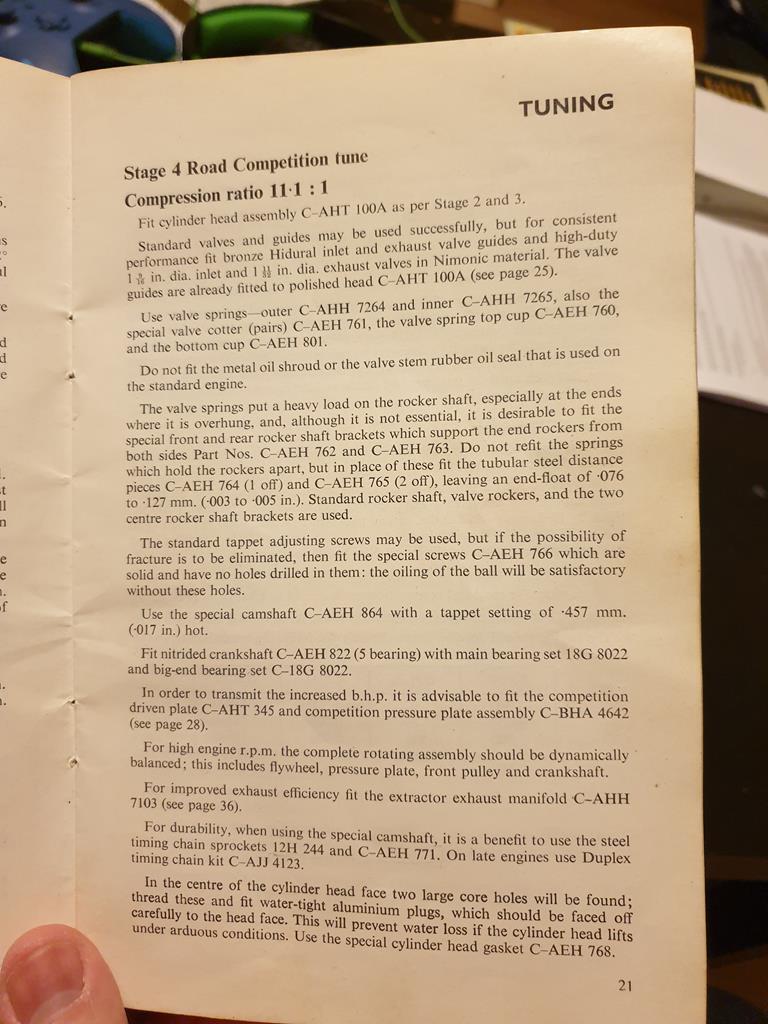
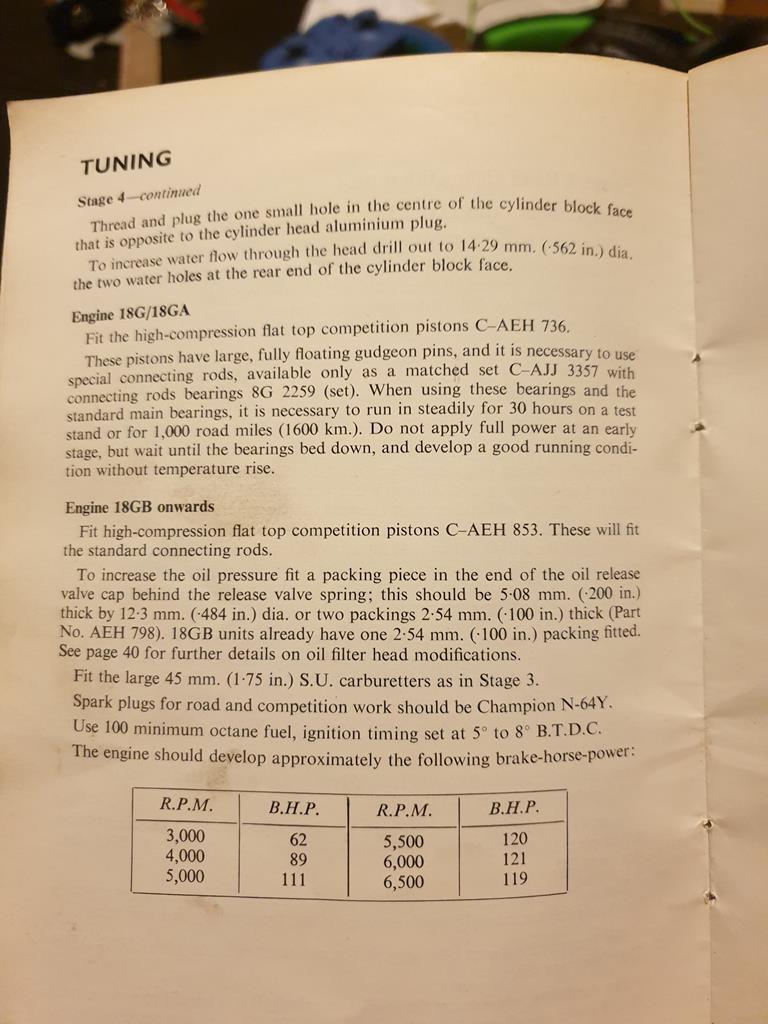
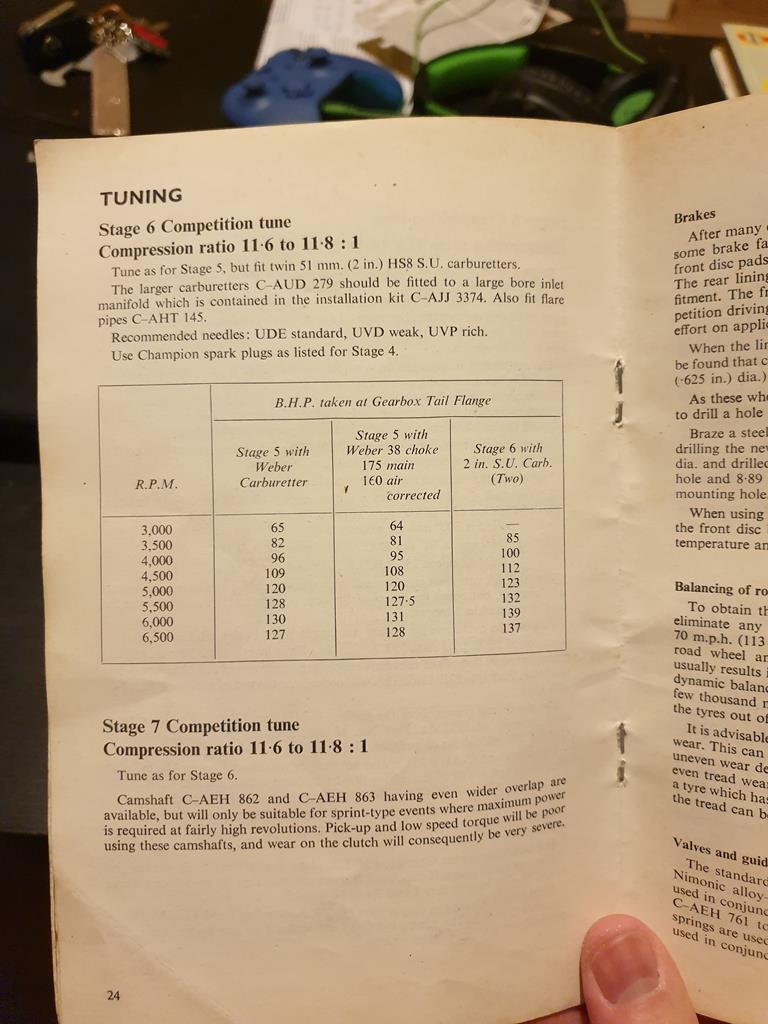
Nice work Adam, I'm sure the Weber will clean up a treat. Your photography is great by the way! Thank you  I try to make the photos as clear as possible as primarily they serve as a reference for me so I can put things back together somewhat correctly  I'm trying to keep the momentum up on the B since I've got back into it so a few things have happened this week. First off, I made a random ebay purchase of an old Leyland Special tuning manual as it was very cheap 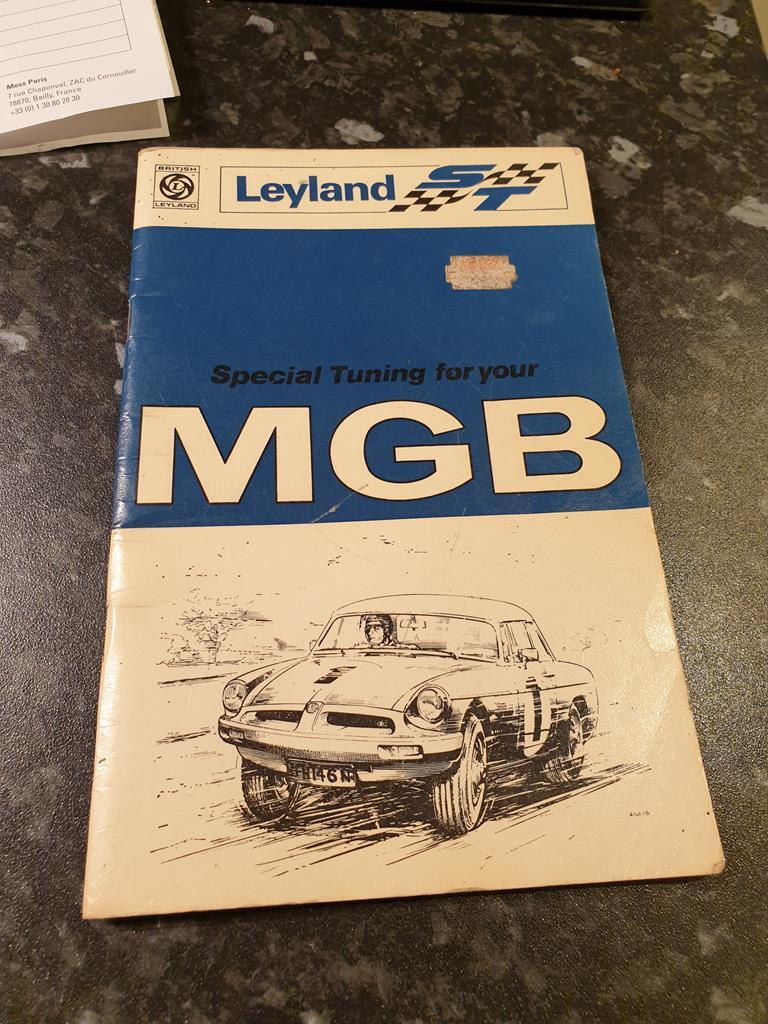 Now amongst other things, it covers fitting a Weber 45DCOE carb to a B, and gives some suggested settings for the various jets and venturis 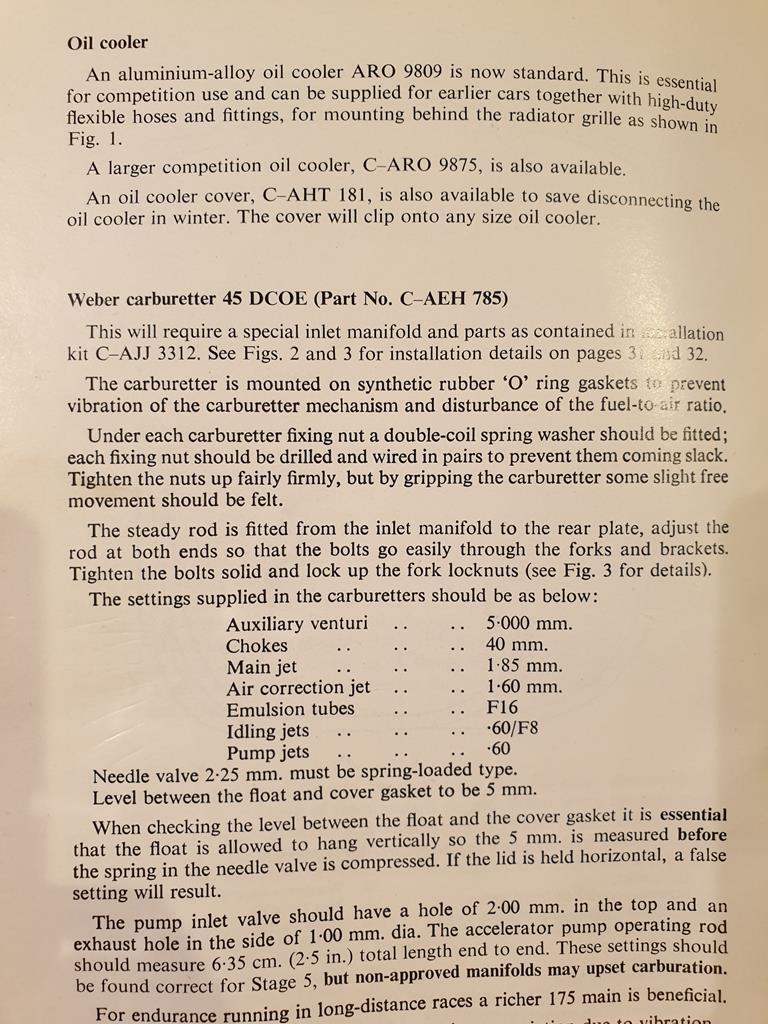 I've been doing a bit of nerding out comparing these to the other two books I have 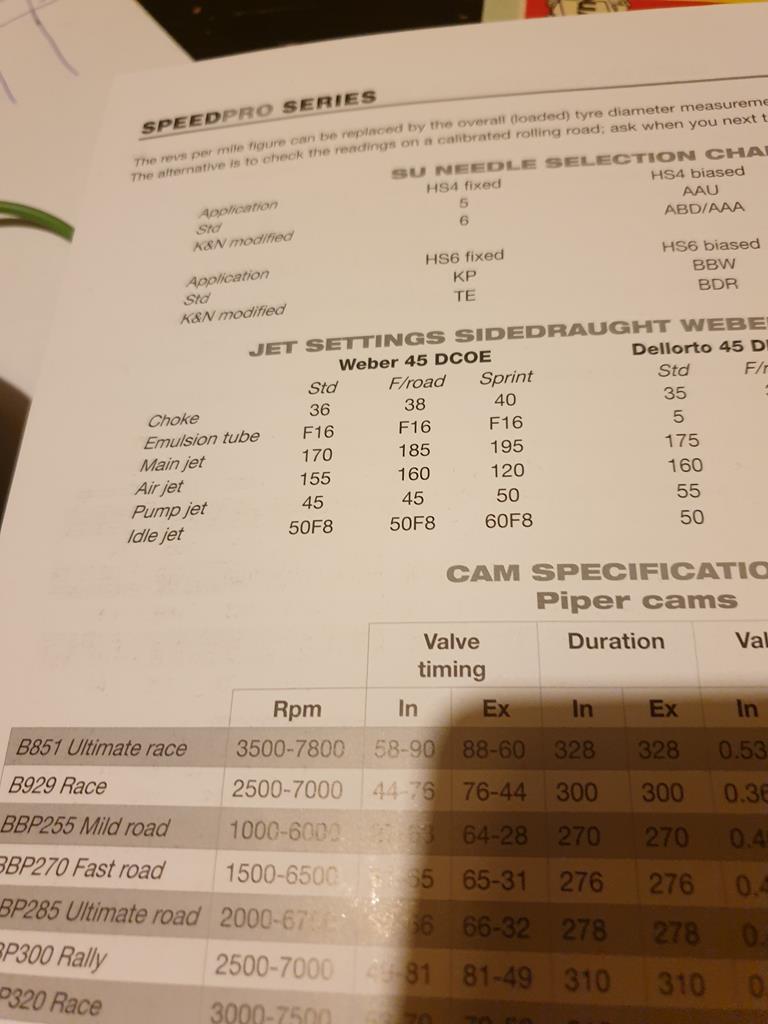 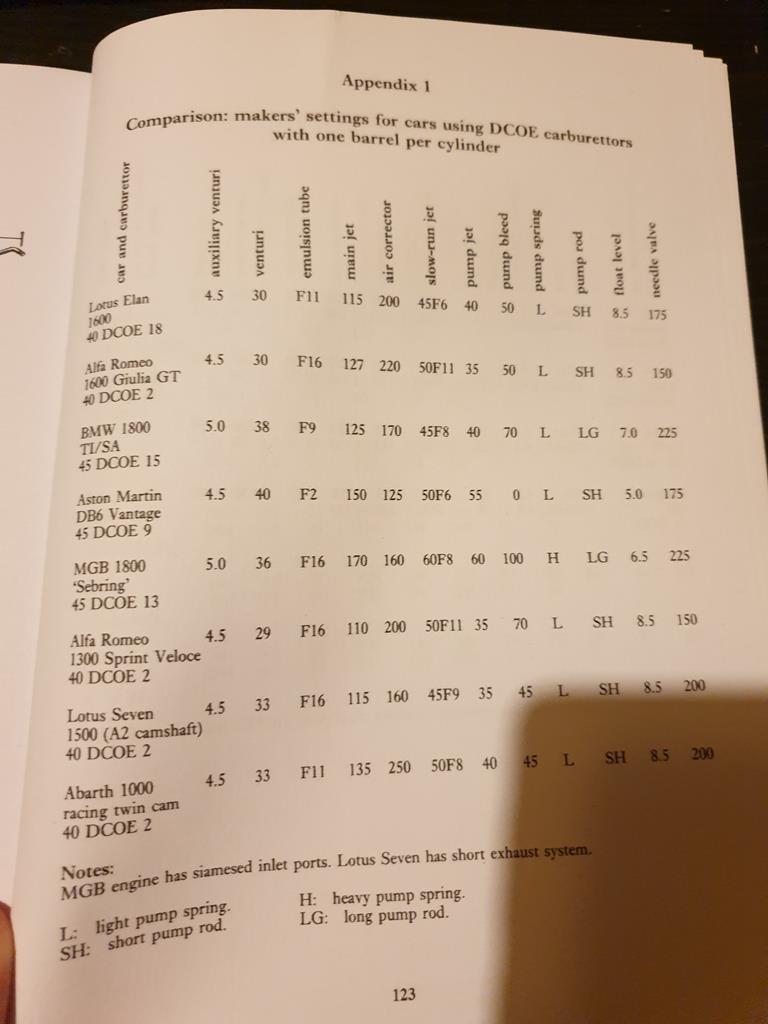 Obviously a lot of the final spec depends on the needs of the engine you're bolting the carb to, but I find it interesting to see where the different specs align or disagree with one another. I've not bought any bits for the carb yet but I'll be ordering a rebuild kit soon and will make a best judgement at a starting spec for the jets and venturis based on my plans for the engine. Of the carb itself, I had a bit of a fight getting the throttle plates and shaft out, there was a roll pin which needed drifting out of the shaft and lever for the internal return spring which was tricky. 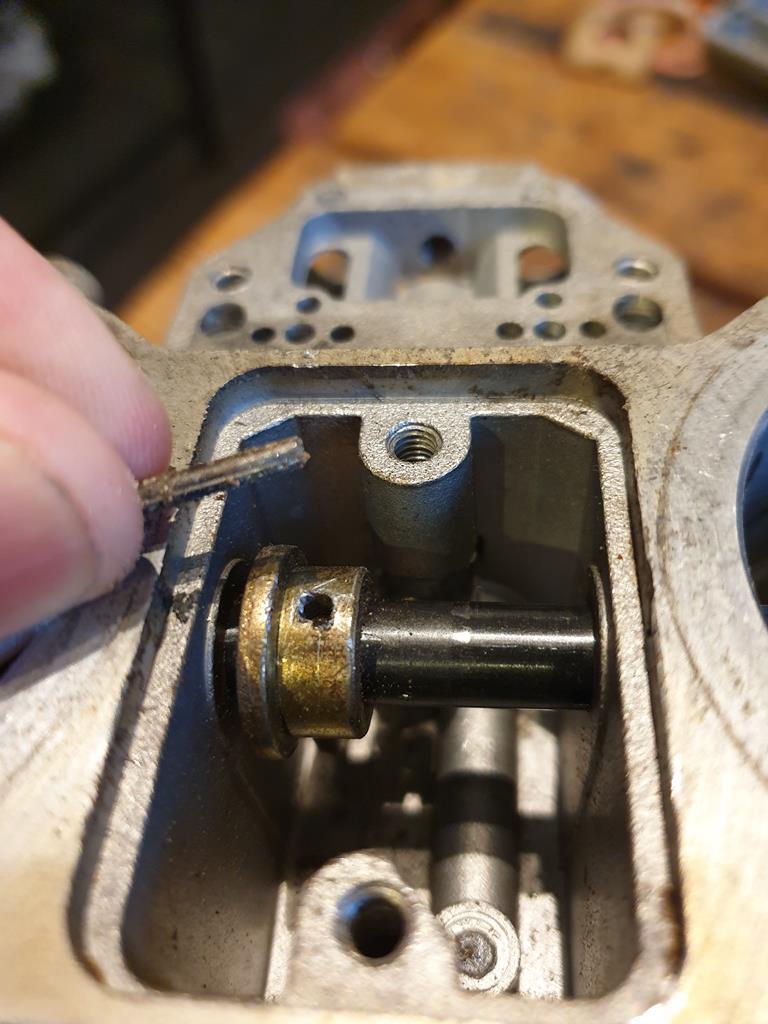 These are the bits inside the ends of the throttle shaft, theres a small leather (I think) seal on each end. When I come to rebuild it, I'll use sealed bearings so should be able to omit this part 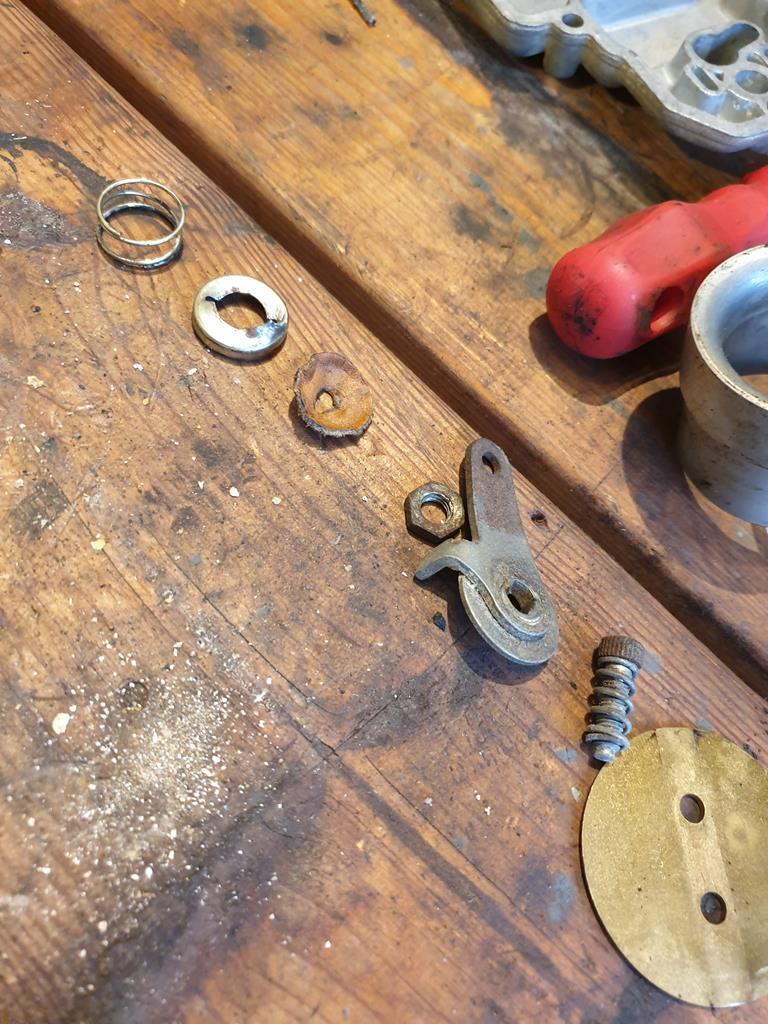 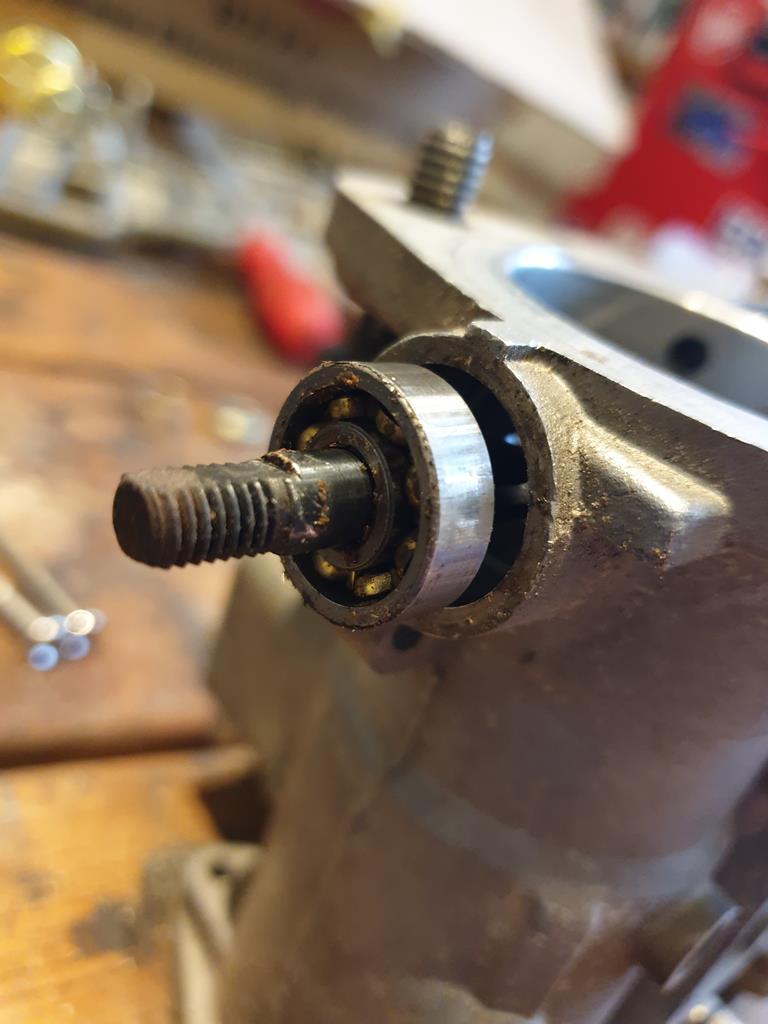 The carb is almost totally stripped down now, the only thing causing an issue at the moment is the spill jet at the bottom of the fuel bowl. I think previously I mentioned the head was a bit ruined by the screwdriver slipping, well I had a small victory in that I could make the flat head in it again by using a chisel. It started working in that the head started turning ever so slightly, then it sheared... 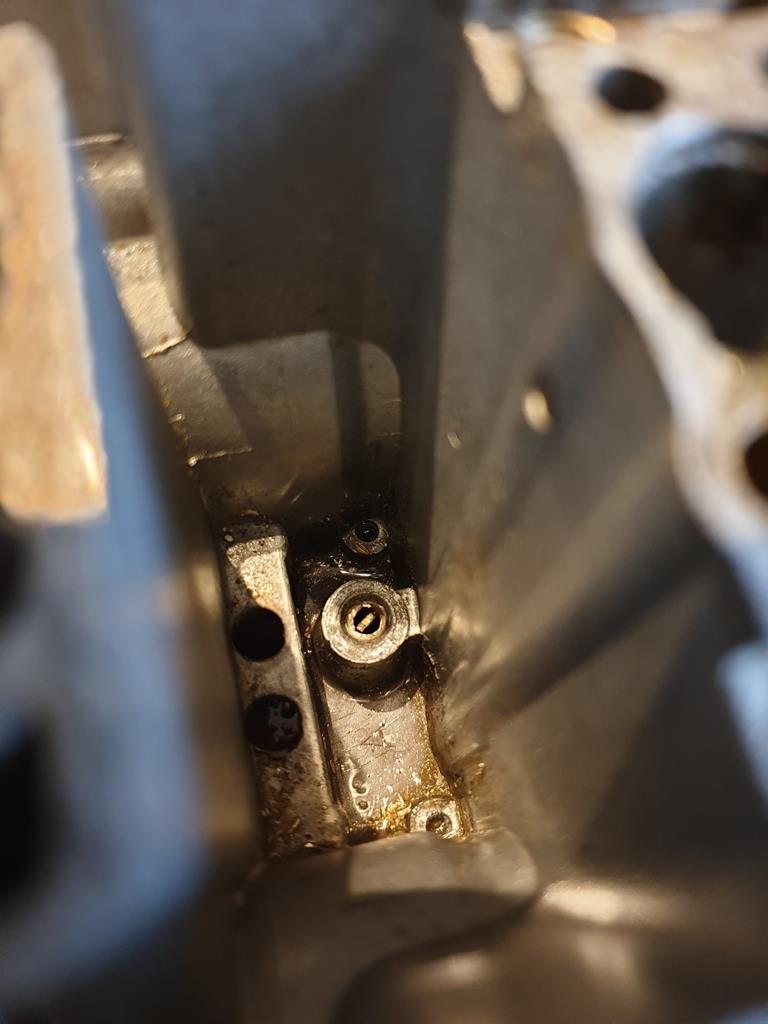 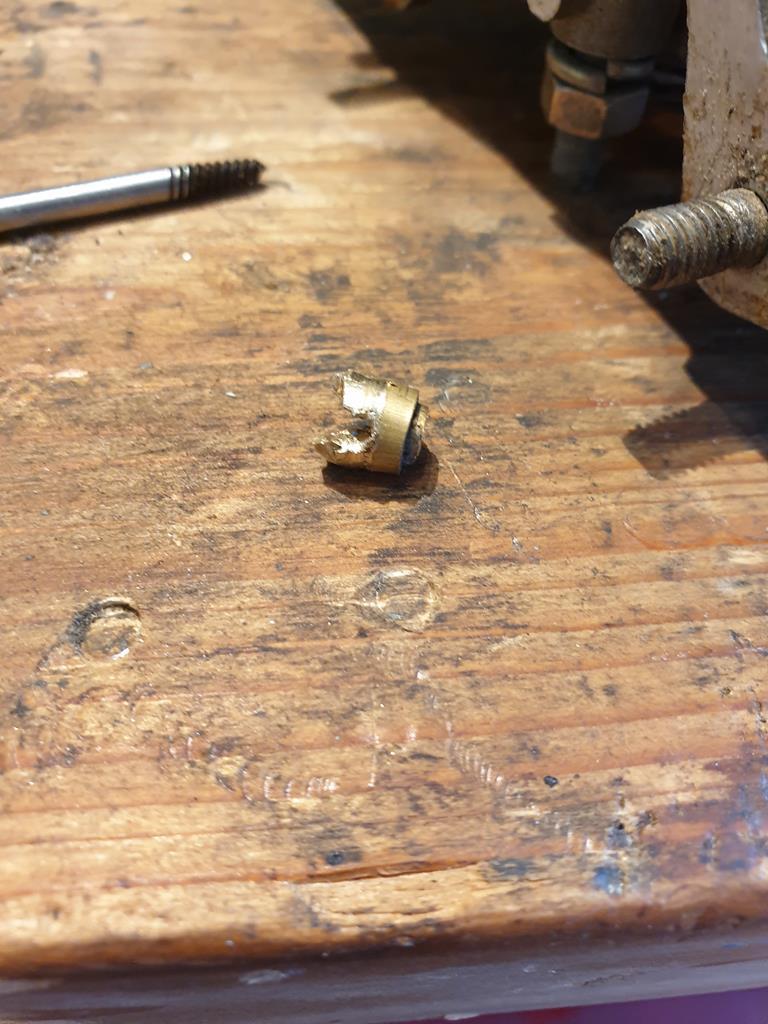 Great. I have managed to get a screw extractor into the end of it, just waiting for a long reach handle to turn it. In other news, got some of the last bits for the gearbox, namely the pivot bolt and a pushrod for the clutch fork assembly. 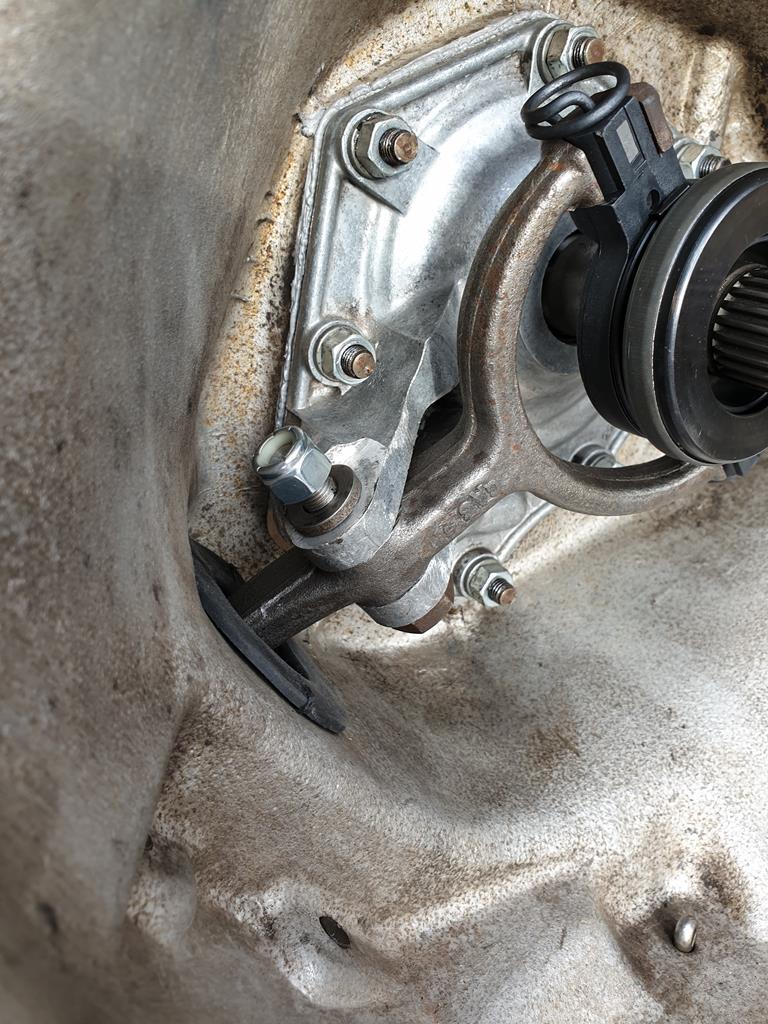 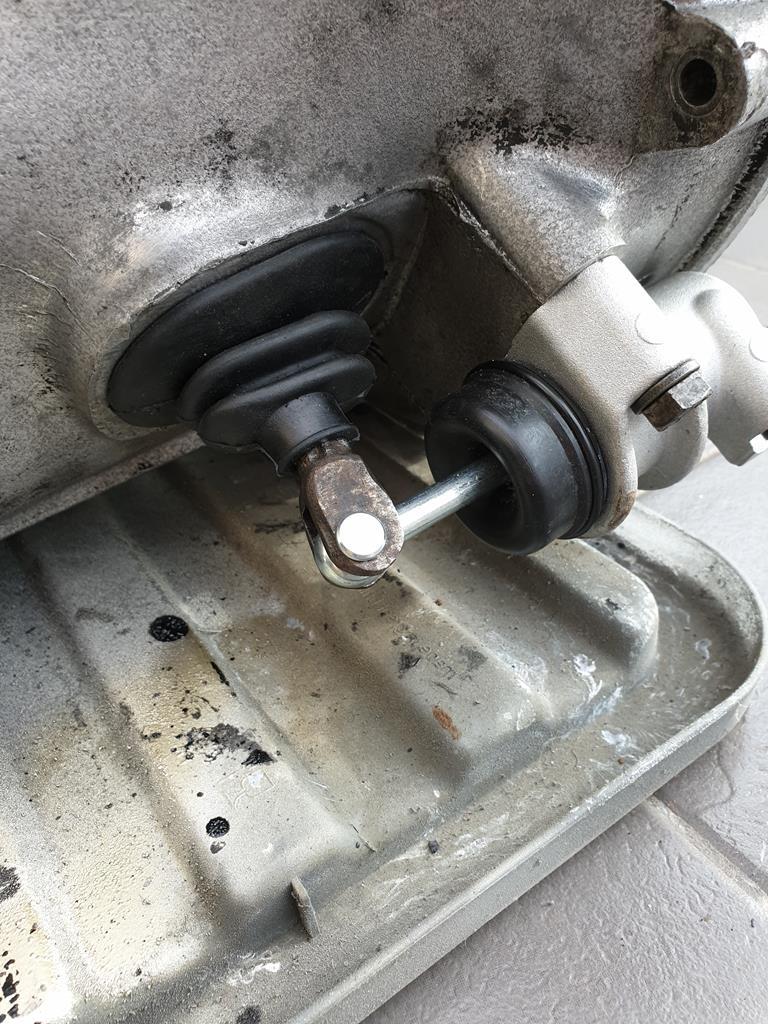 Then while cleaning some of the loose B bits out of the shell, I decided to take a bit of a closer look at the interior, I did know there was a hole in the rear of the passenger side floor so knew at some point I was going to have to take it back to bare metal. 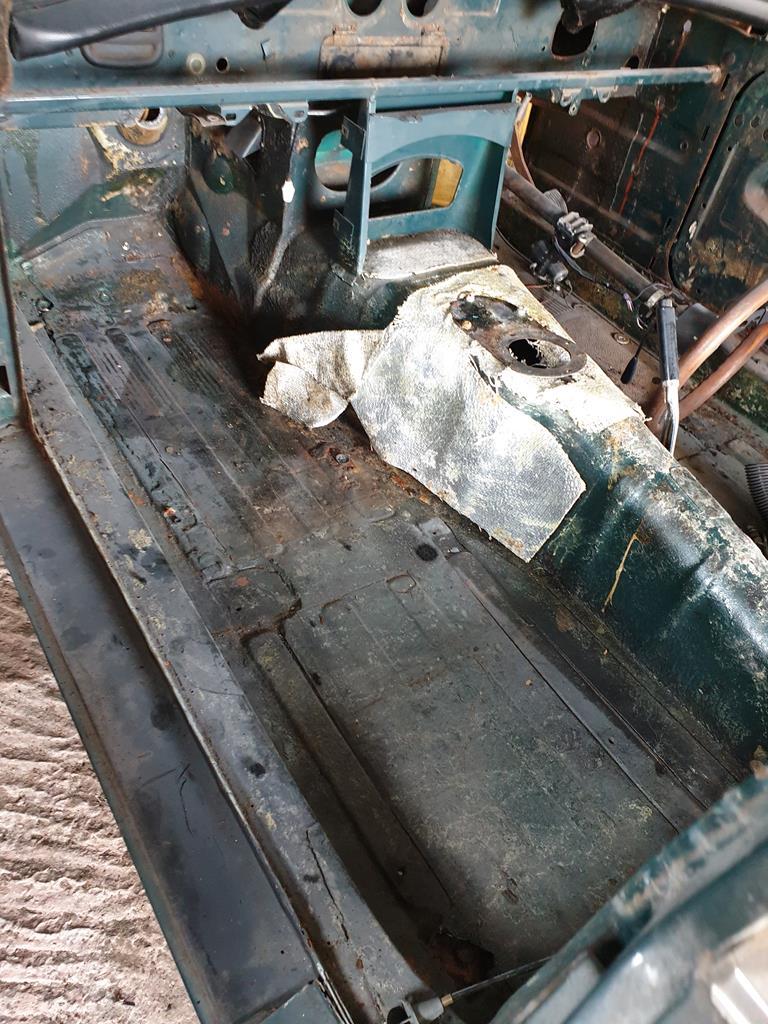 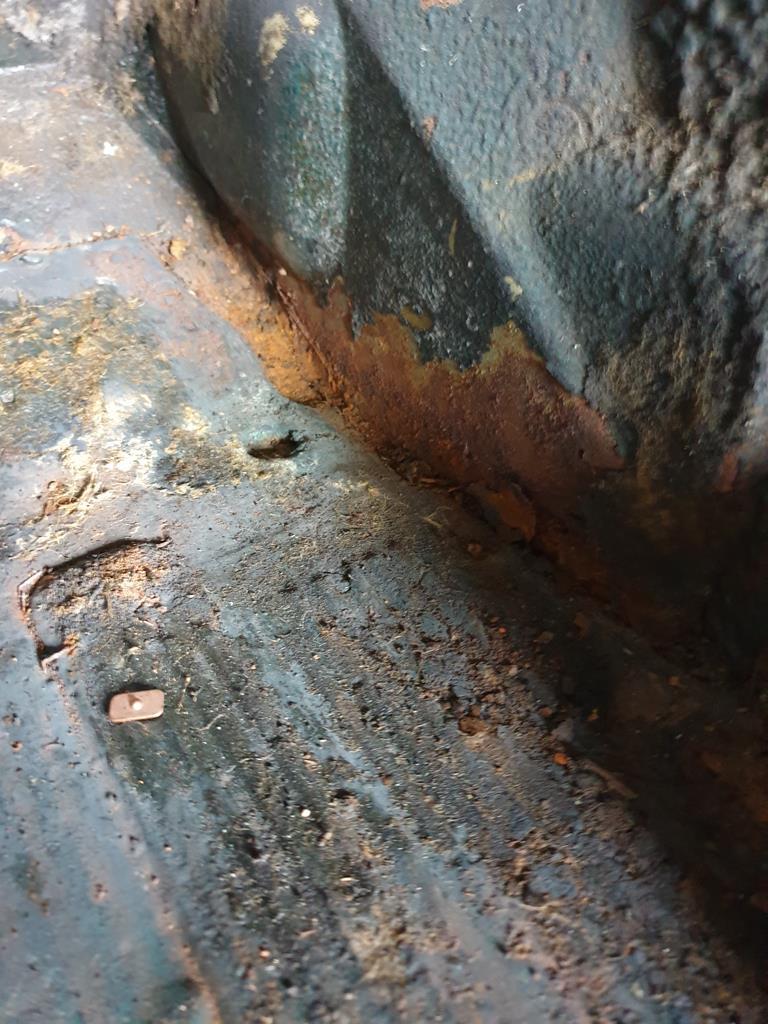 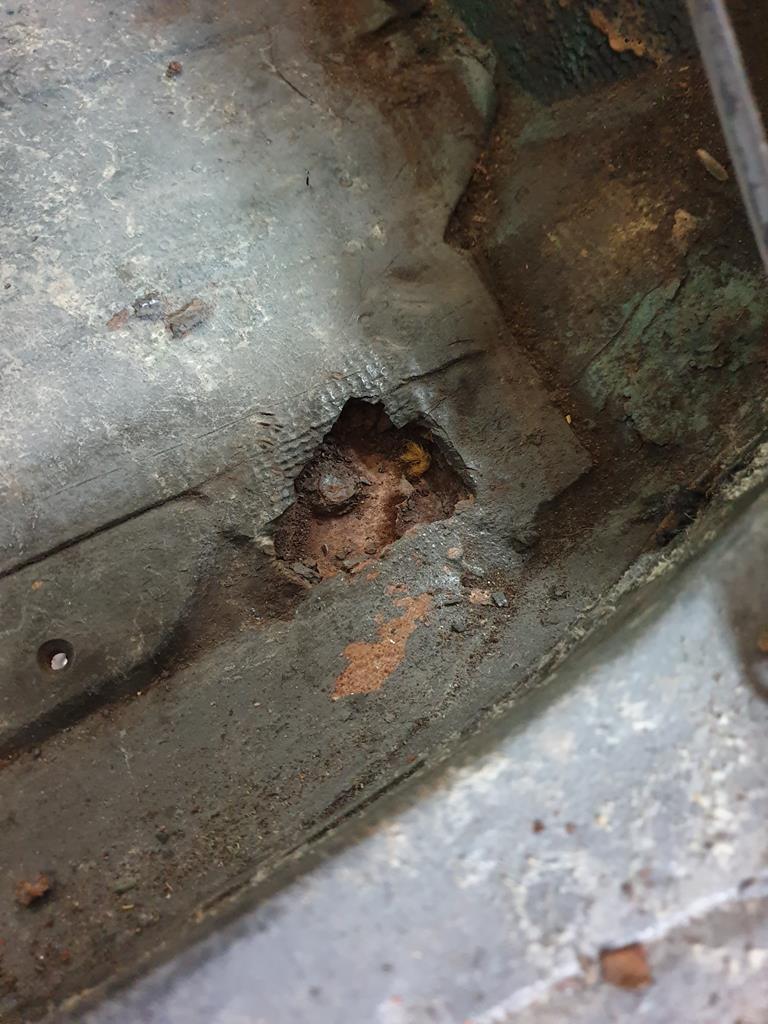 Got the chisel and hammer out and started at the bitumen type sound deadening to see what happened 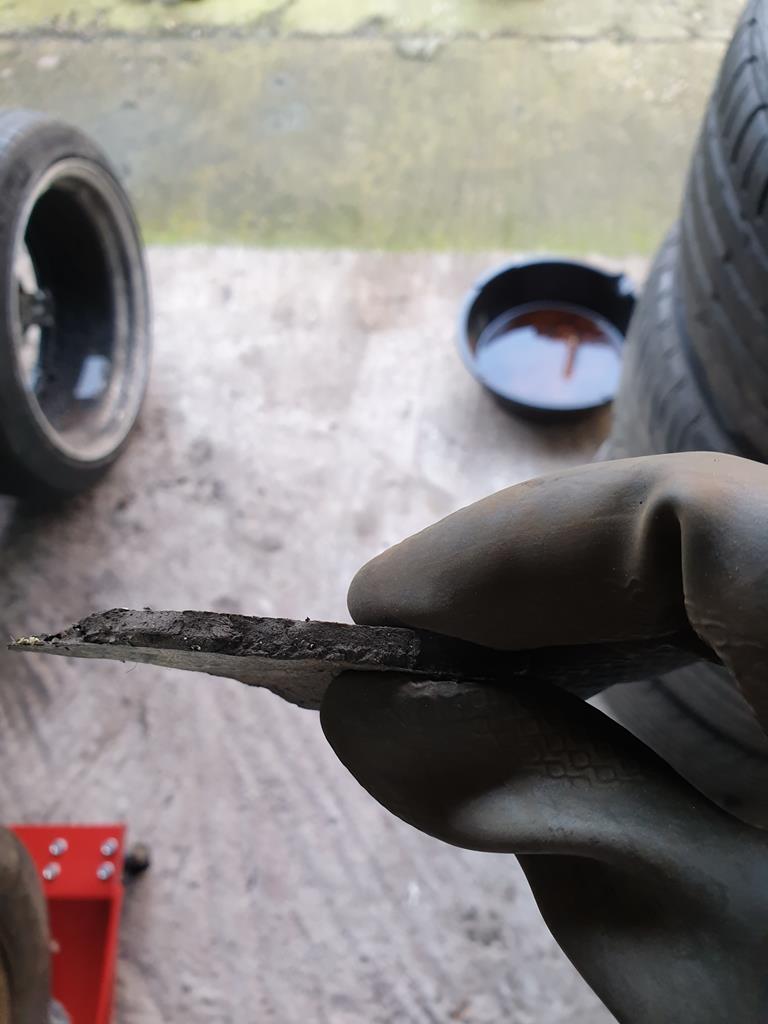 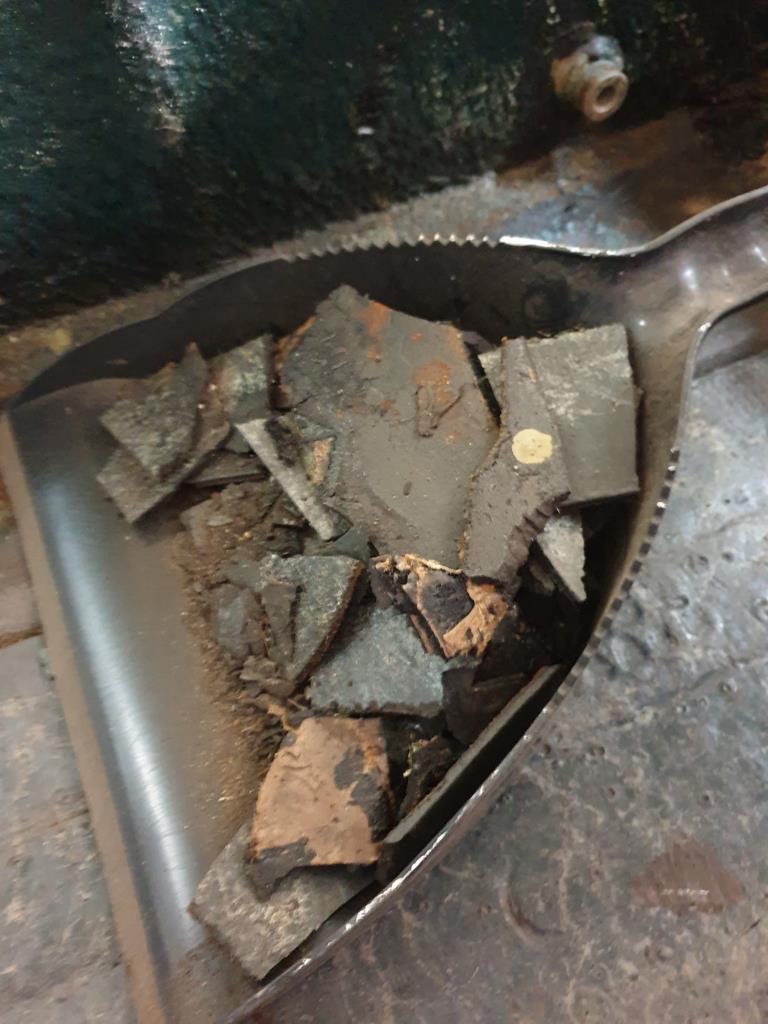 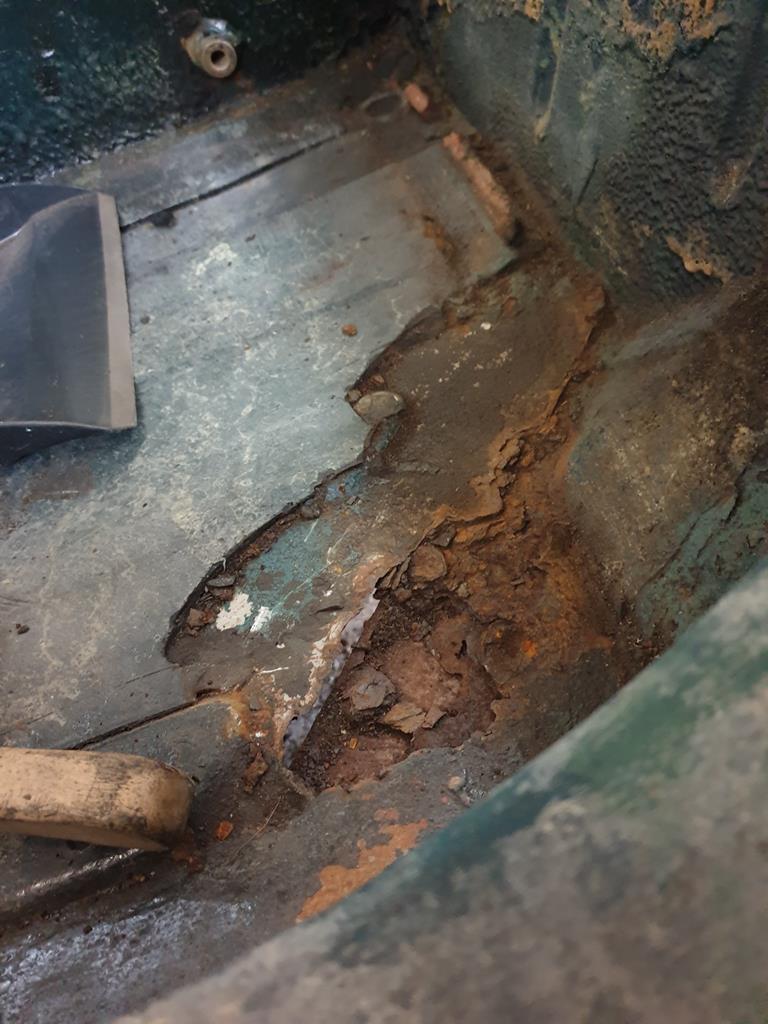 Can see a fair bit of garage floor through there.. Also had a go at the drivers side, noted there is a plate at the front right seat mount. I should have remembered seeing this before as I have changed the seats in the car previously  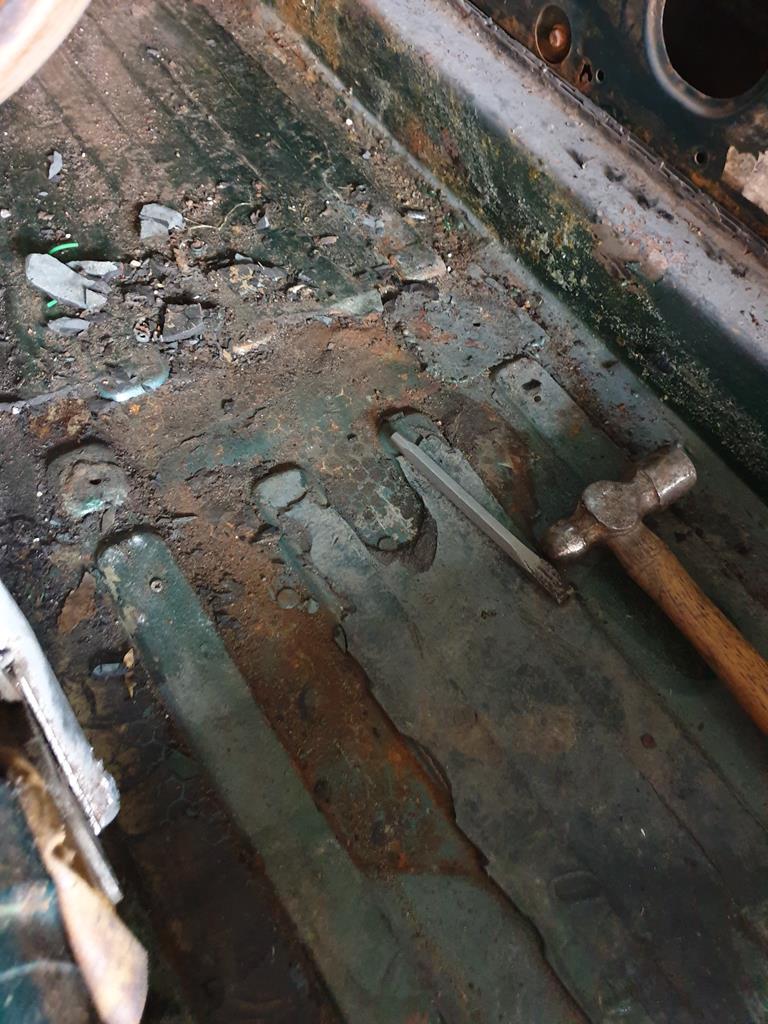 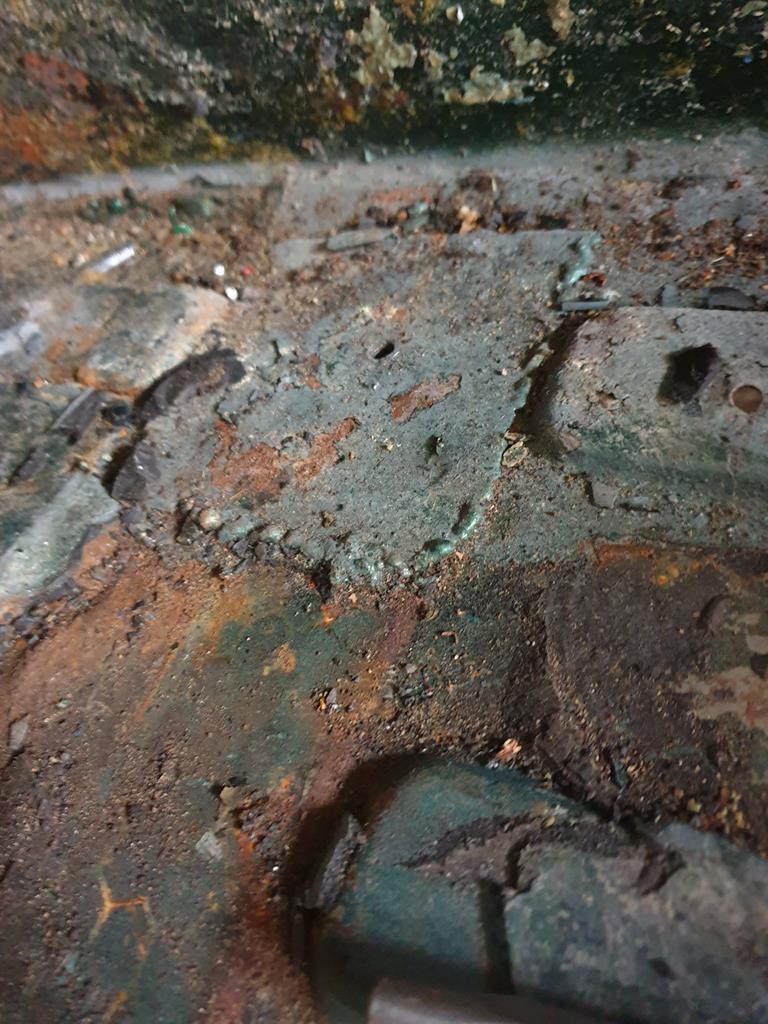 Didn't get all the sound deadening up but got a good start on it, found a couple more holes on the passenger side near the poppers for the carpet mats 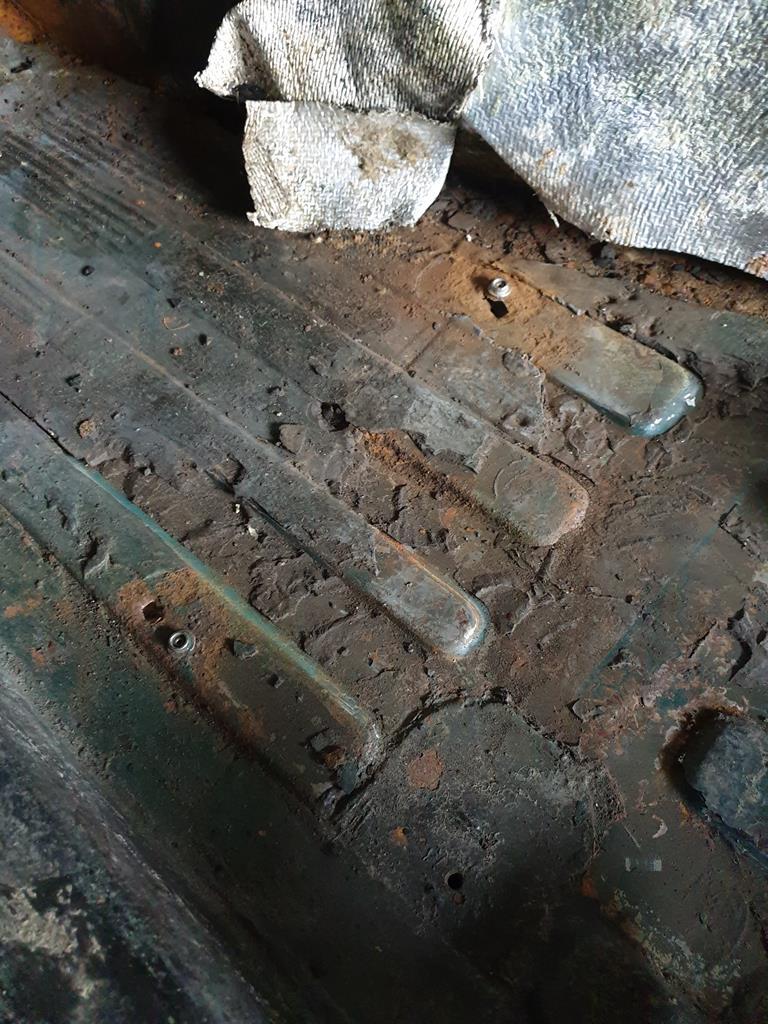 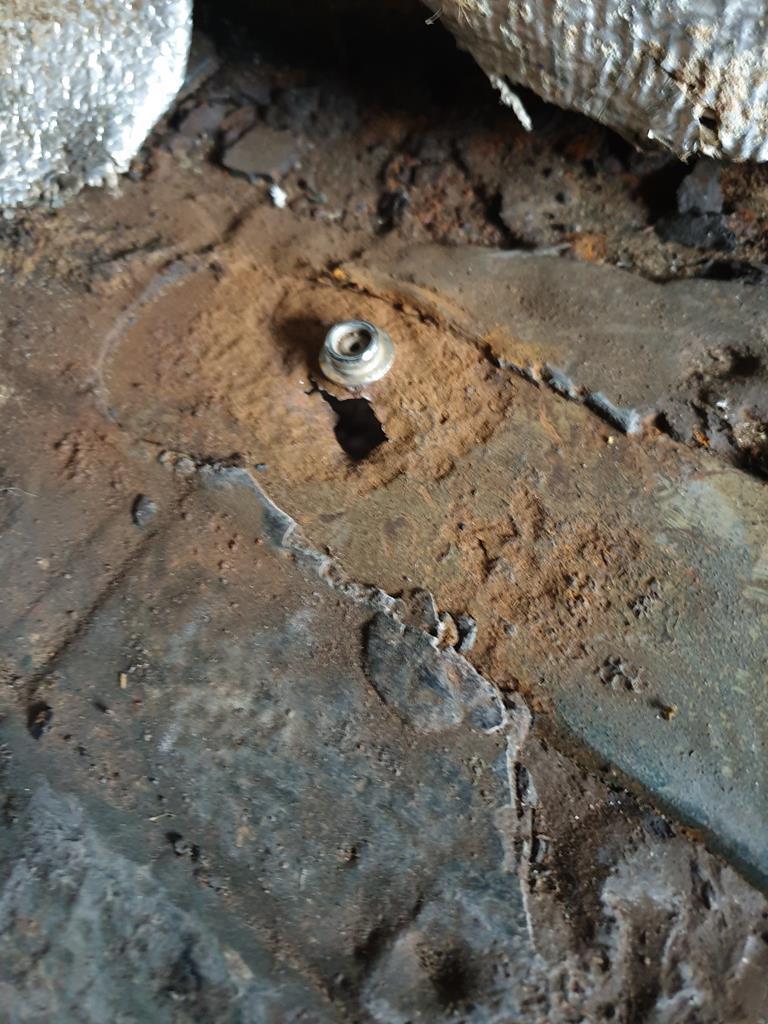 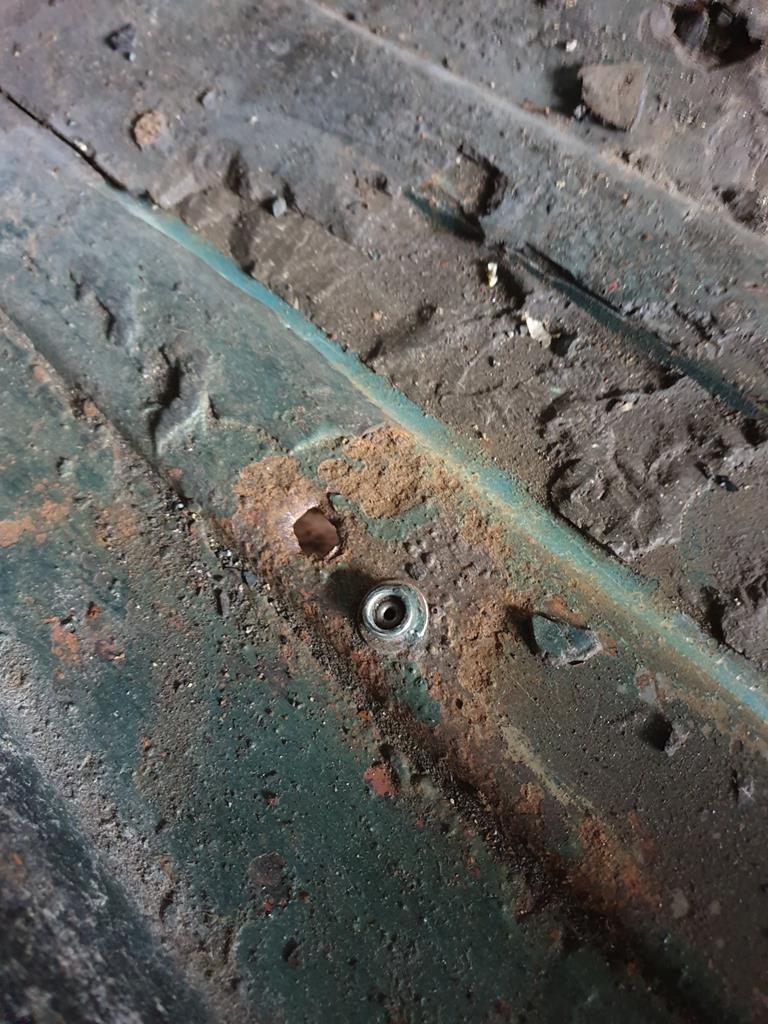 Bit of a scattered update but plenty to keep me going with  |
| |
|
|
|
|
|
|
|
|
So.. fast rally spec, then?
|
| |
|
|
|
|
vanpeebles
Part of things
  I am eastbound in pursuit of a white Lamborghini, this is not a recording.
Posts: 980
|
|
|
|
|
|
| |
|
|
|
|
|
|
|
The internal throttle return spring was here, until I managed to shoot it across the room while removing it under tension  Ah, a pingfuckit, as PhilA is wont to call them!  Enjoying the carb stripdown. Good few years since I played with a Weber. |
| |
Last Edit: Feb 3, 2020 12:18:17 GMT by georgeb
|
|
Darkspeed
Club Retro Rides Member
Posts: 4,867
Club RR Member Number: 39
|
|
|
|
I do like a carb rebuild -  And I do like a DCOE/DHLA(twin) or 2 or 3 or 4 but not 6 that's just daft  flyingphil flyingphilOnly consider the 36 or 38 in a 45 |
| |
|
|
adam73bgt
Club Retro Rides Member
Posts: 4,975
Club RR Member Number: 58
|
|
|
|
varelse I think I'm settling on an engine spec in my head, its sort of coming together.. vanpeebles Nice work! I need to scrape more of the sound deadening off but I'm hoping I can get away with just one side of the floors on mine (famous last words). Fully agree about carb rebuilding, nice task that can be done indoors with a beverage of choice  georgeb georgeb I did a similar thing not a week or so prior with a tyre valve core removal tool and a tyre that I hadn't really taken enough pressure out of.. Thankfully the valve core didn't hit anything breakable not least my eyes! Darkspeed 6 is daft really isn't it.. but I fully endorse it  only a 36 or a 38 you say? Are there issues with running larger choke sizes in the 45 bodies? The Leyland ST spec of 40mm chokes did seem a bit much to me
|
| |
|
|
Darkspeed
Club Retro Rides Member
Posts: 4,867
Club RR Member Number: 39
|
|
|
|
Are there issues with running larger choke sizes in the 45 bodies? The Leyland ST spec of 40mm chokes did seem a bit much to me Unless trying to drag out every last bit of air from a given carb body the maximum advised choke size is body size -7mm so for a 40mm DCOE its 33mm and for a 45 - 38mm and for a 48 - 41mm - This is to provide a good signal to the jets throughout the operational range of the carb. The outlet of the aux venturi that the main jet is connected to is positioned at the narrowest point in the choke. The air speed at the choke point is a large factor in the atomisation of the fuel and the higher the signal at the aux venturi the better the main fuel jet, air jet and emulsion tube can work. The best practice is to use the smallest choke size possible for the power required. That provides the best all round drivability and economy - headline numbers from a 40mm choke may well be higher than for a 38mm choke on an all out racer spending all its time at Max RPM, but for a fast road car a good torque spread is more favourable and the smaller the choke size generally the better the torque. The old Weber manual I have suggests 36mm chokes as a conversion on an MGB and generally this is for performance based conversions - For example the Ford Capri 2000 suggestion is 2 x DCOE 45 with 34mm chokes and those will feed 160BHP. The DCOE 45 - 13 is the correct version for the MGA - with 34mm chokes and 3.5 aux - The MGB suggestion is the DCOE 45 - 9 - with a 4.5 aux I don't have what the spec differences are between the 9 and the 13 but could be associated with progression hole drilling. Sizing will ultimately depend on the engine state of tune cam duration and max RPM. Sorry for rambling on. |
| |
|
|
adam73bgt
Club Retro Rides Member
Posts: 4,975
Club RR Member Number: 58
|
|
|
|
Are there issues with running larger choke sizes in the 45 bodies? The Leyland ST spec of 40mm chokes did seem a bit much to me Unless trying to drag out every last bit of air from a given carb body the maximum advised choke size is body size -7mm so for a 40mm DCOE its 33mm and for a 45 - 38mm and for a 48 - 41mm - This is to provide a good signal to the jets throughout the operational range of the carb. The outlet of the aux venturi that the main jet is connected to is positioned at the narrowest point in the choke. The air speed at the choke point is a large factor in the atomisation of the fuel and the higher the signal at the aux venturi the better the main fuel jet, air jet and emulsion tube can work. The best practice is to use the smallest choke size possible for the power required. That provides the best all round drivability and economy - headline numbers from a 40mm choke may well be higher than for a 38mm choke on an all out racer spending all its time at Max RPM, but for a fast road car a good torque spread is more favourable and the smaller the choke size generally the better the torque. The old Weber manual I have suggests 36mm chokes as a conversion on an MGB and generally this is for performance based conversions - For example the Ford Capri 2000 suggestion is 2 x DCOE 45 with 34mm chokes and those will feed 160BHP. The DCOE 45 - 13 is the correct version for the MGA - with 34mm chokes and 3.5 aux - The MGB suggestion is the DCOE 45 - 9 - with a 4.5 aux I don't have what the spec differences are between the 9 and the 13 but could be associated with progression hole drilling. Sizing will ultimately depend on the engine state of tune cam duration and max RPM. Sorry for rambling on. Not at all! All very interesting stuff, and I can see why people find these somewhat complex to tune on B's compared to SU's. 36 or 38 sounds a lot more like it. Also interesting what you say about the 45DCOE13 vs 9, I think you're right about the progression hole drilling being the likely difference, there are only two progression holes in the -13 I have, although I'm sure I've seen the 13 recommended for the MGB as well. Seems to be a lot of differing opinions out there! (engine specs do vary a lot though as you say) |
| |
|
|
Darkspeed
Club Retro Rides Member
Posts: 4,867
Club RR Member Number: 39
|
|
|
|
This page from a book in the above posts lists the 13 -  Out of interest with the MGB book what is Stage 5 that they list the 40 as the option for. Also the note that a richer 175 be used for endurance racing - Pretty sure that would be weaker than a 185.  |
| |
|
|
adam73bgt
Club Retro Rides Member
Posts: 4,975
Club RR Member Number: 58
|
|
|
|
|
|
| |
Last Edit: Feb 6, 2020 17:32:42 GMT by adam73bgt
|
|
Darkspeed
Club Retro Rides Member
Posts: 4,867
Club RR Member Number: 39
|
|
|
|
|
If just going fast road specification the 36mm choke would be favourite until more extreme porting and big valve head work is incorporated. 12:1 and cast iron - The days of full fat all the lead 5 Star. Interesting advice on different plugs in the cylinder pairs. Thanks for posting that.
|
| |
|
|
adam73bgt
Club Retro Rides Member
Posts: 4,975
Club RR Member Number: 58
|
|
|
|
|
Yeah that sounds most likely for me, I'm going to clean up the head as best I can, probably won't bother with oversize valves just yet.
Haha I did think the Compression Ratios seemed on the high side, but assumed the leaded fuel would allow for that, not sure what can be got away with on Super Unleaded but I've seen some MGB tuners recommending not much more than about 9.75:1 for a road engine. I need to do more reading on that anyway.
I also thought that was interesting about the spark plugs, I know the siamese ports can make the middle cylinders run a bit hotter but hadn't thought of having different plugs just for those two.
The bit about blocking off two of the core holes in the head under Stage 4 caught my eye as well, not something I'd really heard about before
|
| |
|
|
|
|


