|
|
|
Jun 25, 2012 20:33:55 GMT
|
Another wiring update!The solution to the low voltage problems on my car is usually to run loads of fused battery lives to relays and trigger them off the existing circuits but from what I have seen on the net that makes the battery look a bit like a dodgy minicabs one!  Instead, I fitted one of these... 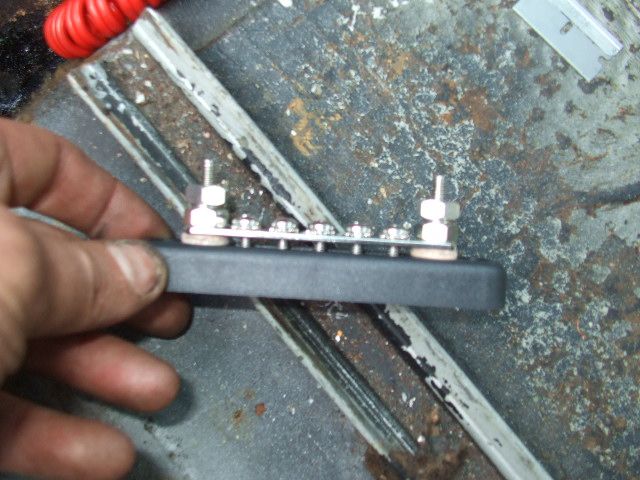 I replaced the dodgy, mafia supplied brown wire from the battery to the fusebox with a nice higher spec red one. Chopped the brown one and taped the red one to it and pulled it thru... 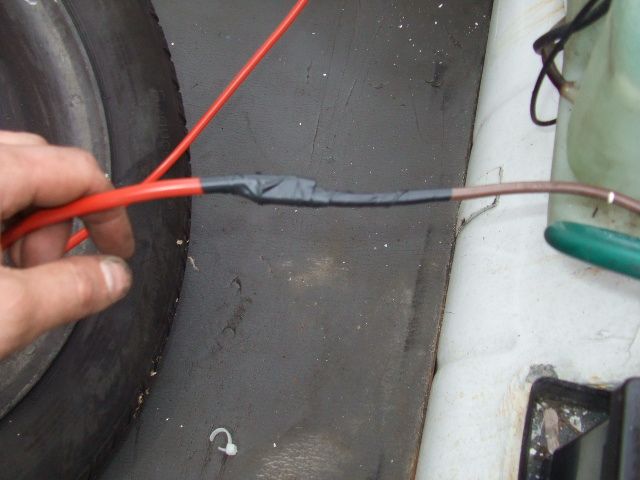 I left enough new wire so I can move the battery to the bottom of the front boot (they call this the 'Frunk' on the U.S. boards  ) 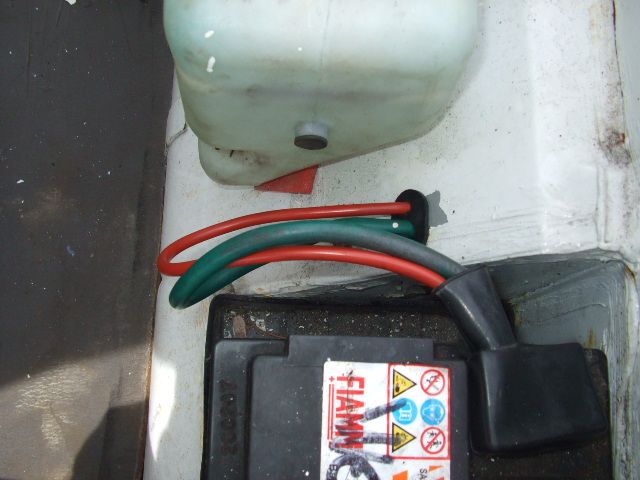 That let me connect it to the bar... 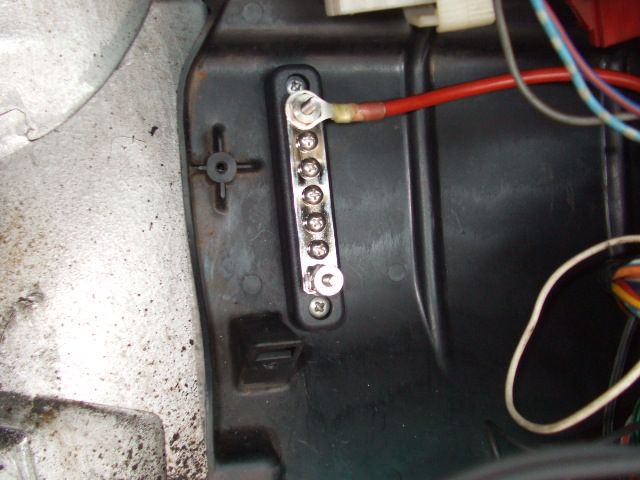 ...and run all the circuits it supplies... 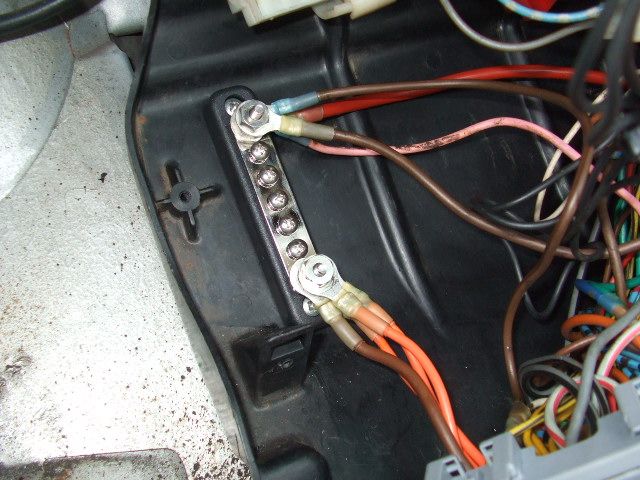 Cool eh?!
|
| |
|
|
|
|
|
|
|
Jun 25, 2012 20:49:21 GMT
|
Now that my fusebox etc. have good battery voltage (my mods halfed the voltage drop between the battery and ignition switch, for any statistics fans) I decided to fit a 70a relay to the ignition switch. As the switch is under increased load now it gets good voltage there is more chance it will burn out. They are not that good to begin with. I connected up the relay to switch the wire that supplies all the ignition live circuits (the blue wire)... 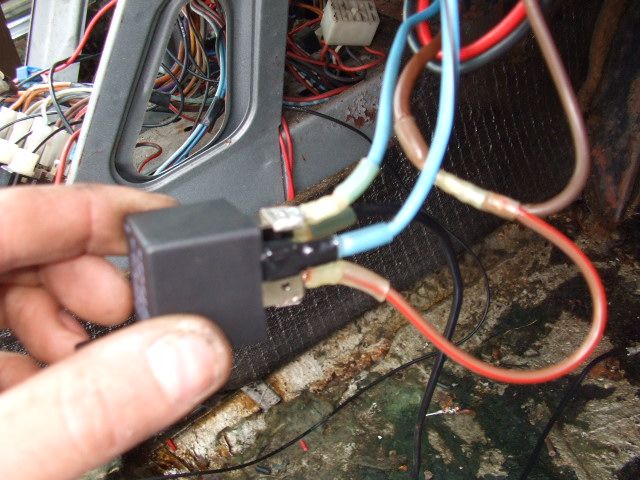 ...but left the red wire alone. Its the starter signal and I'll run it thru a seperate relay later on. You will see I managed to destroy any new found respect by forgetting to bring home some big terminals so I had to bodge some smaller ones so I could check my idea worked! D'oh! I replaced a few big ropey looking connectors with these slick waterproof ones... 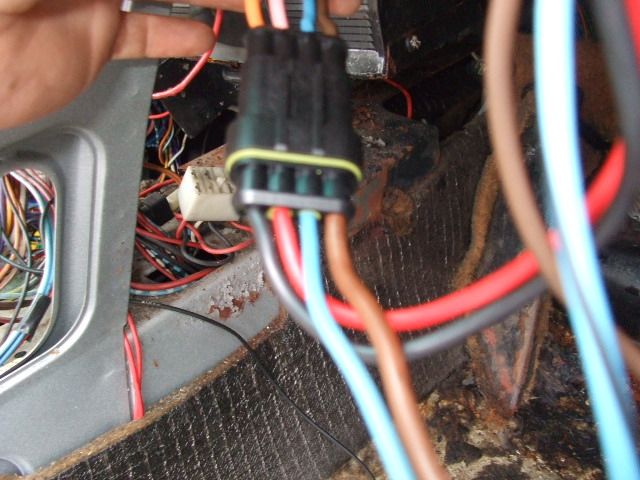 If you do this on your own car, buy twice as many as you think you need because they are quite fiddly and you end up throwing half the terminals away in a rage!  With all that done I rigged up the jump leads and tested everything. It all worked and nothing went on fire!!! Er, except the tail lights. I checked the fuse and relays, they were fine so I popped the rear lamps out... 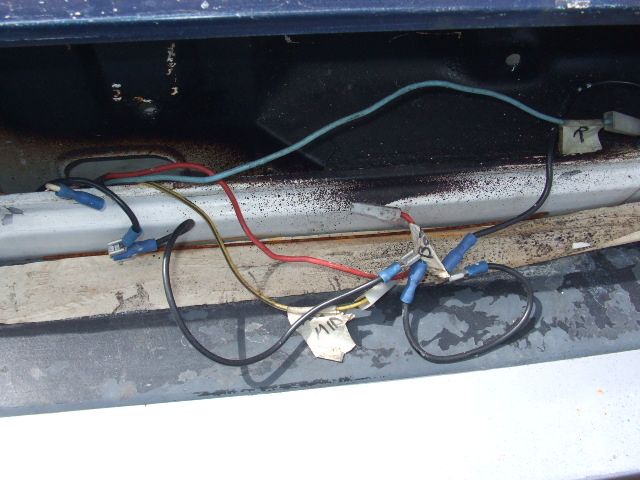 ...oh dear. Tidied that lot out with a new earth wires and terminals... 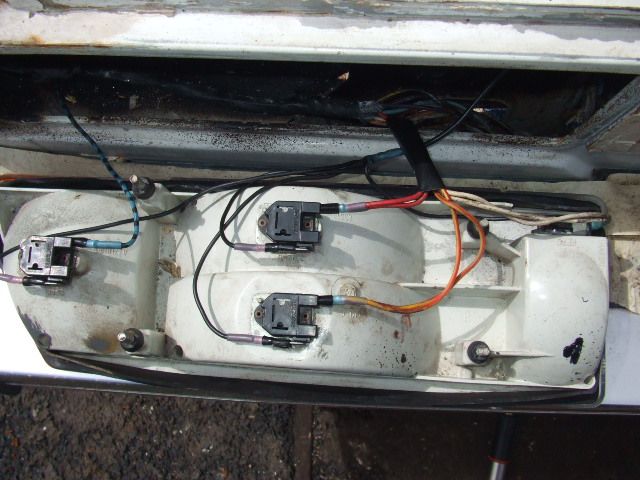 ...but they still didnt work. Then I remembered I'd thrown out the old bulbs but hadn't had any to replace them to hand. Fitted new bulbs an they worked!  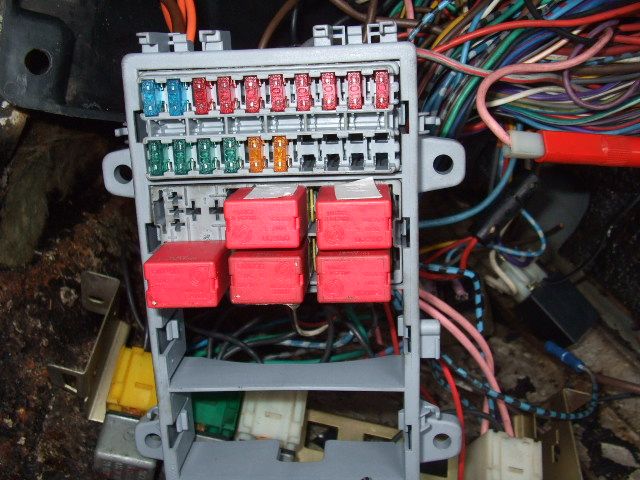 Looking good. Still need to swap the 5 pin relays over to microrelays but that can wait until I've been to the breakers and nicke... er, found a handful of 5 pin micro relays. Leaves a few gaps to run modified circuits relays and fuses as I go on. Retro dealer stickers seem to be popular at the moment so I treated the old heap to a fresh new sticker... 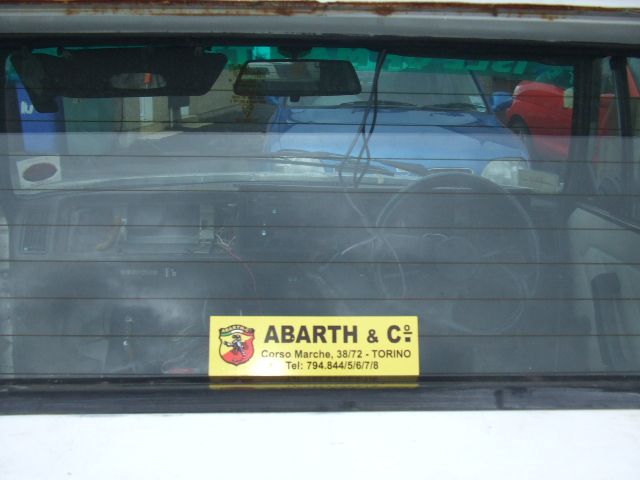 Couldn't find a dealer sticker for 'That biker guy off ebay' so I settled for this one! Bert One would approve! |
| |
|
|
|
|
|
Jun 26, 2012 10:31:20 GMT
|
|
I hope you have took a large handful of brave pills before you started trying to sort out Italian electrics!!
Keep some spare for when you tackle the rust though ;-)
|
| |
Koos
|
|
mirafioriman
Posted a lot
   My next project.......
Posts: 1,361
|
|
Jun 26, 2012 18:19:24 GMT
|
|
Those waterproof connectors look cool, where did you get them?
|
| |
|
|
|
|
|
Jun 26, 2012 19:53:59 GMT
|
|
Most of the electrical stuff (including the waterproof block connectors) came from autosparks.co.uk because they are cheap and quite fast.
I got the red, yellow and blue heatshrink connectors off ebay because they were far cheaper
and the red 4 pin micro relays were donated by a written off Alfa GT at work! LOL!
The waterproof connectors do look good but they are a real curse word to fit unless you are using really thin wire. You need supersonic fingers to shove the pins into the connectors enough for the guard to click in and although I have the correct removal tools, if you put a pin in the wrong place it takes loads of b*ggering about to get it back out!
|
| |
|
|
mirafioriman
Posted a lot
   My next project.......
Posts: 1,361
|
|
Jun 26, 2012 20:36:23 GMT
|
Thanks I'll try autosparks when (if) I ever get my Fiat 130 to the wiring stage  |
| |
|
|
|
|
|
Jun 26, 2012 20:44:34 GMT
|
|
I seem to be doing this car backwards!
Usually I start with welding then mechanical stuff. Wiring repairs are usually started the night before the MOT and finished 10 seconds before the MOT starts! LOL!
Need to start the welding soon while I have the weather!
|
| |
|
|
|
|
|
Jun 30, 2012 14:58:52 GMT
|
Down to earth!I've concentrated on getting power to the electrics so far so today I had a day of fixing earths. 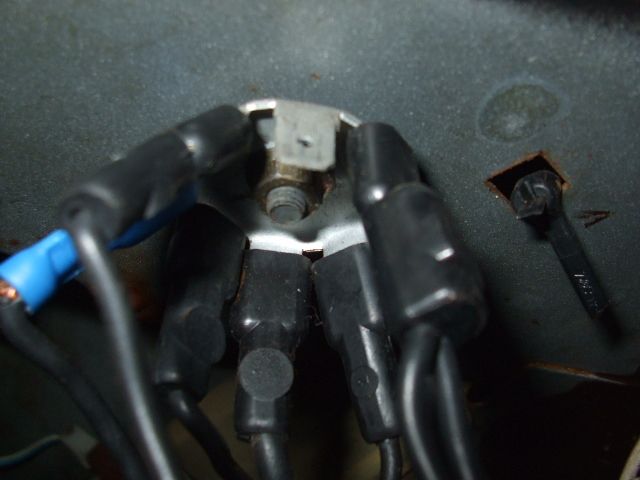 This is what they call an 'Earth tree'... 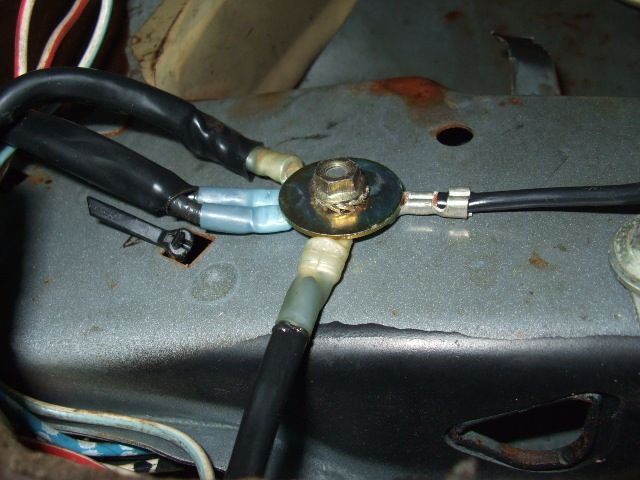 ...which must make me an Earth lumberjack! 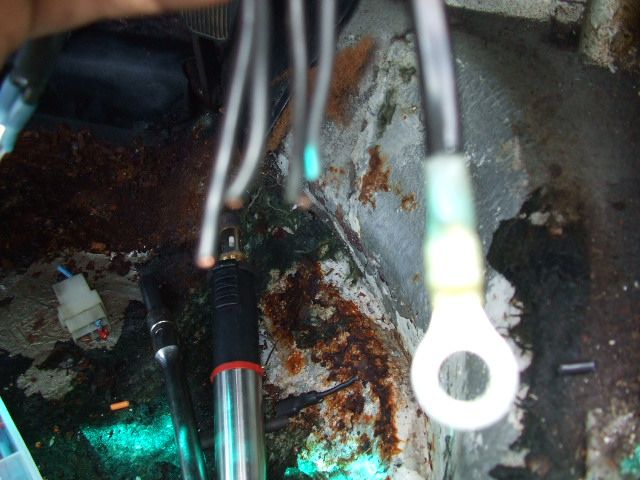 Instead of crimping new terminals onto each wire and leaving them a mess I shrink wrapped them together and filled each terminal with a few. Looks much better although in hindsight if I need to remove the wiring from something I'll have to pull it apart. Pride before a fall! LOL! 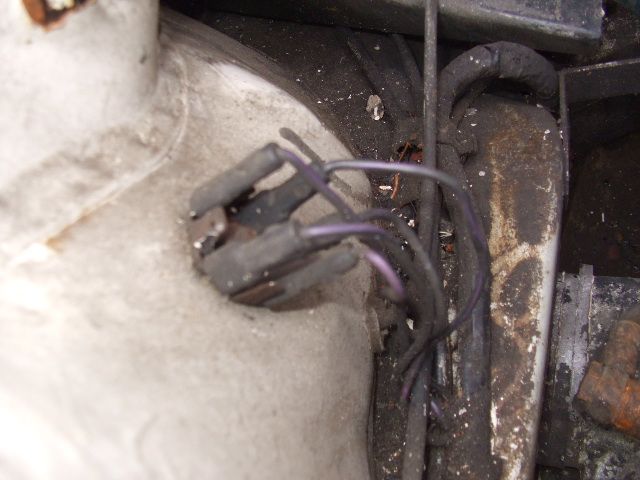 Found one in the engine bay too... 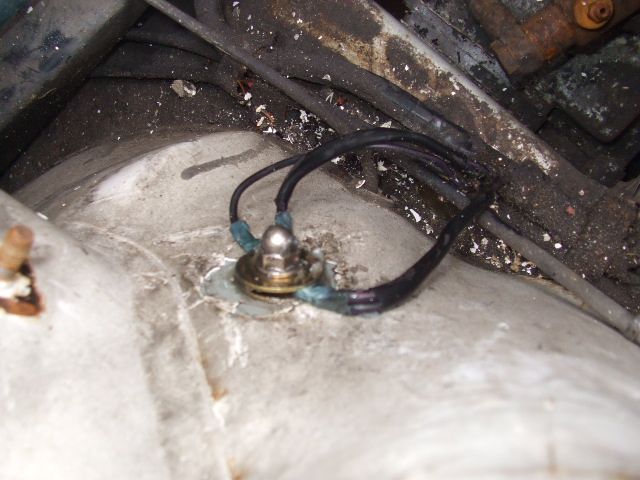 but he left to keep an appointment with the wheelie bin before we had a chance to become friends! 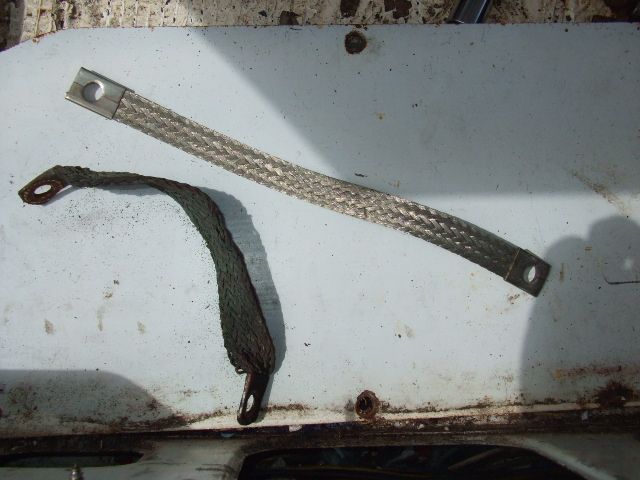 Next was the engine earth strap. It had seen better days. Its the only real earth connection I could see on the engine/gearbox so I fitted another here... 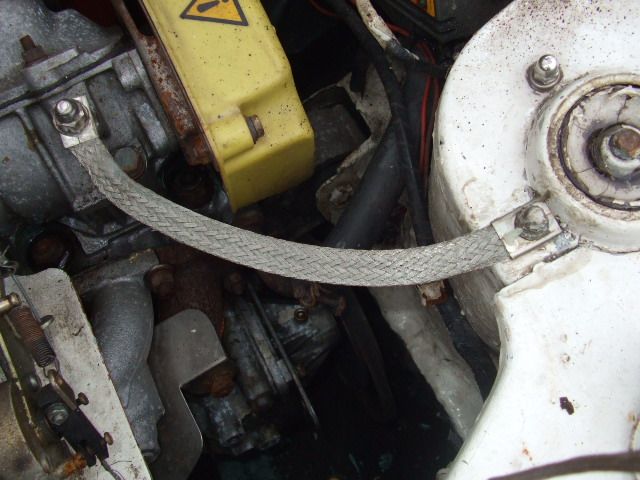 To make them last I coated them with some electrical contact grease. Ive used it on all the connections I've made so far just to make sure. If you are rich or an idiot you can buy a tube, its about £18 on ebay or... 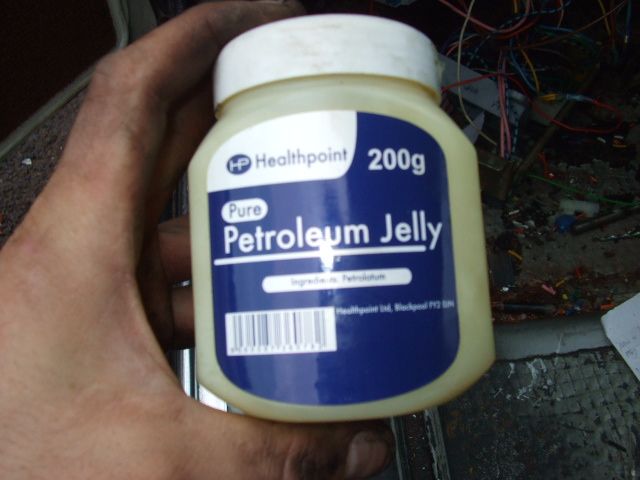 ...you can pay £1 and get the exact same stuff in a tub, like I did!
|
| |
|
|
|
|
|
Jun 30, 2012 15:09:01 GMT
|
When you own an X1/9, things you would usually take for granted can bring you close to tears with appreciation! Like this... 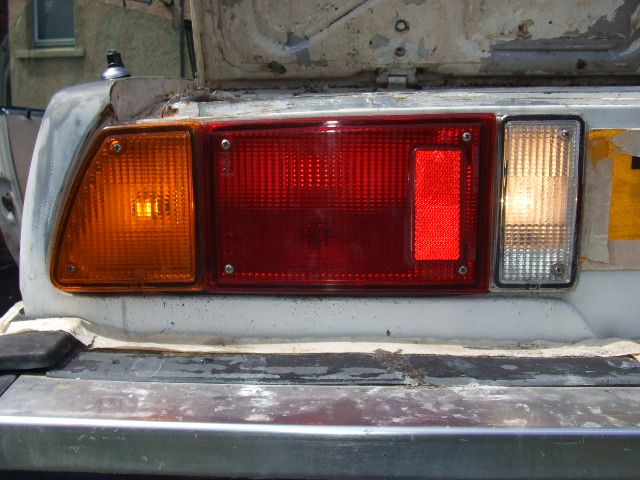 A 400% increase in output, LOL! When the rain started I headed inside. I am going to give that dye stuff a go on the seats but they don't appear to have been cleaned since they left the factory. As the Mrs. was out I found these... 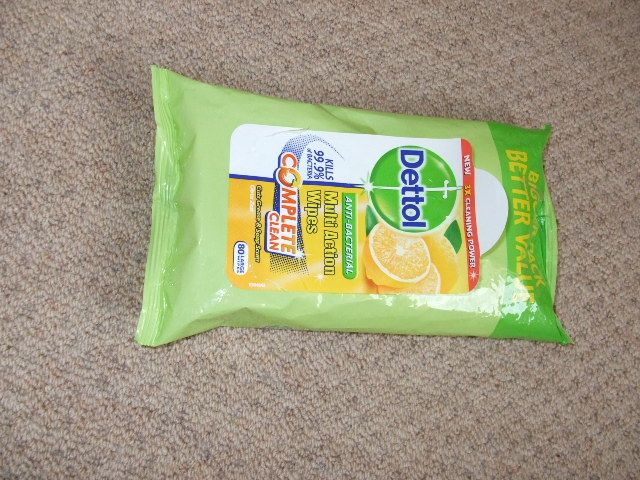 which work great! 31 years of fag smoke, farts & sweat gone in a Flash! 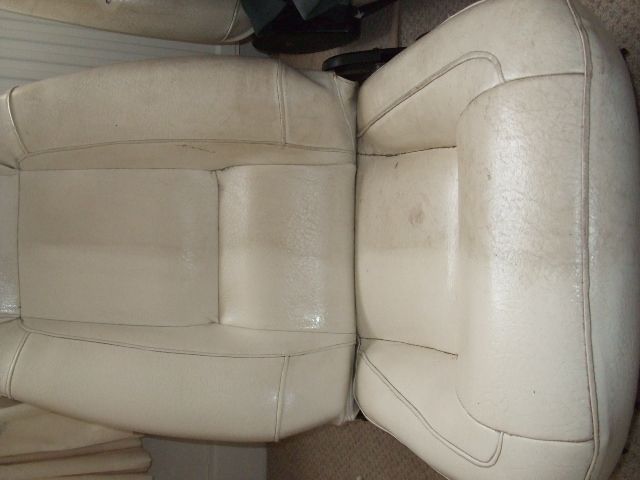 Used the whole packet though so I sneaked the wrapper into the dogs basket, LOL! Finally, I have added another X1/9 to the fleet. Unfortunatly the thing I needed most, the windscreen is cracked on it too... 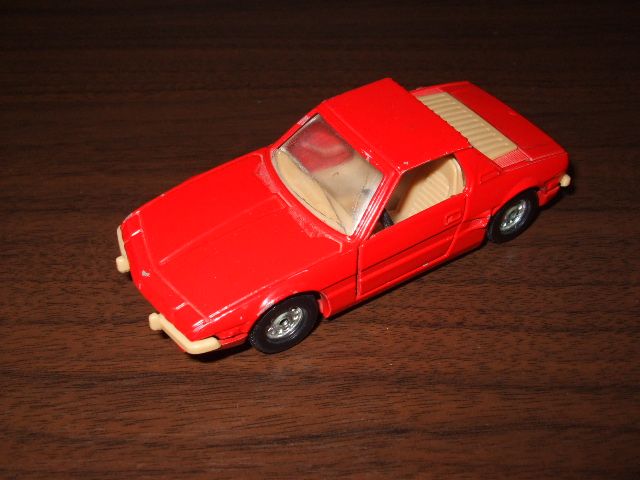 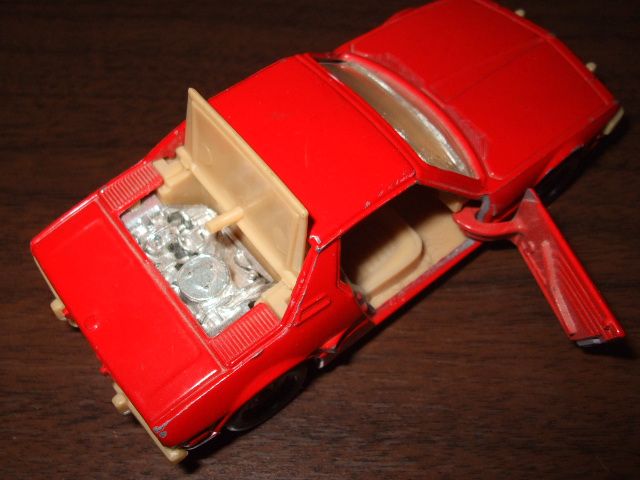 There may be less rust but I've not heard it running yet! LOL! |
| |
|
|
|
|
|
|
|
No update this week! (Wedding anniversary & rain!  ) But project fund has taken a beating with loads of new stuff ordered. WATCH THIS SPACE... |
| |
|
|
|
|
|
|
|
|
|
|
this thread is turning into a good read keep it up:)
|
| |
|
|
|
|
|
|
|
Inspired by another thread on here I googled my cars reg number. From this I discovered the car was originally registered in Oxford, its reg is the part number for a security post and... 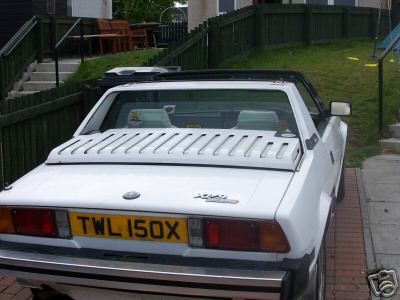 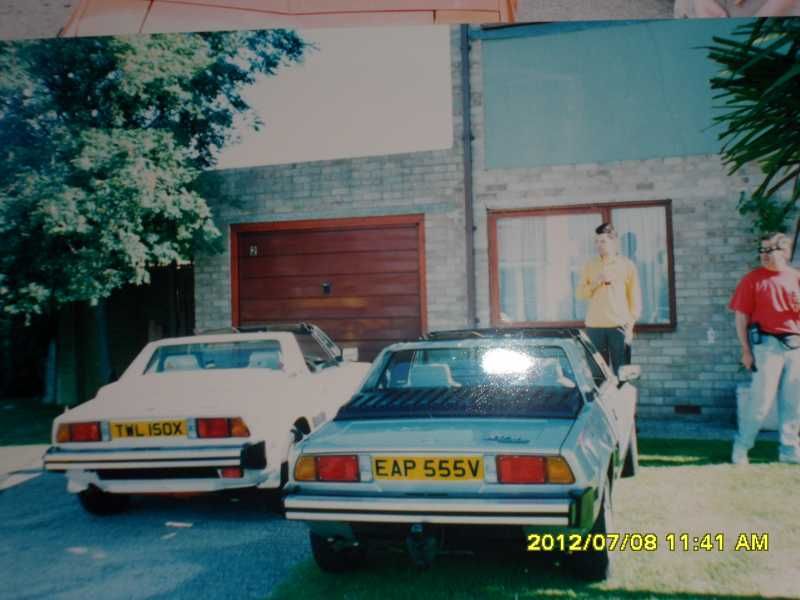 some cool pics of it in better condition! ;D ;D ;D |
| |
|
|
MK2VR6
Posted a lot
   Mk2 Golf GTi 90 Spec
Posts: 3,329
|
|
|
|
Great to see photos of it in in earlier years - I always wish I could have access to old photos of my cars with previous owners to show them at various stages. On an aside, a quick bit of googling of your numberplate, and clicking on one of the photos of your car lead to me to this album - check out how many X19's are stored in it!! picasaweb.google.com/pmsoft85/X19#This one's pretty funky too:  Keep up the great work! |
| |
Last Edit: Jul 8, 2012 11:54:34 GMT by MK2VR6
|
|
|
|
|
Jul 15, 2012 16:30:18 GMT
|
Got a new alternator! ;D I had intended using an Astra one I had lying about but it was a 120amp one and I don't want to set the car on fire after all that messing about with the electrics! Instead I bought a 65 amp Uno turbo one off ebay. I found a list of part numbers on the UK owners club board and searched for them on ebay. Worked out cheaper than an original 45amp one! Had to jiggle the pulley about a bit to get it to line up... 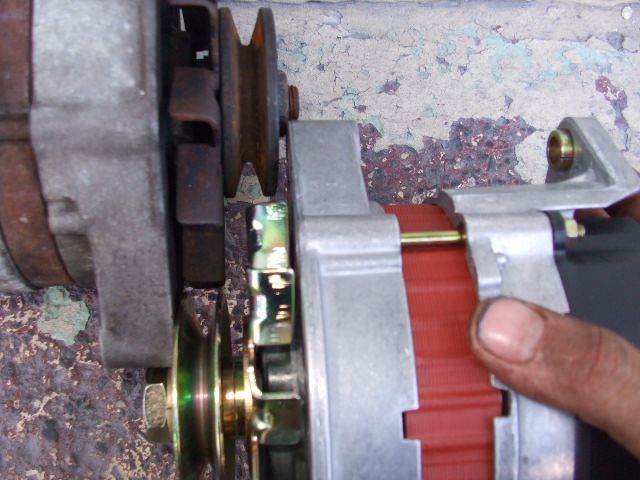 ...and the connections were slightly different... 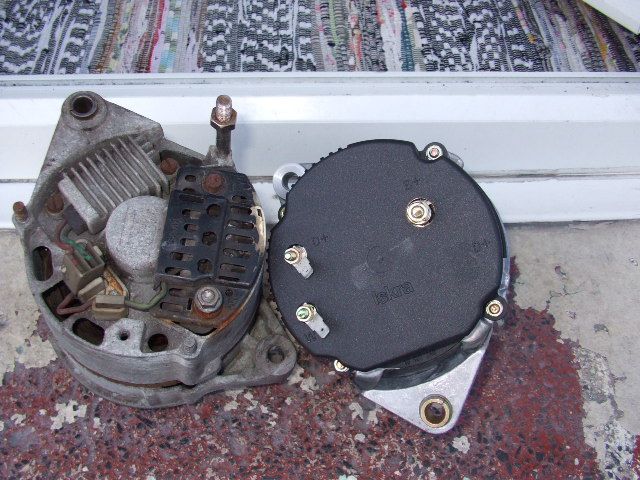 ...but I didnt care because I had already planned to change the puny alternator wiring... 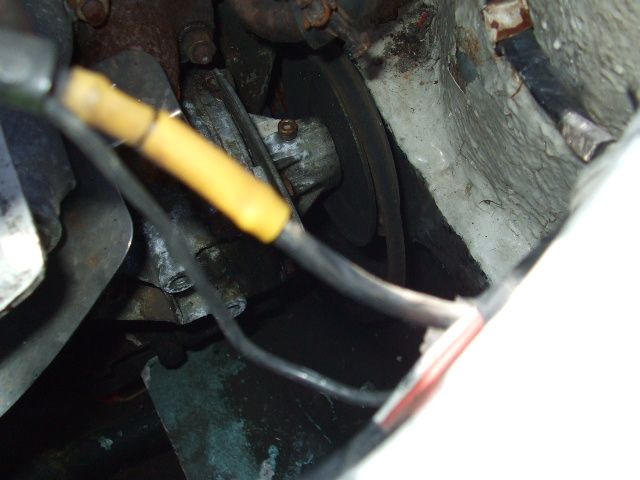 ...that resembled oily pubic hair with something a bit more substantial. I have been saving up the heatproof sleeves from old o2 sensors at work. 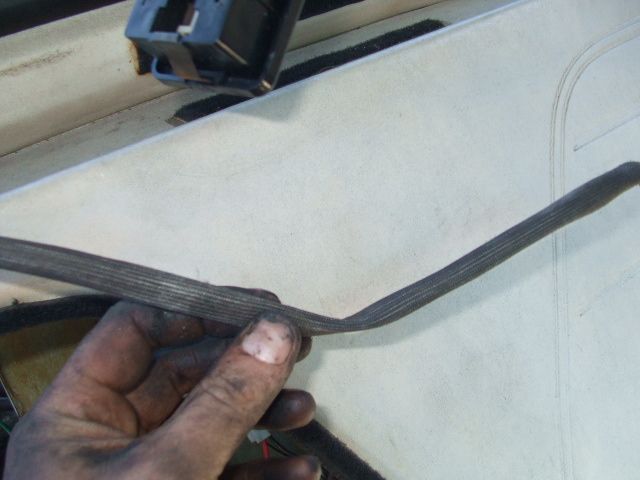 I ran a thicker wire from the starter to the back of the alternator and slid some heatproof sleeving on. Fitted nice new terminals to the wires and bolted it to the back of the new alternator... 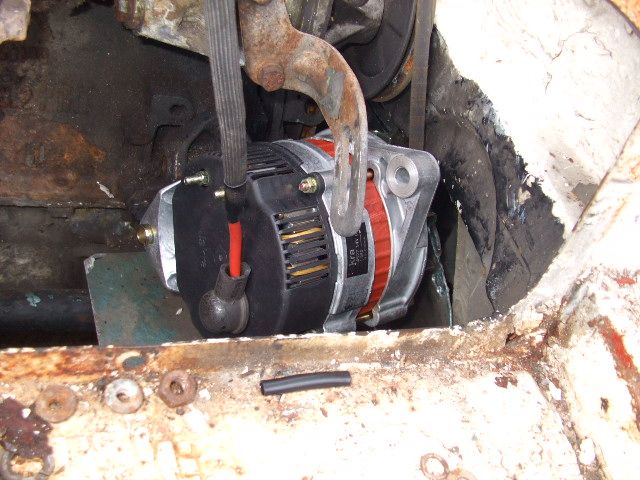 ...Ive got the power!' ...Ive got the power!'  While I was in at the starter I treated the signal wire to a clean, new sleeve and terminal... 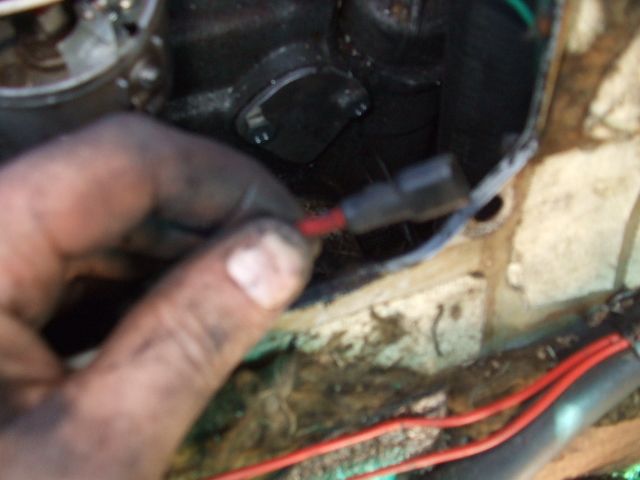 When a previous owner fitted an electric fuel pump they couldn't be bothered removing the original mechanical one. So I did! 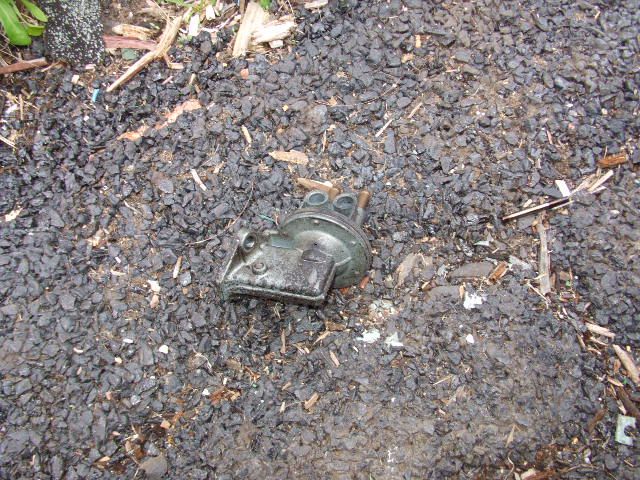 Unfortunately this left a hole in the engine... 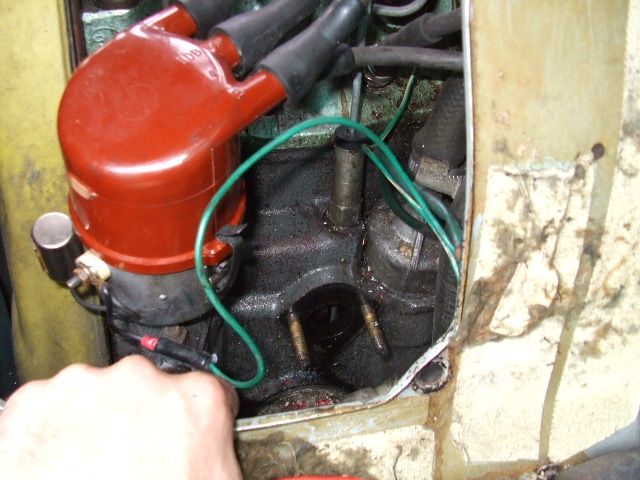 I made a blanking plate with a nice chunky bit of ally... 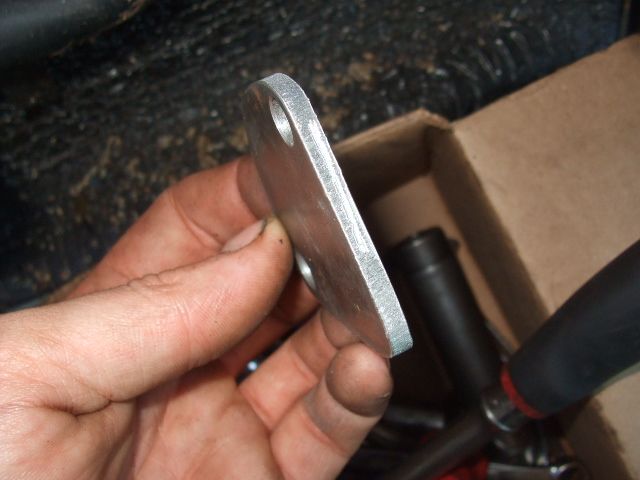 ...and shaped it with the old gasket... 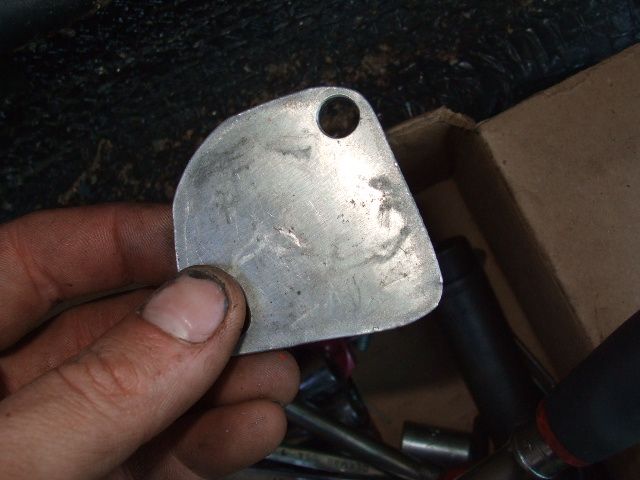 Less stress on the camshaft, got to be worth at least 1/2 a bhp! 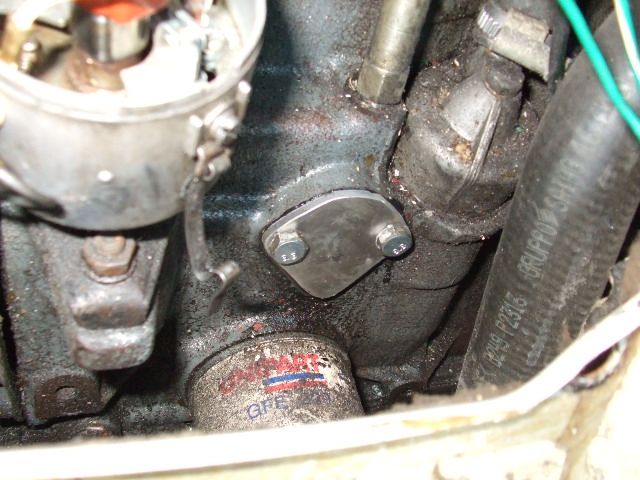 Shame I cant try it out until my new earth strap appears! |
| |
|
|
|
|
|
Jul 15, 2012 16:49:52 GMT
|
As the electrical side of things is doing my head in. Every time I do something I realise I've run out of connectors, bought the wrong relays or changed my mind and had to pull something apart I've decided to make a start on the welding and bodywork. Rattle can satan black has been ordered, as have the flapwheels and argon so I cleaned up the floor a bit. I got some 'No.1 rustbeater' off ebay. Years ago when I wasted all my spare my time and money on Minis I used it loads. It converts rust back into steel (like Jenolite and stuff) and gives you a decent base to paint over. Shame it only comes in hearing aid beige or bourbon biscuit brown! So cleaned out all the junk, to reveal some fibreglass!  Chipped it out to reveal slightly more welding work than I thought... 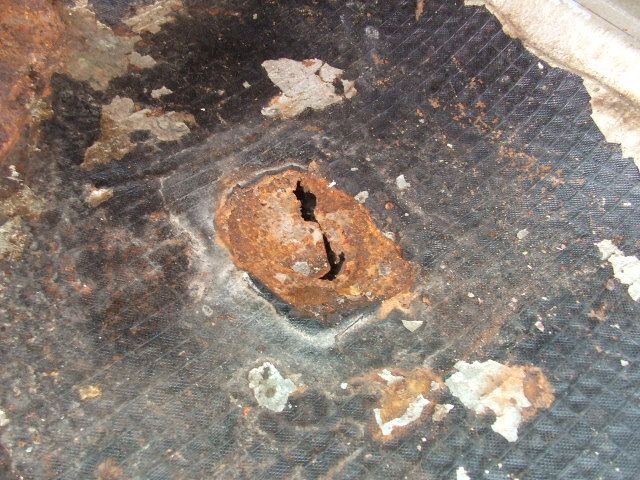 I wanted to trace the previous owners to get old pictures of the car. Now I want to trace them to kick their fibreglass ass! I painted the bits of floor I don't need to weld with rustbeater... 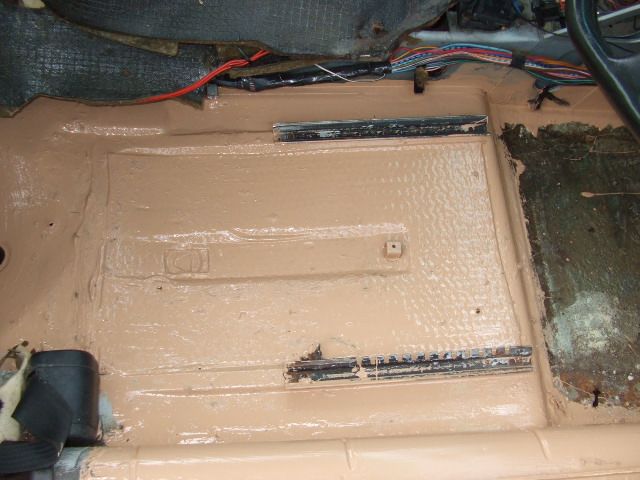 Still annoyed about the fibreglass I slapped the paint over the sound deadening, didnt care! 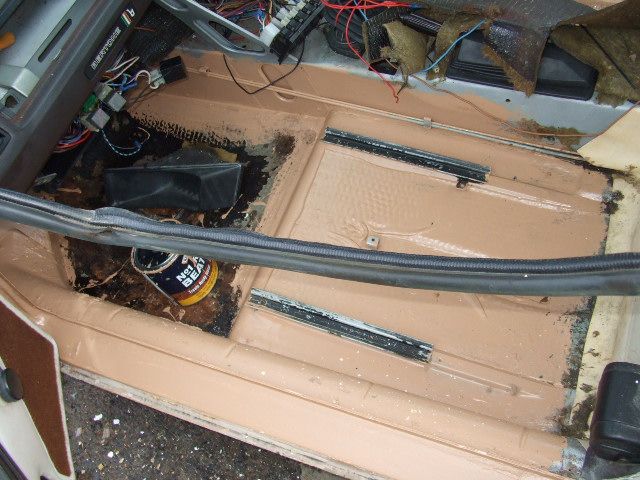 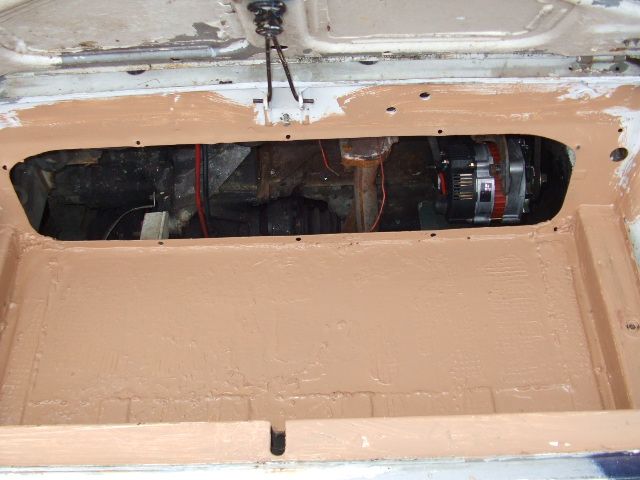 Felt as if I'd actually done something this week rather than stoopid electrics! ;D Celebrated by trial fitting the Maserati wheels I bought from Mike. They arrived during the week (Thanks again Mike! ;D) Bolt pattern? fine. Centre bore diameter? Spot on. Offset? not bad. Bolt length? errr... need longer wheel bolts, I'll get some on ebay. But have a look... 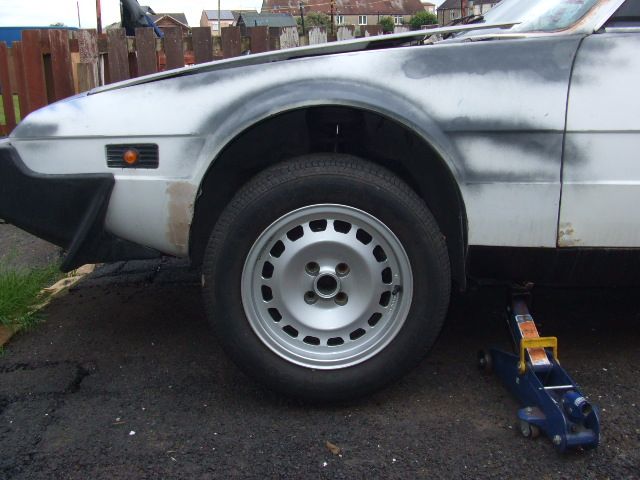 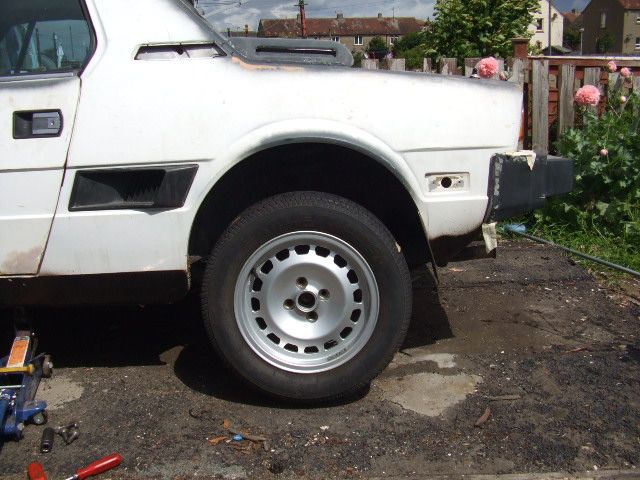 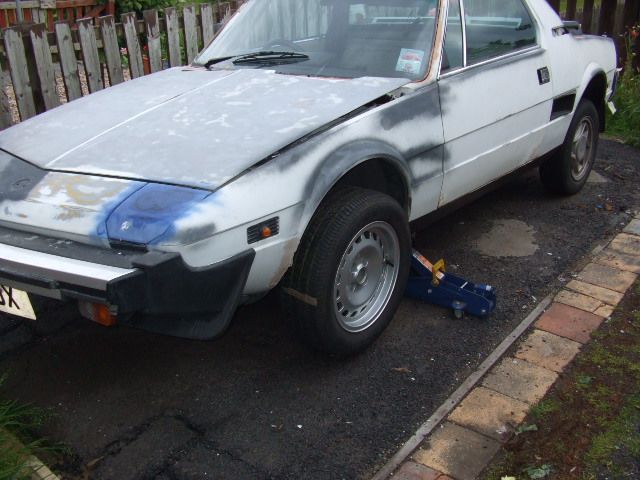 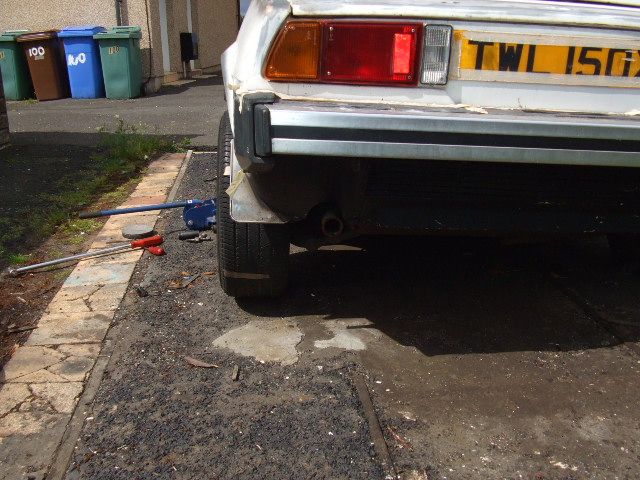 ;D ;D ;D |
| |
|
|
goldnrust
West Midlands
Minimalist
Posts: 1,887
|
|
Jul 15, 2012 17:43:06 GMT
|
This is an awesome project  Fair play for dealing with the italian electrics and getting stuck in  Should be a great little motor when back on the road. The new wheels look fantastic, kinda got a period feel to them and like they belong on an italian car. |
| |
|
|
|
|
|
Jul 15, 2012 17:56:46 GMT
|
[which work great! 31 years of fag smoke, farts & sweat gone in a Flash!] I didn't know farts left a mark, but top job anyway! ;D [Finally, I have added another X1/9 to the fleet. Unfortunatly the thing I needed most, the windscreen is cracked on it too...]  Spooky : I did exactly that to my X1/9 in 1979 too, when Rodney McClean and I were whizzing it back and forwards under the classroom chairs at break time in Primary 7. However, it was silver like this one...... which ALSO has a broken screen.....   |
| |
|
|
|
|
|
Jul 15, 2012 18:12:17 GMT
|
Farts may not leave dirty marks but their spirit lives on until cleaned! Anyway. Its sunny here so after tea I thought I'd go out and prepare for the impending weldathon. After stabbing away at the holes I uncovered today in the floor the holes didnt really get much bigger. Good! I then decided to have a go at the hole I had found in the front boot... 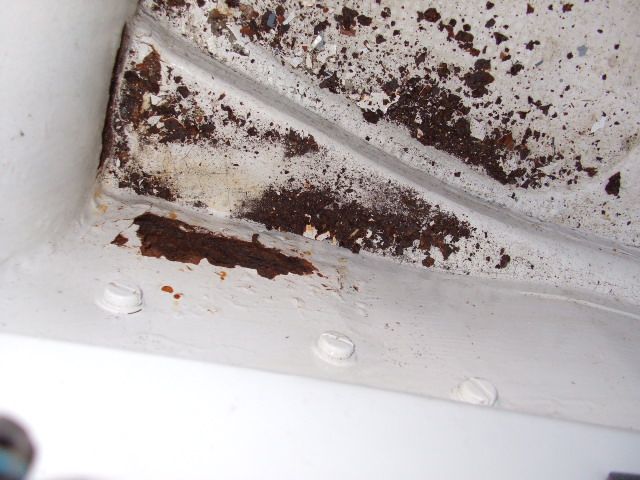 I removed the wheel and plastic wheelarch liner to discover... 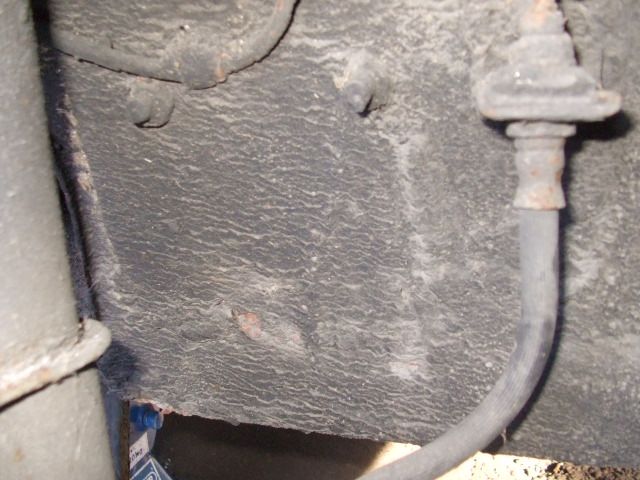 ... a patch! The cars one good previous owner has already done it!  Not only that but... 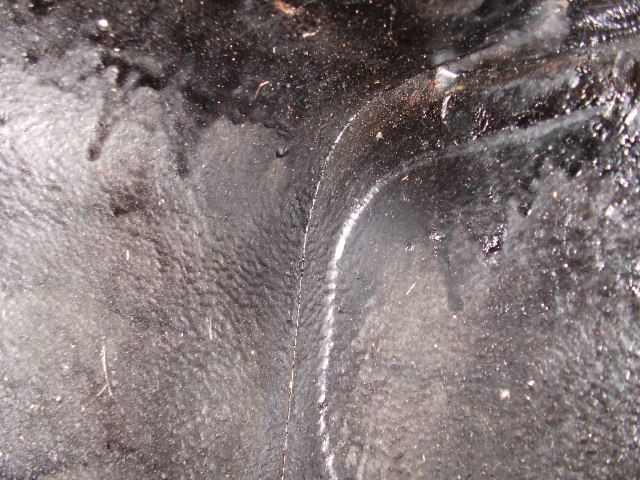 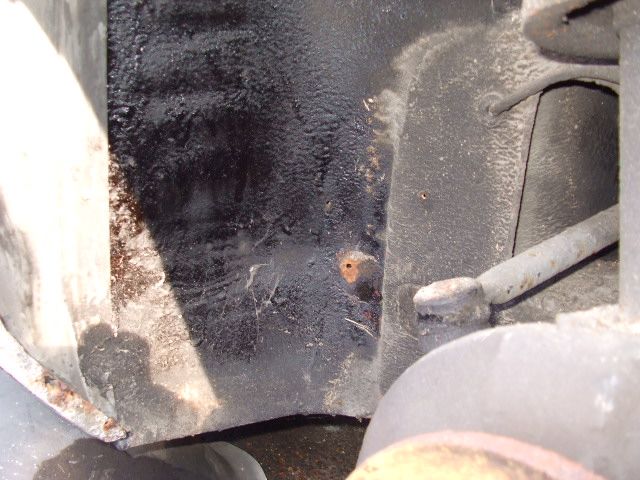 ...the rest of the arch looked quite good too! |
| |
|
|
|
|
|
Jul 22, 2012 17:26:46 GMT
|
Operation 'Make it all the same colour'!One of the biggest problems with the car is its patchwork paint. The car was originally silver, a previous owner painted it white and the guy I bought it from had rubbed it down to paint it again. He had tried out colours on the bodywork and painted random colours over the bits where he had rubbed thru to bare metal.  So... 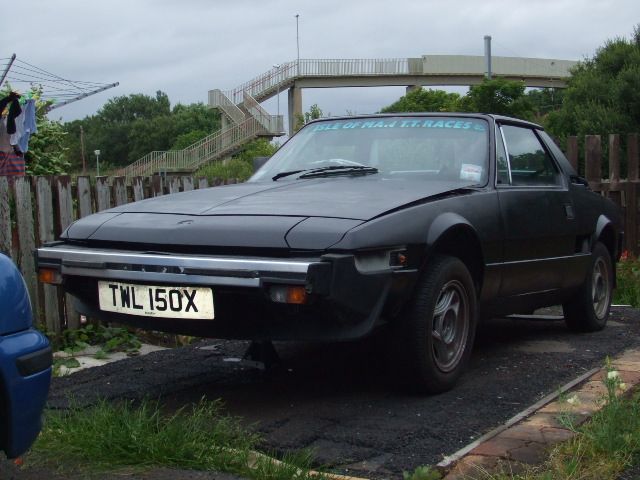 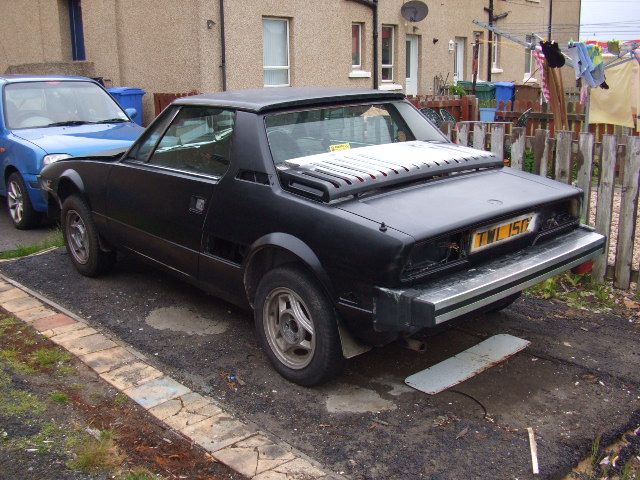 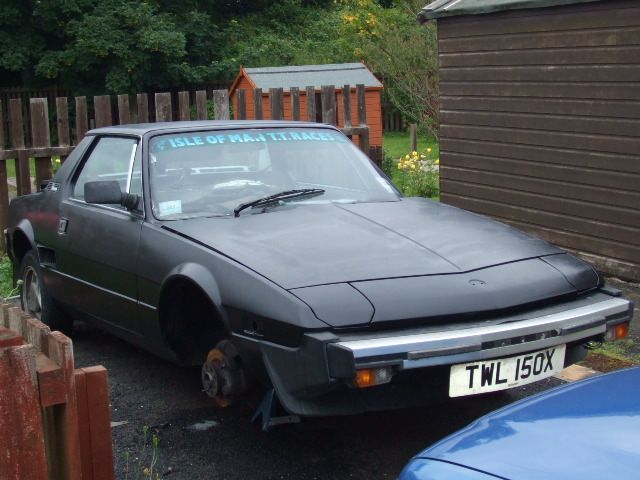 ...I attacked it with a few tins of rattle can black!  Its almost as if I had taken the front wheel off to stop it escaping my attack! As you can tell by the lack of masking tape etc. It was an impulse attack, a quick wipe over with some scotchbrite pads and kitchen roll/brake cleaner was the only real prep but I came home from work one night and it was vaguely sunny. This 'paintjob' does have its advantages... 1. Its all the same colour now 2. It gives a good indication of how much work I need to put in to make it all the same colour, I'E' parts where the paint has reacted. 3. Rattle can satan black is easy to match, so when I take the bumpers off or fit fibreglass panels I don't need to spend as long prepping it all 4. Ive never been a 'nice shiney car' type person anyway!
|
| |
|
|
|
|
|
Jul 22, 2012 17:51:44 GMT
|
|
Give the wheels a good polish and that'll look pretty cool!
|
| |
Koos
|
|
|
|


 )
)


 )
)


 )
)


 Chipped it out to reveal slightly more welding work than I thought...


 Fair play for dealing with the italian electrics and getting stuck in


