|
|
|
Sept 26, 2012 22:00:52 GMT
|
Hi Tiff! I'm in sunny Troon. I realised the later X1/9s had blade fuseboxes after I had ripped mine out, LOL! I'm just about finished with the wiring and so far everything works as it should and nothing has gone on fire. Still to sort out engine wiring (but currently putting together my own electronic ignition) and the headlamp wiring. Was going to carry out the popular headlamp wiring mod where the original feed is used to switch relays running off battery voltage but (controversially) I'm going to fit HIDs and the kit I have works like that anyway. I've stopped the wiring stuff at present to concentrate on the impending weldathon. If you can find a distributor out of an uno SX, early Tipo or similar with electronic ignition, it just drops in place, some distributors had a longer body, but the internals can be built into the x1/9 distributor easily. Saves taking out the spare wheel etc to set the points... |
| |
|
|
|
|
|
|
|
Sept 29, 2012 20:42:21 GMT
|
|
Hi Tiff. Been looking at that recently.
I've been messing about with this golf distributor idea that 'might' work. I already had the parts so it was supposed to be a low buck alternative to the usual 'powerspark' solution. But the uno dizzy idea is more likely to work, its just finding a suitable one for sale!
|
| |
|
|
|
|
|
Sept 30, 2012 20:45:11 GMT
|
No real update this week as I was mostly visiting folks but heres a few pics anyway. Stupid reacting paint round my gorgeous hole free windscreen surround... 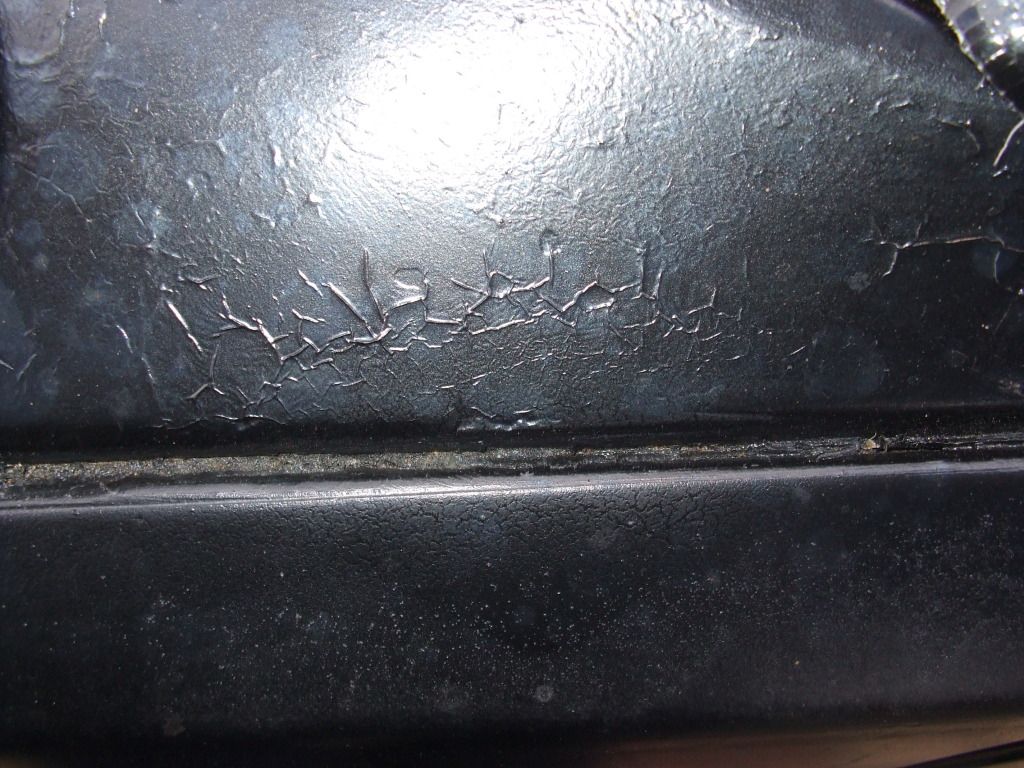 Had a good 8 hours to dry but still bloody reacted! In other news, <Type desired> in neat weld shocker!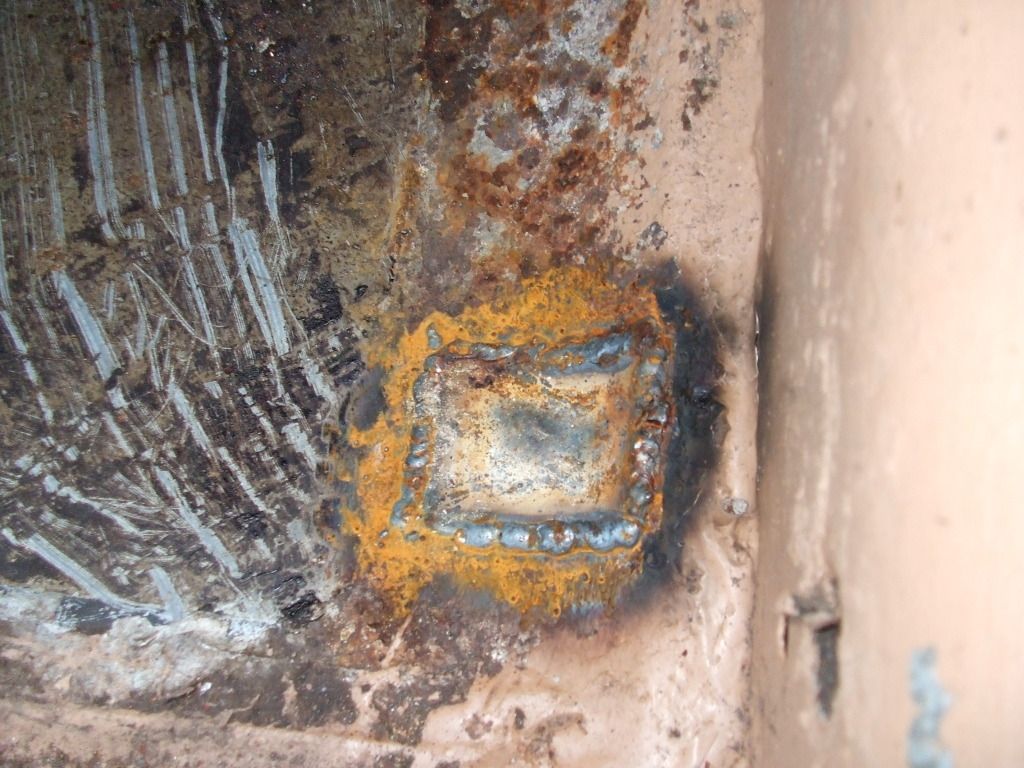 The last patch I had to weld in and its probably the nicest weld on the whole car! In business news, Hammerite share prices soar as sales of pink No.1 rustbeater reach all time high!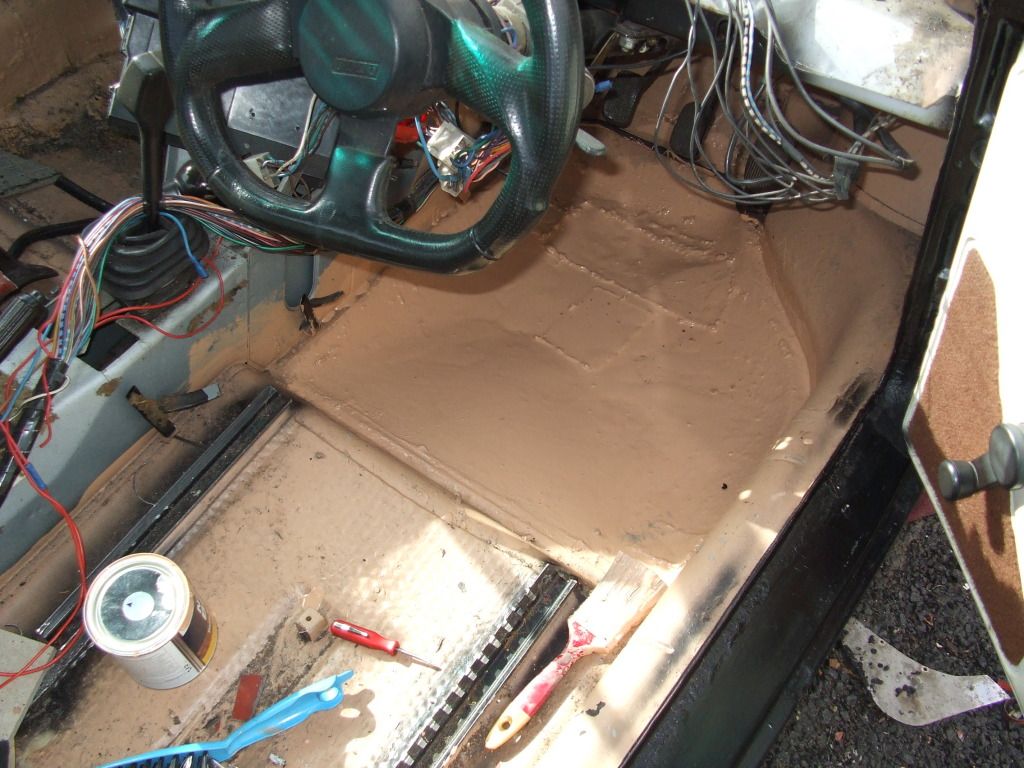 ...cos its all on my s*dding FIAT! Using the 'pour some out and spread it about a bit with poundshop brushes' is very effective at protecting the metal and filling the gaps but it is messy and expensive! Pretty much all the welding is finished. I feel guilty looking thru other 'Readers rides' threads when I see the welding work other 'retro riders' have to put in. I buy a car that has a terrible reputation for rotting away and get off relatively easy. Anyway, new windscreen should be in by next weekend (luck prevailing!) Finally, the pointless progress shot... 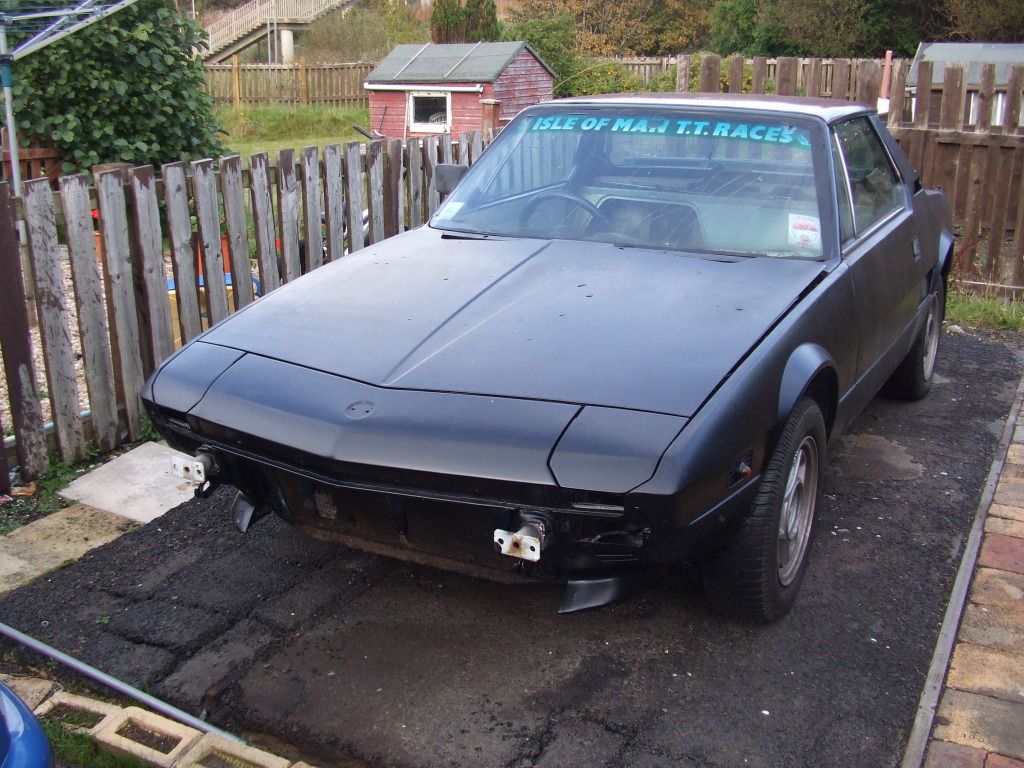 ;D ;D ;D |
| |
|
|
|
|
|
Oct 21, 2012 10:23:24 GMT
|
Hi all! Sorry no recent updates but I do have plenty excuses!  Had to bodge daily driver thru its MOT for another year in usual Scottish summer weather (horizontal rain  ) Then managed to smash my thumb up. Bloke at work was fitting a rear axle to a Pug 206. He asked me for a help. As I reached up to lift the axle off the stand and bolt it on he lifted his side by the brake disc, lost his grip and knocked it off the stand. Apparently a thumb isnt the best thing to try and catch it with. I know now. Finally, trying to save up a bit. If I move to the other end of town I loose my spectacular view but I can have a house with a garage for £100 less a month! Well worth the project fund sacrifice! Anyway, thought I'd post a bit of an update as I'm off to Gran Canaria on Wednesday and I needed to delete the pics from the camera, LOL! I am currently in the process of rewiring the engine bay and upgrading the sparks and fuel system. I'm gonna wire the sensors directly to the instrument panel. For some reason FIAT routed them thru the fusebox adding a whole stack of extra connectors and feet of wiring. More connectors and wires=more chance of failure! 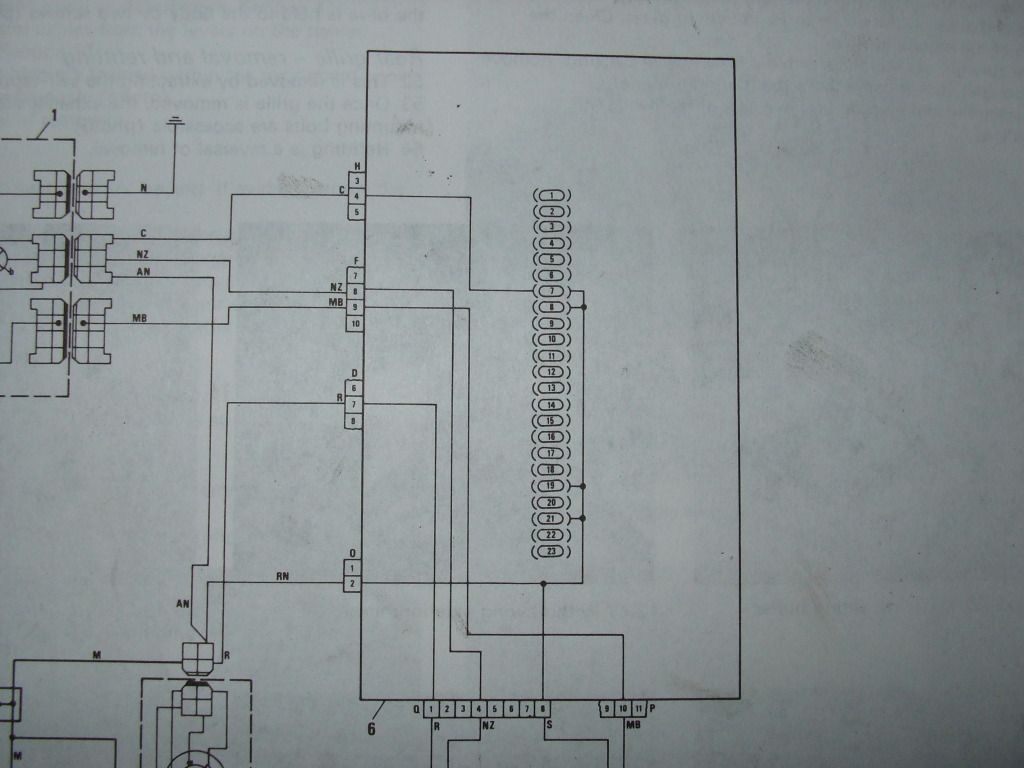 The circuit marked 'MB' on the bottom right enters the fusebox at terminal 10 and exits at terminal 9 into the fusebox. Why? Madness! Also, by rewiring the lot I will do away with the multitude of quality repairs along the way. Here is the spectacular 'repair' on the ignition light circuit from the alternator... 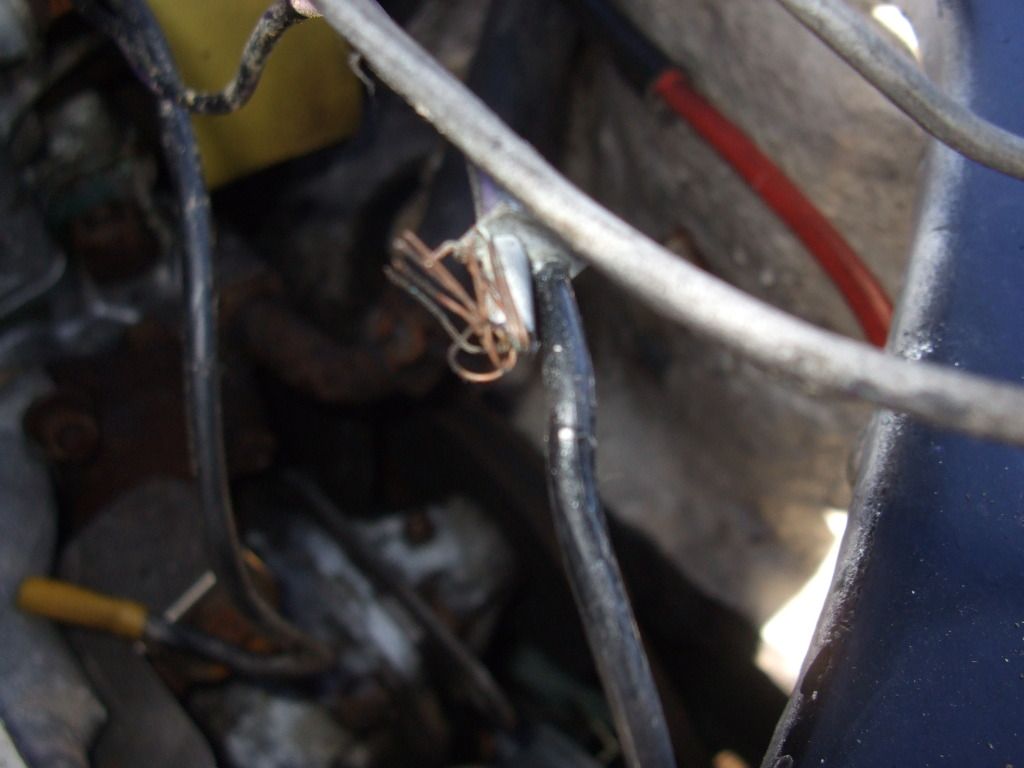 Thing is, from what I've seen of the wiring so far, this might have come from the factory like that, LOL! Out went... 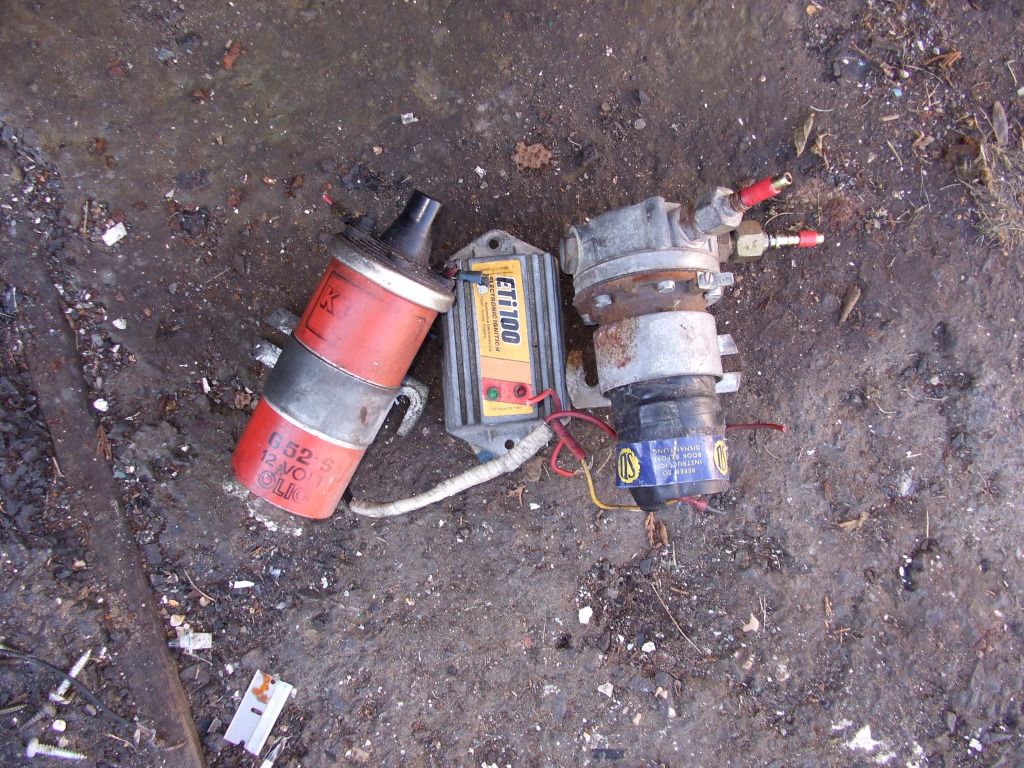 to be replaced with... 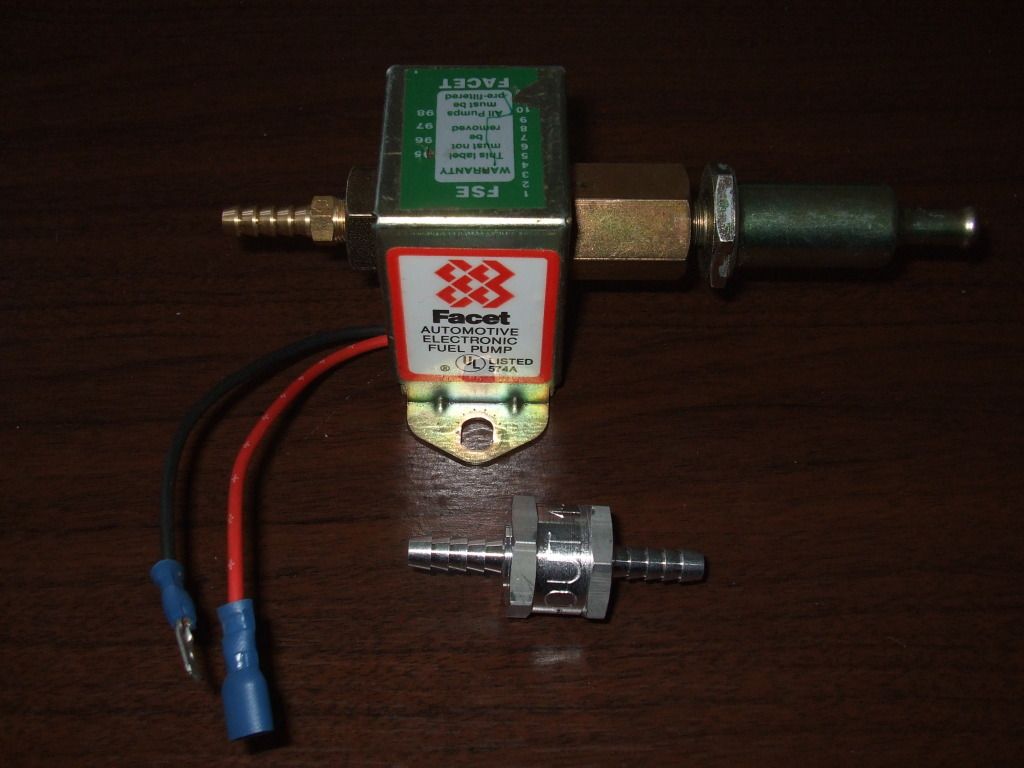 I have 2 options with the ignition system, 1. The easy option. Try and source an electronic dizzy from an Uno etc. as mentioned by Tiff above. 2. The trickier option. Finish my own electronic ignition swapping the guts from a VW Golf/Vauxhall Nova dizzy. I have all the bits, I've just not got round to fitting them! Anyone have a suitable dizzy? I also got round to completely removing the rear bumper. Spend a few hours clearing out all the junk from the boot to get into the mounting bolts... 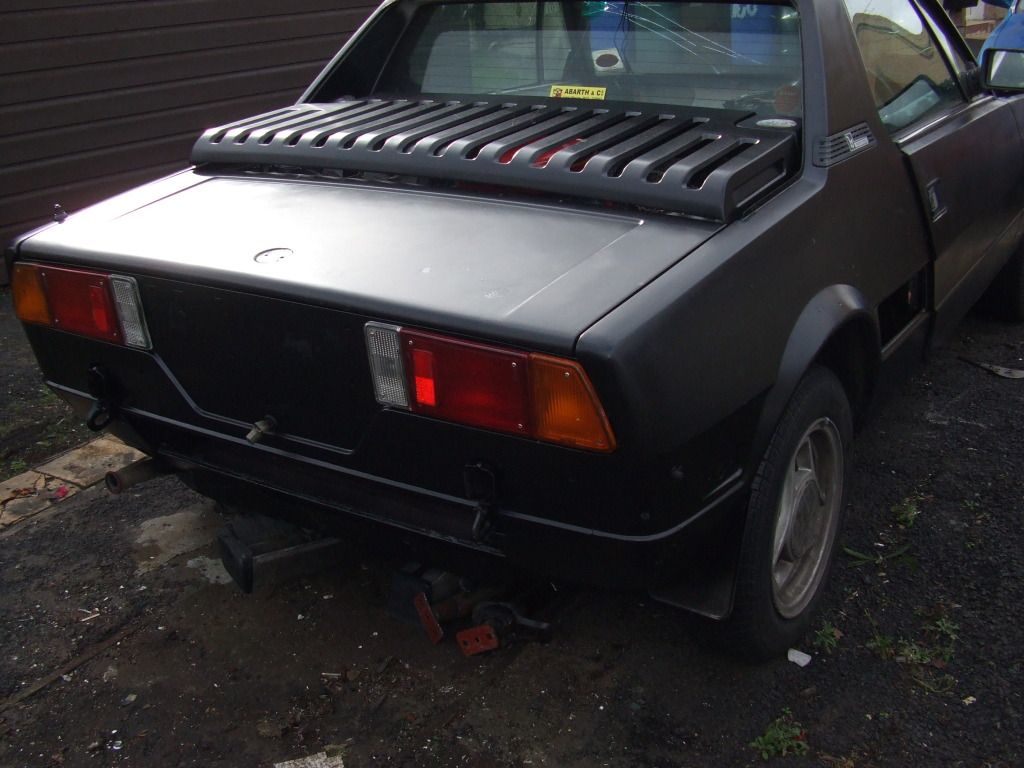 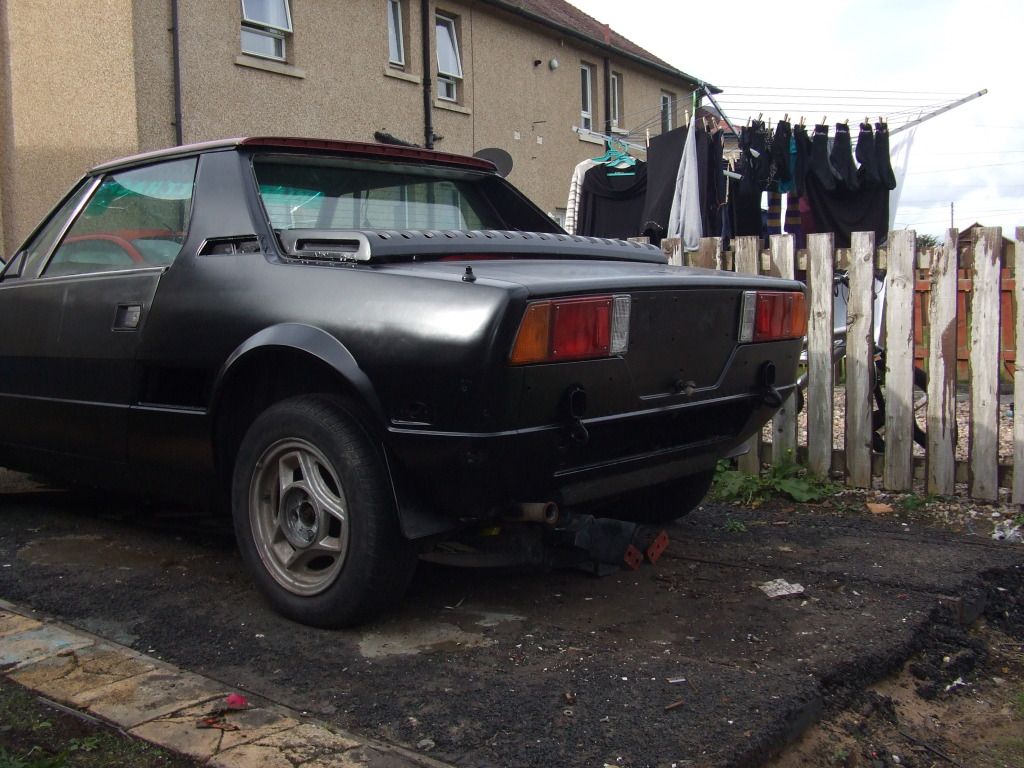 Problem it leaves me with is the bumper mountings leave 2 square holes with sharp edges poking out. When I get the chance I'll flatten them out and plate over them. Finally, wanted to get the new windscreen in before jetting off on holiday but Autoglass quoted £450 for a new one! Gits! Best quote I managed was £350 from a local firm. I've removed the old one to weld up the frame. Its only held in with tape but I'll be on the lookout for a 2nd hand one when I get back. Anyone have one lying about? |
| |
|
|
purf
Part of things
 
Posts: 69
|
|
|
|
|
Keep it up! Looks great in Satin black.
I would have taken the bumpers off 5 mins after getting it home!
Looks so much better!
Hate it when paint reacts like that! I though that kinda thing only happened to me!
|
| |
|
|
|
|
|
Nov 10, 2012 12:58:00 GMT
|
|
Next update soon, I promise.
Parts ordered,
Holidays used up,
thumb almost better (turned out I'd broken a bone in it! Was working away cleaning rust off back discs on a bloody Kia Sorento, thumb locked up again, very painful, caused me to wrench my hand away too quickly causing me to stab myself in the eye with a big plain screwdriver! Thats just about healed up too, LOL!)
So ready to brave the elephants and do my engine bay wiring/ignition/fuel supply!
|
| |
|
|
|
|
|
Nov 15, 2012 22:35:38 GMT
|
|
An appeal!
As I mentioned earlier in the thread I'm gonna reposition the battery on the front boot floor.
Anyway, I want to fit a bigger battery to give me plenty 'turning over time' when it breaks and a bit of extra weight at the front.
The car currently has an '067' type small battery. The natural choice would surely be an '075' or '100' type battery but the problem with them is the terminals will be the wrong way round.
Can anyone suggest the part number for decent big cheap battery?
|
| |
|
|
|
|
|
Nov 25, 2012 17:06:32 GMT
|
AN UPDATE!I thought it was about time I repaired the engine cover. A previous owner had seperated the 2 main sections and last time I'd worked on it the loop that holds it shut snapped off! So I welded it back in place... 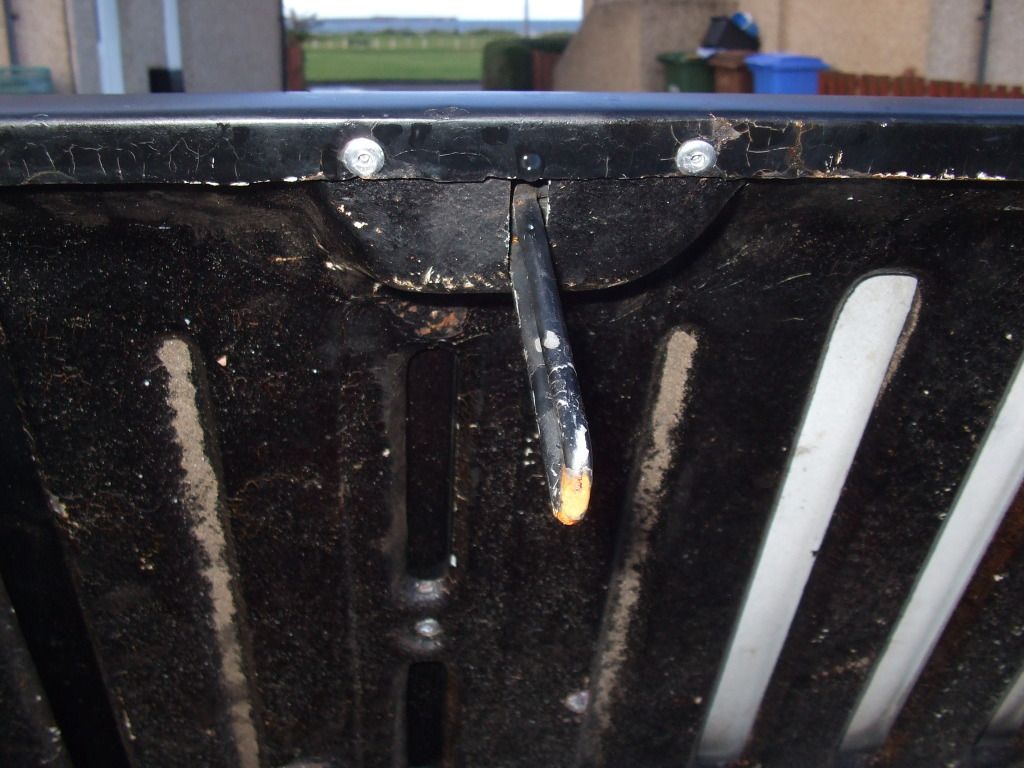 ...and pop riveted it back together. This is good because we are progressing into snowy season in Scotland (November to June  ) The problem is... 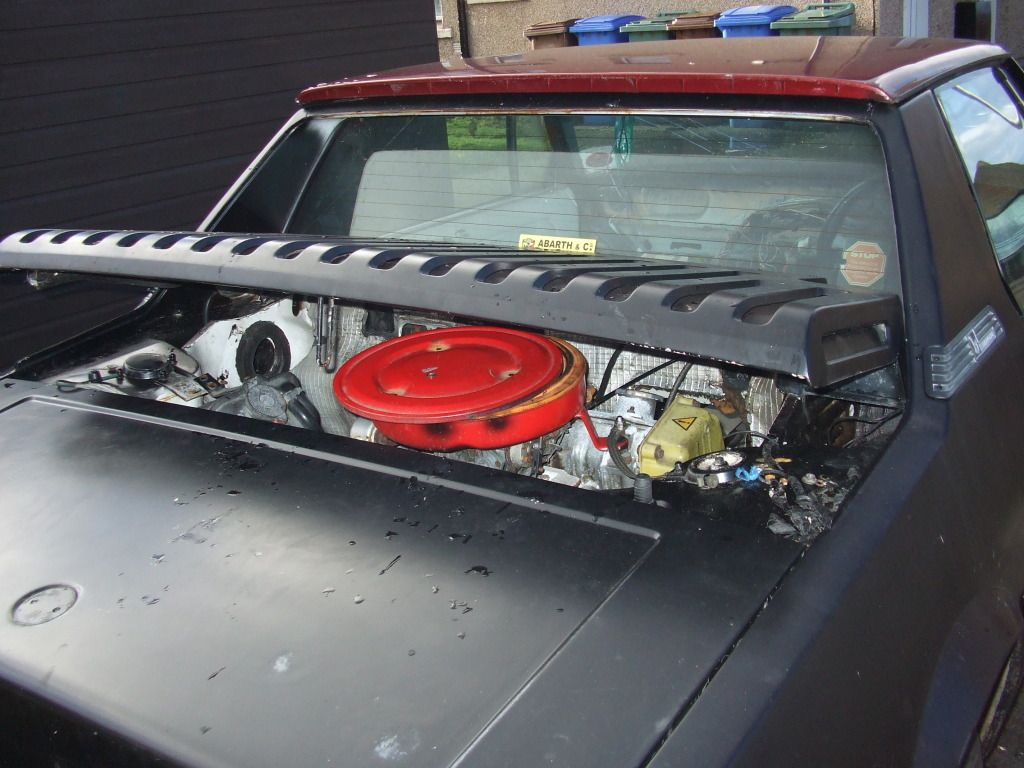 ...because the cover is a bit heavier the 31 year old spring struggles to lift it as high!  Need to figure out how to retension the spring a bit. Anyway. I have to get the thing running for the impending house move so I have to finish off the electrics. Before I do that though, I wanted to put some sort of insulation back to replace the soundproofing I removed when welding it up. I started with this... 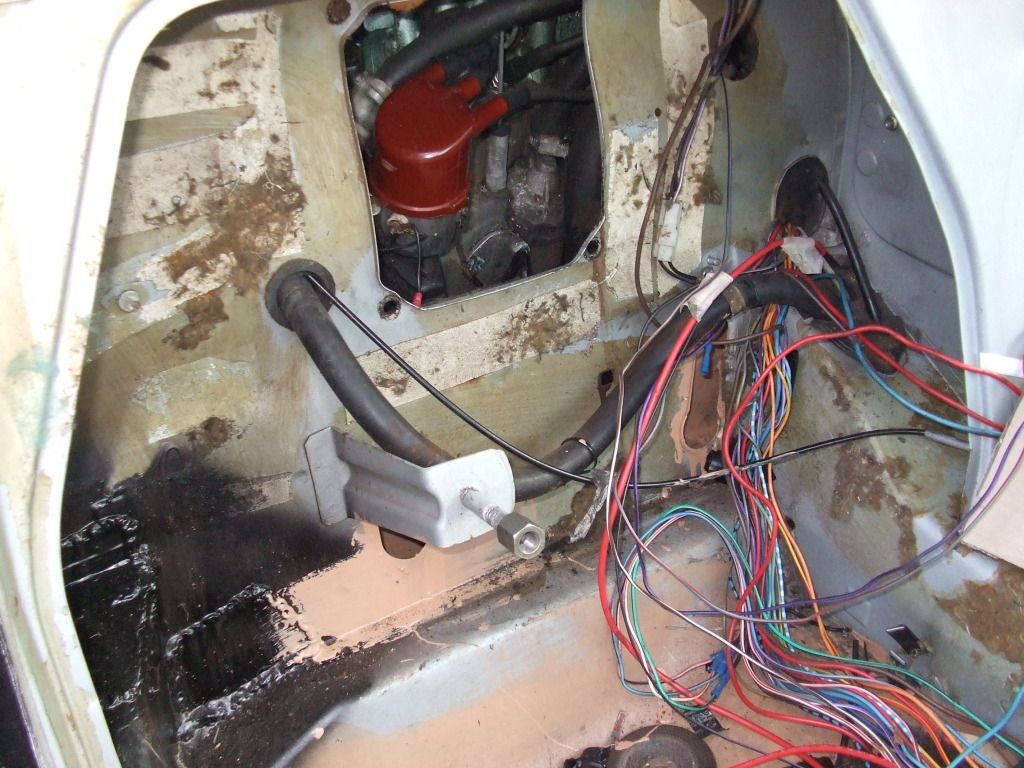 Yuk! I treated it to this... 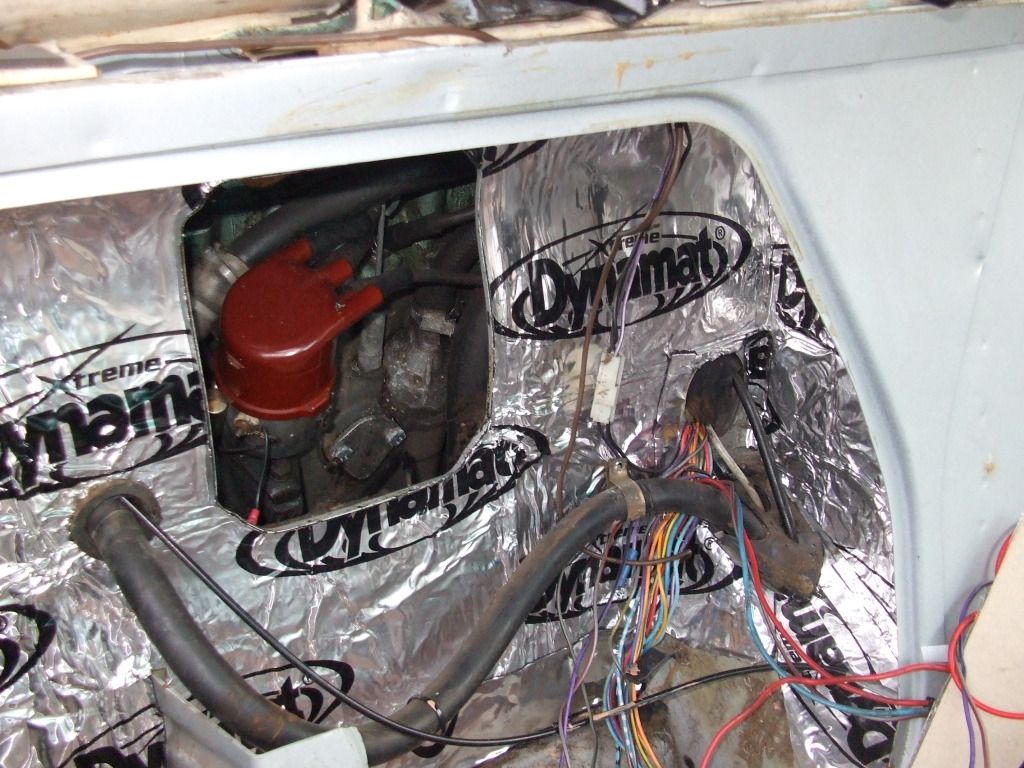 I'll be honest, it looked tidier when I done it in my head and because of the area I was working, its not the easiest thing to fit. Onto the wiring. I had done a bit of work in this area already, stripping out the old ignition and alternator wiring. I stripped off all the old insulation and removed the old alternator and ignition wiring. I then replaced the temp sensor and both oil pressure wires. I changed the wires like for like and fitted nice waterproof terminals... 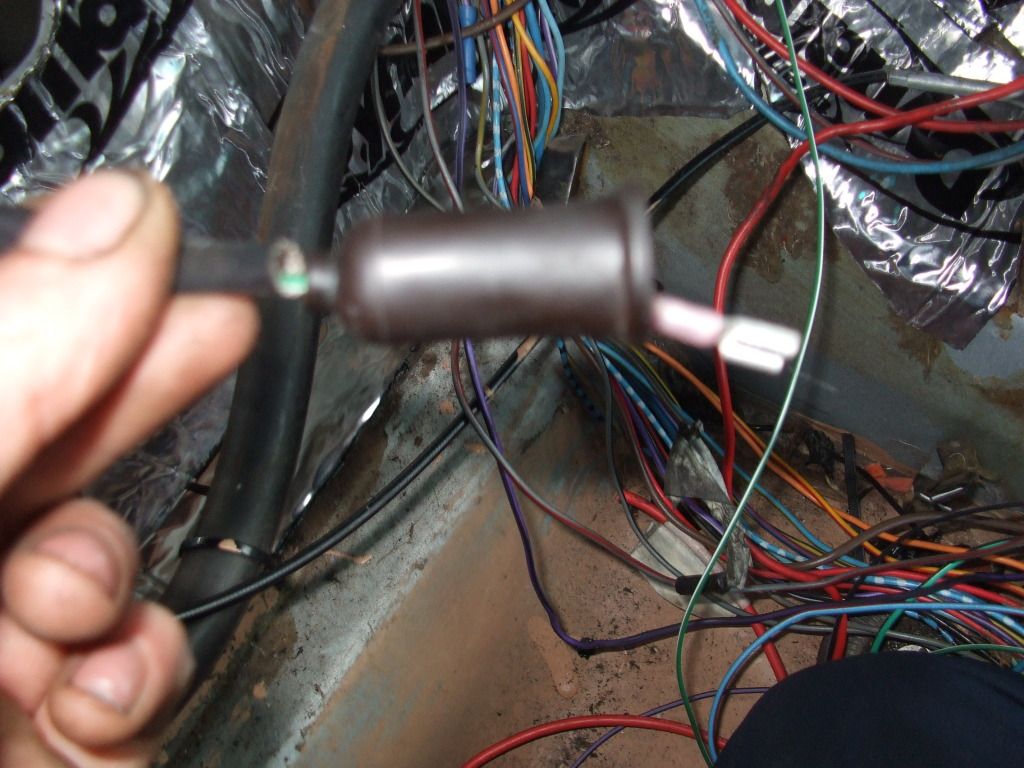 One of the many problems is most of the wiring from the engine bay runs down the centre of the car, under the dash to a big connector at the fisebox on the passenger side then back along the top of the dash to the instruments and ignition switch. Obviously its an Italian car so most are left hand drive so FIAT simply made up another loom to run back to the drivers side on right hand drive cars. 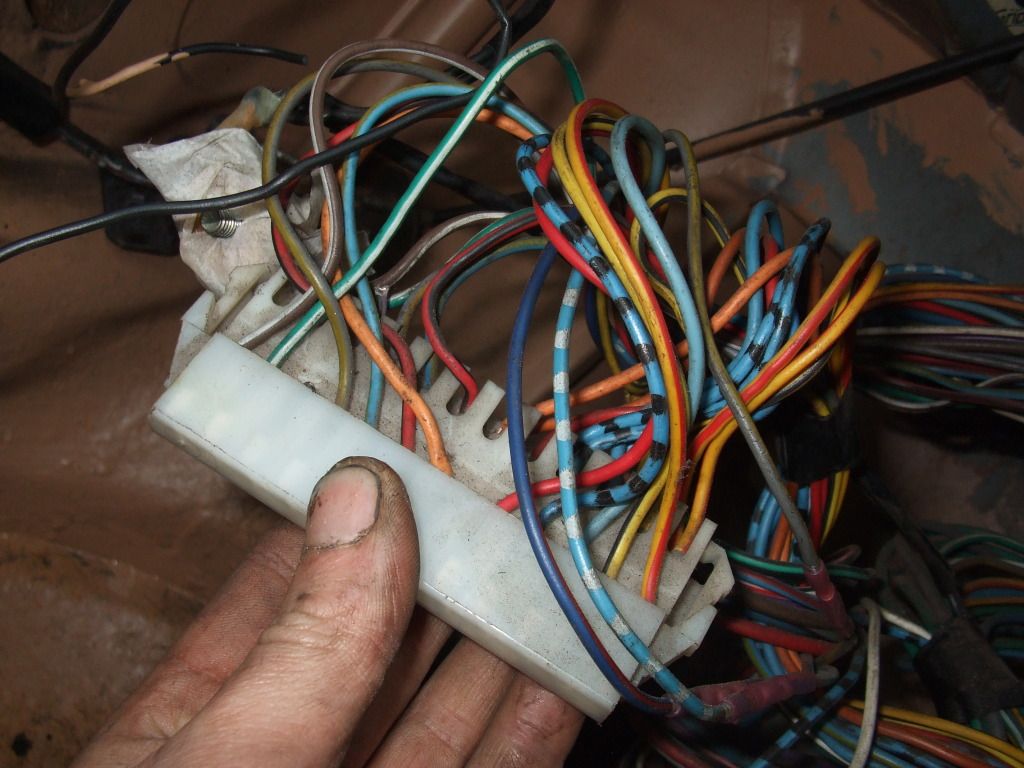 Here it is, it looks better in the pic but its pretty corroded in real life. Most wiring problems in my experience are caused by connectors, especially on this old banger. So the less connectors, the more reliable the wiring. So all the stuff I rewired was wired straight to the dash or ignition, not to the passenger side! SO now everything is connected back up at the engine...  ...here is the starter and temp sensor. Great pic! I ran all the wiring into a big heatshrink sleeve and ran it to the drivers footwell. Ive not connected anything up yet because it was 3pm and getting dark! Looks a bit better than in picture 3! The red wire will be my ignition live to the coil and fuel pump relay. The brown wire is the pulse for my rev counter. 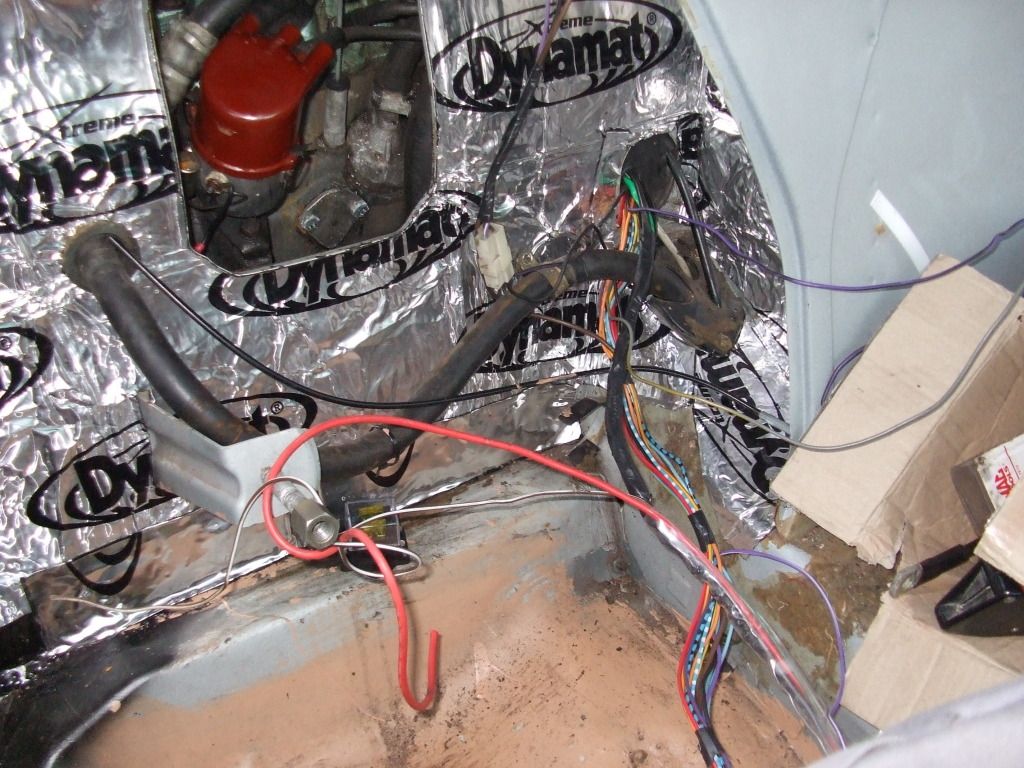 Next week if its dry I'll be welding up the holes left by the rear bumper. If its wet I'll be connecting my wiring at the front and rewiring the dash lights etc.
|
| |
|
|
|
|
|
Dec 16, 2012 16:21:10 GMT
|
I've been investing some decent time and money into the FIAT this weekend! ;D All the electrical work so far has been to avoid sparks but this week I've been working on getting bigger sparks! The plan had been to make my own electronic ignition. On paper this was a great idea. I had all the bits I'd need knocking about (a Golf dizzy, coil pack, ignition amplifier and leads) but swapping all the bits over and setting it up is easier if you have a running car to begin with. Then there was plan B, as suggested by Tiff, get a later FIAT dizzy (Uno SX etc.) however after searching and searching it would appear to be easier to find an insurance company with a conscious than it is to find one of those dizzies going spare. So plan C. This was the plan I knew would work but wanted to avoid. Throw money at it! ;D Its no fun if you build a car out of a pile of new brand name parts but as a move is looming on the horizon I need to get the car up and running. So I got me... 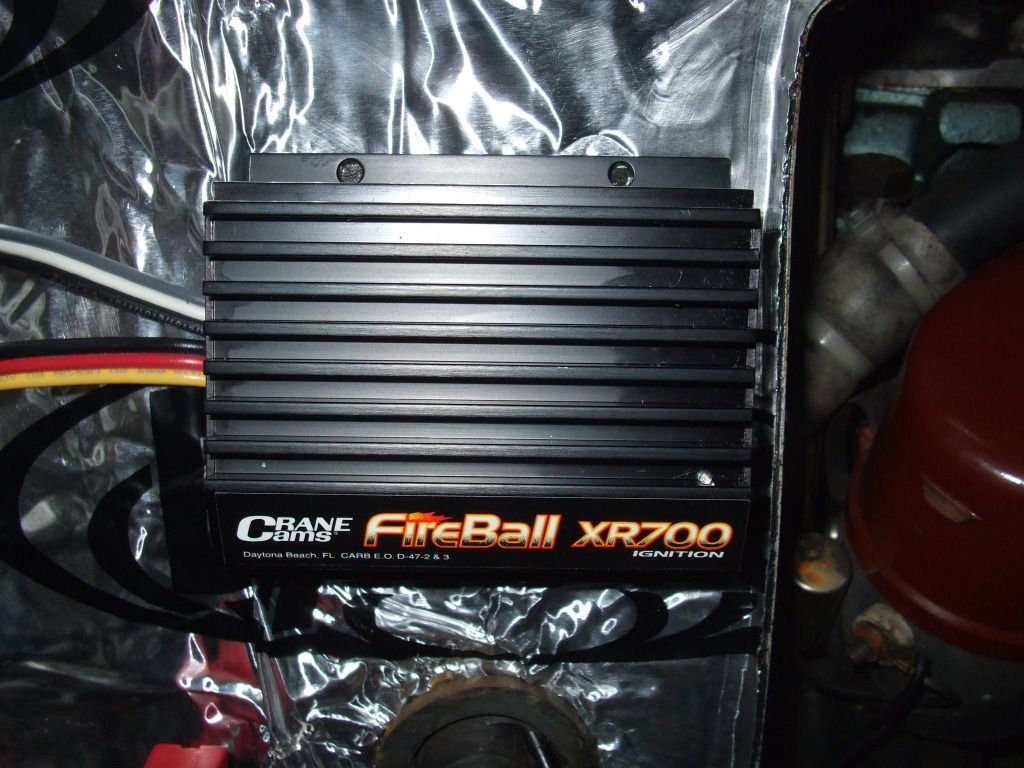 Its similar to the Lumenition optronic kit but seems to be more highly thought of on www.xwebforums.org. Everyone on there pointed out the fitting bracket needed modification to fit the Marelli dizzy and pointed out the cutter disc isnt a great fit over the lobes. So to overcome this I bought the Lumenition optronic fitting kit off ebay for my distributor. 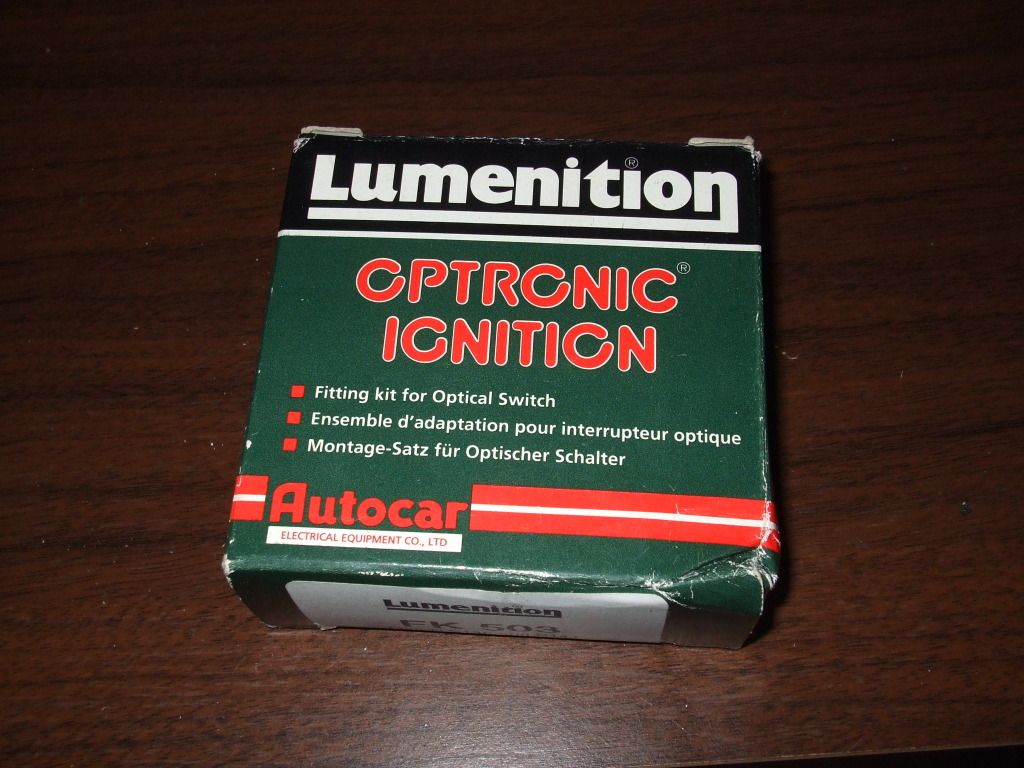 Fitting the kit was made easier by removing the baseplate... 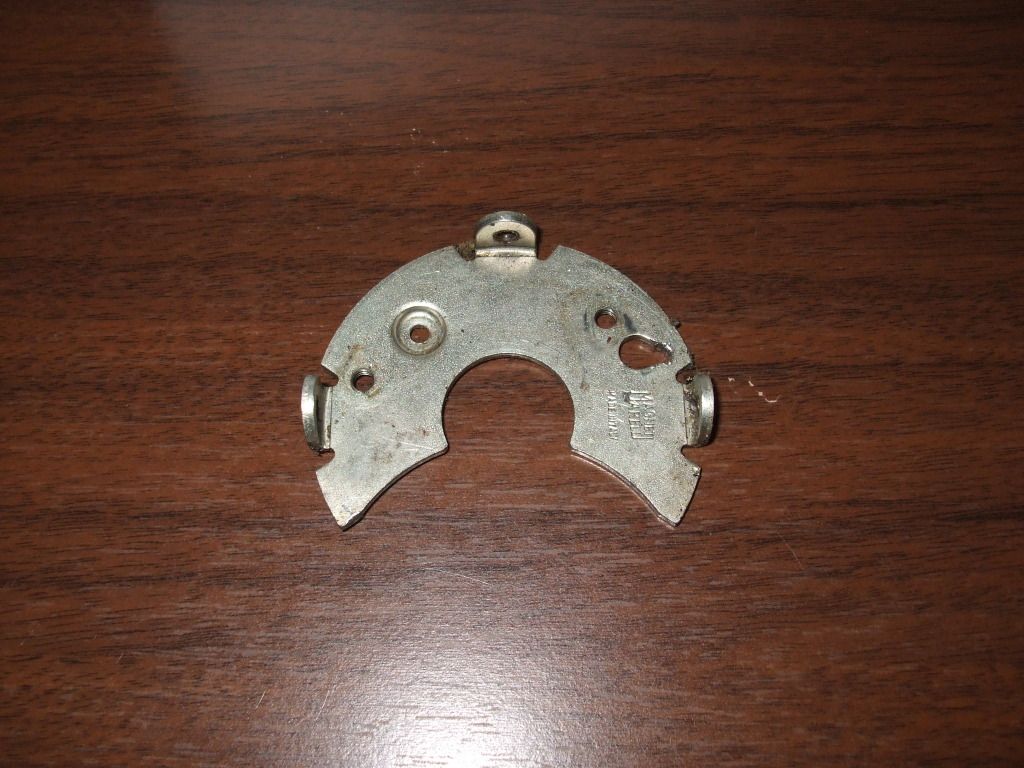 I used a mix of the parts from each fitting kit... 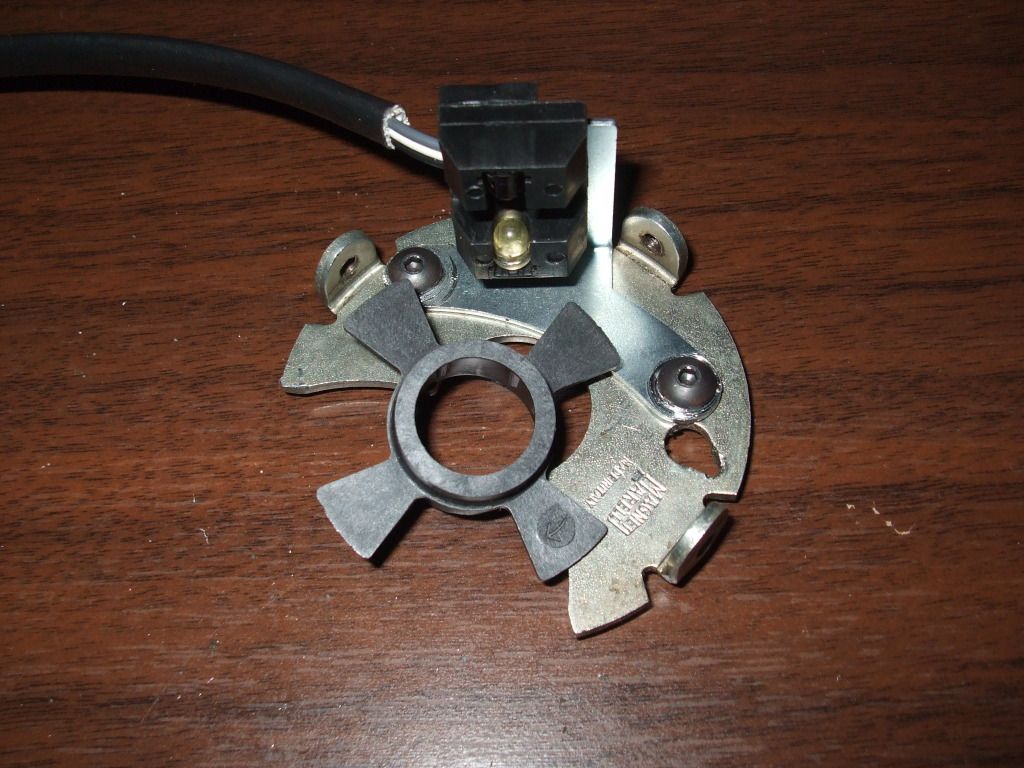 I'd already fed wires to the fitting area and because its an American kit it is very easy to follow (has to be for those damn yanks! LOL!)... 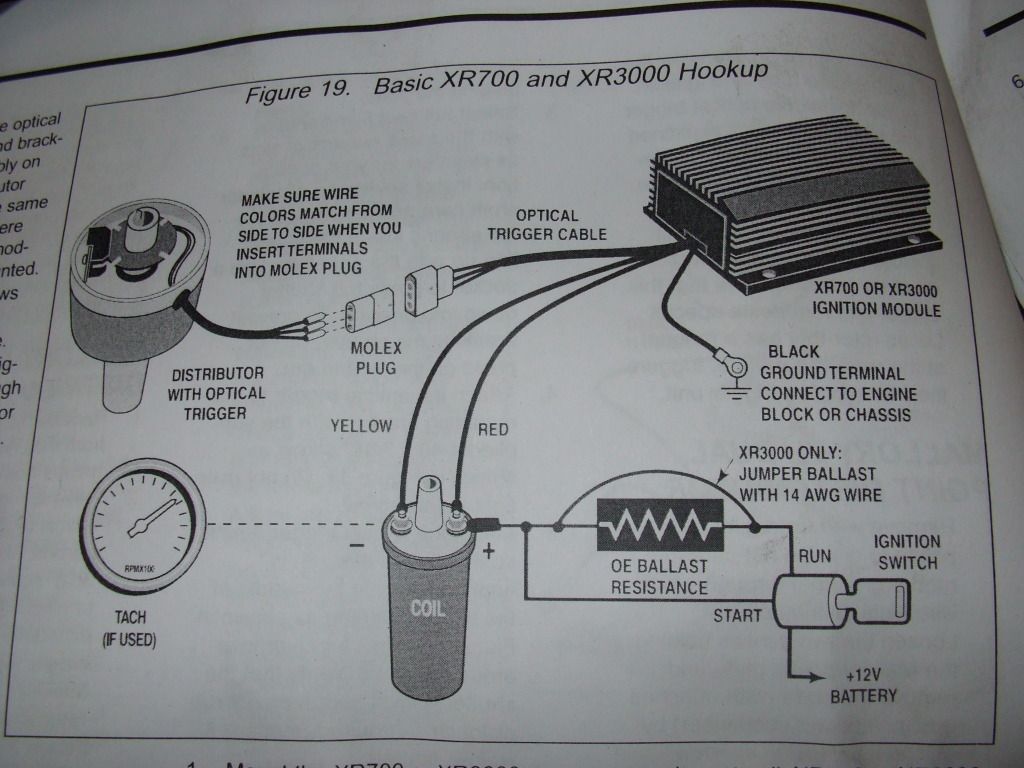 To compliment this install I got a nice up to date box of sparks... 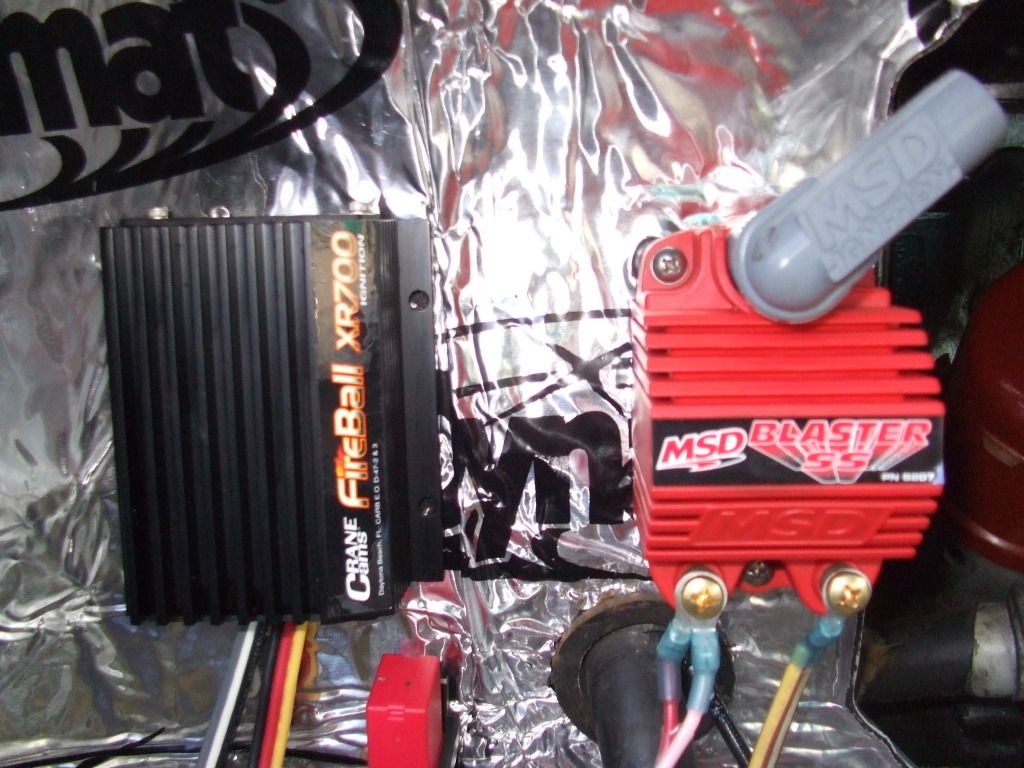 Fitting an oil filled coil in 2012? Not me! Coil by MSD for my wee FIAT and me! I also managed to remember to bring an electric drill, drill bits and big extension lead home all at the same time so the new fuel pump finally got fitted! 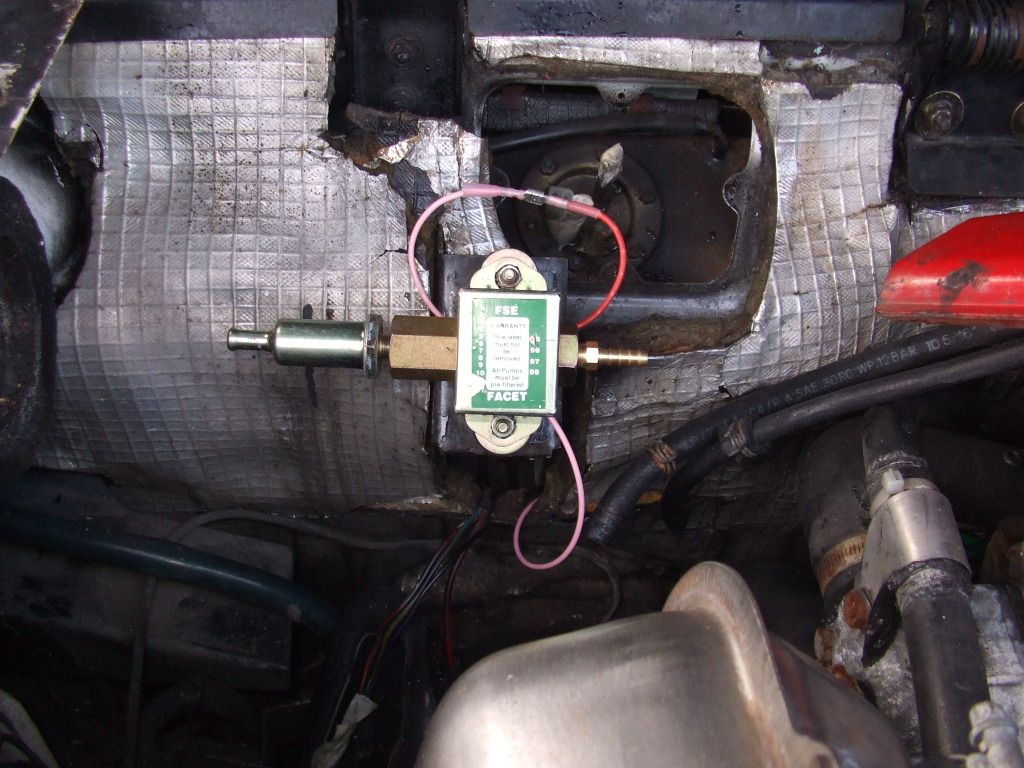 ...and rigged up some new wires to keep it buzzing away happily for a while yet. 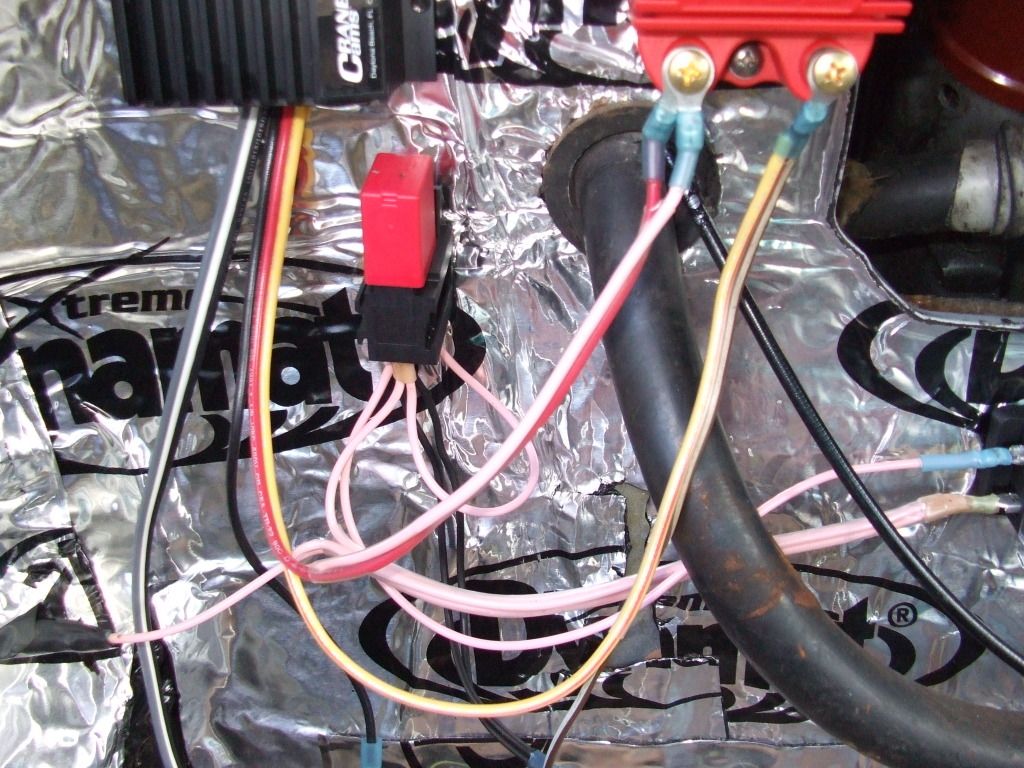 So?! Does it run? Er, well... Maybe next week I'll remember to lift some new fuel pipe. And order a new battery. Only real wiring work I done this week was cleaning out the 'damaged and no-longer-needed-wiring pile'! ;D 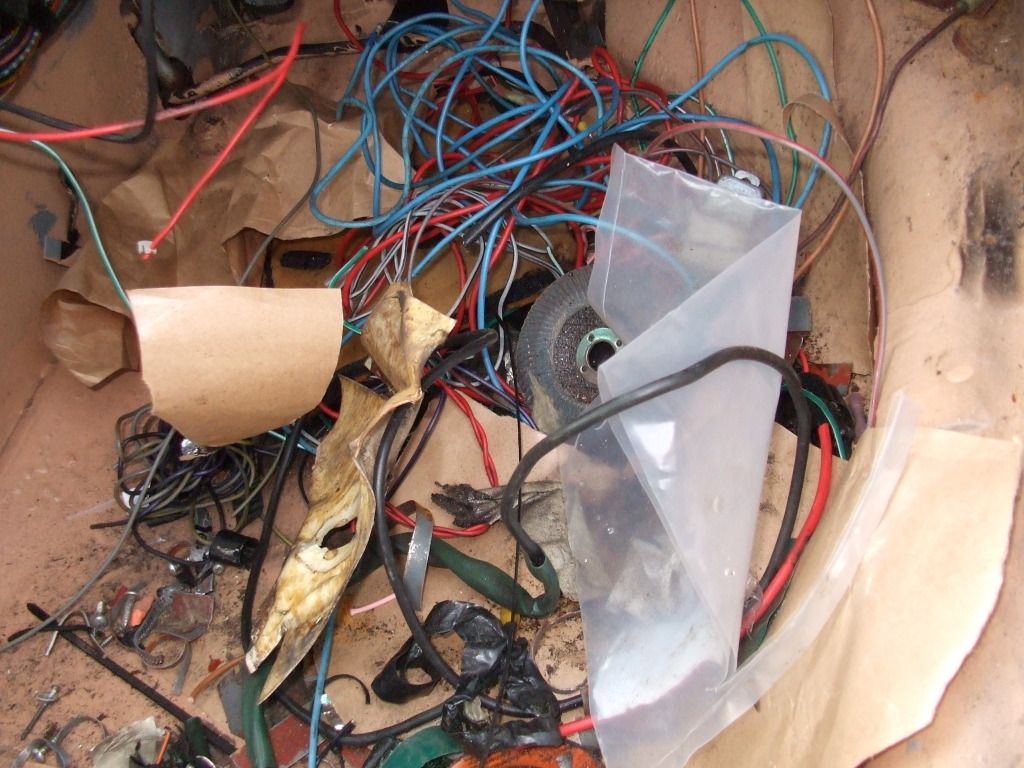 |
| |
|
|
|
|
|
Dec 31, 2012 15:51:55 GMT
|
It was a cold, very windy 31st of December in Troon, Scotland. Nothing interesting or exciting appeared to be happening on the face of it. But in a small wind battered drive way just down from the Morrisons a beast stirred... 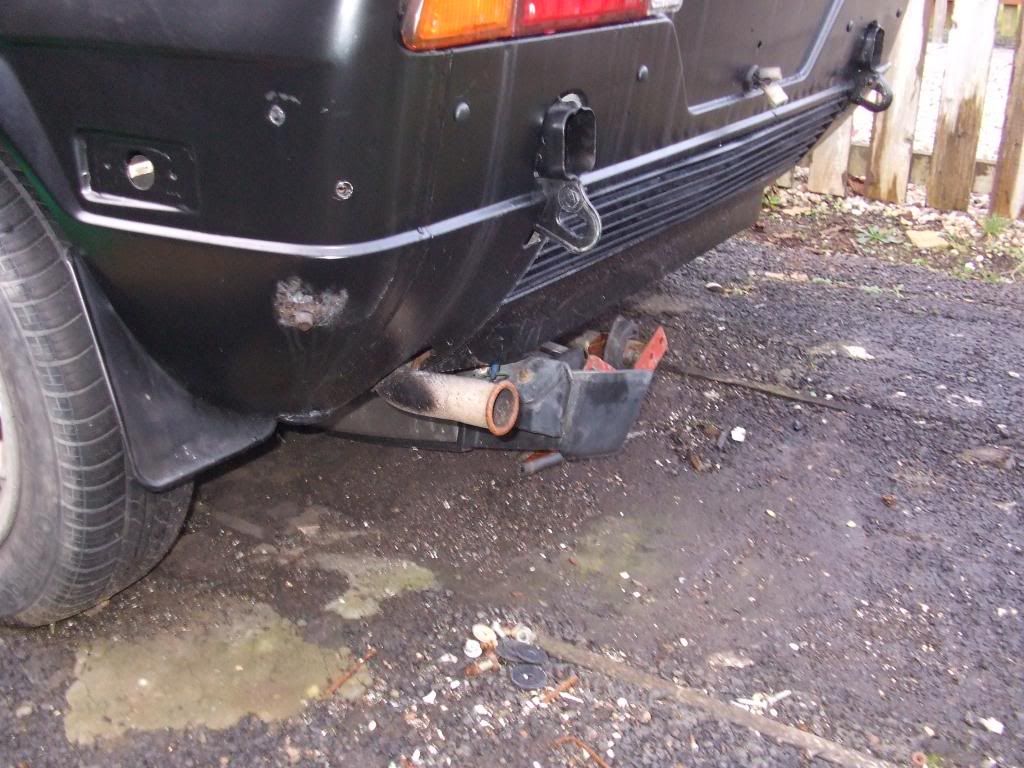 Nothing...  ...still nothing...then... 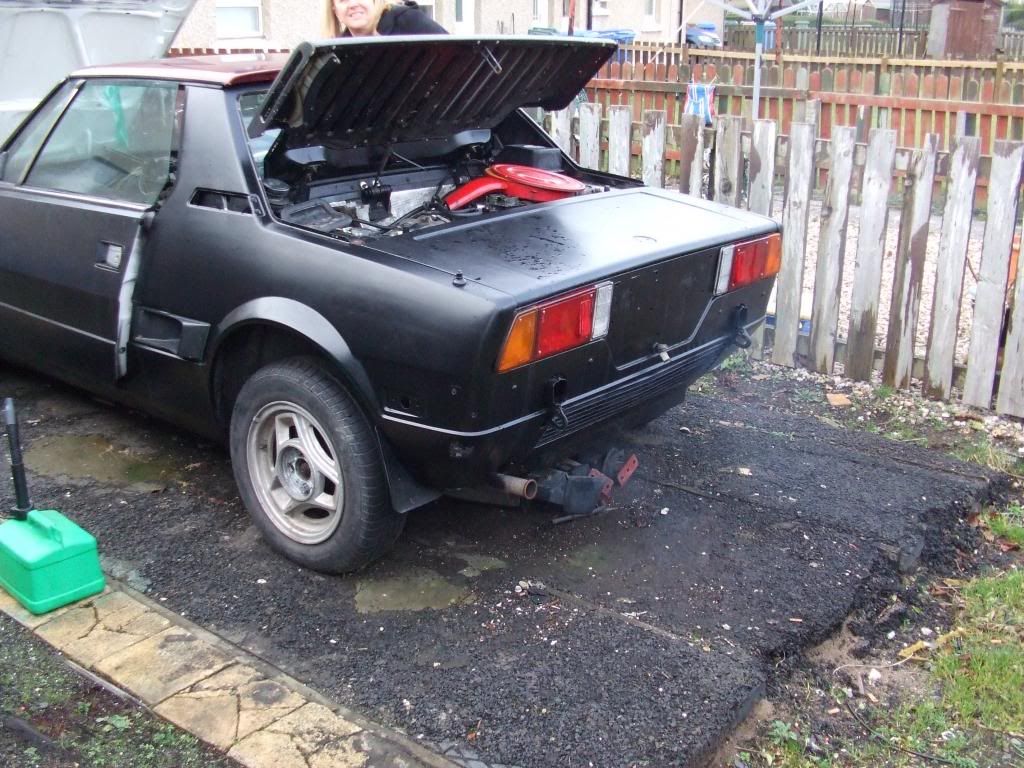 VROOOM! VROOOM! Its alive, BWAHAHAHAHAAAAH! Yeah, so I finally got everything connected and treated it to a battery and some nice fresh petrol. 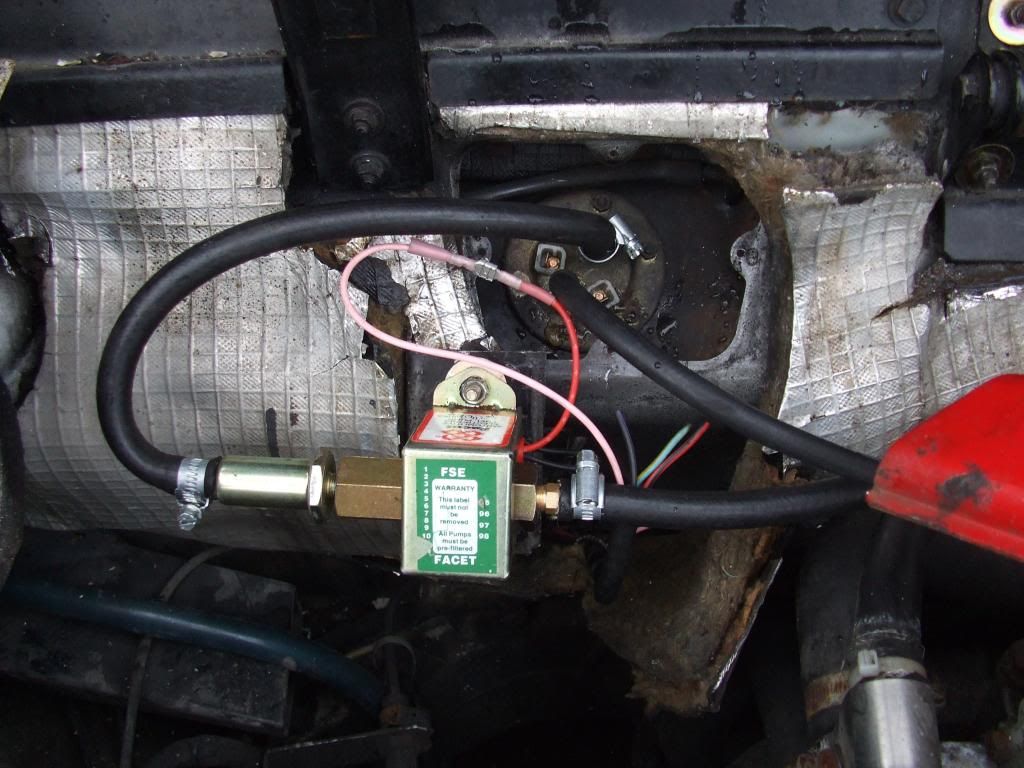 If you chuck some fuel down the carb it fires and runs until the fuel burns off. The fuel is reaching the carb at a decent pressure and the return appears clear so I'm gonna give the carrotgrater a bit of a clean out. The previous owner did say the car liked a cap full of fuel down the carb if it had been lying a day or so, its not been started since last June so it should benefit from a rebuild! 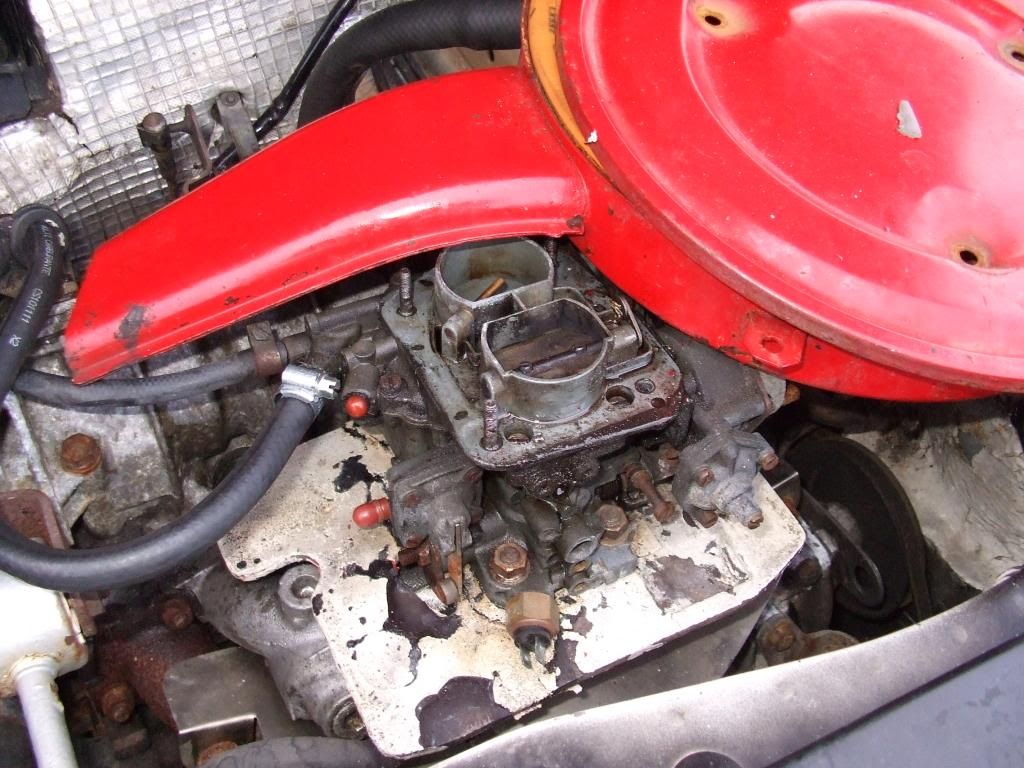 Fitting out the dizzy with the electronic ignition was straightforward if a little fiddly. The optical sensor screws onto a bracket (from the Lumenition kit) that screws on where the points mounted. I removed the baseplate to make that bit easier... 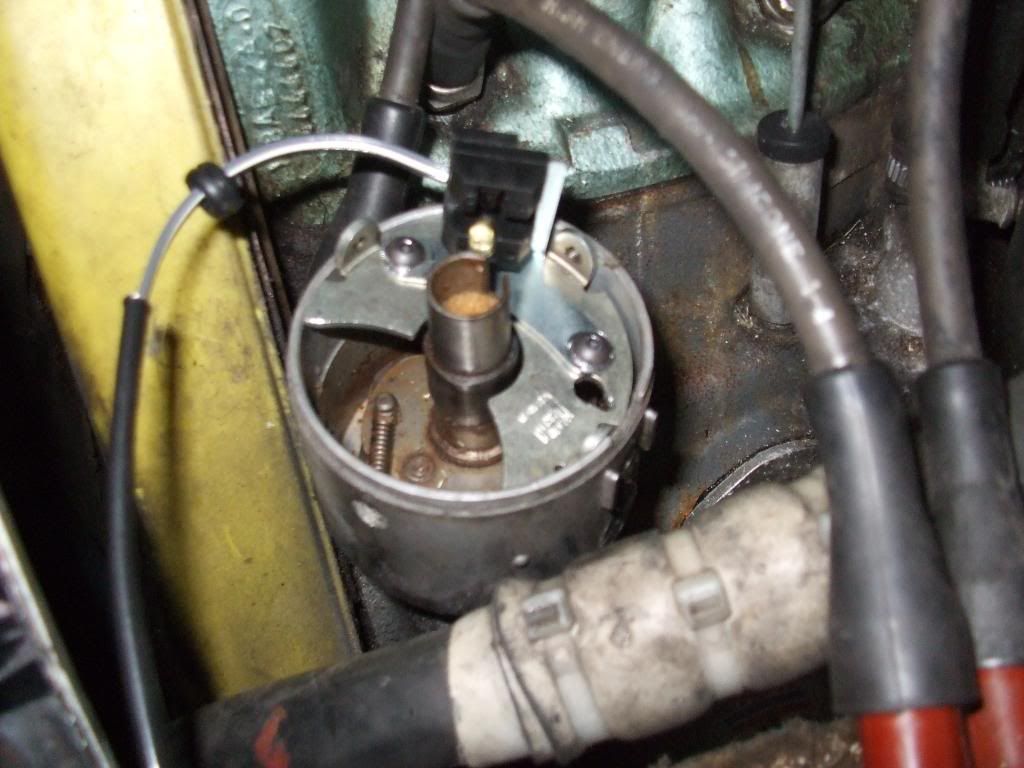 ...the thing I don't get is... 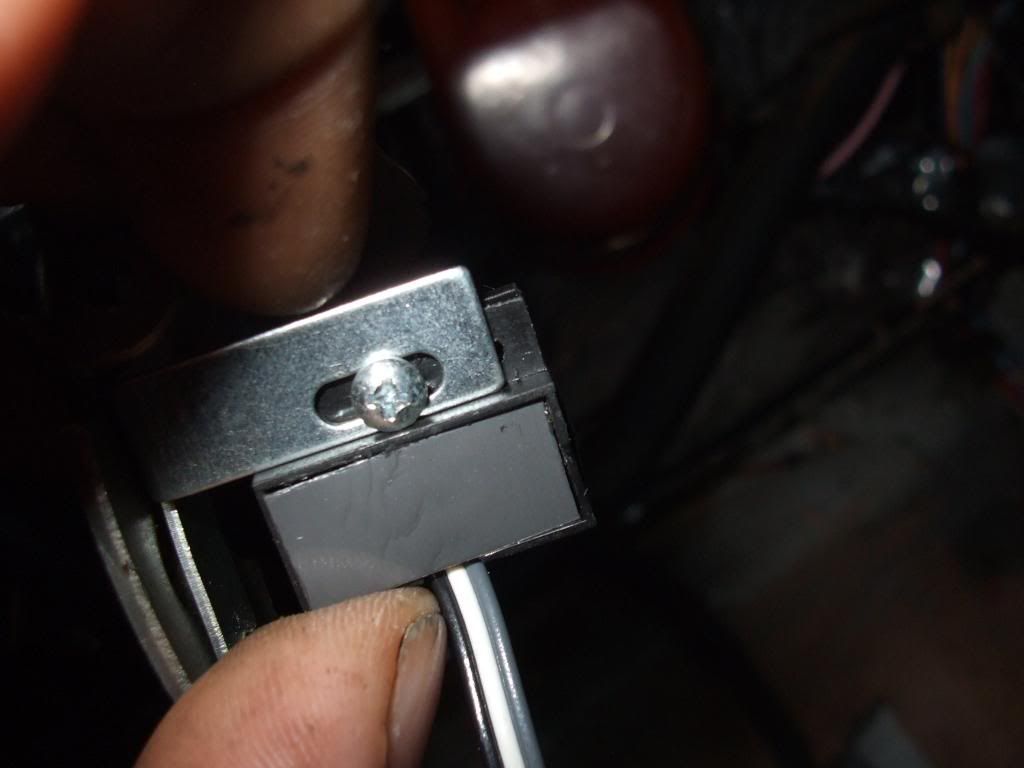 ...they put this little slot in the bracket to allow you to adjust the height of the sensor in relation to the cutter disc but you cant tighten the bl**dy thing when its set! Anyway, to fit the cutter disc you need to jiggle everything in position at the same time like so... 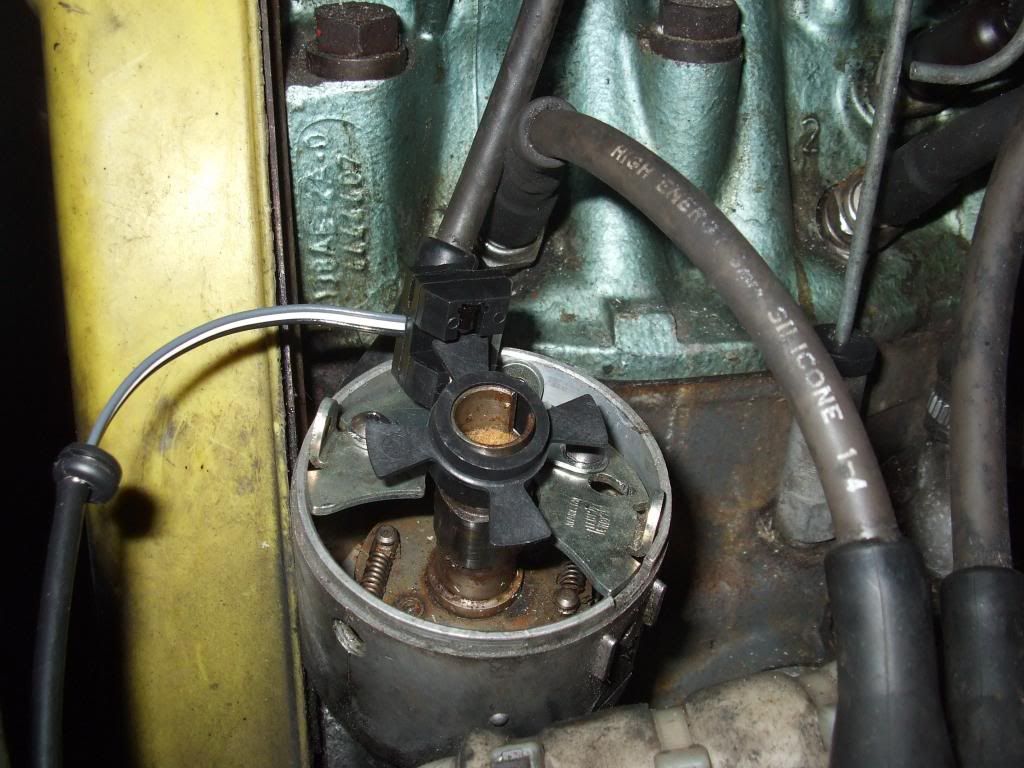 You know its all on right when you can refit the rotor arm fully home... 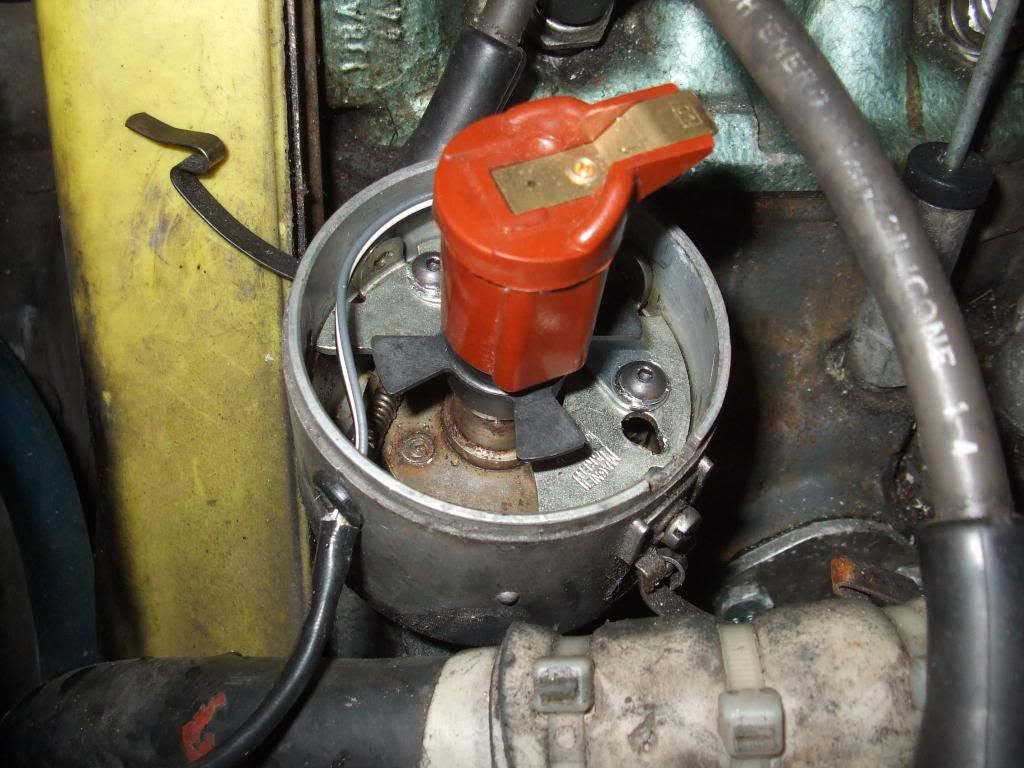 Then its just a case of feeding the wires out the dizzy body and connect them to the ignition module. Crane supplied a connector but it looked curse word so I fitted my own... 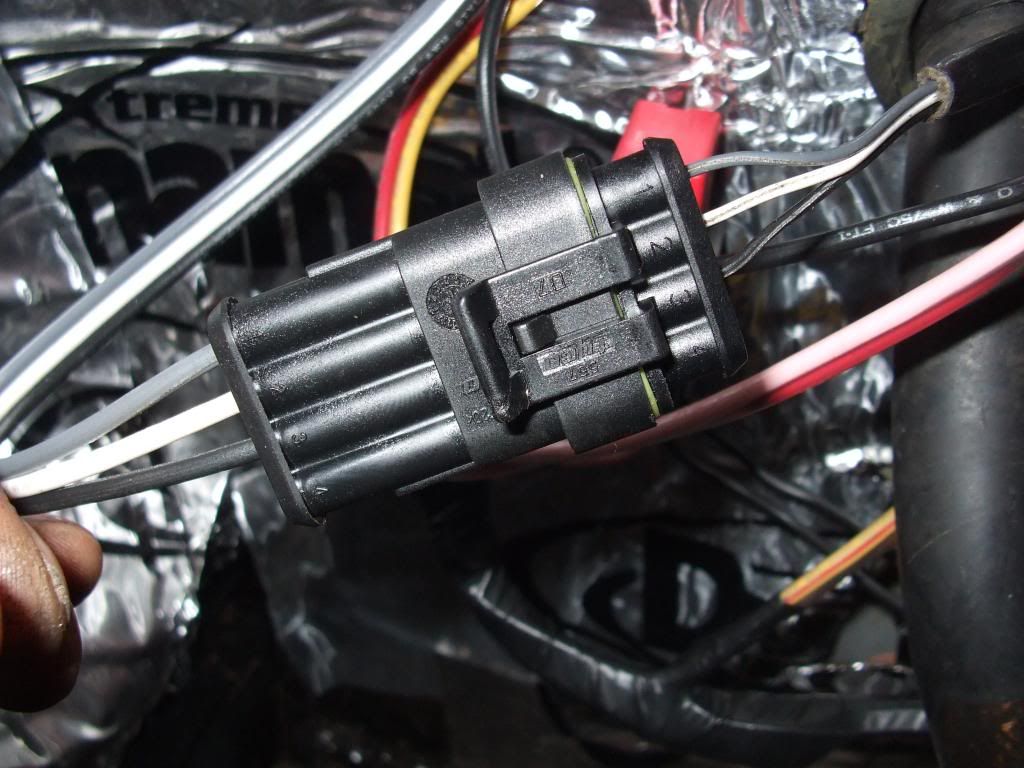 Those of you who are more observant may have noticed the ignition coil is inside the car, where the spare wheel used to live. Good place for a coil, dry(ish), oil free, relatively clean, less vibration etc. but of course the sparks need to go into the engine. So I got one of these... 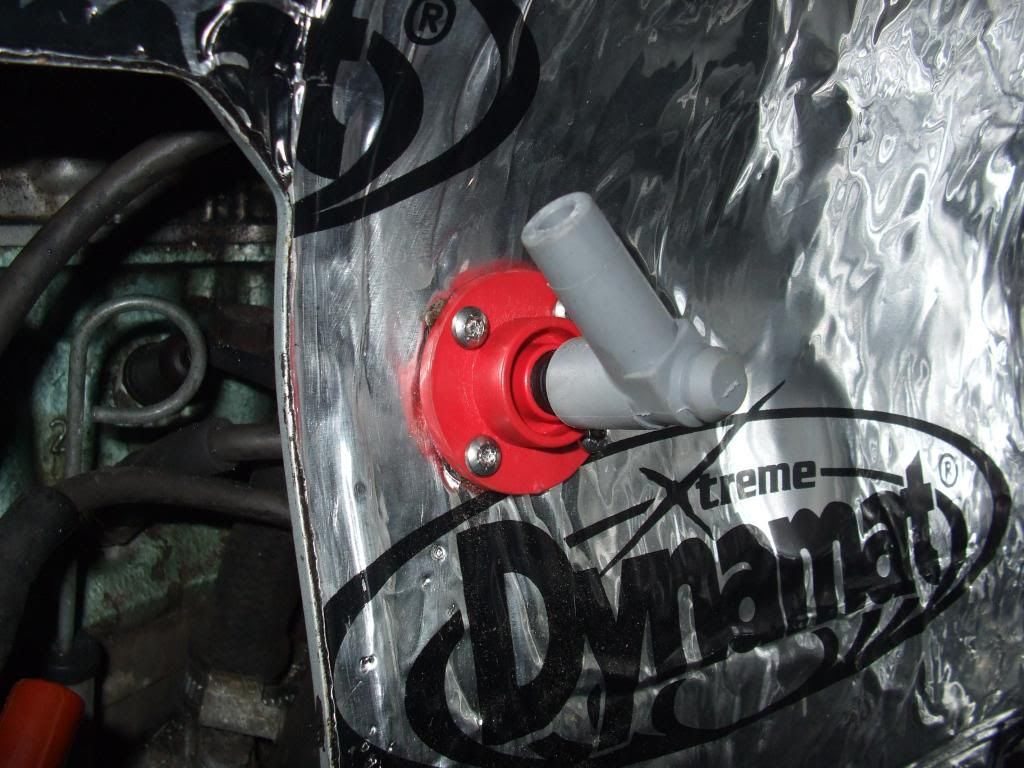 Lets you run the coil lead thru the bulkhead. It came with new terminals as did the new coil so I'm gonna get some decent plug wire and connect it up like that. To get it running today I used the existing coil wire and modified (butchered) the end enough so it stayed on the coil output! In between dodging gales and horizontal rain and suffering hangovers/man-flu/christmas shopping I found time to clean up the black centre console... 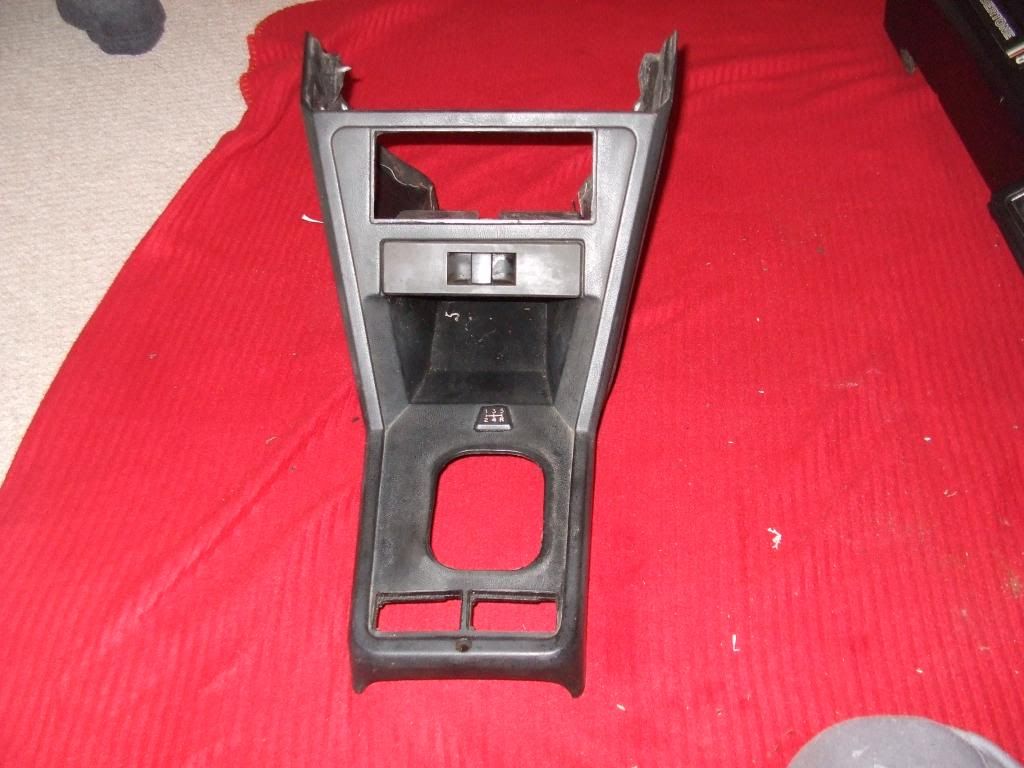 ...and dashboard... 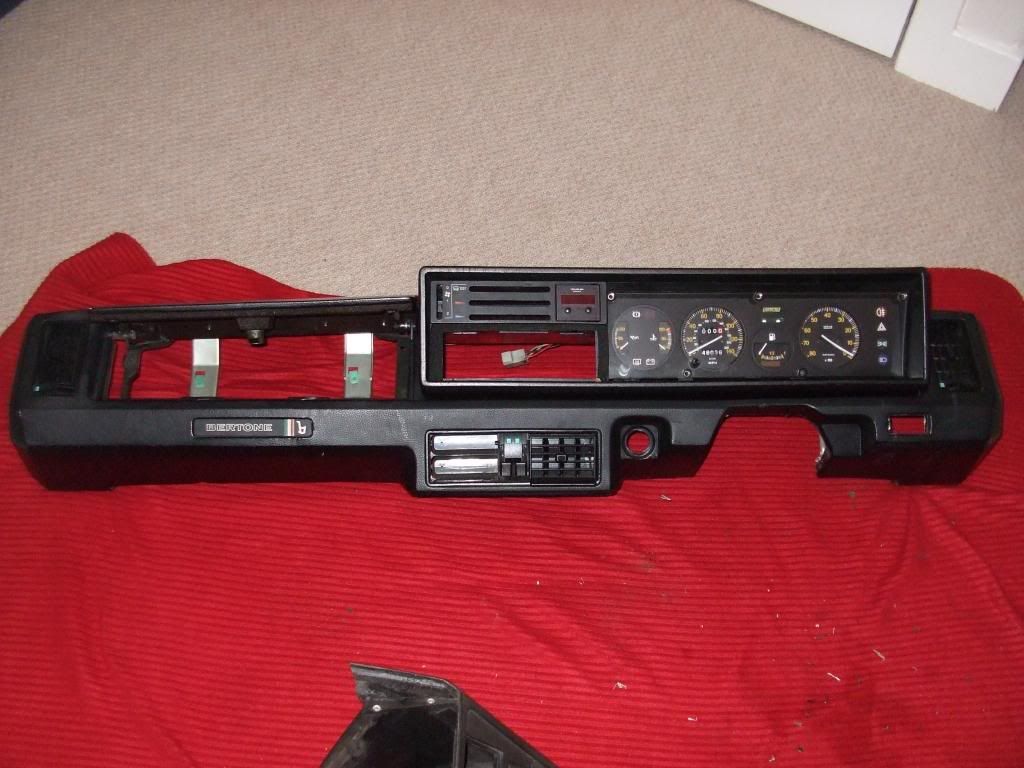 Hardly a design classic but its black (instead of the cars original bourbon biscuit brown) and it doesnt have any EML, ABS warning, particulate filter warning, ESP warning, airbag light or service now warning that all new cars seem to have nowadays. Surely thats one of the best bits of having a retro ride, having a car that doesnt 'bong' to warn you the s*dding door is open! |
| |
|
|
|
|
|
|
|
Dec 31, 2012 16:08:34 GMT
|
|
what a ballache with the dizzy. I guess you could drill the plastic out and use an M5 machine screw/nut to hold the optical sensor ? or does it go blind into the plastic bulk of the sensor ?
nice little mix and match though, on my mk2 polo I had a saab 900 distributor, cavalier coil and ignition module !
|
| |
Last Edit: Dec 31, 2012 16:10:41 GMT by darrenh
|
|
luckyseven
Posted a lot
   Owning sneering dismissive pedantry since 1970
Posts: 3,839
Club RR Member Number: 45
|
|
Dec 31, 2012 16:17:50 GMT
|
|
I've got nothing constructive to offer on the subject of electronic ignition (cos anything involving the movement of copper electrons is very much white man's magic to me) but I just wanted to say this is one of my favourite threads on here just because the dry sense of humour in your writing makes me laugh. And makes me glad I'm not the only one ;D
|
| |
|
|
|
|
|
|
|
|
Hey Darren. It is a small self tapper that taps into the sensor body. I had to tighten it up, slide everything together, check the gap, prize the cutter disc back off, slide the baseplate back out, slacken it off, slide it about then refit it all again. Bit fiddly! LOL!
Luckyseven, that pic of yours with the interior at your patio doors makes me laugh. All those times my Mrs. has said 'Well, you don't exactly look into random strangers houses and see a bl**dy cream leather interior for some 80s car!' Buys my cream 80s interior in our dining room a bit more time.
|
| |
|
|
|
|
|
Jan 12, 2013 23:40:00 GMT
|
|
This cars going well my dad had 2 of these in the summer and sold them at the end of last summer regs were f599 nst white 1989 gran finale think it was 1.5 and a silver 84 one reg was JXI 9219 I liked the silver one but that one went first had red leather seat I'm only 16 some might not be right year and gran finale not sure ...
|
| |
|
|
|
|
|
Jan 13, 2013 13:47:37 GMT
|
The curious case of the mystery wires.I rewired the engine bay, tidied everything up and connected the new ignition. I had identified the wiring for the rear lamps, courtesy light and heated rear screen. I wanted to finish everything off in that area so I could tape it all up but I had 4 wires I couldn't explain... 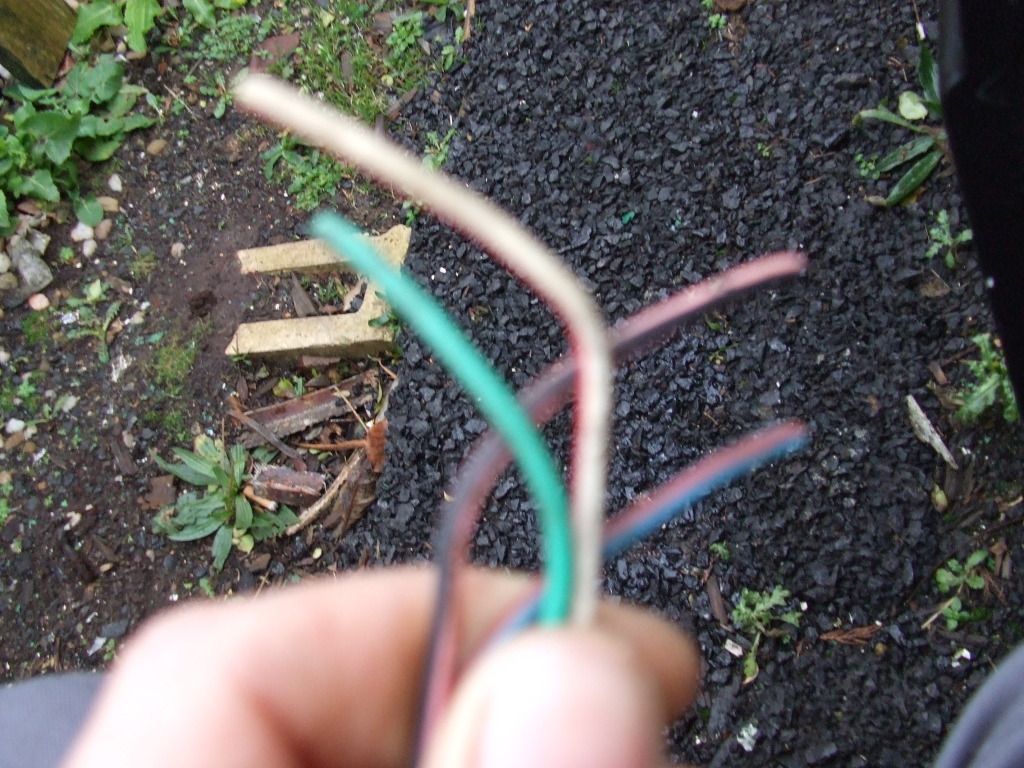 Blue with red tracer White with red tracer Kinda peppermint green and Pink with black tracer. They had all come thru the rear bulkhead from the engine bay, they had all been taped into the original wiring loom. Had a quick look at the wiring diagrams in the Haynes manual (the only wiring diagrams I have found that vaguely match the wiring in my car!) but I could not find wires of these colours running to the back of the car. So I followed them. They lead to the big silly connector that most of the dash lamps ran thru... 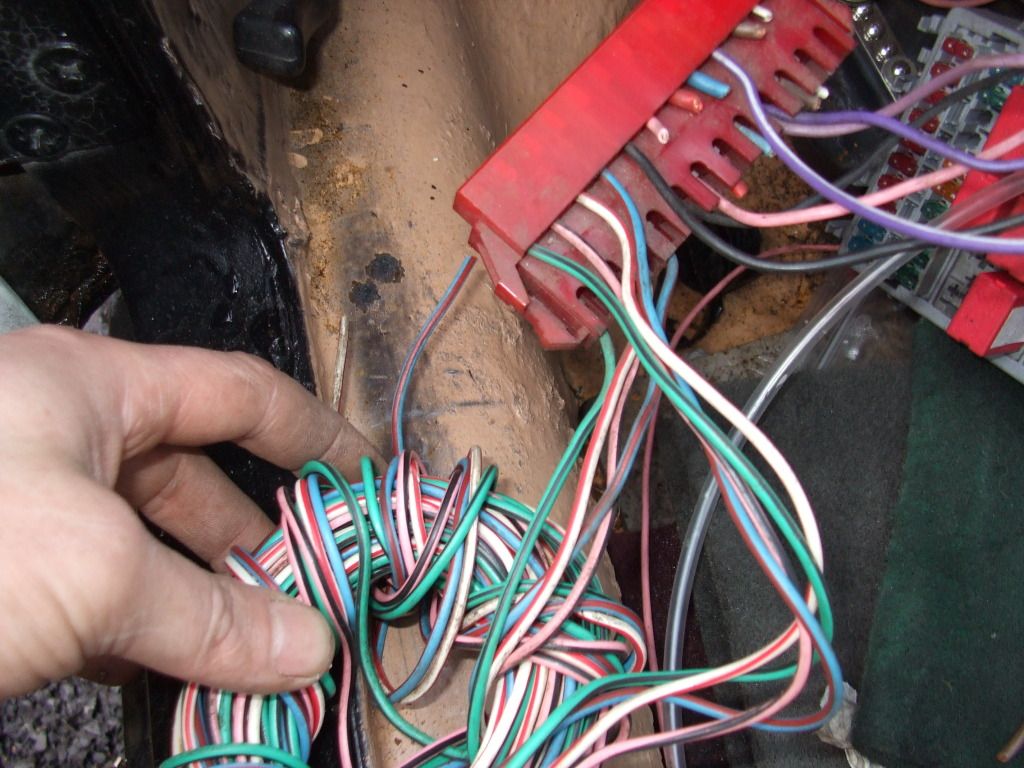 and then to... 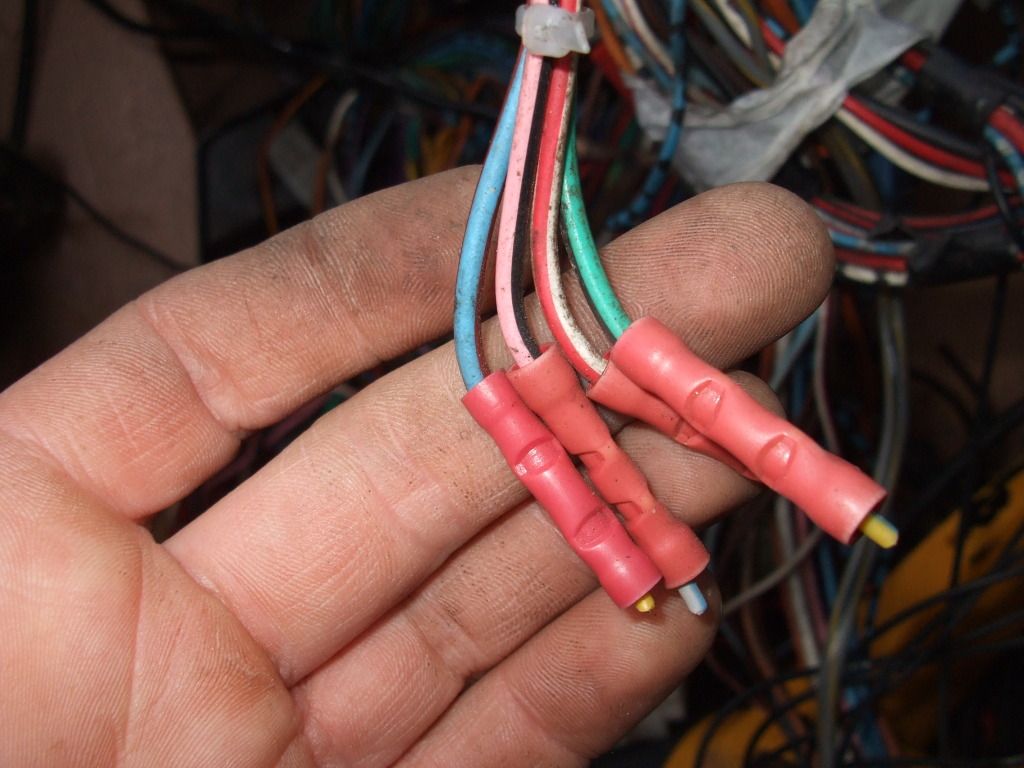 er, nowhere! They ran up the back of the dash onto some connectors and were just hanging there! At first I thought they may have been speaker wires but surely they would be matching colours? Although K11 Nissan Micras have wierd and wonderful speaker wiring colours. Then again, the speakers that were fitted to the rear of this car certainly were not fitted by FIAT but the wiring was. Just have to do everything else and see what doesnt work! ;D
|
| |
|
|
|
|
|
Jan 13, 2013 14:26:07 GMT
|
Carb rebuildThe weather had suggested finding something to do that didnt involve leaving the house... 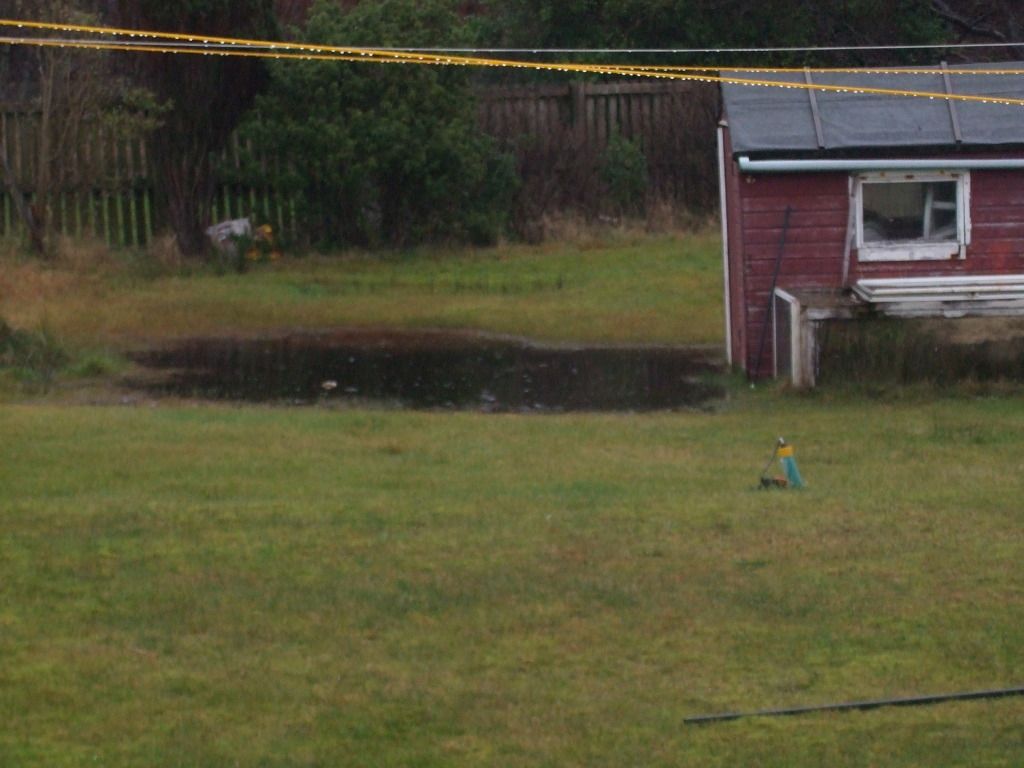 The carb had embarrased its self by not actually letting the fuel into the engine... 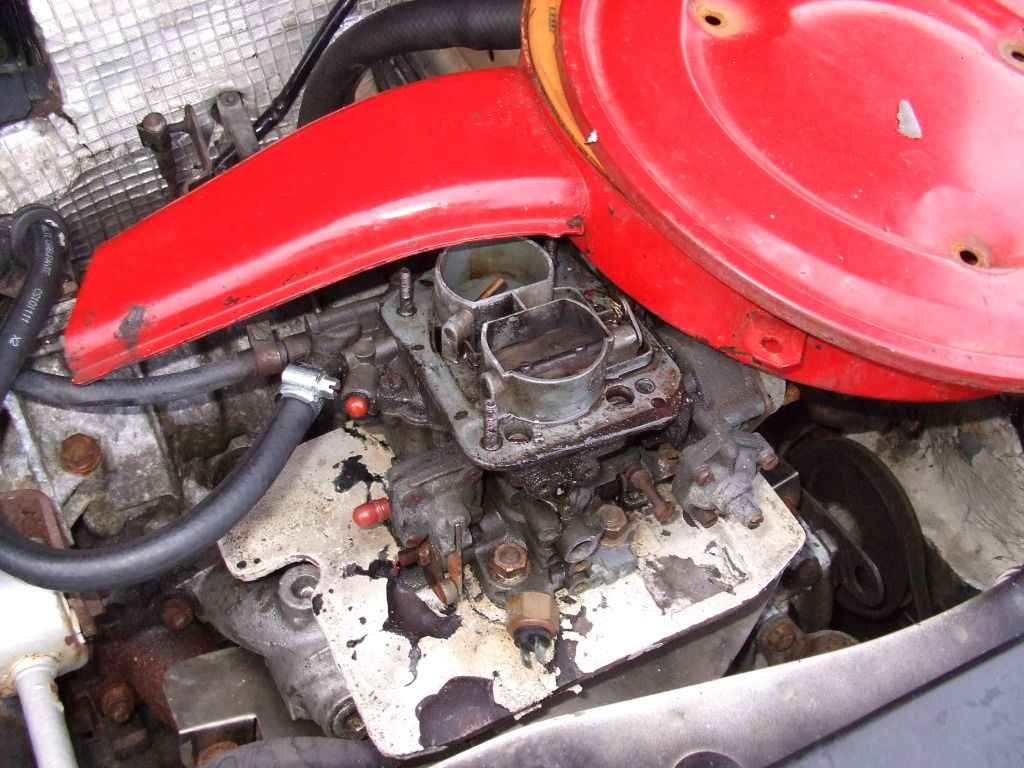 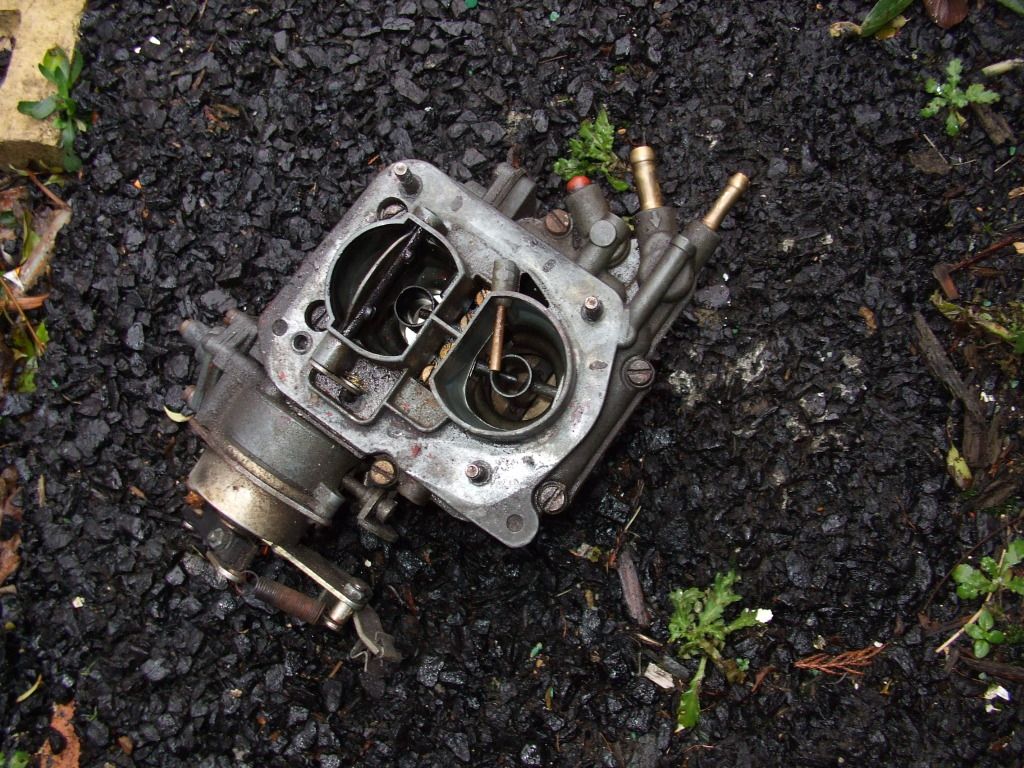 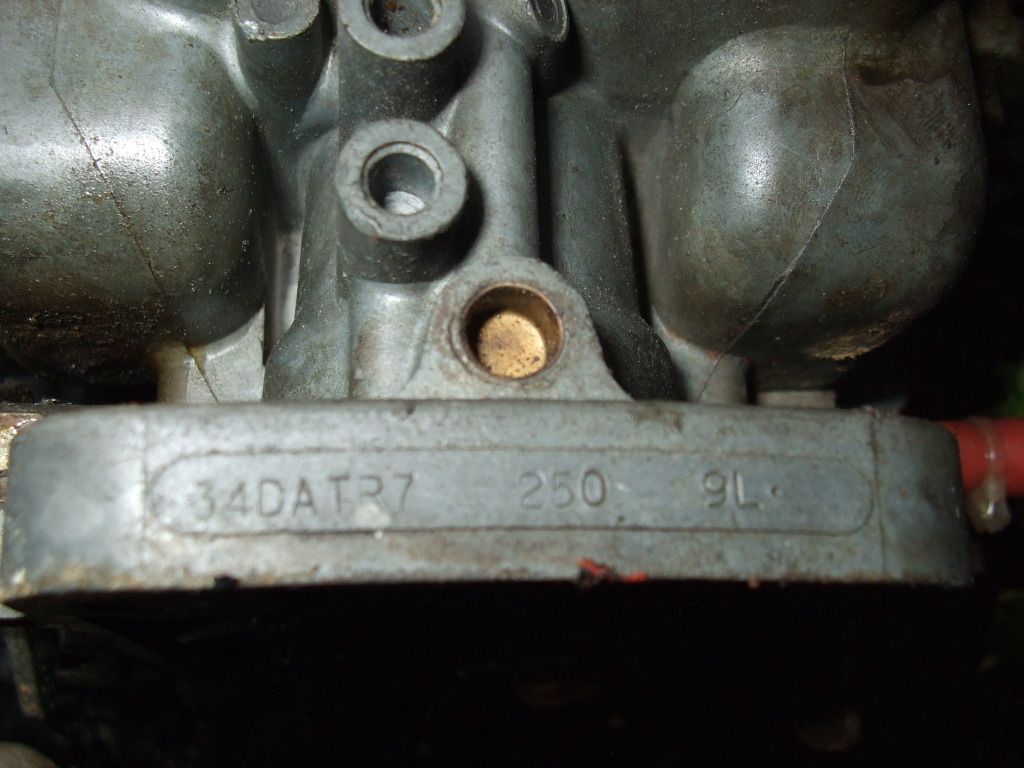 Its a Weber 34 DATR. After a quick look on tinternet this carb doesnt appear to have the same following other webers enjoy so tips and hints are a bit lacking. On the X1/9 it sits on this plastic heat shield... 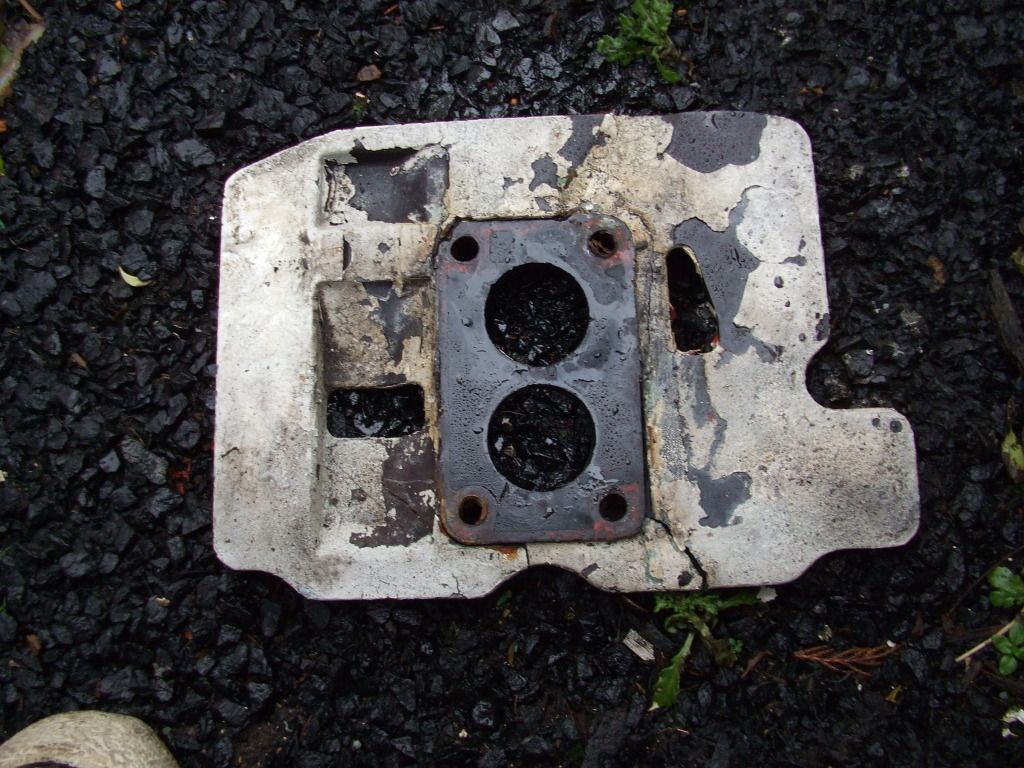 I'll try and get a nice thick bit of aluminium to replace it. Someone has already had a go at gluing this one back together and it looks rubbish! Anyway, bought a rebuild kit from www.eurosport-uk.net and got to work! For this you will need... 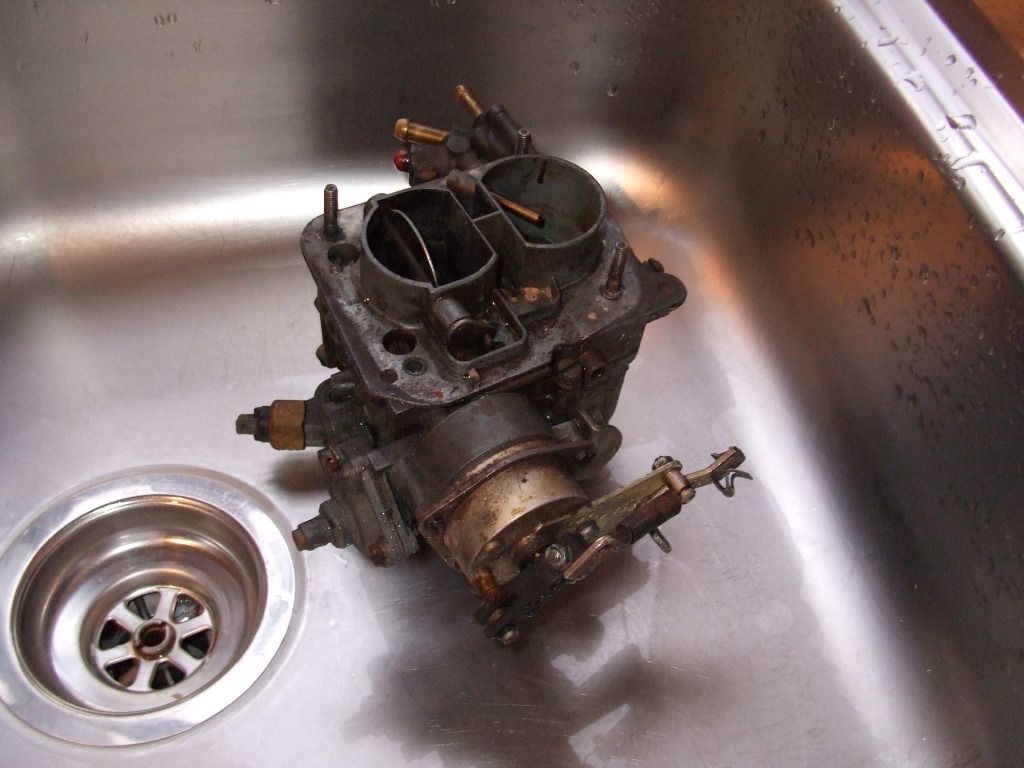 A manky old carb & a kitchen sink. Good points= Its STAINless steel so hard to damage Its not outside in the rain Its all contained so harder to lose fiddly parts Bad points= Had to do the dishes 1st! You will also need the correct rebuild kit... 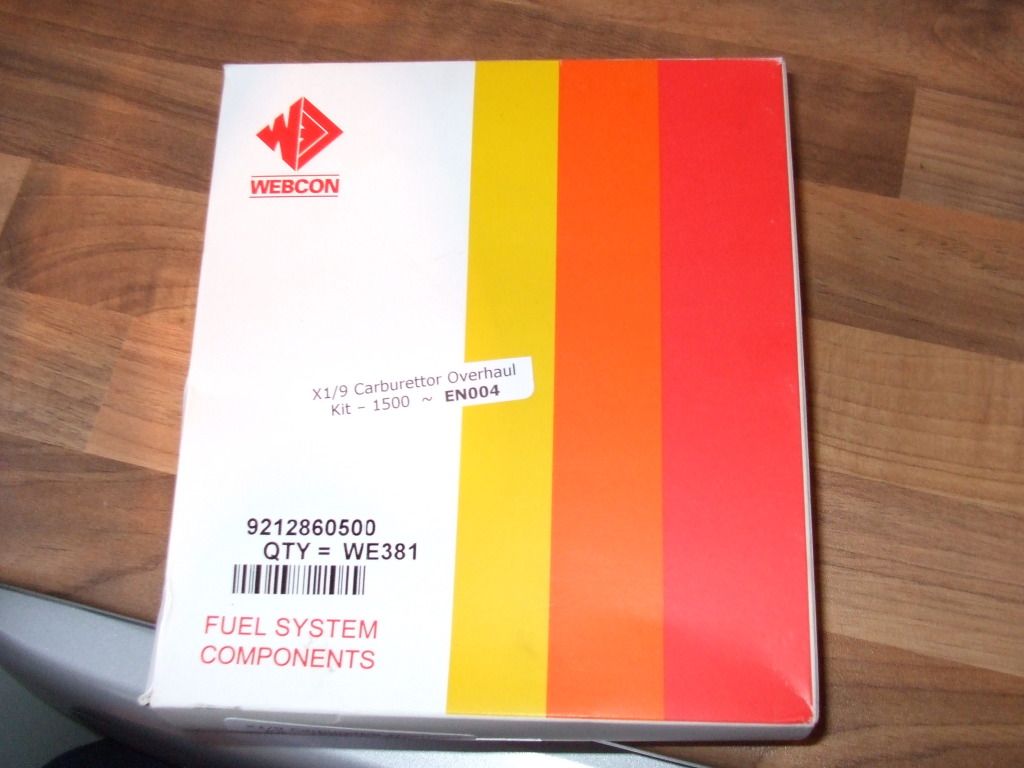 Which is pretty comprehensive although it would be nice if they had thrown in some instructions, vague guidlines, even an exploded diagram but no! Not even a Weber sticker for the toolbox. An old toothbrush  and a bottle of brake fluid. 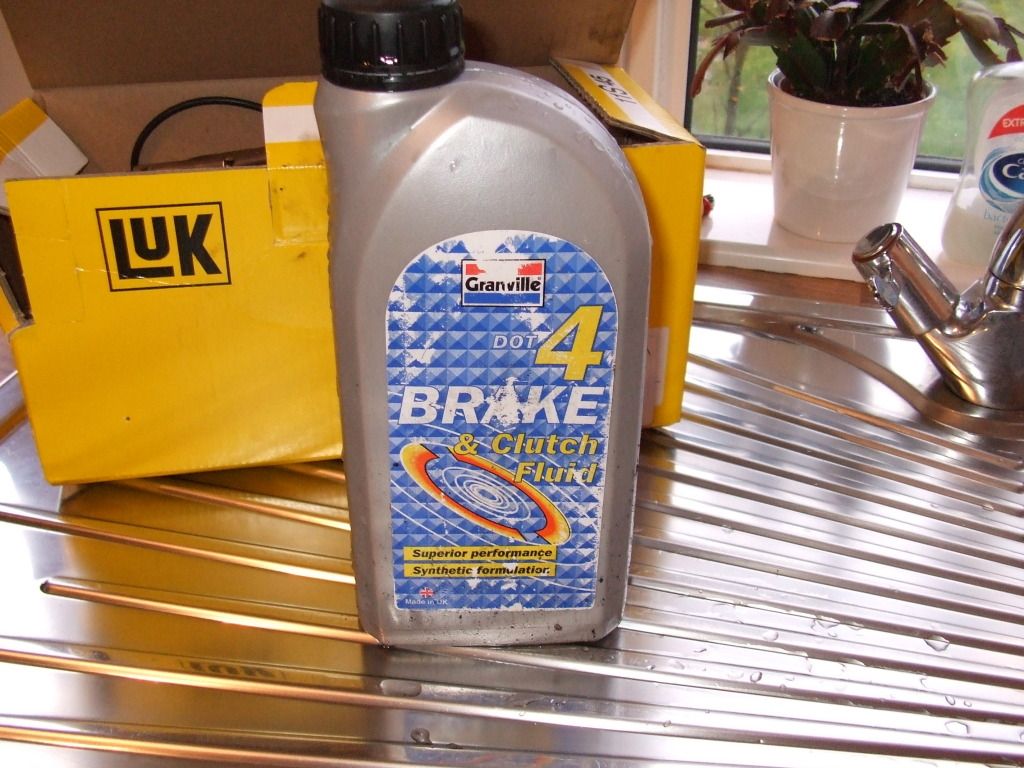 Why brake fluid? Because it doesnt stink the place out like carb or brake cleaner and it doesnt swell or dry out delicate rubber seals. Its cheaper too! 1st step involved taking the top of the carb off to get into the floats and stuff. Its typically held on by some large plain screws. Usually they are very tight but because some on has been in here before me they were alarmingly slack... 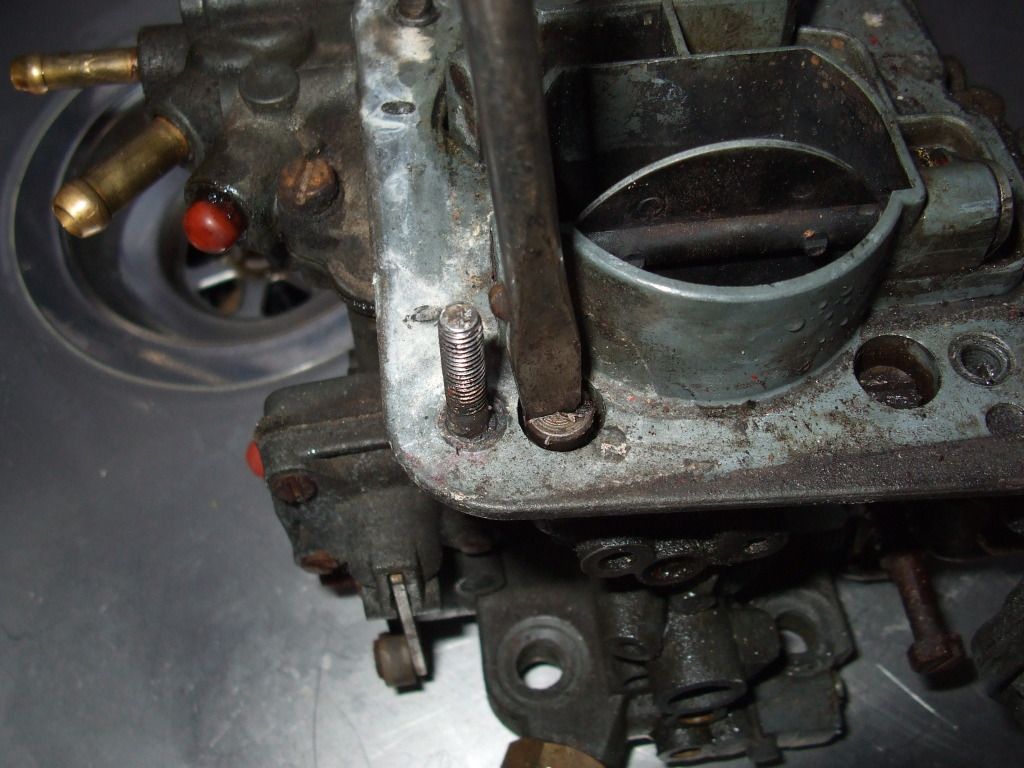 I was ready to catch the stale fuel in the float chamber but there wasnt really any. Could be the problem?! There is supposed to be a gasket between the 2 parts too. Its obviously been thrown away while the car was in at 'Cowboy autos', gits! This is what it looks like with its top off... 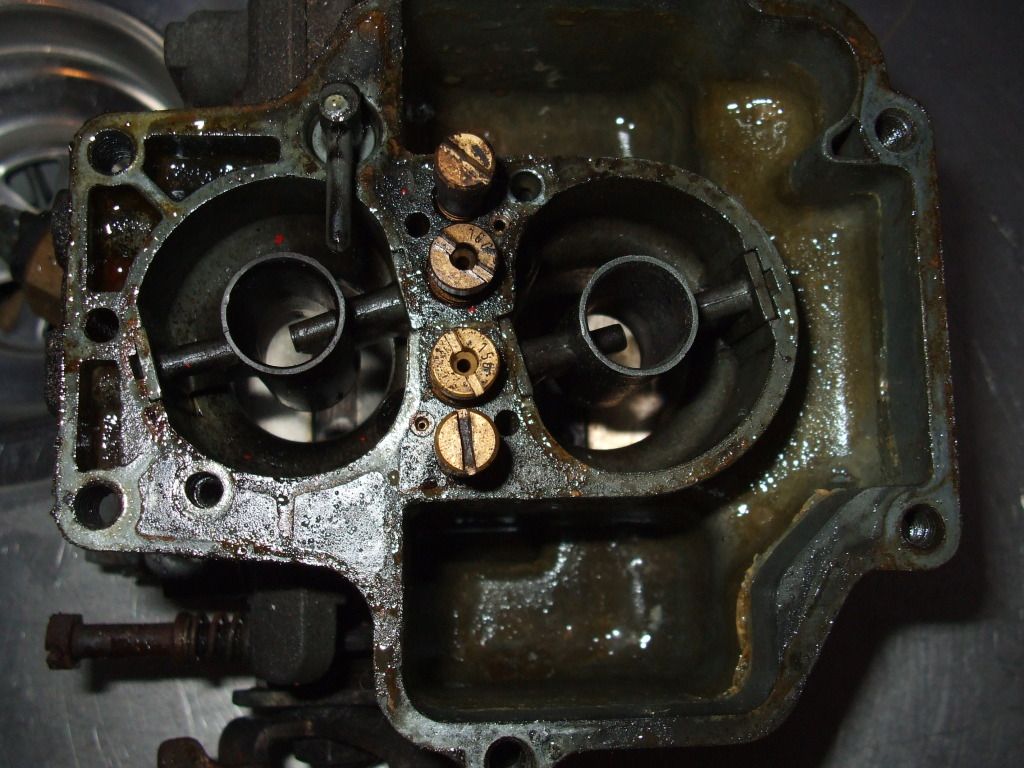 That was left to soak... 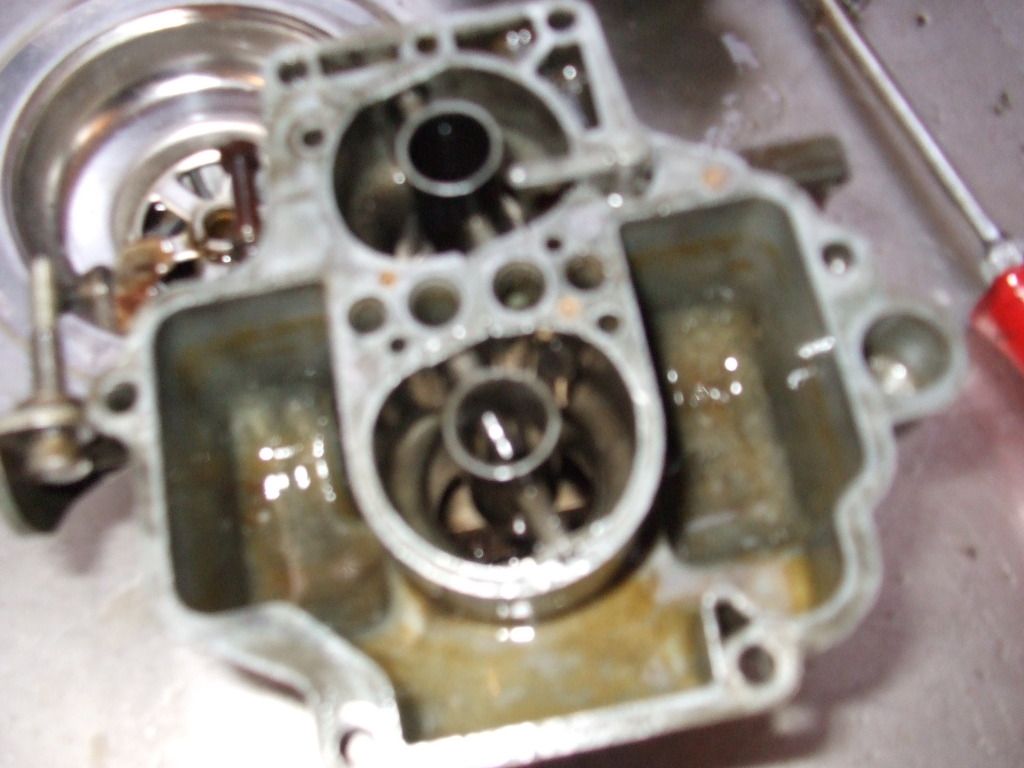 While I removed the fuel strainer from the top bit. Held in by a 16mm (5/8") plug... 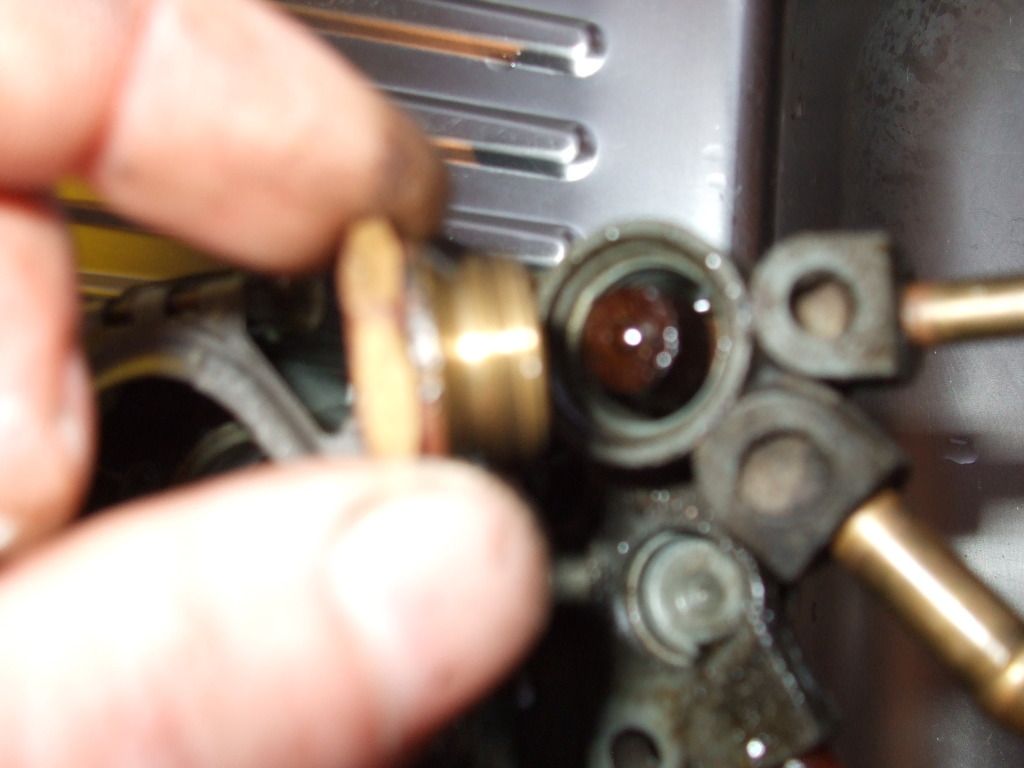 Yuk... 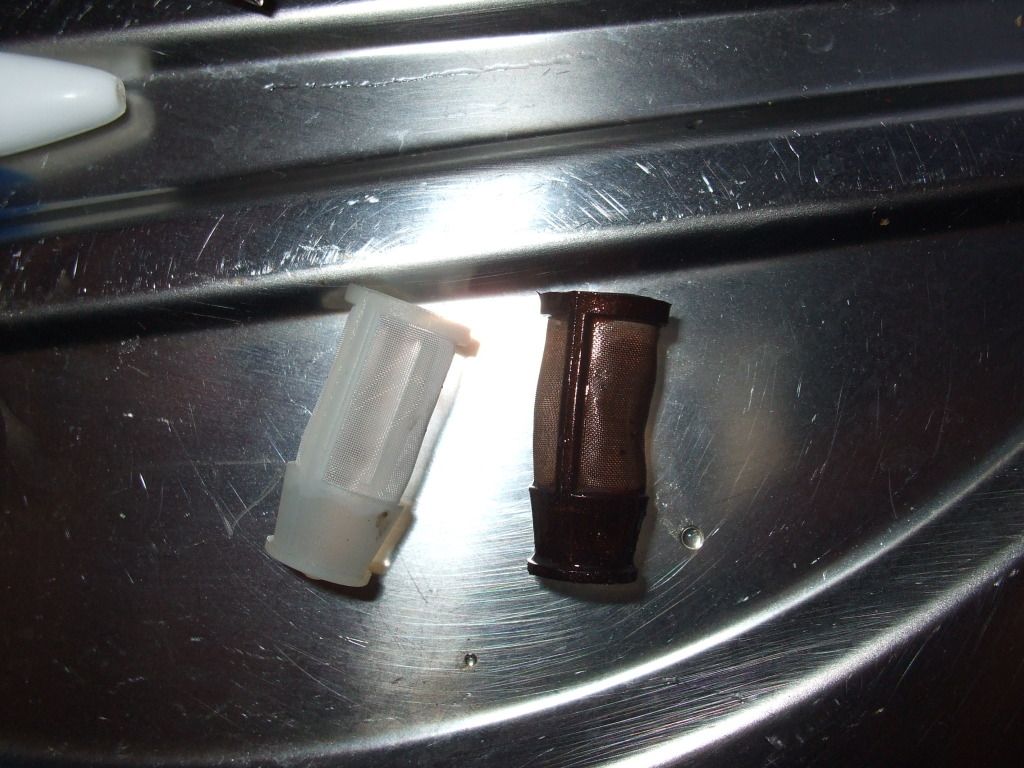 Slide this pin out to release the floats... 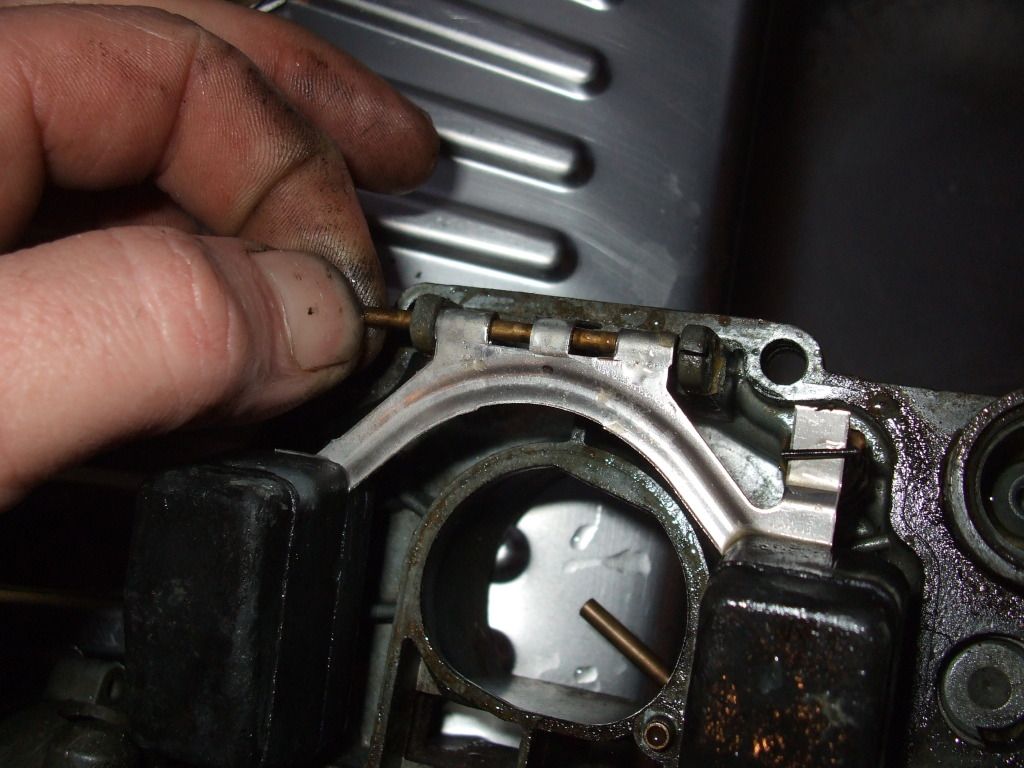 ...lets you remove the needle valve. The likely culprit in this case... 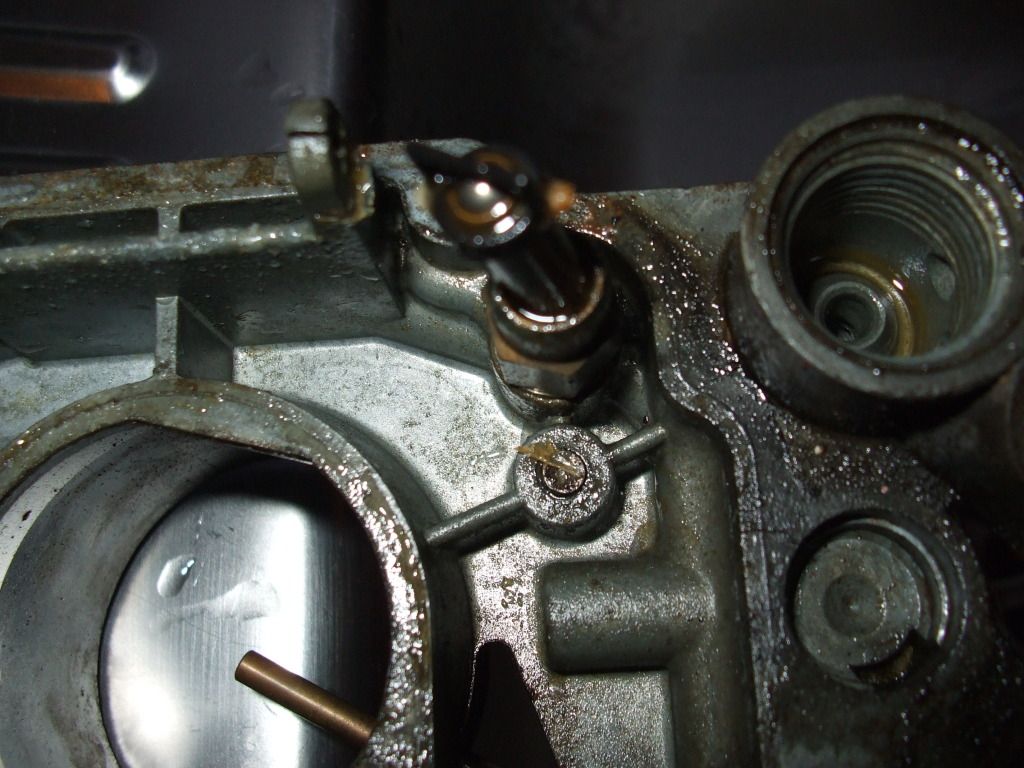 You get new floats, needle valve and strainer in the kit. The mixture screw is hidden away on the base of the carb with quite a flush fitting screw. I didnt see it at first because of all the curse word around the base! 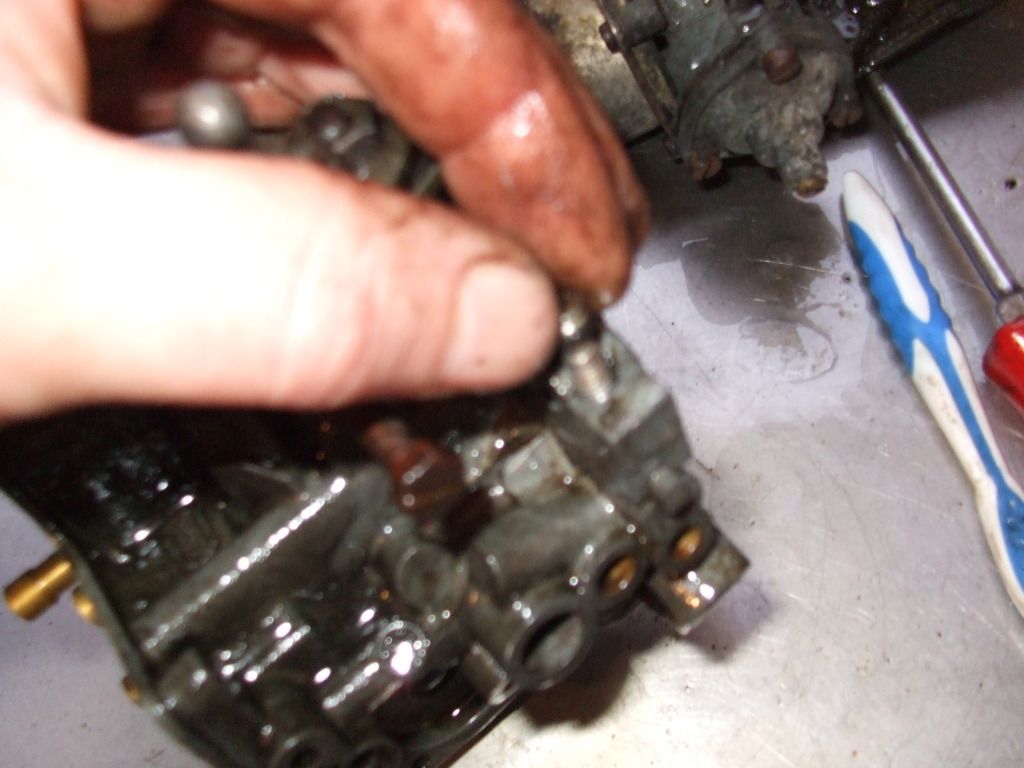 New one in the kit... 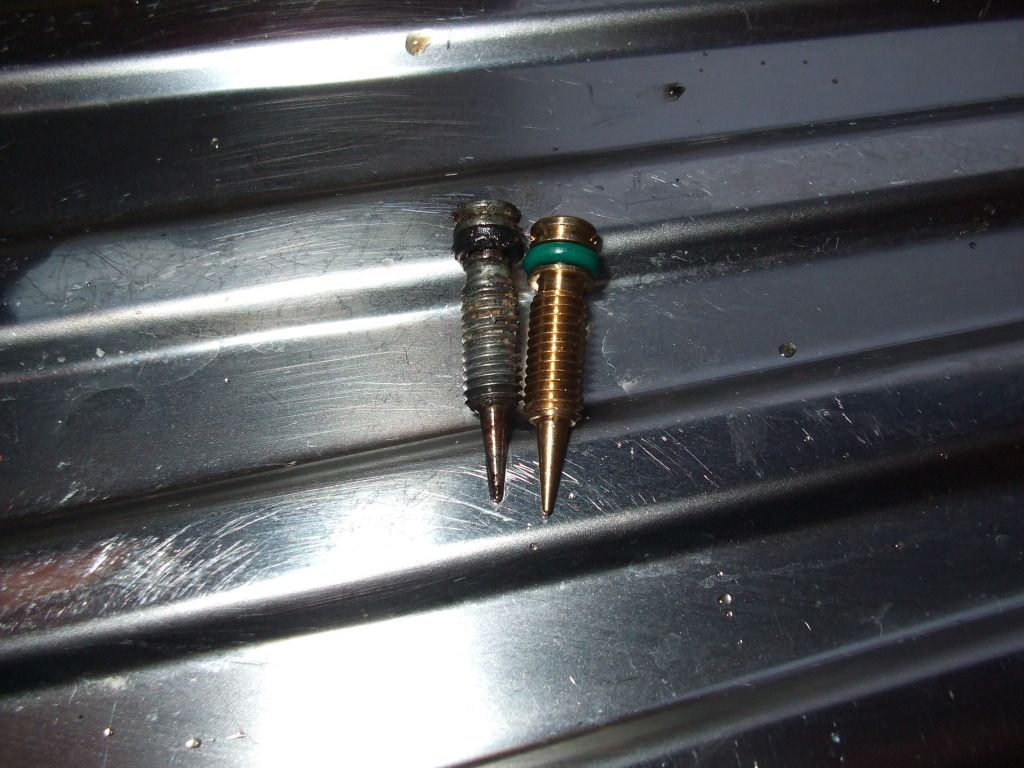 Full throttle fuel pump held in by 4 screws. They were tight enough to make up for the slackness of the top. Had to make the 'Thats tight!' face to get them slackened... 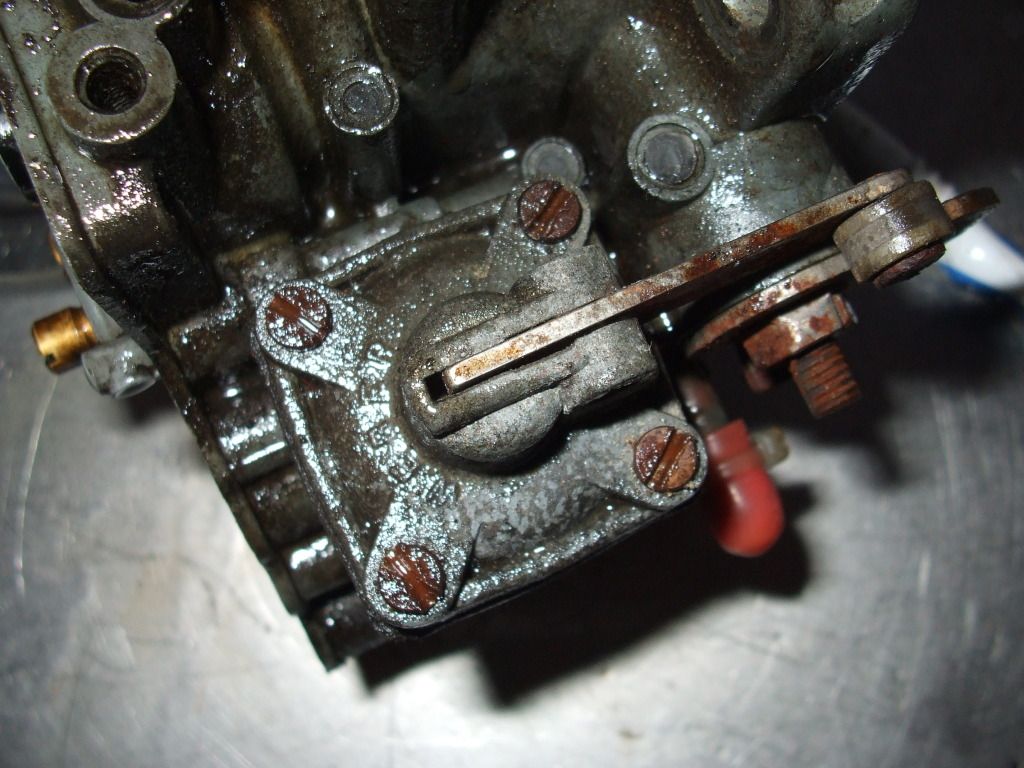 Theres a spring underneath it so carefully lift it off... 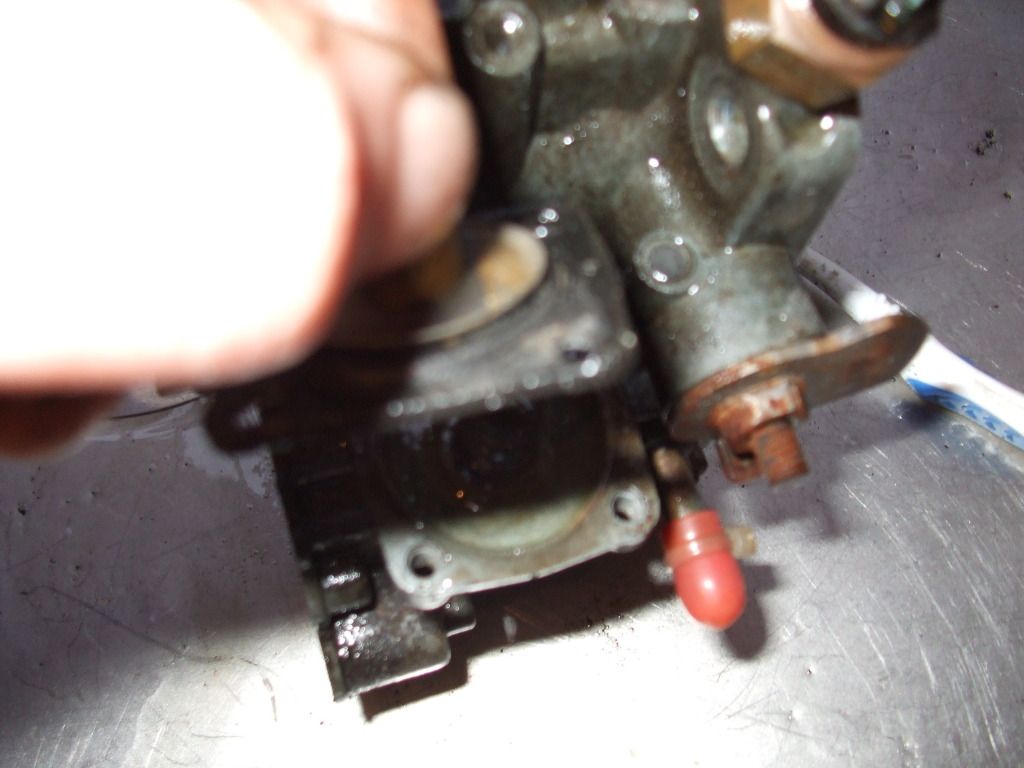 More when my new jets arrive...
|
| |
|
|
|
|
|
|
|
|
Interesting to see you tackle the carb- just about to do that on mine.
Don't forget to get some new gaskets for bewteen the carb and heat shield and heat shield and inlet manifold- many an Exxie has played up due to those being missing.
Mines is off the road just now as I tackle the brake & clutch master cylinders- horrible job! Got some Uno turbo brakes to fit at the end of it though so it'll al be worth it.
Also, interested in what you'll do with the bumperless look- are you going to make a front lower valance & grill?
|
| |
|
|
|
|
|
|
|
A thoroughly enjoyable read, thank you for sharing with us all  |
| |
1971 Ford Escort
1997 Peugeot 106 GTI
1998 Peugeot 106 GTI
2014 Ford Fiesta Zetec S
|
|
|
|
|
|
|
This cars going well my dad had 2 of these in the summer and sold them at the end of last summer regs were f599 nst white 1989 gran finale think it was 1.5 and a silver 84 one reg was JXI 9219 I liked the silver one but that one went first had red leather seat I'm only 16 some might not be right year and gran finale not sure ... Xantia Diesel battery is the one you need- terminals are correct, heavy duty and fits in the battery tray. F599 was one I put together many years ago, built from a Gran Finale I dragged out a garden in Glasgow and built up with a lot of the spares I gathered over the years, including 2 brand new Bertone quarter panels.The rear valance panels are the exact shape of my thigh, bent up 2 out of sheet steel.. The nose cone was 2 welded together to make 1 good one, then the whole car got a coat of Ford Diamond white as it was a tenner a litre. It went on a club meet to Wales, and round Knockhill a few times.. Was a great car! 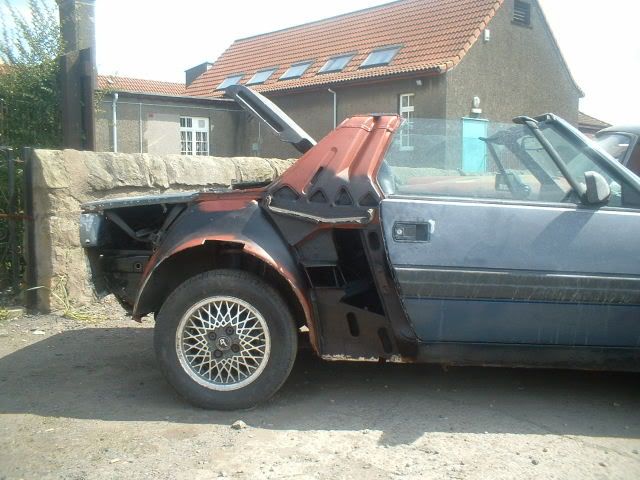 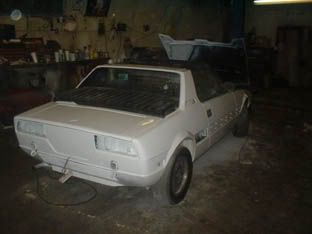 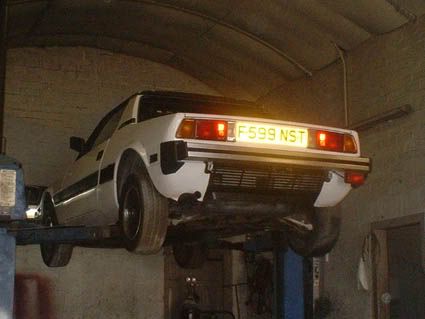 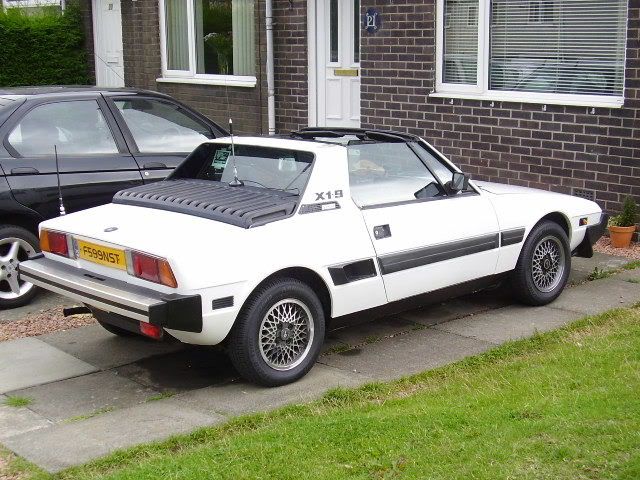 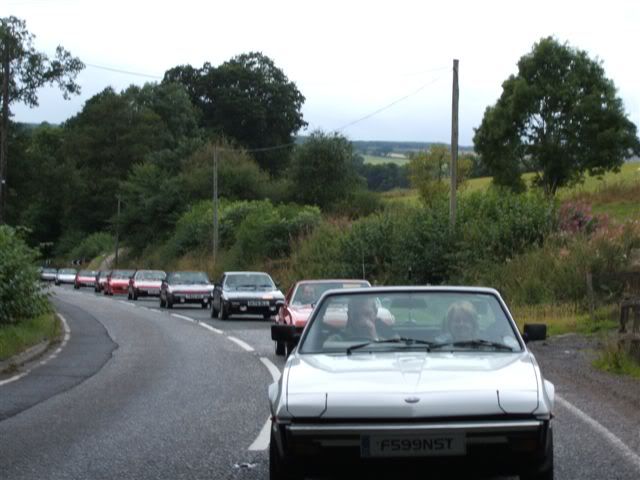 |
| |
Last Edit: Feb 5, 2013 0:54:32 GMT by tiffx19
|
|
|
|
|
Feb 10, 2013 15:17:46 GMT
|
Jackie! Gaskets sorted. I'm making a new heatshield for underneath the carb but I have some new gaskets. I was planning a new grille and the existing valance. I prefer the clean, basic look rather than some dodgy snow plough, LOL! Have an idea for the bumper brackets but I'm gonna try it out before saying anything. Tiff. That looks fantastic! Anyway, on with the carb... I found a fair bit about jet sizes on xwebforums.org so I went for slightly larger 135 and 120 jets. These are large enough to give it a bit more poke but not too large. As the car will hit the tarmac pretty standard I don't want massive jets choking it up! 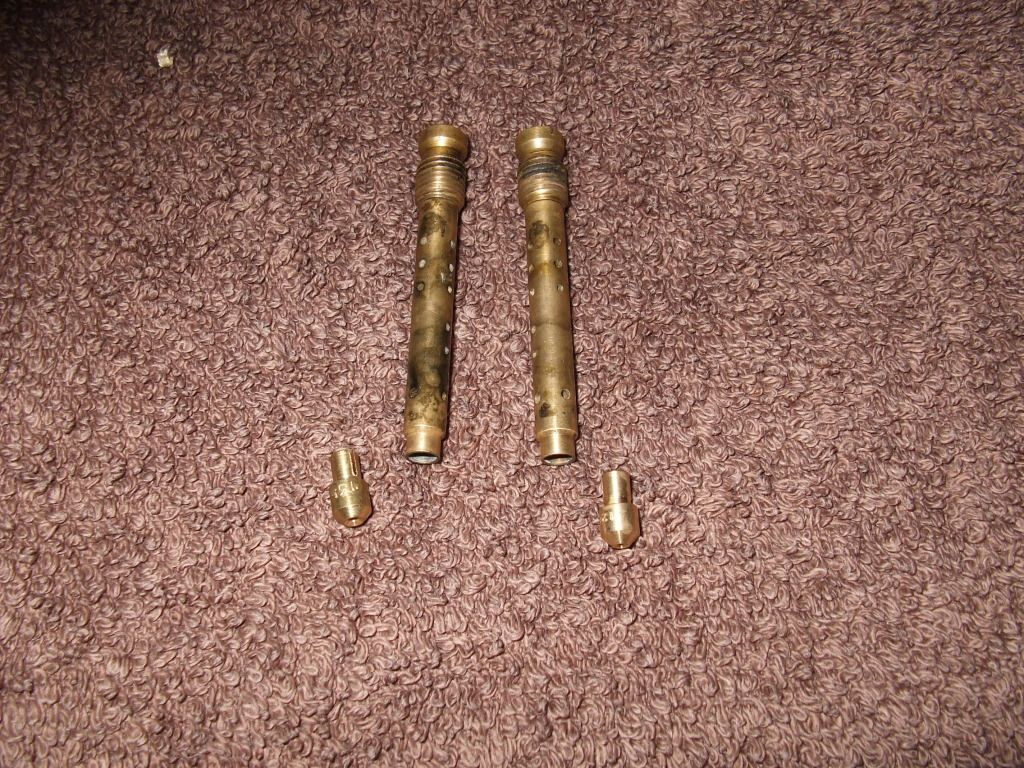 The old ones were a tight fit in the emulsion tubes. They are pretty delicate so you can't jam them in the vice and wrestle them out with vise grips! The tubes were thoroughly cleaned out and new jets carefully fitted. Ready to go back together... 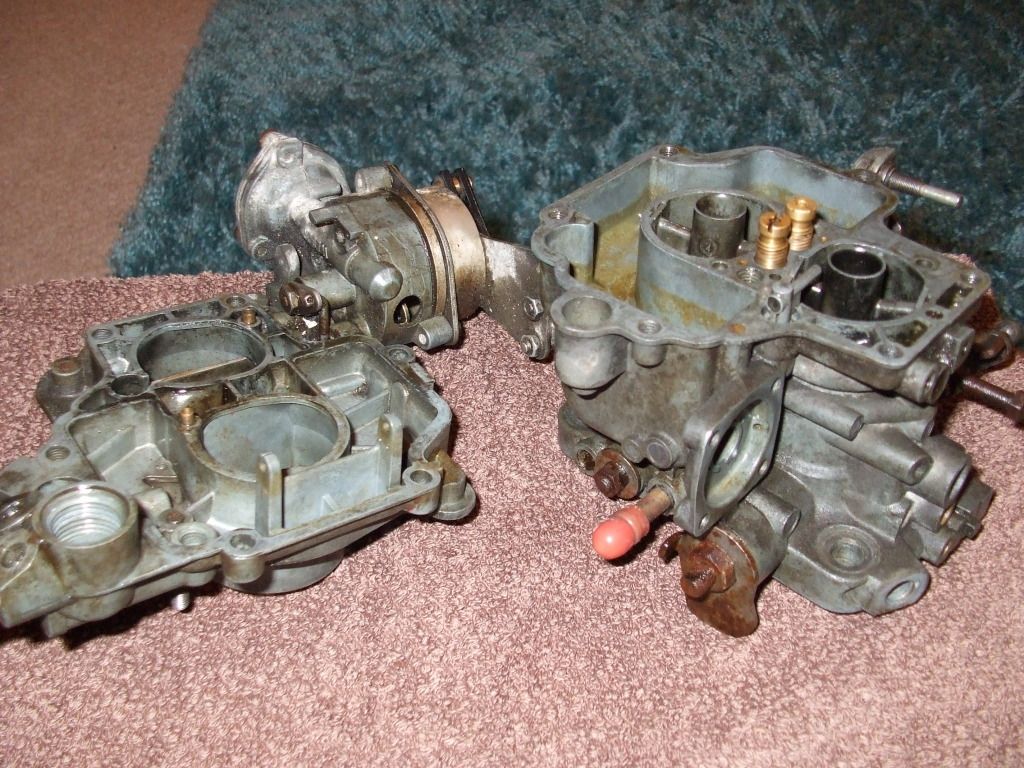 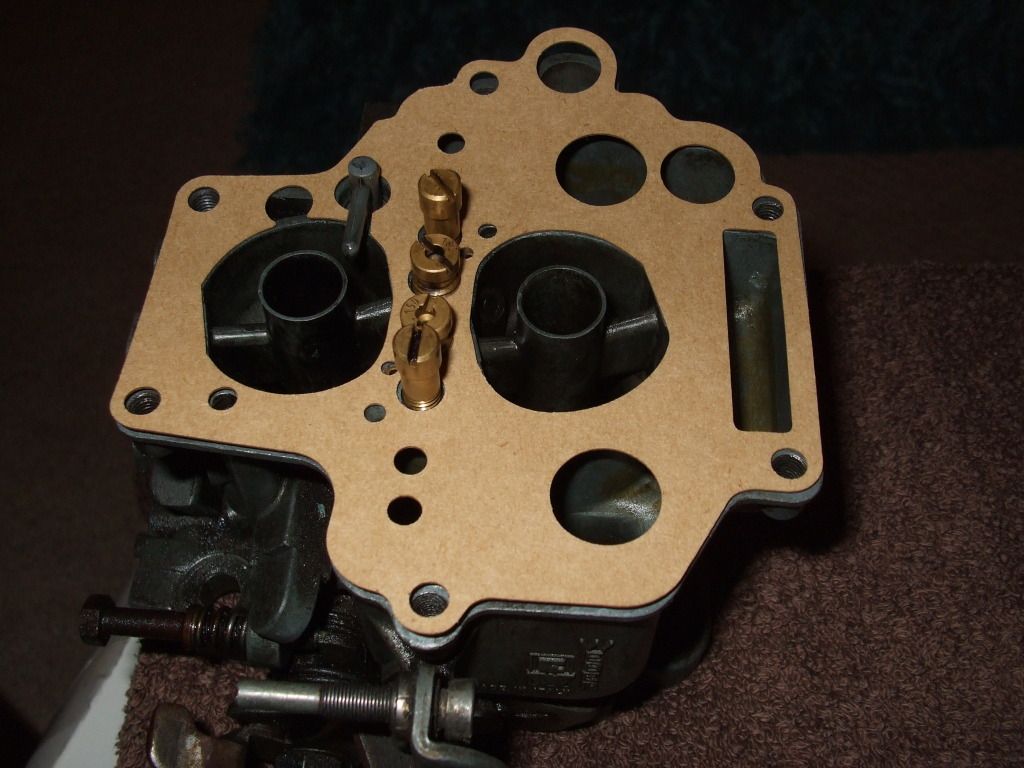 I screwed them in and stuck the gasket on. Then realised the gasket is fitted to the top part first, d'oh! I prefer to clean everything and fit the gasket dry, if it needs it a slight coat of grease. Sealer here usually leads to blockages and failure. So, this bit screws into the top bit... 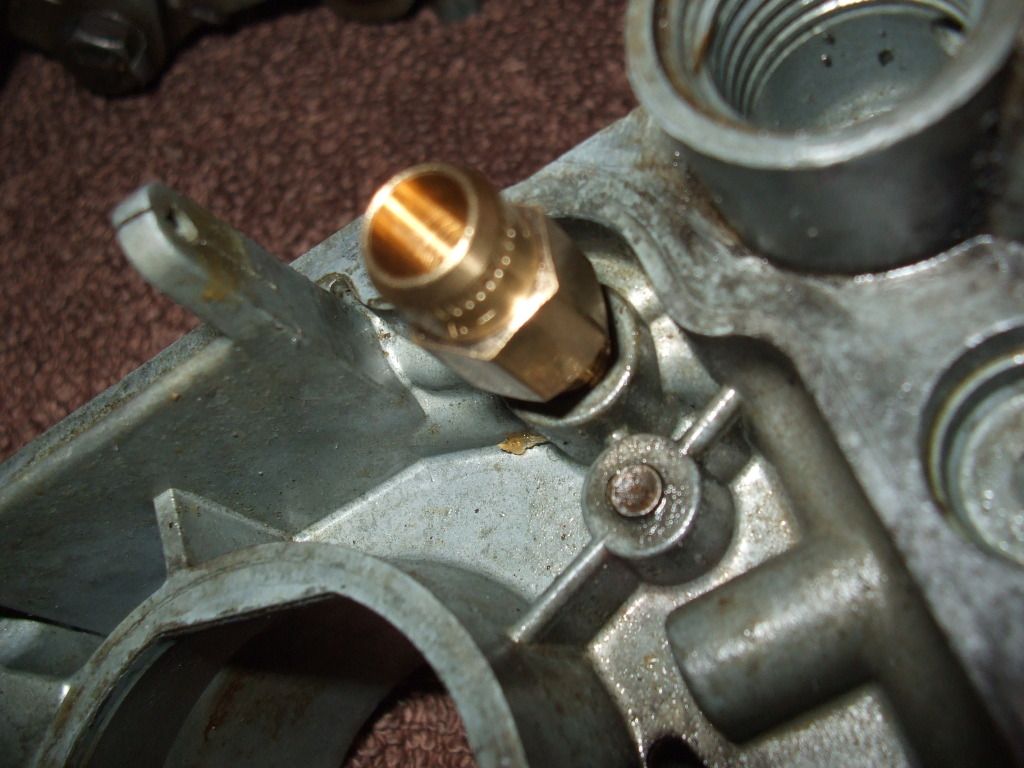 The needle valve pops into it... 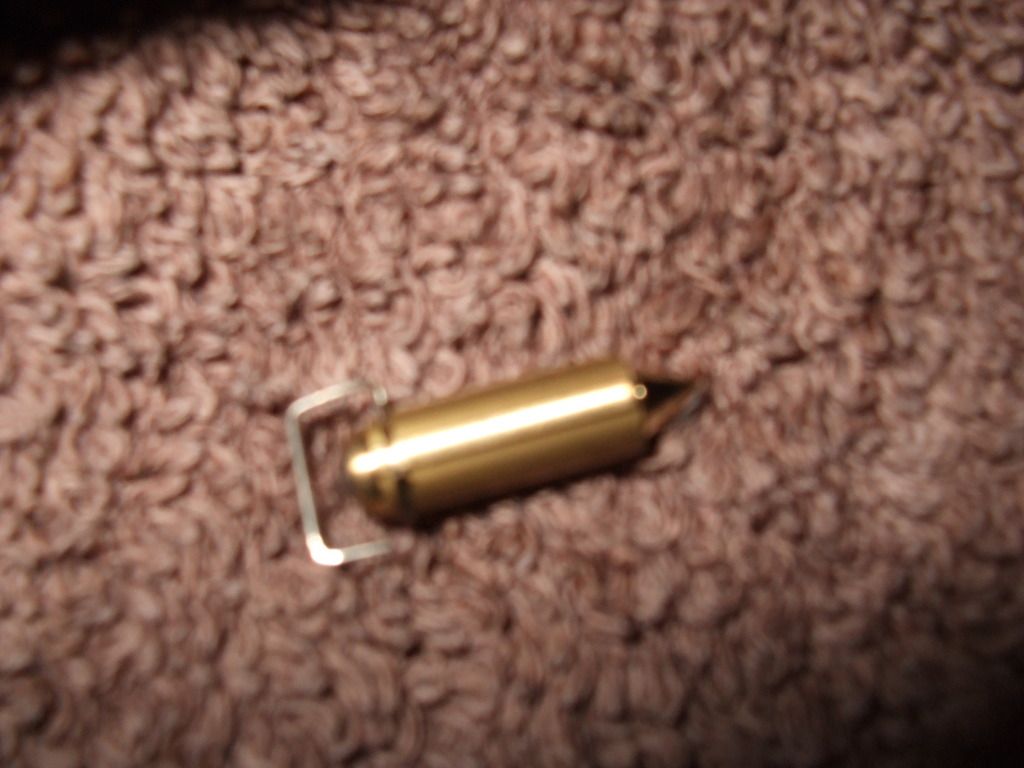 and the floats go back on. Held in place by a small rod, slide it back in then squeeze the mountings to hold it in place... 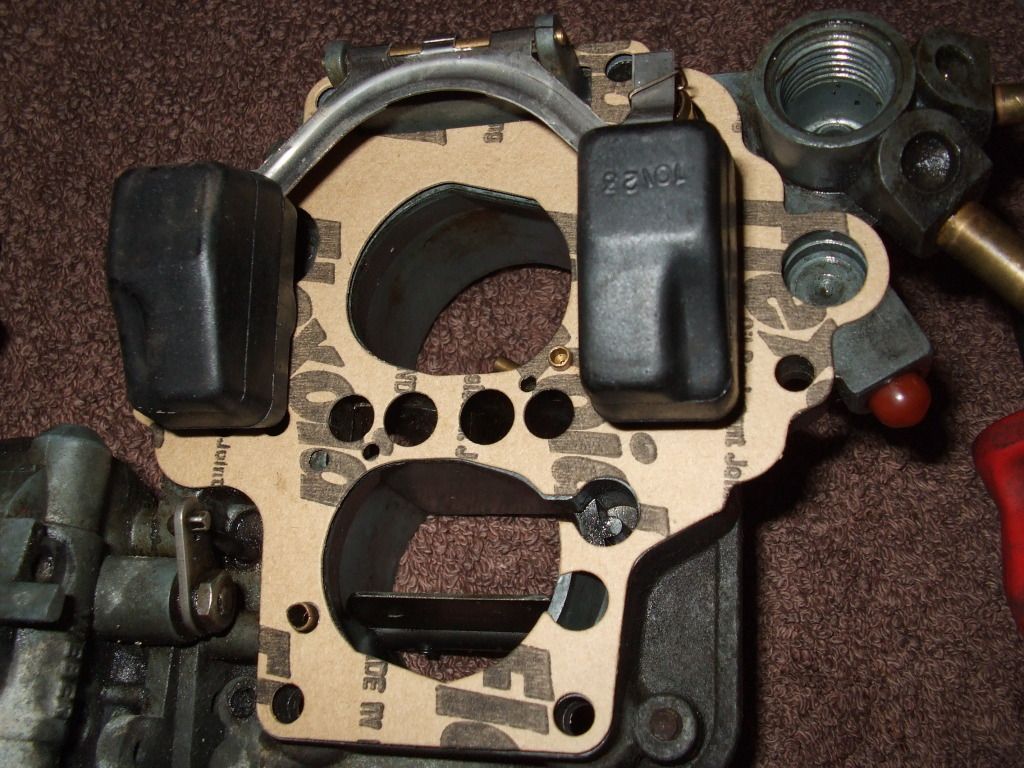 Next, you hold the top bit vertically until the floats just touch the needle valve and measure the gap at the bottom of the float. Should be 6mm. I measured it with a long allen key. If you need to adjust it bend the small tab that touches the needle valve. Mine wasnt too far out. 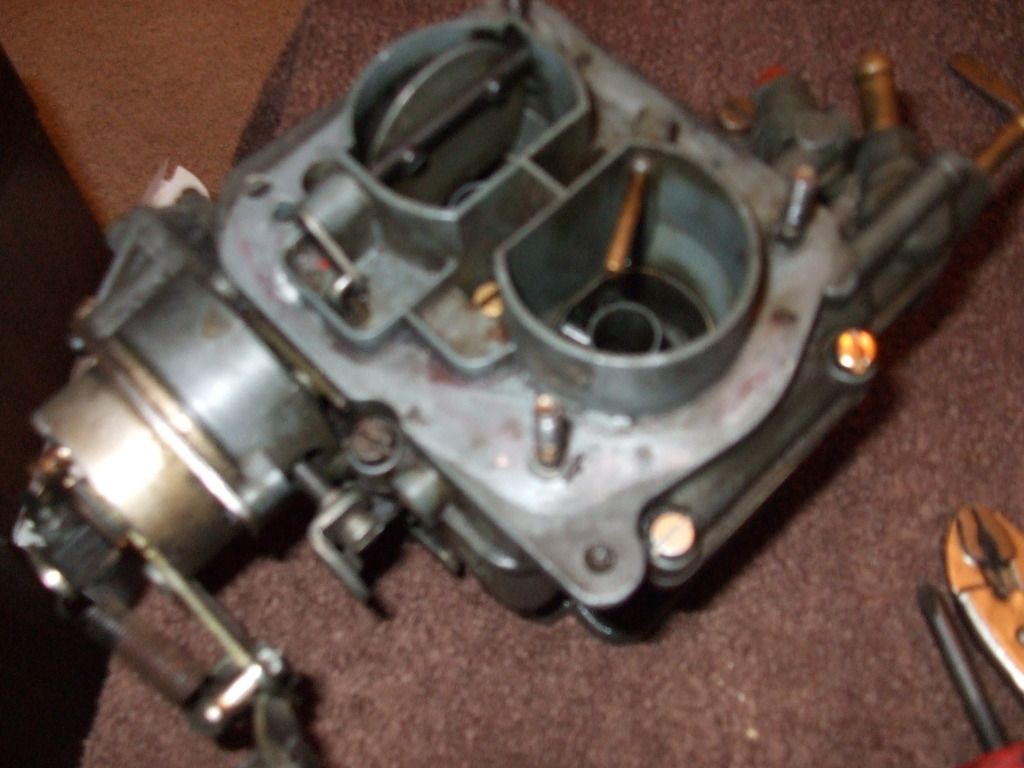 Dah nah! I am currently 'fabricating' a new heatshield/baseplate to replace the original item that appears to be made from shaped digestive biscuit. I decided to make a start with the headlamps. I intend fitting some nice modern HIDs and crystal lens so I needed to know everything was 100% before buying any new bits. 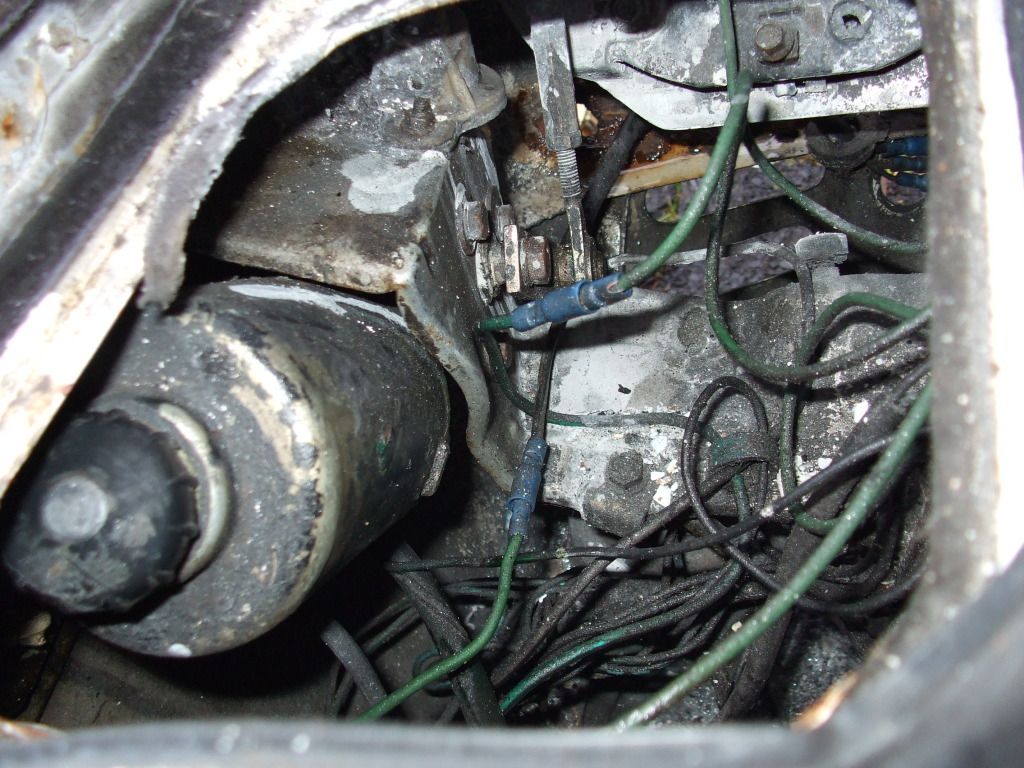 Blurgh! With the access cover off the full horror was exposed. The black round knob on the left is the manual headlamp lifter. 3 phillips screws to remove the surround (its alloy so a quick paint will do it), 3 plain screws hold the sealed beam unit in (sealed beam=bin) 13mm nut off the lifter rod, 13mm pivot boltsx2 (wire brush and refit) releases the headlamp housing. I've got something cool planned for them! The lift motor is held on by 3 10mm bolts. They resemble wiper motors. I stripped the top off and checked the brushes and contacts... 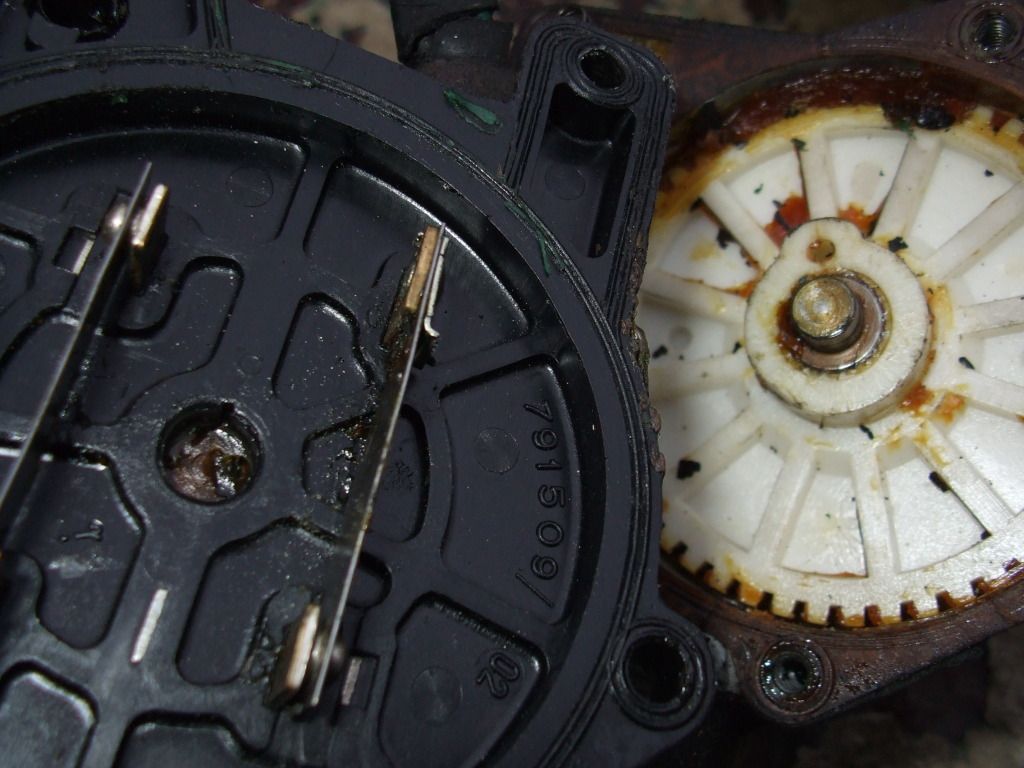 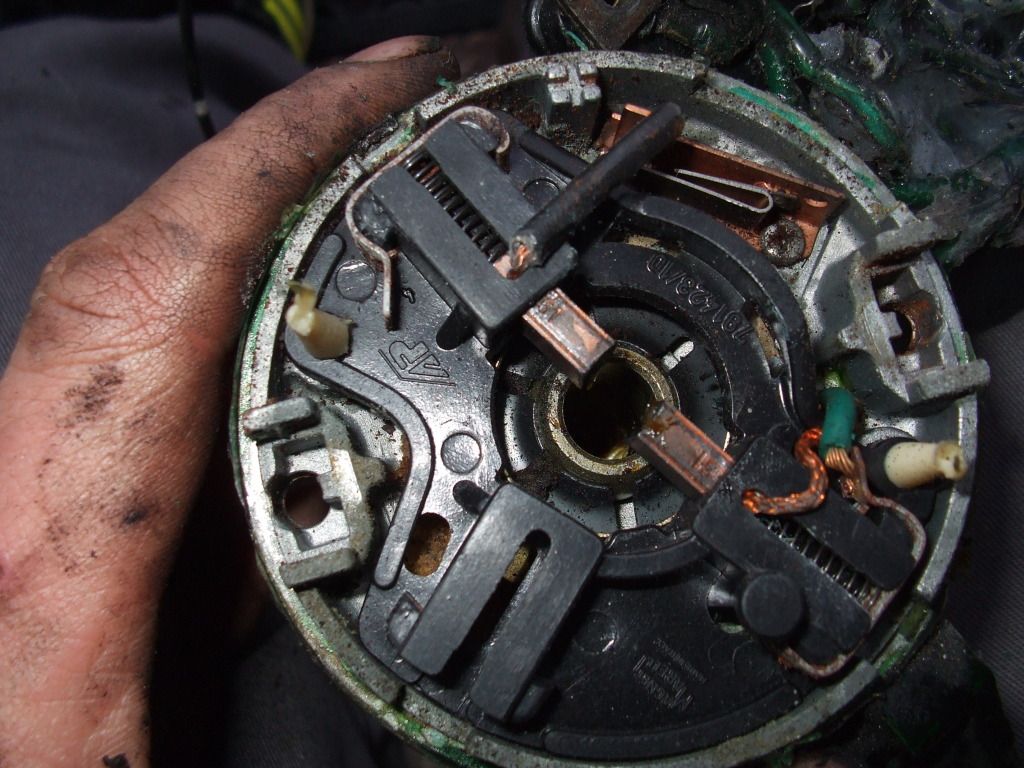 That all looked fine so I stuck it all back together. On the back of the motor where the wiring is soldered on there are a couple of diodes which can cause trouble... 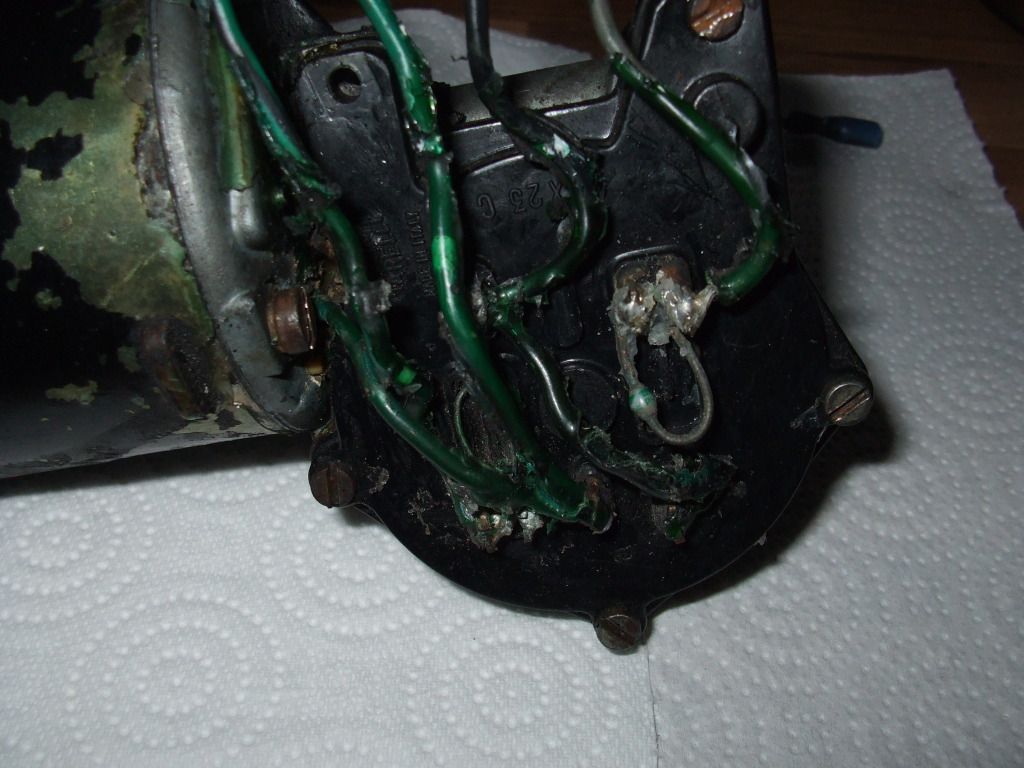 I'm gonna replace them and the wiring before it all goes back in. 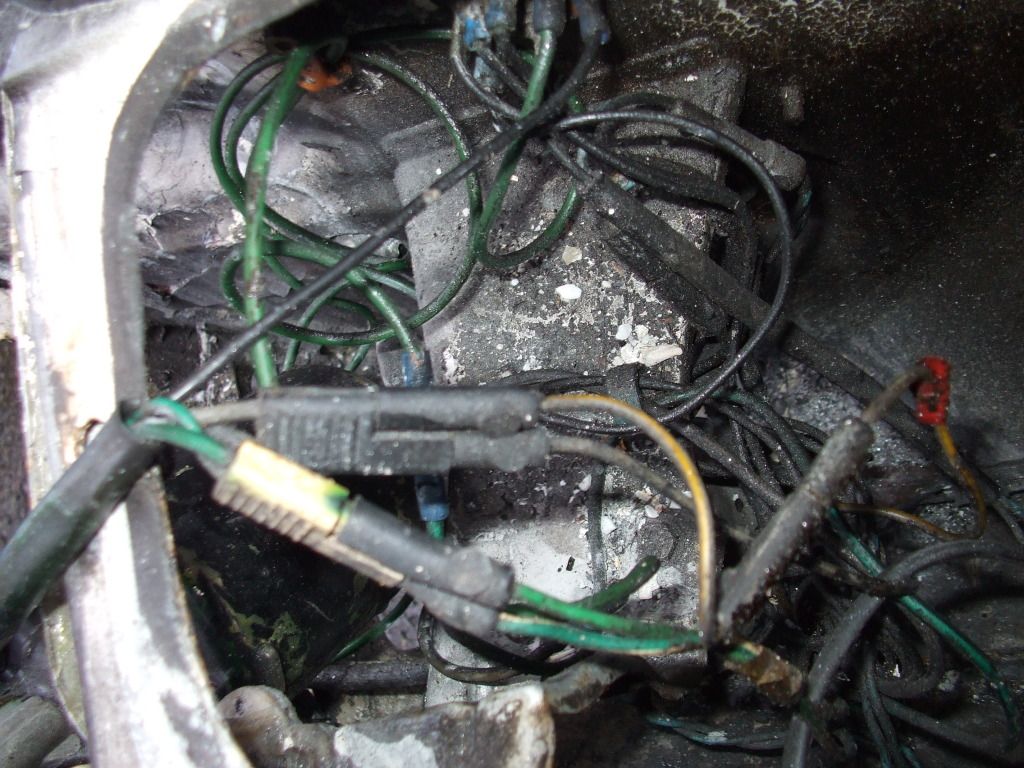 The wiring looks a mess but the wires themselves seem ok. I'll give them a clean, trim and tape! 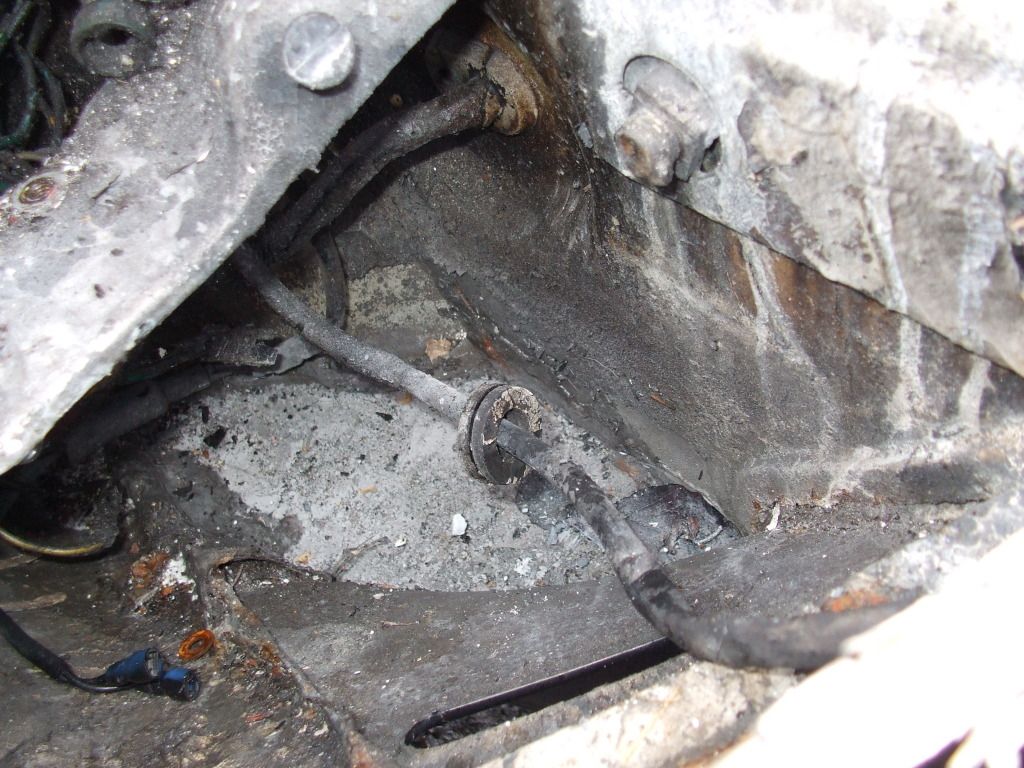 O/S/F water feature! To get into the wiring running side to side involves removing the radiator. I don't want to take it right off because bleeding the cooling system on these is a nightmare. I want to put that off until the thing is on the road and do everything at the same time. So, 2 13mm nuts and the radiator drops down... 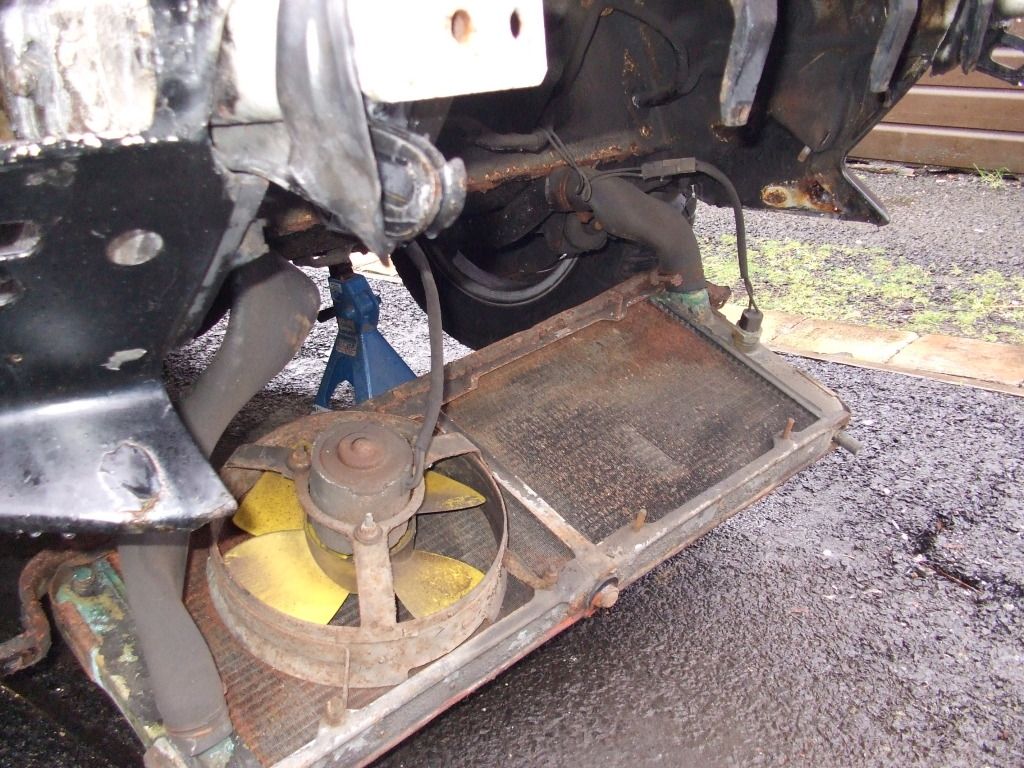 Apparently a VW Scirrocco radiator is the way to go. Mine will be treated to twin fans too. When I get round to it, LOL! 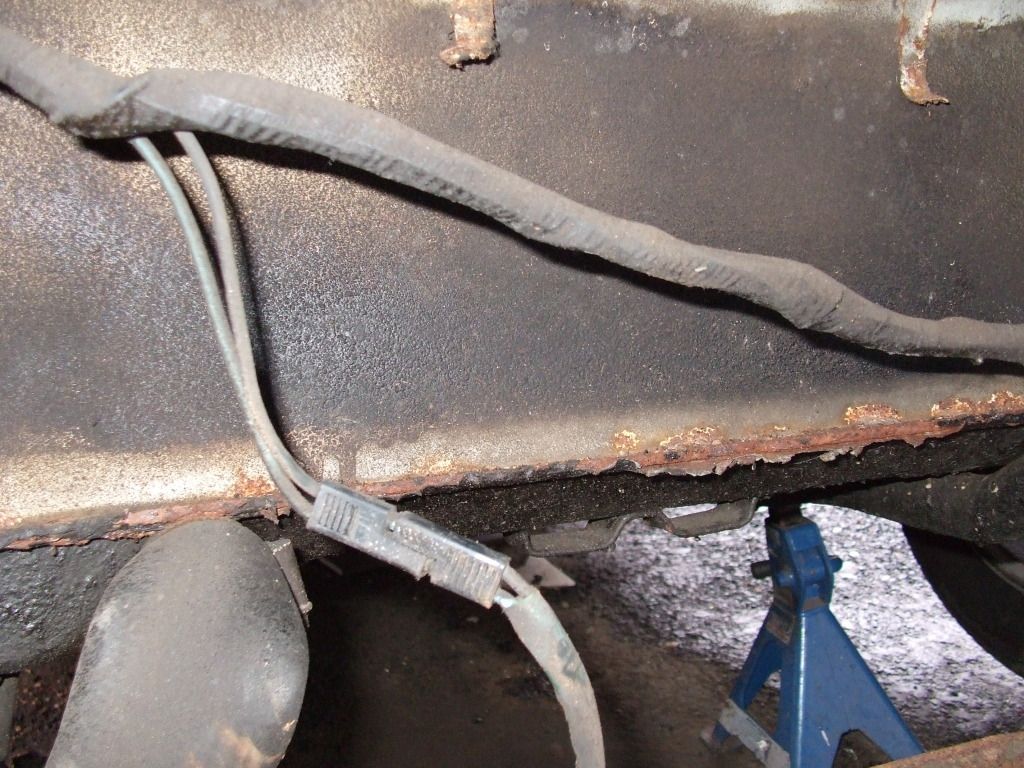 Bodywork and wiring didnt look that bad behind the radiator. Now all I need is a dry day, some rattle can black and black tape! |
| |
|
|
|
|


 )
)


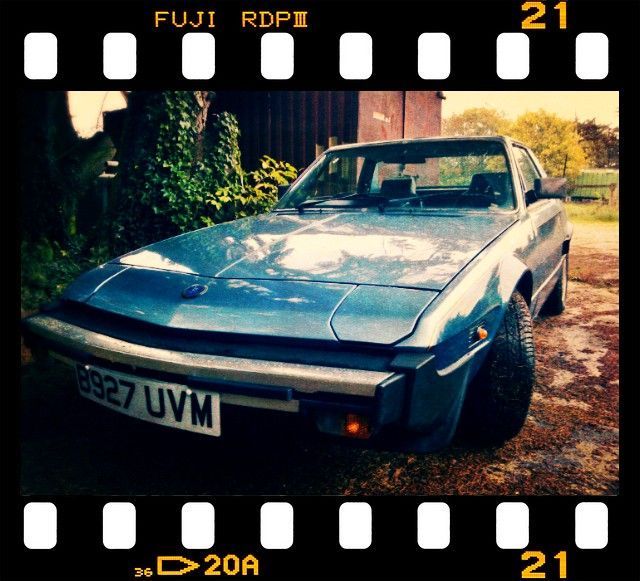


 ) The problem is...
 Need to figure out how to retension the spring a bit.


