duncanmartin
Club Retro Rides Member
Out of retro ownership
Posts: 1,320
Club RR Member Number: 70
|
|
|
|
Looking good.  Bring it to the Ace on Saturday - there's going to be a bunch of the 924OC there, but I'd bet a 944 won't get turned away!  Cheers Duncan |
| |
|
|
|
|
delux
Part of things
  There's treasure everywhere!
Posts: 531
|
|
|
|
|
Hey Duncan I might just do that. I like the Ace Cafe meets with bacon n eggs!
|
| |
|
|
ChasR
RR Helper
motivation
Posts: 10,309
Club RR Member Number: 170
|
|
|
|
|
Now that is one lovely looking car it has to be said! I am glad to see that is complete, and that the fruits of your labour have paid off!
Hopefully I shall be down at the Ace tomorrow but it is a busy day ahead for me!
|
| |
|
|
Felix
Part of things
 
Posts: 324
|
|
|
|
It was great to see this yesterday, such a clean 944 with a colourful twist!  |
| |
|
|
delux
Part of things
  There's treasure everywhere!
Posts: 531
|
|
|
|
Thanks Felix - it was great to catch up with you, ChasR, Duncan and JeremyB. BTW Your black beauty is a stunner! A trip to the Ace Cafe is always a welcome excursion and being the first time I drove TheHoff for anything further than the recent trip to the MOT station down the road. All in all I did 150 miles there and back and it was a thrill - I even managed to miss all the M25 crashes and tail backs...I'm very happy to say that my 944 drove like a dream, sounds fantastic on the open road and is all I hoped it would perform like.   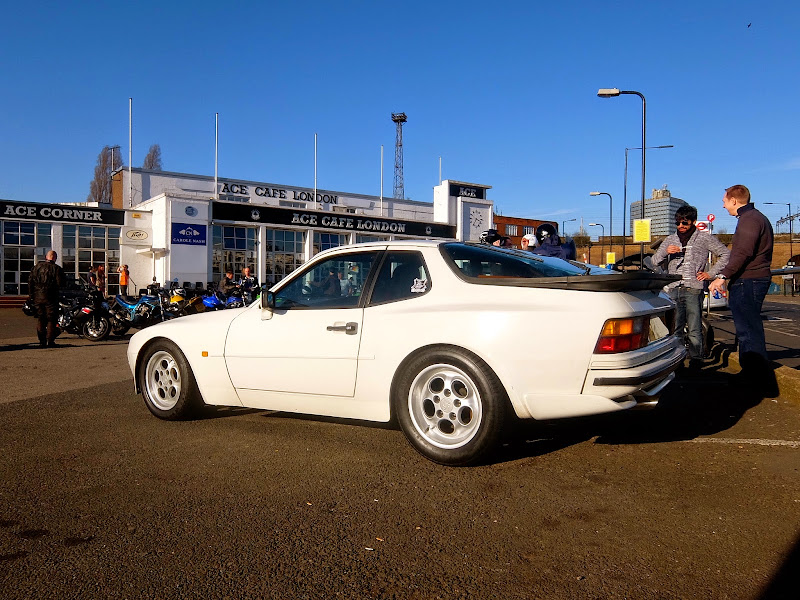 STOKED. STOKED.The conundrum now is how much more do I do to TheHoff - I had some more mods planned to make this 944 a lighter weight "Club Sport" but after driving a good distance and considering how immaculate the interior is, I'm having some major reservations about stripping stuff out like the carpets. I'm going to have to think of a compromise because I've got the hankering to build... |
| |
|
|
delux
Part of things
  There's treasure everywhere!
Posts: 531
|
|
Mar 18, 2015 20:05:30 GMT
|
Managed a few minutes in the garage chasing down a slightly hunting idle. Went through all the vacuum hoses and gave them a tweek and found one small connector, era, disconnected...sorted that and there was a minor improvement. Dang... Next was to check the idle control valve, so I disconnected that, started the car and let it run for a moment then switched it off. Reconnected the ICV and started TheHoff up - purrs like a young lion. Result! Then it was onto the jumping temp guage. Checked the two spade connectors under the manifold, they were a-ok. So to the guage console I went. Removed the 6 screws holding on the binnacle and then the four securing the gauges.   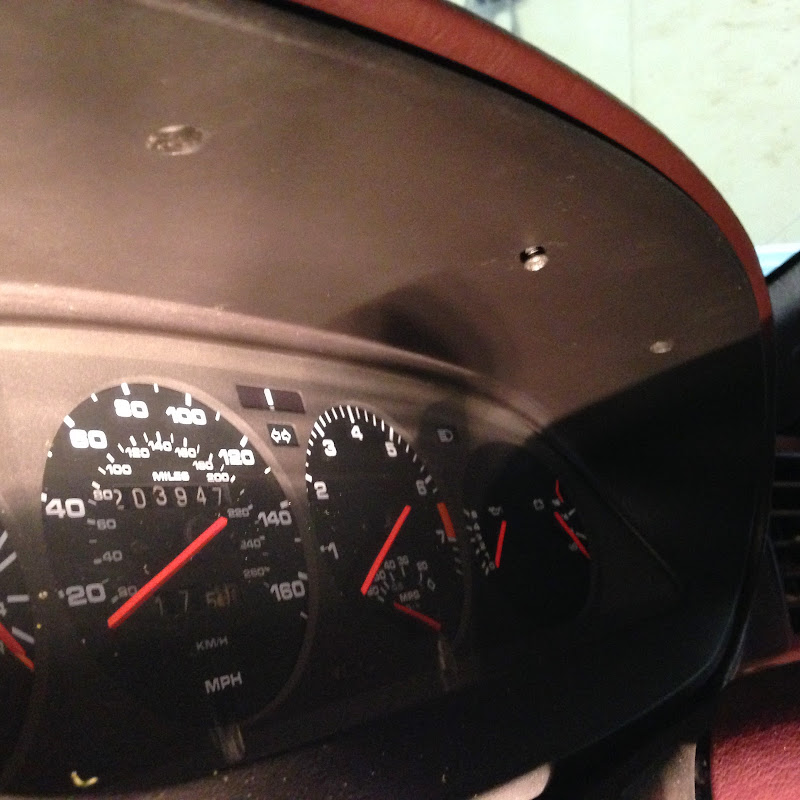 Gave the temp guage brass connectors a good clean with brake disk cleaner as the contact cleaner was finito... Put it all back together and...  Perfect! |
| |
|
|
sumpcracker
Posted a lot
   Yes, I’m still here.
Posts: 1,751
|
|
Mar 18, 2015 20:21:54 GMT
|
|
I haven't checked this for a while, good to see its on the road and it looks great.
Must be uber satisfying to be rolling around in it.
|
| |
|
|
ChasR
RR Helper
motivation
Posts: 10,309
Club RR Member Number: 170
|
|
Mar 18, 2015 21:34:47 GMT
|
It was great to catch up Steve  . It looked the business at the Ace and truth be told I forgot to compliment the wheels, they look superb! |
| |
|
|
|
|
|
Mar 19, 2015 15:40:15 GMT
|
|
Agreed - good effort chap!
|
| |
|
|
delux
Part of things
  There's treasure everywhere!
Posts: 531
|
|
Mar 19, 2015 20:08:24 GMT
|
|
Thanks guys!
The loud pedal is a bit intoxicating I must admit.
|
| |
|
|
|
|
delux
Part of things
  There's treasure everywhere!
Posts: 531
|
|
Apr 10, 2015 16:26:27 GMT
|
Brands Hatch's Summer Wednesday's are back so I booked a taster session to give the 944 a good shakedown! I've only done 175 miles since the MOT so it's very early days and although I've owned the car for 6 years I've never really given it horns like you can on a track. Even so the strategy was to "test" TheHoff, identify any nigles or areas of improvement and not try break any lap records or try out run the stripped out track weapons... Entering the hallowed grounds!  A good friend of mine came along as co-pilot and to enjoy his first track experience. We signed in, did the drivers briefing then had the noise level tested - and passed at 96 decibels. We even got a sticker! Each stage was building towards our time on the track and so were the excitement levels! 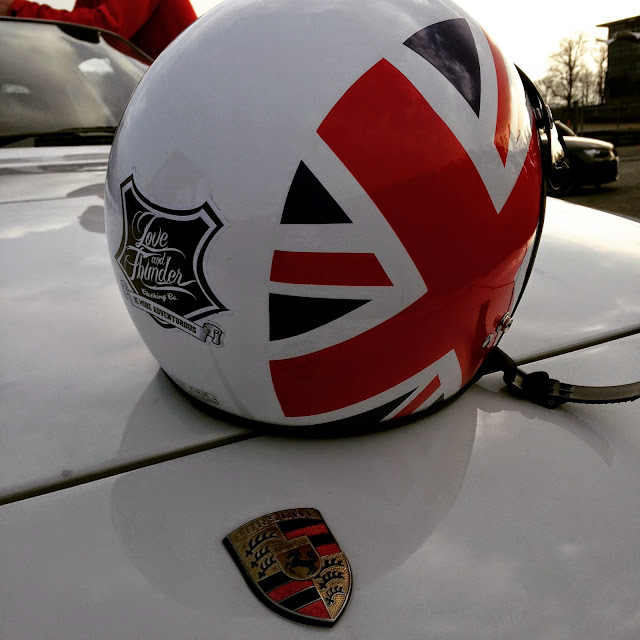 When the first round of cars hit the circuit, including a black TEXACO Sierra Cosworth and Mk1 Escort in rally slag, for their sighting laps we rolled the TheHoff into one of the empty garages to wait our turn at 6pm...an soak in the atmosphere. 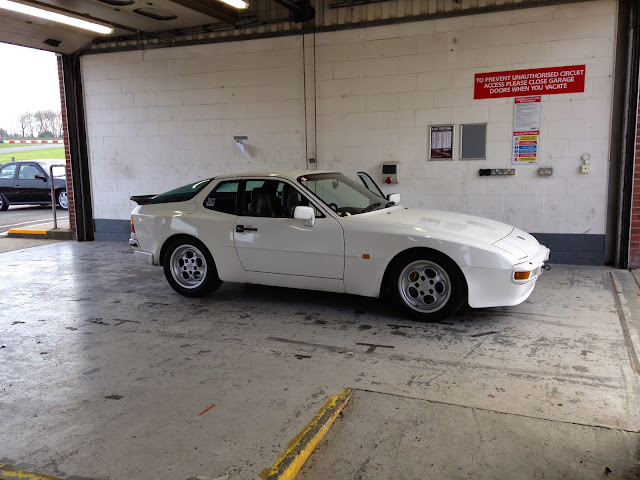  Our 30 year old chariot certainly looked at home! Our 30 year old chariot certainly looked at home!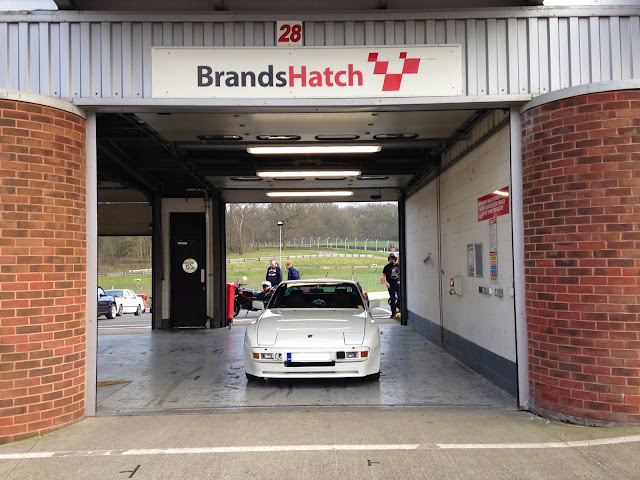 Soon enough it was our turn so we fired up and burbled our way down the pit lane and joined the queue of other cars waiting behind the pace car for our 3 sighting laps after which the pace car would reel off and we'd continue for 20 minutes or so lapping the Indy circuit. Exiting the pit lane and swinging into Paddock Bend and into the infamous hill was quite a moment - after 4 years off the road then an MOT in February and a cruise to Ace Cafe; it had finally come to this - the first time I would drive my own car on a world famous circuit. I've driven at Brands Hatch before on track days with BMW M3's and single seater Audi Palmer's but this was new territory and I was feeling very excited although tentative - that's why I had purposely booked a taster session on a Novice track evening to test the 944 in a safe and controlled environment. 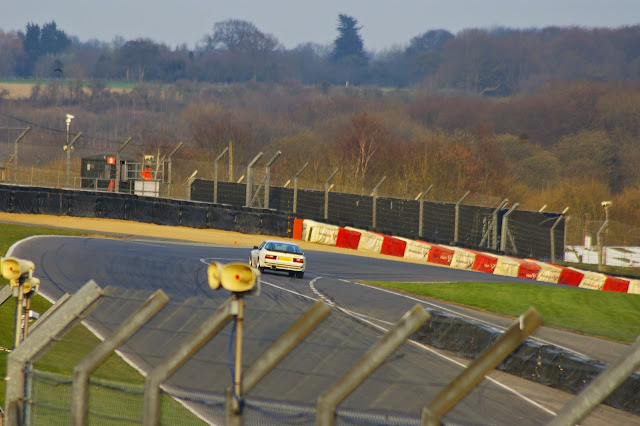 The game plan was to slowly build up heat in the brakes and tyres and get to know the car. From the off I was impressed by the handling, noise and exceleration - TheHoff was feeling right at home.  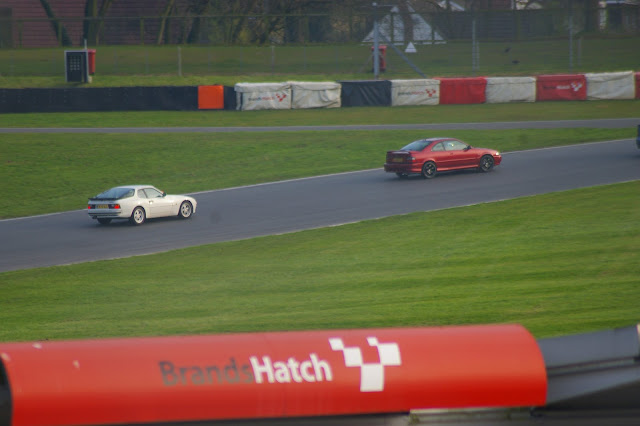 There were quite a few retro motors on track including a cool camo V70 - which we passed...  And an Astra Turbo - which we passed... 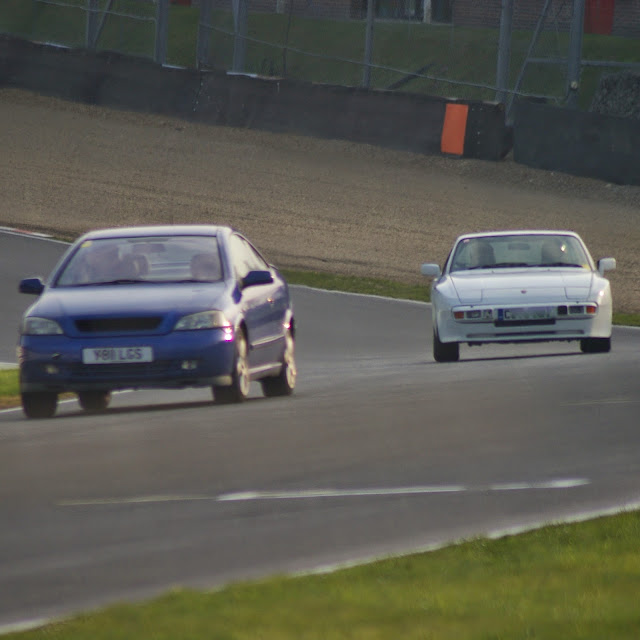 ...and an M3 - which was no contest really LOL 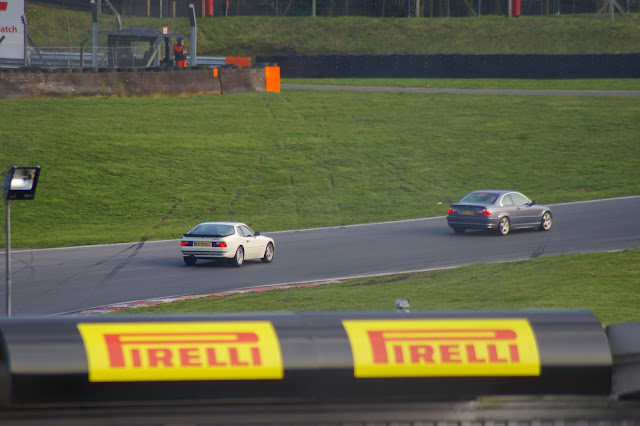 The turbo and modern performance cars were hard to catch on the straights but if we were allowed to overtake in the corners - it would have been 944 all the way. It's such a wonderfully balanced car and so much fun to drive on a circuit like Brands.  After roughly twenty minutes and approximately 17 miles of slowly building up confidence, overtaking some slower cars, mastering the corners and becoming more comfortable with higher speeds our outing came to a very satisfying end. I'm happy to say that TheHoff performed flawlessly - which was a great relief. It's one thing driving your modern classic sports car on the roads - it's quite another thrill entirely doing it on a circuit such as Brands Hatch after you've rebuilt most of it yourself. Happy days! |
| |
|
|
|
|
|
Apr 22, 2015 13:41:37 GMT
|
Fantastic stuff. Looks at home there  |
| |
|
|
delux
Part of things
  There's treasure everywhere!
Posts: 531
|
|
Apr 22, 2015 19:02:25 GMT
|
|
Thanks Xenocide. I'm going back for more!
|
| |
|
|
delux
Part of things
  There's treasure everywhere!
Posts: 531
|
|
May 27, 2015 11:41:49 GMT
|
I've been hunting down an intermittent idle issue on TheHoff since our last Brand Hatch excursion - which led not only to testing & replacing parts but also eliminating others and making one completely from scratch! As the Idle Control Valve (ICV or ISV) was the suspected culprit the whole intake manifold, throttle body, AFM and filter had to come out - oh and the fuel rail too. Actually it's less of a phaff than it sounds. As ICV's are around £150 to replace I wanted to test mine to be sure it was faulty. After removing it from the underside of the intake manifold I jumpered it directly to the battery and it works perfectly with a very solid "clunk" when activated and deactivated. So that wasn't the issue. I also made sure that the hoses running from the ICV to the intake and the J-Boot were correct also as I suspected I may have routed them incorrectly - turns out that was also correct according to how I had fitted the ICV. 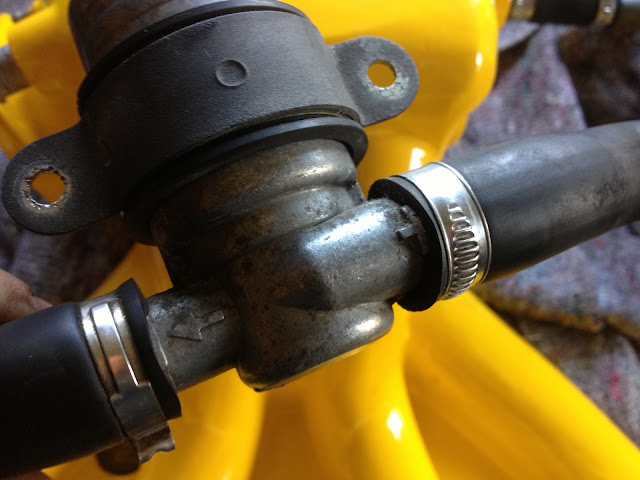 So what ever was causing the intermittent hunting and low idle speed wasn't anything to do with the ICV. I decide then to try to reduce the mass of vacuum hoses and connectors under the intake to reduce the chances of leaks. While the intake was off I also cleaned up all the connectors for the sensors and replaced the temperature gauge sensor with a £5 one listed for Land Rover called ERR2081 - thanks to Waylander on Tipec. This was to cure the temp gauge jumping. After doing some research on deleting the Venturi and simplifying the vacuum hose setup I reinstalled everything except the Venturi which is the grey y-tube in the right of the picture below, deciding instead to connect the ICV hose directly to the J-Boot, and the other to the front of the intake to make a closed ICV loop.  The result of turfing the Venturi and small check valve (which is inserted in one of the rubber hoses) was that the engine idled at about 2000rpm and slowly increased! Not a good thing...back to square one. After some more forum thread reading I decided to refit the Venturi but not connect it to the ICV but rather blank the one connector as seen below:  Now the Venturi is connected to the rear of the intake via a short rubber hose and directly to the brake booster - no check valve. The result is the car idles as I hoped and there are fewer hoses to clutter the engine bay & go awry. Result. What I also discovered when inspecting the engine when the intake was off was that there appeared to be oil leaking from the dip stick tube where it enters the engine block. The problem it transpired was that the dip stick tube mounting plate which attaches it to the rear of the intake manifold is positioned about 3mm too low, consequently the tube doesn't seal correctly with the block & o-ring when affixed with the bolt. The fix was to drill out the top of the mounting plate elongating the slot so that the tube could be pushed further down into the block. Once tightened up with a bolt it sat sealed in the block nice 'n tight. During my "research" looking at vacuum hose diagrams and threads I'd come to the conclusion that the thin hose running from the check valve at the brake booster firewall had been routed to the incorrect point in the intake assembly. It needed to run straight to the side of the S2 manifold - a point that had no barb connector - well not since it had been powder coated. Looking back at old photo's that connector had been there with a short piece of hose but obviously the powder coater had removed it - which is why I had plugged it with silicon upon finding a hole. The problem now was how to refit a new barb? I bought a couple of hose take off's from Revotec in the hopes that I could use one of them but in the end I figured that if the original one had been removed by pulling it out the chances were that the I could extract one from the S intake that I had laying about in the garage. 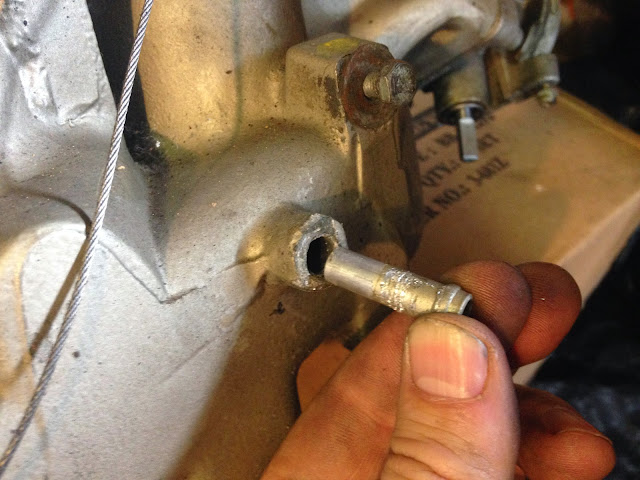 A twist of the vice grips was all it needed and it came free. I connected it to the hose and then covered it with Porsche's favourite Loctite 574 and inserted it into the S2 intake after removing the silicon plug.   Should this fail I'll need to remove the manifold and drill out the hole to enable the fitting of the nice Revotec hose take off that I now have in my small parts stash. With that all done and running ok the time has come to make a custom intake J-boot to fit between the AFM and throttle body - coming up next! |
| |
|
|
delux
Part of things
  There's treasure everywhere!
Posts: 531
|
|
May 27, 2015 12:11:58 GMT
|
In order to maximise the airflow through the intake I need to replace the intake j-boot that fits between the throttle body and air flow meter - it's had a nasty crimp in it since I installed it and it really wasn't the best solution. A 45º elbow 80mm to 70mm reducing silicon intake hose was purchased from Demon Tweeks as well as a 19mm O.D. Revotec self-sealing take hose off from eBay. The silicon hose comes with enough length on either end to trim it to fit. I then fitted the hose and mocked it up in the engine bay so I could figure out where to fit the take off for the hose that runs to the ICV. 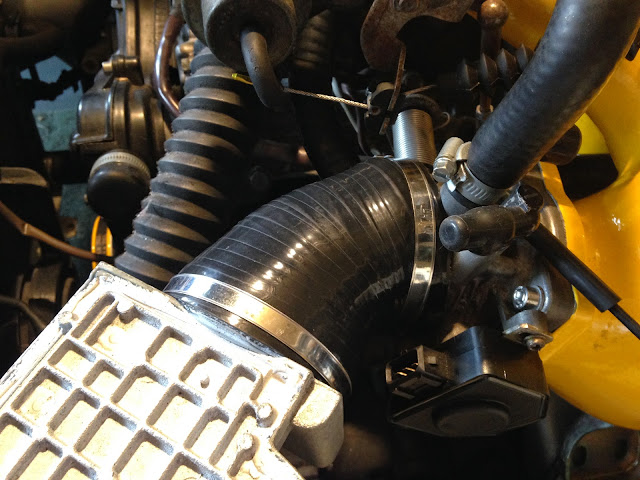 After I was happy with that fit and had marked the point at where the hose should connect, I removed the j-boot and got ready to make the hole for the take off fitting.  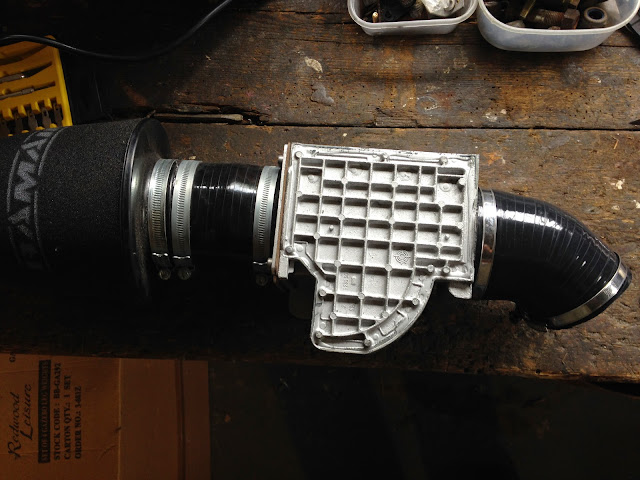 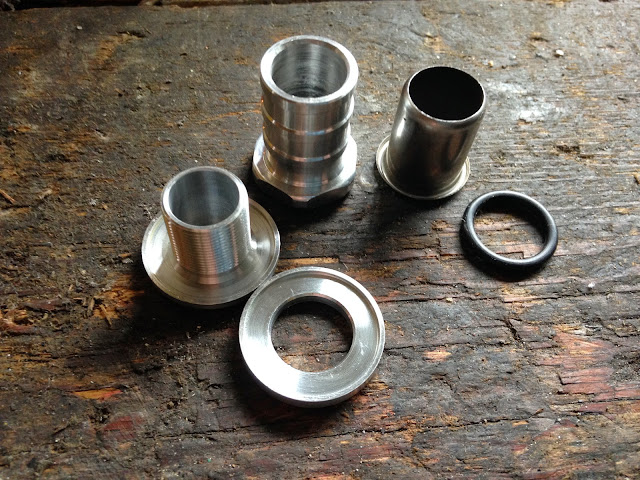 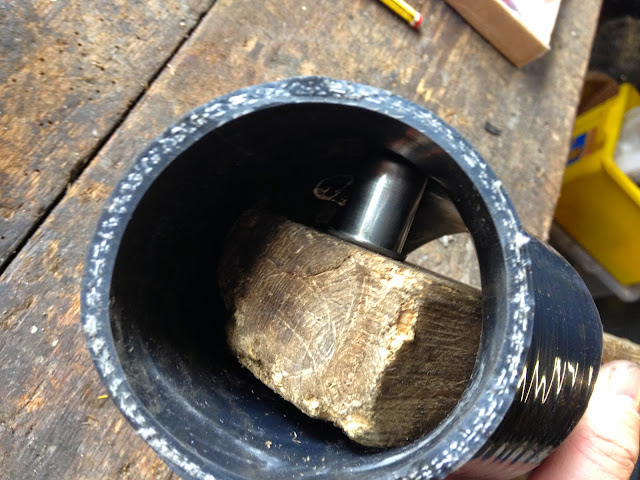 The kit comes with a neat punch that makes the hole for the take off. A quick smack of the rubber mallet and voila! 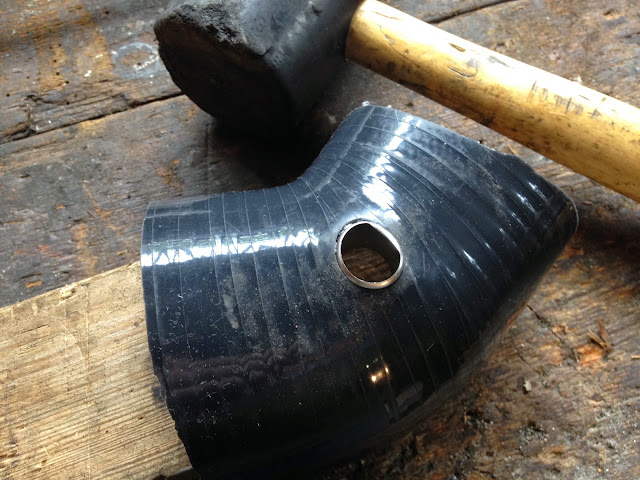 Then insert the barb connector and tighten up the lock nuts and it's a neat install. 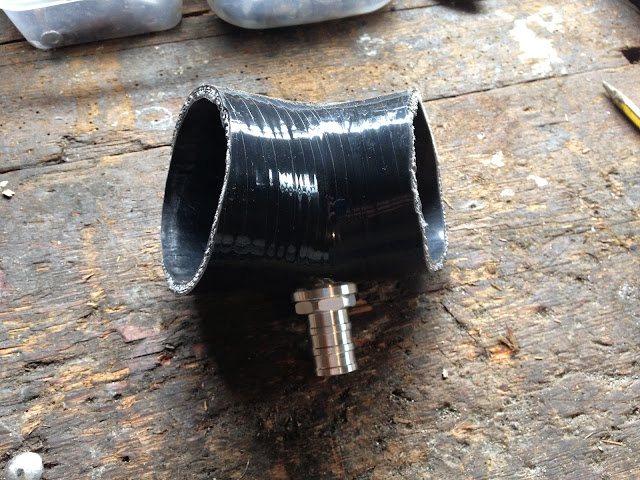 Then it was connect and tighten it all up then attach the ICV hose! 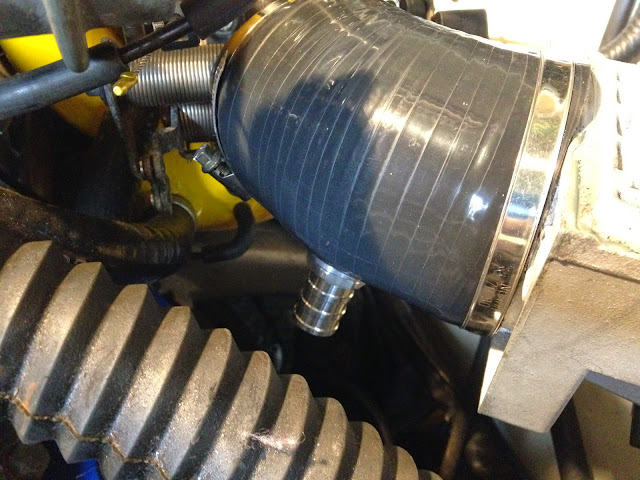 The result is a much neater intake assembly with no nasty crimps. 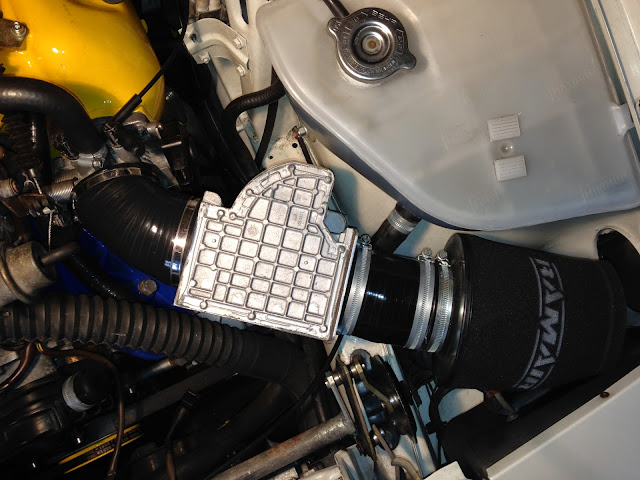 The custom J-boot should ensure a nice smooth airflow into the engine. |
| |
|
|
delux
Part of things
  There's treasure everywhere!
Posts: 531
|
|
|
|
Another niggling thing sorted... As I fitted an S2 intake onto an S engine using an S fuel rail - the fuel damper has never fitted nicely to the intake as it should as the lengths of the fuel lines on that side are a little longer meaning the damper can't fit to the S2 mounting holes. It wasn't an issue per se but I wanted a neater factory install. 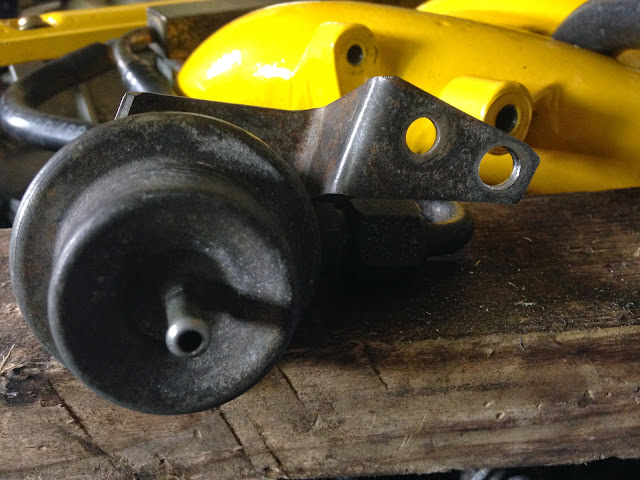 The solution was to drill out the one mounting plate hole so the damper could be attached using the throttle body linkage attachment bolt. 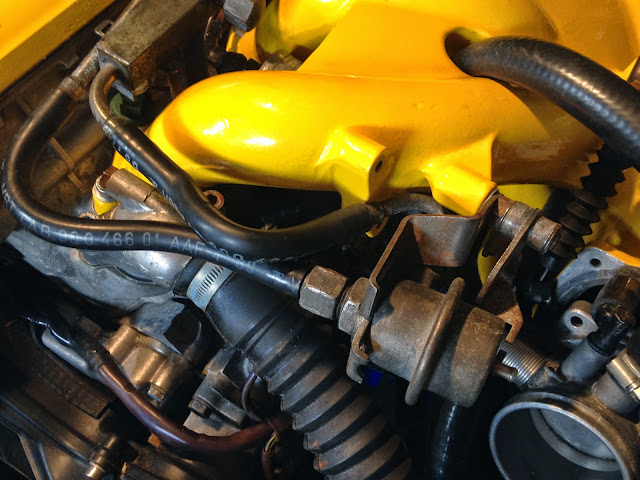 Not a very complicated procedure but a much tidier and more secure solution for the fuel damper. |
| |
|
|
delux
Part of things
  There's treasure everywhere!
Posts: 531
|
|
Sept 10, 2015 14:43:33 GMT
|
Longtime no update... Over the summer I've been refining TheHoff. After a couple of outings to Brands Hatch I decided that I wanted to add lightness as per Colin Chapman. I wanted to retain the period features of the interior and most of the niceties but make it more of a lightweight than a racecar - which it is not. The goal was simply to remove about the average weight of a modest passenger that I'd take to a track day - as that is what was happening. I began by stripping out the interior and pulling the thick rubber & felt matting out. The glue they used back in the 80's to stick this stuff down was - let's say... very effective.   The rear seat back went... 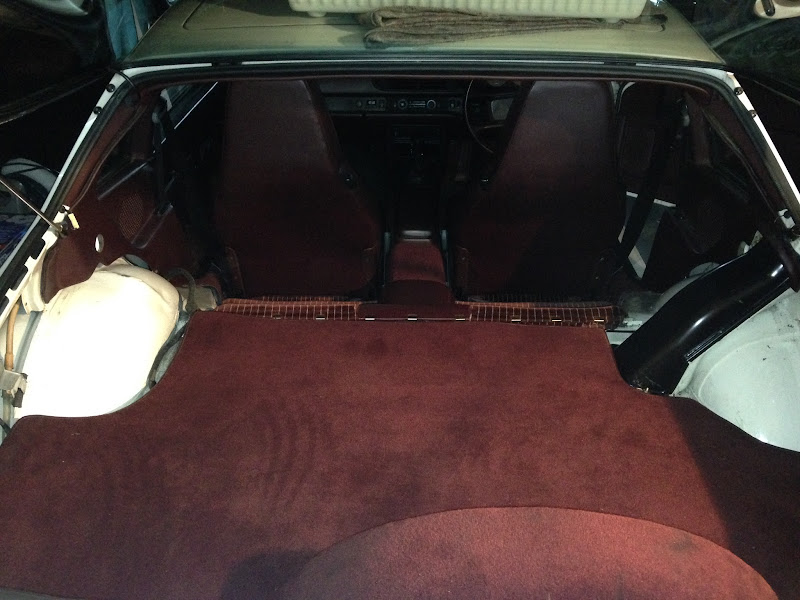 I found that DW40 was the most suucessful glue residue remover after buying various specialist products that promised the world but just didn't work...after many long hours lots & lots of kilograms were being shed simply by removing rubber, felt and some sound deadening in the areas that I wanted exposed.   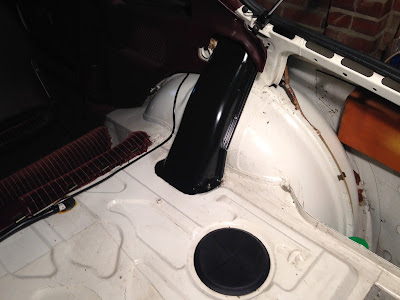  After the back was stripped I started on the cockpit area: 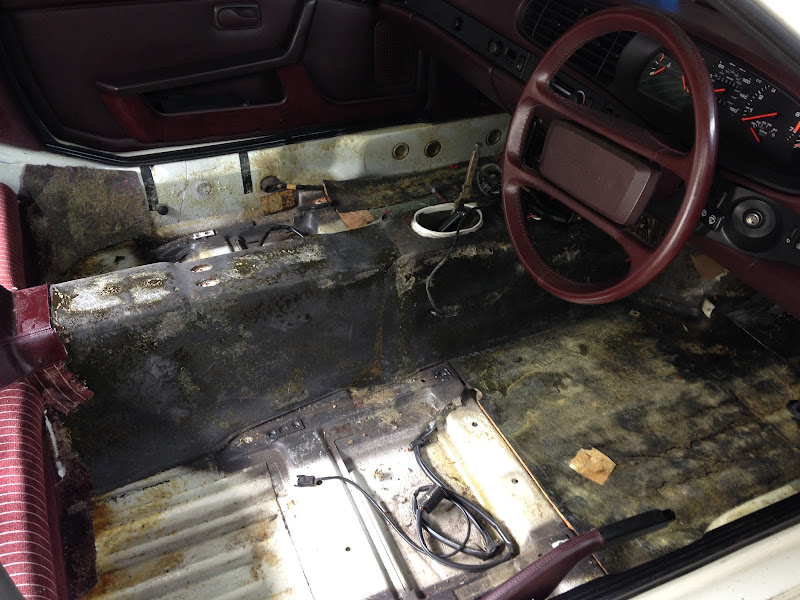 I was really keen to expose the tunnel - not only was it covered in carpet, but also rubber, felt and underneath sound deadening pads...german thoroughness. 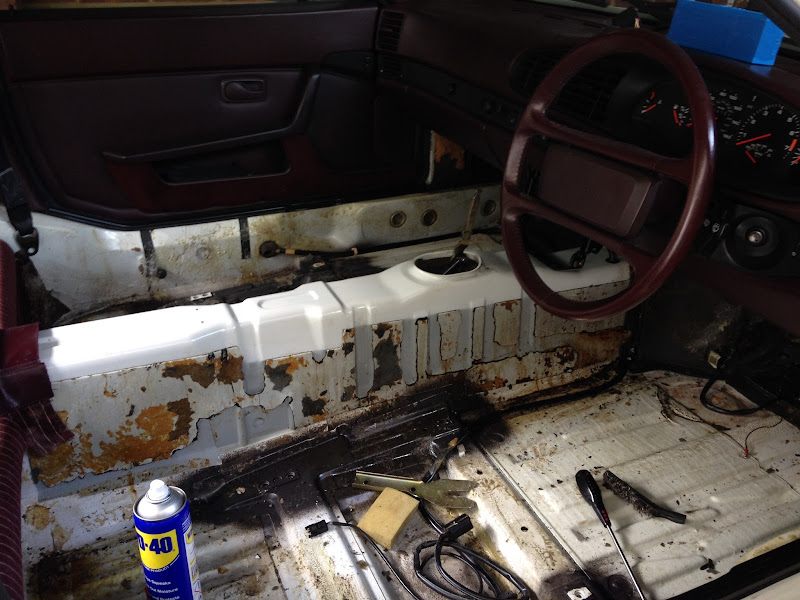 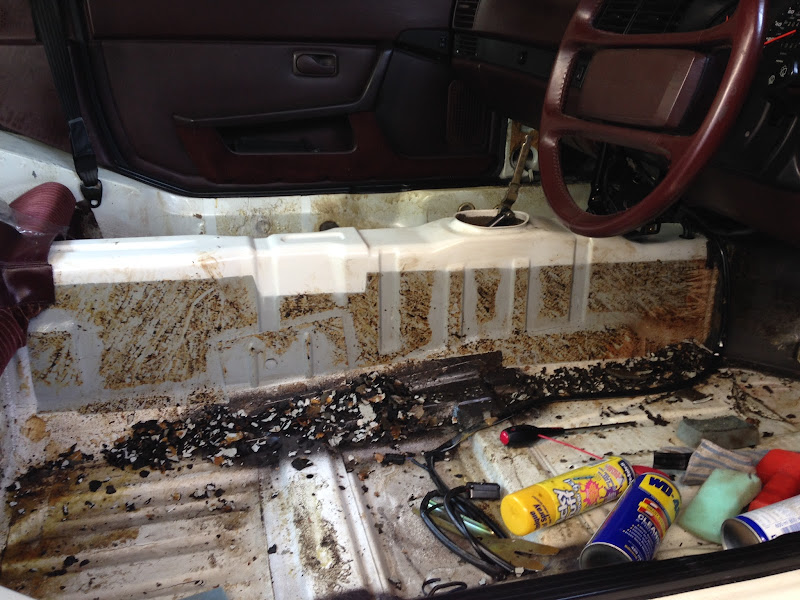 With the tunnel done, and feeling cheery I set about sorting the footwells... 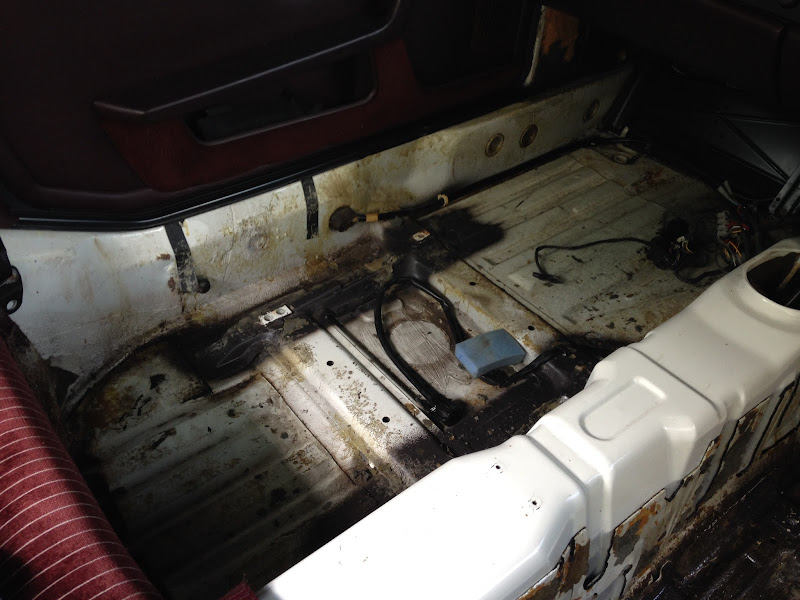 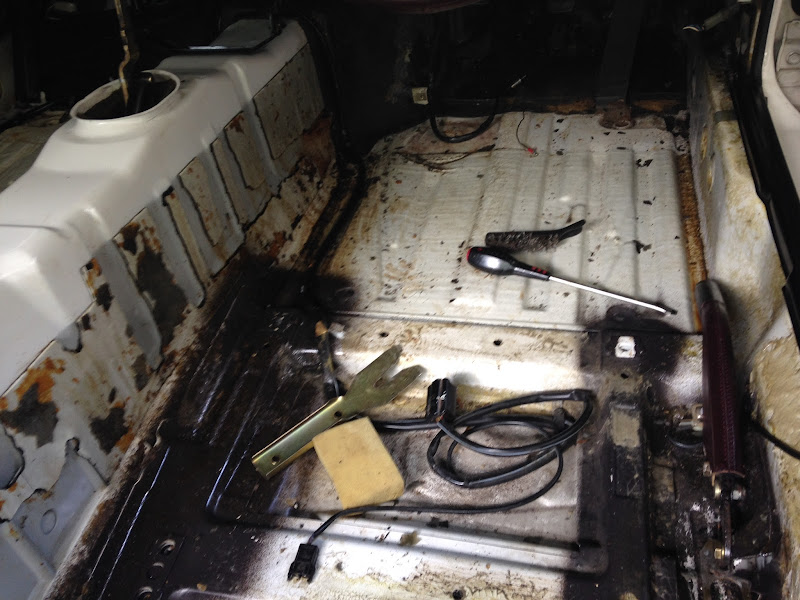 I may have to revisit those if they were going to be exposed but seeing as though they would get seats and the Porsche mat set putting back in; they're A-OK for now. So the tunnel started to get some finishing treatment - all prepped for some Arctic White paint:  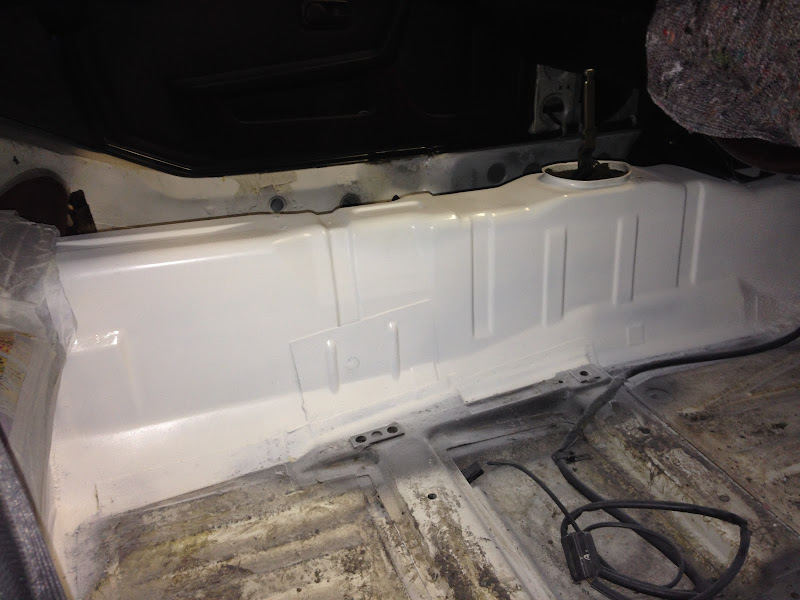 As this was the feature I was most excited about having exposed I was stoked with the way it was looking. Then it was on to the foot wells and the bits that would be exposed from under the mat set:  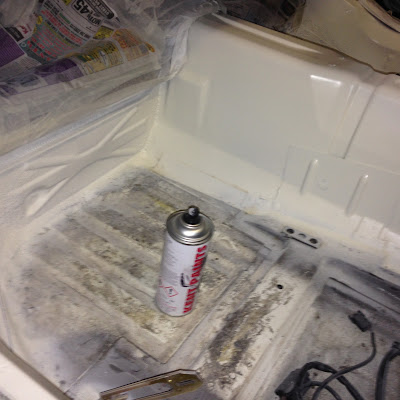 Working backwards I prepped and painted the rear wheel arches and boot area: 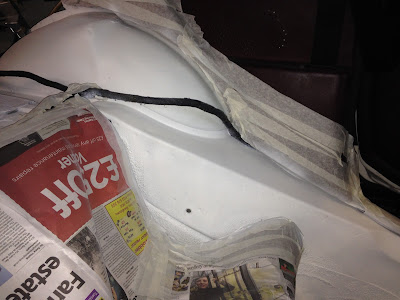 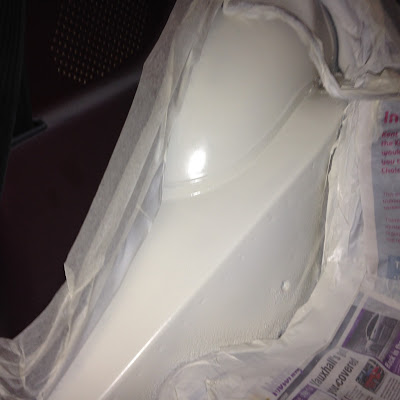 Then it was onto the inner sill areas alongside the seats & handbrake: 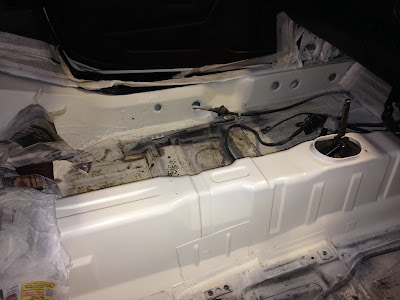 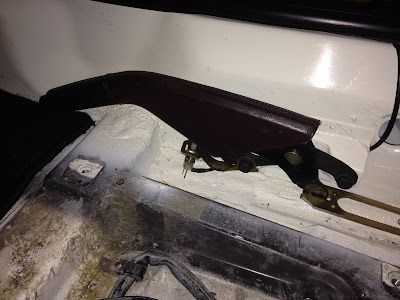 With everything put back in I was very happy with the result - the exposed tunnel and sides set off the burgundy interior nicely. 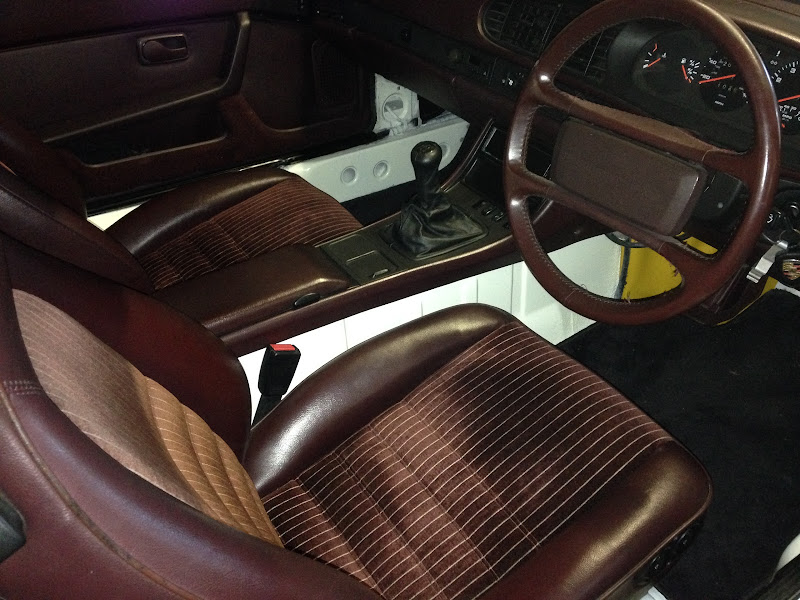 How much has TheHoff lost so far? 66kgs or 145lbs. |
| |
|
|
delux
Part of things
  There's treasure everywhere!
Posts: 531
|
|
Oct 24, 2015 17:03:42 GMT
|
|
|
| |
|
|
delux
Part of things
  There's treasure everywhere!
Posts: 531
|
|
|
|
 MOT time again and it's a pass. That's a ticket to drive with abandon dear Sirs. To celebrate I've booked a spot on the Retro Cars Brands Hatch track evening. The funny thing is after getting the MOT and taking TheHoff on a celebratory B-road blast - I retired to the garage and promptly started taking the rear end apart to trace an annoying rattle. #becauseProjectcar |
| |
|
|
adam73bgt
Club Retro Rides Member
Posts: 5,002
Club RR Member Number: 58
|
|
|
|
I really need to TheHoff out more...   Love this photo! |
| |
|
|
|
|


