Okay so I haven’t posted on here for a while, but the good side of that is that it’s left more time for the mini!
So, a big update is due…
Firstly, I got into uni! I am currently writing this in my new room at Hull University where I’m studying mechanical engineering, so hopefully there’ll be many more ideas and projects to come with the knowledge gained from that. The bad news is that I’ve moved to Hull so work on the mini will stop until the Christmas holidays, but I’ll be drafting up ideas while I’m here ready for when I get back
Anyway, about the car; the first job to be done before anything else was to build up the rear subframe. This meant bolting on the radius arms, but with the negative camber brackets the angle that they sat at had changed. This meant we had to take a grinder to the radius arm so that it didn’t scrape on the subframe every time it rotated:

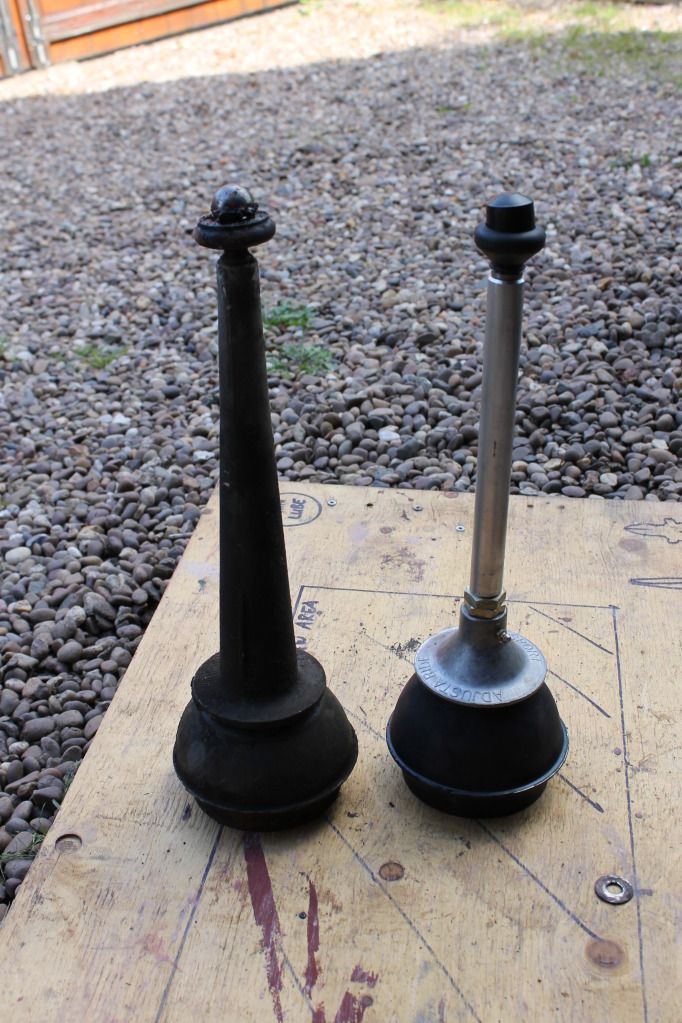
After this had been tackled, the new rubber cones and hi-los could be fitted. This was much easier once the hi-los were wound all the way down:

Comparison of old and new:
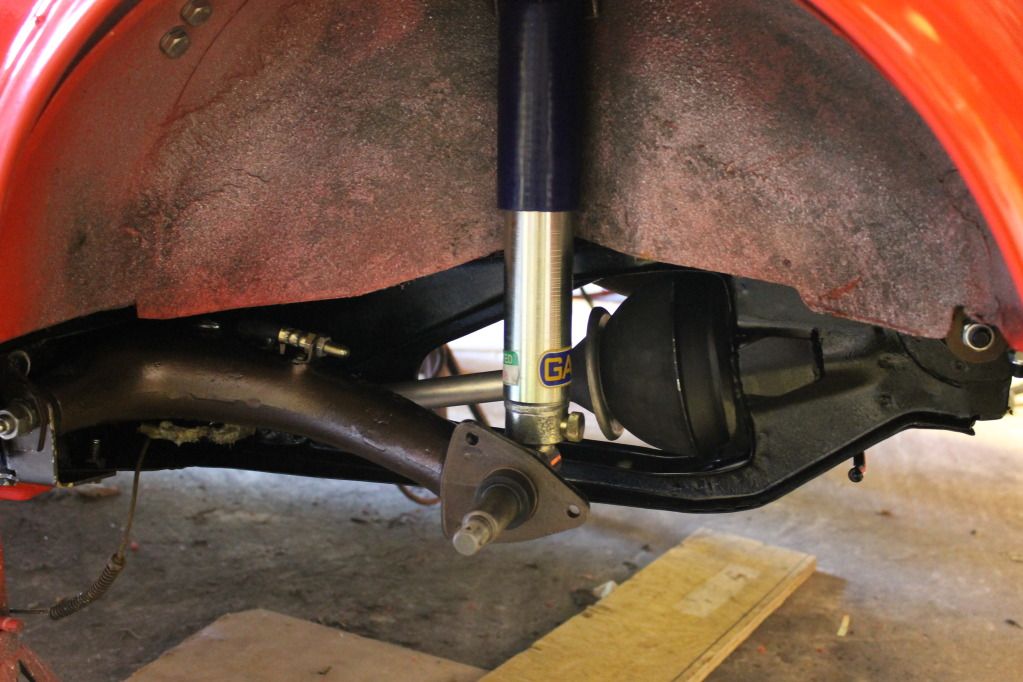
Then the new subframe was ready to be bolted on using shiny new stainless bolts, and the Gaz adjustable shocks could be bolted on meaning the fuel tank could be bolted in.
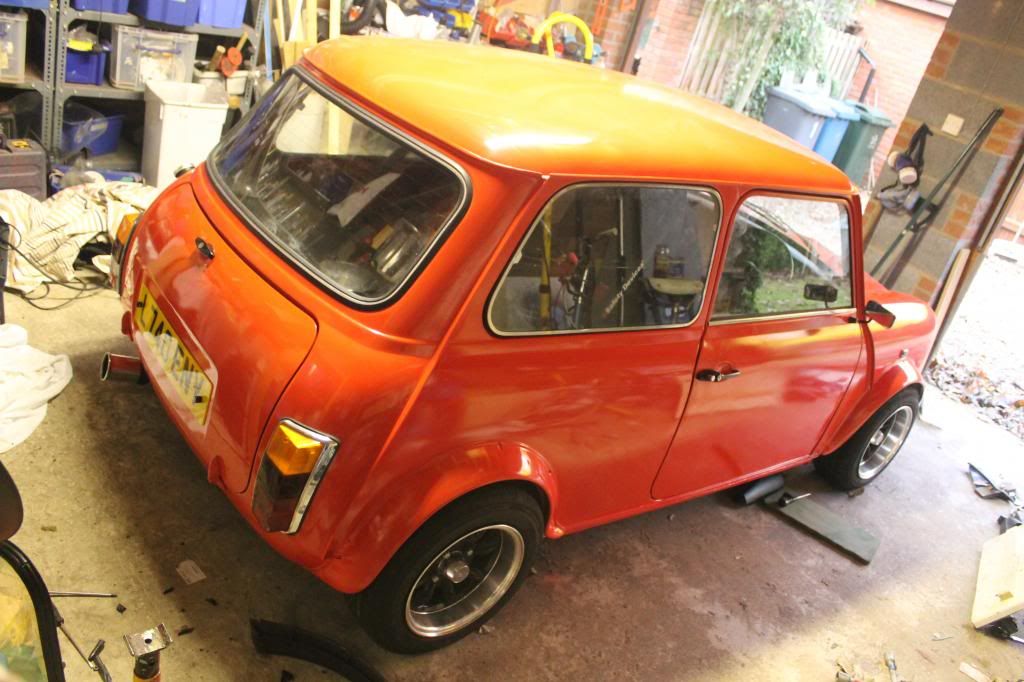
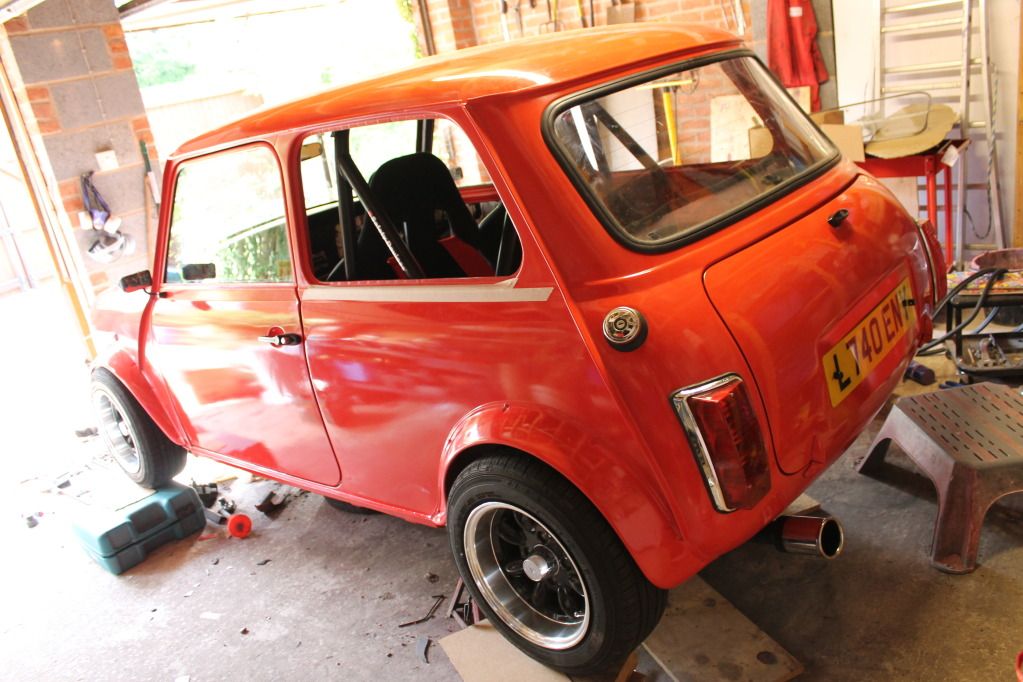
This meant the exhaust and boot lid could be fitted and that was the back finished! (Note number plate bolt lights wired in as well, this meant simply connecting the four wires meant for the standard lamp unit to the wires coming out of the bottom of the new bolts – simples)
We also refurbished the rear drums as they looked too new to replace, so a strip-down, clean, and greasing was all that was needed.
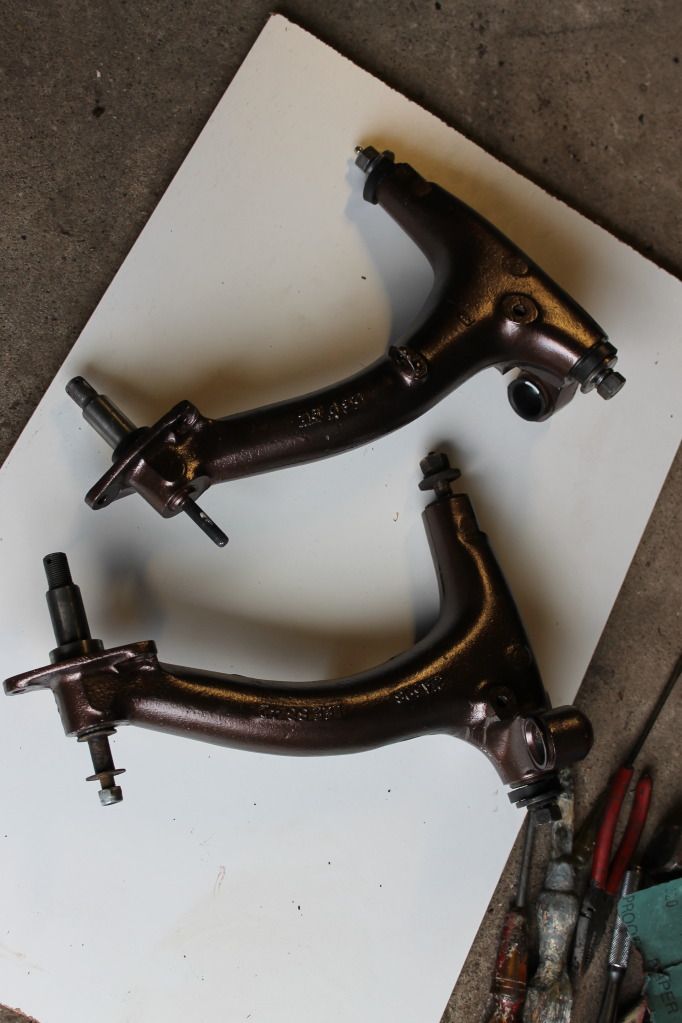
Next up was the front end. The work included new negative camber bottom arms, new heavy duty tie rods, all new ball joints, polybushes, new hi-los, new bump-stops, new discs and green stuff pads, new CV joints, and a rebuild of the swivel hubs and bearings.
Getting the CV joints in was a pain as the Haynes manual suggested pinching a greasy, awkwardly placed circlip with two screwdrivers while pushing the driveshaft on (need three hands??), so after hours of trying we opted for the ‘line up the teeth and hit it’ approach which worked first time! Then it was a case of bolting on the swivel hub, replacing the bottom arms and tie rods and attaching these and the top arm to the hub.
New brakes:


Shiny CV joints:

After this I decided to fit spacers as I was unhappy with the stance, so I opted for 3/8” on the front and 3/8” on the back and now the edge of the tyre tread sits flush with the lip of the arch – beautiful

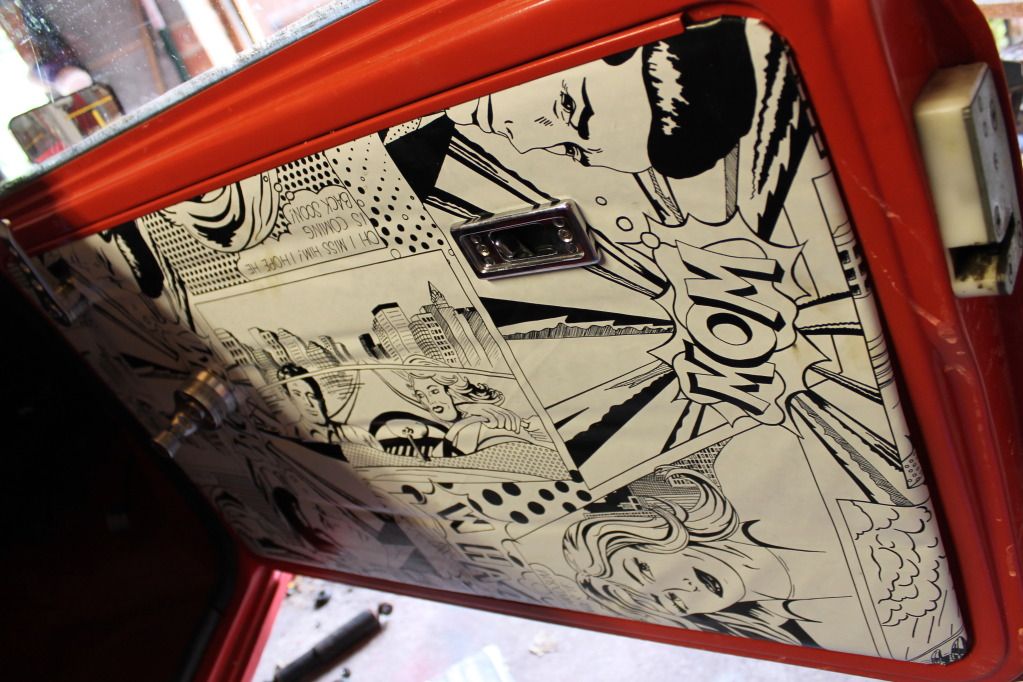
Then I went for a slightly alternative option for the door cards and wrapped them in a table cloth I found in a French supermarket, just sprayed with adhesive and job’s a good’n!
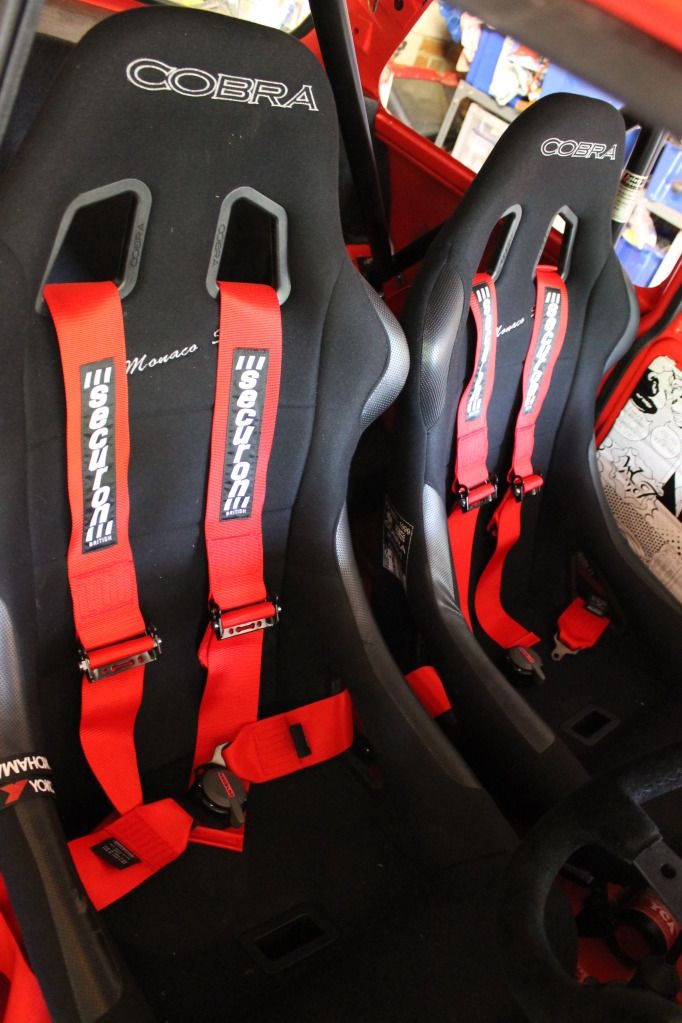
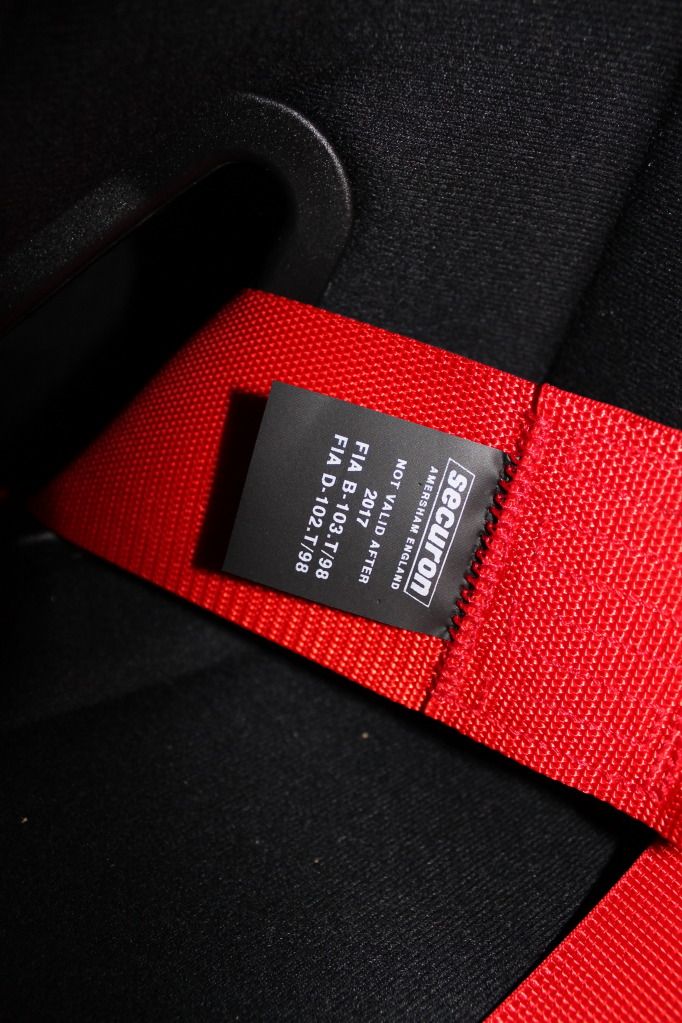
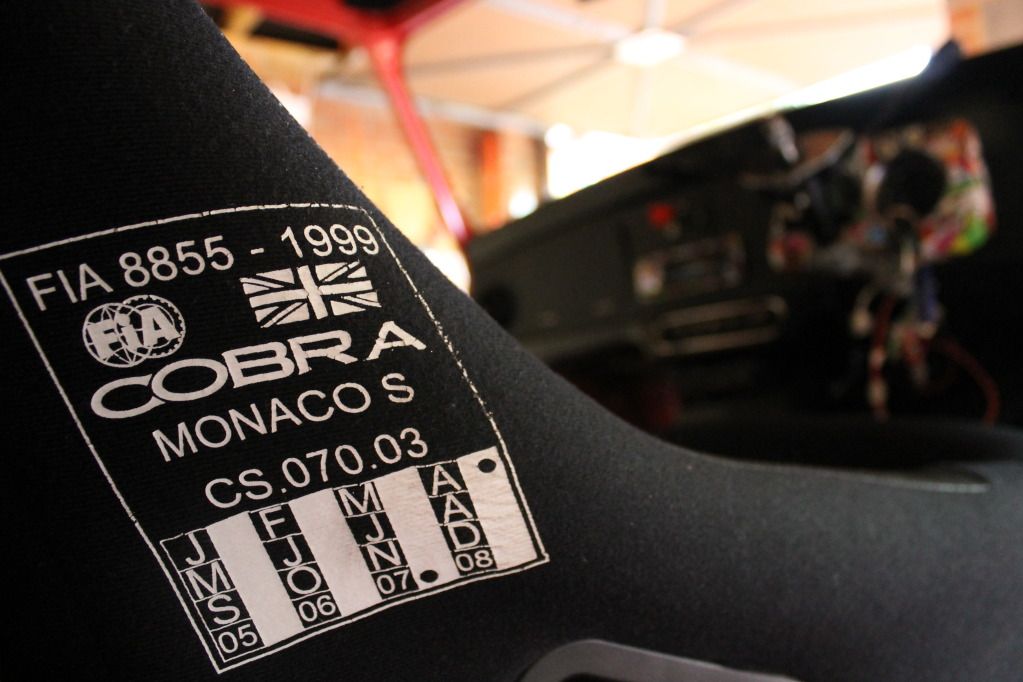
Staying with the interior, I also fitted some 3” FIA approved 4-point harnesses which look like this:
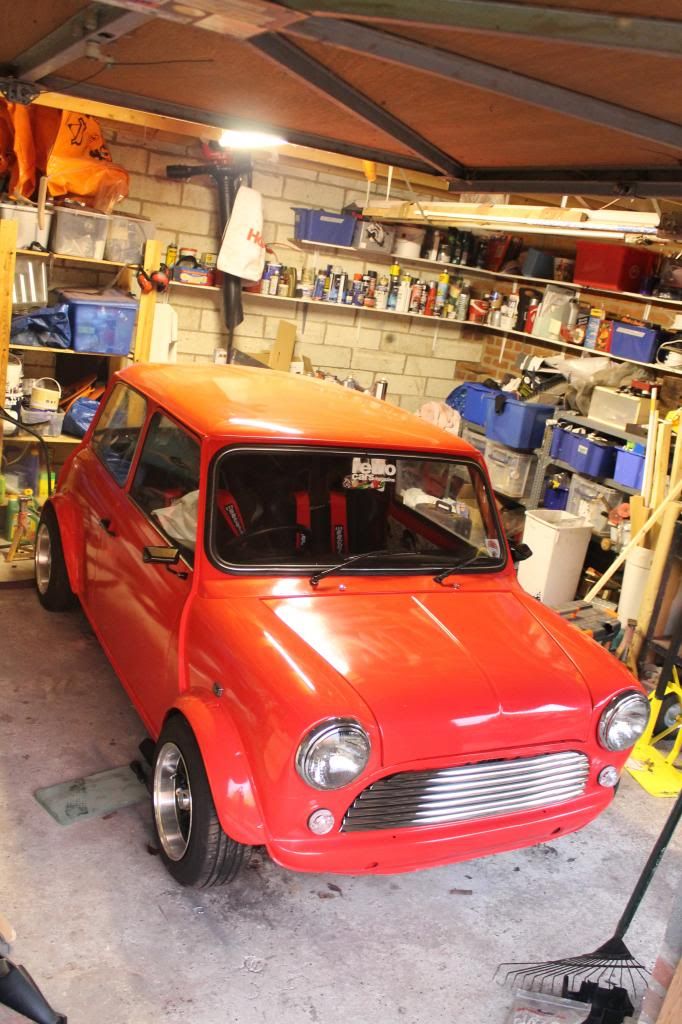
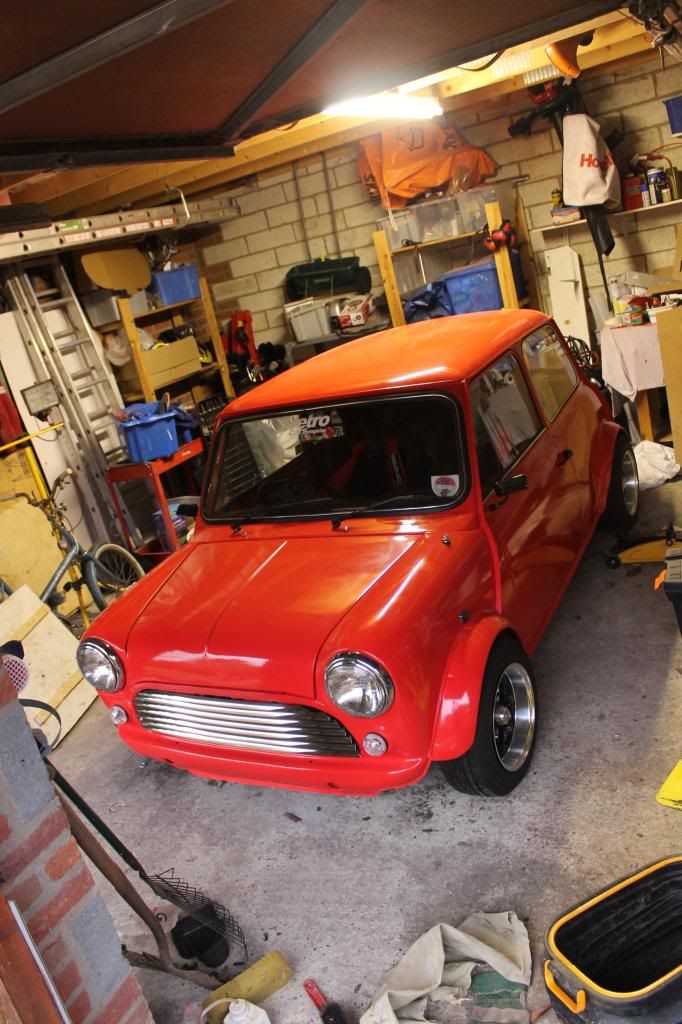
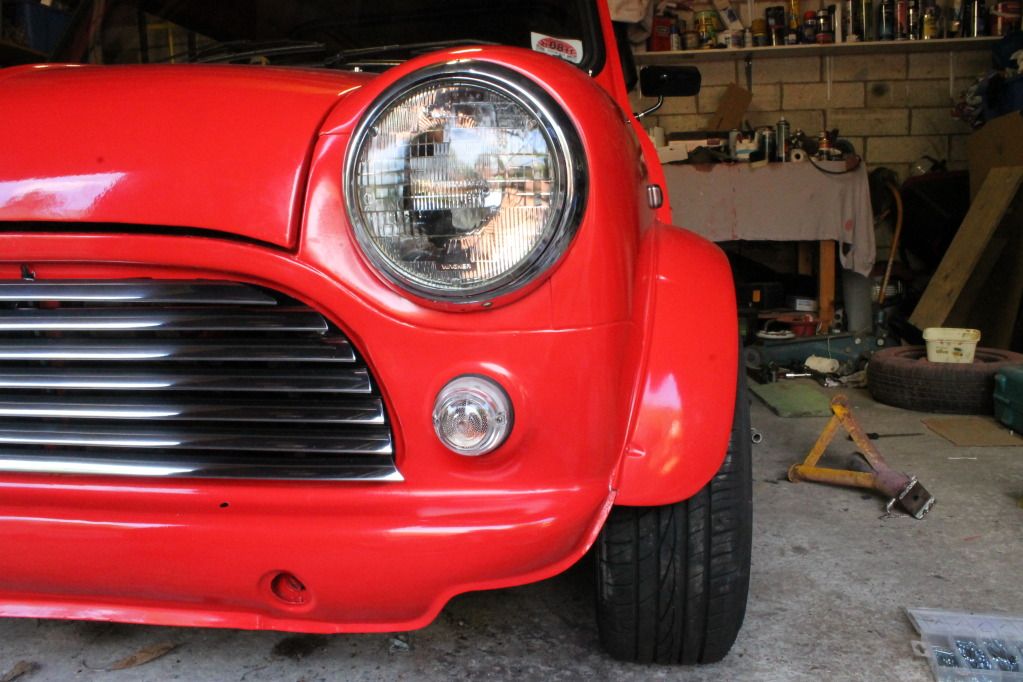
Then it was onto the satisfying jobs that really round it off like the lights, mk1 grille and wheels, and now it looks like this……!!
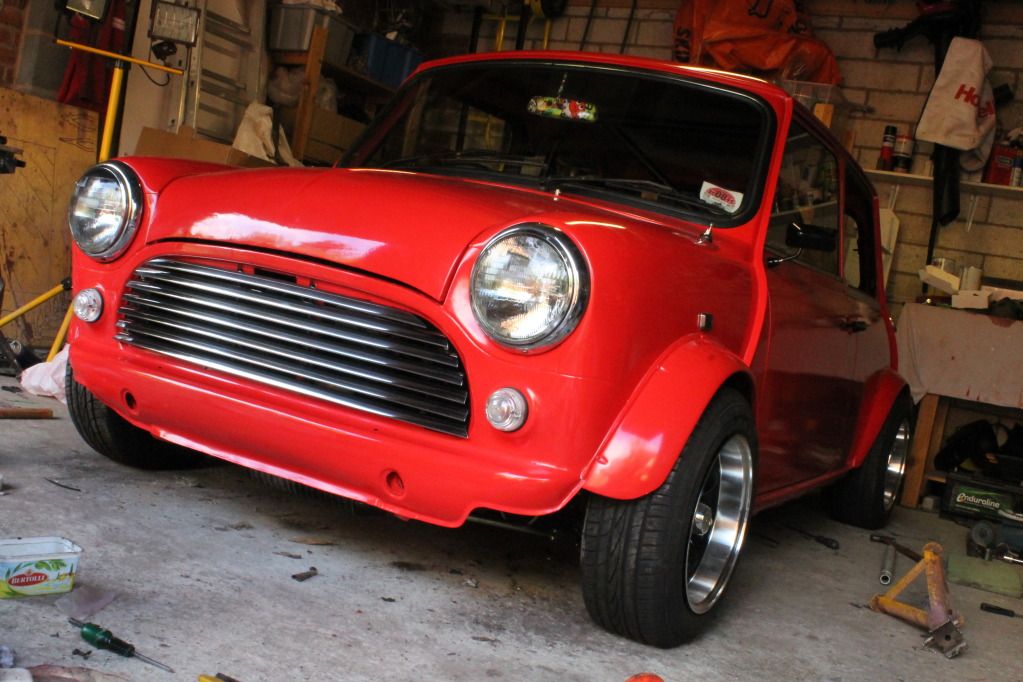
There’s barely anything left to do, just gremlins making both indicators work individually, but when the hazards are on the right-hand ones decide to give up. Also the heat shield needs to be fitted between the exhaust and the underside, something I found out when I leant on the metal behind the handbrake after a few minutes of running… wow that pipe gets hot! Other than that it’s pretty much done, so dad’s going to sort them out and take it for a test soon, the get it on the road where she belongs!
I’ve enjoyed every second of the build and learnt so much, and it’s by no means over yet. Phase II will be coming soon, where the power plant will be the focus of the project (an ‘H’ bagde or two may be needed…

)
Stick with the thread though as this is where I’ll post pictures of photoshoots etc, and where I’ll update any small modifications/tricks in the meantime
Thanks for reading!
Tom







 out!!
out!! 



 )
)

