|
|
|
Feb 22, 2012 21:34:44 GMT
|
Okay, here goes, little bit of a background info before we get into the work I'm doing now, so here goes:- Just over a year ago I purchased a rather rough looking mk2 golf 8v gti, didn't set me back too much and it had mot so I was happy to use it until the dreaded mot this time round, here it is the day I had it.... 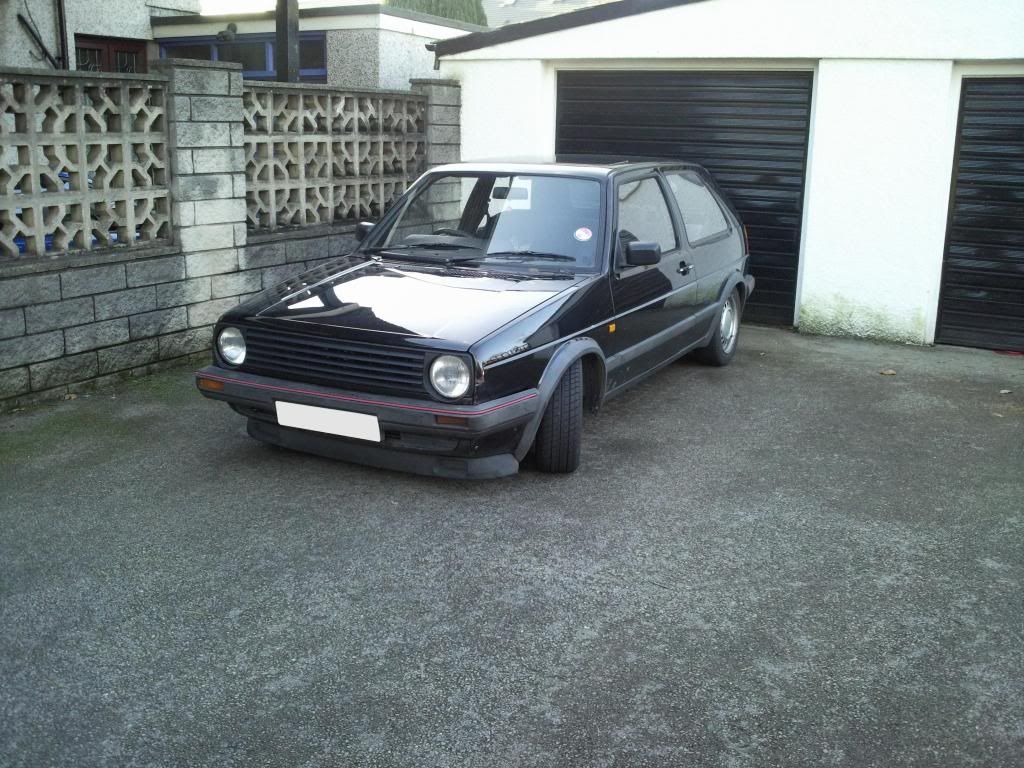 I wanted to get it looking better with minimal work to start with so I put a set of d90's on it, crosshair headlights, and made my own front bumper with deleted recess, finished off with some pressed plates, which made it look like this... 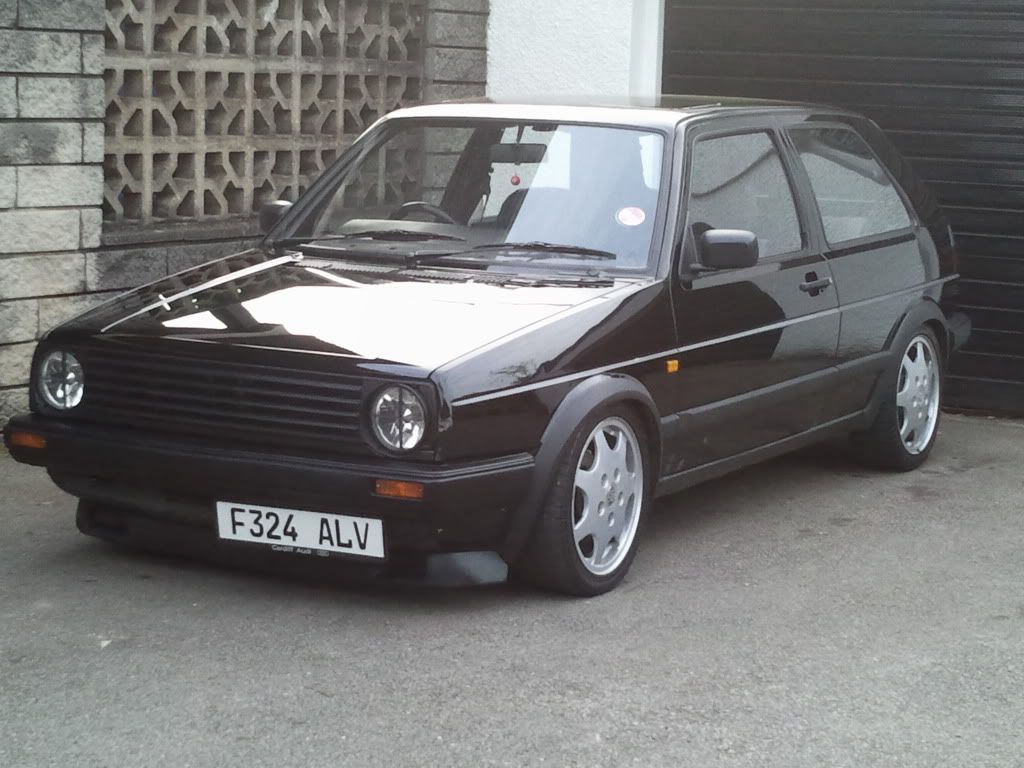 |
| |
|
|
|
|
|
|
|
Feb 22, 2012 21:50:29 GMT
|
I knew deep down i was polishing a turd so i started collecting a few panels, front panels mainly, i got hold of a 2nd hand wing and front panel genuine vw ones but both in need of some love. Anyway without boring you all too much, did a bit of welding, filling and priming and heres what i have now.... before... 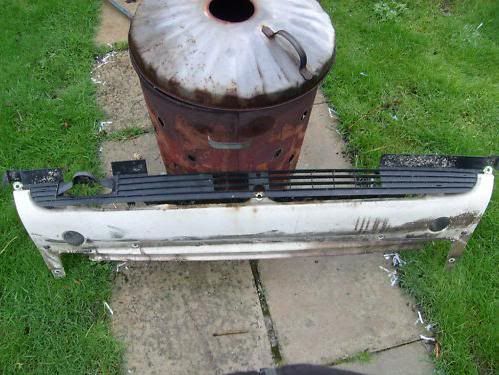 little patch cut out...  and finished...  And primed wing... (didnt take picture of whats underneath but its plates and filler!!!!) 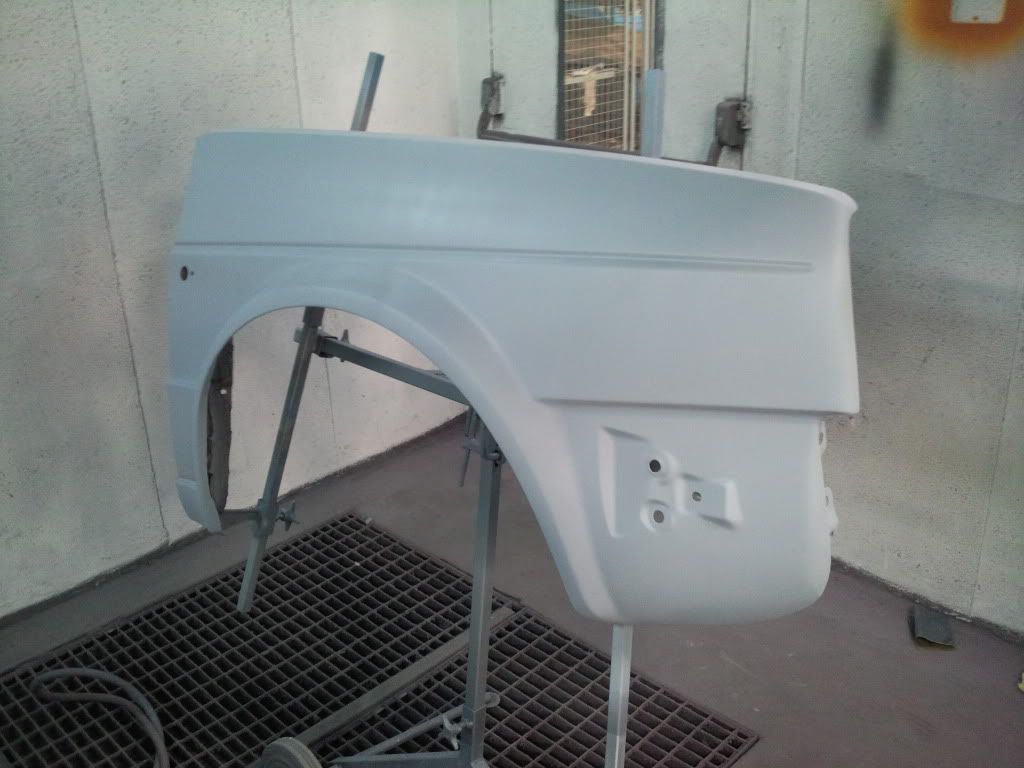 I also sourced another wing howver its not done yet so we may see this getting done down the line! |
| |
|
|
|
|
|
Feb 22, 2012 22:01:12 GMT
|
|
|
| |
|
|
|
|
|
Feb 22, 2012 22:11:44 GMT
|
Ok so we are nearly up to date, the golf was due for its latest mot and lets just say it failed miserably, it was mechanically sound bar an exhaust leak, but the body was shot, (mainly floorpan) and this is where we are today... My list of jobs for mot consist of:- left rear inner arch (done) weld up o/s and n/s front jacking points, (done) replace battery tray, (done) replace panel below airbox (same as battery tray but other side (done) replace axle mount panel, plate rear chassis leg, plate bulkhead (done), plate bootfloor (done), and it goes on.... and on.... Anyhow I have done a few of these already, so here are a few pics of what I have done... rear inner wheelarch.... 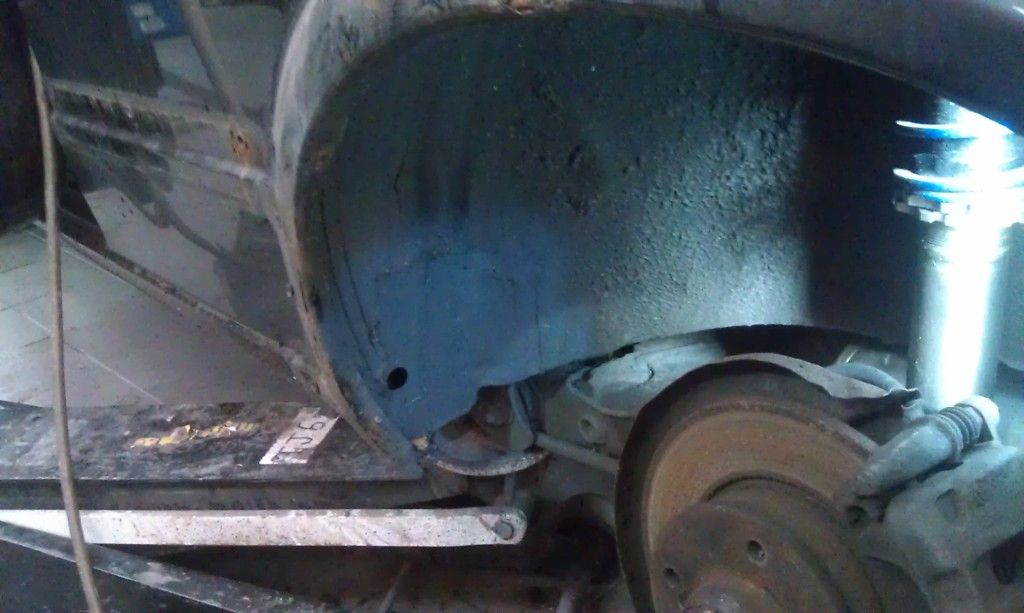 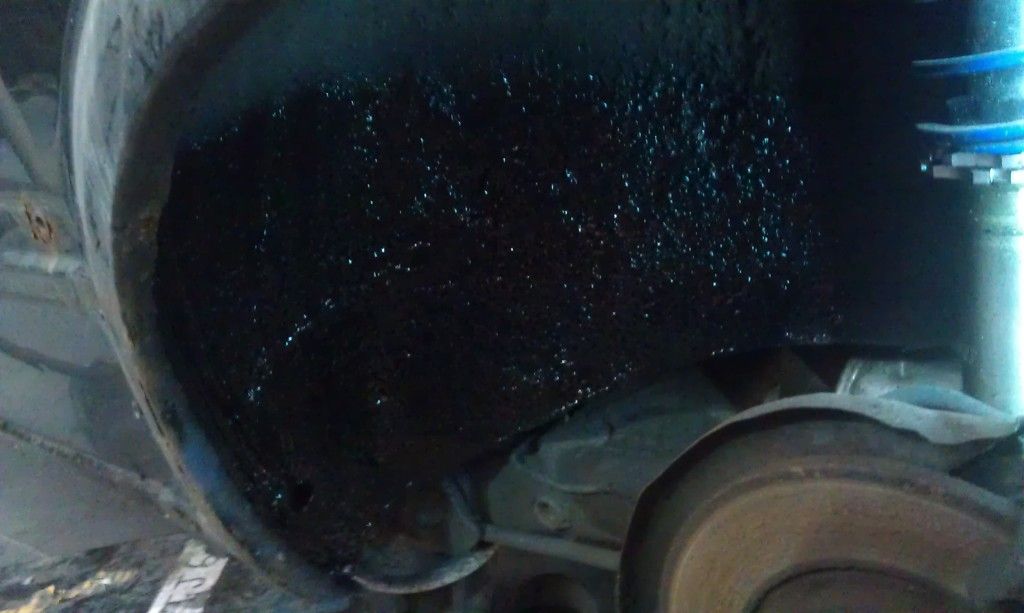 |
| |
|
|
|
|
|
Feb 22, 2012 22:26:55 GMT
|
Next thing to attack was the jacking points... both sides were looking alot like this:- 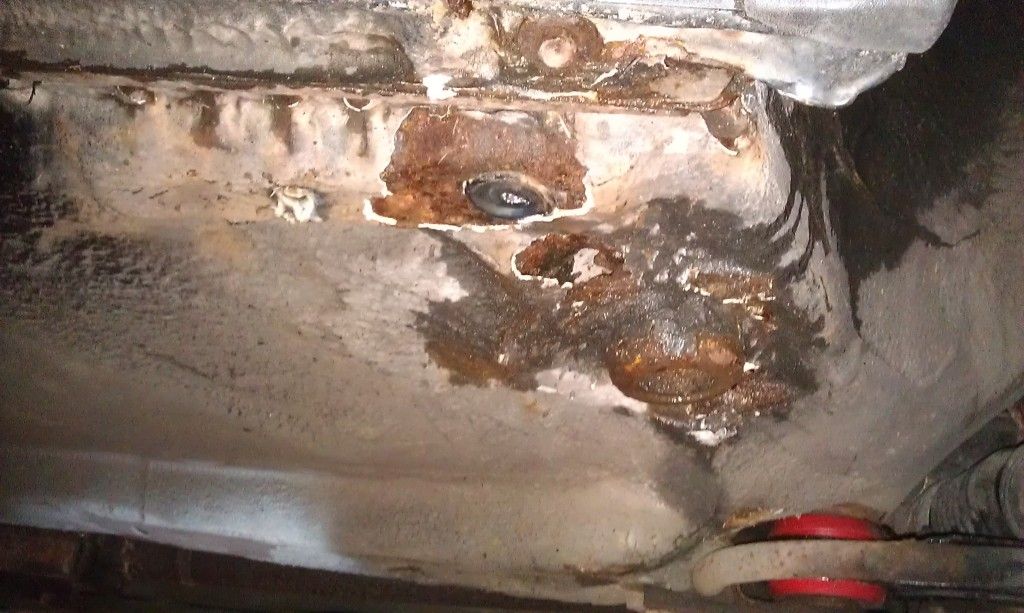 So i got busy with the air saw:- 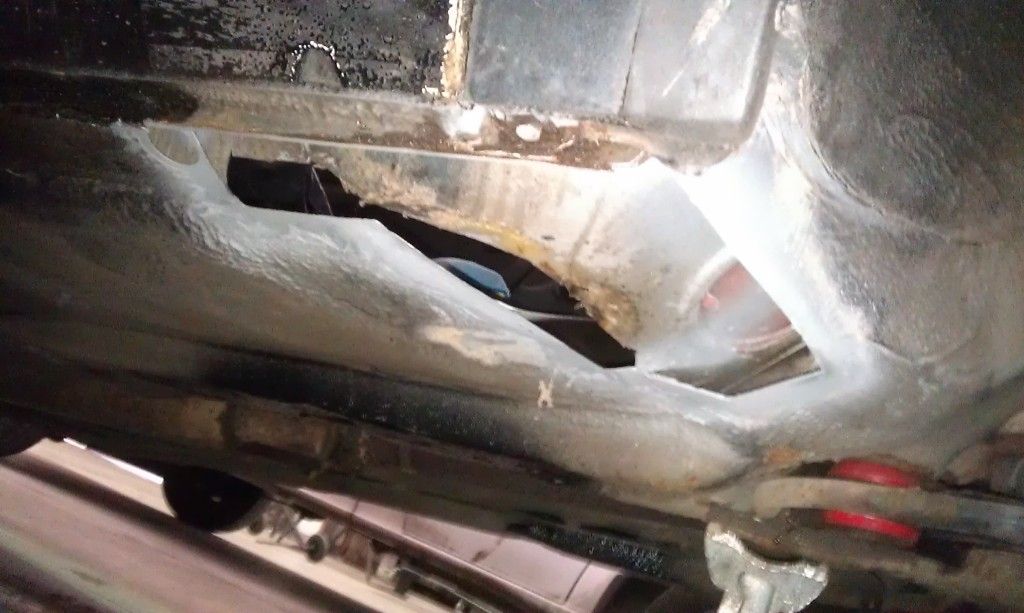 Buzzed round it with the mig... 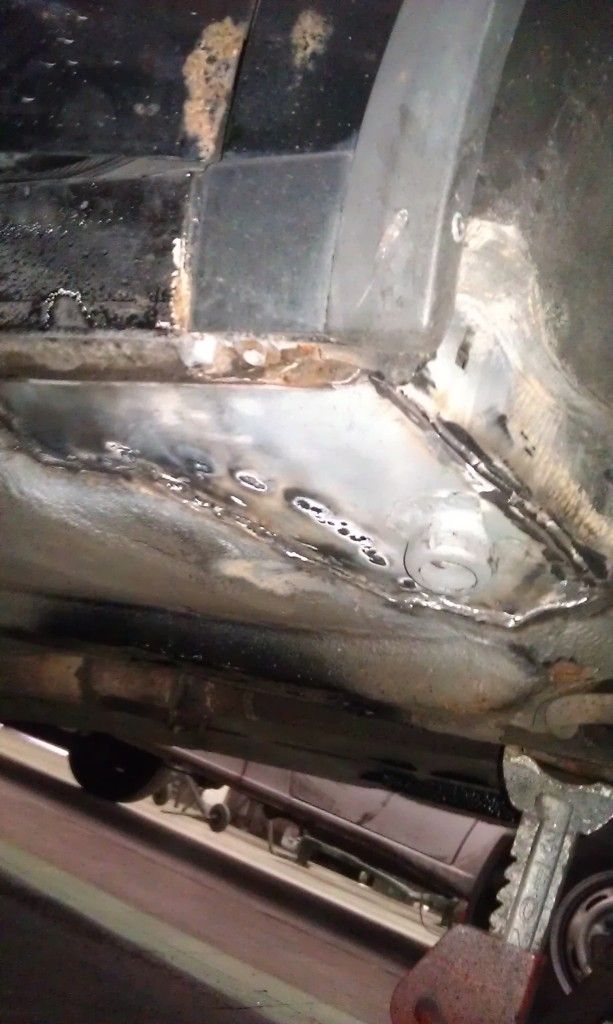 And all done, both sides finished!! 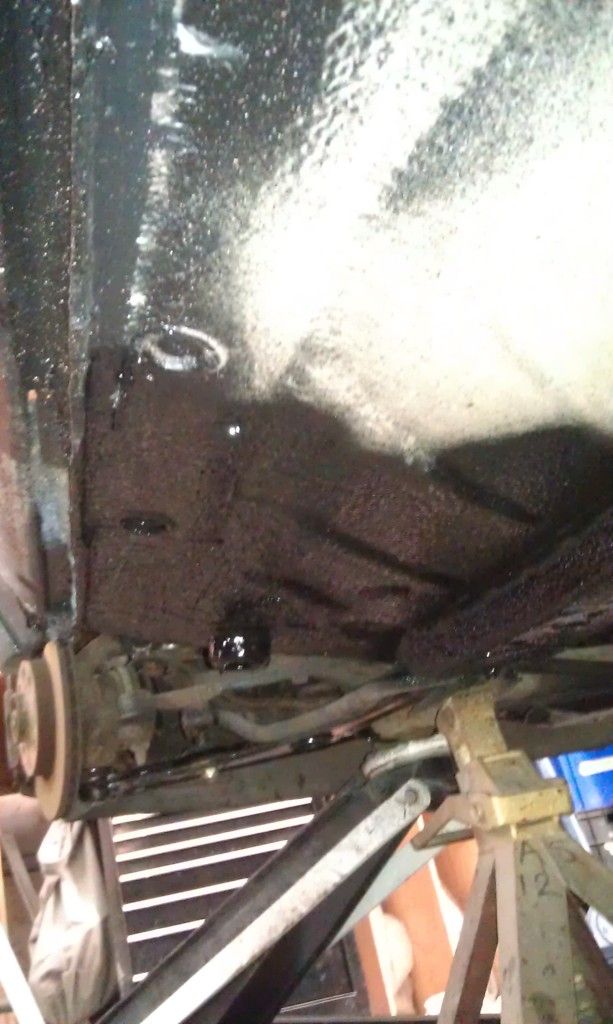 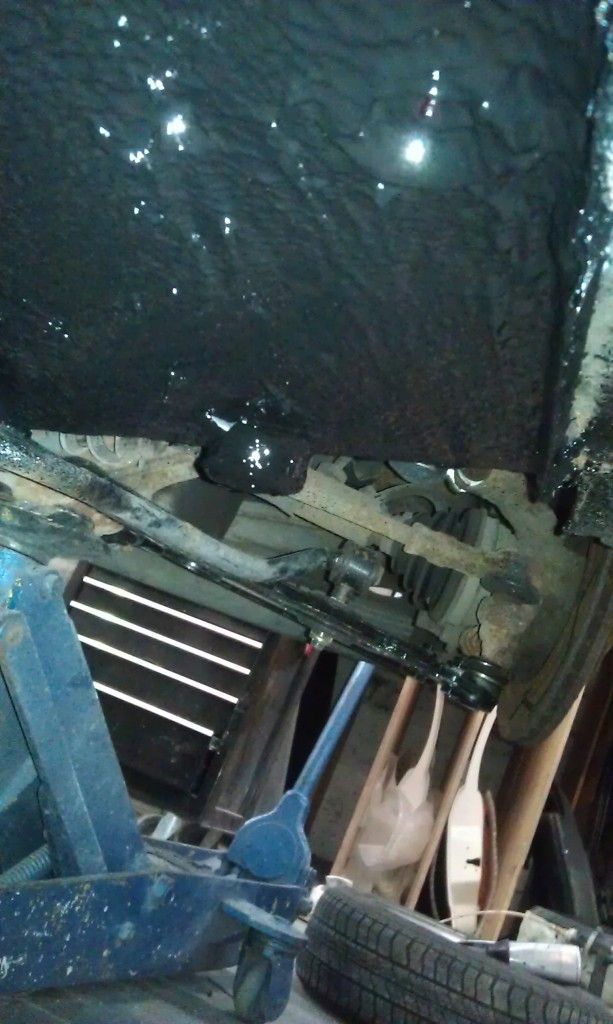 |
| |
|
|
|
|
|
Feb 22, 2012 22:42:29 GMT
|
Next thing i did was was replaced the battery tray, as mine was pretty badly battered and bruised: 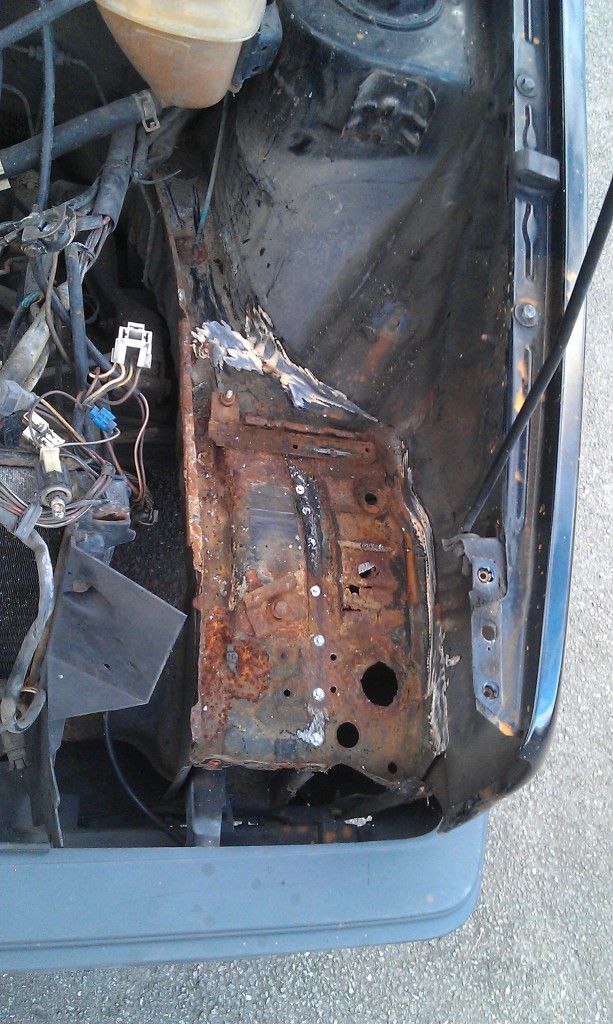 I got attacking it with the drill and belt sander, and fortunately managed to spot weld nearly all of the replacement panel in, with a few mig plugs on the back edge, making for a relatively neat job:- 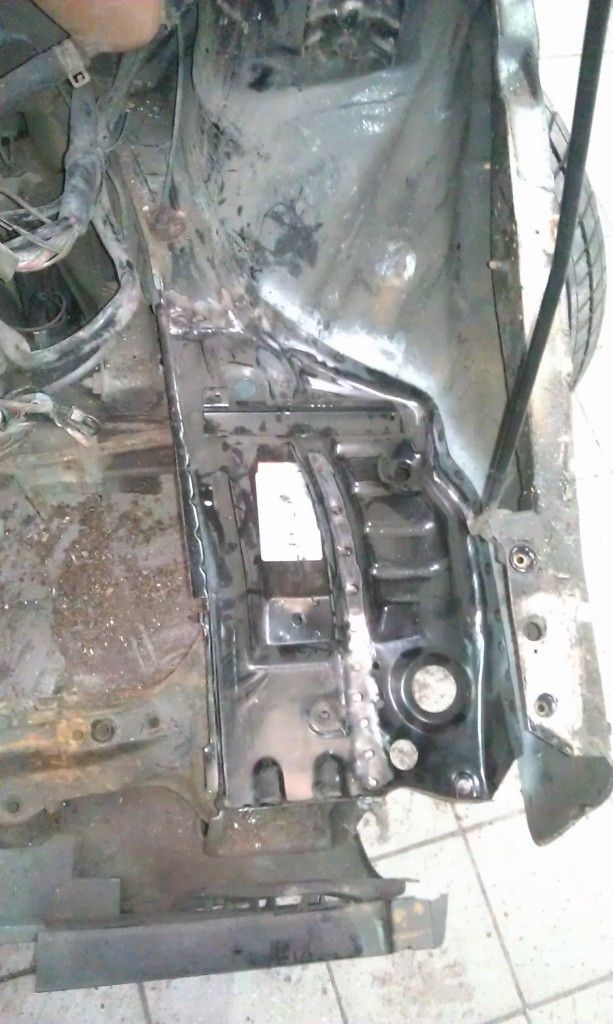 A bit of primer and tidying up and nearly ready for some paint 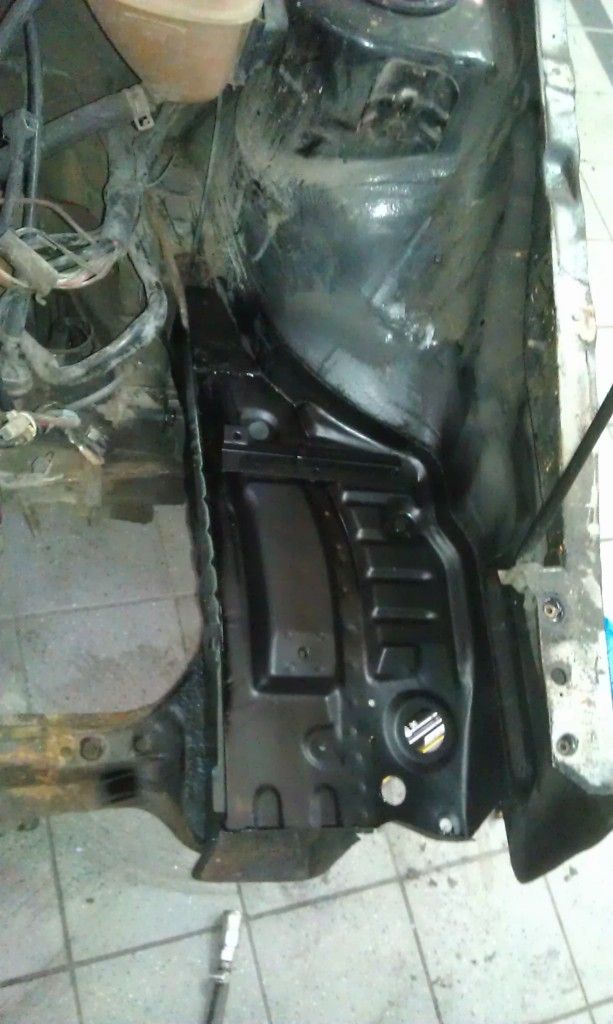 The rest of flitch is now prepped properly and a small plate behind battery tray done but no picture so you'll have to take my word for it, will get a picture when in paint! Anyway i'm finally up to date now this is as far as i have got!!! Hopefully should be a better read from here on as i raced through what i have done so far, hence mostly in list form!Should be an update on the weekend i hope cheers all for reading. |
| |
|
|
|
|
|
Feb 24, 2012 18:35:20 GMT
|
Got the battery tray and inner wing in paint today, done with a rattle can. If i ever take the engine out then i will paint the whole bay with a gun, but this will be fine for the time being 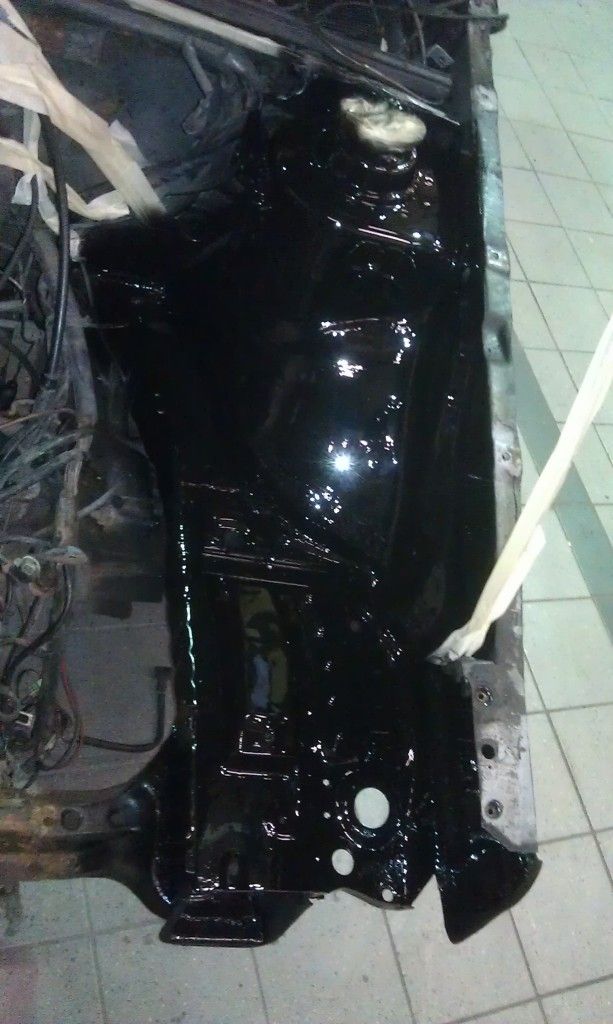 Better get on with the other side tomorrow ...  |
| |
|
|
rodney
Posted a lot
 https://www.facebook.com/RD-vehicle-transport-and-recovery-services-525622614268010/
Posts: 1,677
|
|
Feb 24, 2012 22:59:26 GMT
|
|
looking good, you work in a bodyshop? always makes it easier,.
|
| |
facebook: rodney dean / rd transport  |
|
|
|
|
|
|
|
Thanks mate though there's a long way to go, can't wait to get on with the outside of the shell! I do work in a bodyshop which is much easier as there are a wider range of air tools available and you are never waiting for your compressor to fill with air! Lol. Anyway I'm off to work in a minute to have another crack at the golf do ill post whatever I get up to later...
|
| |
|
|
|
|
|
Feb 25, 2012 18:23:54 GMT
|
Ok another update of today's work, didn't get as much done as i'd like to due to broken spot welder i thought i'd wait for it's repair! Anyhow before i started the panel work on the drivers side, i decided i was going to put the passenger side back together, but before i put anything back in i wanted to clean it. I gave the wiring and battery a bit of a wipe with some spirit wipe which got most of the gunk off them, next was the washer bottle and header tank, which look like this.... 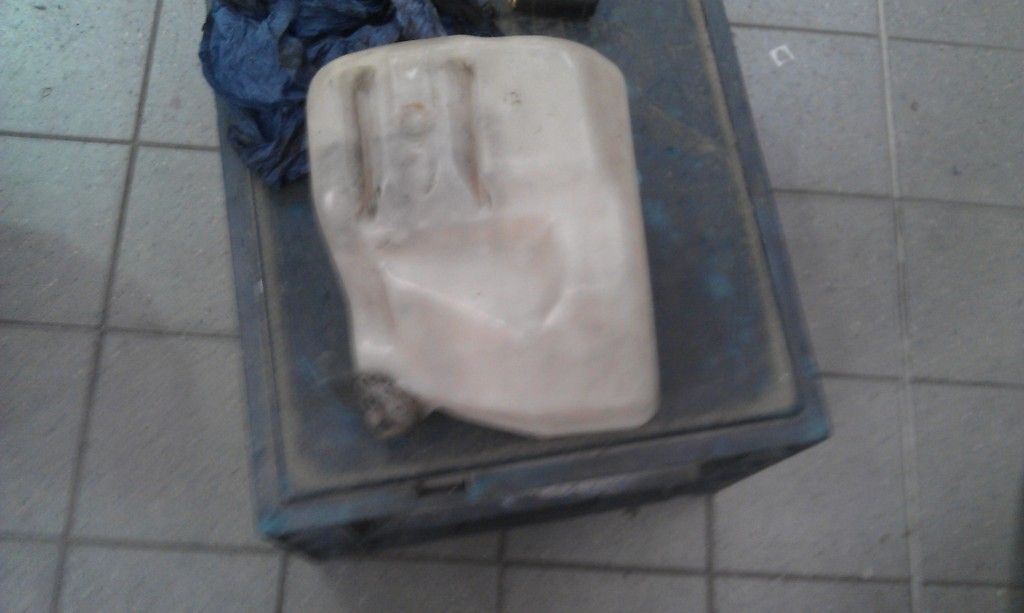 and this.... 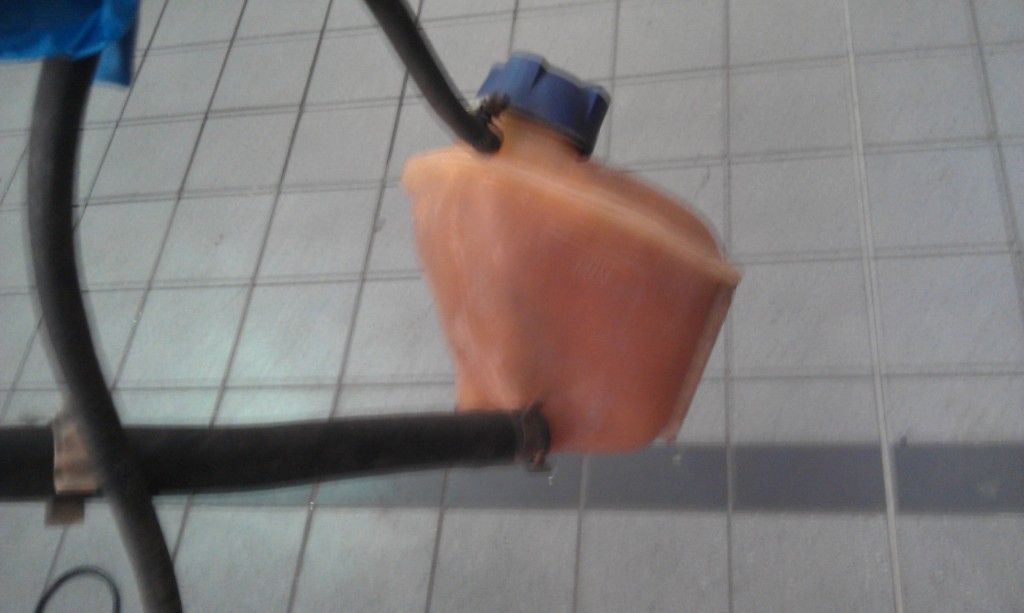 I managed to clean the washer bottle but i think i might be replacing the header tank as they are cheap, unless any of you guys have any good ideas on how to get rusty water out of the inside of the tank?! After reassembly it all looked like this (minus the header)... 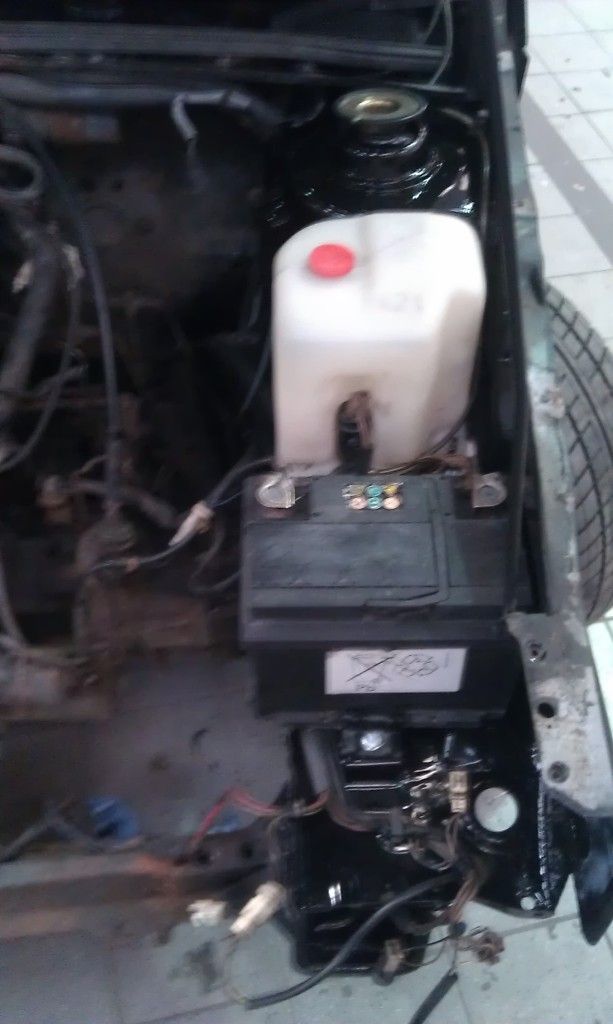 With this done for now, I moved onto the other side where i needed to change the other panel as shown below (excuse the photo quality!)... 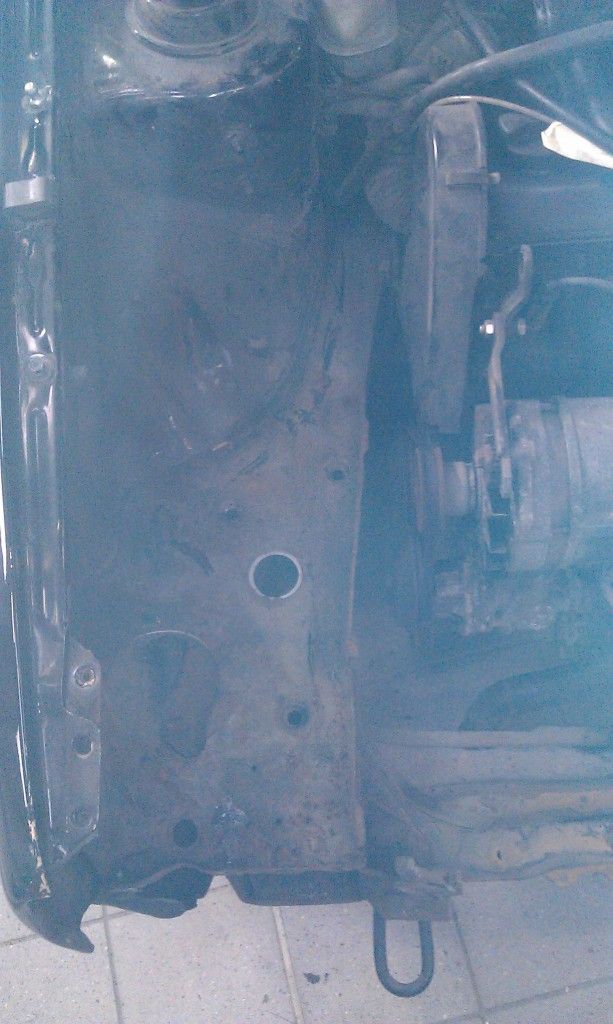 After about an hour of cutting, drilling, belt sanding and more i finally got the old panel out and prepped the new one for fitting, these little panels take a while to get out! But once that part is done they go back in easy... 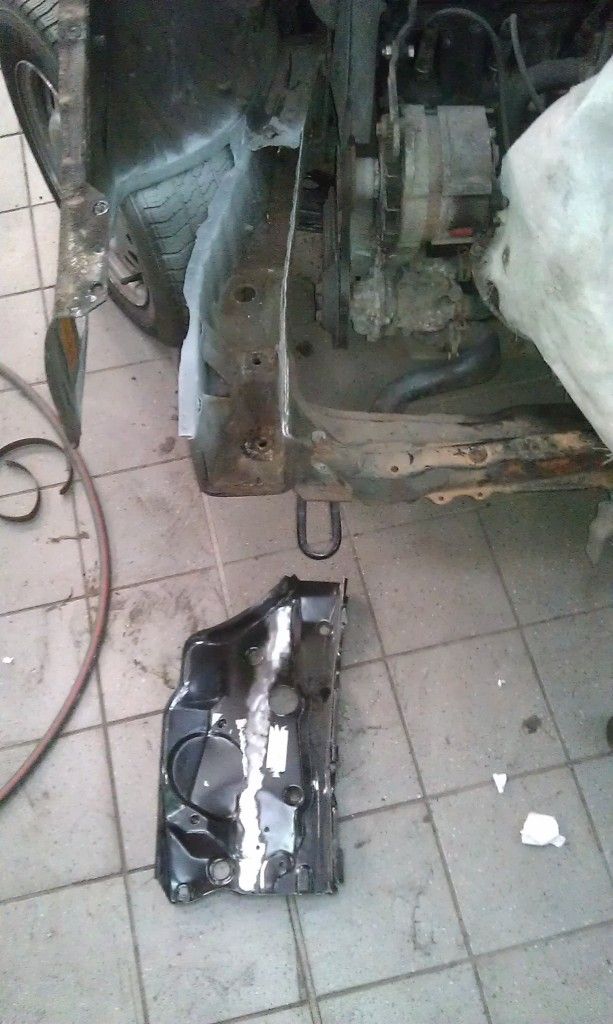 I haven't got any further than this today due to spot welder out of action, which is annoying because i wanted it in and done today! With this job ready to go, i decided to have a look at the front panel i bought off ebay this week, it had been powdercoated and wasnt an original finish, though i thought it would be a good buy as it would have been blasted first... 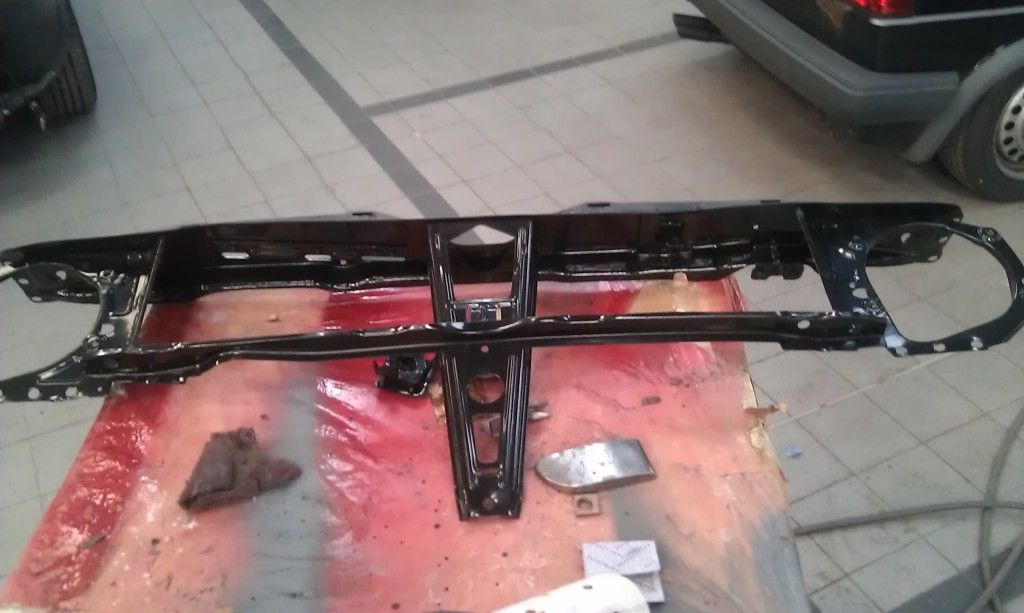 Had a bit of a dent in it so thought id sort that... 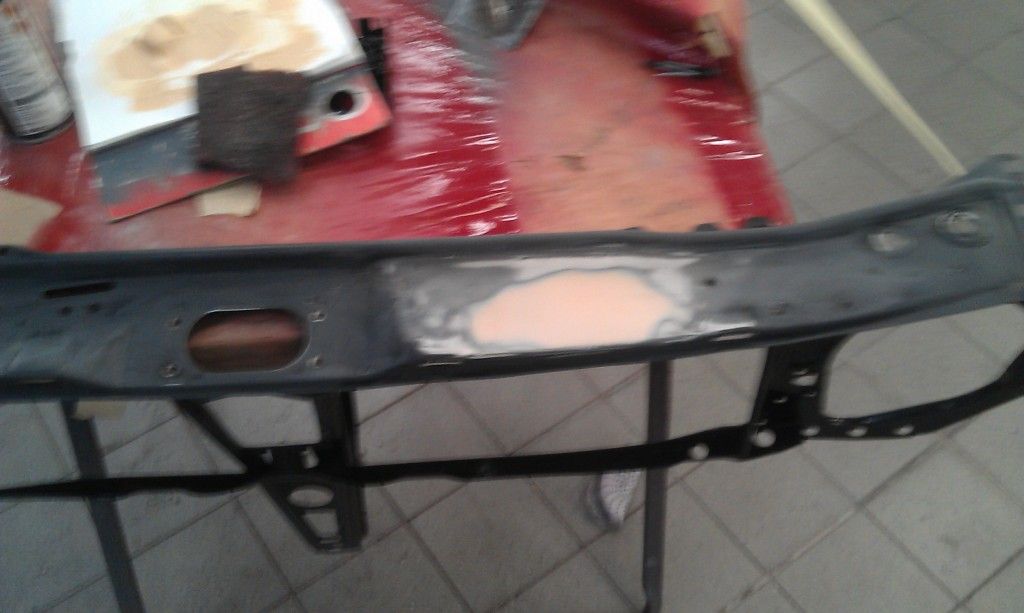 bit of primer... 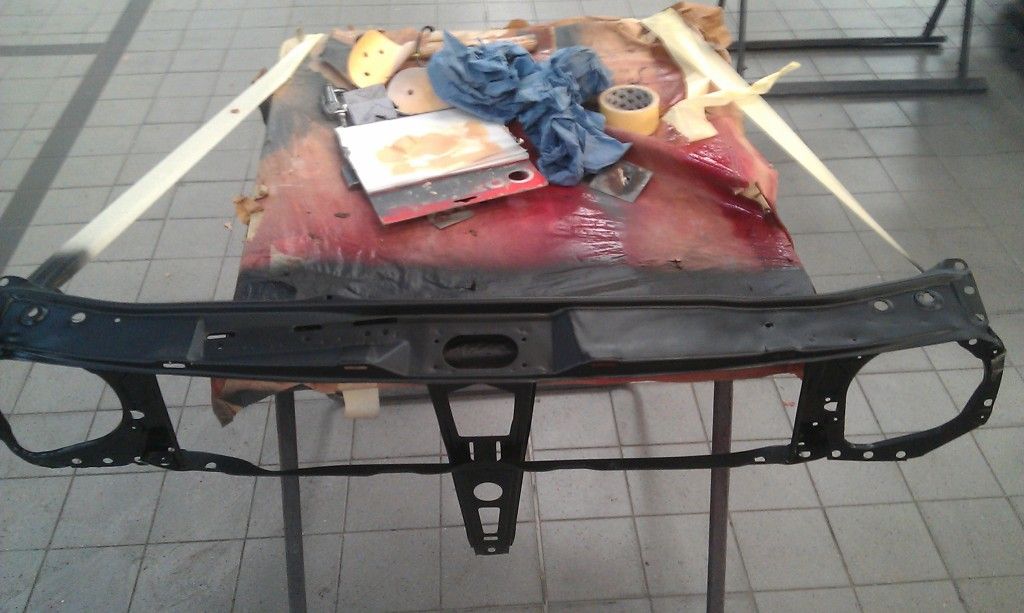 |
| |
|
|
|
|
|
|
|
Feb 27, 2012 20:04:04 GMT
|
Hi all just a quick update, managed to do a few bits and pieces today, spot welder has been repaired so got the chassis leg section in, but as the mig has now gone bang, i cant do the 2 plugs i need to, should be fixed soon though. Here is what i managed:- 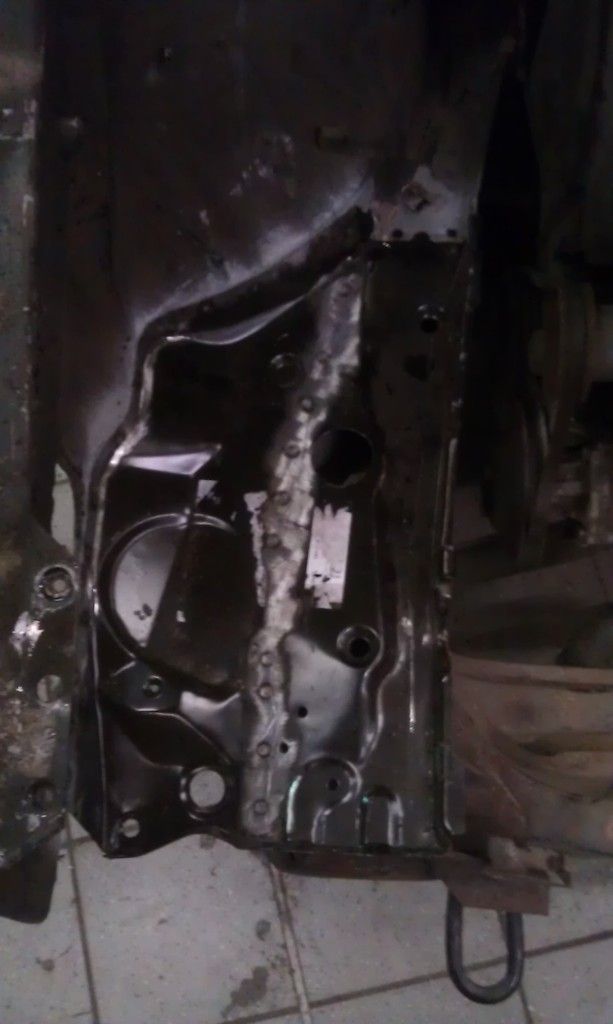 I also managed to clean up headlamp panels in my breaks and get them primed and satin blacked. no 'before' picture sorry! 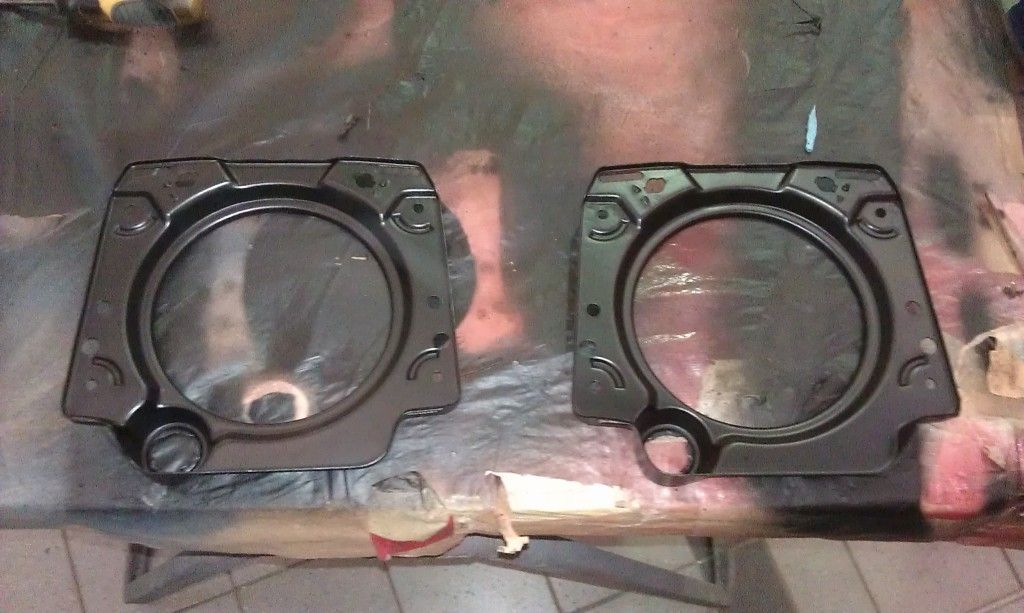 also split the headlights from their lenses ready for cleaning up, maybe i can do this tomorrow. 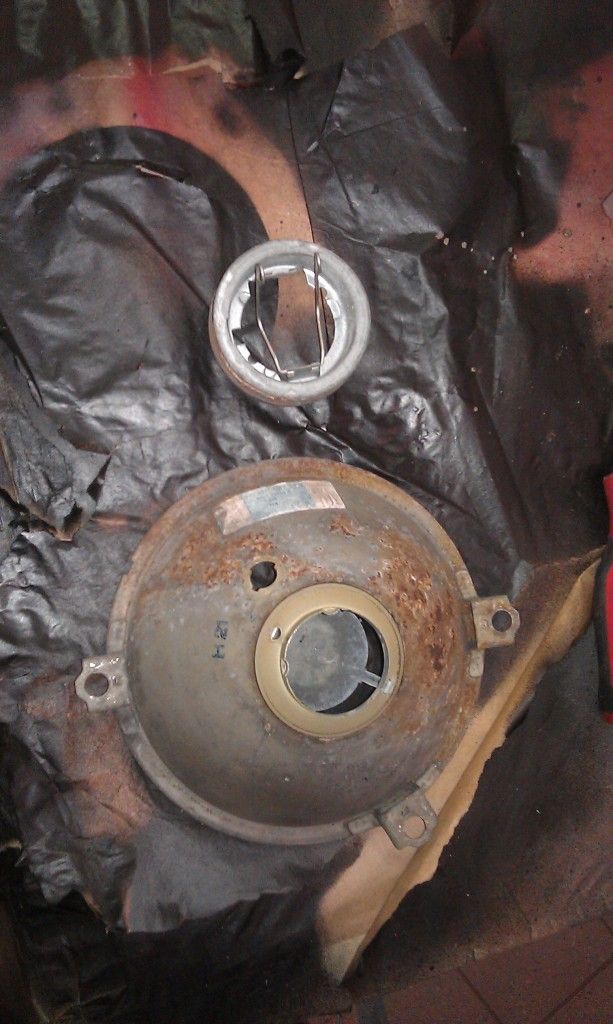 Anyway, thats it for today!! Thanks for reading! |
| |
|
|
is,sit
Part of things
Posts: 594
|
|
Feb 27, 2012 20:43:56 GMT
|
Very Nice  Keep up the hard work |
| |
1967 SO60 Westfalia 1983 Mk1 Golf 1.9 TSR 1985 Mk2 Golf Van 1993 Polo G40 www.Castleretroshow.comHot-Dog No Butter Please Boy's |
|
|
|
|
Feb 28, 2012 18:15:40 GMT
|
Just a quick one... started stripping the old front panel and cleaning stuff on the way, done the air intake behind light, the horn and finished the headlight... intake before (cleaned and quick scotch)... 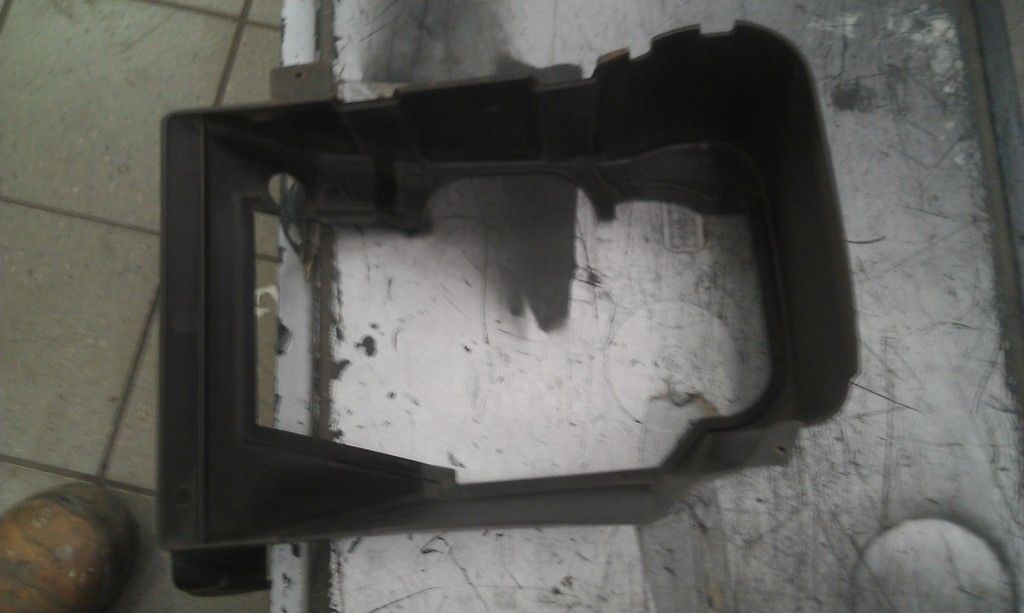 intake after (bit of satin black)... 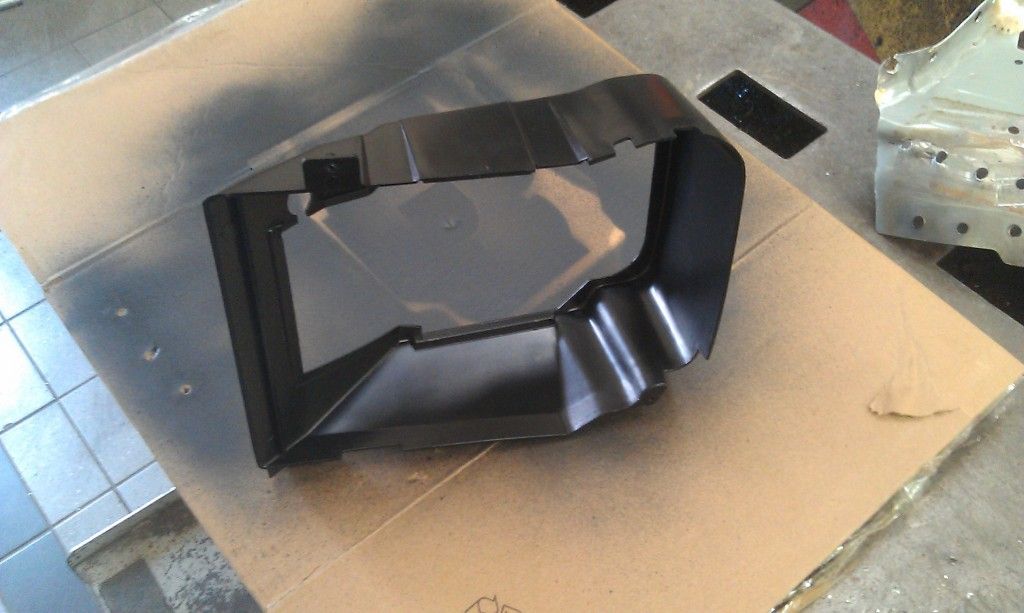 headlight and horn... 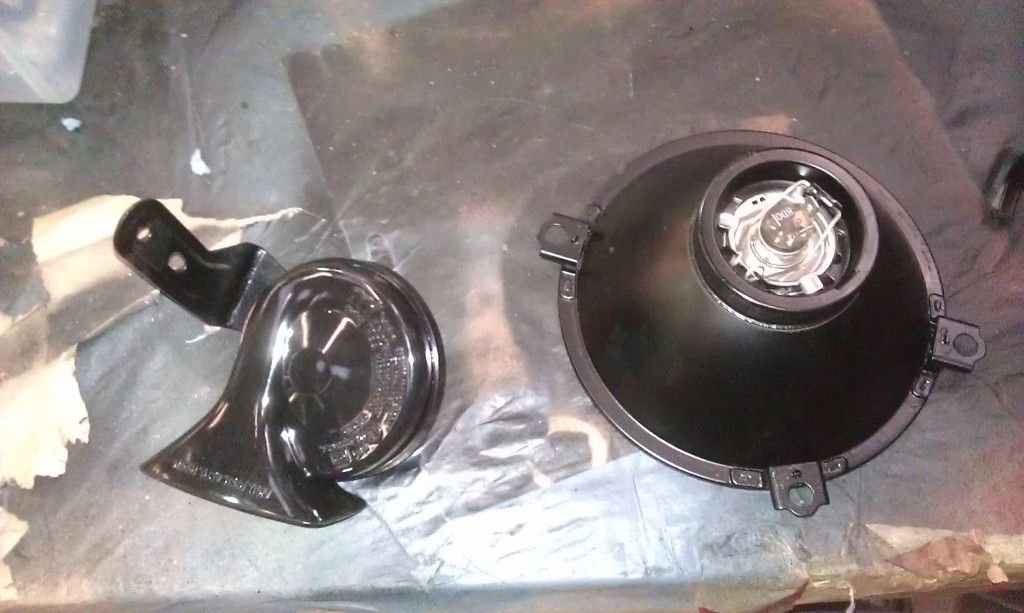 more to come keep you posted. |
| |
|
|
|
|
|
Feb 29, 2012 20:25:28 GMT
|
One light fully assembled, lense cleaned and re bonded to back of lamp, assembled to cleaned and painted lamp panel. I'm pretty happy with that, just one more to go. 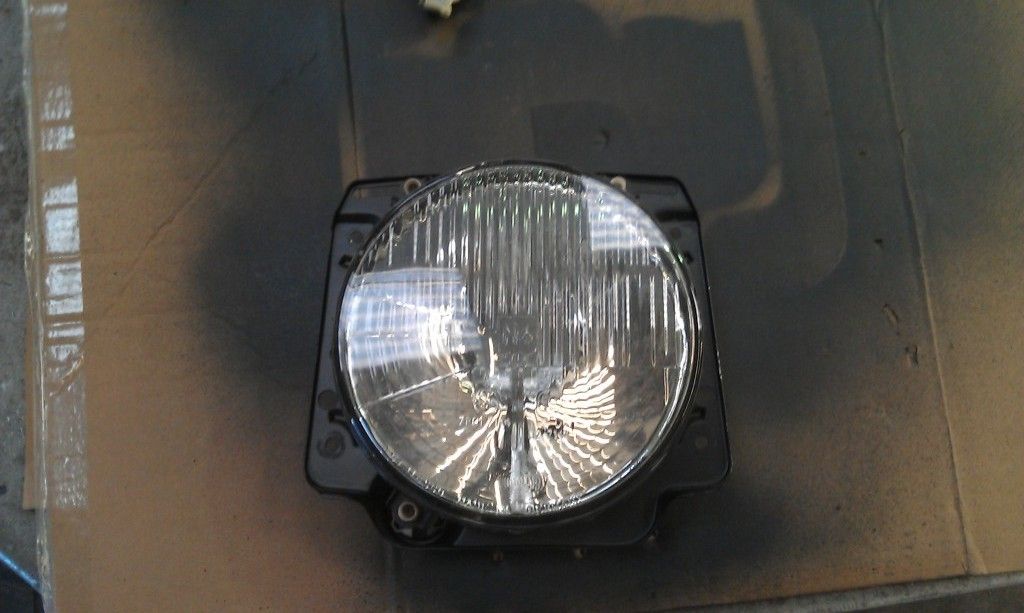 |
| |
|
|
|
|
|
Feb 29, 2012 21:00:26 GMT
|
Think uve posted the wrong pics ;D,anyway the front jacking points you welded in,were they new?!,I need one for my drivers side and nobody seems to make em  |
| |
Well you will mess with these cars....
Mk4 golf gttdi highline. Mk2 golf 1.8T
|
|
|
|
|
Feb 29, 2012 21:39:33 GMT
|
Think uve posted the wrong pics ;D,anyway the front jacking points you welded in,were they new?!,I need one for my drivers side and nobody seems to make em No they are not new. If you cut the panel out that the jacking point is welded to, drill off the spot welds to separate the jacking point from the panel you just removed, you will probably find the jacking points will clean up nice with a belt sander or wire wheel. mine were bad both sides but jacking points themselves were solid. a tip would be to cut your new plate to size, work out where your jacking point would go on it and weld that on first before you weld your plate in as it is much easier to do. |
| |
|
|
|
|
|
Feb 29, 2012 22:06:10 GMT
|
|
To be fair mine aren't that bad,just the drivers one is a bit stoved in wich has caused a bit of rot around it,nice one for that tho,best get the wire wheel out at work then! ;D
|
| |
Well you will mess with these cars....
Mk4 golf gttdi highline. Mk2 golf 1.8T
|
|
|
|
|
|
|
Ok all a few bits i've been doing today, the mig welder has finally been repaired so after a week of plodding on doing bits and bobs i've finally got the inner wing ready for paint. 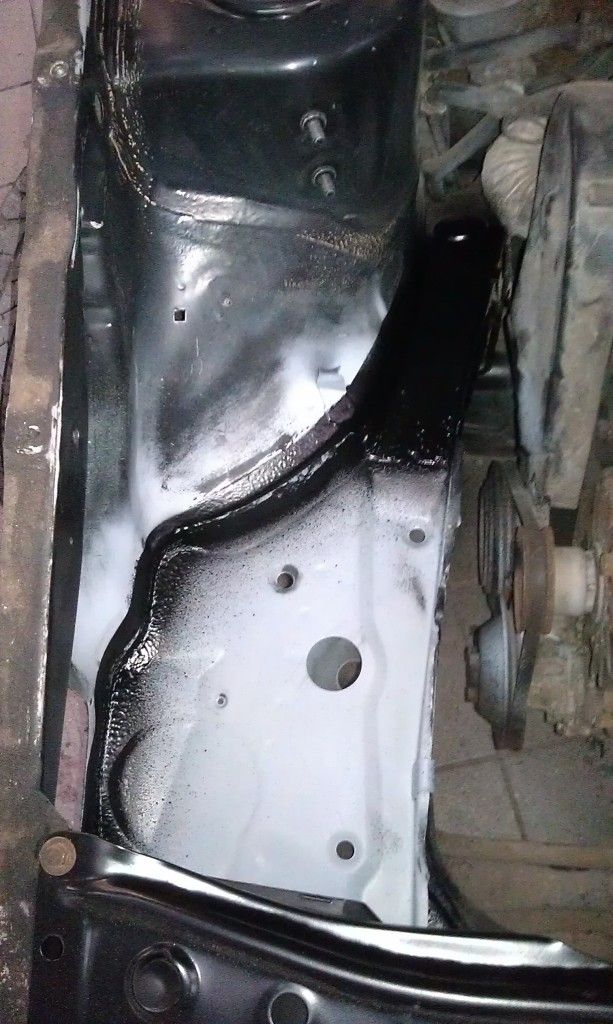 Also I finished refurbishing my 2nd headlight, today and got the lens bonded in, which was the last item I had to do to have a totally refurbished front panel! Here's how it looks... 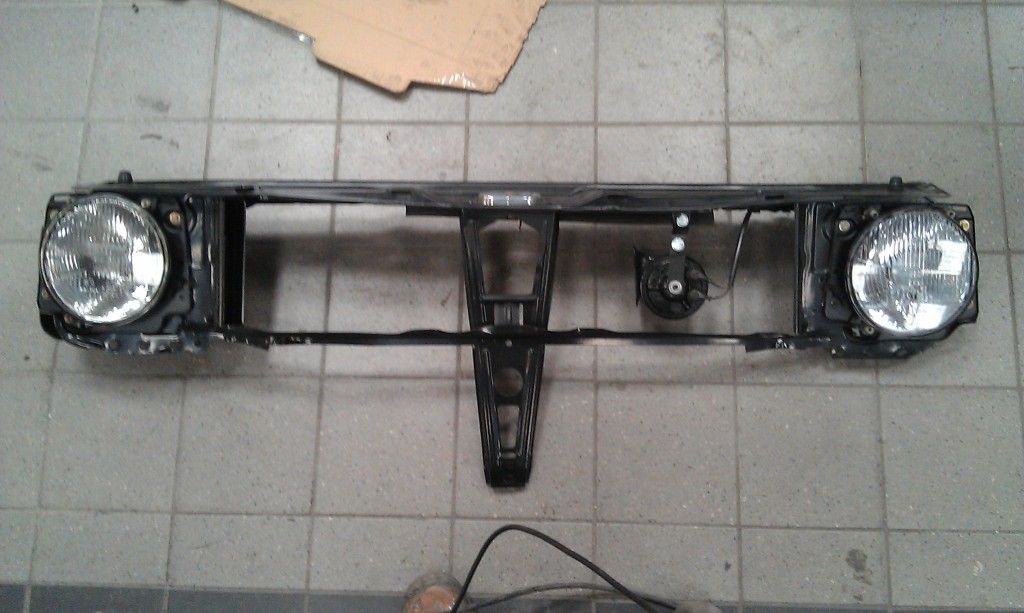 I couldnt resist trying it on the car either lol 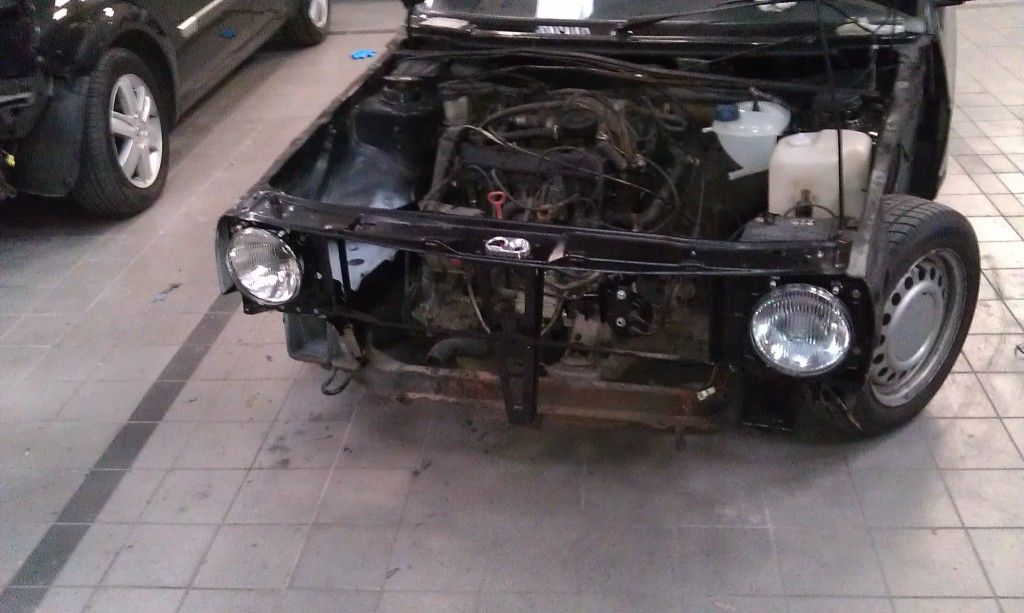 As you can see I have ditched the crosshairs I bought in the first place as ive had a change of heart, if anyone wants a set of crosshairs ill do them for 20 quid plus postage!!! 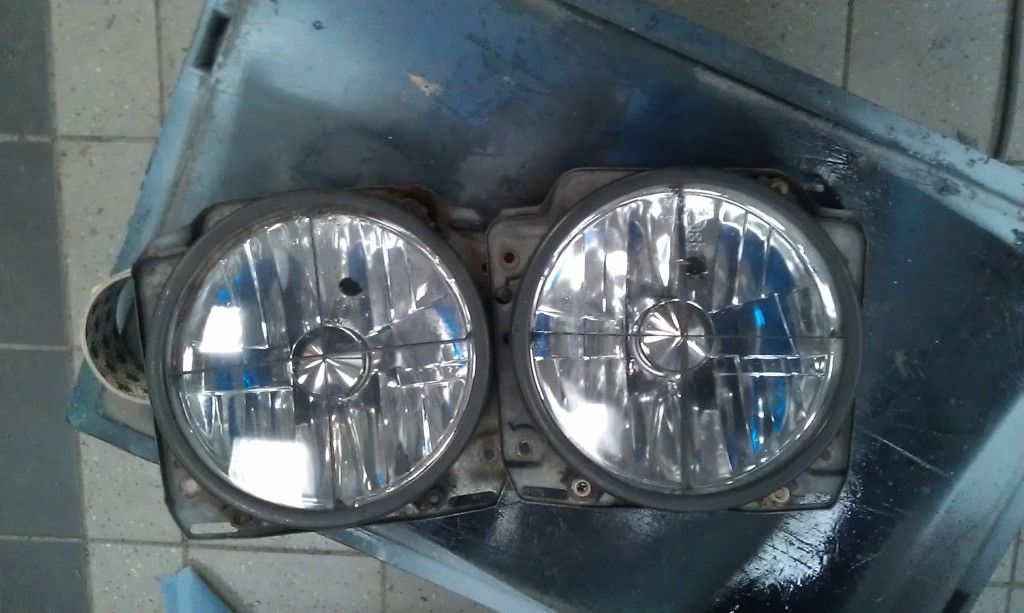 the car needs a new rad, and seeing as I am smartening things up as i'm going I bought a nice new fan on the bay. I thought about cleaning up the original fan shroud and fan but as the shrouds are so prone to rust I thought this would be better, as it is plastic, and alot slimmer! for 20 quid delivered I couldnt say no! 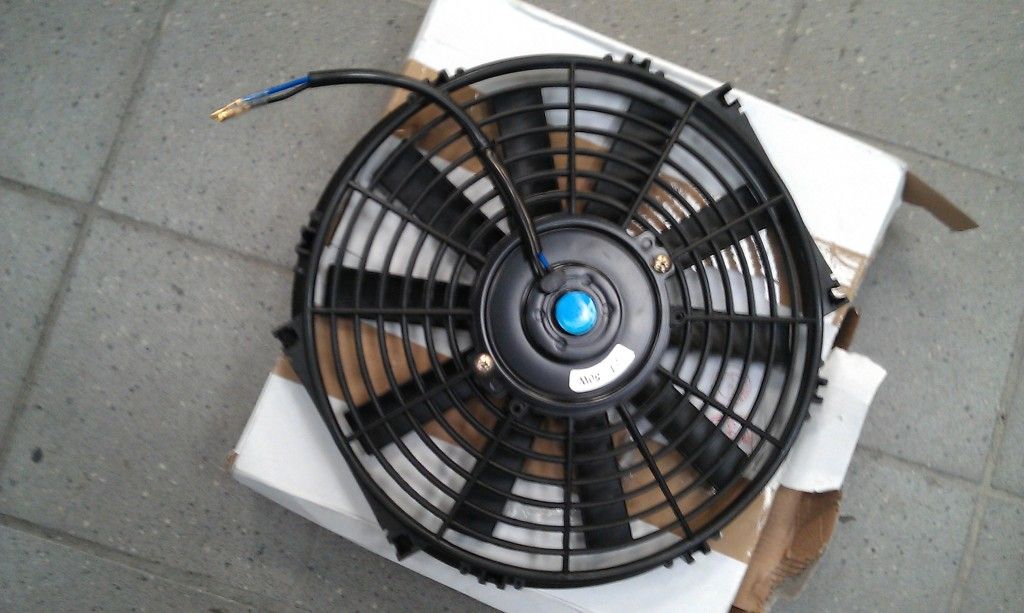 thats it for today, hopefully i should be painting the chassis leg and flitch monday though! |
| |
|
|
|
|
|
|
|
As promised it's monday and i've just finished painting the chassis leg, and i'm pretty chuffed with it! here it is! 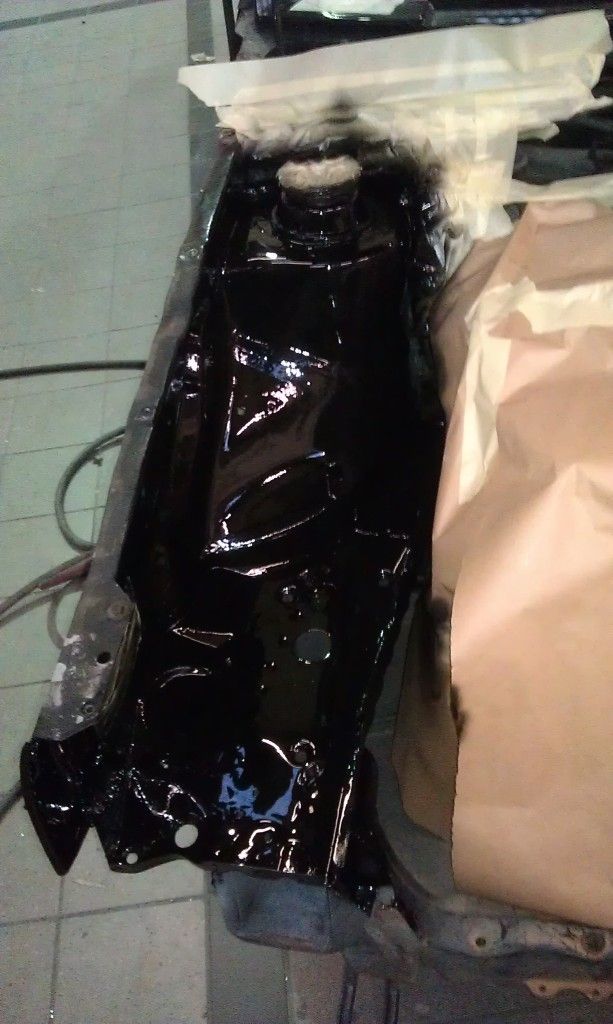 Although I'm happy with the chassis legs if i ever get the chance to take the engine out i will paint the whole bay properly but at least this is making things neater for now, and is protecting the new panels ive fitted... I cant wait to get it all back together but i know i have to continue with my policy of cleaning/refurbing everything that comes off, and i started the airbox today. Done the top half, scotched, retexture and satin black and looks like this... (looks a bit too shiny as paint is still not quite dry lol) 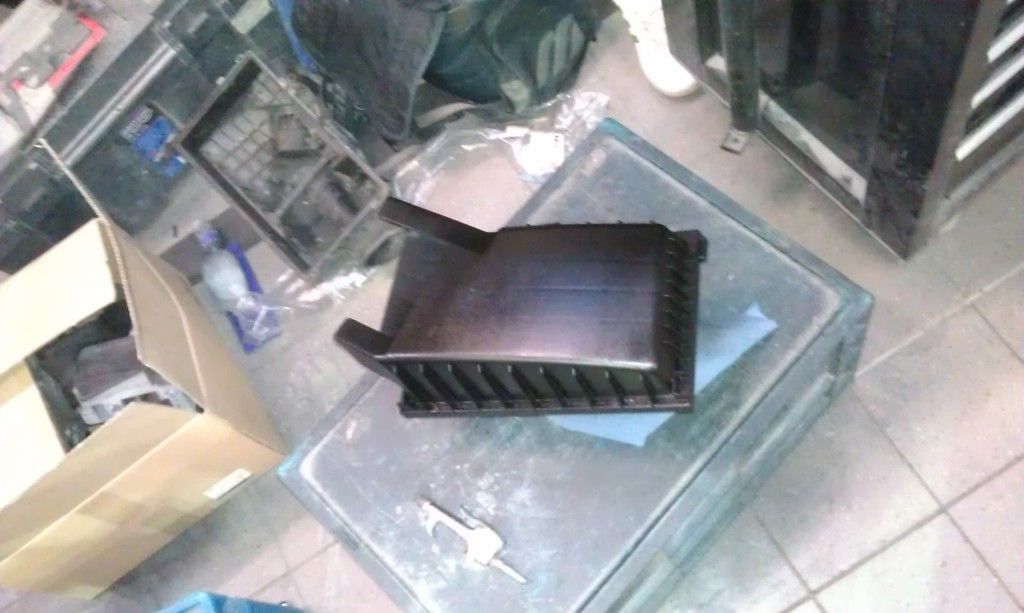 |
| |
|
|
|
|
|
|
|
Looks like some good repairs going on  Looking forward to seeing this take shape |
| |
|
|
|
|


 Keep up the hard work

 Looking forward to seeing this take shape