|
|
|
Apr 25, 2012 18:48:50 GMT
|
As title says I been busy this week after work and having got the rear panel in I'm ready for the wheelarches, I cut the first one out as shown here: -  And cut my new section to fit:-  I also ground the lip off off the inner arch so that I can tap the lip around it with a bead of bonder sandwiched in between (like the doorskinning technique), as the old spot welding inner to outer arch just traps water and makes things rust:-  |
| |
|
|
|
|
|
|
|
Apr 29, 2012 10:57:43 GMT
|
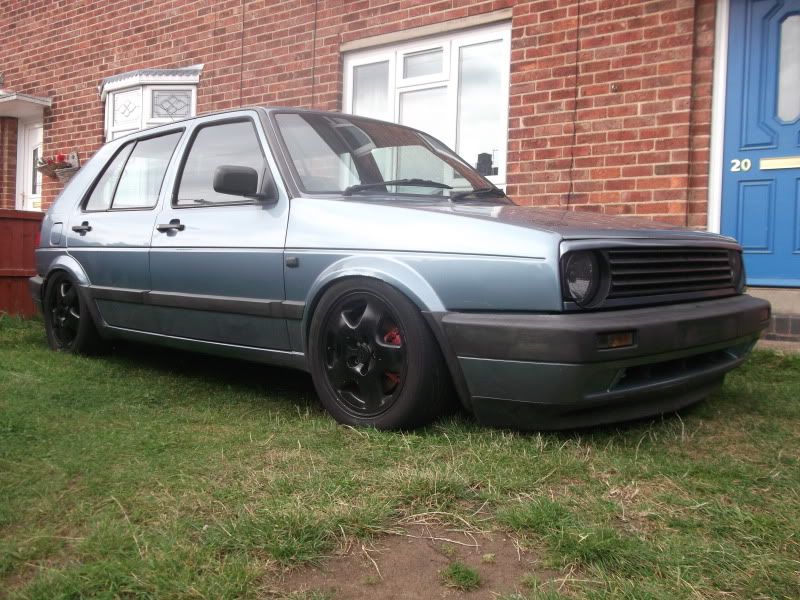
Yesterday's aim was to get the overarch welded in nicely and ground down, with arch lip tapped round to increase wheel clearance. Also needed to protect the inner arch with sealer and stonechip. Here is the arch welded in, also tried bumper on as arch was a terrible fit to the car in this area:-   Bumper's a nice fit, and I was pleased by how little heat distortion was in the panel, considering the length of the weld! Anyway I ground the weld down and tapped the lip round the inner arch with a bead of bond, between the panels.   Thats all for the pictures of yesterday's work but here's a random shot of the car lol  primer is not permanent just a bit of protection while metal is bare, will be pics of the filling stage. Next weeks work is the other side! |
| |
|
|
|
|
|
|
|
Tonight's work involved me cutting the arch out and also cutting the new overarch fit, also grinding lip down to tap the arch round, and also checking any areas that need welding as shown in the pics!    Tomorrows plan is to get all this little lot matching the other side! |
| |
|
|
|
|
|
|
|
Well today's work went well, I got the wheelarch in today but before I coukd do that I had to fix the inner arch, I started with the piece at the rear of the wheelarch, tacked it in place as shown in pic:-  And here it is welded up:-  Next I had to do the piece at the front of the inner arch:-  With the inner welded and the arch cut to shape I could weld the arch in, but before I did so I ran a bead of bond along the arch ready for me to tap the arch round on to it:-  Then welded it in and tapped round:-  And ground down:-  Job done, today's work is finished! |
| |
|
|
hip079
Part of things

Posts: 118
|
|
|
|
|
good work glad to see some 1 else with a rusty golf but mines a rusty mk3 lol
|
| |
|
|
|
|
|
|
|
|
yeah mate got most of it now but i'm sure ill find more!!!!
|
| |
|
|
|
|
|
May 11, 2012 21:57:13 GMT
|
Been busy this week stripping the car down and found yet more welding to do, after taking the screen out i think i need a new scuttle, and i have to weld up both rear turrets inside the car, although I'm getting a bit sick of welding now! never mind nearly there now, anyway here are my findings...   My new scuttle arrived today but i needed to lose one of the unnecessary holes so i cut a piece out of the old scuttle and cut the hole out of the new and butt welded it in and sealed it as shown below...    Nice penetration  And sealed  Tomorrows work is more welding then!!! |
| |
|
|
|
|
|
May 11, 2012 22:59:12 GMT
|
|
Nice work going on here!! High quality. Good work on losing the crosshair lights as well, they look w@nk.
|
| |
1974 Lancia Beta Saloon
1975 Mazda 929 Coupé
1986 Mazda 929 Wagon
1979 Mazda 929 Hardtop
1982 Fiat Argenta 2.0 iniezione elettronica
1977 Toyota Carina TA14
1989 Subaru 1800 Wagon
1982 Hyundai Pony 1200TL 2-dr
1985 Hyundai Pony 1200 GL
1986 Maserati 425 Biturbo
1992 Rover 214 SEi 5-dr
2000 Rover 45 V6 Club
1994 Peugeot 205 'Junior' Diesel
1988 Volvo 760 Turbodiesel Saloon
1992 Talbot Express Autosleeper Rambler
2003 Renault Laguna SPEARS OR REAPERS
|
|
|
|
|
May 12, 2012 17:42:08 GMT
|
Today I wanted to get the scuttle in and get the A-Pillar welded, but to get the scuttle in, I had to take the dash out - again! I would have done this when I took the dash out originally but was not banking on changing the scuttle until i took the screen out and found that it was toast!  Anyway I took the old one out by drilling the spot welds and cutting the pillars and refitted by mig and spot welding it, seems to be in nice.  The next challenge was the A - Pillar which had rust around the sunroof drain pipe. This was cut out and I had to make a new panel to go in.  Here's the panel I made:-  And welded in...  |
| |
|
|
|
|
|
May 19, 2012 18:22:41 GMT
|
Not much of an update today as I had to work this morning, but got two more plates done. Not long now until I can start filling the shell! Cant wait! Anyway here's todays progress:- Just gotta finish this one:-  Nothing special but it's in there:-  Also had to do this one on the rear strut top:-  All done:-  |
| |
|
|
|
|
|
|
|
May 19, 2012 19:19:39 GMT
|
good job  |
| |
|
|
|
|
|
May 26, 2012 19:14:36 GMT
|
I haven't updated for a while as the welding was getting a bit samey to read, anyhow I did another 2 plates and for the time being I'm done with the welder! So I started cleaning up the quarter for filler:-  And then in filler ready for stopper:-  That's all i managed today as I finished the welding this morning! Updates should be a bit more regular now as progress should speed up a bit from now! |
| |
|
|
|
|
|
|
|
Done a bit more on the quarter, nearly done now:-  Also got the dash back in (again!) and as this project has been going, I've been collecting a few bits and I got hold of a vw gamma headunit and cd player to go with it, which has now been installed with cd player fitted in the glovebox:-   Dash needs a clean but Ive got a feeling its gonna get messier before it gets cleaner! Well thats it for this little update, should be more tomorrow! |
| |
|
|
|
|
|
|
|
|
what a build cant wait to see this coming together what colour you doing it, why don't you modify the dash whilst its out fitt a tt dash or sumat???
|
| |
DREAMER
|
|
|
|
|
|
|
|
My plan is to keep it original minus wheels and coilovers, maybe a set of tombstones inside,and i think i should keep it black and redo the d90 in silver, but ive been toying with cream and paint the d90's a dark gunmetal, i think it would look cool with the small bumpers, but i think ill wait until the last minute until i decide on that! also if anyone else has any ideas i'd consider them as i'm adamant its gonna be one or the other, so usually this means neither!!! lol
|
| |
|
|
|
|
|
|
|
|
You're doing a real quality job, its a pleasure to read. Great stuff!
|
| |
1974 Lancia Beta Saloon
1975 Mazda 929 Coupé
1986 Mazda 929 Wagon
1979 Mazda 929 Hardtop
1982 Fiat Argenta 2.0 iniezione elettronica
1977 Toyota Carina TA14
1989 Subaru 1800 Wagon
1982 Hyundai Pony 1200TL 2-dr
1985 Hyundai Pony 1200 GL
1986 Maserati 425 Biturbo
1992 Rover 214 SEi 5-dr
2000 Rover 45 V6 Club
1994 Peugeot 205 'Junior' Diesel
1988 Volvo 760 Turbodiesel Saloon
1992 Talbot Express Autosleeper Rambler
2003 Renault Laguna SPEARS OR REAPERS
|
|
|
|
|
|
|
Thank you for the comments, and another update of the days work! Finished the right quarter panel, finished rubbing down yesterdays stopper put a tight skim in a few places for pin holes, and looks like this:-  While I was waiting for any filler to go off I was rubbing the rear panel down ready for filler:-  As you can see there is already filler in the rear panel but it was just a quick skim to get it somewhere near when i welded the embossed badge/removed central badge recess into the panel. This paid off for me and only took a couple of hours start to finish, as the panel just needed smoothing over really. Although there looks alot of filler in this panel overall its mostly a light skim of stopper just to iron out any little dents, I made sure I avoided getting filler in the channel where i spot welded too so it appears more original.  Ignore any bits of black primer, these are just fiddly bits in the filler i'm just checking for peace of mind!!! Anyway that's all for today folks, should be a mini update on monday hopefully! |
| |
|
|
adi
Posted a lot
Posts: 1,426
|
|
|
|
I like  |
| |
|
|
|
|
|
|
|
|
|
|
looking really good, u make it all look very easy
|
| |
|
|
|
|