|
|
|
|
|
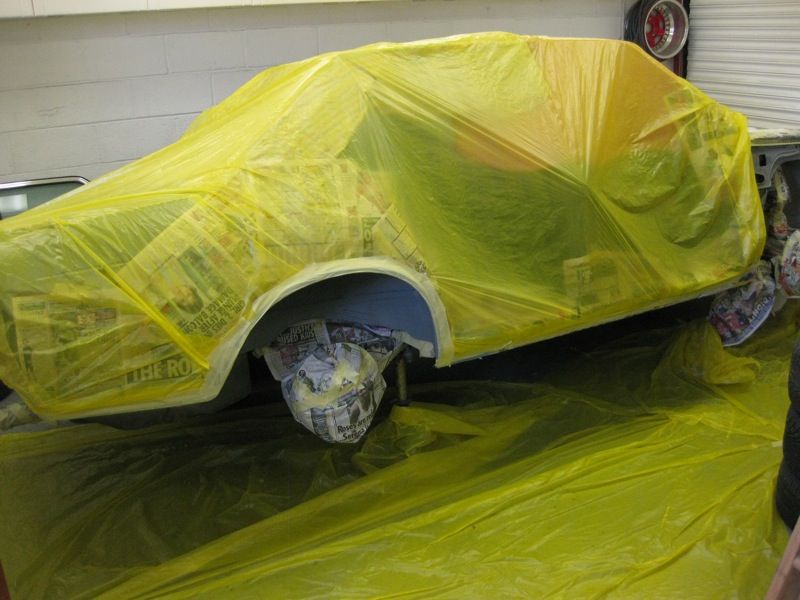
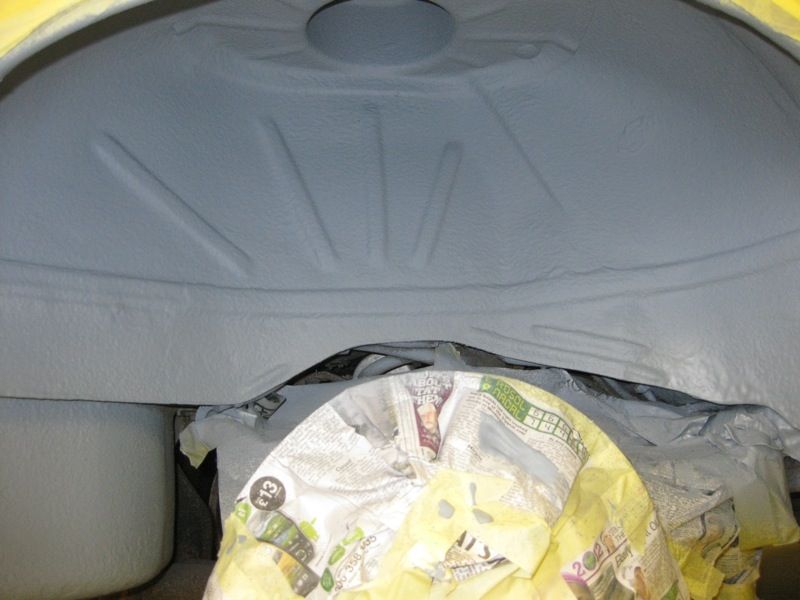
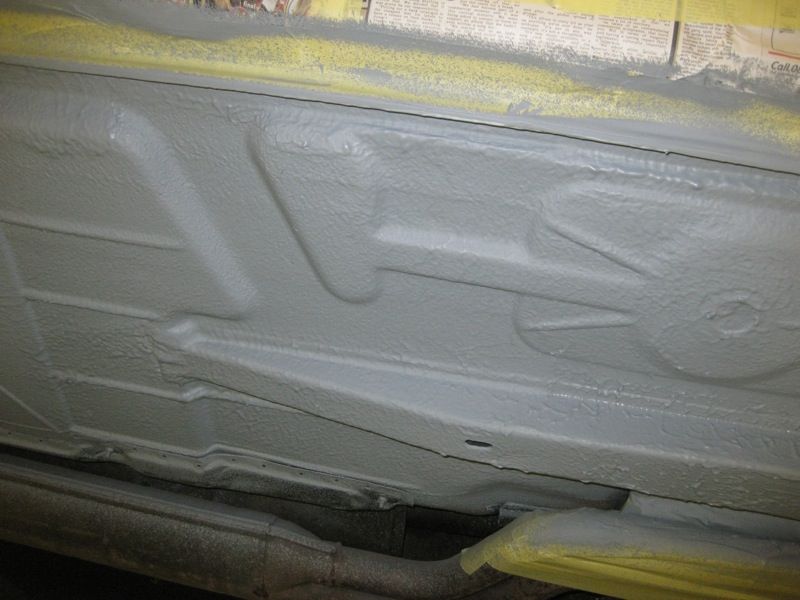
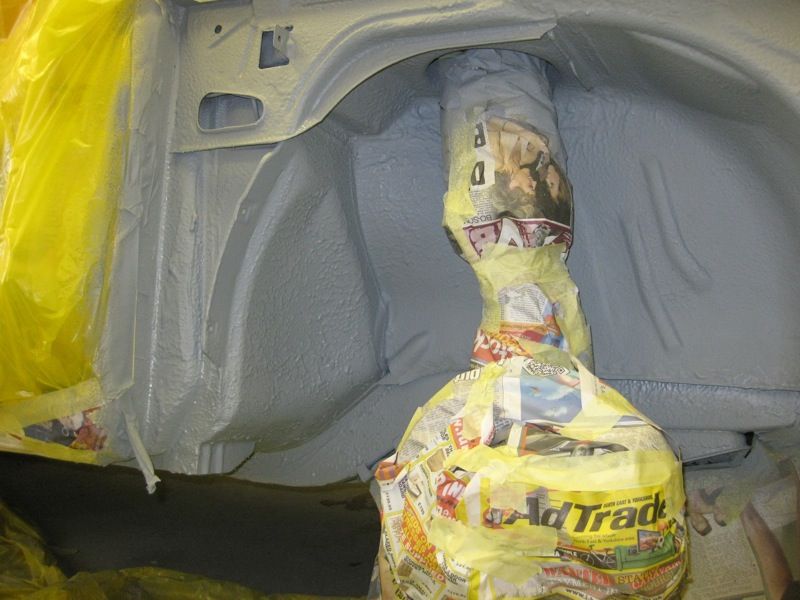
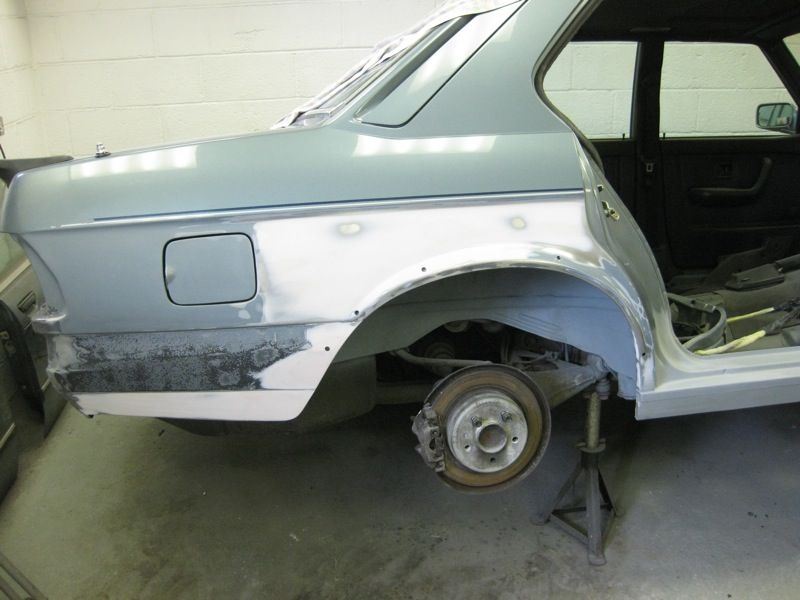
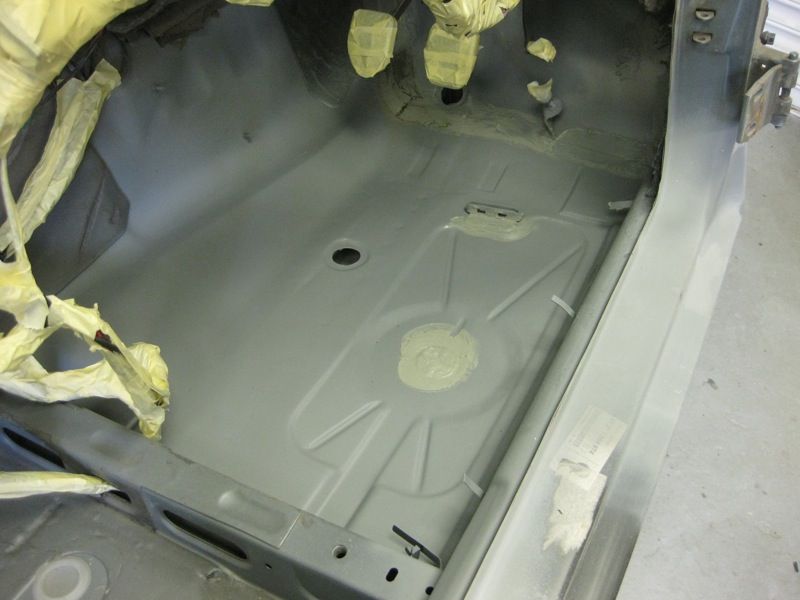
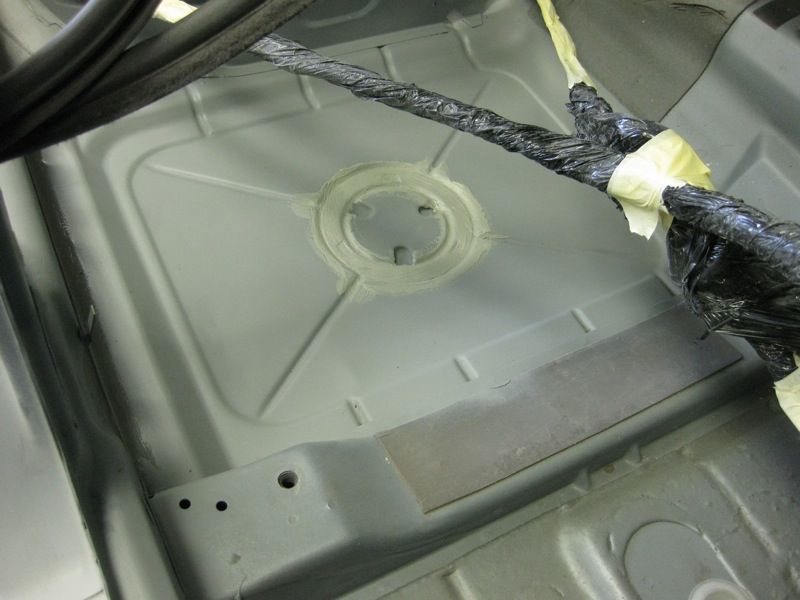
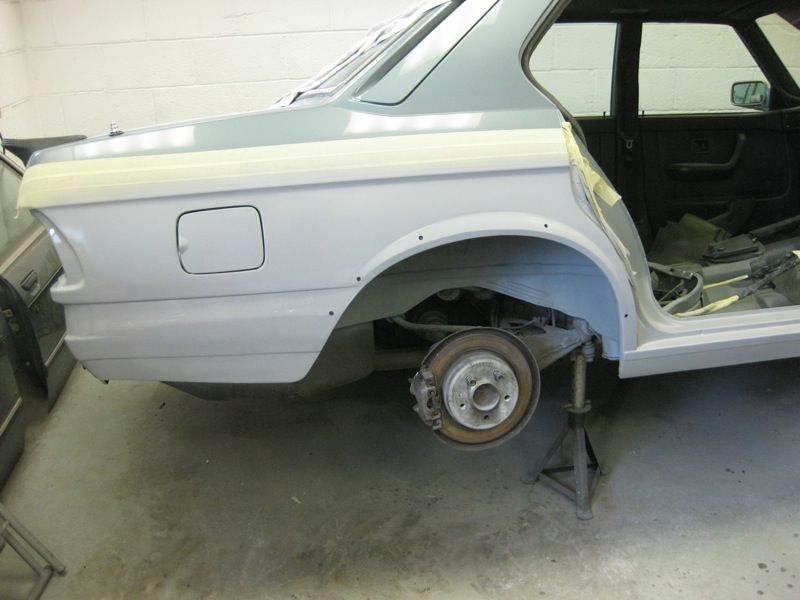
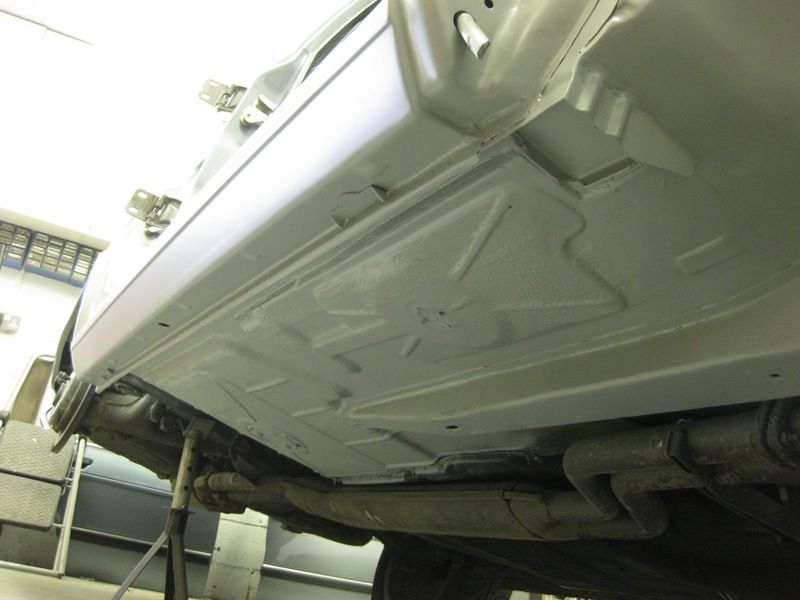
nice progress. upol gravitex for the rippled fnish Thanks Darren, that is what I used, so good to have some confirmation Meanwhile, only a couple of hours on the car this weekend, its getting our silly season at work, so spare time is at a bit of a shortage at the moment Got the Shutz on 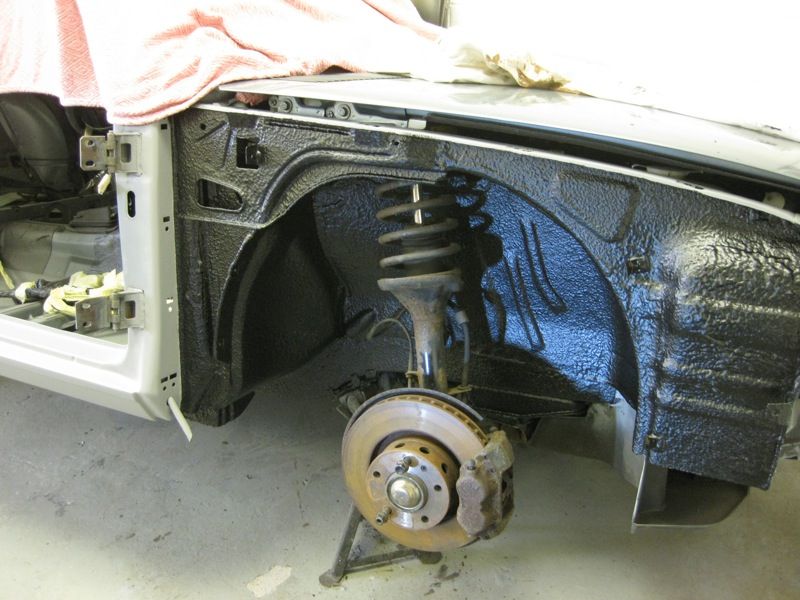 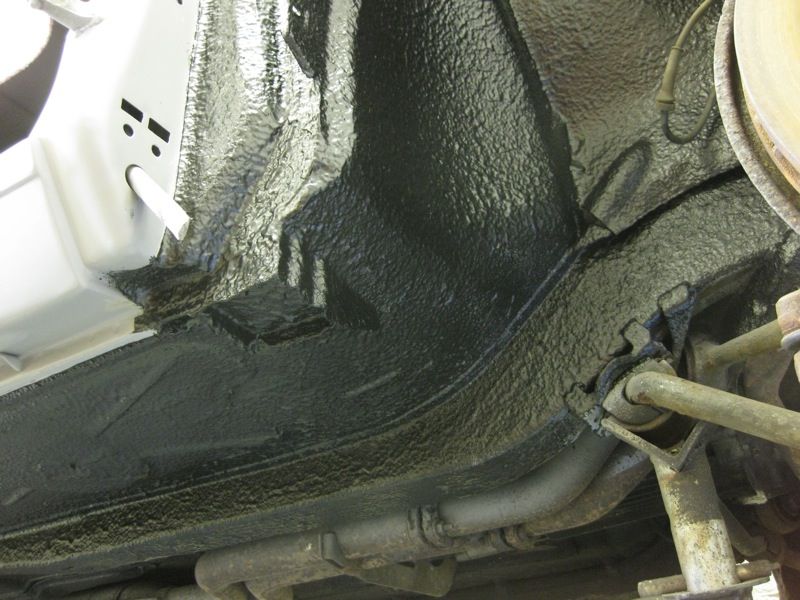 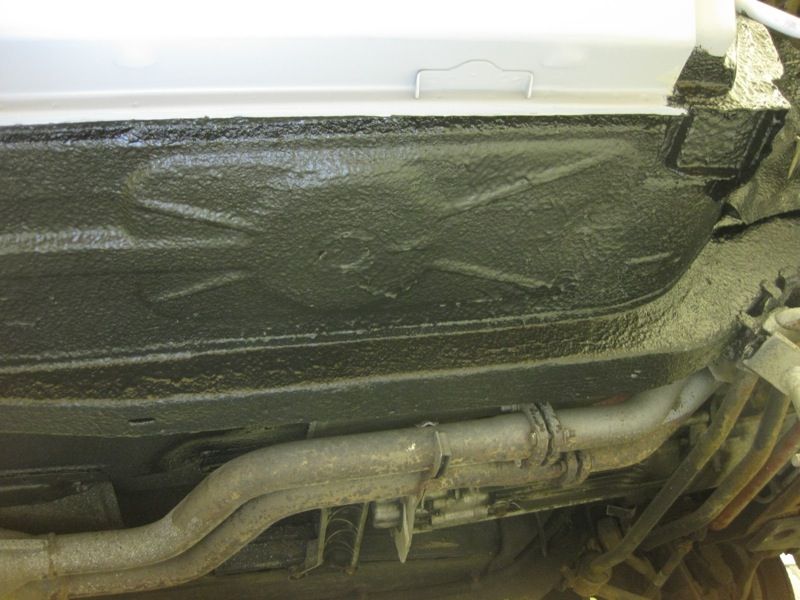 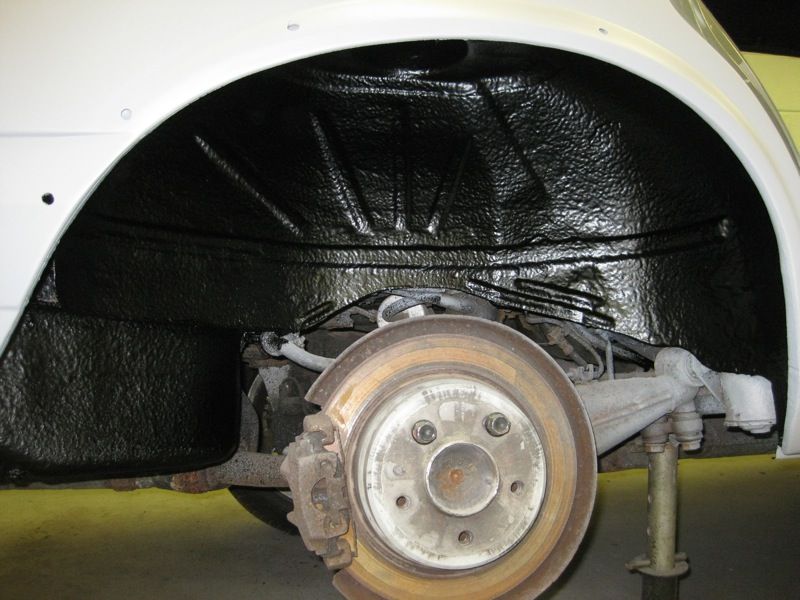 So can get the car back down onto its suspension, put some paint on the inside floor, fix the rot on the back door, and then repeat for the other side  |
| |
|
|
|
|
|
|
|
|
|
|
Love the idea of storing the parts in a jar of oil, its the simple things like this that make RR such a great place to hang out
|
| |
|
|
|
|
|
|
|
|
Arghh I hate it when I don't get the email telling me I've missed an update
I've followed this from almost the start, its been a journey of many ups and downs, and some quite brilliant detail touches, but it has been soooo worth it
Well done John, the car is looking superb, hope you have a speedy recovery
Tony
|
| |
|
|
|
|
|
|
|
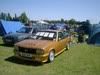
OH What A thread ;D ;D My question is How would you go about making one of the external sun-visors that would have been fitted to the rock and roll era cars and also custom vans like the two photos below (clicky for bigger image) 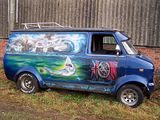  Any ideas on this would be greatly appreciated Kindest regards Martin Martin Assuming that your trying to replicate the rolled edge on the front, I would be tempted to buy some round bar the diameter that you need and bend this to create the shape and profile of the front edge, tack this is place and then using card, make some templates and transfer them to the steel Then weld the steel into place, welding to the bar to create the front edge, again tack everything first before welding Then a skim of filler to finish off Tony |
| |
|
|
|
|
|
|
|
Just been catching up on this thread - how have I missed this over the last 2 years!!! However I now feel inspired to have a go and starting making some of my own to a good standard(not the awful patching I may have been tempted with!!). Only need bucket loads more patience, a trace of talent and some 0.6mm wire(oh why when I have 10kg of 0.8mm in stock!!) now. However I would like to call upon the fine wisdom of RR with regards to how to approach this inner wing on the Trafic - it's not the sharper bends but combination of curves I'm a bit stumped with how to go about forming - would a section repair be better - forming off the vehicle and then fitting? Any thoughts and assistance would be greatly appreciated.    Once agin many thanks to tonybmw and all the other fantastic contributors on this site for the inspiration and motivation!! IronMighty I'd be tempted to make it up on the van in pieces. using card if needed to make a template, create the sloping and curved side first and then cap it off with the flat top, just tack it all together first, and then once your happy, fully weld it Tony |
| |
|
|
|
|
|
|
|
Jun 24, 2012 20:04:35 GMT
|
|
I love my Portamig too, but like BC, I've kept my Clarke for jobs that need a more portable welder
First test welds look good, now lets see some work on that Fiat
|
| |
|
|
|
|
|
Jun 24, 2012 18:45:16 GMT
|
|
great work, starting to come together now
|
| |
|
|
|
|
|
Jun 24, 2012 18:39:30 GMT
|
|
|
| |
|
|
|
|
|
|
|
|
|
Jun 23, 2012 21:58:22 GMT
|
|
|
| |
|
|
|
|
|
Jun 23, 2012 21:56:15 GMT
|
Saw this and thought of you 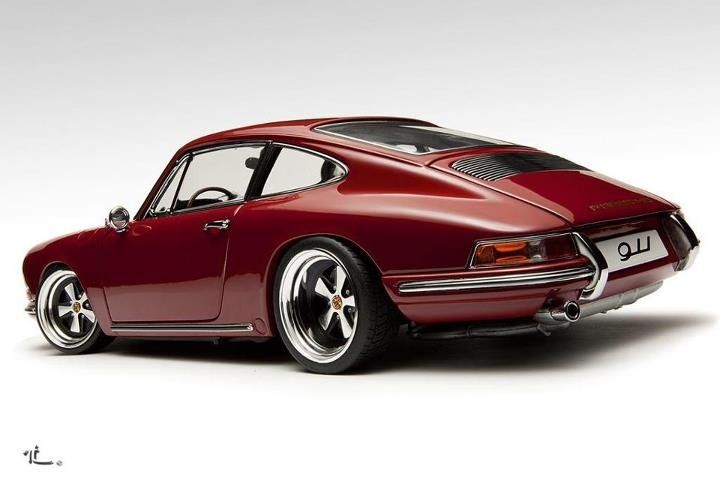 |
| |
|
|
|
|
|
Jun 22, 2012 16:46:43 GMT
|
|
Car looks great, photos are superb, wheels and stance look just right
|
| |
|
|
|
|
|
Jun 17, 2012 10:11:06 GMT
|
|
|
| |
|
|
|
|
|
|
|
Two words about electrolysis to removing rust...using a carbon (graphite) anode. FRICKIN AMAZING. Please tell me more, and pics |
| |
|
|
|
|
|
|
|
Top work Tony I see you remove loads of spot welds, I'm doing the same on my Manta but I'm getting frustrated at the cutting ability of my presto spot weld bits! They seem to go dull after about 10 welds. I have 6mm and 8mm drills They are brand new. I tried to resharpen one on the bench grinder, that didn't work. How do you keep yours sharp? Kev You do need to keep the drills sharp, I did a peice back on the Victor thread about how to sharpen them retrorides.proboards.com/index.cgi?action=display&board=readersrides&thread=65793&page=5#922975 |
| |
|
|
|
|
|
Jun 11, 2012 18:41:17 GMT
|
Some very tidy panel work there Bruce, and as always some amazing photography I've loved this Landrover from the moment I saw it, and very pleased to see it progress even further  |
| |
|
|
|
|
|
Jun 10, 2012 20:15:01 GMT
|
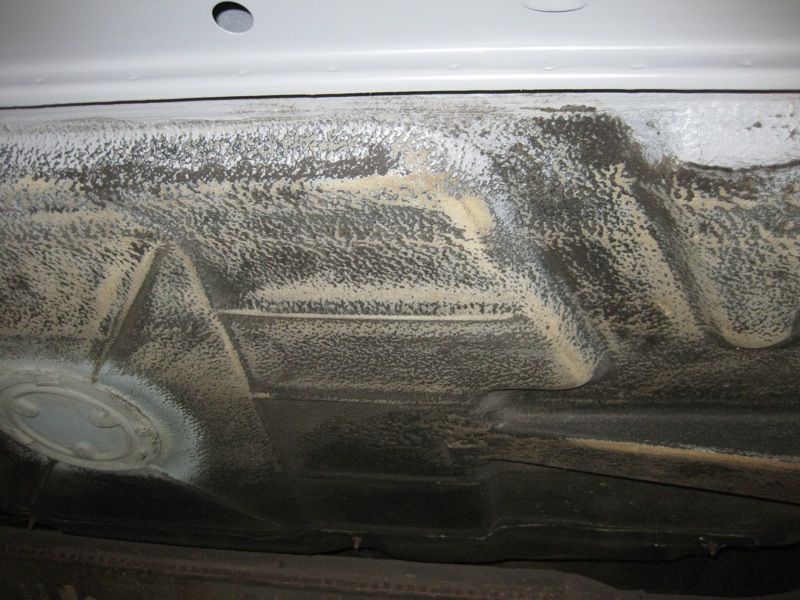
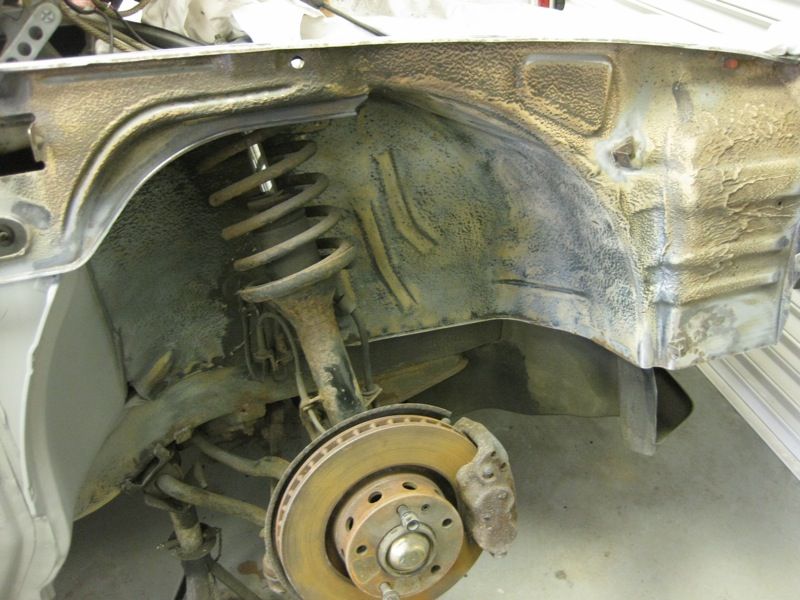
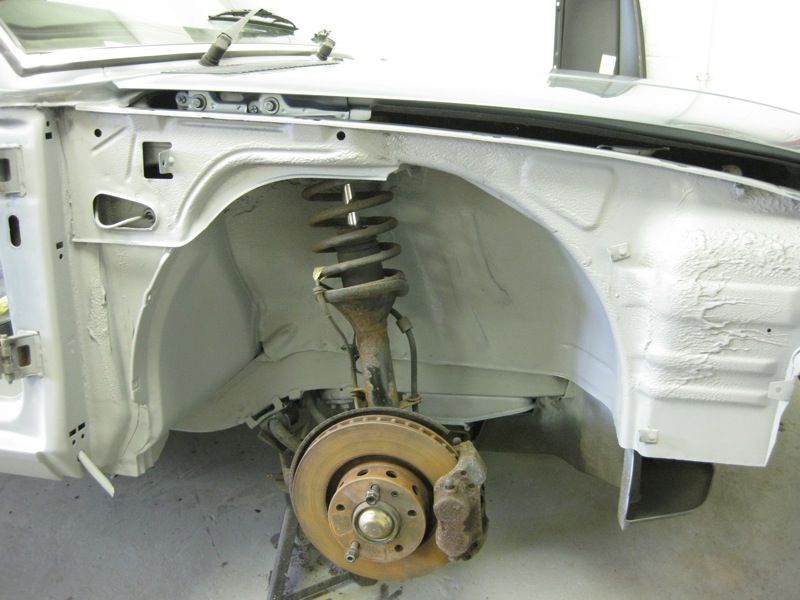
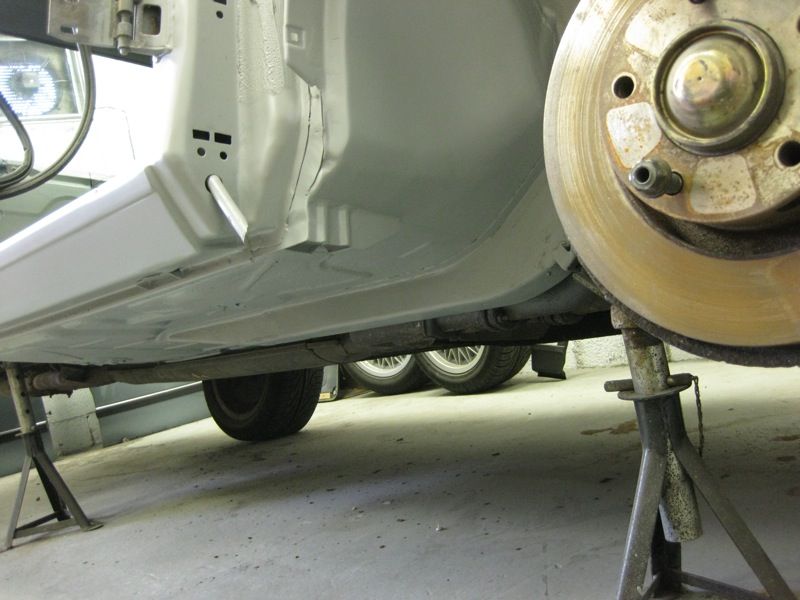
Sorry for the delay guys, bit of an update, but not a huge one Brian Dropped these off yesterday  New floor bungs for the rear floors, which was timely as i'd just stripped the sound deadening pad off 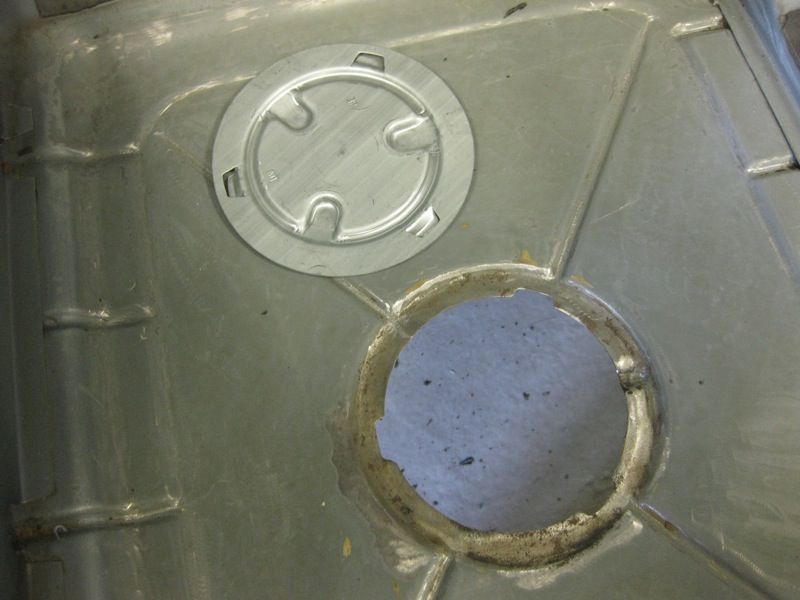 Decided to take a break from the welding and pulled off the rear strut 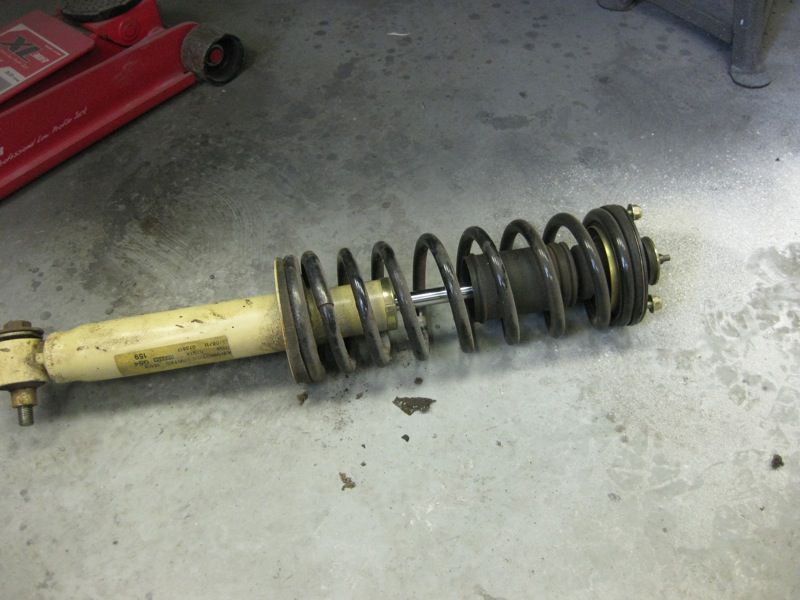 So I could get in to clean the last bit of the inner arch 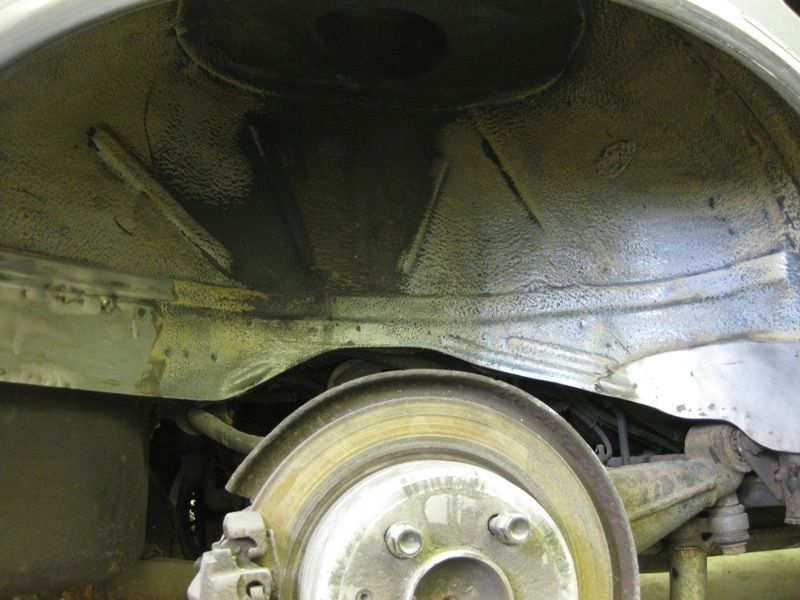 Also discovered this hiding on the strut tower 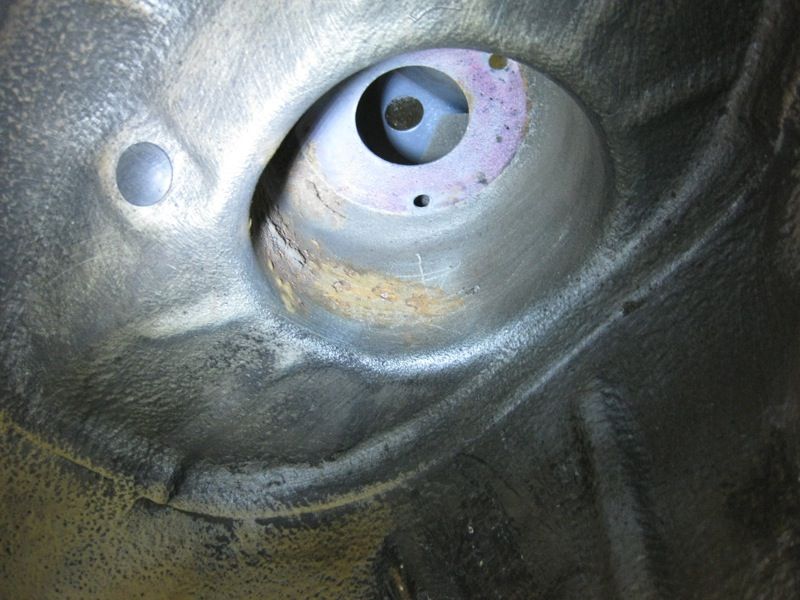 So out with the powerfile and the Bilthamder Rust converter 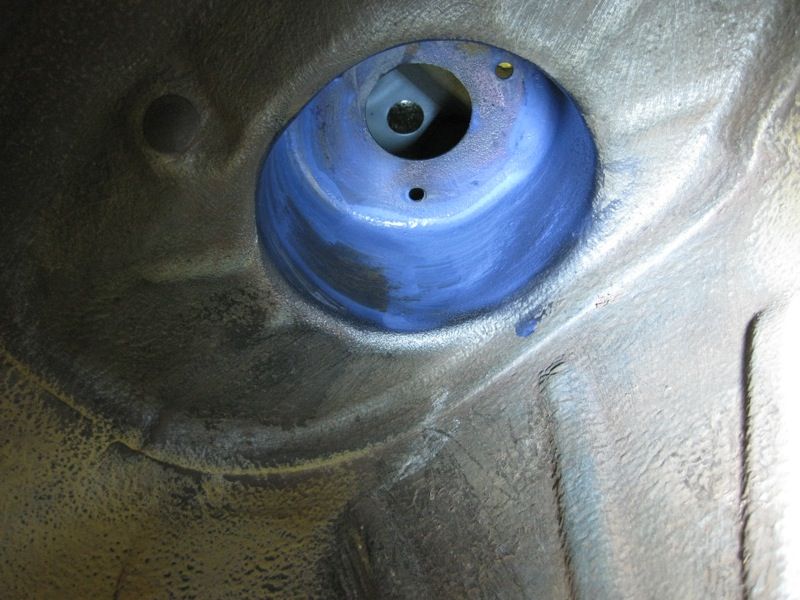 Then a skim of filler on the sill joints, rear one needs a bit more work 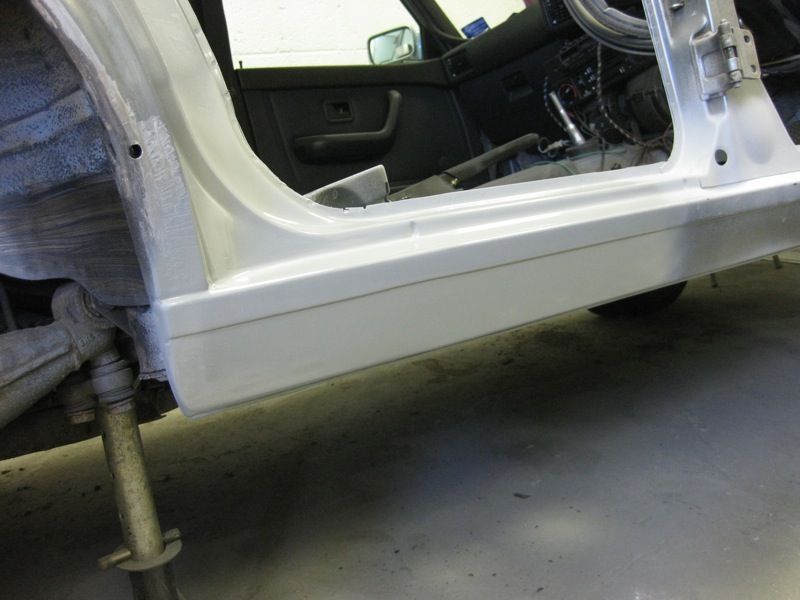 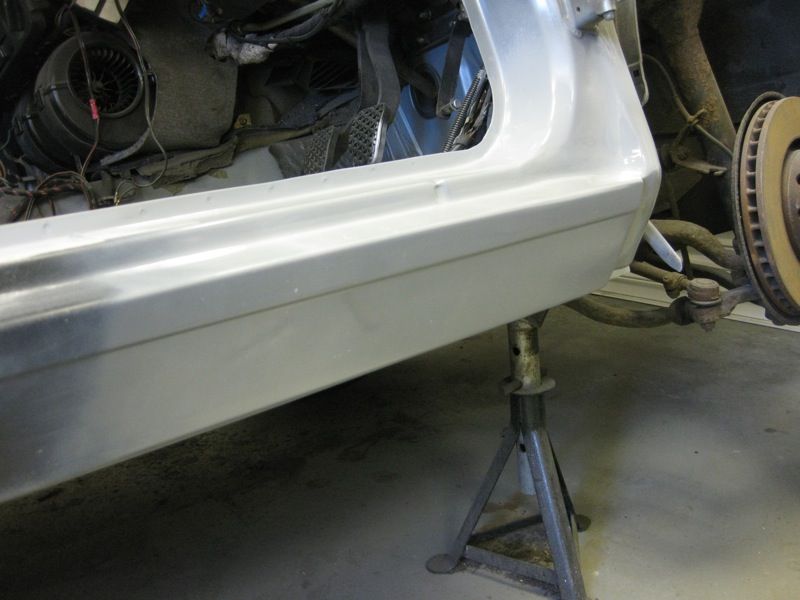 When I had been doing the rear arch, I noticed some filler in it already, decided to explore this a bit more, looks like its seen a bit of action here before also, filler went all the way back to the petrol flap 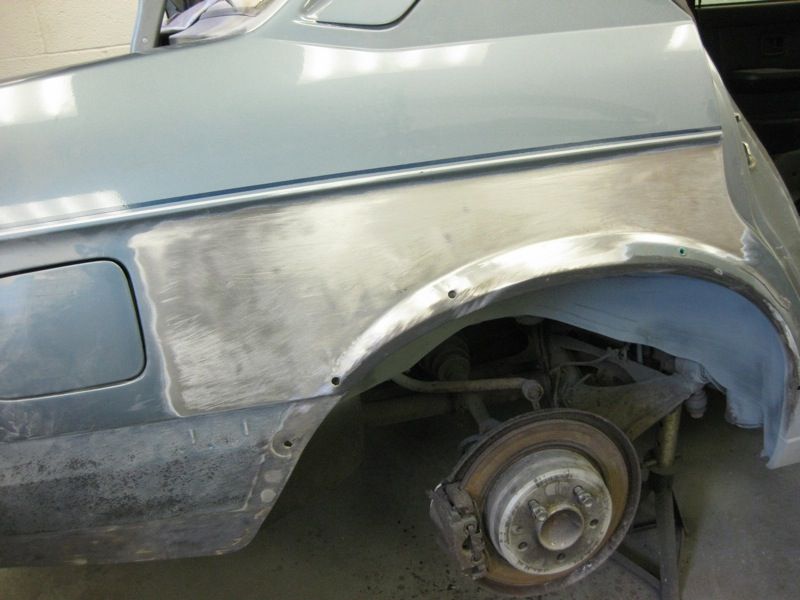 Will try to knock some of that out but will need to skim it again |
| |
|
|
|
|
|
Jun 10, 2012 19:56:26 GMT
|
Hi Tony - been watching this thread for ages - excellent stuff. Did you or Gordon manage to get a repair / service kit for that servo and if so from where please? Ta Fogey - Gordon says he bought it as a complete good condition unit - hopefully - so its not been serviced |
| |
|
|
|
|
|
|
|
Servo temporarily fitted 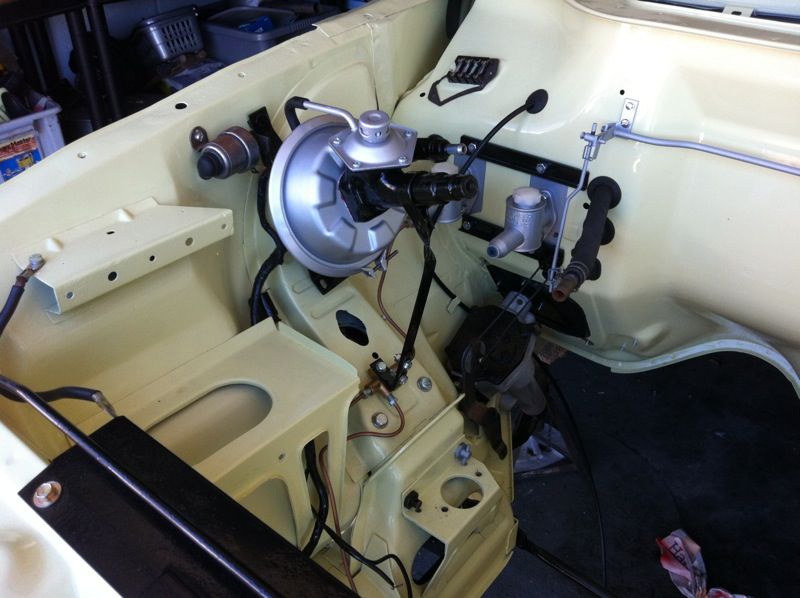 and Door hinges stripped and painted 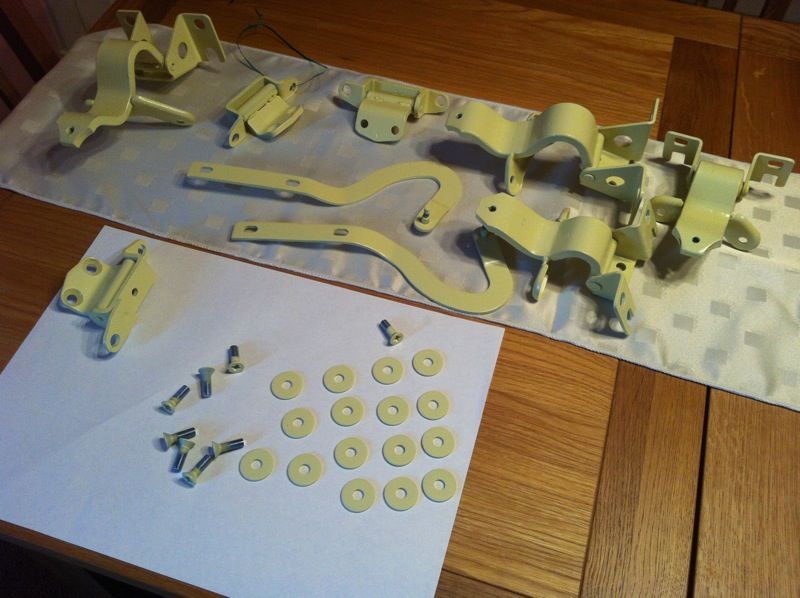 |
| |
|
|
|
|