|
|
|
Nov 17, 2013 21:00:59 GMT
|
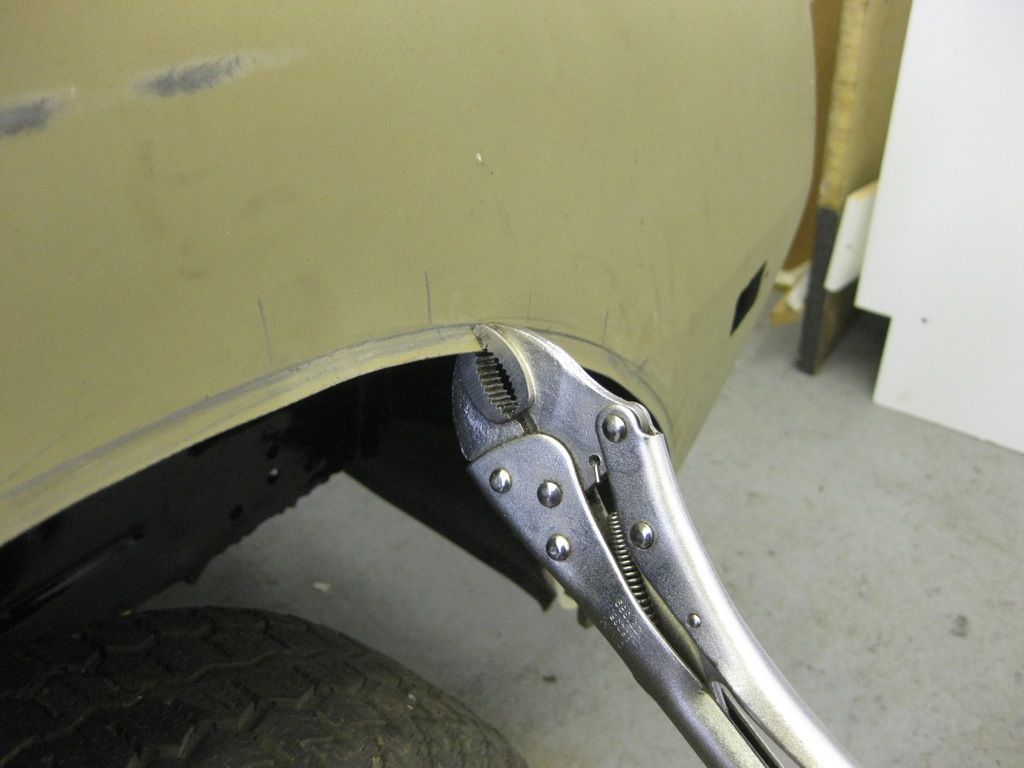
I have a tip regarding metal shrinking without a shrinker tool, which I was given to by a mate's dad who is a metal beater par excellance: Beat a few kinks into the metal, and then hold it tightly with molegrips against a hard surface (TonyBMW bender will do nicely!!  ) Like so:  And then beat the kinks with a hammer until flat. It works a treat, it's how I made the inner fender parts on my car. Only thing is, you won't be able to shrink using this method if the panel has a curve on the other flange (it won't be able to sit flat against the anvil), so you should probably shrink first and then do other manipulations needed. It may still work if the curve isn't too big, I just put some shims under the kinks to beat them against. If using this method, it is key to press the molegrips very hard against the surface. Top Tip Wheeler |
| |
|
|
|
|
|
|
|
Nov 17, 2013 21:00:33 GMT
|
Hi Tony would you beable to advise me on how to go about getting this V shape in my outriggers that i'm going to be makeing? i can't figure out the best way to do it ,so any help would be much appreciated. Here is a picture ![]()   Chris sorry missed this question, I think you will really need to relieve the flange to create this V shape, just a cut should do it, and then form the V in an open Vice, and then cut and dress the flange to suit before welding it up |
| |
|
|
|
|
|
Nov 16, 2013 22:50:25 GMT
|
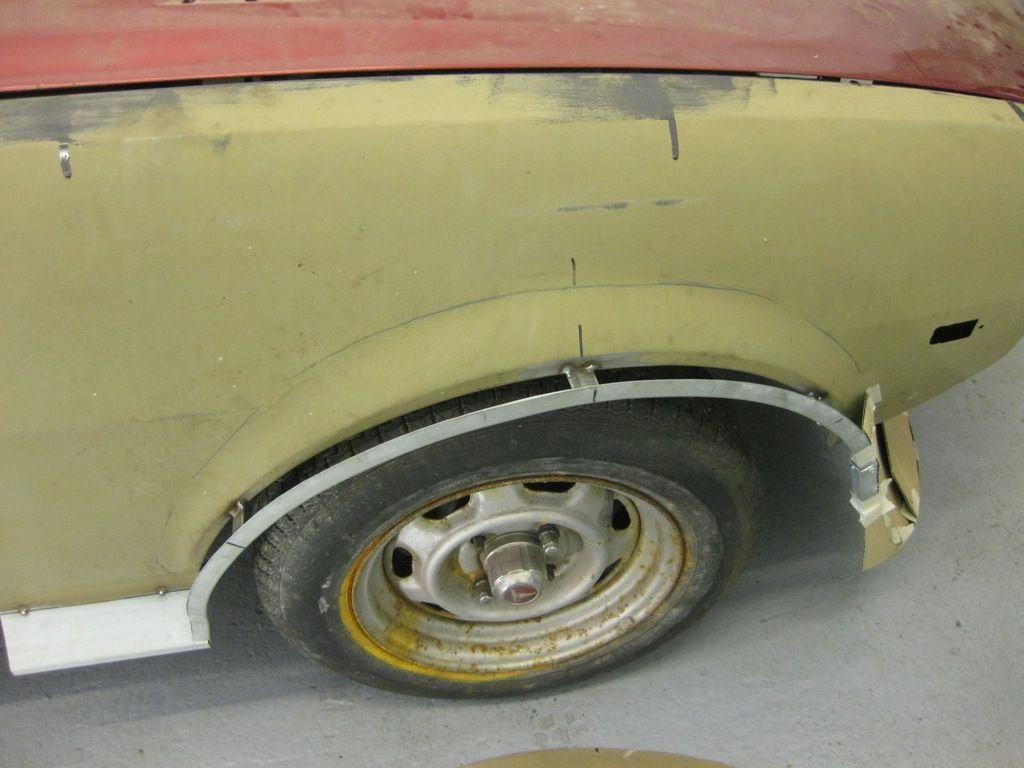
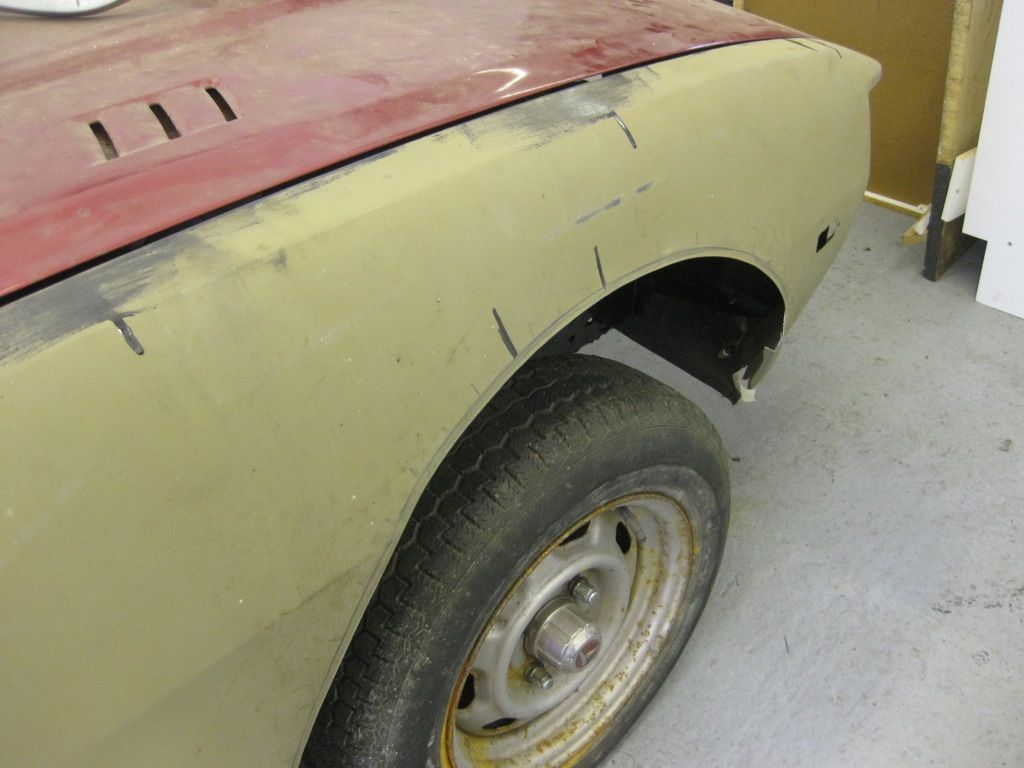
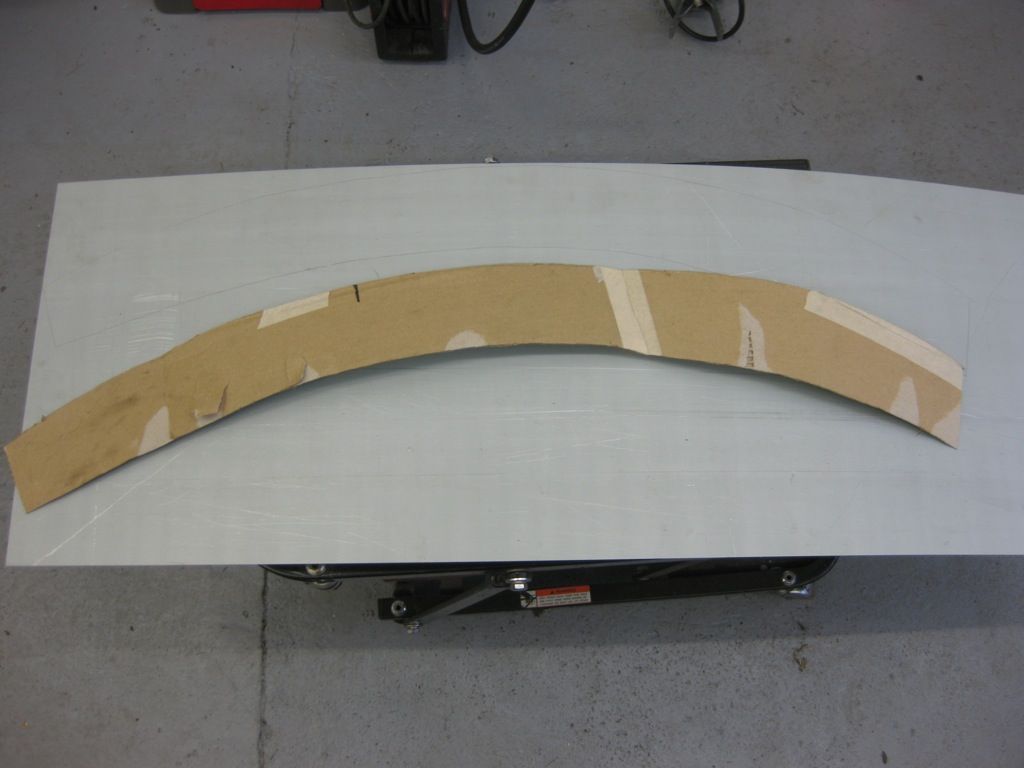
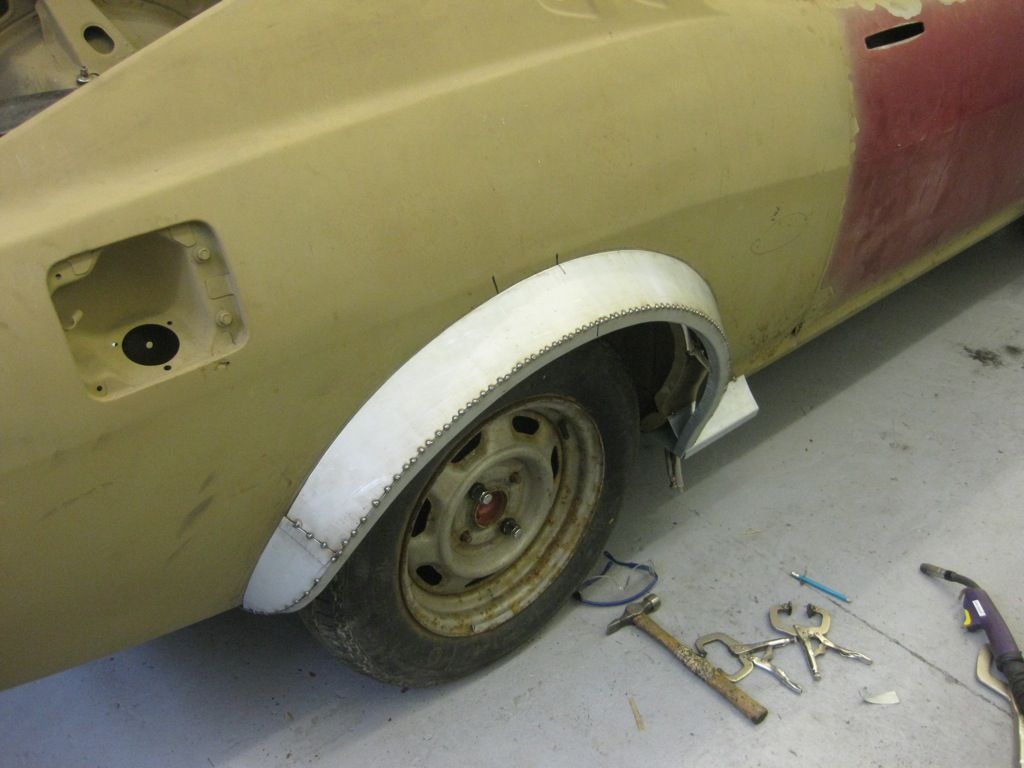
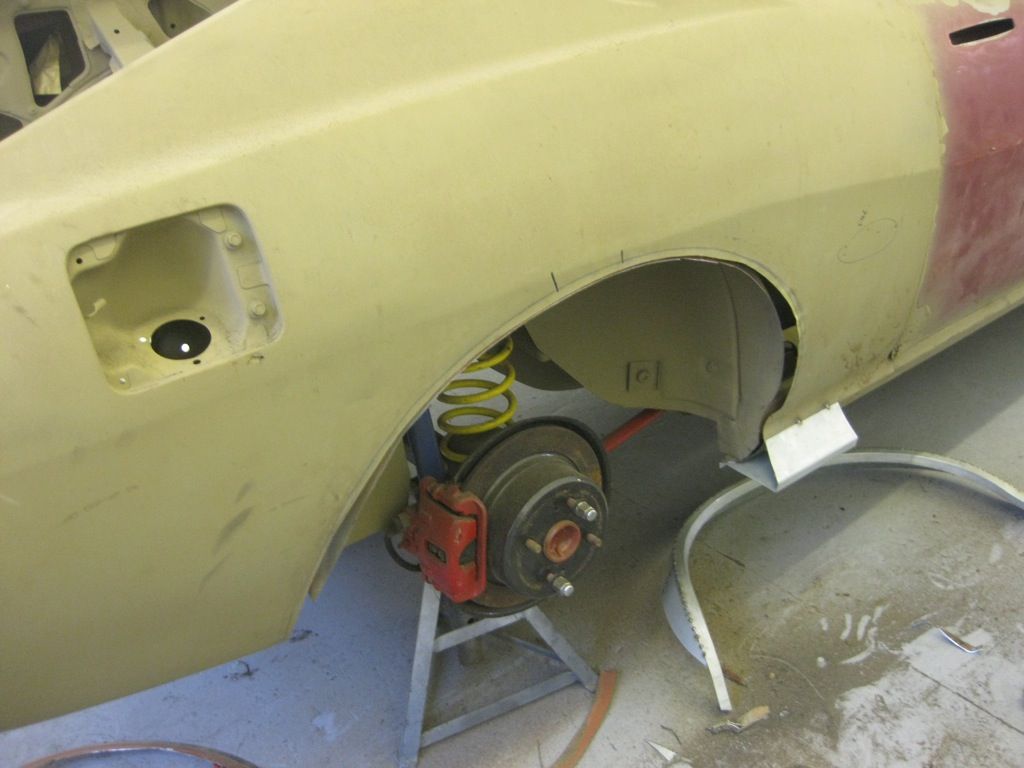
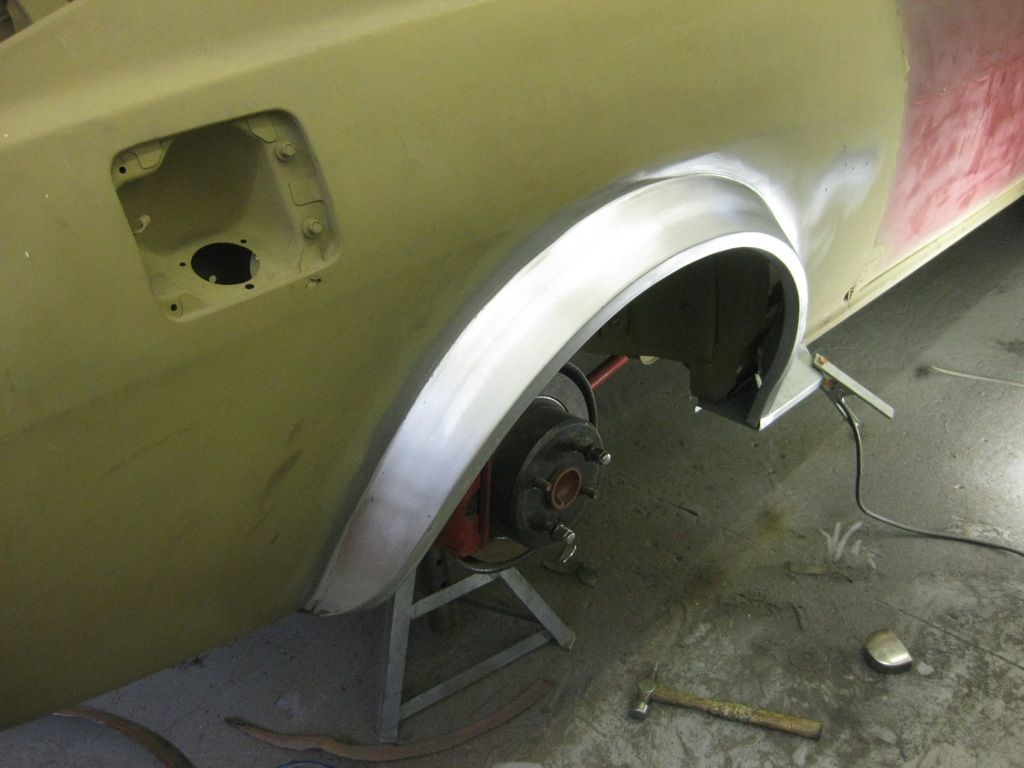
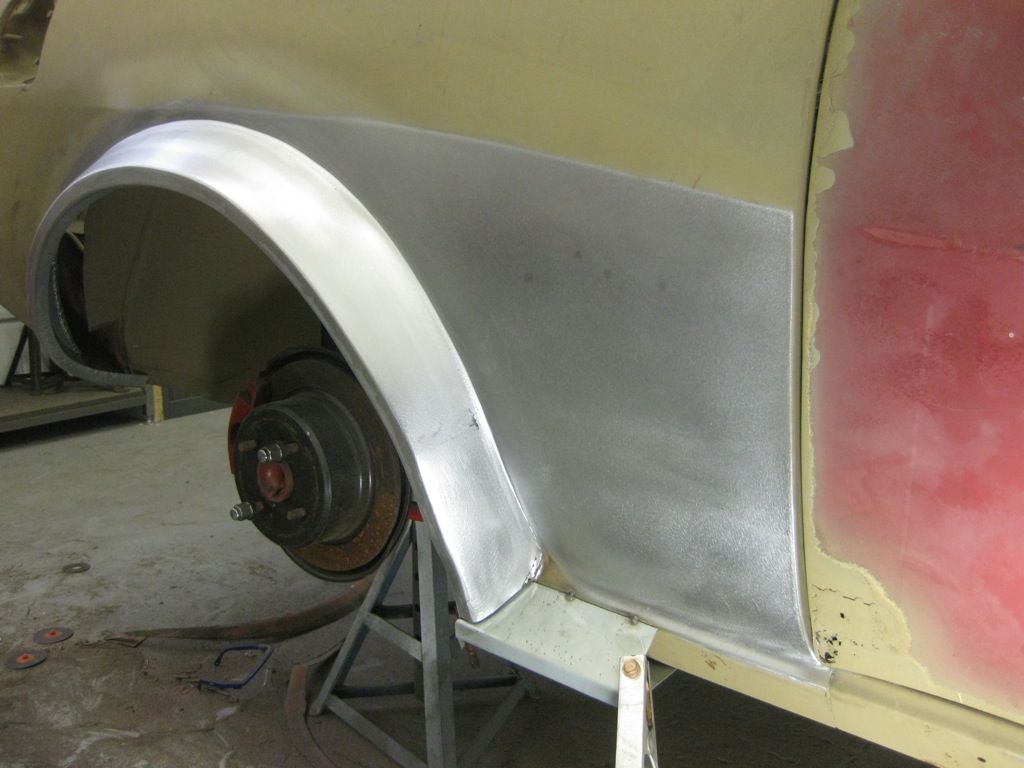
Front Arch almost finished, just need to make the bit that runs into the front valance 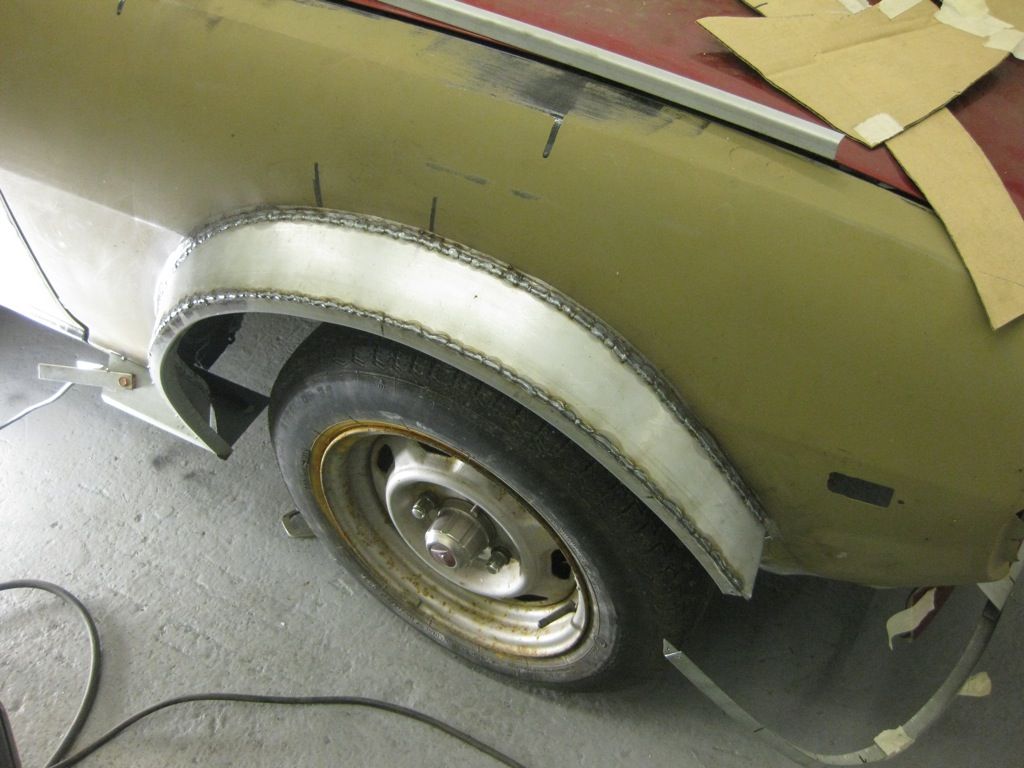 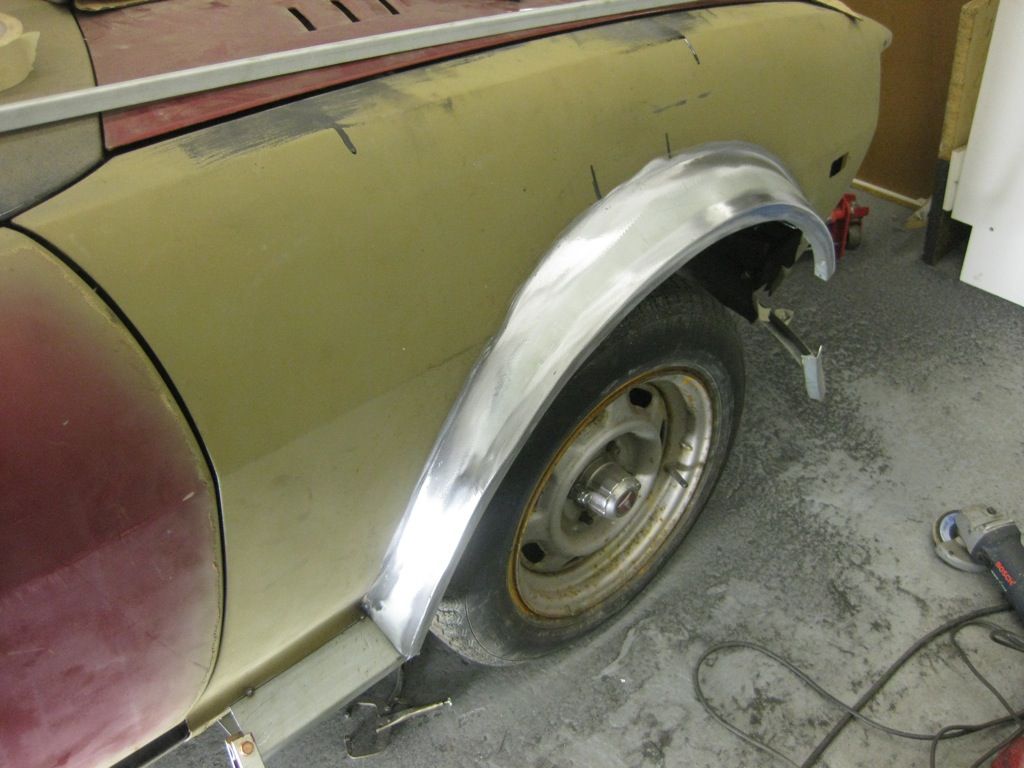 |
| |
|
|
|
|
|
|
|
|
Good luck with the new job
|
| |
|
|
|
|
|
Nov 10, 2013 19:58:08 GMT
|
|
|
| |
|
|
|
|
|
|
|
|
|
|
Glad that you have found it useful, make sure that you start and thread showing your progress
|
| |
|
|
|
|
|
|
|
|
As Darren Says, any progress is good progress, keep up the great work, and setting a deadline, always helps keep me focused
|
| |
|
|
|
|
|
|
|
|
Great update, and superb work on the footwell panels and exhaust
|
| |
|
|
|
|
|
Oct 29, 2013 18:57:52 GMT
|
|
|
| |
|
|
|
|
|
|
|
Oct 28, 2013 19:47:57 GMT
|
|
If anyone can do it Mel, you can, I'll be here willing you on
|
| |
|
|
|
|
|
Oct 28, 2013 17:13:11 GMT
|
|
Thanks Guys, Ill certainly give them a go now that they have been recommended
|
| |
|
|
|
|
|
Oct 28, 2013 17:12:59 GMT
|
|
Thanks Guys, Ill certainly give them a go now that they have been recommended
|
| |
|
|
|
|
|
Oct 28, 2013 17:10:09 GMT
|
got a genuine tech question for you tony ! butt welded changes in profile on bodywork i've done the same a few times, similar situations with overlapping spot welds. i get full penetration when viewed from the rear, however when i grind the welds back roughly, then flap disk and then DA so its a perfect smooth invisible finish, every now and then i get a hair line join re-appearing between the two separate bits of metal and i have to go back and re-tack it and dress it again. just wondered if you have any pearls of wisdom, at face value it doesnt make much sense as the welds appear to have gone full thickness Darren That does sound odd, as that is certainly a symptom of not enough penetration, the only other thing I can think is that it is getting so thin and hot that the weld is then cracking, but you would soon realise that when you try to weld back over it, and you would blow through Its got to be penetration I can only smile in approval. You really are an inspiration mate. Looks great so far. Thanks Grizz |
| |
|
|
|
|
|
Oct 27, 2013 19:38:17 GMT
|
|
Love the colour, wheel and Decal combination perfect in many ways
|
| |
|
|
|
|
|
Oct 27, 2013 19:02:36 GMT
|
|
|
| |
|
|
|
|
|
|
|
|
NIce work as usual, cant believe how solid that floor is
|
| |
|
|
|
|
|
Oct 13, 2013 19:30:09 GMT
|
|
Nice
|
| |
|
|
|
|
|
|
|
|
Great work and excellent idea for the steering arms
|
| |
|
|
|
|
|
|


 )
)