|
|
|
Oct 20, 2019 14:46:46 GMT
|
Nice to see your empirical testing isn't limited to cars...  On the block lightening, I've seen some blocks with absolutely every possible amount of weight removed. All the mounting points ( block mounted to the car with block plates), oilfilter mounting point, most of the bellhouse, etc. And smoothed out inside and out. ( getting rid of the as cast rough surface might actually help a little with strength, because it removes the stress risers) Pretty crazy but very cool to look at... But if yours is a rare desirable block that is on its limit as it is, you are right. An aluminum block would be the way to go...  That's why I have resisted the temptation to take the grinder to it :-) 600bhp on race fuel is probably for power than I will be able to put down to the track so there is no urgency for an engine rebuild. if I can use all the power I have then I will look for more, maybe nitrous as these blocks will cope with a hundred or so more ponies. However, if I can use more power, then a rebuild would be required and it would be at this point that I would look at an alternative block. |
| |
|
|
|
|
|
|
|
Oct 20, 2019 14:42:05 GMT
|
Some info on light weight blocks. ( probably not usable, but still interesting) Crosley used to make a furnace brazed block made out of sheetmetal. Eventually they replaced it for a cast version, which was much heavier. crosleyautoclub.com/Mighty_Tin.htmlInteresting story :-) |
| |
|
|
|
|
|
|
|
|
I guess whores isn't a swear word so not picked up, but poor quality wobbly children's play pony? There, did it again :-)
This algorithm is on some pretty strong sh1t :-)
|
| |
Last Edit: Oct 20, 2019 8:25:47 GMT by nalesutol
|
|
|
|
|
|
|
|
Why did RR change r.ocking h.orse (without the periods) excreta to poor quality wobbly children's play pony exrceta?
|
| |
Last Edit: Oct 20, 2019 8:09:14 GMT by nalesutol
|
|
|
|
|
|
|
I love your approach to saving weight. You may be interested in this, they do this to some racing Small Block Chevy's. ( maybe you know a guy with a CNC machine willing to write a program for your block?) www.lsmeng.com/Block-Lightening.htmlThanks for this, obvious thing to do really. Using my modus operandi for weight saving, a little taken from a lot of places :-) However, most American V8 blocks are over engineered so can handle a fair bit of lightening. The Cosworth 20 block, although the best version of this block, is the weak point of the engine so lightening isn't as good idea, IMO. If I was to remove the engine to get the block lightened, I would sell the block (rare as poor quality wobbly children's play pony excecta) and replace with an aluminium version. smithandjonesengineering.com/blocks.html |
| |
|
|
|
|
|
Oct 19, 2019 22:35:48 GMT
|
If that was to be true, I still have around £750,000 to find :-) |
| |
Last Edit: Oct 19, 2019 23:49:57 GMT by nalesutol
|
|
|
|
|
Oct 19, 2019 19:53:24 GMT
|
And 90% of the costs  Hopefully not! :-) |
| |
|
|
|
|
|
Oct 18, 2019 23:18:33 GMT
|
Can’t be far off running now ? The last 5% takes 50% of the build time :-) |
| |
|
|
|
|
|
Oct 18, 2019 21:30:20 GMT
|
Sorting out EGT. 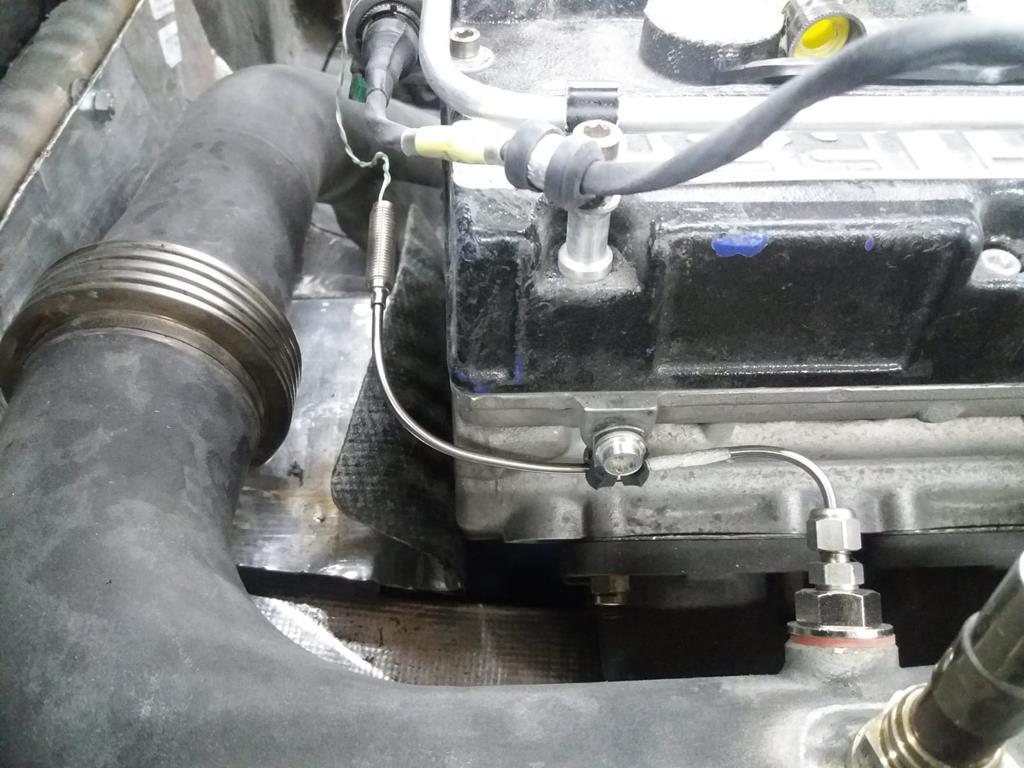 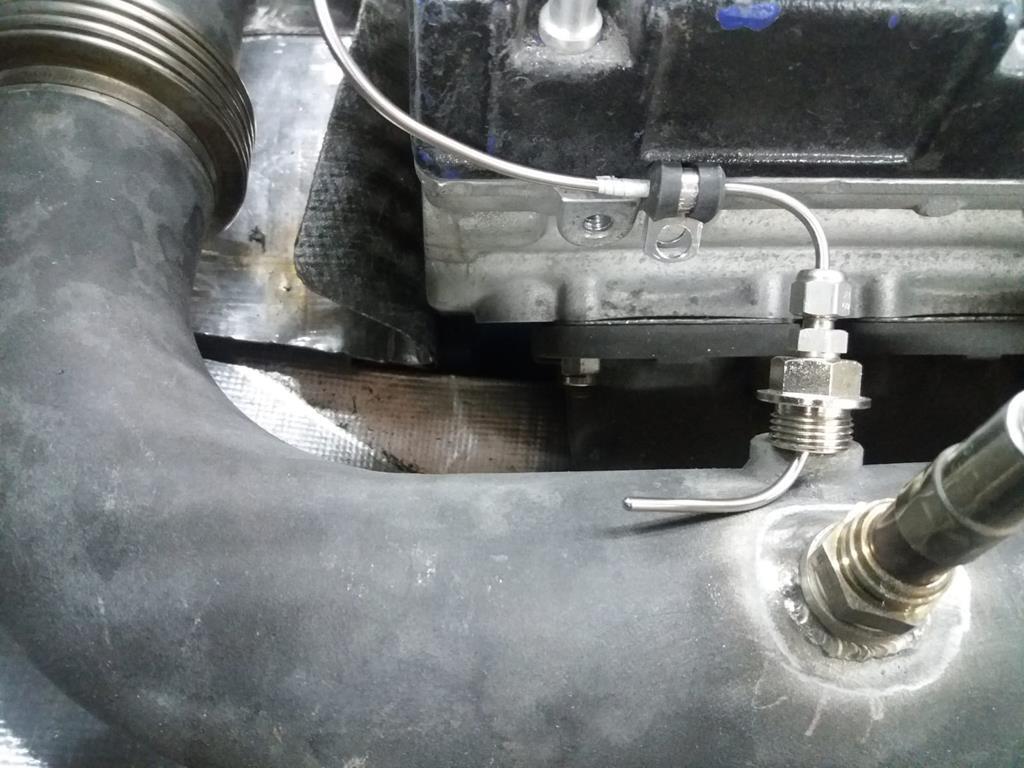 |
| |
|
|
|
|
|
Oct 18, 2019 20:51:06 GMT
|
Started to play around with the air curtains again. 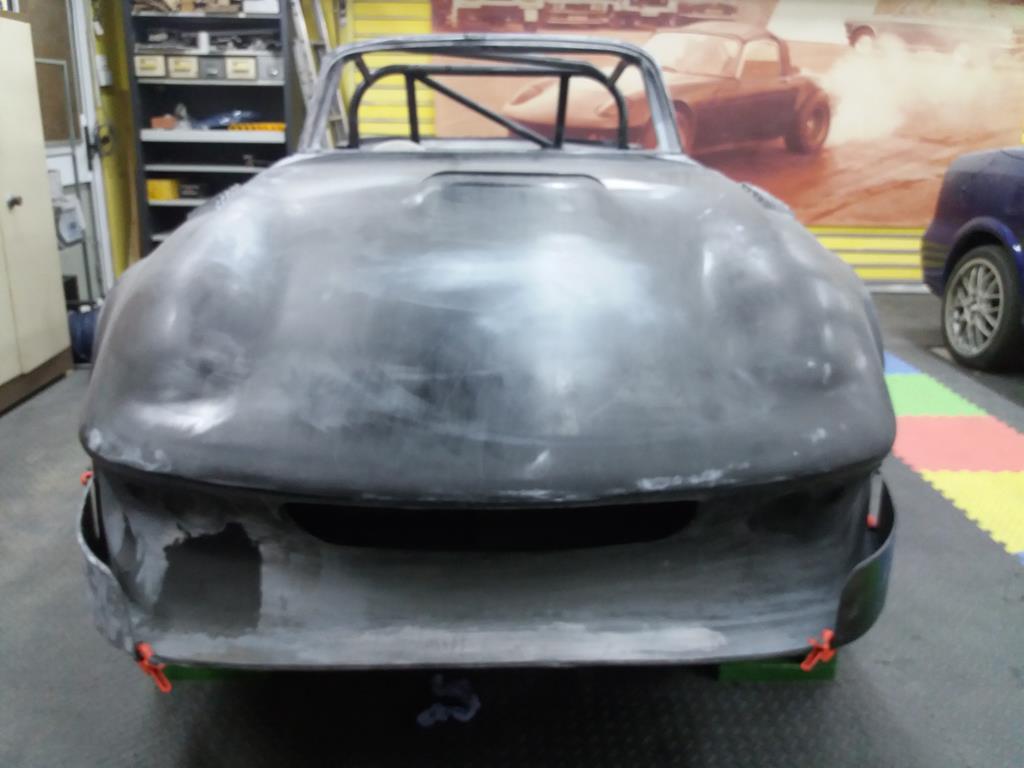 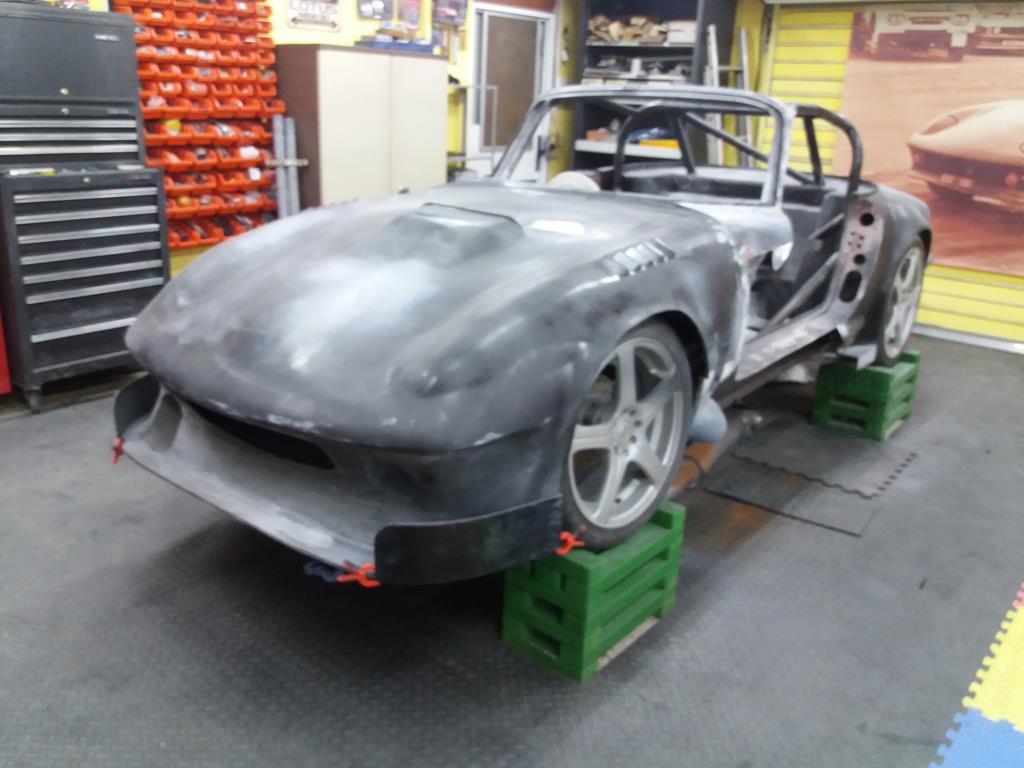 |
| |
|
|
|
|
|
|
|
Would nylon washers work? Lighter even than aluminium Good point, but I am not anal about weight. Oh, hang on, I am :-) I have some bar so I will experiment and report back |
| |
|
|
|
|
|
Oct 17, 2019 22:56:32 GMT
|
The last 5% of a project takes around 50% of the total project time :-) Made fine adjustments to the radiator's alignment using washers. Angle is now right so I replaced washers with aluminium spacers knocked up on the lathe. Parting things like these has always been a bit messy but I discovered why today, the parting tool was too tall so the cutting edge was above the bar's centreline! Why hadn't I noticed this before? Anyway, a few minutes attacking it with bench grinding wheel sorted that issue out. The new spacers saved around 15gms. Trimming the four rubber mounts' studs and replacing steel nuts with aluminium items removed a further 22gms. I have decided to keep a tally of the tiny weight shavings for a week to see just how much they add up to. OCD, maybe, but I find it fun and that is what counts to me :-) 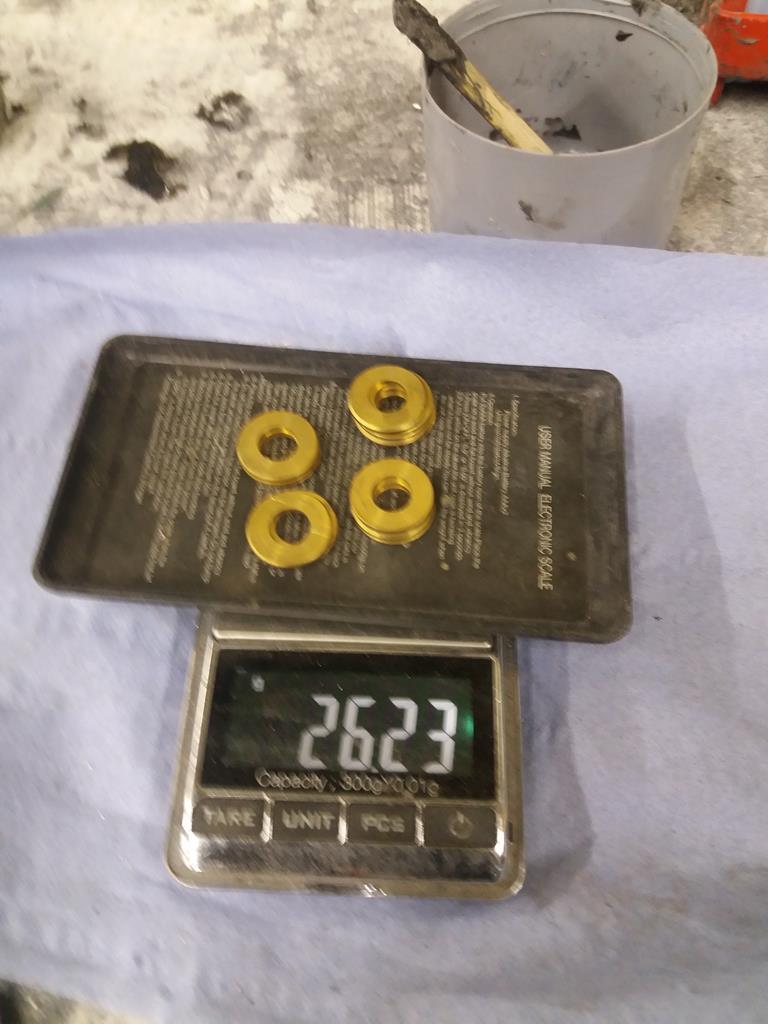 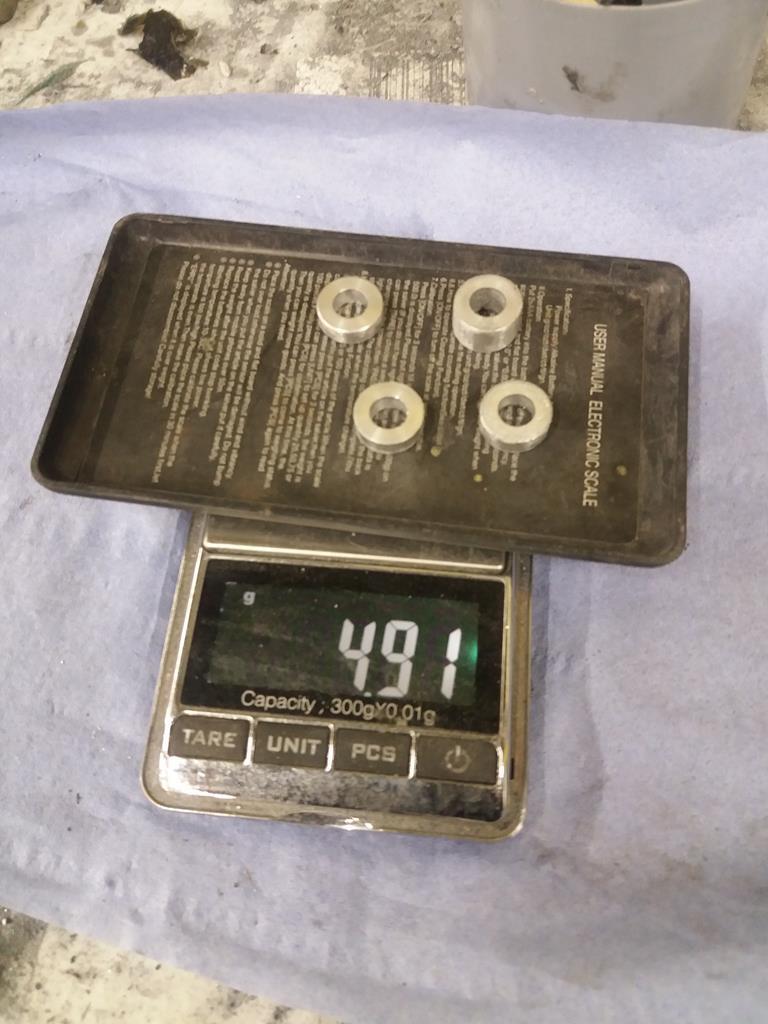 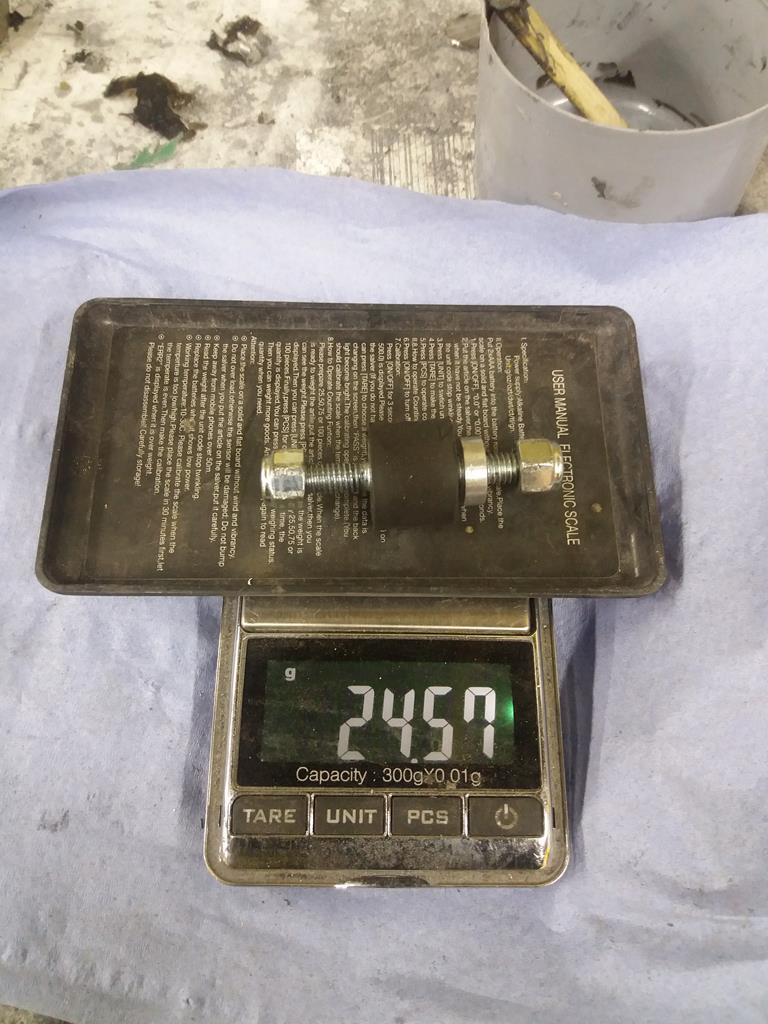 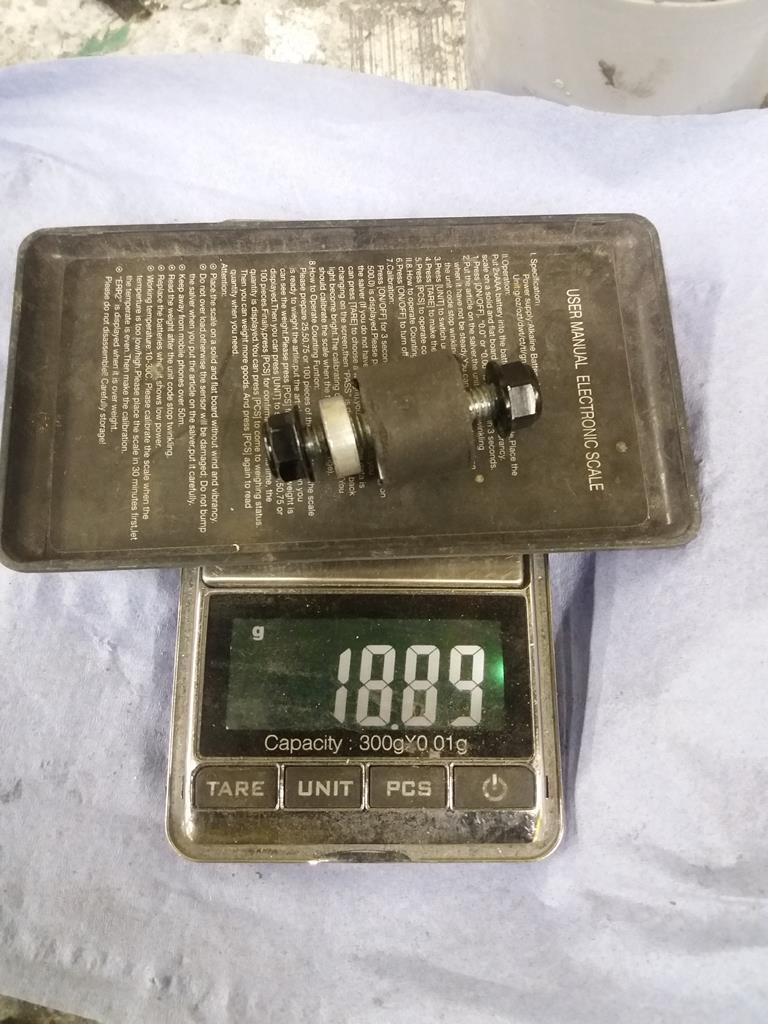 |
| |
Last Edit: Oct 17, 2019 23:24:12 GMT by nalesutol
|
|
|
|
|
Oct 14, 2019 13:48:52 GMT
|
|
It would work if I could fit it but, even screwing it in before installing the pipe, it fouls the cam cover.
|
| |
|
|
|
|
|
Oct 13, 2019 23:12:02 GMT
|
Two steps forward, one step back. The modifications to the section of exhaust shield on the passenger side of the engine bays is progressing well. The little curved cutout is to allow more clearance for the water temp sensor wire. However, I came up against an issue on the shield next to the turbo. On trying to install the Lambda sensor it fouled the cam cover! B.u.g.g.e.r. Solution was to swap the Lambda and EGT sensors. Although this required alterations to the threads, not a difficult job in itself but it created another issue as the Lambda now sits higher than the shield! That word with the full stops in it. Rather than completely rebuild the shield I accommodated the sensor by allowing it to protrude. Hopefully this will work. 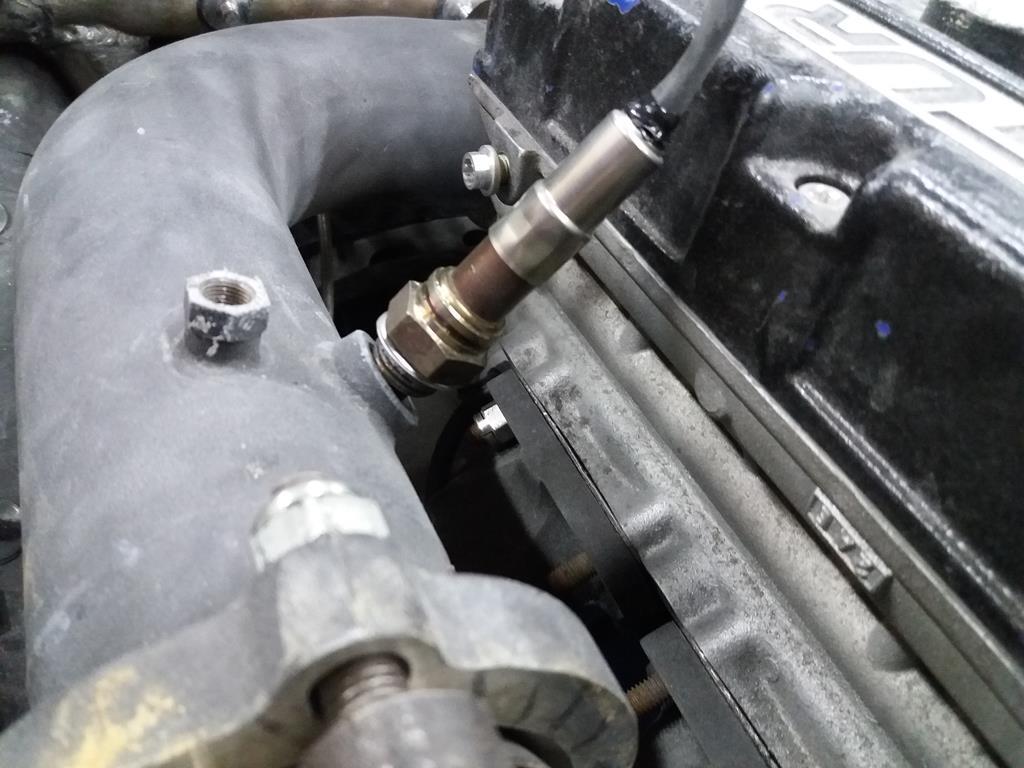 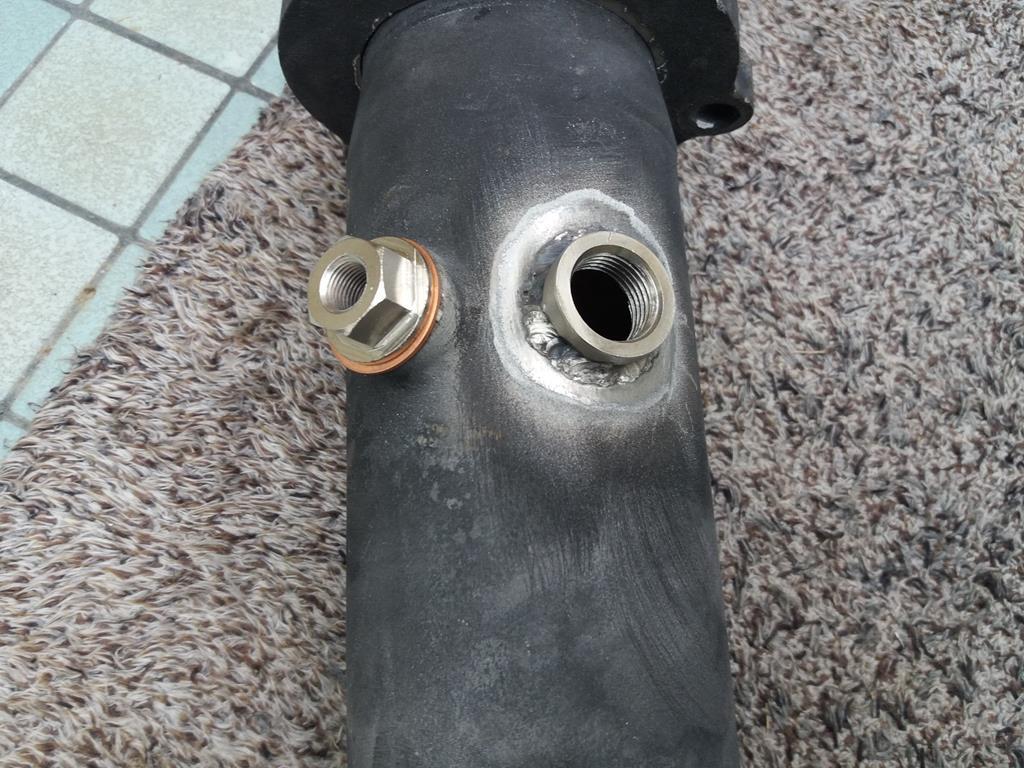 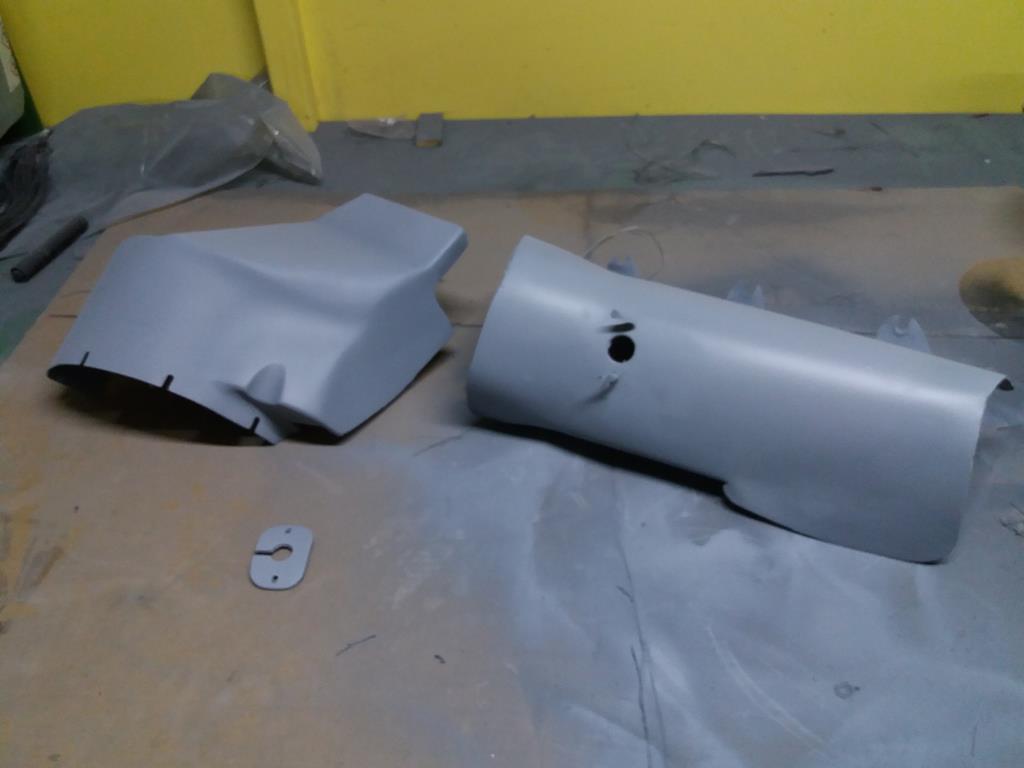 |
| |
|
|
|
|
|
|
|
Dug out the old CAD system in order to make a mould for a modification to the heat shielding. 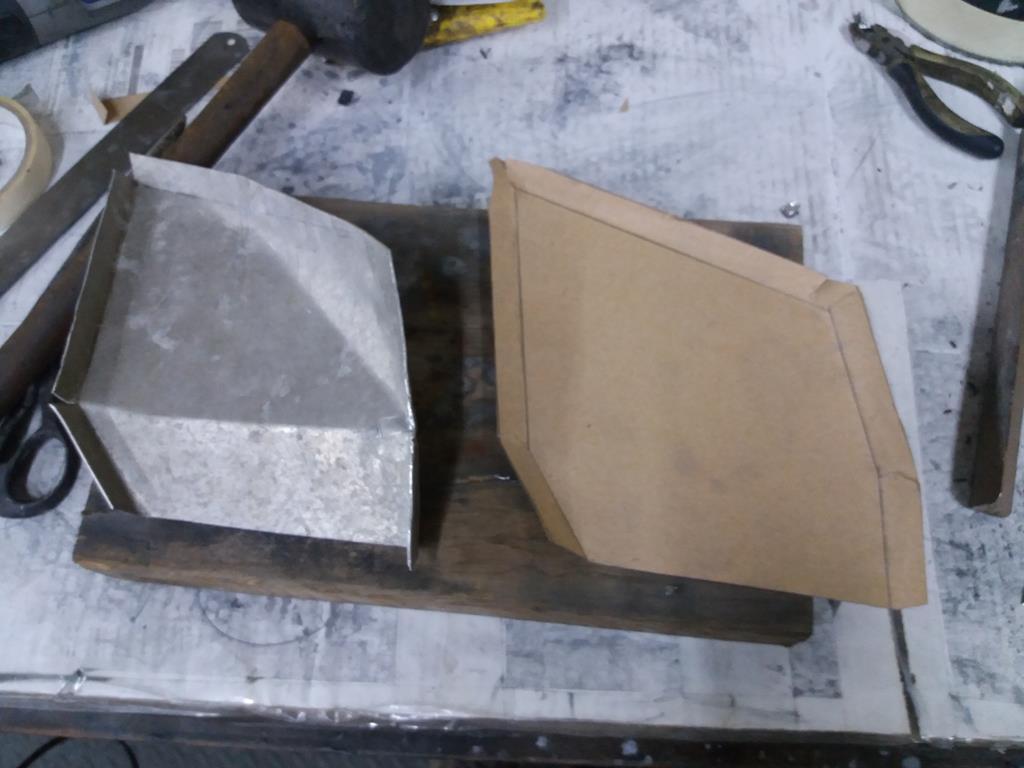 |
| |
Last Edit: Oct 7, 2019 10:50:27 GMT by nalesutol
|
|
|
|
|
|
|
This might be a silly question, but why have a heat shield with holes in so it lets the heat out? Surely the idea is to keep the heat in / away from something. Am nearing exhaust work myself so interested in this. In the engine bay, I agree. However, this is an external cover so letting the heat out helps to reduce the heat getting into the passenger compartment. The photo below shows the exhaust box cover prior to the heat shield material being added. The inner sill behind and above the box will also be covered with Zircoflex I. 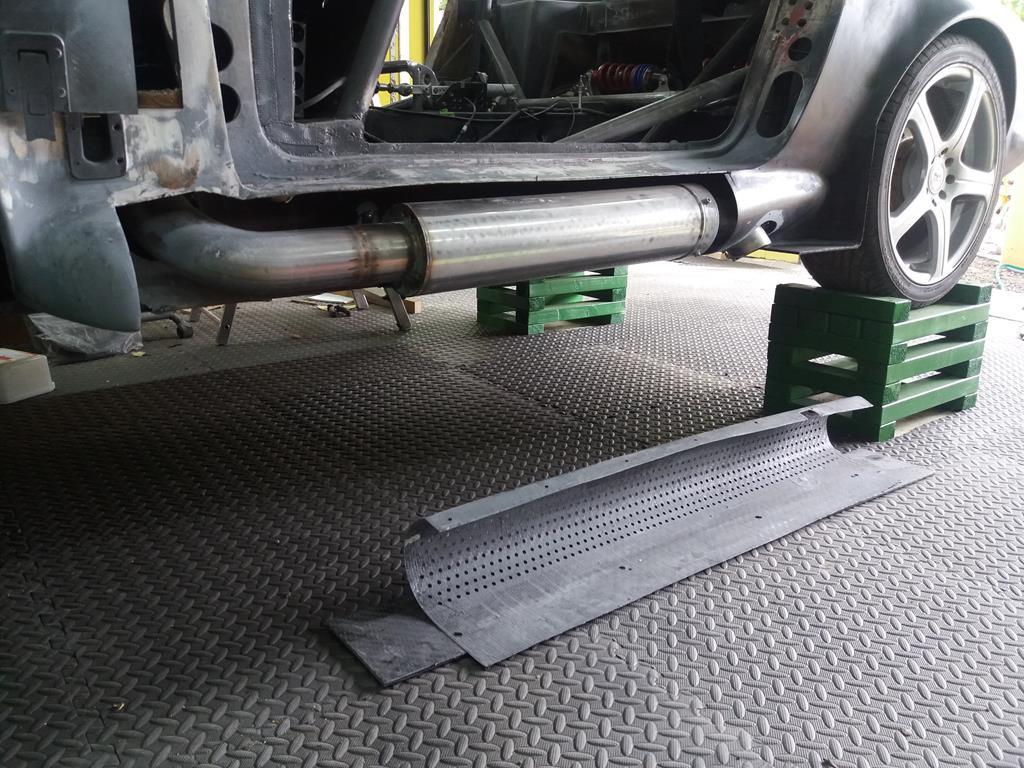 |
| |
Last Edit: Oct 4, 2019 14:13:42 GMT by nalesutol
|
|
|
|
|
|
|
Aren't you going to weigh the bits?  No need as they aren't lightening holes. They allow heat to escape from the area around the exhaust box. The holes were in the original steel panel and I duplicated them in the carbon version. . . . . . . . . . . . . 4gms :-) |
| |
|
|
|
|
|
Sept 30, 2019 17:43:22 GMT
|
All holes punched out. 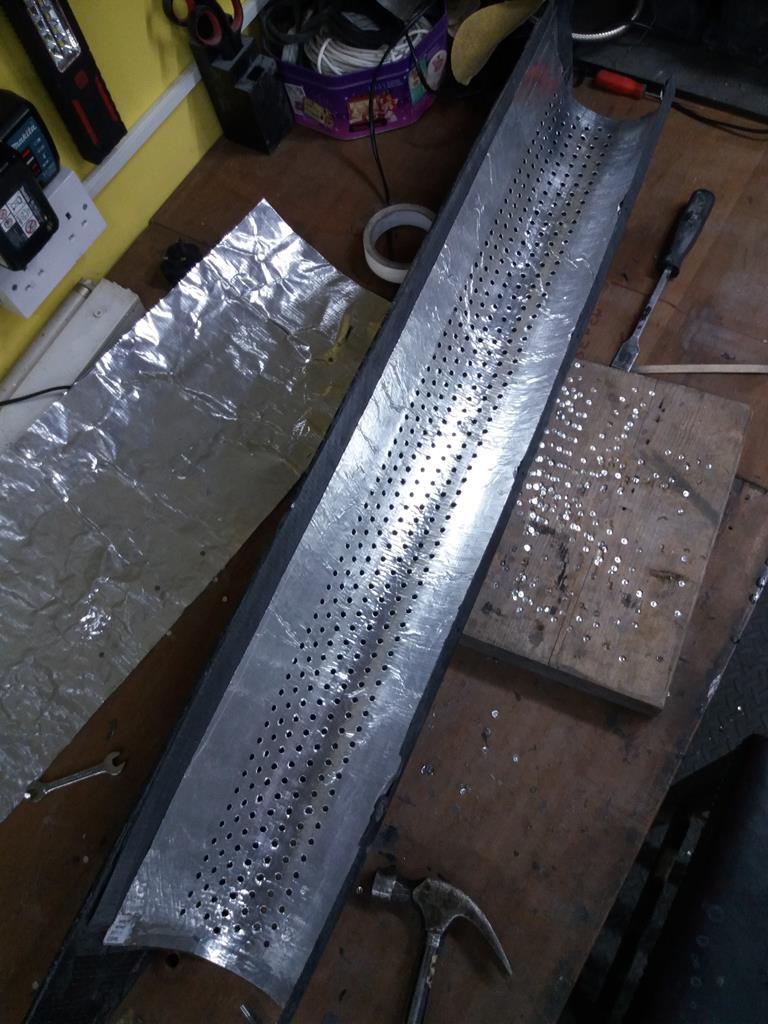 |
| |
|
|
|
|
|
Sept 29, 2019 17:57:25 GMT
|
Continuing to add heat shield. Using ZircoFlex I on the exhaust box surround as the temp will have reduced somewhat. Only 426 holes left to punch out :-( 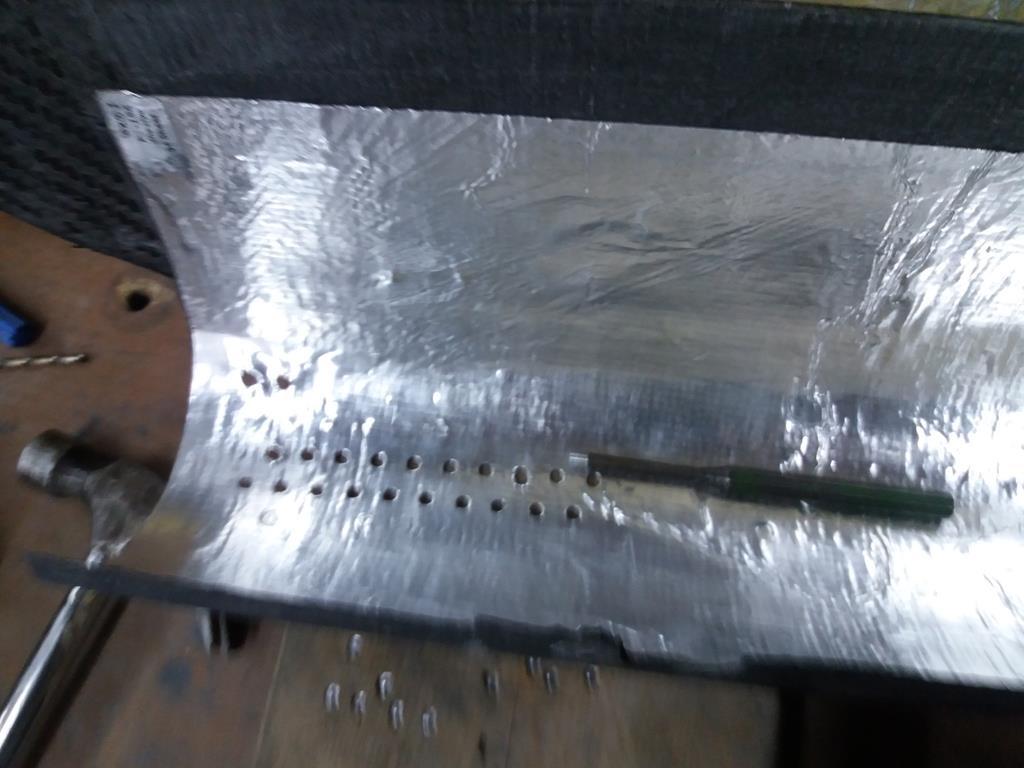 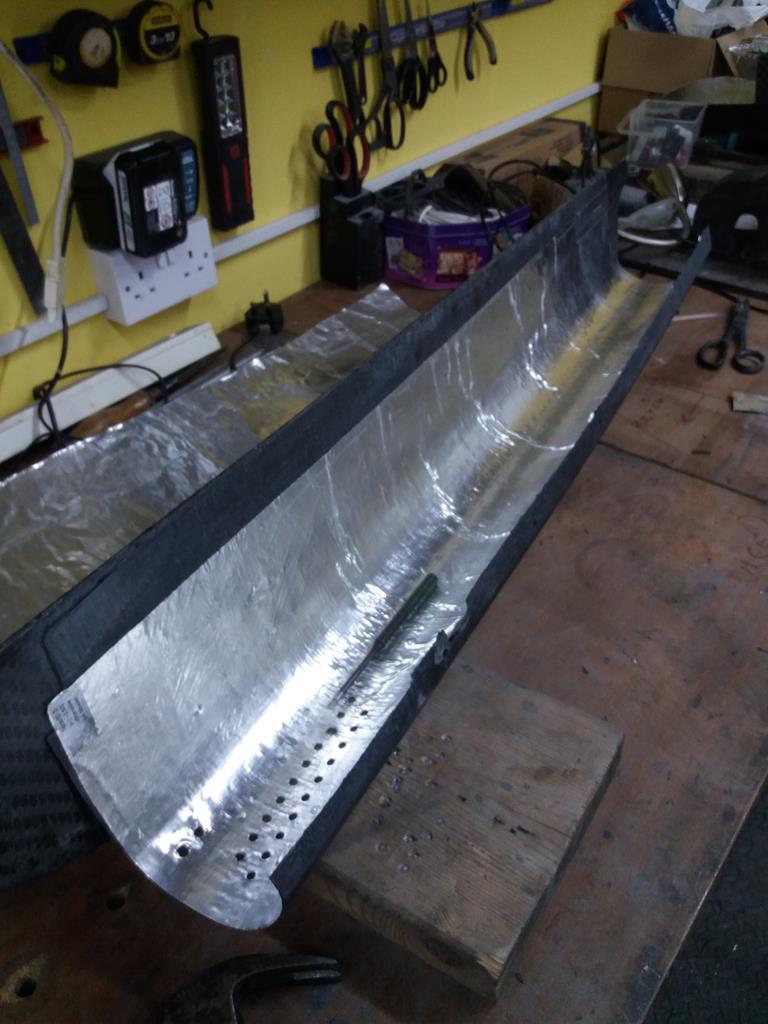 |
| |
|
|
|
|
|
Sept 29, 2019 9:38:48 GMT
|
Don't you just love working on cars! It is always the most awkward bolt/nut that breaks or rounds or shears off! Well done on getting it sorted.....and inspiring us with your work. And it is nearly always the last one :-) Thanks, but I hardly think my amateurish efforts would inspire anyone, I see far better stuff all over this site that is way beyond my capabilities. |
| |
|
|


