|
|
|
Jun 15, 2022 12:03:14 GMT
|
|
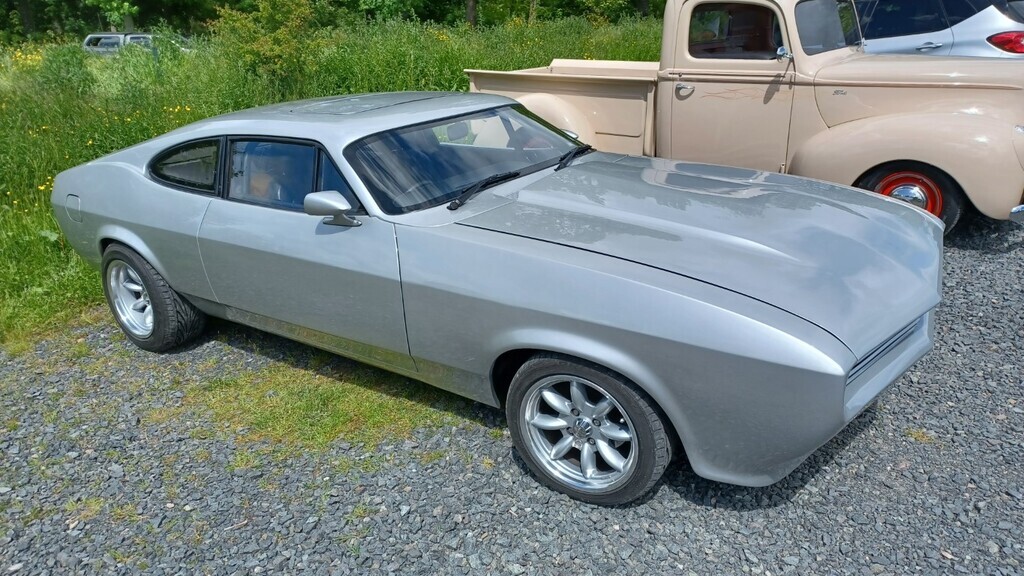
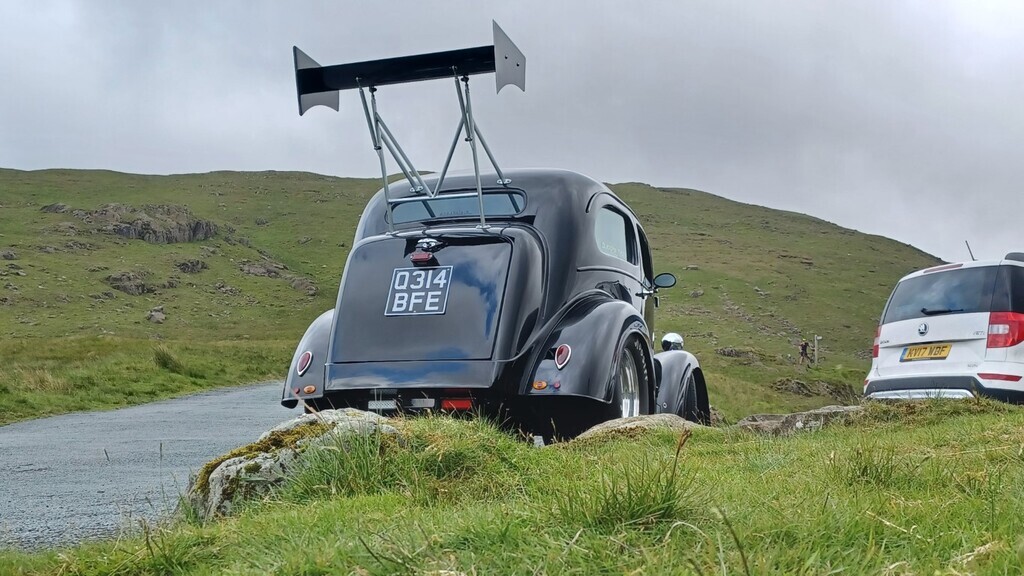
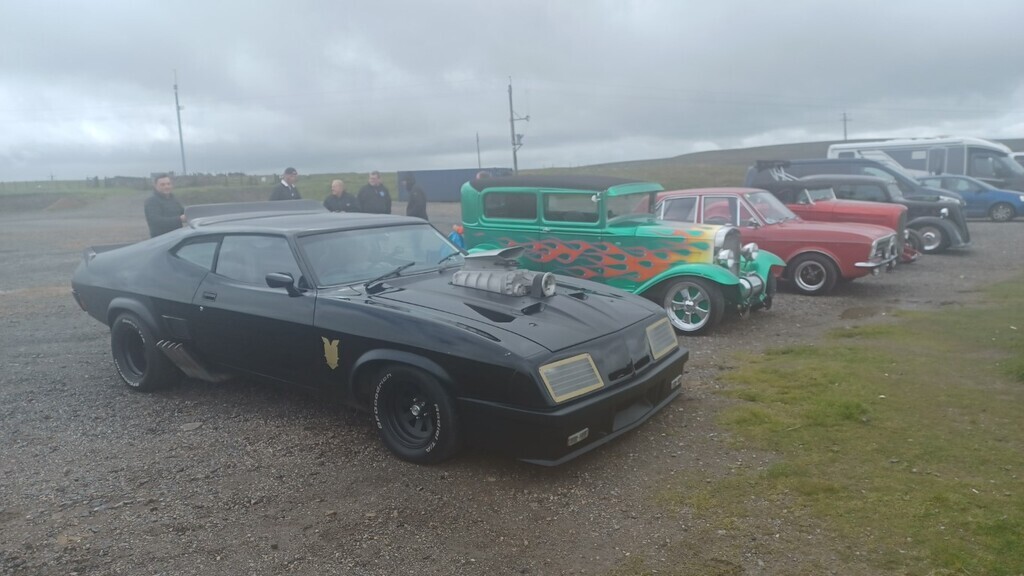
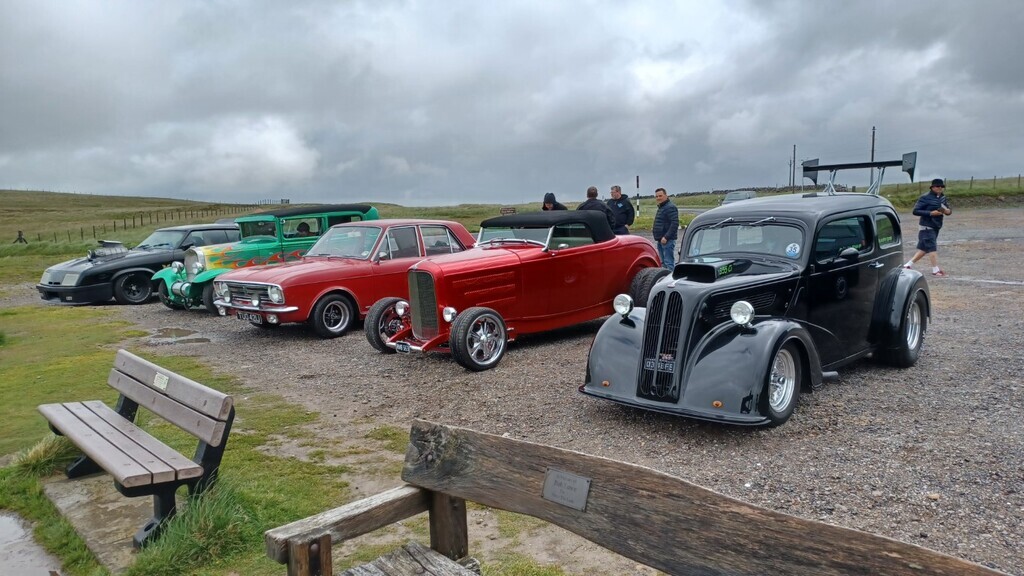
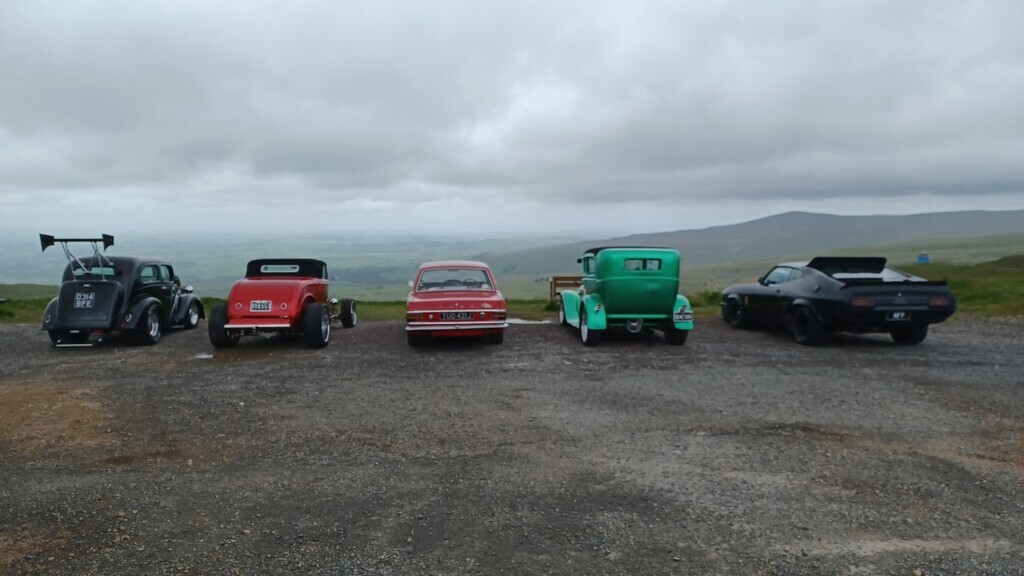
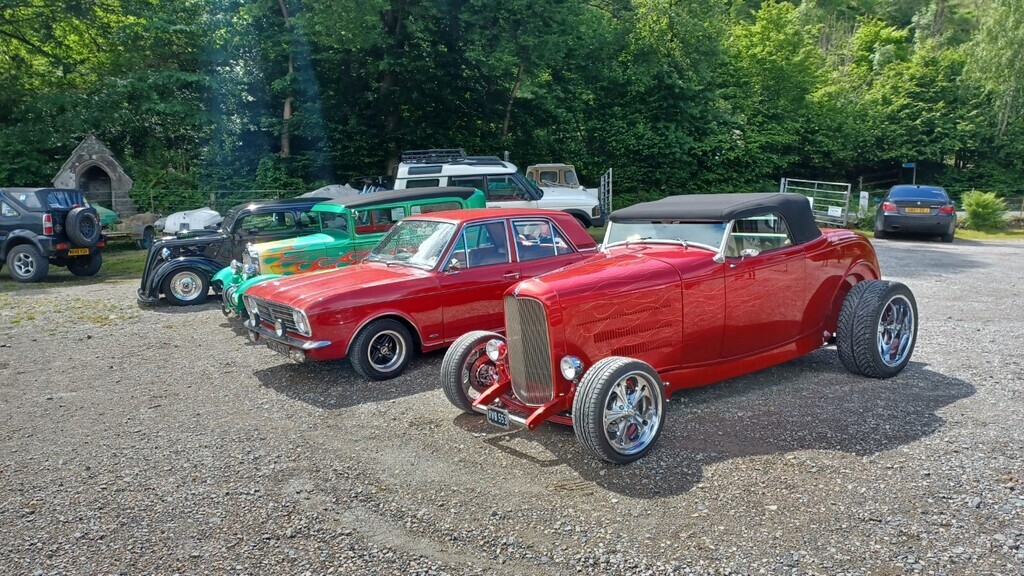
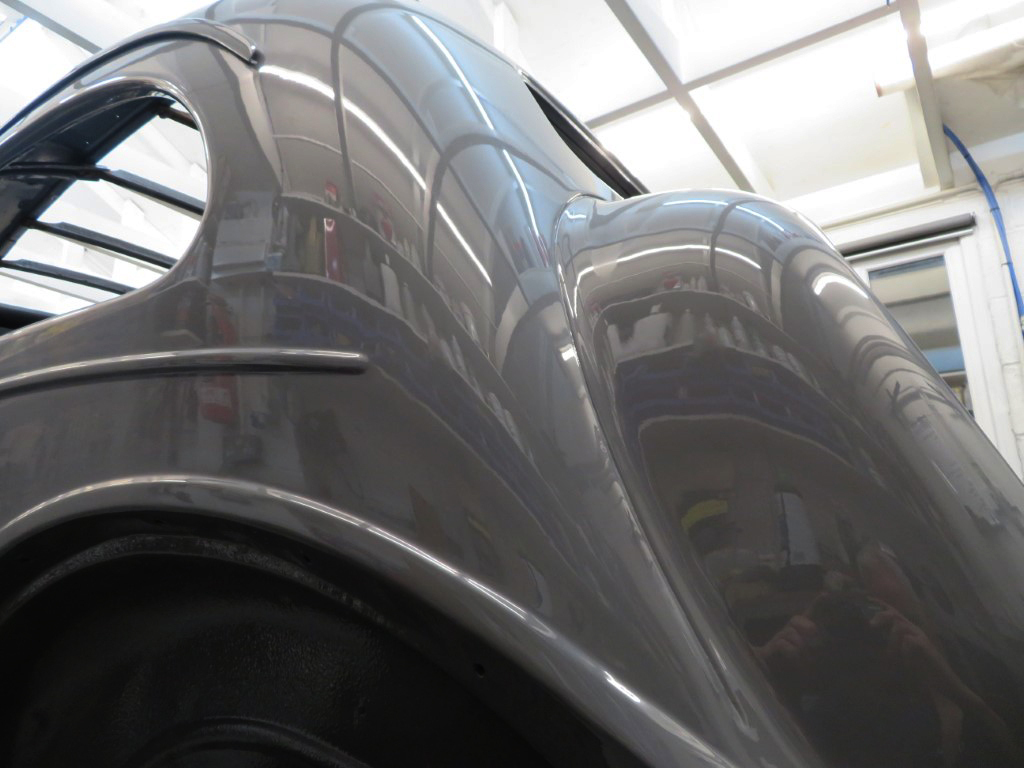
Yes, the Capri the guy bought from new, modified after one year and its been like it since. Amazing condition for such an old build. He was explaining the work involved in it - so many subtle mods you would not realise without a std Capri sat next to it. Astonishing amount of detail work in it.
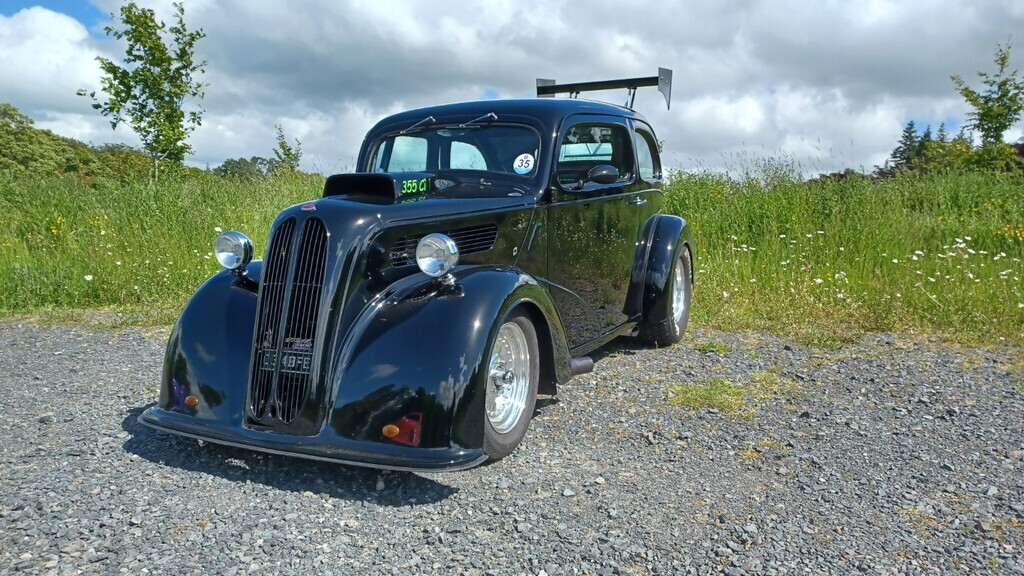
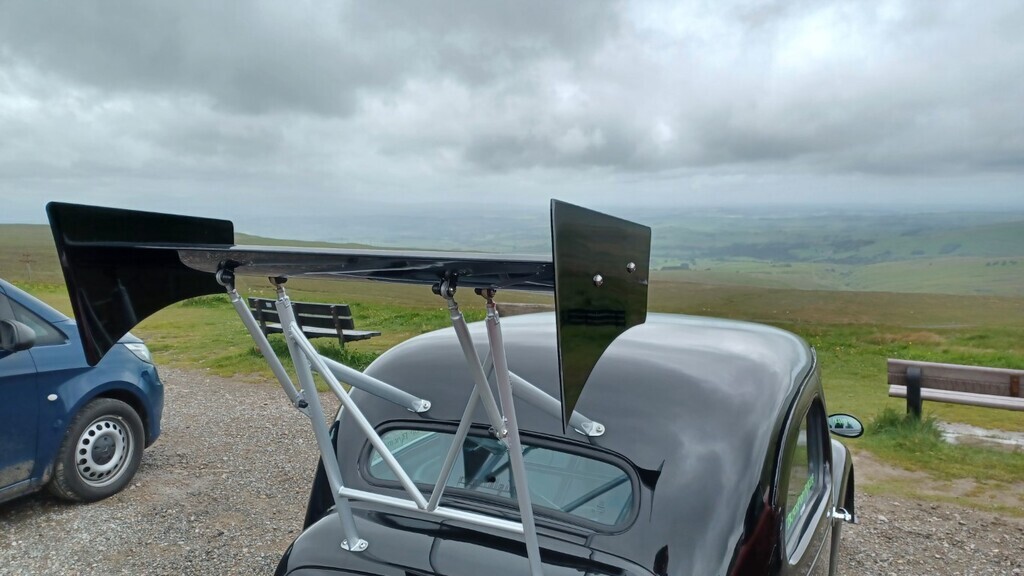
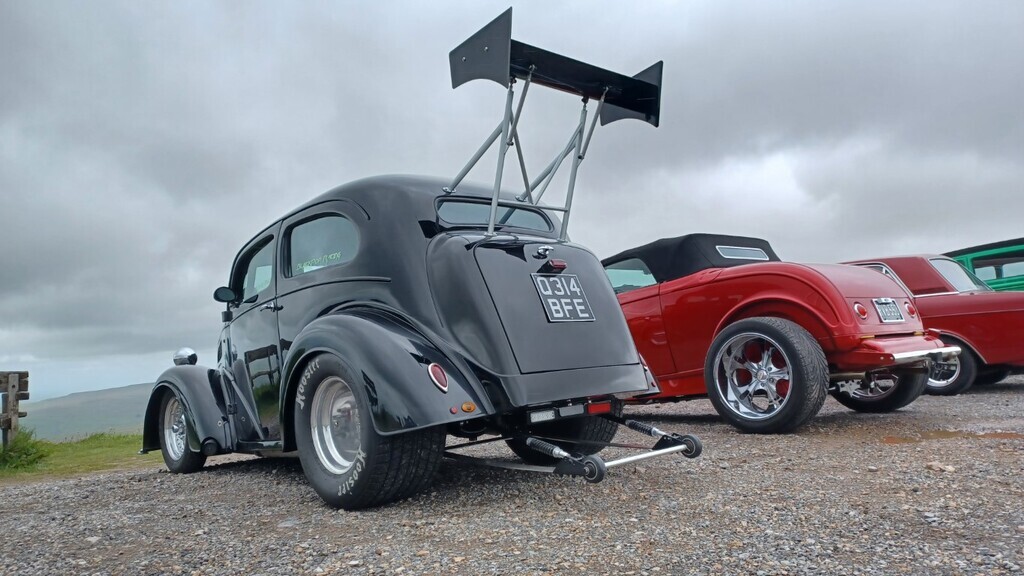
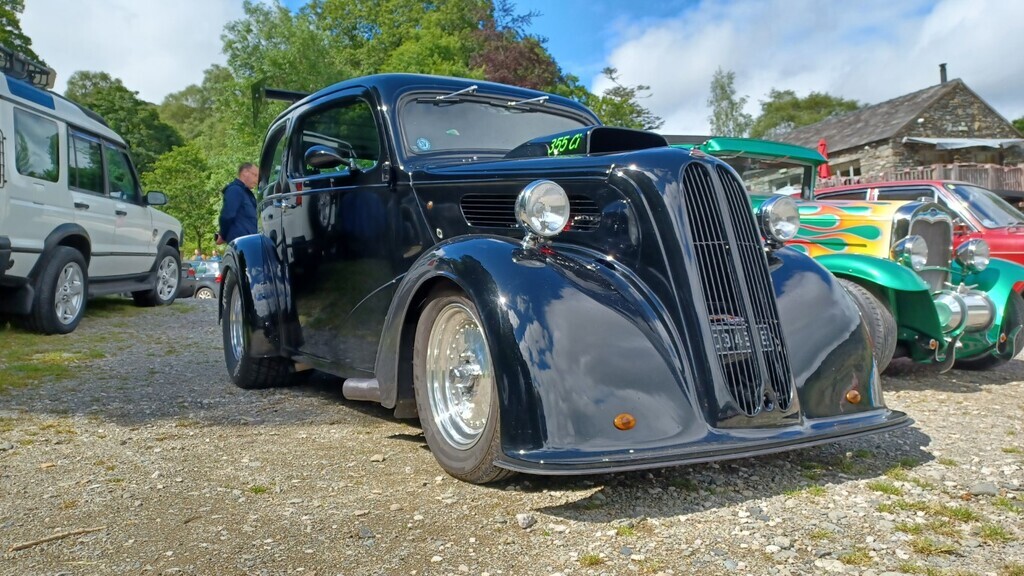
Yes the Falcon is a Mad Max replica, looks very true to the original film one.
|
| |
|
|
|
|
|
|
|
Jun 14, 2022 22:54:05 GMT
|
|
|
| |
|
|
|
|
|
|
|
The little suprise for Phil is this - a little reminder of it's former glory, hope he likes them  This is a trial one, might change the placement and text style a little for the others. Text is actually central - just looks off in the photo.  |
| |
|
|
|
|
|
|
|
|
Johnny, it's Guy Davenport on Facebook for when you need some.
|
| |
|
|
|
|
|
|
|
Ginger biscuits look yummy |
| |
|
|
|
|
|
|
|
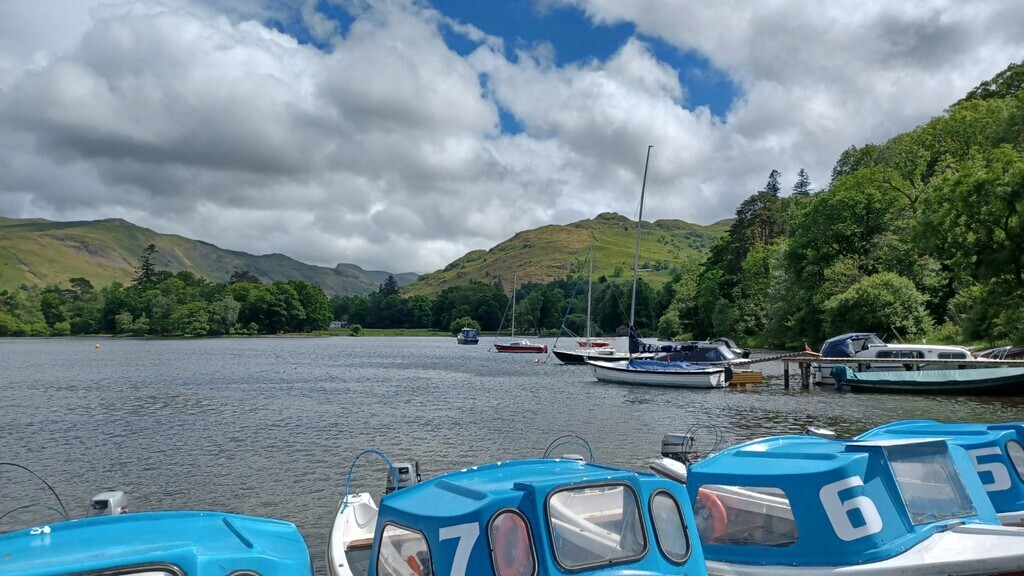
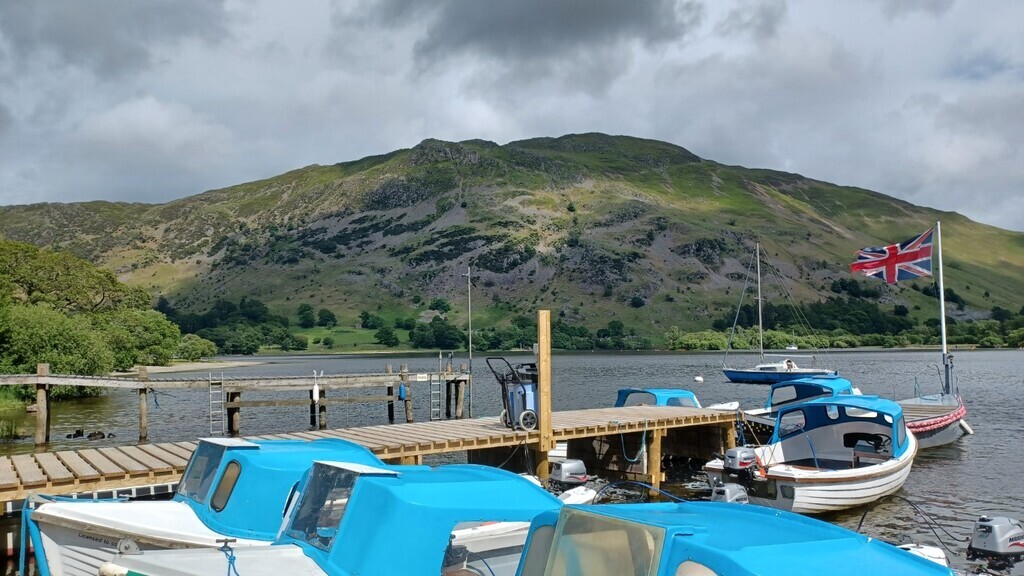
Nothing very exciting to report tonight, Phil came over to pick up all of the camping gear for the weekend as he's taking the van he's putting everyone gear in that so our cars are not crammed full. We looked over the car and made plans and after he left I got on with some of the less exciting jobs but nonetheless important ones. With the back of the car on jacks I tightened the compression joint on the fuel line (I forgot it last night) and then whipped the wheels off so I could get around to greasing the lower hub shafts and outer bearings. With a freshly loaded grease gun both lower shafts were pumped full until they squirted out of the top outlet holes and the the bearings were pumped in via the top vent cap access holes, this took 1.5 guns of grease to complete - I had been warned it would use plenty! With that done I sorted out the wheel centre caps and gave them a polish on the polishing mop, cant quite get them like chrome as they are some kind of aluminium alloy so won't polish fully but they came up quite well. I have a little suprise for Phil with these but you will all have to wait to see what it is  We still need to mop the rims to bring back the shine as well as order new wheel nuts for them. 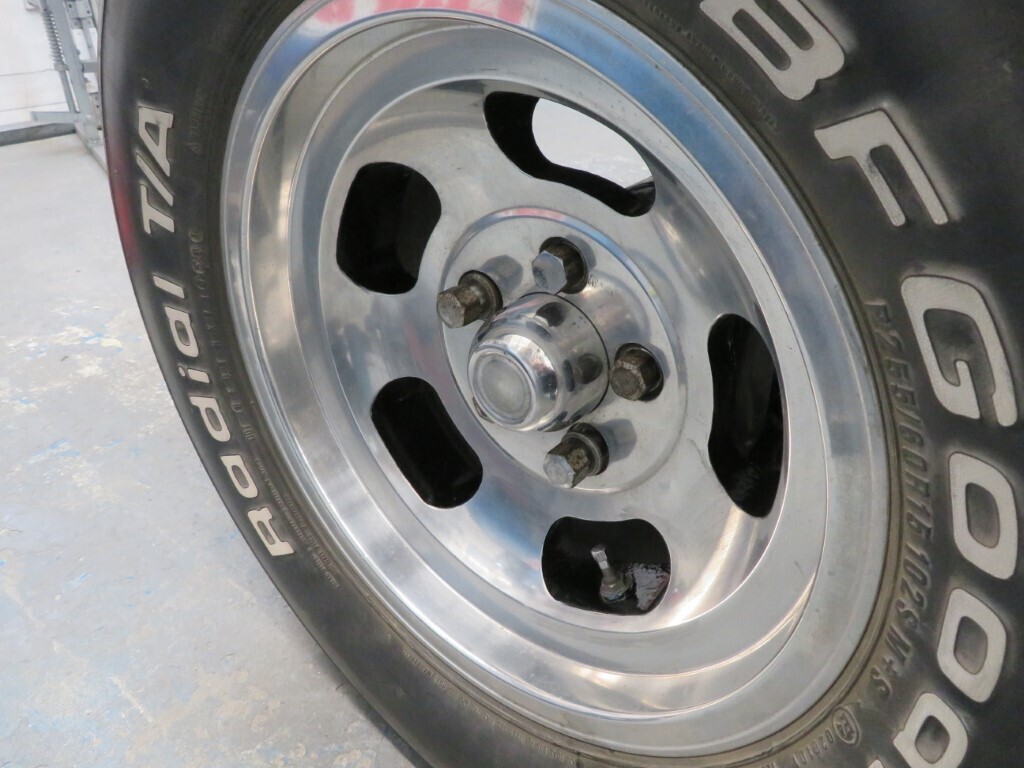 Then it was another small job, refitting the alternator - mmmmm.....shiny...... 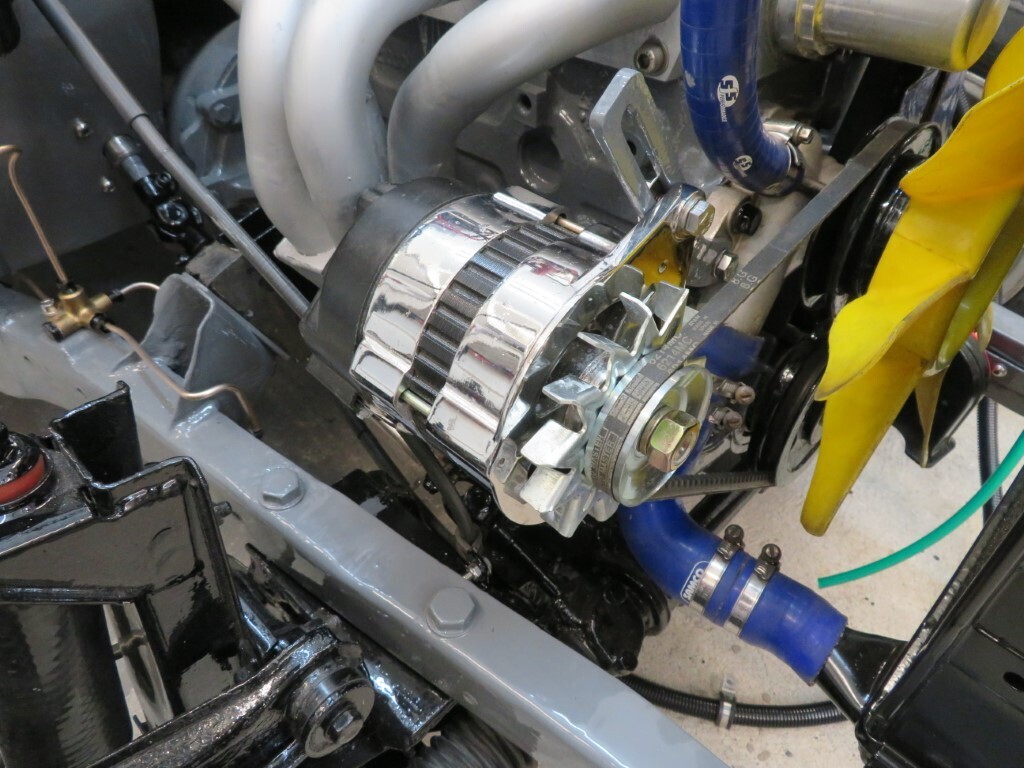 And more small jobs of bonding the cable tie fixings to the body. These are self adhesive, but I've chosen to strip them with Acetone so they can be bonded on with Sikaflex as I've found hot roofs/body panels let the adhesive ones peel off after a while and I don't want the loom going astray. 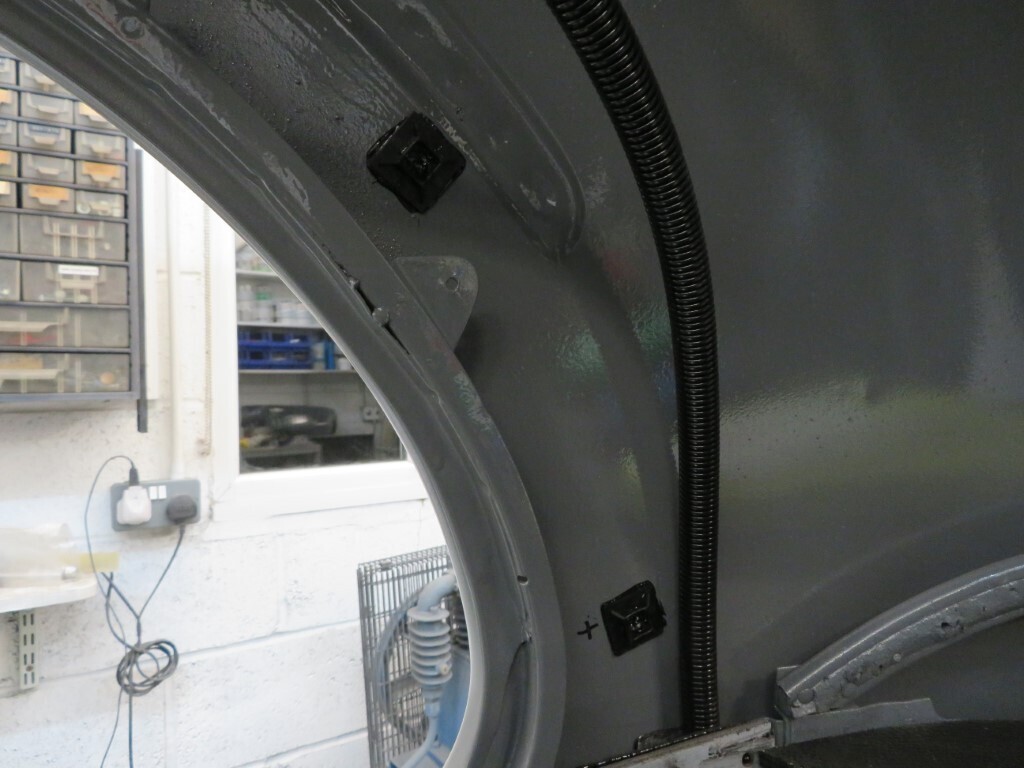 No more progress till next week as we are off at 7am Thursday for a 5 day cruise around the Lake District, maybe some photos from that though. Gonna be expensive on fuel this year at nearly 1,000 miles at under 20mpg with the stupid fuel prices now  968.5 hours. |
| |
|
|
|
|
|
|
|
|
Johnny, that is Phil's take on it as well.
|
| |
|
|
|
|
|
|
|
|
Agreed, the tank plumbing is not the easiest to get to, so you don't want to be replacing it often.
Hose is nice and flexible (but still tight) over the olives as well.
|
| |
|
|
|
|
|
|
|
|
Common consensus in hot rod world is to skip the in rad cooler(heater) and just plumb in the trans rad. I think this is to avoid corrosion issues with old rads as water can get into the trans fluid if the tube rots out.
|
| |
|
|
|
|
|
|
|
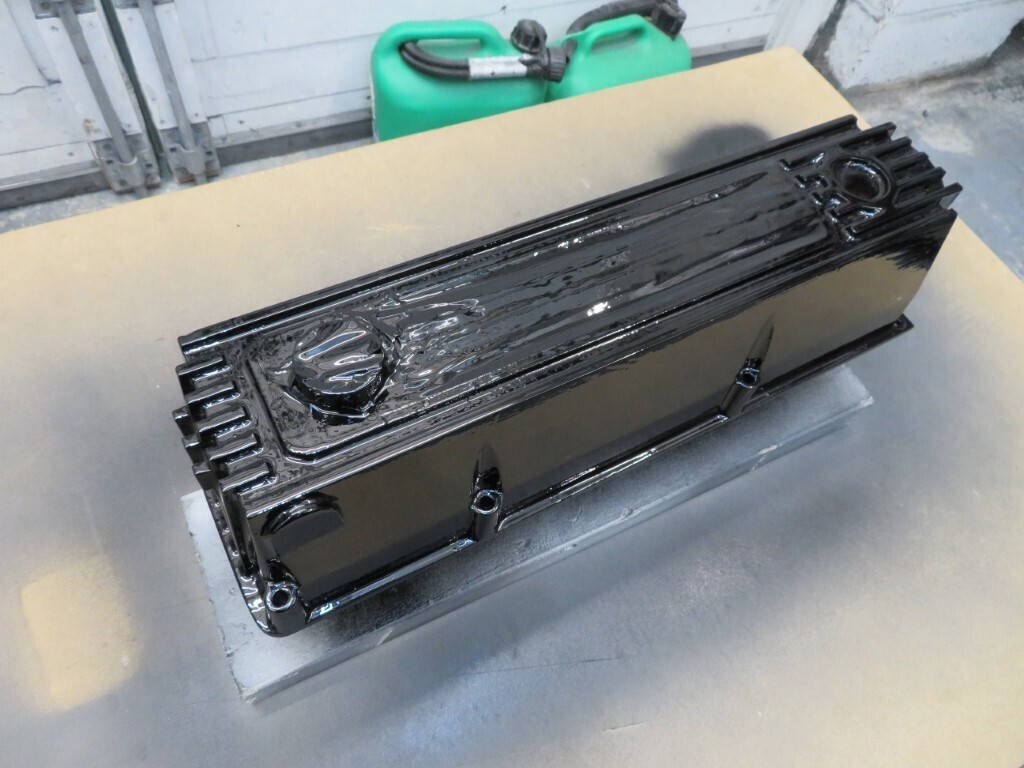
^^^ Thanks. Tonight all the pedal assembly got put back together & refitted to the car. Throttle cable secured and adjusted, just needs the throttle stop made in the floor to complete it. 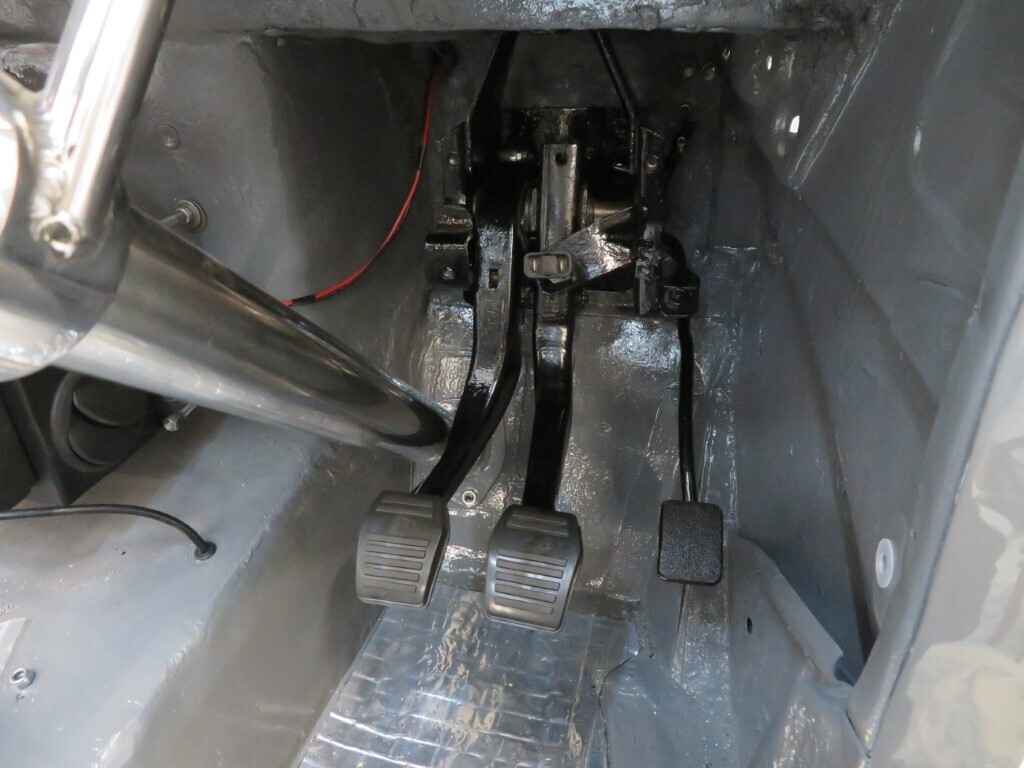 Coil & Rocker cover looking good, I need to paint the inner section next.  The proper Cohline ethanol proof fuel hose arrived today, this is the real deal - not the rubbish stuff that cracks in under a year. Available from A1 Hydraulics in Leicester.  So now the whole fuel system is fitted & complete, another job ticked off the list. I fitted olives from a compression joint at each end of the pipes as well, just carefully cutting off the nut afterwards.   966.5 hours. |
| |
|
|
|
|
|
|
|
Cheers Norman, the finish line was meant to be last weekend - seemed to have missed that by a country mile as we were all meant to be off around the lake district this coming Thursday. Phil will have to go in his works van unfortunately  The next big target is the Hot Rod Supernationals in August - should be fine but I am in Greece for 3 weeks of that time and 5 days in the Lake District! We should be fine for this though, even if we don't quite finish the interior in time. |
| |
|
|
|
|
|
|
|
|
Good idea. This is a typical hot rod with mismatched parts really, it's an Escort van pedal box so I suspect the original van carb had a longer pivot bracket on it.
It's fine now and with a throttle stop under the pedal it will not cause any future issues.
|
| |
|
|
|
|
|
|
|
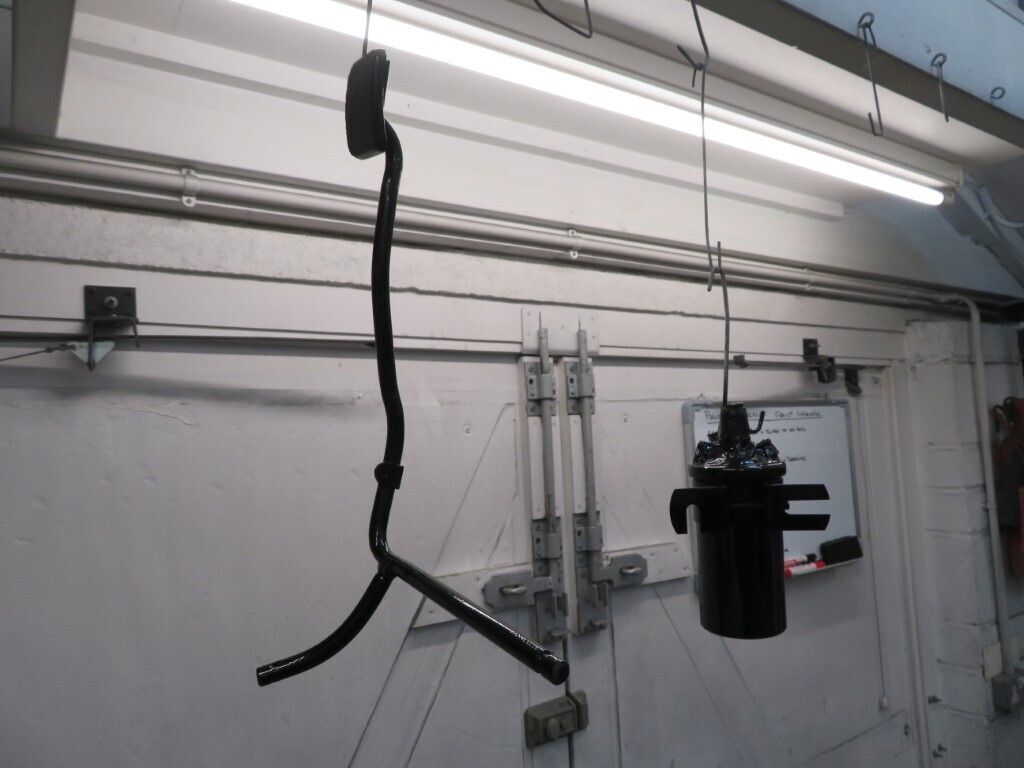
Well today was a 1 step back and 2 steps forward day. Phil came over and I got him sanding back and cleaning up his Burton camshaft cover. I carried on from yesterday fitting the cables to the bonded on wire fixings and touching in some grey bits where I had primed yesterday. I then showed Phil the proposed throttle stop plate idea, but I also pointed out the very small travel of the throttle pedal from idle to wide open throttle and also that the throttle pedal top section was about 10mm too short for the cable entry in the bulkhead, so the cable had to angle downwards. Further mulling on this resulted in this happening; 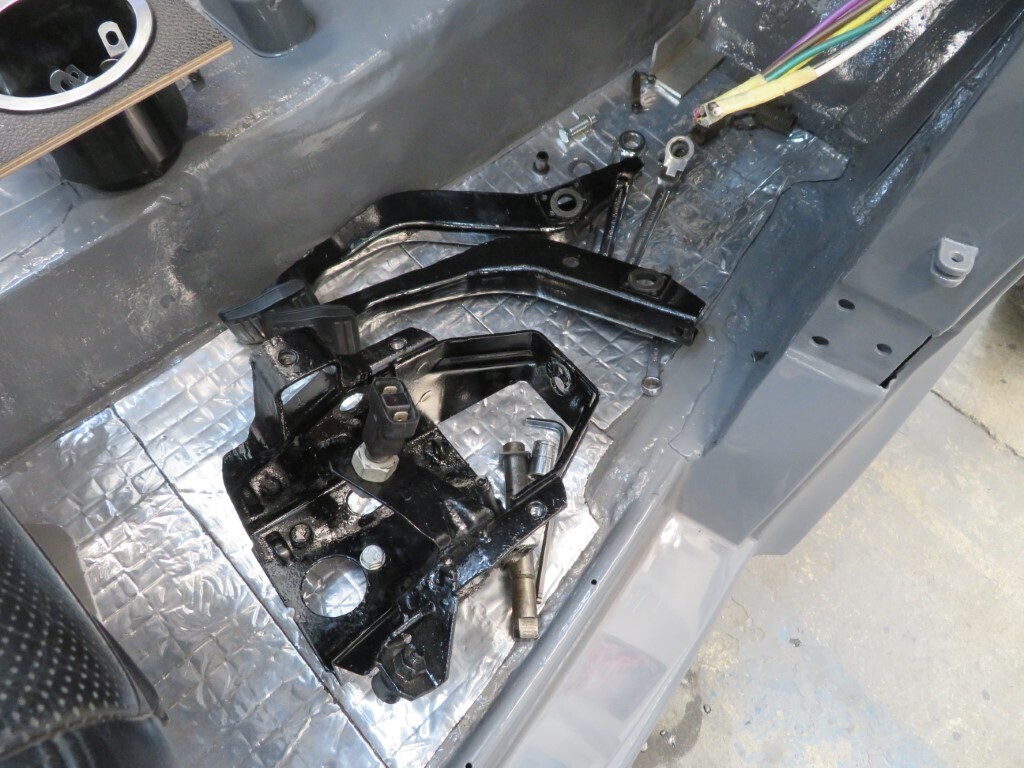 Yep, the whole lot came out to be modified. Turns out the throttle pedal ratio was less than 2:1, must have been a sensitive throttle before. The issue for me was the pedal had about 4 times more travel that the carb, this might explain the bent carb linkage I had repaired a while back. So with a bit of careful measuring the bulkhead was re-drilled and the pedal arm shortened by 45mm each, resulting in just over 3:1 ratio and almost double the travel of the pedal for idle to wide open throttle. It will still need a throttle stop, but now a much smaller one and the throttle should now be much more progressive and easier to control. With that done I mixed up some black paint and painted the pedal arm top where it had been modified and the coil that had been primed yesterday.
 Phil had finished the prepping ot the Burton cam cover and masked up the top section, so a couple of coats of black were laid down on it as well. I'll detail the top section later. While the pedal assembly was out we shortened the brake fluid level conduit and also trimmed down the column bottom location tube as the clutch pedal was just catching it at full depression, as everything in that area was dissassembled it was an ideal opportunity to do this. With the cut edge painted up and dried it was reassembled, the pedal box will be reassembled tomorrow. We did a few other small jobs of reassembly on the car and discussed a few options on other items like the screenwash bottle location and the order of assembly for the headlining, roof panel and glass in the car. It does not sound like a lot now I've typed it out but that was another afternoon session used up, the little jobs can sometimes be the most time hungry. 964 hours.
|
| |
|
|
|
|
|
|
|
While Phil was out boozing at a street party I was busy working on his car. Not nuch to show for the work as it was all detail work. A few parts got touched in where required and the passenger inner wing got fitted to see how wiring would go and also to see the coil fitment. 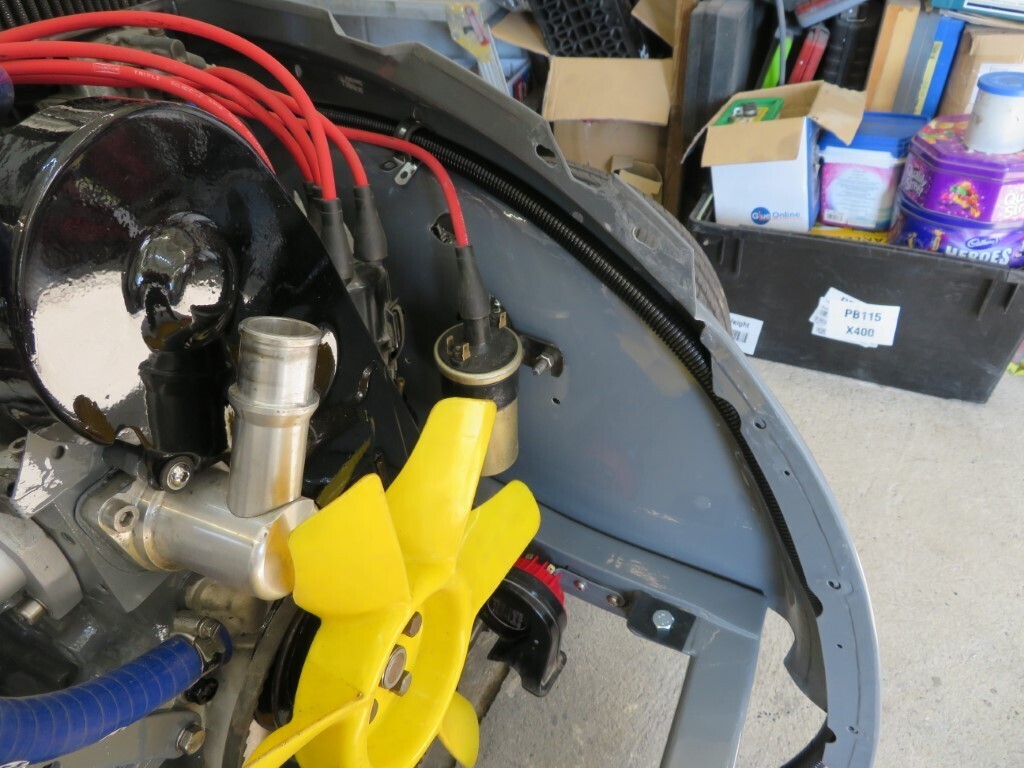 Hmmm.....coil looks drab - so off it came and its now in primer It will be gloss black tomorrow. Then the horn got fitted. Chassis was drilled out and 6mm steel rivnuts fitted. I tested the horn after and it was very flat sounding - removed it and tweaked the tuning screw and it was nice and loud. Refitted it and it was dull again??? Some testing later found that it needs separating from the chassis as a solid mount ruins the volume - so a rubber spacer was fitted between the chassis & the bracket and it now stays at full volume. The spacer will get trimmed better at a later date. 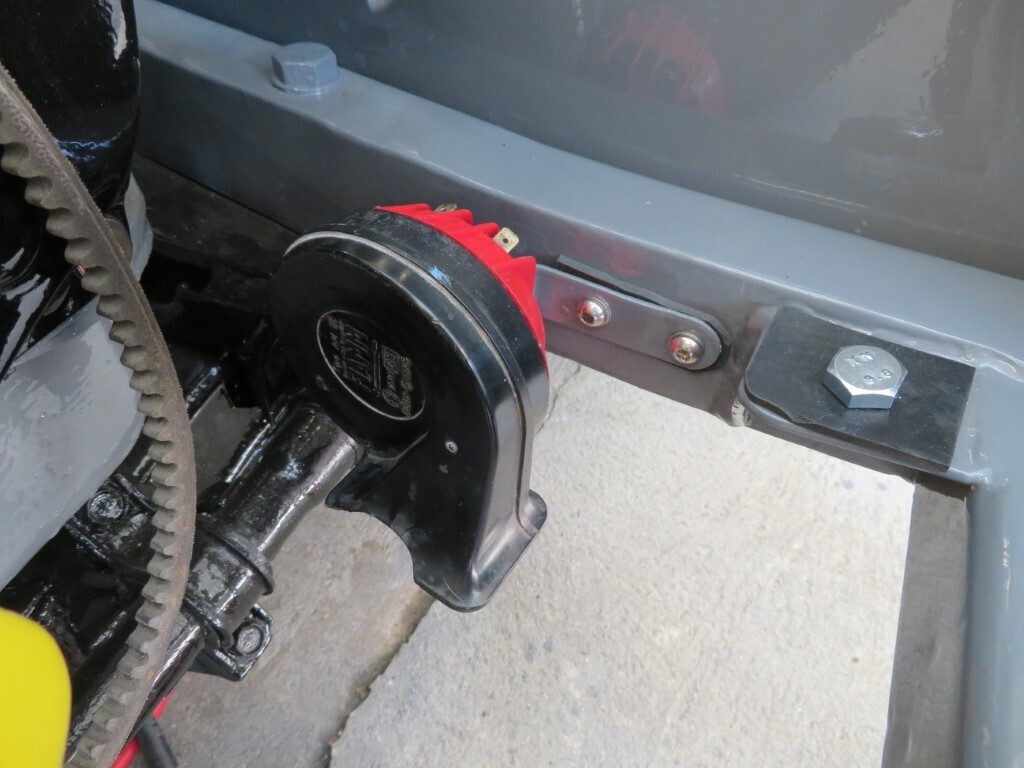 Then it was bonding various parts on with sikaflex - I had a small list as the tube tends to cure once its opened and it was a half used tube. Some of which were the fixings for the speedo cable under the tunnel, I preferred to Sikaflex them on as the self adhesive pads do not always stay fixed; 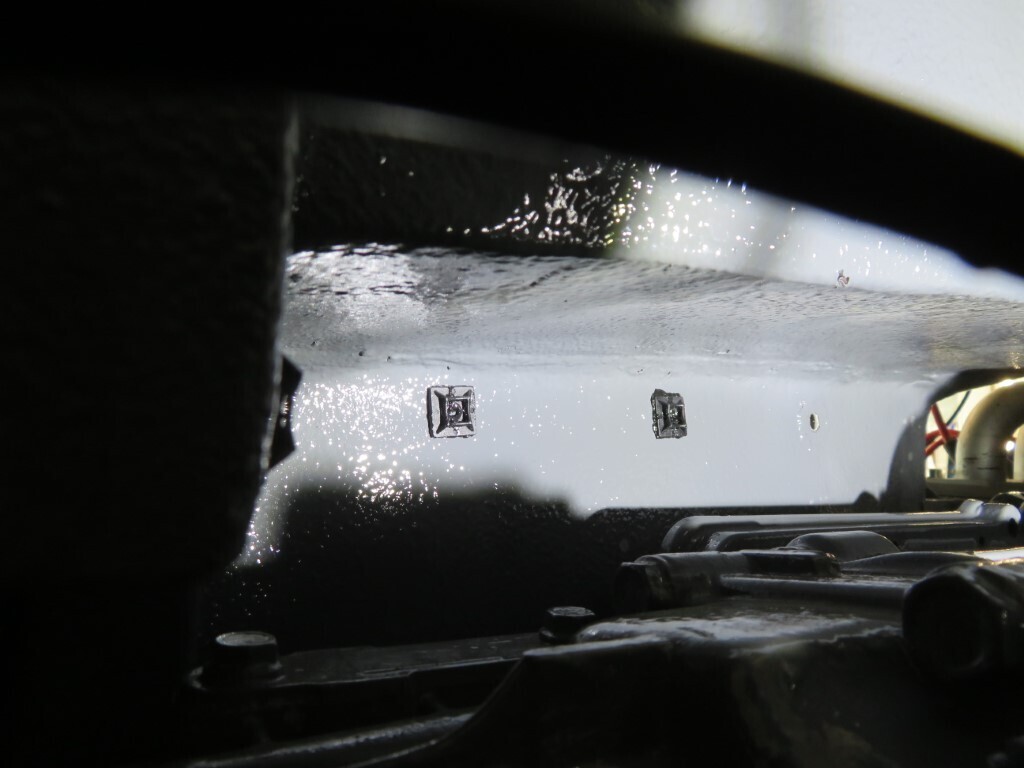 Other bits were the relay panel under the dashboard, some spacers between the dash and the body for better alignment and the aluminium blocks behind the side repeaters to add some thickness to the body for the lamps to fix into. Once those parts were bonded it was on to some of the electrics, the earth cable for the reverse switch is now made up and fitted; 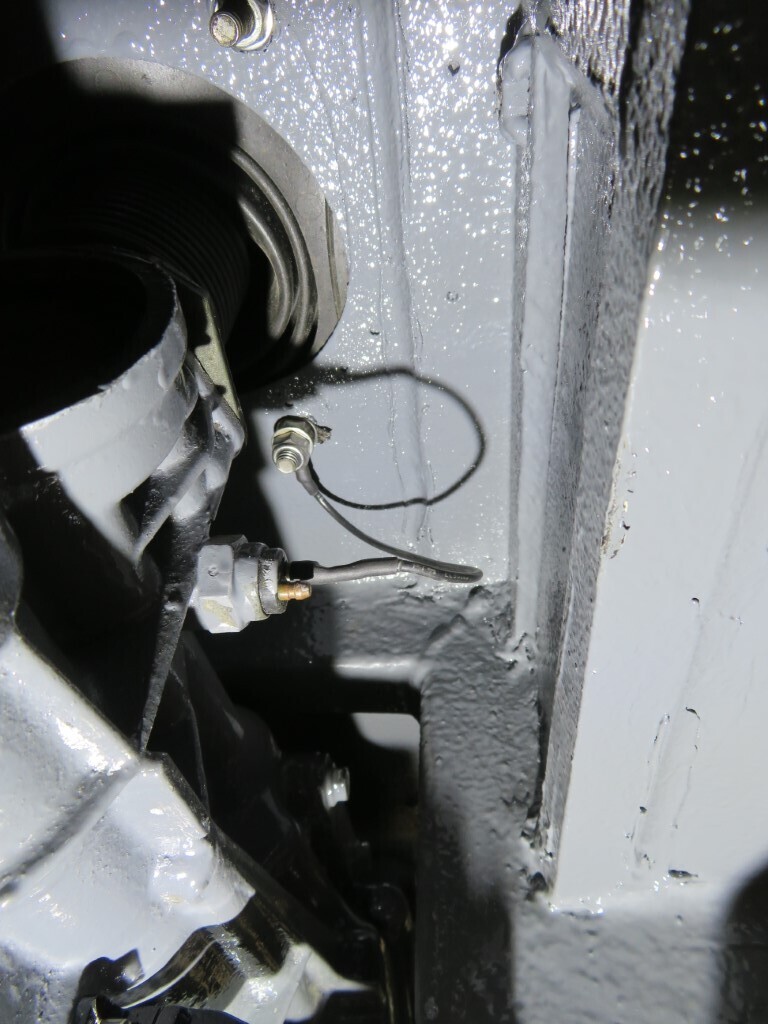 and the brake fluid reservoir wiring now has a connector as it needs to be undone to unscrew the reservoir cap. Conduit may need shortening a little now. 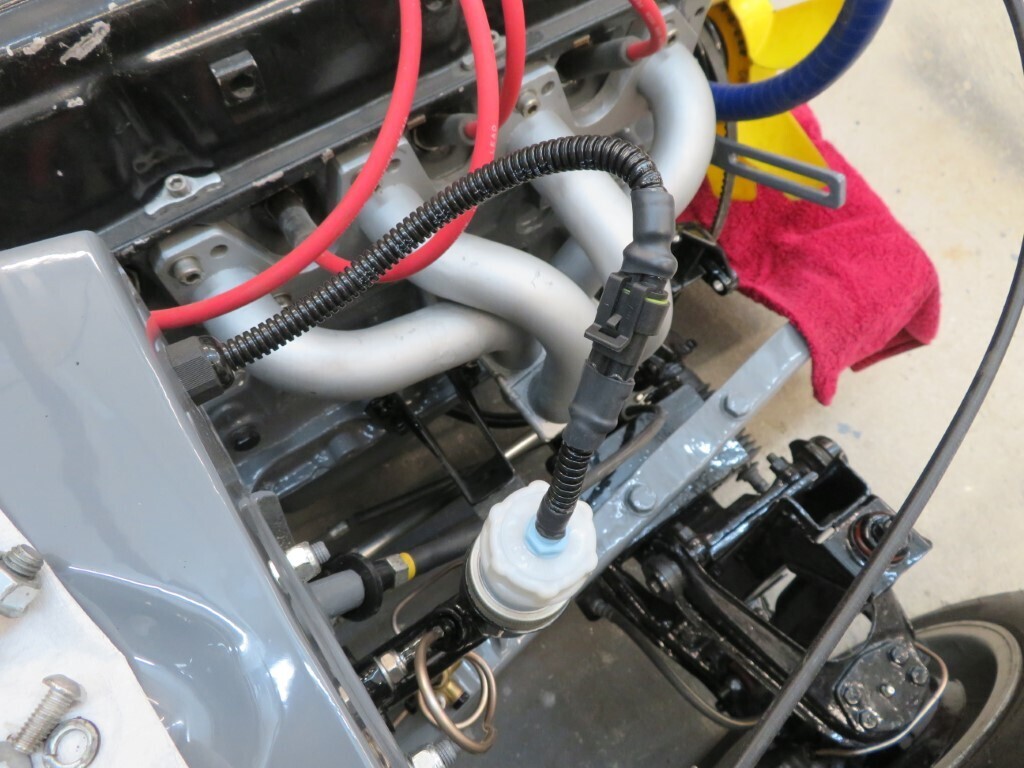 958 hours. |
| |
|
|
|
|
|
|
|
Back from Edinburgh where we were burying Nana Todd, it was a good sendoff. Time to give mine a service as we are off around the lake district next week for the Hot Rods and Hills weekend, so about 1,000 miles in 4 days. Ive not been under it since Phil's car arrived so it's been a bit unloved. Everyting underneath was checked, then an oil change was done. I checked the diff oil level as it's got a small leak out of the pinion seal so it would probably need a top up, but when I took the filler plug out oil came out - so possibly it's a little overfull, maybe thats why its leaking out of the pinion seal. Then the underneath got a good clean before dropping it back down and giving the whole car a wash.  A small update to the car was fitting a cup holder, I'd made a bracket at work so it was only a small job to bolt it to the shifter casing.  After that I did paint a couple of bits on Phils car. |
| |
|
|
|
|
|
May 31, 2022 23:21:07 GMT
|
Thanks Andrew/all, We can double check with strings a bit later on then once a few more bits go back on the car. Once its wired enough to get it running we can drive it down the road to see how it feels - if it drives straight & feels ok then we can put the wings etc back on - if not then we will cross that bridge when we come to it, lol. GT Viva, your manual states max 6 shims under a bolt - I assume they mean max 6/0 worst case scenario. Your shims are a little big as the ones her are 14 deep but only 11 wide, so I'll just make some more from 1mm & 1.5mm sheet. Tonight Phil brought the alternator over and the inner wings. Some work was needed to open up one of the alty bolt holes as it had worn oval, so it now has a larger bolt size holding it on. The next job was making up a little bracket to hold the clutch cable clear of the steering, the crossmember platform was drilled & tapped to 6mm and a bit of 3mm angle cut for the P clip to bolt to. It's in it's crude state here, it will be suitably radiused when it comes off for painting. 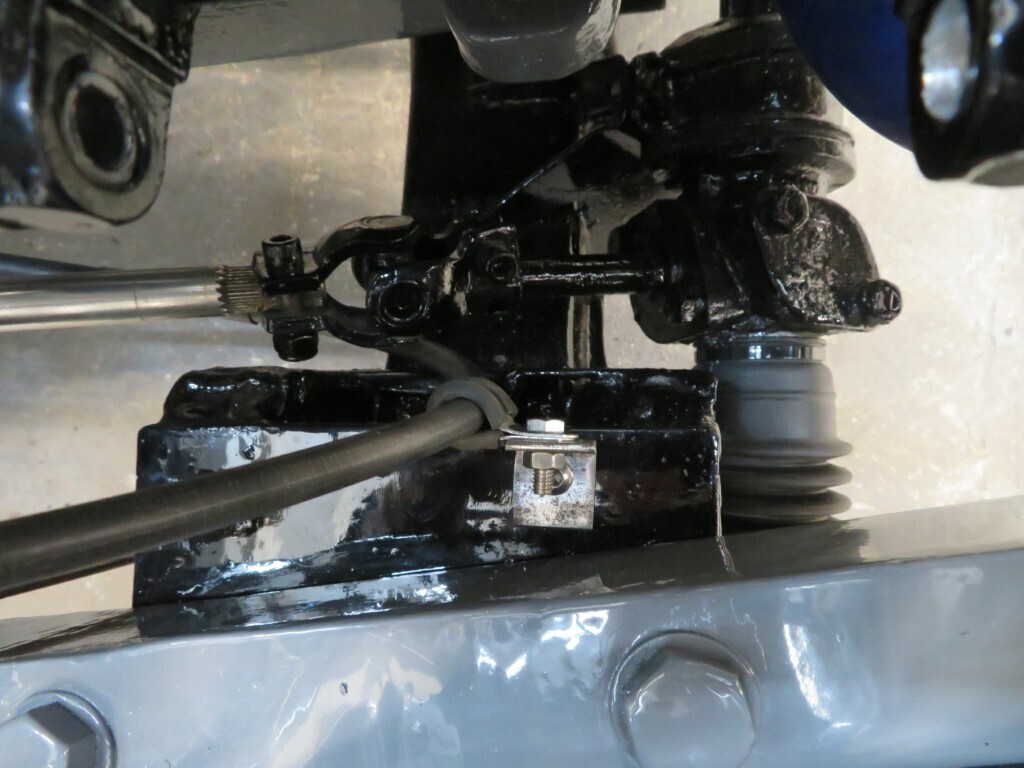 Then we refitted the throttle cable, it required a bit of fettling as the new inner wing mounting tab was occupying the same space, a bit of trimming later and it just squeezes in. We had to drill a hole in the paintwork for a small P clip, so another touch up job to add to the list. 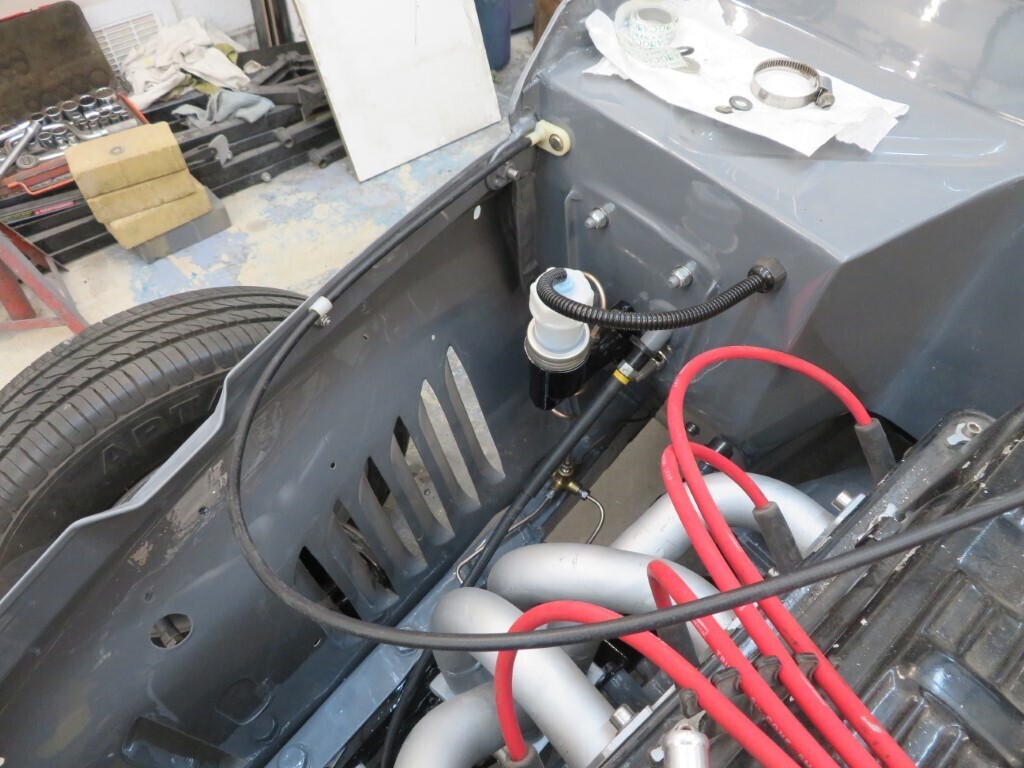 And with the O/S inner wing loosely fitted - paintwork is all sanded prior to polishing at present - I'll mop it once we have finished trial refitting all the parts to check it all goes back together properly. 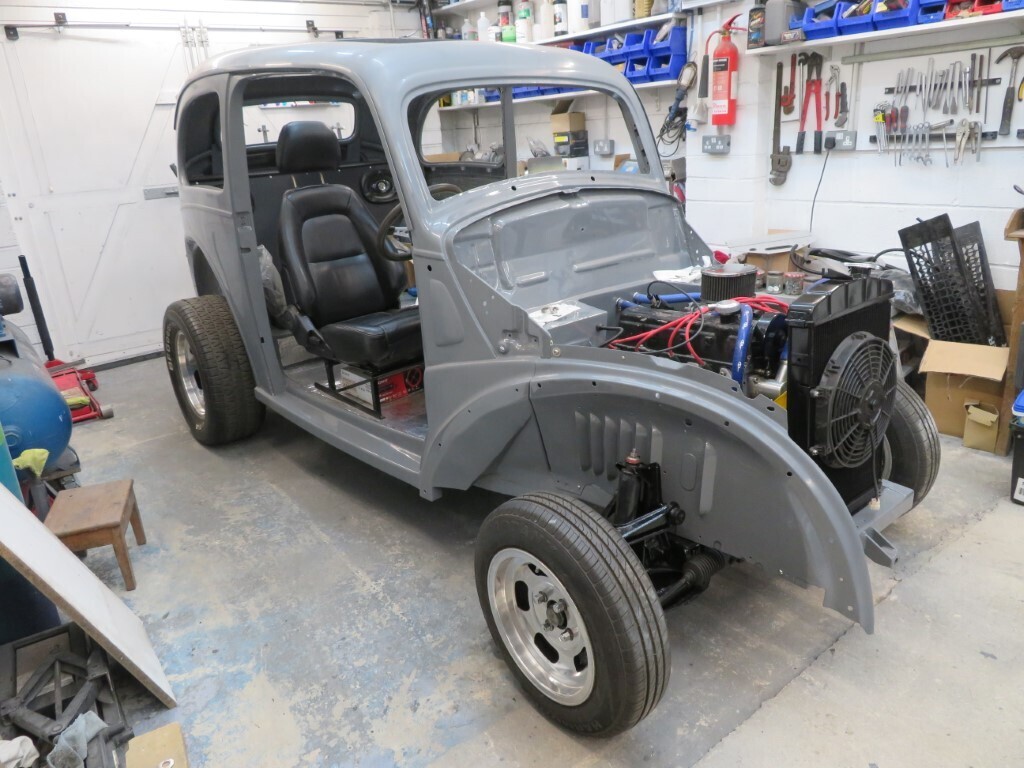 952 hours. |
| |
|
|
|
|
|
May 31, 2022 18:23:49 GMT
|
|
^^^ that makes sense if it's correct.
|
| |
|
|
|
|
|
May 31, 2022 18:12:41 GMT
|
Your knobs look great  I'm sure IVA man will be happy with them. |
| |
|
|
|
|
|
May 31, 2022 18:08:37 GMT
|
Cheers Darkspeed, I looked back in the thread for the specs - but not far back enough! You confirm what I was thinking for front camber as I guessed as .5 deg neg. For the rear I was thinking 0 degrees - but you think a little neg is better? I'm going to need some thick shims to get to 4.5 castor, lol. They say a max of 6 shims - but I assume that's due to the bolt length than any other reason? I cant personally see any reason not to fit more as long at the bolts are long enough? I'm not sure I have the tools to measure the rear toe in - straight edges over the hubs showed 1mm wider behind the hubs compared to the fronts across approx 500 distance so not sure how that compares to " measurement? Stupid question time.......why the toe in at the rear? Live axles don't have it? |
| |
|
|
|
|
|
May 31, 2022 12:36:52 GMT
|
|
They look possibly ok for the castor adjusting, you say 14mm slot - is that deep or for a 14mm bolt?
Handy to know the original shim thickness though.
Do you know what Vauxhall recommended for the camber/ caster for the HA?
|
| |
|
|


 No photos of that as nothing to photo.
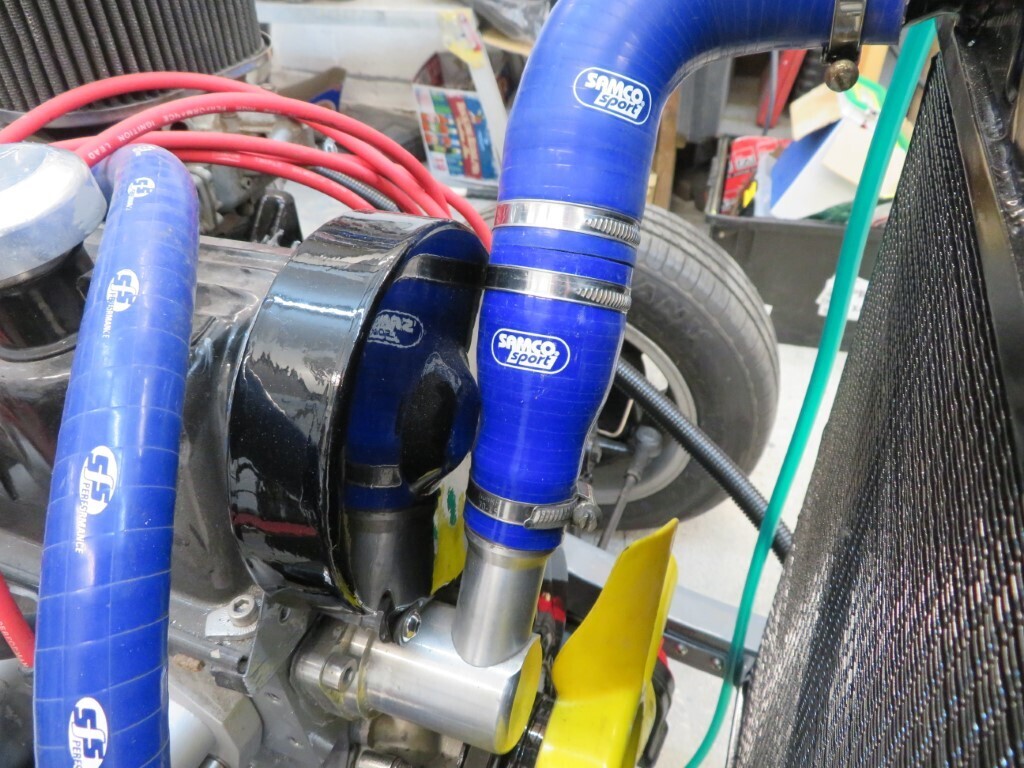
 We still need to mop the rims to bring back the shine as well as order new wheel nuts for them.

 I'm sure IVA man will be happy with them.