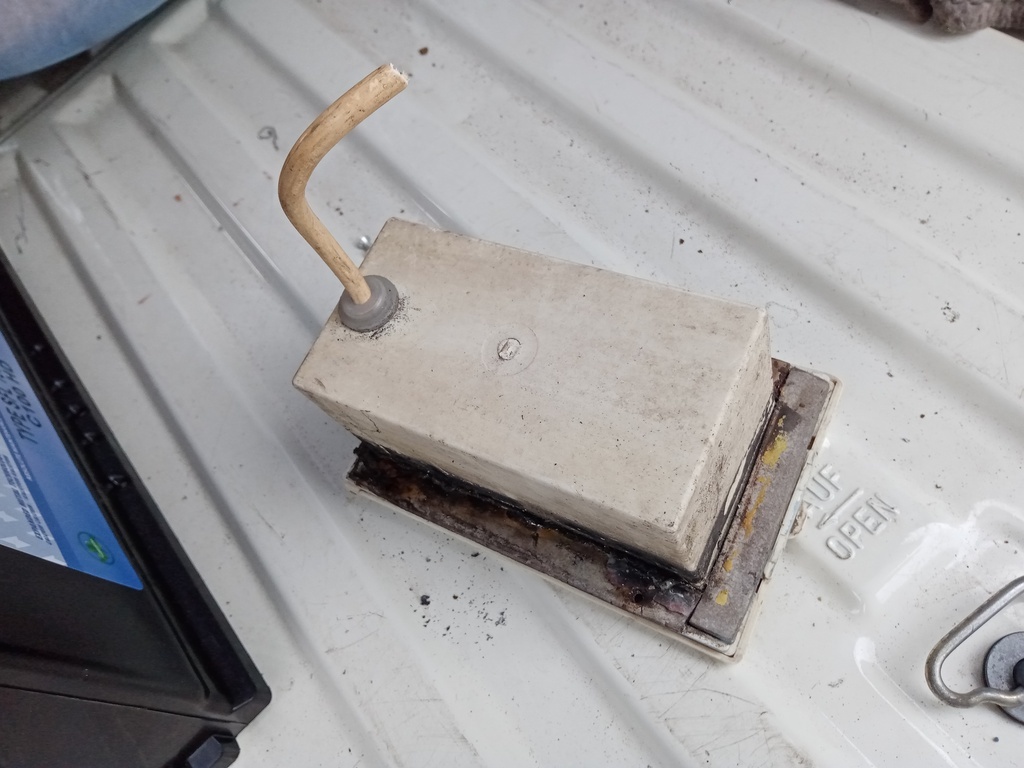
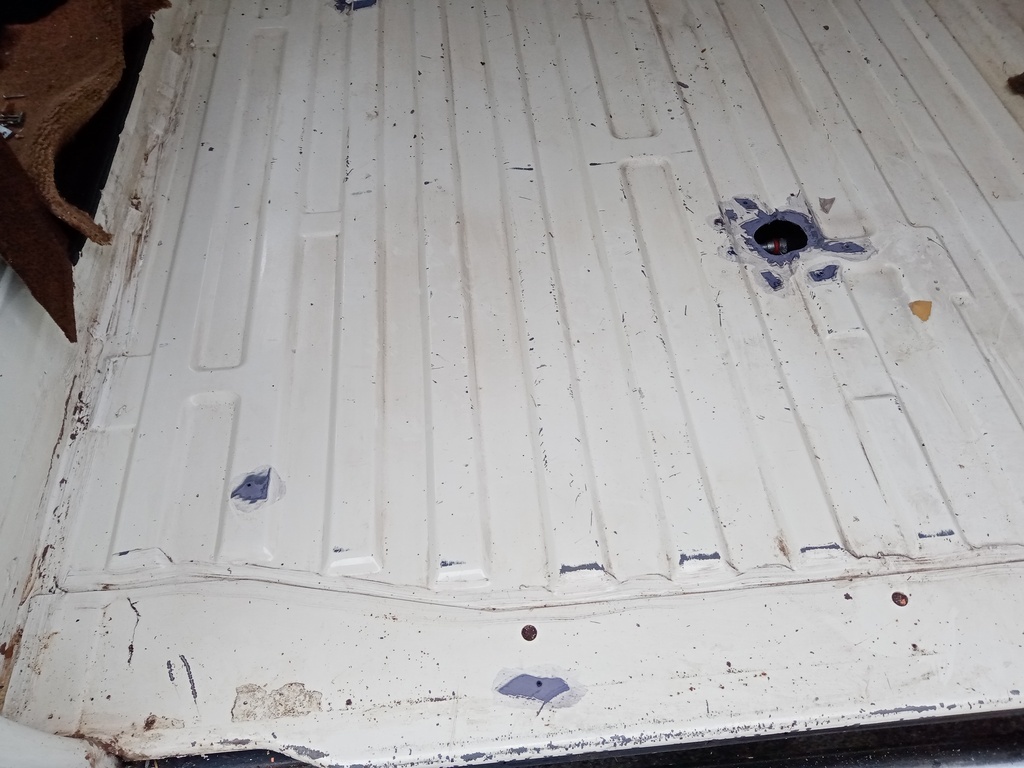
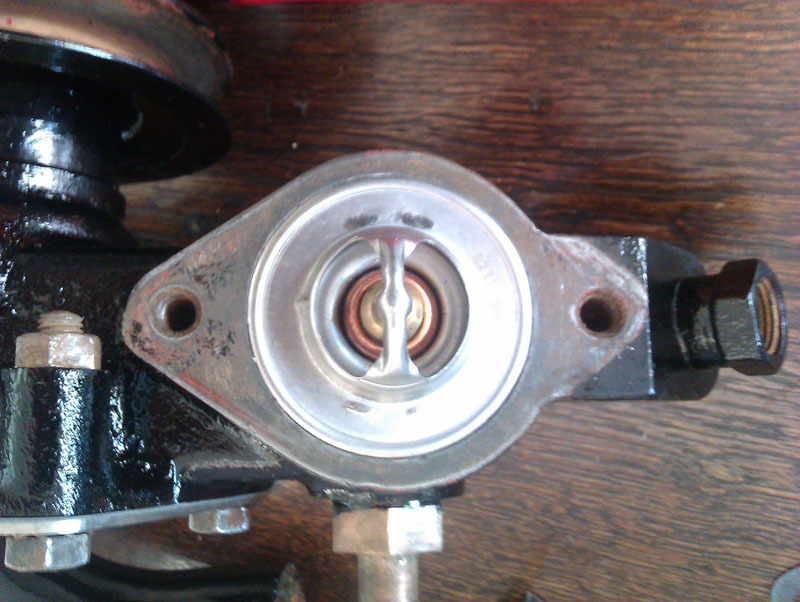
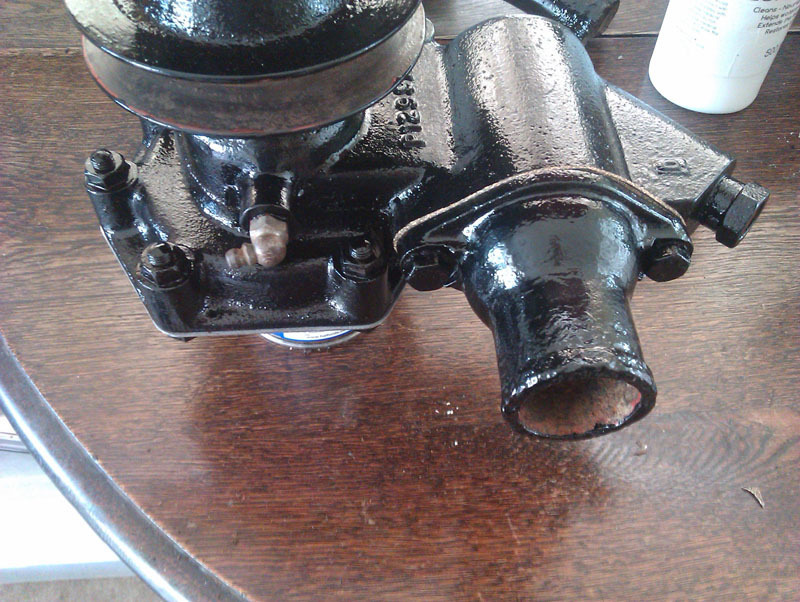
The new thermostat arrived, it's a generic one and the measurements matched the one I'd got, at least in the listing. I actually needed to file a smidge off one side because the stamping had left a flange that made the thermostat oversized by a fraction of a millimetre. Easy enough to trim down and once done it fits nicely. The gasket mating faces were also given a more thorough clean than shown here.
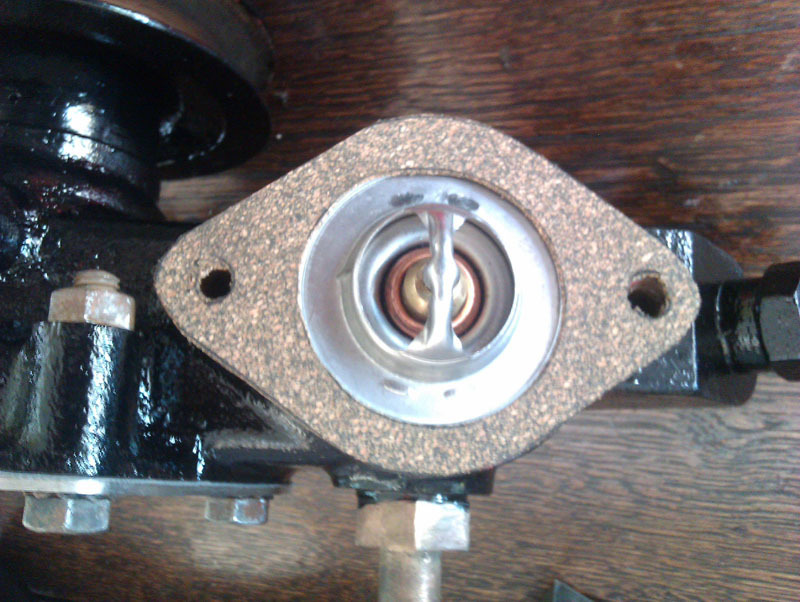
The gasket provided didn't fit either, which was to be expected since it wasn't specifically for this application. It did give me a good template for the hole in the middle of the new gasket and I used the thermostat housing top half to provide a template for the outline of the gasket. I opted to do this out of cork rather than gasket paper since that's what was here when we took the water pump apart, it's also nice to use and just looks right.
With that done, the housing was bolted into place and then all the bare bolt heads and nuts were touched in with black enamel to finish the water pump off completely. This is now ready to go back on the car once we've sorted out that front engine mount.
The other item that we've been plodding away on is the glovebox lid. As with the door cappings, the varnish on the outside is yellowed and brittle. The lock is held on with just three screws and easy to remove, we don't have a key for this so it was fortunate that it was left unlocked, it has the same stamping as the boot lock which we also don't have a key for. There is a plan, we know one of our other keys fits in the lock so we took a gamble by using the prefix code on that combined with the number stamped on the boot and glovebox lid locks and bought an old key that matches that code. We'll see if that's a gamble that pays off when it arrives, if it does it will have certainly been cheaper than getting new locks installed or even keys cut to fit the existing locks.
Report post
Posted just now
We shall find out when I've time to get the car out of the garage, which might not be until Saturday. In the meantime, here's a little update.
The new thermostat arrived, it's a generic one and the measurements matched the one I'd got, at least in the listing. I actually needed to file a smidge off one side because the stamping had left a flange that made the thermostat oversized by a fraction of a millimetre. Easy enough to trim down and once done it fits nicely. The gasket mating faces were also given a more thorough clean than shown here.
202009-137.thumb.jpg.103db92be7c3f91968738aa669dd4135.jpg
The gasket provided didn't fit either, which was to be expected since it wasn't specifically for this application. It did give me a good template for the hole in the middle of the new gasket and I used the thermostat housing top half to provide a template for the outline of the gasket. I opted to do this out of cork rather than gasket paper since that's what was here when we took the water pump apart, it's also nice to use and just looks right.
202009-138.thumb.jpg.2cae4d3758752a0bb48abc1ea7ffd3cc.jpg
With that done, the housing was bolted into place and then all the bare bolt heads and nuts were touched in with black enamel to finish the water pump off completely. This is now ready to go back on the car once we've sorted out that front engine mount.
202009-139.thumb.jpg.83130a3f32fd57290f053ab5bba53d21.jpg
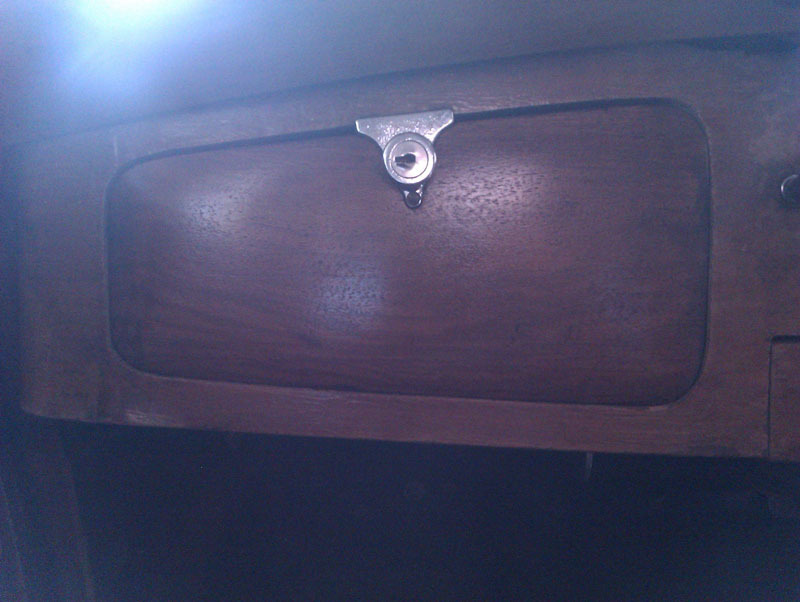
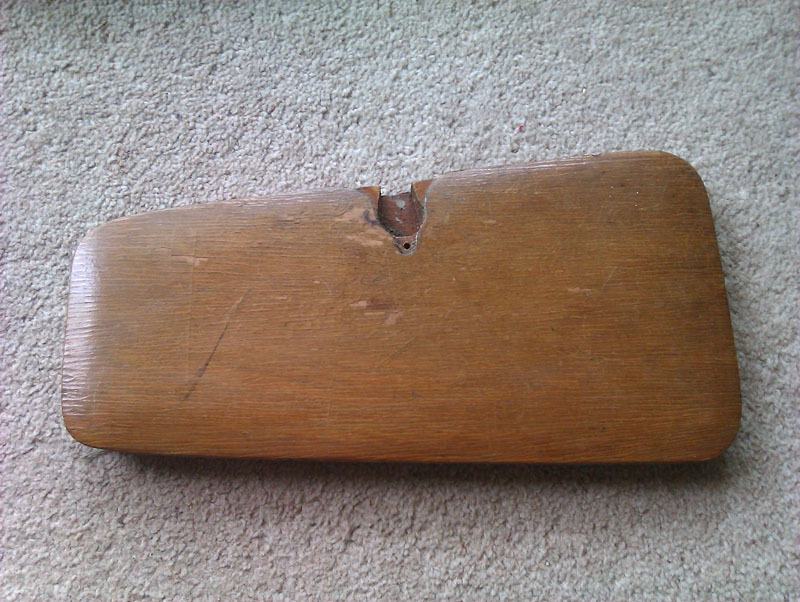
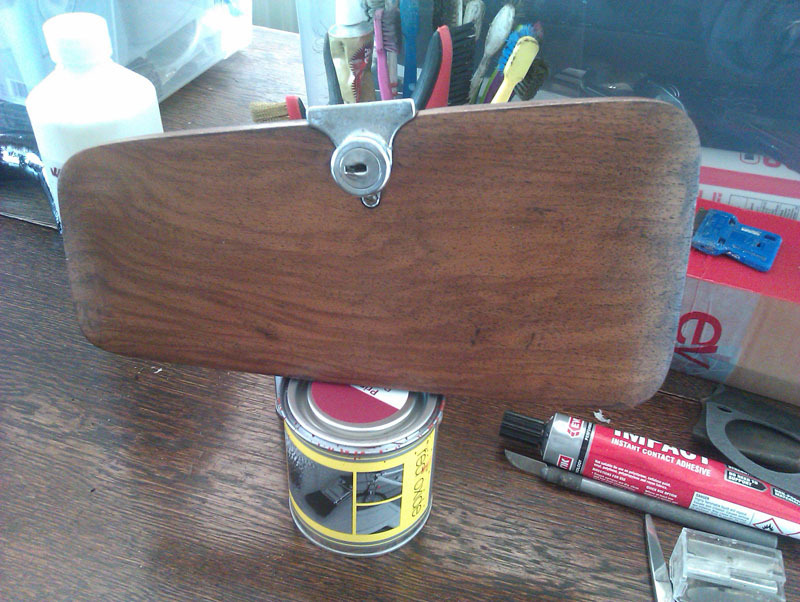
The other item that we've been plodding away on is the glovebox lid. As with the door cappings, the varnish on the outside is yellowed and brittle. The lock is held on with just three screws and easy to remove, we don't have a key for this so it was fortunate that it was left unlocked, it has the same stamping as the boot lock which we also don't have a key for. There is a plan, we know one of our other keys fits in the lock so we took a gamble by using the prefix code on that combined with the number stamped on the boot and glovebox lid locks and bought an old key that matches that code. We'll see if that's a gamble that pays off when it arrives, if it does it will have certainly been cheaper than getting new locks installed or even keys cut to fit the existing locks.
202009-140.thumb.jpg.73d6f6234bac95cf8aabad4030911a98.jpg
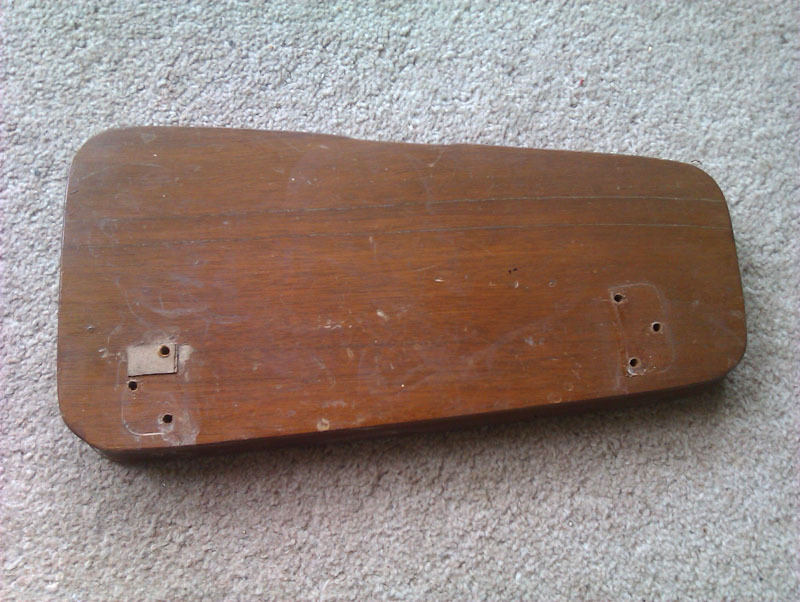
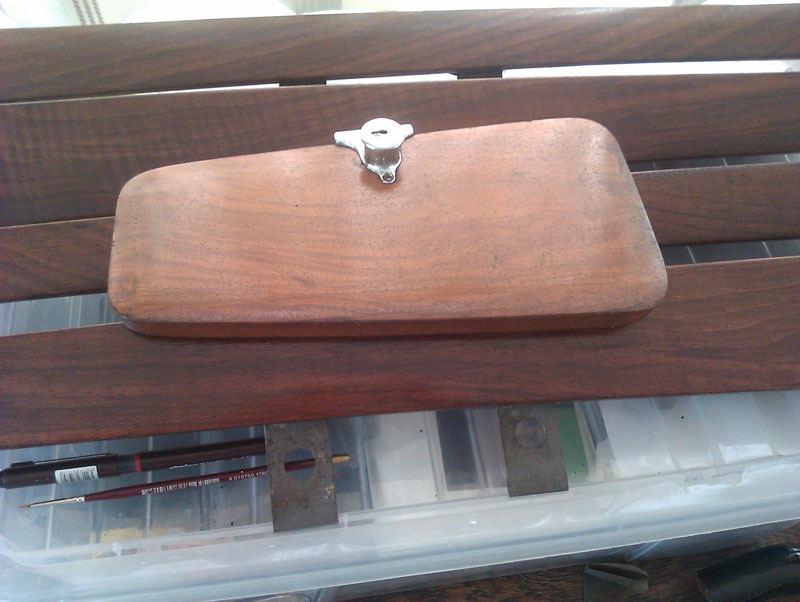
The finish on the reverse of the glovebox lid is in much better condition because its spent most of its life hidden from the elements. I did have to take some chemical stripper to this because the finish was actually pretty stubborn, just unfortunate that it wasn't in good enough shape to be left alone. It did hint at what sort of colour to expect the wood to be afterwards. The little cardboard (or similar) square didn't come off with the chemical stripper and since the glovebox fits rather nicely we opted to leave that in place and allow it to continue being a shim.
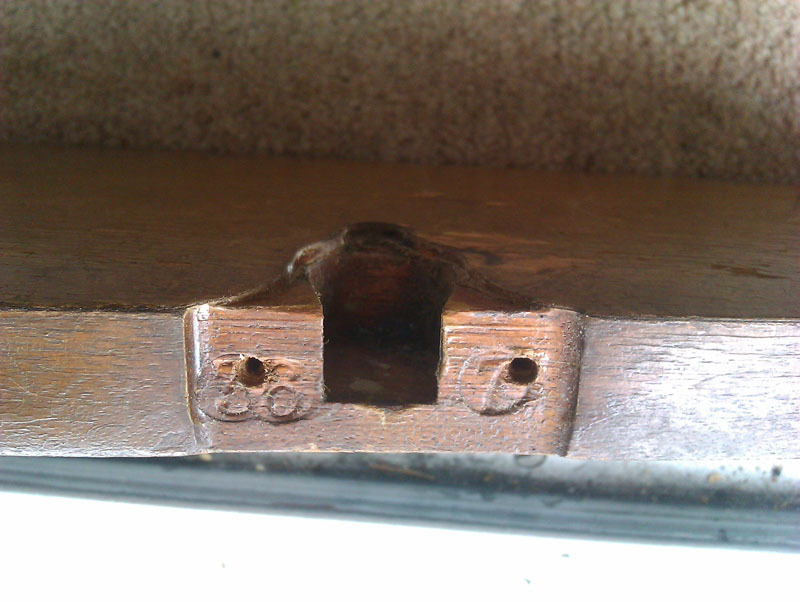
Under the lock is stamped 36 and 7, which is presumably a factory code for this part.
Three coats of Danish Oil later and the glovebox lid is ready to be beeswaxed and reinstalled.
It's a bit lighter than the door cappings, that shouldn't be a problem providing the rest of the dashboard matches the glovebox lid. It will also darken down a little as the Danish Oil cures, or whatever the equivalent is that it does.
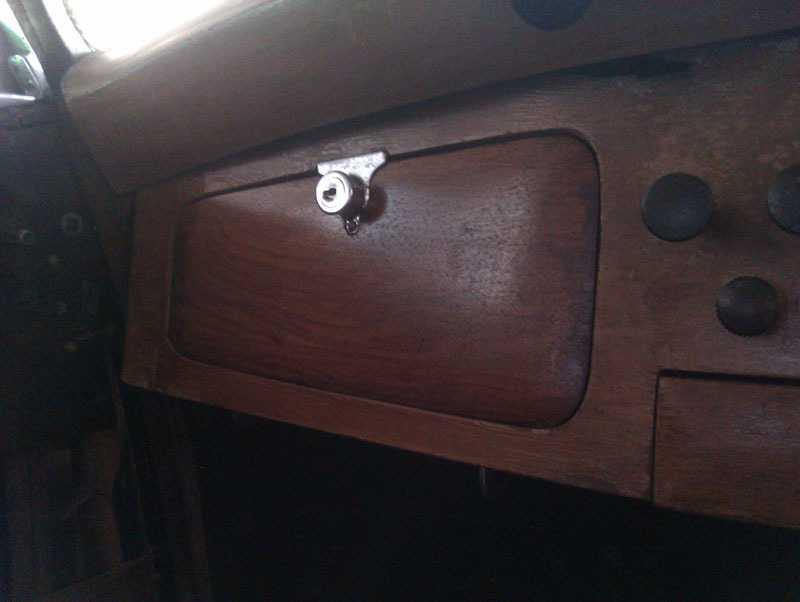
A very quick look at the glovebox lid against the dashboard shows the improvement, even if the picture quality isn't the greatest here.