lebowski
Part of things
 Hillman Avenger, Clan Clover
Posts: 476
|
|
May 14, 2023 19:33:36 GMT
|
|
To be honest I haven't had any issues with the Nissens one at all, but I'd always choose an original over a copy, except where there's a massive price difference.
At £350 I'll choose the Nissens, but at £50 I'll take the Valeo.
|
| |
|
|
|
|
lebowski
Part of things
Hillman Avenger, Clan Clover
Posts: 476
|
|
May 14, 2023 17:58:52 GMT
|
Another car day today. I managed to get hold of a new genuine Valeo (OEM) intercooler for a bargainous £50 a while ago. These are normally £350 or so, hence the car had been fitted upto now with a 'Nissens' copy.  IMG_20230514_143419 IMG_20230514_143419 by Chris Witkowski, on Flickr Valeo on the left and Nissens on the right. The Nissens one has round tubes and seems to have denser fins on the outside:  IMG_20230514_143430 IMG_20230514_143430 by Chris Witkowski, on Flickr Whilst the Valeo has slightly elliptical tubes:  IMG_20230514_143425 IMG_20230514_143425 by Chris Witkowski, on Flickr Whether there will be any noticeable improvement is anyone's guess, but I know the OEM suppliers do a lot of work with their internal and external fins, so I figure it can't hurt to fit this one. What I did forget about is that I ground a few bits of plastic away here and there to get it to fit into the car, so I had to copy my work onto the new intercooler. It went in easy enough.  IMG_20230514_160151 IMG_20230514_160151 by Chris Witkowski, on Flickr I then got carried away and decided to clean about 5 years worth of filth from the engine bay paintwork. It came up pretty well.  IMG_20230514_174913 IMG_20230514_174913 by Chris Witkowski, on Flickr There are still a few jobs I want to do in the next few weeks. As well as the windscreen seal, I want to black out the area behind the grill and I have a new set of headlights to go on. You can see above that one of them has partially filled with water. |
| |
|
|
lebowski
Part of things
Hillman Avenger, Clan Clover
Posts: 476
|
|
May 13, 2023 17:56:54 GMT
|
I bought myself an opening quarterlight window for the passenger side recently. The Imp I used to have had these as standard and I like them, so thought it might be nice on the Avenger too. They were an optional extra here but hardly any cars seem to have them fitted, and they were also fitted to overseas versions (Dodge Polara and Plymouth Cricket). The one I bought is absolutely mint and unused, so after cleaning it up earlier, I decided to try and fit it today.  IMG-20230513-WA0011 IMG-20230513-WA0011 by Chris Witkowski, on Flickr I had to fabricate a top fixing where it attaches to the door frame which you can just about see above, as there wasn't one with it. The stainless channel is also a touch wider than the standard channels and is riveted to the window frame, which made it a challenge sliding it into the narrow slot in the door. In the end, gentle use of a brake pad spreader to flex the inner door skin allowed the channel and window to slide into place easily enough without taking paint off the door.  IMG_20230513_164303 IMG_20230513_164303 by Chris Witkowski, on Flickr It looks good and hopefully will be watertight.  IMG_20230513_172933 IMG_20230513_172933 by Chris Witkowski, on Flickr 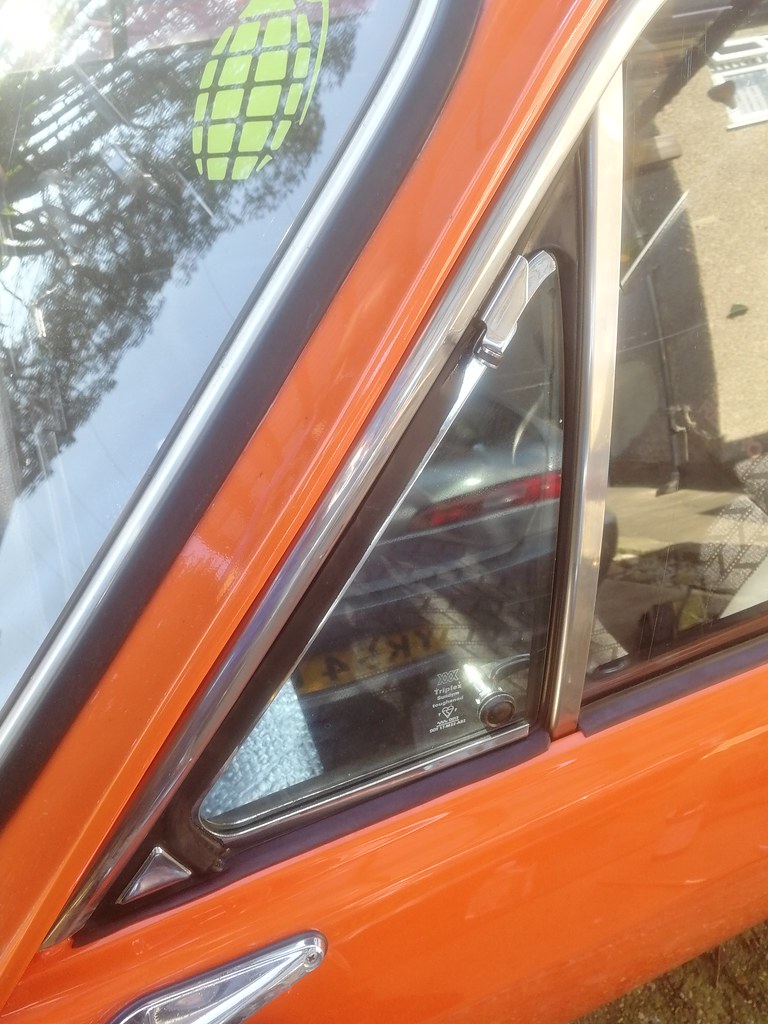 IMG_20230513_172803 IMG_20230513_172803 by Chris Witkowski, on Flickr  IMG_20230513_173001 IMG_20230513_173001 by Chris Witkowski, on Flickr I now need a drivers side one if anyone has one spare. In other news, the leaking back window has finally been tackled. A while ago I bought some NOS seals for both windscreens. They were covered in protective wax which was horrendous to remove manually. I found that boiling water melted it off, but it was a nightmare trying to pour it into the various channels without burning myself. After about 10 kettles worth and only being about 10% of the way round, I decided to turn my bbq into a giant kettle.  IMG_20230407_172905 IMG_20230407_172905 by Chris Witkowski, on Flickr This worked a treat and a minute in the water was enough to melt everything off. When the water cooled I was left with a wax film layer like cling film on top of the water, which I scooped up into this ball.  IMG_20230513_184939 IMG_20230513_184939 by Chris Witkowski, on Flickr I used 3M sealer this time instead of Arbomast. To be honest I've had nothing but trouble with the Arbomast. It's supposed to stay soft but it just doesn't, and every window I've removed has shown the sealant to be hard, brittle and full of voids. The 3M stuff is about 4x the price and even has some negative reviews stating that it never sets, so I went for that one.  IMG_20230513_182623 IMG_20230513_182623 by Chris Witkowski, on Flickr I also bought a new chrome trim and it seems to be leak free at the back now. I'll do the same at the front with the NOS seal when I have time. I've also got hold of a Lotus axle casing which will be getting rebuilt with an LSD, axle brace, disc brakes etc. I'm currently on the lookout for the LSD. I was going to go with the Quaife ATB but several people have advised against it, plus nowhere has them in stock so I'll probably go with a 3J plated item. |
| |
Last Edit: May 13, 2023 17:58:39 GMT by lebowski
|
|
lebowski
Part of things
Hillman Avenger, Clan Clover
Posts: 476
|
|
Mar 18, 2023 16:00:42 GMT
|
|
I used Dinitrol cavity wax in the same manner. Straight out of the bottle it's like water and brushes on easily, then after a few hours it hardens to a non sticky waxy finish. I'm tempted to spray the underside of the car with it as it seems like good stuff.
|
| |
|
|
lebowski
Part of things
Hillman Avenger, Clan Clover
Posts: 476
|
|
|
|
|
The tyres shouldn't make it dangerous to drive (unless they're very old). 185 is plenty wide for a car of that era. If the chassis rails are almost on the floor then it's more likely that your suspension geometry is now terrible due to excessive lowering.
You mention that there's almost no contact between the tread and the road. Have you got loads of negative camber?
|
| |
|
|
lebowski
Part of things
Hillman Avenger, Clan Clover
Posts: 476
|
|
Mar 16, 2023 19:55:29 GMT
|
Just about done with the suspension now. Got myself some braided brake hose and fittings and made these up. I decided to have fluid entering the caliper where the inner bleed nipple used to be, and have blanked off the original inlet. This makes it easier to route the brake hose as I don't have to miss the ARB.  IMG_20230316_173528 IMG_20230316_173528 by Chris Witkowski, on Flickr I've painted some cavity wax type stuff on the exposed metal of the struts, and then covered the lot with these boots.  IMG_20230316_174200 IMG_20230316_174200 by Chris Witkowski, on Flickr I now just need to bleed the brakes and then hopefully I'm finished. |
| |
|
|
lebowski
Part of things
Hillman Avenger, Clan Clover
Posts: 476
|
|
|
|
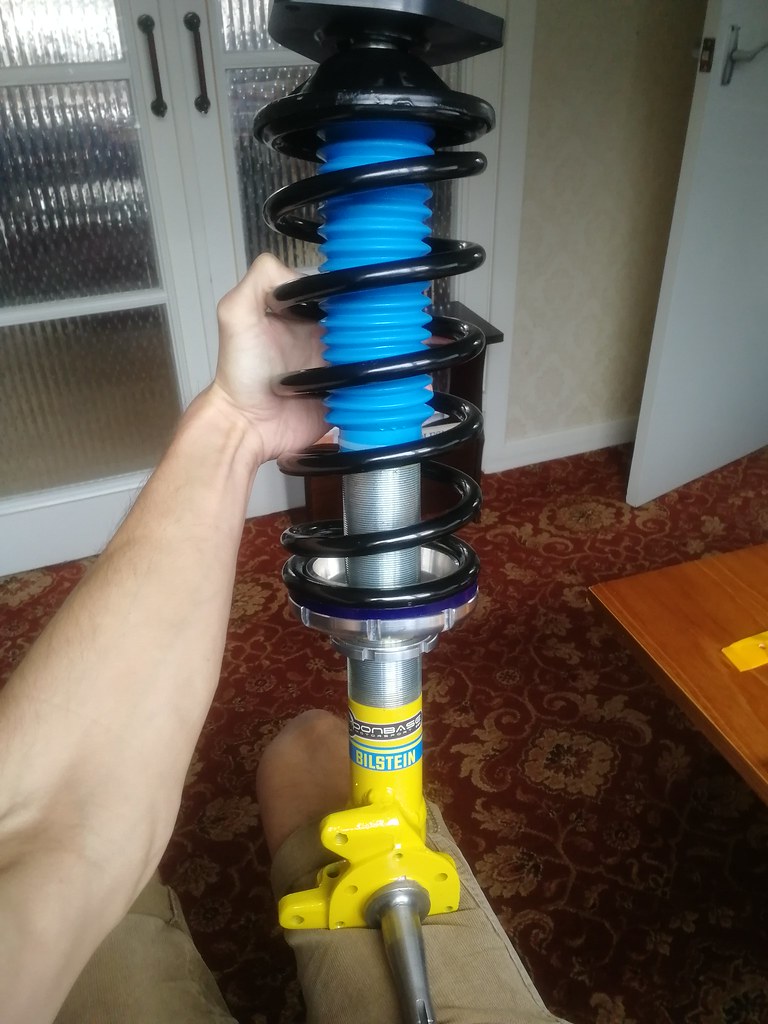
The way I initially set the ride height on the springs above, was to wind the spring seat up until it was just tight enough to hold the spring in place firmly at full droop. That way I could be sure that the spring wasn't going to fall out, and this would set my lowest possible ride height. However, due to the spring seat making contact with the tyre at this ride height, I had to raise them a little more; maybe 10mm. As you can see in the post above, the nose of the car was pointing skywards with no option to lower it. I initially thought of cutting the springs down as they are open coil at the top, but then I'd end up in a situation where the spring would be loose at full droop. Ultimately the problem is that a 195lb spring doesn't sag enough under the weight of the car, so I'd have to use a shorter spring with a soft helper spring to keep it seated. With this in mind, and despite what I said in the post above, I now have 2.25" hardware which gives me my tyre clearance, and I reduced the rate to 140lbs. This should give me more sag to hopefully allow a low ride height without helper springs. Anyway, thankfully it seems to have worked, and with the ride height set using the method above, it sits about right.  IMG_20230302_162845 IMG_20230302_162845 by Chris Witkowski, on Flickr These are 14" springs which are unnecessarily long, but they'll do the job.  IMG_20230302_162836 IMG_20230302_162836 by Chris Witkowski, on Flickr  IMG_20230302_172401 IMG_20230302_172401 by Chris Witkowski, on Flickr  IMG_20230302_172426 IMG_20230302_172426 by Chris Witkowski, on Flickr I still need to get a couple of brake flexi's so I can't drive it anywhere yet. I'd also like some bags or something over the struts to keep corrosion at bay. |
| |
|
|
lebowski
Part of things
Hillman Avenger, Clan Clover
Posts: 476
|
|
Feb 23, 2023 17:29:20 GMT
|
Well the springs are definitely too long as the nose of the car is pointing skywards and I've got positive camber.  IMG_20230223_163826 IMG_20230223_163826 by Chris Witkowski, on Flickr 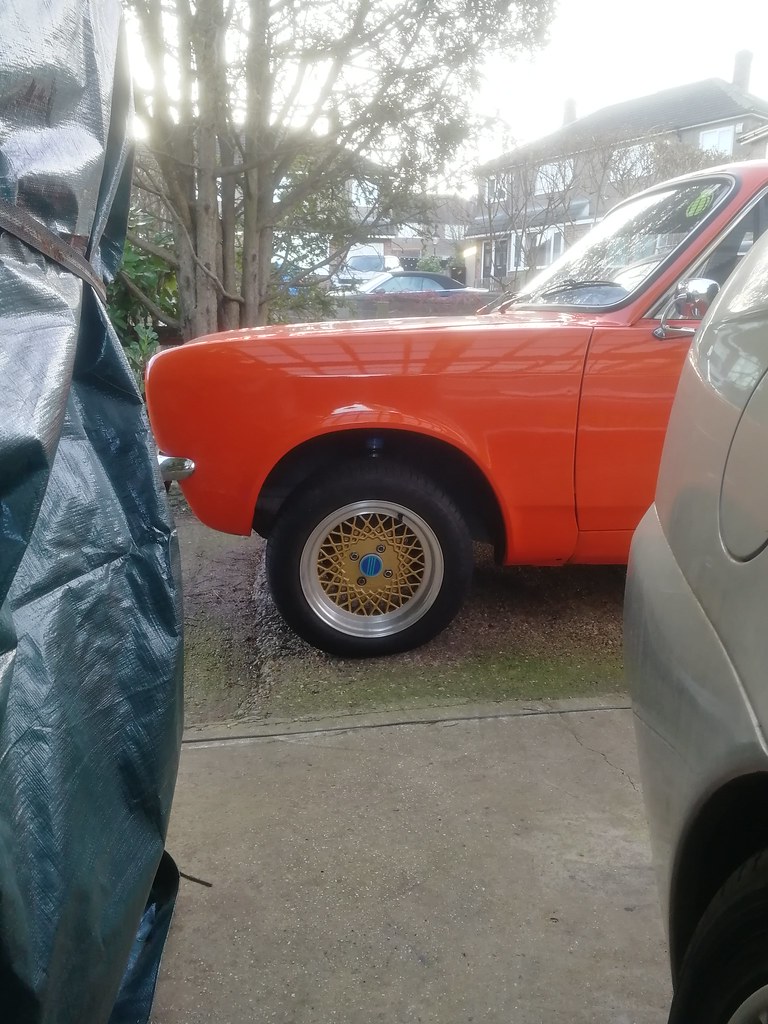 IMG_20230223_163810 IMG_20230223_163810 by Chris Witkowski, on Flickr I have about 3 inches of thread below the spring platform, but it can't be used with these diameter springs as the platforms hit the tyres. My options therefore are: Get shorter springs Cut these springs Go to 2.25" springs/platforms/top mounts I'll be going for option A or B as the cheaper options. |
| |
|
|
lebowski
Part of things
Hillman Avenger, Clan Clover
Posts: 476
|
|
Feb 21, 2023 15:06:16 GMT
|
|
|
| |
|
|
lebowski
Part of things
Hillman Avenger, Clan Clover
Posts: 476
|
|
|
|
|
Thanks, I'll keep that in mind. I've been using Arbomast and the seals are in good condition. Maybe I'm not being generous enough with the sealant. I'm going to really bog it in next time.
|
| |
|
|
|
|
lebowski
Part of things
Hillman Avenger, Clan Clover
Posts: 476
|
|
|
|
This is the solution for the rear dampers.  IMG_20230203_172552 IMG_20230203_172552 by Chris, on Flickr The bushes are polybushes to fit a Jaguar. They're significantly thicker than the standard Avenger ones, although they have the same centrebore. The Bilstein thread is M10x1, so the standard top nut didn't fit. I also got some thin sleeves which were trimmed to length to cover the thread and go inside the bushes. This should both locate the bushes better and stop the thread from damaging them, as well as giving the top sleeve nut something positive to clamp down onto. |
| |
|
|
lebowski
Part of things
Hillman Avenger, Clan Clover
Posts: 476
|
|
|
|
|
Any dampers will be a big improvement over those knackered rears.
The leaking windows are certainly irritating. It's no surprise that a lot of Avengers had rotten floors. It's only noticeable once there's a huge amount of water under the carpets such that it saturates them. Otherwise, smalls leaks don't get noticed and just quietly rot the floors hidden by the carpets.
I'll try (again) to sort it once we get some decent weather.
|
| |
|
|
lebowski
Part of things
Hillman Avenger, Clan Clover
Posts: 476
|
|
Jan 19, 2023 18:31:48 GMT
|
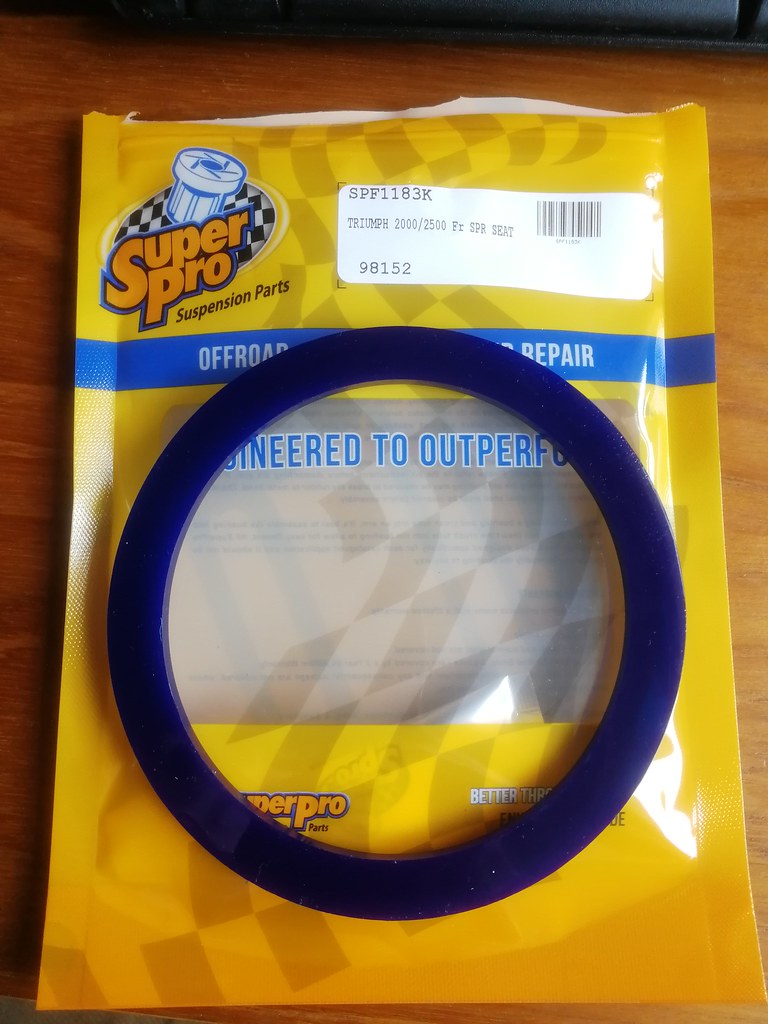
I've done almost nothing on the Avenger in the last year. The floors are finished but both windscreen seals still leak. The rear is quite bad, but the front is just an occasional drip. Because of this, the interior is removed other than the front seats, which allows me to keep a rotation of towels on the go to keep the car dry. When the weather improves I'll have to try once again to cure the leaks. I do now have a fancy set of Bilsteins to go on the car. The fronts have adjustable spring seats and solid aluminium top mounts with spherical bearings. I'm undecided whether to use these or retain the roller top mounts to be honest, as perhaps they might be too harsh for the road.  IMG_20230118_154942 IMG_20230118_154942 by Chris Witkowski, on Flickr 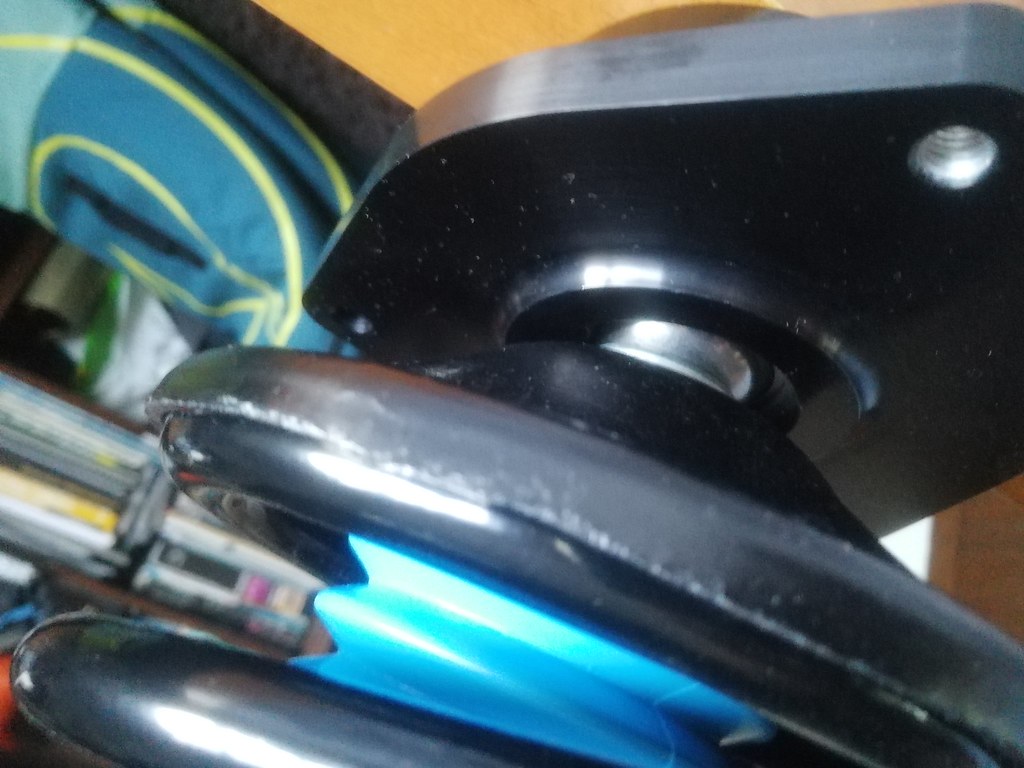 IMG_20230118_154748 IMG_20230118_154748 by Chris Witkowski, on Flickr On the rear, the car has had modified Imp dampers fitted for at least a decade. These had an extra eyelet welded onto the bottom to fit the Avenger bushes, and their shorter length meant that my short rear springs couldn't fall out. I removed these to set about fitting the Bilsteins. One of them is absolutely shot and was just falling open and closed under its own weight. Unfortunately though, I couldn't fit the new dampers because the thread and shaft diameter are different, meaning I couldn't just swap over the top mounts and bushes. I now have some sleeves, jaguar bushes and sleeve nuts and should be able to assemble something together. |
| |
|
|
lebowski
Part of things
Hillman Avenger, Clan Clover
Posts: 476
|
|
Nov 26, 2022 14:11:30 GMT
|
|
|
| |
|
|
lebowski
Part of things
Hillman Avenger, Clan Clover
Posts: 476
|
|
Nov 20, 2022 10:06:20 GMT
|
|
My own opinion on fabricated aftermarket alloy radiators/intercoolers etc, is that the cores are often rubbish.
I bought a bare intercooler core from one of the best known UK fabricators of such items (wanted to make the tanks myself), and it was similar to your core, with straight through tubes and no internal fins/turbulators at all. Great for pressure drop, terrible for getting rid of heat.
Personally I prefer to find an off the shelf OEM solution that fits. More time consuming but probably cheaper and better.
|
| |
|
|
lebowski
Part of things
Hillman Avenger, Clan Clover
Posts: 476
|
|
Oct 28, 2022 18:22:28 GMT
|
|
So how does the BRM compare to the Brazilian engine you had in there before? It looks like you have more power and similar torque from a smaller capacity.
|
| |
|
|
lebowski
Part of things
Hillman Avenger, Clan Clover
Posts: 476
|
|
Aug 12, 2022 16:33:41 GMT
|
|
No help, but I think it's a DXF file you want for laser cutting.
|
| |
|
|
lebowski
Part of things
Hillman Avenger, Clan Clover
Posts: 476
|
|
Jul 14, 2022 18:20:50 GMT
|
This has been ticking along slowly. The floors have now been fully derusted, epoxy primed and painted black. I've also put some Dodo mat down, which is a (slightly) cheaper version of Dynamat. There were some previous dreadful repairs around the seat belt anchor points, where for some unknown reason, someone welded the seatbelt retaining nut on the underside of the floor, rather than inside the sill. They then hacked a clearance hole in the inner sills with what appears to be a chisel. They welded the edges of this hole to the underside of the floor. Anyway, both sides are now repaired properly and I should be able to get the car fully back together this weekend.  IMG_20220710_195224 IMG_20220710_195224 by Chris Witkowski, on Flickr  IMG_20220710_205743 IMG_20220710_205743 by Chris Witkowski, on Flickr  IMG_20220713_210006 IMG_20220713_210006 by Chris Witkowski, on Flickr |
| |
|
|
lebowski
Part of things
Hillman Avenger, Clan Clover
Posts: 476
|
|
Jun 19, 2022 16:50:40 GMT
|
Bit of a before and after of the floor derusting efforts: Drivers side has been knot wheeled but is otherwise 'as was'. Passenger side has been knot wheeled, then treated with acid solution/various wire brushes etc. over the course of several days, and had a few small welded repairs.  IMG_20220619_173118 IMG_20220619_173118 by Chris Witkowski, on Flickr  IMG_20220619_173054 IMG_20220619_173054 by Chris Witkowski, on Flickr  IMG_20220619_173107 IMG_20220619_173107 by Chris Witkowski, on Flickr  IMG_20220619_173100 IMG_20220619_173100 by Chris Witkowski, on Flickr The passenger side was the worst of the two but I'm very happy with how it's come up. The same work now needs doing on the drivers side, before repainting, sound deadening and then I can finally get the interior back in. The windscreen doesn't seem to be leaking anymore either which is good. |
| |
|
|
lebowski
Part of things
Hillman Avenger, Clan Clover
Posts: 476
|
|
|
|
|
Nice work on that alternator bracket!
|
| |
|
|