luckygti
Posted a lot
   I need to try harder!
Posts: 4,912
|
|
|
|
just been through this full build, love it, stunning build up the borbets are the best looking wheel for a wedge, shame about the rear blenders for the lights never actualy realised the dokas rear panel was so different, keep thinking of buying blenders for my hightop but price to get a curse word set puts me off. 1 day I think ill get myself a doka Thanks, I think I've said it before, but it's always good when someone else appreciates the work  Keep, thinking about changing the wheels, but these definitely suit the van to a T, so I should probably get them refurbished as they are a tad untidy. As for the rear blenders, the ones I bought were 65 quid and were shocking! I have sold them on, but I couldn't bring myself to charge that much! DoKa's are for winnars!! Though there are days I miss my T4 Multivan! (and the T3 panel van for that matter  |
| |
|
|
|
|
luckygti
Posted a lot
   I need to try harder!
Posts: 4,912
|
|
Jun 28, 2017 21:30:38 GMT
|
Well, not one to sit still, it was onto the next evolution  Knowing full well that any kind of canopy for the back is likely to be a winter project I started looking for a roof tent, so with the van off the road for the last few months I checked the fluids, fired her up and promptly did a 200 mile round trip to pick up a howling moon roof tent!  It obviously won't be staying there though as the canopy over the door would be at belly height. Mounting it on the sides though? Just above head height  Perfect! Cue a steel purchase and some fabrication. Pics to follow when my iPad decides to play  |
| |
|
|
luckygti
Posted a lot
   I need to try harder!
Posts: 4,912
|
|
Jun 28, 2017 21:58:39 GMT
|
|
|
| |
|
|
luckygti
Posted a lot
   I need to try harder!
Posts: 4,912
|
|
Jun 28, 2017 22:02:20 GMT
|
Oh, and this is what the tent looks like.  And that is how it will fold out, on the same side as the back door. |
| |
|
|
|
|
|
|
|
May 23, 2018 12:15:17 GMT
|
|
thats a great idea for the tent!.....I particularly like that it will sit lower in your "pick up" bed than it does on the roof of a van.
On our pop up camper, the pull out ends have support rails to keep the extensions from sagging......but that might not be an issue with your camper....
very interested to see your progress!
JP
|
| |
I know its spelled Norman Luxury Yacht, but its pronounced Throat Wobbler Mangrove!
|
|
|
|
|
Jul 20, 2018 14:30:15 GMT
|
|
Very interesting project. Actually I am only at the entry where you bought marine ply for the load-bed. First off marine ply is not that readily available. You normally get palmed off with 'water-boil-proof' and that is not marine ply.
If you intend to buy any more ply for load-beds, etc... have a look at PHENOLIC PLY. You will probably struggle to get it locally, the Internet being the only access to suppliers.
Phenolic ply comes in 10ft X 5ft sheets; 18mm thick; sealed on all sides, including the edges against water ingress.
The likes of Ifor Williams (trailer manufacturers) and coachbuilders fabricating lorry beds use it.
Phenolic ply cuts with a standard power saw, and you MUST treat the sawn edges to restore 100% waterproof.
Typed this in now, before I forget; for now back to where I got.
|
| |
|
|
|
|
|
Jul 20, 2018 15:31:41 GMT
|
|
Well I've finally reached the end, and your hardwork has certainly paid off.
Re hand-painting vehicles, have you by any chance come across Tekaloid 318 Single Pack Coach Enamel?
From my experience of using it, it most definitely works and if care is taken the finish is most certainly as good as other brands, if not better. Just a thought.
|
| |
|
|
luckygti
Posted a lot
   I need to try harder!
Posts: 4,912
|
|
Sept 17, 2018 11:12:50 GMT
|
Well I've finally reached the end, and your hardwork has certainly paid off. Re hand-painting vehicles, have you by any chance come across Tekaloid 318 Single Pack Coach Enamel? From my experience of using it, it most definitely works and if care is taken the finish is most certainly as good as other brands, if not better. Just a thought. Haven't come across it to be honest. The Rustoleum has worked really well, but it is definitely down to the prep and taking your time. It's due a refresh now |
| |
|
|
luckygti
Posted a lot
   I need to try harder!
Posts: 4,912
|
|
|
|
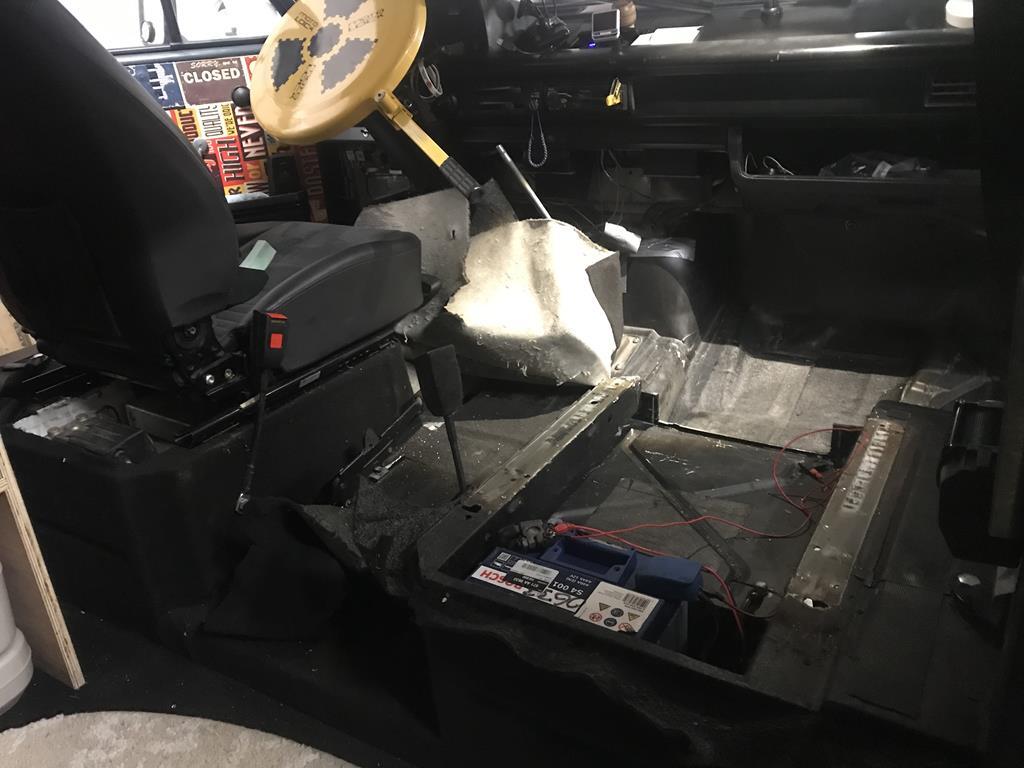
Erm, almost as embarrassing as the Escort, but only about a year, so not quite as bad? So, I think I left about half way through fitting the tent. That’s done, and it has been used in anger (you might have seen it at RR Weekender last year?) where it provided sterling service as both a place to sleep, and a place to cook (not in the tent obviously! On the back  ) 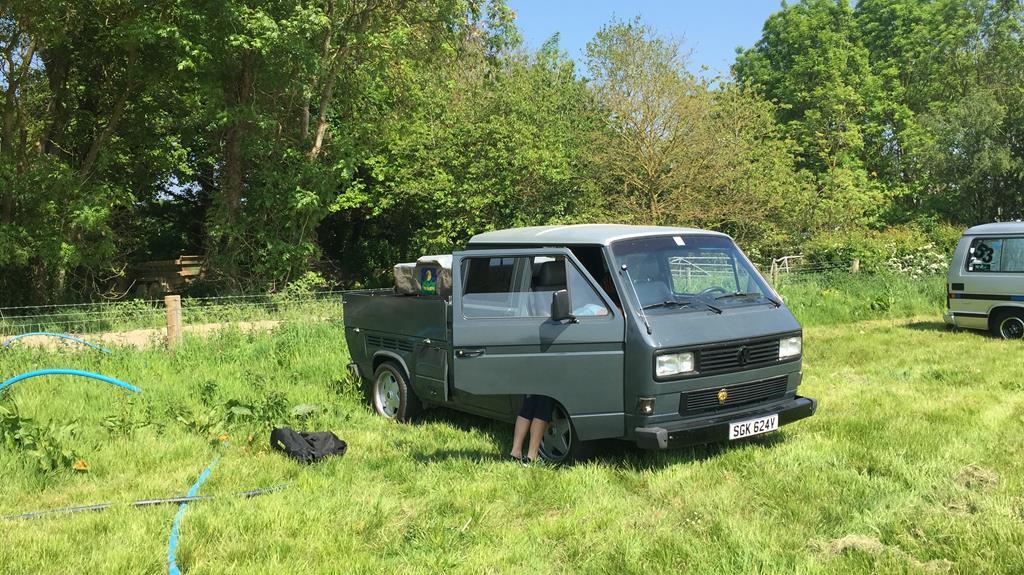 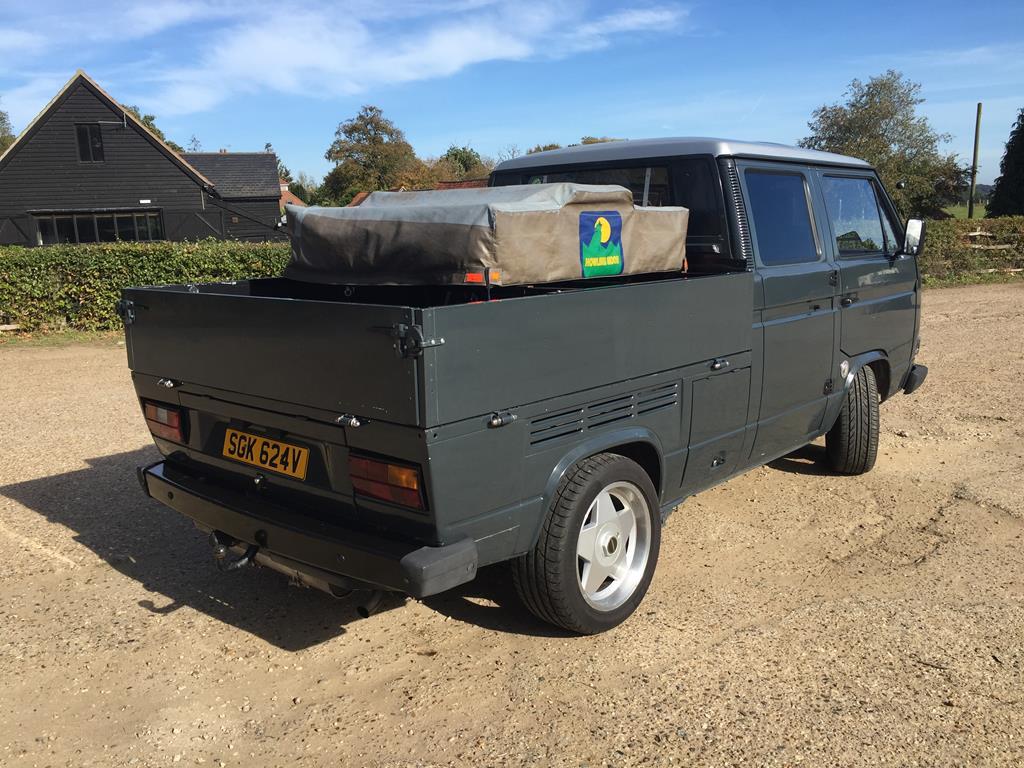 Of course, there was other work to do though. Like removing the dash to fit a new heater fan. That was fun.... While I was there, I fitted a separate heater control knob as the standard one kept bending cables. Working heater, happy wife! 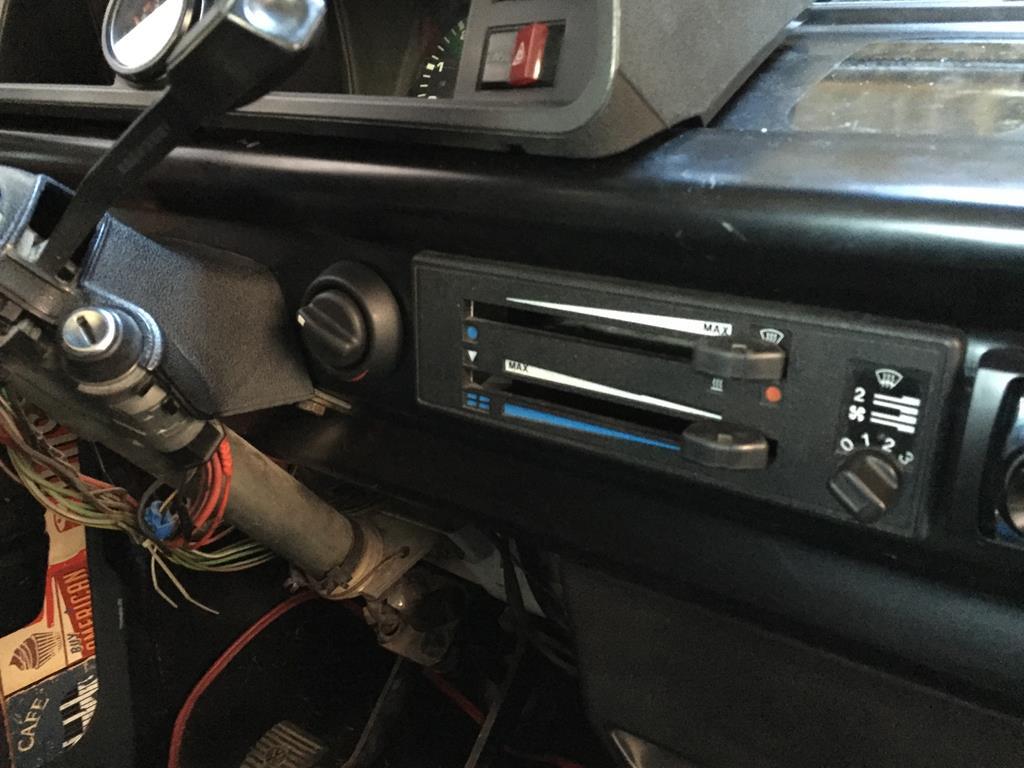 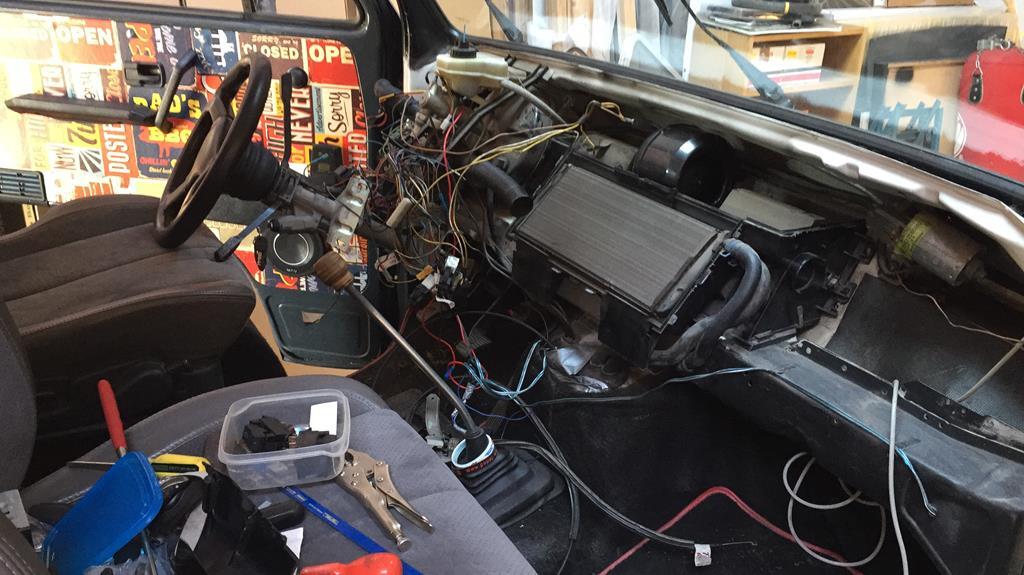 I had reconstructive knee surgery last year, so it put paid to me driving a manual but I’d had some nice Audi Recaros just waiting to go in. When you type it like that it sounds so easy..... hahahaahaha. Wiring (again!),but I finally managed to get all of the buttons working. Th ere was no way to make the seats (at least the drivers) fit on the original VW seat mounts though so I finally bit the bullet and drilled the spot welds out and fitted the original Audi runners. ‘Like a glove’ as Matt from Urchfab would say (check him out on YouTube!) the passenger seat is on a swivel, but I’ll be swapping the runners on that at some stage as there’s some ‘interference’! 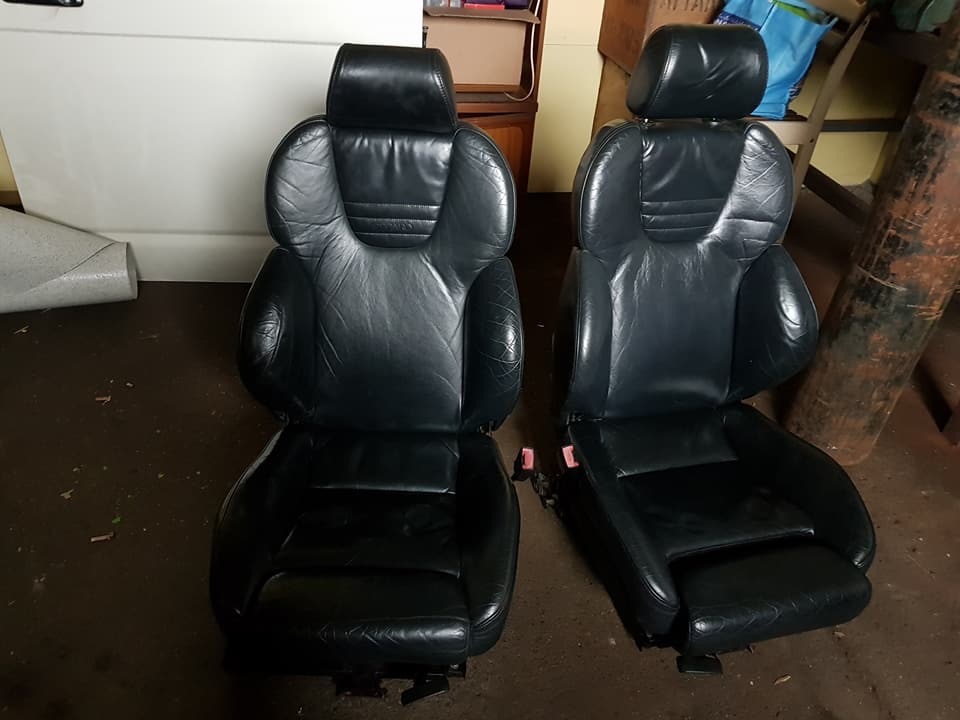 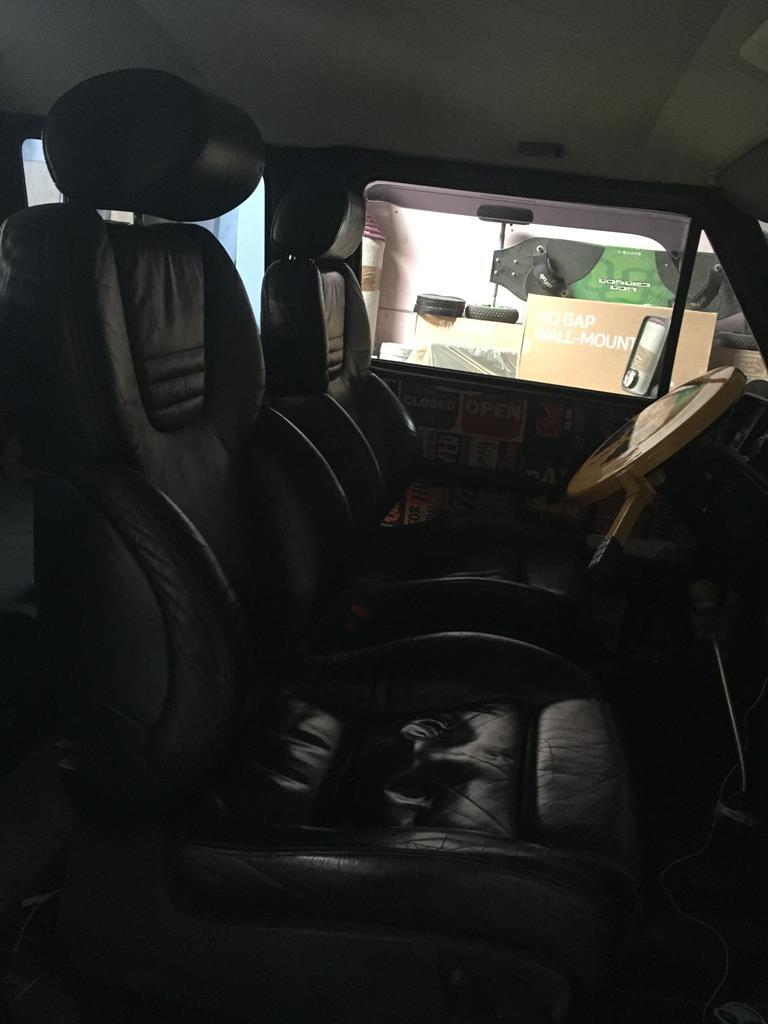 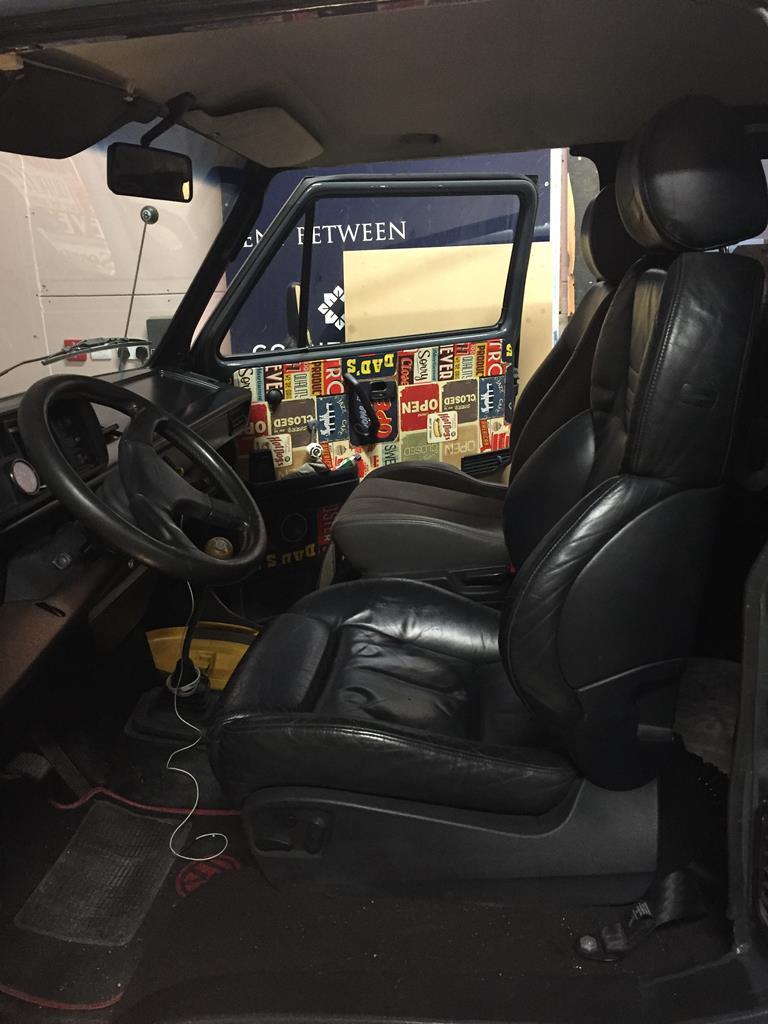 So, what’s next. Well I bought a lift kit and some wheels so it’ll look a bit like this soon 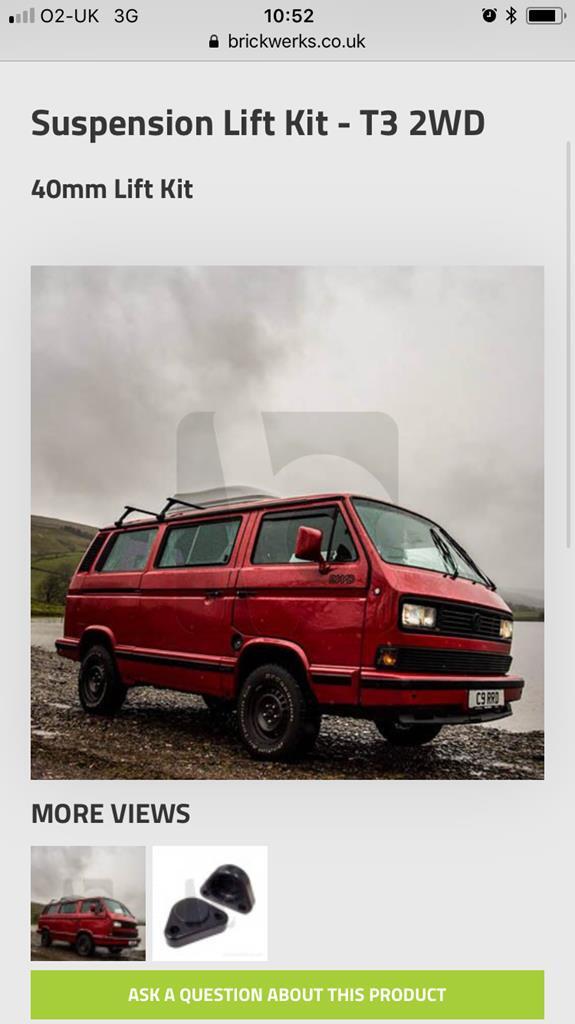 This being my inspiration. 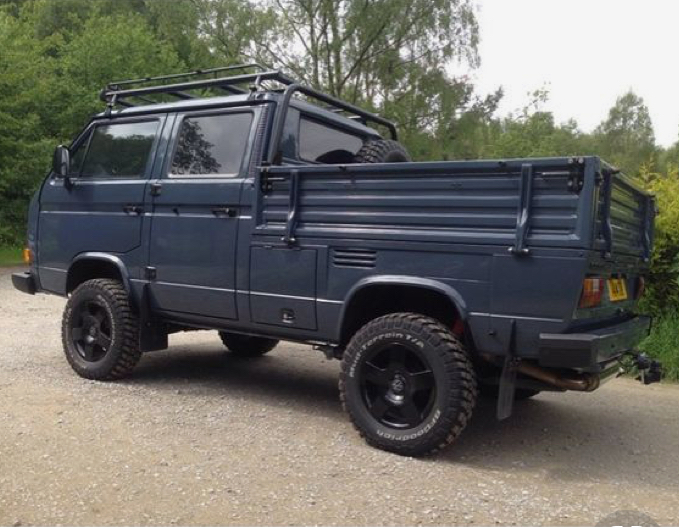 But first I need to sort out a small engine issue...... |
| |
|
|
|
|
village
Part of things
  Always carries a toolbox. Because Volkswagen.......
Posts: 567
|
|
|
|
But first I need to sort out a small engine issue...... Fitting a SVX flat 6?........ |
| |
"The White Van is strong with this one...."
Chris "Chesney" Allen 1976-2005 RIP
|
|
luckygti
Posted a lot
   I need to try harder!
Posts: 4,912
|
|
|
|
But first I need to sort out a small engine issue...... Fitting a SVX flat 6?........ Ha, no, had a terrible knocking that I thought was terminal. Turns out it was a stuck hydraulic tappet so with a good flush it’s now running beautifully. Relieved doesn’t even begin to describe how I feel. Plenty to do before RR Weekender though! |
| |
|
|
luckygti
Posted a lot
   I need to try harder!
Posts: 4,912
|
|
|
|
Blimey, where does the time go? So, things have been happening. First up, I had to figure out a way of getting the tent on and and off without damaging myself (or the tent or truck I guess). A quick lash up with some wood, bits of angle and the engine hoist and we have a working solution  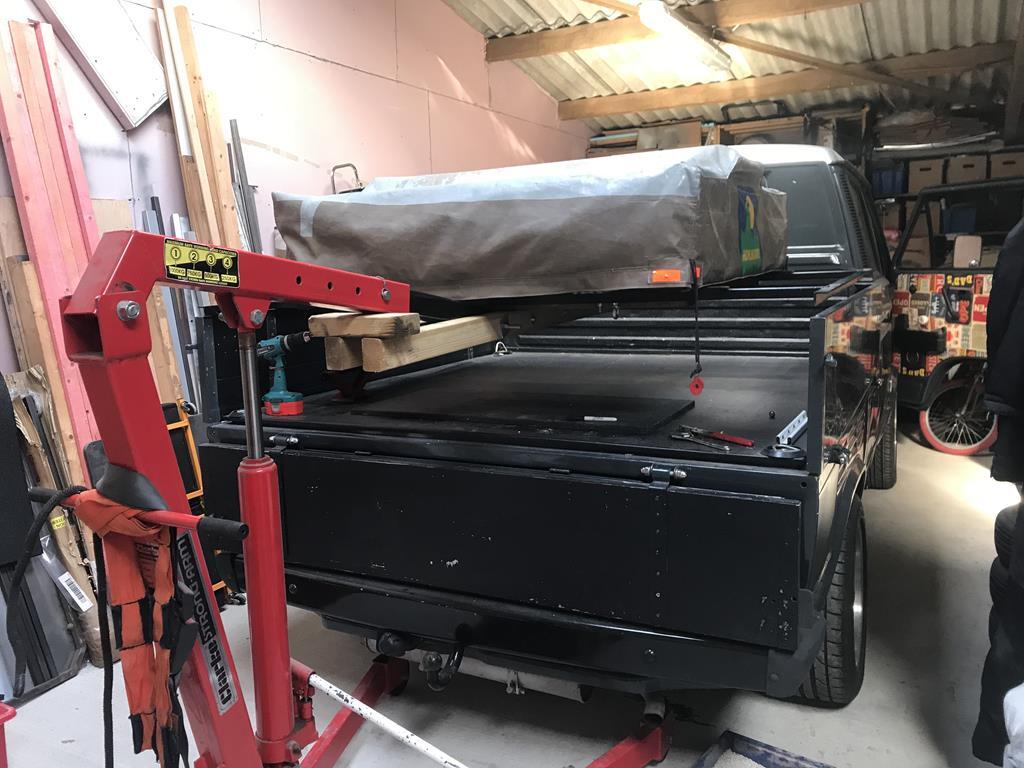 Then it was onto the big job, fitting the lifting kit and new wheels and tyres. Before all of that, and with a buggered knee that I can’t kneel on (the surgeon did say I wouldn’t be able to kneel down, but I didn’t think he actually meant that I wouldn’t be able to actually put any weight on it at all) I decided to spend some of my hard earned compensation on a lift to bring it up to a height that I could actually work at, whilst sitting on a chair..... I know right, how freaking awesome is that? One road trip later, and a lot of swearing and muscle strain later, it was in and we could begin. Can’t find any pictures of that, but here it is in action. 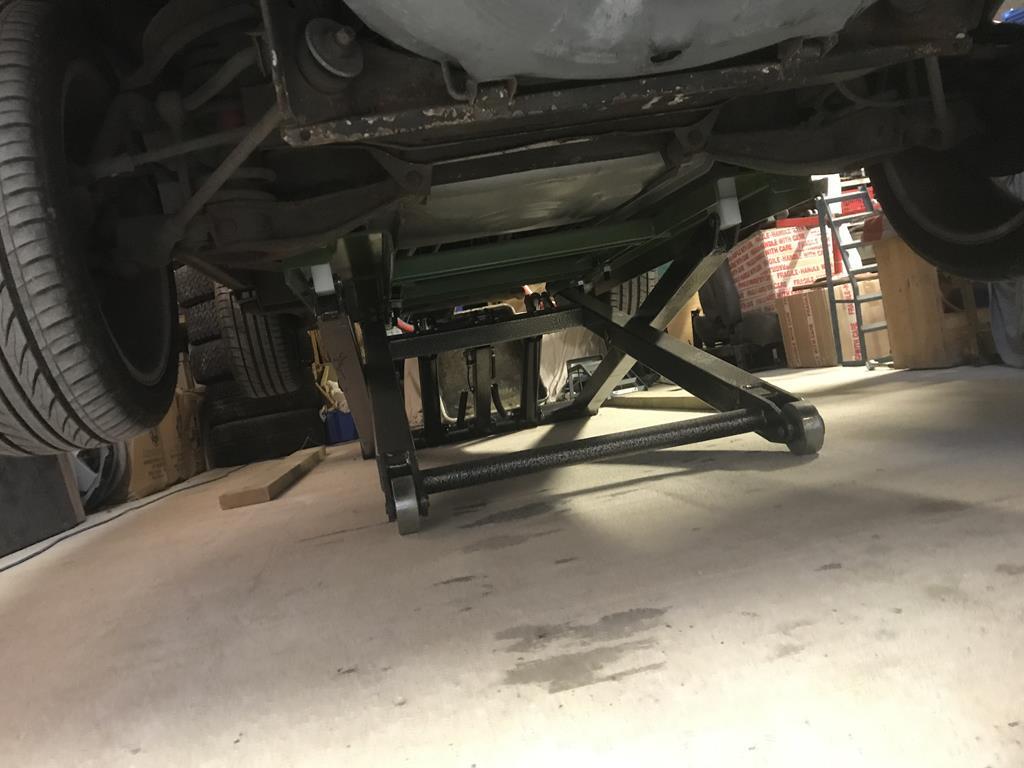 So, I had ‘the fear’ over stripping down the front suspension. In all of the strip down and rebuild I’m pretty sure I didn’t do anything at all with the front suspension so feared that everything would be seized solid but no, every bolt and nut came out without so much as a whimper, and before you know it the old stuff was out and the new stuff in. Dropped to get some idea of how it will look 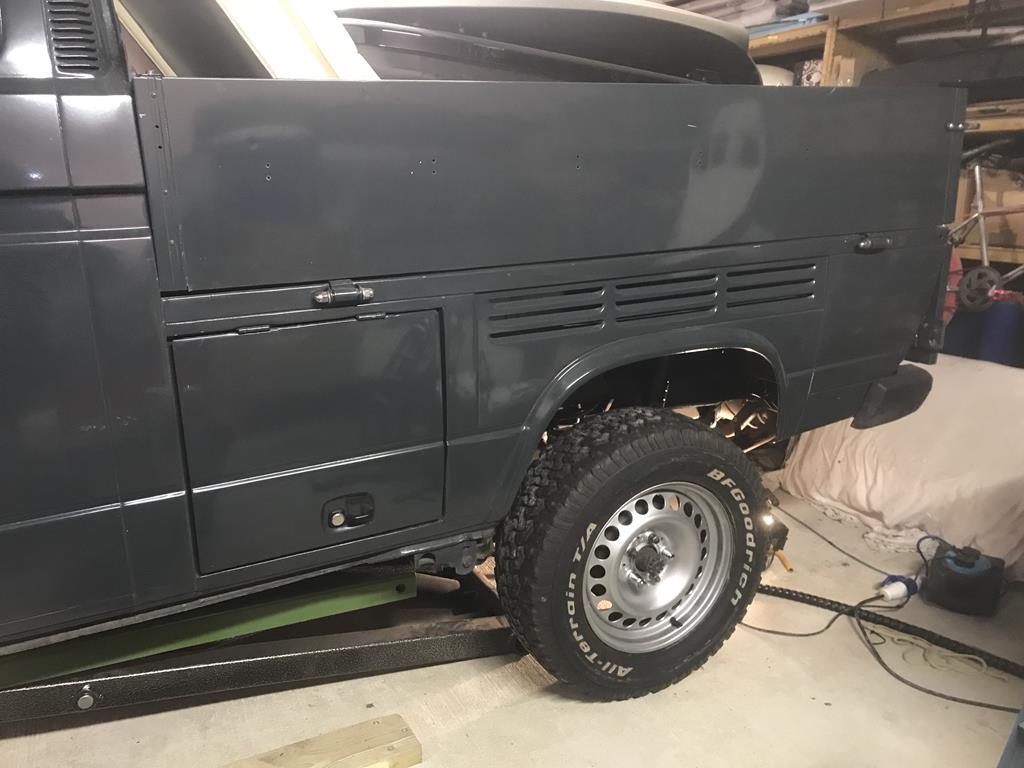 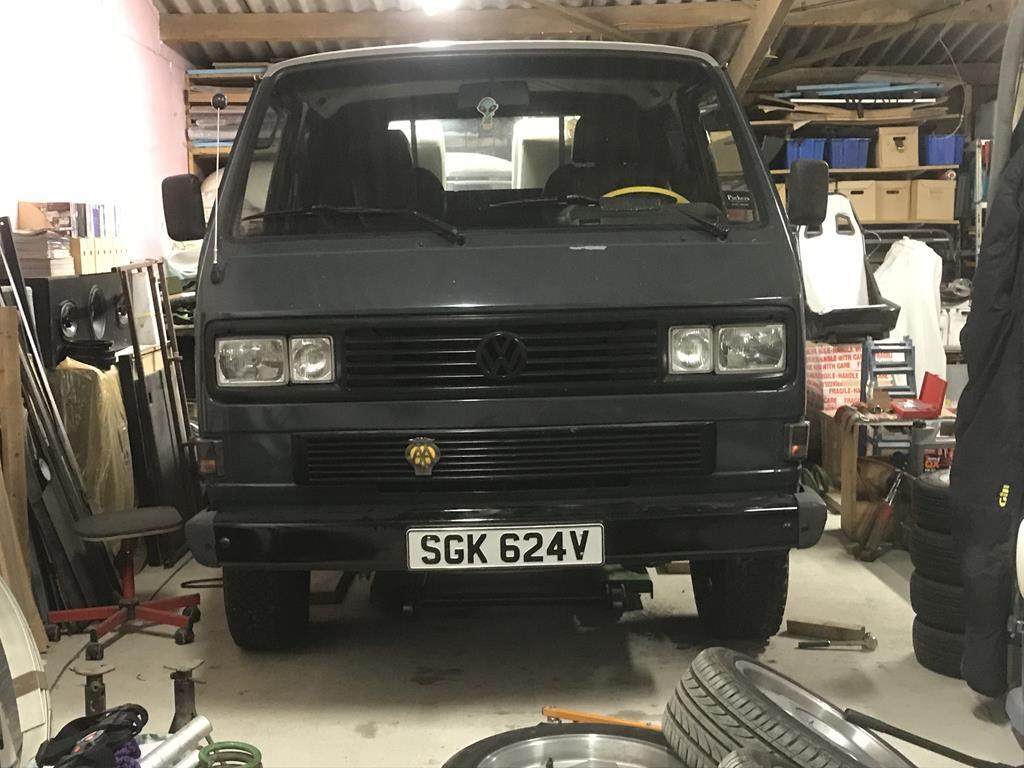 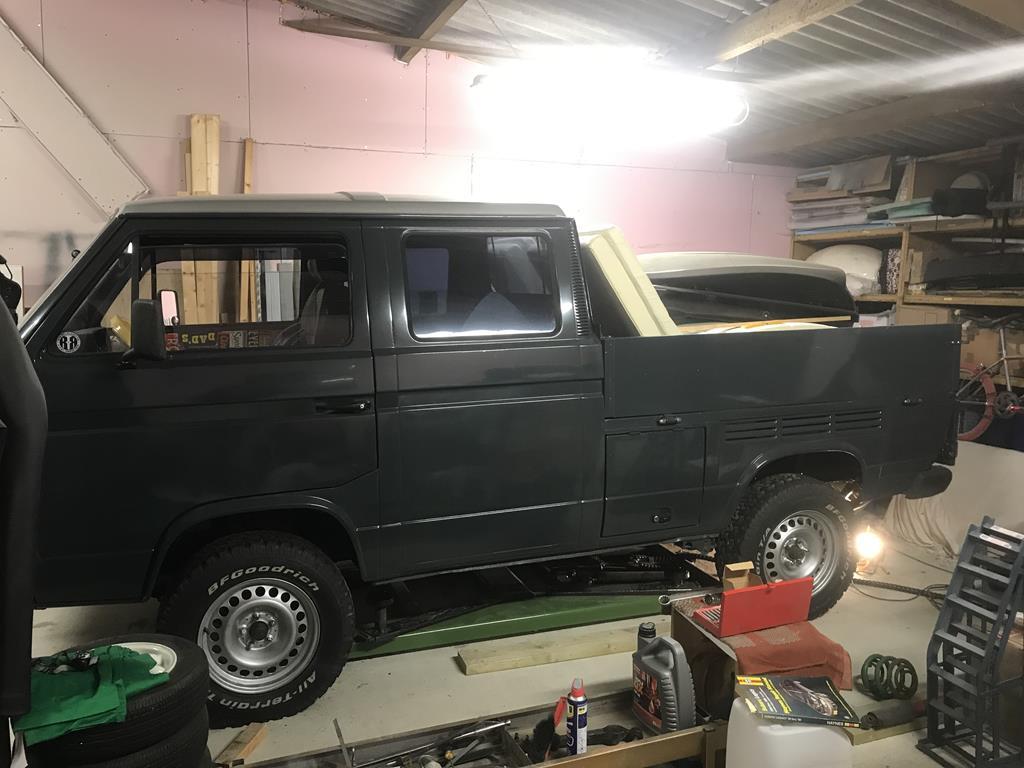 The tyres are off of a Syncro, so they’re a touch on the large side, but I’ve ordered some spacers and hopefully that’ll prevent any rubbing/fouling on anything important. In the stripdown it’s also highlighted some new rust coming through on the trailing arms, so that needs treating, and eventually they’ll get Raptor’d when I redo the back. Back on it today after another knee op, the blurb says to keep mobile (it actually says ‘pottering about’!) so I’m off to do that in the workshop  Oh, and to take this off (it’s supposed to be a circlip!) so I can get the new spacer on! 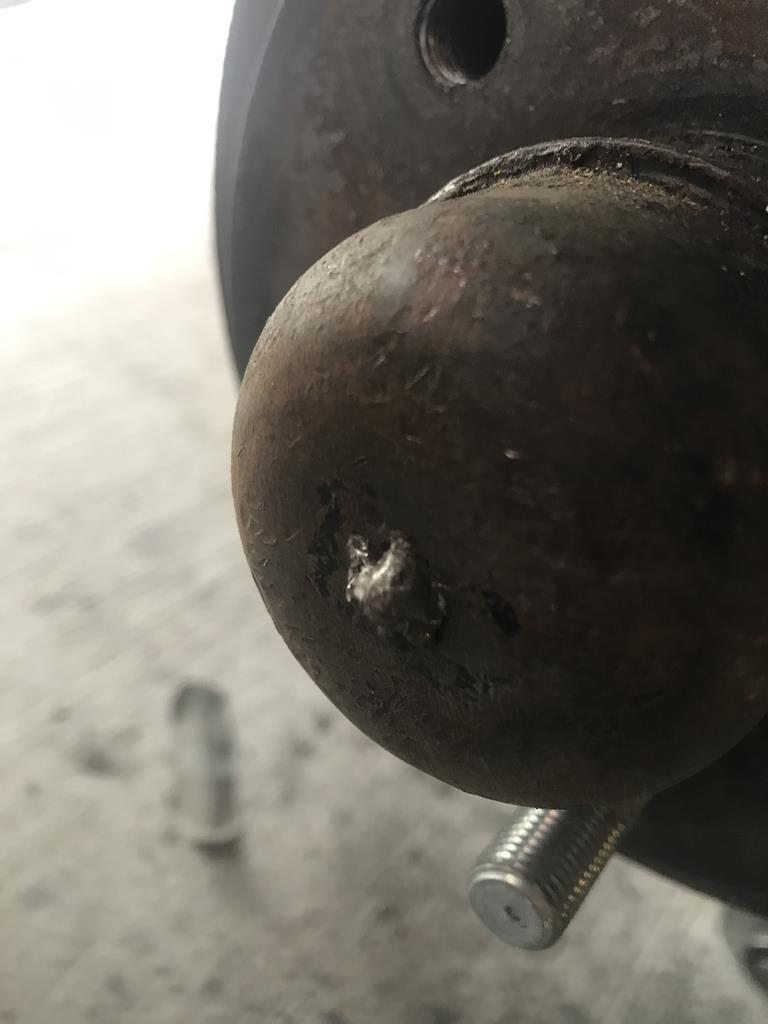 |
| |
|
|
luckygti
Posted a lot
   I need to try harder!
Posts: 4,912
|
|
Jun 11, 2019 14:25:39 GMT
|
That’s better  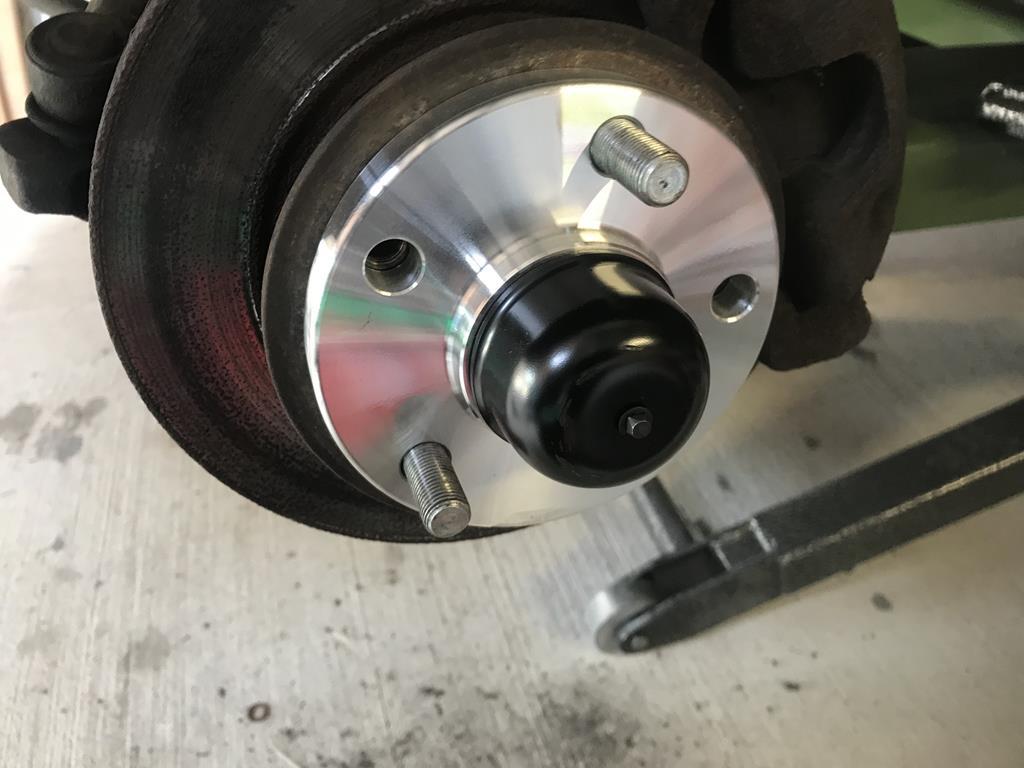 And I started some rust removal. That’ll get a coat of something when I head back up there. 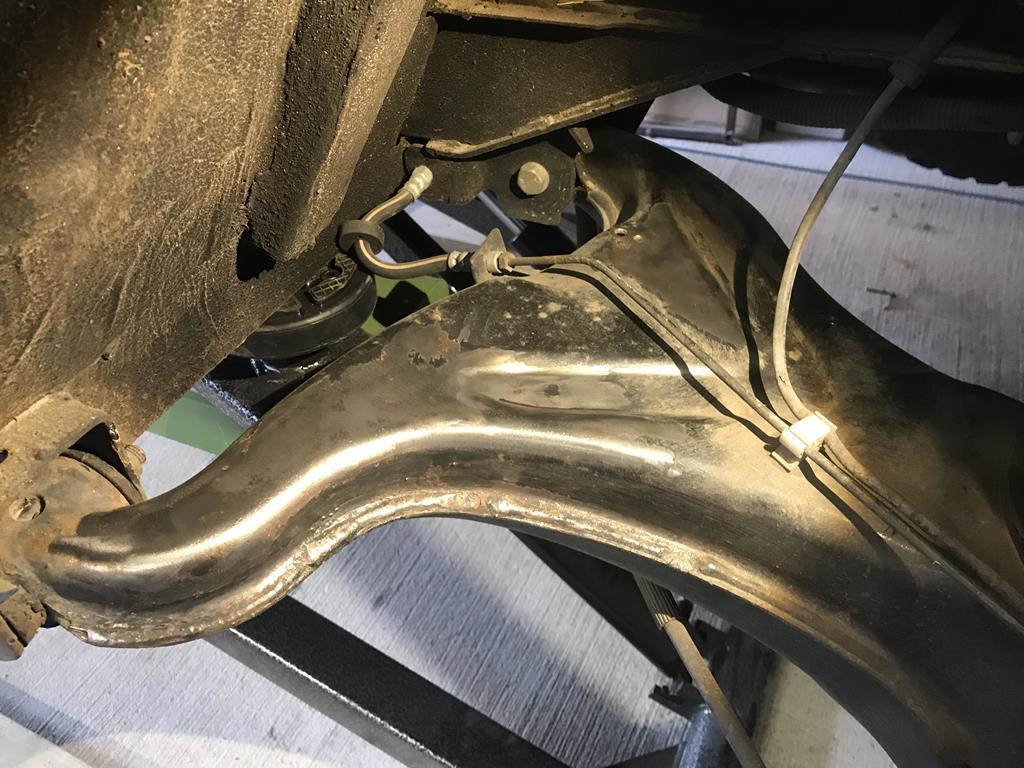 |
| |
|
|
luckyseven
Posted a lot
   Owning sneering dismissive pedantry since 1970
Posts: 3,839
Club RR Member Number: 45
|
1980 VW T3 Double Kabluckyseven
@luckyseven
Club Retro Rides Member 45
|
Jun 11, 2019 16:39:16 GMT
|
Looking ever more excellent  The trailing arms on my T25 had rusted through in that depression on the top, where it looks like yours are just starting to go. Some previous owner had just drilled out the rust holes so they looked like they were supposed to be there (i.e. round, not frilly), then painted over! You can get new arms but they're about three hundred quid a side, so well worth saving  Bit jealous of that lift, actually  |
| |
Last Edit: Jun 11, 2019 16:40:42 GMT by luckyseven
|
|
luckygti
Posted a lot
   I need to try harder!
Posts: 4,912
|
|
Jun 11, 2019 20:41:31 GMT
|
Looking ever more excellent  The trailing arms on my T25 had rusted through in that depression on the top, where it looks like yours are just starting to go. Some previous owner had just drilled out the rust holes so they looked like they were supposed to be there (i.e. round, not frilly), then painted over! You can get new arms but they're about three hundred quid a side, so well worth saving  Bit jealous of that lift, actually  I did these when I rebuilt the van maybe three years ago now, painted them with the same as the body (Rustoleum/Combicolour); this time I’ll be using some chassis paint that I bought for the mini subframes. Then it’ll get bed liner over that. They just get hit all the time by the back tyres, contemplating arch liners but not sure they’ll make much difference? Drilling them out though, the PO who did that should be beaten senseless, though he clearly was anyway  The lift? Worth every penny  |
| |
|
|
luckygti
Posted a lot
   I need to try harder!
Posts: 4,912
|
|
Jun 15, 2019 19:08:08 GMT
|
Well, it made it’s debut voyage last night. It’s tall to say the least  so, before 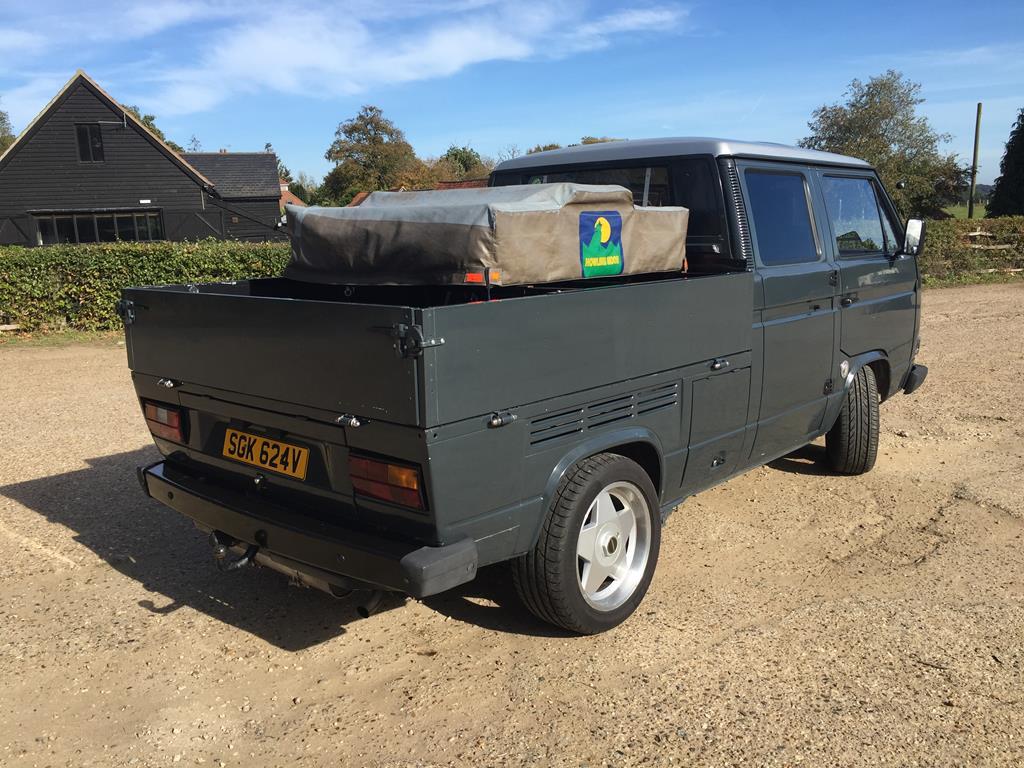 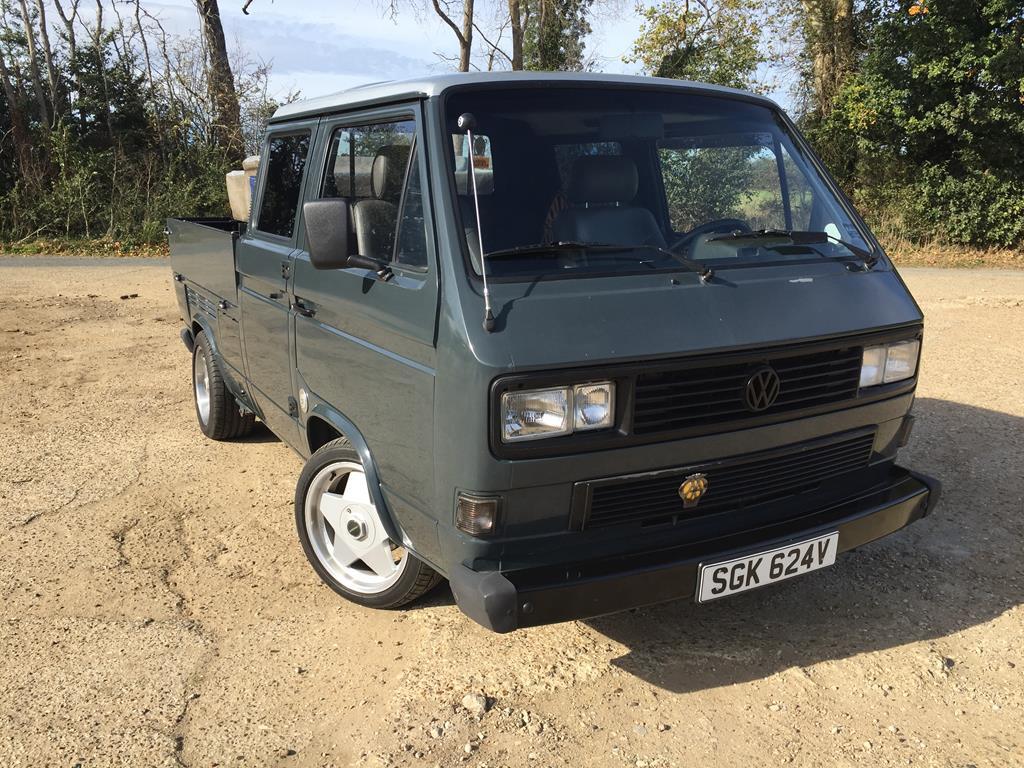 And after 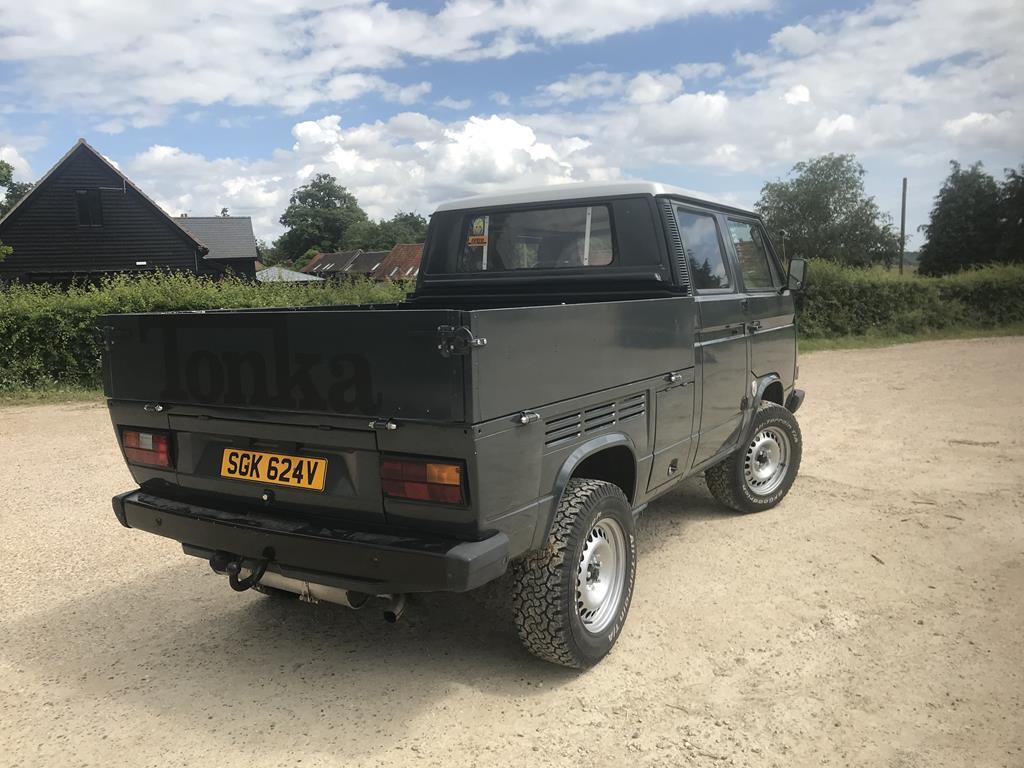 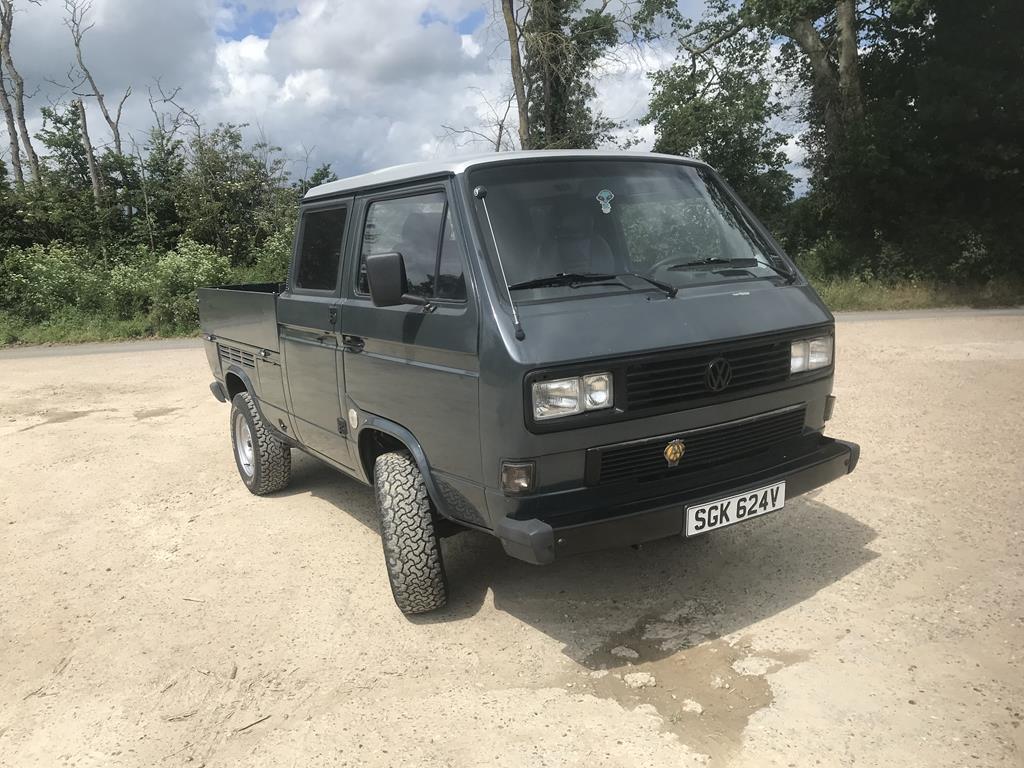 And arriving at the East Coast Retro’s meet last night (165 cars or thereabouts last night. Well worth a drive out if you’re anywhere near Ipswich!) 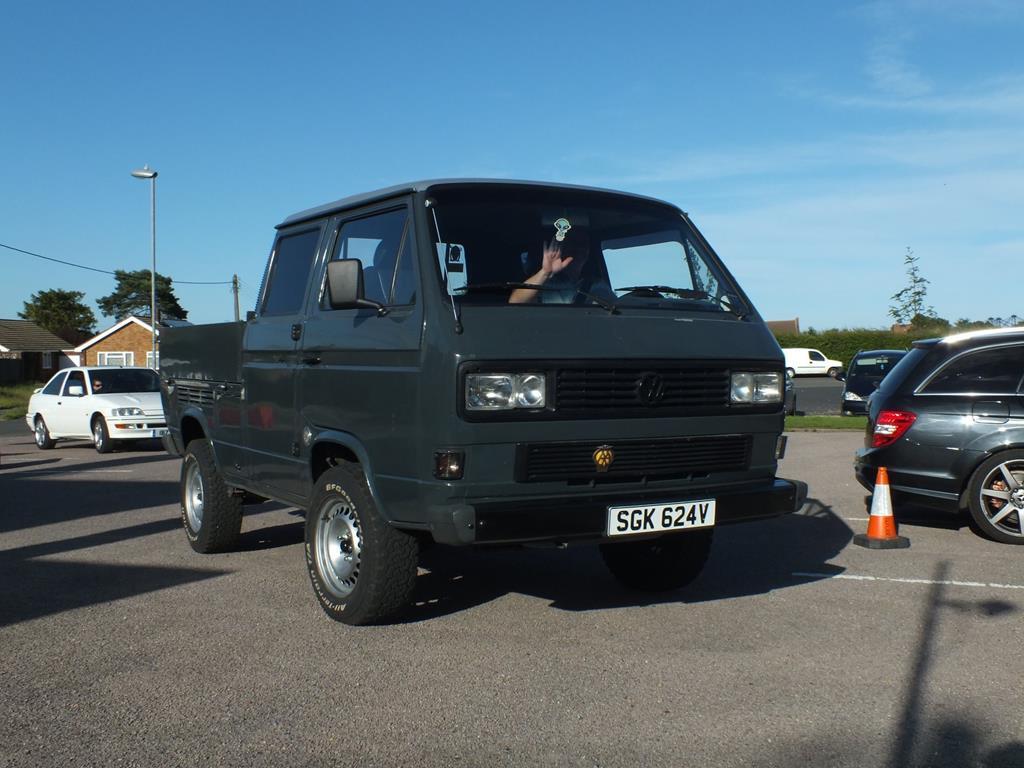 So, what’s it like Pete? Well, it’s f’ing ridiculous to be honest! I need to get a tape measure but it’s gone up maybe 6 inches, drives like a truck (it was very car like lowered!), the tracking needs doing and I need to play with the shock settings as I think they’re on the hardest setting, I forgot how high it was and fell out of the back door and first gear finally actually gets you somewhere; it was pretty pointless beforehand! It’ll take some getting used to, but I love it! |
| |
|
|
luckygti
Posted a lot
   I need to try harder!
Posts: 4,912
|
|
|
|
Blimey! A it’s been a while again! On and off over the last few months I’ve been fiddling. I can’t help myself really  So, in no particular order, The Gathering became a deadline, and the first long trip since the suspension. I needed to sort out the interior in the back, and that was my goal. It happened, I have probably one picture, and it kind of worked but still isn’t what I really want. It worked for RRG though, unlike the cross country tyres which showed up the fact that it may look like a 4WD, but it very clearly isn’t  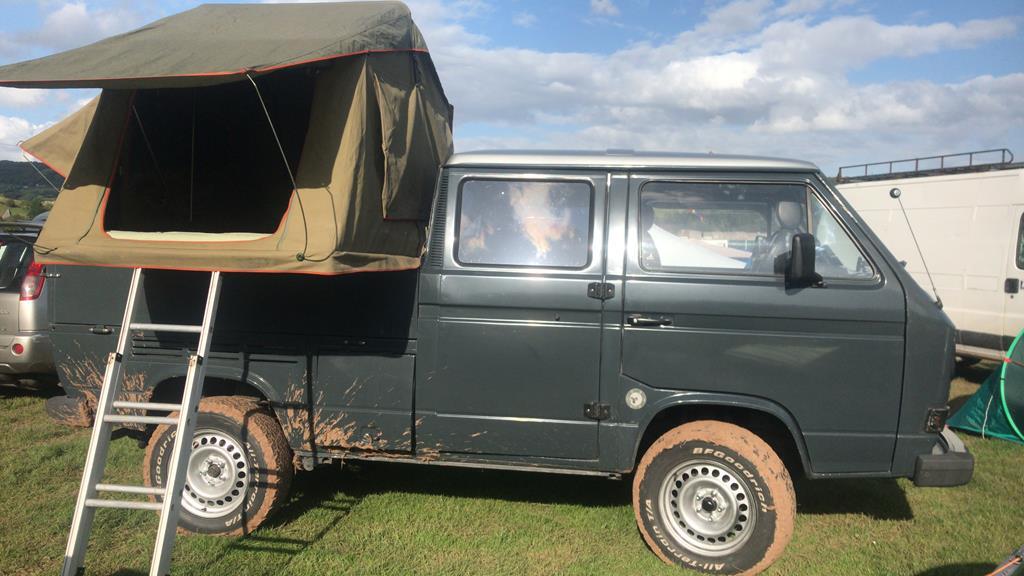 I did get my good dead badge on the way home, stopping to offer assistance to a certain PPC editor on the side of the M4 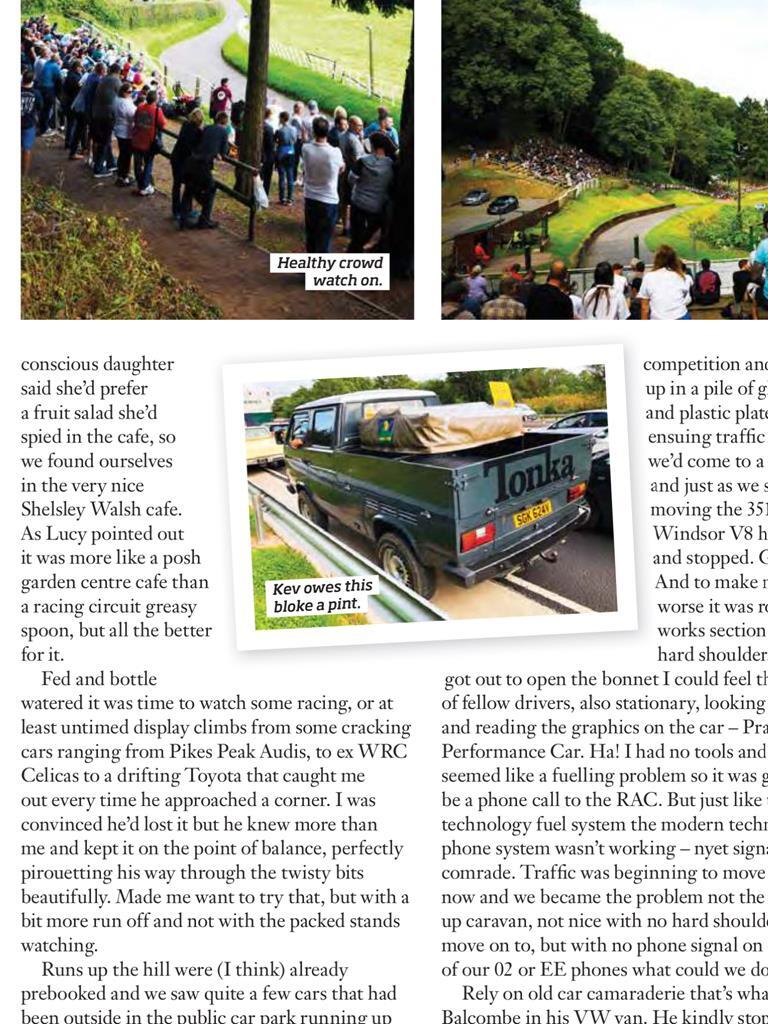 The van performed flawlessly, it pretty much always does, which is probably why it use more than the others  |
| |
|
|
luckygti
Posted a lot
   I need to try harder!
Posts: 4,912
|
|
|
|
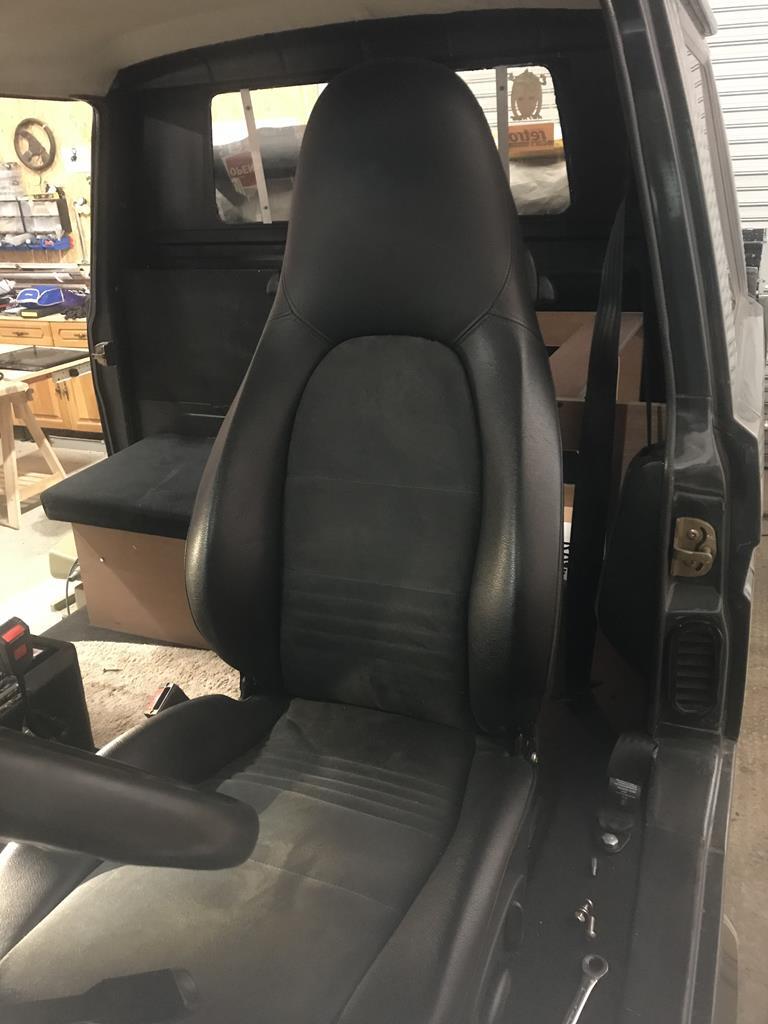
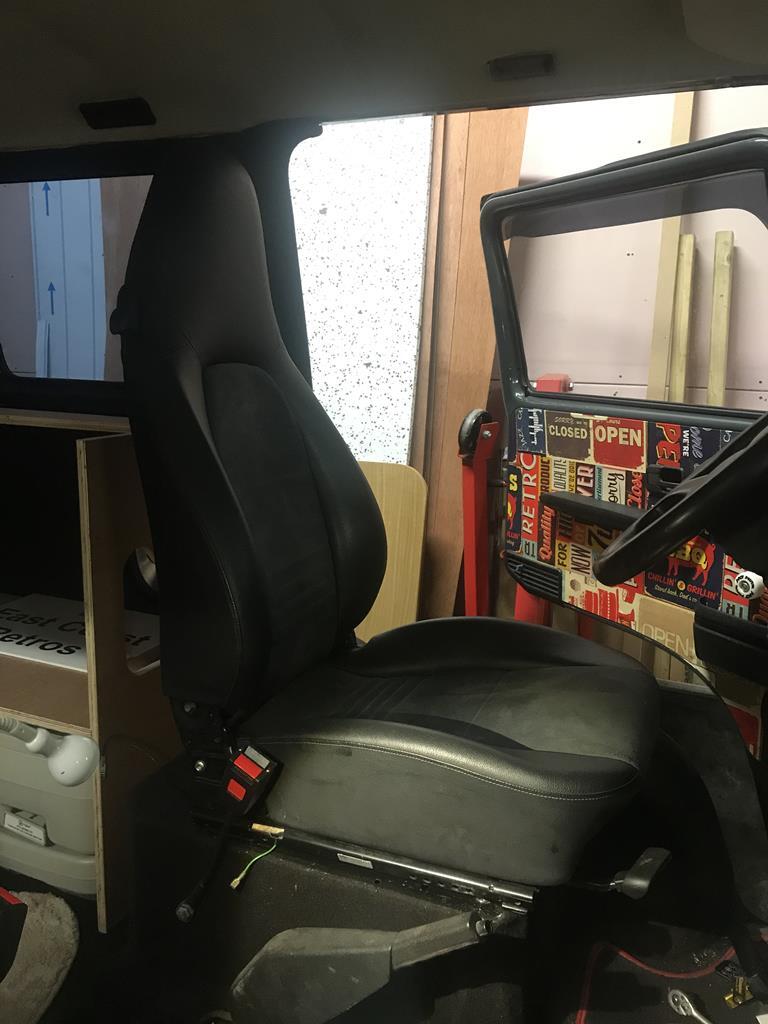
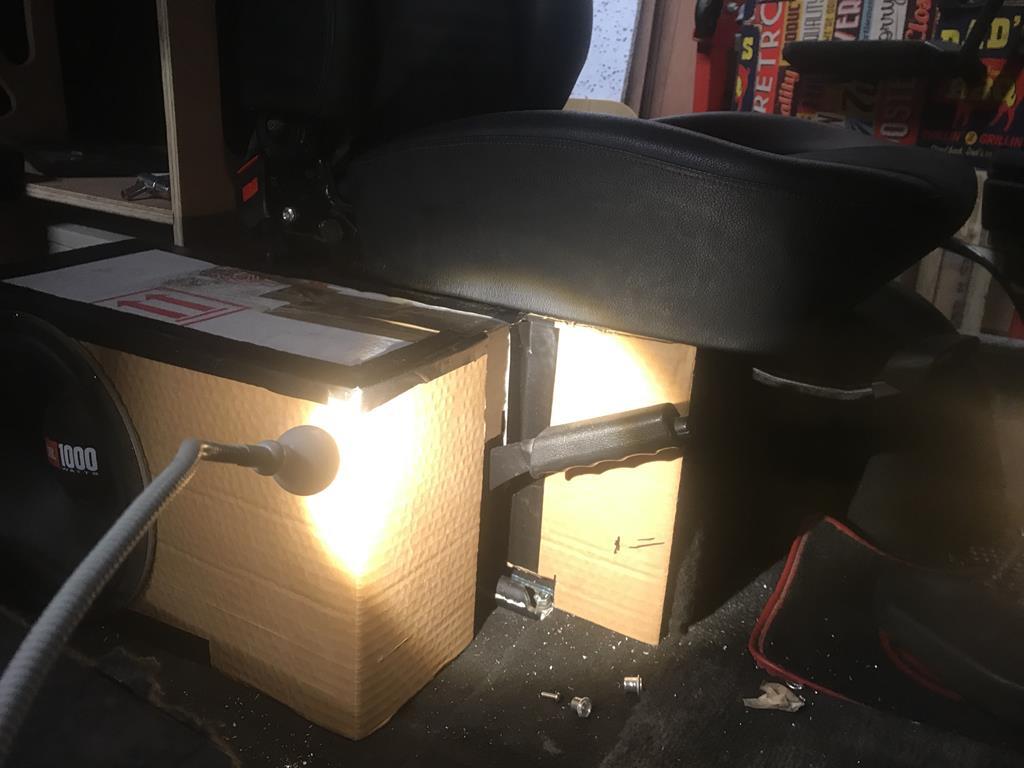
The plan for the back was to have a seat, a cooker unit, space for a portaloo (strictly for emergencies!!) and storage for camping type stuff. Have a curse word picture, but it kind of achieved the aim! 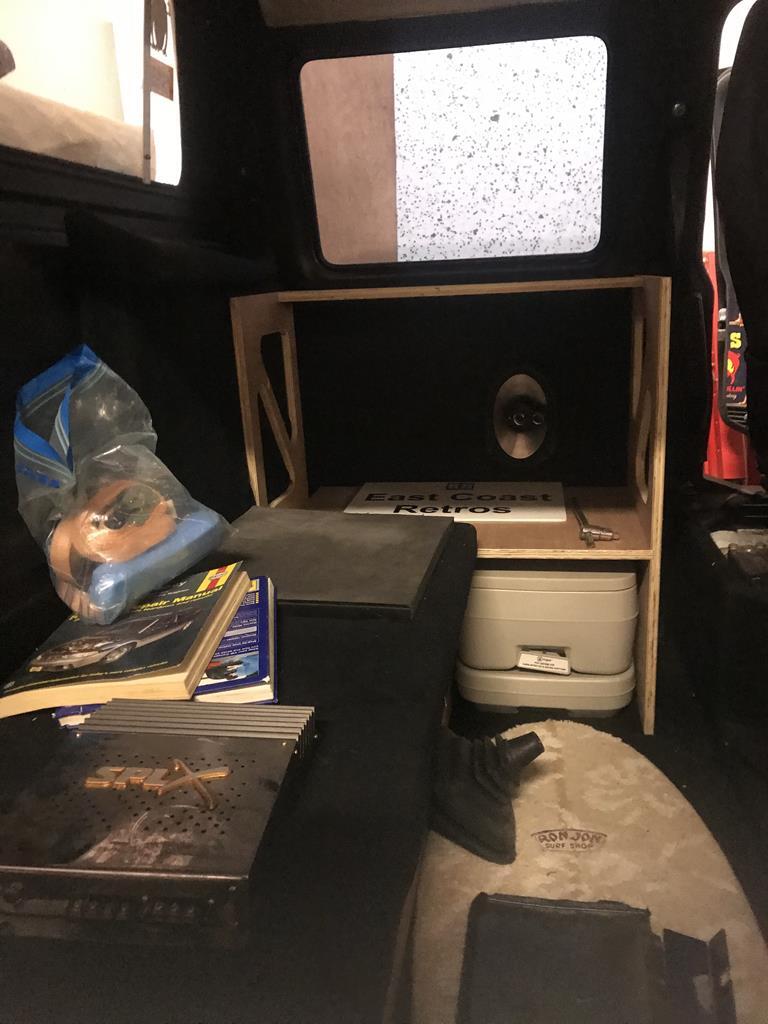 I also had a load of 3mm aluminium composite sandwich sheet which I bought to build a pod on the back (very definitely a “future” project. I thought I’d have a bash at working with it so knocked up a new door card for the back. Pretty pleased with how it can put, but inevitably it will be getting changed..... 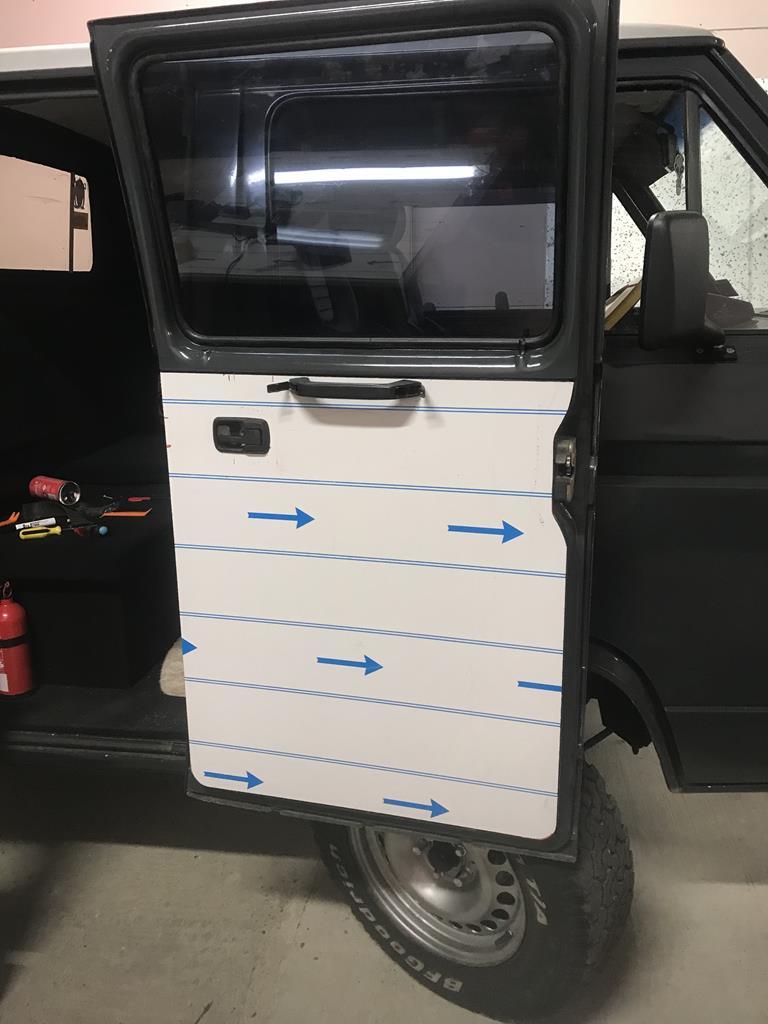 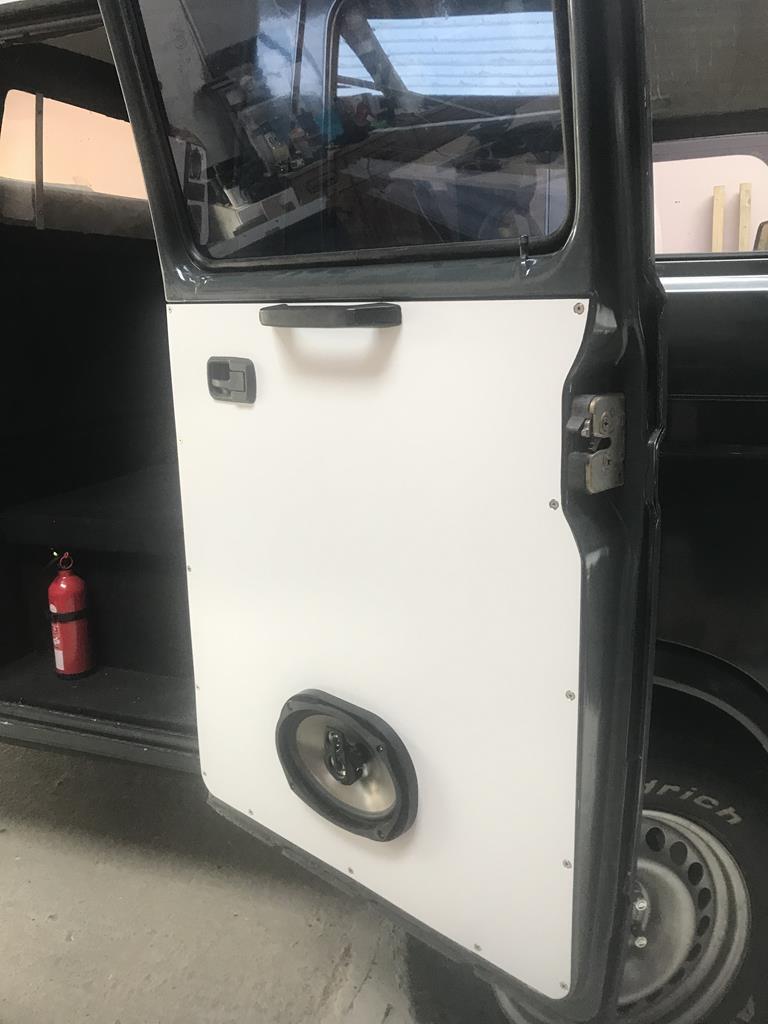 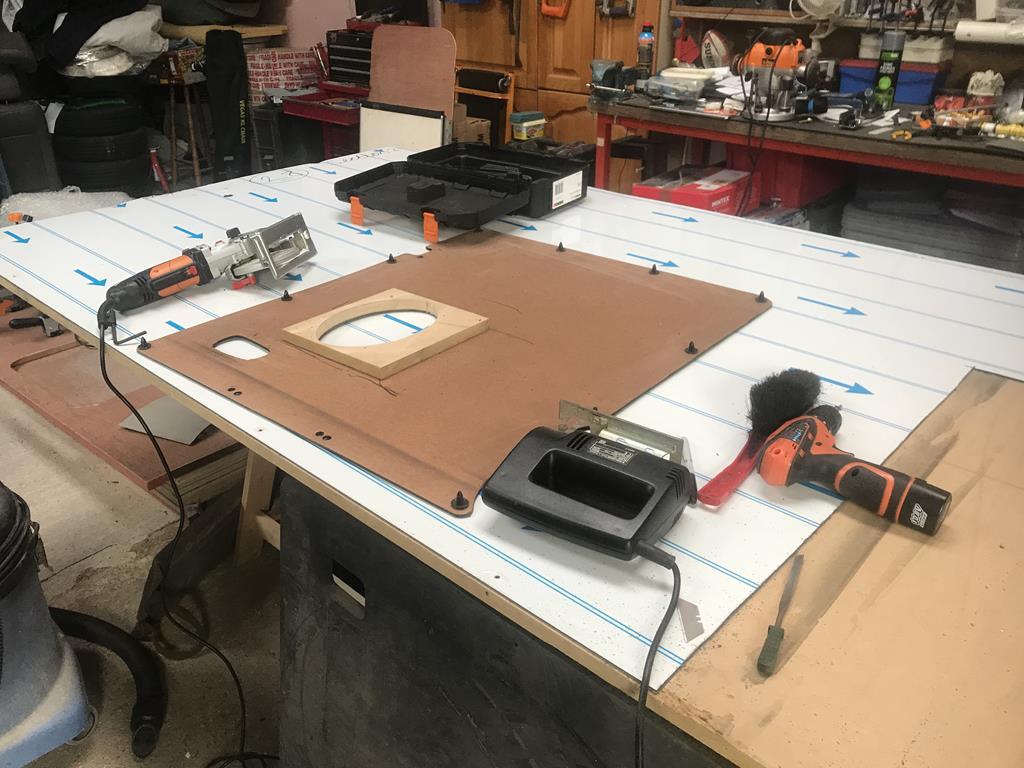 So, that was the summer! One run out really bar the local car meets, 400 mile round trip, and a list of “things” to do before the Weekender (although, I may bring the Escorts!) Now, it’s properly winter but I’m determined to get some hours in, so I obviously need to change the seats again! Yep, I probably have a bit of a thing for seats! This time (and what I’ve wanted all along really) Porsche Tombstones. I’ve stripped them down and fitted heated seat elements, and got all of the wiring nice and tidy. Driver seat just need a couple of extra holes drilling but the passenger seat has bugged me since I put the swivel base in, so that’s now getting bolted direct to the seat box having removed the VW seat runners which just made the whole thing rattle like mad! Half way through that, but they is the last time I’m going to change them, so this time they’re getting done properly. |
| |
|
|
luckygti
Posted a lot
   I need to try harder!
Posts: 4,912
|
|
|
|
|
|
| |
Last Edit: Dec 4, 2019 22:59:37 GMT by luckygti
|
|
|
|
 Keep, thinking about changing the wheels, but these definitely suit the van to a T, so I should probably get them refurbished as they are a tad untidy. As for the rear blenders, the ones I bought were 65 quid and were shocking! I have sold them on, but I couldn't bring myself to charge that much! DoKa's are for winnars!! Though there are days I miss my T4 Multivan! (and the T3 panel van for that matter


 Knowing full well that any kind of canopy for the back is likely to be a winter project I started looking for a roof tent, so with the van off the road for the last few months I checked the fluids, fired her up and promptly did a 200 mile round trip to pick up a howling moon roof tent!
 Perfect! Cue a steel purchase and some fabrication.


