jin
Part of things
 http://quantumforum.proboards.com
Posts: 69
|
|
Jan 16, 2011 18:31:33 GMT
|
boy have i been busy  firstly i found out yet again that the Quantum brackets was too big for the suspension bushes 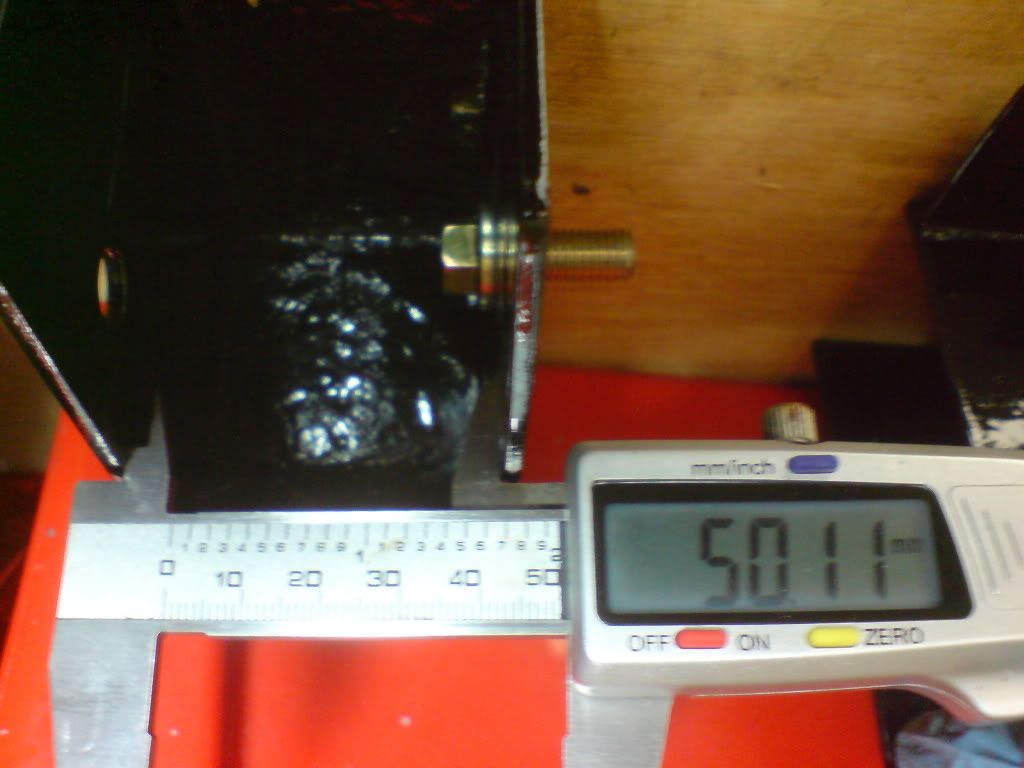 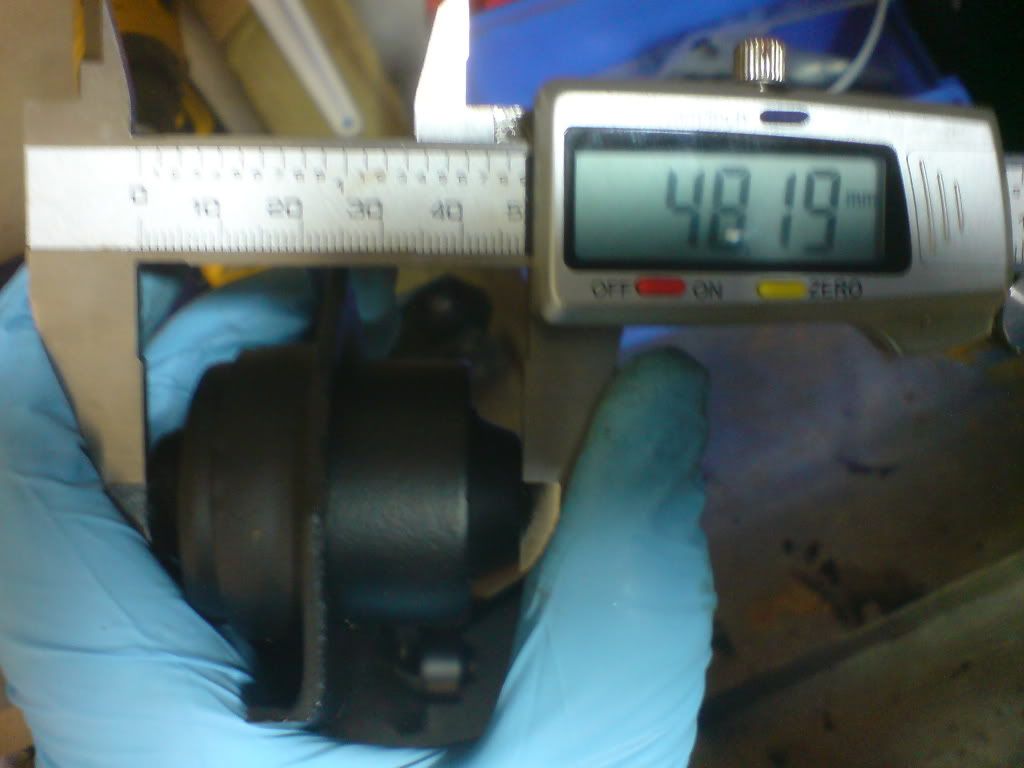 careful measuring of the bracket showed it to be straight and parallel so tightening up the bolt would distort it, so had to put a 2mm thick stainless washer into the space to prevent this from happening  i chose to put it on the side away from the sill thinking that the inside face would be the datum and would remain in-line with the arm / bush regardless of weather or not there was a washer there. onto the mounting i made some locating pegs by turning up some 10mm bolts to a point 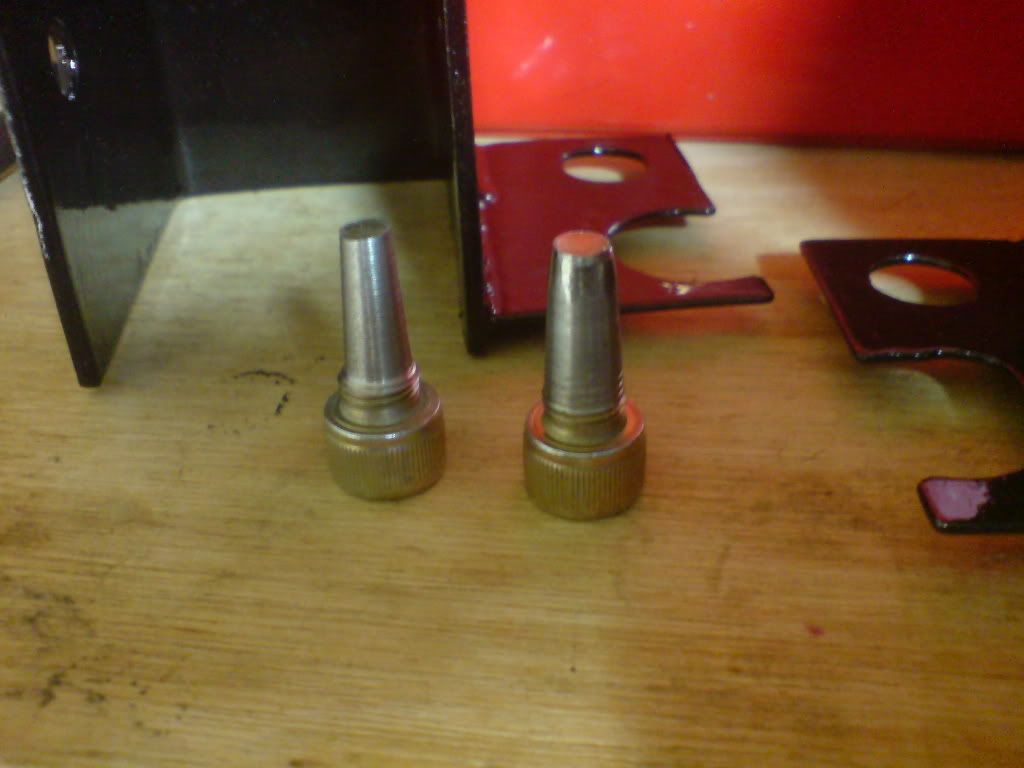 then put them through the sill 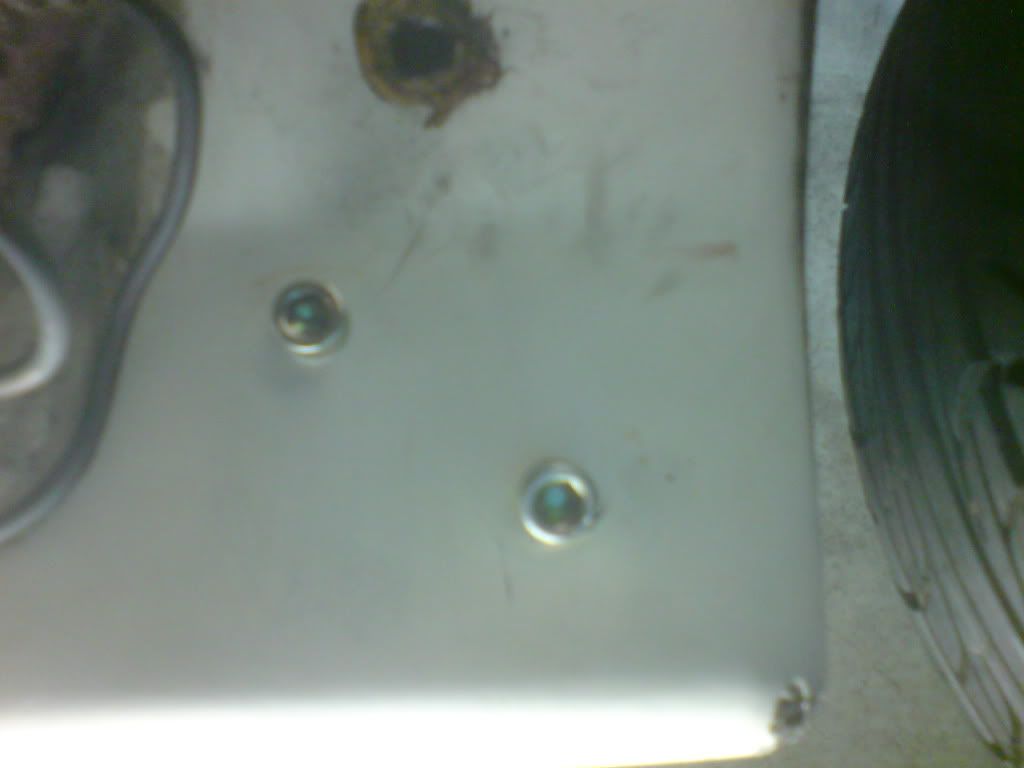 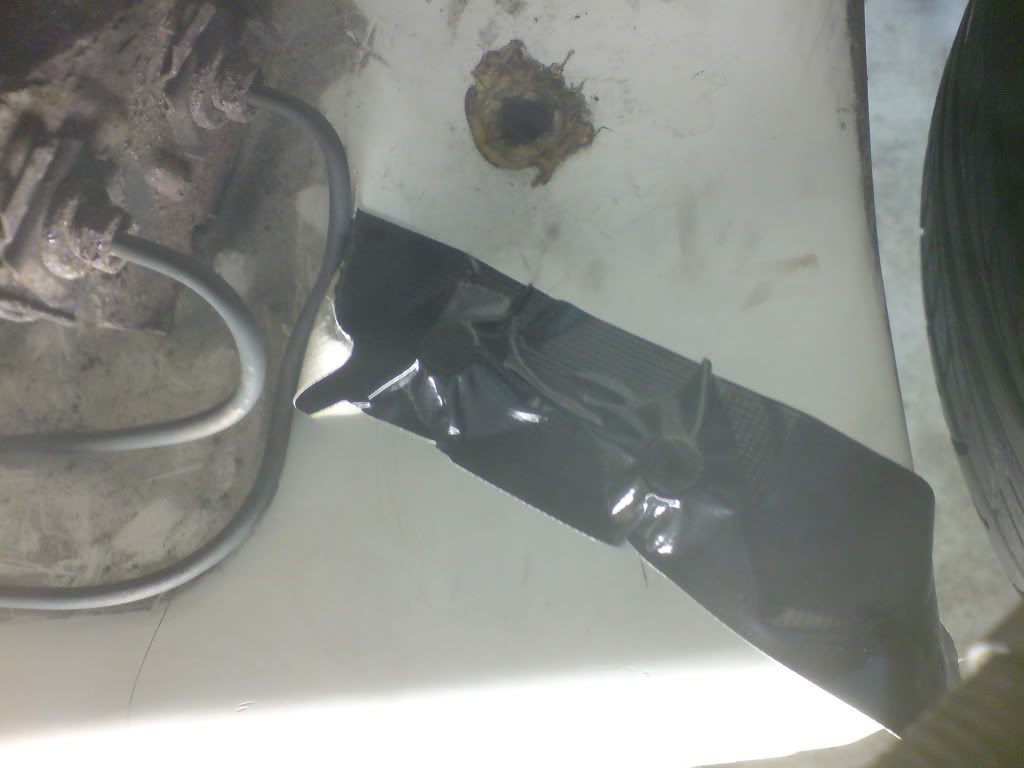 to poke through the inside 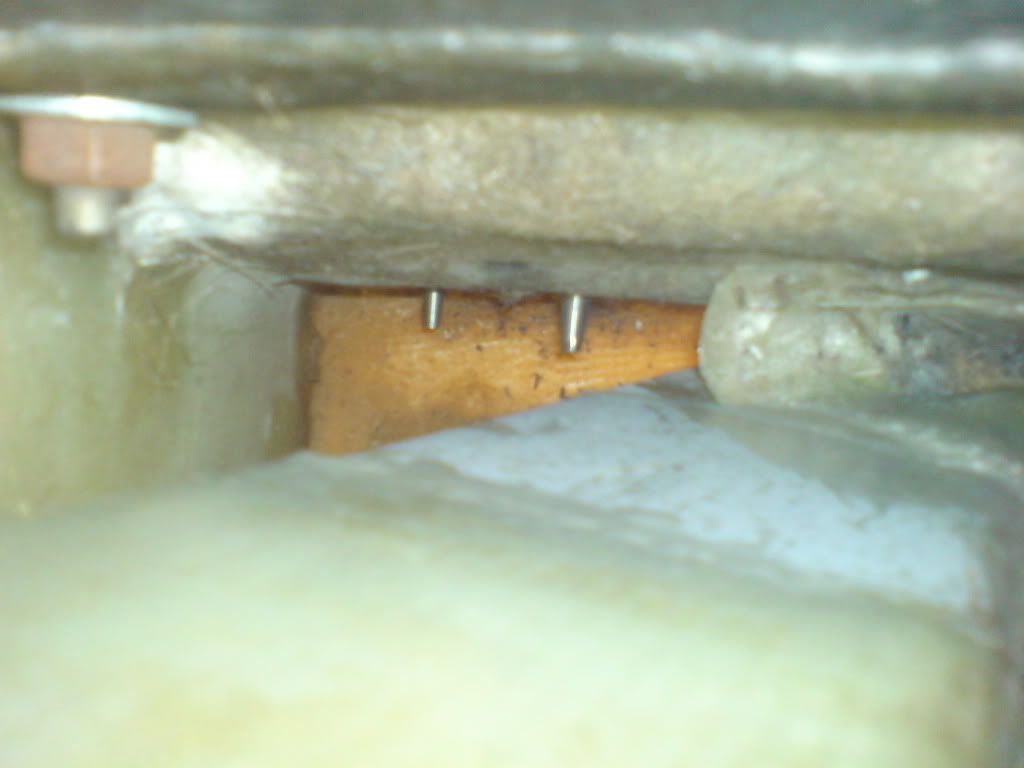 then using a strip of steel with a strong magnet bolted to it  i could feed the backing plate down inside the sill cavity with a coat of polyurethane on the inner face and locate over the pegs  the steel strip magnet was held with a G clamp as per the long spanner used to get the old nuts off . then i could bolt it up temporarily and allow the polyurethane half an hour to go off a bit 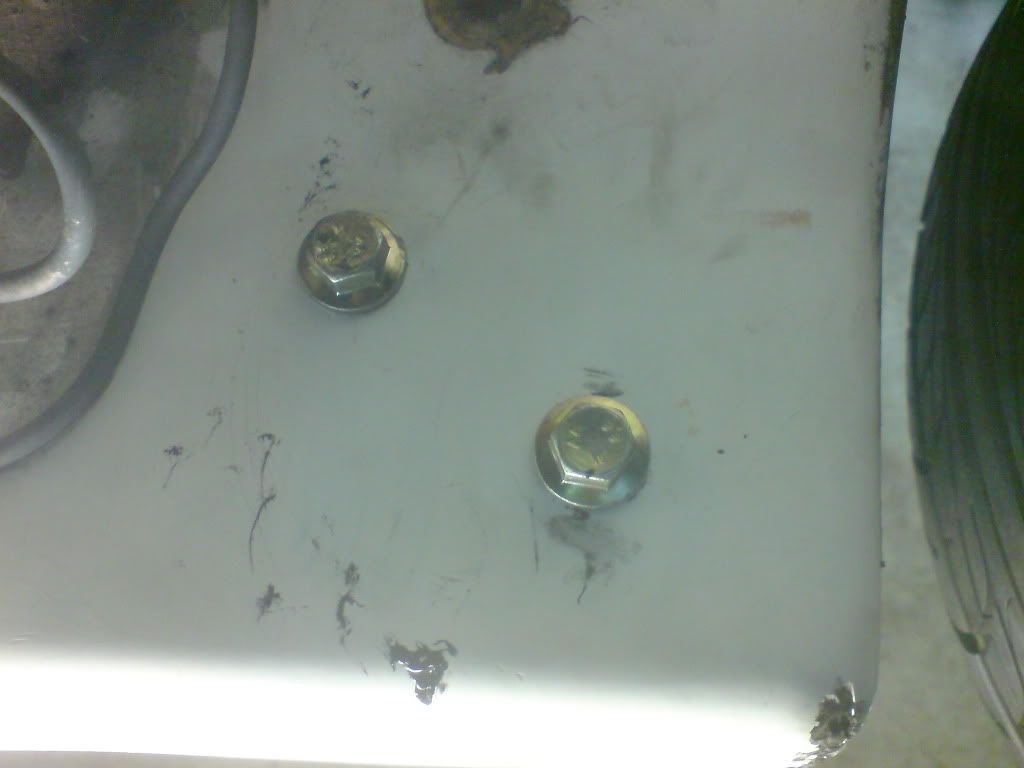 i drilled the bolt heads the same as the brackets 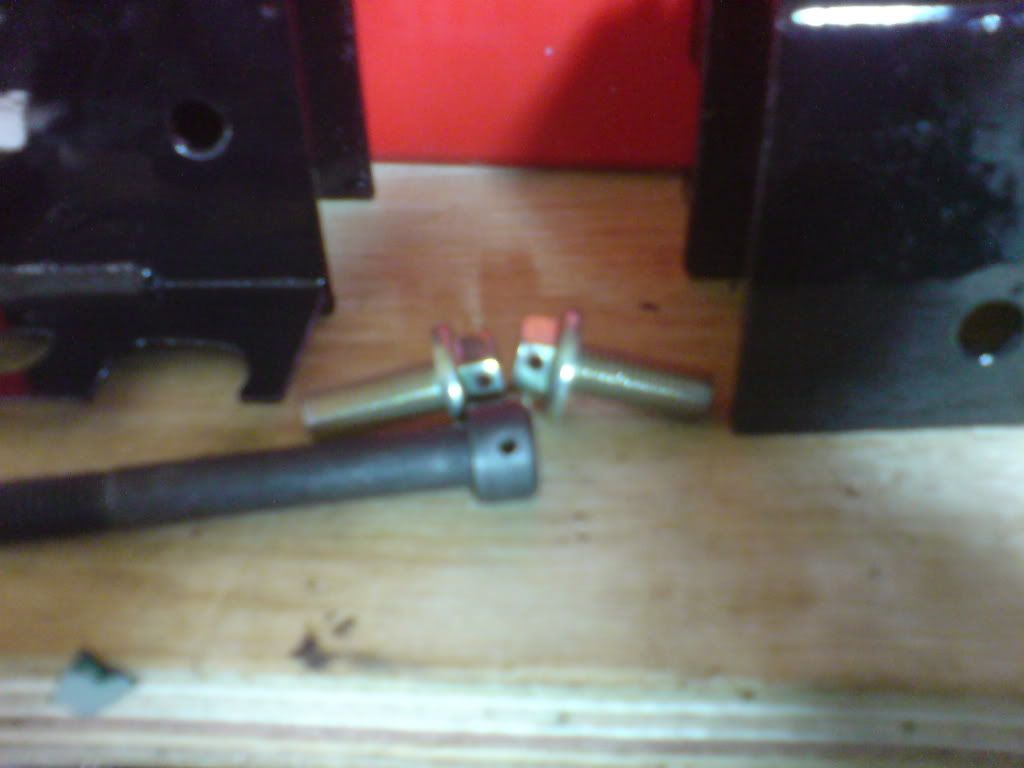 then with a bit of jiggery pokery i could remove the temporary bolts and mount the trailing arm carrier onto the sill and bolt it up with the nuts now being captive 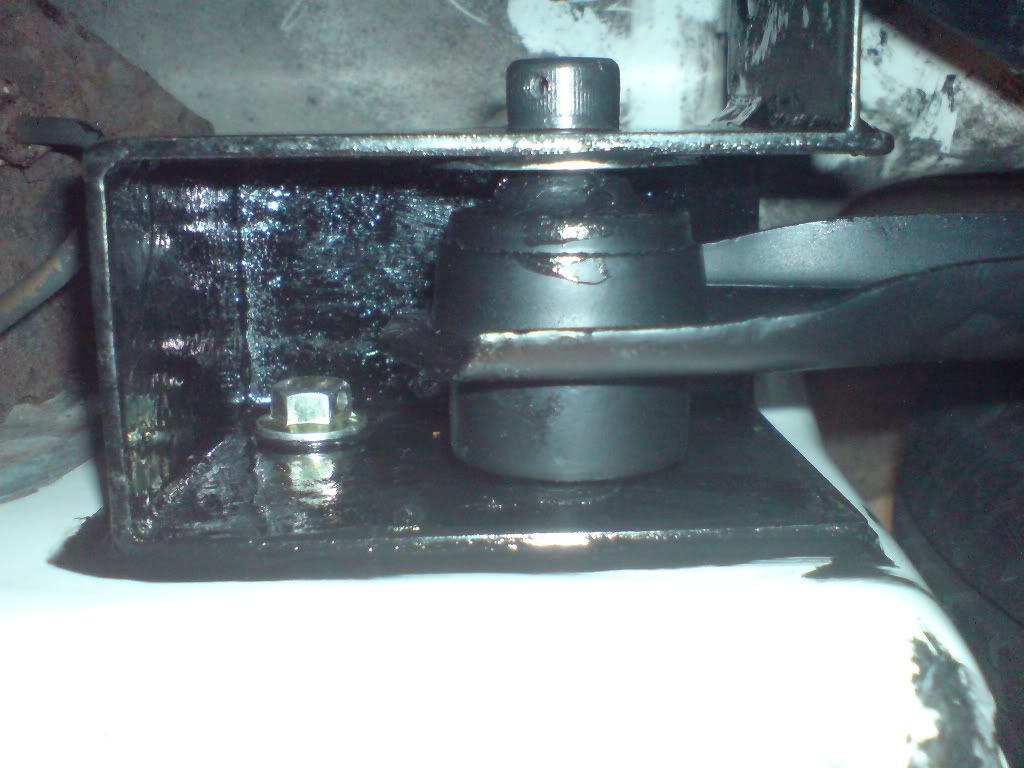 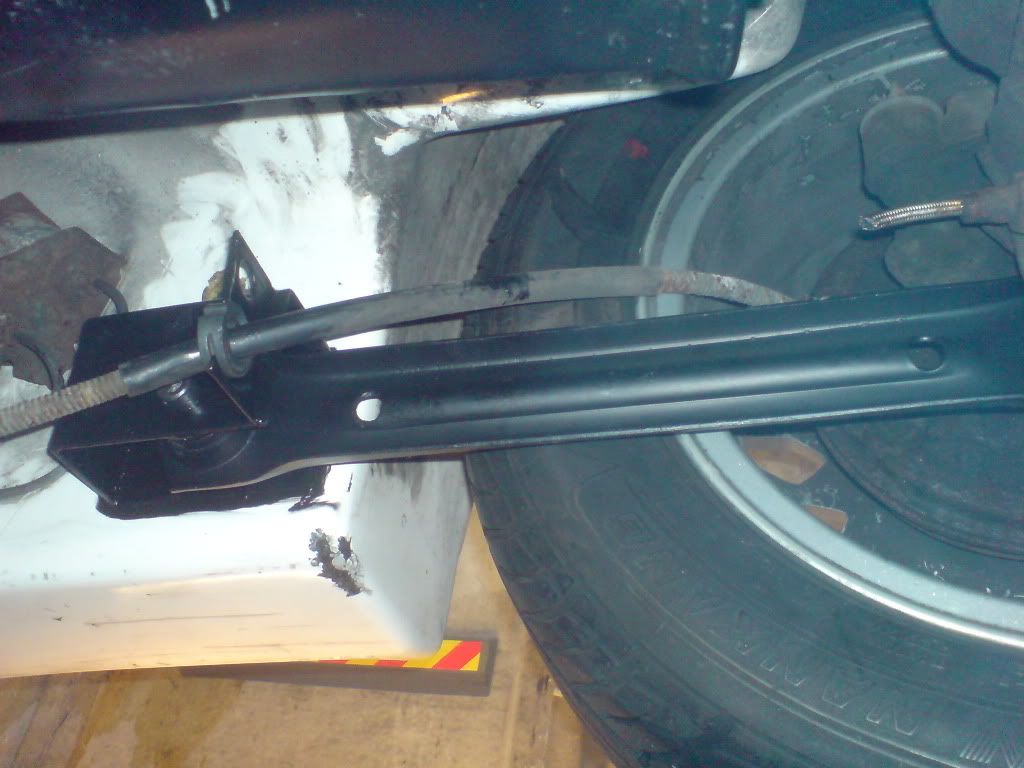 on the inside 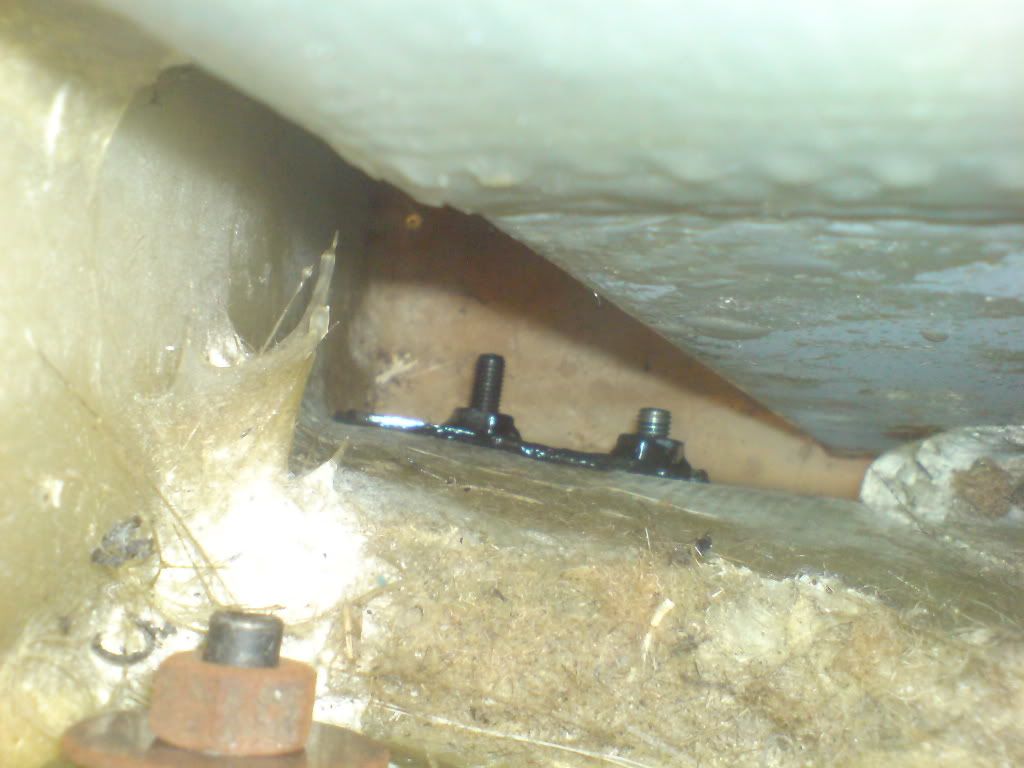 I'm very happy with the outcome and all done with a terrible hangover too ;D though i think the smells of acetone and polyurethane helped |
| |
|
|
|
|
jin
Part of things
http://quantumforum.proboards.com
Posts: 69
|
|
Jan 21, 2011 18:12:48 GMT
|
anyway ive not got a great deal done today, i wanted to fit the panhard rod and brackets and anti roll bar but the paint took too long to dry, but they look sweet  i did however manage to lockwire the bolts on the trailing arm mounts 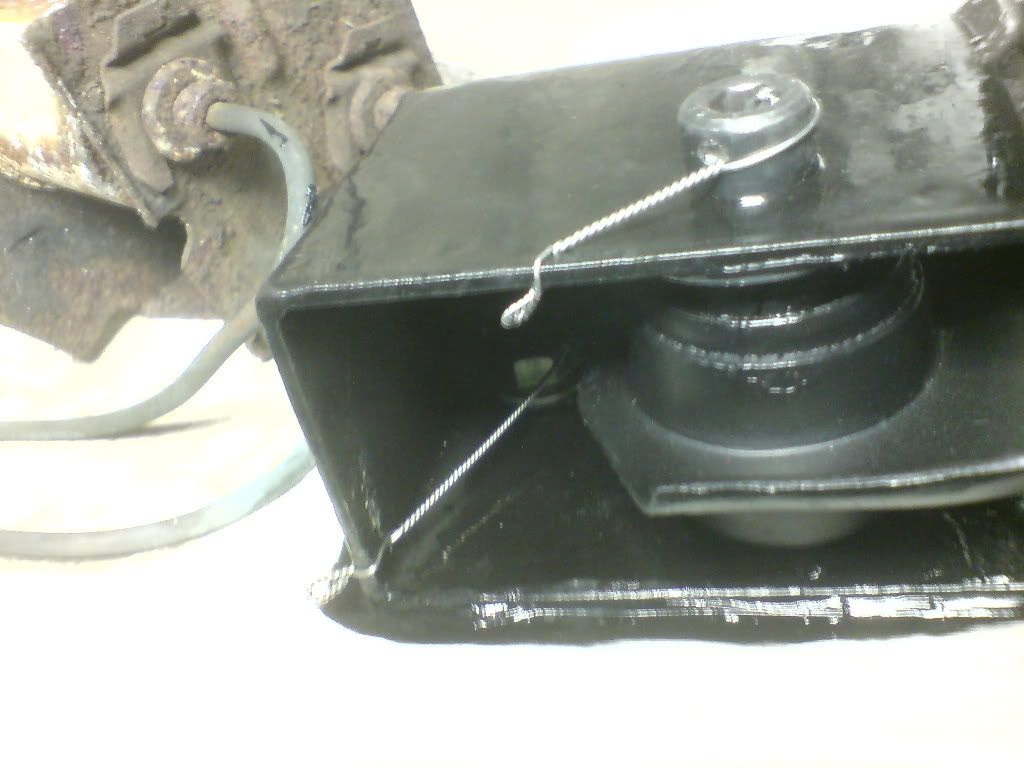 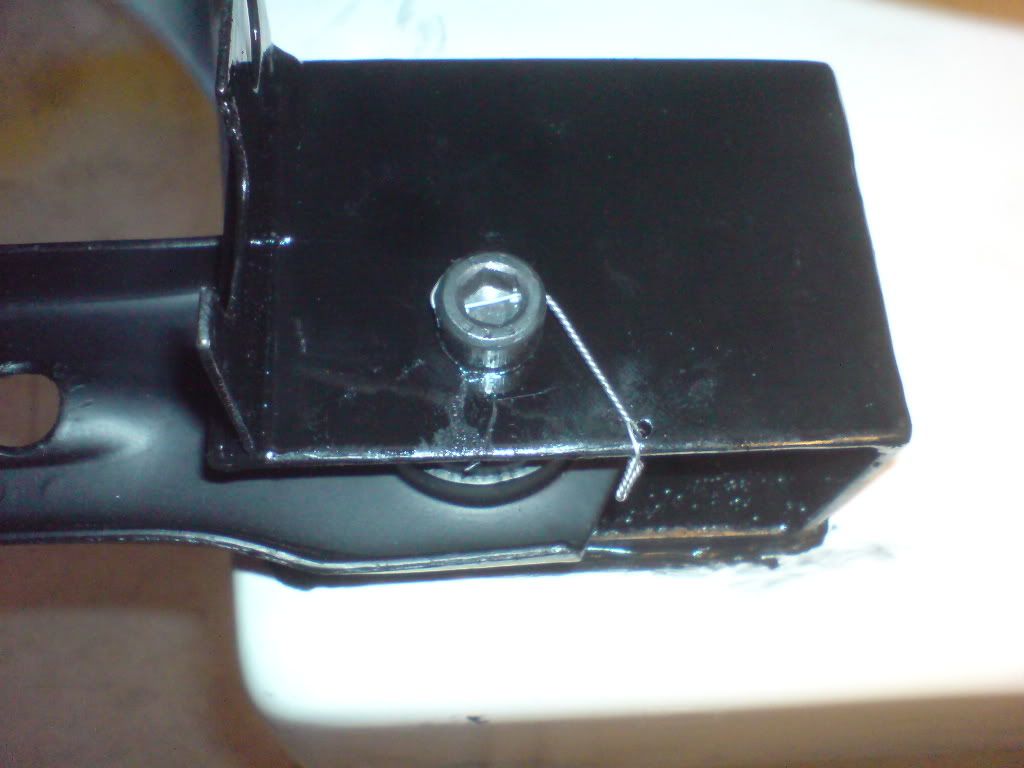 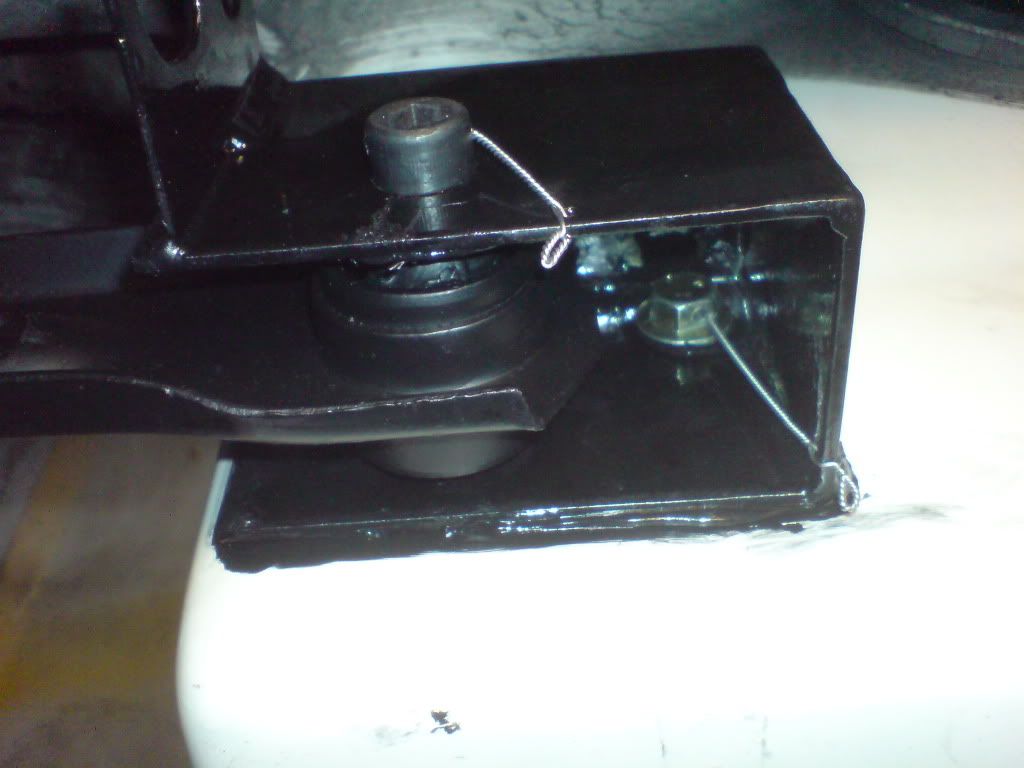 hence the reason for the holes in the bolts / brackets, can use nylocs because the heat from welding would melt them and they arnt technically re-useable, thread lock would be tricky to apply with all the polyurethane so lockwire is the way to go, looks pretty nice too also managed to paint the inside of the bonnet 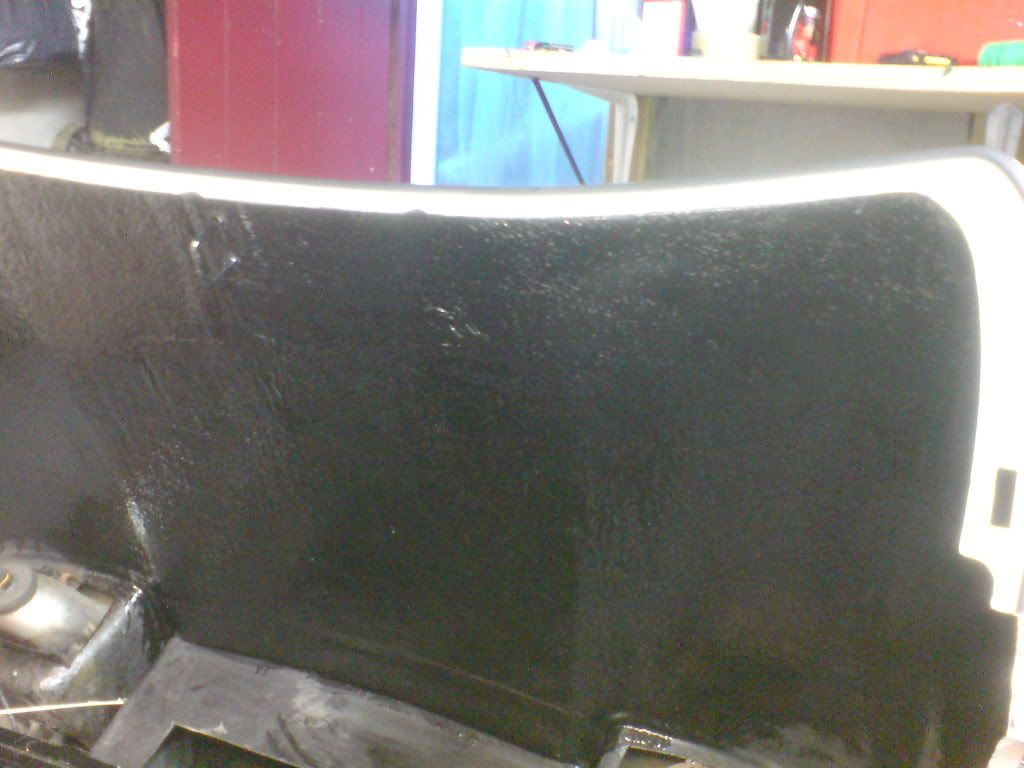 more to protect the underside from damp than aesthetics but it looks ok too |
| |
|
|
|
|
|
Jan 21, 2011 18:59:32 GMT
|
Another nice piece of engineering. Despite the nice tool, I bet you've still got a red rash on your inner fore-arm ;D It's about time Quantum owners evolved a second elbow for that job.  Darryl |
| |
|
|
jin
Part of things
http://quantumforum.proboards.com
Posts: 69
|
|
|
|
Ive been hard at it again in preparation for stripping the rear suspension i decided to remove these at the last moment 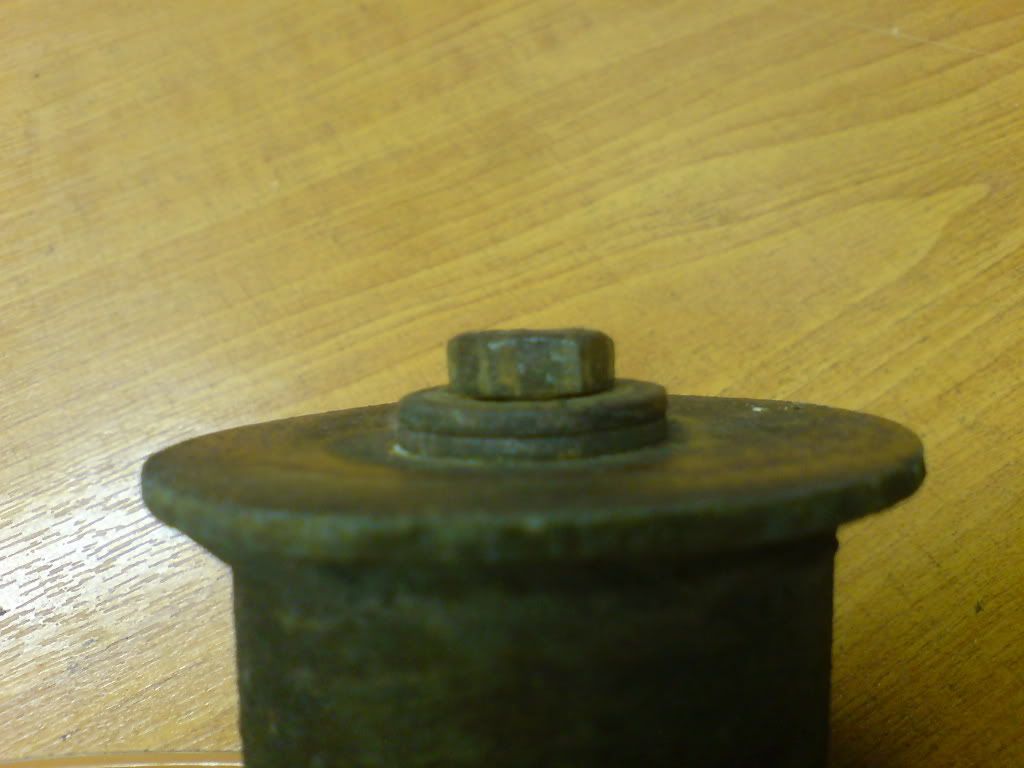 I'm assuming these are to limit suspension travel on account of how the quantum has shallow returns up into the wheelarch compared to the fiesta? even so i was concerned as to how rusty they were and that they don't have a flat surface for the bump stops to hit against which may explain how mt one bump stop looks like a rat has eaten the top of it, looking closer at them you can see how they have a half rusty half shiny area where the bump stops have been making frequent contact 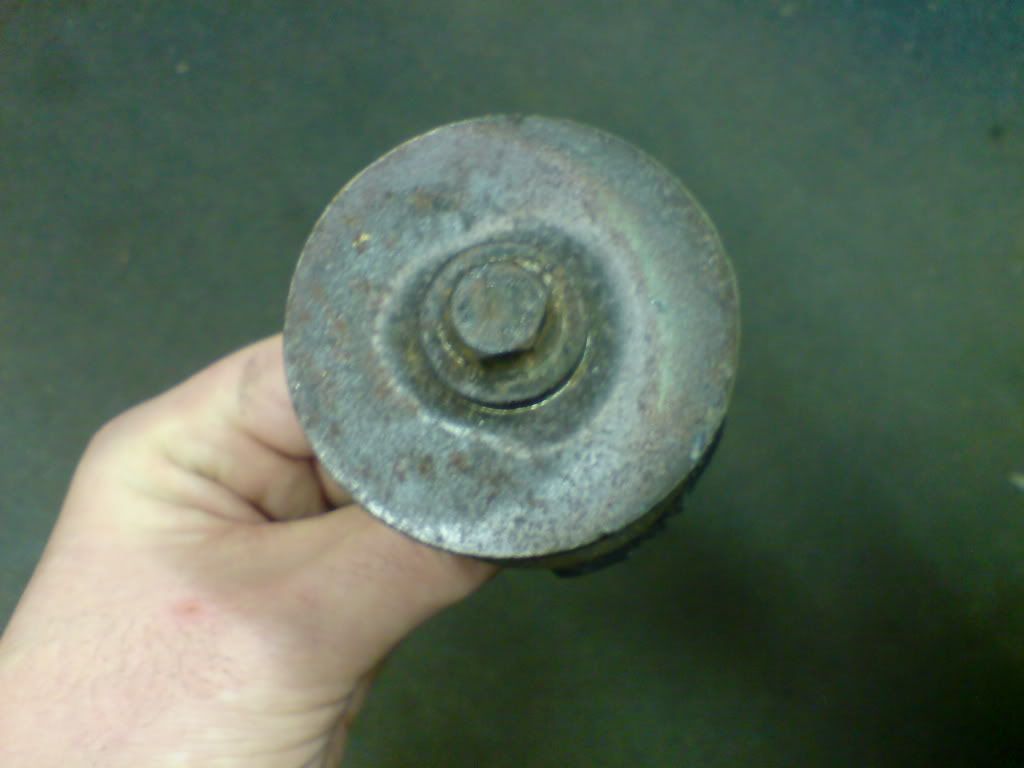  so i decided at first to make some polycarbonate plates to add to the working face of them since no coating would stand constant abuse from the bump stops over time and probably why these have got so rusty 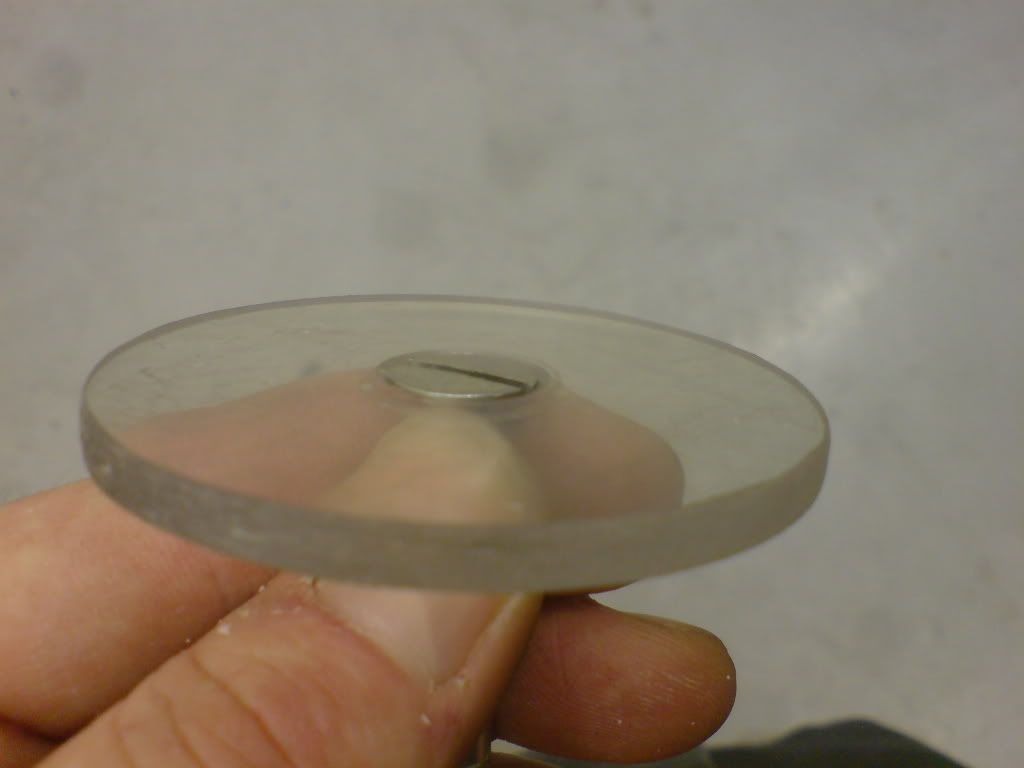 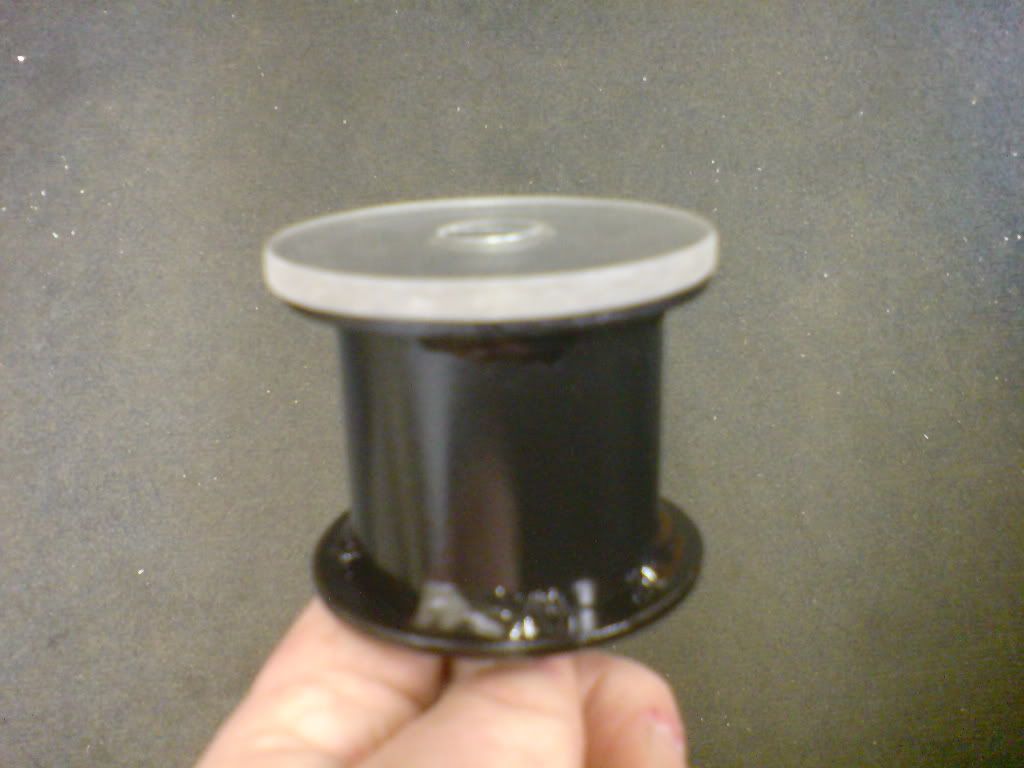 i should have just left it here but i wasn't totally happy with the old buffer thingys as the outer face was dished from somebody over tightening the bolts and a quick peek inside revealed quite a fair amount of corrosion, 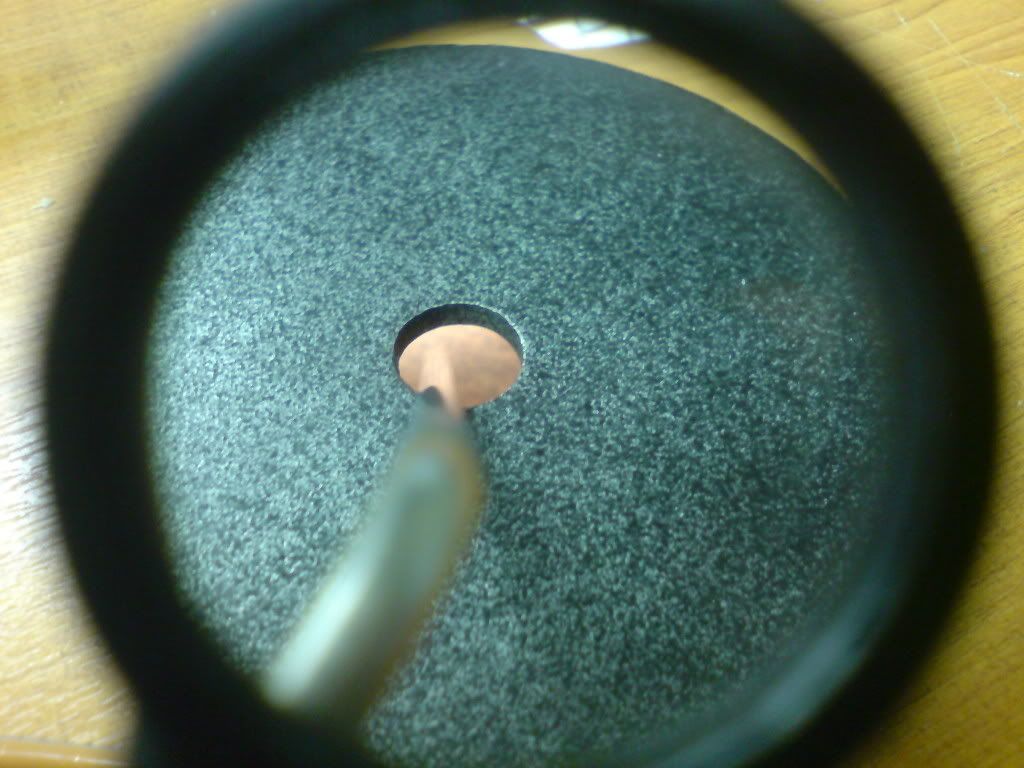 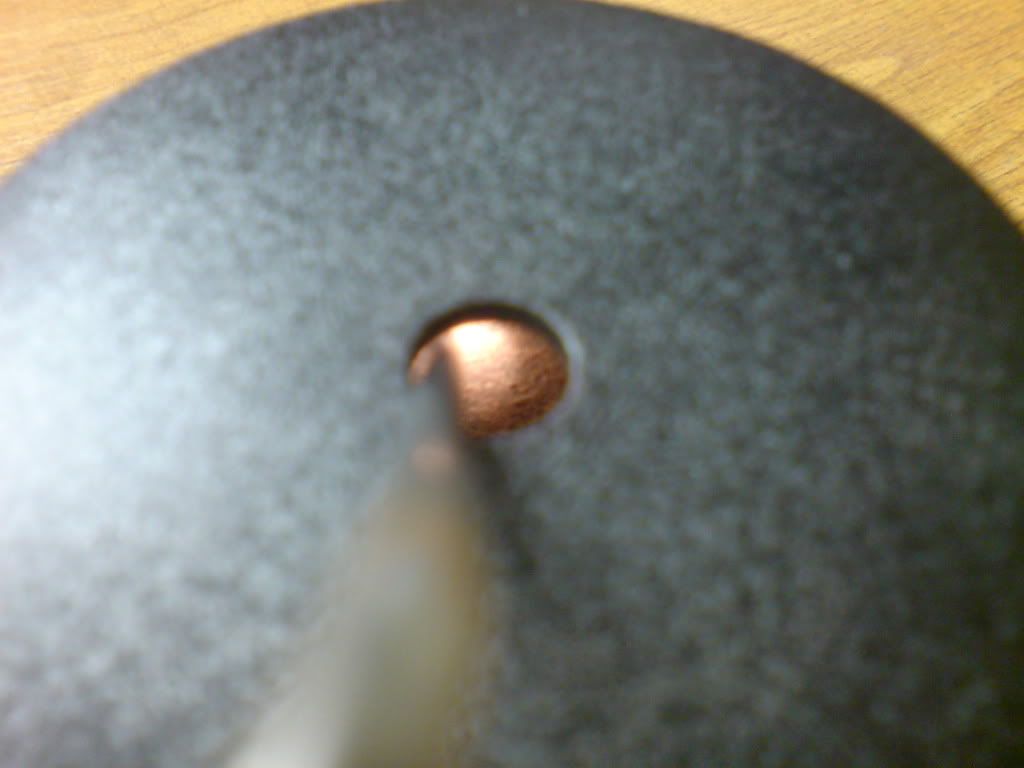 since i wanted to get the springs on today i went to plan B 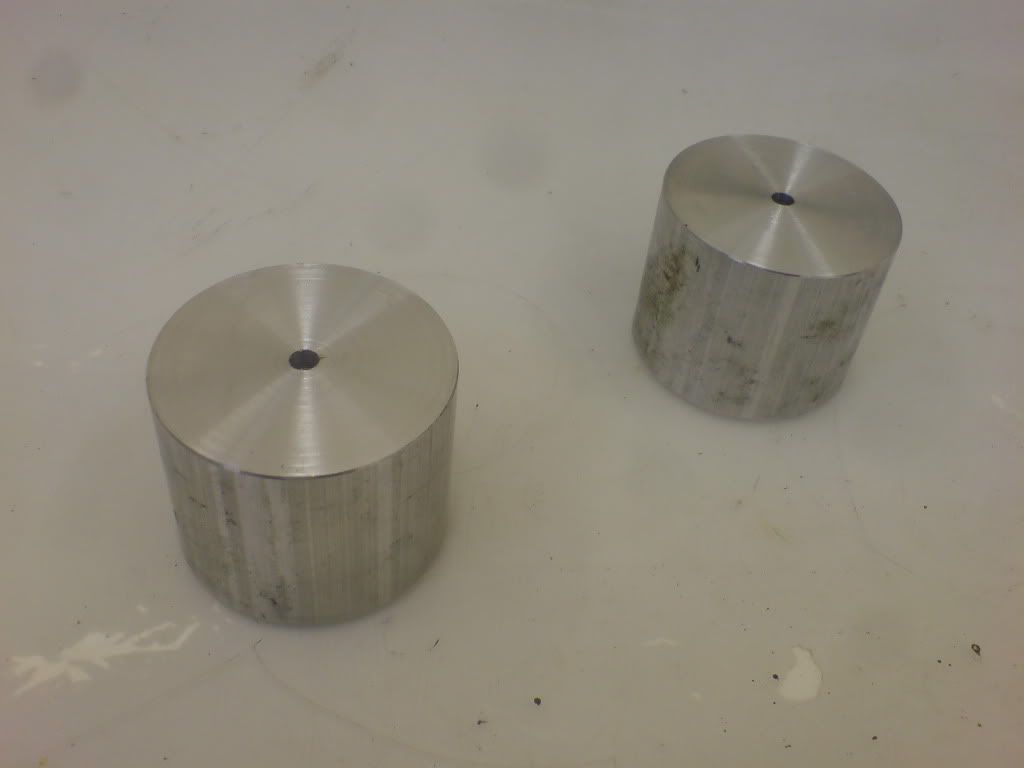 turned up some shiny alloy ones ;D coat of paint later and hey presto 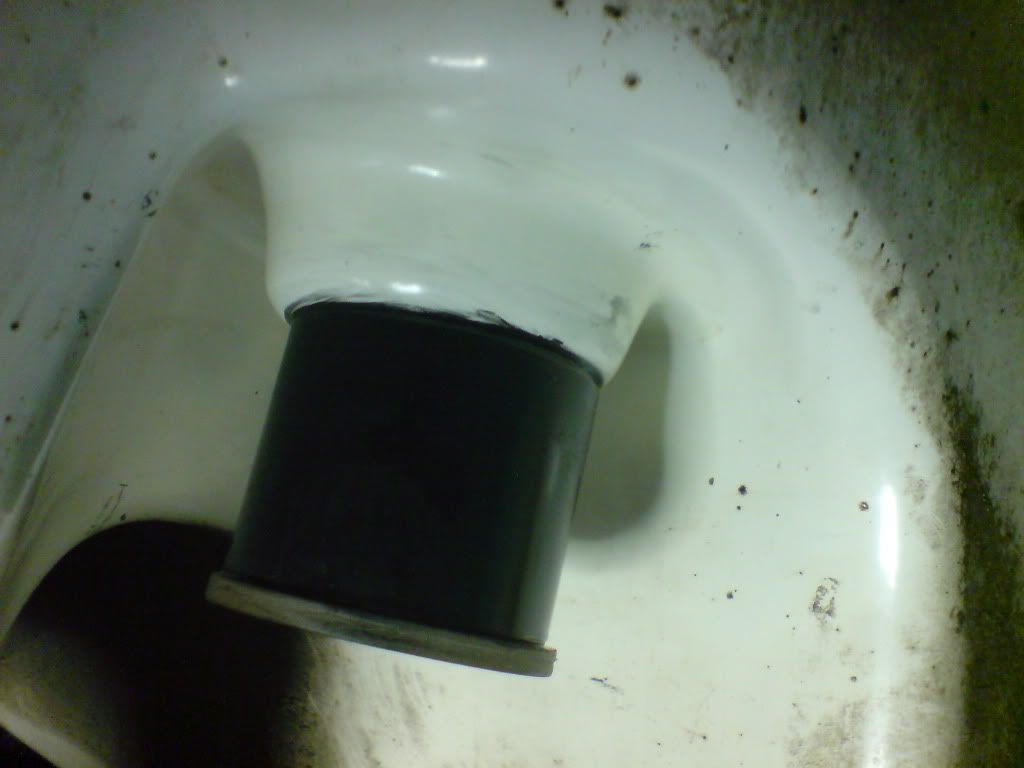 then the springs went on with the new poly bushes 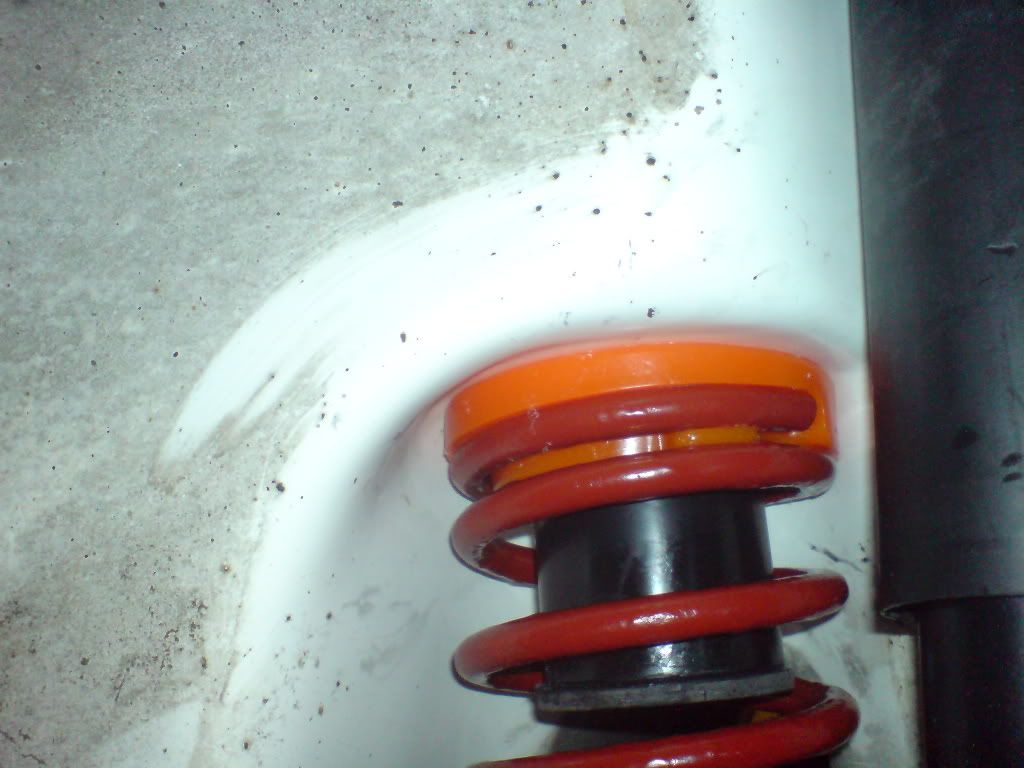 new shocks 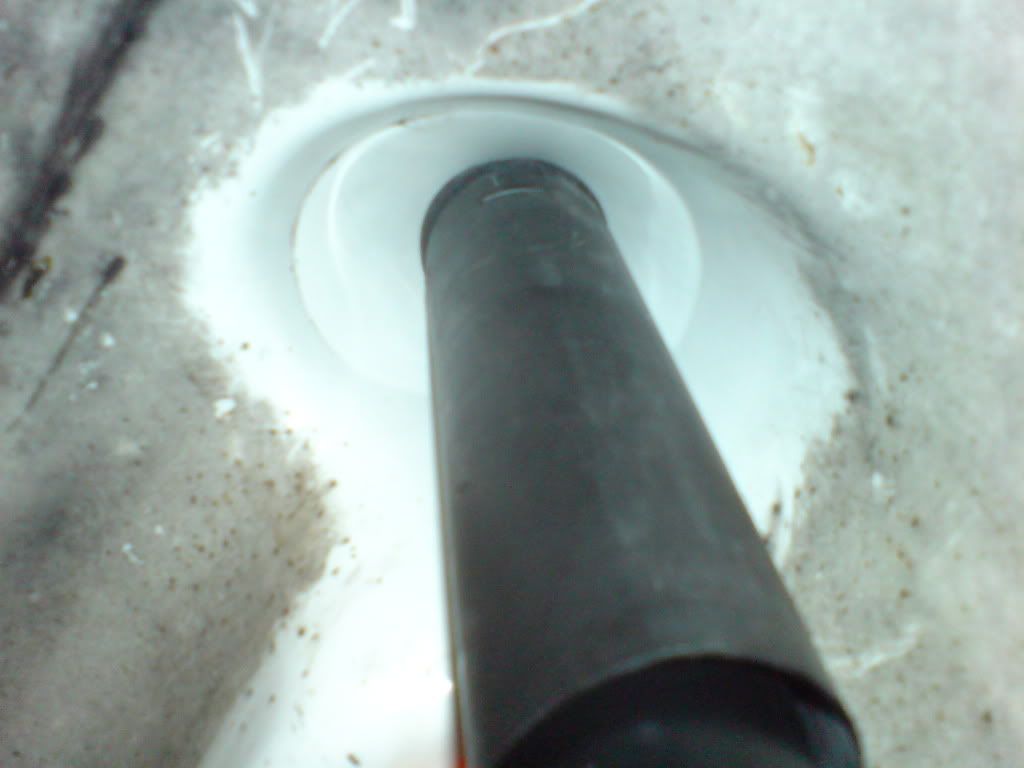 fitting these involved my third largest G clamp 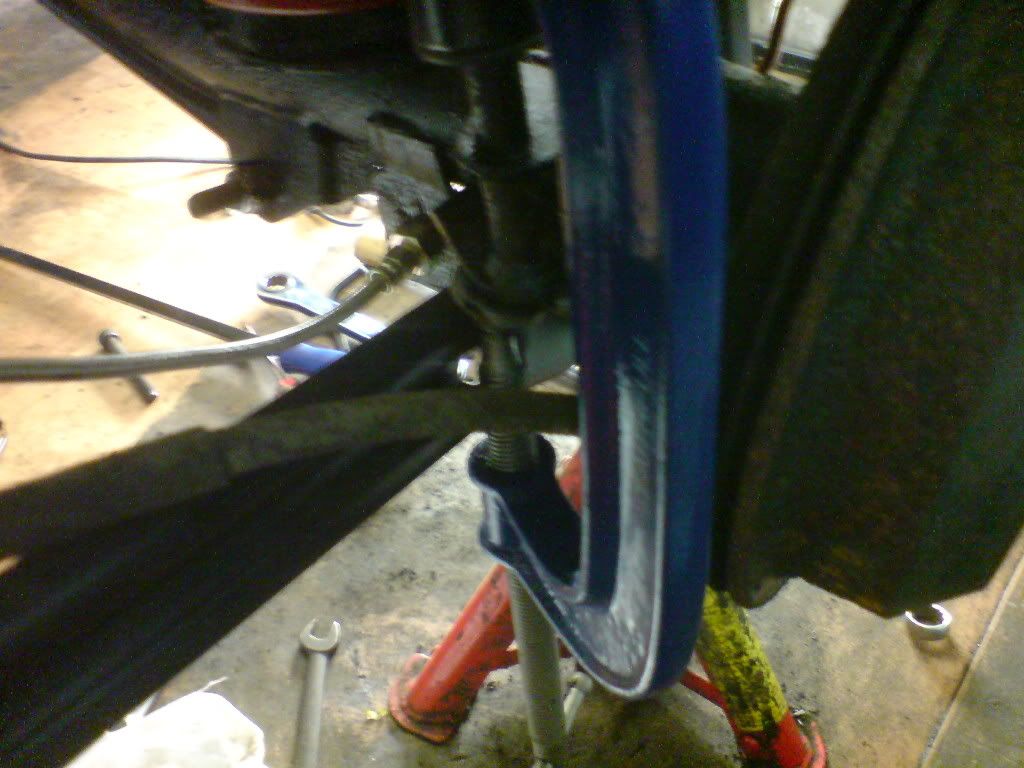 odd setup really new brake hoses 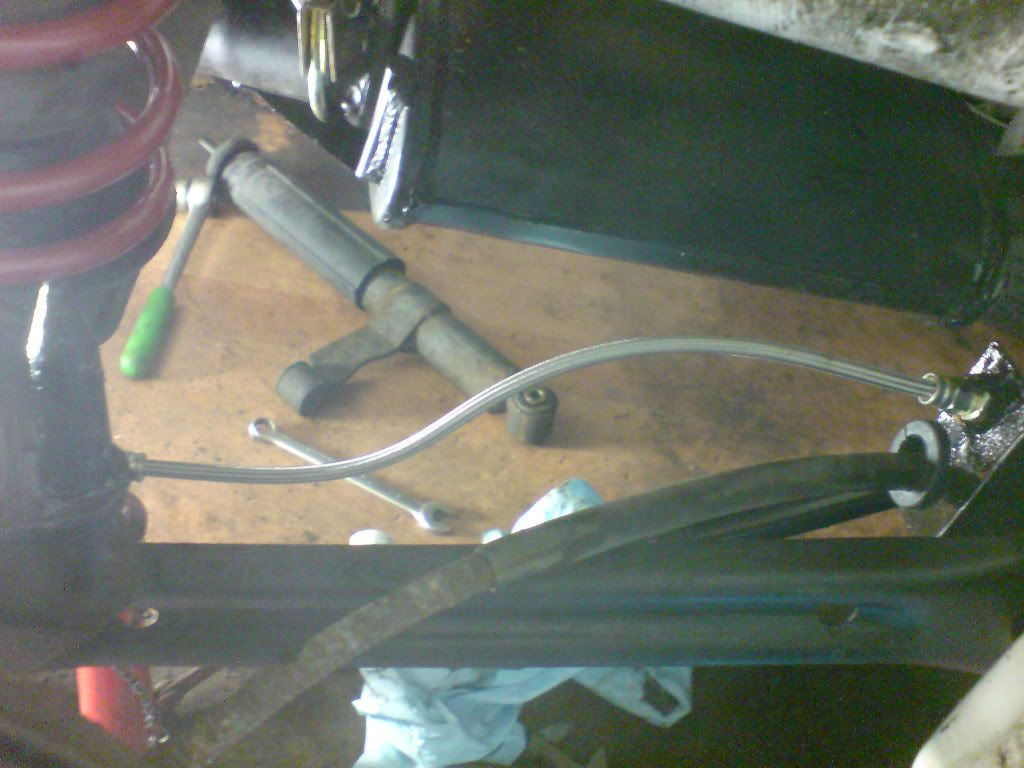 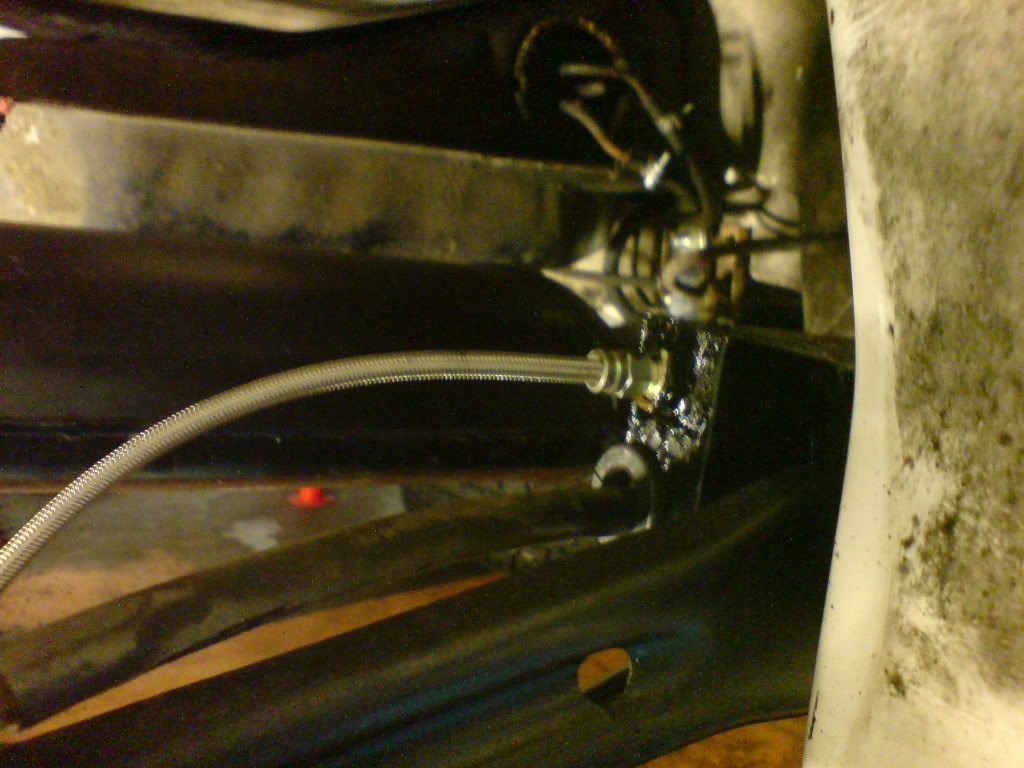 new copper lines 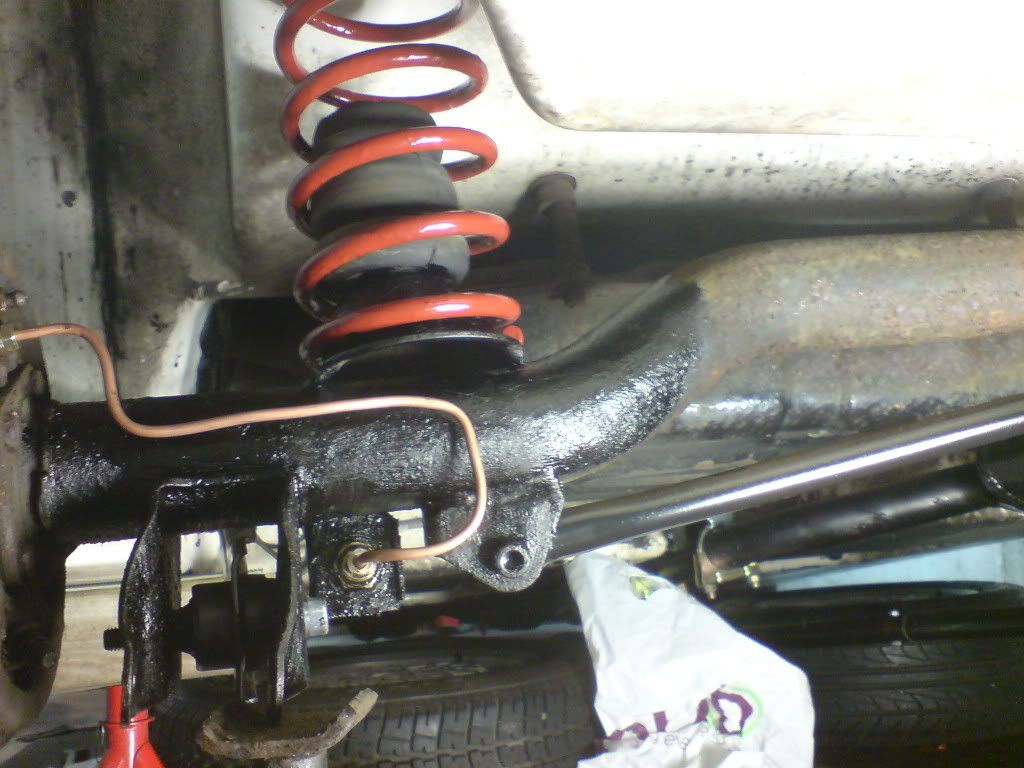 and to finish off the new rose jointed drop links 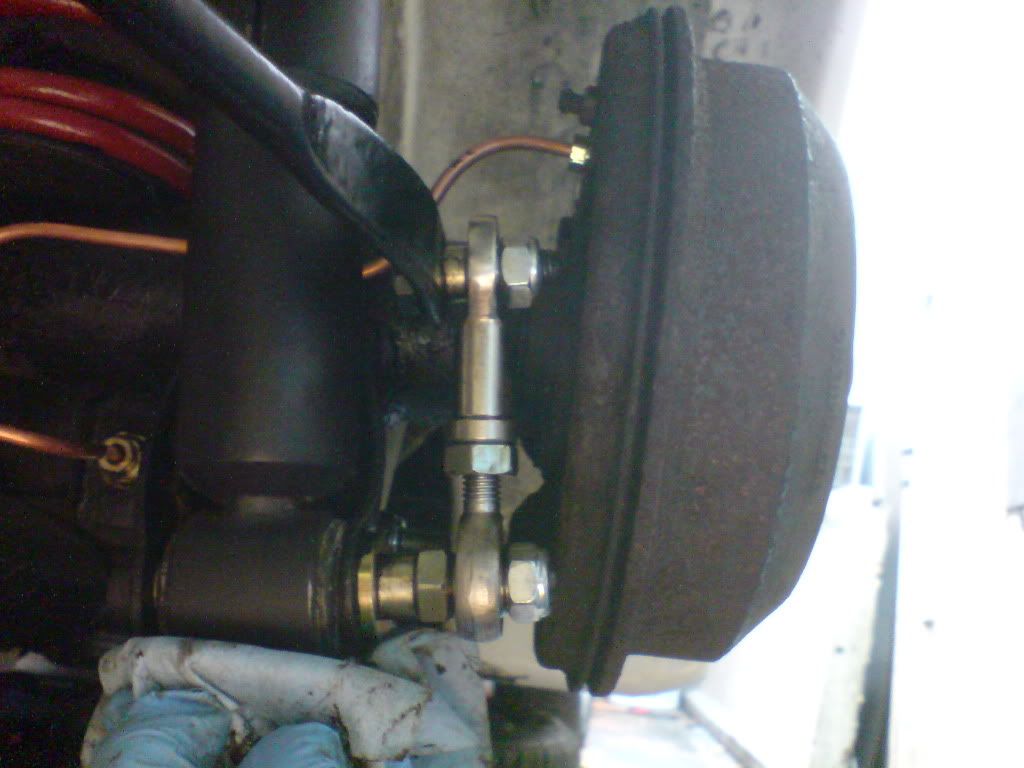 it took quite a bit of faffing to get these right and I'm still unsure of them? ill give them a road test and if they do the business ok ill invest in some dust boots for them. unfortunately treating the axle only got as in depth as wire brushing and giving a brush of underseal at the vital bits like pivot points / spring seats etc, i cant decide weather to just underseal the rest and be done with it or strip it down to bare metal and go the whole hog? ill be doing the brakes anyway but ill need to MOT it first, and if that sounds warped logic its because the first drive out in this will be to the MOT test and that wont be far enough to bed in new drums / shoes, i remember doing my 205 in one go front and back, scary just how little braking performance to don't have at first. thats all for now  |
| |
|
|
jin
Part of things
http://quantumforum.proboards.com
Posts: 69
|
|
|
|
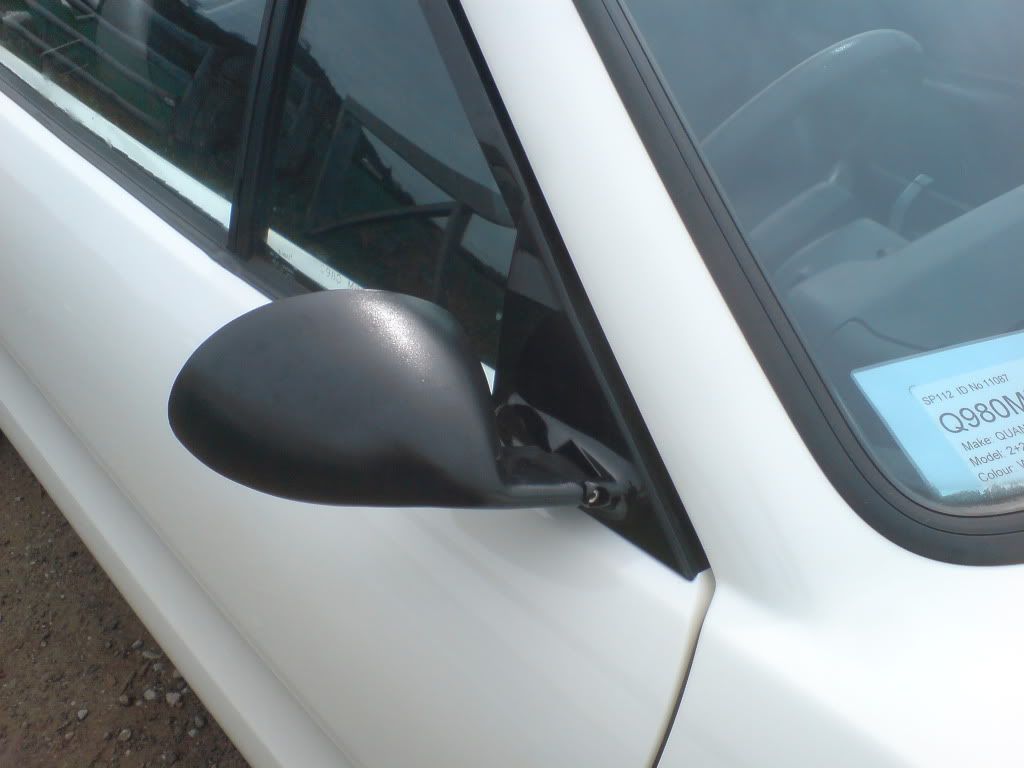
tiny bit of progress i re-routed the fuel tank wiring from out the side of the sill to under the rear seat thing 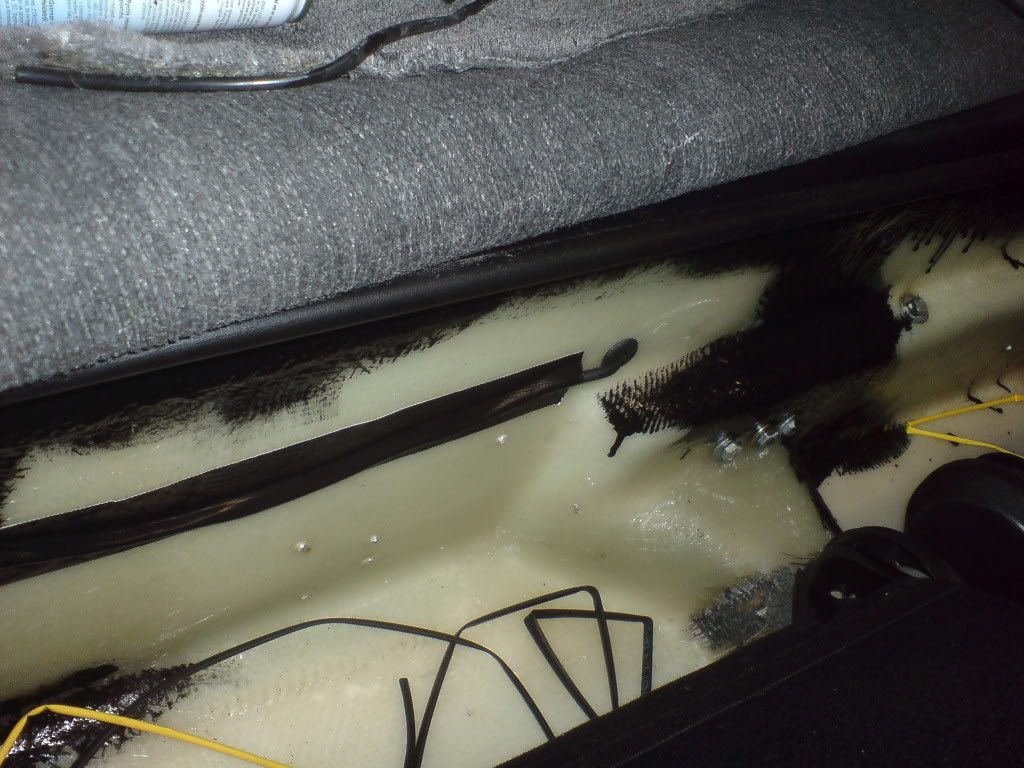  a more direct route under the car and i wasn't happy with the cable running into the sill, I'm paranoid about any damp getting inside the sill and the old grommet was badly fitting and the cable angled downwards into it allowing and water collecting on the cable underneath to potentially drain into the sill, at least this way the grommet I've used is a very tight fit and the end of the cable has also been sealed with RTV silicone, at worst if it does leak now it will just damp out the rear foot well which is more an inconvenience than a potential sill wrecker. 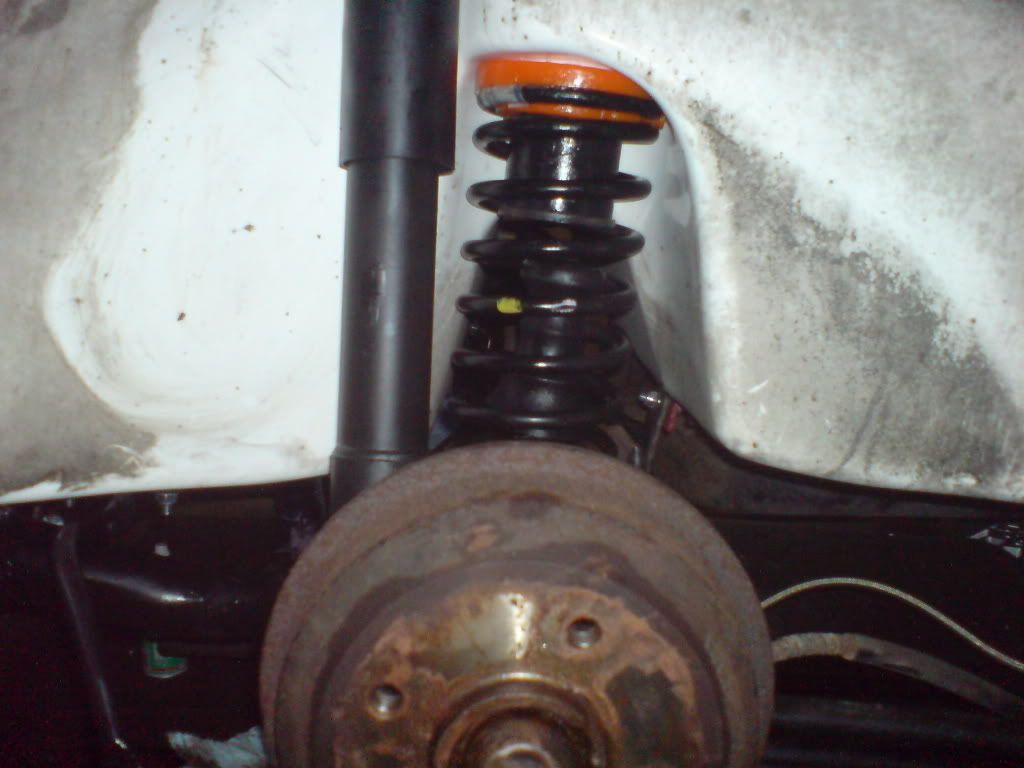 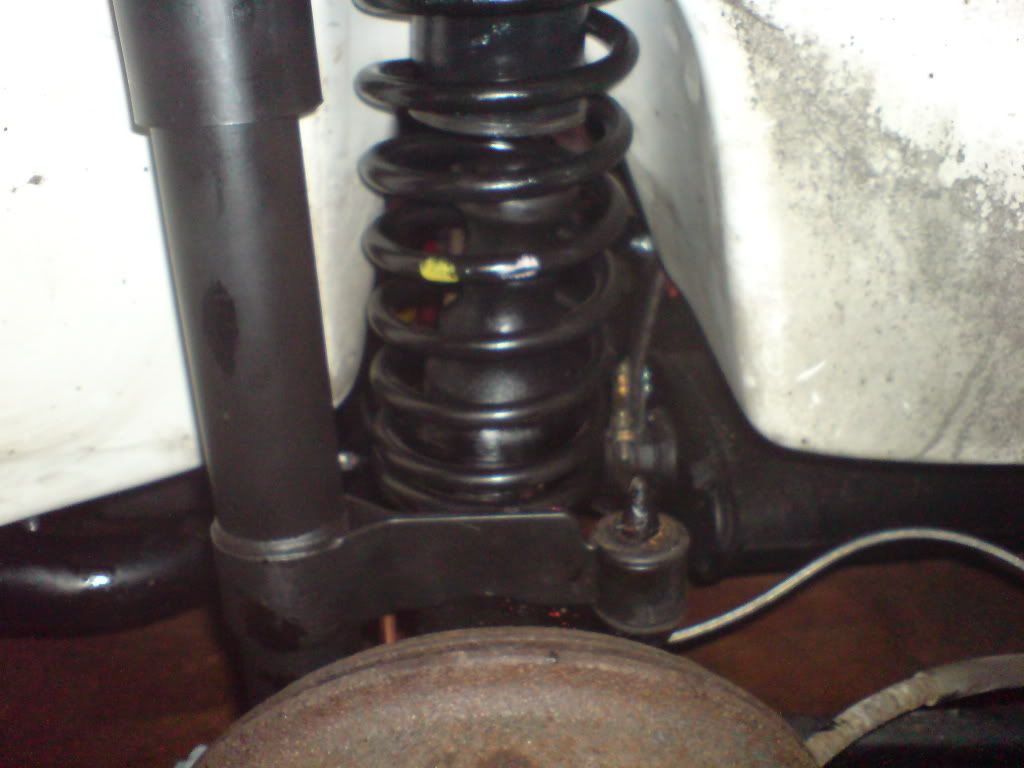 rear suspension back together again with new Gen ford springs and my bump stops, hopefully this will be the last time, bled the brakes again too after replacing the rear brake lines. hopefully ill get the mirror bases on tomorrow |
| |
|
|
jin
Part of things
http://quantumforum.proboards.com
Posts: 69
|
|
|
|
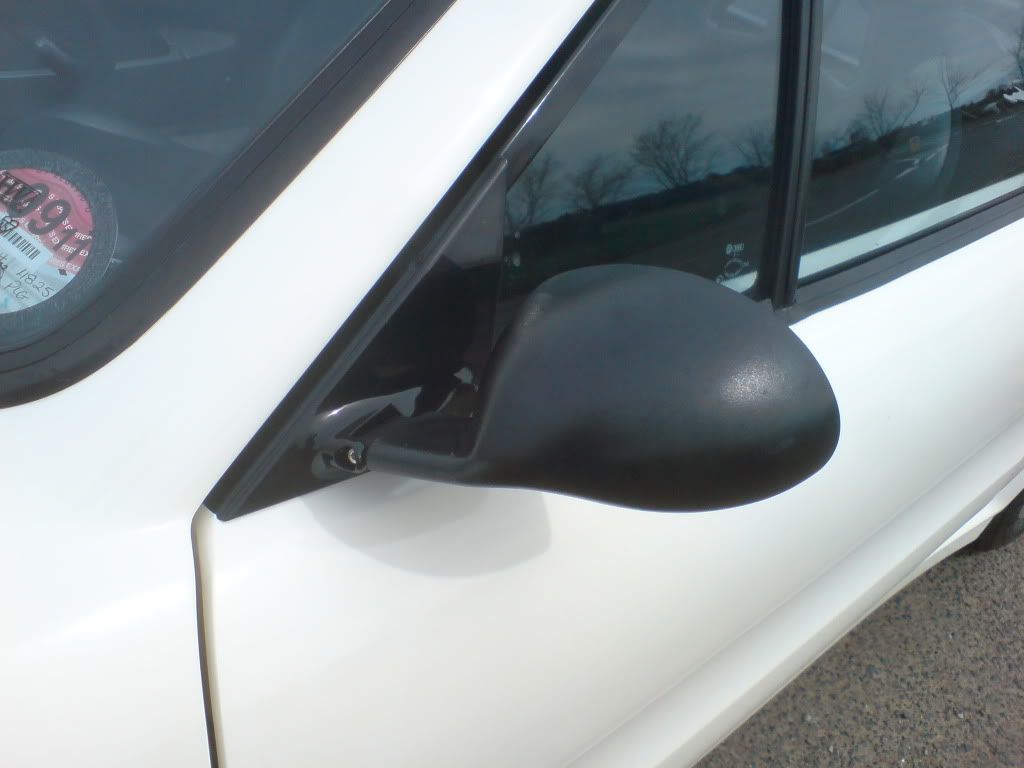
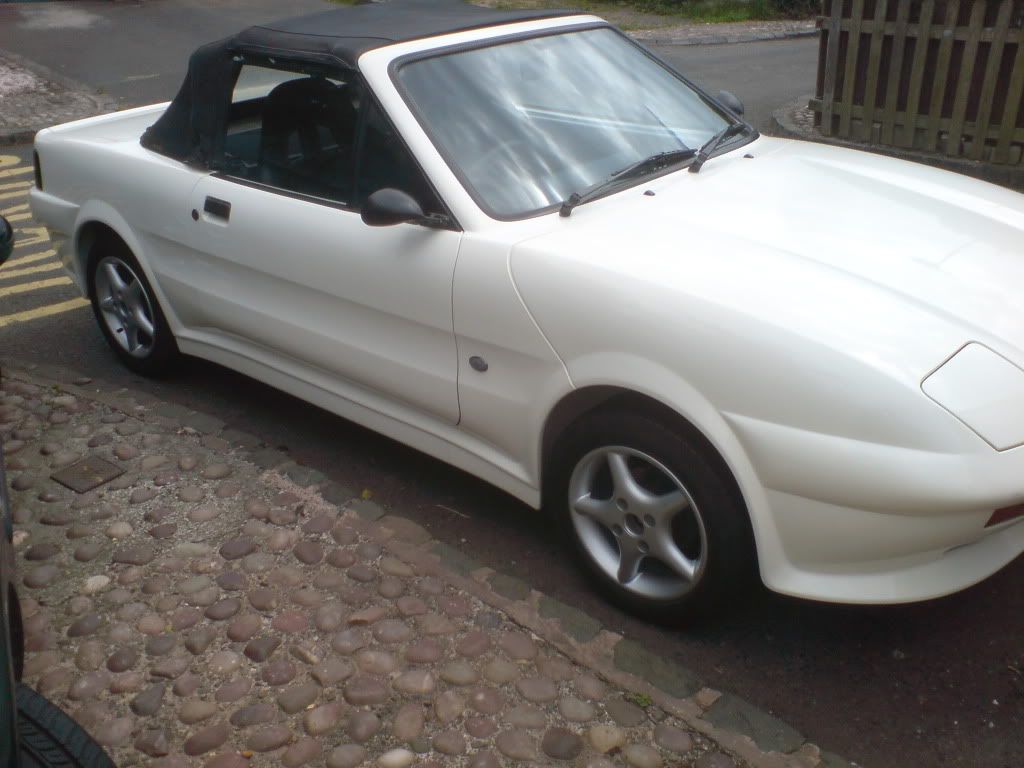
even more progress, a case of finishing up the loose ends, i made good use of my afternoon off with the intention of fitting the mirror bases and putting the wheels on, well i got the mirror bases on, without too much drama 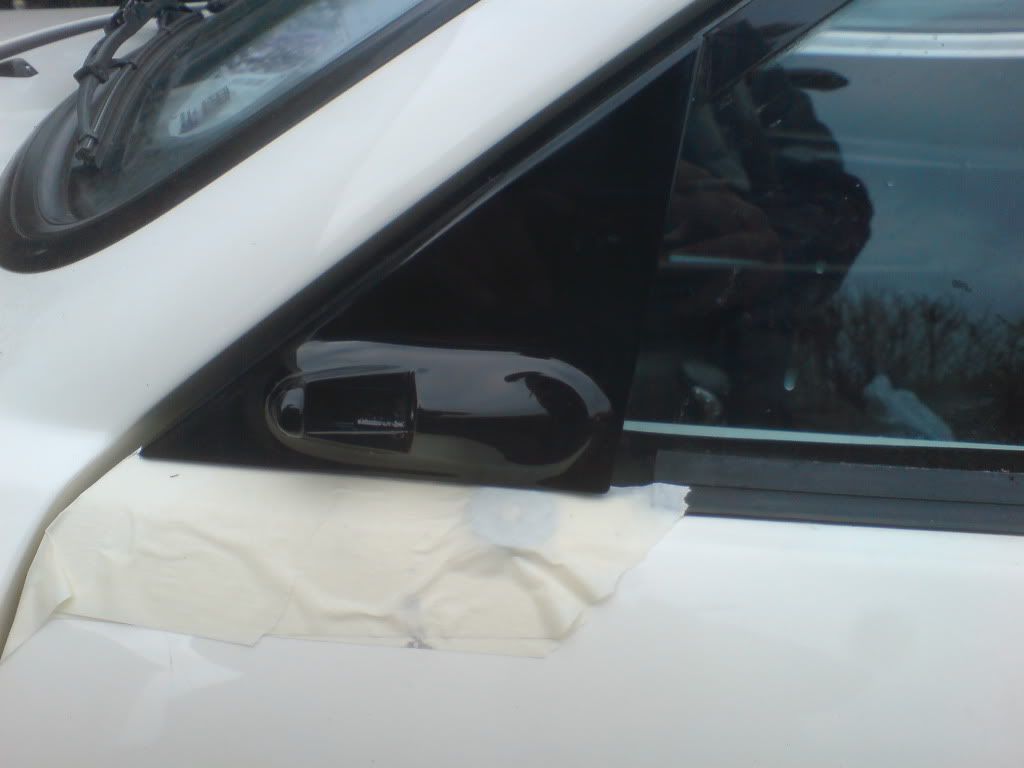 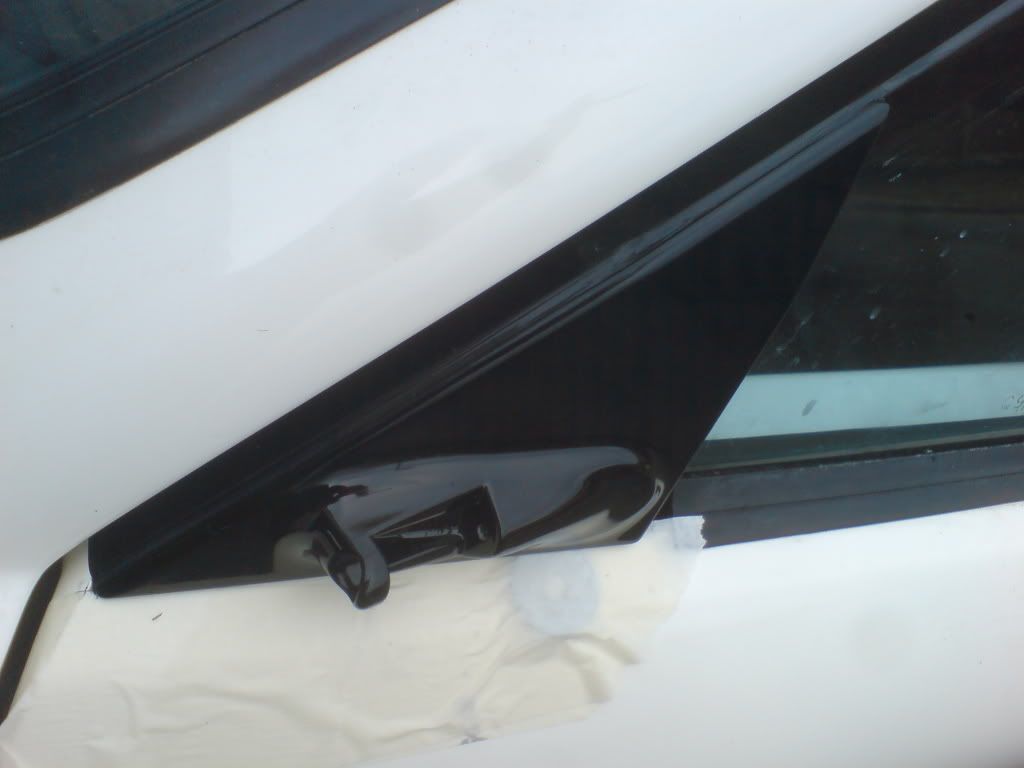 used a loctite silicone based sealant adhesive, they will need another go round the edges but they are on now for good i got the wheels on and the car on the ground for the first time in a few months, i forgot just how low these are 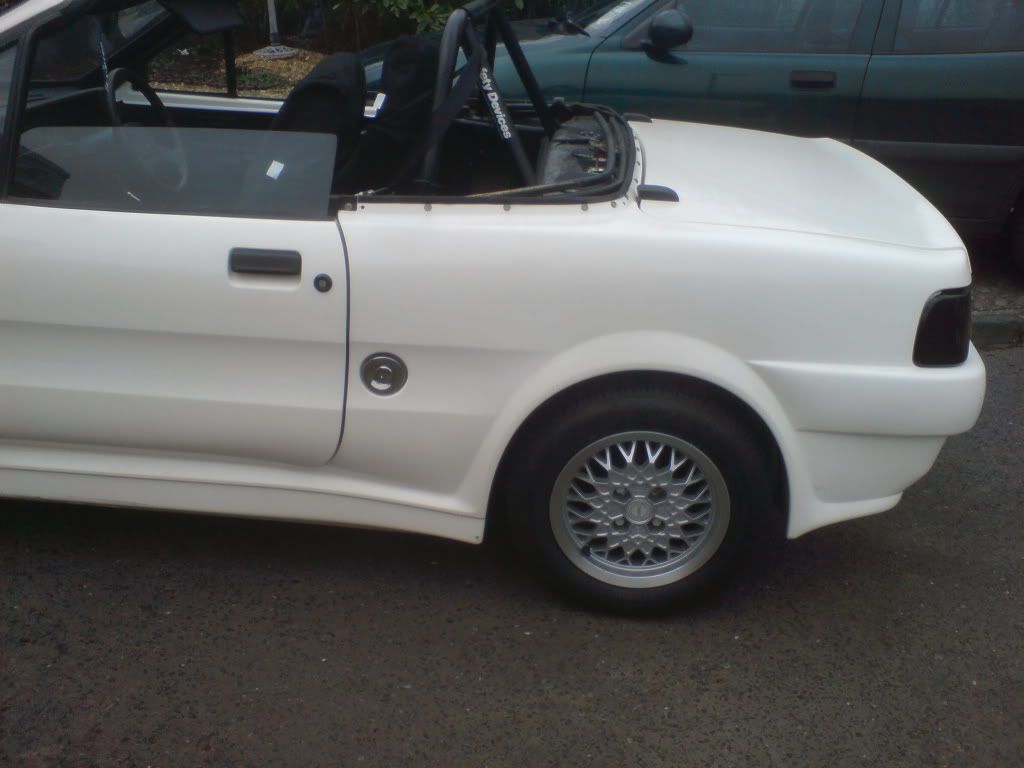 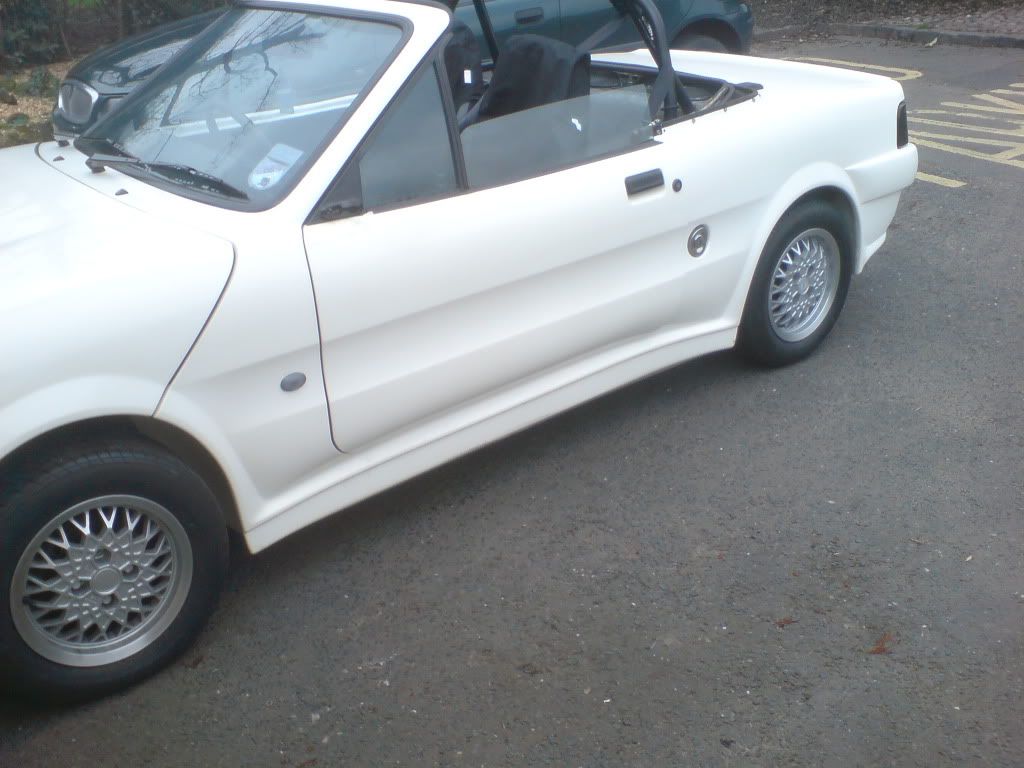 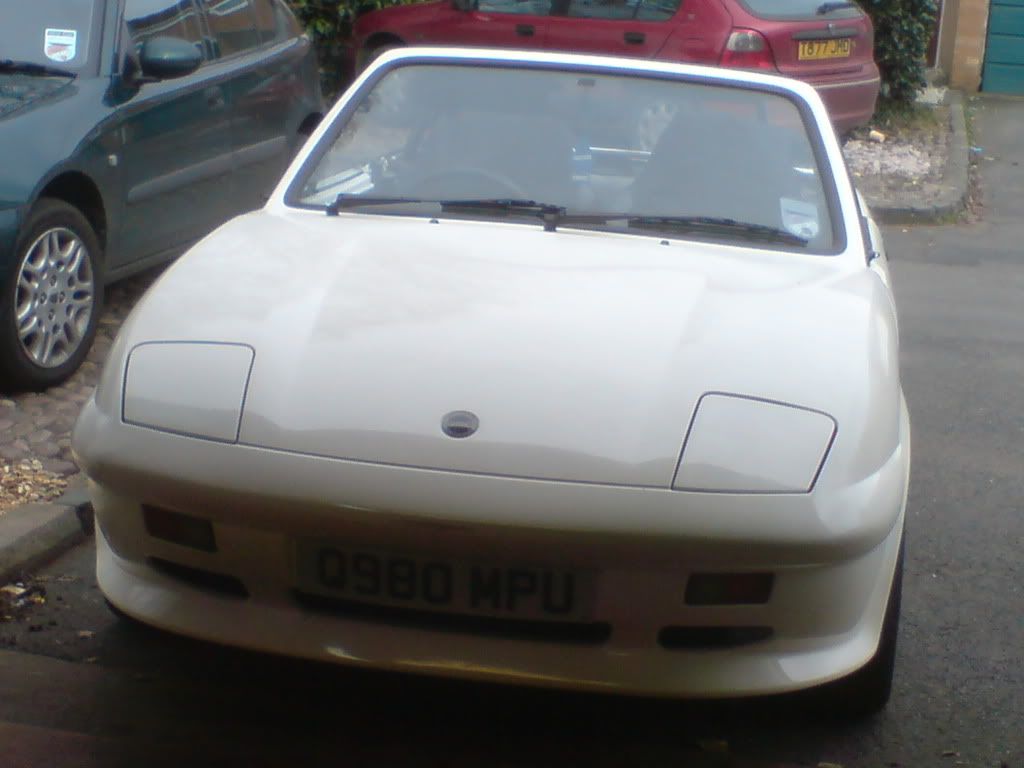 nice to see the new springs holding up well i also tried yet more wiring under the bonnet by securing with P clips 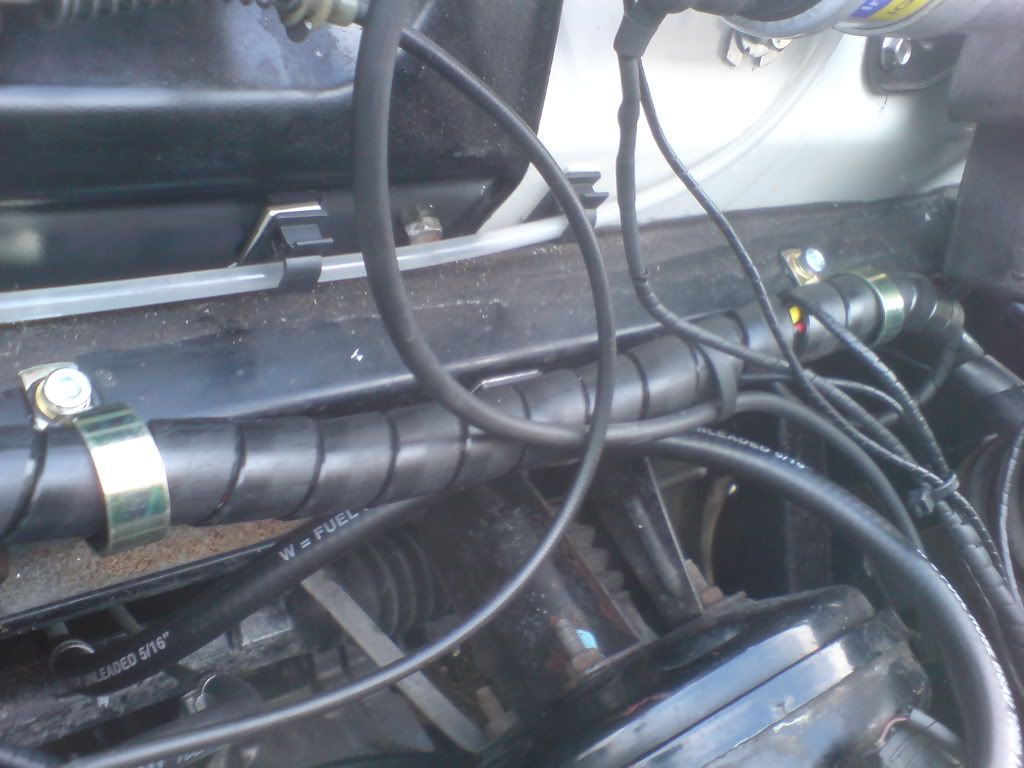 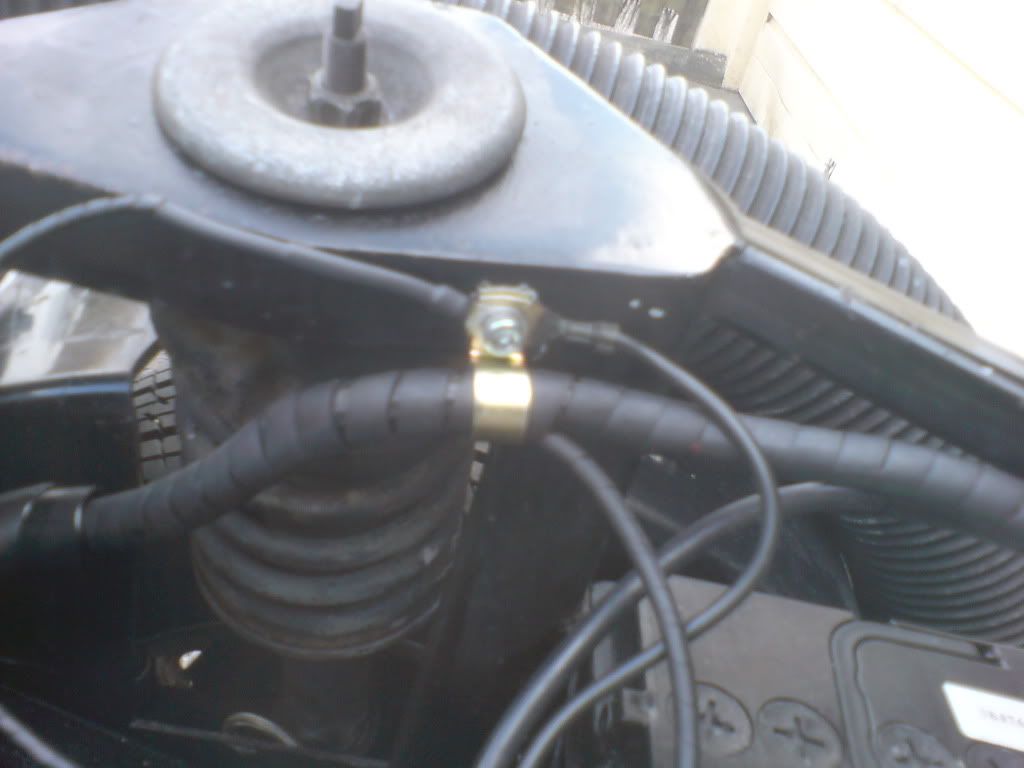 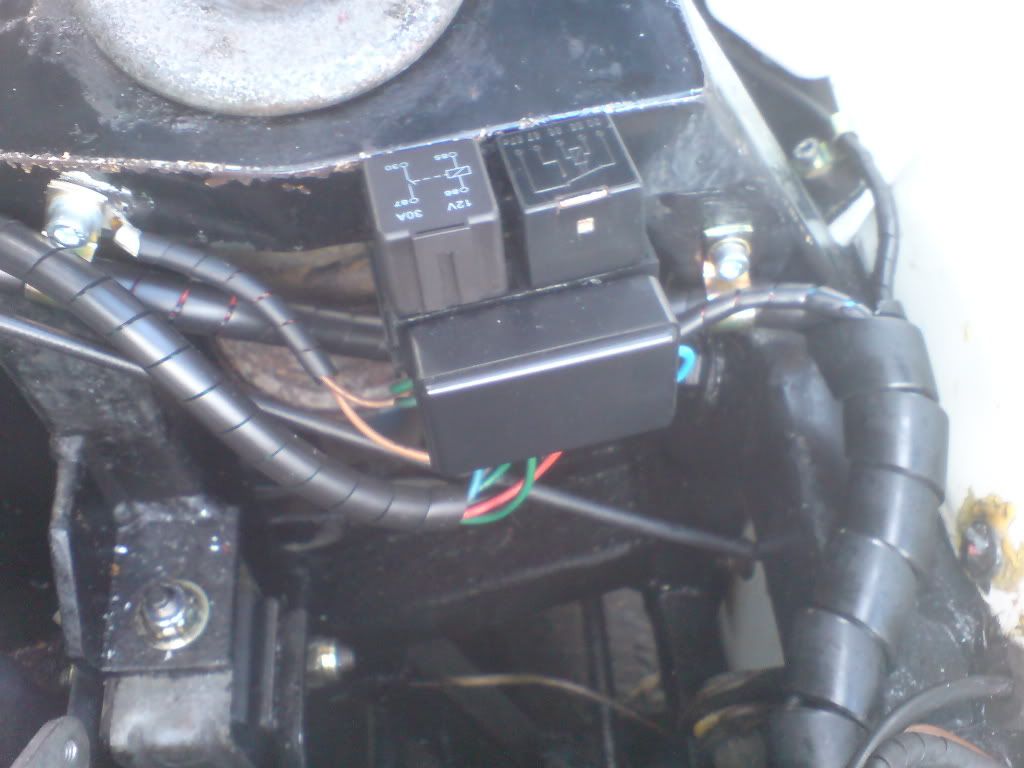 then i also got round to sealing up the petrol filler neck which has been bugging me for a while. it now a case of starting it up again to check all is well and tidying the interior for the MOT, then I'm pretty much done for this phase of the rebuild and should be left with a usable car providing i don't take it to bits again ;D oh and ive still got to bolt on the mirrors themselves too, maybe tomorrow |
| |
|
|
jin
Part of things
http://quantumforum.proboards.com
Posts: 69
|
|
Jun 11, 2011 21:39:26 GMT
|
|
|
| |
|
|
CIH
Posted a lot
Posts: 1,466
|
|
Jun 11, 2011 22:04:49 GMT
|
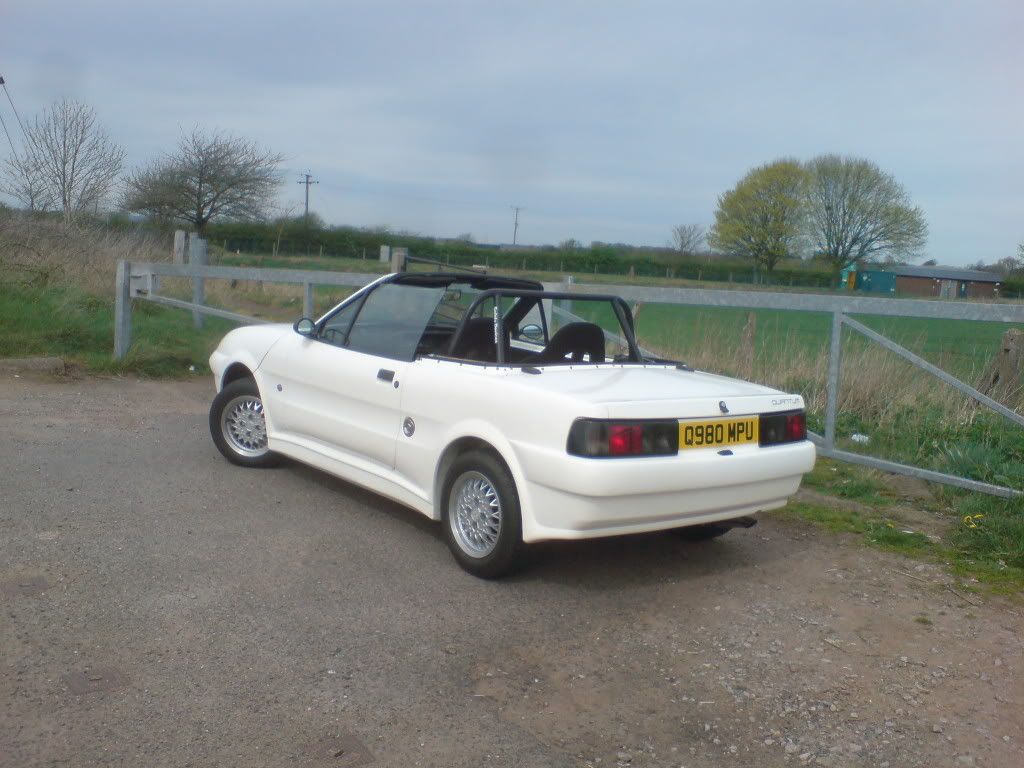
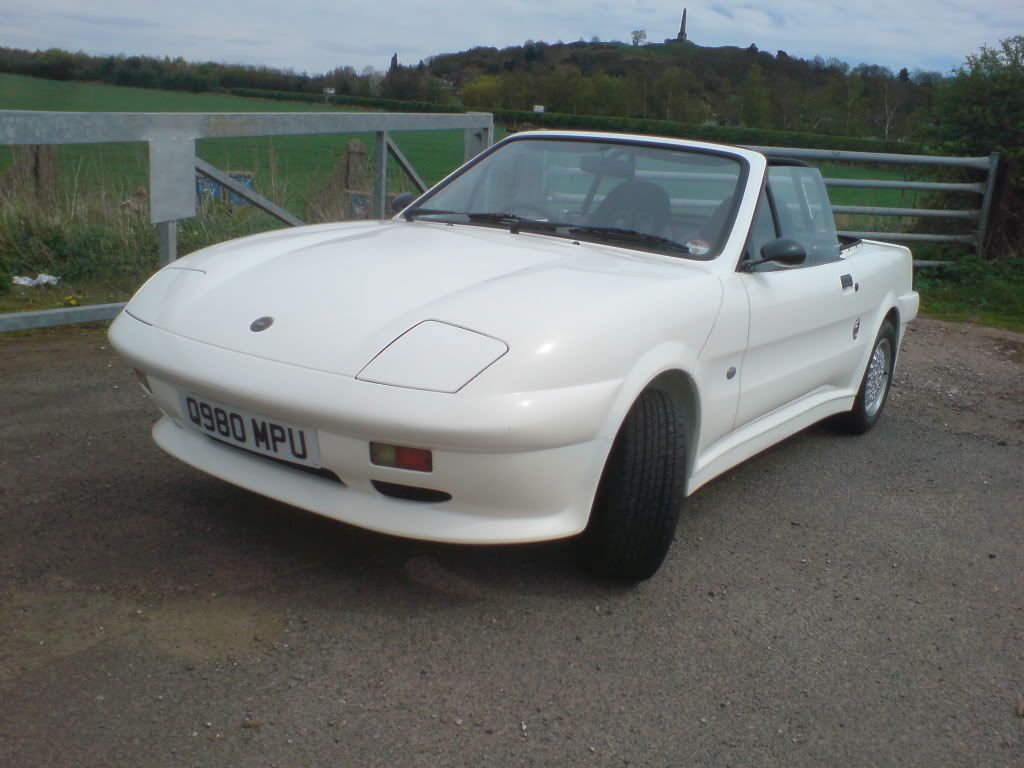
Would this have been a kit car originally ? Those panel gas are pretty damn straight eithe way |
| |
|
|
jin
Part of things
http://quantumforum.proboards.com
Posts: 69
|
|
Jun 12, 2011 10:21:54 GMT
|
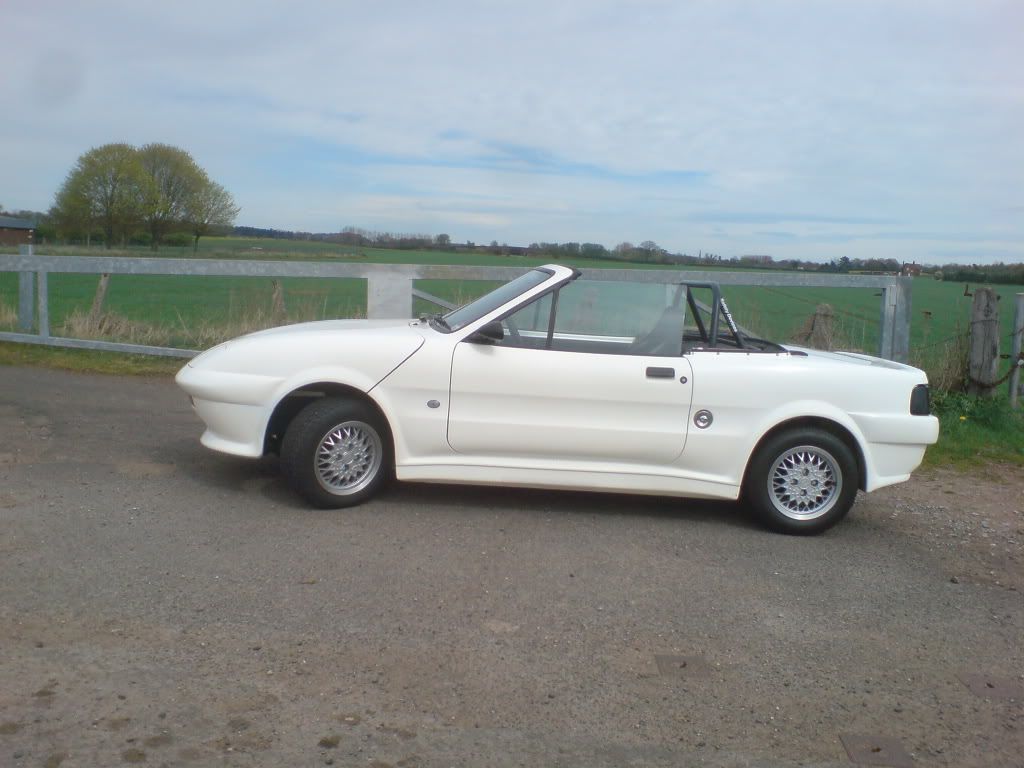
it is a kit car mate, built twice now ;D the panel fit is much better than some production cars ive had, esp my rover 25  |
| |
|
|
jin
Part of things
http://quantumforum.proboards.com
Posts: 69
|
|
Jun 13, 2011 18:42:40 GMT
|
been a bit busy removed the exhaust because I'm fed up of it catching on speed bumps etc, all because the mid pipe doesn't fit around the gear selector so it has to fit more under it than around it, ive cut it and bent it (again) ready to weld it back together in a new position which should clear the selector housing enough to allow it to sit higher 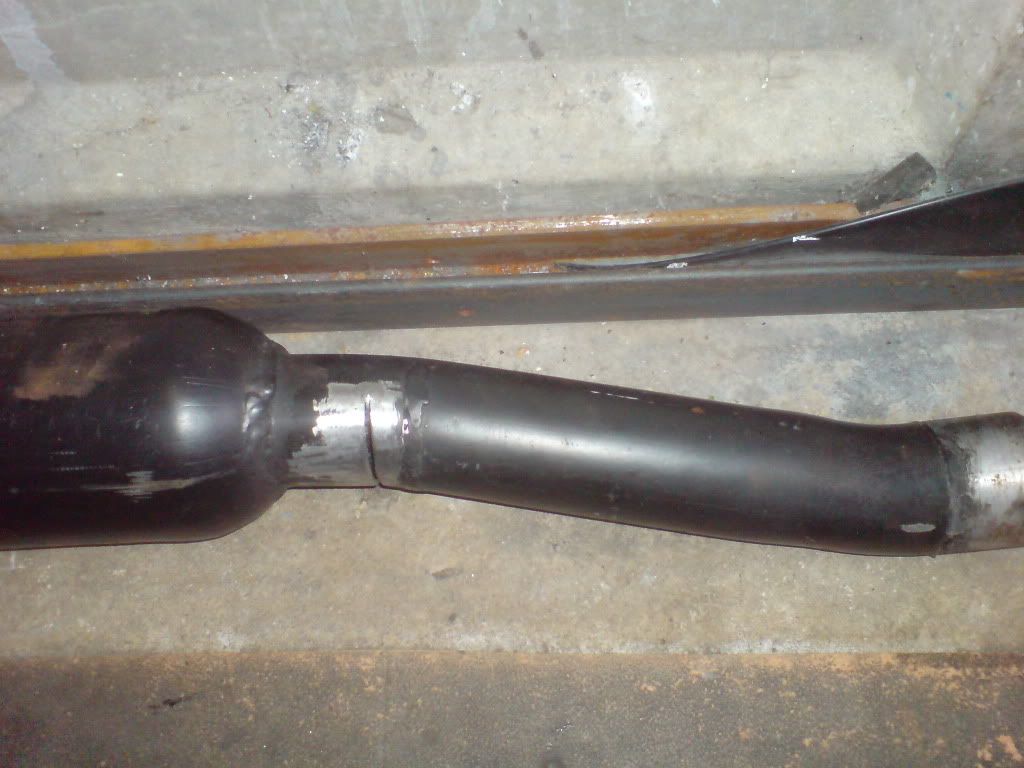 also i wanted to remove the front collector so i can weld in a lambda sensor boss so i can wire up my AFR gauge ready to set the carb up properly 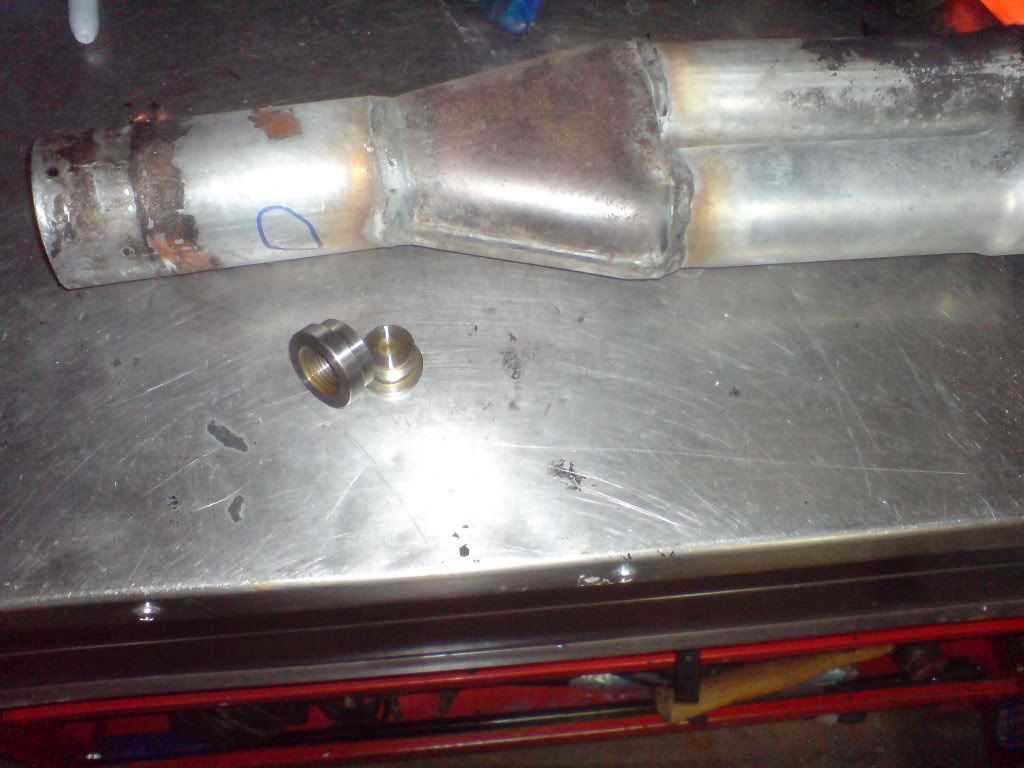 fitted new genuine ford disks and mintex pads, painted the center of the disk also to prevent unsightly rust forming 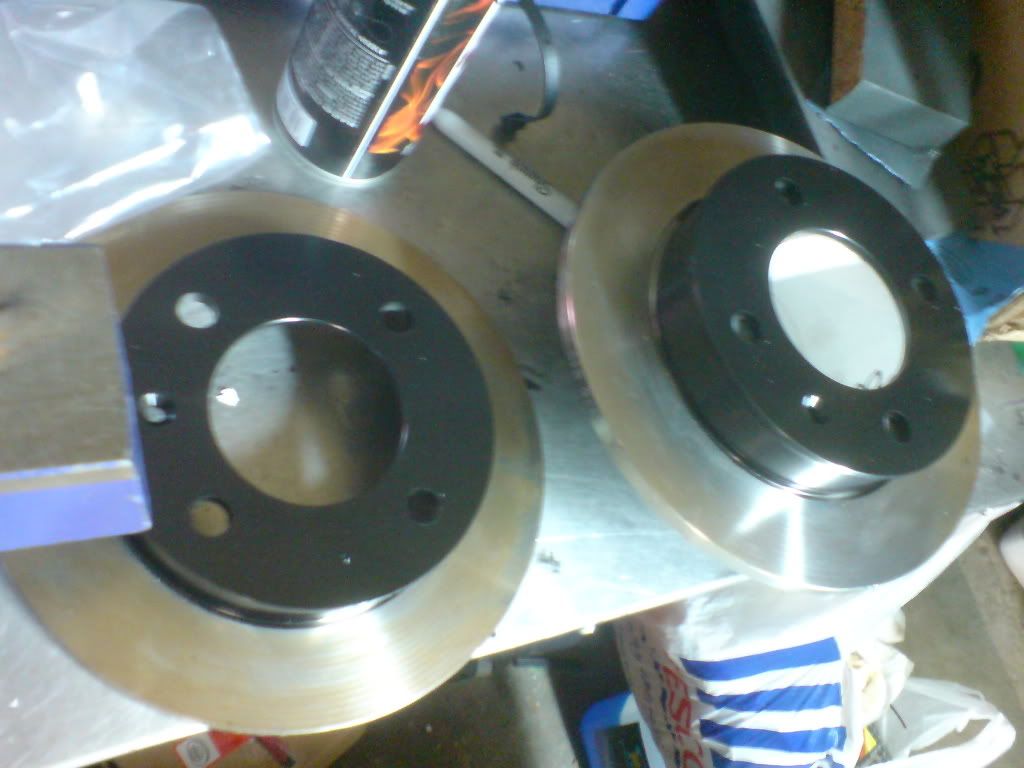 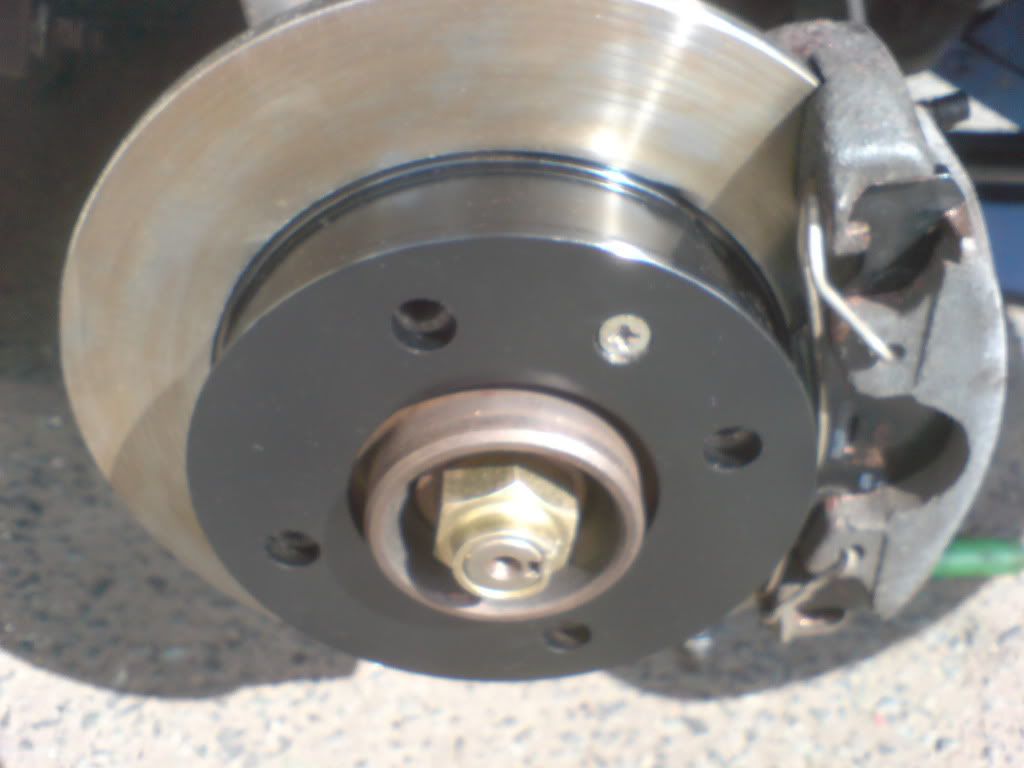 the calipers are in very good nick, i think they have been replaced recently, certainly not 20 years old so thats a bonus ive also been repairing some of the damaged gelcoat the car has had since before ive had it, I'm no expert on this but I'm doing my best the damage 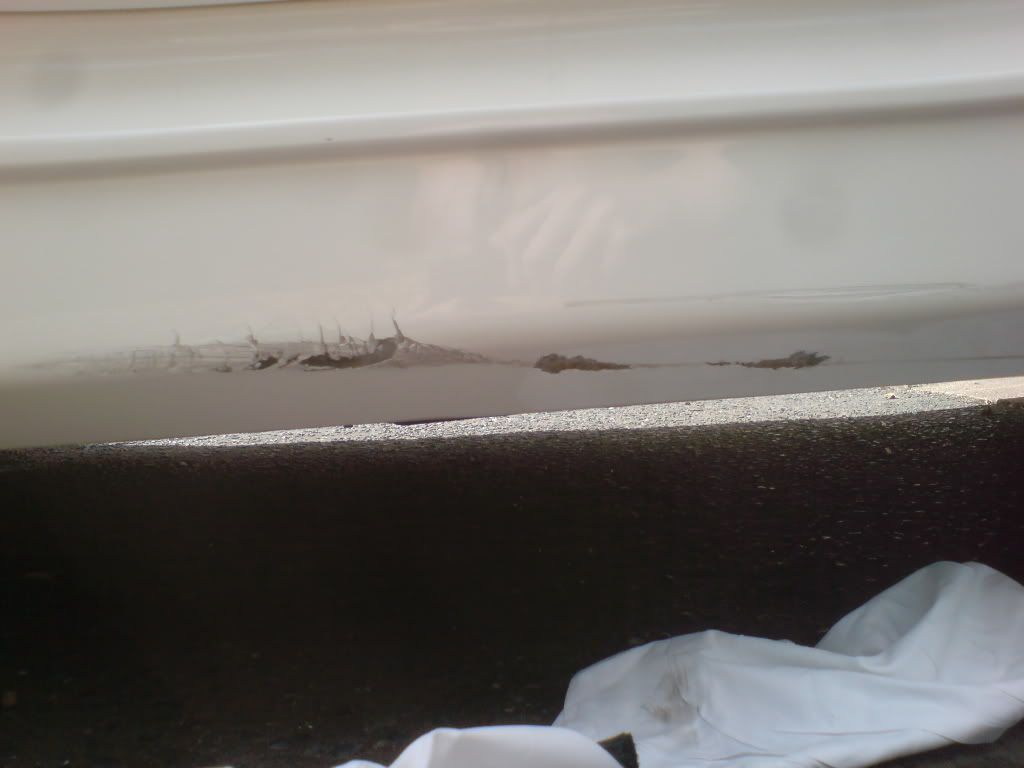 all cracks ground out and cleaned up 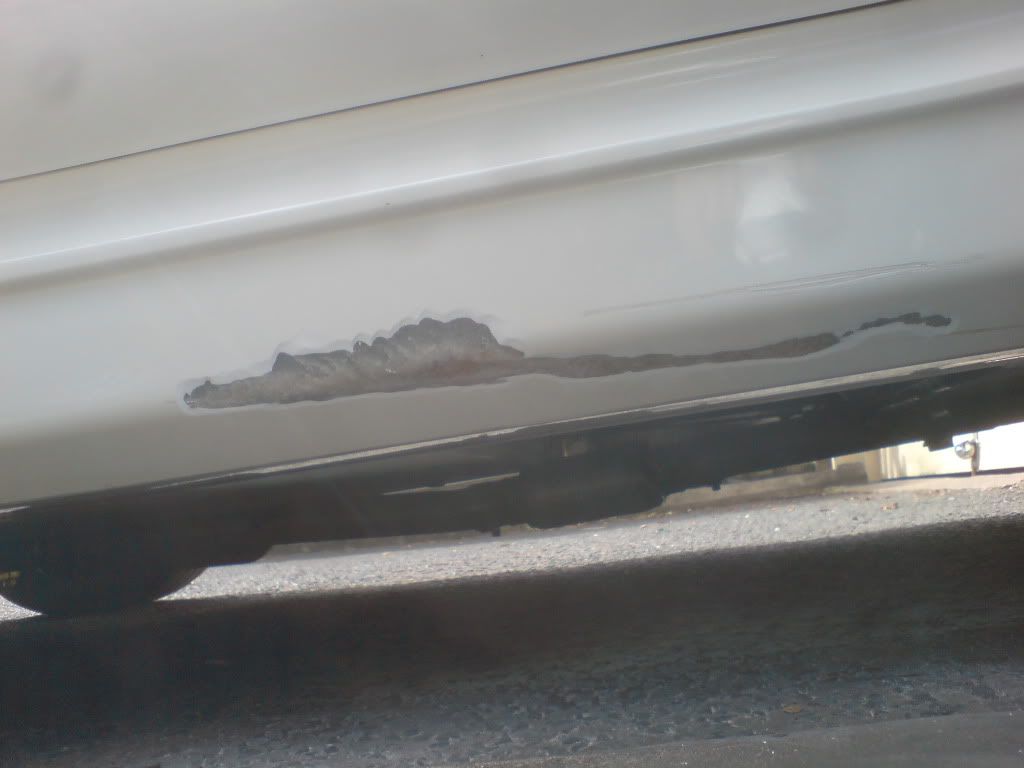 what have i started? first layer of gelcoat 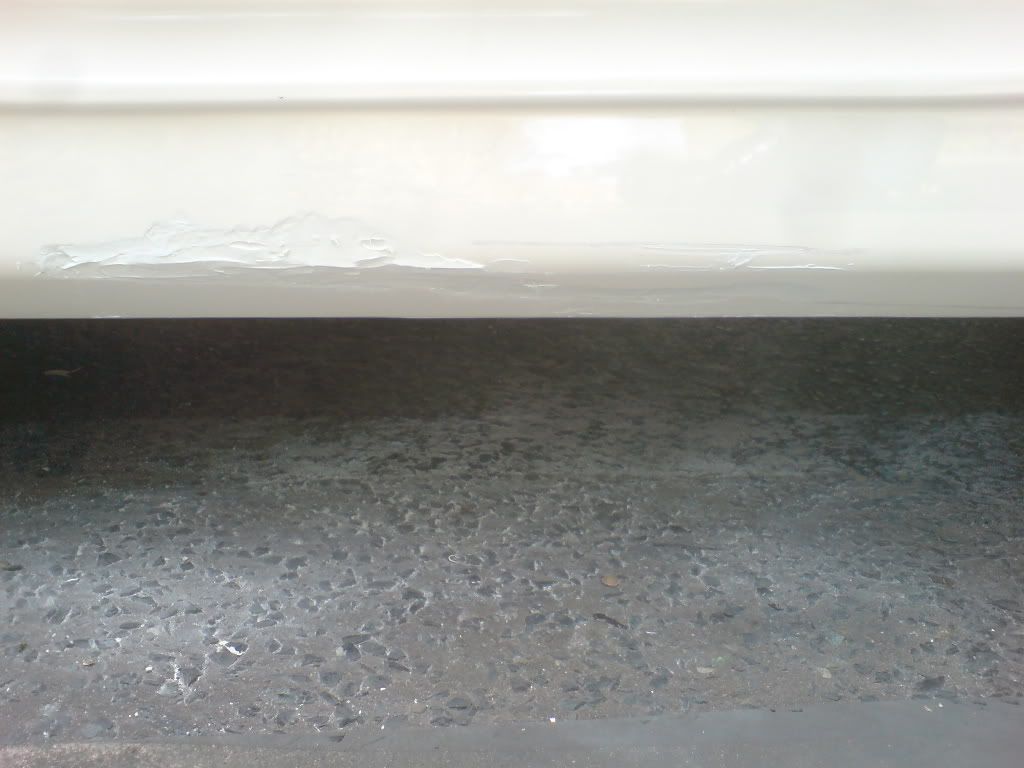 flatted and second layer 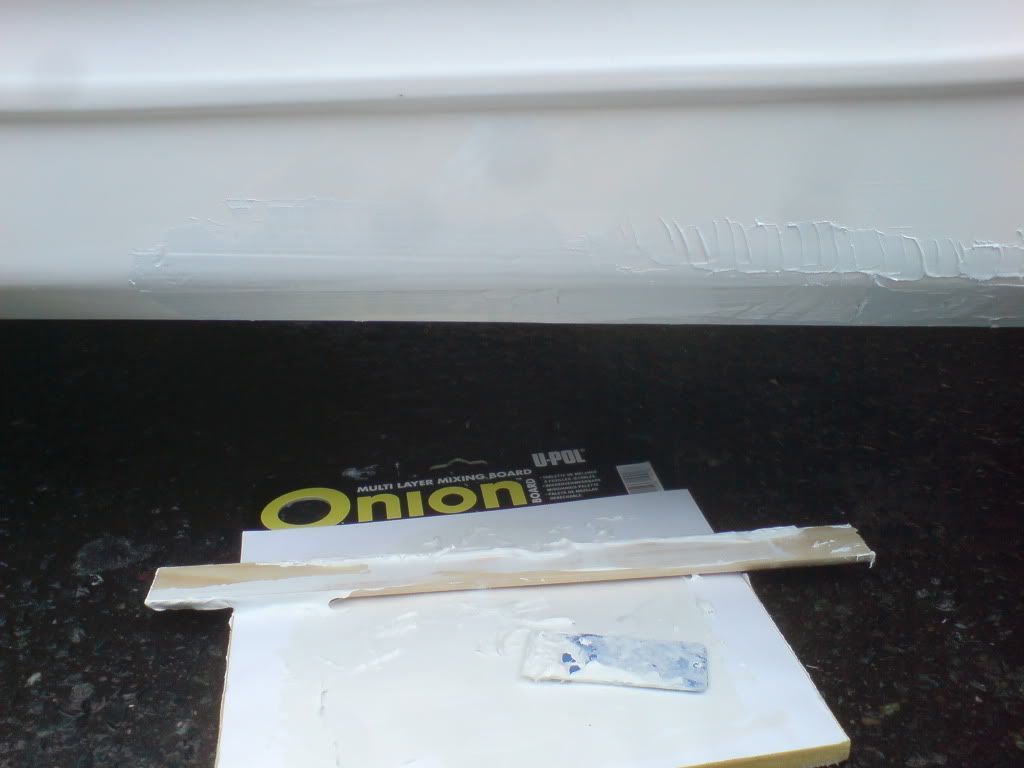 coming on but still more to do, ill keep you posted |
| |
|
|
|
|
|
|
|
Jun 14, 2011 14:20:49 GMT
|
Woah, you've been busy. Good work there, I never did like those rear suspension bump stops that were used on the 2+2. I think the trailing arm brackets were all different, I've had quantums with 2 washers, 1 washer and a really tight fit with no washers over the years. ;D |
| |
1989 Saab 900i Convertible
1993 Rover 416 GSi
|
|
jin
Part of things
http://quantumforum.proboards.com
Posts: 69
|
|
|
|
making progress with a brand new fuel tank 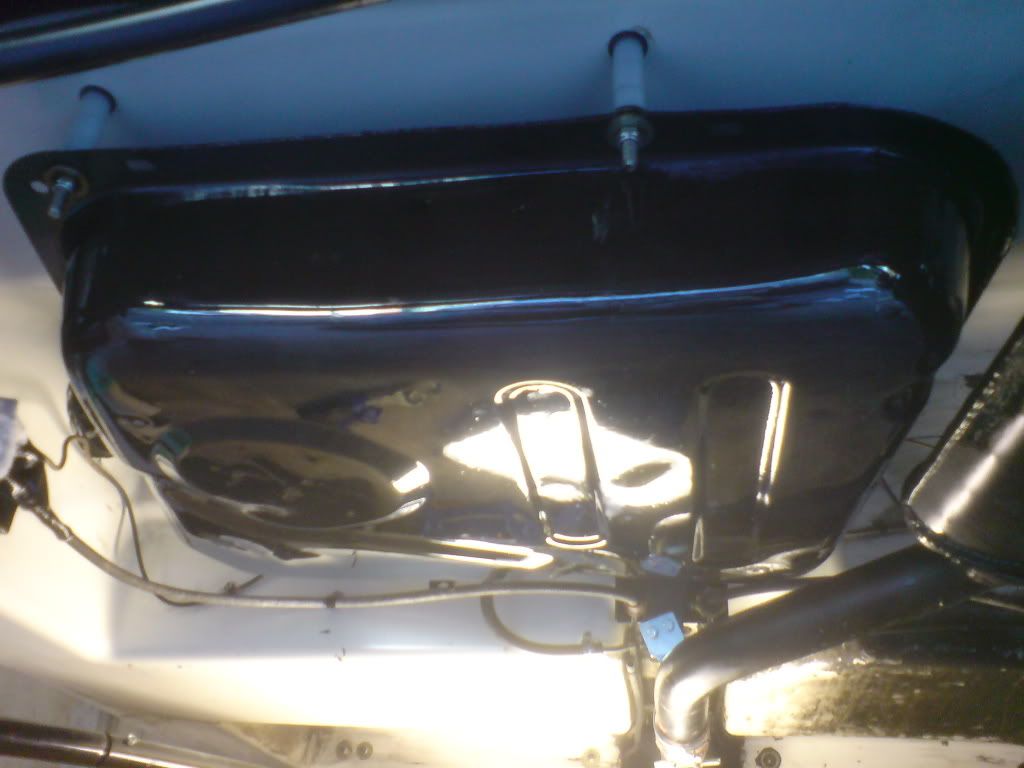 i chose to fit the 4 main mounting bolts with tight fitting (to the bolt shank) rubber washers to isolate the tank from the shell, 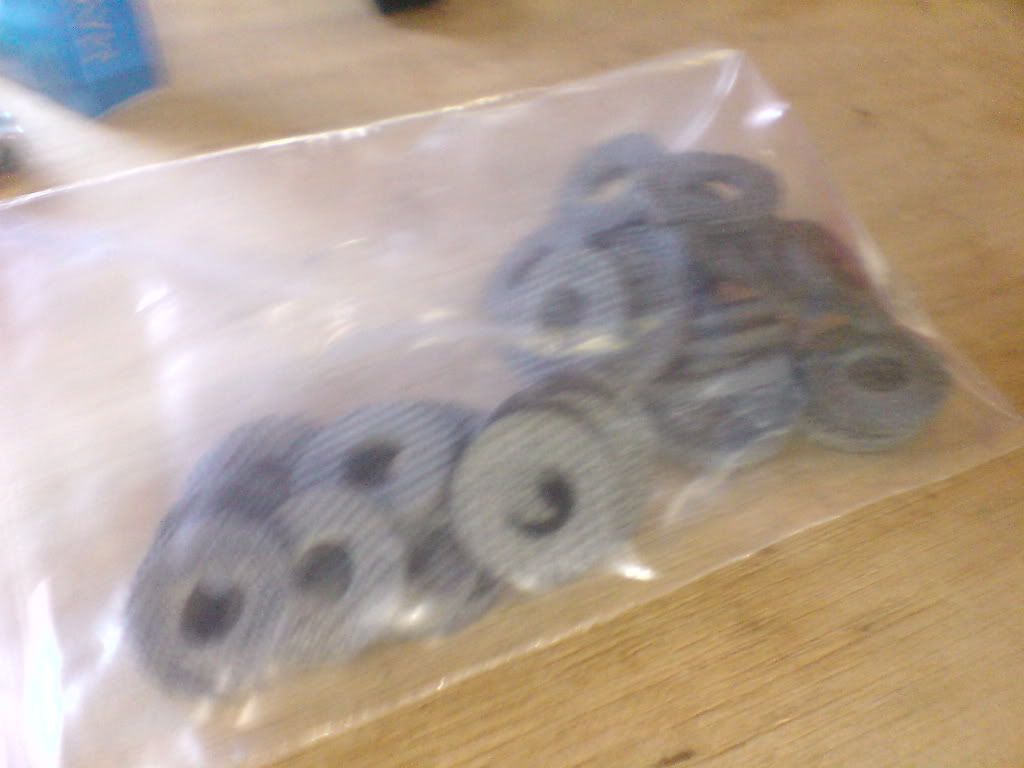 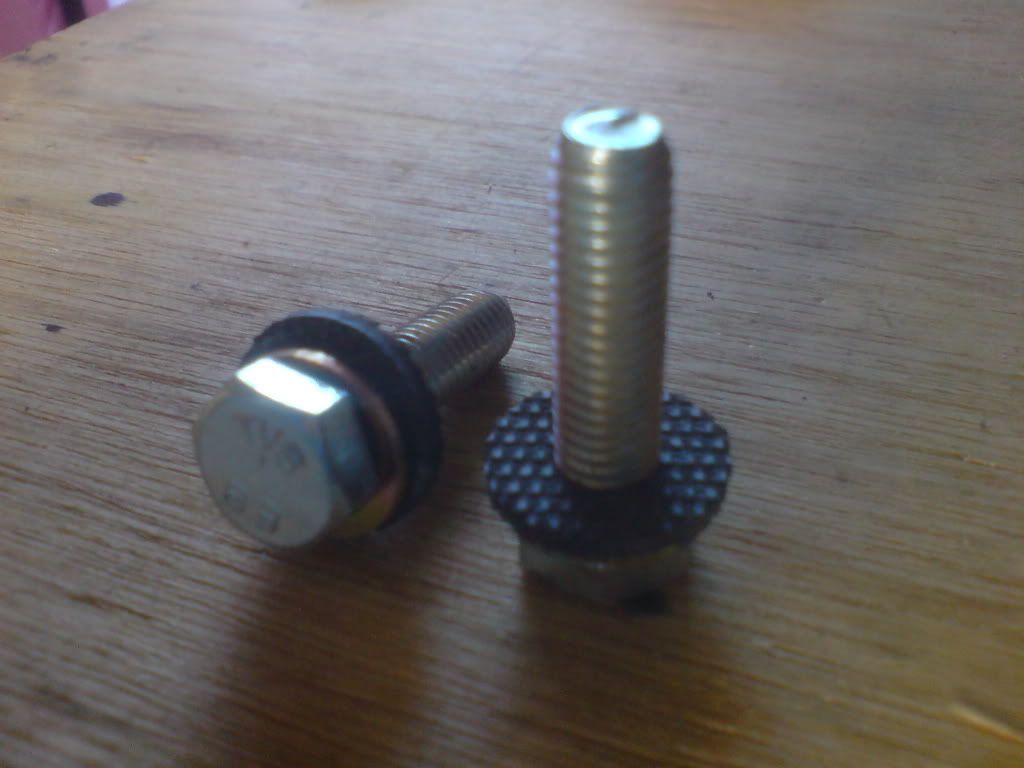 First reason was the old tank had collected dirt and moisture between the forward most flange and the body underside step that the tank bolts to causing rusting to the tank and a mess of the gel coat, all cleaned up now though and there's now and air space between the 2, Second reason is the flange on the tank and the step on the underside of the body aren't an exact fit so these will take up any minor undulations and prevent stress racking of the gel coat. Third reason is it will seal the bolts and holes from moisture and dirt getting inside the car ans seal the cut edge of the fiberglass away from moisture, don't know why i didn't think of this before, I'm gonna re-do a few more fasteners on the car like this, only a couple of quid off ebay. bought some very expensive mikalor Supra CT Constant Tension Heavy-Duty Hose Clamps 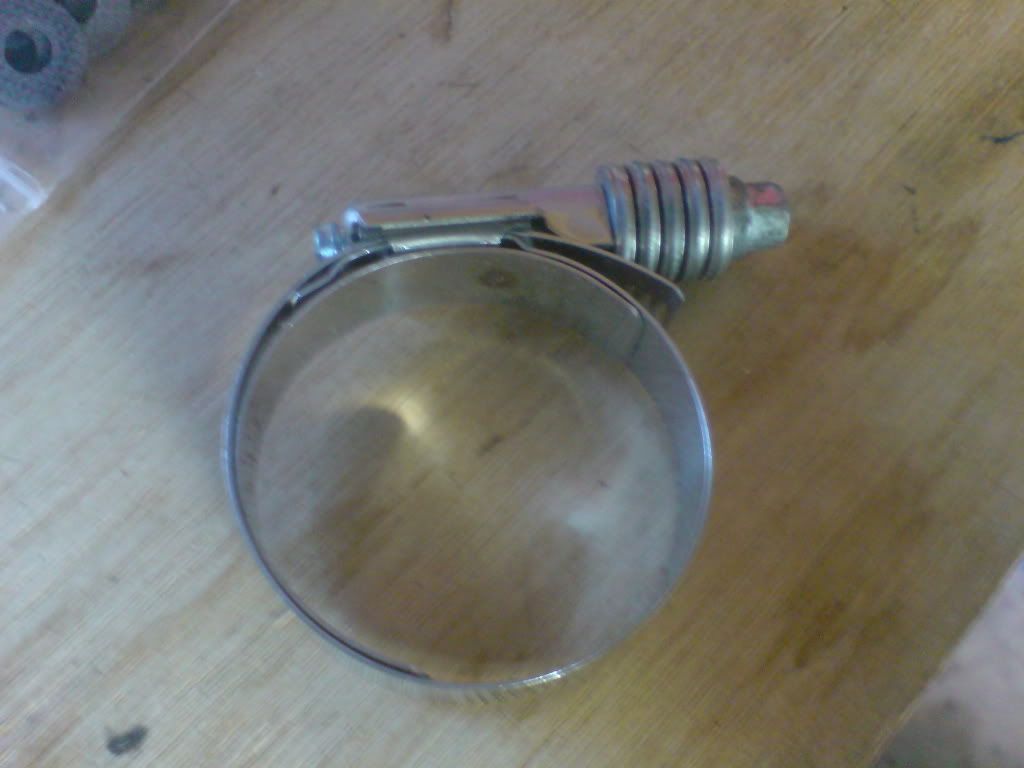 dunno how they differ from normal clamps but they look impressive ;D mounted up each side of the filler hose with a conventional jubilee clip for belt and braces 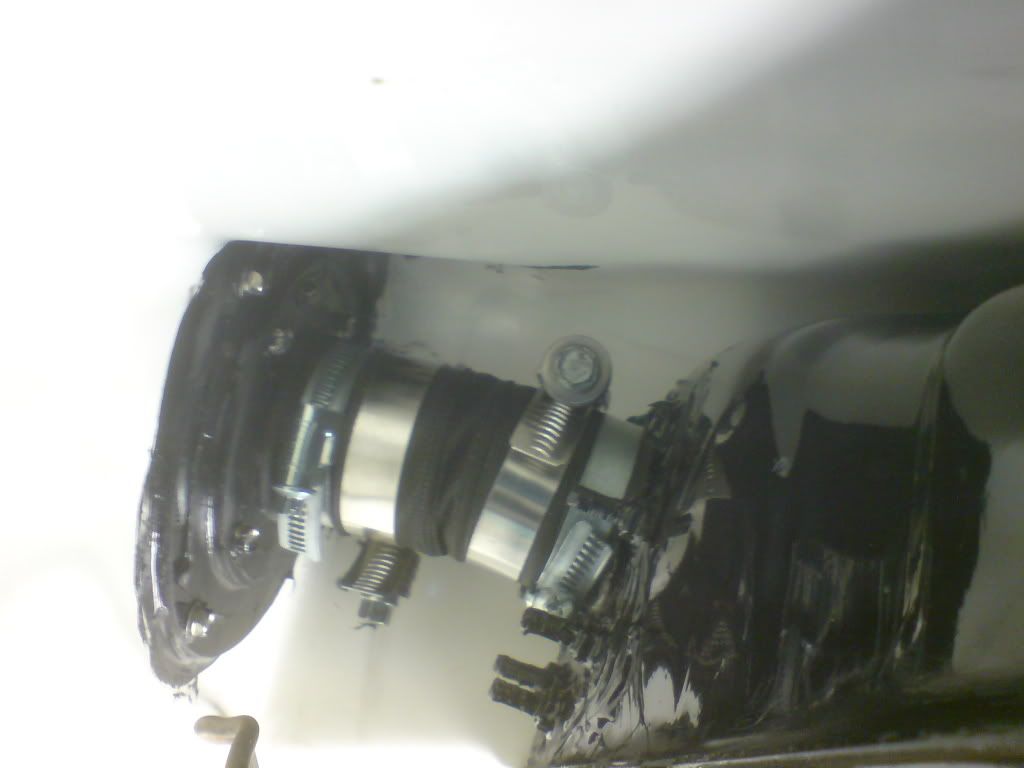 rear edge mounted with nylon spacers instead of a pair of rusty tubes that were far too big 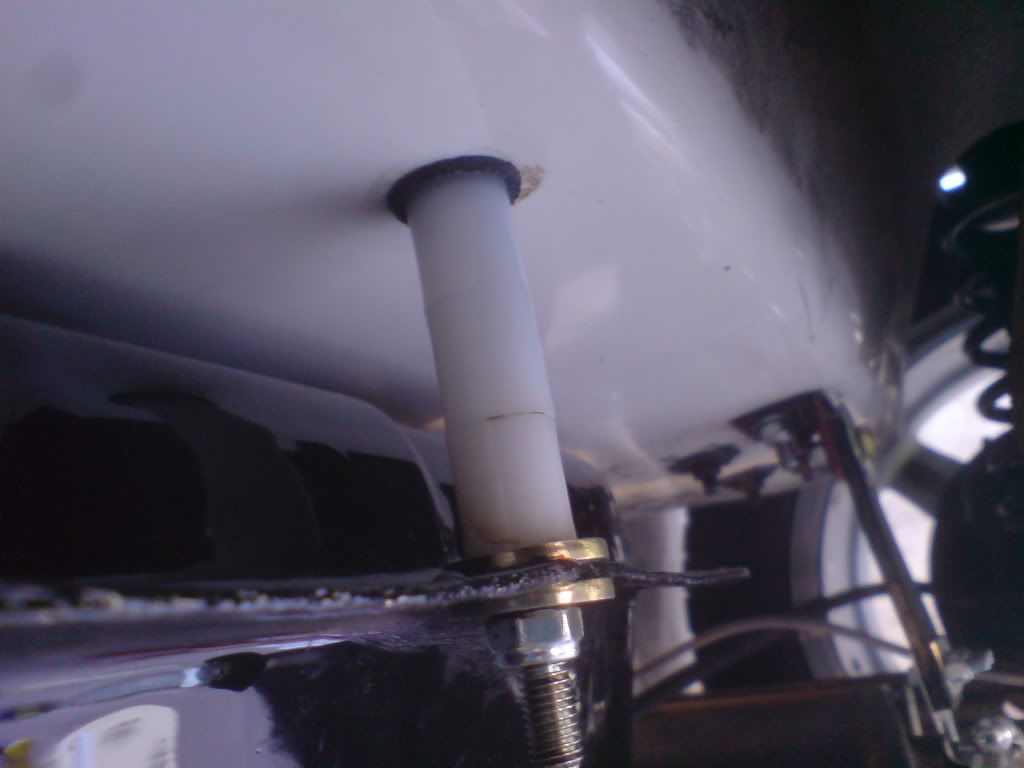 and I've got the return hose fitted too 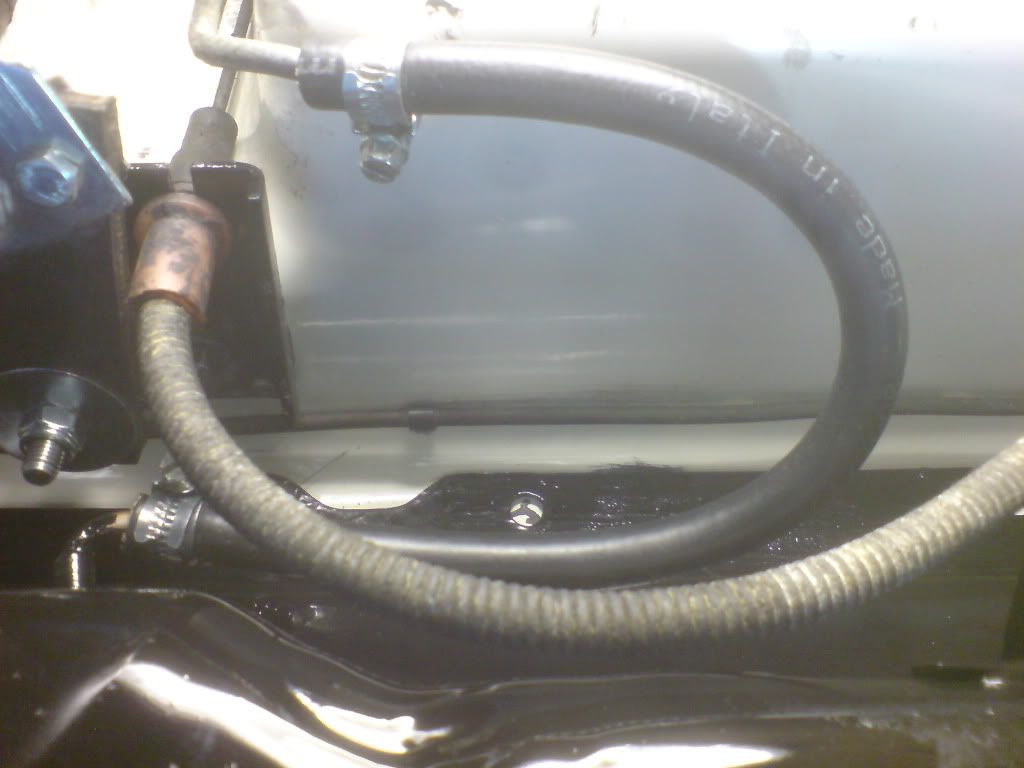 though I've decided i want to replace all the jubilee clips with mikalor type so ill do that soon just got to wire the sender and fit the outlet with the filter, just got to make a bracket to hold the filter in place not bad for 4 hours work |
| |
|
|
qwerty
Club Retro Rides Member
Posts: 2,416
Club RR Member Number: 52
|
1995 Quantum 2+2qwerty
@qwerty
Club Retro Rides Member 52
|
|
|
|
Nice to see.this.still being improved and evolved. Very enjoyable read.
|
| |
|
|
Em
Part of things
Fuel Injected? Carb Infested!
Posts: 601 
|
|
Nov 11, 2011 17:26:07 GMT
|
|
Always had a soft spot for these and yours is a fantastic example after all that work!
Really nice to see everything being done so thorougly and neatly.
Guess you'd call it Quantum Mechanics...?
*Gets coat...*
|
| |
|
|
jin
Part of things
http://quantumforum.proboards.com
Posts: 69
|
|
Nov 13, 2011 21:23:04 GMT
|
cheers for the nice comments guys been at it a bit today too made an alloy bracket for the fuel filter / hose reducer 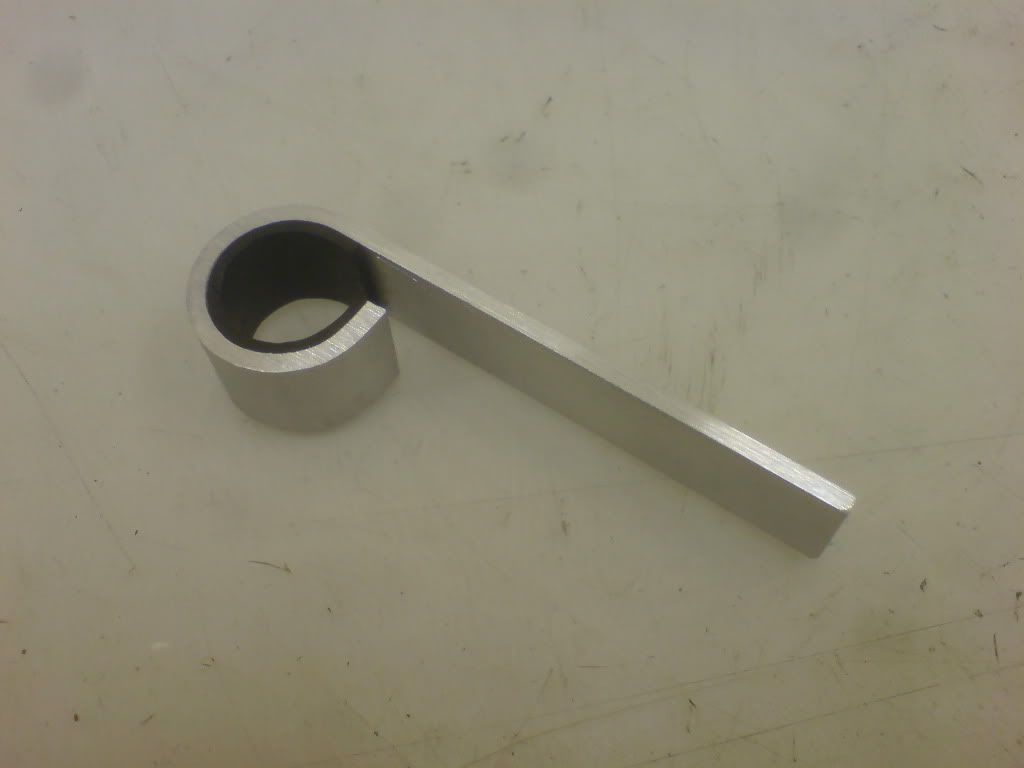 then fitted it along with the pipework and filter  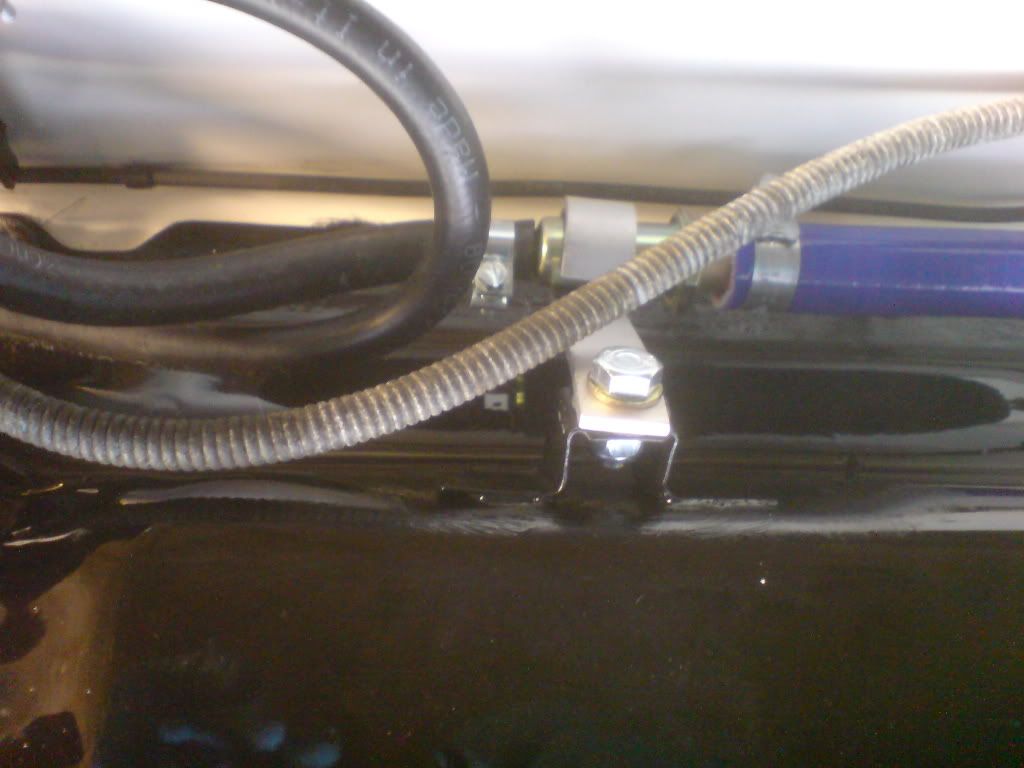 made a slight improvement to the hand break cable mounting since it had become pulled away from the bodywork 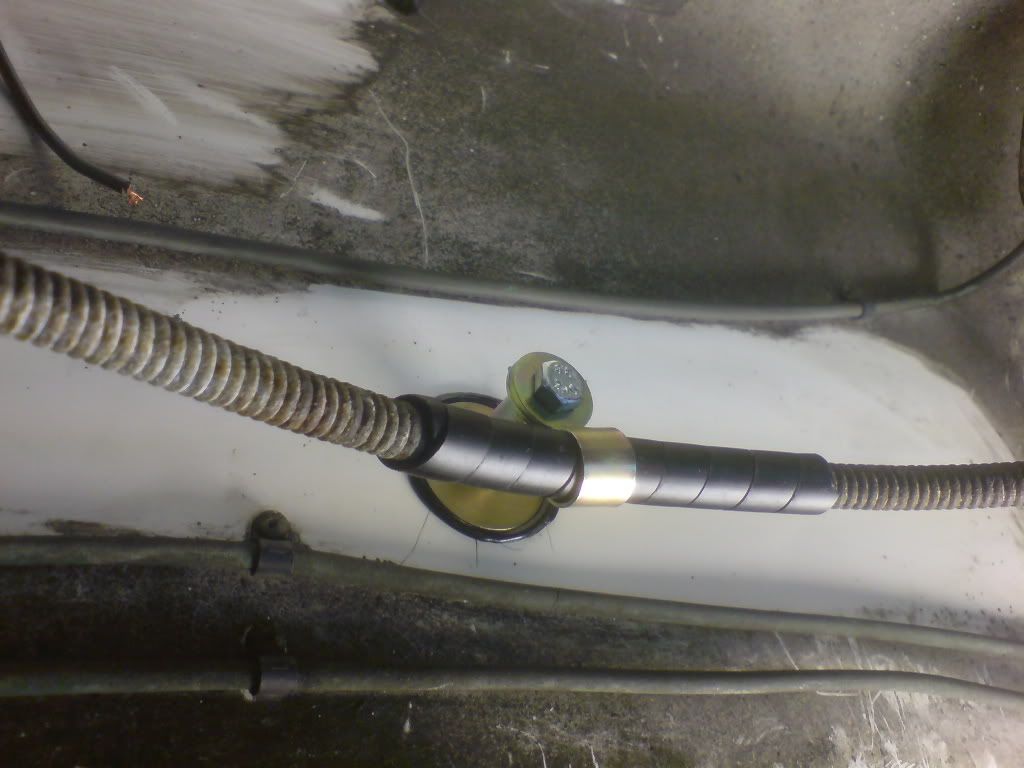 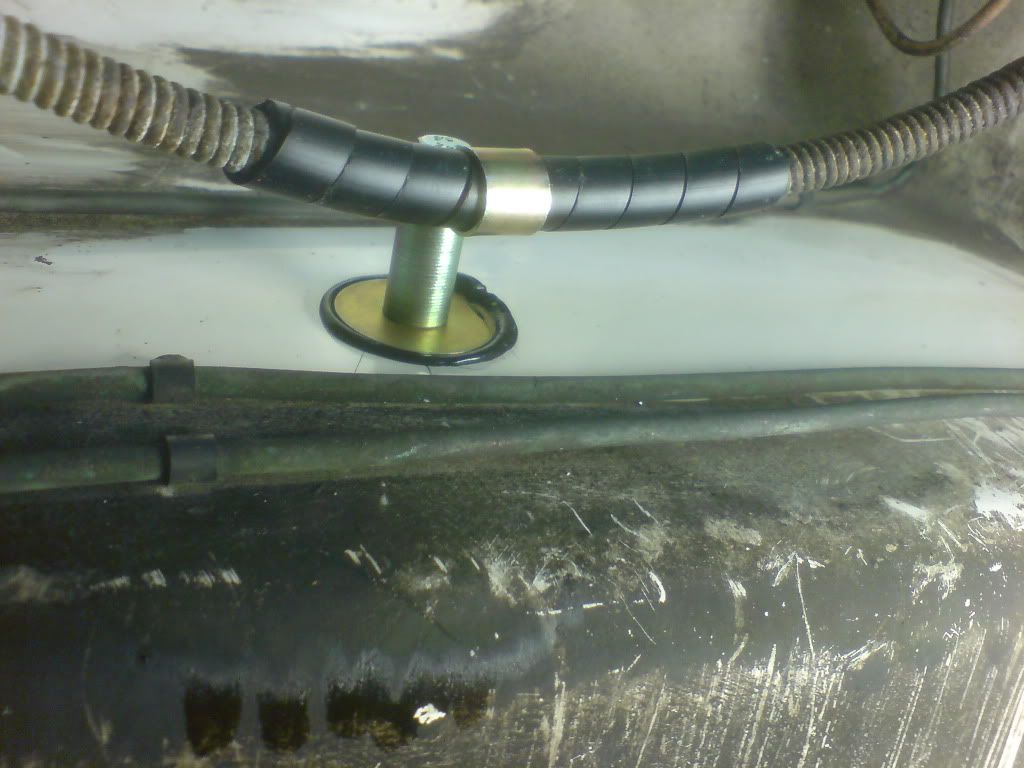 all done and dusted (though ive yet to fill it  ) 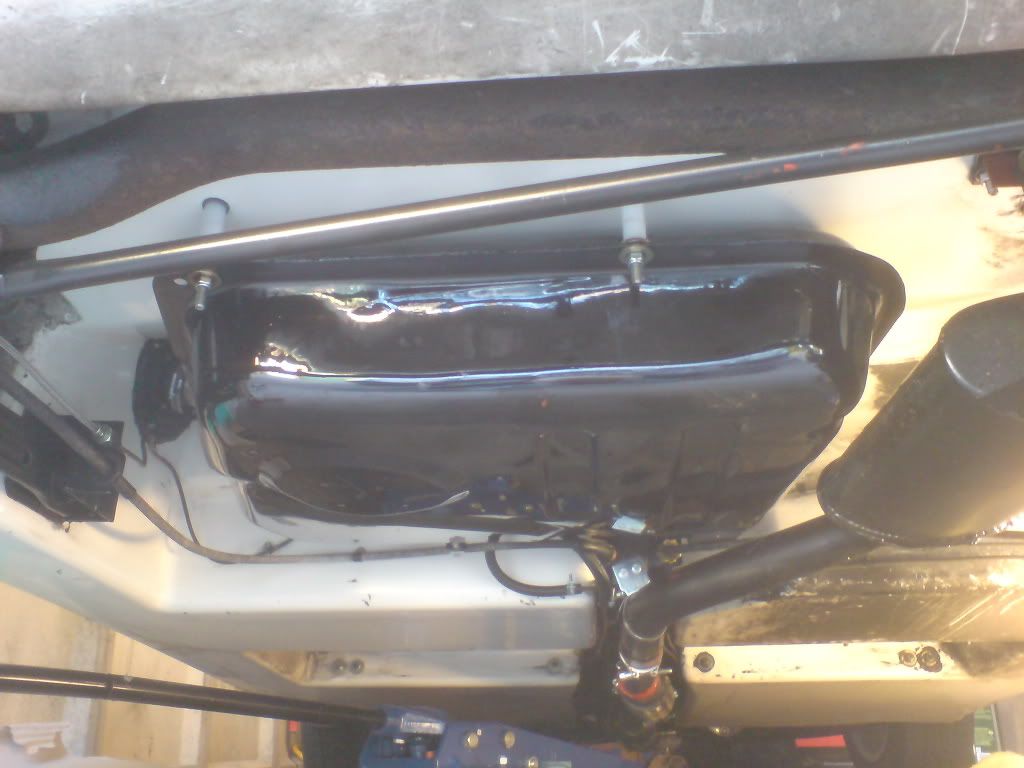 even made a start on winter job #2 - replacing the interior . though only as far as pulling the steering wheel off ;D 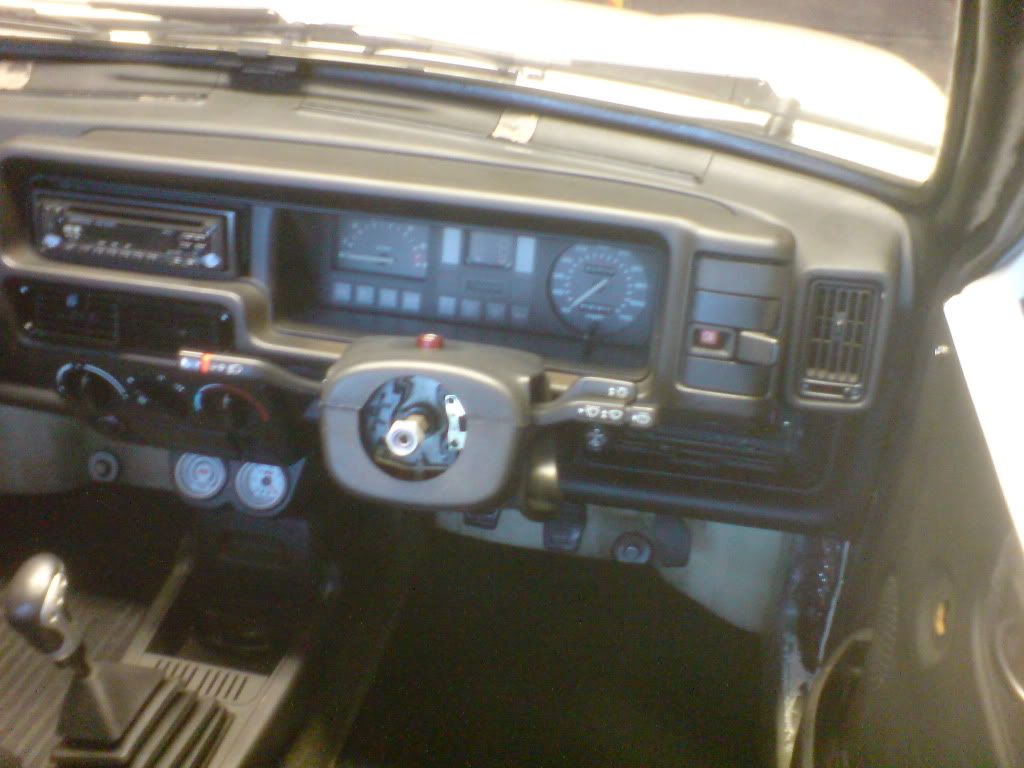 |
| |
|
|
jin
Part of things
http://quantumforum.proboards.com
Posts: 69
|
|
Nov 20, 2011 22:53:09 GMT
|
spent the day locked in the garage (with the heating on, rather cosy actually ;D ) ripping my dashboard out, theres something very satisfying pulling bits off cars, i love it ;D dash out and in the bin 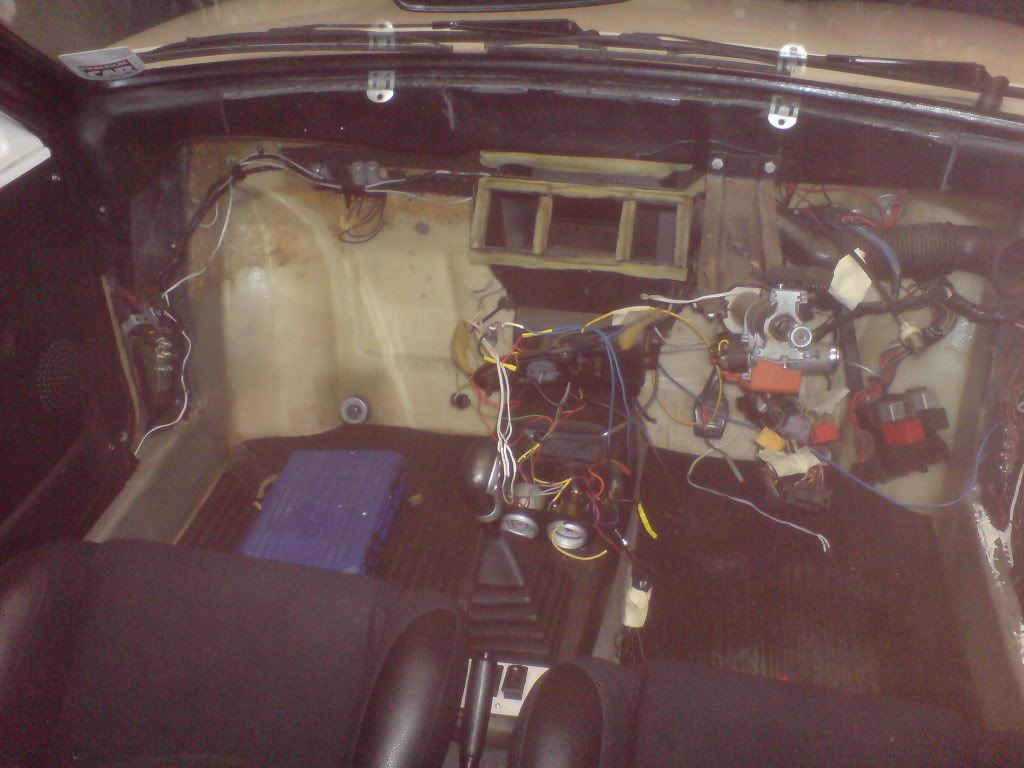 as predicted the wiring was a total mess - side repeater wires stripped bare then tied into a knot over the main indicator loom wires then taped over the top i took this pic as i was unsure what it was and thought best to ask 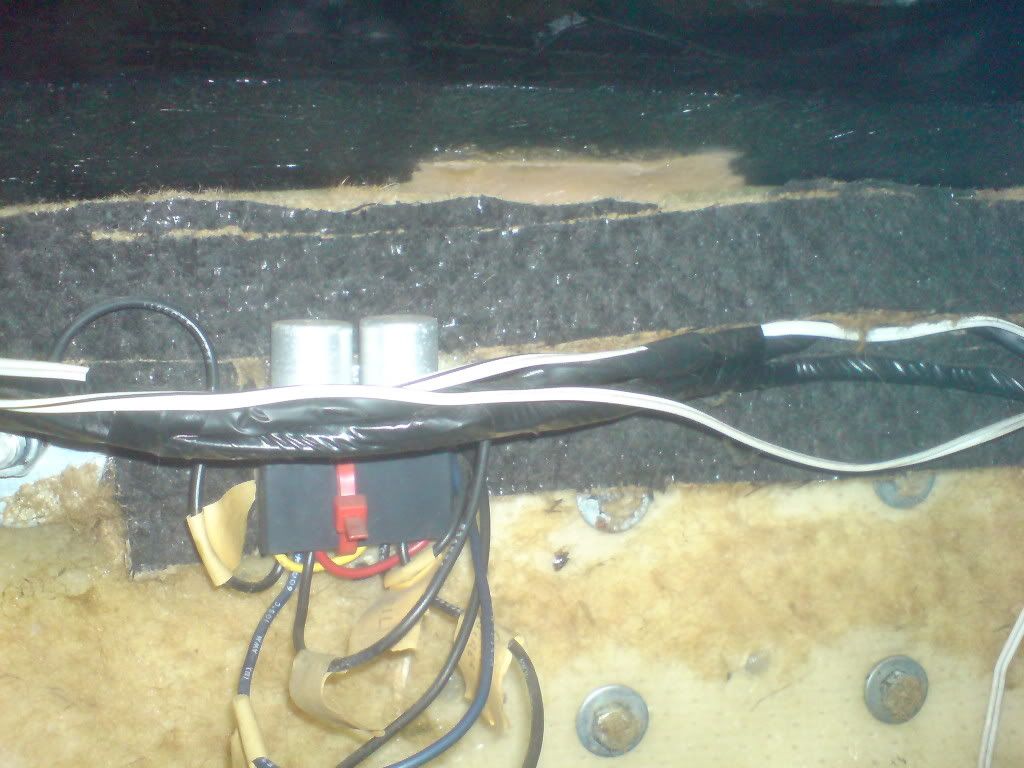 then gave up and ripped it out, it turned out to be some kind of prehistoric car alarm and immobilizer, cant wait to see how it was tapped into the coil wires (at least it was labeled up in masking tape) looking a bit less cluttered now but still loads of work to do 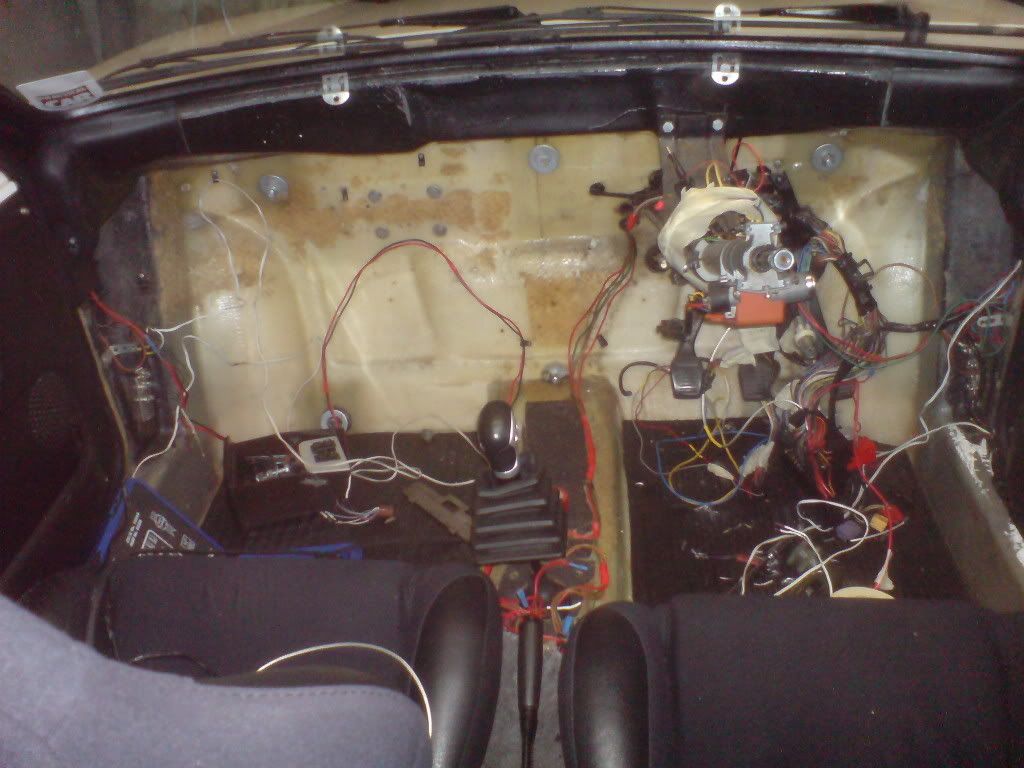 good points are i found 2 fuses taped to the underside of the scuttle, you would have needed to be a double jointed midget to change them with the dash in place, but it does explain why the leccy windows never worked till i put in a whole new feed, ive gone for a compromise since i took my feed from the heated rear window fuse since its no longer used whereas the builder had tapped into the wipers circuit and i feel it could be a bit overloaded, so ive used my feed through the origional wires other good point was i found out why the heater matrix had been bypassed  heater box full of antifreeze, luckily i have a new matrix to go in and hopefully warm feet as a result ;D bad points were cutting out the wires for the side repeaters like a total numpty assuming they were for the prehistoric alarm, well they sort of were, to make the hazards flash in the event of the car getting broken into, i just got a bit carried away and chopped out the whole lot so got to put that back (and if only id cut it out in one section it would have been allot easier than what I'm faced with now, since i chopped it out like a demented hairdresser) took the opportunity to photo inside the scuttle to be nosy, you can see the glassed in steel tube that forms the strength inside the A pillar, well it had been a long day and it interested me ;D 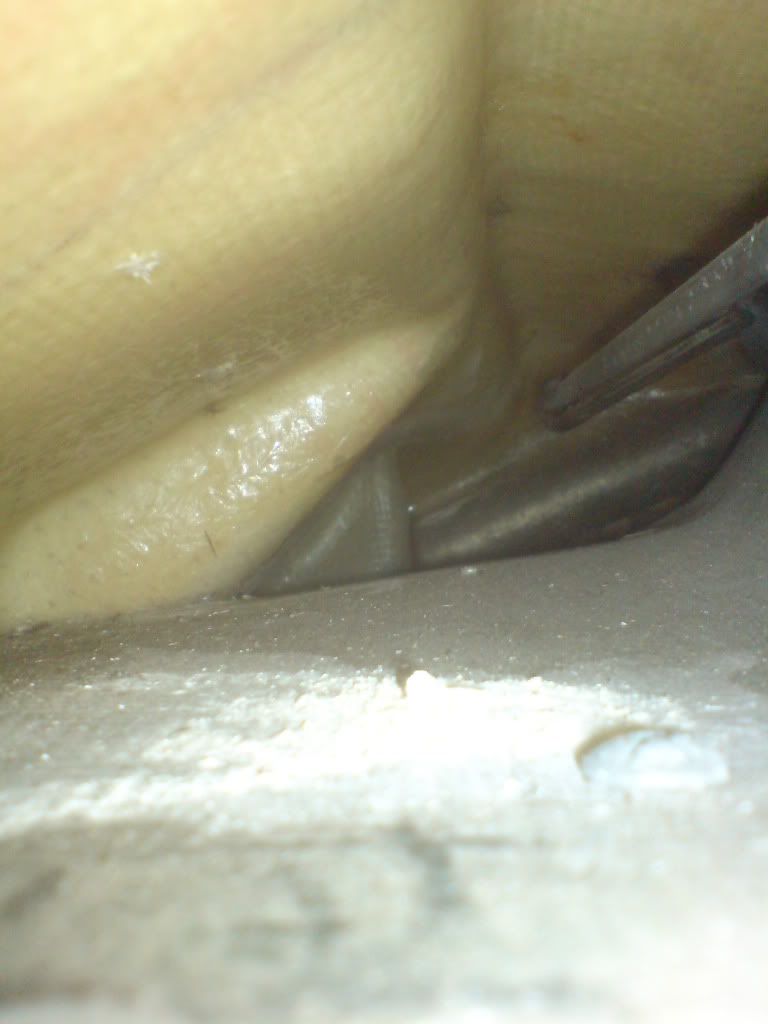 |
| |
|
|
|
|
|
Nov 21, 2011 14:24:21 GMT
|
|
More impressive work there Jin ;D
Should I enquire about the pile of white powder in the last photograph.....
|
| |
1989 Saab 900i Convertible
1993 Rover 416 GSi
|
|
jin
Part of things
http://quantumforum.proboards.com
Posts: 69
|
|
|
|
More impressive work there Jin ;D Should I enquire about the pile of white powder in the last photograph..... its the only thing that keeps me going ;D |
| |
|
|


 )
)