hairymel
Club Retro Rides Member
avatar by volksangyl
Posts: 1,081
Club RR Member Number: 207
|
|
Aug 21, 2010 23:41:35 GMT
|
i have been a bit unmotivated since the last update  in local news Paul decided not to roller paint his beetle. spaying outside caused a bit of consternation amongst the locals  so we built a makeshift spray tent. 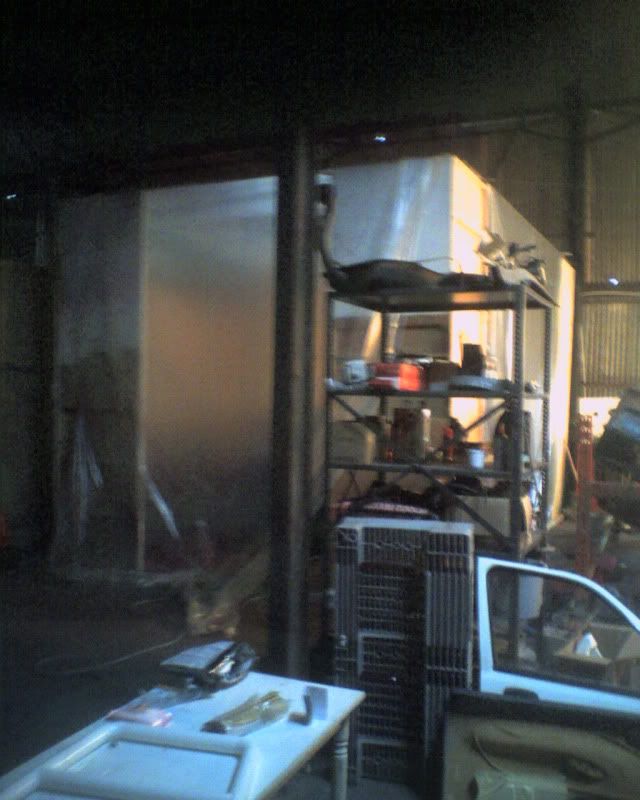 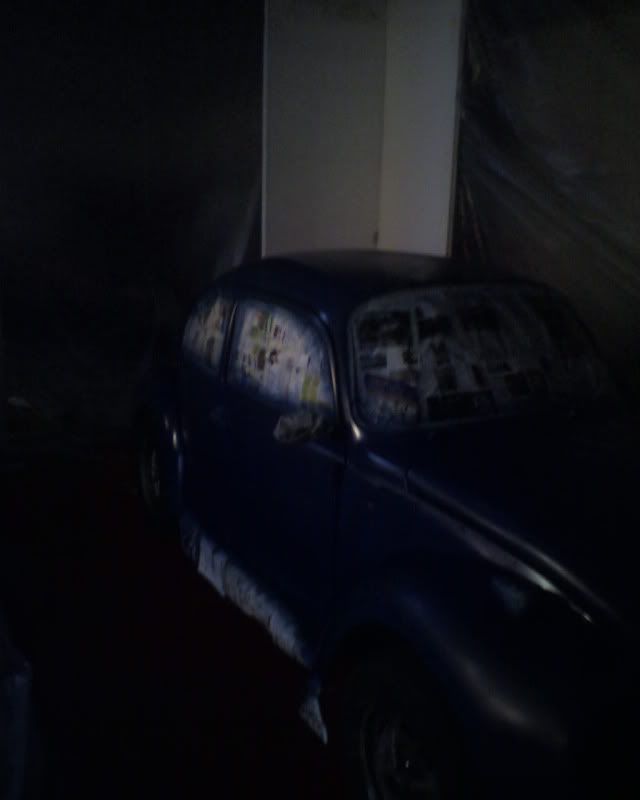 it seemed to contain the overspray fairly well although paul emerged looking slightly smurfy  i have also built a ghetto style version of tonybmw's bender and had finally got to have a play with the tig and arc functions of my 3in1. i can now weld unsuccessfully in 3 different disciplines ;D breaking news: my personal scrapyard stock of projects had started to disappear under brambles so they have been dug out this afternoon for a bit of landscaping to take place. 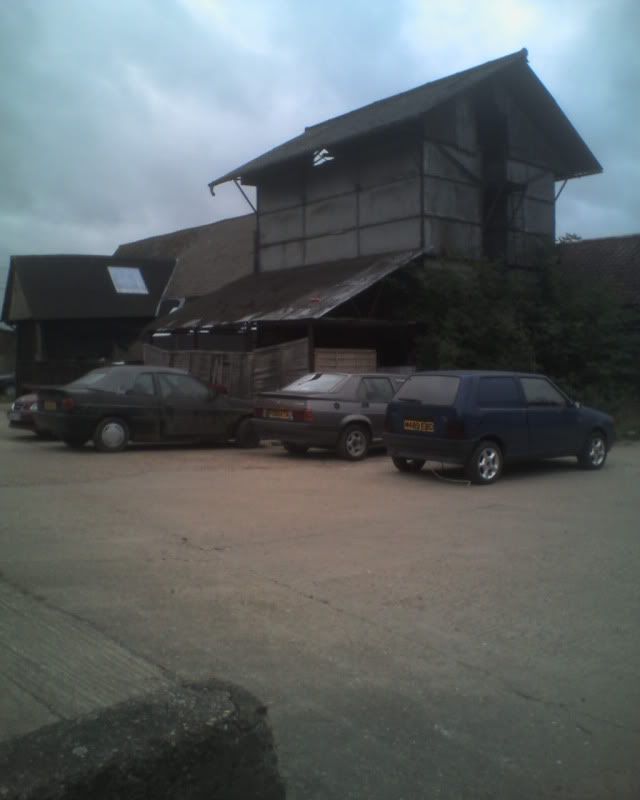 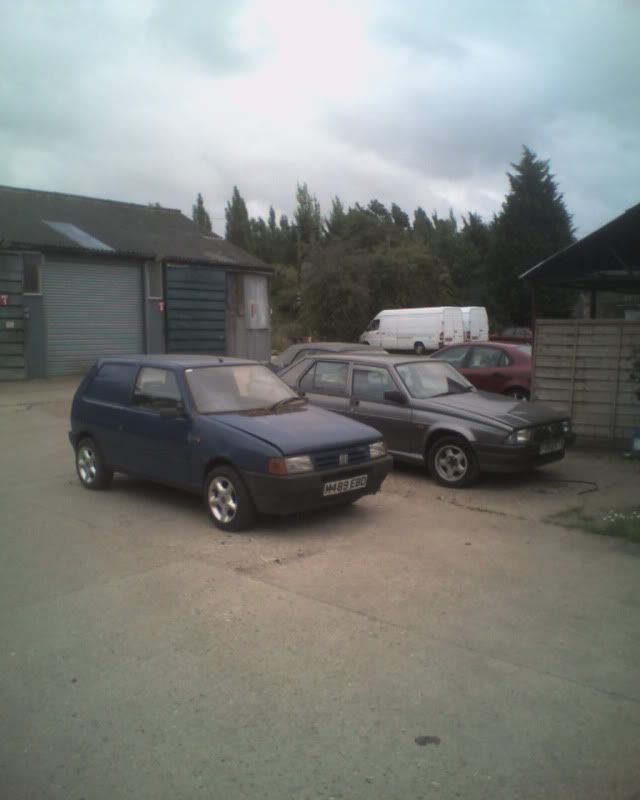 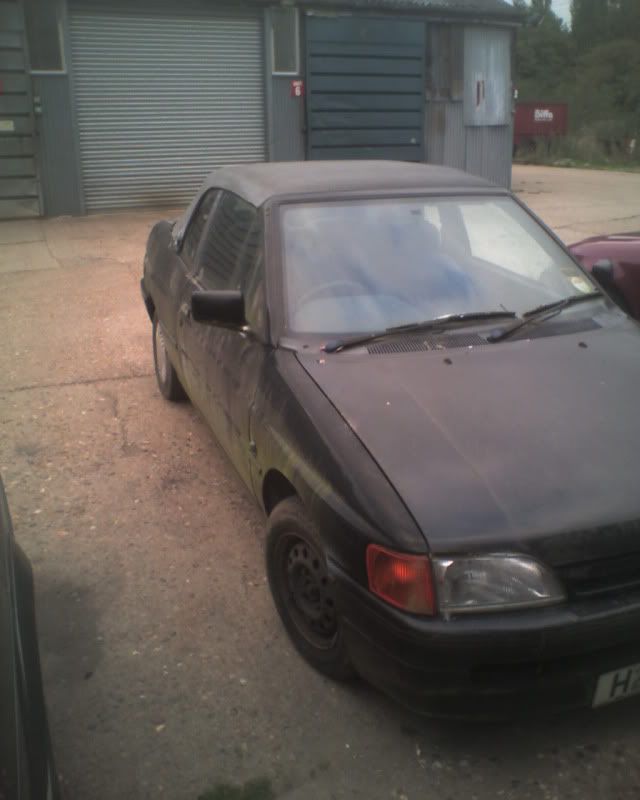 patina  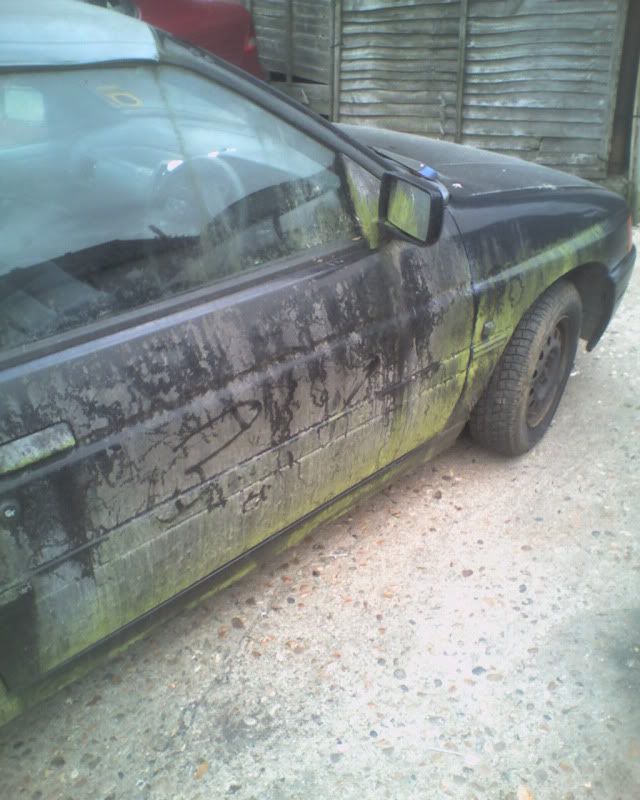 anyway this evening i thought i had best do something to the sunbeam  template of the other rear arch lip laboriously cut from sprinter bonnet and reversed' frankenrepair reshaped to the template. 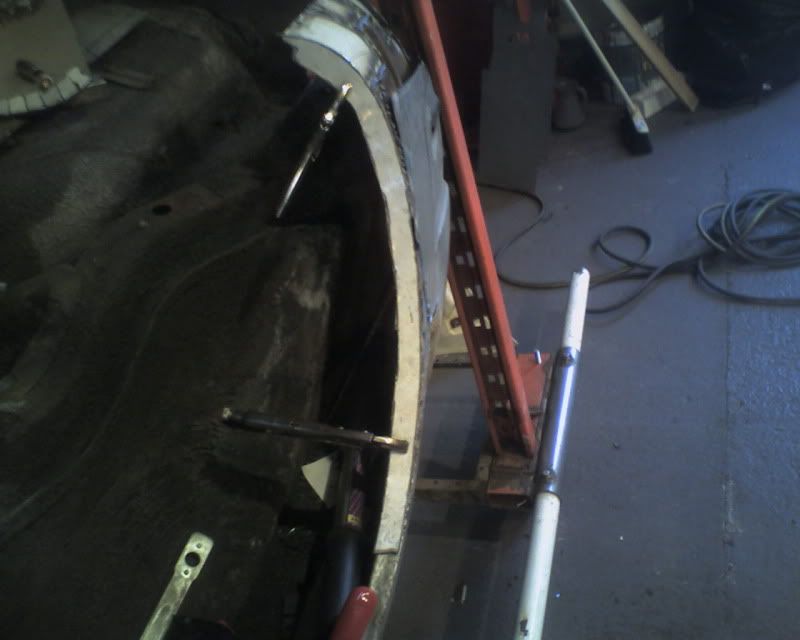 sort of fully welded. 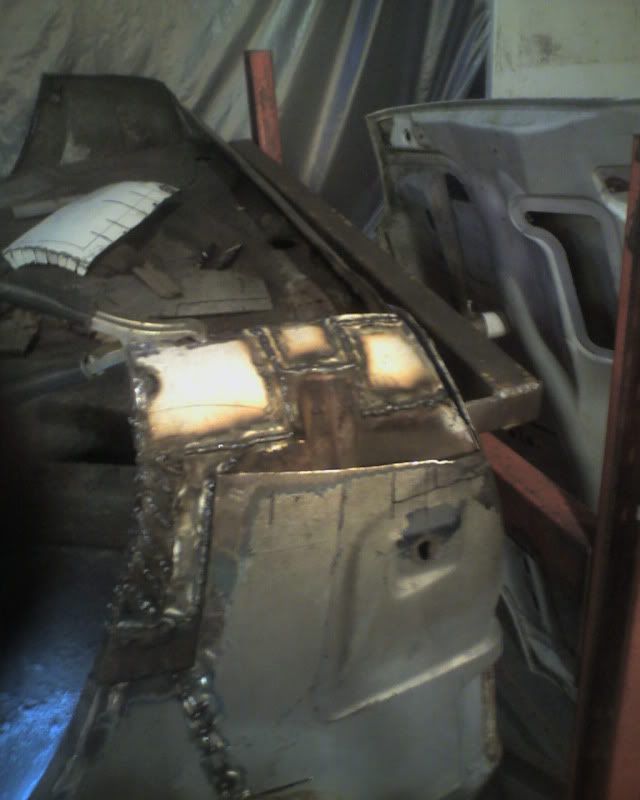 it all started reasonably well but rapidly went downhill  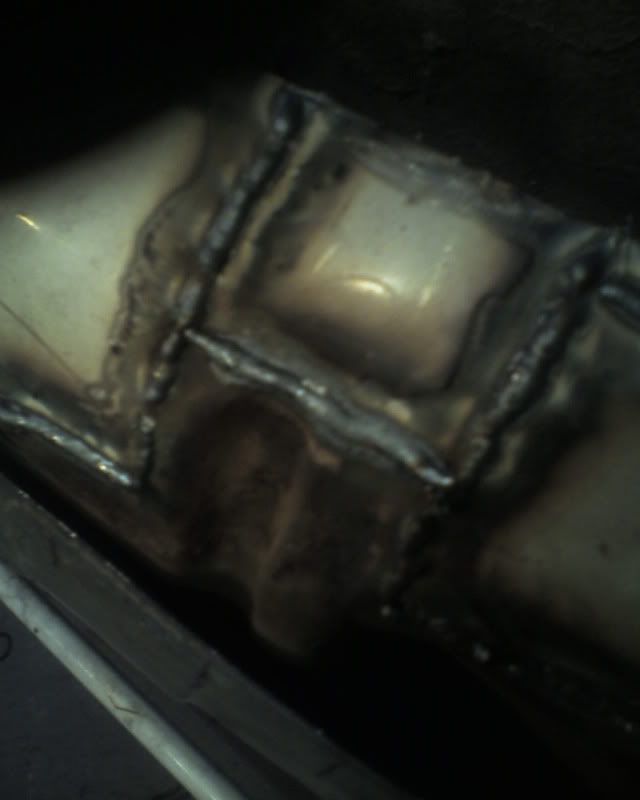 the weld beads started to puff up and sparkle and appeared very porous. i tried everything but it just got worse  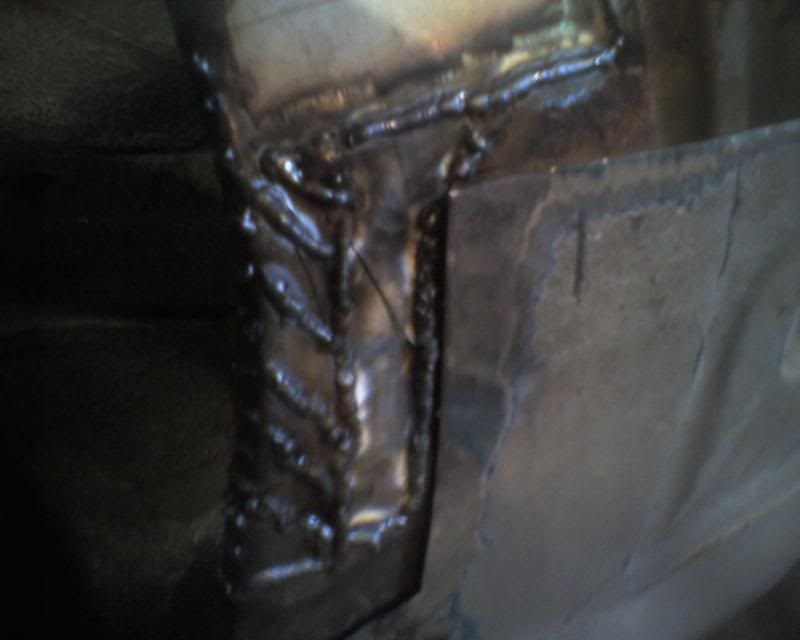 luckily before i lost the plot completely all became clear when the shroud properly fell to bits  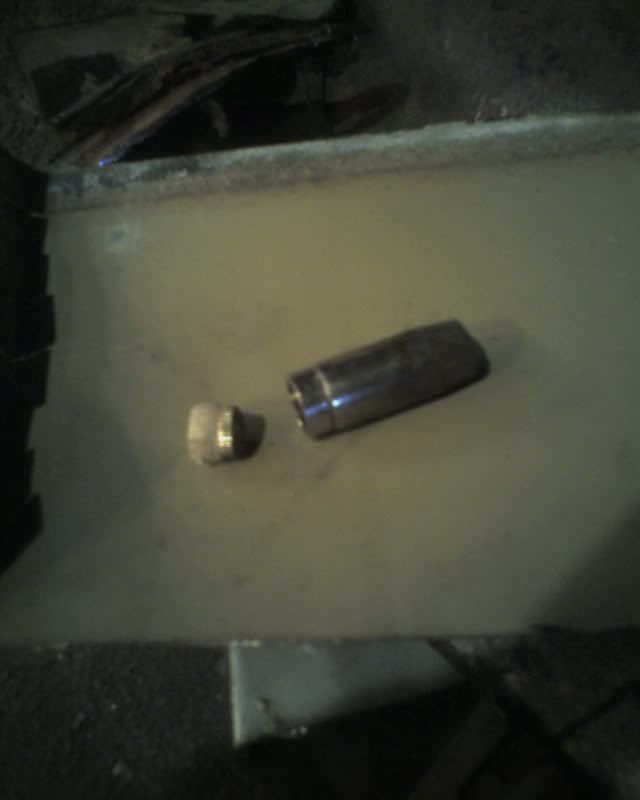 i had another (fairly melted) shroud to hand so rather than making a load of grindy noises i took a crack at the bits i cut out earlier. 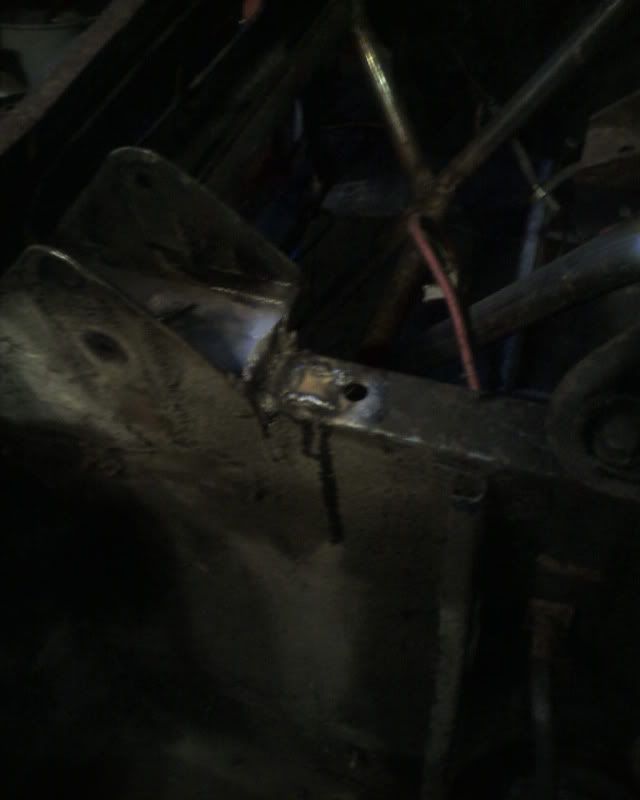 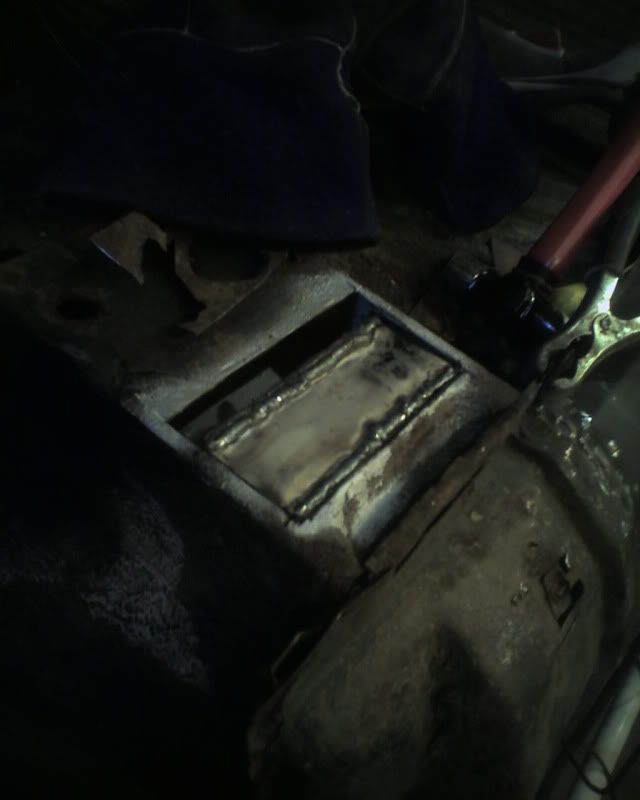 de-skinning the sprinter bonnet is coming along nicely  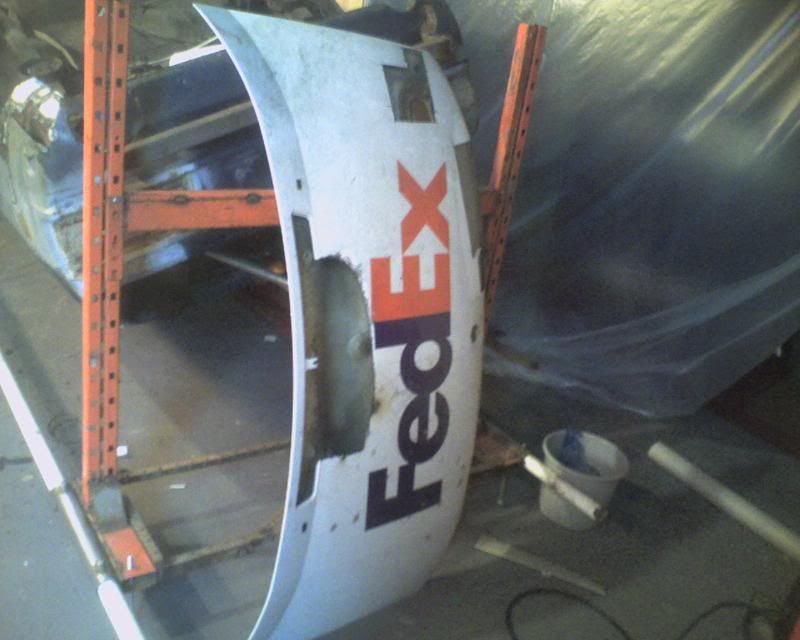 total time spent (not including gardening and carpentry) 116.5 hours total spend £1271.50 (not including welding 'consumables' from ebay and tins of spaypaint from the pound shop  ) |
| |
whats that burning smell?
oh curse word :-(
|
|
|
|
hairymel
Club Retro Rides Member
avatar by volksangyl
Posts: 1,081
Club RR Member Number: 207
|
|
Aug 21, 2010 23:59:20 GMT
|
....nightmare....SIP.....mig welding forum...feed brace and wire liner its possible that the first slip on this slippery slope i find myself on was when i googled 'sip faulty wire feed' and found www.mig-welding.co.uk/forum/index.php it started an enthusiasm for welding 'projects'  Presumably you still have to cut out the rear light holes and the fuel filler hole after you've done this repair? We're not going to recognise it when it comes off the spit you know, it'll look like a proper car again. if only that was all i had to do, i guess i am only 20% of the way through the repairs to the bottom 6 inches of the car  i think that it may look a little bit 'different' when finished, possibly not in a good way ;D |
| |
whats that burning smell?
oh curse word :-(
|
|
|
|
|
|
|
|
Any progress is good progress! Great to see work progressing even if your tools are rebelling.
|
| |
|
|
mk2dk
Part of things
 
Posts: 19
|
|
|
|
|
Hi hairymel
Your welding looks very good. Keep up the good work.
|
| |
|
|
hairymel
Club Retro Rides Member
avatar by volksangyl
Posts: 1,081
Club RR Member Number: 207
|
|
|
|
..... Your welding looks very good.... only because of my poor photography   |
| |
Last Edit: Aug 22, 2010 7:47:47 GMT by hairymel
whats that burning smell?
oh curse word :-(
|
|
|
|
|
Aug 22, 2010 17:12:26 GMT
|
|
You continue to amaze me.
|
| |
|
|
hairymel
Club Retro Rides Member
avatar by volksangyl
Posts: 1,081
Club RR Member Number: 207
|
|
Aug 22, 2010 18:53:20 GMT
|
did a bit more today jacking point closed up 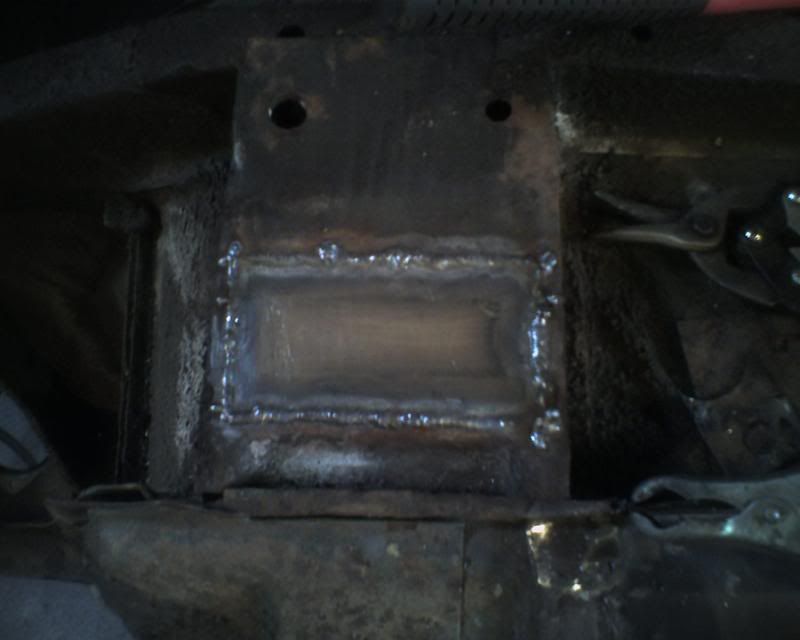 welds ground off as necessary 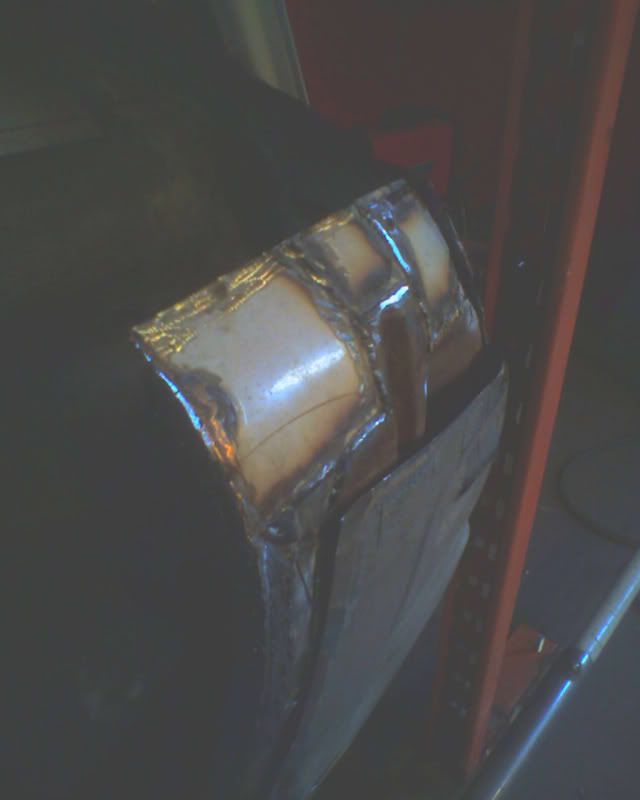 random application of etch and weldthrough primer then random rattlecan and seam sealer 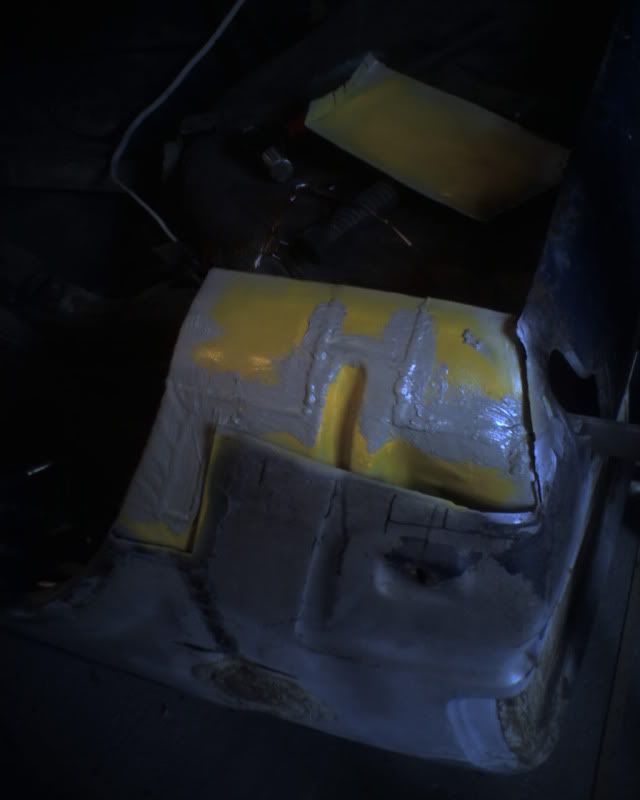 tack tack tack fail to save pics  tack tack tack 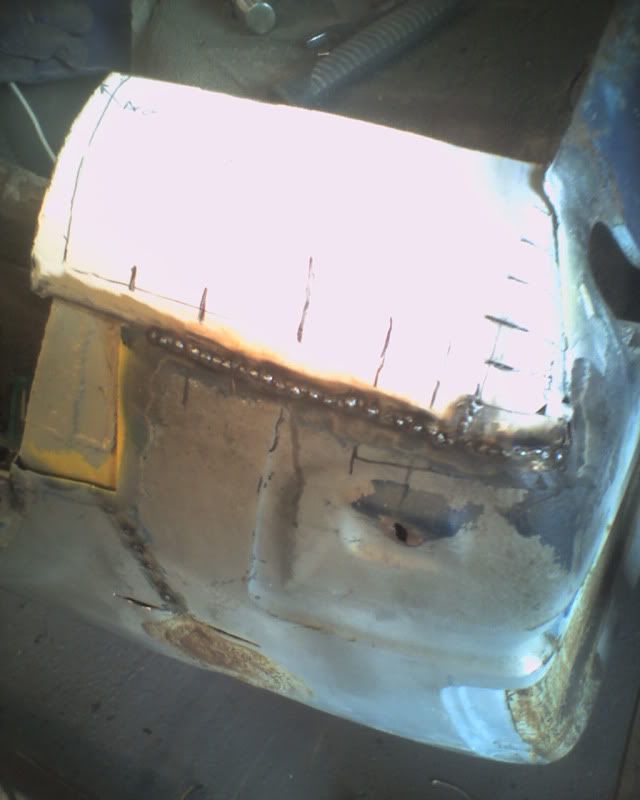 started with 7 or 8 tacks and then tacked in between. rinsed and repeated until the weld was continuous failed to save pics  and then ground flush 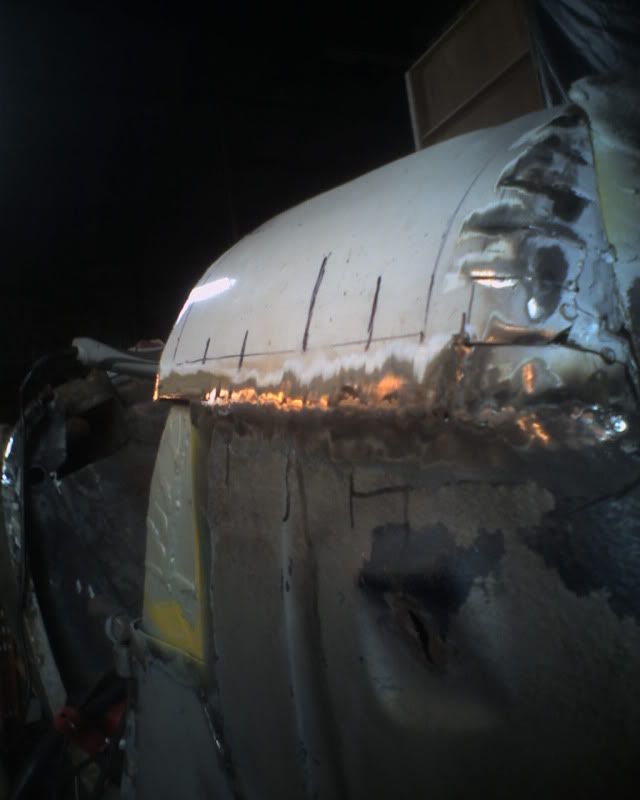 end piece welded 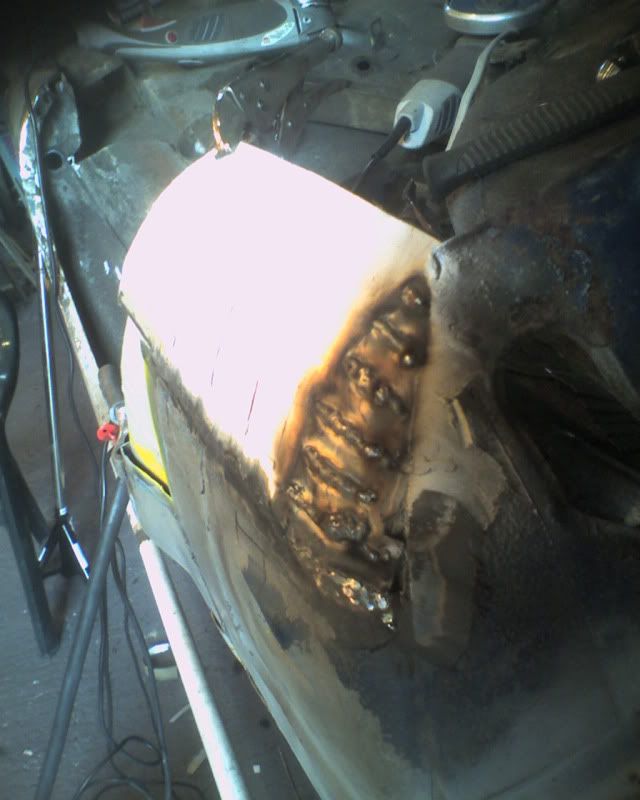 and ground off 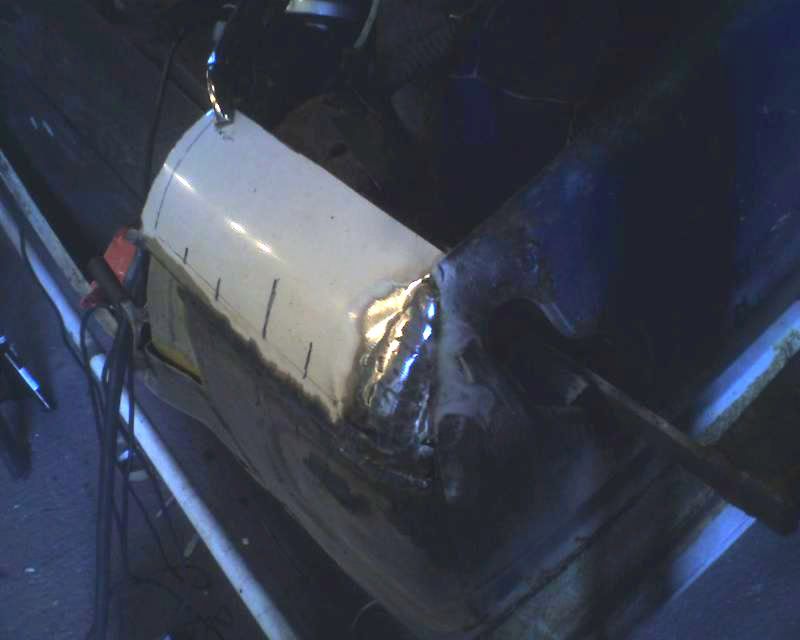 had to tidy away my automotive litter in the yard. unfortunately i did too good a job and i seem to have gained enough space for another 2 cars. must resist temptation  for the moment  a message from the gods informed me that a sunday roast (duck yummy  ) was waiting for me, so play ended for today  total time spent (including watching a lot of paint dry  ) 120.5 hours total spend £1271.50 (not including duck based 'consumables' from the coop  ) |
| |
whats that burning smell?
oh curse word :-(
|
|
qwerty
Club Retro Rides Member
Posts: 2,419
Club RR Member Number: 52
|
|
Aug 22, 2010 19:13:38 GMT
|
|
This thread is great!! I love the updates so keep them coming haha.
|
| |
|
|
|
|
|
Aug 22, 2010 22:07:30 GMT
|
|
2 cars, or one really big car....
This side's looking good.
|
| |
|
|
|
|
|
|
|
|
Its coming along nicely Mel,nice to see You got Your mojo back, keep it up mate.
Neil
|
| |
|
|
|
|
tofufi
South West
Posts: 1,462
|
|
Aug 23, 2010 16:57:08 GMT
|
Wow. Astonishing stuff, keep up the great work! Love the write up, too  |
| |
|
|
hairymel
Club Retro Rides Member
avatar by volksangyl
Posts: 1,081
Club RR Member Number: 207
|
|
Aug 24, 2010 20:20:58 GMT
|
yesterday i was struggling to get going on the wheel arch fabrication. i drew along the curve of the n/s arch and made some paper templates from these lines. 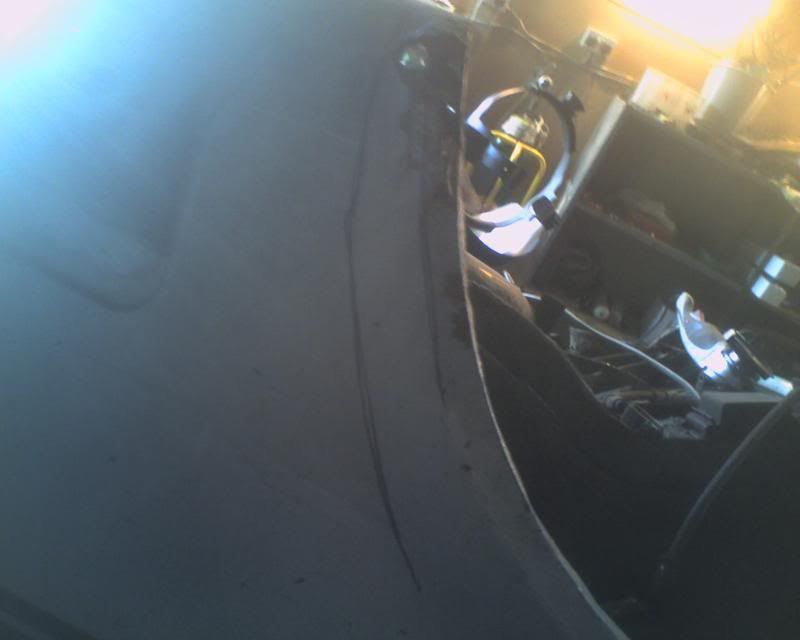 i cut out the (very wrong) bit of arch i had fabricated with the lower quarter repair. i have previously looked at the arches from my scrap front wings for a repair section and also tried to replicate tonybmws arch repair panel with no real success  still with no clear idea of what to do i barreled ahead with a variation of something i have done before. 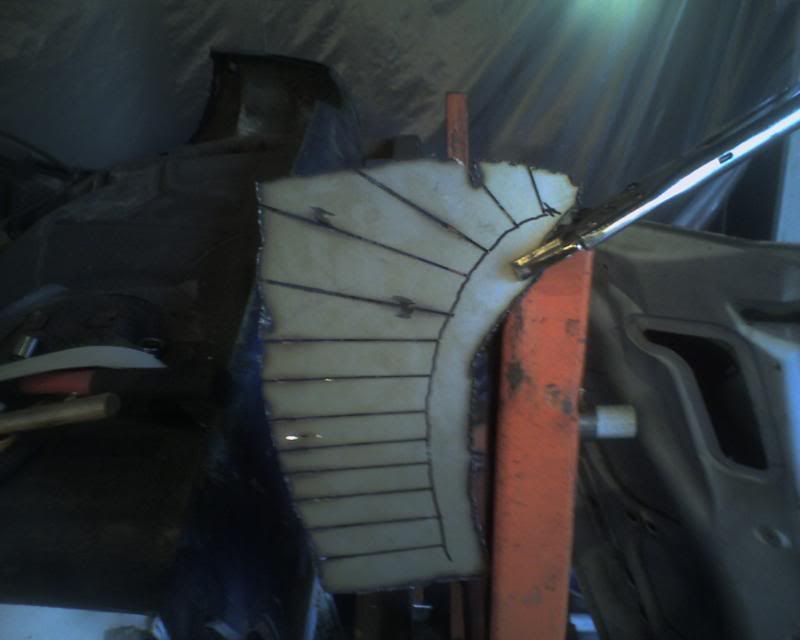 forging ahead i bashed the first bend into the 'panel' my enthusiasm for bashing was tempered slightly by the realization that it was going to be fairly difficult to join the cuts cleanly  the final icing on the cake was my usual stupidity - i had bent it the wrong way ;D 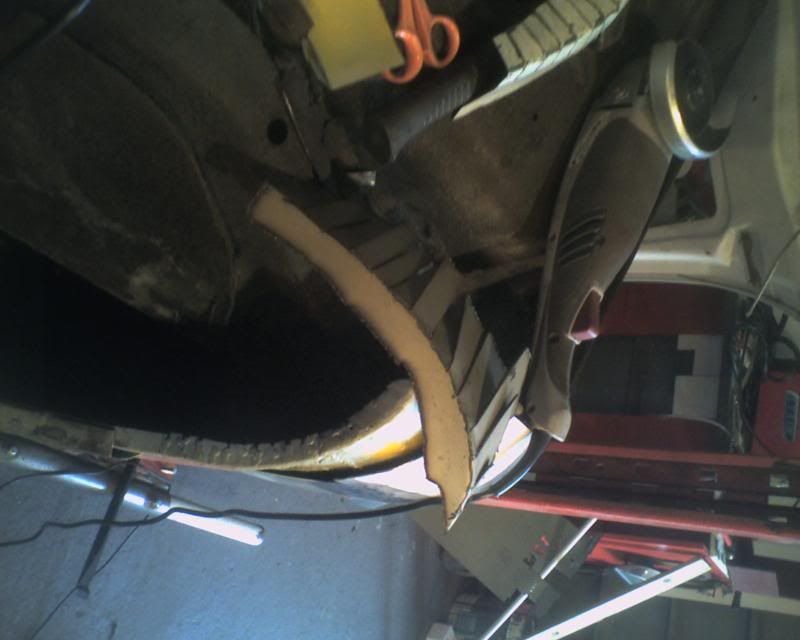 drained of all enthusiasm i went home. . . . . . . today i revisited the problem and came to the conclusion that another bit of sprinter bonnet would be a better starting point 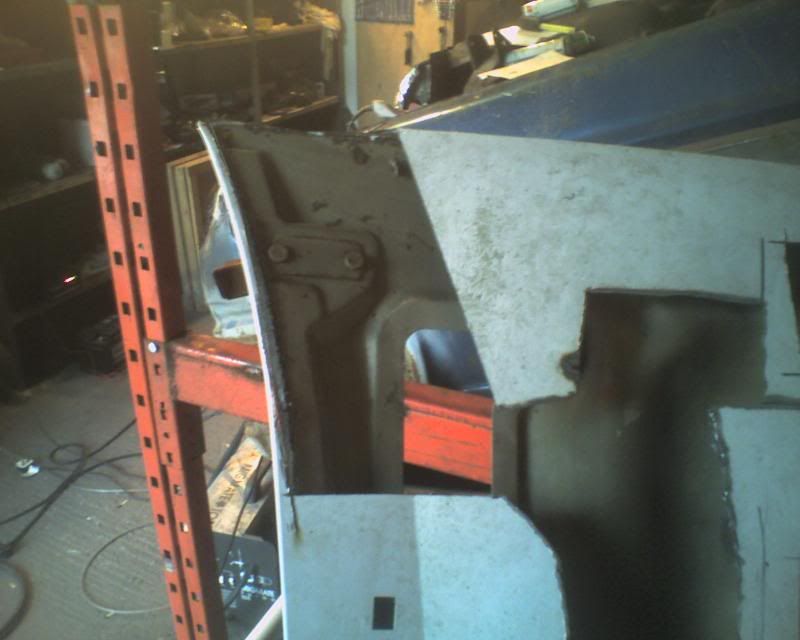 variation on a theme 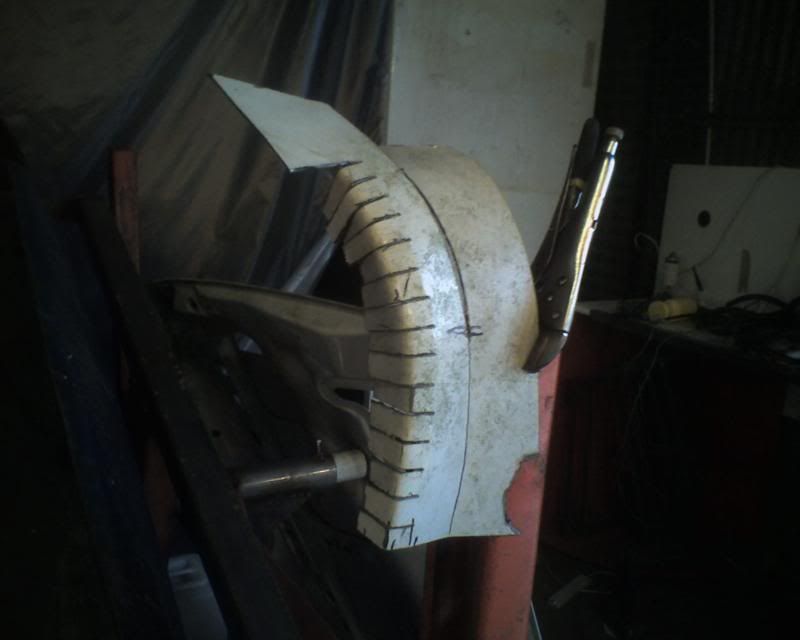 the rough shape is there but a bit more work is needed  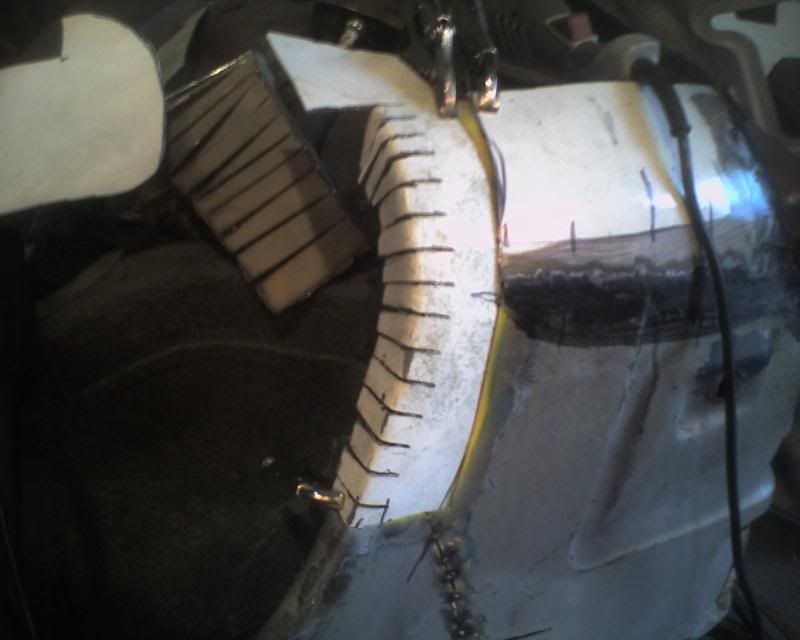 this seemed a convenient point to clock out for today i am fairly happy to have something to put in the hole but will have another look at it with fresh eyes next time  total time spent (using every available surface as an anvil  ) 124 hours total spend £1271.50 (no panel beating tools available 'til next payday  ) |
| |
whats that burning smell?
oh curse word :-(
|
|
hairymel
Club Retro Rides Member
avatar by volksangyl
Posts: 1,081
Club RR Member Number: 207
|
|
Aug 24, 2010 20:44:21 GMT
|
2 cars, or one really big car.... my workmates noticed the extra space had appeared. they seemed most surprised that i didn't have another "rusty piece of ****" turning up. admittedly the temptation is there but not the funds ;D |
| |
whats that burning smell?
oh curse word :-(
|
|
|
|
|
Aug 24, 2010 21:55:03 GMT
|
To be honest, when you started this thread I did doubt that it would be possible to get this car back into a useable condition, but you're bloody flying through it! I continue to be amazed, this is one of my favourite build threads on RR. Keep up the good work, this is an absolutely heroic resto!  |
| |
|
|
tri
Posted a lot
  
Posts: 2,572
|
|
Aug 24, 2010 22:27:33 GMT
|
Leg. End.  Bookmarked for a brave brave man. |
| |
 I forgot how to retro...  |
|
hairymel
Club Retro Rides Member
avatar by volksangyl
Posts: 1,081
Club RR Member Number: 207
|
|
Aug 25, 2010 20:12:23 GMT
|
this afternoon i was mostly playing with my tig again  after i had melted my biggest tungsten  i thought i should carry on with the wheelarch. tack tack tack 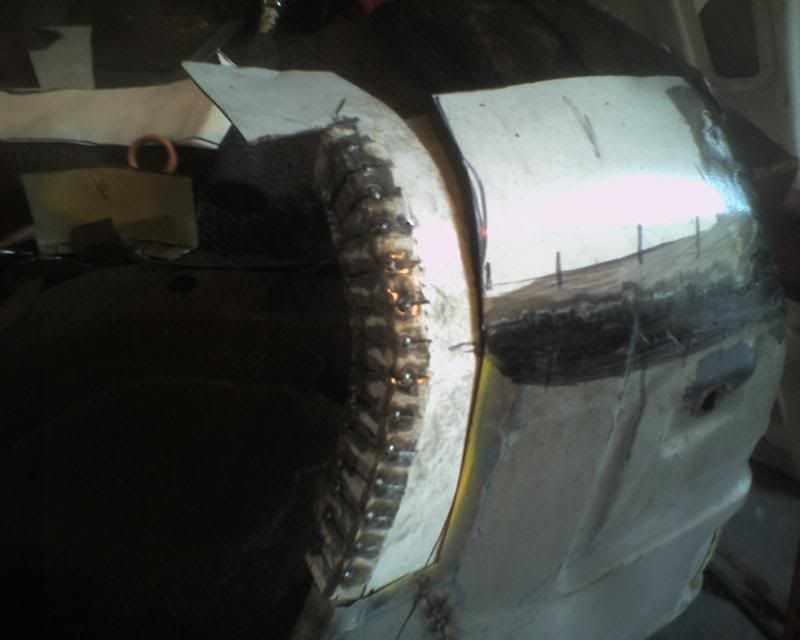 bzzzt bzzzt bzzzt 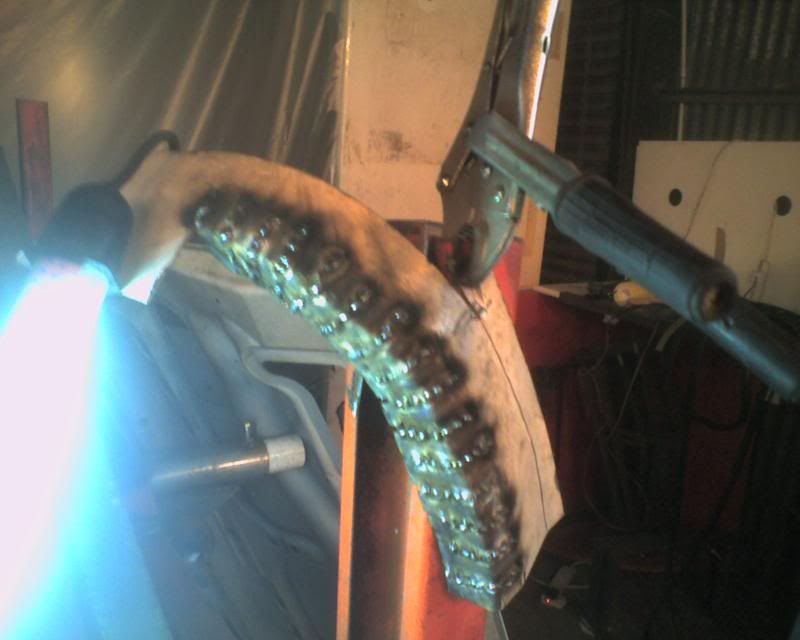 grind grind 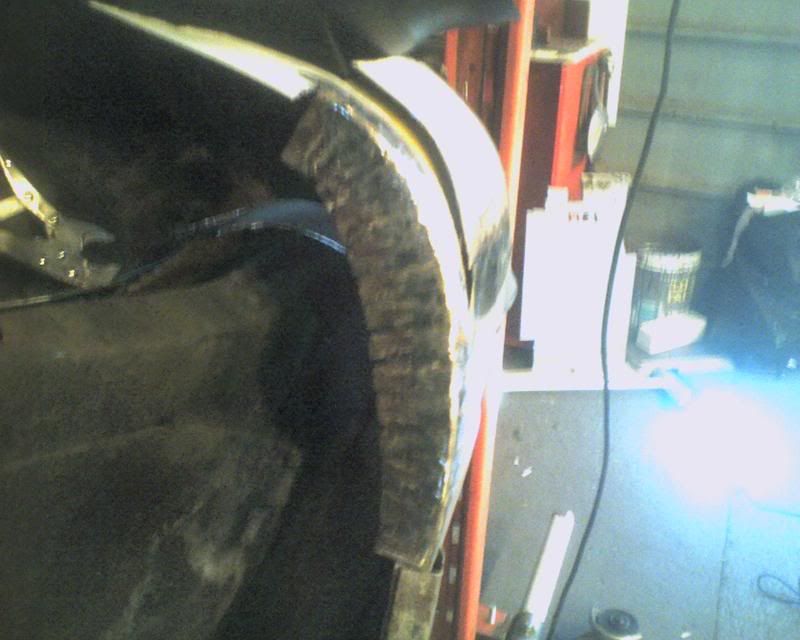 grind 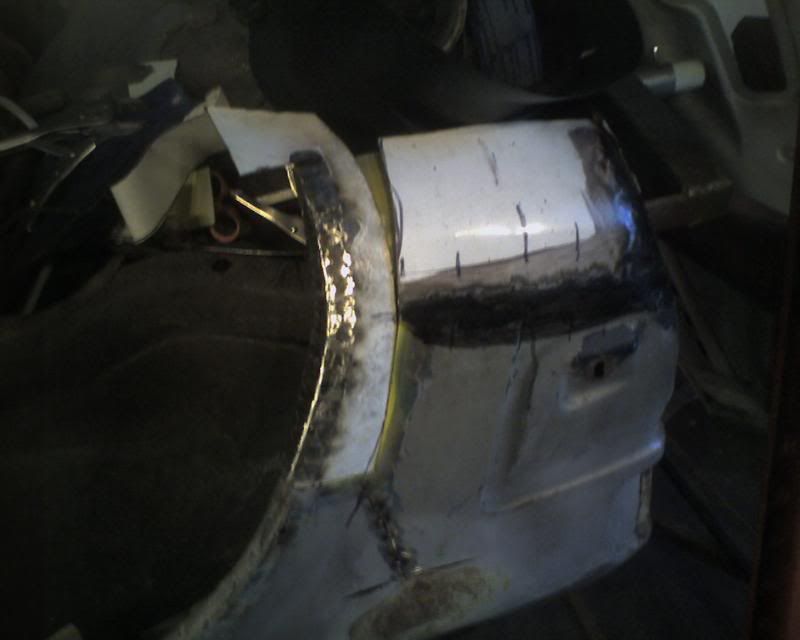 examine 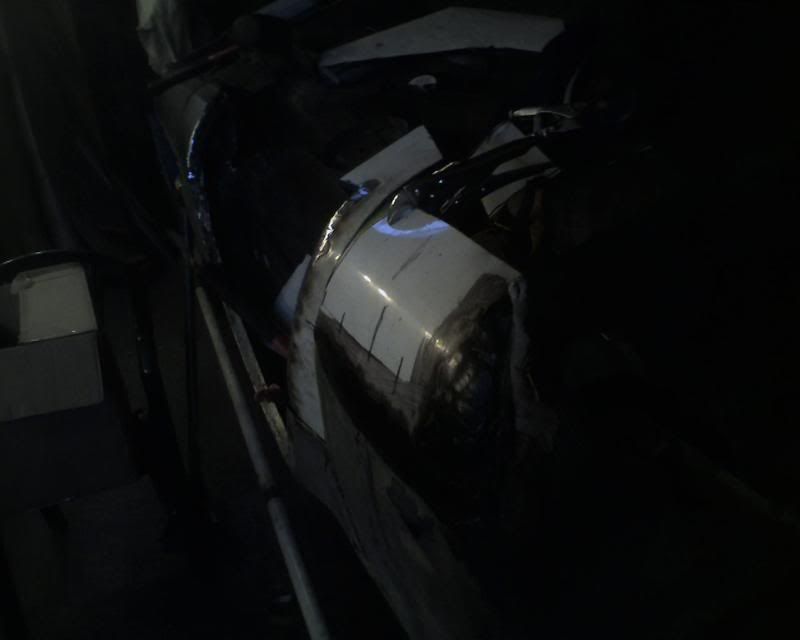 fettle (bash bash bash) 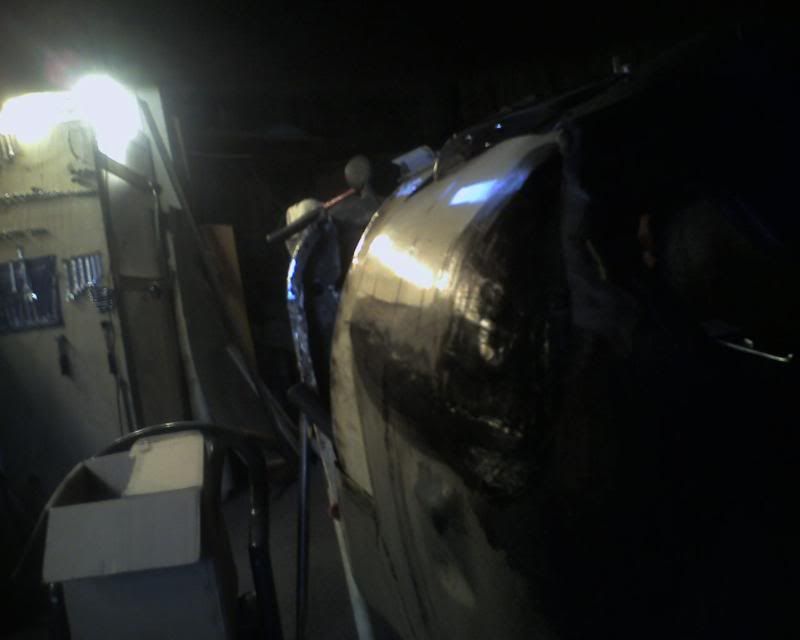 trim trim trim (and infill the biggest gap) 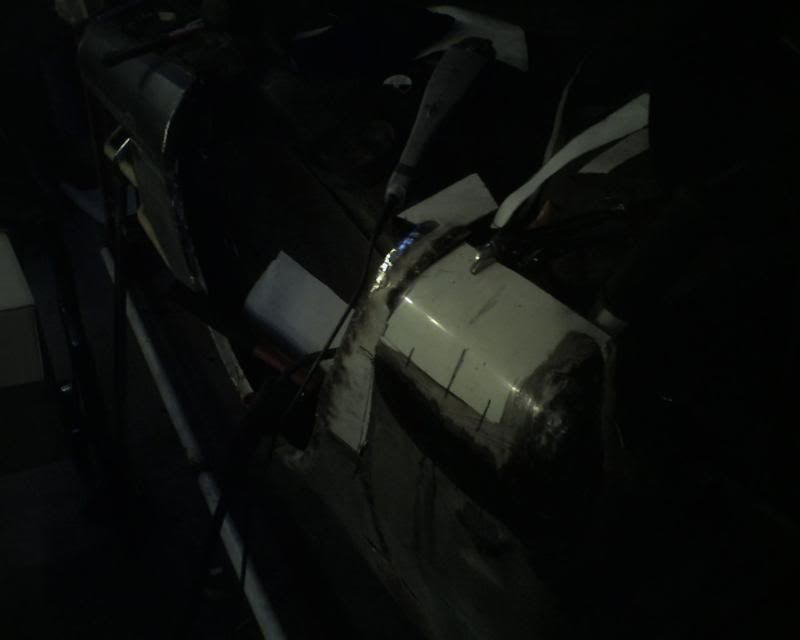 had a bit of a sit down and a couple of cups of coffee and a fag while examining the situation  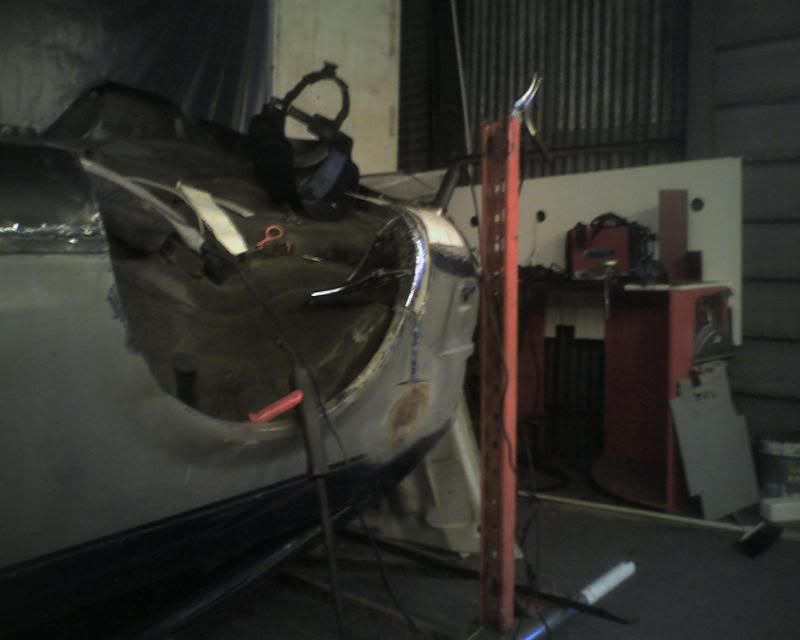 a bit more trimming and a little bit more fettleing to do .... next time  total time spent (not including electrode melting  ) 126.5 hours total spend £1271.50 (not including postie gifts - mig shrouds,tig adapter  and wire brushes  ) |
| |
whats that burning smell?
oh curse word :-(
|
|
hairymel
Club Retro Rides Member
avatar by volksangyl
Posts: 1,081
Club RR Member Number: 207
|
|
Aug 25, 2010 20:21:48 GMT
|
thanks for your comments benzboy and tri  |
| |
whats that burning smell?
oh curse word :-(
|
|
hairymel
Club Retro Rides Member
avatar by volksangyl
Posts: 1,081
Club RR Member Number: 207
|
|
Aug 27, 2010 10:38:50 GMT
|
bored of wheelarch pictures? then rejoice that my phone is not saving half the pictures i have taken  anyway - here are the new batch of pics that all look the same ;D i trimmed the repair some more and started to tack it on 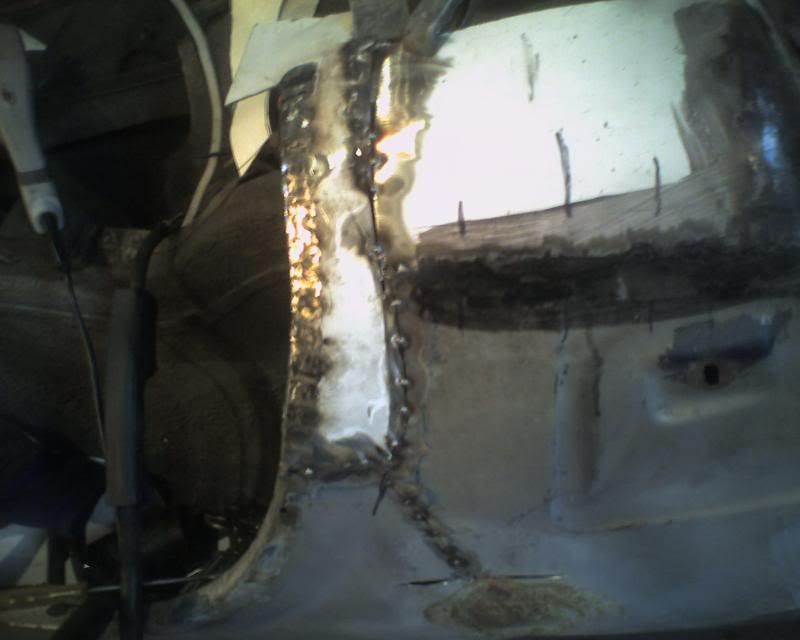 been wanting to try this since i saw it in tonybmw's thread take one big gap and a bit of ali bar 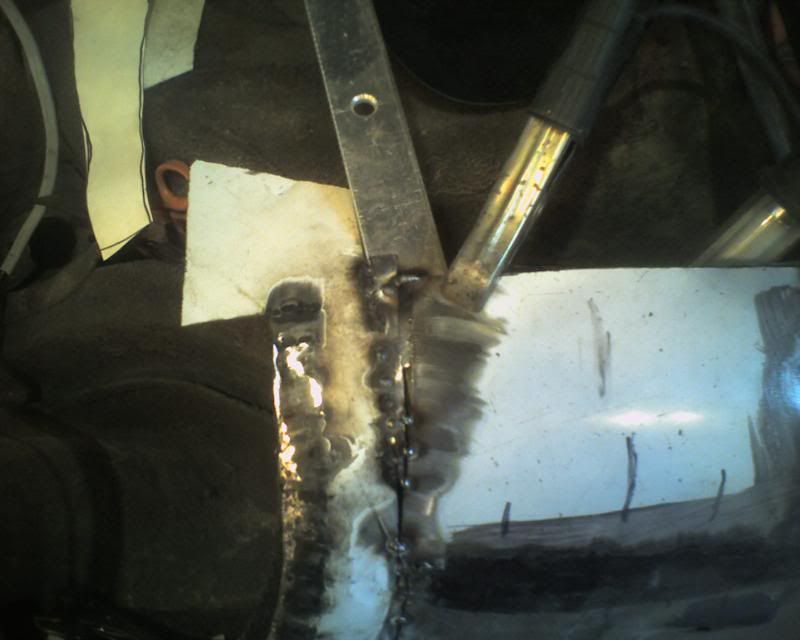 weld weld weld 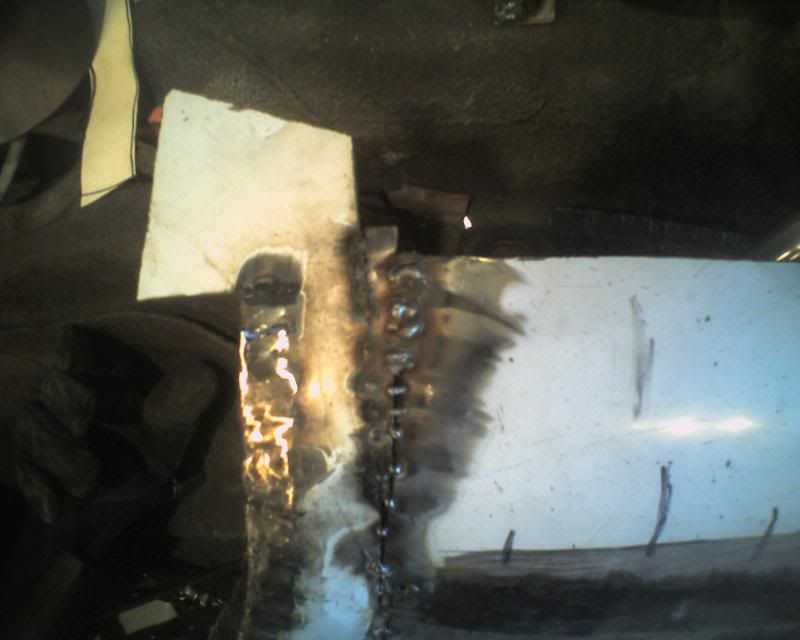 excess material trimmed off 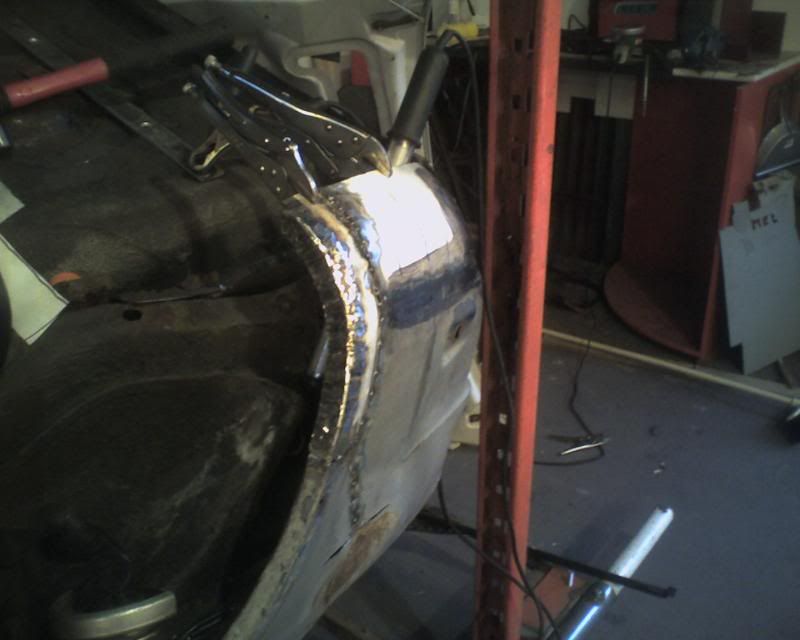 looking a bit like it 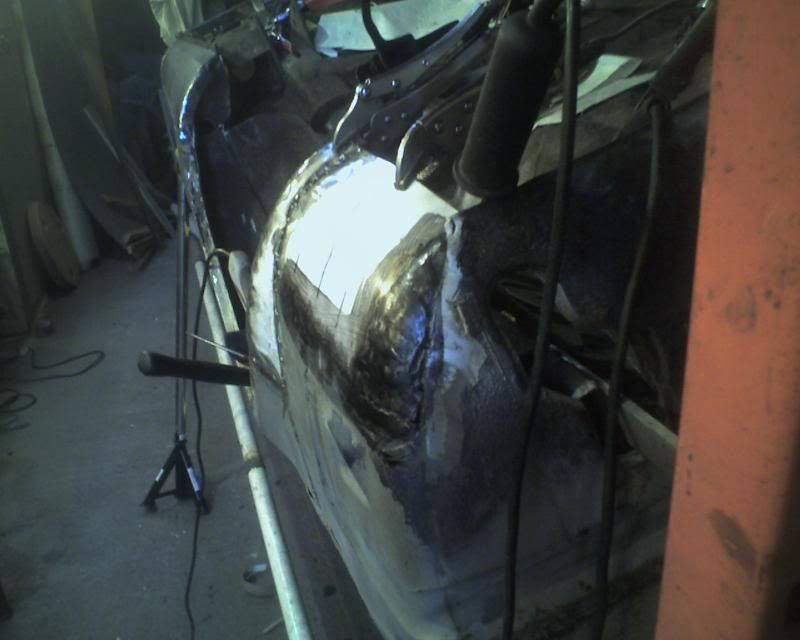 fully welded and ground back there was a small bulge in the arch profile so i cut a slot , gave it a gentle tap and then rewelded it  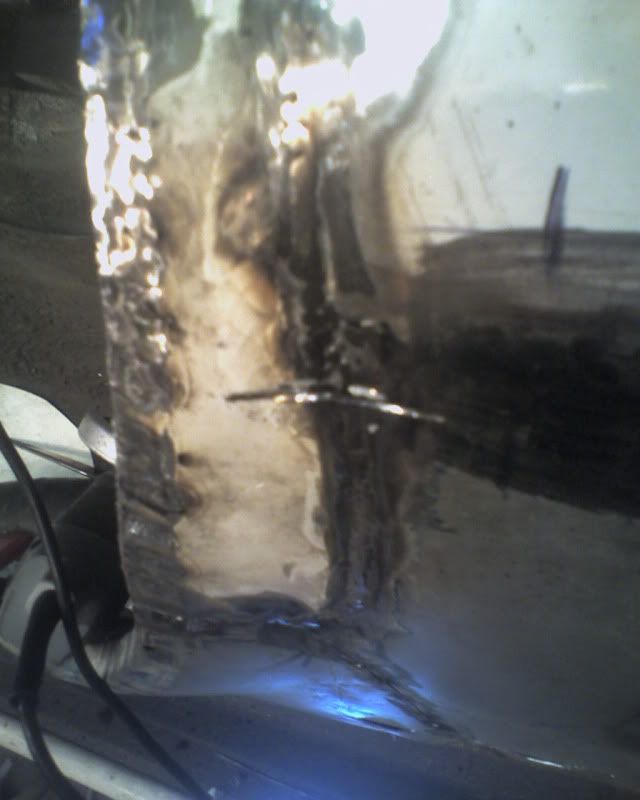 ground off 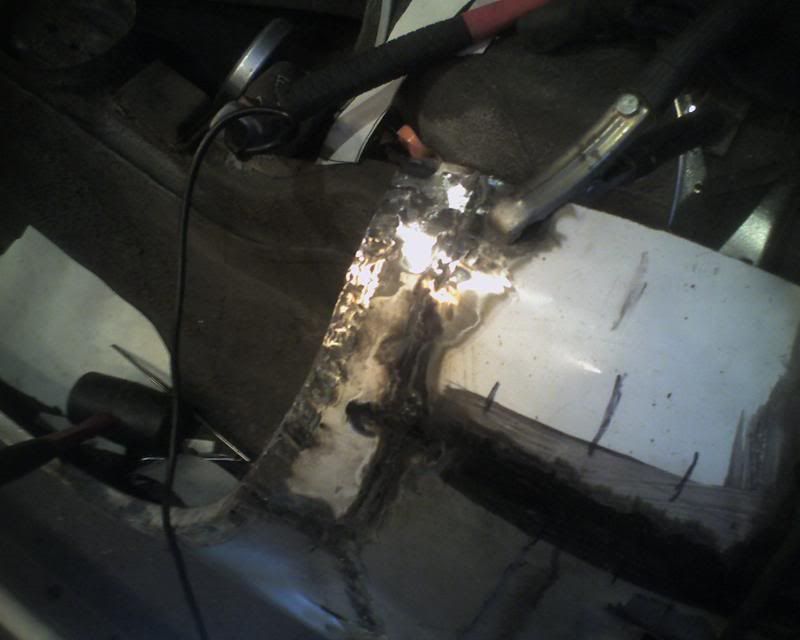 arch edge is not quite parallel to the car at one point so a similar but vertical slot, hammer, weld and grind 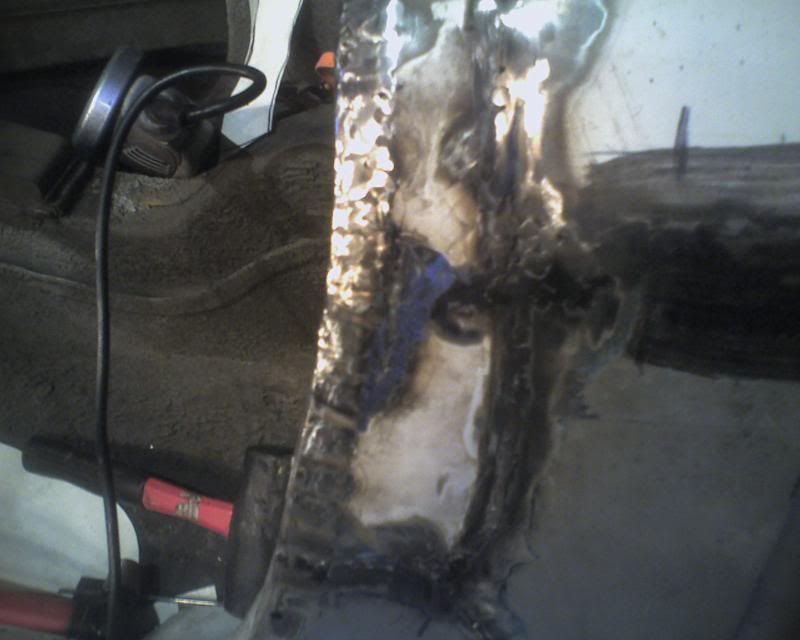 it was at this point that i realized i had forgotten the holes for puddle welding the panel to the inner arch/wing  the makita soon sorted that out for me  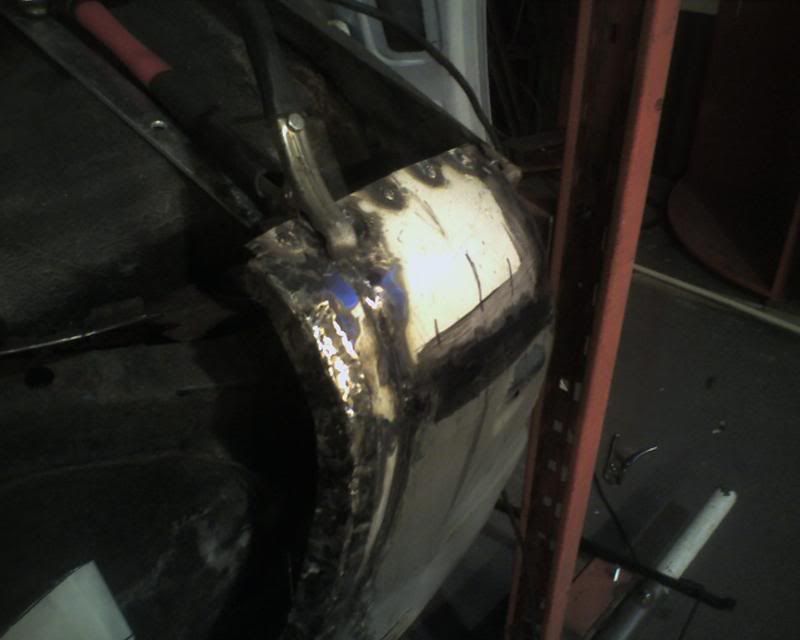 not a million miles away from the right shape, looks like all of the bad bits are below the finished level :- only a few kg of filler needed  need to tidy up but its pub o'clock ;D 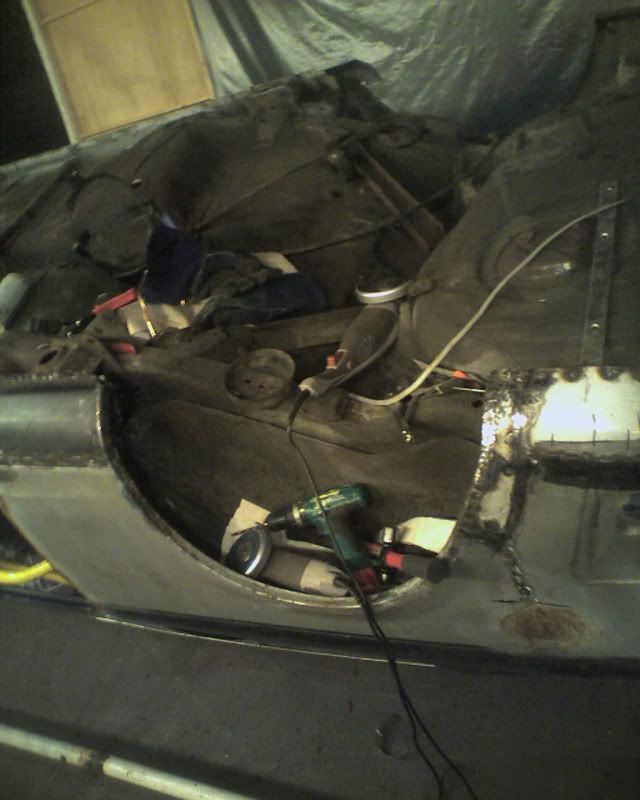 total time spent (giving panel beaters nightmares  ) 129 hours total spend £1271.50 (super skint  ) |
| |
whats that burning smell?
oh curse word :-(
|
|
|
|
|
Aug 27, 2010 13:25:12 GMT
|
When you see all that fresh metal back in there it really doesn't look that bad anymore  |
| |
|
|
|
|
|
Aug 27, 2010 15:37:44 GMT
|
|
The words 'legend', 'hero' and 'epic' just don't seem enough. keep up the good work. That rear arch looks spot on to me.
|
| |
|
|
|
|


 )
) 


 )
) 


 tack tack tack


 )
)


 and wire brushes


