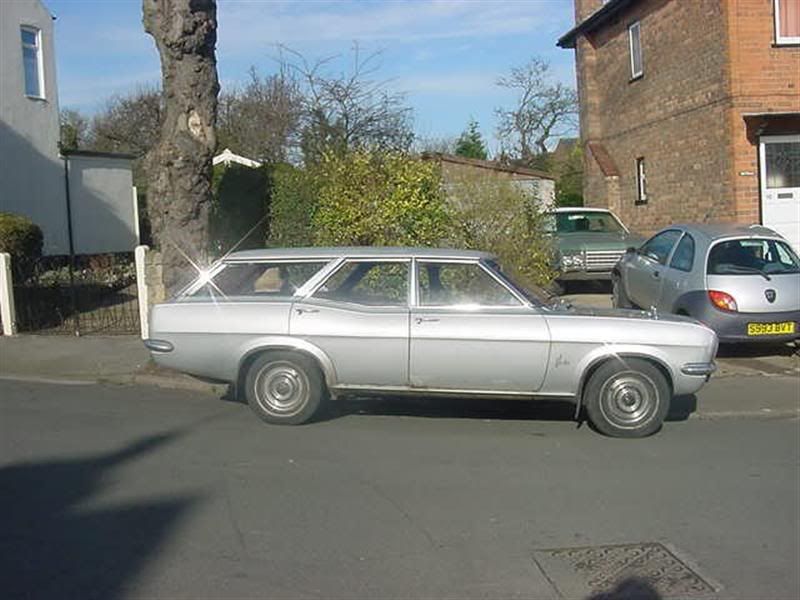
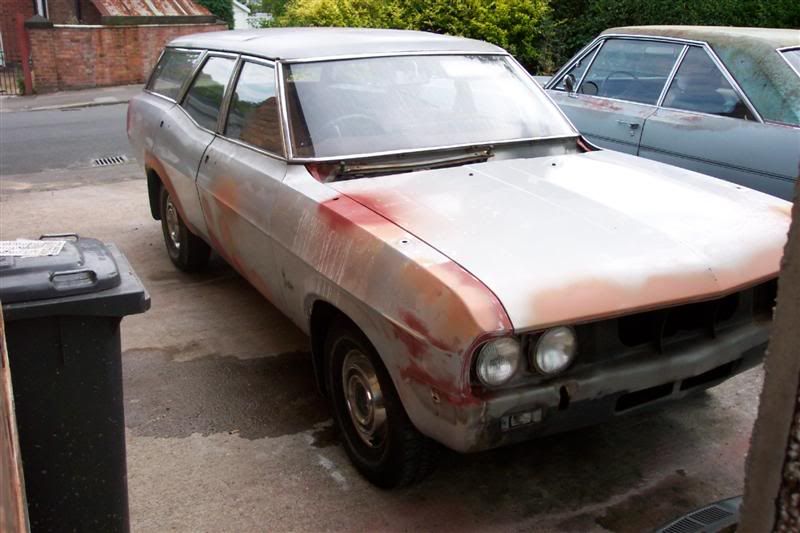
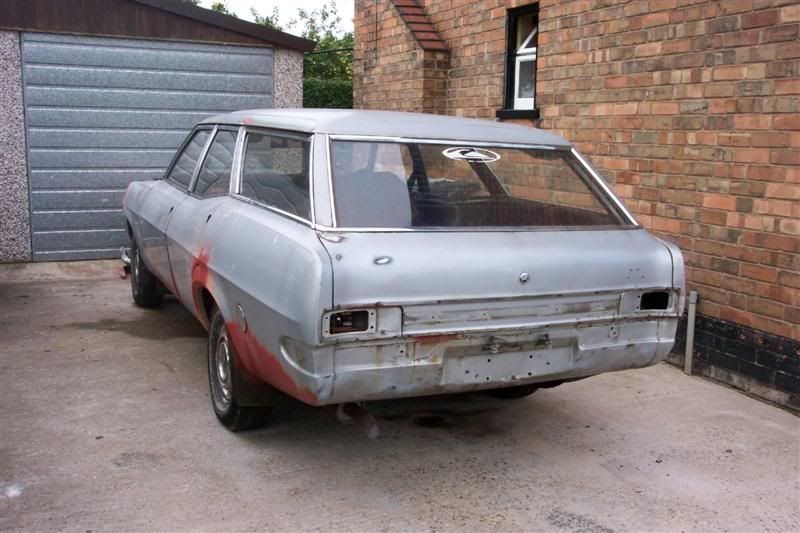
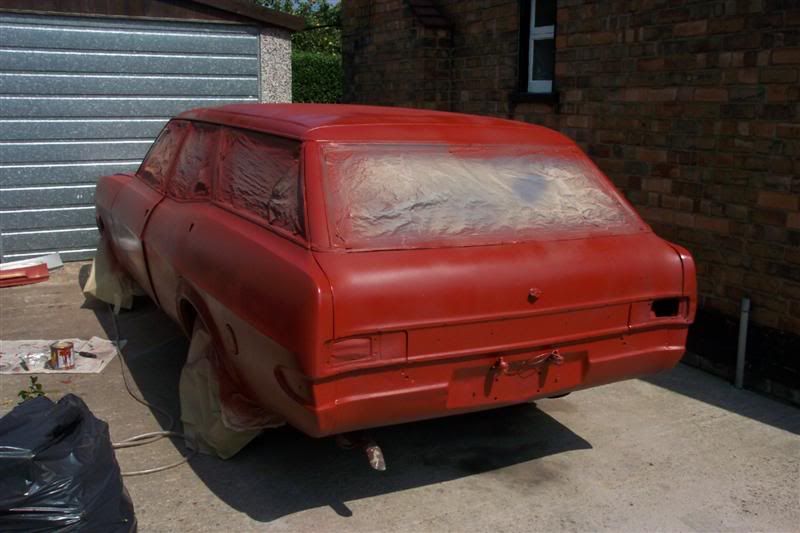
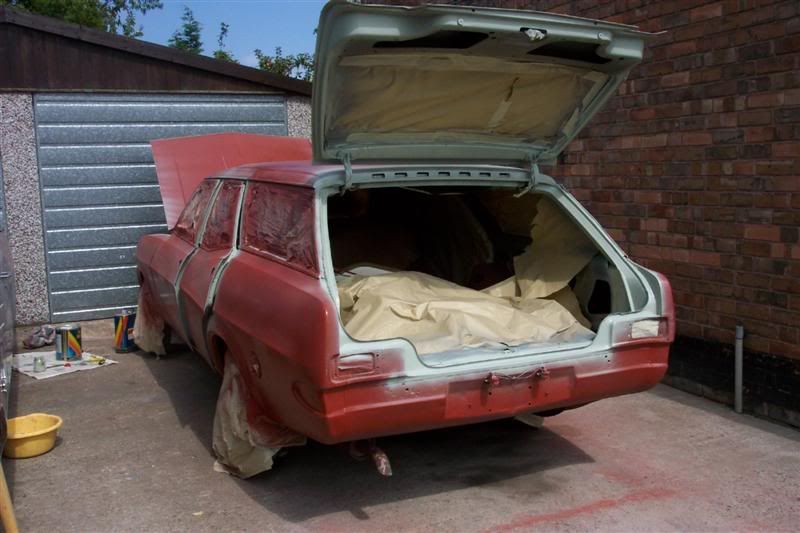
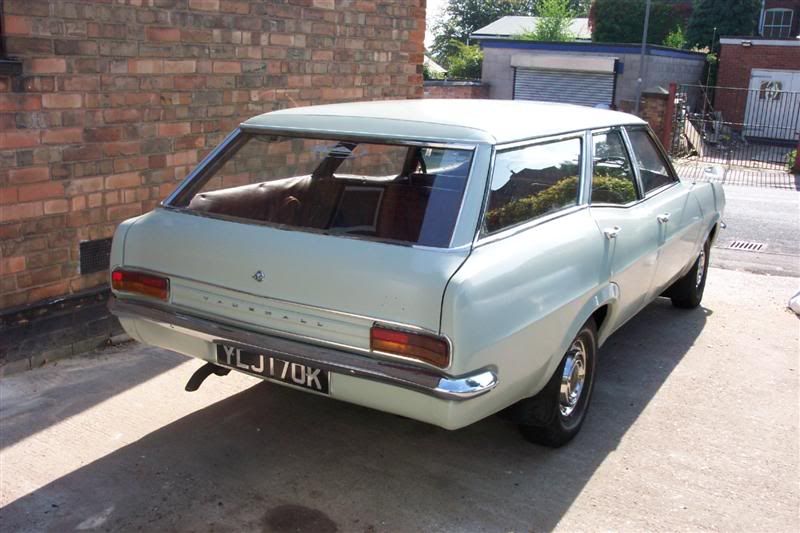
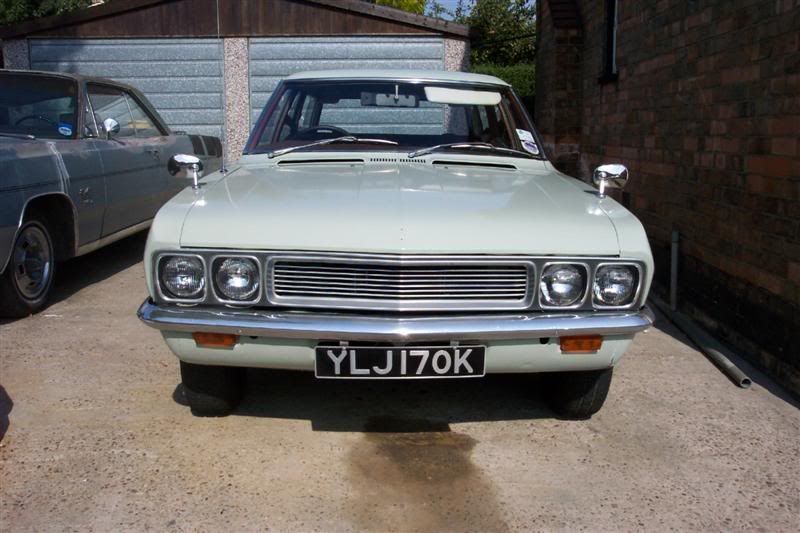
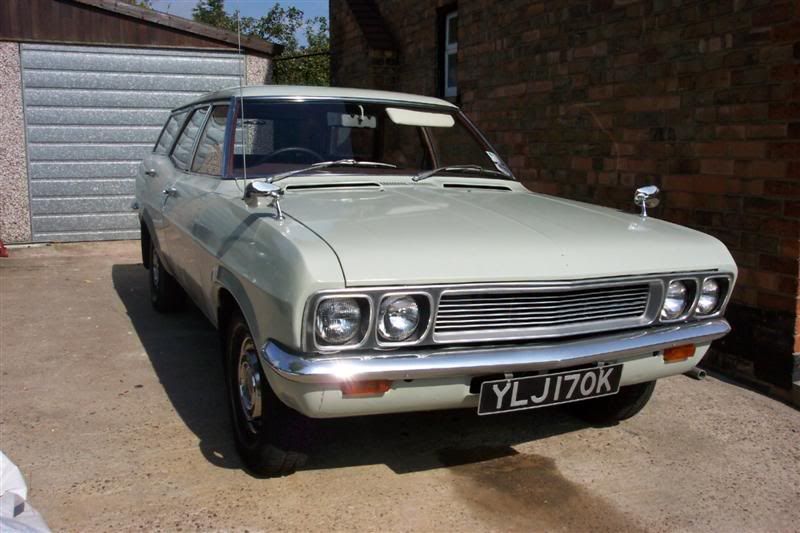
OK I found these pics and thought I’d splosh them up here as a sort of pictorial DIY spray job. The car is a FD Victor I’d owned many years and was in great bodily condition except for the paint having gone terminally flat. So after stashing it in a lockup over winter I decided to give it a spruce up.
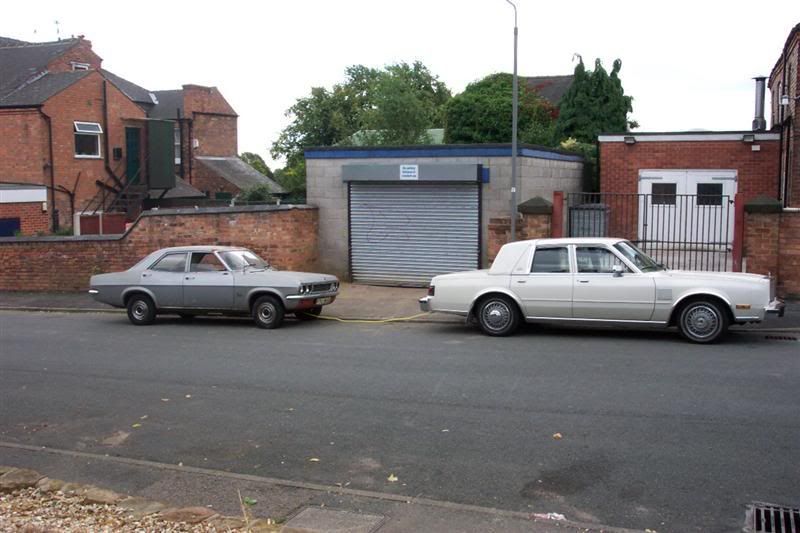
Of course it broke down on the way home so I ended up towing it but it was no more than a porous fuel line that was causing the problem. Tow car is my first Chrysler Fifth Avenue.
Here’s an approximation of how much “stuff” goes into spraying a car
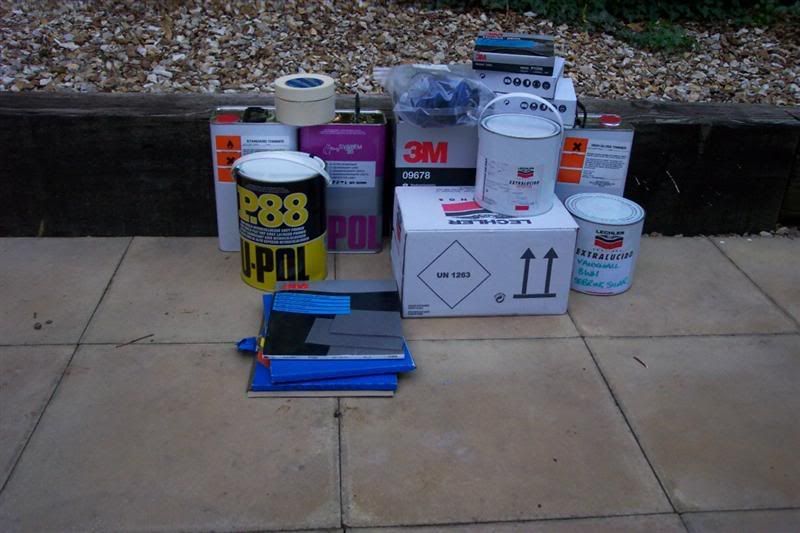
There’s 5 litres of primer, 5 litres of standard thinners, 5 litres high gloss thinners, 5 litres of degreaser, couple of rolls of masking tape, 2 litres of ground coat, 2 litres of basecoat and 6 litres of clear coat. Normally you wouldn’t use a separate ground coat unless you were doing a candy or a two stage pearl or something but in this case the paint supplier was low on a tinter needed for the shade of silver I needed for the basecoat so I used a generic silver ground coat to give it a couple of coats to build a general colour before getting the hue right with the basecoat.
I was using cellulose. With the more modern HS polyester you could get away with just the 2.5 litres of basecoat on a car like this because of its superior coverage, but back then I had a “cellulose only” policy.
There was plenty of degreaser and thinner left over after this job, but you can only buy these in 5 litre tins and its cheap, and I was doing a fair amount of paint at the time so I was getting through it.
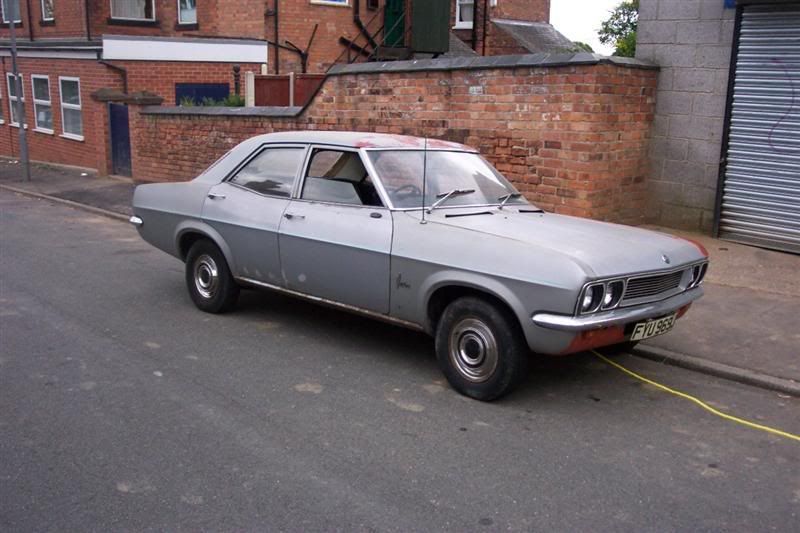
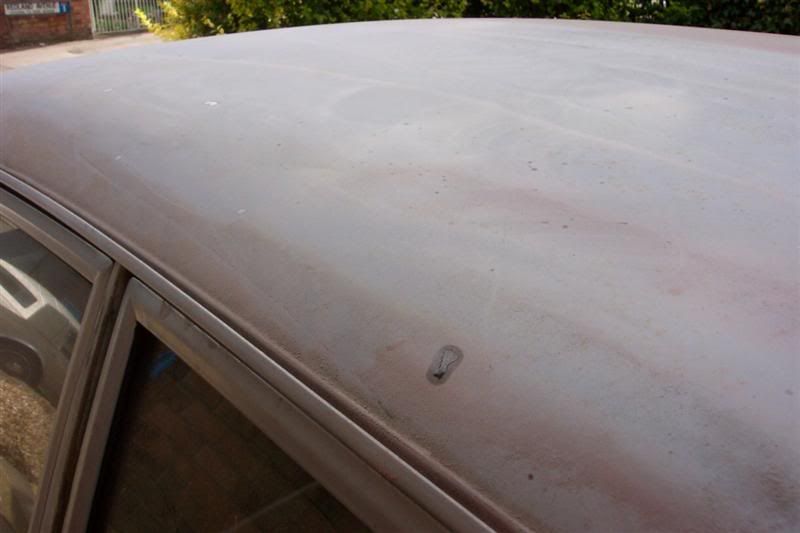
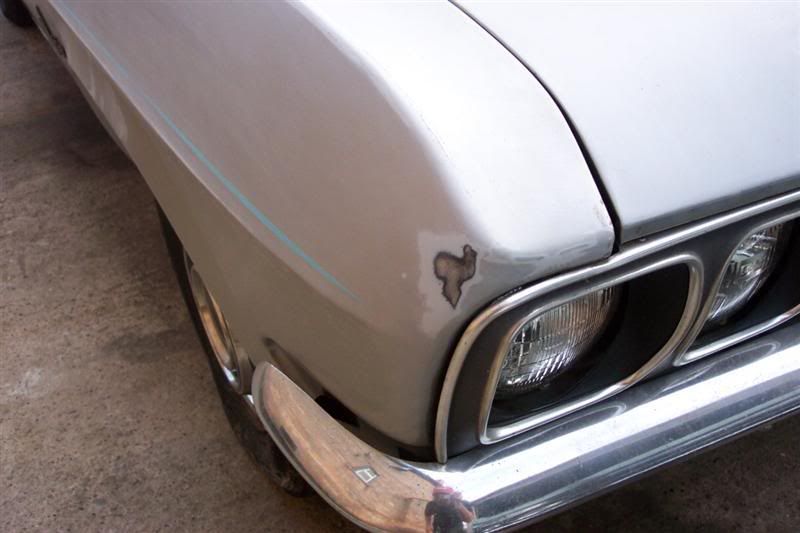
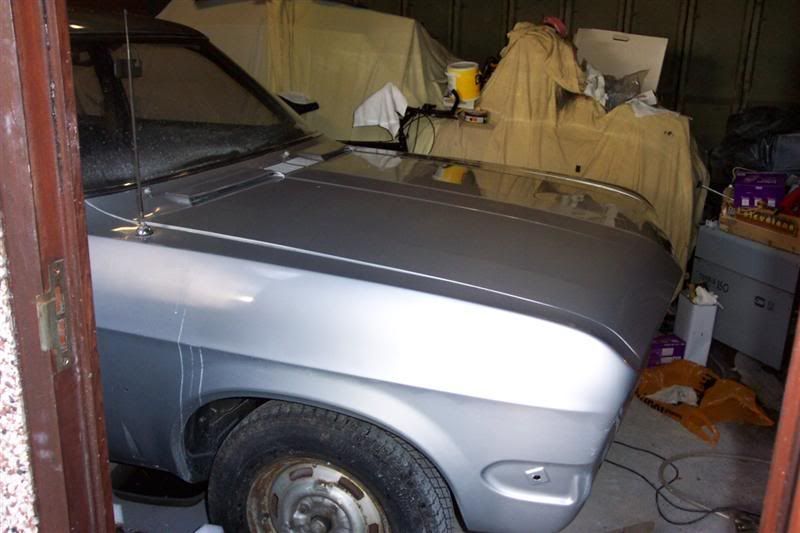
The car was solid but shabby.
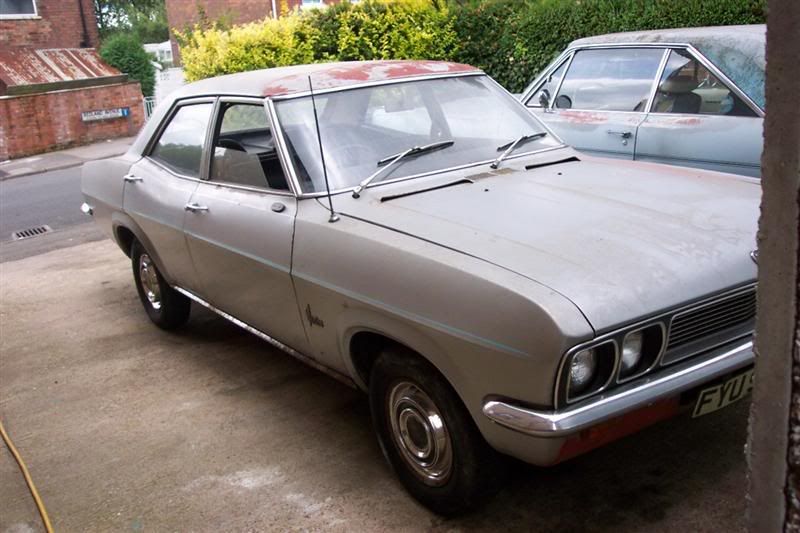
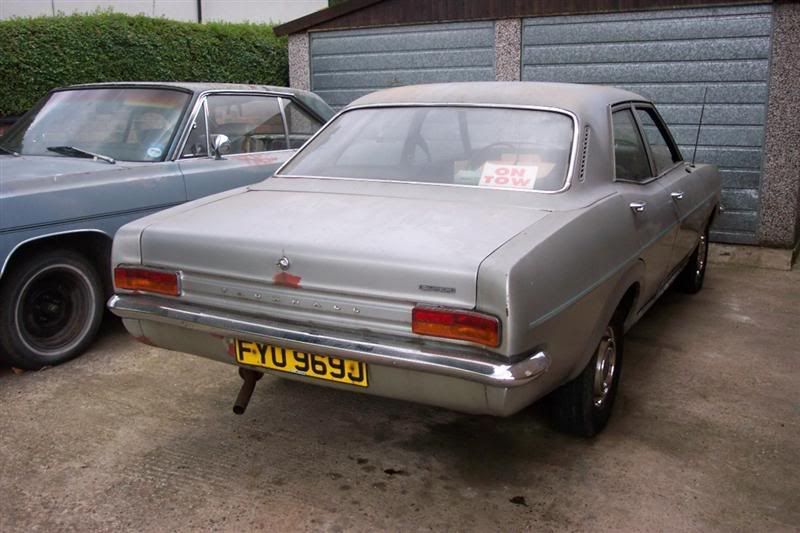
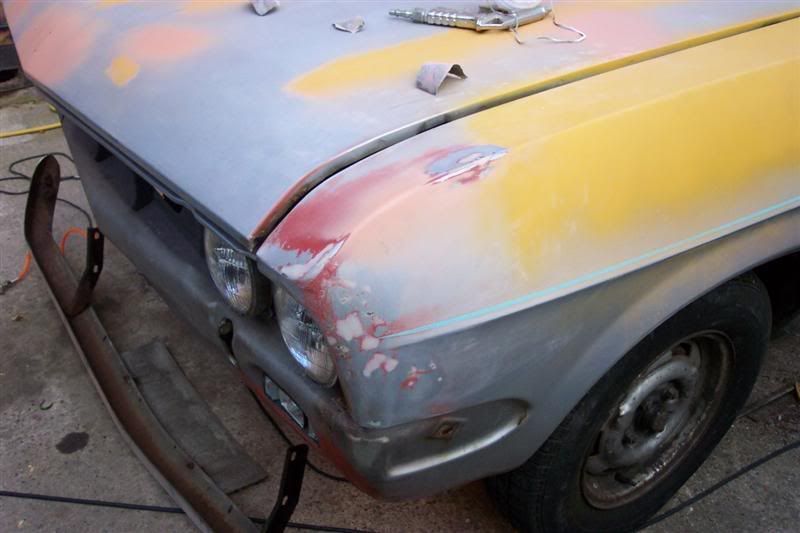
You can see where prior touch up with red oxide had been done to prevent or halt surface rust.
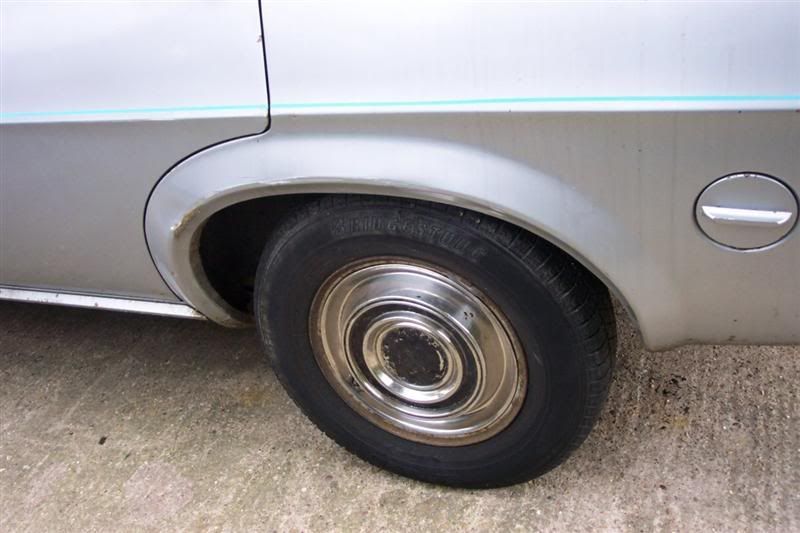
Ever seen Vauxhall arches of this age this good without ANY repair?
So first job was a rough rub down, get any surface rust off the metal.
And then prime it
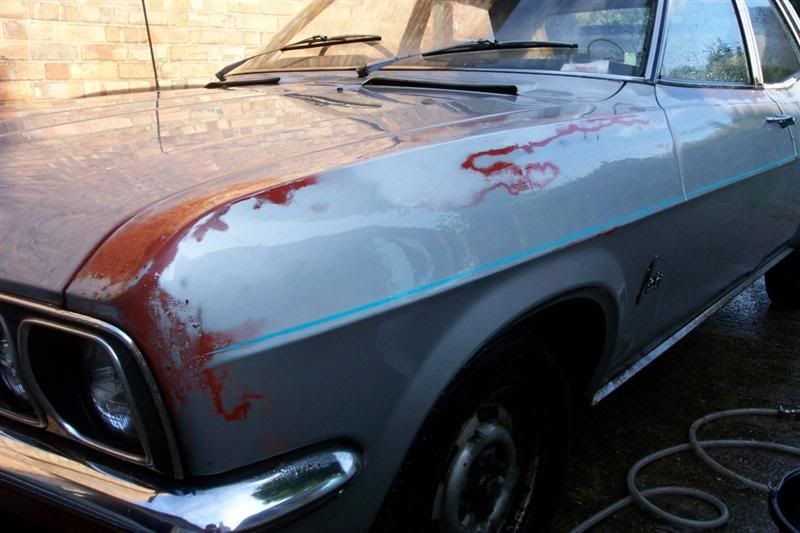
I was using rattle cans or red oxide.
After this these areas are feathered out and any scratches/gouges or pin pitting was filled up with spray stopper
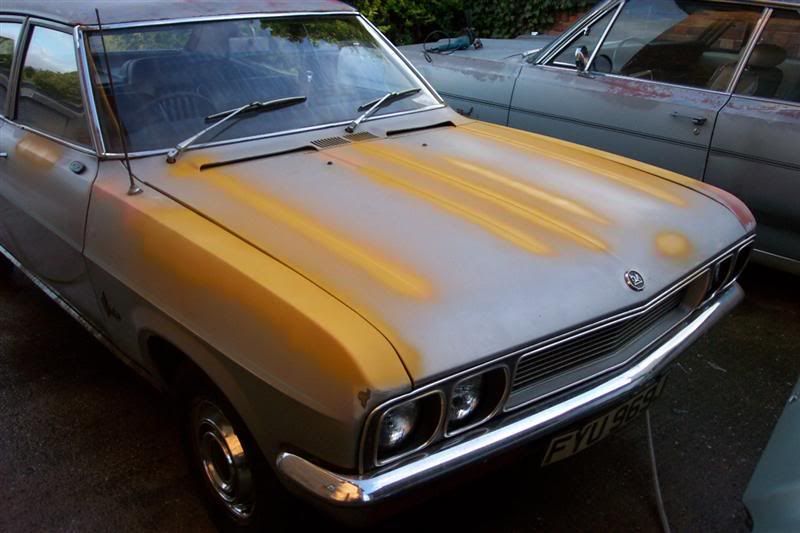
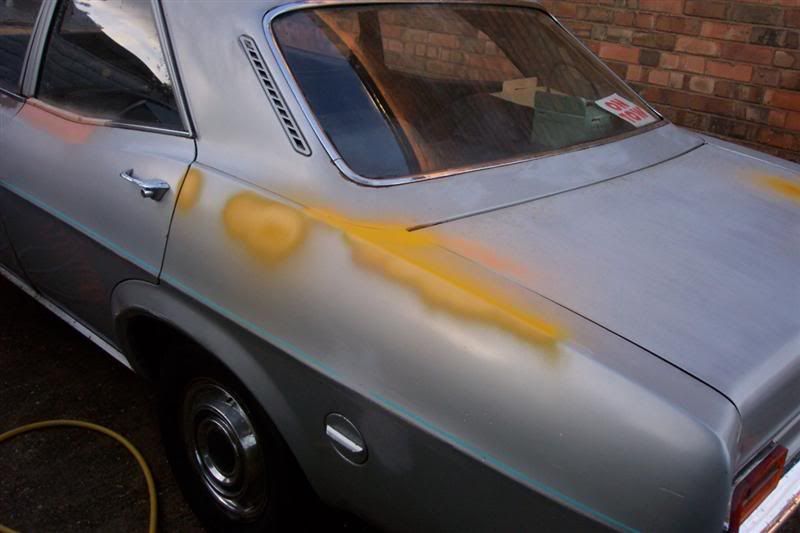
Now really it’s a great idea to mask off the windows even when doing spot repairs with a rattle can. Do as I say not as I do…
This area at the rear quarter had some reaction in it, where someone seemed to have touched something up in the past and it had wrinkled.
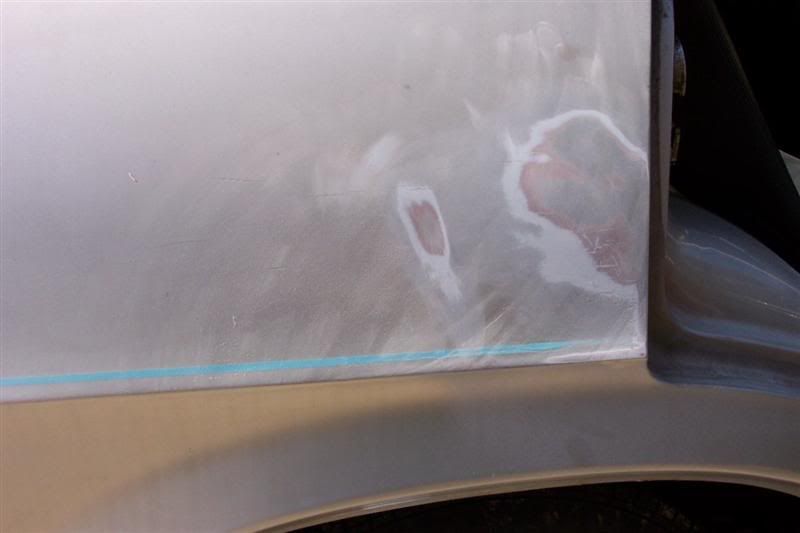
In these cases you just j=have to keep goig until you’ve rubbed it all out and back to the bare metal is best.
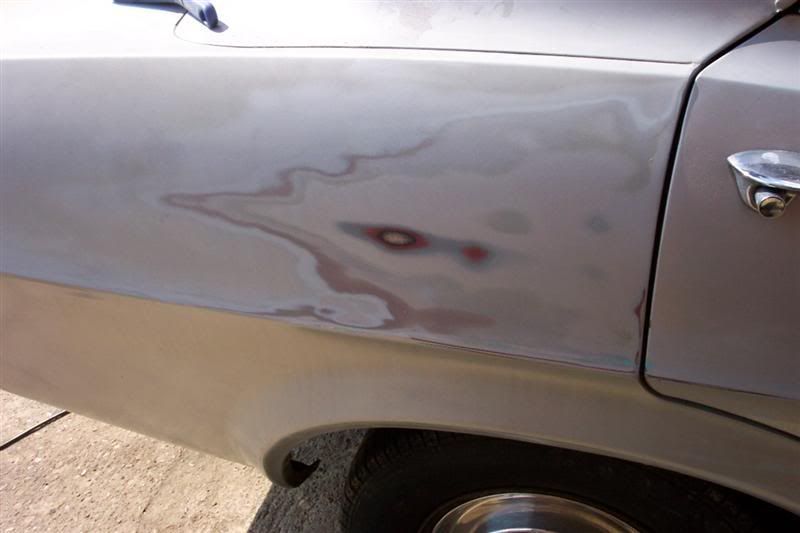
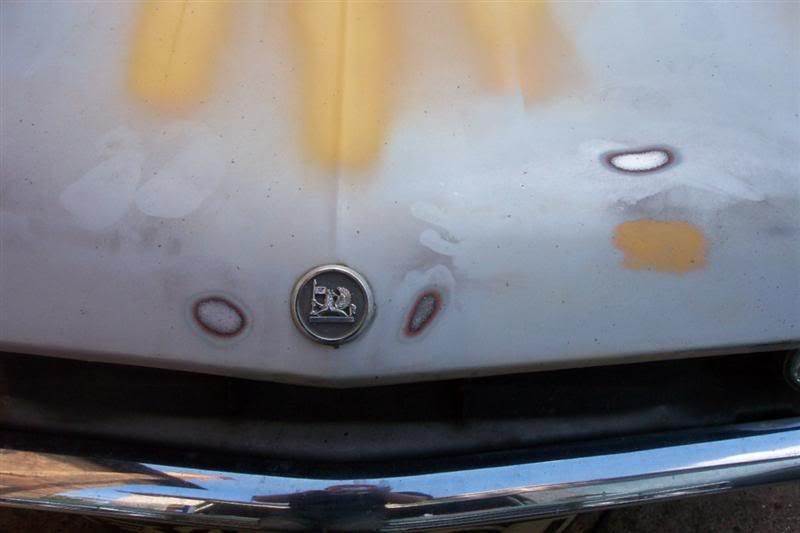
Two ways to deal with stone chips on the bonnet etc. One way is to use putty or something to fill them (the modern way) and the old school way is to rub back to bare metal and feather out the edges. This is what I did.
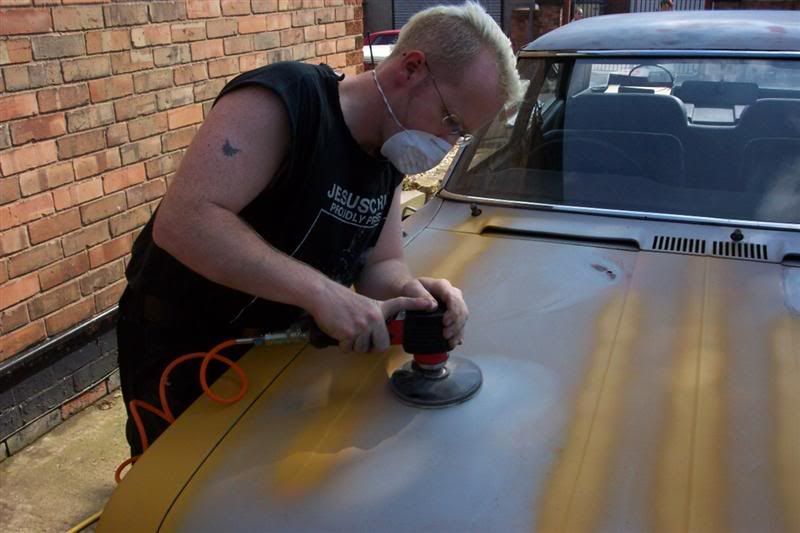
I employed a local Keith Flint look a like to help DA the car. (actually that’s my mate Leigh not a twisted fire starter) This is best done outside because of the dust. It chokes up your lungs and makes a right mess in the garage
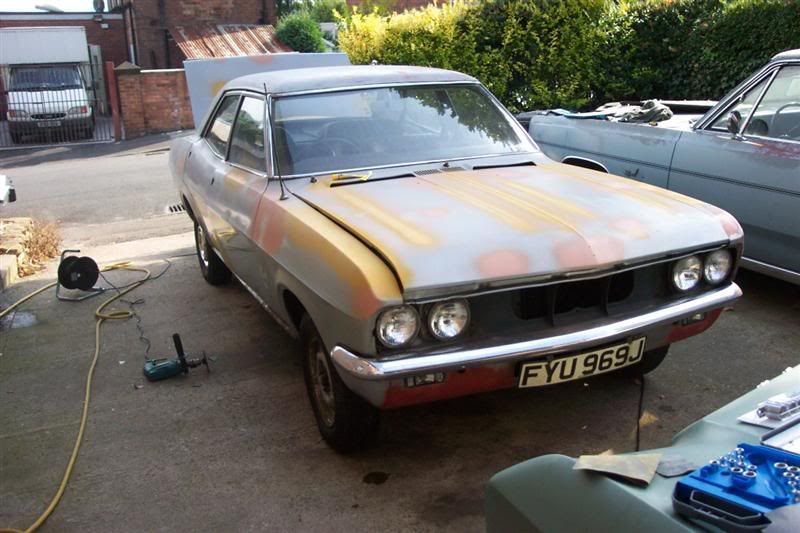
Here’s the car with the basic (“rough”) prep done
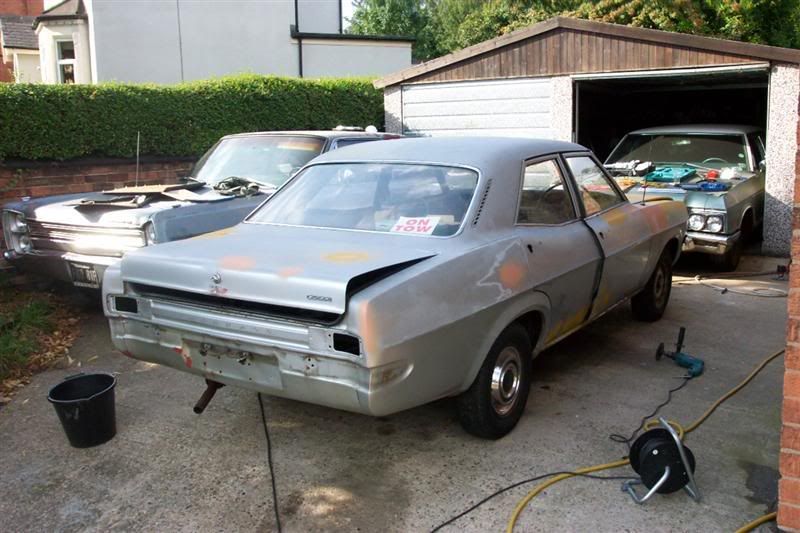
Next job was to finish stripping the trim and other parts off for final prep
Some areas will have more than one coat of filler, primer, stopper and rub down before they are right to your satisfaction. The front corner of the wings was a common place to need plenty of TLC to get right.
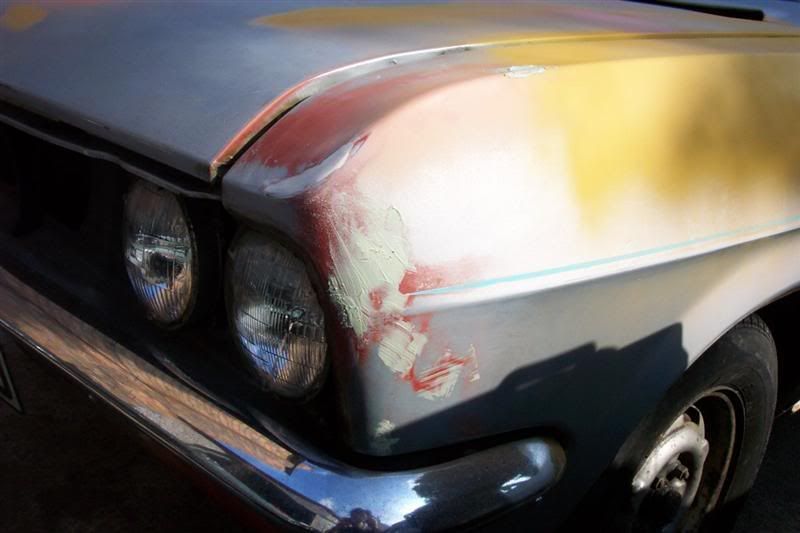
And again
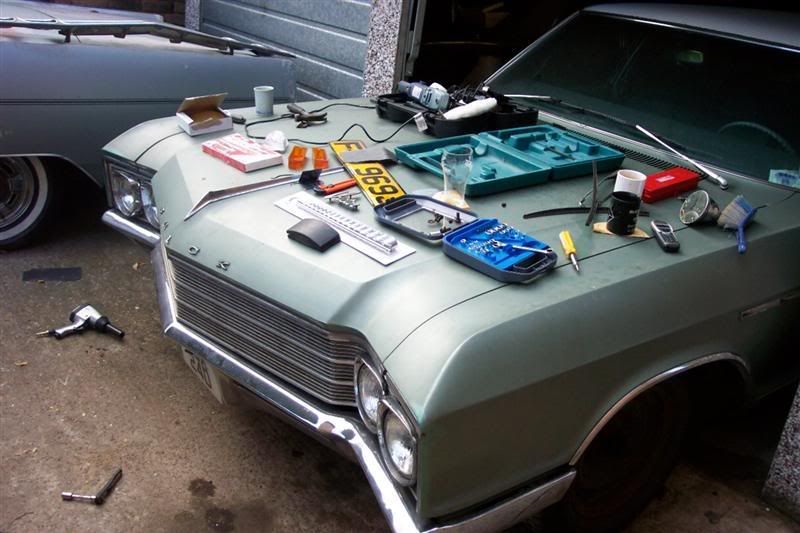
Useful mobile coffee table/workbench
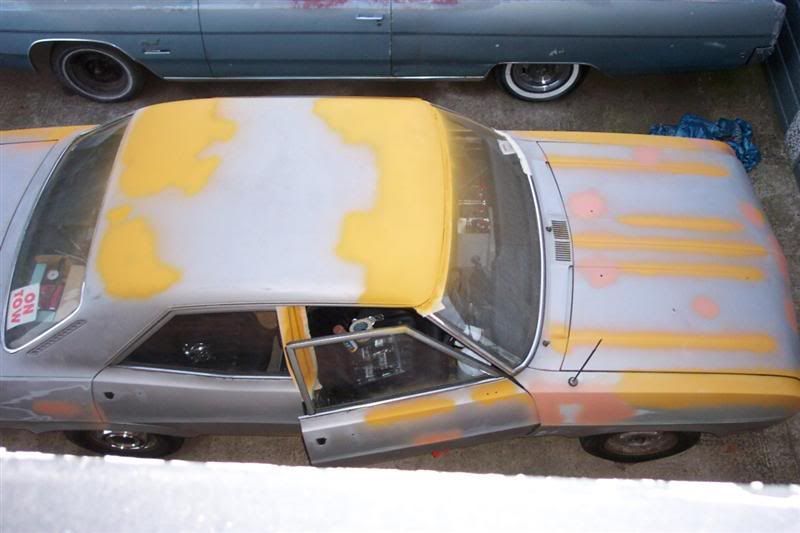
Looks good from up here….
Then I had a look at the front valance. It didn’t look too bad and one mate suggested just using a stone chip paint on it but I didn’t want to do that, I wanted panel finish on it. So I set to with a rotary sander and striping wheel. Got all the rust out. Also used a wire brush in the drill to get any pits free of rust.
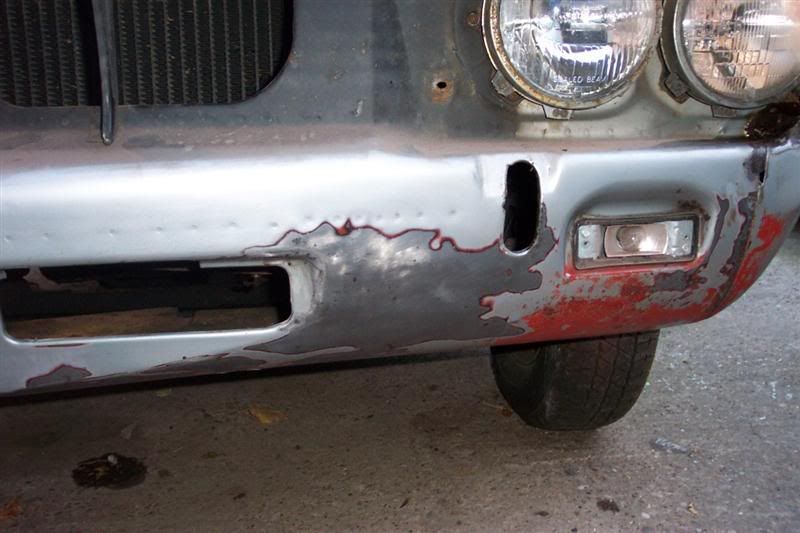
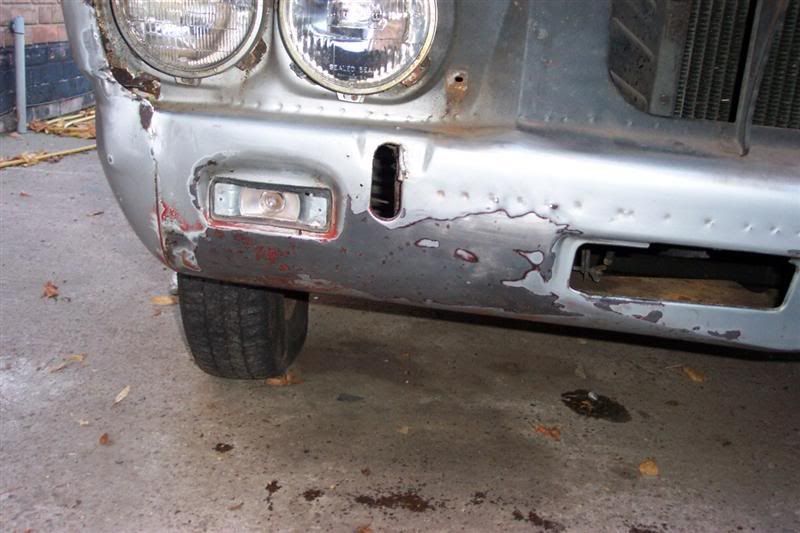
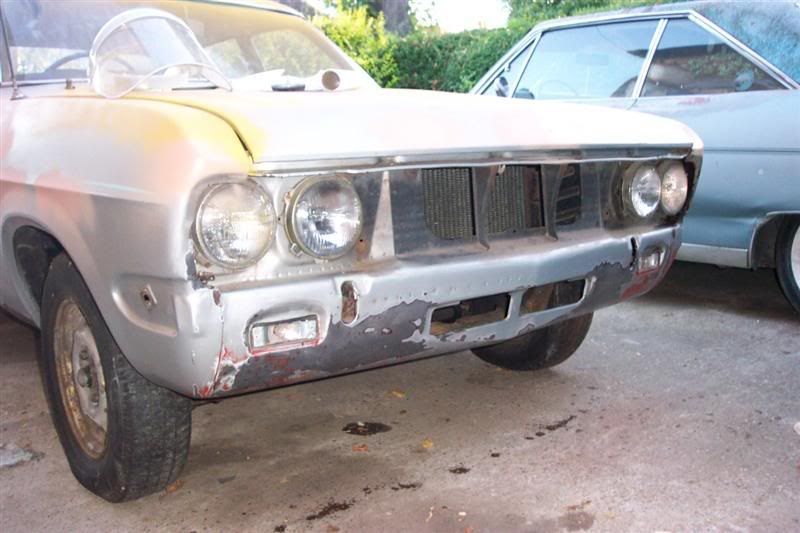
Then primer and stopper
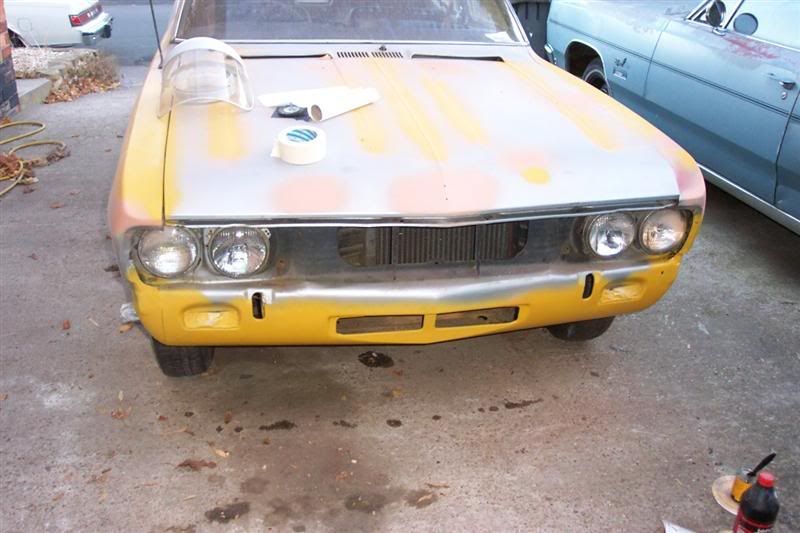
Smooth as a baby’s bum
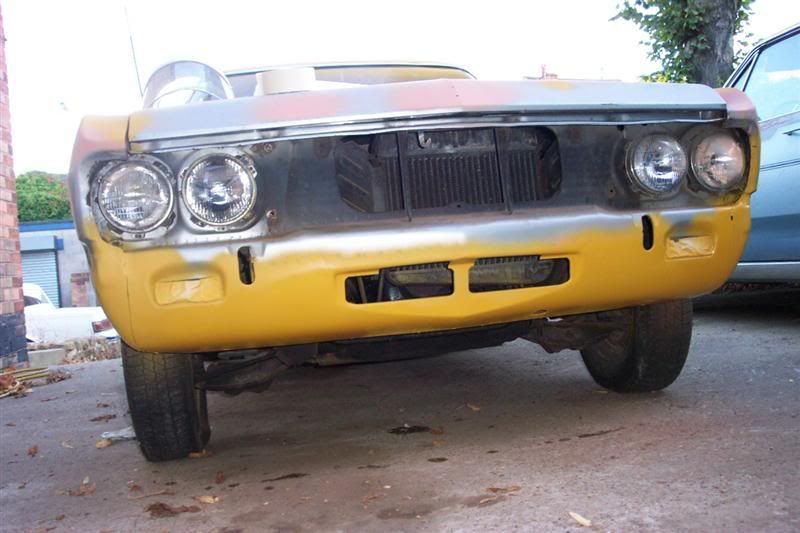
Somme small ripples and deformations in the roof panel due to having a roof rack etc were called for to be repaired, and for this I decided a skim of filler would be the best as the deformations were quite shallow and it would be aright arze to try beat them right.
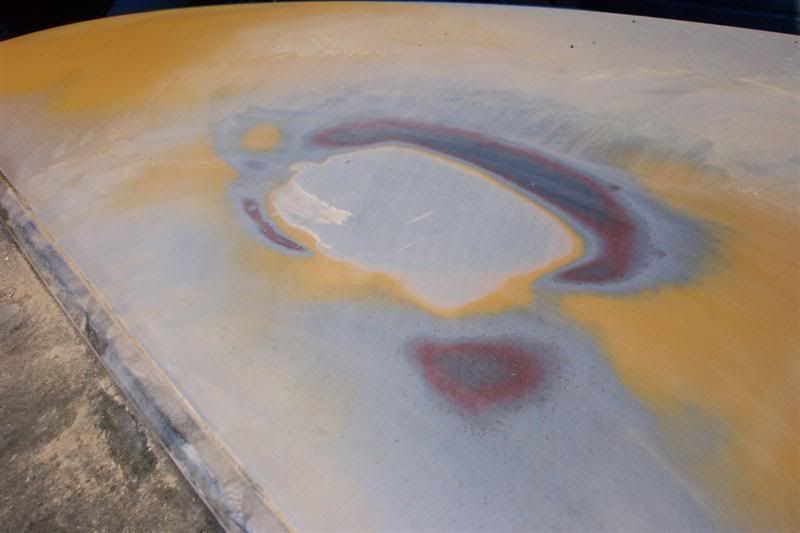
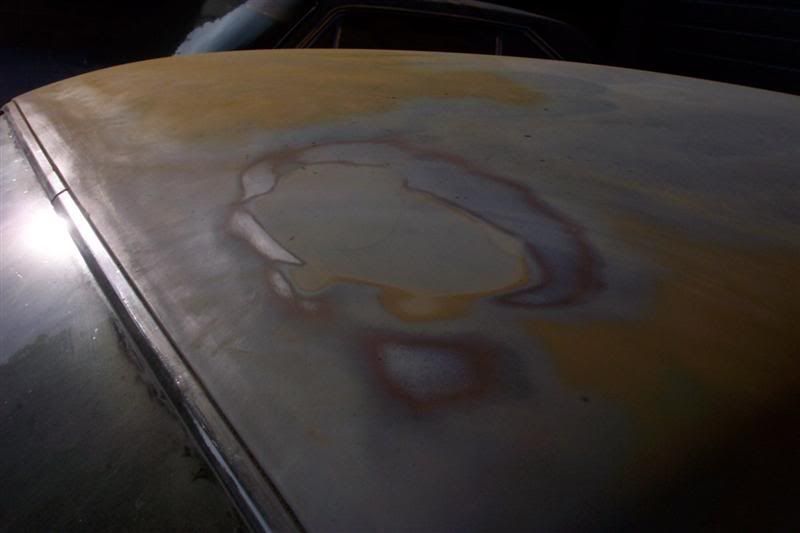
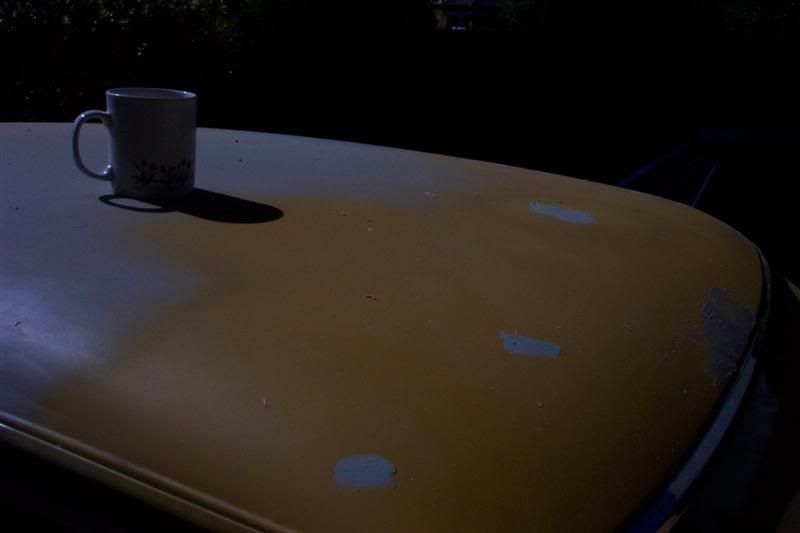
Final prep!
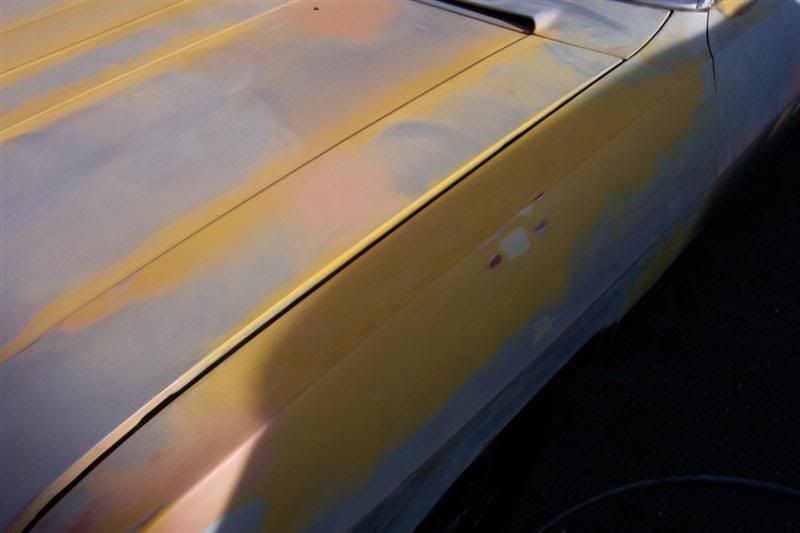
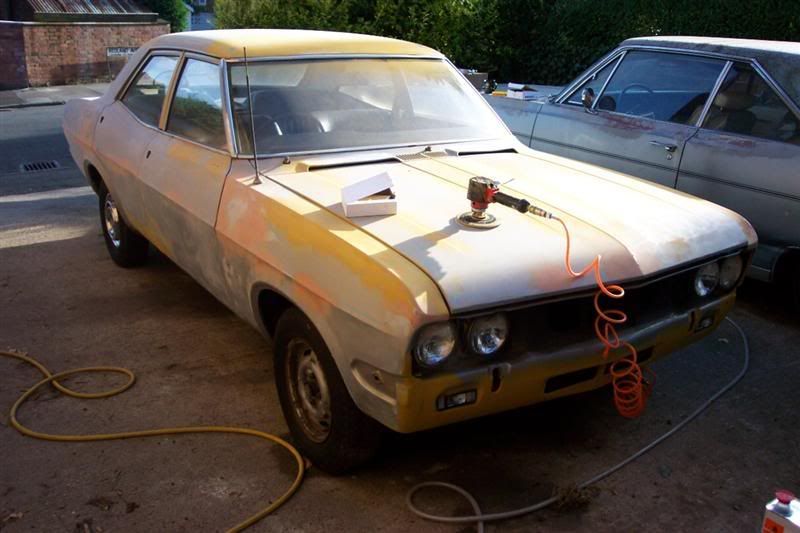
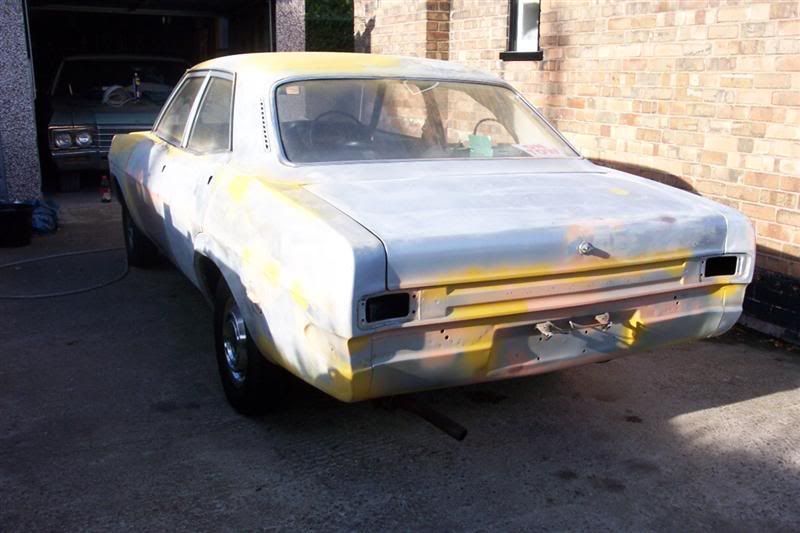
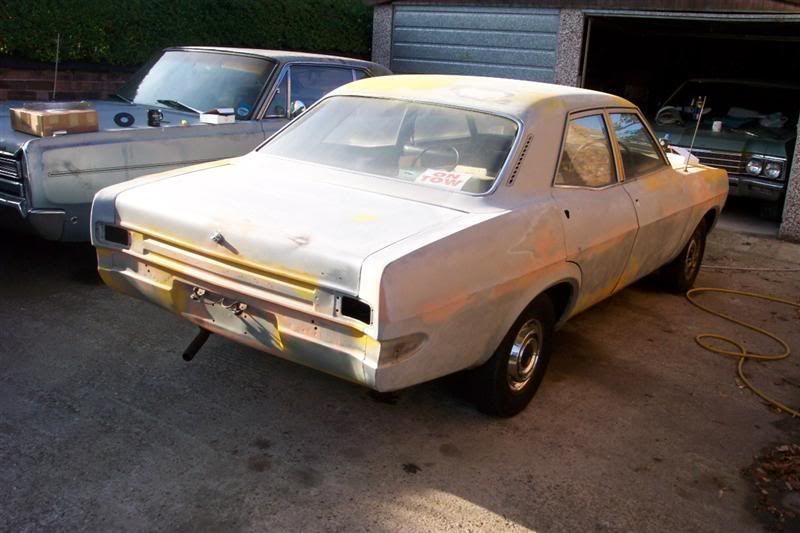
And mask ‘er up and into the garage…
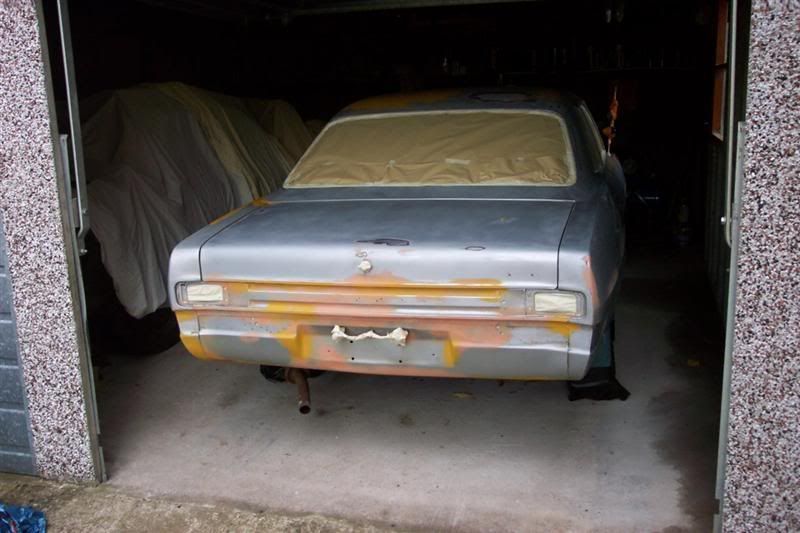
Wear appropriate spray safety equipment. I have some goggles to go on yet. Hat is to keep paint out of my hair and hair out of my eyes. Also so that “mates” can take the photo and turn you into an Altern8 gimp and post it on the internet.
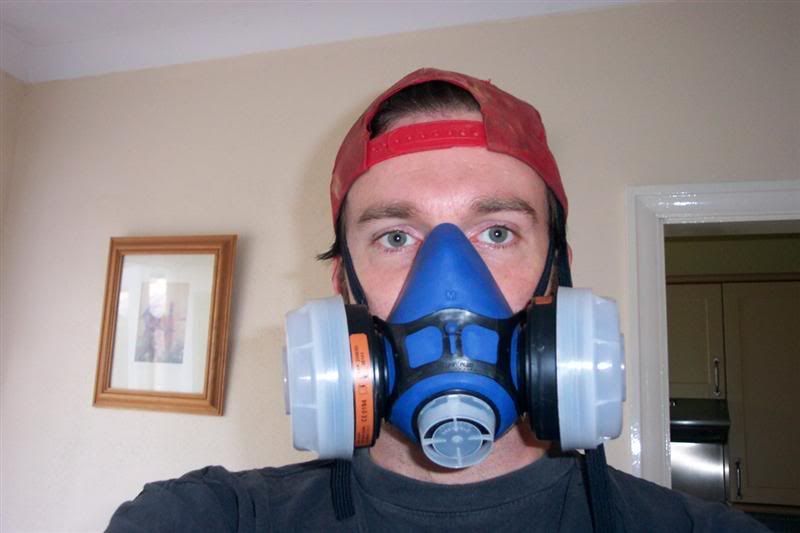
This is what you need for Celly/1K/enamel. Catalysed paints and 2K will require specific stuff.
Well, on goes the high build primer. Nothing much to say about this other than you follow the instructions on the product data sheet and you can’t go wrong.
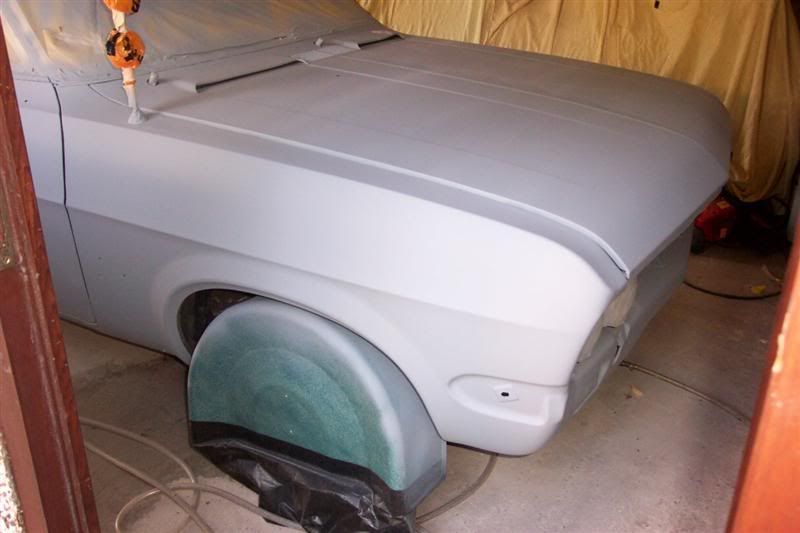
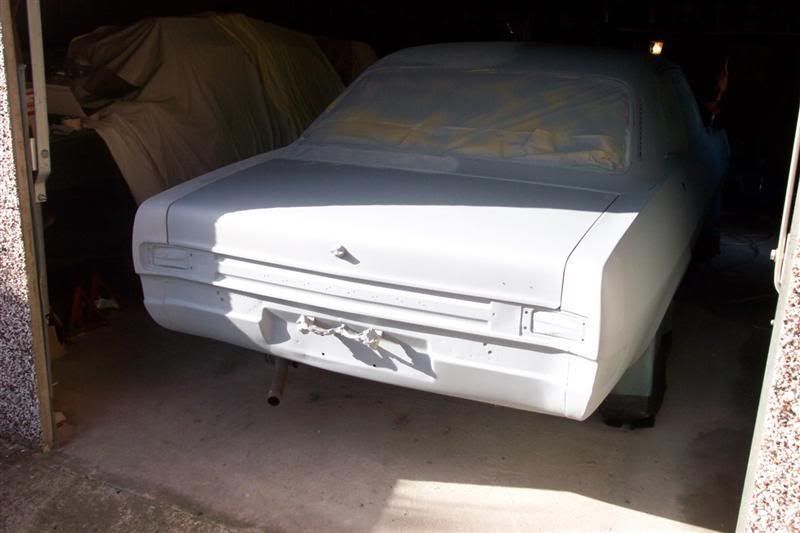
Then you sand it down. This was done dry to prevent any risk of trapped moisture.
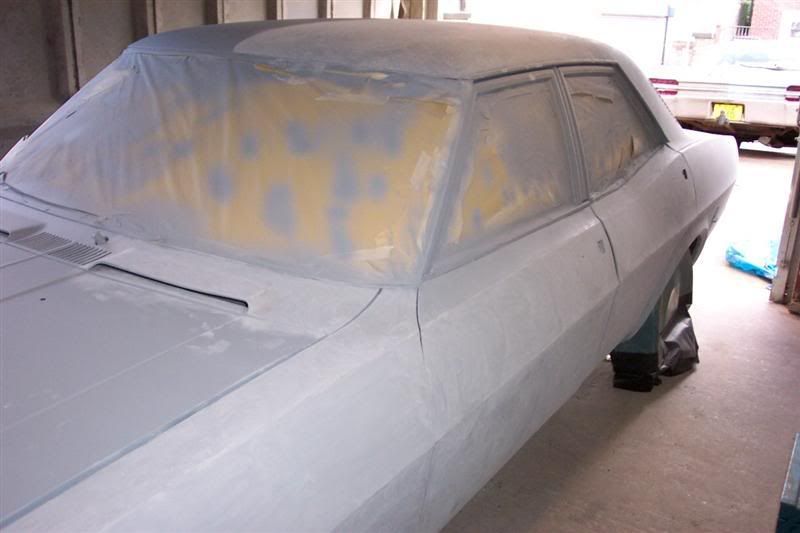
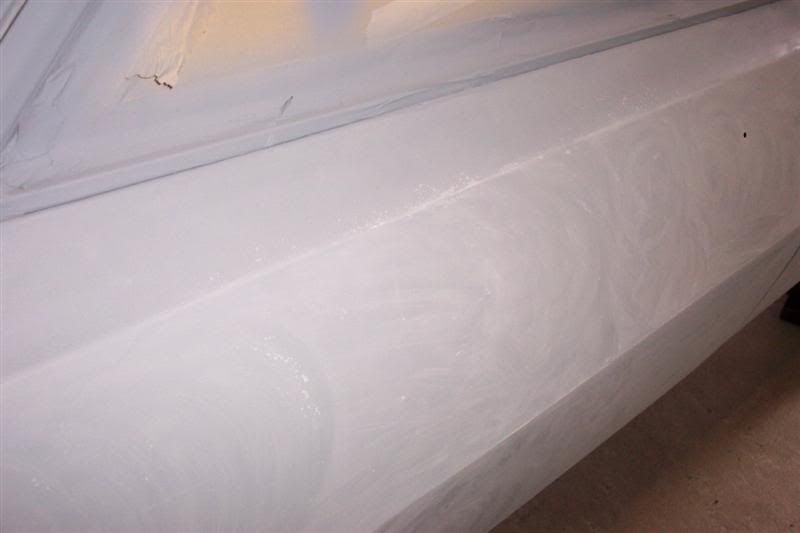
Then I put down two (or was it three) coats of the silver ground coat. The car was then rolled outside to check for imperfections in the daylight. They have a habbit of not showing up under strip lighting
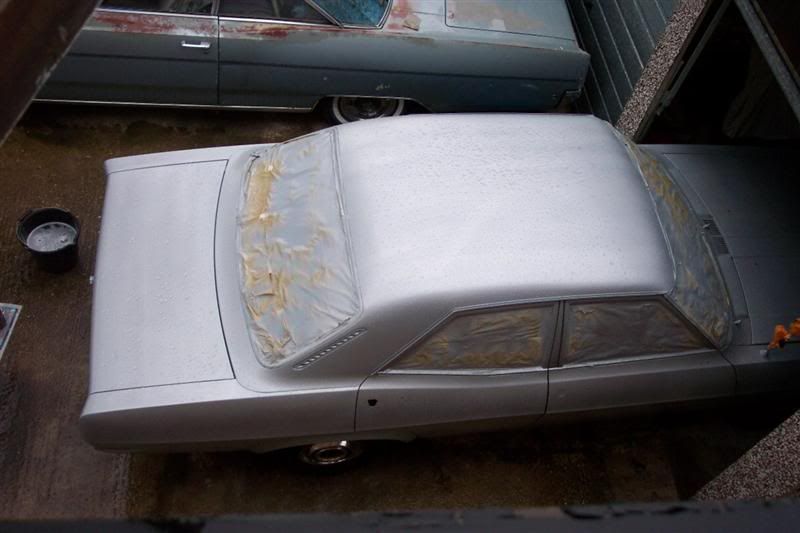
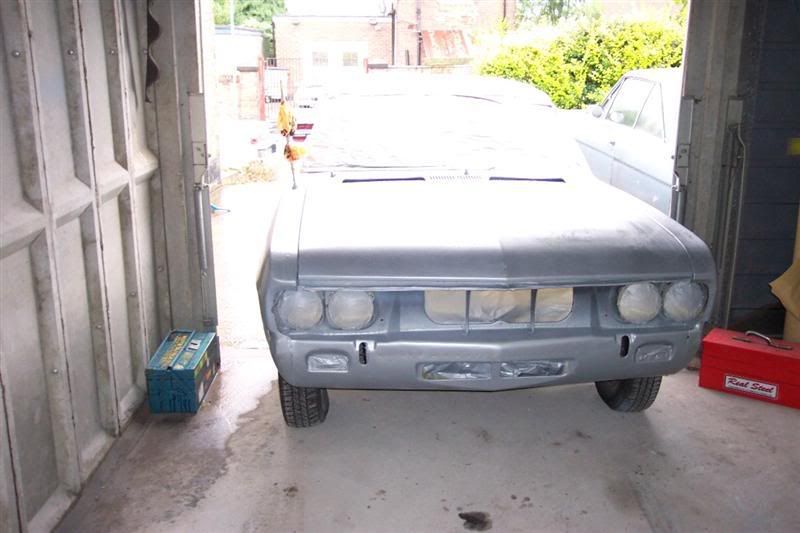
The ground coat was gently de-nibbed and keyed for the basecoat to go on. At this point it has to be right as you cannot sand the basecoat.
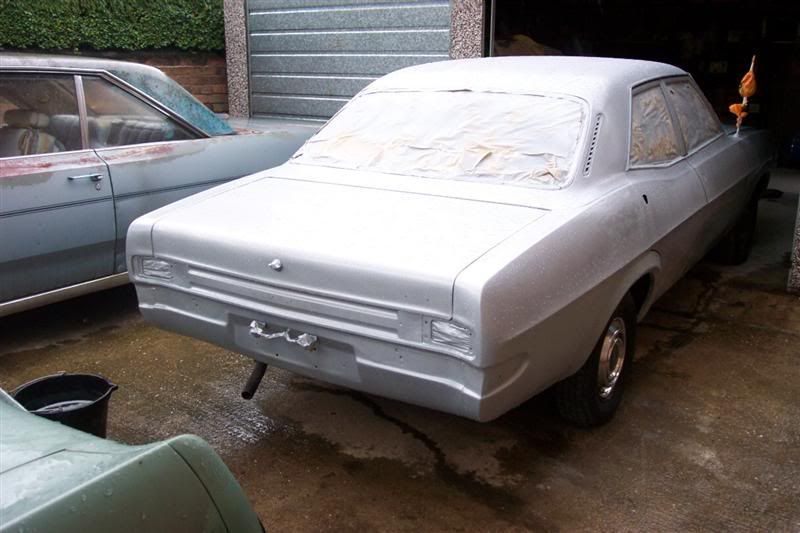
Now here it is with the basecoat on.
Carefully overlapping passes, again read the instructions in the datasheet and follow them,
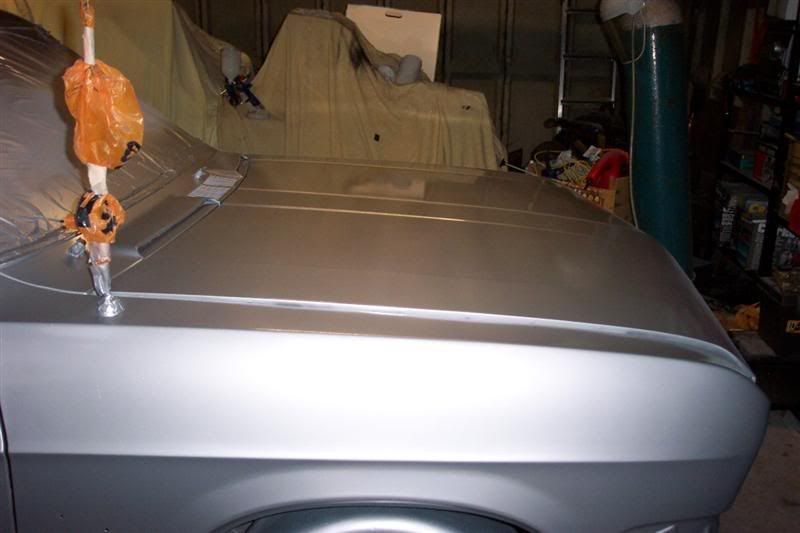
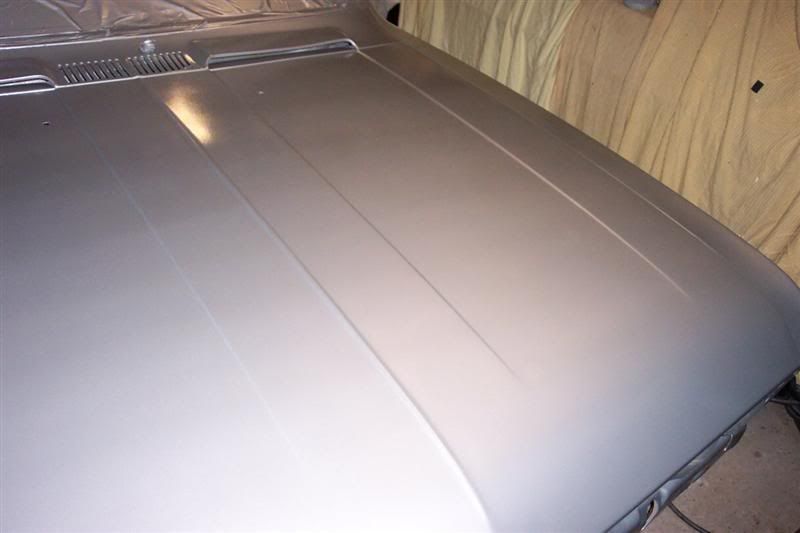
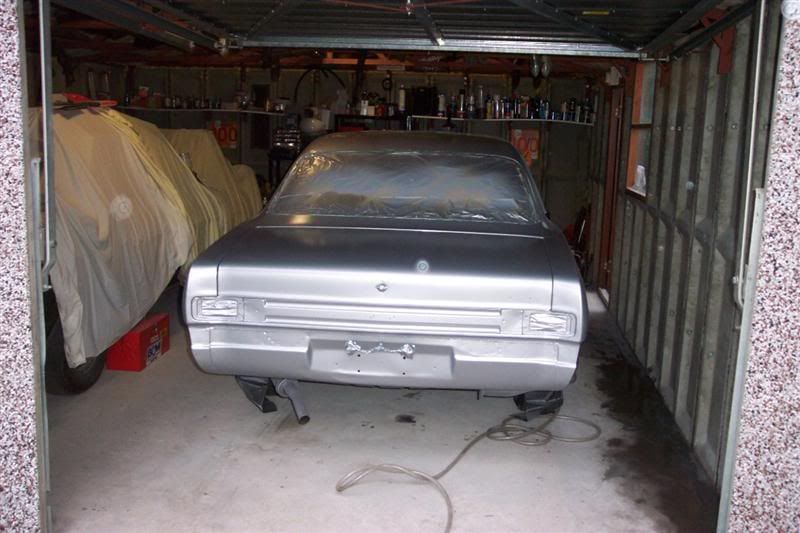
Then its time to lay down the clear! This is old school lacquer and used unthinned and straight from the can (via a strainer) which is one of the things I like about old school paints – idiot proof! You can thin it on the last few coast to improve the gun gloss but as I always cut & polish anyway that makes no real odds and only increases the risk of runs.
Glossy!
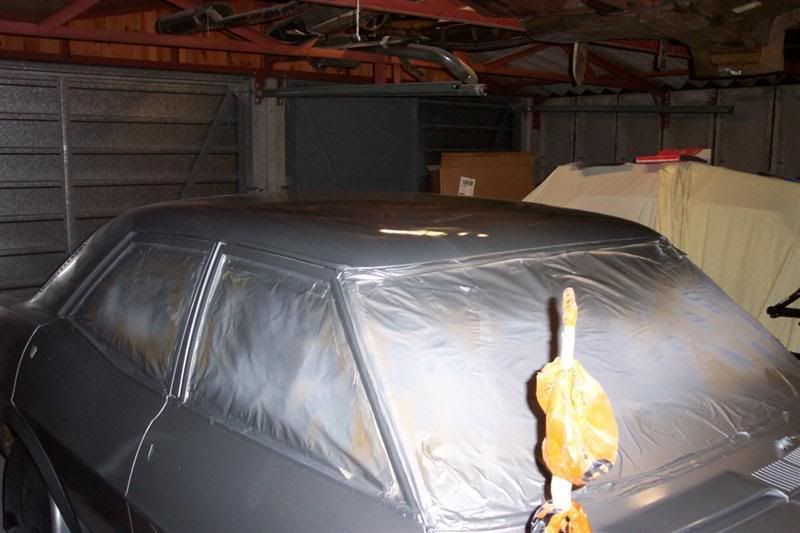
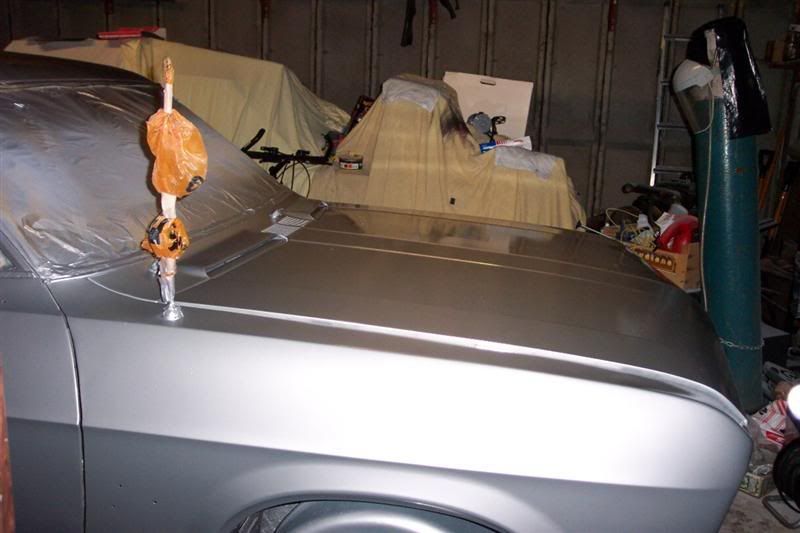
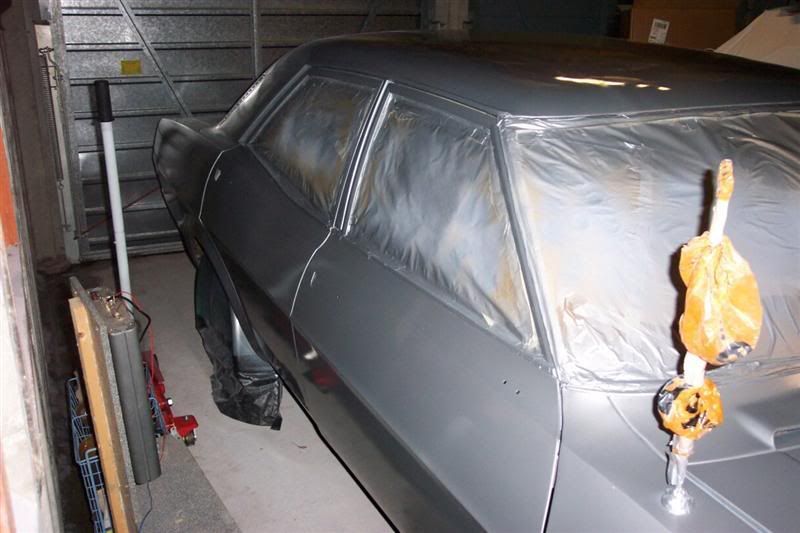
Note the low tech Aerial Mask ™
The clear coat was then flatted back with 1500 w&d (used wet with fairy liquid to stop it clogging and scratching the finish)
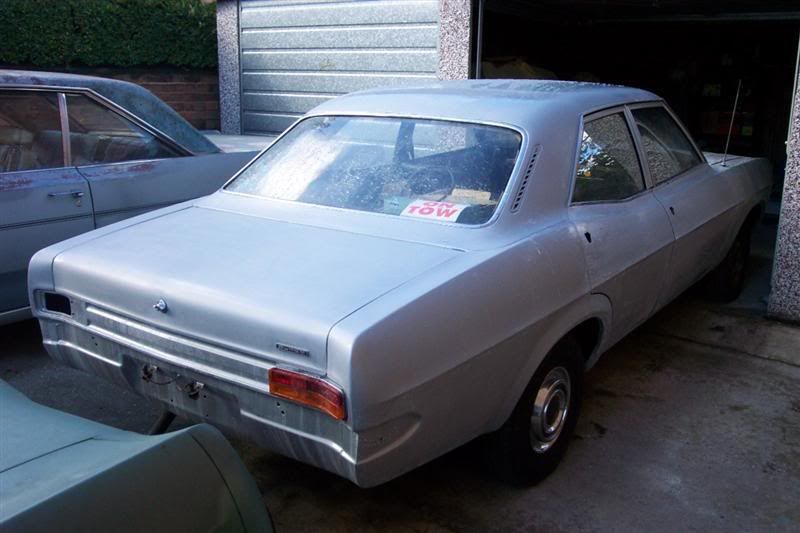
This was done outside so all the slimy mess can just be hosed away.
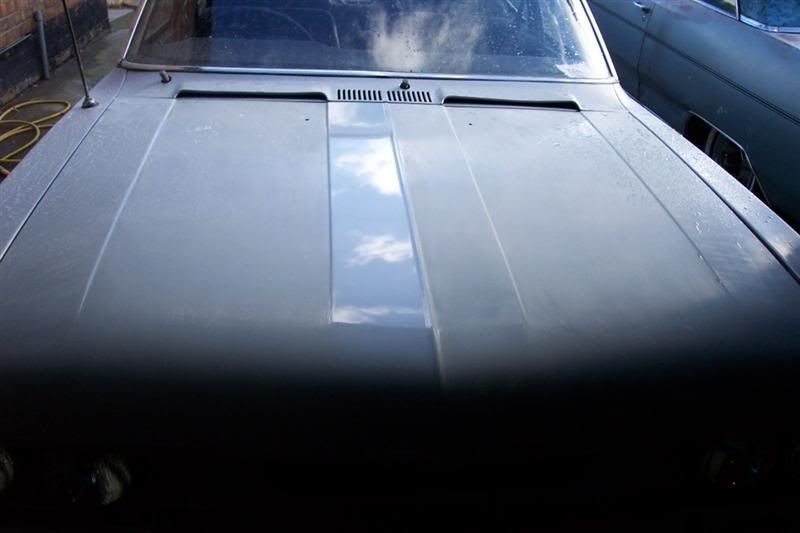
Then you can start polishing up again. On this one I used Farecla G3 advanced liquid and a rotary buffer. You can see the difference in the centre of the bonnet with just one application….
Whole car is soon done, finished with G10 and 3M Imperial hand glaze. You can’t apply a wax to a fresh paint job or the solvent will get trapped and ruin the paint job.
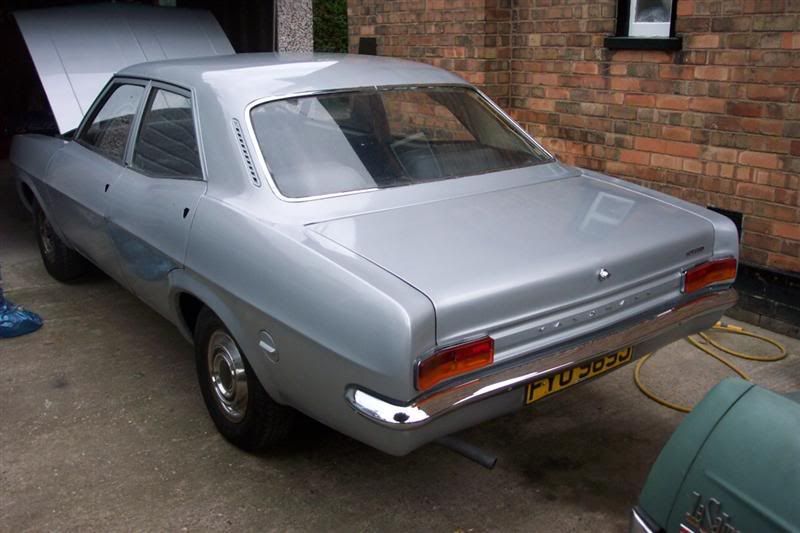
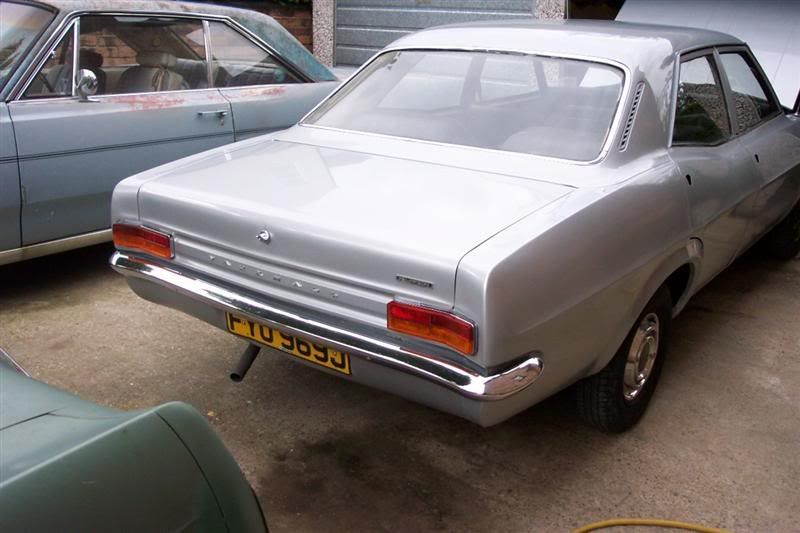
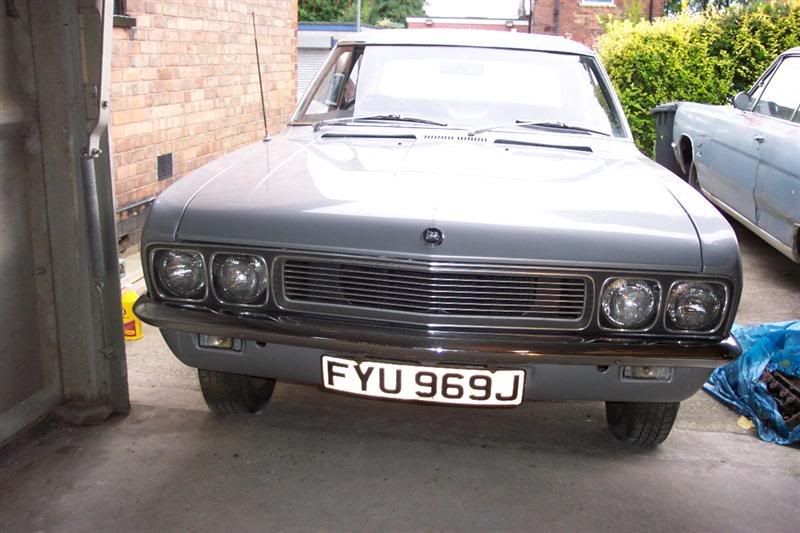
Reassembly complete
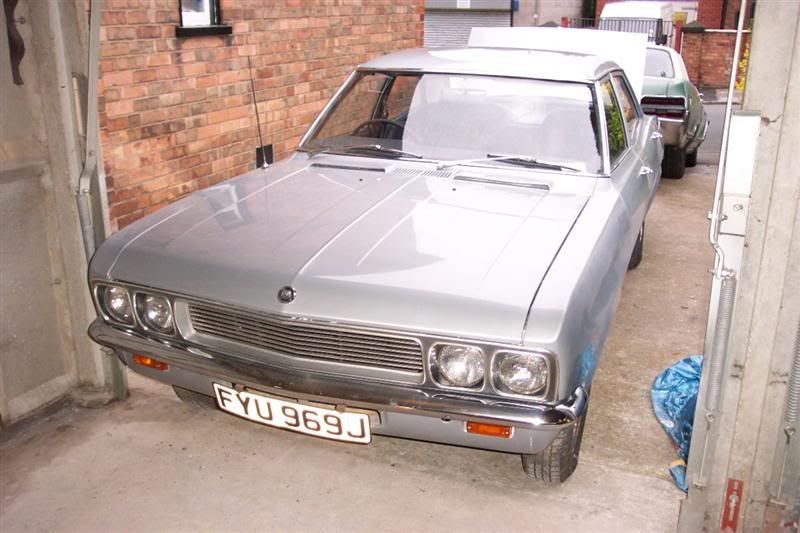
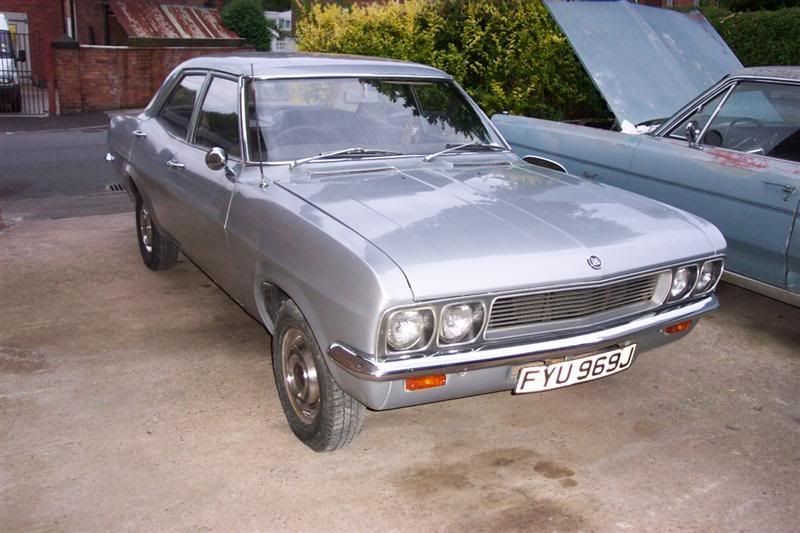
And time for bed!
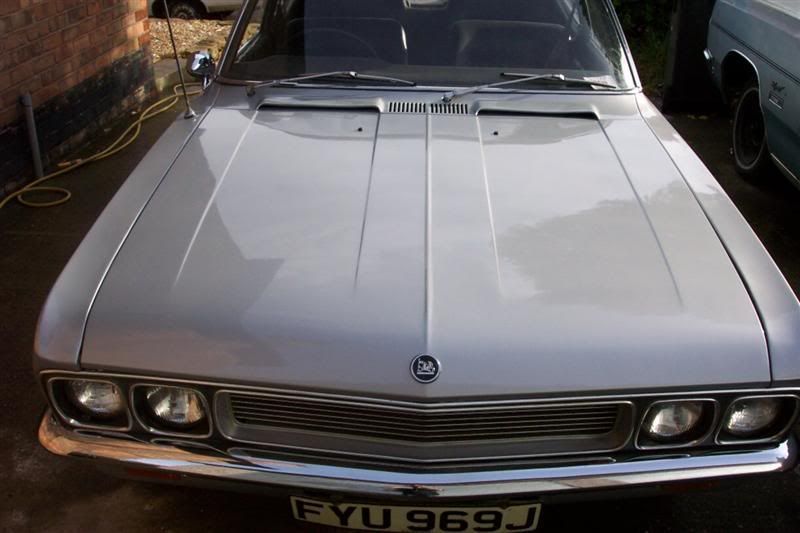
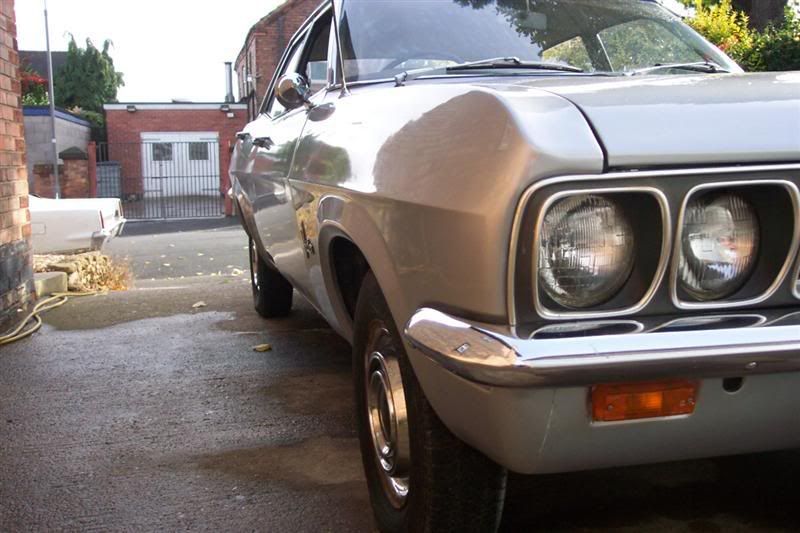
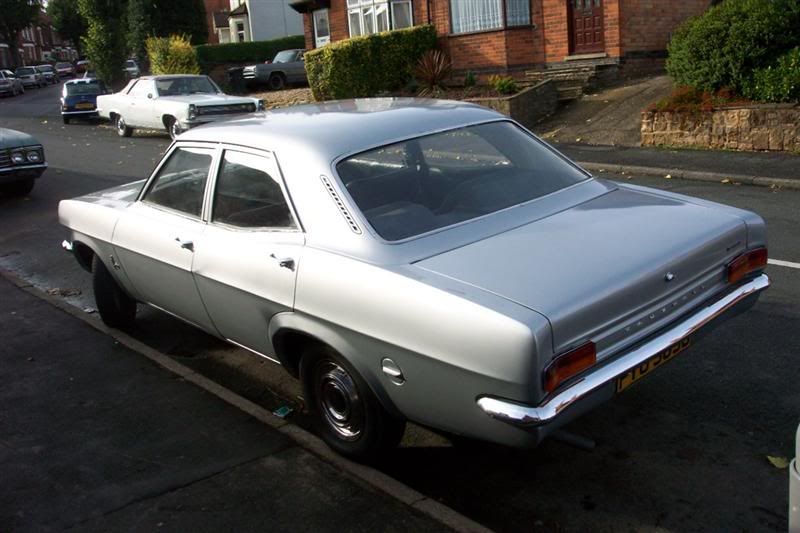
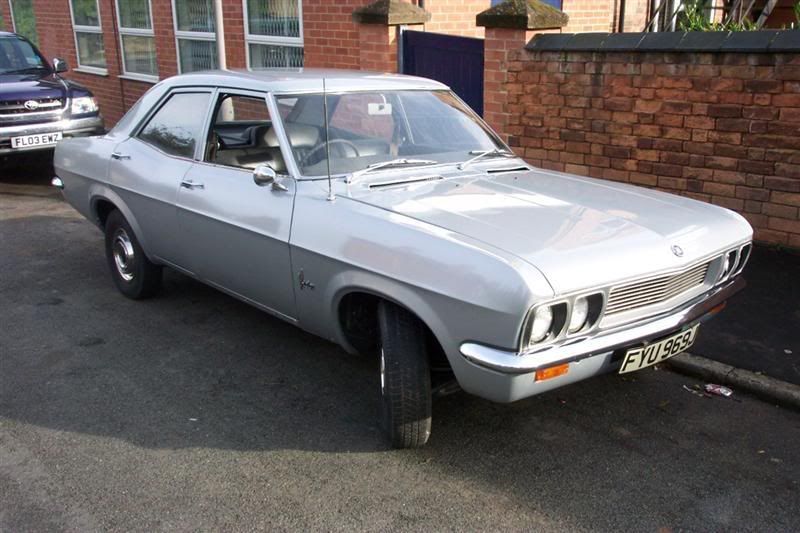
Some photos of it finished in slightly better light
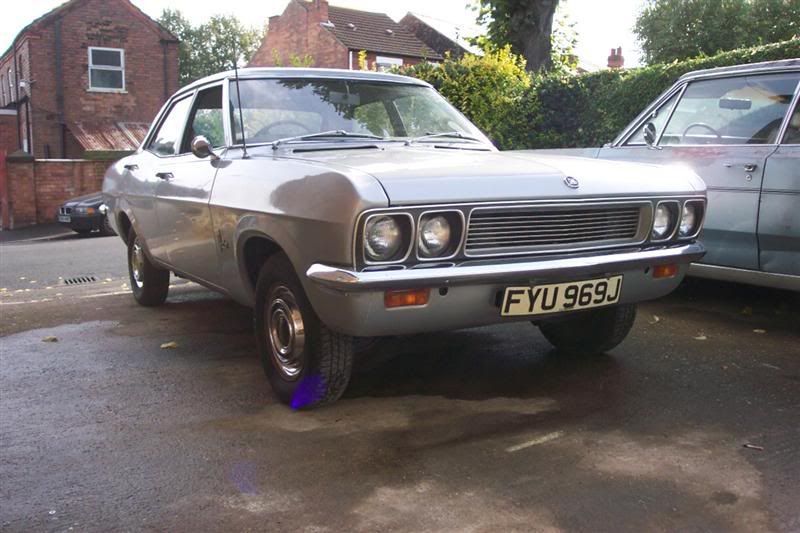
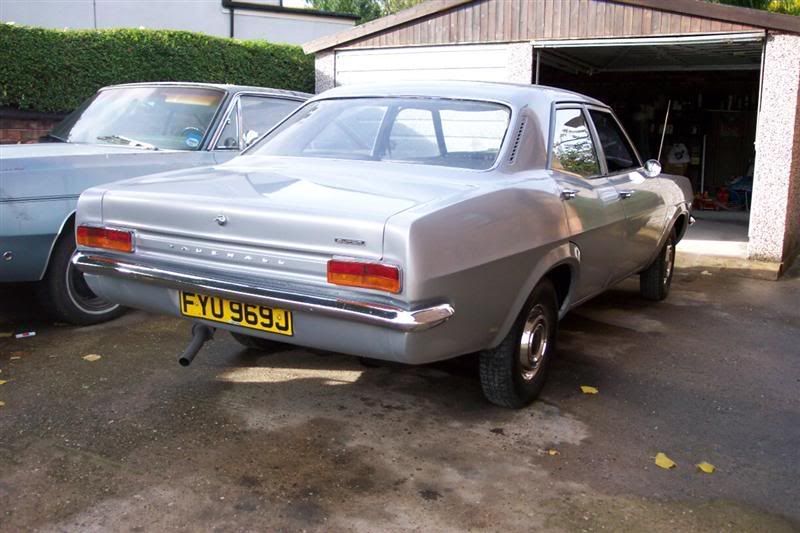
Of course it broke down on the way home so I ended up towing it but it was no more than a porous fuel line that was causing the problem. Tow car is my first Chrysler Fifth Avenue.

Here’s an approximation of how much “stuff” goes into spraying a car

There’s 5 litres of primer, 5 litres of standard thinners, 5 litres high gloss thinners, 5 litres of degreaser, couple of rolls of masking tape, 2 litres of ground coat, 2 litres of basecoat and 6 litres of clear coat. Normally you wouldn’t use a separate ground coat unless you were doing a candy or a two stage pearl or something but in this case the paint supplier was low on a tinter needed for the shade of silver I needed for the basecoat so I used a generic silver ground coat to give it a couple of coats to build a general colour before getting the hue right with the basecoat.
I was using cellulose. With the more modern HS polyester you could get away with just the 2.5 litres of basecoat on a car like this because of its superior coverage, but back then I had a “cellulose only” policy.
There was plenty of degreaser and thinner left over after this job, but you can only buy these in 5 litre tins and its cheap, and I was doing a fair amount of paint at the time so I was getting through it.

The car was solid but shabby.


You can see where prior touch up with red oxide had been done to prevent or halt surface rust.
Ever seen Vauxhall arches of this age this good without ANY repair?

So first job was a rough rub down, get any surface rust off the metal.


And then prime it

I was using rattle cans or red oxide.
After this these areas are feathered out and any scratches/gouges or pin pitting was filled up with spray stopper


Now really it’s a great idea to mask off the windows even when doing spot repairs with a rattle can. Do as I say not as I do…
This area at the rear quarter had some reaction in it, where someone seemed to have touched something up in the past and it had wrinkled.

In these cases you just j=have to keep goig until you’ve rubbed it all out and back to the bare metal is best.

Two ways to deal with stone chips on the bonnet etc. One way is to use putty or something to fill them (the modern way) and the old school way is to rub back to bare metal and feather out the edges. This is what I did.

I employed a local Keith Flint look a like to help DA the car. (actually that’s my mate Leigh not a twisted fire starter) This is best done outside because of the dust. It chokes up your lungs and makes a right mess in the garage

Here’s the car with the basic (“rough”) prep done

Next job was to finish stripping the trim and other parts off for final prep

Some areas will have more than one coat of filler, primer, stopper and rub down before they are right to your satisfaction. The front corner of the wings was a common place to need plenty of TLC to get right.

And again

Useful mobile coffee table/workbench

Looks good from up here….

Then I had a look at the front valance. It didn’t look too bad and one mate suggested just using a stone chip paint on it but I didn’t want to do that, I wanted panel finish on it. So I set to with a rotary sander and striping wheel. Got all the rust out. Also used a wire brush in the drill to get any pits free of rust.


Then primer and stopper

Smooth as a baby’s bum

Somme small ripples and deformations in the roof panel due to having a roof rack etc were called for to be repaired, and for this I decided a skim of filler would be the best as the deformations were quite shallow and it would be aright arze to try beat them right.


Final prep!


And mask ‘er up and into the garage…

Wear appropriate spray safety equipment. I have some goggles to go on yet. Hat is to keep paint out of my hair and hair out of my eyes. Also so that “mates” can take the photo and turn you into an Altern8 gimp and post it on the internet.

This is what you need for Celly/1K/enamel. Catalysed paints and 2K will require specific stuff.
Well, on goes the high build primer. Nothing much to say about this other than you follow the instructions on the product data sheet and you can’t go wrong.


Then you sand it down. This was done dry to prevent any risk of trapped moisture.


Then I put down two (or was it three) coats of the silver ground coat. The car was then rolled outside to check for imperfections in the daylight. They have a habbit of not showing up under strip lighting


The ground coat was gently de-nibbed and keyed for the basecoat to go on. At this point it has to be right as you cannot sand the basecoat.

Now here it is with the basecoat on.
Carefully overlapping passes, again read the instructions in the datasheet and follow them,


Then its time to lay down the clear! This is old school lacquer and used unthinned and straight from the can (via a strainer) which is one of the things I like about old school paints – idiot proof! You can thin it on the last few coast to improve the gun gloss but as I always cut & polish anyway that makes no real odds and only increases the risk of runs.
Glossy!


Note the low tech Aerial Mask ™
The clear coat was then flatted back with 1500 w&d (used wet with fairy liquid to stop it clogging and scratching the finish)

This was done outside so all the slimy mess can just be hosed away.
Then you can start polishing up again. On this one I used Farecla G3 advanced liquid and a rotary buffer. You can see the difference in the centre of the bonnet with just one application….

Whole car is soon done, finished with G10 and 3M Imperial hand glaze. You can’t apply a wax to a fresh paint job or the solvent will get trapped and ruin the paint job.


Reassembly complete


And time for bed!
Some photos of it finished in slightly better light


 I guess it comes down to how well you prep it.


