|
|
|
Sept 29, 2007 6:49:17 GMT
|
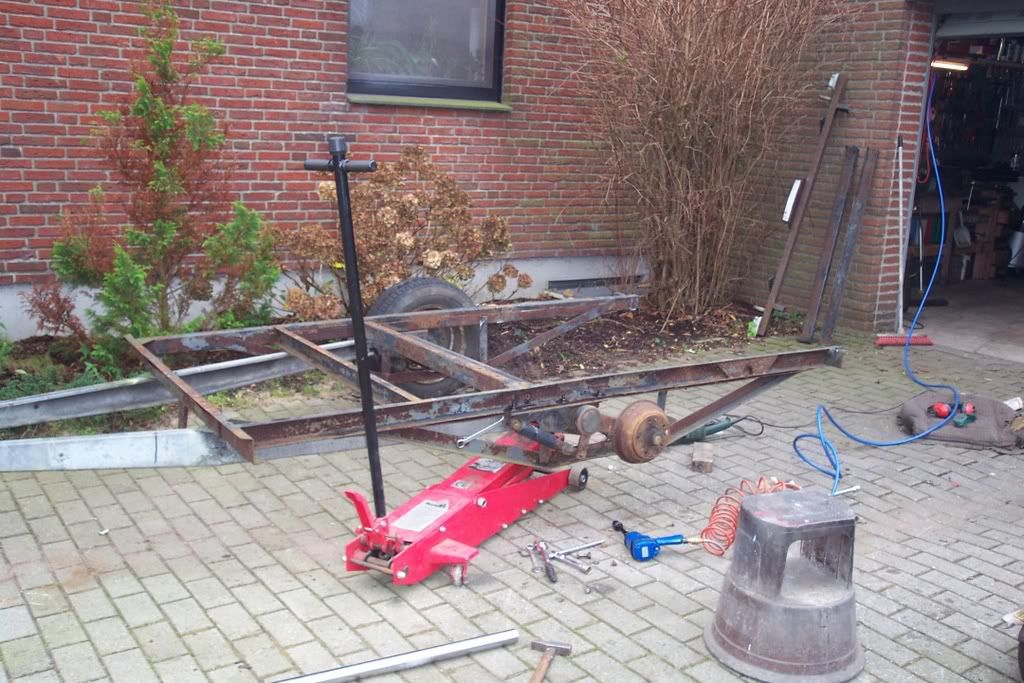
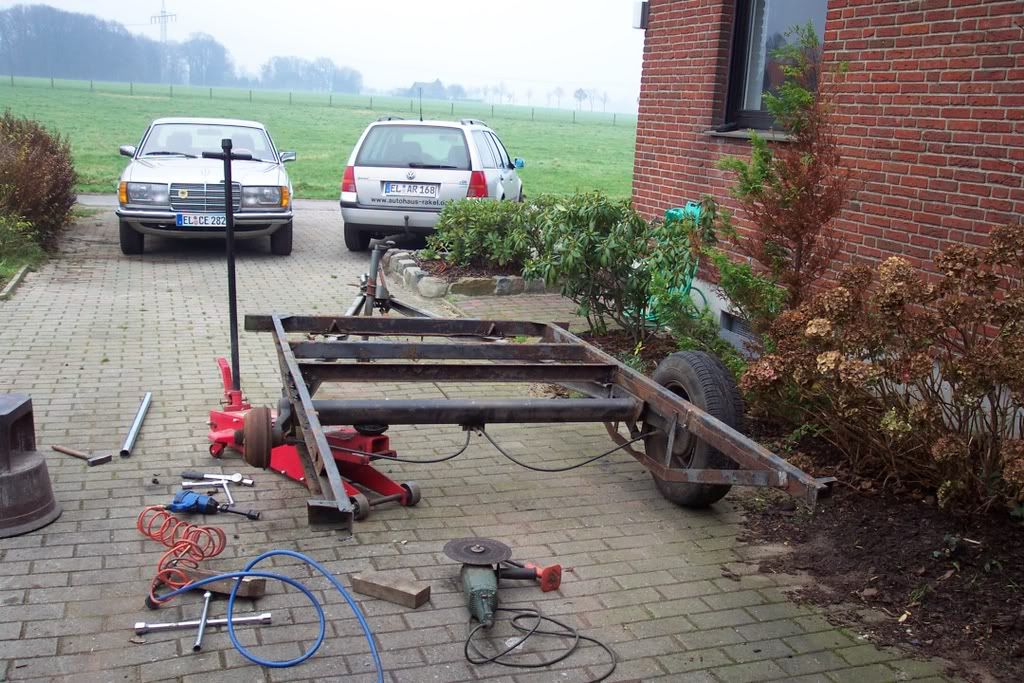
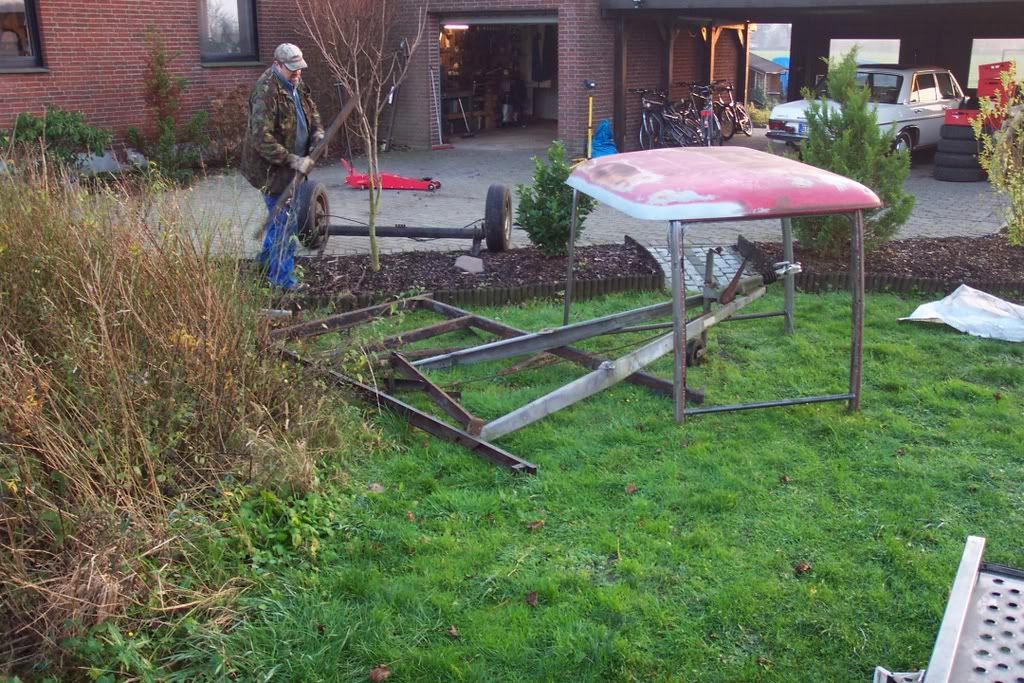
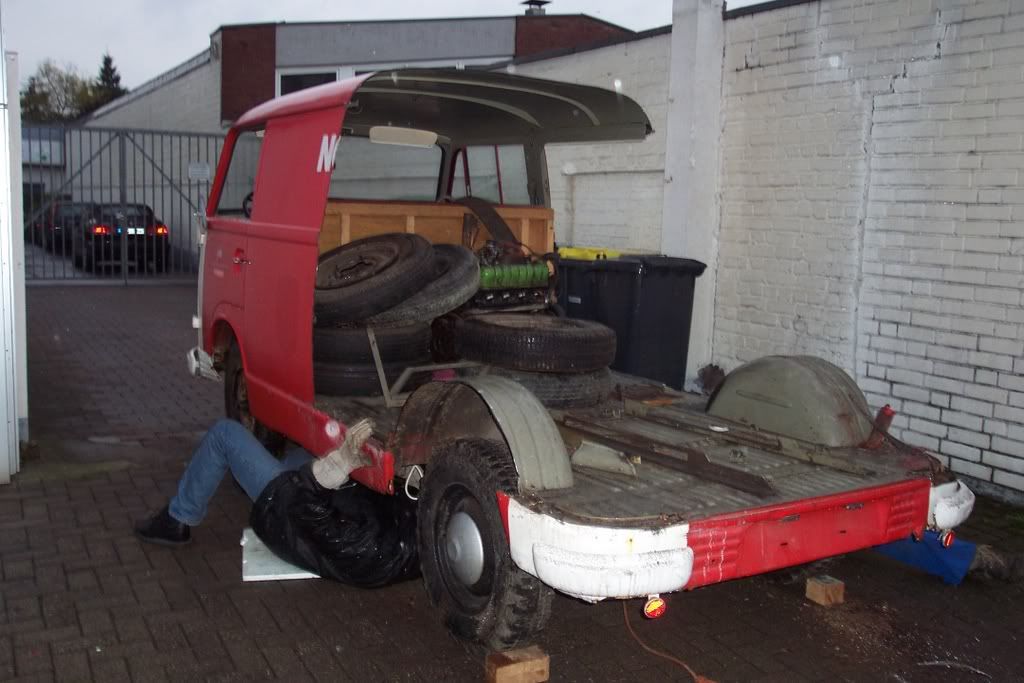
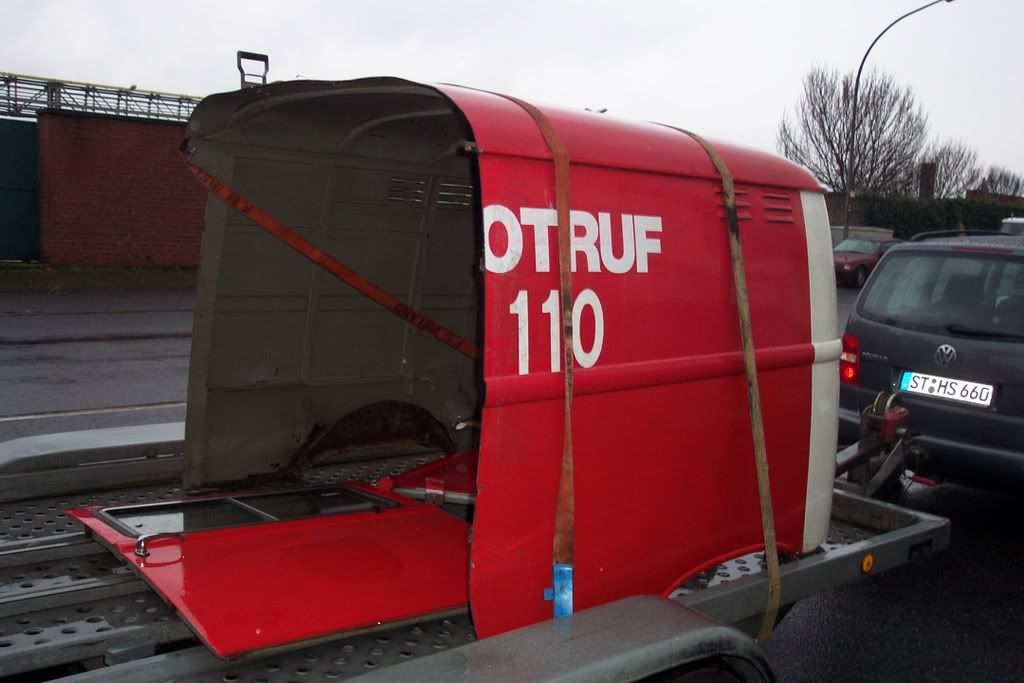
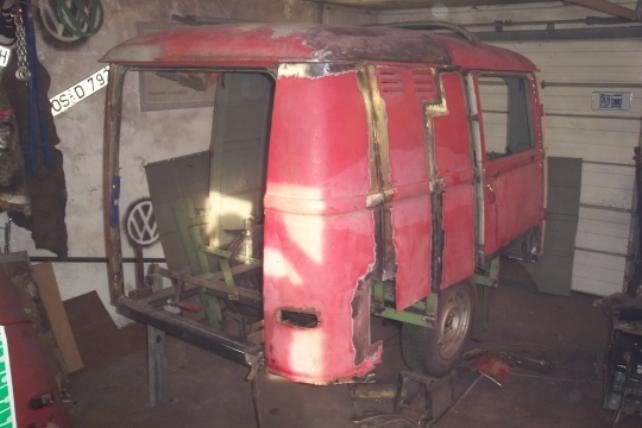
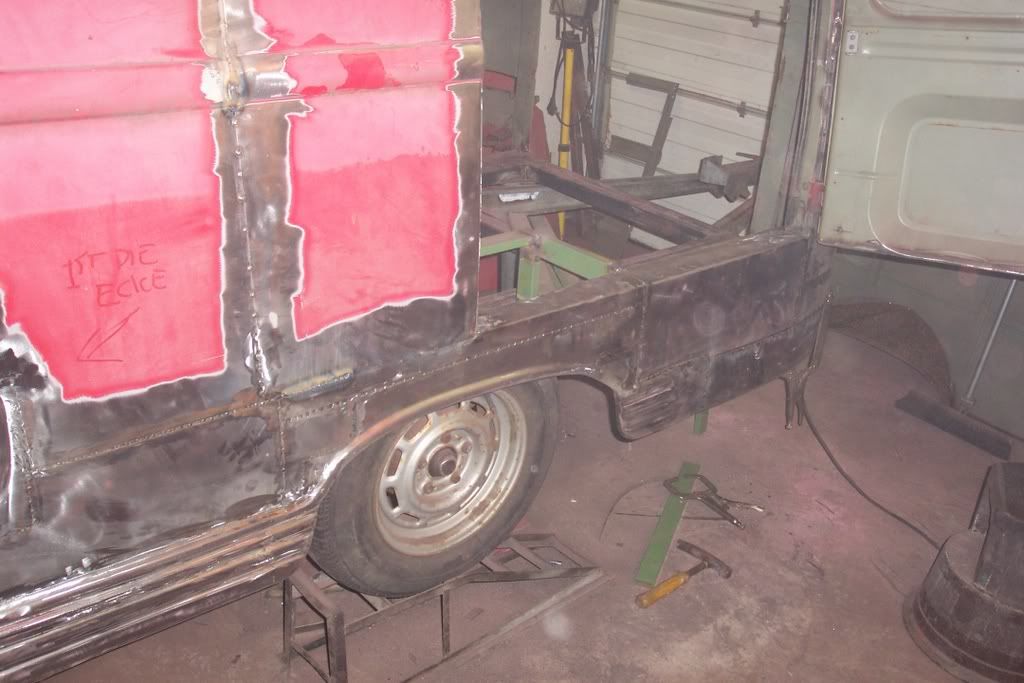
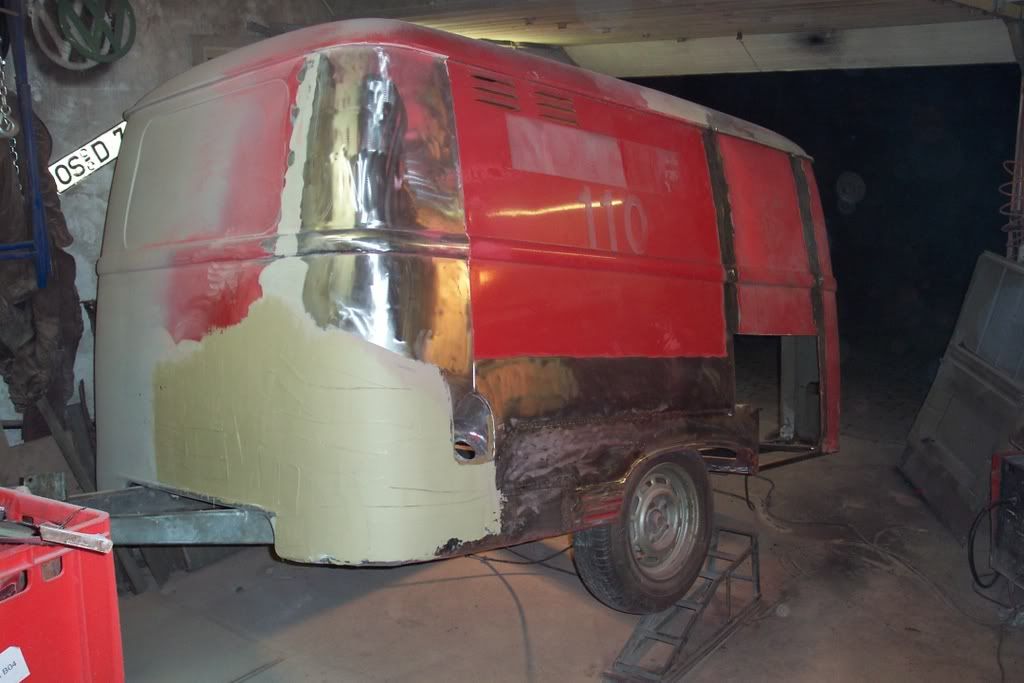
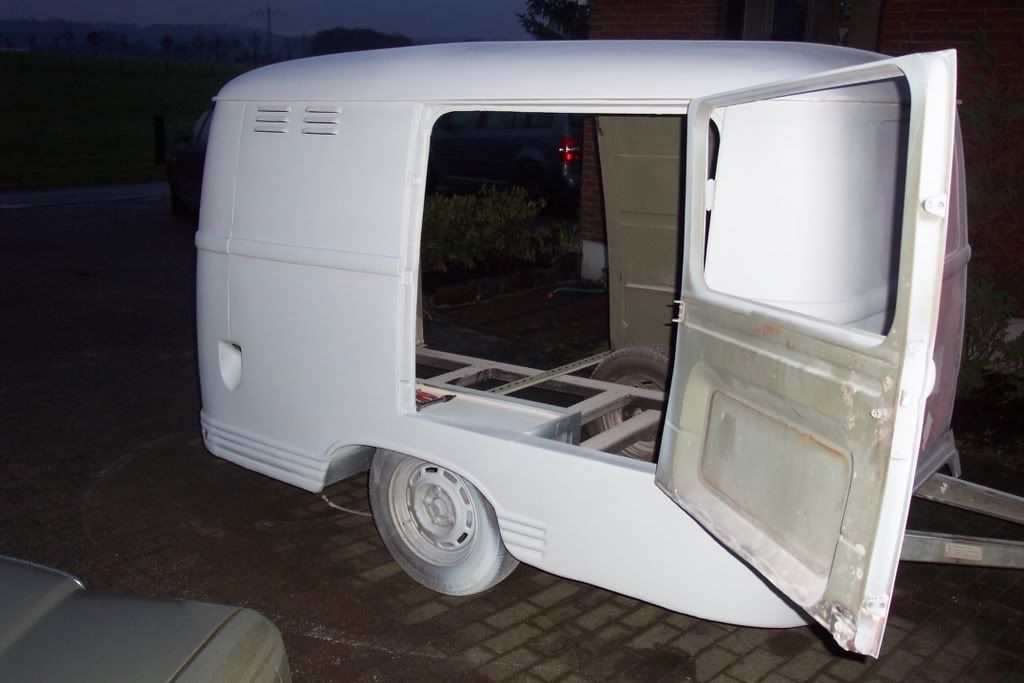
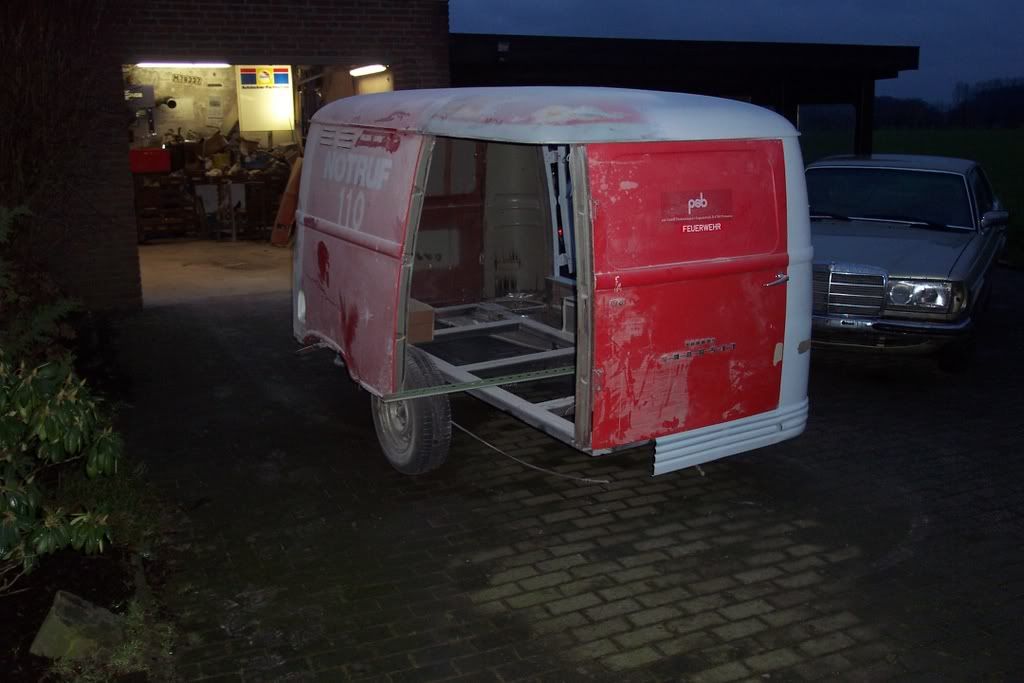
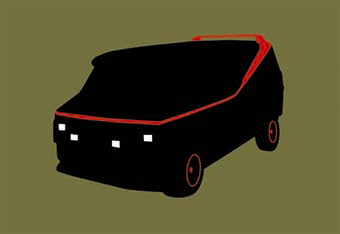
Well, it all started off last year. A couple of mates of mine from the "FOMOCO Wrecking crew" have been trying to talk me into buying a Taunus Transit for years. I wasn´t really interested as I had my Merc and a VW Splittie, but after selling the VW there was a space in the garage and I finally succumbed and bought one last September. Now since both my teeneage lads always come with me when we disappear to classic car meets, it´s nice not to sleep on the floor so we had an old Eriba caravan....  We´d restored it inside and out and with it being green/creme in colour it wasn´t going to match the new van colourwise. I don´t think it would have looked right in gulf livery so I sold it promising my kids that they only have to "tent" it this one summer until I got round to replacing I with something else. After a few (too many) beers at a classic car meet end of last season it was decided that a home-made Taunus Transit trailer would be a good idea, and it´s never been done before!!!!! As I had a spare van at home, it shouldn´t be too difficult to knock up a trailer out of the back end of a van...i thought . To start off with the spare van had to be cut in half and transported out of the garden into the garage.......     The cunning plan was to use the rear end of the spare van, organise another rear end and door, buy all the trailer specific goodies, quick paint job and sorted. Well that was the plan, but it was a load of cr@p!!! If i´d of built it that way it would have been too short to sleep in, as you can see on the picture above the amount of bodywork behind the original axle is not long enough. It would have looked something like this(sorry for the lousy picture I only have "paint" and not shop...)  If í´d have just lengthened the front that wouldn´t have worked as the proportions would have been miles off ! So I would have to bin the idea "let´s do this quickly and get down the pub" and do it properly.  |
| |
Last Edit: Jan 3, 2008 12:42:22 GMT by Oldbus
|
|
|
|
|
|
|
Sept 29, 2007 7:40:22 GMT
|
|
|
| |
Last Edit: Sept 29, 2007 7:52:34 GMT by Oldbus
|
|
|
|
|
Sept 29, 2007 8:17:28 GMT
|
|
|
| |
|
|
|
|
|
Sept 29, 2007 9:44:22 GMT
|
|
stunning
|
| |
|
|
street
Posted a lot
   6.2 ft/lbs of talk
Posts: 4,662
|
|
Sept 29, 2007 11:16:40 GMT
|
That's very skillfully done, love it!  Good on you for doing the job properly, most people would have put up with the first attempt despite not bieng satisfied with the proportions... the extra effort your putting in to build it how you visualized is commendable. It's going to look insane when it's bieng towed behind your van! Keep up the good work  |
| |
|
|
|
|
|
Sept 29, 2007 17:01:29 GMT
|
|
As said before this morning Dave, what a lot of work.
Well done.
|
| |
|
|
redgt2
Part of things
  praise the lowered!
Posts: 863
|
|
Sept 30, 2007 21:50:56 GMT
|
|
good stuff going on there.....like it!
|
| |
|
|
|
|
|
|
|
|
|
|
thats look class, top work mate, u have far too much cool stuff
|
| |
|
|
|
|
|
|
|
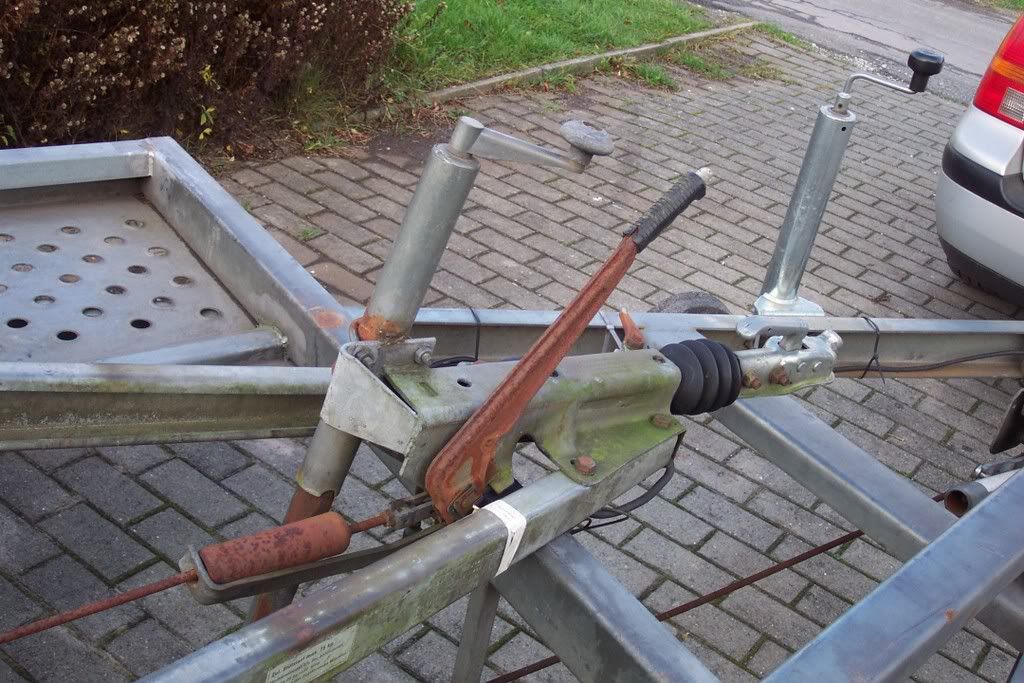
Thanks for all the compliments guys, as i´m on holiday this week i hope to get the most of it finished. Now all the welding´s done the worst part starts, prepping everything for paint. Am I the only one who hates doing this? Apart from the fact that i´m not very good at it, it just drags on and on...  you think "one more layer filler will do "Slap on 200 grams - sand off 199  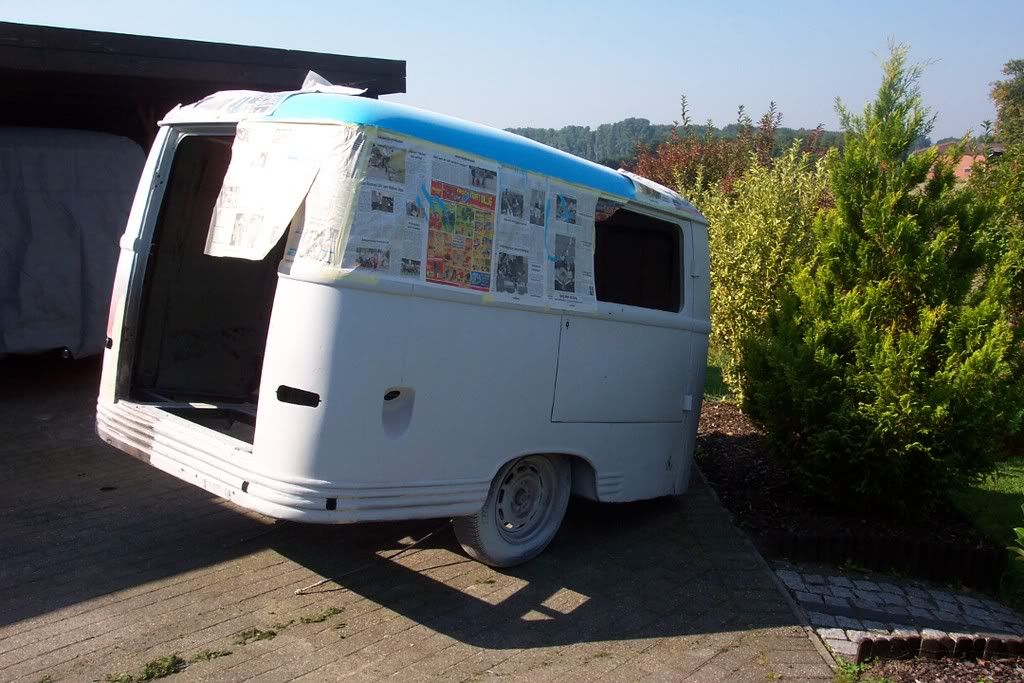 To speed things up I decided to spray the bottom half in stone chip covering and then paint it with a brush. 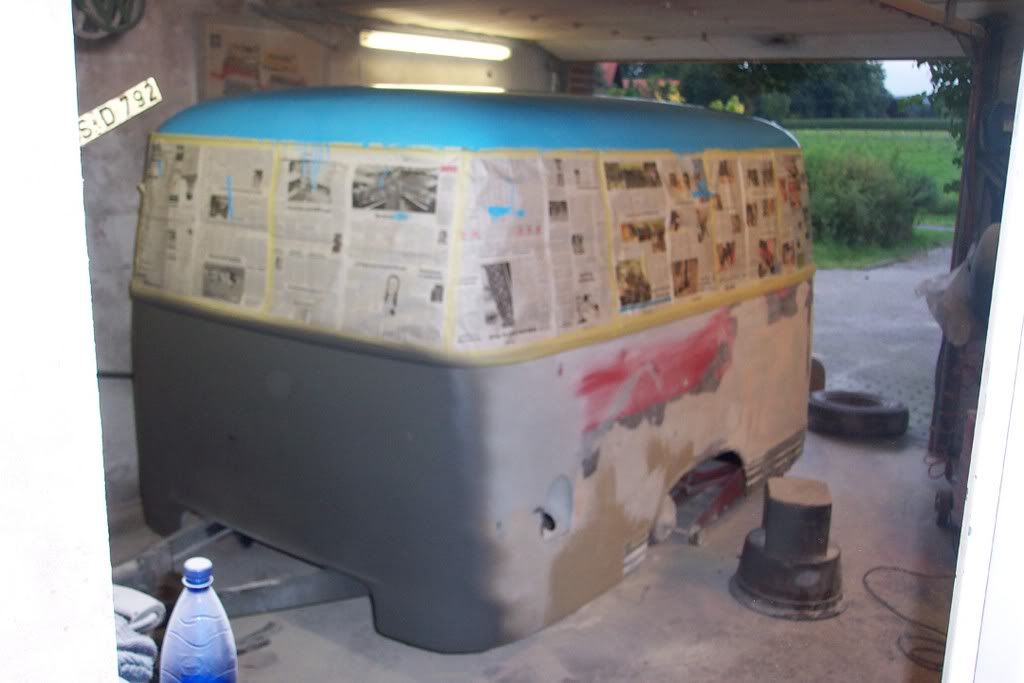 still took me ages and it´s not perfect but at the end of the day it´s only a trailer.... I would have stonechipped the whole bloody thing but the stickers probably wouldn´t stick properly so I had to do the orange bit properly...  After rolling the blue paint on the bottom half I masked off the middle bit and sprayed it black to match the van... 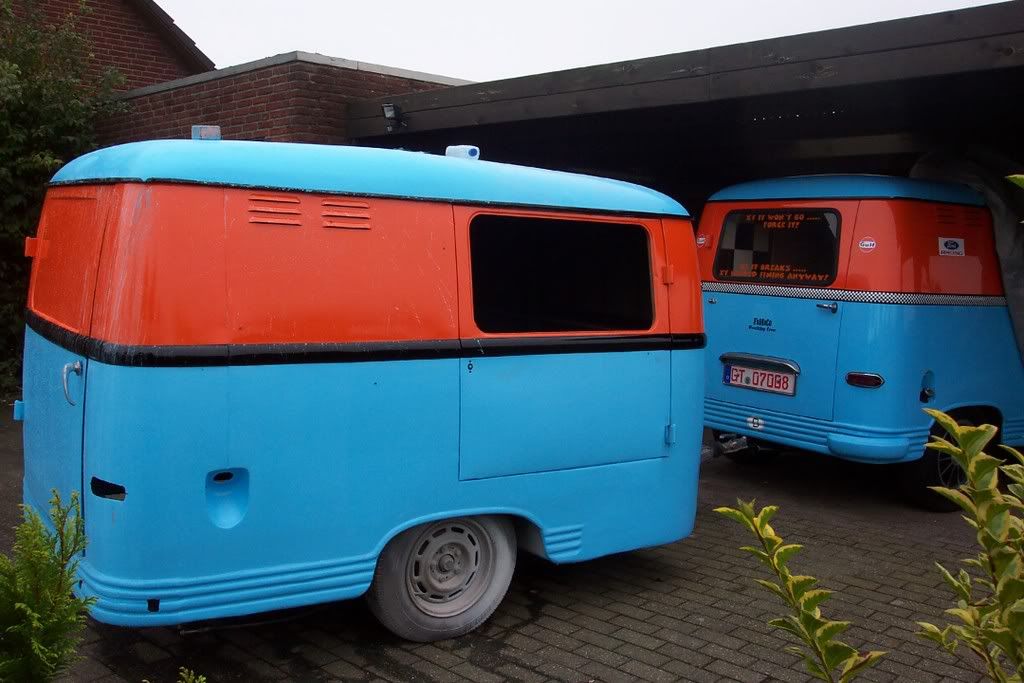 I then hooked the trailer up to the van for the first time ever... 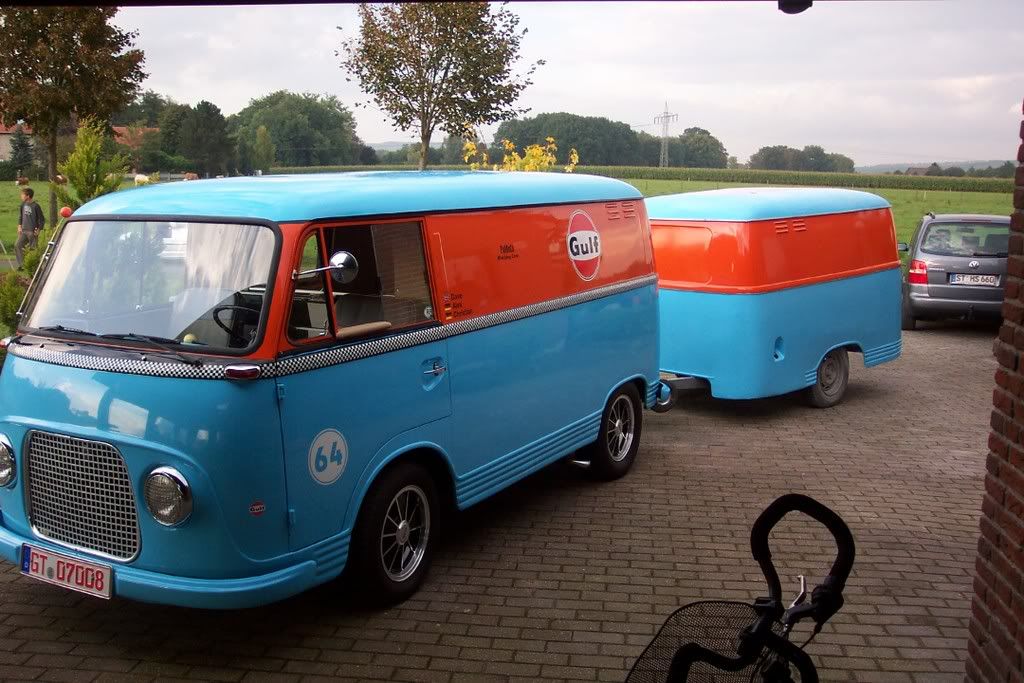 It´s getting there slowly but I not happy with the angle of the trailer once it´s on the towbar. It´s too low at the front which leaves me with four options. 1. Ignore it 2. Dismantle the freshly painted Towbar, cut it all to bits and reweld it together at a different angle. 3. Raise the back of the van by 6 inches 4. or think of something clever and change something on the trailer. Well after lying on the floor for ten minutes under the van there was no way I was going to cut holes in the back and remake the towbar and after spending a whole weekend last winter slamming the thing there´s no way i´m going to raise it again. So either ignore it or cheat. I cheated..... Before...... 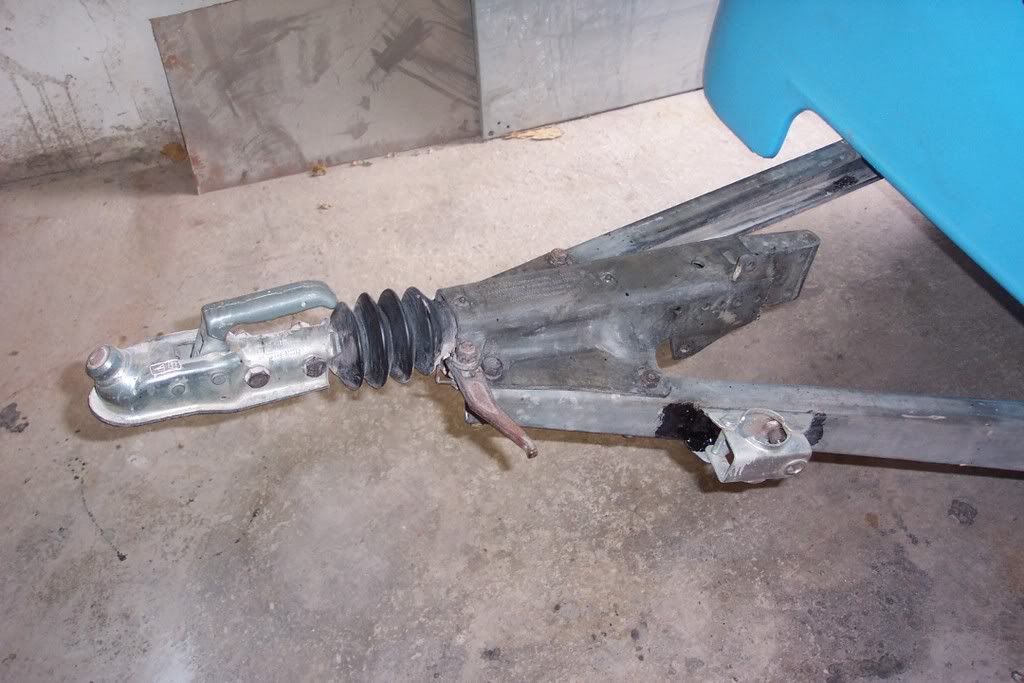 After..........  Normally the handbrake mechanisum is fitted on top of the trailer frame...by fitting it underneath I won 4 inches and that´s close enough for me..... The trailer now has the same slight angle that the van has......... 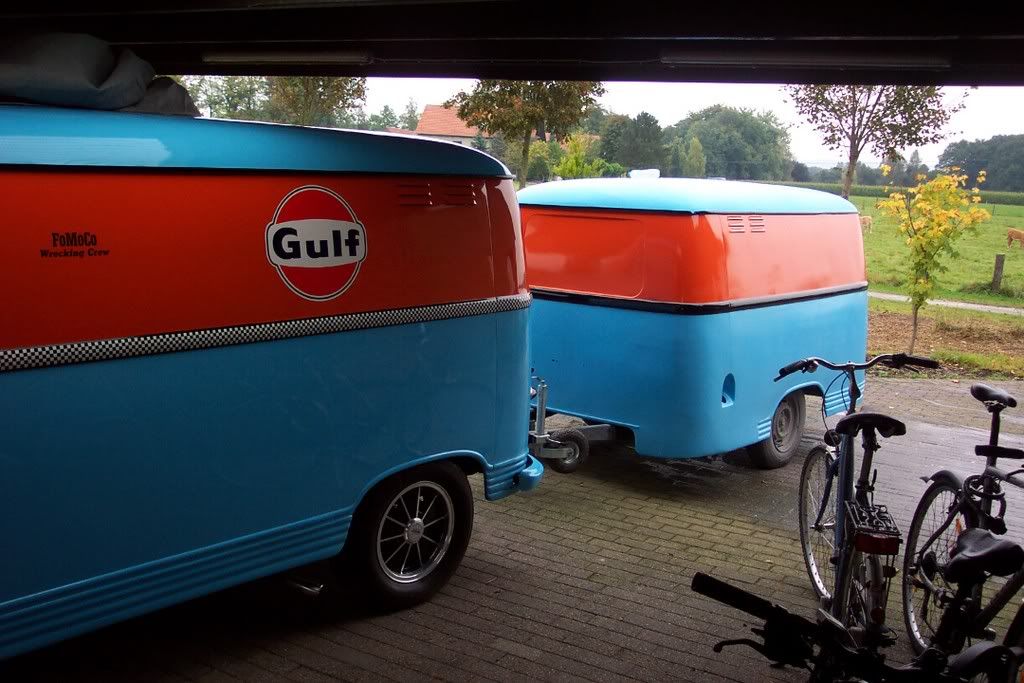 |
| |
Last Edit: Oct 1, 2007 19:31:59 GMT by Oldbus
|
|
|
|
markbognor
South East
 
Posts: 9,970
Club RR Member Number: 56
|
Taunus Transit Trailer markbognor
@markbognor
Club Retro Rides Member 56
|
|
|
|
Looks great. cant wait to see you plans for the inside too.
Where are you getting you 5x112 BRM reps. Is it through MWS in the UK or some other manufacturer. I'd love some more for the benz but have been put off by the quality of the ones i can find in the UK from MWS.
|
| |
|
|
|
|
|
|
|
|
Looks beautiful, love the doors. going for a complicated interior or just some where to sleep?
|
| |
|
|
|
|
|
|
|
Thanks guys. Mark, i got the 5 x 112 BRM reps from www.bugwelder.com/He was at a VW meet in Geeste in spring and as one of the "Wrecking crew" has a splittie we go there every year. He´s the only one i´ve found that do them in 112 so i wasn´t really spoilt for choice. The quality is ok but i think he ordered then from the UK. Not sure from whom though, otherwise i would have oredered them there too. Terraroot, not too sure which way to go on the inside. origianly i was planning to just throw in a matress and that was it but my mates have talked me out of it. I won´t be doing it the same as the van tjough because i want to use it without worrying about it. Something ´ll come up.......any ideas? |
| |
|
|
|
|
|
|
|
|
Good morning Dave,
Great progress.
Your solution for the ride height of the trailer is not only simple, but ingenious, I guess thats why I will never be an "engineer" I was thinking, body off, cut 'n shut, section , not raising the van, but flipping the front section makes all simple sense, and at the end of the day, thats what this is about, simple solutions, so as not to re-invent the wheel.
I raise my hat to your solution.
|
| |
|
|
|
|
|
|
|
|
Fantastic. Nice work Dave!
|
| |
1986 Citroen 2CV Dolly Other things. Check out my Blog for the latest! www.hubnut.org |
|
|
|
|
|
|
|
look brilliants mate, i really am feeling the need for one of these vans now too
|
| |
|
|
Seth
South East
MorrisOxford TriumphMirald HillmanMinx BorgwardIsabellaCombi
Posts: 15,543
|
|
|
|
That's lookig super cool now its in paint! I'm in awe of the dedication and work you've put into it!  |
| |

Follow your dreams or you might as well be a vegetable. |
|
|
|
|
|
|
trg1984 If you really want one, give us a shout. There´s a lot of cr@p out there and spares are a nightmare. Maybe i can help you find a decent one.....? Seth, not too sure about the dedication bit mate. Once you get started you have to finish it off! ;D Thanks for all your support, helps me get my act togehter and the bloody thing finally finished and out of the garage so that i can start the running gear swop on the van! As i´m on holiday at the moment so i´m getting quite a bit done at the moment. Here´s a little update.. Got the black stripes sprayed on.... 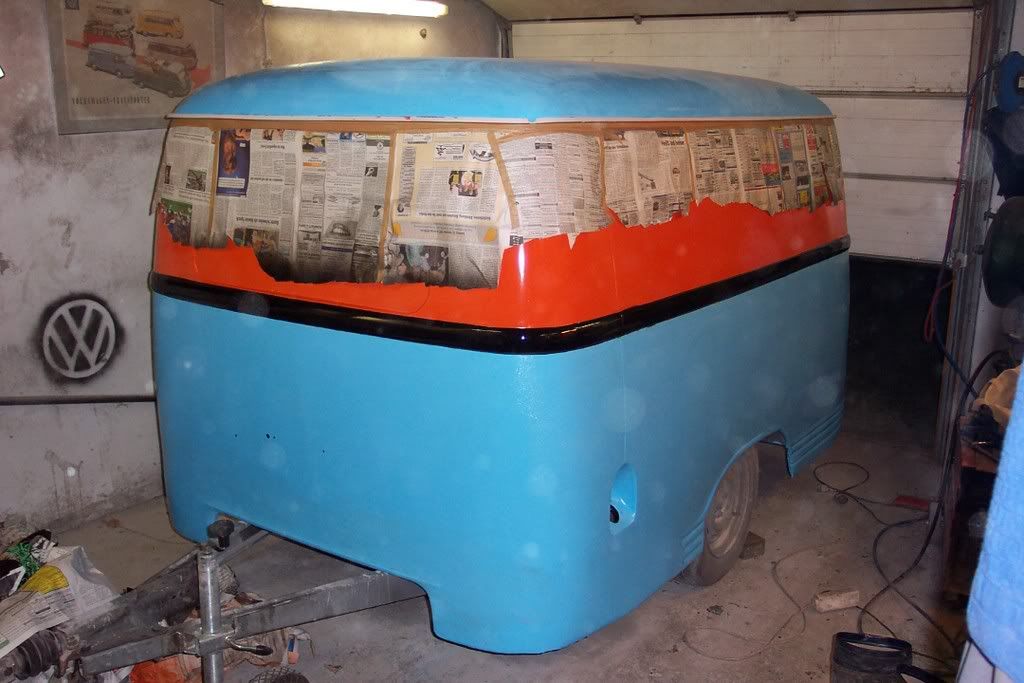 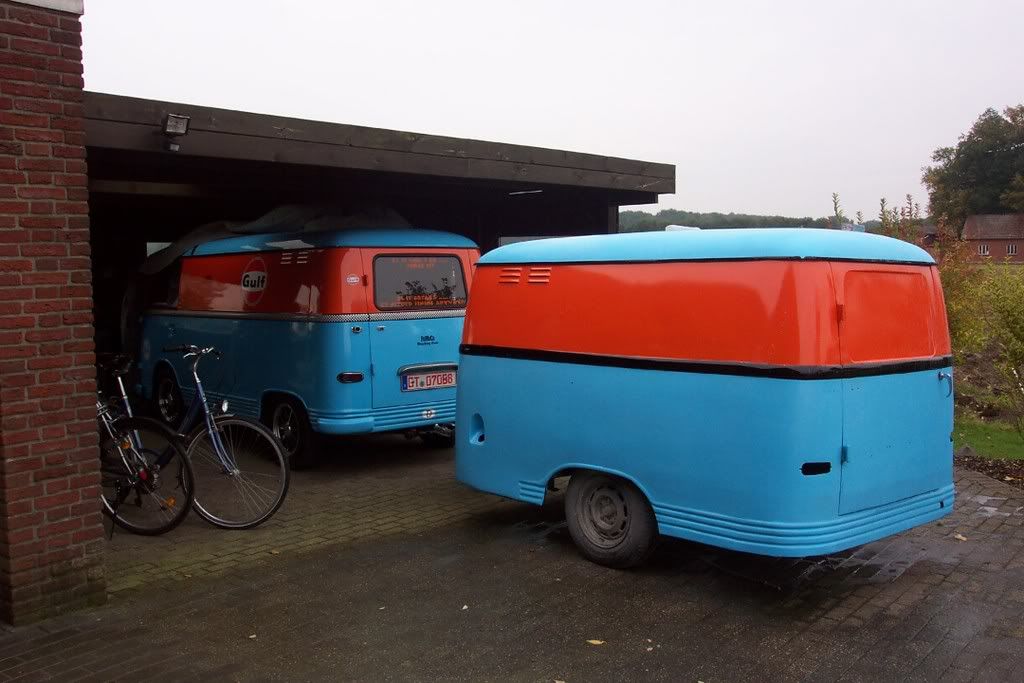 and once the paint was dry started using up all the stickers i´ve had lying around the bedroom for months. The checkered flag look is black paint with white square stickers and is quite easy to apply as long as you don´t get distracted.... 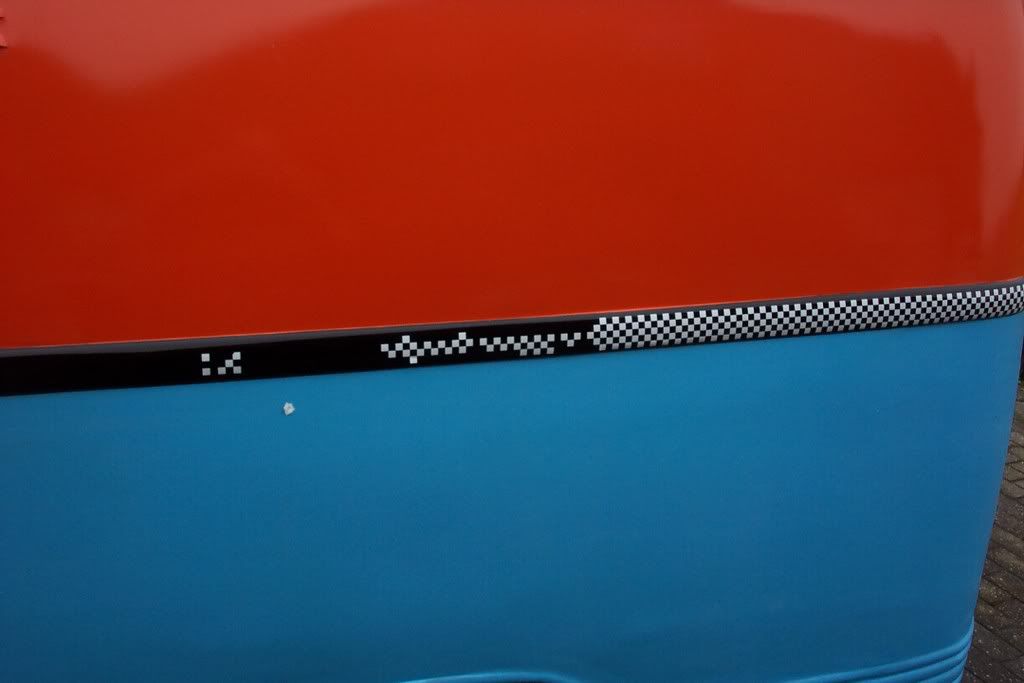 you´ve only got one chance and if you get it wrong you have to grow some fingernails quick and scratch off every white cube individually! On the trailer i´m not too bothered about everything being 100% but on the van it took me ages because i kept getting it wrong. the Gulf stickers are in three parts... 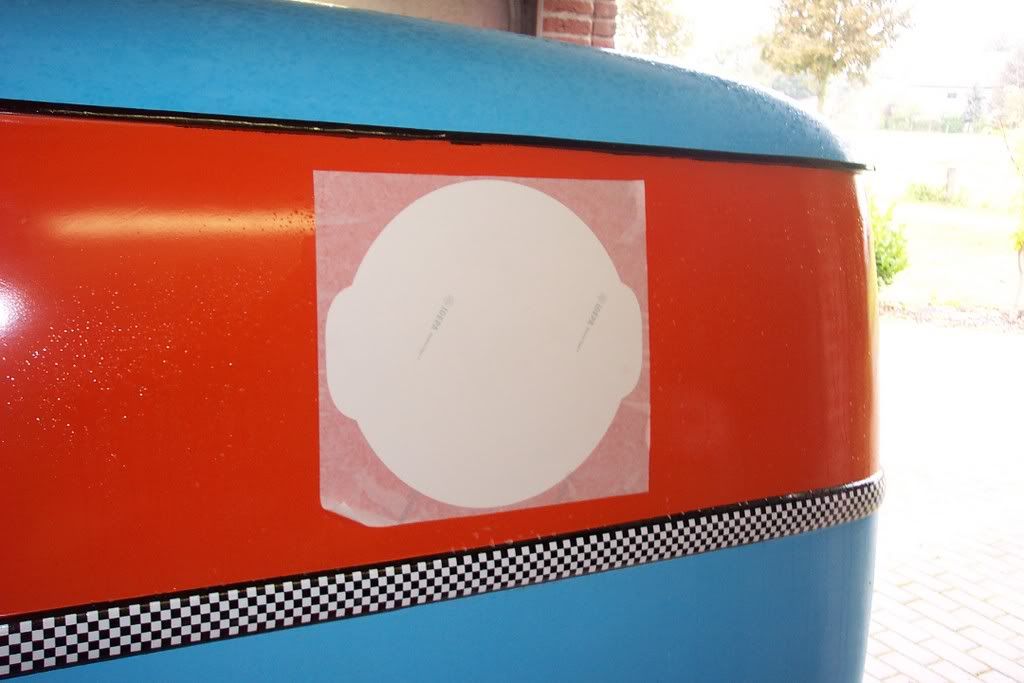  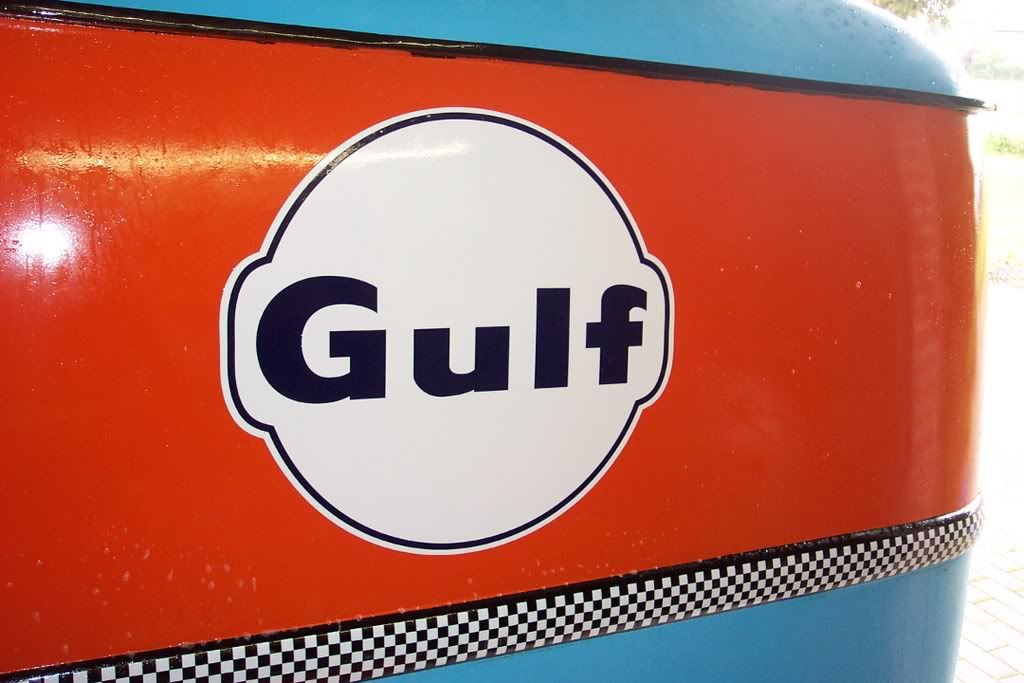 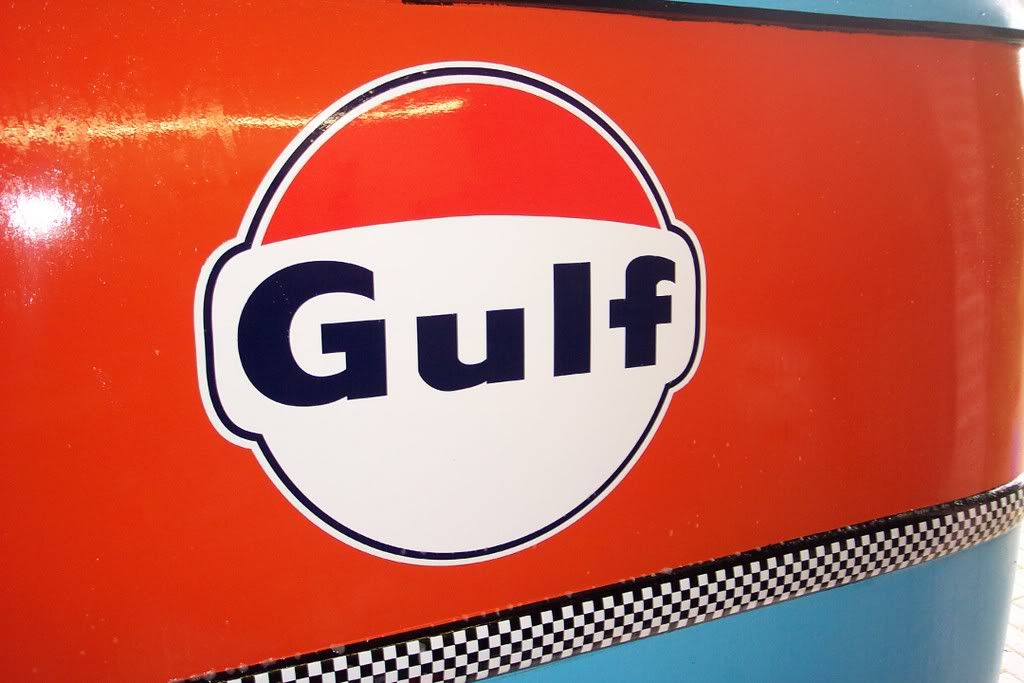  and after getting the first two on the van wrong and having to rip them off and start from scratch (at 10 Euros a go!) i´ve now got the hang of it. Here´s the rest... 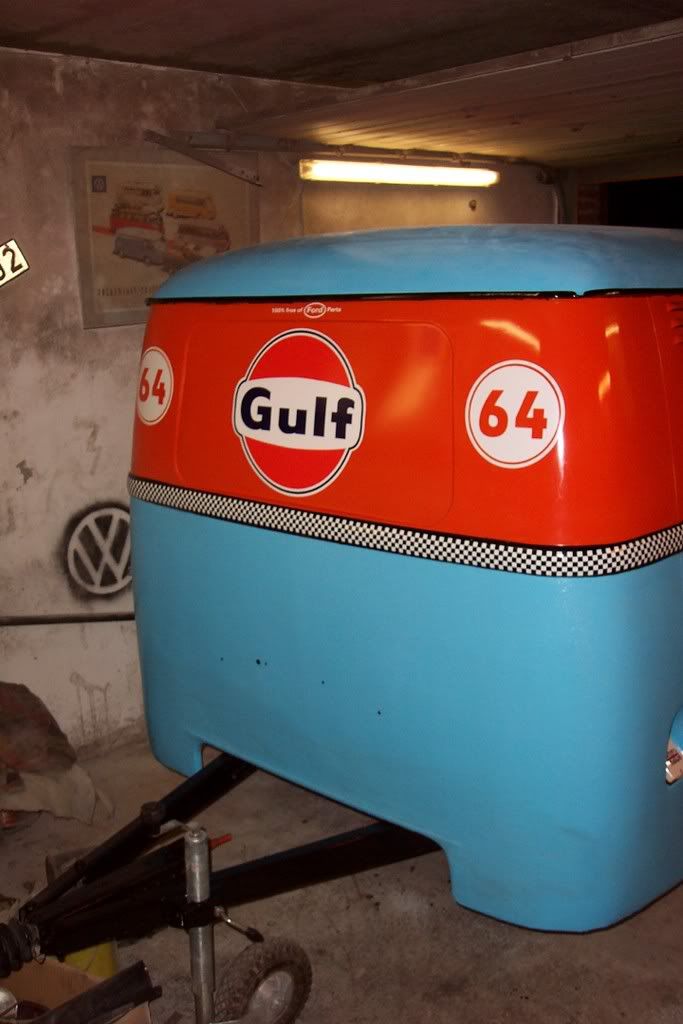 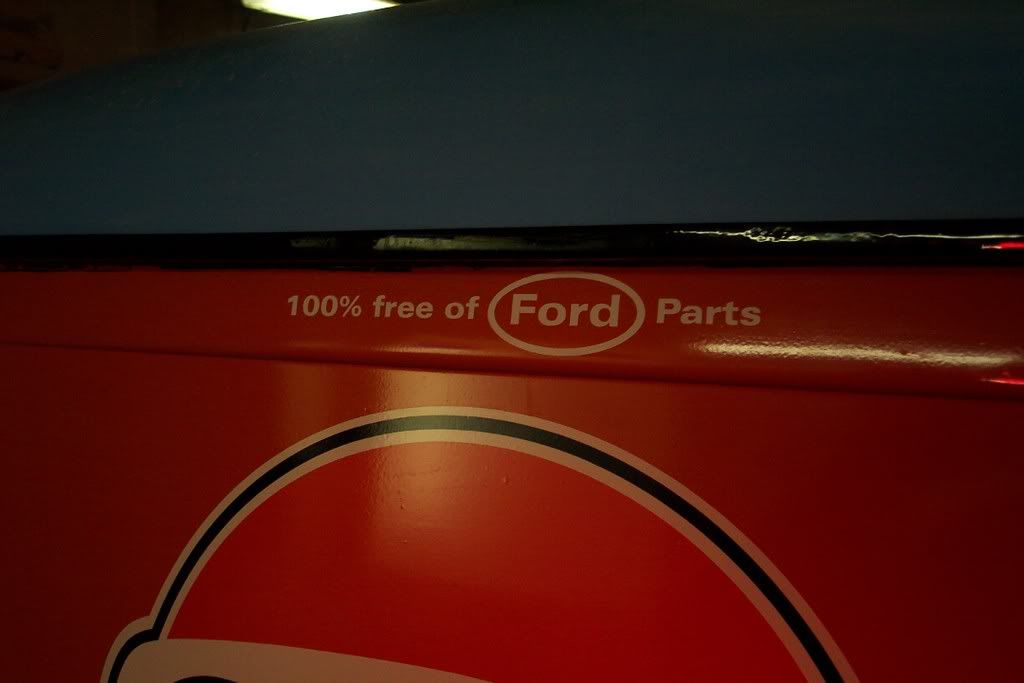 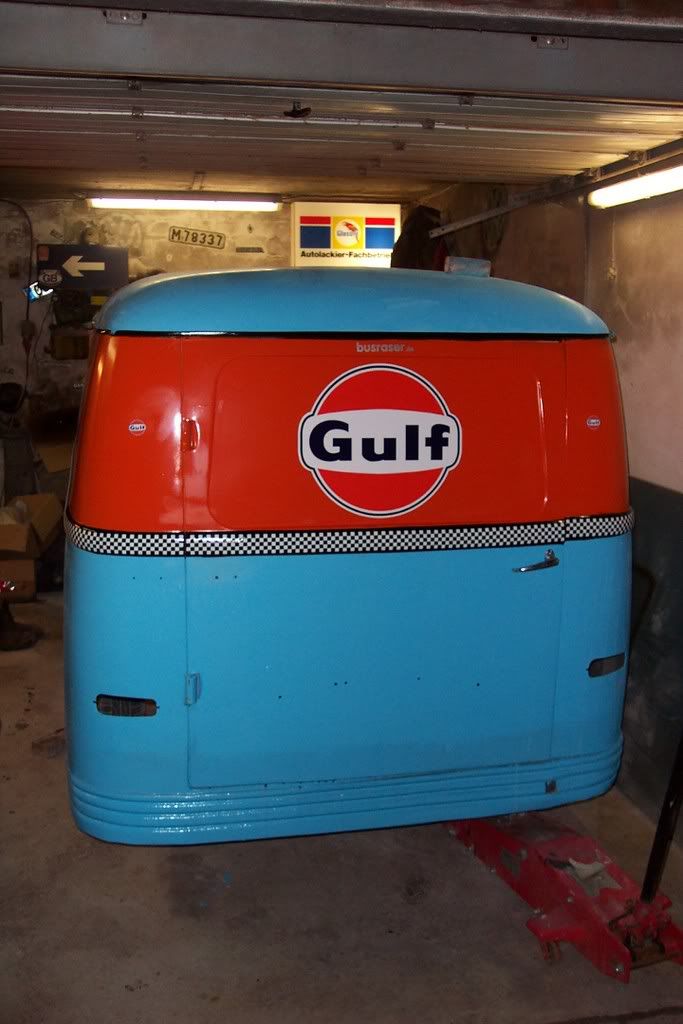 and with this one it´s now official, i´ll have to bring the trailer to RR08 ;D 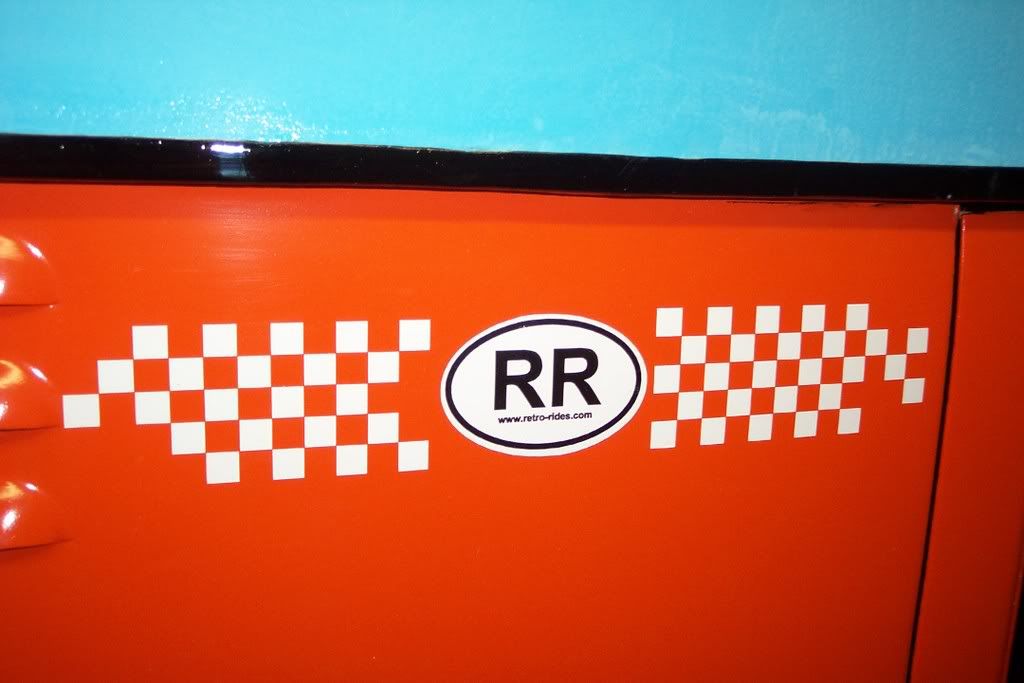 |
| |
|
|
|
|
|
|
|
|
Now that is absolutely the dogs curse word !!
|
| |
|
|
|
|
|
|
|
Another day off spent in the garage (best way to spend your holidays if you ask me (and not the misses!) Who was it that said "at the beginning of every cockup is an assumption!" Well whoever it was he was right. I thought i´d start the day by fitting one of the new wheels to see if i´need spacers or longer bolts or not. Normally not a problem, that is assuming your new, purpose bought wheels fit the hubs!!!Bought these..(Mark, they´re from MWS!)  so that they would match these.....  My normal everyday trailer is 5 x 112, my mates cartransporter that i borrow and regularly fix is 5 x 112, my neighbours trailer that i have borrowed in the past is 5 x 112 I assumed the PCD on my trailer was 5 x 112 but after 10 minutes of trying to fit them i gave up and realised whilst sat next to the old wheel.... 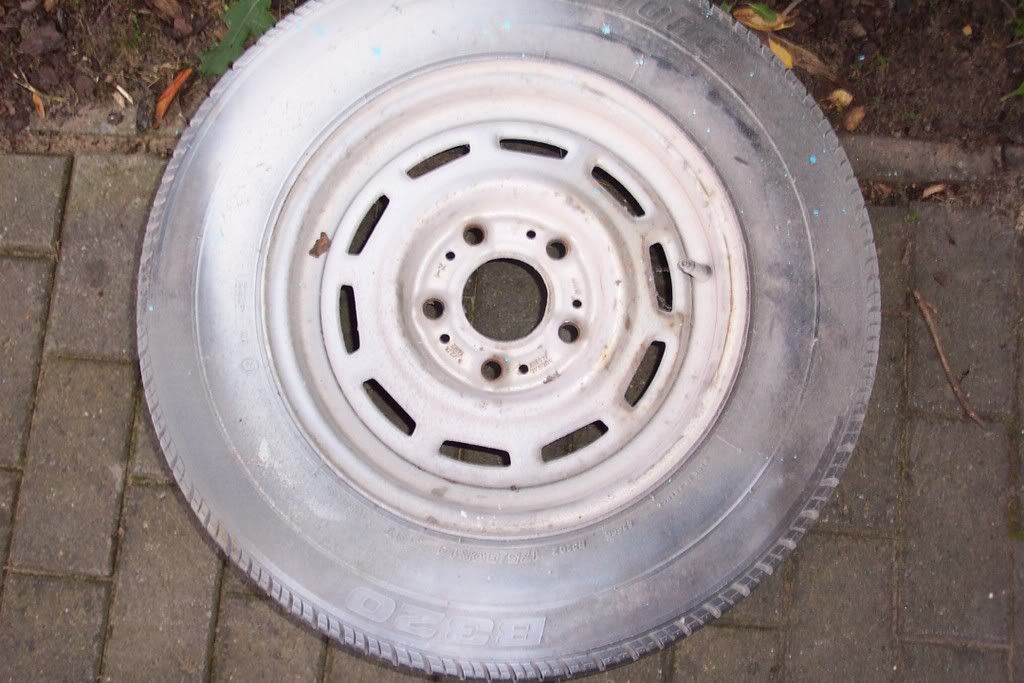 that they are from a BMW!!!!! Must be getting senile , it even says BMW on them. So there i was sitting on the drive with new wheels /tyres that don´t fit, wondering what to do next. Option 1 Set fire to the whole f*cking lot and go down the pub! Option 2 Ignore it, go down the pub and hope the problem would sort itself out Option 3 Spend a lot of time and money and try to find some PCD adapters from 5 x 120 to 5x112 Option 4 Whip off the hubs and redrill the holes Well to cut a long story short.... 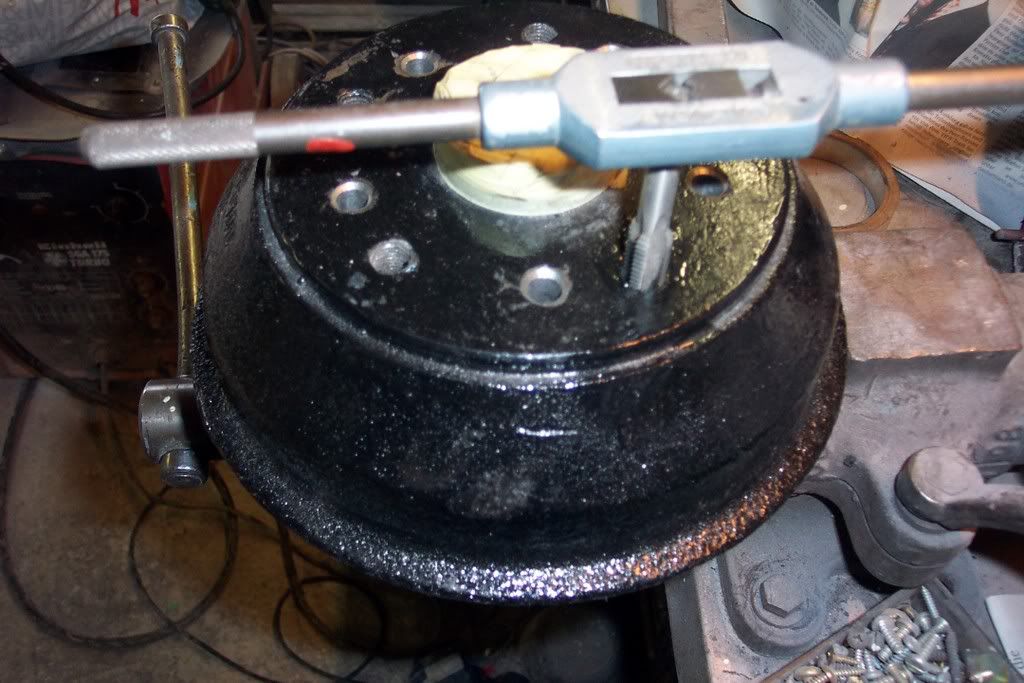 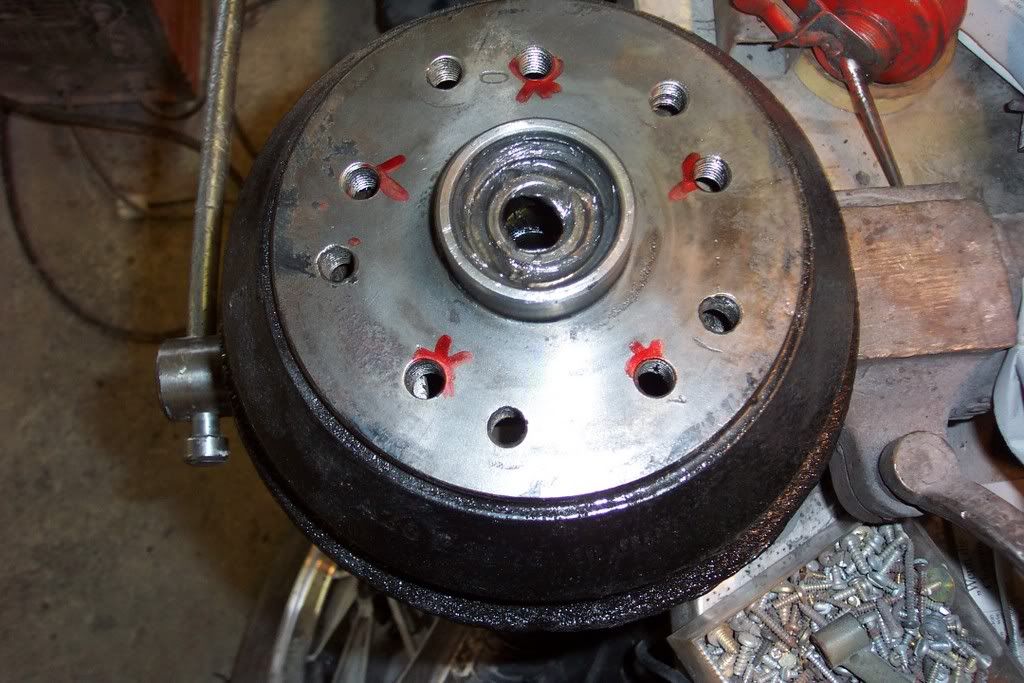 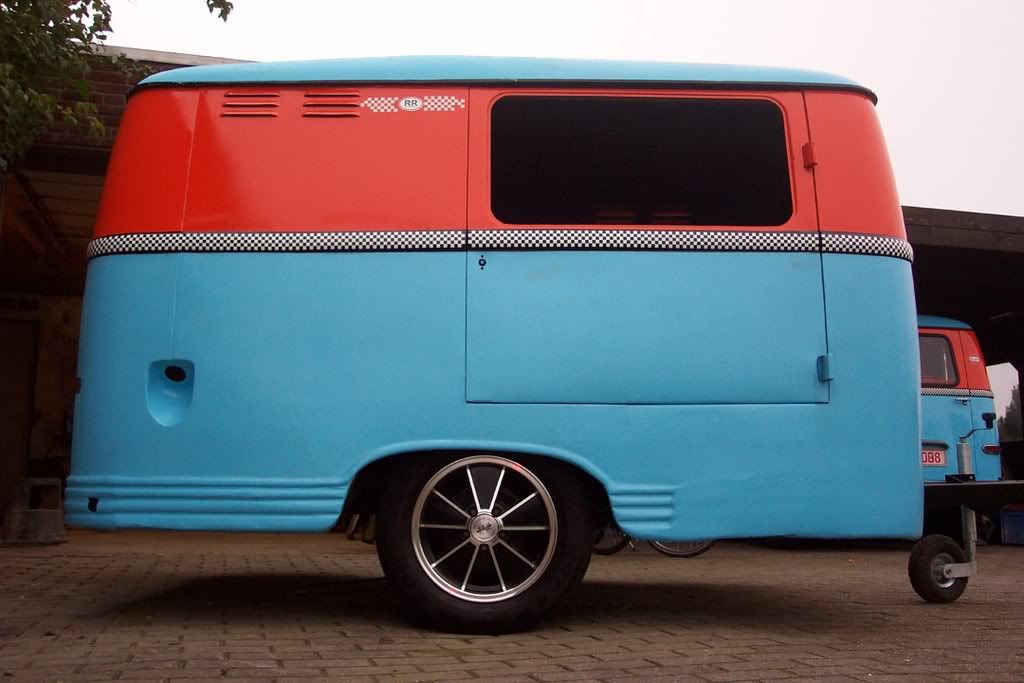 i wouldn´t have risked it without a lathe normally but it´s only a trailer so hopefully it´ll work out. As the weather turned really nice this afternoon i was able to finish painting the roof. I had to flatten the paint back and have been waiting for some decent weather to put some lacquer on it. 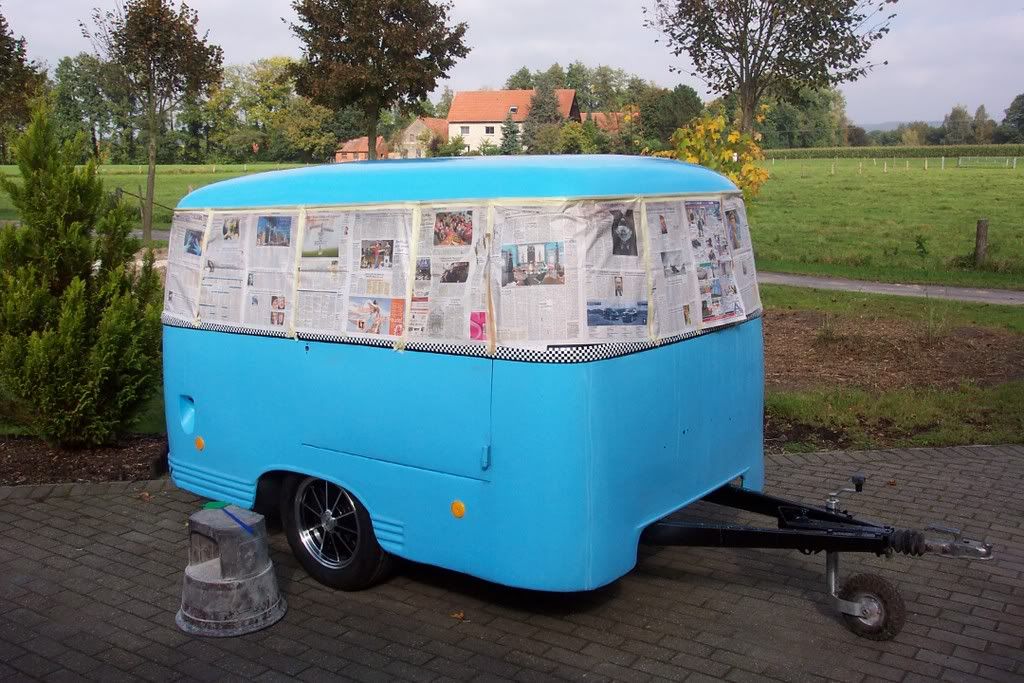 With that out of the way i could get stuck into some of the small details. This is a rear numberplate light that i´ve fitted to the front to optically break up the front...(if you know what i mean) 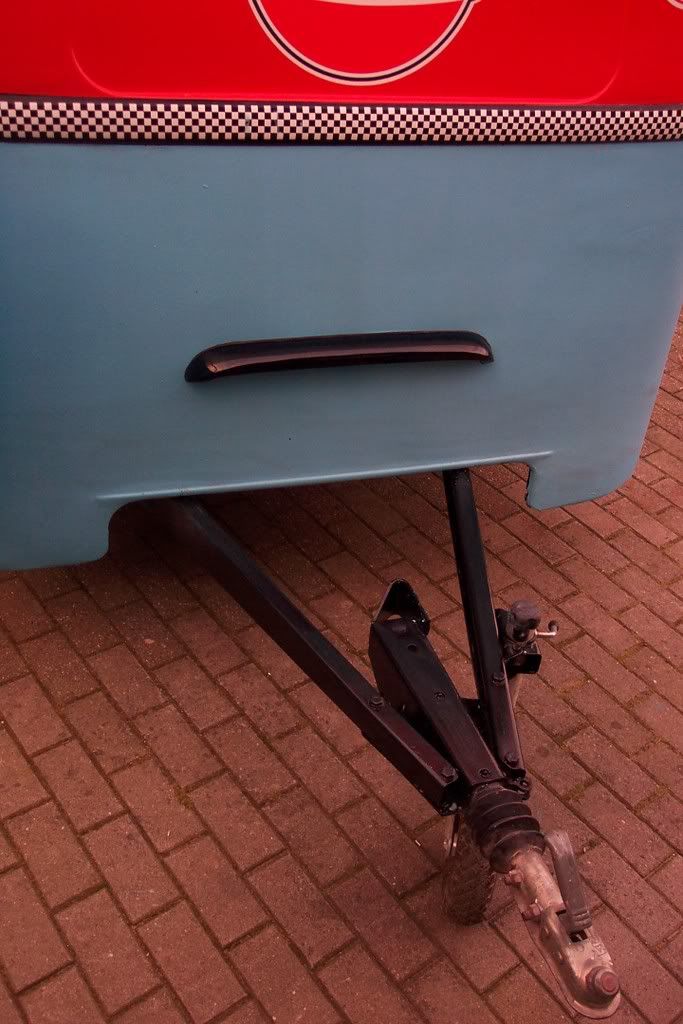 The other one gets fitted to the rear door and has three lights in to light up the numberplate. 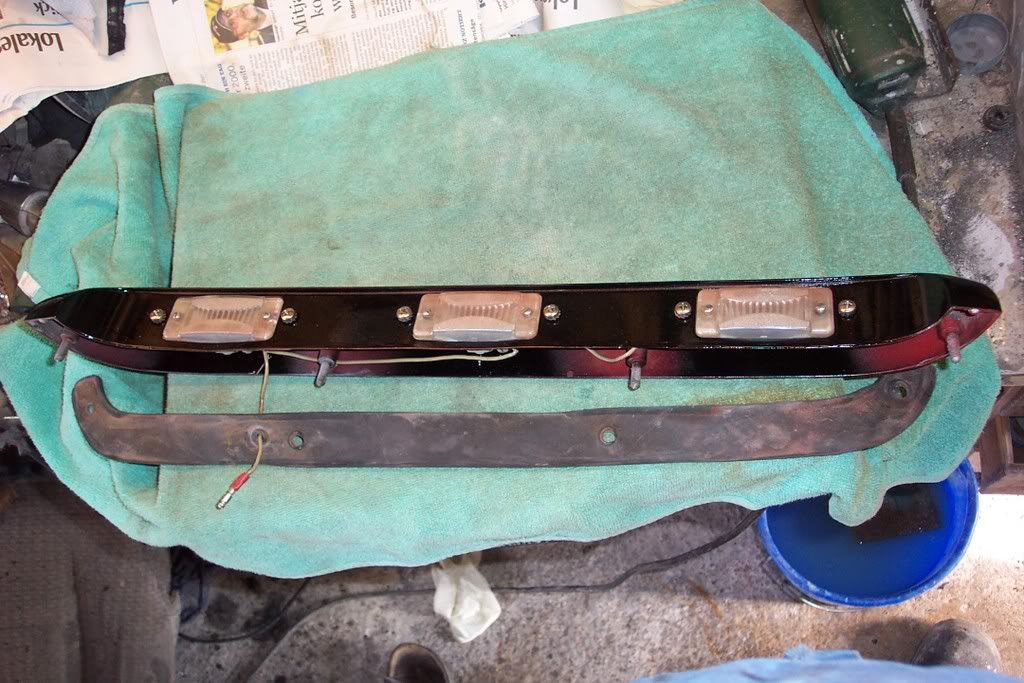 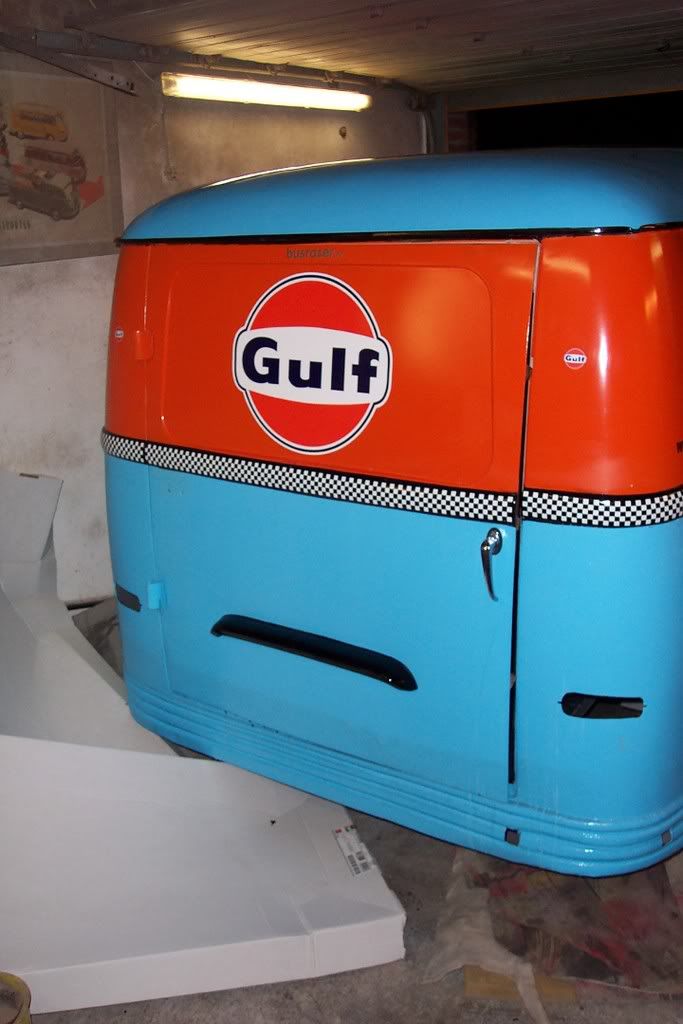 more tomorrow! ;D |
| |
|
|
|
|


