tomw
Part of things
 
Posts: 103
|
|
|
|
Thought I should update this as I haven't done in a while! I moved up to Edinburgh (from near Sheffield) in September to go to University so progress has been pretty slack really. I'm home every month or so so managed to get a little bit done. Here's some general pics to hopefully entertain everyone! Comments welcome.... And matt, I have (and am still) seriously thinking about reveneering the dash plate! 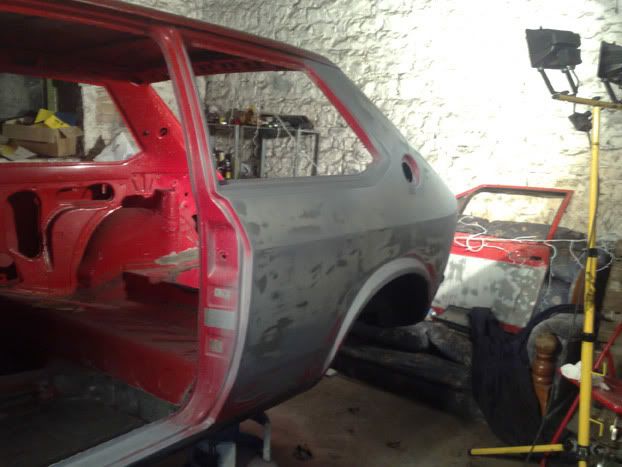 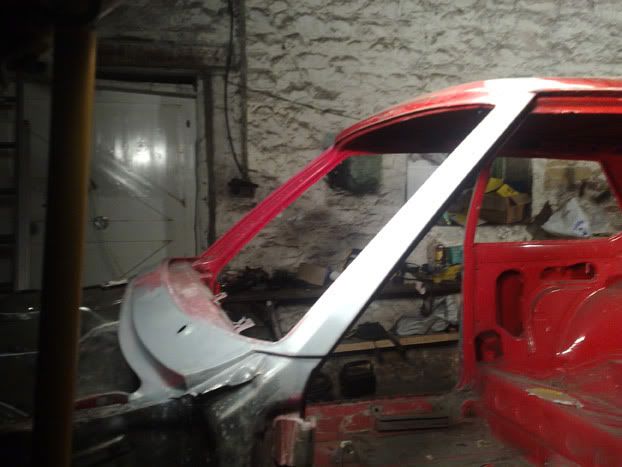 Mainly been layering some primer on the bare-metalled bits to keep it safe while I'm away. Managed to get the pans sorted over Xmas. 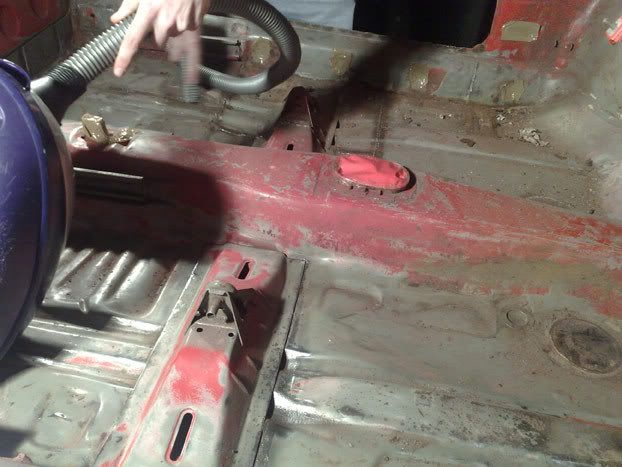 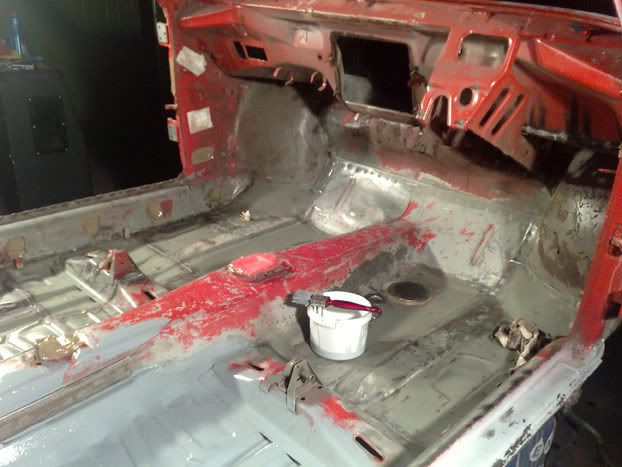 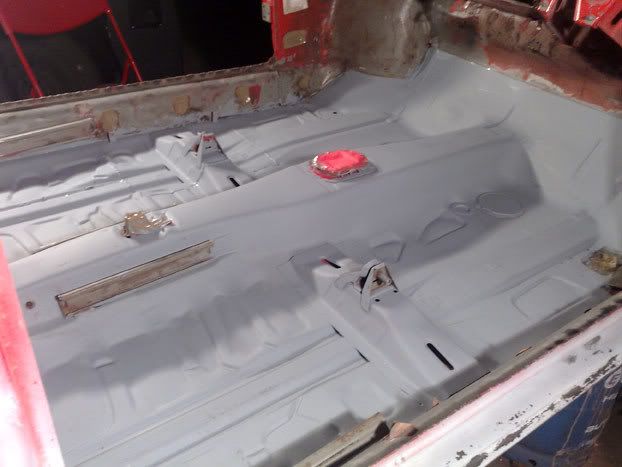 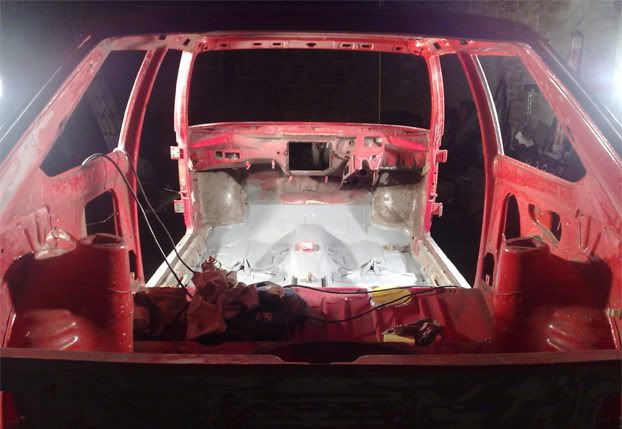 Also I've bought this 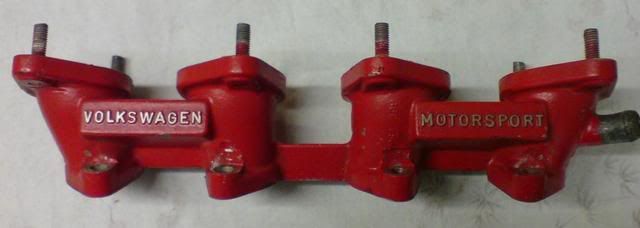 going to go for twin 40s, I cant resist! Also planning a Golf 1.4 bottom end (bolts straight up to the 1.3 head) Piper cam and 4 branch etc. Should make quite a healthy power, and noise :-D |
| |
Last Edit: Apr 12, 2008 11:31:11 GMT by tomw
1977 VW Polo Mk1 (under restoration)
1986 VW Polo Mk2 Saloon (daily)
|
|
|
|
tomw
Part of things
 
Posts: 103
|
|
Apr 12, 2008 11:58:20 GMT
|
UPDATE TIME  Got loads done over Easter and have really got my motivation back, so heres some pics of whats been going on... Picked up this (in the boot of the saloon ofcourse) from Newcastle on my way home from uni. Got ridiculously lost in the city centre at rush hour, which wasn't enjoyable, but made up for it when I was told what power it made with its previous cam and bike carb setup  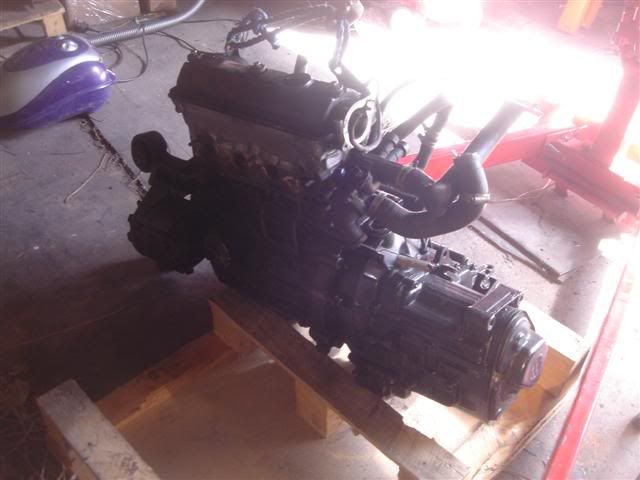 Its the engine I wanted to put together myself, Mk3 Polo 1300 GT head and Mk3 Golf 1400 bottom end. I already had a full 1300 GT and was going to scour the scrappies for the bottom end at Easter, but I saw this up for sale, and its all fairly low-mileage, with a little bit of headwork too. So couldnt say no really! Ofcourse I couldn't wait to trial fit the package which was waiting for me at home... 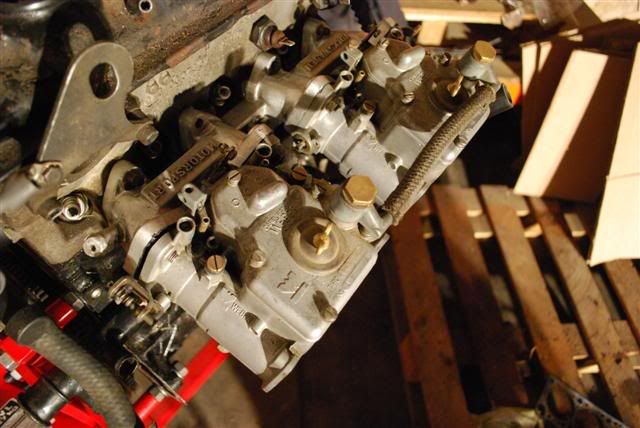  I'm after all the associated fueling bits to set them up, I've put a wanted post up and would really appreciate it if anyone could help me. retrorides.proboards86.com/v45index.cgi?action=display&board=FSW&thread=38721Shell-wise quite alot has been happening too. Nearly all the interior is in primer and all the welding on the floor has been completed. Battery tray 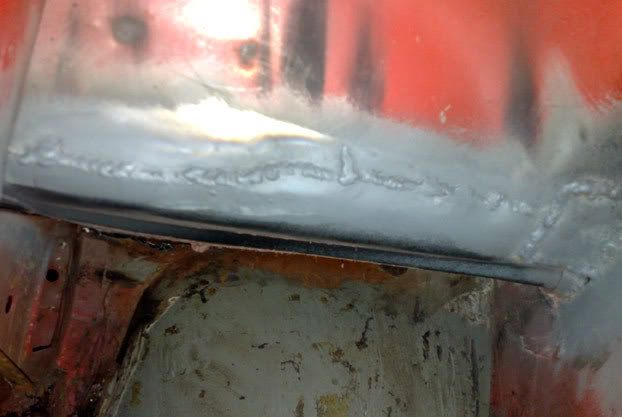 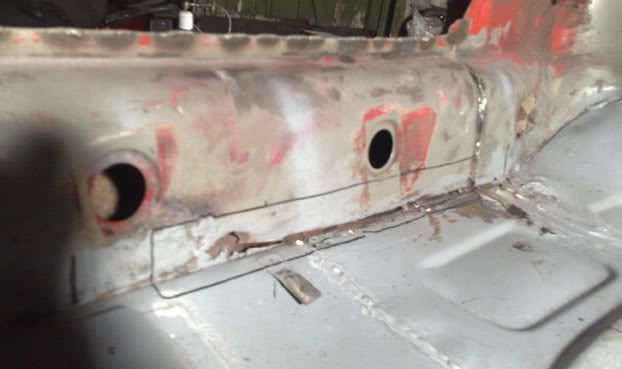 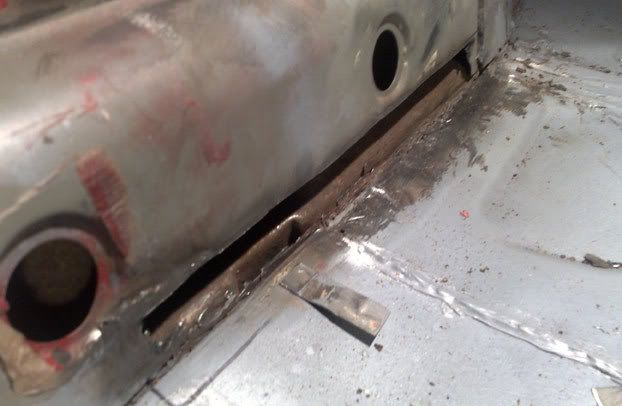  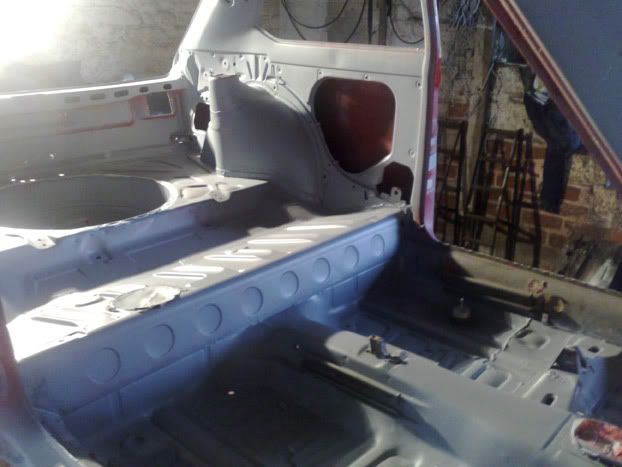 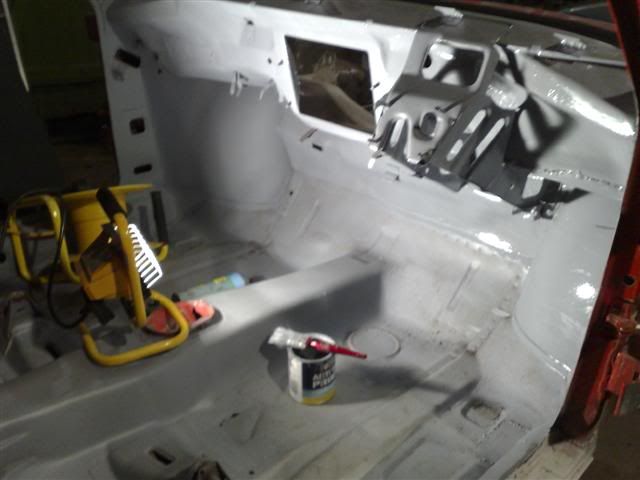 Just need to attack the old adhesive on the roof not and primer that. Then its ready for a decent coat of primer and paint  Outside quite alot has been going on too. Removed the rear valance as it had a nice dent from the towbar (the car had a 895cc engine std, whats it going to tow!?) 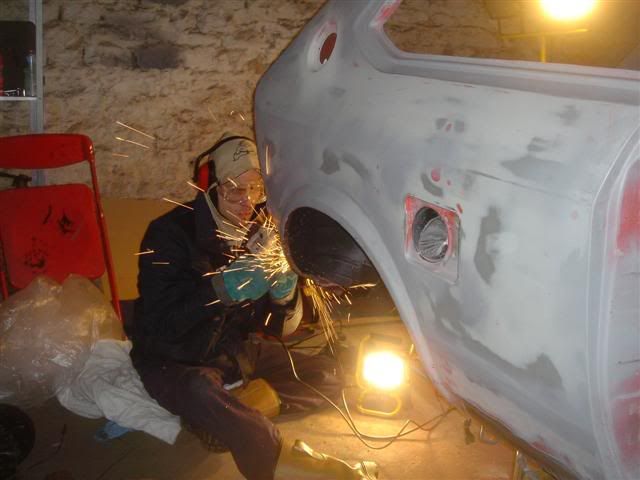 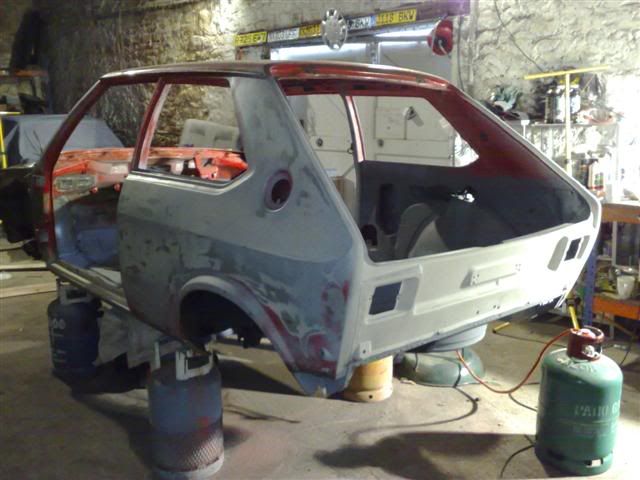 Copy arch repail panel bit fits nice aswell 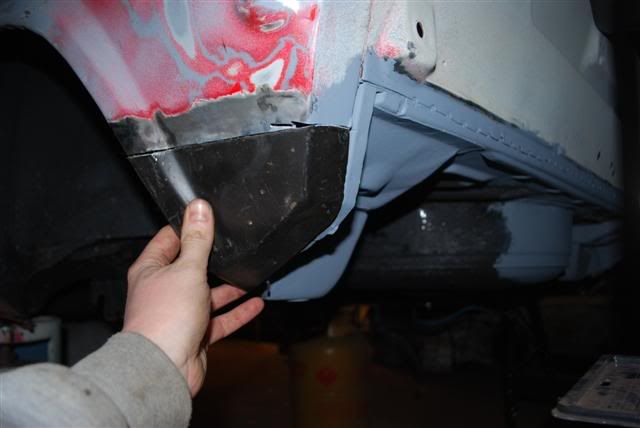 This all awaits welding next time I'm home. And to the front of the car. The inner wings had been bugging me for ages, they were really rotten and needed to be replaced. But no repair panels here, just some sheet metal and a hammer  Before 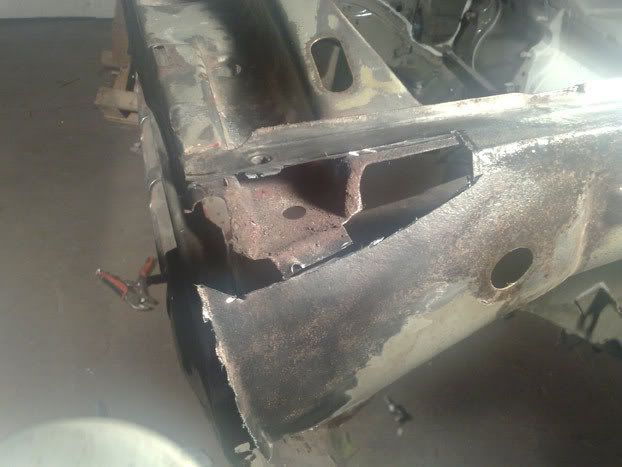 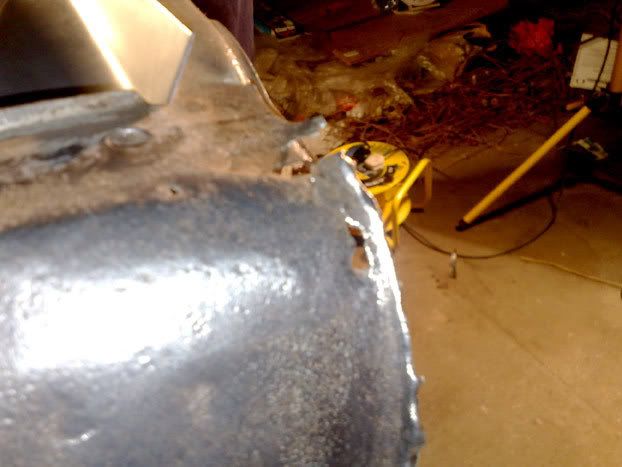 After 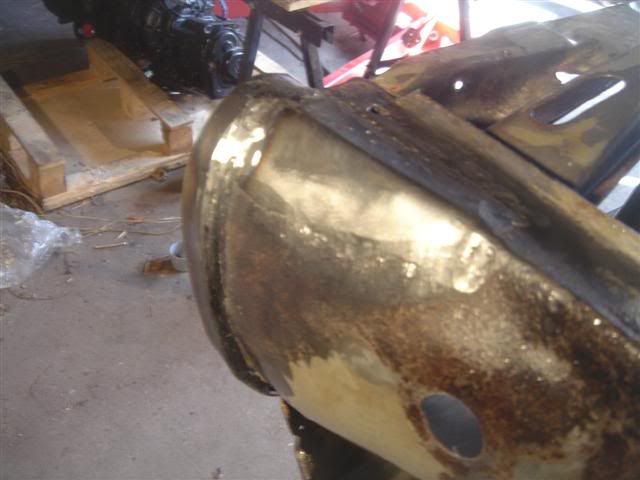 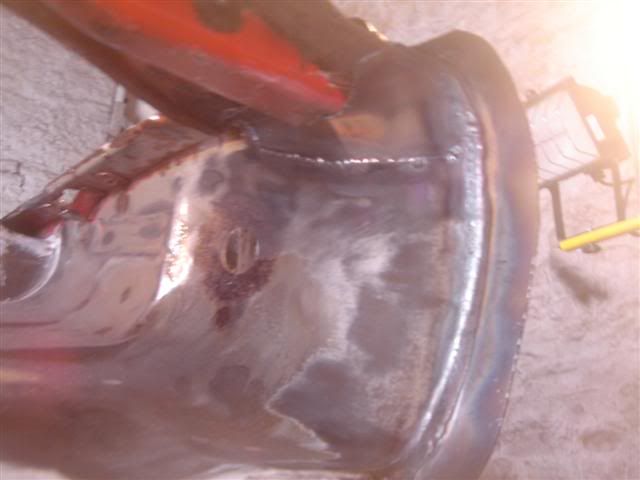  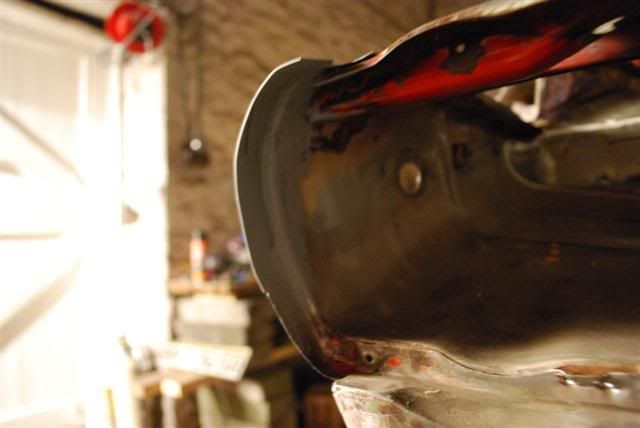 Really happy with how they turned out ;D Before I moved to Uni last year I'd painted the whole front clip in clear POR15. I don't doubt its effectiveness (I better not as the whole underside is painted in it!) but I didn't like the look of it at all and wasn't happy with the finish in places, nor laying primer and paint over the top. So it all came off! Before 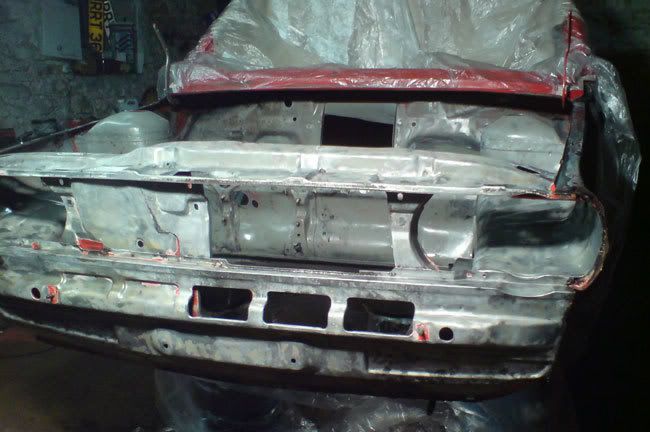 During 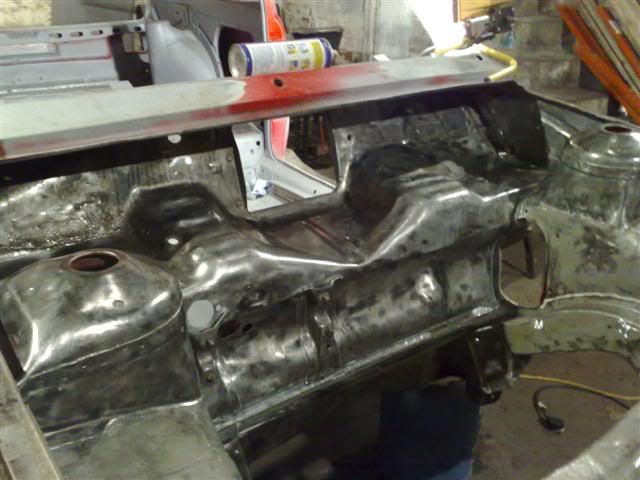 Plated up the holes for the fusebox as all the wiring will be hidden (more on this later)  And I also did this, makes working in the engine bay SOOOO much easier! Just got to wait for my replacement from Germany to turn up now.....  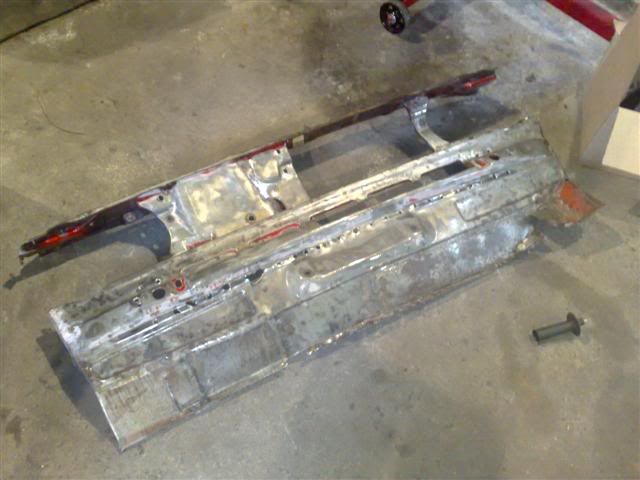 After all the bay was bare-metalled I gave it a few coats of high build etch primer. 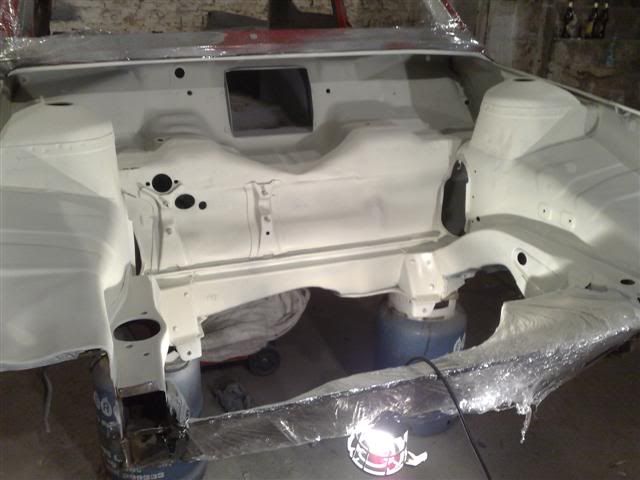 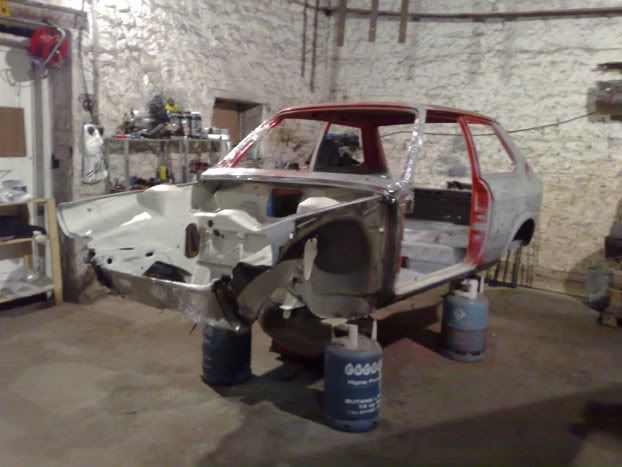 Couldnt resist sticking the engine (on our new engine stand  for a pic 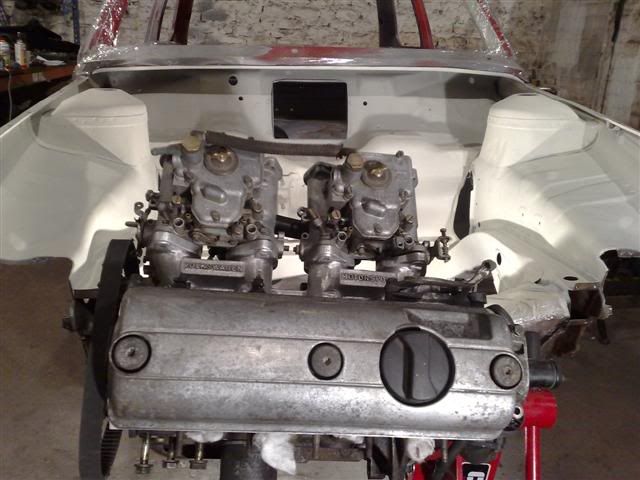 |
| |
1977 VW Polo Mk1 (under restoration)
1986 VW Polo Mk2 Saloon (daily)
|
|
tomw
Part of things
 
Posts: 103
|
|
Apr 12, 2008 12:04:05 GMT
|
And onto the wiring... I'd brought the loom up to Uni with me to sort out after Xmas. 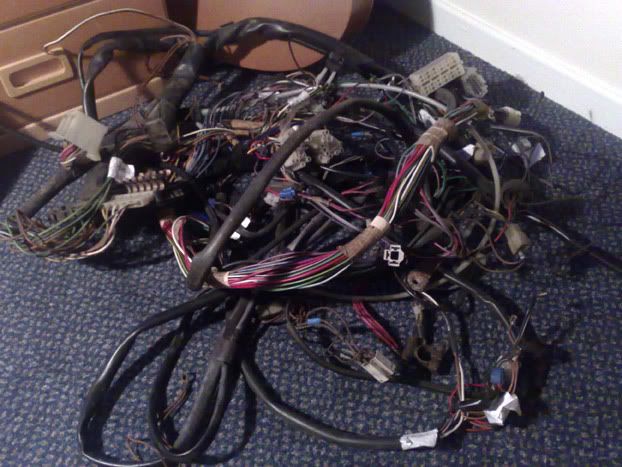 Managed to figure out what most of it did, much thanks to the guys on the Mk1 Polo forum! 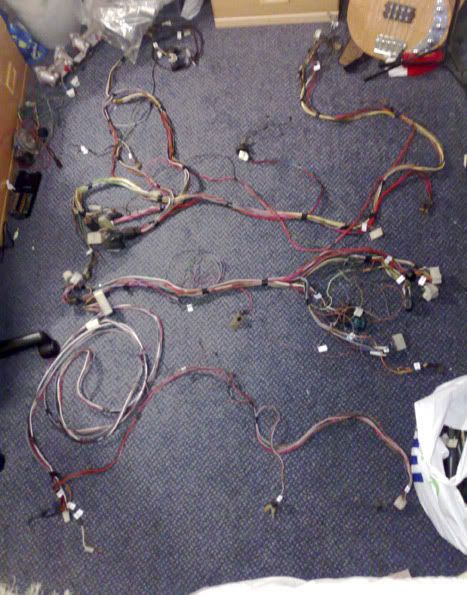 Took it home and tried to work out where I needed to rewrap/split it. 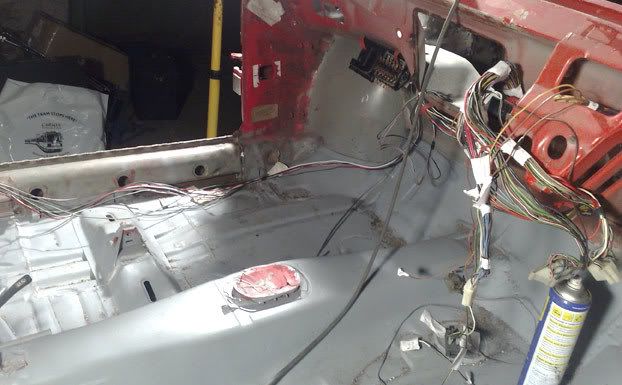 Now it gets a bit more complicated. After seeing lots of ultra smooth and minimal engine bays at shows and on the net I decided I wanted to aim for something similair. I'm going to have the fusebox inside as opposed to in the bay (where I plated the holes up earlier) and run the wiring needed through the chassis legs. Unfortunately I haven't got any pics of where they emerge but safe to say it's rather hidden! You can see below the dash where some of them dissappear 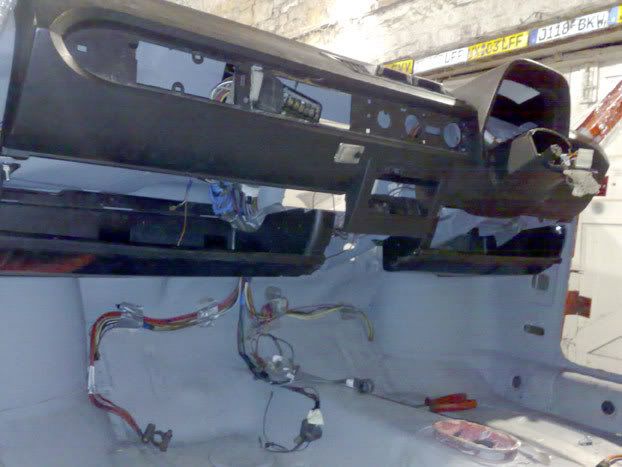 Alot of them need extending which I will do in the correct colours. I need to make another hole in the centre of the bulkhead for the starter/oil/coolant etc wires. The headlight, indicators, horn and fan wires are all down the chassis legs. So that's about where I'm up to at the moment. Got withdrawl symptoms now I'm back at uni though! Comments welcome Tom |
| |
1977 VW Polo Mk1 (under restoration)
1986 VW Polo Mk2 Saloon (daily)
|
|
Finlay
Part of things
 
Posts: 151
|
|
Apr 12, 2008 14:22:22 GMT
|
|
great thread Tom
keep up the good work, it will be awsome once its finished
|
| |
95 clio 16V - modded track/road car
95 clio Williams 2 - restored to standard
95 TVR Griff 500 - Taraka engine upgrade
MNR Vortx (kit car) - busa power
Chevette SR20 engine
MK2 Escort GM LS1
Chevette XE (building)
|
|
|
|
|
Apr 13, 2008 22:10:28 GMT
|
|
hi could you take pictures oh each side of the engine just so i can see if my 1.4 bottom end is the same as i have no idea what the code is
thanks oli
|
| |
|
|
|
|
|
Apr 13, 2008 23:46:31 GMT
|
|
Huge amount of work there , fair play to you. Looks great so far
|
| |
Club Retro Rides Member
|
|
J.P
Posted a lot
   I like to eat ice cream and I really enjoy a nice pair of slacks.
Posts: 1,175
|
|
Apr 13, 2008 23:59:23 GMT
|
|
Great build! Can't go wrong with a smoothed bay, 13's and twin webers!
|
| |
|
|
stealthstylz
Club Retro Rides Member
Posts: 14,957
Club RR Member Number: 174
Member is Online
|
|
Apr 14, 2008 10:21:42 GMT
|
|
looking good. For those people looking in awe at tom's workshop i've been there, and it really is the coldest workshop i've ever visitied. We had to huddle round the lights to keep warm lol.
Matt
|
| |
|
|
tomw
Part of things
 
Posts: 103
|
|
Apr 14, 2008 13:22:00 GMT
|
Cheers all! Oliver- Thats the only pic I have of the engine I'm afraid. I'm back at uni in Edinburgh now so can't take any more pics, back home in a couple of weeks though so will then. The code is ABD if that helps. Matt- The temperature problem has been somewhat solved with an improvised old patio heater, you can just see it by the seats in the right of this pic my mate took. I was in the engine bay for a while with the grinder! 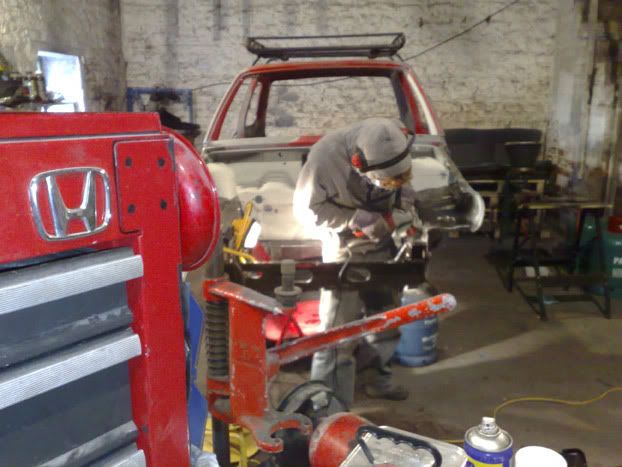 At the cost of patio gas (£20 a refill!) it's being kept pretty strict though... i suppose its just more canisters to sit car shells on though! We sorted the barn out majorly over Easter, lots has changed since you saw it. Now have proper lighting set up and the all important kettle! Layed alot of sand on the other side to where my car is (floor isnt concrete there) to level it out and re-layed the rubber matting down. Also got some racking to put all the parts on. Had alot of help from my mate doing this, but I dare say it was mainly so he could stick this in there... 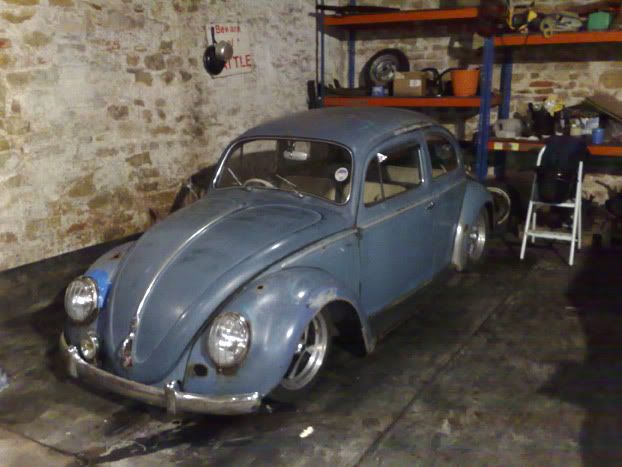 Its a 1957, and it scrapes on literally everything! Probably the most entertaining car I've ever been in, the reactons of members of the public range from absolute hilarity to downright disgust! 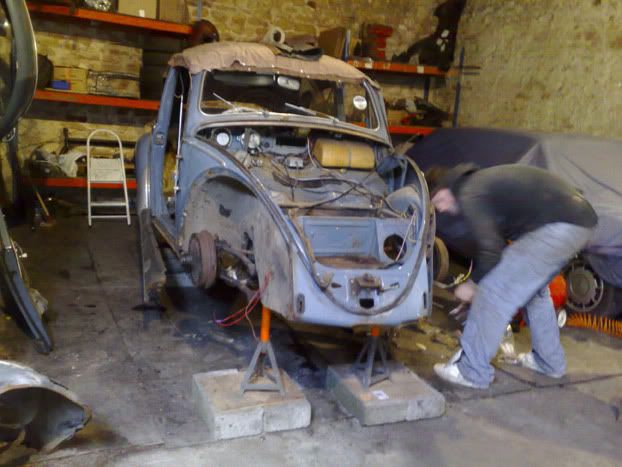 Its been getting the treatment ofcourse, the body is ready to bolt off once we've welded some struts in. Got new floorpans and heater channels for it. They'll be the only bits getting painted though, the body will be dropped back on just as it is  Can't be messing with original paint now can we :-) |
| |
1977 VW Polo Mk1 (under restoration)
1986 VW Polo Mk2 Saloon (daily)
|
|
|
|
|
Apr 14, 2008 15:30:27 GMT
|
At the cost of patio gas (£20 a refill!) it's being kept pretty strict though... I suppose its just more canisters to sit car shells on though! We sorted the barn out majorly over Easter, lots has changed since you saw it. Now have proper lighting set up and the all important kettle! Layed alot of sand on the other side to where my car is (floor isnt concrete there) to level it out and re-layed the rubber matting down. Also got some racking to put all the parts on. Had alot of help from my mate doing this, but I dare say it was mainly so he could stick this in there...  Its a 1957, and it scrapes on literally everything! Probably the most entertaining car I've ever been in, the reactons of members of the public range from absolute hilarity to downright disgust!  Its been getting the treatment ofcourse, the body is ready to bolt off once we've welded some struts in. Got new floorpans and heater channels for it. They'll be the only bits getting painted though, the body will be dropped back on just as it is  Can't be messing with original paint now can we :-)   That is some seriously narrowed beam action going on there - how does it manage to steer - glad its getting the proper 'Rat-look' treatment, I.e solid immaculate underbody with the essentially solid but tatty shell on top  Please tell me its got/getting a hot motor in the back? Work on the Polo is continuing at a pace - and is looking really good. Will be good to catch up with you again in June @ club charlies  P.S; thats the kinda a roofrack i'm after (in your 1st picture) |
| |
Last Edit: Apr 14, 2008 15:34:39 GMT by DerbyDan
|
|
|
|
stealthstylz
Club Retro Rides Member
Posts: 14,957
Club RR Member Number: 174
Member is Online
|
|
Apr 14, 2008 15:32:13 GMT
|
|
looking good. Me and ben were saying we'll have to have a ride down when we pick his car up.
Matt
|
| |
|
|
tomw
Part of things
 
Posts: 103
|
|
Apr 14, 2008 16:05:49 GMT
|
|
Dan- Its a 6 inch narrowed beam, you should see the tuck when its on the original wheels! (which he'll be reverting too) 125 tyres! Unfortunately it's going to be running the stock motor for now, I feel the same way about a blown motor but he wants to keep it original. That and the cost/power of tuning them isn't too economical either.
And it doesnt steer too well if I'm honest. Should be better with the 'crows feet' steelies as they're alot thinner than the current Randar reps.
Roof rack was a scrappy special, Paddy Hopkirk one aswell! It's for my mk2 though. Just need to customise the brackets so it sits a bit lower and then it will be loaded up with the obligatory 'scene' items haha
I'm not certain I'll like it to be honest. Was thinking of polishing it up and selling it on if not, I'll let you know first though.
See you at Charlies!
Matt- Ai feel free, especially in Ben's new mk1!
|
| |
Last Edit: Apr 14, 2008 16:09:34 GMT by tomw
1977 VW Polo Mk1 (under restoration)
1986 VW Polo Mk2 Saloon (daily)
|
|
G4vBr
Part of things
 
Posts: 200
|
|
May 15, 2008 11:03:47 GMT
|
Hi Tom, great resto thread, we have a mk1 polo and are planning to restore her over the summer. Here's a pic:  The one thing I've never done is spraying, are you planning on using celly or 2K and how many litres do you reckon a mk1 will need? Looking forward to more updates, Gav |
| |
|
|
tomw
Part of things
 
Posts: 103
|
|
May 23, 2008 18:21:25 GMT
|
Hi Gav, sorry only just seen your post, mk1 looks very cool. I unfortunately have no idea about painting, as you, I've never done it myself, rather scared about messing it up but lots of reading and practice beforehand I think! If you're not on already check out the forum on www.mk1polo.com  Anyways... update time! I trial fitted my replacement front valance a few weeks ago (Stupid money off german eBay - mate then proceeds to find one in local panel place for £60 :  with the wings (one NOS, one copy) and all panel gaps and fit looks pretty good. 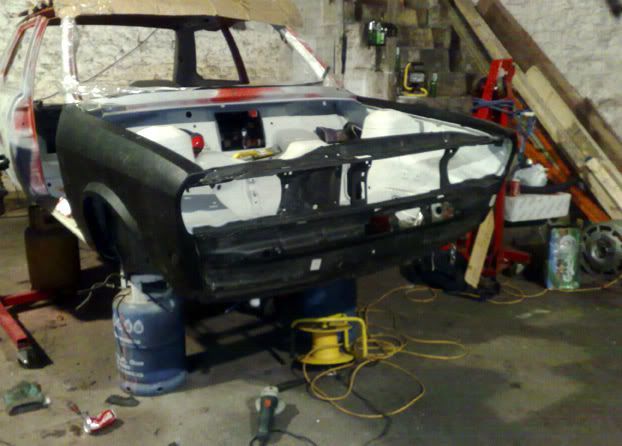 Been home for the last week after most of my uni coursework is done so got down to some work on the mk1. Well, I say I did, but it was nice to come back to the rear valance welded on courtesy of my mates I let use my barn (57 bug, 79 derby) Cheers lads! :rolleyes: I ground the welds down and zinc primered them, then trimmed and folded the corners slightly. Also re-made the brace between it and the spare wheel well. 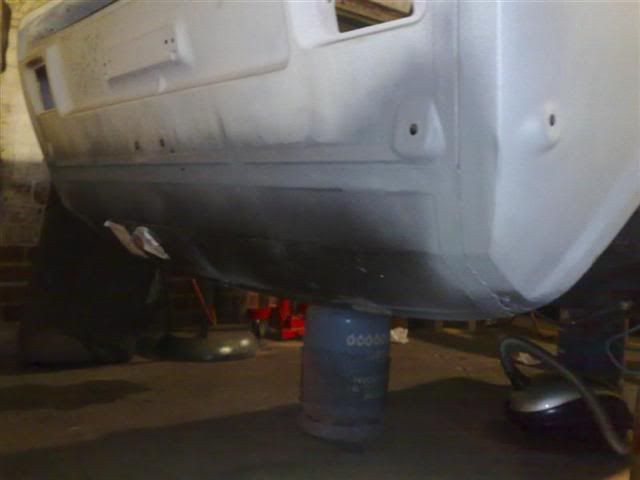 I made a repair plate for the scuttle panel (see note :lol:), the amount of angle was a ball-ache but it turned out pretty good. Had to weld a nut underneat for the bonnet hinges as I'd sheared the bolt off the old one so had to dremel it out. Before 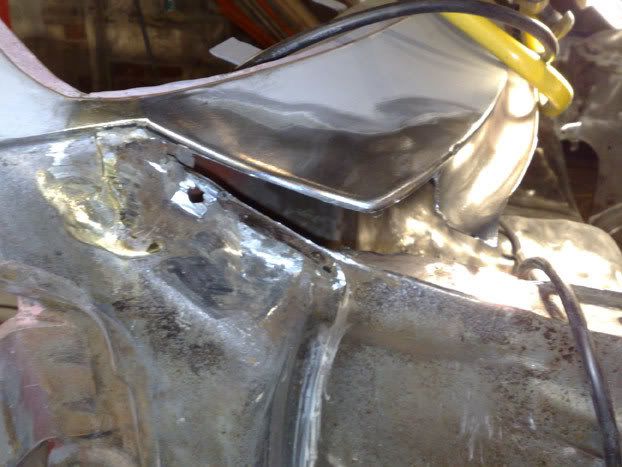 Now 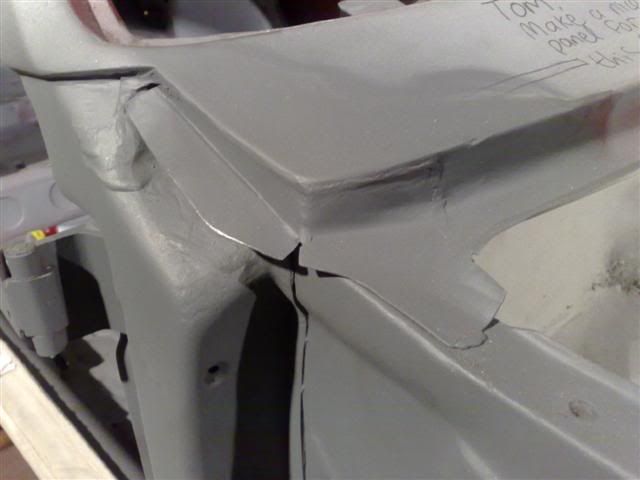 Ground back and zinc-primered most of the inner wings where I couldn't attack the surface rust properly with wire brushes last year. Once the front valance is on and any other plates I'll gravitex these before primer. 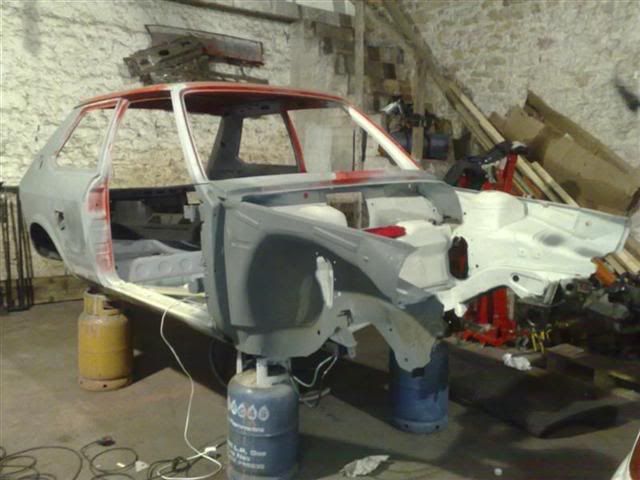 The base of the A-pillar needs a bit of attention <_< 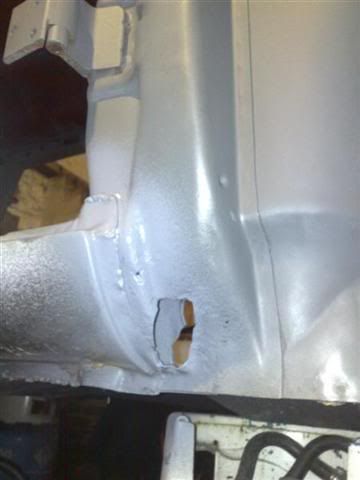 I've made plates for near enough all the holes left to weld, there's a couple on the rear valance from the towbar :angry: a tiny one in the floor and a few in the engine bay. Also chopped and angled up some box section for chassis leg strengthening. We'll weld the front valance on just about last after everything in the bay is done and in another decent coat of etch primer. I've also got to grind and treat the rear arch lips, and bare-metal and zinc primer the scuttle panel. Actually feels like I'm getting somewhere with it, really can't wait to see it all in primer and no red bits left. Going to concentrate fully on bodywork now and not get distracted by any painting and polishing of engine bits. 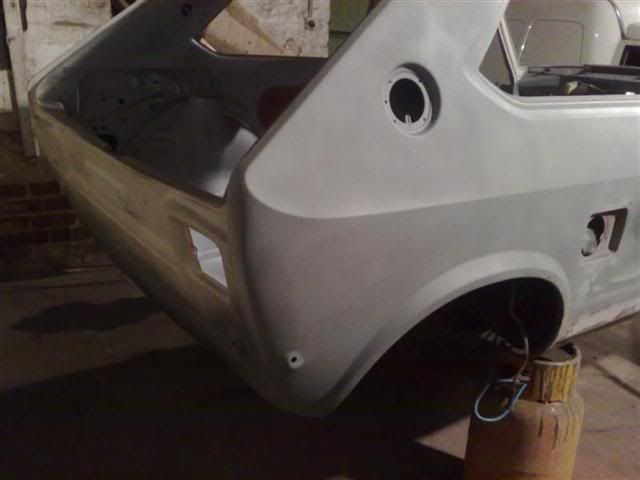 Heading back up to uni for a long weekend tomorrow then after a little euro-trip in the loon the weekend after I'm back for good so I can really get moving  |
| |
1977 VW Polo Mk1 (under restoration)
1986 VW Polo Mk2 Saloon (daily)
|
|
street
Posted a lot
   6.2 ft/lbs of talk
Posts: 4,662
|
|
May 23, 2008 19:17:02 GMT
|
Really looking great! Your repair work is top-notch  Nice to see it going on carbs too, I think they really suit modded cars of this era, and they make a wicked noise  Keep up the good work! |
| |
|
|
|
|
|
May 28, 2008 12:44:17 GMT
|
 Thats a classic look there, here's one i owned previously 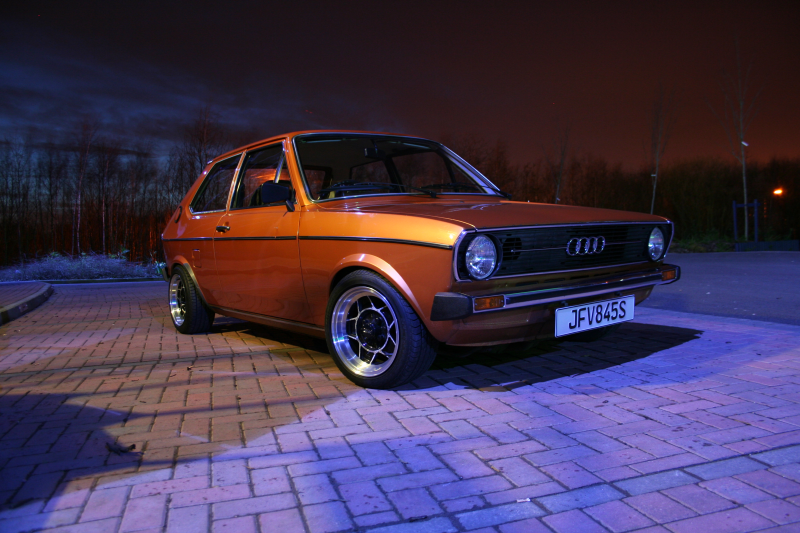 |
| |
|
|
tomw
Part of things
 
Posts: 103
|
|
Jul 30, 2008 22:43:31 GMT
|
More pics than words as it's late... primer is approaching soon though!! Chassis leg strengthening, early polo's are notorious for cracking here. 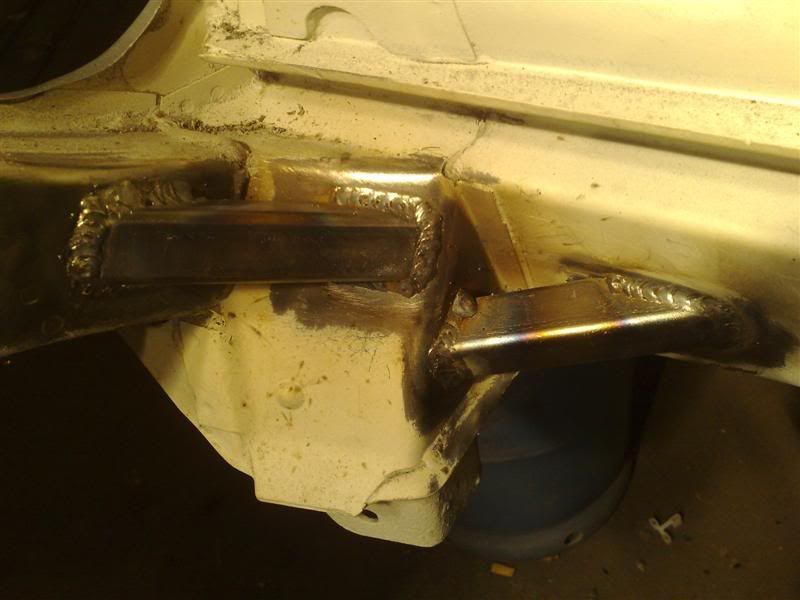 Roof rubbed down 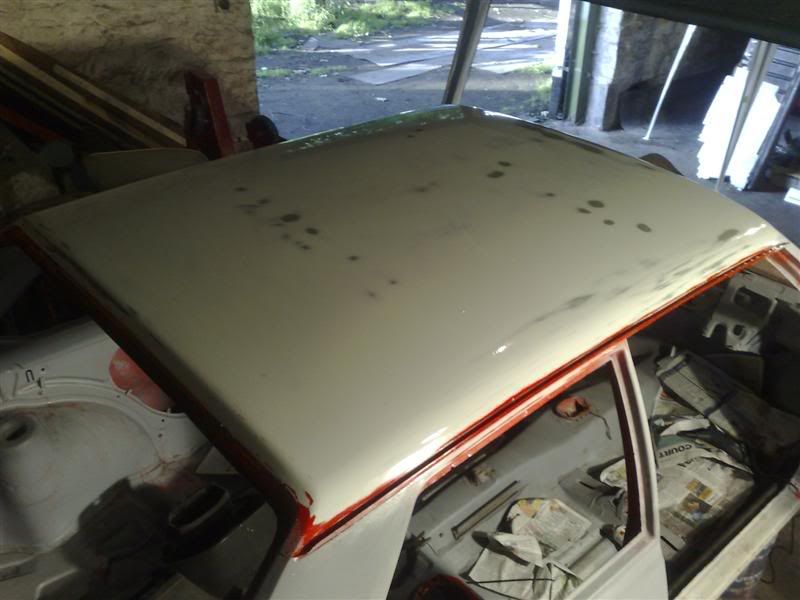 Scuttle tray bare-metalled and zinc primerd 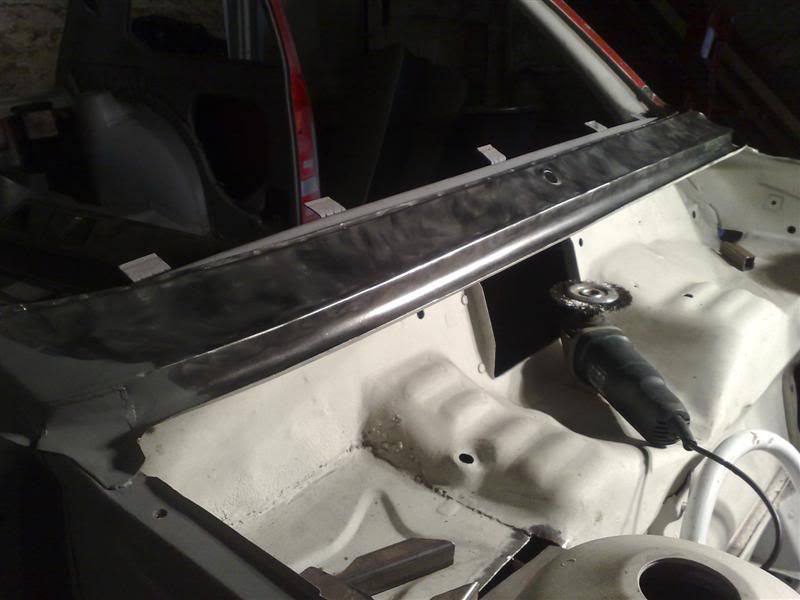 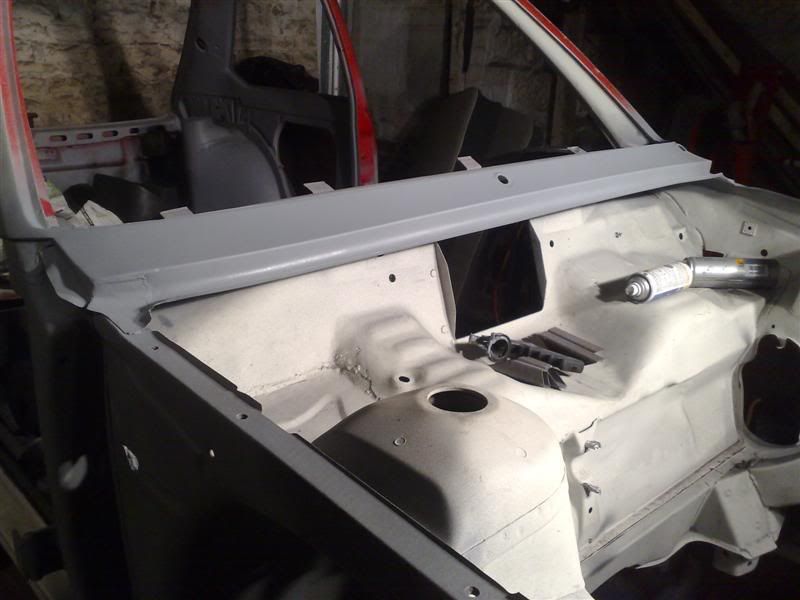 |
| |
Last Edit: Jul 30, 2008 22:44:32 GMT by tomw
1977 VW Polo Mk1 (under restoration)
1986 VW Polo Mk2 Saloon (daily)
|
|
tomw
Part of things
 
Posts: 103
|
|
Jul 30, 2008 22:55:22 GMT
|
Engine bay smoothing... bye bye heater! 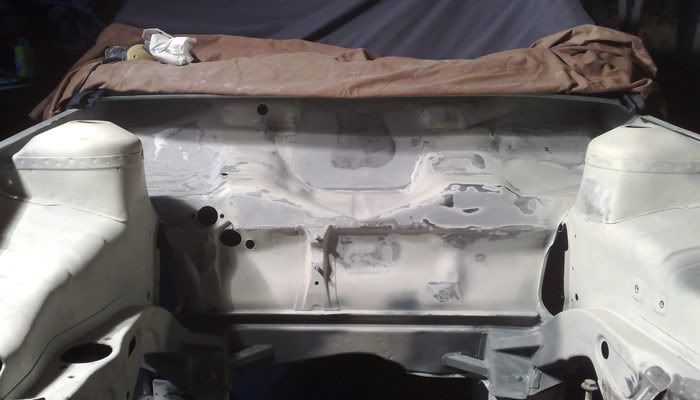 Mmmmmmmmm new compressor!!! Should be wired up by the weekend and suffice for paint and most air tools  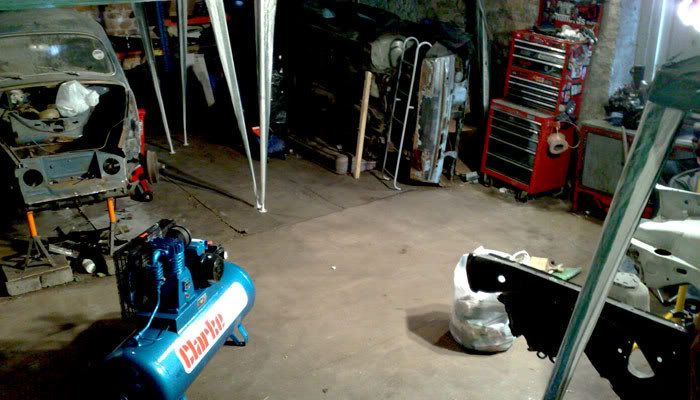 Gazebos? They'd be for the roof.... 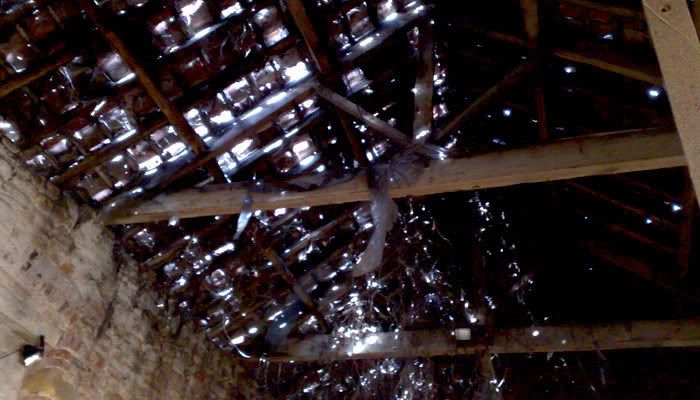 Matey pondering what I've got myself into with all this smoothing malarkey! 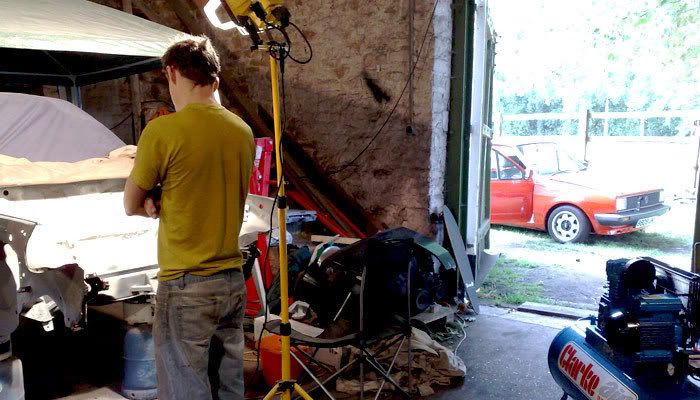 (note rather cool supercharged early mk2 saloon  ) Getting to work on the 'what appeared perfect before I rubbed them back' rear arches 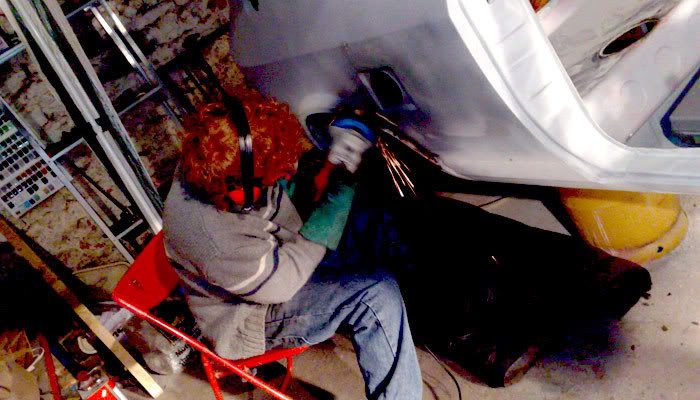 Primer time  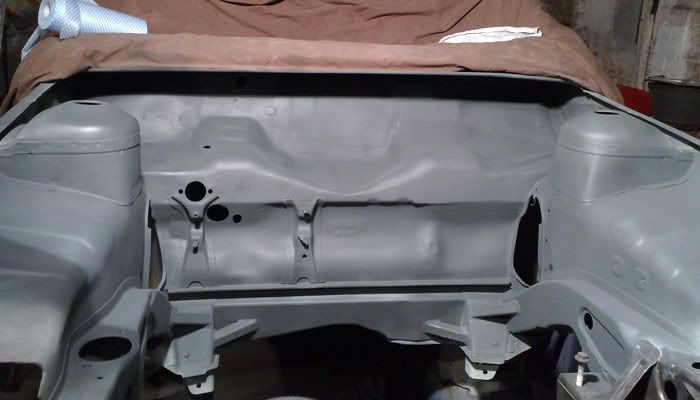 No way! There's an engine in there for the 1st time in 18 months! 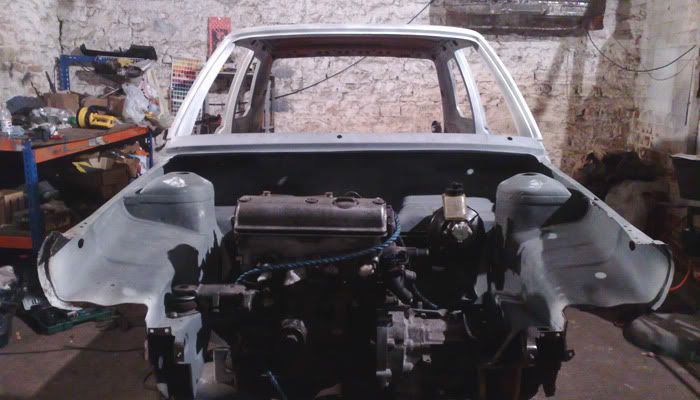 Checking clearances for the modified brake servo linkage 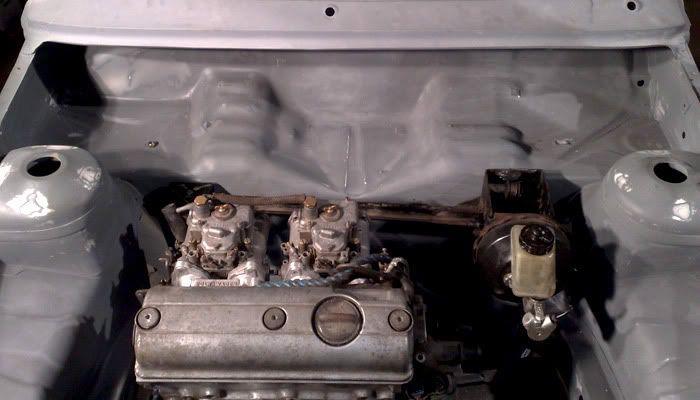 The standard master cylinder position is directly off the pedal box. This was going to be rather tight with the carbs anyway, so after chatting to a mate in the know had a go at this. 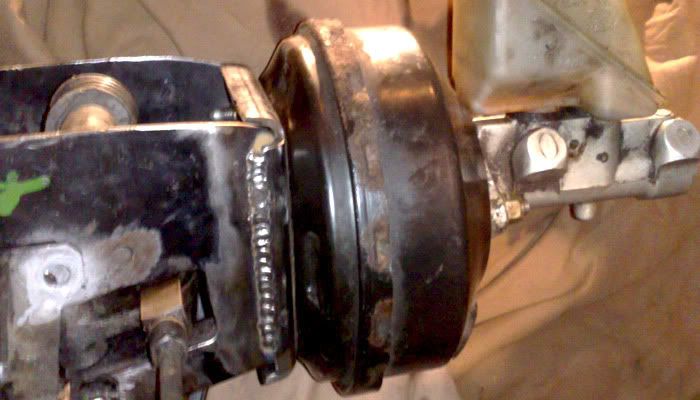 Lever mechanism is modified to fit the smaller mk3 polo servo and peugeot MC (for the outlets on the correct side) and ensure the pedal fully engages/dissengages the servo. 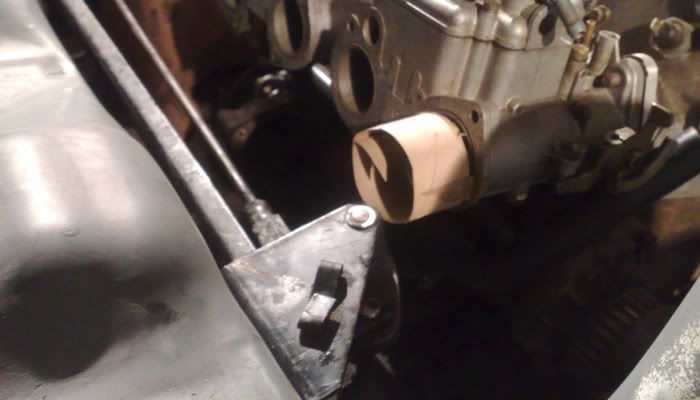 Mocking up a 38mm trumpet to check clearance on pedal box end of the mech. 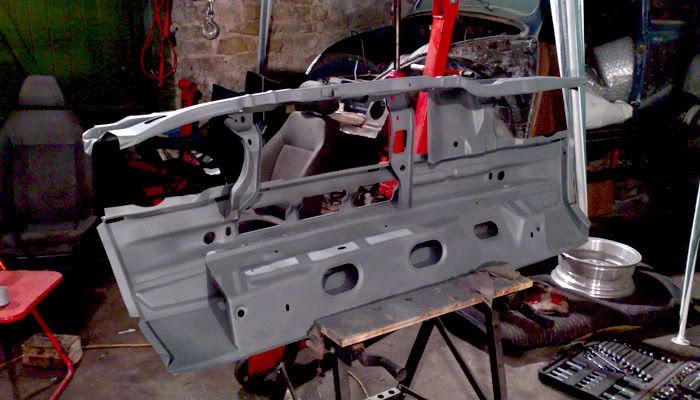 Front panel ground back to bare metal where necessary (lots!) and zinc primed. Ready for welding on tomorrow  |
| |
Last Edit: Jul 30, 2008 22:56:01 GMT by tomw
1977 VW Polo Mk1 (under restoration)
1986 VW Polo Mk2 Saloon (daily)
|
|
|
|
|
|
|
|
Looking good! I just love that Motorsport manifold you found
|
| |
|
|
tomw
Part of things
 
Posts: 103
|
|
Jul 31, 2008 10:43:10 GMT
|
Me too! I wasn't even going carbs before I saw it, but then I had to have it and it all escalated from there  |
| |
1977 VW Polo Mk1 (under restoration)
1986 VW Polo Mk2 Saloon (daily)
|
|
|
|


 for a pic


 Please tell me its got/getting a hot motor in the back?


