craig1010cc
Club Retro Rides Member
Posts: 2,998
Club RR Member Number: 35
|
|
|
|
One ongoing saga has been caused by me impulse buying some new headlights at Brighton. I'd always wanted a set of P700 replica headlights and when I spotted a set on one of the stalls, i bought them without looking closely and not realising that they don't have sidelight. This then had many knock on consequences that nearly drove me to binning them. So, to resolve the sidelight issue, I decided that running a sidelight into the indicators was the logical way forward. Did a bit of searching and I found a company on eBay selling a combined indicator sidelight unit as an upgrade for series 1 land rovers. It had the added advantage that they had a flat lease which gave a subtle change of look to the front end. A buy was swiftly done, but when they arrived they only had stock dual filament bulbs in them, so they would flash white. Ah, you need to buy our LED bulbs, they have amber LEDs for the indicator and white for the sidelights. Perfect, I'll have a set of them. About this time the MOT ran out (back in September ) and nothing much happened until the last few weeks. During this time though, 1 afternoon travelling home down the M4 in my daily, pushing through appalling spray, I went past a mini and was shocked at how poor the light output was of the stock rear lights and indicators. Seeing as I was upgrading the fronts to LED's, it made sense that I could upgrade the other bulbs to LED's too, and also fit some Cibie Oscars on the front again  And with Christmas and a birthday passing, I soon had all the bits I needed  So, front indicators and spotlights fitted, rear bulbs changed and then 2 new LED spec'd flasher units fitted and I was good to go. Or so I thought. Tried the sidelights 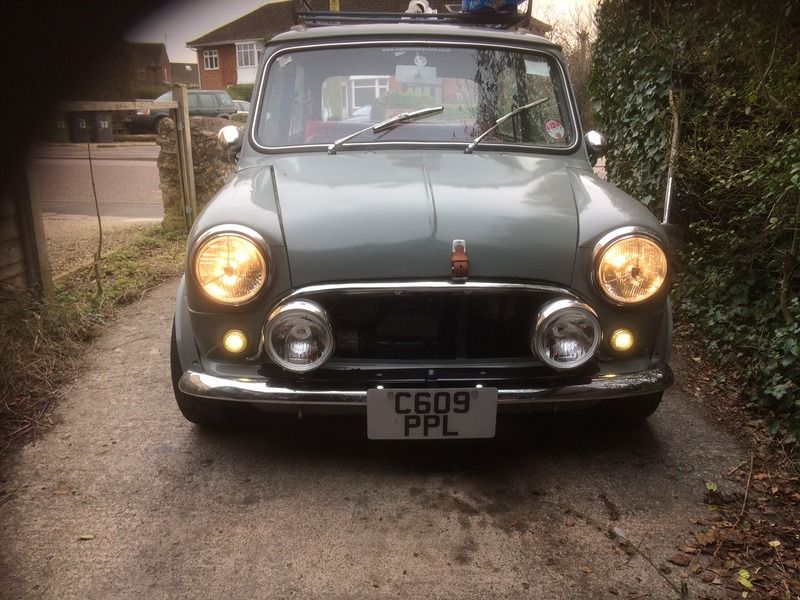 1st tried the indicators, when indicating left, both fronts flashed, the left rear flashed, and the right rear flickered and the dash telltale didn't work. indicate right, same happened, but in reverse. Hmm. Then tried the hazards, only the drivers side worked. Hmm. So I try swapping the rear bulbs back to filament ones, now the indicators work (including the telltale), but the hazards still only the drivers rear worked, but now both fronts did? At this point, time to push back in the garage and have a think. After a few email exchanges with the flasher unit supplier, they narrowed it down to the telltale needing to be removed and run a new one from the outlet on their units, and possibly a bad earth on the lights. I decide to go back to basic's, all filament bulbs and the original flasher units. The indicators work fine, but the hazards are only working on the drivers side. Removing the switch, giving the connector a wiggle and we have working hazards  So now refit the LED bulbs and the new flasher units, hazards work but still have the flickering on the indicators. Remove the telltale bulb, the indicators work fine  So a snip the wires off the old telltale and connect it to the flasher units telltale outputs and it all works as it should  To celebrate I then fitted a map light that I'd also got for my birthday (I have an understanding family  ) 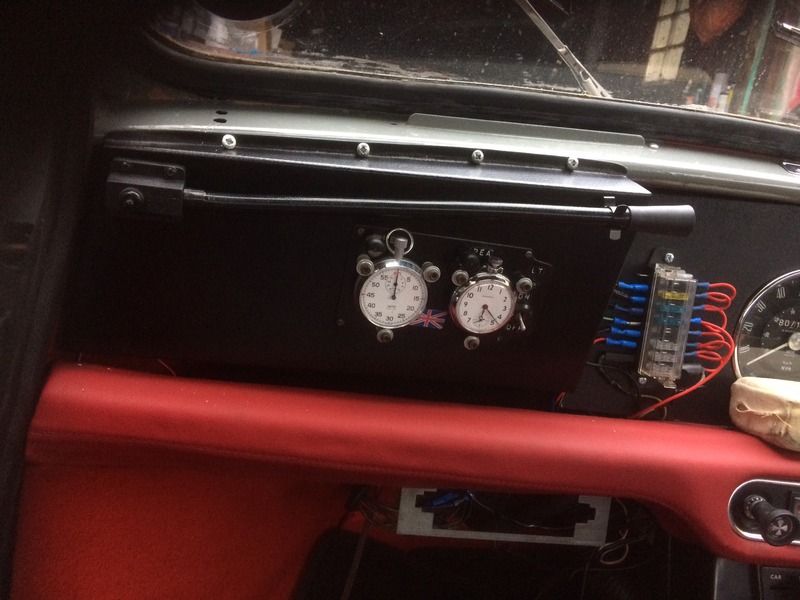 Now it is running through the MOT checks before hopefully going in for one shortly. |
| |
|
|
|
|
craig1010cc
Club Retro Rides Member
Posts: 2,998
Club RR Member Number: 35
|
|
|
|
Then it was running through the MOT checks. All lights working, no holes found, no joints felt like they had play in and greased everything up. Did notice (and couldn't fix before the MOT) that the drovers outer CV boot had slipped off. So off to the MOT and see what we fail on. Very little was the answer. The CV boot (which I already knew about) and on both front shocks the top mount nut didn't extend through the nylock on the nut. Very odd as the top mounts have never been changed and the GAZ shocks have been on there for the last 2 MOTs at least. Checked all the parts, they are all to spec, so ended up finding some thinner washers. Those and a new zip tie on the CV boot and we're done. MOT Passed  So to celebrate I fitted a new maniflow centre exit exhaust  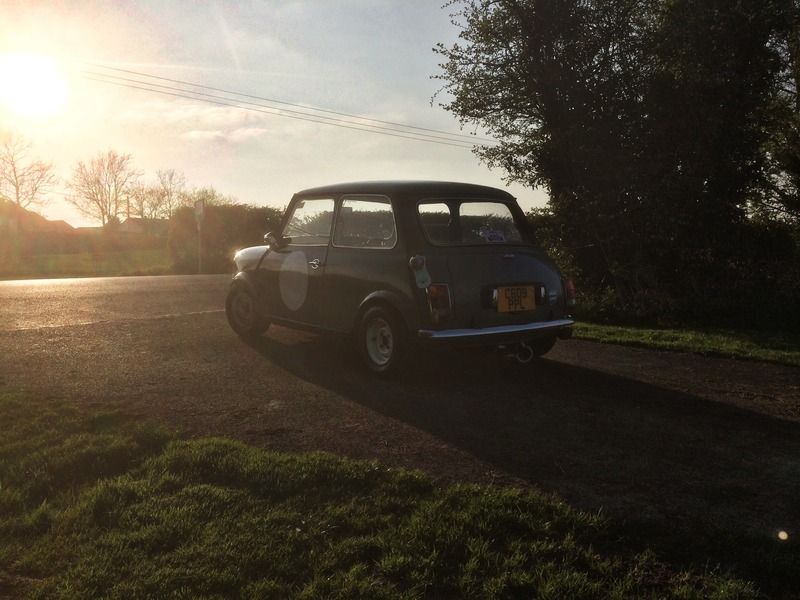 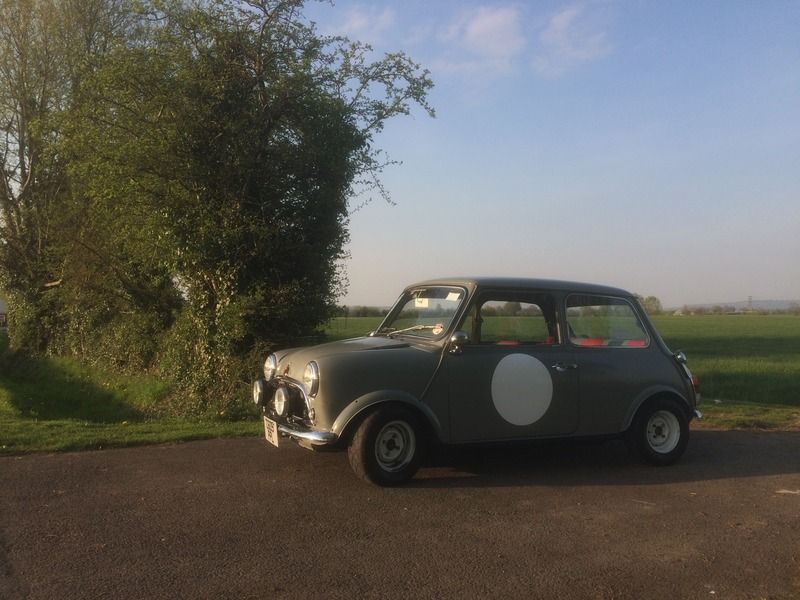 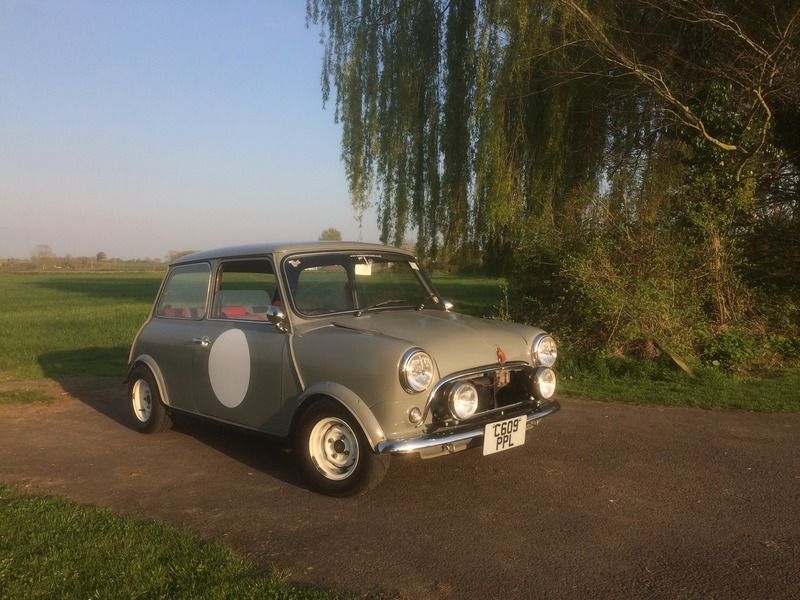 Really must modify the grill to get it back on  |
| |
|
|
|
|
|
|
|
One ongoing saga has been caused by me impulse buying some new headlights at Brighton. I'd always wanted a set of P700 replica headlights and when I spotted a set on one of the stalls, i bought them without looking closely and not realising that they don't have sidelight. This then had many knock on consequences that nearly drove me to binning them. a bit late now but you could have drilled the units to accept side lights (assuming not sealed beam units)? I did this on my samurai , just used push in holders , old lucas ones if my memory serves me. |
| |
'80 s1 924 turbo..hibernating
'80 golf gli cabriolet...doing impression of a skip
'97 pug 106 commuter...continuing cheapness making me smile!
firm believer in the k.i.s.s and f.i.s.h principles.
|
|
craig1010cc
Club Retro Rides Member
Posts: 2,998
Club RR Member Number: 35
|
|
|
|
|
I did consider drilling them, but I didn't fancy my chances of not breaking them
|
| |
|
|
|
|
|
|
|
|
nah...piece of duff. nice fresh step drill , job done.
|
| |
'80 s1 924 turbo..hibernating
'80 golf gli cabriolet...doing impression of a skip
'97 pug 106 commuter...continuing cheapness making me smile!
firm believer in the k.i.s.s and f.i.s.h principles.
|
|
craig1010cc
Club Retro Rides Member
Posts: 2,998
Club RR Member Number: 35
|
|
Apr 18, 2017 18:56:51 GMT
|
eBay browsing is bad for the wallet  Been keeping an eye out for a 2nd set of cibie oscars (wanted fogs ideally) and then whilst browsing on my lunch break a pair pop up just down the road with a BIN price I couldn't argue with. But now I had 1 satin black pair and 1 grey pair, so it was time for some white So over the bank holiday they were given a quick repaint (rattle cans) in the same white as the grill and wheels (although I used yellow primer this time and they have come out a slightly different shade) and finally got them on this evening 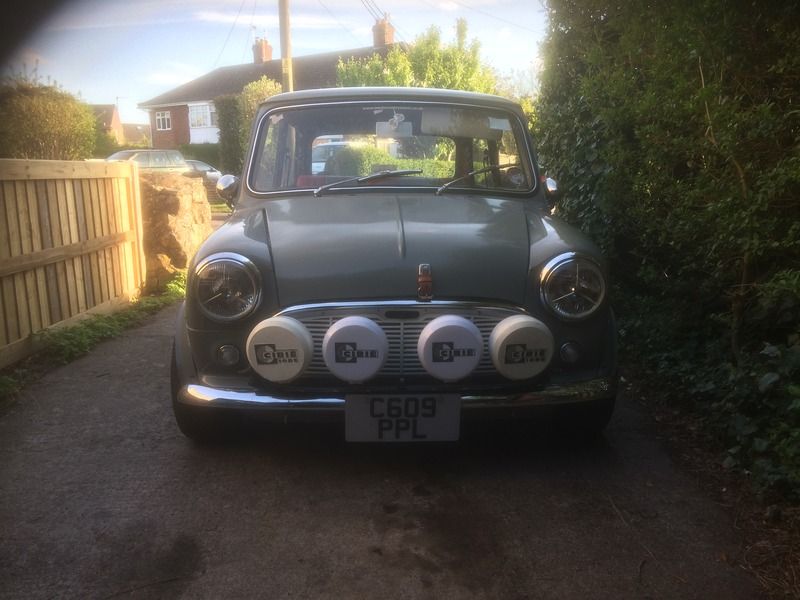 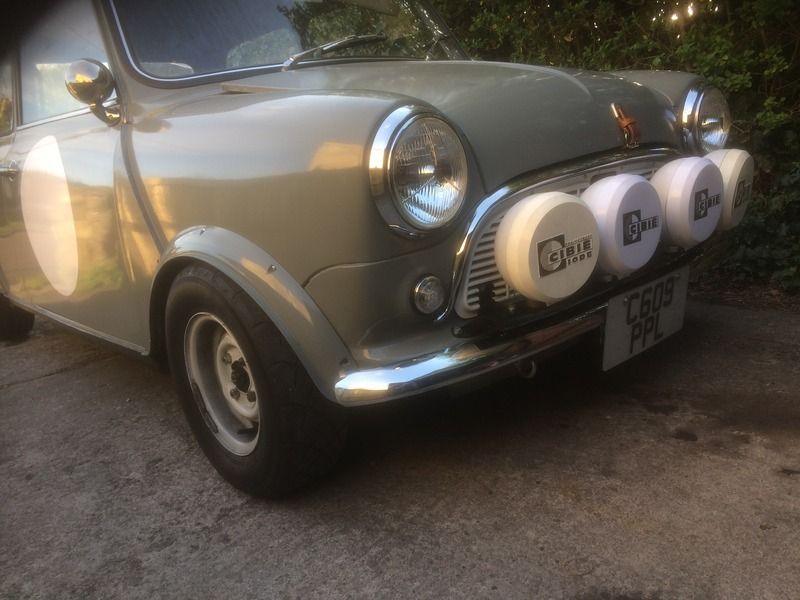 needs a bit of tweaking to get them sitting right, but pretty chuffed with them I have to say  |
| |
|
|
craig1010cc
Club Retro Rides Member
Posts: 2,998
Club RR Member Number: 35
|
|
Apr 14, 2023 11:10:26 GMT
|
6 years since the last time I updated this, we still own it and quite a bit has changed over this time. So, in 2018 I decided I wanted some more power, and a 1275 was sourced along with a recon gearbox with a 2.7 diff (I wanted the MPI spec rear ratios for longer drives) 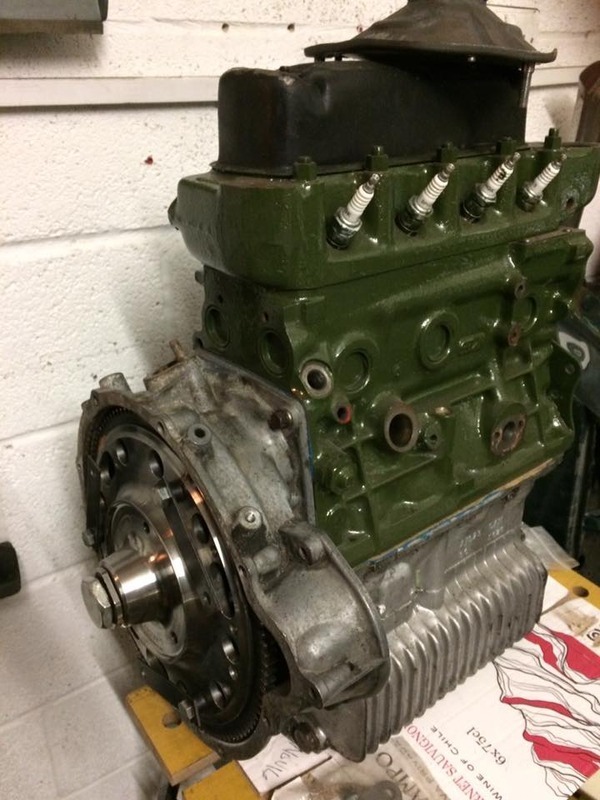 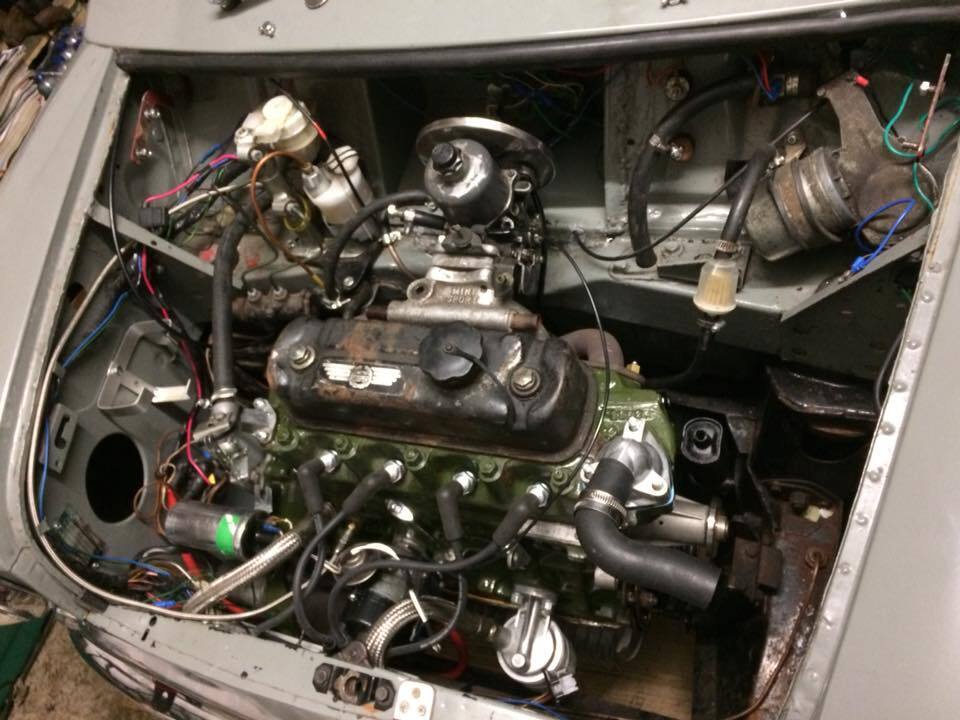 Was a fairly tame spec, based on a late SPI mini with a evo1 cam to spice it up a bit. Made about 70BHP from memory but sadly at Castle Coombe the flywheel decided that it didn't want to stay bolted to the flywheel  1 dead engine. Luckily a mate was breaking a late MPI mini, so a deal was struck and we installed a full MPI conversion 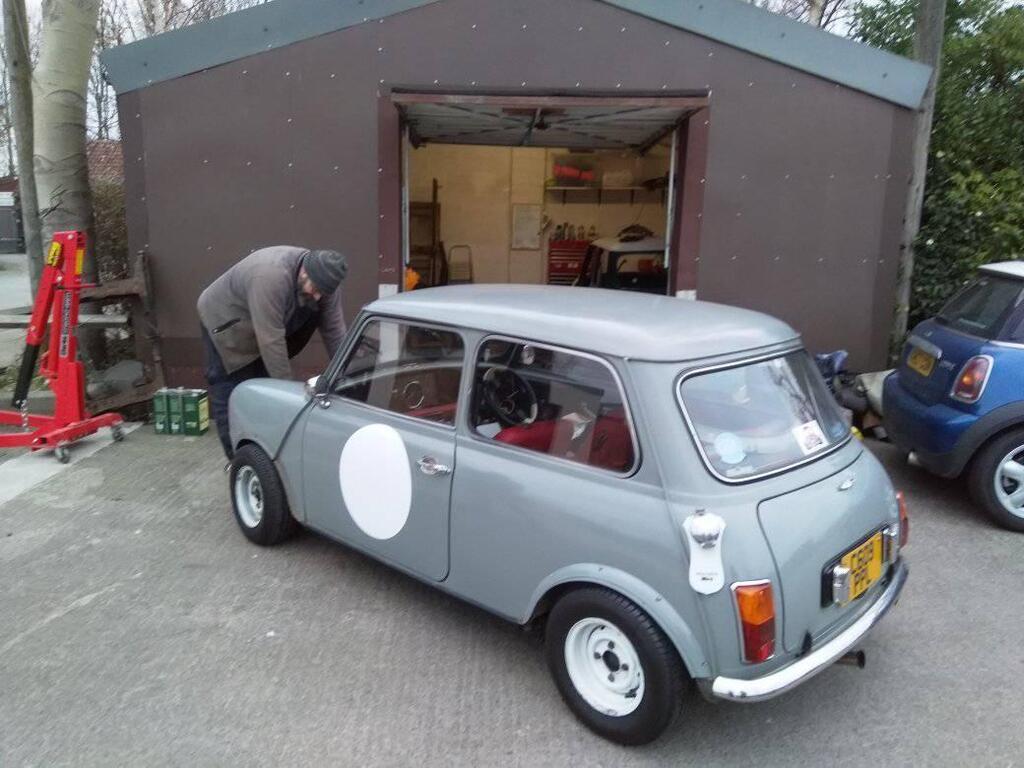 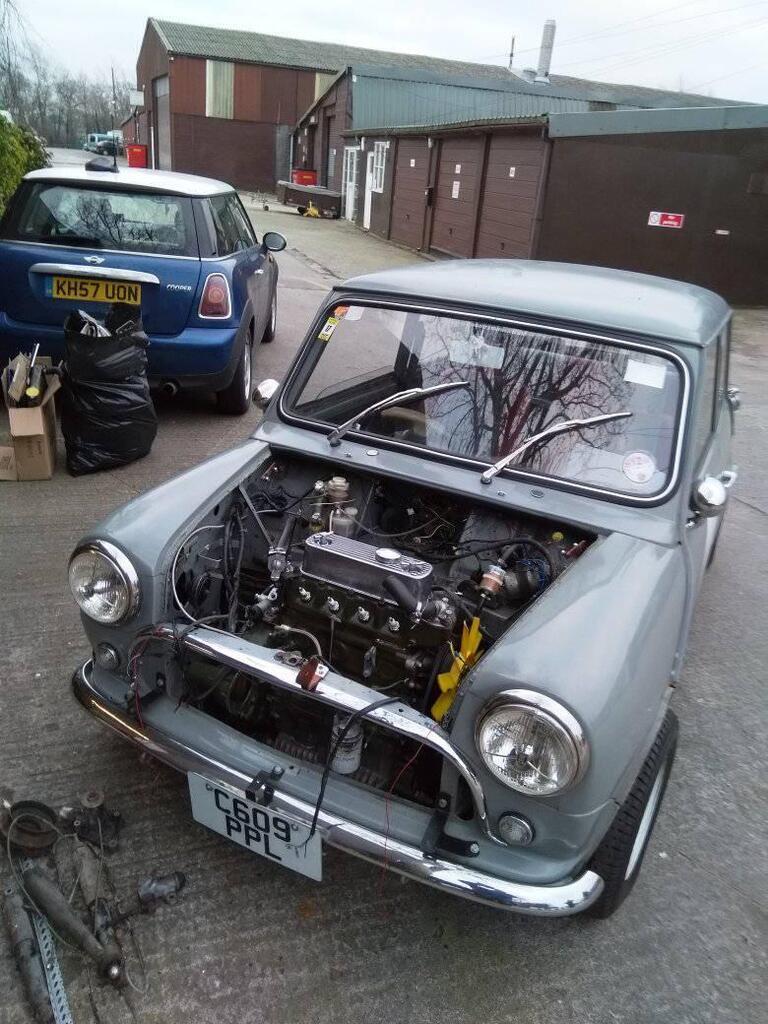 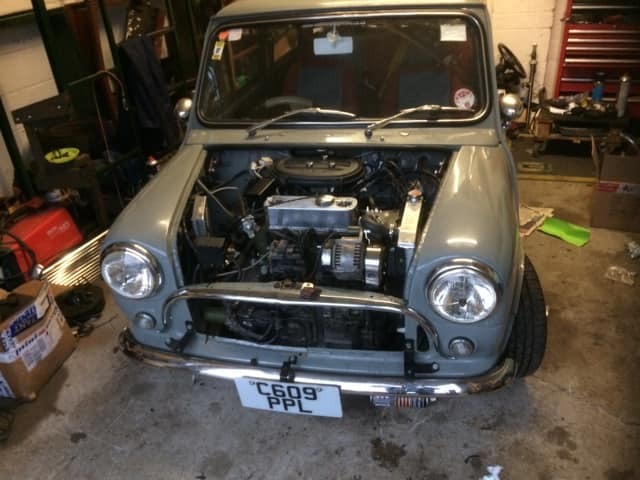 My early 2019 we were up and running again, although the MPI fuelpump decided it didn't want to flow enough fuel after the 1st 5 mins running which took a while to diagnose and sadly the gearbox was crunchy in 2nd. 2019 was also the 60th anniversary of mini production and I was involved with organising the camping fields for the International Mini Meet (7000 people attending the weekend, over 5000 camping) 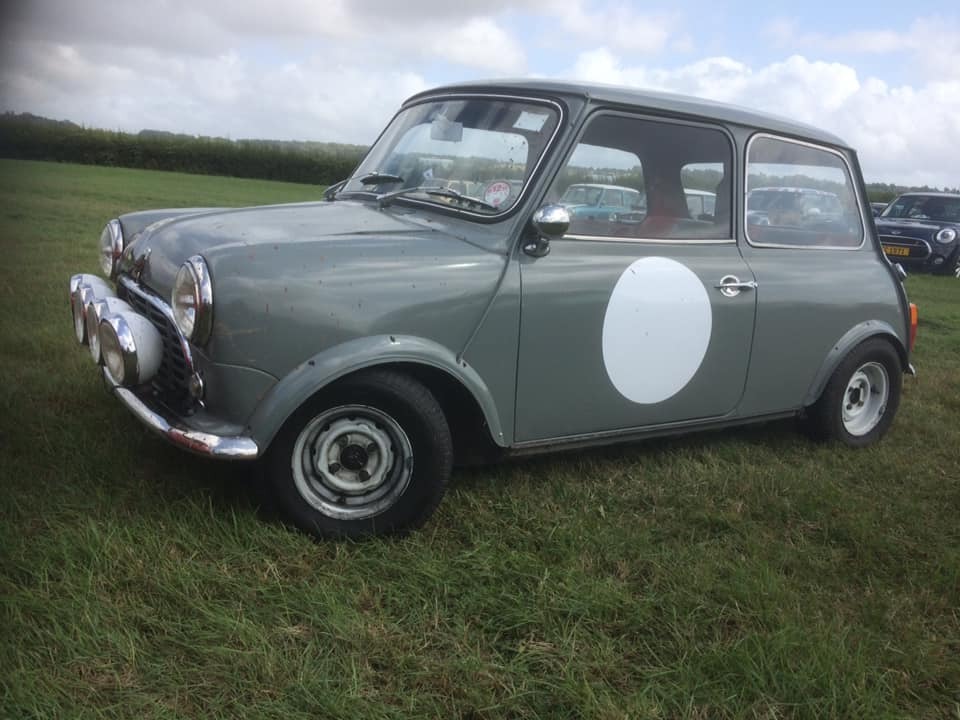 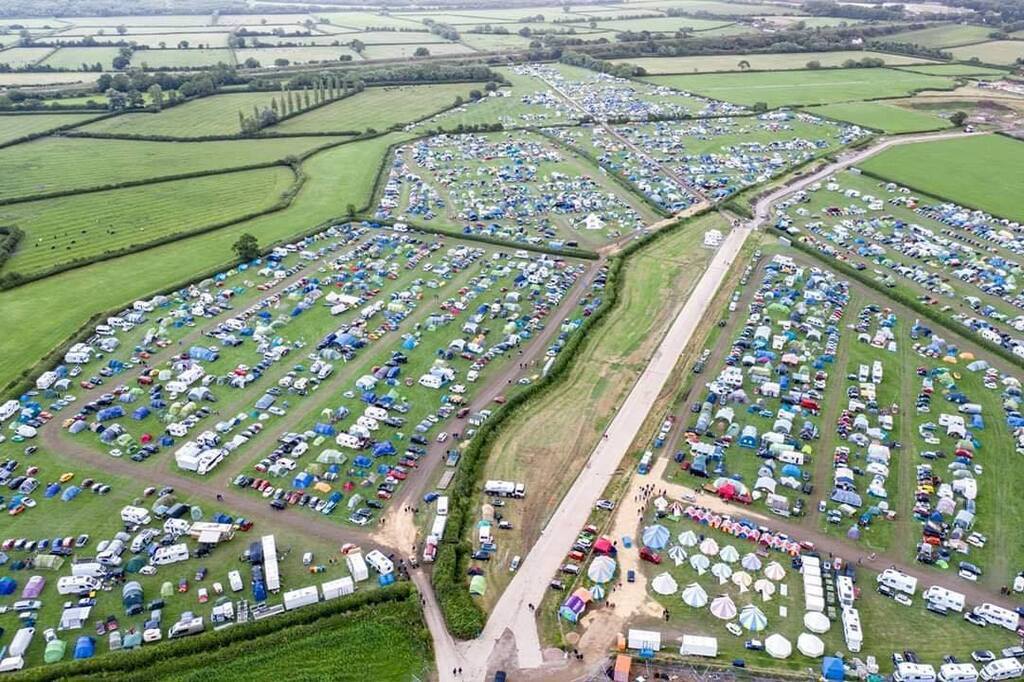 An amazing experience, but exhausting. Trying to leave the site at 1 point to find the handbrake had stuck. Parked on grass, this resulted in lots of spinning back and forth before it released with a clonk (sadly this hurt the gearbox that came to light a few weeks later). 1 other event that I was booked to go to was the revival at goodwood. Planning to take the mini, the weekend before I thought it wise to give it a service 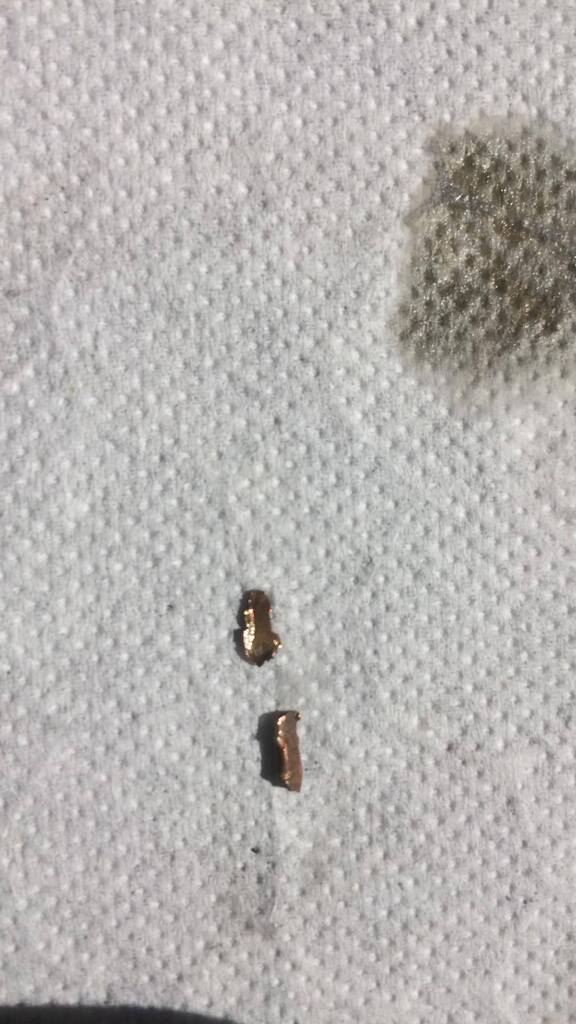 Not what I wanted to see, the thrust washers from the diff parting company  So engine back out 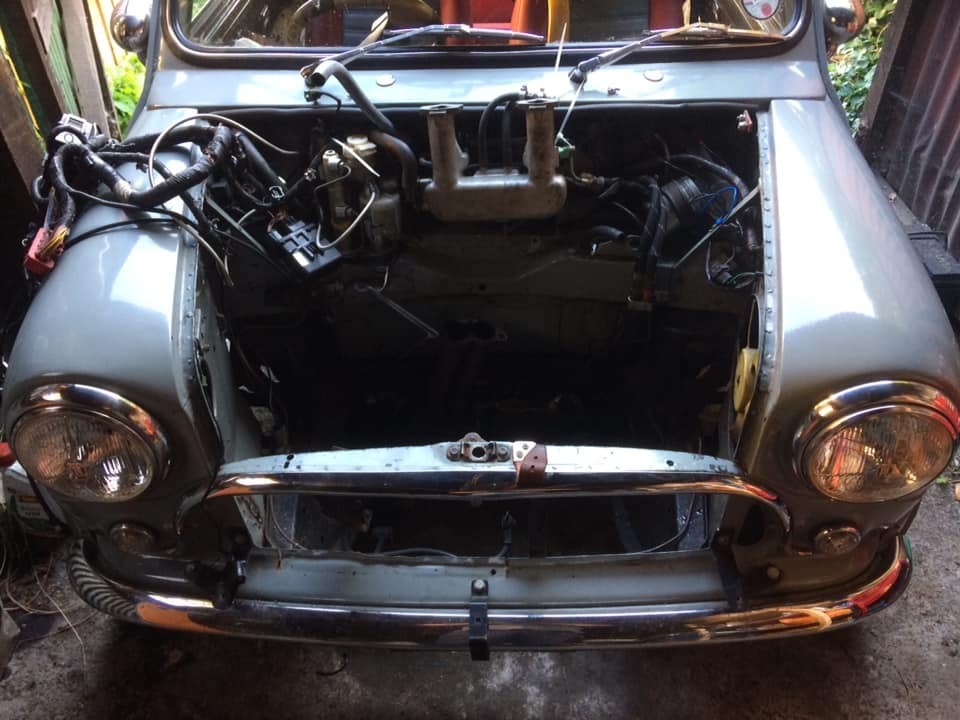 I was able to buy back my old gearbox (that I PX'd on the MPI conversion), so that went back on Since then there has been a few cosmetic upgrades New grill 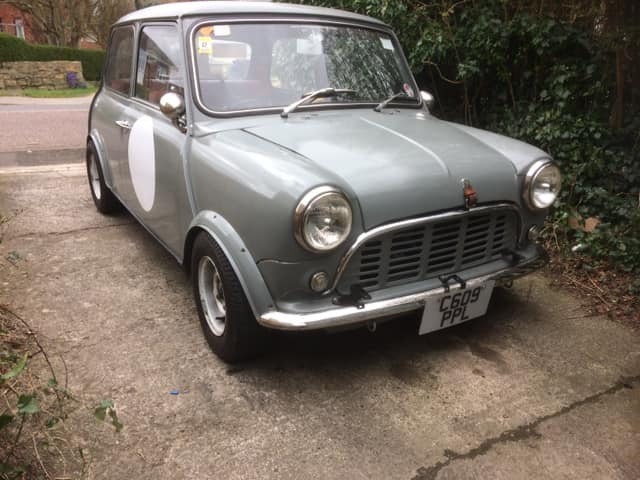 and dash 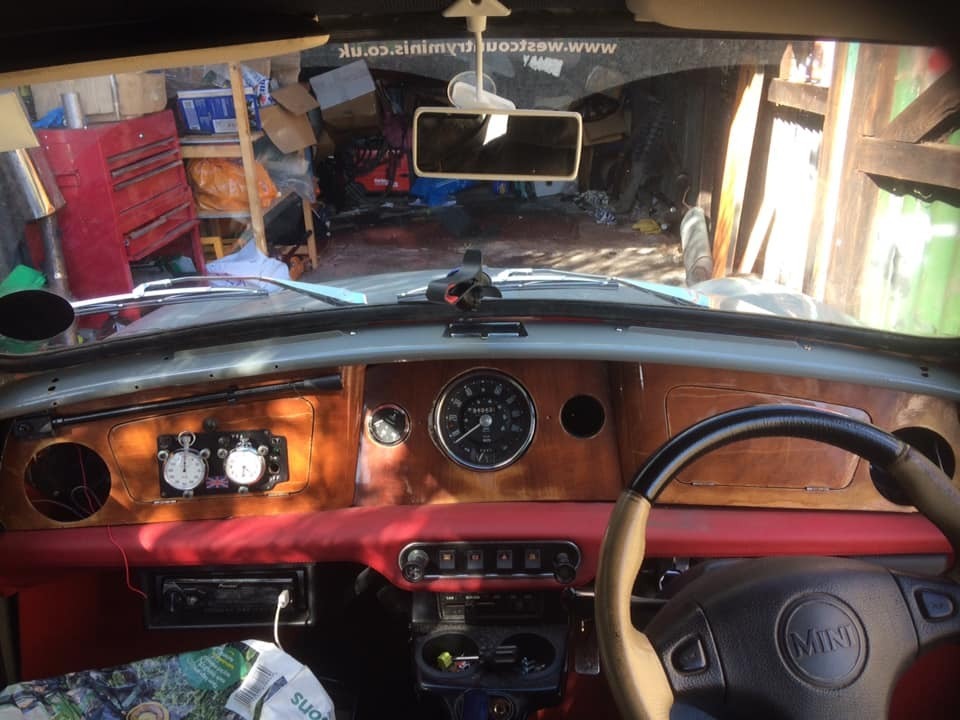 A bit of welding was needed 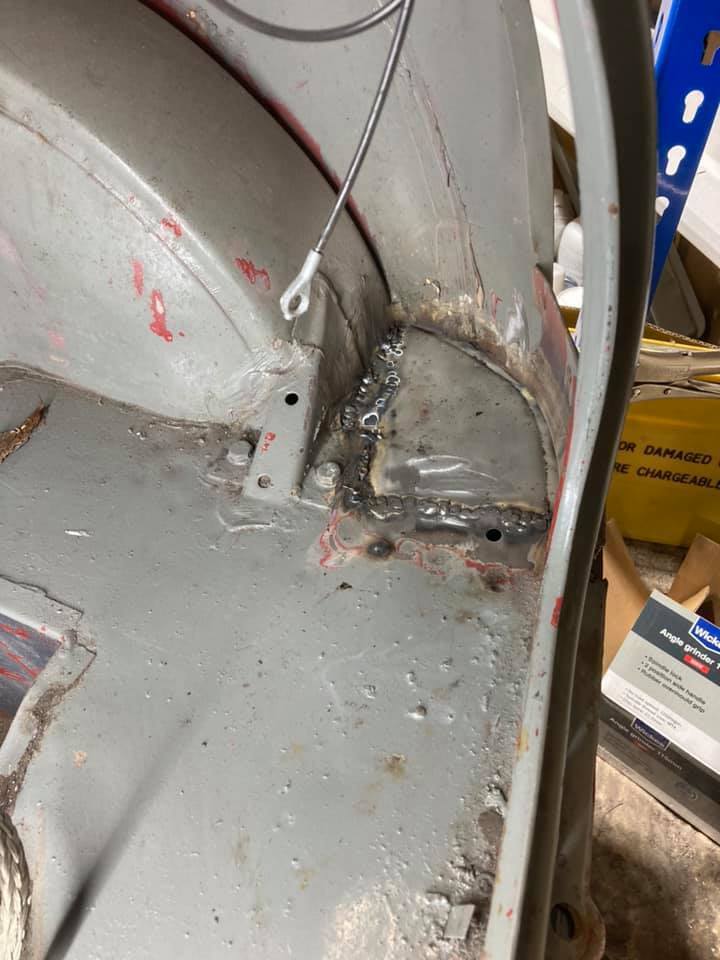 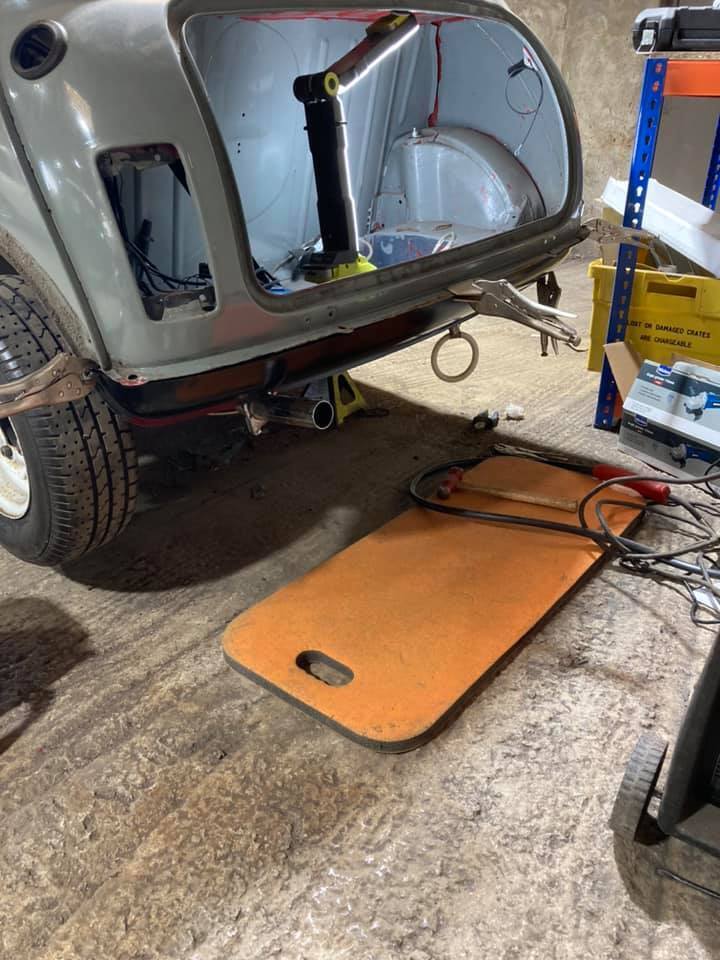 And that about gets us up to date with the start of this year |
| |
|
|
craig1010cc
Club Retro Rides Member
Posts: 2,998
Club RR Member Number: 35
|
|
Apr 14, 2023 11:47:58 GMT
|
At the 1st mini show my wife attended (back in 2000 whilst this was still her daily) she saw her 1st Riley elf and wanted that front to be fitted. I wussed out and convinced her that a mk1 front was the way to go. I did gather the parts to do it for the last rebuild in 2010, but again I wussed out and sold the parts 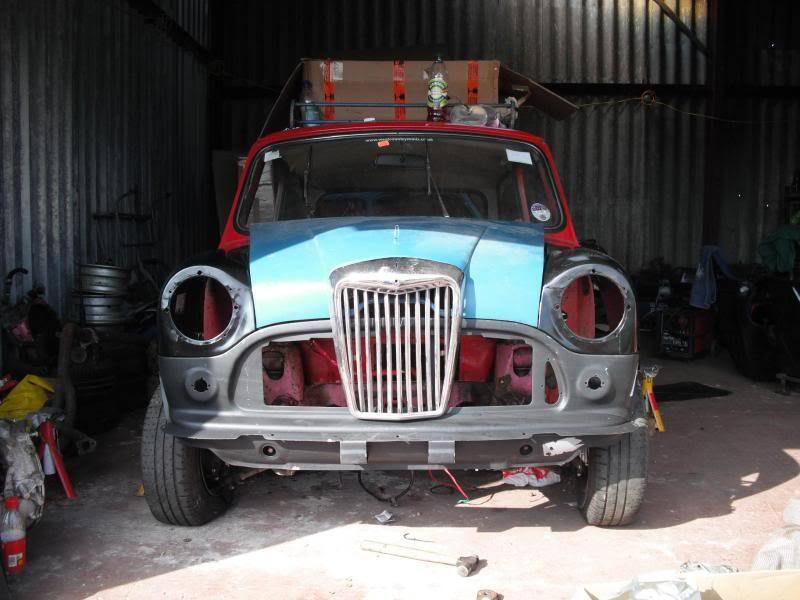 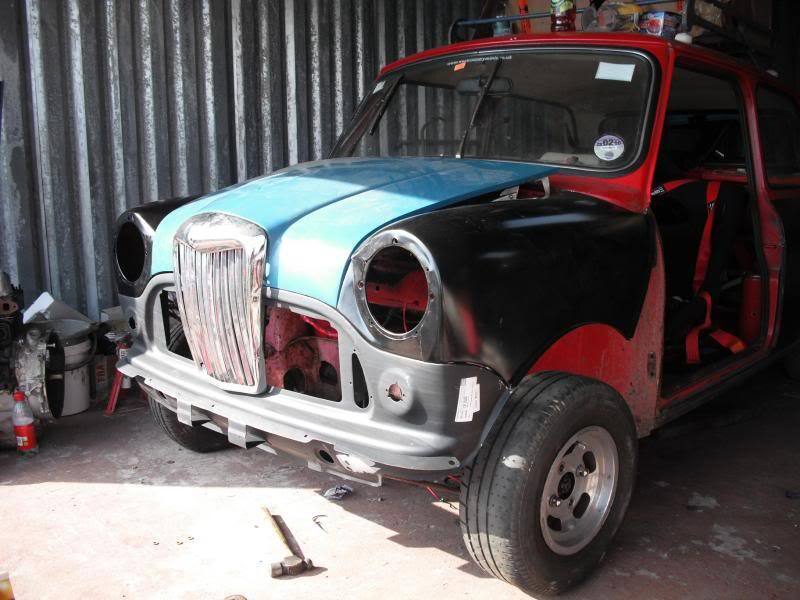 Not having had a big change of look for 12 years, I was keen for a change. After considering a few colour changes, but haven't really got the time and space for a full repaint at the mo, then the idea of a elf/hornet front came up again. In South Africa you could get a Wolesley 1000 that was a standard mini with a hornet front, so that was what I settled on. I kept an eye out for the parts over the last 6 months or so, and at Bingly at the end of Jan I found the last 2 parts (the bonnet and main grill). So how to go about the conversion in a single garage with out power. I had purchased a conversion panel for the front panel, but its designed to be cut and welded in. Looking at it, I reckoned that with careful cutting, I could get it looking right using rivets to attach and some filler to hide my sins  The plan is in the future to redo it the conventional way (hoping to move and get a better garage). 1st job, start cutting the front panel (no turning back now) 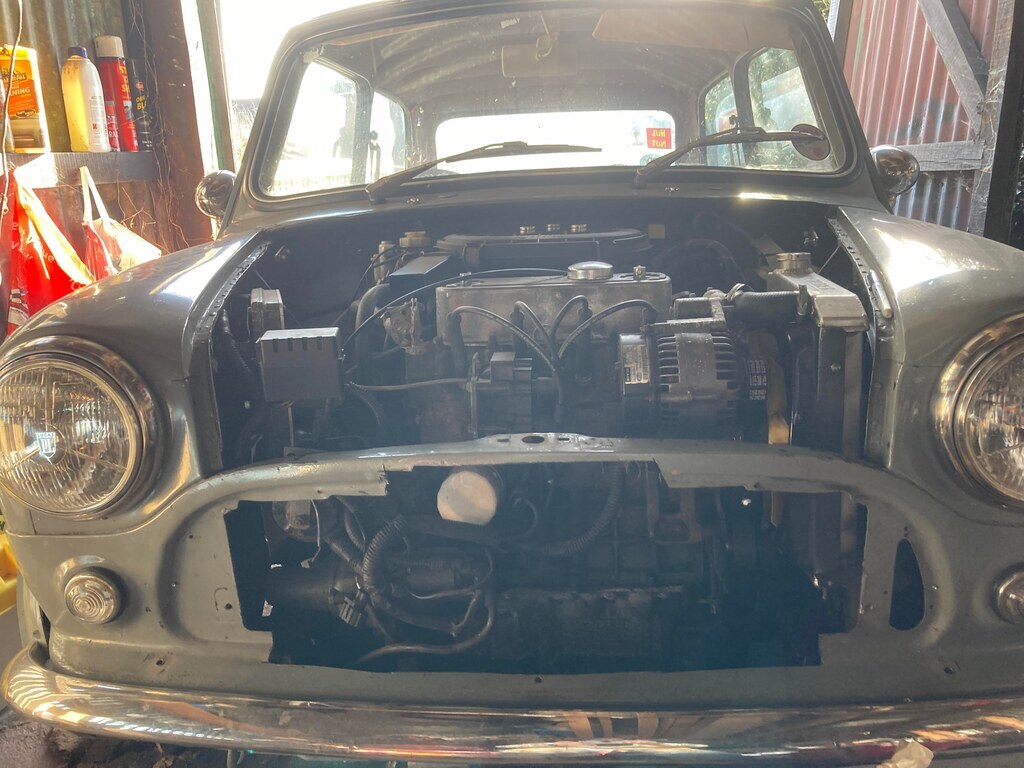 Then try the front infil panel with a couple of screws to hold it in place 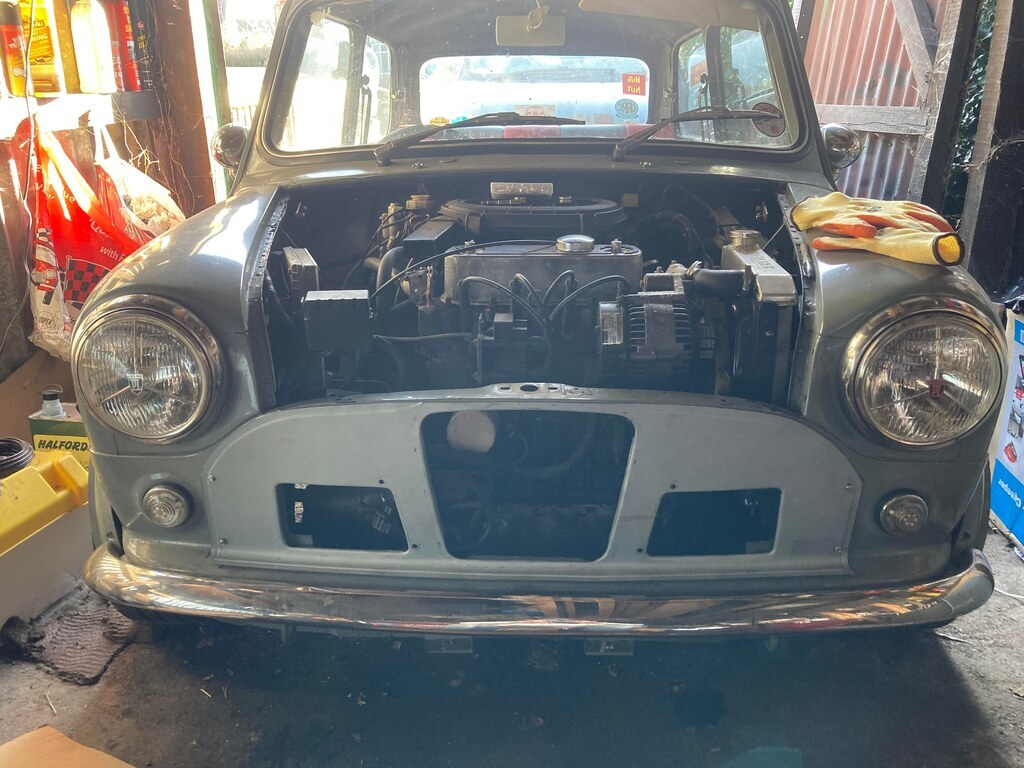 Then try on the bonnet/grill 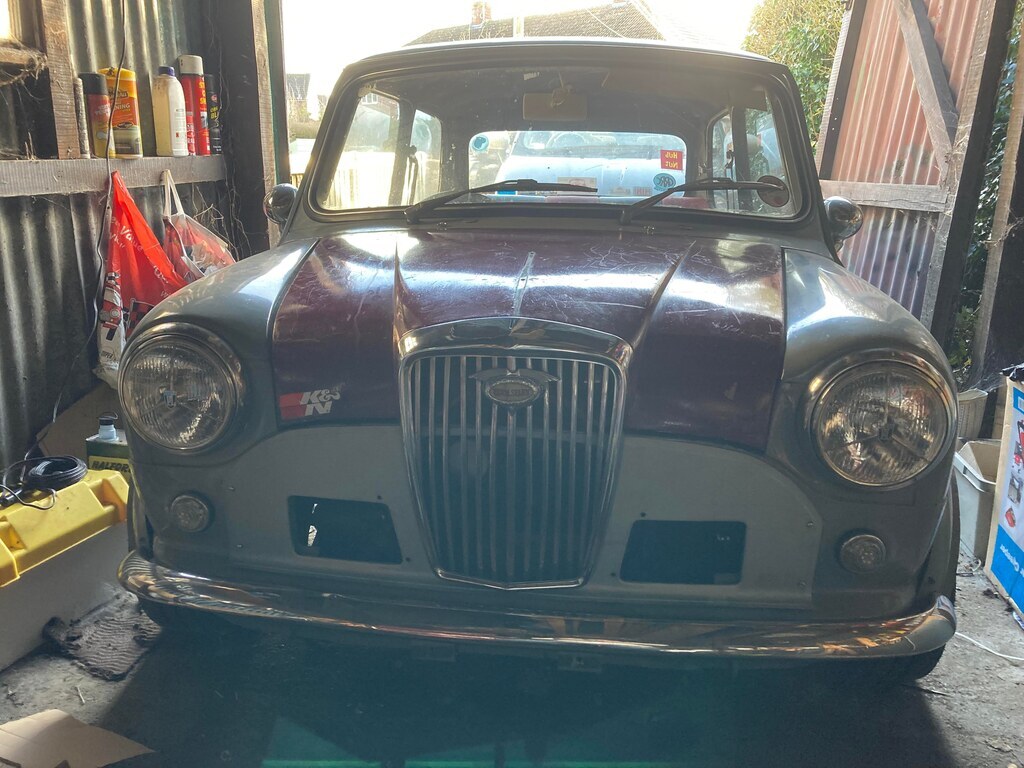 and then the side grills 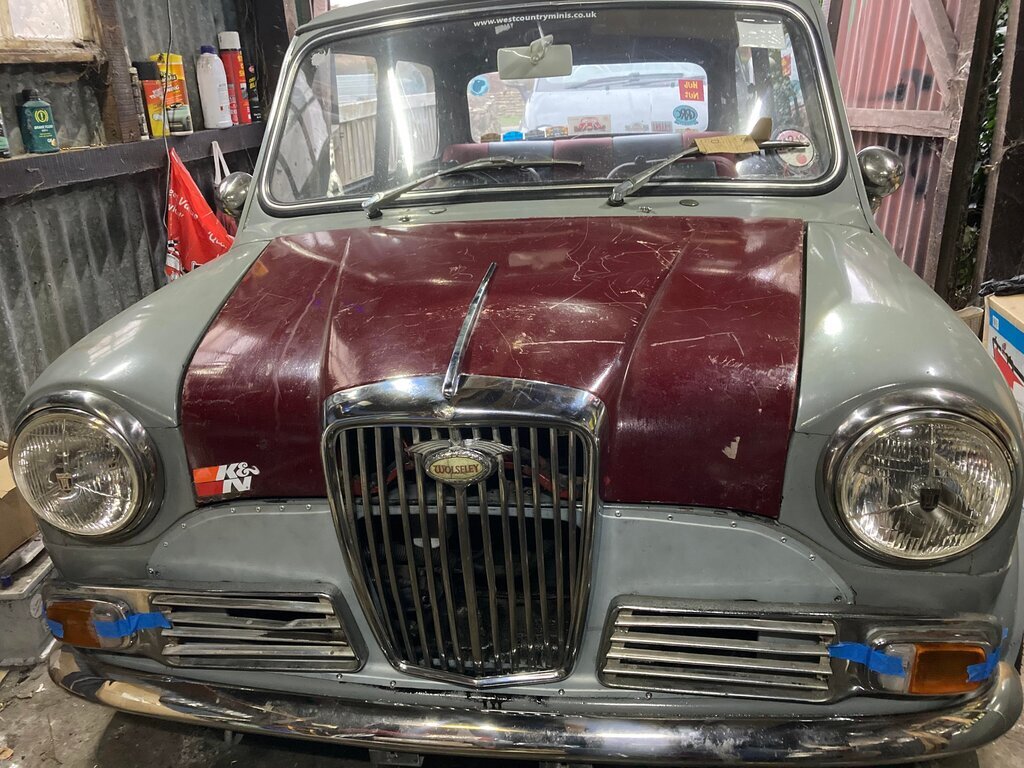 That seems to work. So more trimming (for the side lights to fit) and then out with the rivets and the 1st bit if filler 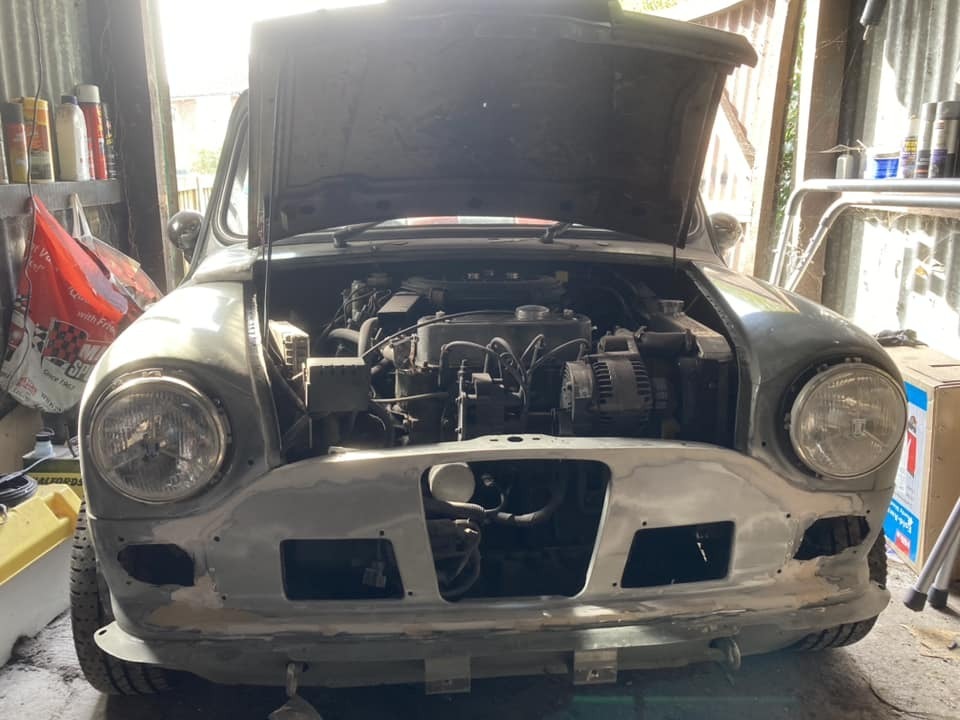 The bonnet needed the hinges moving and adapting to work 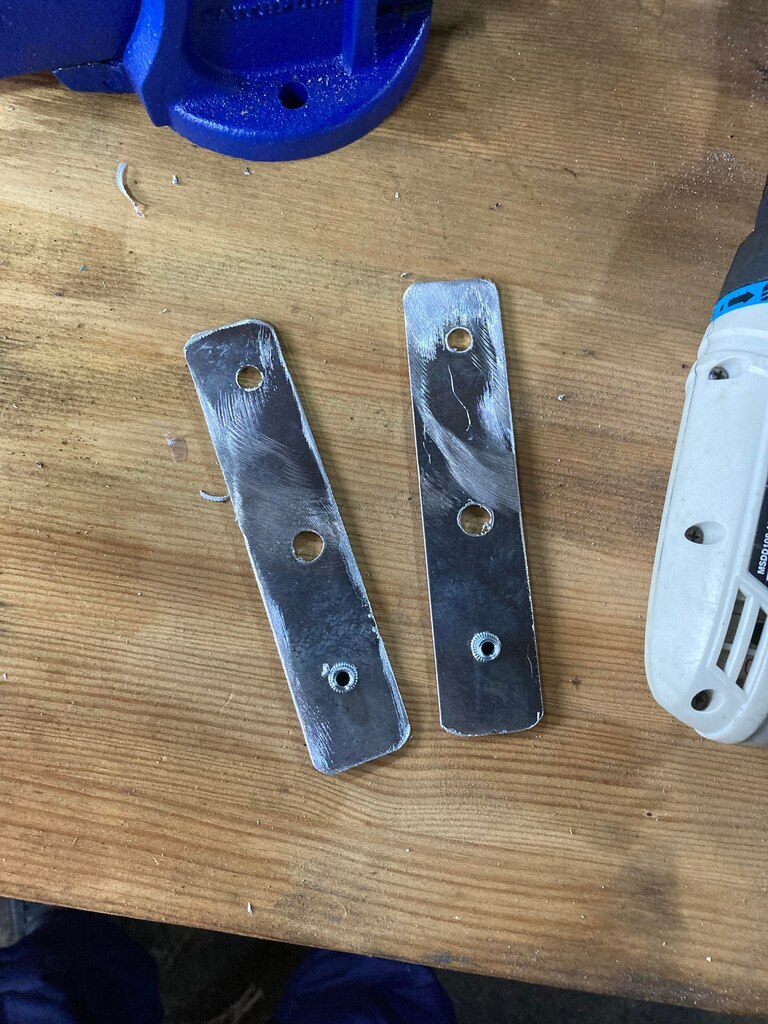 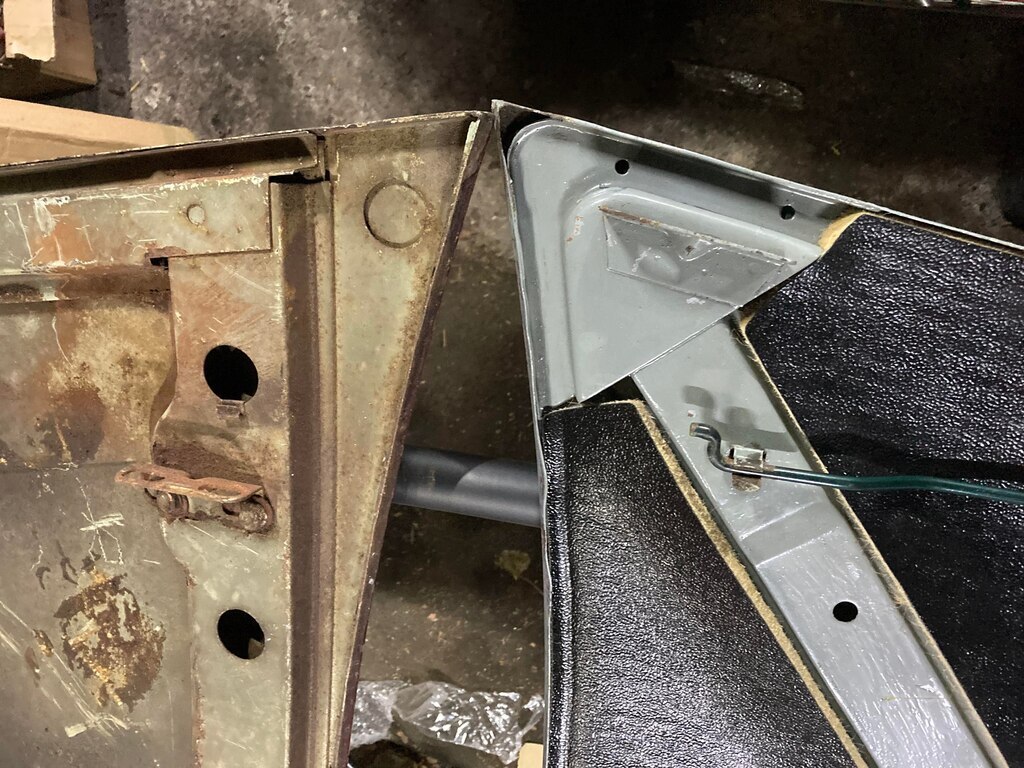 All moving in the right direction. More filling and sanding was next 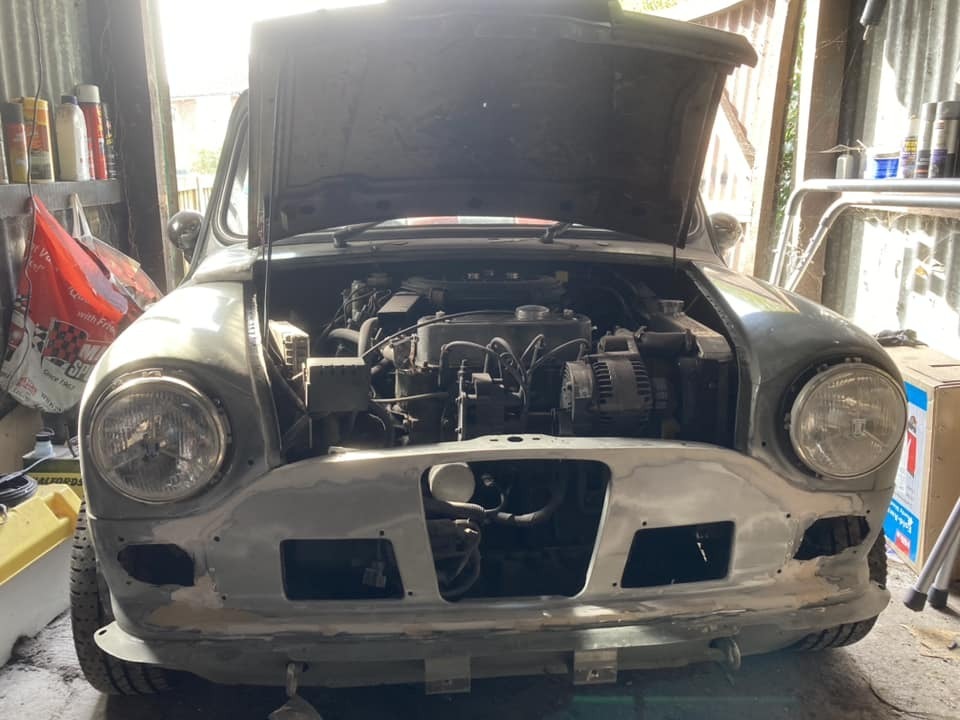 and more filling and sanding 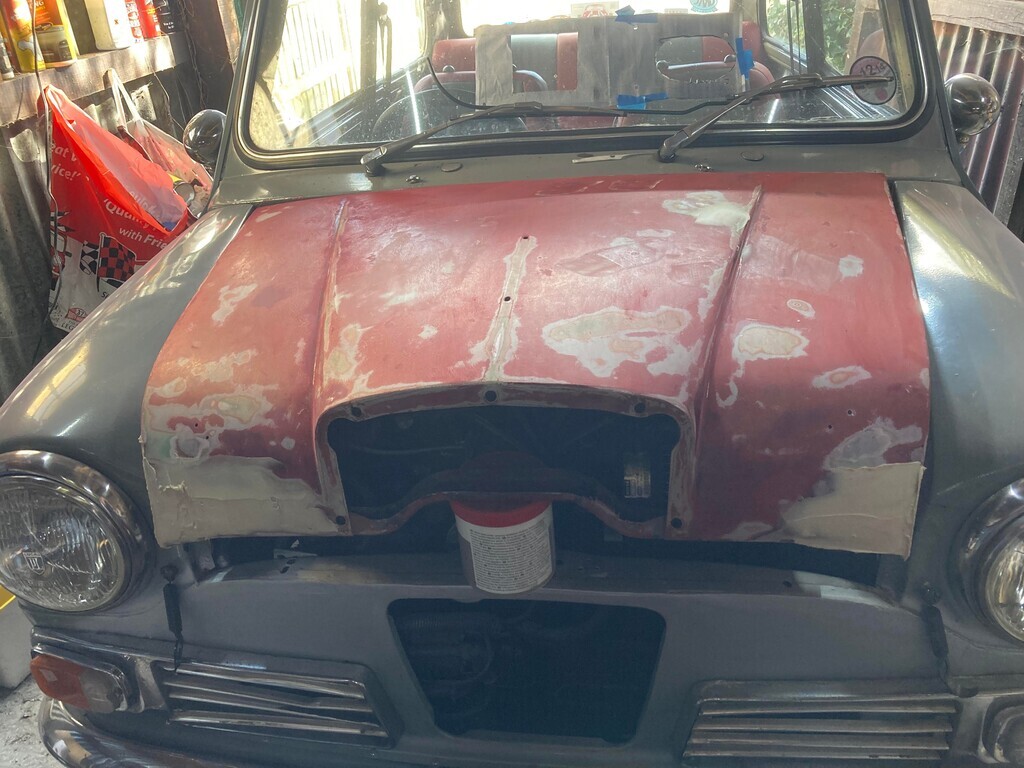 But eventually we get to a place where paint can go on 1st the bonnet 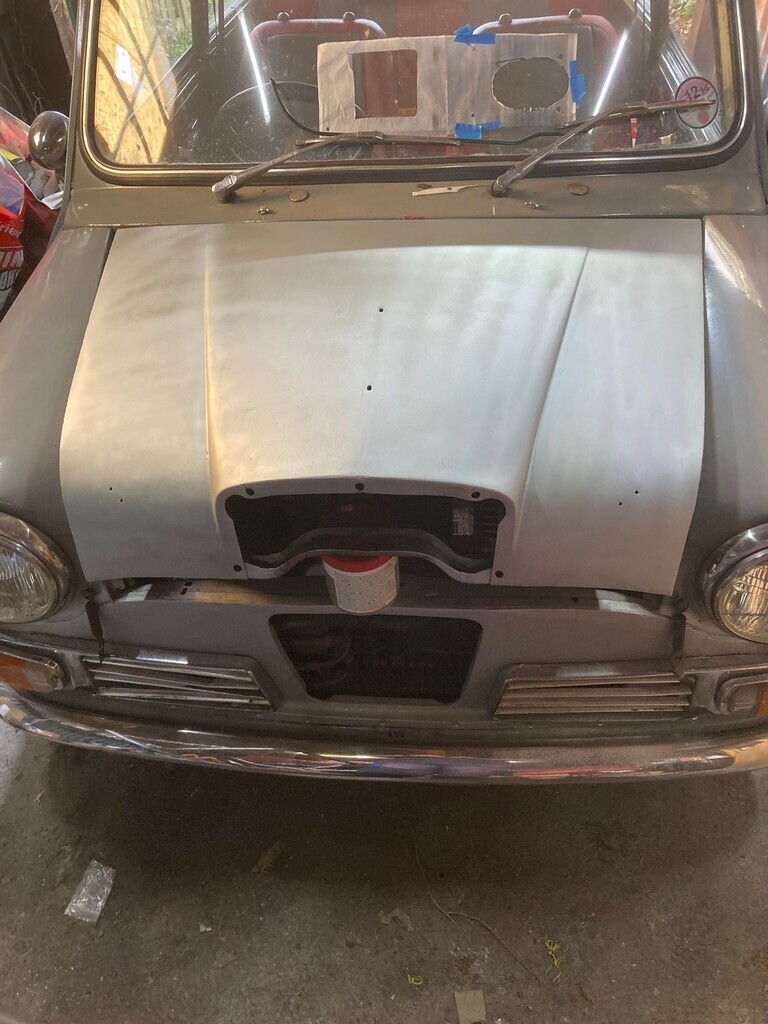 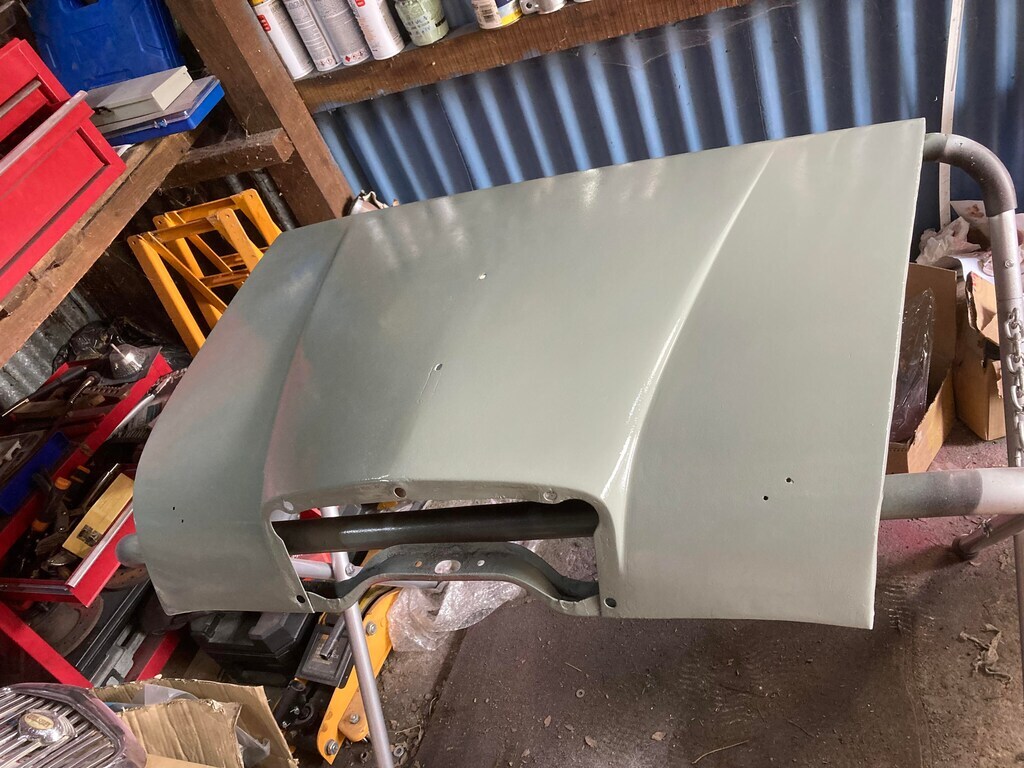 Lots of sanding scratches, but its in colour at least (all aerosol rustoleum which is a really good match for the rustoleum 1 rollered on in 2010) 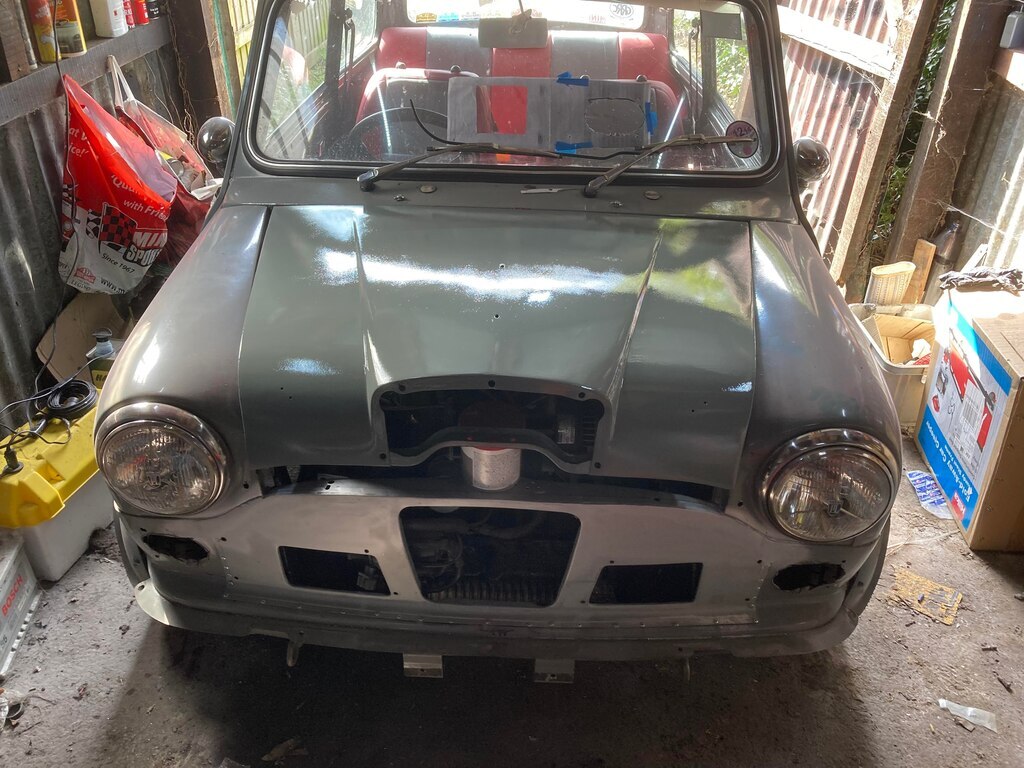 So more sanding on the front panel to try and remove most of the sanding scratches there 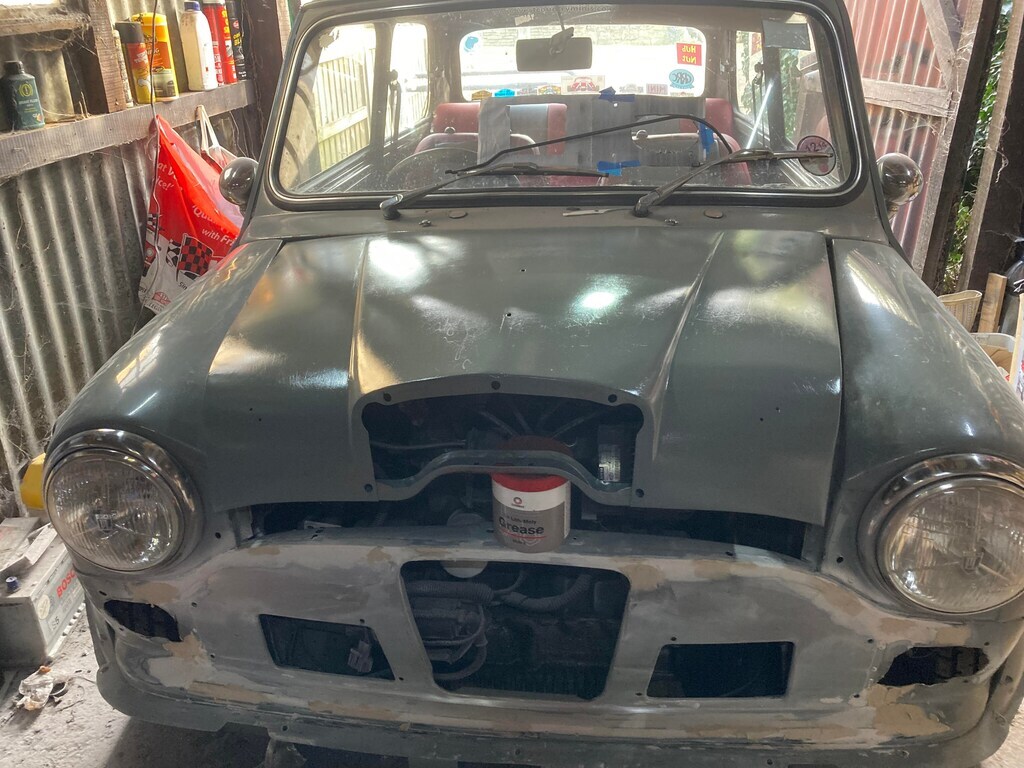 then on with some paint 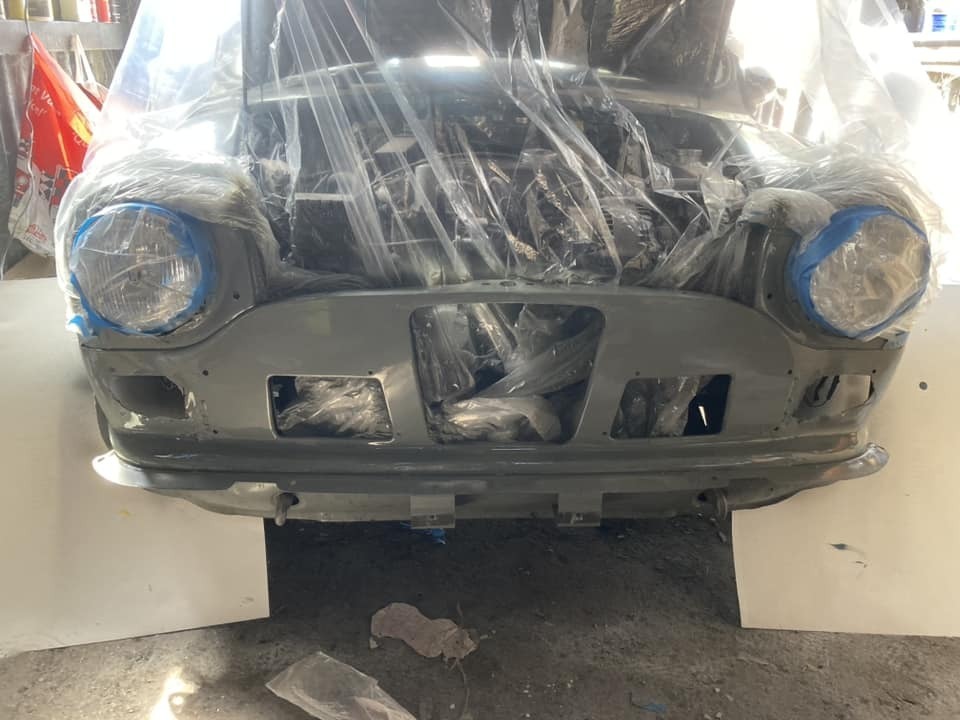 Again, not perfect, but good enough for now. Left it for a few hours to harden a little and then couldn't resist bolting up the chrome 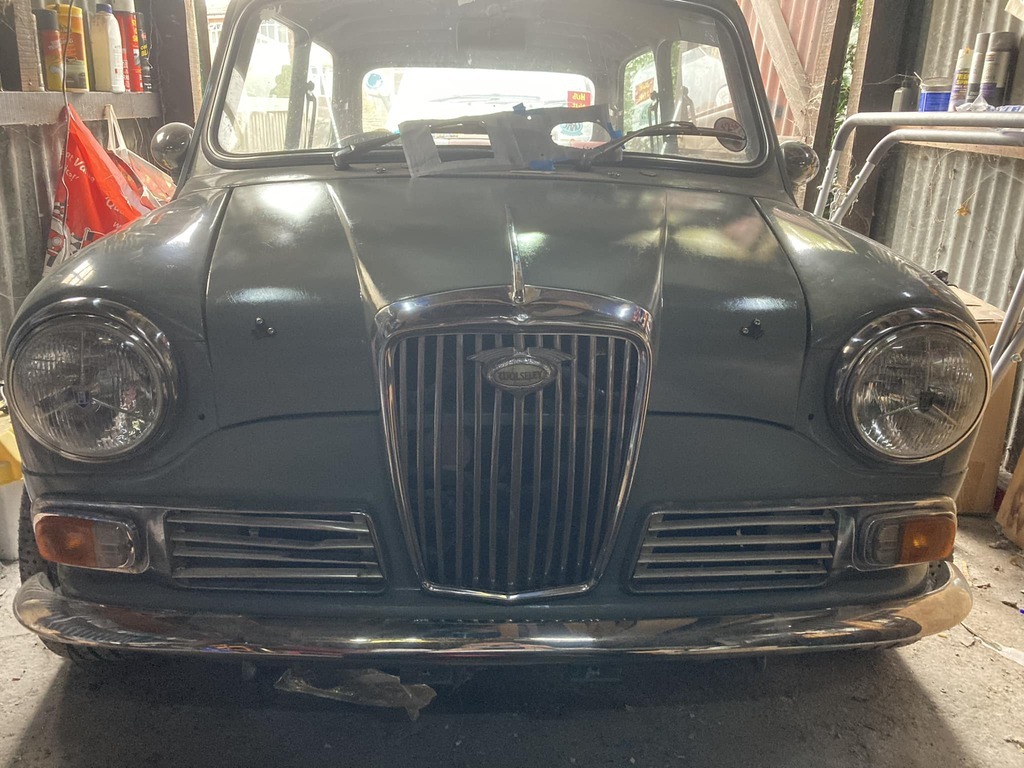 Next day I pushed it out in to the open for the 1st time 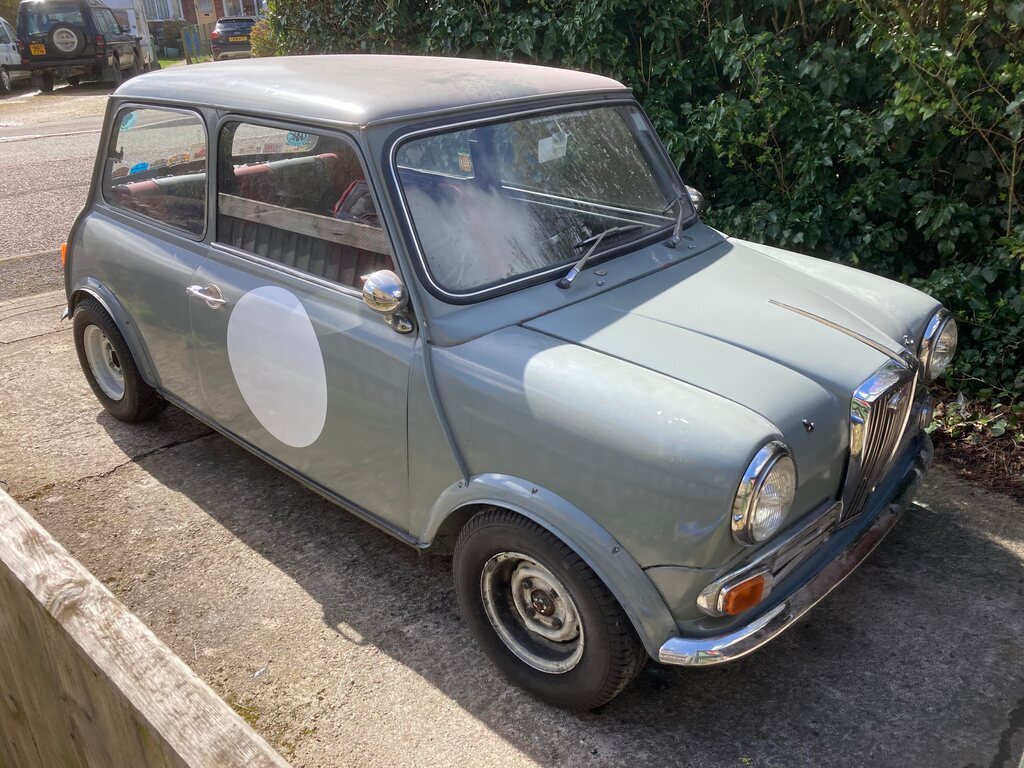 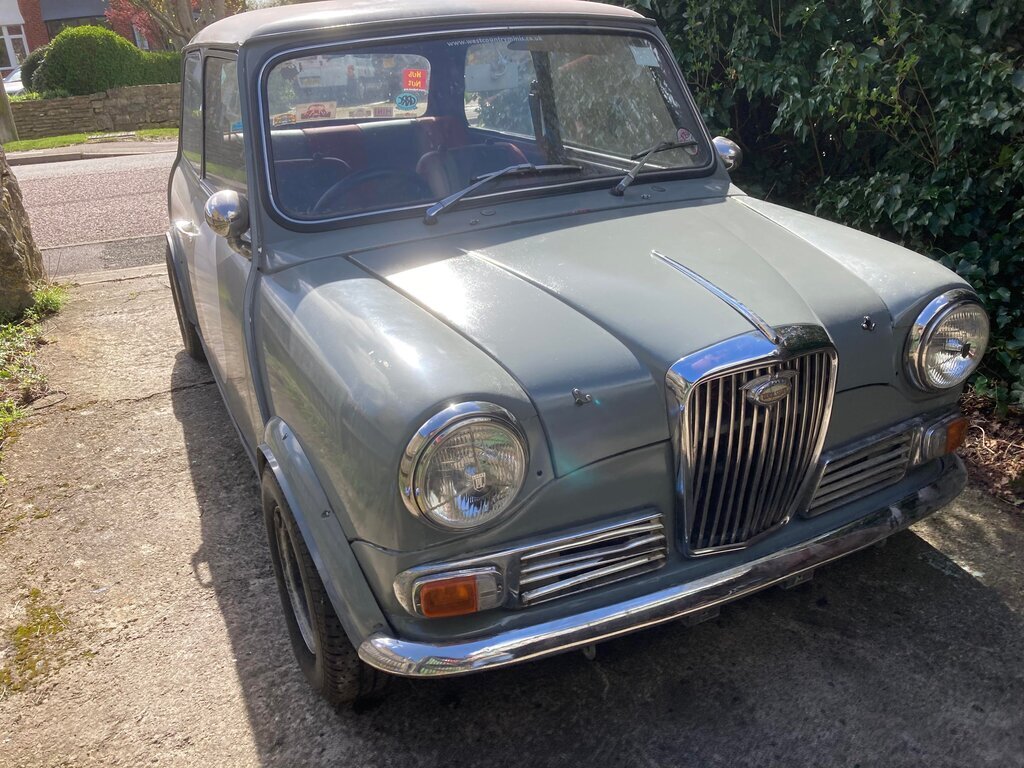 Still needs a good wash and polish, and a few bits bolting up (side grills just resting at the mo, need to wire in the sidelights), but I'm really happy with it |
| |
|
|
craig1010cc
Club Retro Rides Member
Posts: 2,998
Club RR Member Number: 35
|
|
Apr 29, 2023 18:17:28 GMT
|
Been plugging away ticking the jobs off. Wired in the sidelights/indicators only to find that the side light on the passenger side wasn't working and on investigation it was so badly corroded it was no wonder. Quick search on ebay (for austin 1100 units as they are the same but cheaper) I found a NOS one for under £30 posted, result. So today I got that fitted and wired and decided that as the battery was connected, it would be rude not to head out for a quick spin. Got to love MPI minis, hasn't run since September and after letting the fuel pump prime it fired to life 1st turn  So I headed out and brimmed the tank with some tesco's ultimate and went off to find the abandoned garage near me 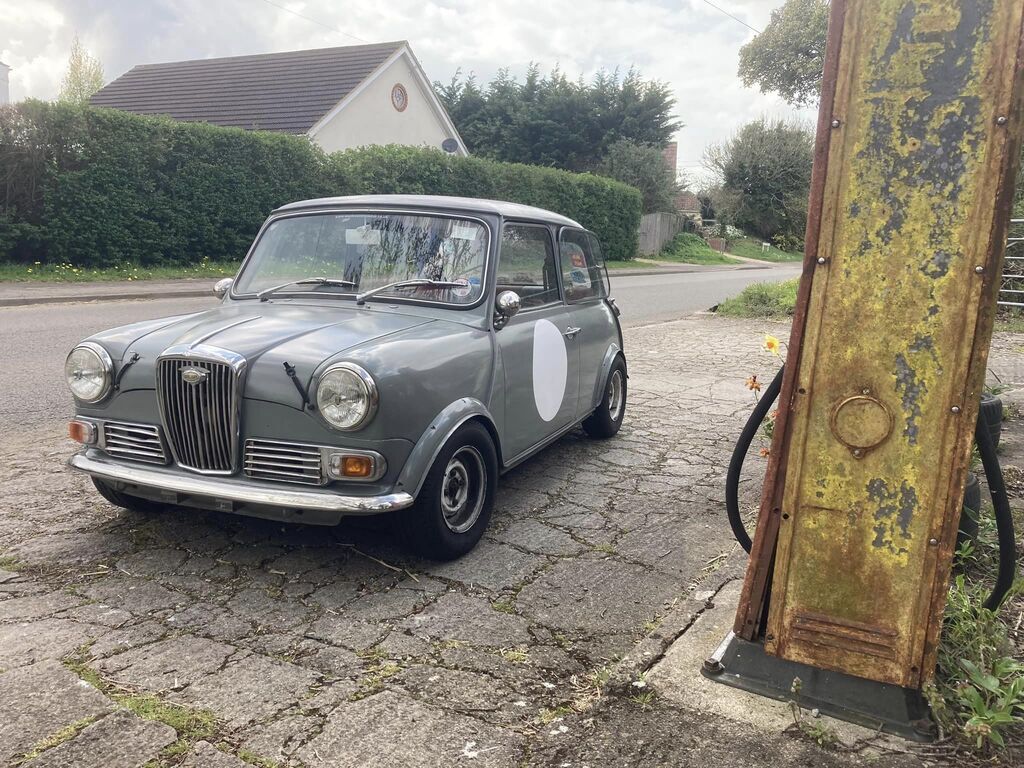 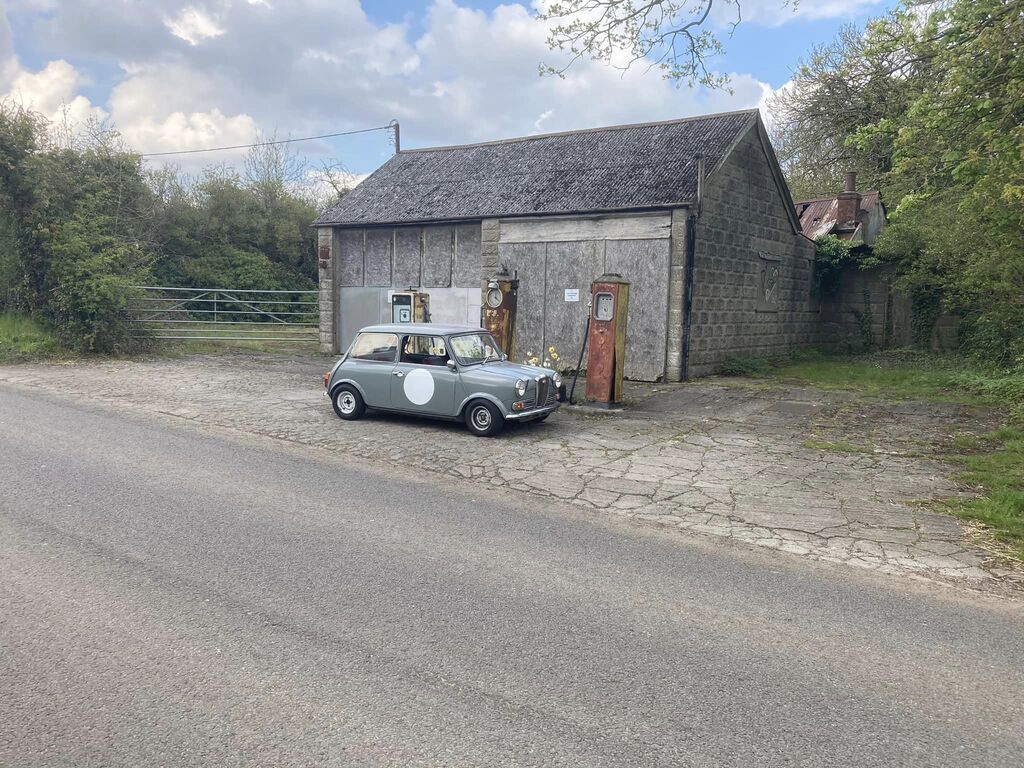 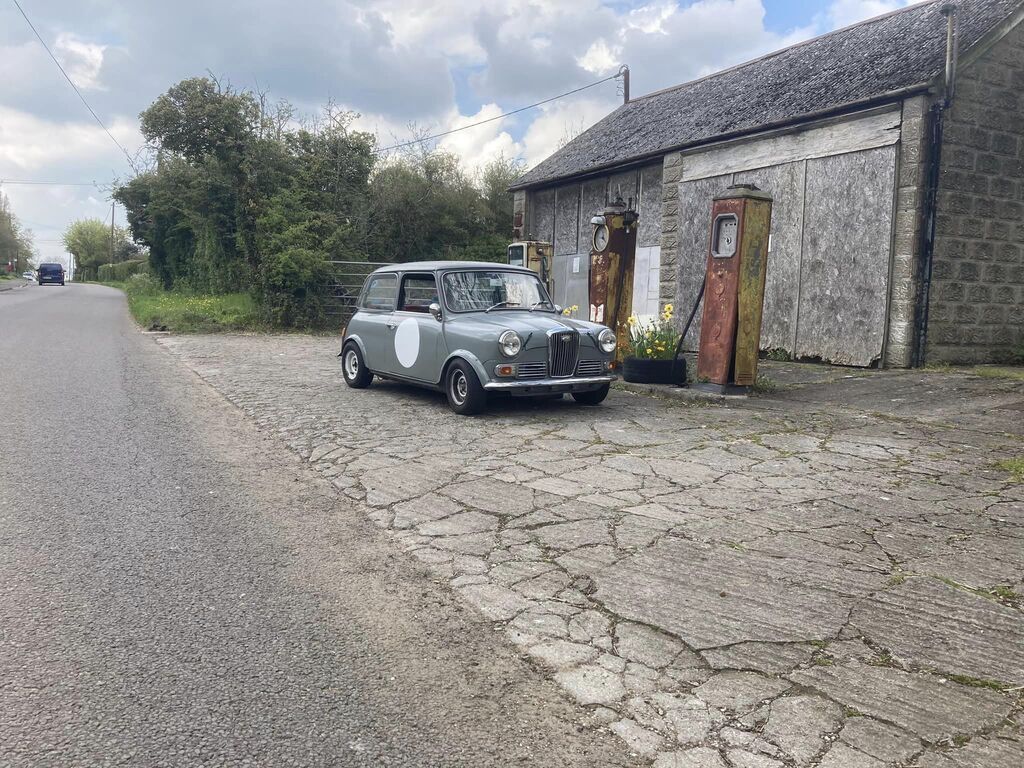 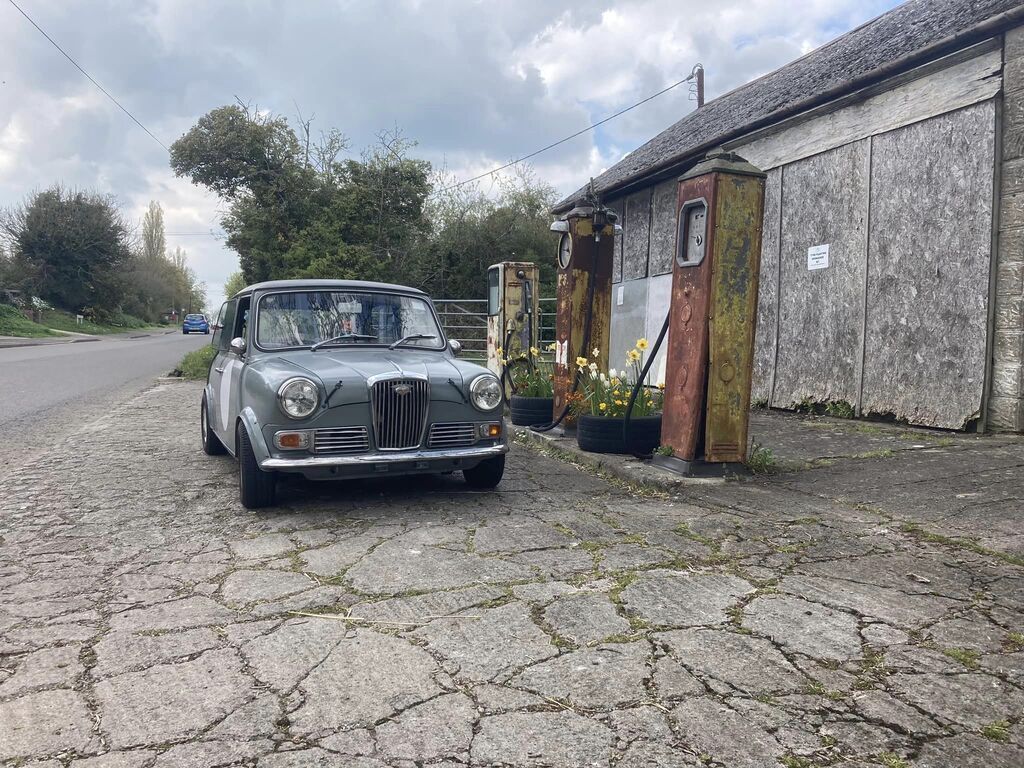 Still needs a wash and polish, bit was great to be back on the road again. Also realised as I passed a police car that I hadn't refitted the front plate  |
| |
|
|
craig1010cc
Club Retro Rides Member
Posts: 2,998
Club RR Member Number: 35
|
|
|
|
not much more progress, but enjoying popping out for an hours tinkering every couple of days. Have managed to get a rev counter fitted again, the smiths one I'd ran since 2004 wasn't compatible with the MPI conversion (it only went down to 4 cyl) as the MPI with its coil pack needs effectively a 2cly rev counter so it was sold off to contribute to the cost of the MPI. The later smiths ones though can be set for 2cyl, but I never spotted the right one for sale so decided to stump up for one. My plan was to mount it in a pod on the steering column, but after mocking it up ok and then drilling the hole, I realised that it was pointing too far up  So a plan B was needed and I also now had a hole in the cowl to deal with. The hole was an easy fix, I had never found a good spot for the factory alarm LED to go, and after a bit of re-routing (and enlarging the hole) it was a perfect fit  For the rev counter I bit the bullet and ordered up a 80mm hole saw and attacked the glovebox lid. And it worked out much better than I'd hoped. 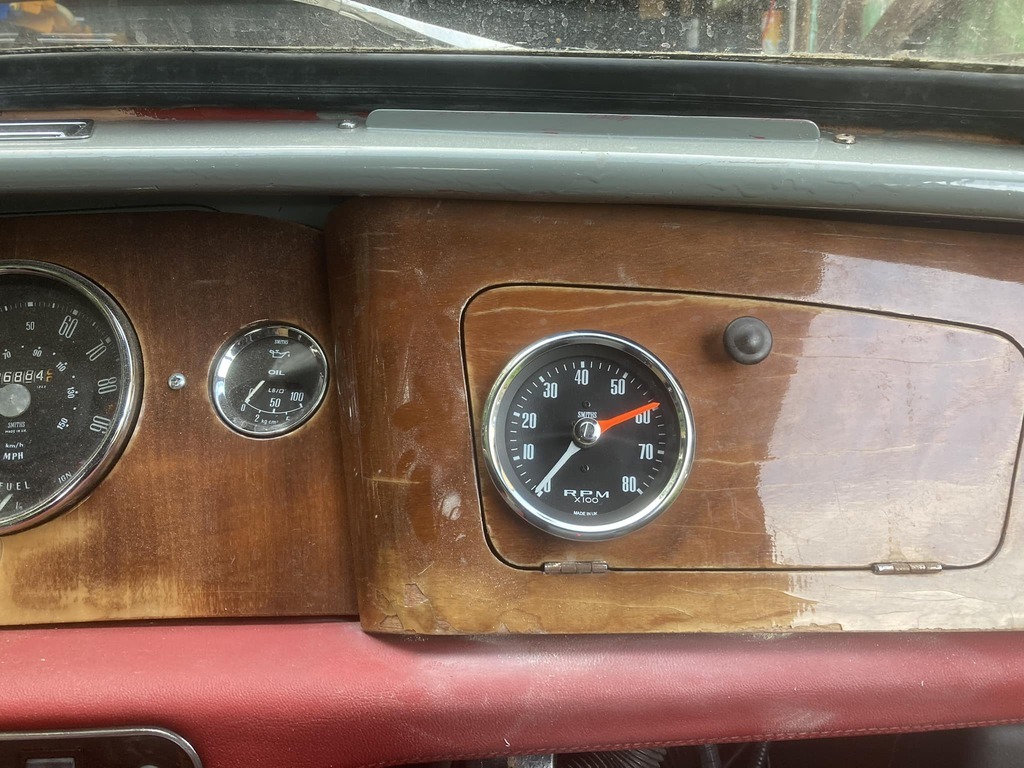 To celebrate it was time for some service work. I needed to change the discs and driveshafts (the discs had warped and there was a click from the CV's) and it was well overdue an oil change. All went smoothly (bar smashing my hand on the front panel undoing the sumpplug which was rather tight), the oil was black but no sparkly bits. A set of plugs later and I thought it was time to grease the joints. 7 of the 8 decided otherwise so I'm now waiting on new nipples  So all that was left was to start cleaning off the winters storage grime. Washed and polished so far, hopefully get some wax on later this week and start cleaning out the interior 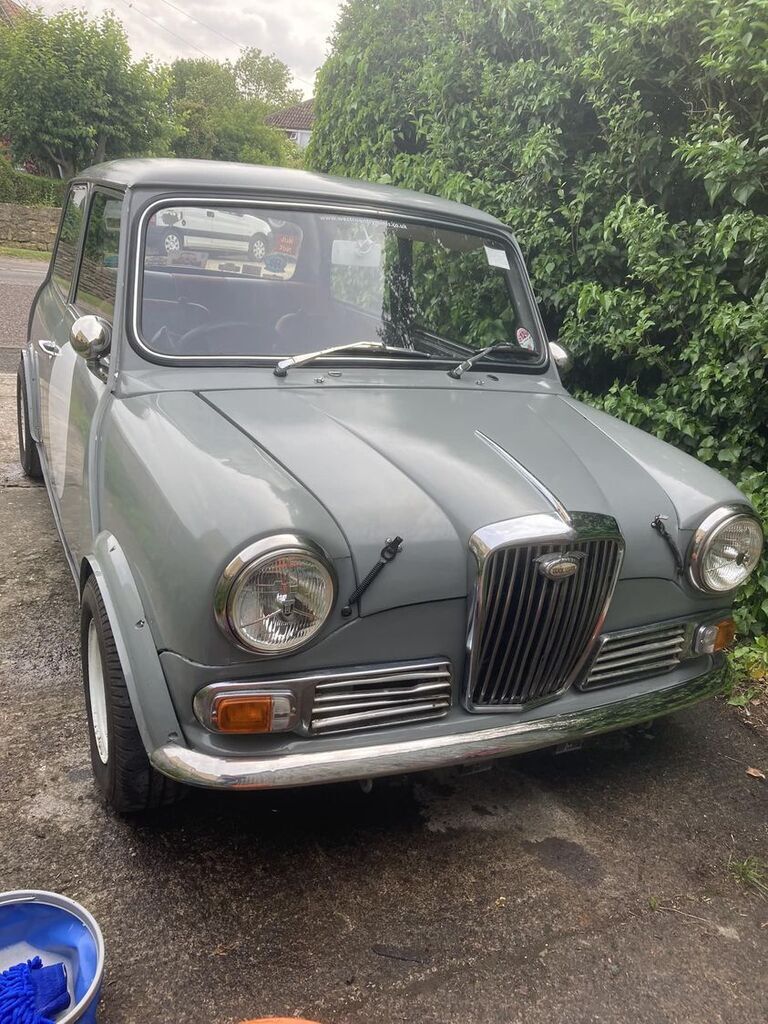 |
| |
|
|
|
|
|
|
|
|
|
|
Looks great with the new front end, seems to work way better with the grey paint and steel wheels than it should in theory. I really like it!
|
| |
|
|
|
|
|
|
|
|
Have you wired up the light in the Wolseley badge? I had a Wolseley Hornet with one and it looked great in the dark.
|
| |
|
|
craig1010cc
Club Retro Rides Member
Posts: 2,998
Club RR Member Number: 35
|
|
|
|
Have you wired up the light in the Wolseley badge? I had a Wolseley Hornet with one and it looked great in the dark. Not yet, but that is on the list and one of the reasons I was after a Hornet grill rather than an Elf  |
| |
|
|
craig1010cc
Club Retro Rides Member
Posts: 2,998
Club RR Member Number: 35
|
|
Sept 25, 2024 14:58:27 GMT
|
Hmm, over a year since the last update. Well lots has changed, but not a lots changed. Main things are we moved house at the start of the year and I finally now have a decent sized (single) garage with power that is actually a nice place to be in 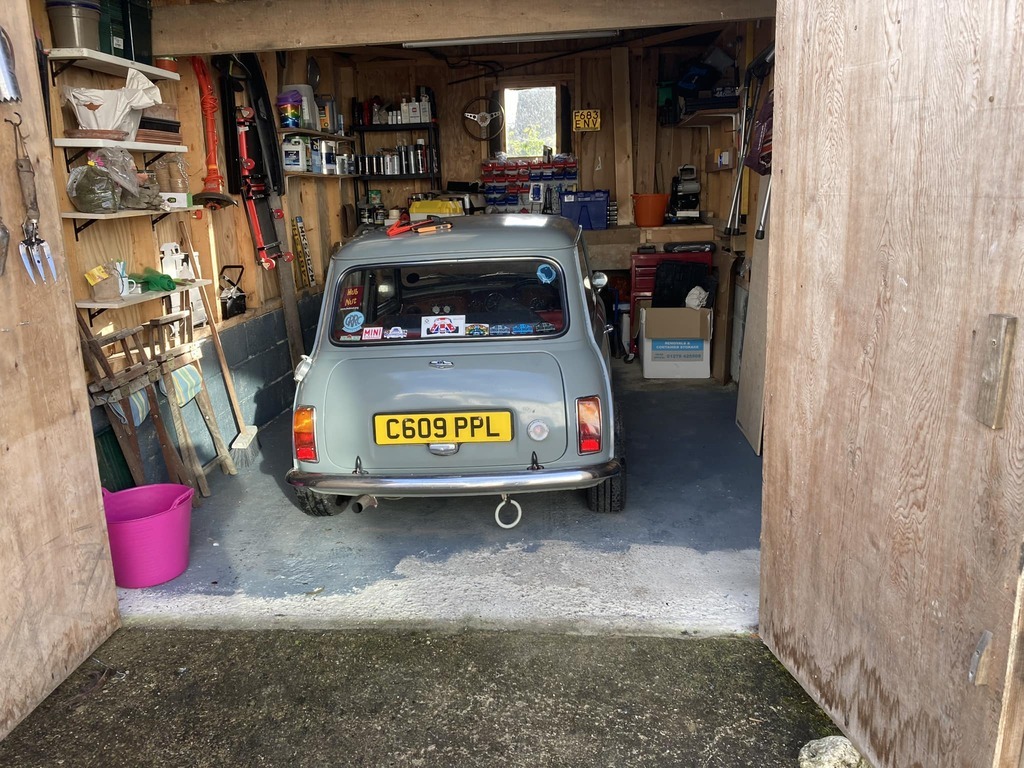 Sadly though, working on my T4 has taken priority lots of this 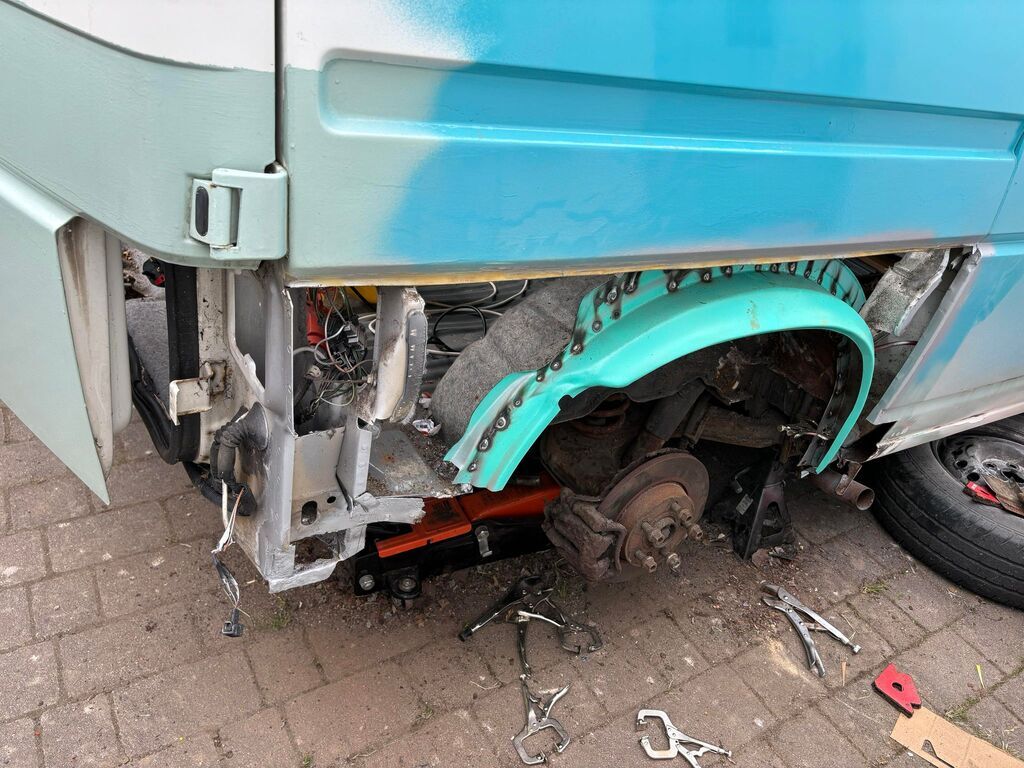 and then this 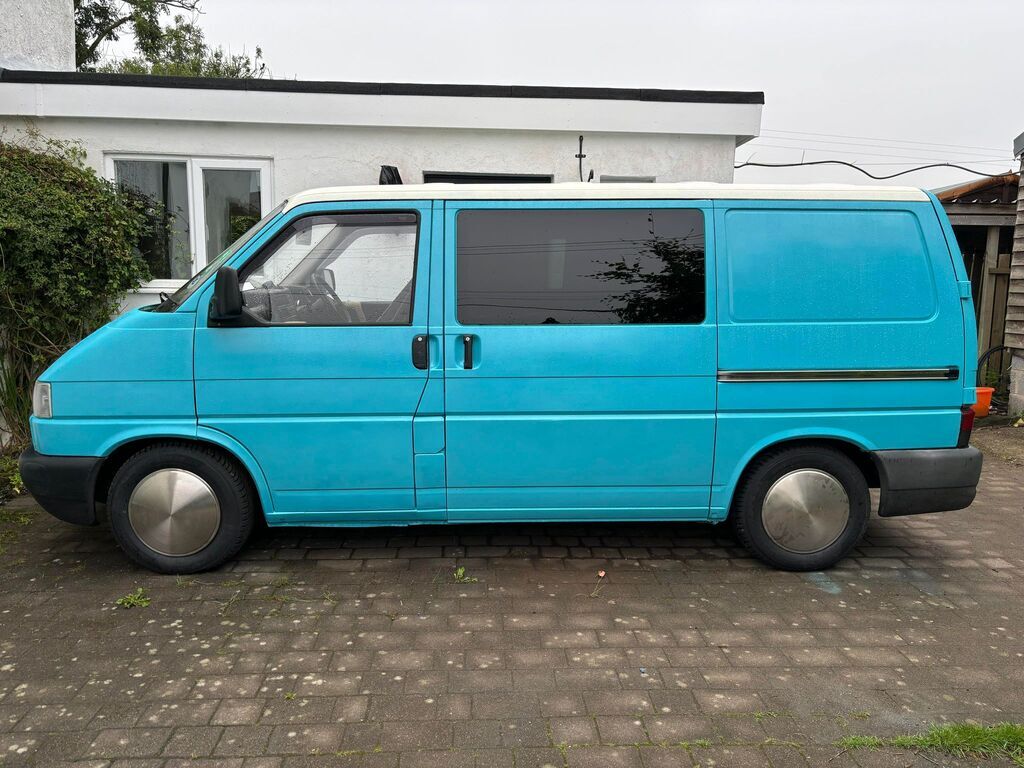 But this weekend, inspired by seeing pic's from my friends all enjoying their minis on the Isle of Wight I headed out to start stripping the front hubs to get the balljoints to accept some grease. Started on the drivers side, and it went pretty smoothly, the balljoints came apart, cleaned easily, could get grease in and only 1 needed re-shimming. Bolted them back together and then the issues started. 1st was whilst torquing the top balljoint nut to the book figure (40lb/ft) it went lose before clicking  Luckily only the nut was damaged, so I was able to find another nut and went back to my normal method of tightening it to 2 grunts. Then I looked at the front shock mount and spotted a crusty looking bit. and poked it  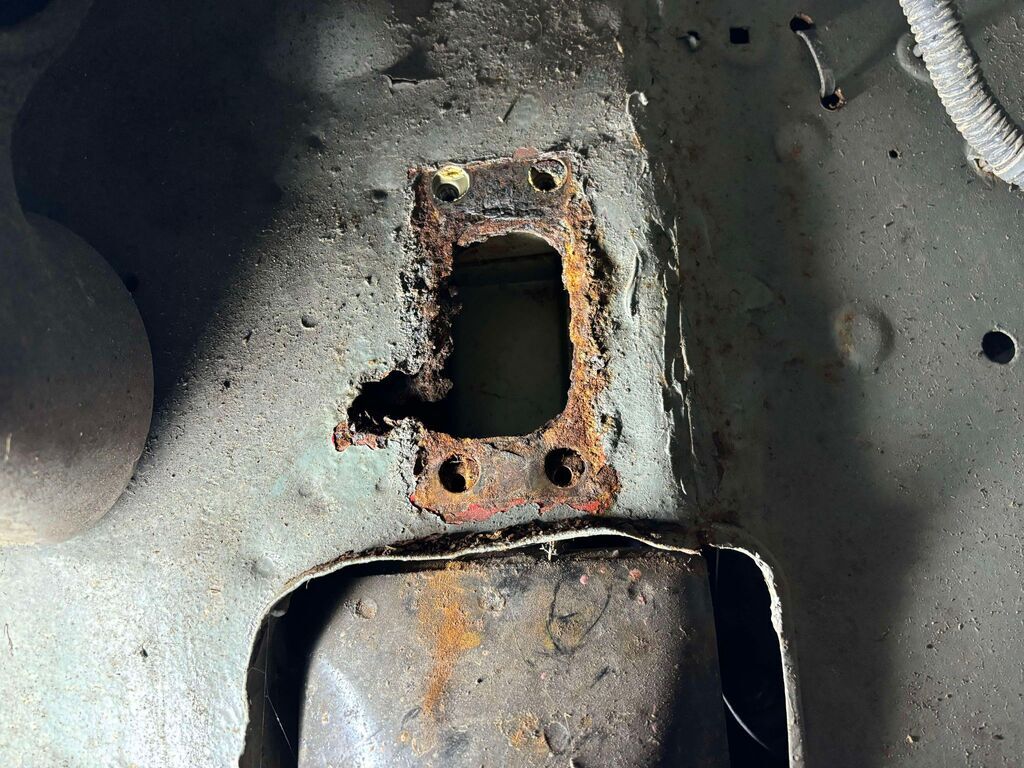 Fairly typical mini rust point, but 1 I haven't had to deal with on all the minis I've had in the past. So far I've chopped the rust out and treated the bare metal with rust convertor 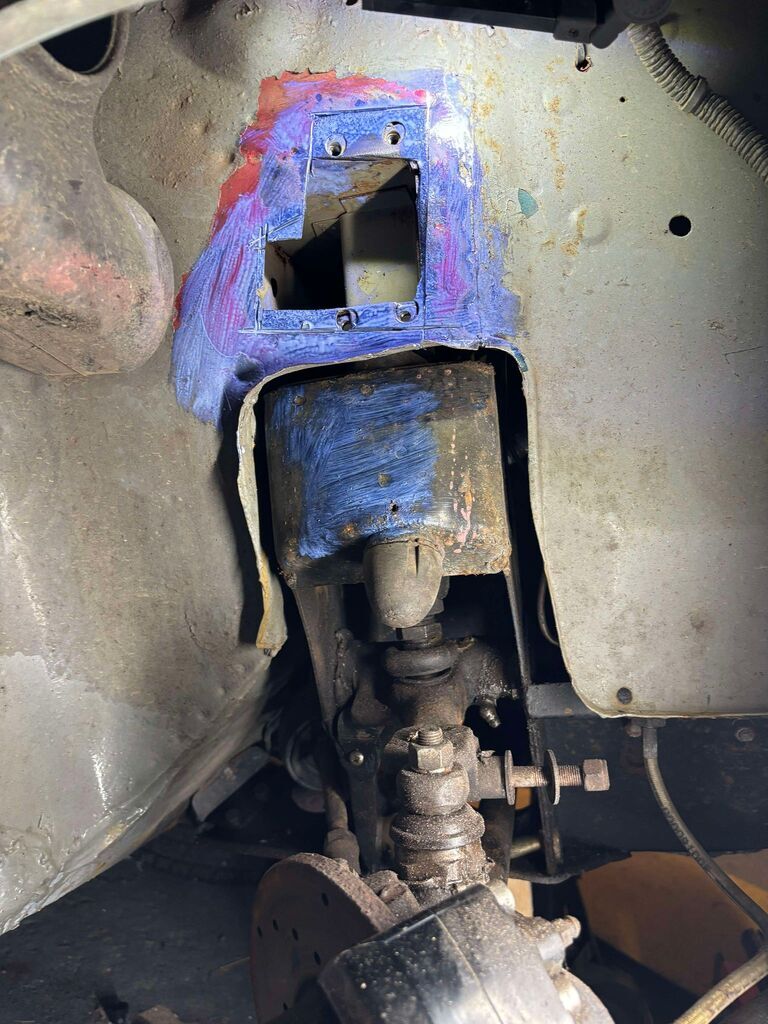 Time to break out the CAD and chop some steel up |
| |
|
|
 And with Christmas and a birthday passing, I soon had all the bits I needed


 So a snip the wires off the old telltale and connect it to the flasher units telltale outputs and it all works as it should
 )
)
 And with Christmas and a birthday passing, I soon had all the bits I needed


 So a snip the wires off the old telltale and connect it to the flasher units telltale outputs and it all works as it should
 )
)


 1 dead engine.


 Luckily only the nut was damaged, so I was able to find another nut and went back to my normal method of tightening it to 2 grunts.

