craig1010cc
Club Retro Rides Member
Posts: 2,998
Club RR Member Number: 35
|
|
Jun 10, 2014 22:04:22 GMT
|
|
|
| |
|
|
|
|
craig1010cc
Club Retro Rides Member
Posts: 2,998
Club RR Member Number: 35
|
|
Jun 22, 2014 21:54:17 GMT
|
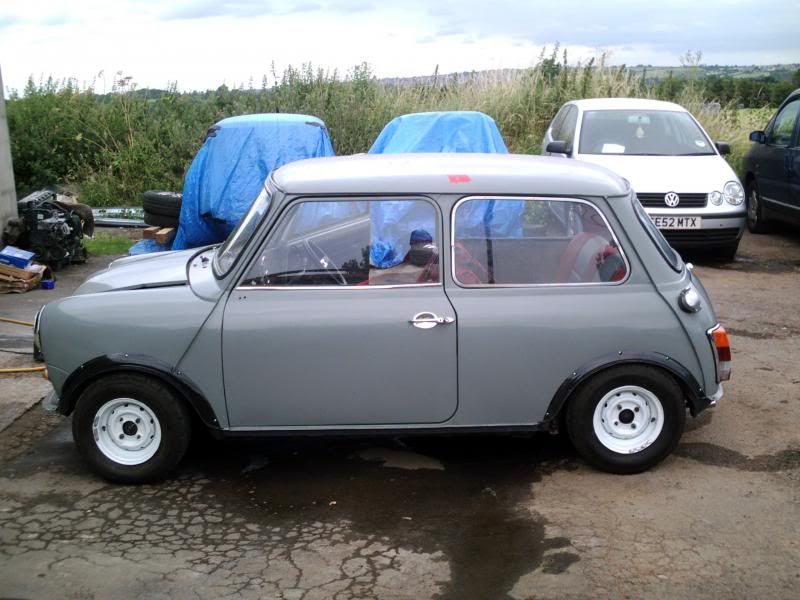
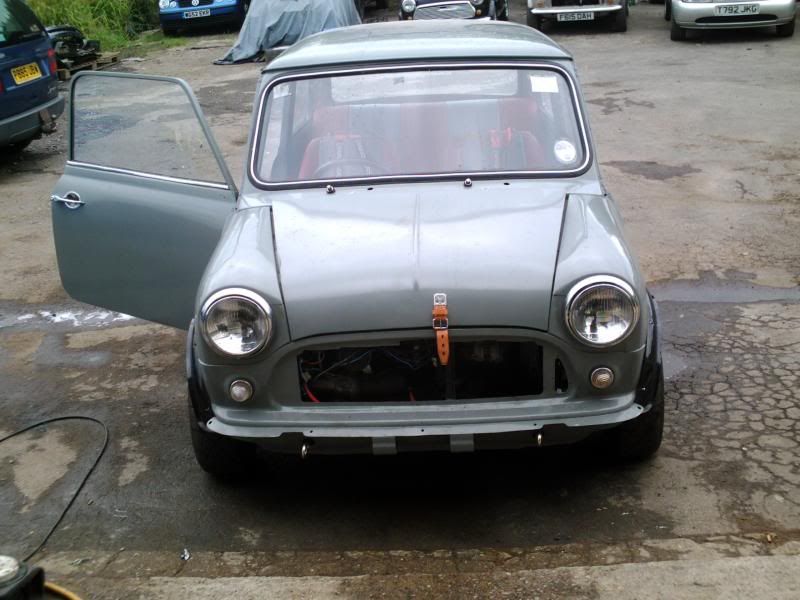
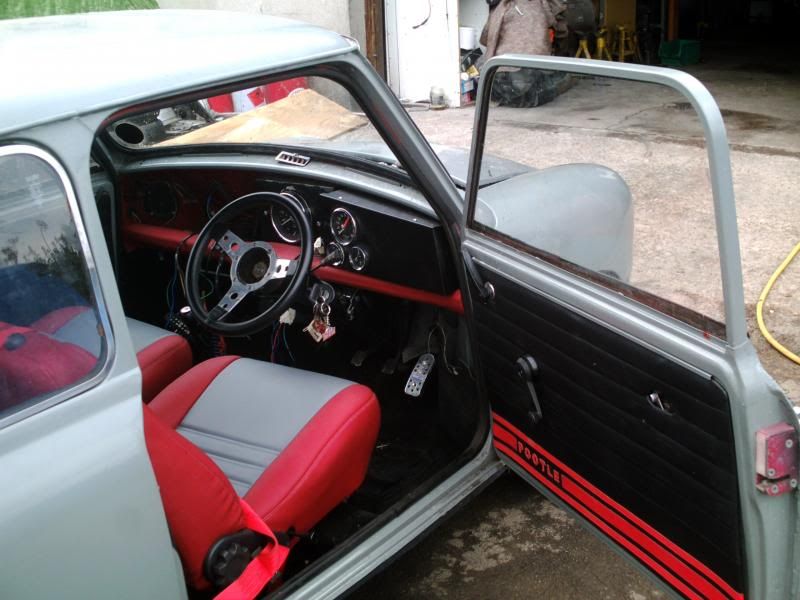
I was supposed to have had all of last week off, but work needed me to do some hours so only ended up with 3 afternoons off and I manged to tweak my back too  But progress has been made. The headlights and indicators are now all wired up and installed, the holes are drilled for the choke and heater and they are now threaded through. I've sanded back and repainted the wheels 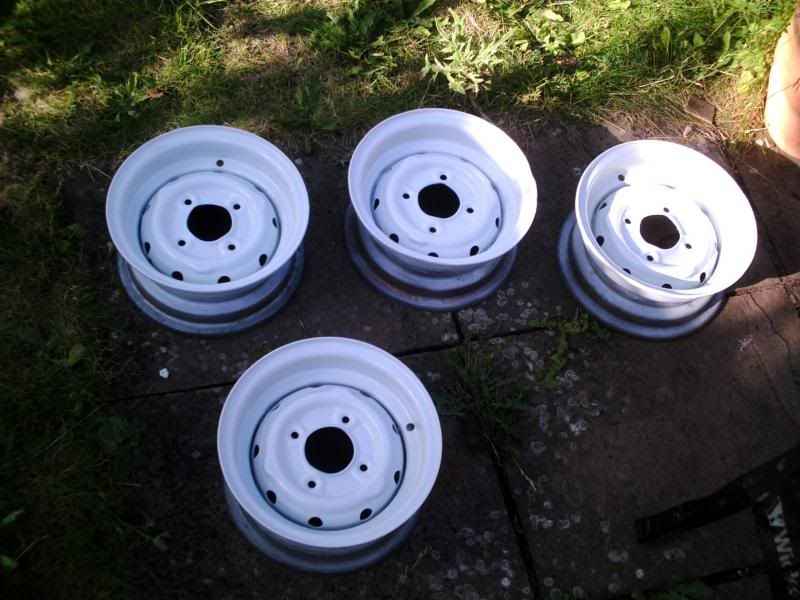 and got the tyres fitted to them  I've built the looms for the 2 works dash pods and for the speedo, fitted the hard lines from the master cylinder to the pressure valve, finally got the clevis pin on the brake master fitted (need to skim a bit more off the clutch one still), installed and wired up the brake pressure switch, finished off all the engine bay wiring, got the front subframes rear mounts fitted, got the shocks fitted and the new wheels fitted all round  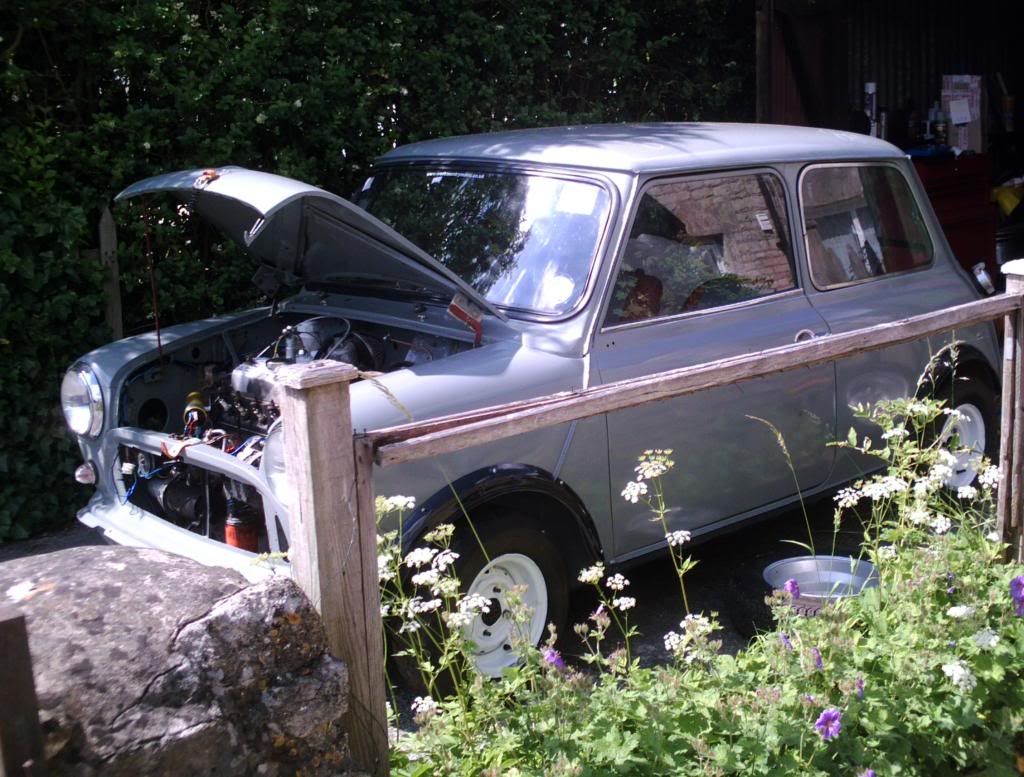 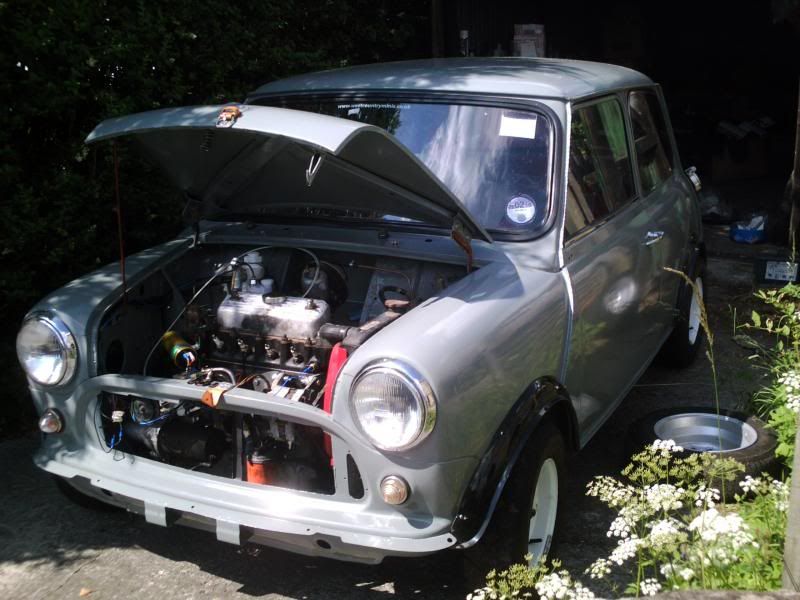 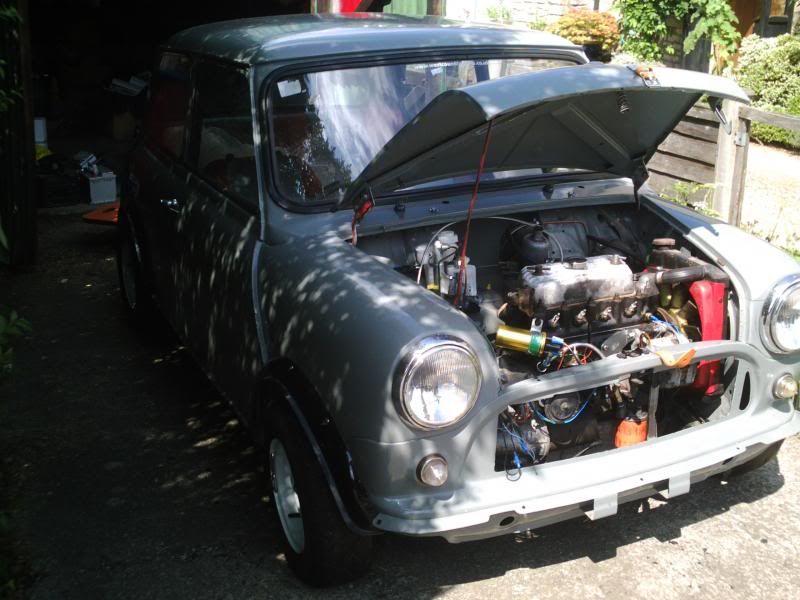 He was supposed to be heading to Maks today, but with me tweaking my back and Rob (BOC) trapping a nerve in his neck, I'm now trying to sort out a recovery firm to take him down. |
| |
|
|
Mark
Club Retro Rides Member
Posts: 2,097
|
|
Jun 22, 2014 23:46:56 GMT
|
|
Car is looking good and sorry to hear about the back troubles! What has happened to the price of Minis? I can't believe how much they've shot up.
|
| |
|
|
craig1010cc
Club Retro Rides Member
Posts: 2,998
Club RR Member Number: 35
|
|
Jun 29, 2014 16:20:02 GMT
|
Updated the list of jobs  front subframe - Fit rear mounts ( Done) - retorque top mounts (Done) - buy/shim/fit front mount bolts (Done) - Tighten/check lower arms and tiebars (Done) - Tighten/check/grease upper arms (Done) - Cut down bump stops (will do if needed once driven) - fit front shocks (Done Steering - fit new column/ fit bolt (Done) - adjust tracking/ fit lock nuts (Done although tracking needs final alignment once its settled(+) - strip/clean/replace grease nipples/ regrease ball joints (done) - build/fit drive shafts (Done) Engine - find/buy/fit pot joint (Mak supplying)/ FOUND  (Done) - tap top steady bolt holes/ fit top steady (Done) - fit proper engine mount bolts (Done) - fit lower gearbox steady (Done) - Buy/fit eleccy dizzy (Done) - buy/fit oil pressure sender (Done) - set tappets/fit missing lock nuts (Done) - service (Done) - Fit exhaust - Check gear linkage mount is correct way round - Bolt up fan (Done) - install rad (done) - Buy/fit alternator / bracket (bracket fitted, old alternator fitted as the bearings sound good) - Change oil cooler for pipe (Done) - Fit speedo drive (Done) - Fit speedo cable (Done) - Fit throttle cable Brakes - Fit pedal box (Done) - Buy/Fit brake MC (Done) - Fit pressure dist valve (Done) - Connect MC to Valve (Done) - Connect Valve to front subframe (Done) - Check front flexi hoses correct sides (Done) - Bleed system Clutch - Fit clutch arm (Done) - Buy/Fit MC (Done) - Fit hard/flexi pipe (Done) - fit Slave/connect (Done) - Bleed/adjust system Interior/wiring - Finish /fit wiring main loom (Done) - Fit headlight looms/ connect to main (Done) - Fit lower dash rail (DONE  ) - fit switch panel (Done) - Cut hole for speedo in bulkhead box - Fit speedo - Cover Upper dash rail - Fit dash pods - Build looms for dials (Done) - Drill out holes for choke/heater (Done) - fit heater/choke cables (Fitted, but need connecting in the engine bay) - fit heater (Done, but needs hoses fitting) Bodyork - Replace drivers sill - sort hole under rear light - sort hole Drivers rear shock mount - Tidy/stone chip/paint sills - touch up paint on A panel - tweak/fit front seams - paint front seams - prep/paint rear valance - paint bootlid - repaint roof - change back window seal - change rear 1/4 window seals (Done) - Trim front wings to suit tyres Wheels - strip tyres off rims (Done) - blast /powder coat wheels (Done, but painted) - tyres refitted (Done) Plan is that we should be firing Pootle up tomorrow with working brakes and clutch  |
| |
|
|
craig1010cc
Club Retro Rides Member
Posts: 2,998
Club RR Member Number: 35
|
|
|
|
|
|
| |
|
|
craig1010cc
Club Retro Rides Member
Posts: 2,998
Club RR Member Number: 35
|
|
|
|
Had a mixed day at Maks yesterday. connected up the wiper motor to find it only worked on stg2, looking at its connector, that was pretty mullered so headed over to Moss to pick up a new one and 2 new wiper wheels too (as the old ones weren't to clever either), rebuilt it, put it back in and still only stg2 works  Oh well, it'll pass the MOT like it so moved on. Next up was the washers, plumed them in, fitted and wired in the pump and then went to find the washer bottle bracket. Can't find it anywhere and I know I had it before Pootle was delivered  need to check in the garage today. Then moved on to cut the hole for the speedo wiring to go through, hole saw went blunt 1/2 way through, so will have to bring my dremmel along and finish it with that. Next job on the list, new bulb for the fog light, took the old one out, Hmm, looks quite a new one. So put it back together and had a look in the boot. Yup, not plugged in  So thats sorted now, and the brake light switch is connected to the loom too so we are getting there with the wiring. Although it does look like i'm going to need a new starter motor as it stuck again yesterday |
| |
|
|
craig1010cc
Club Retro Rides Member
Posts: 2,998
Club RR Member Number: 35
|
|
|
|
Well, last night we cracked on through the final jobs and we are (as far as I can tell) ready for the MOT today :shock: 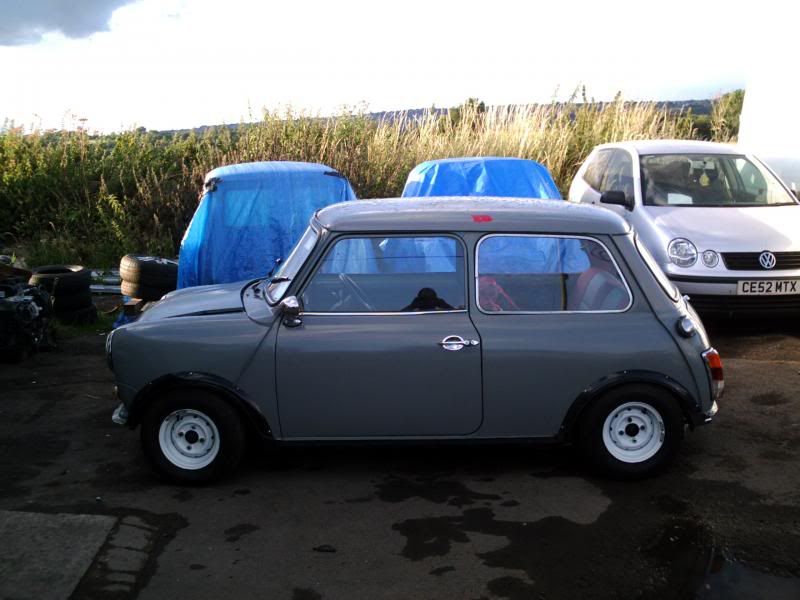 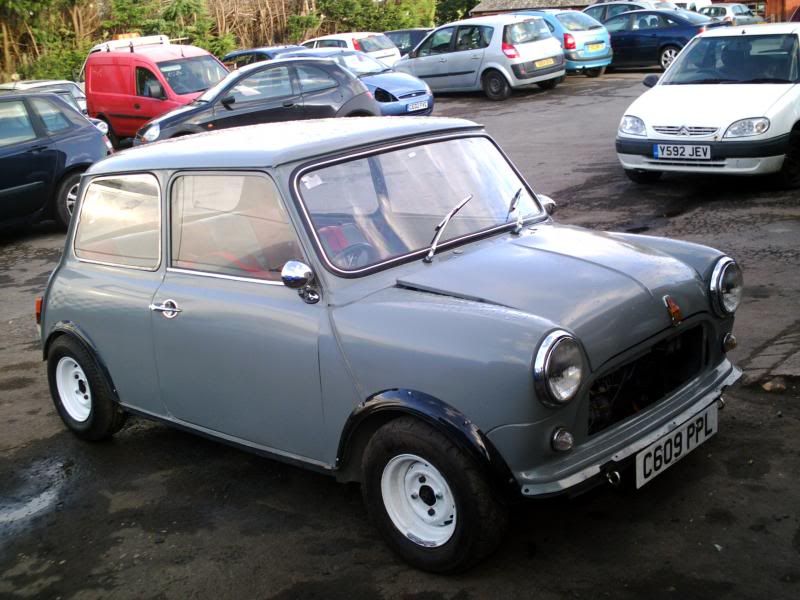 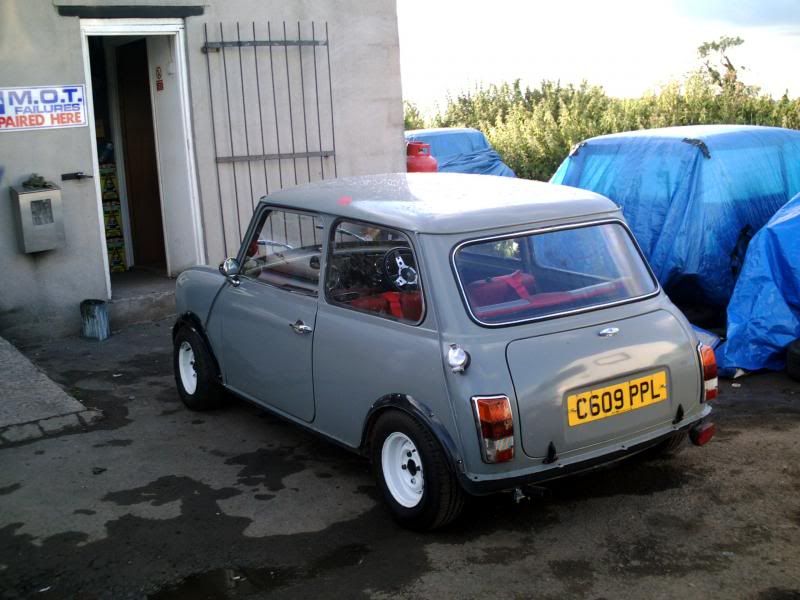 And the verdict was.......................... PASS!!!!!!  |
| |
|
|
Ian
Part of things
 
Posts: 977
|
|
Jul 10, 2014 11:39:30 GMT
|
|
Great news, Pootle is looking rather smart in the new Paint!
|
| |
|
|
|
|
|
Jul 13, 2014 20:32:44 GMT
|
|
Well done on the mot pass
|
| |
 1965 Mk1 Mini 1989 Porsche 911 3.2 Carrera Sport 2004 Audi A2 TDi 2007 Lotus Exige S 2011 Mini Cooper SD |
|
craig1010cc
Club Retro Rides Member
Posts: 2,998
Club RR Member Number: 35
|
|
Jul 20, 2014 13:41:40 GMT
|
Cheers, it is good to have him back legal again. So, last Saturday was collection day. Pootle was taxed so all legal. Heading off there was a number of issues that came to light. 1st off was the throttle pedal, it was so high up that full throttle was level with the brake pedal (very painful driving home like that), 2nd off was the clutch. It had always been biting at the floor, (despite just about all the system being new), but it quickly deteriorated and got to the point where at a junction I was changing down into 1st before stopping and then sitting there holding it on the handbrake. 3rdly, it did get a bit hot when driving through Bath on a Saturday afternoon (cooled off to 90 once out on the bypass though and checked once he had cooled down as there was no water loss). So, 1st off was the clutch. gave it a re-bleed, but no change, adjusted the clutch throw stop, no change. So went off and did some researching and there should be just over 1/2" of travel at the top of the clutch arm. Crudely measured, and I was getting about that so that lead me to believe that the arm is the next likely culprit. Quick check on minispares, under £20 for a new arm and top pin, so they where ordered. Then on to the throttle pedal. 1st try was fit a different pedal I had (MPI cooper one), no difference. So I pondered it and came the the conclusion the only way to adjust it was to either bend the pedal (quite some way too) or slacken off the cable at the carb. A quick chat with Mr Pink on facebook later, and the cable was slacked off and the pedal in a much better position. Though it was confirmed that I needed the clip at the top of the pedal to stop the cable coming out. The new clutch arm arrived yesterday, but the biblical rain put pay to any hopes of getting out in the garage. Might try and grab an hour later today though and see if that sorts it  I've also picked up a new heater valve (as that is leaking slightly), a new summer thermostat and the clip that holds the throttle cable onto the pedal. I have now made the CAD template (empty teabag box this time  ) of the centre section of dash, just need to chop that out and fine trim it and then I can mount the passenger dash pod  |
| |
|
|
|
|
craig1010cc
Club Retro Rides Member
Posts: 2,998
Club RR Member Number: 35
|
|
Aug 16, 2014 17:15:20 GMT
|
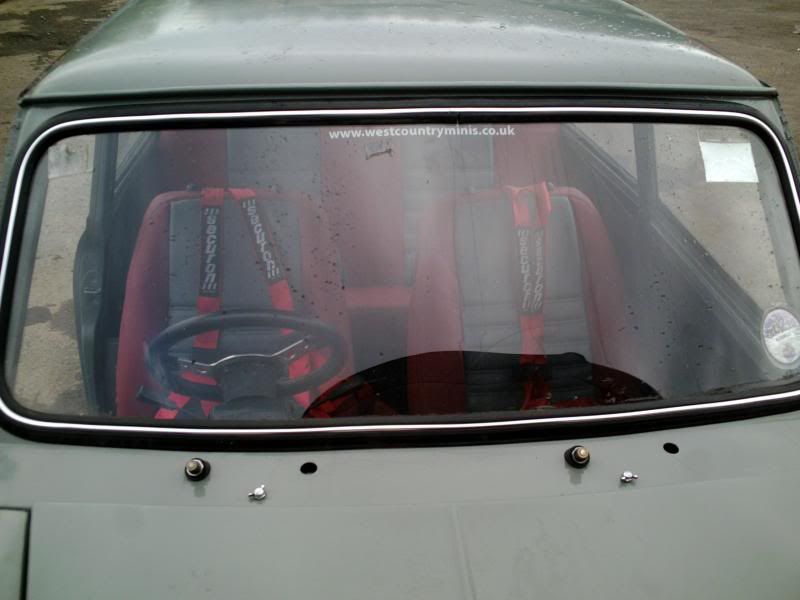
Some more progress  Slow progress, but progress none the less. Well, went to Mini 55 and came back with some goodies for Pootle. So last Sat I had a go at fitting them. 1st up was cleaning back and repainting a early mk1 grill (non cooper type) which went pretty well (had to straighten it a bit too, got it mostly there) so once the pain was dry I headed out with that, a new tash and a new rear bumper. 1st issue I found was I had broken all the suitable sized drillbits for the screws for the grill :doh: but the tash wanted smaller screws (which I didn't have, but I did have some suitable pop rivets) so on I went. Just about had enough charge in the drill to get the 4 holes done and got it riveted on. Tried to line the grill up, 1st go and it looks like the profiles are different :x will have to see how close I can get it when I screw it on. So then on to fitting the new bumper. Splashed out and got a "fits better than the original Rover ones" from minisport for £40, and the fit is shocking! The studs were bent in slightly so had to tap them out , but even then they were really tight. Plus they still clash on the boot hinges and the shape of it is poor too (it is almost like a combination of a clubby and a round nose bumper), but its on so I shall move on to the next jobs. Got out today and got the grill fitted, pretty chuffed now with how the front end is looking   So it was time to move inside and build the centre dash section. So armed with the previously made CAD template, I attacked some MDF with a jigsaw and headed out to trial fit. Went straight in  So a couple of coats of satin black and the fuse boxes could finally be properly mounted  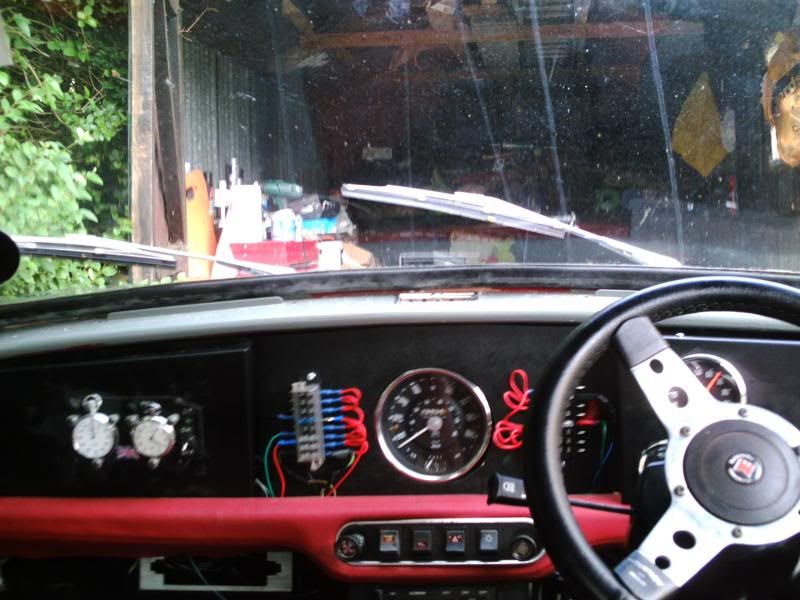 Still not worked out what the best method of securing the passenger pod though  Then it was time to fit the remaining goodies I bought in Japan back in 2010 1st off was the turtle trading cup holders, was a proper pain fitting them (and the seats had to come out so I could get into a position to fit the brackets), and I'm not 100% happy with the fit at the minute (the drivers side is sitting about 5mm to low), but otherwise I'm pretty pleased  So then back onto the oustside and fitting the petrol bib  And the important sticker   |
| |
|
|
craig1010cc
Club Retro Rides Member
Posts: 2,998
Club RR Member Number: 35
|
|
Dec 30, 2014 16:36:59 GMT
|
Well, its been a while since I updated this (or did much with Pootle  ) But, I did get to the miniworld action day at castle combe. although I didn't venture out on the track as a number of issues arose on the few days before and the run over to combe. 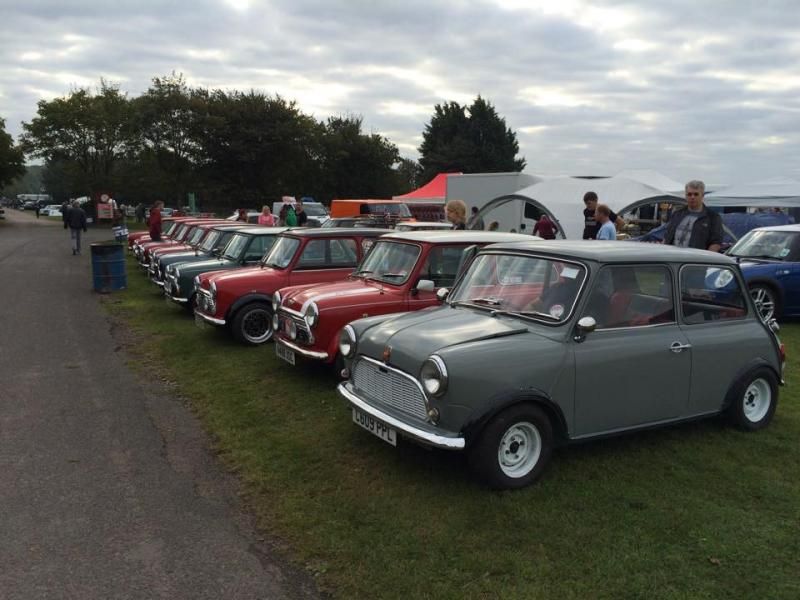 The main issues being that on any heavy load temp gauge gets worryingly high (I think it is the needle is totaly wrong and is running lean, but it sits in traffic fine), the throttle has a stiff point and the rear tyres are trying to eat the arches really badly (which is odd as it never used to be an issue) After combe, he has sat in my garage gathering dust, but getting the tax reminder through the other day, I decided to drag him out and take him for a run round the lanes before sorning him till the spring. The tyres are still rubbing (hence the rear arches are off), but the cold air seemed to help the temp issues and the throttle wasn't as sticky as I remembered 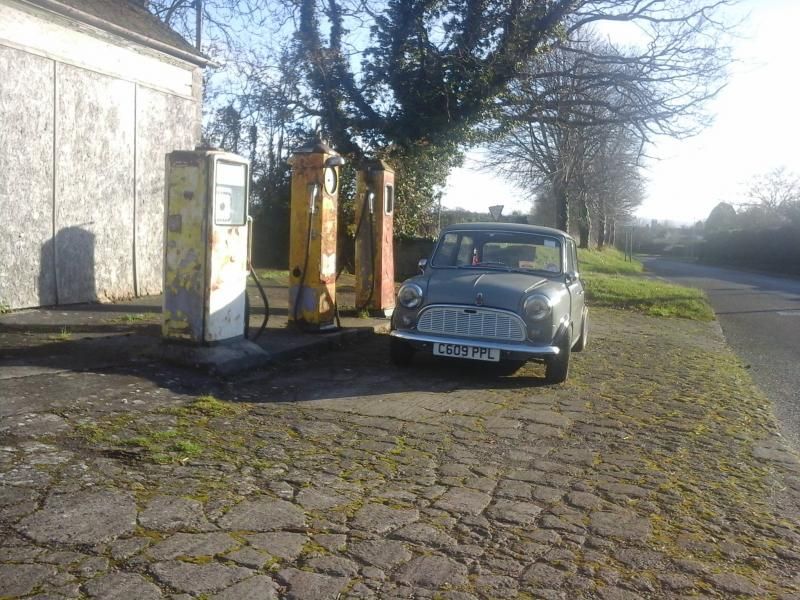 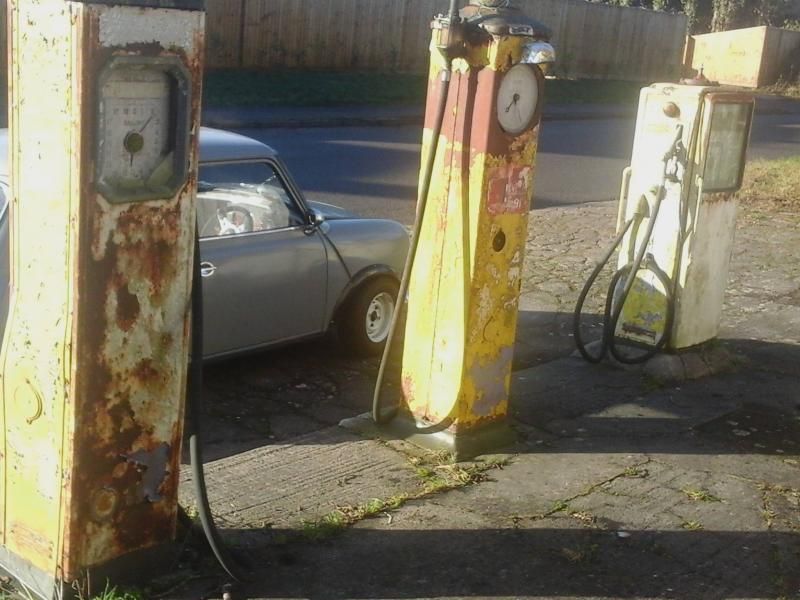 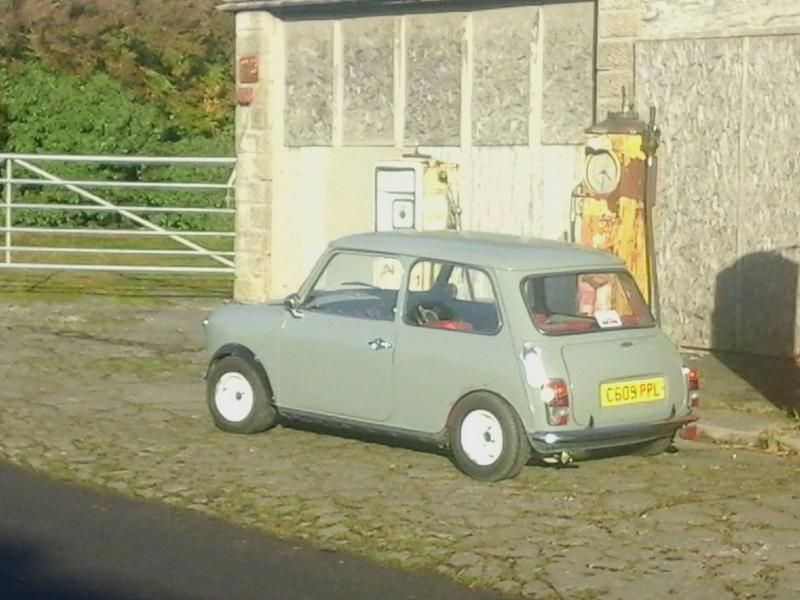   So, over the next few months, plenty of little jobs to be getting on with  |
| |
|
|
craig1010cc
Club Retro Rides Member
Posts: 2,998
Club RR Member Number: 35
|
|
Sept 7, 2015 17:38:07 GMT
|
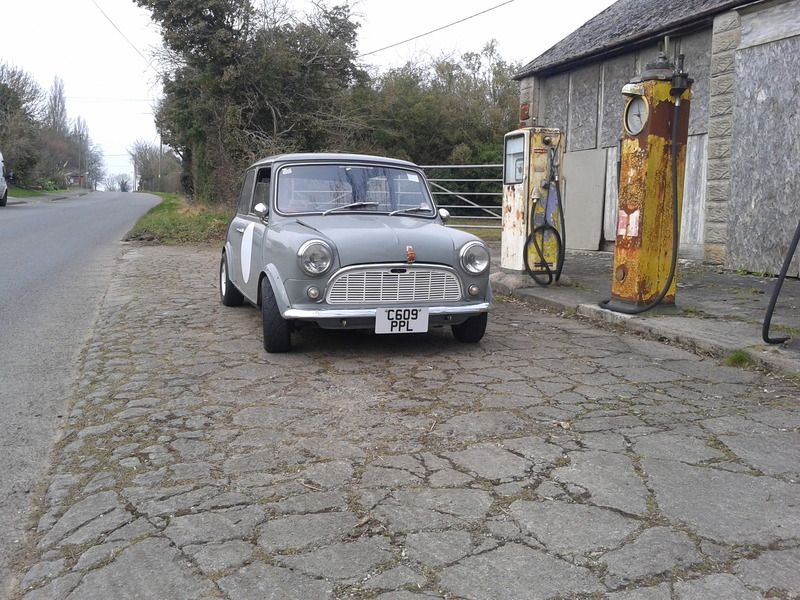
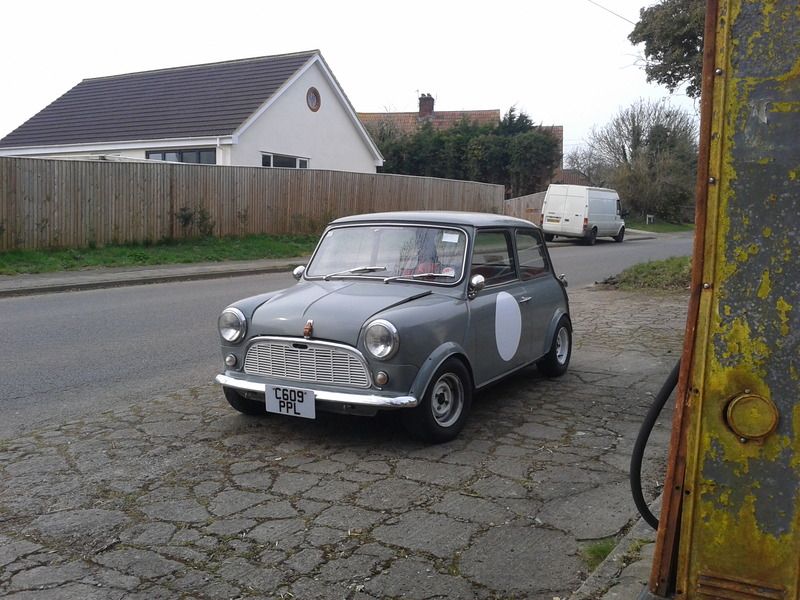
Hmm, 9 months on from then......... Sadly work got in the way some what (working away most weeks left little free time at weekends), the facet fuel pump failed and I generally failed too. So 5 weeks ago I got a kick up the rear when I realised that the MOT had run out again and I wanted to be back on the road for the annual pilgramage to Castle Combe at the end of Sept. So a new manual fuel pump was fitted (which turned into a unnecessary amount of work due to not taking the exhaust manifold out but finally he was back up and running again after sitting for 7 months  So then it was on with all the other little jobs that needed doing. The most important being to raise the rear suspension so that I could actually drive him. Whilst the rear was apart I also wanted to repaint the inner arches grey (as they was still red) and I decided to give the rear subframe a lick of paint too. Raising the suspension stalled as I was without the 26 and 32mm spanners required (  ) so initially just the painting took place. This weekend though, the spanners arrived (from amazon, surprisingly the cheapest place I could find them easily). So, expecting them to be siezed solid (as they hadn't been moved since 2004 as far as I am aware, although I still haven't bottomed out why the suspension dropped so much when the dust seals on the radius arms were changed last summer) I had already given them a good coating of WD40, and they offered very little resistance  I opted to lengthen the hi-los by 5mm (giving me a lift of 25mm) and went to put it all back together. But I couldn't get the drivers rear shock to extend. In the end I took it off and still no good. Then I wound it to its softest setting and I finally could move it  All bolted back together and I had 1 final job this weekend I've been meaning to do for years. Painting the Group 2 arches body coloured. Not only does this echo the works rally minis, it is also common on the Japanese minis (which is what I've been trying to do my take on) so the paint was broken out and I'm pretty chuffed with the results  And to celebrate I then fitted the subway ring I got from markbognor a while back 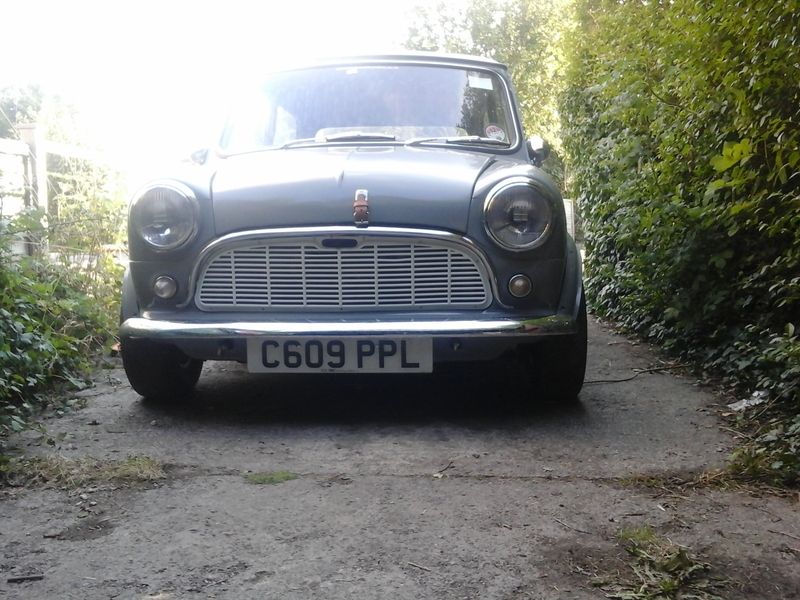 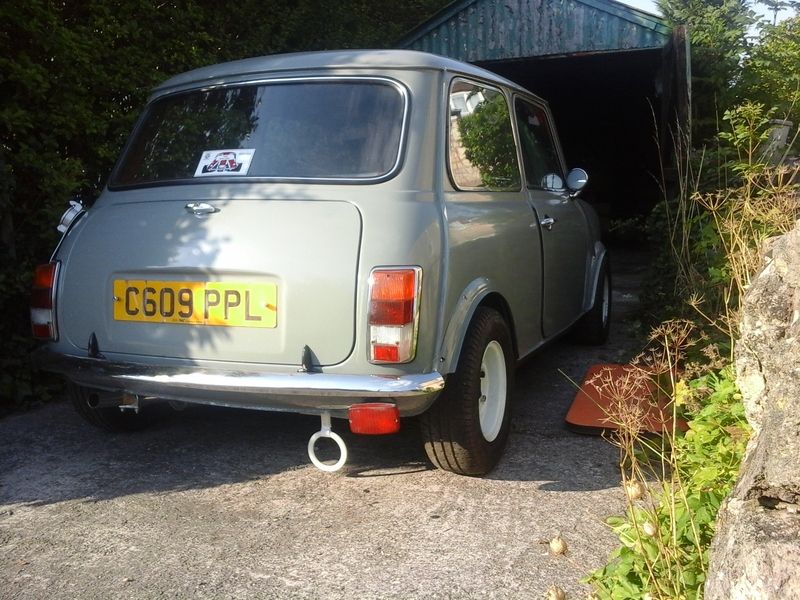 |
| |
|
|
craig1010cc
Club Retro Rides Member
Posts: 2,998
Club RR Member Number: 35
|
|
|
|
So, with everything about ready, I texted the garage I normally use about an MOT late on a friday afternoon, giving me a week before Combe to get anything sorted, and hopefully get on the rollers to get the engine properly set up. Insurance was sorted (£90 for a year with brentcare, fully comp with agreed value!!) 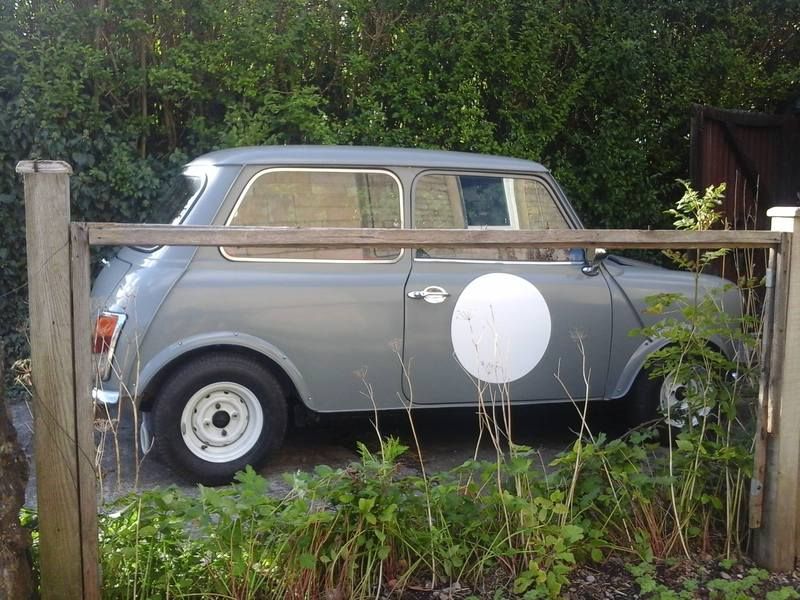 I had the previous weekend done a quick check over and realised that I didn't have a battery strap fitted, and that the indicators and hazards were flashing too fast (hazards especially so). I was away with work during the week so an order was placed and after dropping Rosie off at the train station 1st thing on the friday, I had 50 mins before I needed to log on to my laptop for work so the battery strap was fitted and a new digital flasher motor fitted to the indicators (needed an earth wire making) and the indicator flasher was fitted to the hazards which resulted in them all working at the correct rates  After finishing work for the day at 12:30, it was back out to the garage to fit the new needle (hopefully a close match to whats needed) and adjust the carb before heading off to the MOT......................... which didn't happen as they'd forgotten to text me back that they weren't testing that afternoon  oh well, 1st drive for ages and a test booked in for Tuesday 1st thing. Back home, quick check over under the bonnet and I spot a small fuel leak from the carb, the jet is borked  I already knew that the carb was worn, so the decision was made to fit a brand new HS4. Easy I thought....... 3 hours later and still can't find anywhere that had one in stock  Eventually find one showing in stock in Birmingham so Sat morning, 9AM quick call and the check and do have it on the shelf  4 hrs later I'm home with it, but also now full of cold, typical. So the next 2 days are spent swapping it over and fitting a new voltage regulator (as that was showing to high a volts). So, tuesday morning, off we go again. Initially the emissions were to high, but a tweak on the carb got it through (just) and the only other issue was a grumbly front wheel bearing. 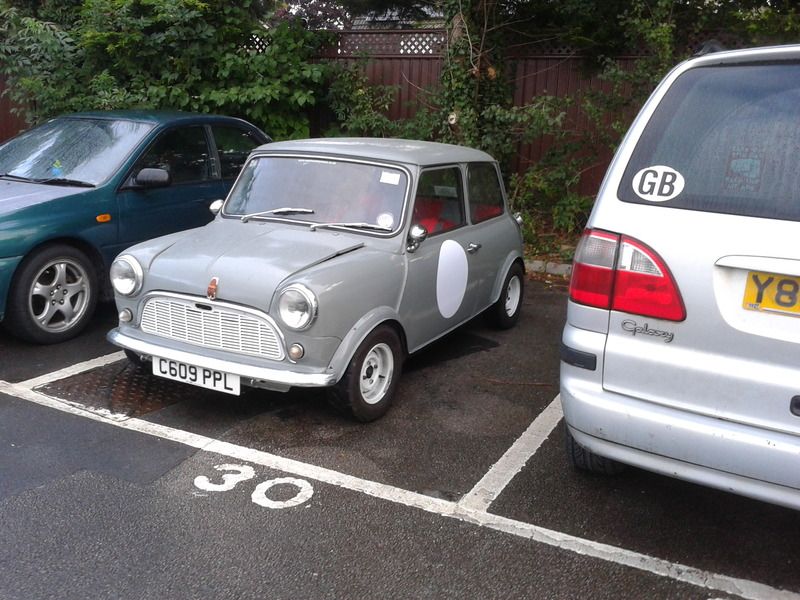 So a couple of other jobs completed at the same time and on the Friday afternoon a Pass was finaly granted  A quick wash and polish, load up the boot and ready to head to combe the following morning 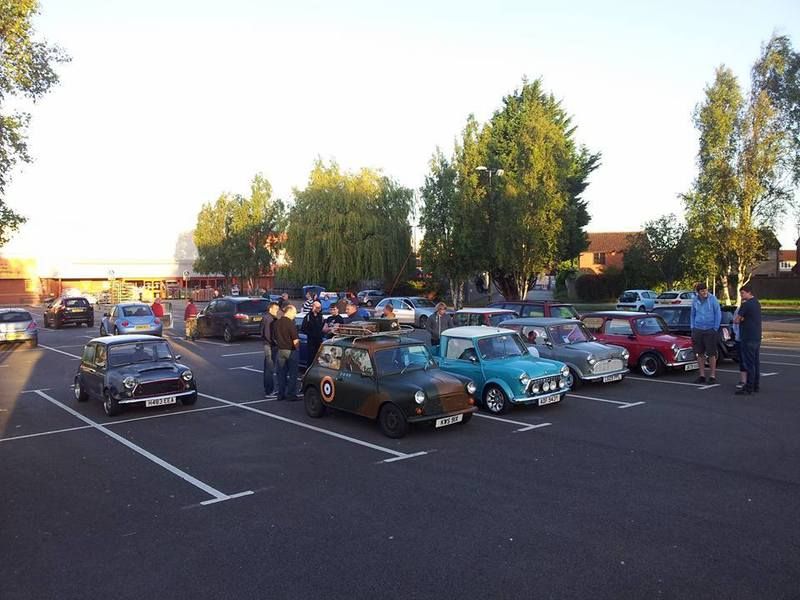 I did wuss out on heading out on the track again (not having got to the rollers and teh suspension is in desperate need of setting up), but was good to be back on the road again  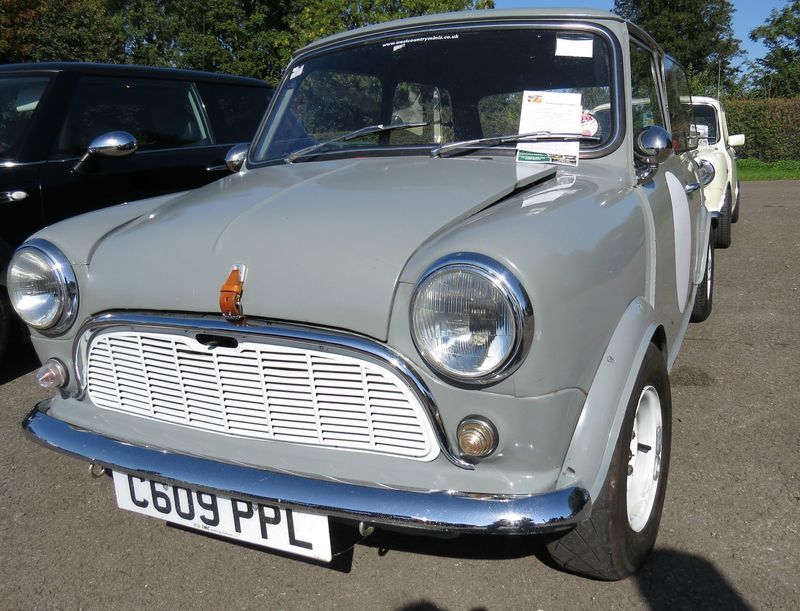 |
| |
|
|
BT
Posted a lot
  
Posts: 1,772
|
|
|
|
|
Interesting car and read. Having realise you've gone a year with two or three updates I feel you need to use this more! Looks like a cracking little car.
May I ask what arches those are? I have a sneaky suspicion they may be group 2?
|
| |
|
|
craig1010cc
Club Retro Rides Member
Posts: 2,998
Club RR Member Number: 35
|
|
|
|
|
Your not wrong that i need to use it more, and i do plan to going forward and start to get back to some of the shows next year.
The arches are indeed goup 2's, but they are the works spec ones that i think minimail and Somerfords are the only place that stocks them.
|
| |
|
|
craig1010cc
Club Retro Rides Member
Posts: 2,998
Club RR Member Number: 35
|
|
|
|
|
Forgot to mention the saga coming back from the mot at 3:30 on a Friday afternoon, half way home and I start to get hot water dripping on to my left foot, the heater matrix had split! So a quick rush round to my local autofactor and a length of heater hose purchased and the heater was bypassed. so another job on the list to sort over the winter.
|
| |
|
|
craig1010cc
Club Retro Rides Member
Posts: 2,998
Club RR Member Number: 35
|
|
|
|
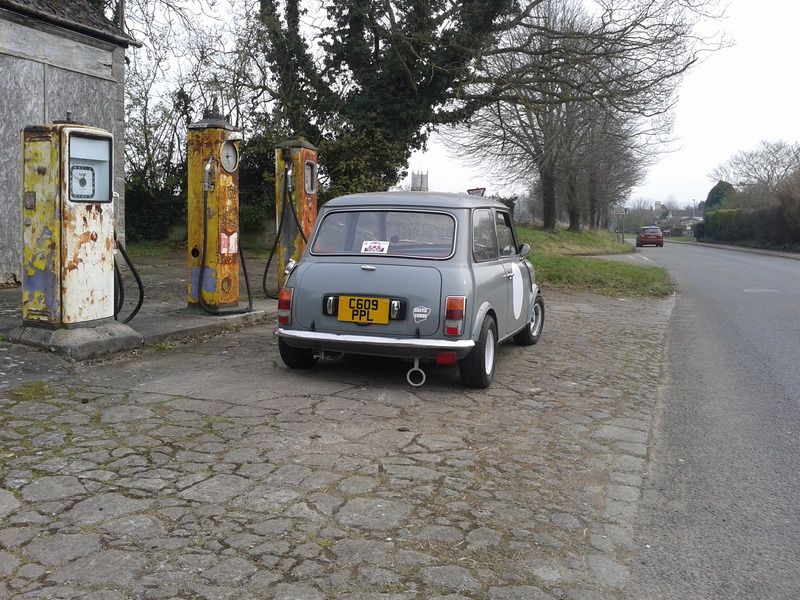
Hmmm, another 5 months have passed without any updates, but Pootle has been out the garage a couple of times in that time (honest  ). What that did highlight was that the rear shocks were sticking again so a new pair of GAZ's where purchased (along with a new heater matrix). A couple of weeks back I even went to fit the shock's, simple enough job swapping like for like, or so you would think. The drivers side seemed to go ok, but the pass side (which you have to pull the tank out to do) seemed to be binding on the radius arm  Closer inspection and I was missing the washer that goes between the damper and the arm. Strange that it wasn't a prob on the old Gaz's, but I have now got some to fit and I'll comp the new to the old to see if anything has changed whilst its apart. What I have done is continue the Japanese'ing, We went back over to Japan over Christmas, so a few goodies came home with me  1 of which was a JDM spec front number plate carrier. I finally got around to ordering a set of import spec plates the other week, and decided that was the job to do for this weekend (largely as I could do it indoors  ). The front plate was simply drilling 2 holes to match those in the mount (easy enough once I'd measured them properly), but the rear needed a bit more work. But I had amassed all of the bits needed (or so I thought, can't find one of the numberplate lights  ) so I set too it with plenty of measuring, marking out and finally drilling a few holes. And it all went surprisingly smoothly, and I'm pretty chuffed with the results  from this  to this  I've also bought a new engine to build up to go in at the end of the year consisting of a MG metro bottom end, Cooper SPi head and a SPI cooper gearbox with a 3.2FD which should make for a nice longer range driver, perfect for the IMM in Ireland next year  |
| |
|
|
craig1010cc
Club Retro Rides Member
Posts: 2,998
Club RR Member Number: 35
|
|
Mar 12, 2016 15:31:08 GMT
|
|
|
| |
|
|
craig1010cc
Club Retro Rides Member
Posts: 2,998
Club RR Member Number: 35
|
|
|
|
Hmm, another 12 months so I guess an update is overdue  The final part of the prep was a trip to slarks to get the suspension set up and a rolling road session. After resetting the ride height and the tracking, the rest was still reading right for a fast road set up (not bad considering it was last set up 13 years ago), and on the rollers it turned out that the new acuspark dizzy had a faulty mag sensor wheel in it (luckily he had a spare one in a box of useful bits) and the advance curve was far to big (nothing a bit of weld didn't sort). Didn't end up with massive power (it is a stock 1098 after all), but ran much better and I knew the mixture was correct through the rev range London to Brighton was great fun, and aside from the temp gauge not working (wire got knocked off the back whist trying to do some last minute sound deadening) it all went to plan and we had much fun  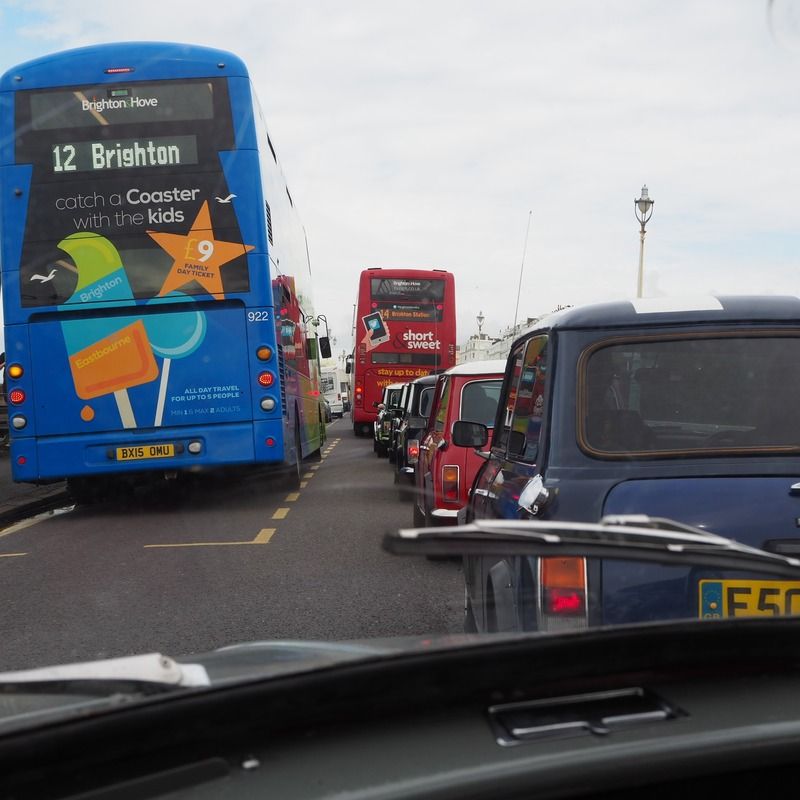 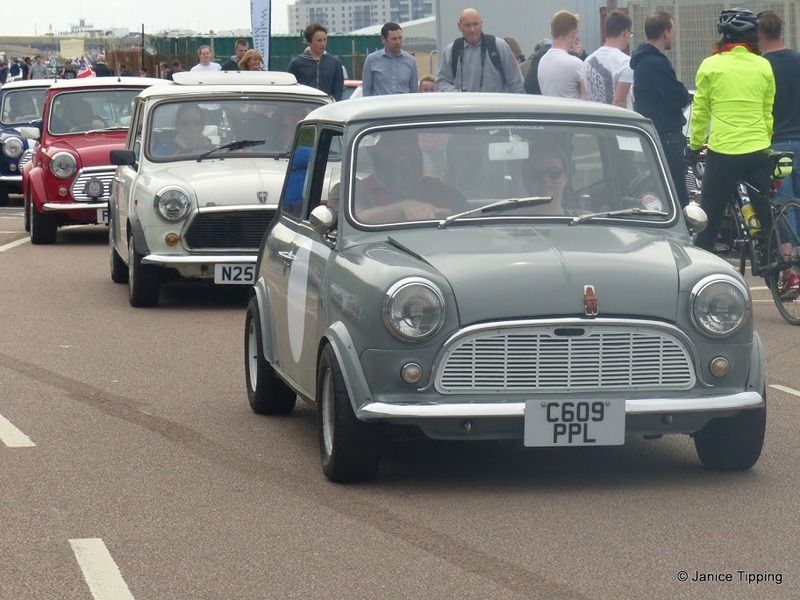 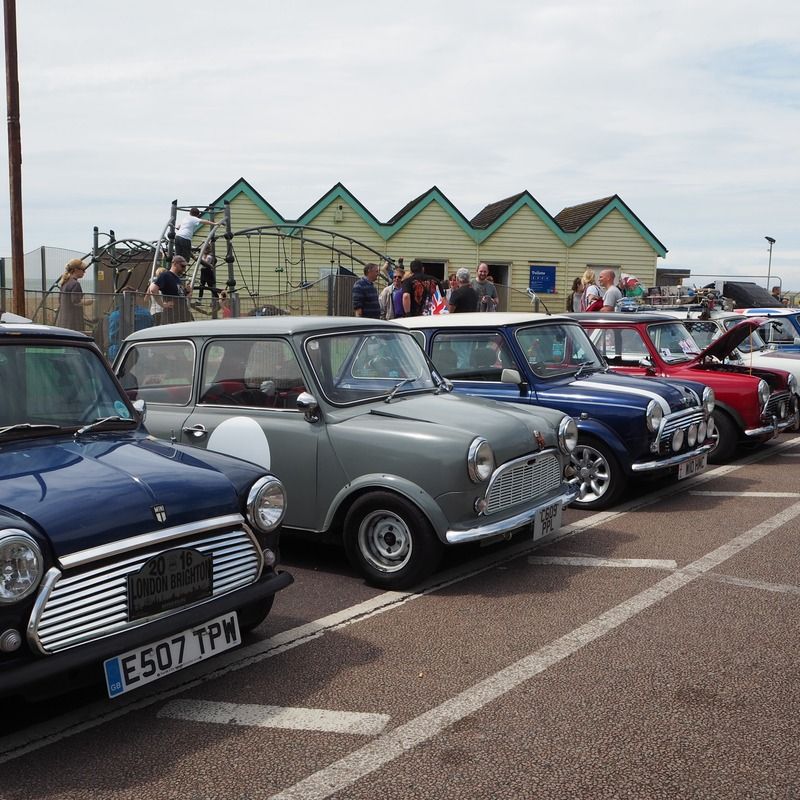 we even headed out in to the local area for a few days 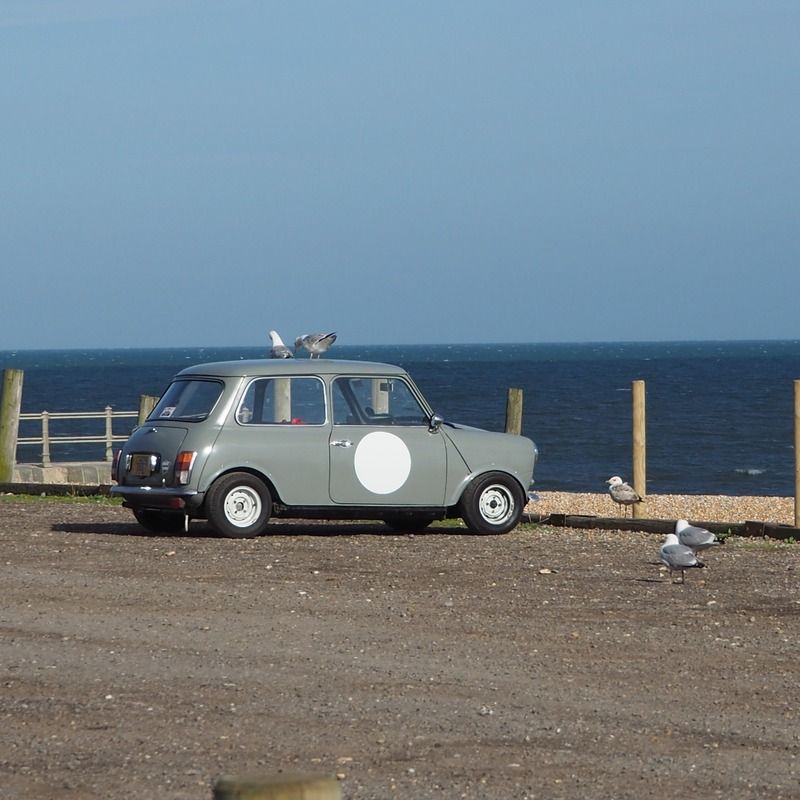 Once we where back I decided that a bigger engine and longer gears where in order, and luckily a friend was selling something suitable, albeit in bits. So the basic spec we are building is 1.5:1 roller rockers Cooper SPI head 1275 MG metro bottom end and cam ultra light flywheel Cooper SPI gearbox with a 3.2 final drive It has been an build that has been a bit stop start, but its getting there and is nearly ready to be dropped in 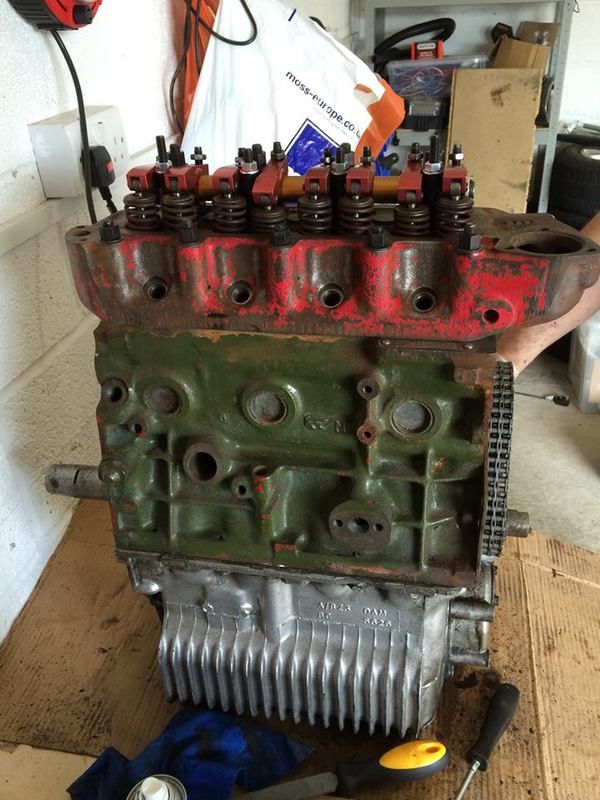 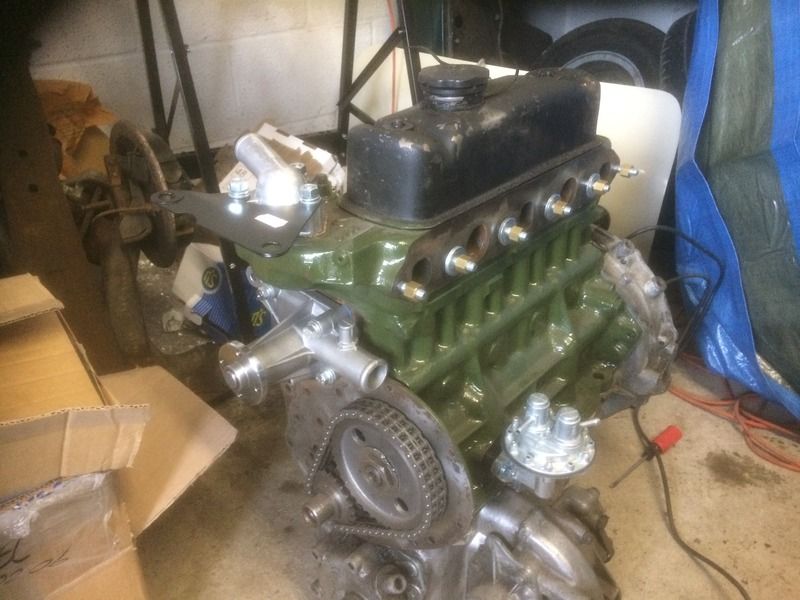 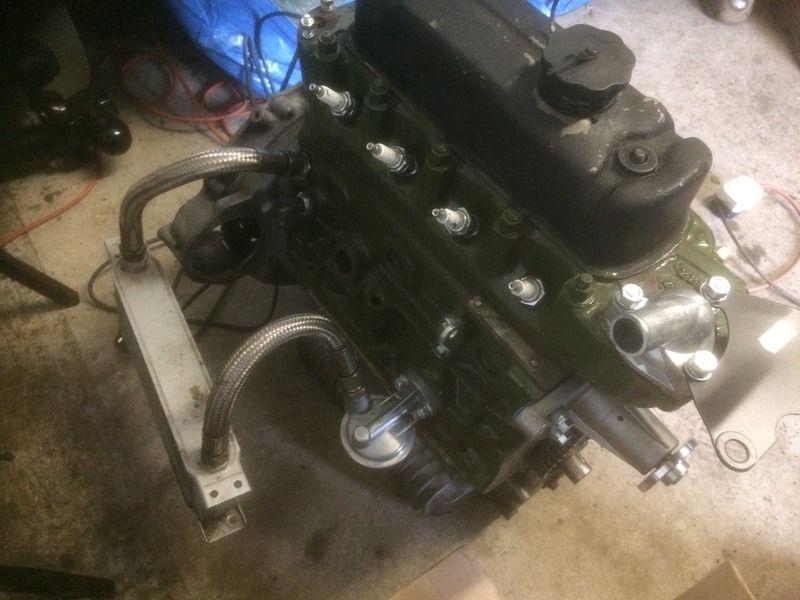 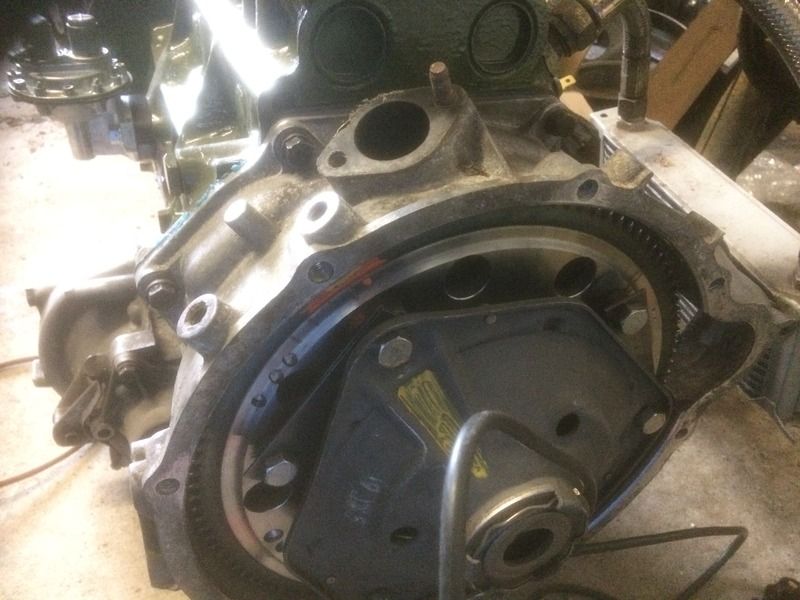 |
| |
|
|
|
|
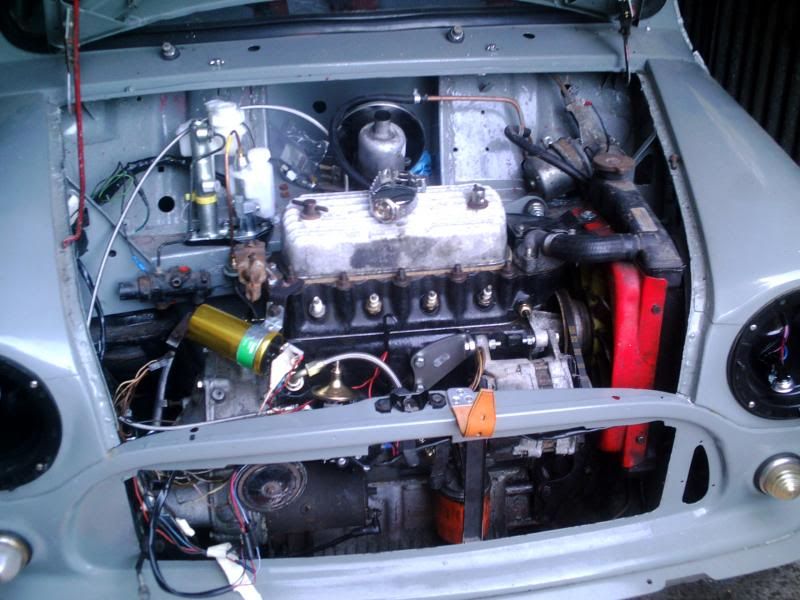

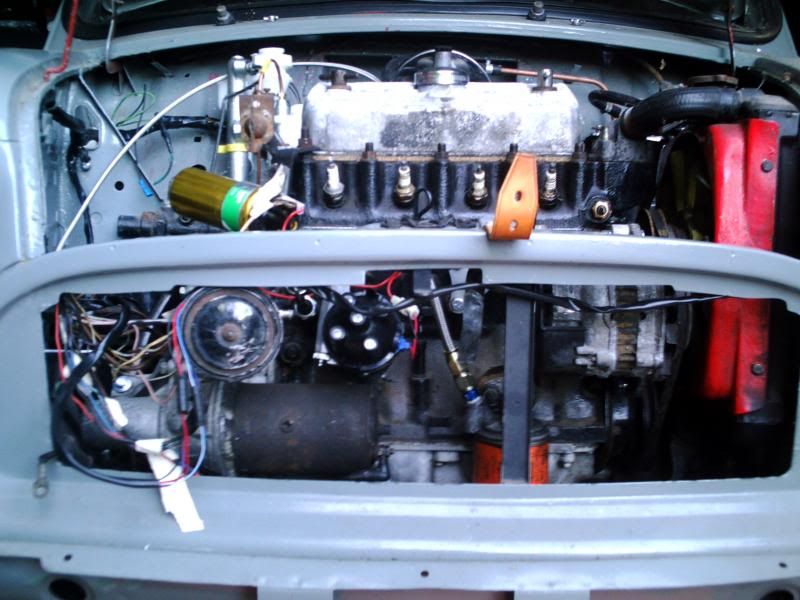
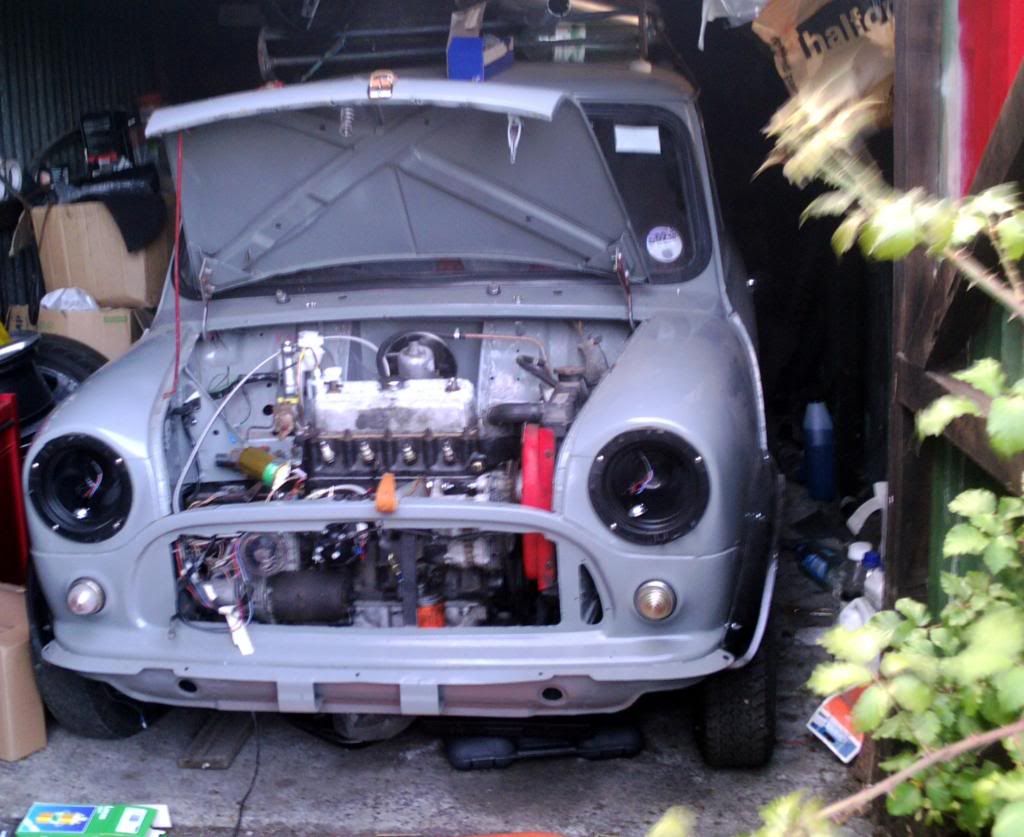
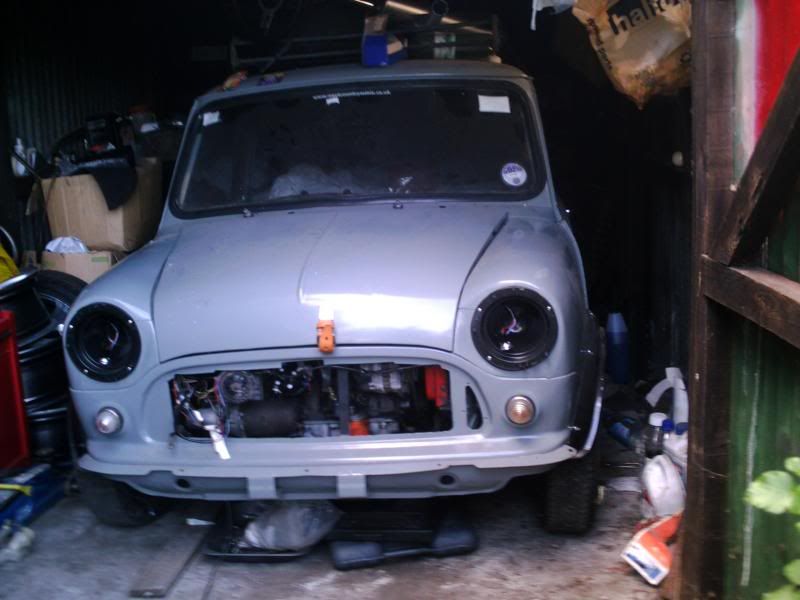


 Granted it was only in and out of the workshop and I was sat on the floor, but the 1st time since Oct 2009 that I've done that