|
|
|
|
|
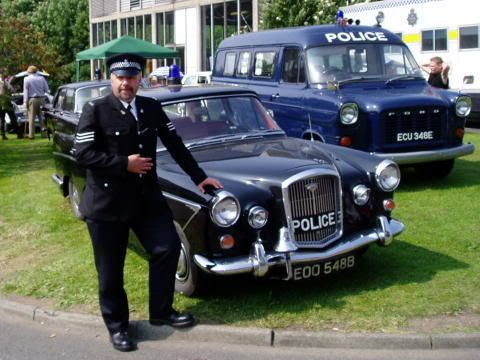
Thanks! Do you know what your wheels are? They look a bit narrower than mine (which are stupidly wide...) & probably make it much easier to steer! The mirrors are just generic european accessory ones from when the car was new. No idea on the make, but IIRC, says "Made in France" underneath. I think that the chrome around the windows is available, if not you should be able to get some from a later car. Mine are 15x4.5, they are growing on me, I'm thinking about having them polished. When you say you think the chrome around the rear window is available do you mean new? Like at a dealership? |
| |
Relax, all right? My old man is a television repairman, he's got this ultimate set of tools. I can fix it.
|
|
|
|
|
|
|
Oct 10, 2008 10:16:47 GMT
|
Seeing as things like the gutter trims are, I think it will be available new - the matching rubber seal certainly is! I wouldn't bother with the dealers since as far as I know, Volvo have outsourced the parts & tooling for the older models like this to a Swedish company called GCP (Genuine Classic Parts). According to their site, the parts are available through the dealers, but whilst in the UK, some dealers are happy to help whereas others don't want to know and apparently will say it's not available even when it is!! Also in Sweden is CVI Automotive, whose website (also in English) is very useful for finding out what parts are still available, as I think that they will also stock pattern parts where genuine Volvo ones aren't available. Pretty much all the old Volvo parts suppliers over here will stock or can order in the parts that either GCP or CVI have. However aside from IPD, I'm not familiar with the suppliers / specialists in North America, but there are a couple of US based old Volvo forums who I'm sure would be able to offer advice in that direction: www.brickboard.com/www.turbobricks.com/Hope this helps! |
| |
Last Edit: Oct 11, 2008 16:20:03 GMT by Paul H
|
|
|
|
|
Dec 22, 2008 23:18:32 GMT
|
Update time! Earlier this month, the car went off for some much needed attention, as the nearside rear quarter was well and truly shot. Doesn't look too bad does it? This was a few years ago, so the arch was somewhat more matured. 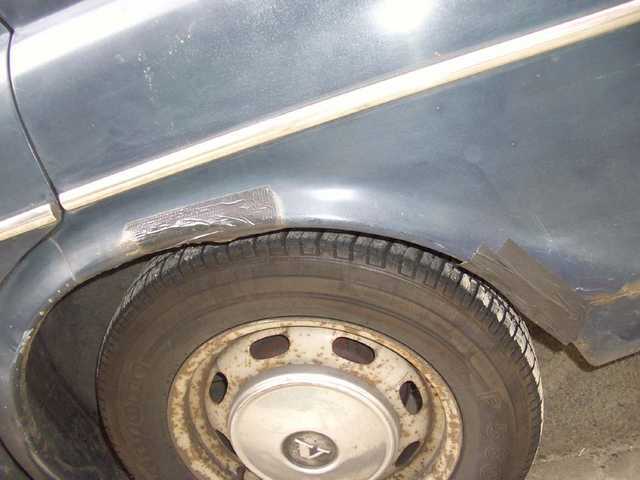 This is inside the rear quarter, at the base of the arch. Nice! 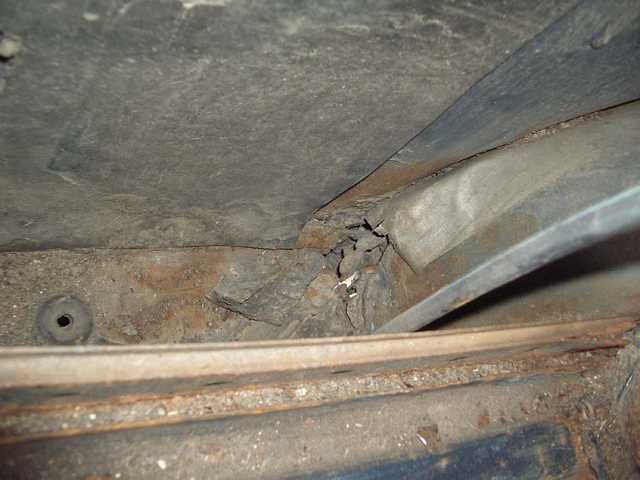 The vertical panel that drops down from the boot floor & the 'floor' inside the quarter panel was even worse: 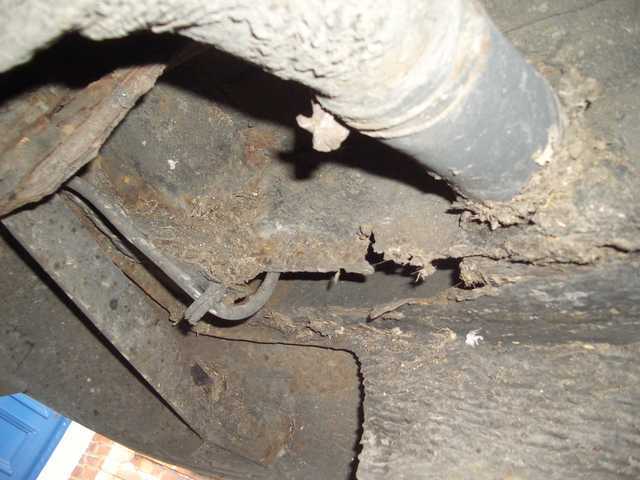 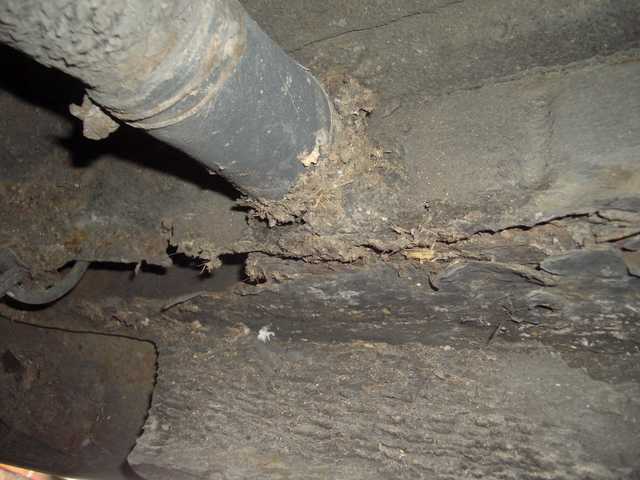 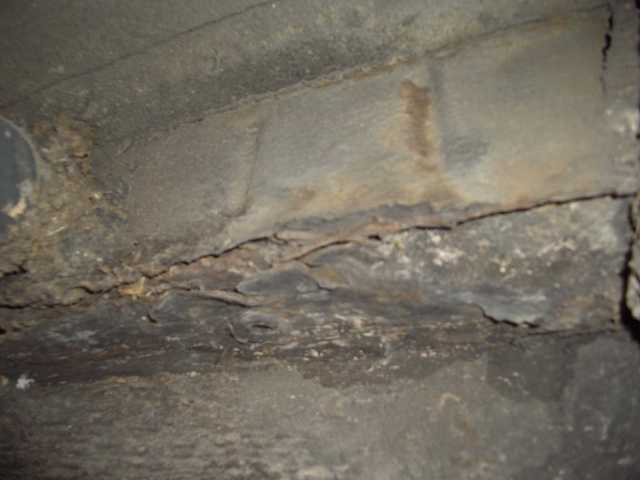 There's a hole in the inner arch / boot floor join too: 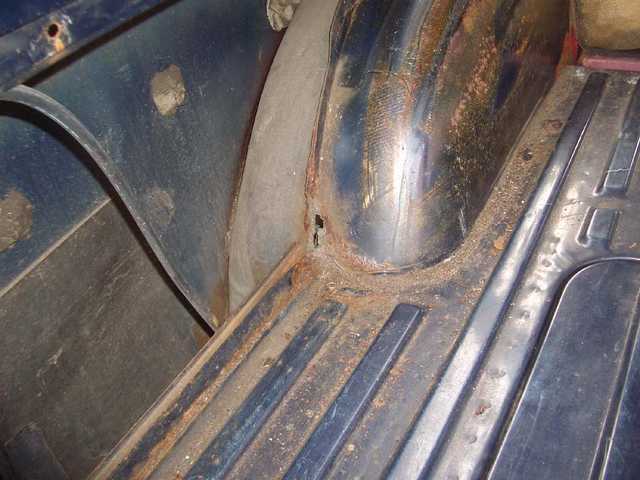 And from inside the arch: 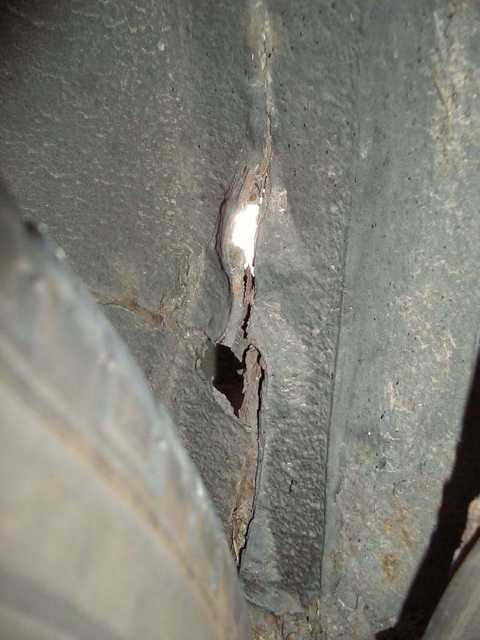 (the lower hole is just the bolt-on mudflap bracket) This is actually an old pic of the other side, but the nearside was lke this below the reflector too: 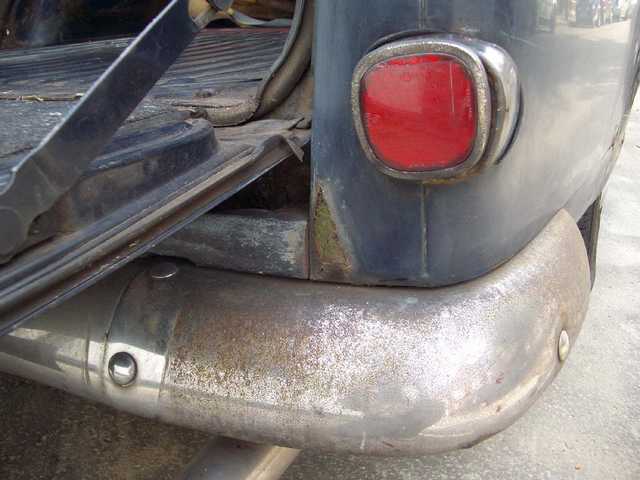 But it gets worse. Much worse. The channel that the rear side window seal mount to has gone completely AWOL: 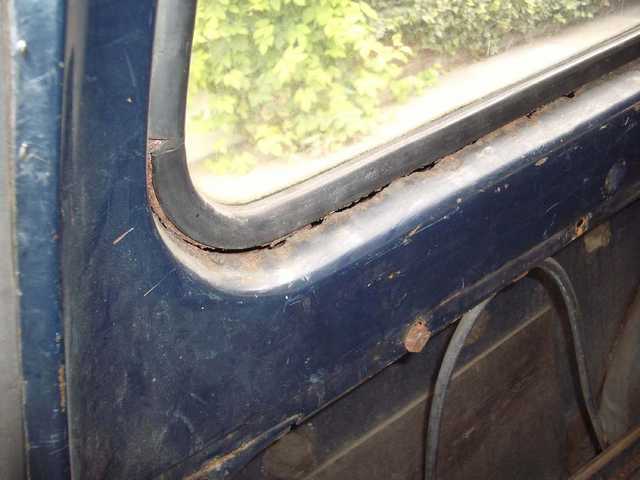 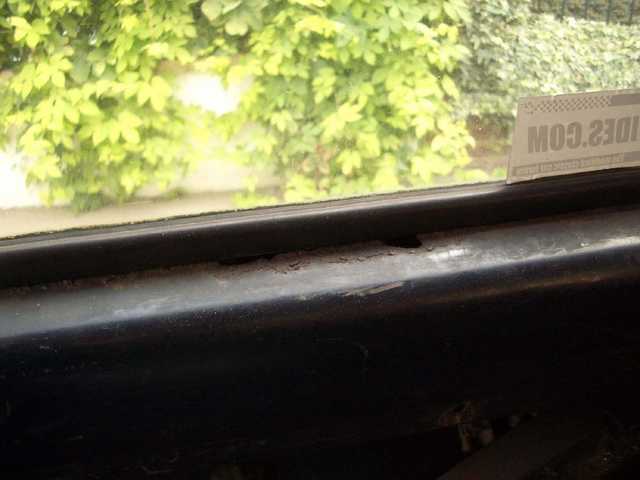 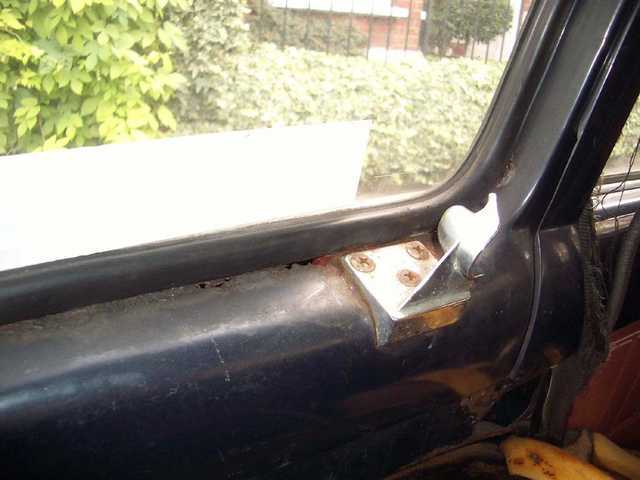 I can only assume that the water leaks from this are what caused the rest of the rot. Bear in mind also that these are old pics - the underside ones are from April '08 but all the rest are from late '06.... Rust never sleeps, unfortunately  The true state of affairs when work started was quite a bit worse, but stupidly I forgot to take any pics before the grot was cut away. |
| |
Last Edit: Apr 1, 2020 14:28:02 GMT by Paul H: pics fixed
|
|
luckygti
Posted a lot
   I need to try harder!
Posts: 4,912
|
|
Dec 22, 2008 23:27:39 GMT
|
Man that looks horrible. Rust is the enemy!!!  Take it from your first sentence that this is getting exorcised? |
| |
Last Edit: Dec 22, 2008 23:28:01 GMT by luckygti
|
|
|
|
|
Dec 22, 2008 23:52:45 GMT
|
yes, it is pretty foul, but it's all done now fortunately! Just been a bit slow to post any pics. Here's the next installment! Following on from the last batch of rust removal and welding work carried out by Lance and Mark at Romance of Rust in Ealing, I had been saving up for this area to be done. Their work is absolutely spot on - all rust cut out, new sections fabricated where panels weren't available, and then welded in extremely neatly. Not cheap, but good value imho for the quality and thoroughness. I had also been fortunate enough to have acquired for the extortionate sum of £40   , a rear quarter that although rusty on its lower edges, was factory fresh around the window - a perfect repair panel! Bargain ;D  And so off to Romance of Rust  Time to finally take the window out and see just how far the rust has spread: 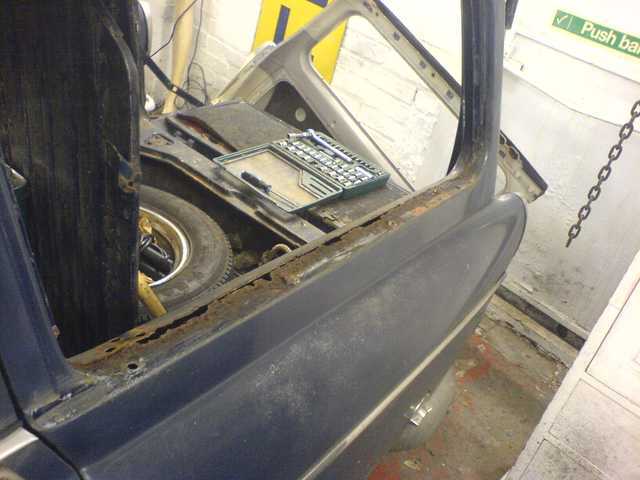 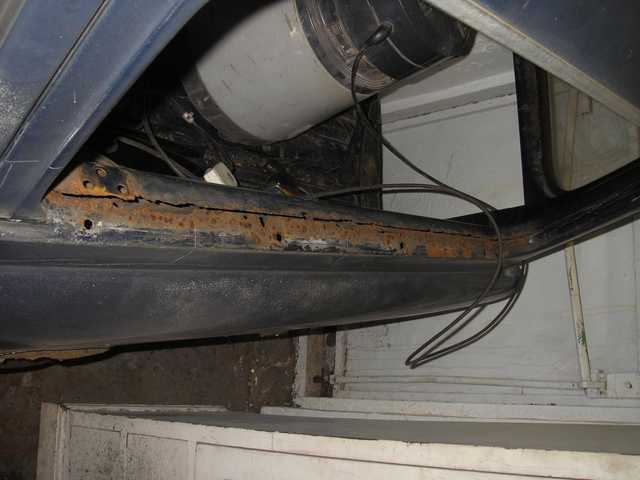 Rust? What rust? There isn't even metal there! 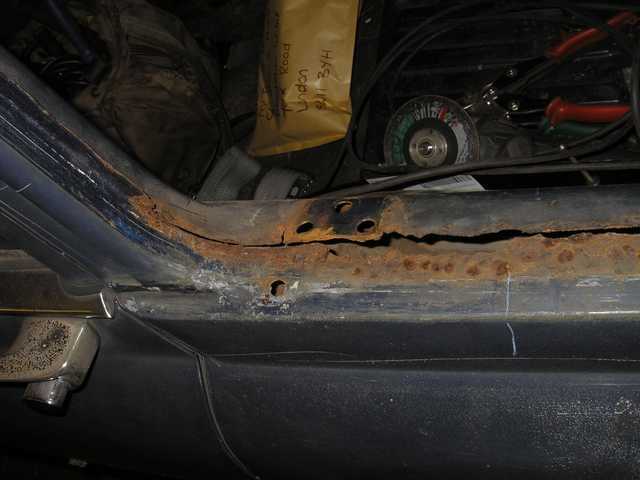 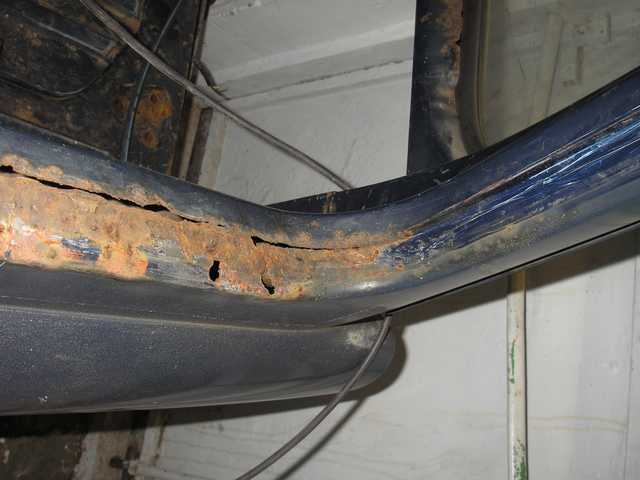 Sadly no in progress pics, but this is afterwards: 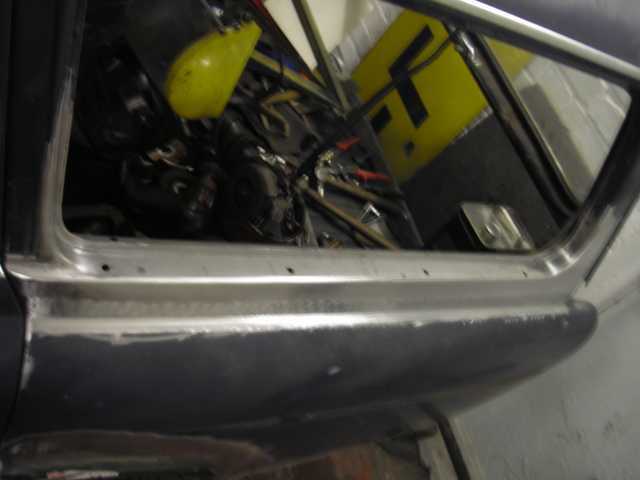 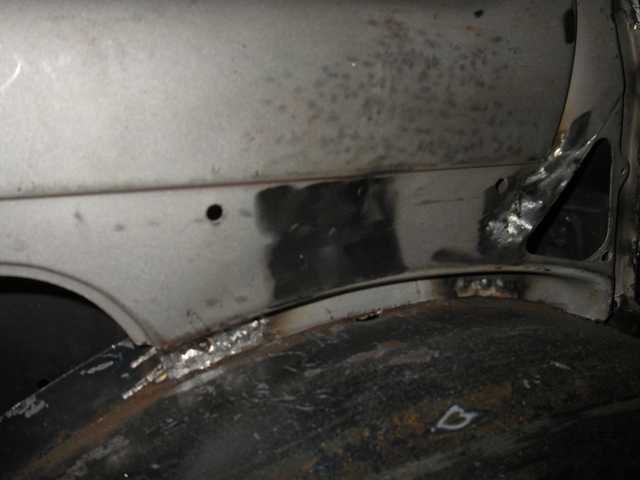 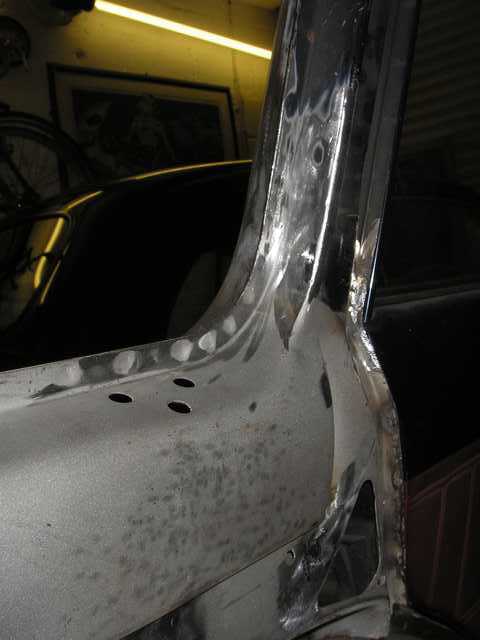 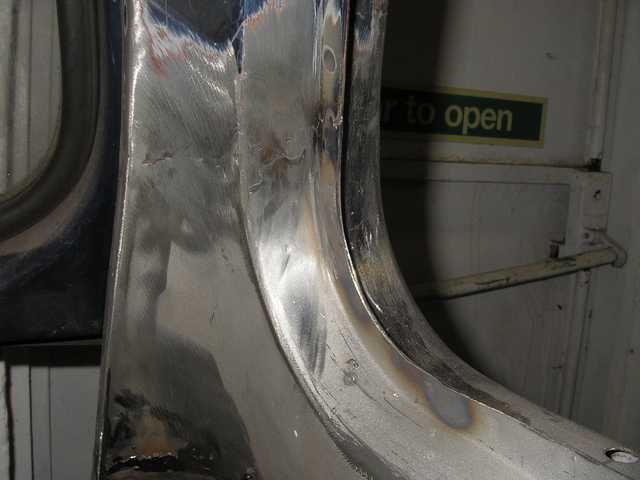 The entire panel below the windows inside the boot is the donor one, and factory seams were used where possible to splice it in. once it has had some stopper in few places, it will look as though it had never rusted out in the first place! I'm off to bed now, but here's a teaser pic of the rear arch once the outer section had been cut away: 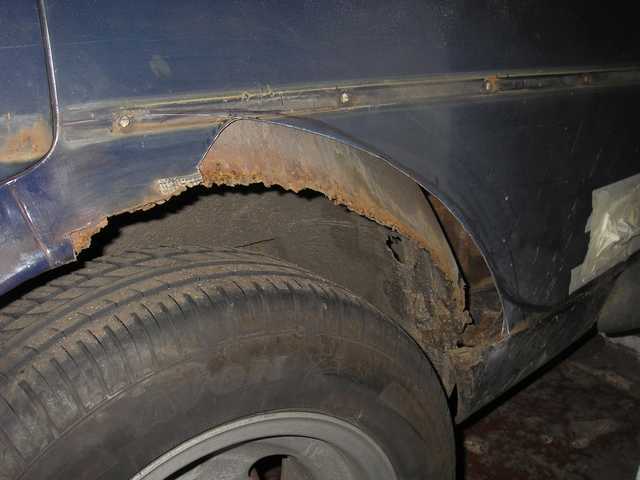 |
| |
Last Edit: Apr 1, 2020 14:52:14 GMT by Paul H: pics fixed
|
|
|
|
|
Dec 23, 2008 23:05:27 GMT
|
Inner arch sections aren't available, so two outers were used, with the second one being modified to use as an inner section. Here it is being offered up to check the fit: 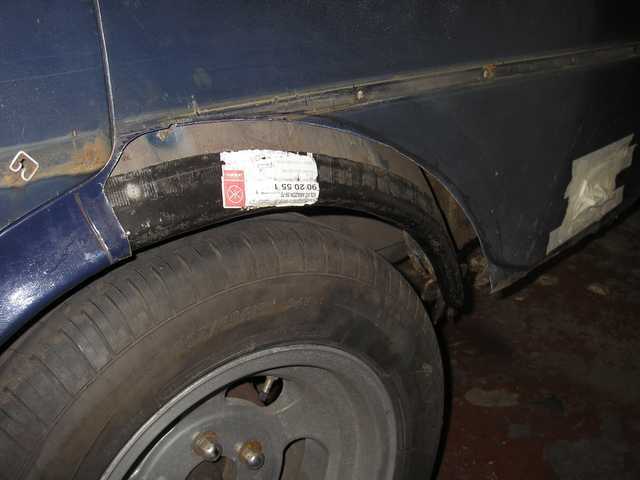 And now being welded in: 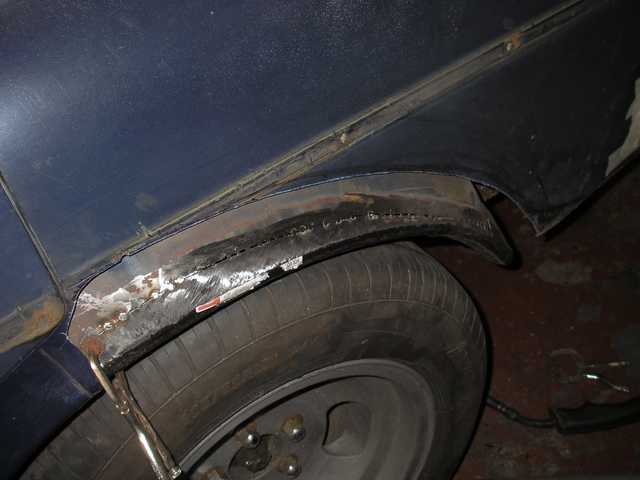 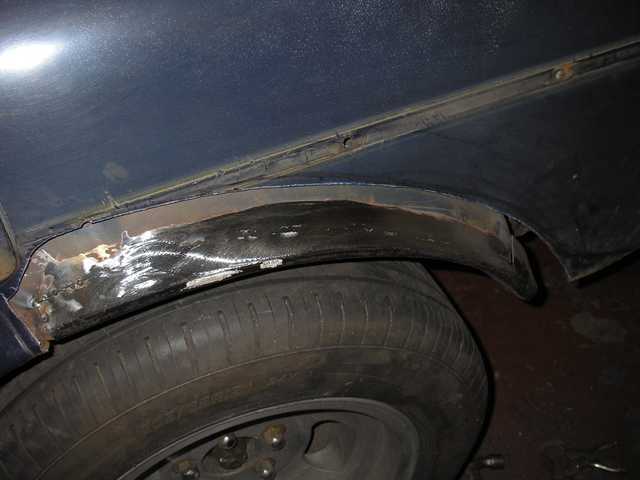 Now the outer arch: 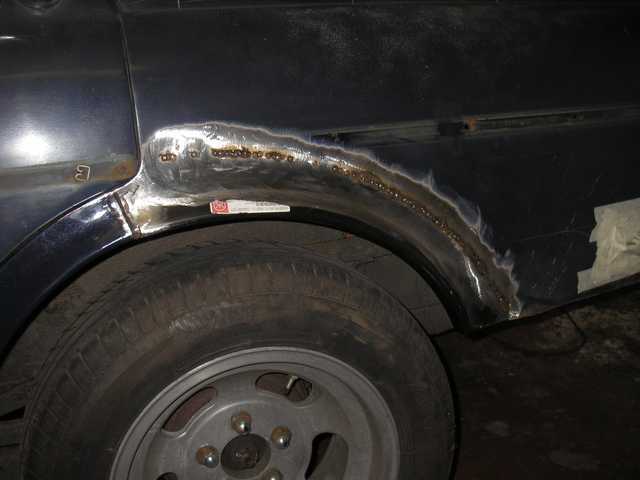 Close up of the panel joint by the door, showing how the original factory seam was preserved (some further tidying up was done after the pic was taken): 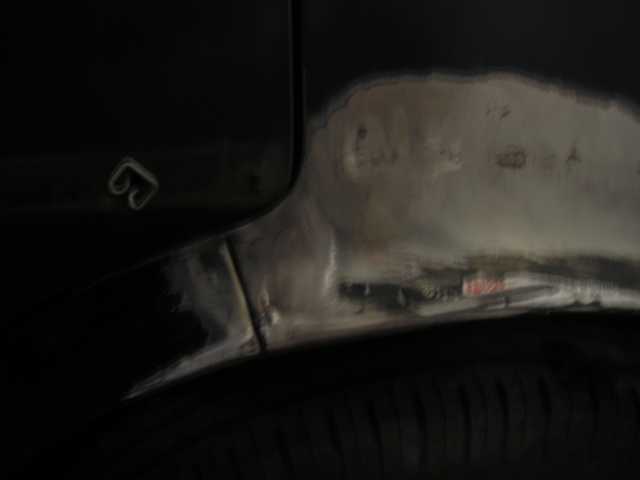 The new valance panel has been fitted too - the bottom 1/2" of the rear quarter above the valance is also new. I didn't realise that (thought it has just been cleaned up in order to weld on the valance) until I looked inside: 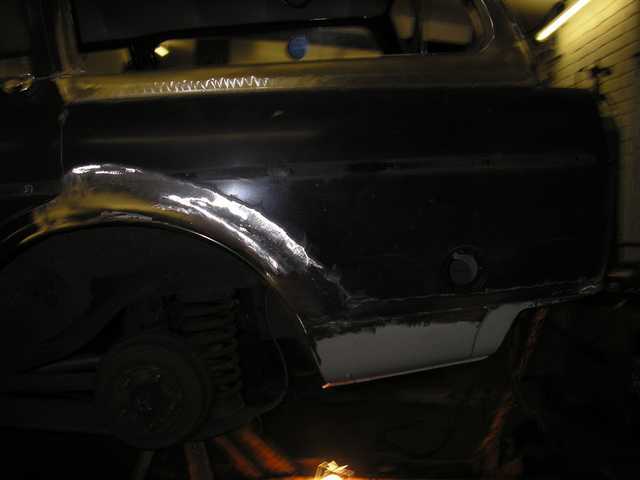 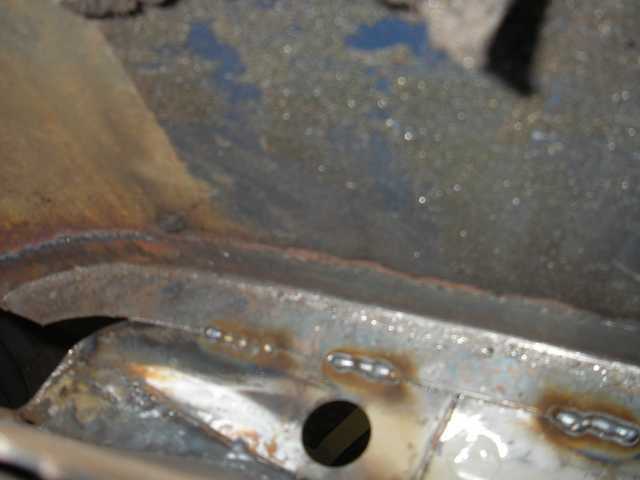 As you can imagine, I'm extremely pleased with the work - can't recommend them highly enough  |
| |
Last Edit: Apr 1, 2020 14:55:13 GMT by Paul H: pics fixed
|
|
|
|
|
Dec 23, 2008 23:57:23 GMT
|
Cracking job being done there Paul, the Amazon wagon is such a cool looking car!  |
| |
|
|
chevazon
Posted a lot
   1939 Chevrolet 2 door coupe, `67 `Zon estate, `87 Ragtop Cavalier, 4 x 800 Drifters,(!) 1500 Drifter
Posts: 2,259
|
|
Dec 24, 2008 14:24:01 GMT
|
|
Paul, I dread to think what the rear of mine looks like under the window channel. Must be 3 inches of water in the spare wheel well ! Good work.
|
| |
|
|
DutyFreeSaviour
Europe
Back For More heartbreak and disappointment.....
Posts: 2,944
|
|
Dec 25, 2008 21:21:36 GMT
|
|
Good to see you investing in the right places Paul. That's some skillful replacement work been done.
Hope she'll be hitting the roads again soon.
What's happening paint wise once the crusty bits are banished?
John
|
| |
Back from the dead..... kind of
|
|
bstardchild
Club Retro Rides Member
Posts: 14,971
Club RR Member Number: 71
|
|
Dec 26, 2008 11:45:45 GMT
|
John - I'm guessing here but I think paul is painting the car a section at a time  Great repair work - looks a very high std |
| |
|
|
|
|
|
|
|
Dec 27, 2008 23:34:32 GMT
|
The repaired areas were all been painted with red oxide primer, and I then seam sealed, and sprayed them with rattle can primer and topcoat on the exterior panels, and brush painted smooth Hammerite underneath. Looks ok from about 20' but closeup the fantastic paint match is highly visible   ;D I haven't bothered with any stopper yet (there's no filler at all - just the welds ground smooth) as that can wait until the full respray, once the whole shell is repaired and all the bolt-on panels are ready for fitting. However the important thing is that it's all very good metal work there now! I'll add the rest of the pics when I have the chance  |
| |
|
|
|
|
|
Jan 26, 2009 22:54:13 GMT
|
|
|
| |
Last Edit: Apr 1, 2020 14:59:51 GMT by Paul H: pics fixed
|
|
namless
Club Retro Rides Member
Posts: 580
Club RR Member Number: 26
|
|
Jan 27, 2009 10:47:09 GMT
|
mmmm... nothing like the view of fresh metal. You got some good work done there, even better it came with pics  |
| |
|
|
bazzateer
Posted a lot
   Imping along sans Vogue
Posts: 3,653
|
|
Jan 27, 2009 18:26:25 GMT
|
|
Good progress Paul, hope to see it at the Ace some time soon.
Baz
|
| |
1968 Singer Chamois Sport
1972 Sunbeam Imp Sport
1976 Datsun 260Z 2+2
1998 Peugeot Boxer Pilote motorhome
2003 Rover 75 1.8 Club SE (daily)
2006 MG ZT 190+ (another daily)
2007 BMW 530d Touring M Sport (tow car)
|
|
|
|
|
Apr 13, 2009 23:18:01 GMT
|
Finally found a photo of the repaired rear bumper bracket (the rusty remains of the old one is visible in one of the pics above.....): 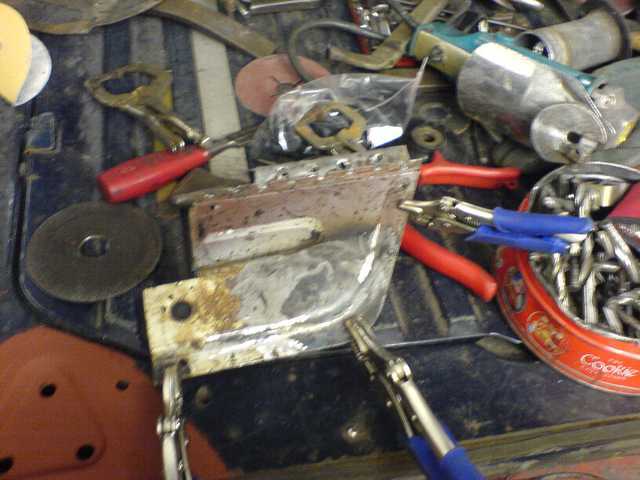 As can be seen, a lot of fresh steel was needed there too, but Mark did an excellent job of reconstructing it  And all in primer: 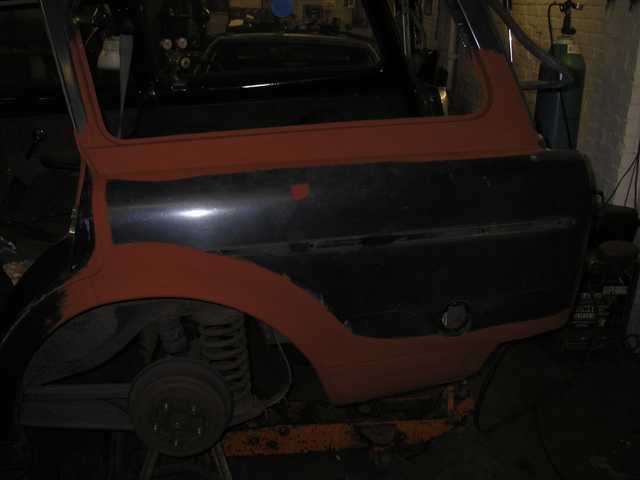 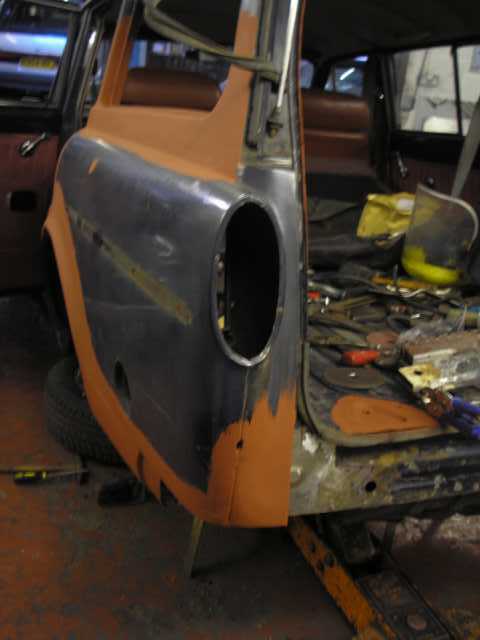 This was then painted with a blue rattle can to seal it, and then reassembled. This was all done in December 2008At the time, with the rear wheels off and the car up in the air, I noticed some delamination of the rear chassis rails around the spring mounts. The chassis rail to boot floor joins were also somewhat crispy on both sides..... More to follow in the next update! |
| |
Last Edit: Apr 1, 2020 15:01:32 GMT by Paul H: pics fixed
|
|
|
|
|
|
|
Gad zooks batman! Thats some impressive work! Loving amazon estates! Maybe some lower profile tyres on the front and drop it a bit with a bit of a rake. Awesome car  |
| |
|
|
|
|
|
|
|
Looking forward to lots of new metalwork pics!  |
| |
|
|
|
|
|
Apr 14, 2009 13:06:40 GMT
|
Looking forward to lots of new metalwork pics!  Even after this round of welding, there's still plenty more to go! Firstly, the grotty bits... apologies for the poor photography, but I was knackered after getting all the axle mounts undone for the rear axle to be taken off so that Lance & Mark could wave the magic metal wand at it. Even after that, I still had loads to get on with, which you'll read about in a later instalment. 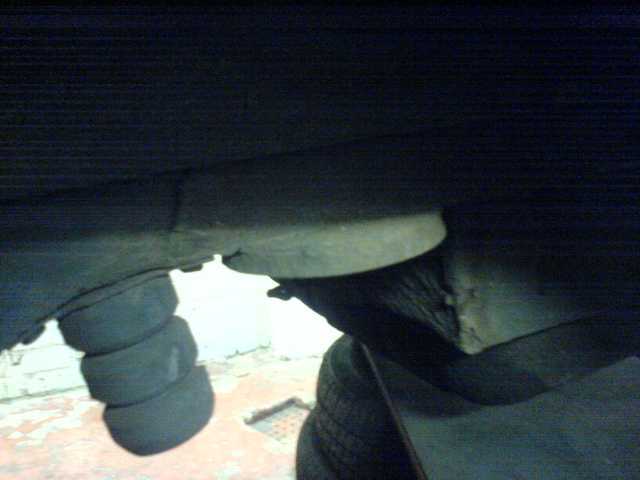 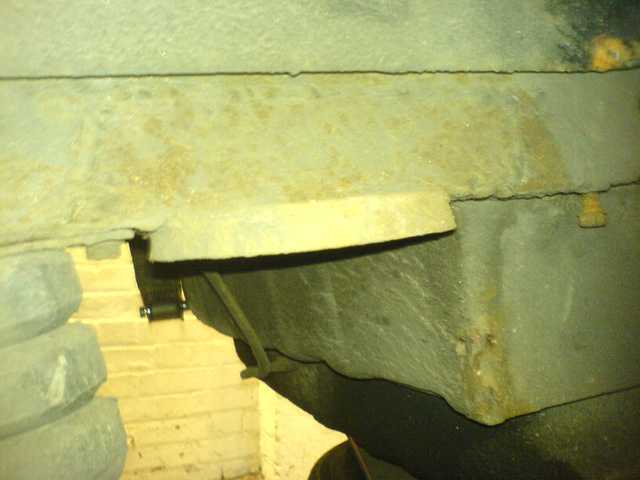 Not very clear in the photo, but that entire plate above the spring cup was bulging badly. Can't remember if that particular part was a factory laminate, or if it was an old plated repair. The corner of the spare wheel well was also pretty crispy... Fortunately without the spring in the way, it could be repaired without needing to remove the fuel tank, which is directly below. 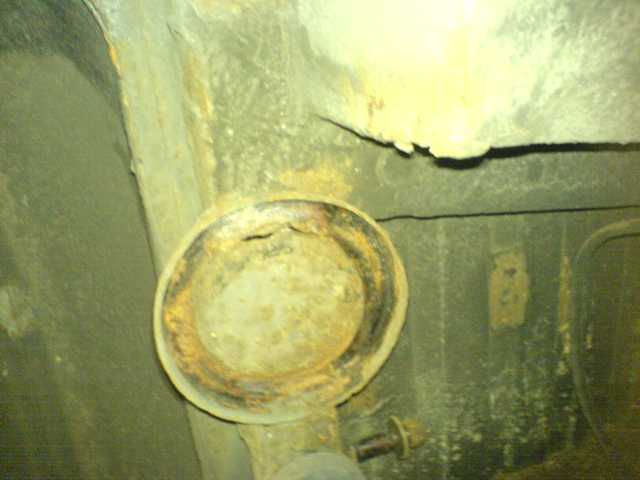 This was the better of the two spring cups..... Still pretty manky, but on the other side, I was able to poke my finger straight up into the chassis rail.... And the scariest part? I doubt that an MOT inspector would have seen any of this, as with the suspension in-situ and the wheels on, it was very difficult to see that there was anything wrong  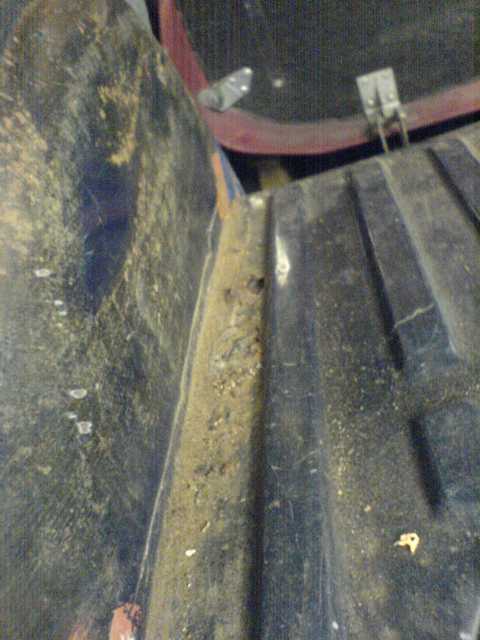 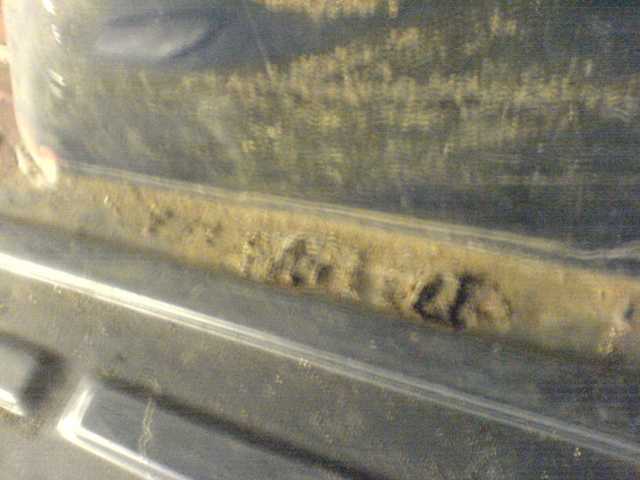 Inside the boot on the lefthand side, just inboard of the inner arch. The spotwelded seam between the chassis rail and the boot floor was delaminating very badly. Due to the different gauges of steel, the top lip of the rail was mostly ok, but the thinner boot floor was very icky. In places, it was completely perforated into the chassis rail. 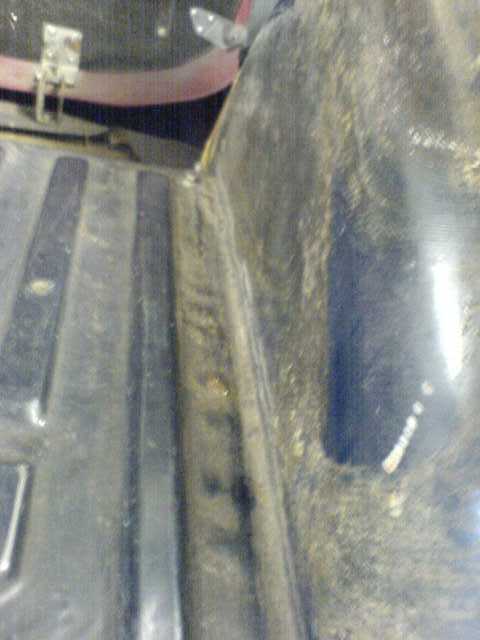 The same area on the righthand side. As can be seen, it's starting to go too, but wasn't anywhere near as bad. However seeing as the immediately adjacent chassis rail was in need of serious attention, it would have been silly not to deal with this too. That's all for now as I need to get back to work  |
| |
Last Edit: Apr 1, 2020 15:21:06 GMT by Paul H: pics fixed
|
|
|
|
|
Apr 22, 2009 15:33:08 GMT
|
Apologies for the poor quality of the photos - there was something wrong with the settings when I took them but I didn't realise at the time. Offside rear: 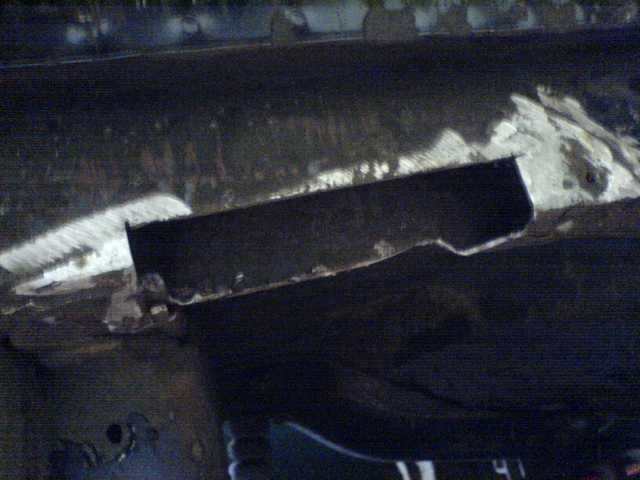  A section of the panhard rod tower had to be cut as the bolt for the bush was stuck, and applying heat wouldn't have been a good plan given the proximity of the fuel tank! When welding it back on, the back of the tower shielded the tank. And after: 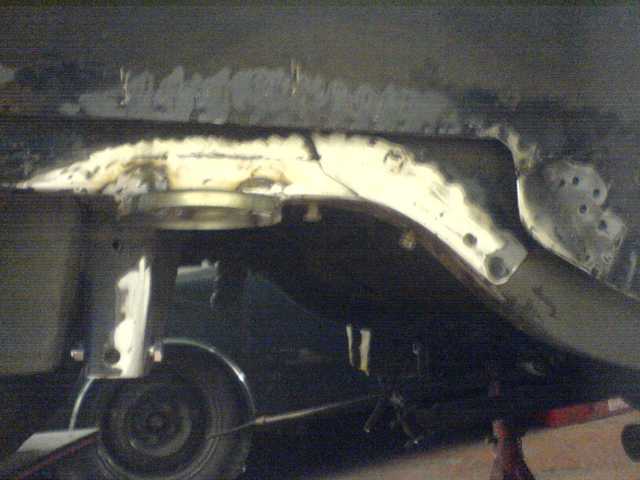 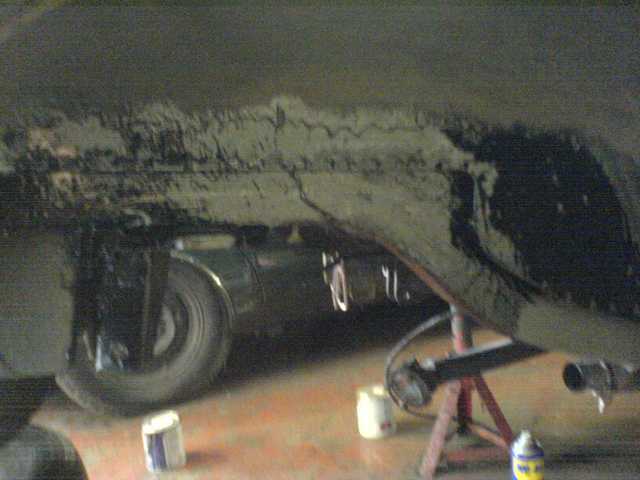 All the laminates were rebuilt too, and new spring cups were welded on - those had only become available! Nearside: 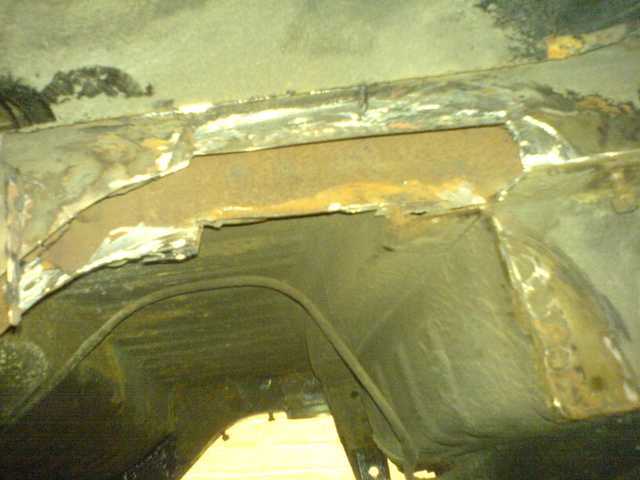 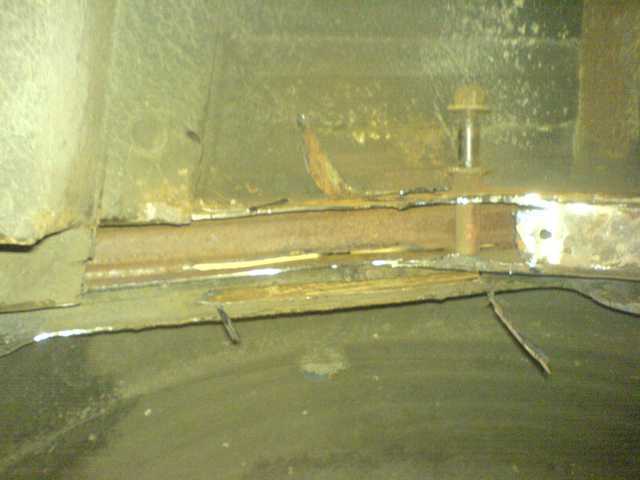 No pic of this side before the paint: 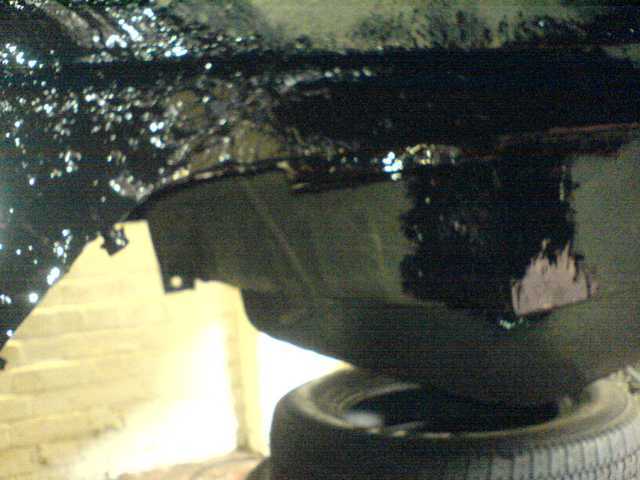 The corner of the spare wheel well was also repaired. And the boot floor - this was the worse side. 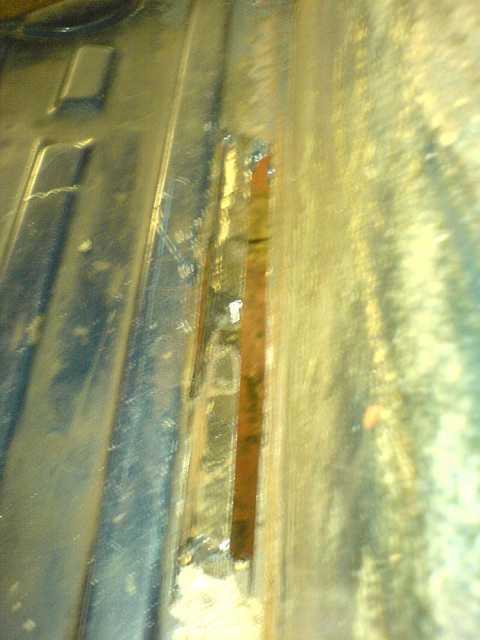 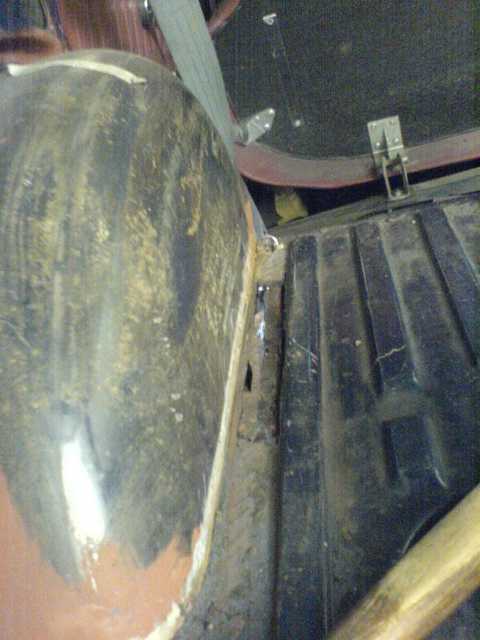 The top of the chassis rail is visible, and fortunately due to the thicker gauge metal, was intact. |
| |
Last Edit: Apr 1, 2020 15:24:22 GMT by Paul H: pics fixed
|
|
|
|
|
Apr 22, 2009 16:11:20 GMT
|
Whilst Lance & Mark were busy with that, I was keeping myself busy too. Yukky mess inside the drums: 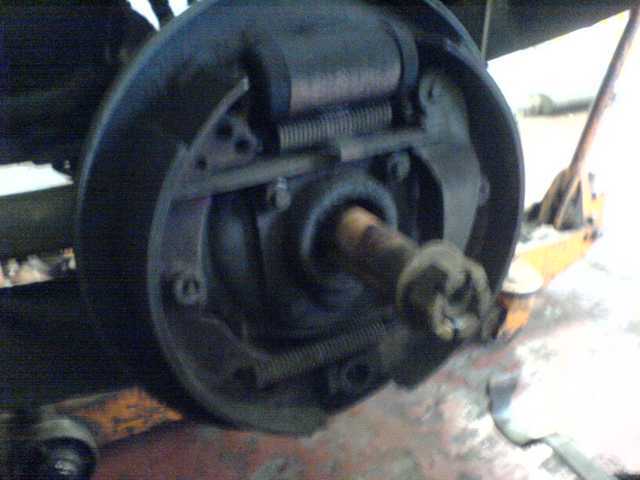 The axle & rear suspension were also filthy: 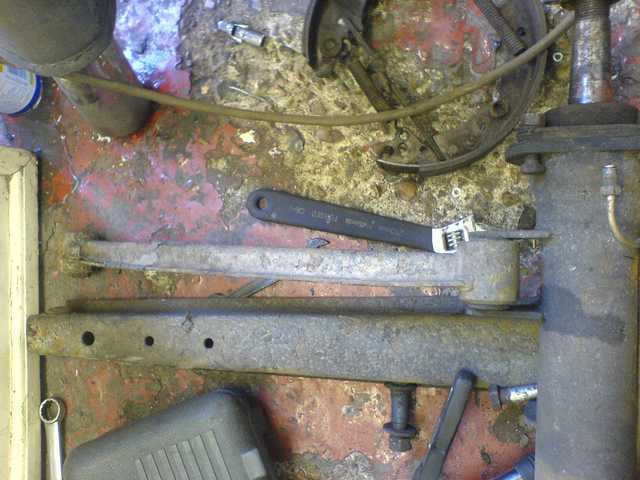 But not for long! 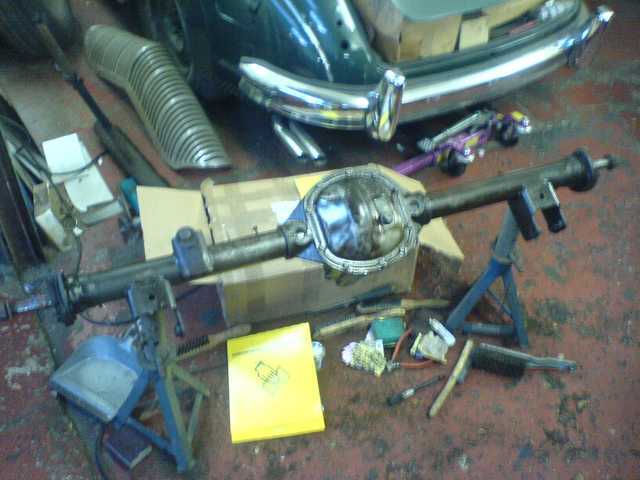 The axle was wire brushed and treated with rust converter were necessary. Fresh from being blasted & powdercoated: 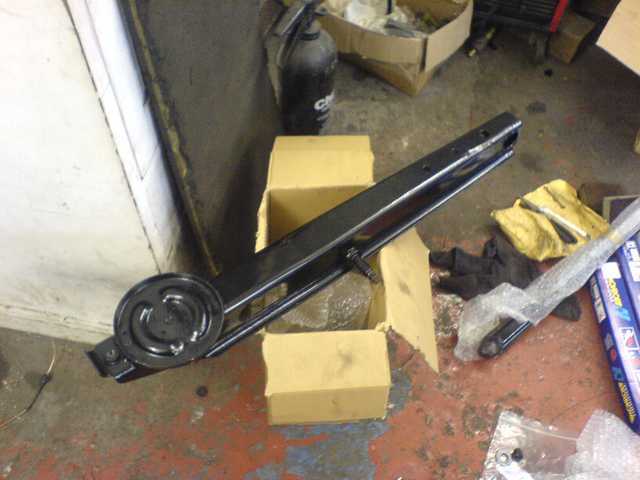 All the suspension arms, axle check strap brackets, springs, brake backplates and the panhard rod were all blasted & coated. Axle casing after a coat of paint & part way through reassembly: 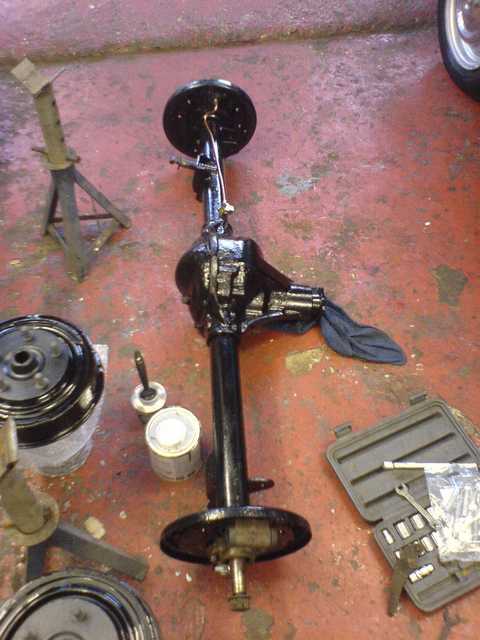 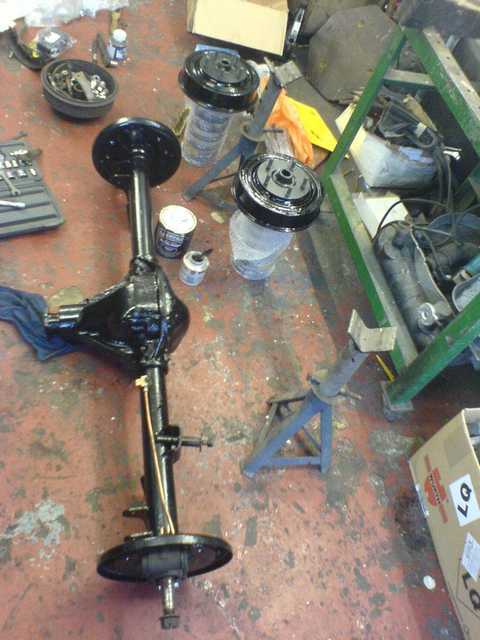 New drums were fitted too, as the old ones were badly worn. Ready to go back on: 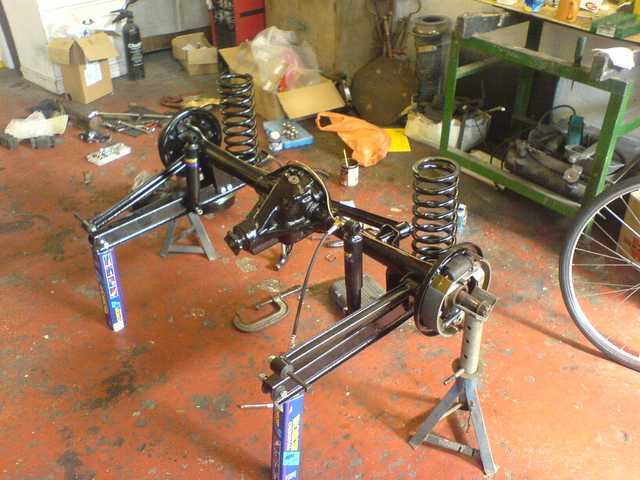 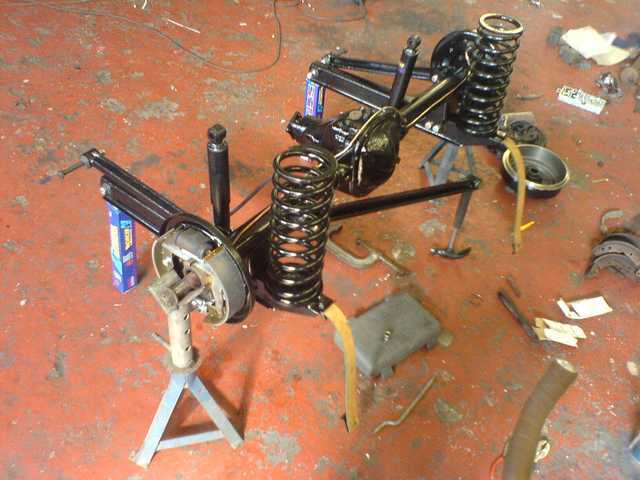 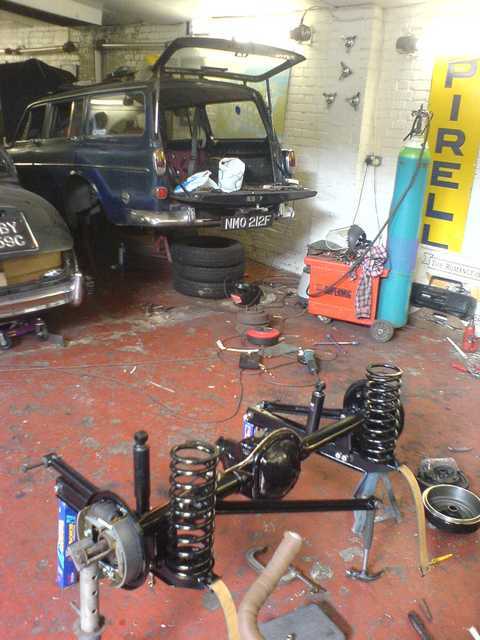 All bushes replaced, and new brake springs, shoes, adjusters, brake hose, axle check straps and shocks. That's everything up to date now & the car has been back on the road for about a month since that last pic  |
| |
Last Edit: Apr 1, 2020 15:27:21 GMT by Paul H: pics fixed
|
|
|
|


 The true state of affairs when work started was quite a bit worse, but stupidly I forgot to take any pics before the grot was cut away.
 Take it from your first sentence that this is getting exorcised?


