gazzam
Part of things
 
Posts: 738 
|
|
|
|
Battery strap first up. Rivet on the two hooks that I’d plated yesterday Found a useable buckle. After working out the lengths, rivet the buckle in place. 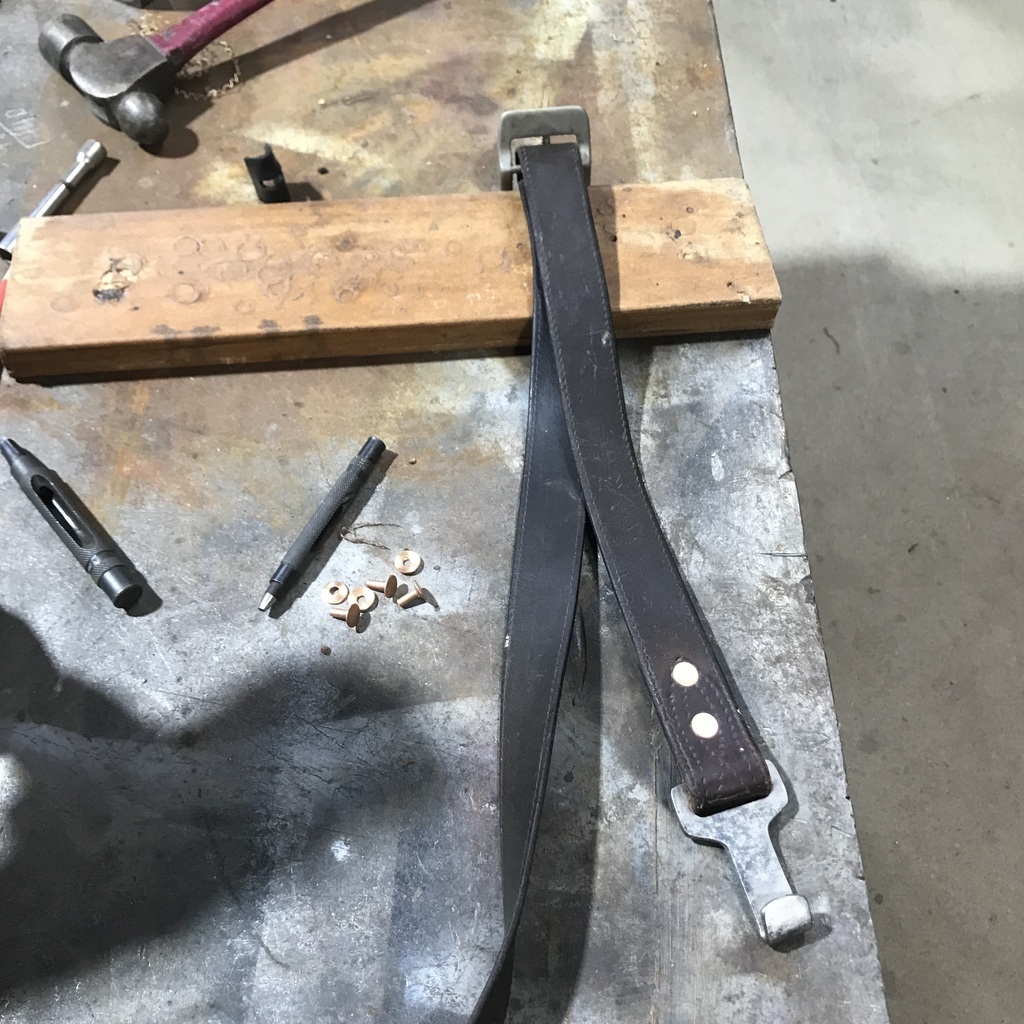 As an example of how everything takes longer than expected, I noticed the stitching was worn through in a couple of places. As I said it is an old belt. So I had to unpick the rest. Add another half hour… Anyway it’s in place, and I think will do the job. 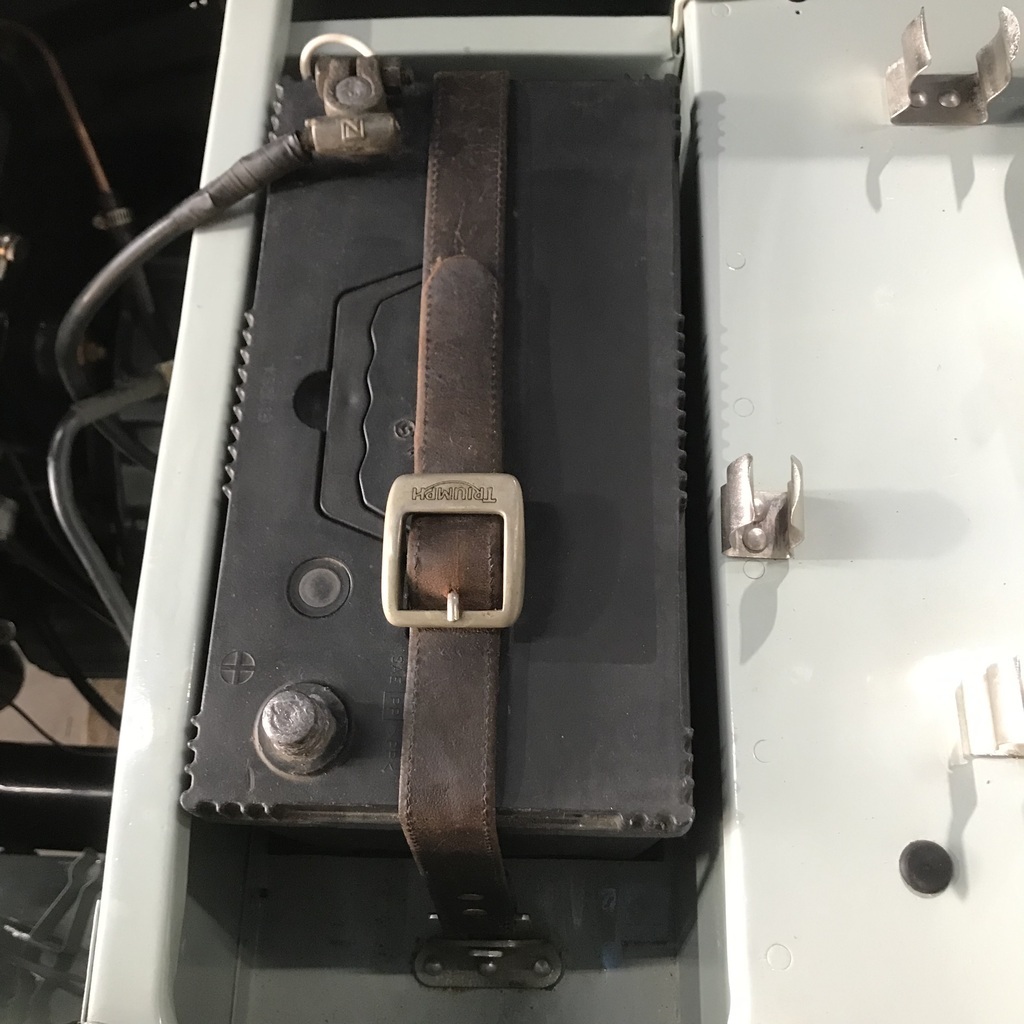 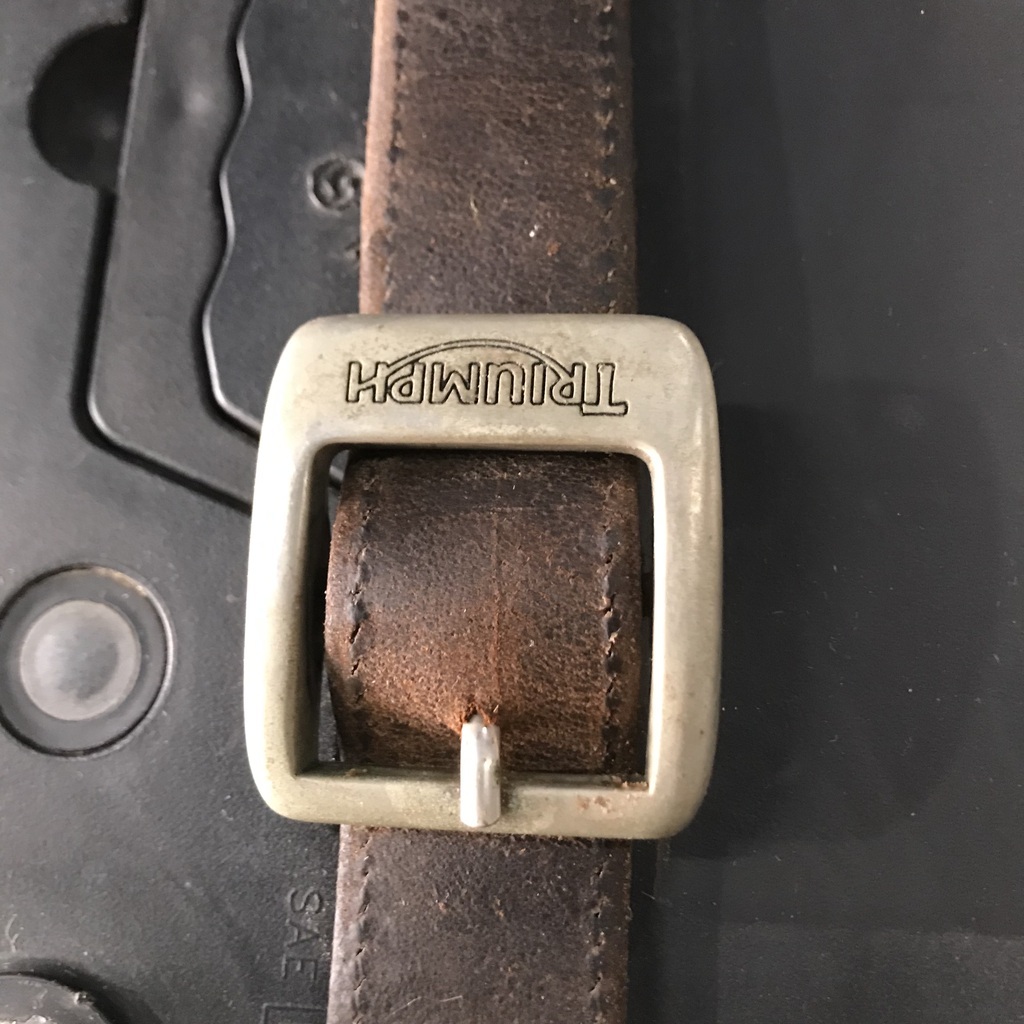 The buckle is from some saddlebags that were scrapped. I realise the logo is from several decades after the car, but it’ll do. Now that the battery is nominally secure, time to put the coolant back in and take it for a drive. And I’m pleased to report that it went well. And the gearing is just about right with the taller tyres. This was the first drive with a working blower and the new tyres. The supercharger belt behaved itself. I can only imagine that I put a twist in the belt when I corrected the tensioner mistake, and the belt jumped off as soon as I started it. I’m going to replace the clutch though, I can’t live with that shuddering. As well I gave the jack a coat of paint. It’s the leftover stuff from sealing the Healey tank, so it should hold fuel if necessary. 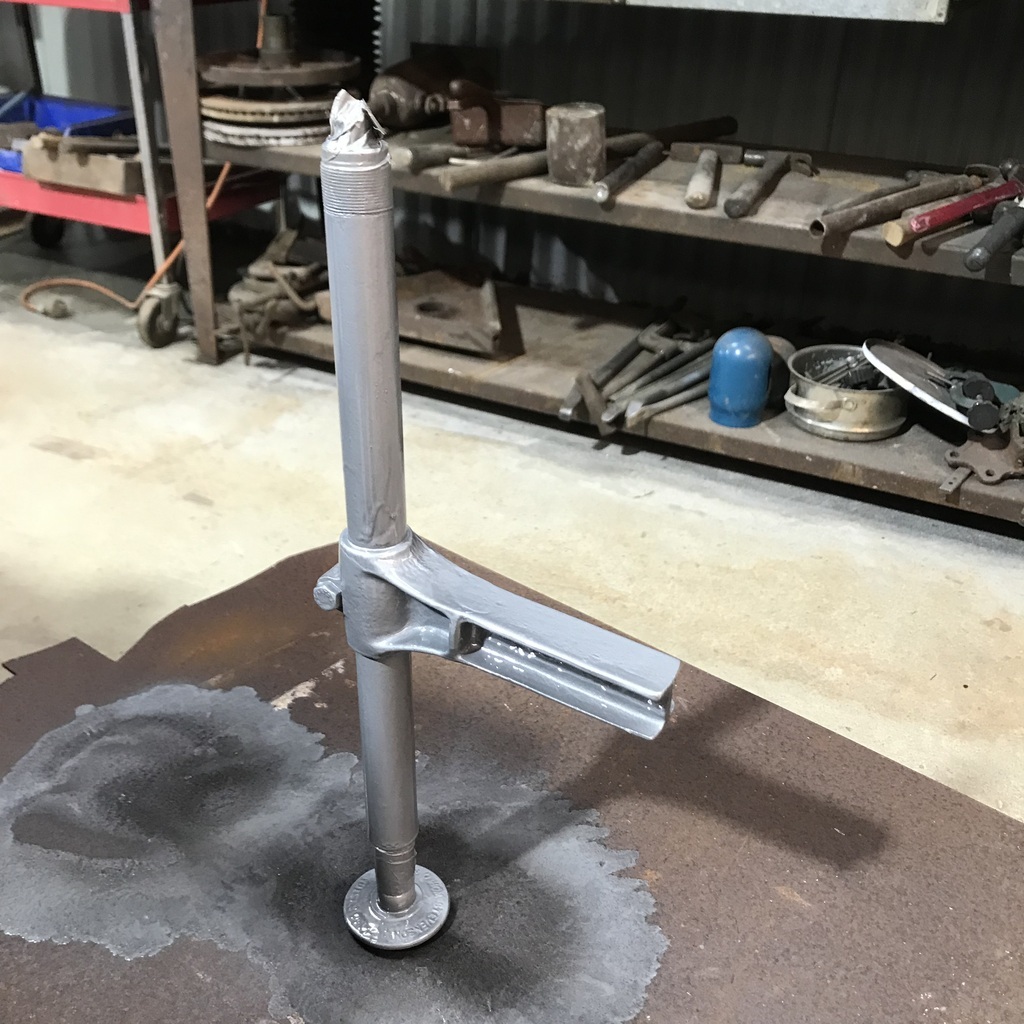 Thanks. |
| |
|
|
|
|
gazzam
Part of things
 
Posts: 738 
|
|
|
|
When I drove the Triumph yesterday I noticed that the passenger door seemed to have more movement at the A pillar than I would like. I would like none, but being realistic, it’s a 75 yo open car. Some movement must be expected. Still, I checked the door and the hinge had some movement. Now I’m sure I checked this before I pulled the car apart and found none. But its there now ( well, not now, because I fixed it ) and I have no explanation for it. I took the door off and started doing battle with the pin in the top part of the hinge. Eventually it decided to cooperate. When I got it out I had a look for some rod suitable to make a new pin. It was a matter of finding something that was a slightly bigger diameter and suited my available drill sizes. I do have some tiny reamers, but they have nowhere near the reach needed. The 7mm drill that I ended up using was barely long enough. Once I had the hole drilled to size, I pushed this old tee handled screwdriver in to test the fit. 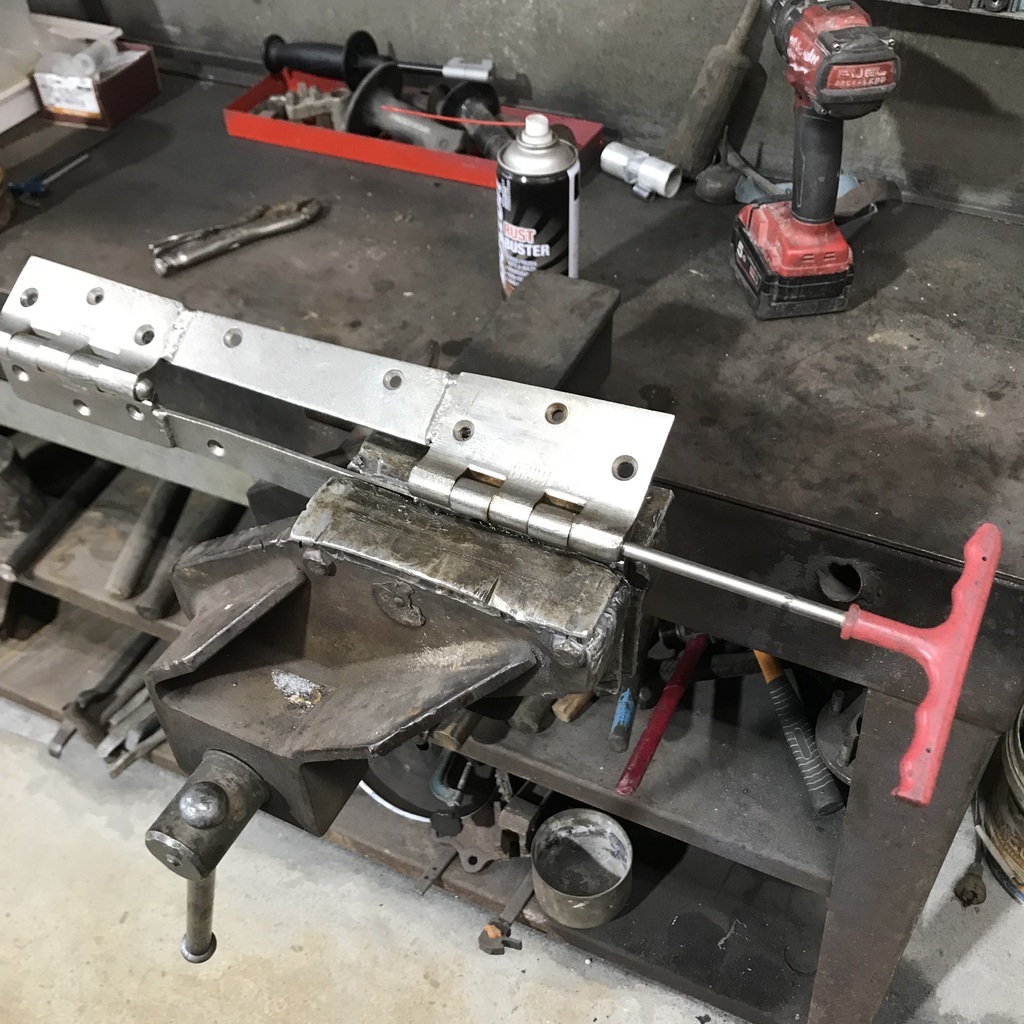 It seemed nice and tight. I tested the hardness beforehand ( whacked it with a hammer against the corner of the steel table resulted in no damage ) and I reckon it’s plenty hard enough. So I cut it off and said, good enough. Put the door back on and it’s all good. Thanks. |
| |
|
|
gazzam
Part of things
 
Posts: 738 
|
|
|
|
Back on the plasma. Just making brackets and getting the axes to slide smoothly. The torch goes in the red circle. 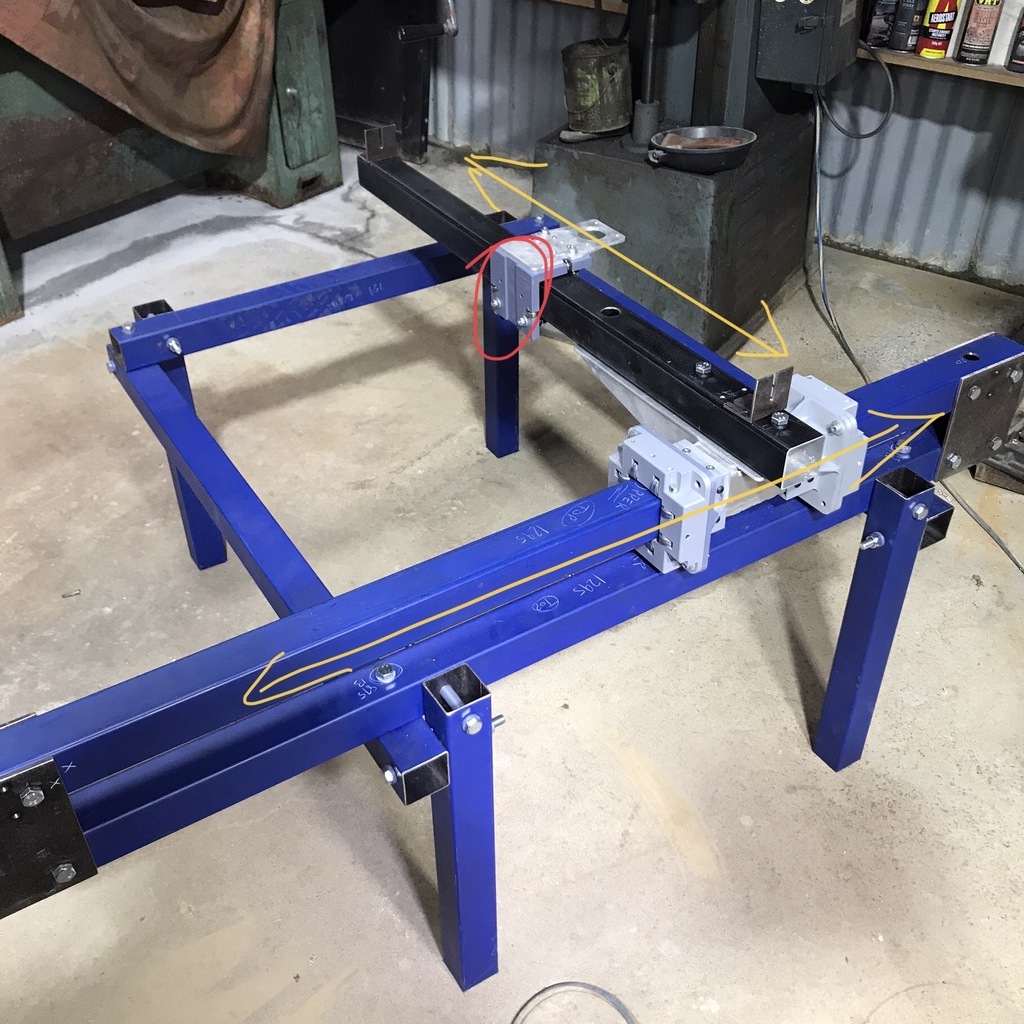 I needed to make a replacement for one of the bits that I'd previously printed. The mounting holes didn’t line up. And I can’t change the design of the print because I didn’t design it - the files for the print are in the plans I bought. Rather than have an email to and fro with the plan people, I thought it would be simpler and more fun just to make it in ally. So I started with this chunk in vice of the mill. Not a good pic, but all I have. 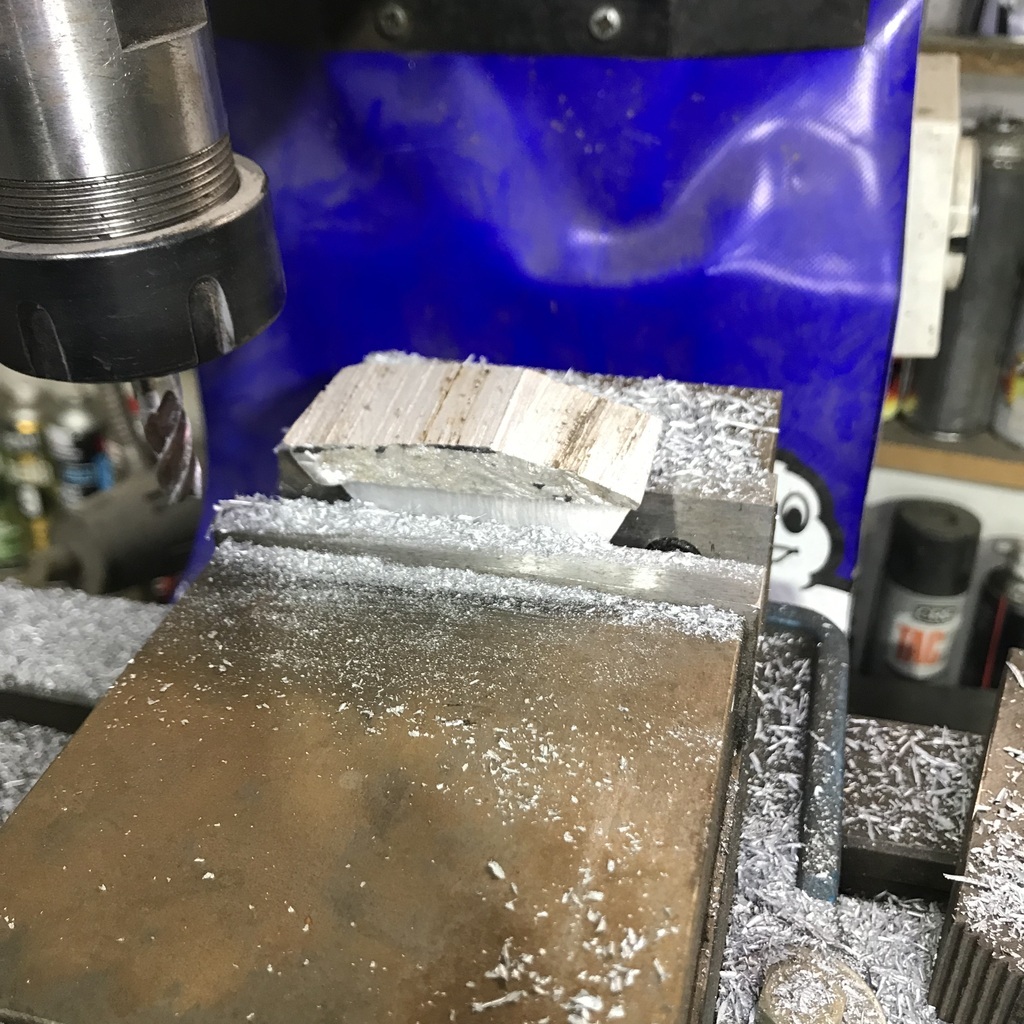 After a bit of waste manufacture, it looks like this. Use you imagination… And I promise I’ll countersink the holes. It’s job is to tension the x axis belt. 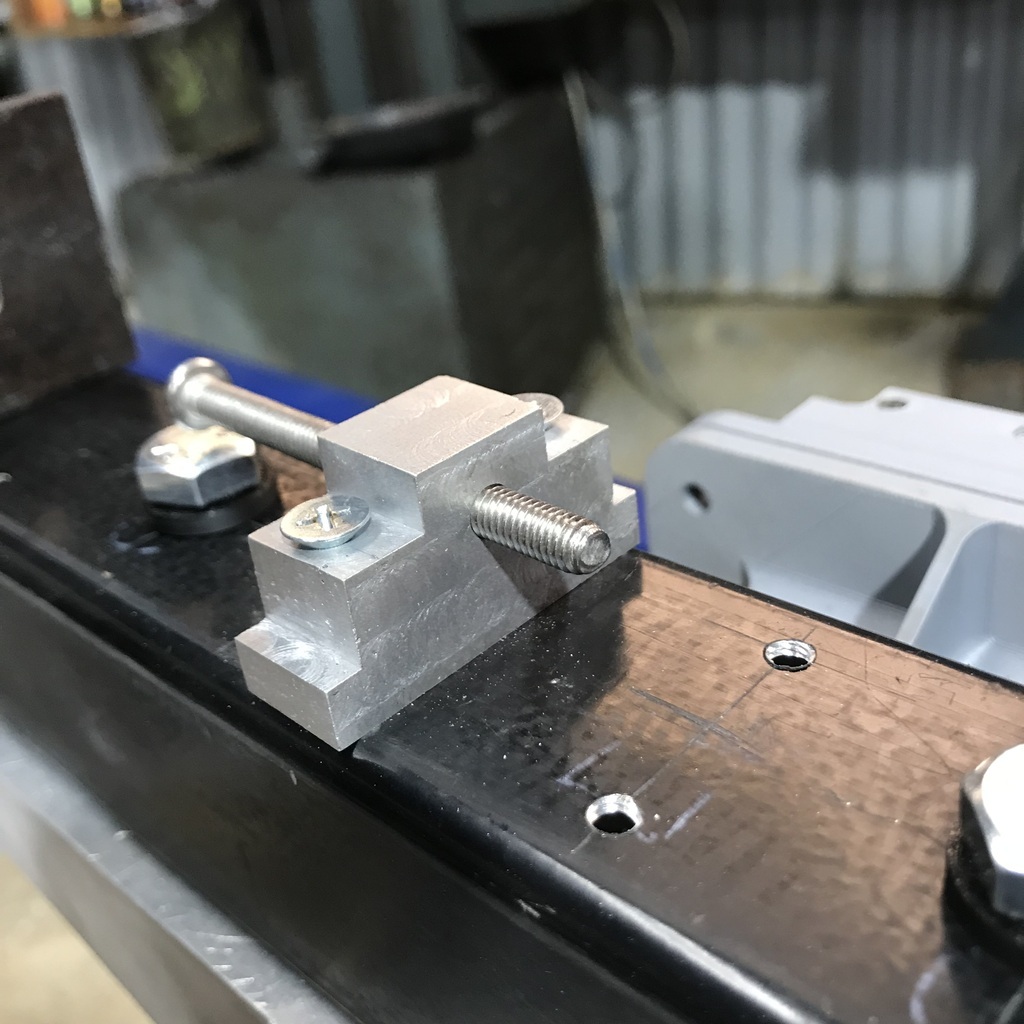 Next I made a bracket to mount the y axis motor. Started by cutting holes in a piece of 4mm ally sheet 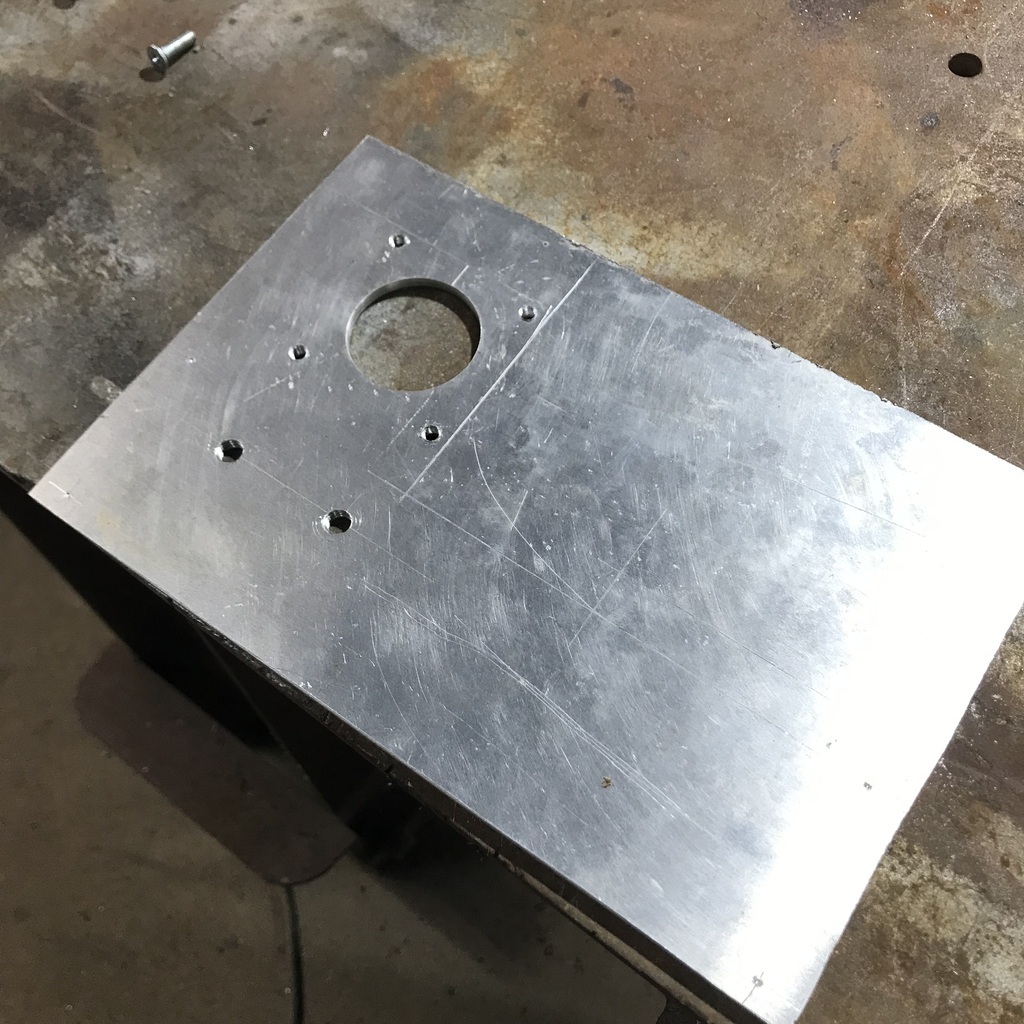 After some cutting and tapping threads, a motor can be mounted. 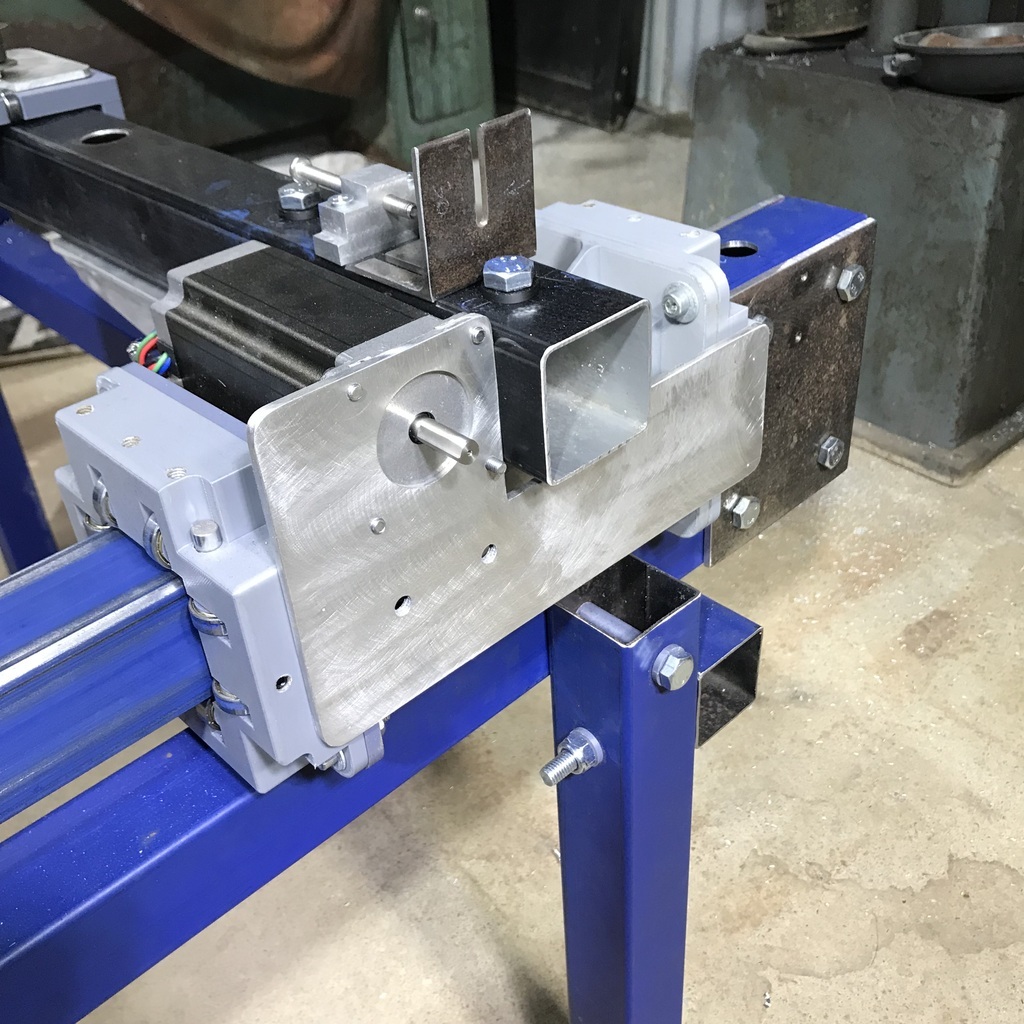 That motor is only mounted to the plate, the plate still has to be mounted to the bearing assembly. And the X axis motor. 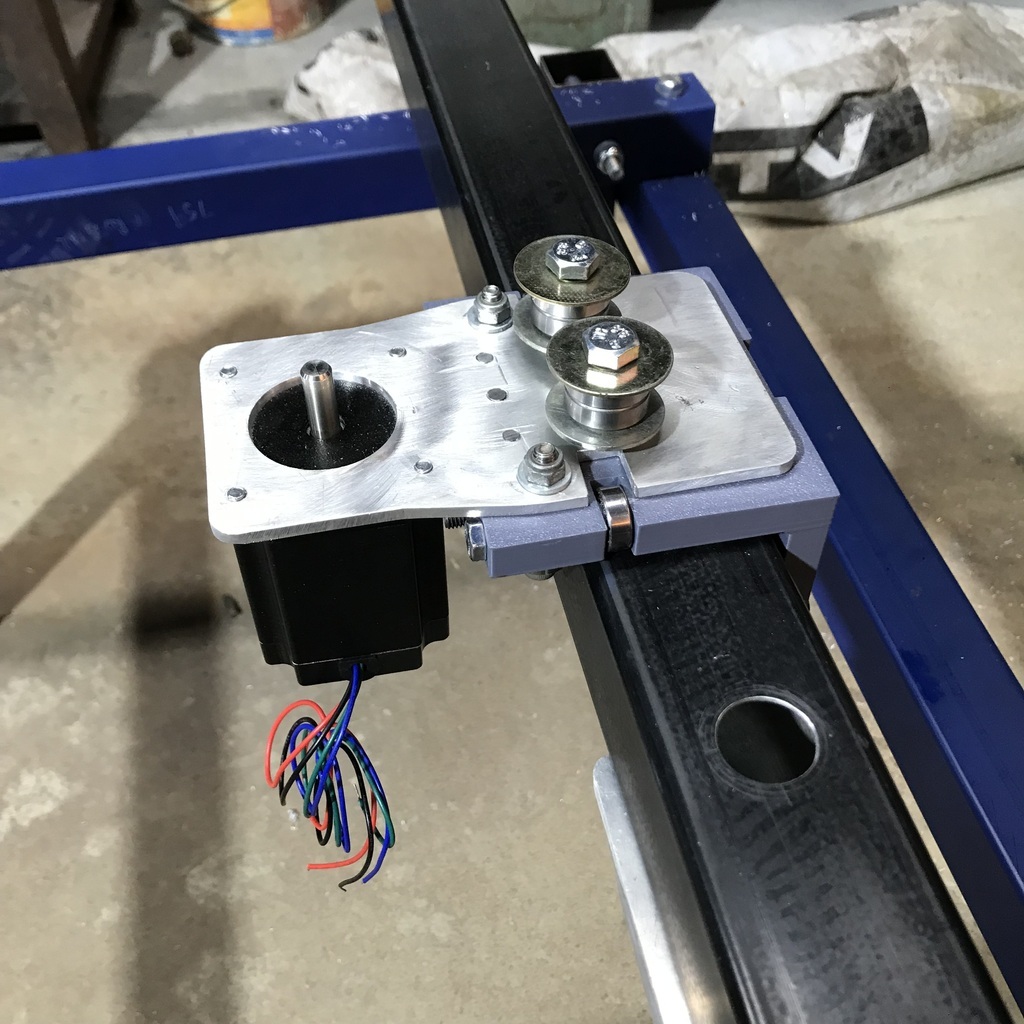 Mounting motors is a major advance, it’s no longer just steel, bolts and bearings, it’s got bits which ( might ) make it come alive! Thanks. |
| |
|
|
gazzam
Part of things
 
Posts: 738 
|
|
|
|
Did some more on the plasma. The Y axis drive is complete. 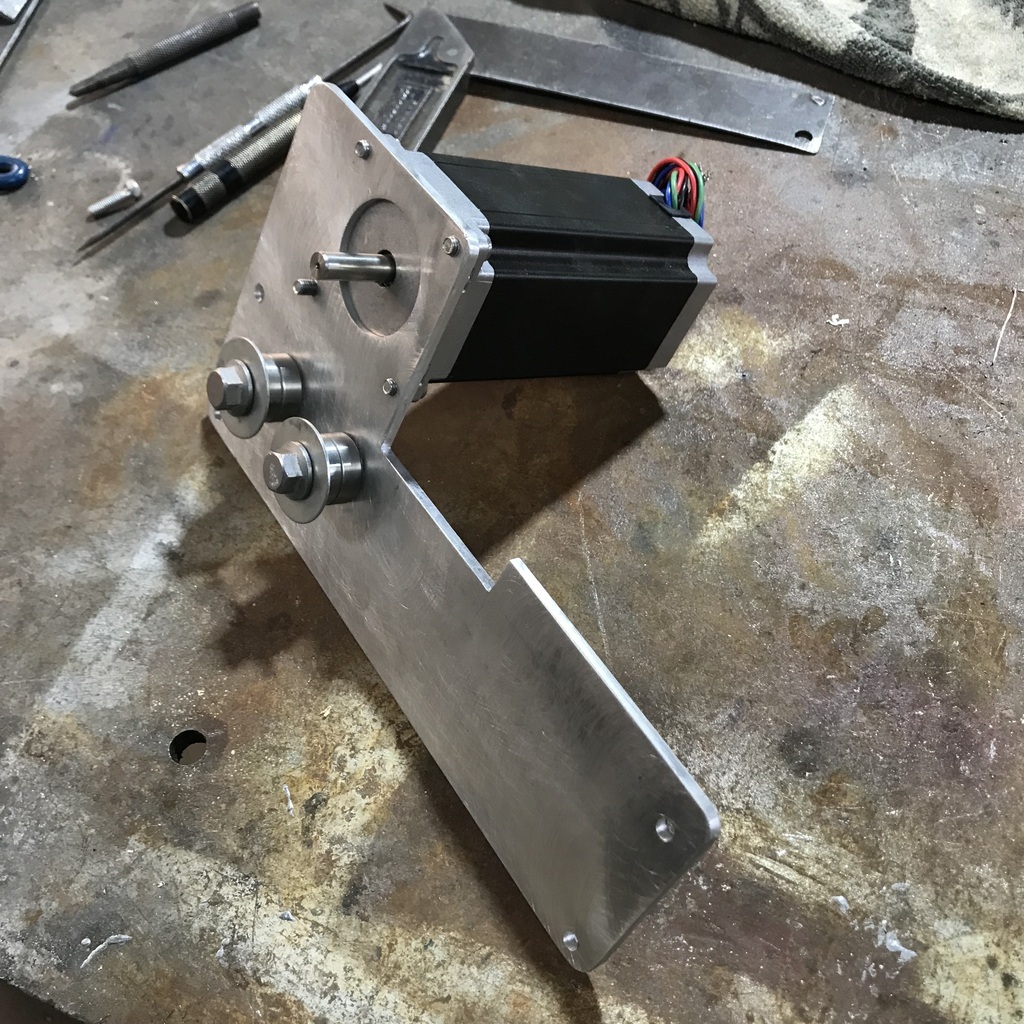 Drive belts temporarily in place so I can work out the position of the anchor points at each end. 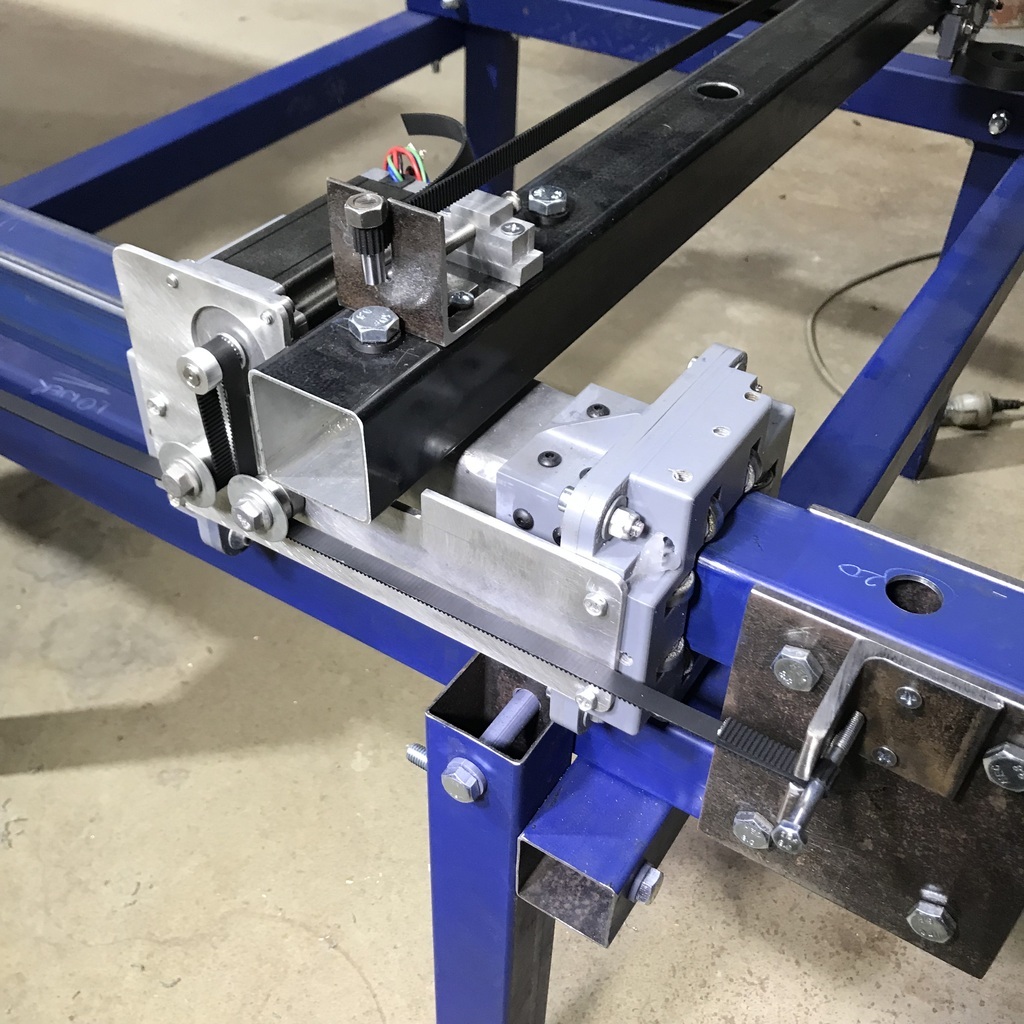 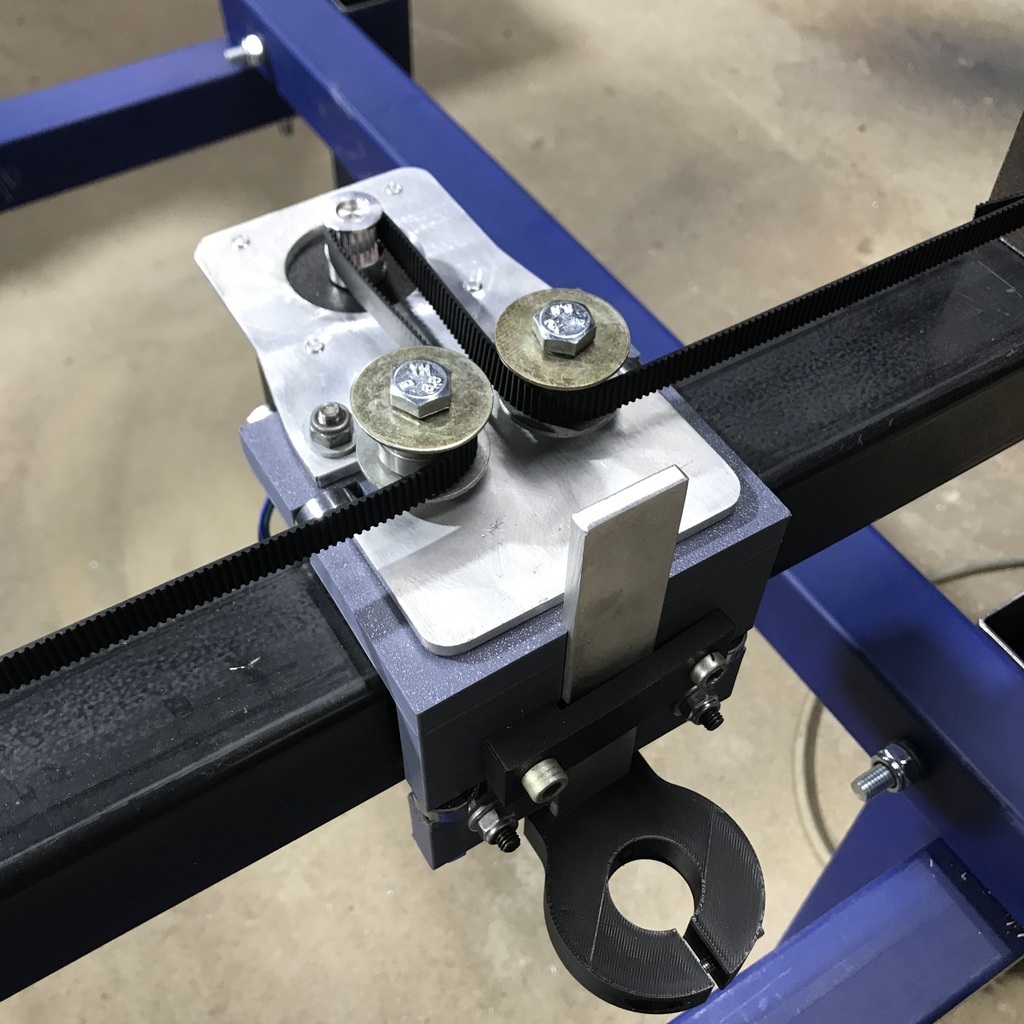 Fabrication wise all that’s left are those four anchors, then it’s on to the electrical side of things. Thanks. |
| |
|
|
|
|
|
Aug 22, 2024 10:16:27 GMT
|
|
It is amazing the technology that is available now for home DIY and car stuff!
|
| |
|
|
gazzam
Part of things
 
Posts: 738 
|
|
|
|
It sure is Phil. Let’s just hope it’s been dumbed down enough for me to be able to get it to work! Didn’t get near the plasma or the Triumph today. Because I was doing this. 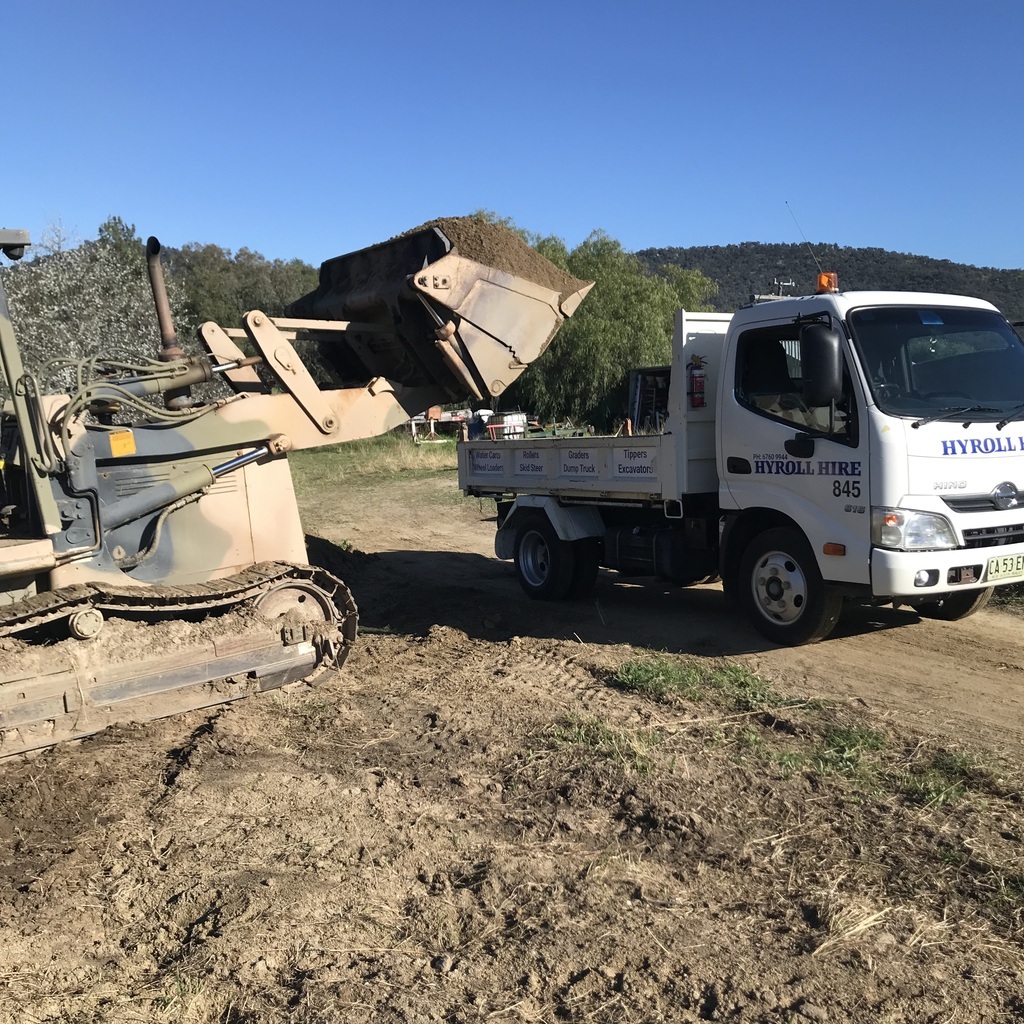 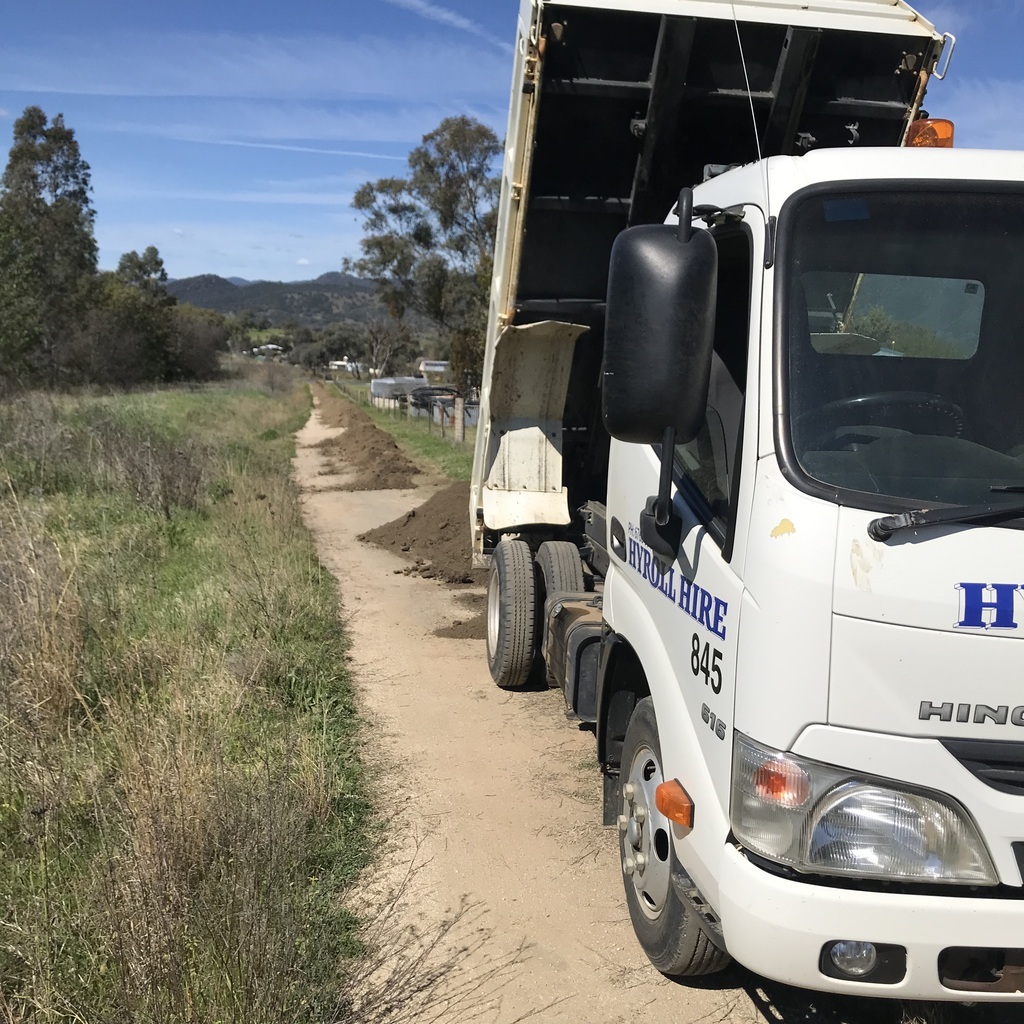 No, not making an ad for a hire company. Fixing my road. Or at least, starting to fix it. I’ve now got 25 very small tipper loads of earth in place, ready to attempt to improve the road. It’s the stuff that came out of the shed extension from two years ago. How time flies! So tomorrow I will play with the skid steer and try to make it trafficable. Wish me luck! |
| |
|
|
Davey
Posted a lot
   Resident Tyre Nerd.
Posts: 2,348
|
|
Aug 23, 2024 10:29:48 GMT
|
|
That's one long driveway!
|
| |
K11 Micra x3 - Mk3 astra - Seat Marbella - Mk6 Escort estate - B5 Passat - Alfa 156 estate - E36 compact
Mk2 MR2 T-bar - E46 328i - Skoda Superb - Fiat seicento - 6n2 Polo - 6n polo 1.6 - Mk1 GS300
EU8 civic type S - MG ZT cdti - R56 MINI Cooper S - Audi A3 8p - Jaguar XF (X250) - FN2 Civic Type R - Mk2 2.0i Ford Focus - Mercedes W212 E250
|
|
gazzam
Part of things
 
Posts: 738 
|
|
|
|
That’s about half of it Davey, but it was the bit that needed the most work. After a couple of hours on the skid steer and dragging a large sheet of reo mesh behind the quad bike. 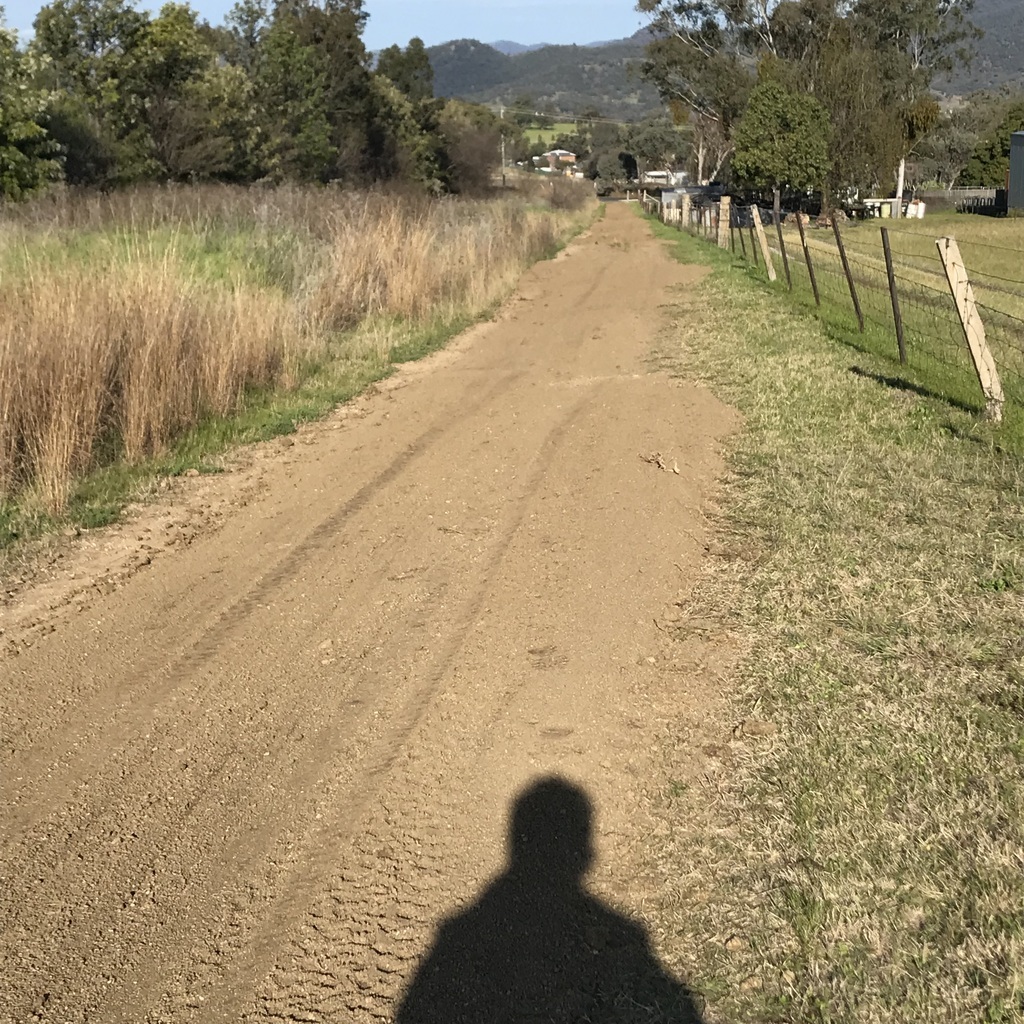 It needs to pack down with a bit of rain and driving on it. A few more touch ups with the mesh and it’ll be like a speedway! |
| |
|
|
gazzam
Part of things
 
Posts: 738 
|
|
|
|
Back to the plasma, now that civil engineering works have been completed and our place is accessible once again. Welded a pair of 8mm nuts to each of the belt end brackets. The nuts had been drilled through to take a piece of 8mm rod. The belt then goes through the bracket, around the rod and back through the bracket. A 3D printed retainer, the light grey bit in the pic, is then slid over the two pieces of belt that have their teeth interlocked. 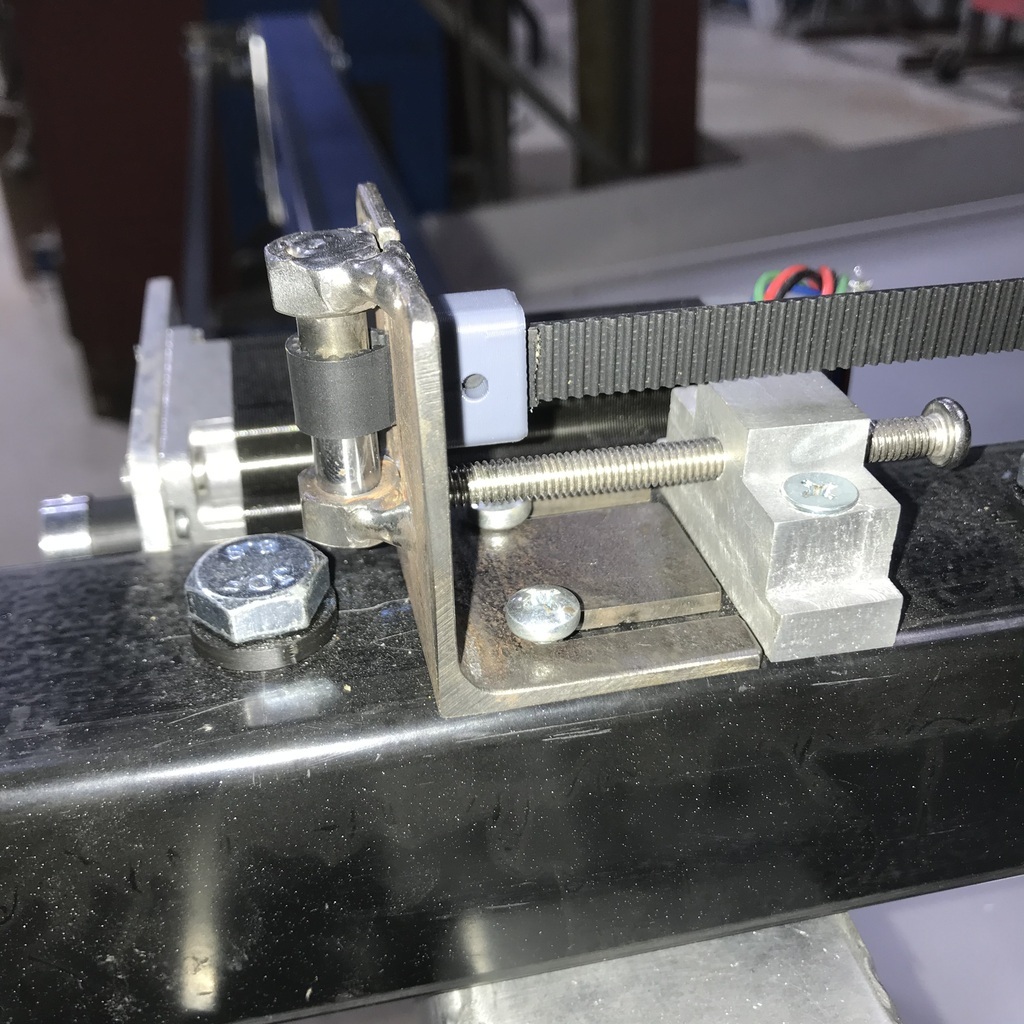 It’s a very clever arrangement. The plans for this gizmo are pretty good in general. However there are things like spelling errors and other inconsistencies that lower your confidence in the whole thing. They’re also poorly laid out in places, making it difficult to find a few things. They’re not expensive though, so I suppose they can’t spend the time to fix those things. With the belts in place, fabrication of the table is complete. I still need to make some brackets for the electrical box and the plasma machine, once I work out where they need to be. So I started on the electrical. I cut the inside out of this blow moulded case, it’ll be the electrical box. 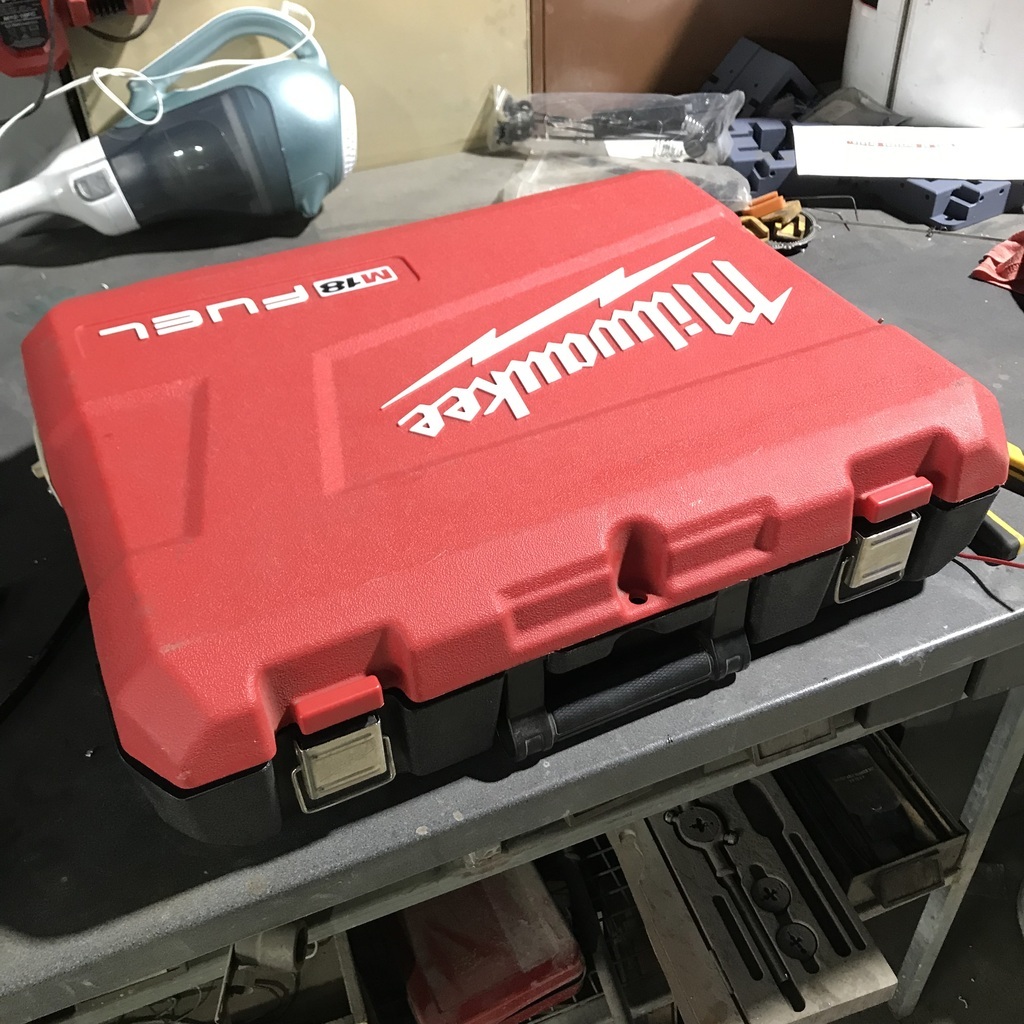 Then mounted the components to a piece of perspex, which is bolted inside the box. Mounted an old 240v light switch, to use as an on/off switch. And ran the first of a lot of wires. 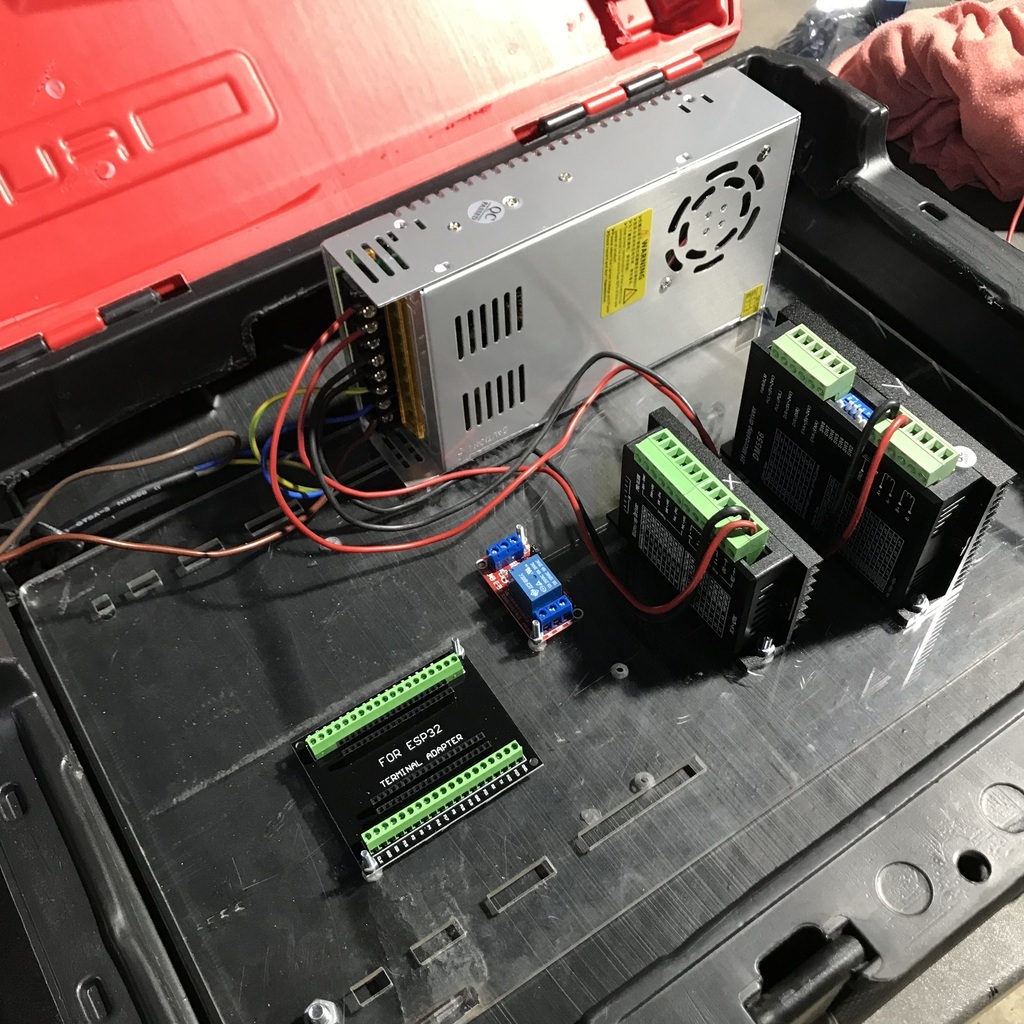 Still waiting on a few electrical bits, but lots to go on with. Thanks. |
| |
|
|
gazzam
Part of things
 
Posts: 738 
|
|
|
|
Had a couple of days where I achieved very little on either the Triumph or the plasma. Turns out the wire I bought for the stepper motors was a bit small for my liking. And despite having a pretty good selection of wire, I had nothing suitable to use for hookups in the Milwaukee box. Other than the 240v stuff that I had already done, that is. So I bit the bullet and started on the Triumph engine/gearbox removal. And was stymied early on in the process. I was lifting it with the forklift and it wasn’t going to work. It may have except some silly curse word had stuck a blower on the side of it! Anyway I set it back down on it’s mounts and walked away. The problem was that I had no way of tilting the engine back in order for the gearbox to clear the firewall. Then I was talking to my ex mechanic and he suggested a way of using ratchet straps. 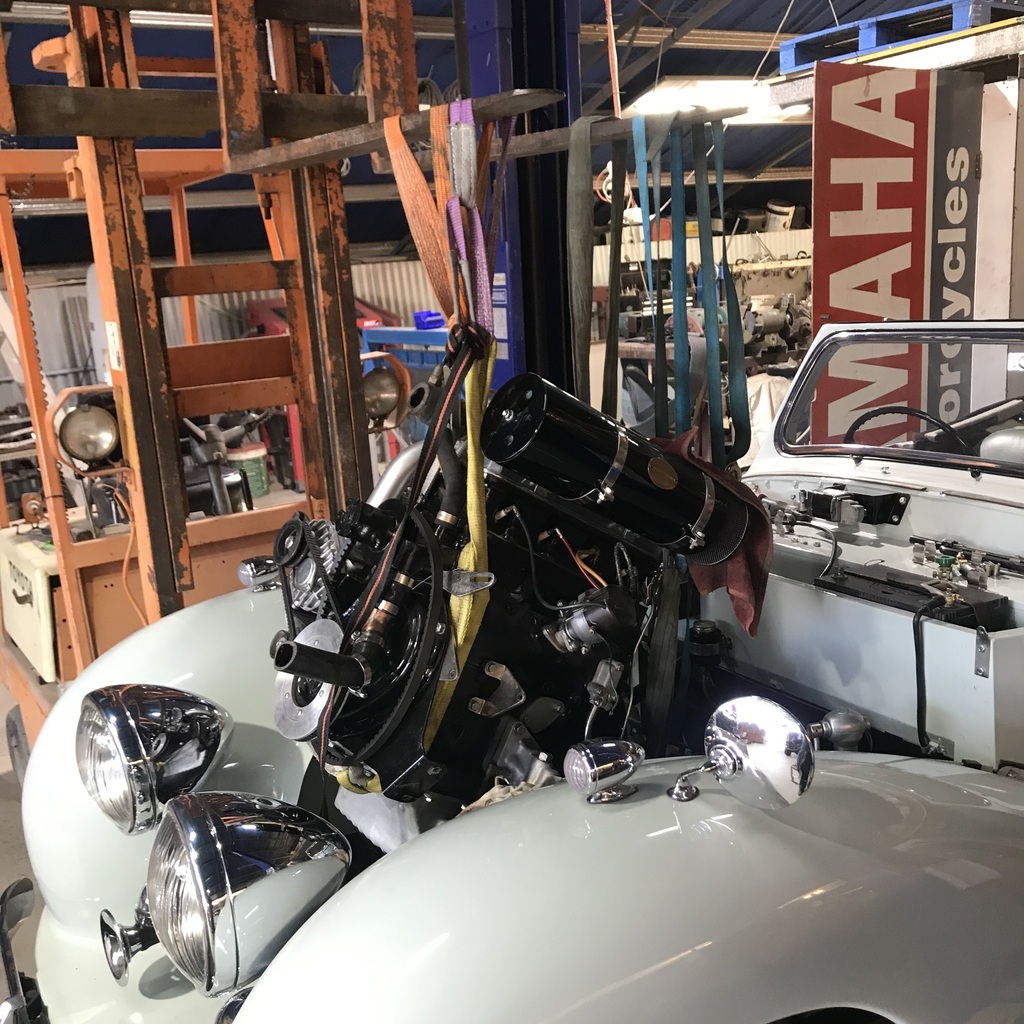 Exactly what I needed, gave me the ability to tilt as required and had the motor out and sitting on the floor before morning tea. 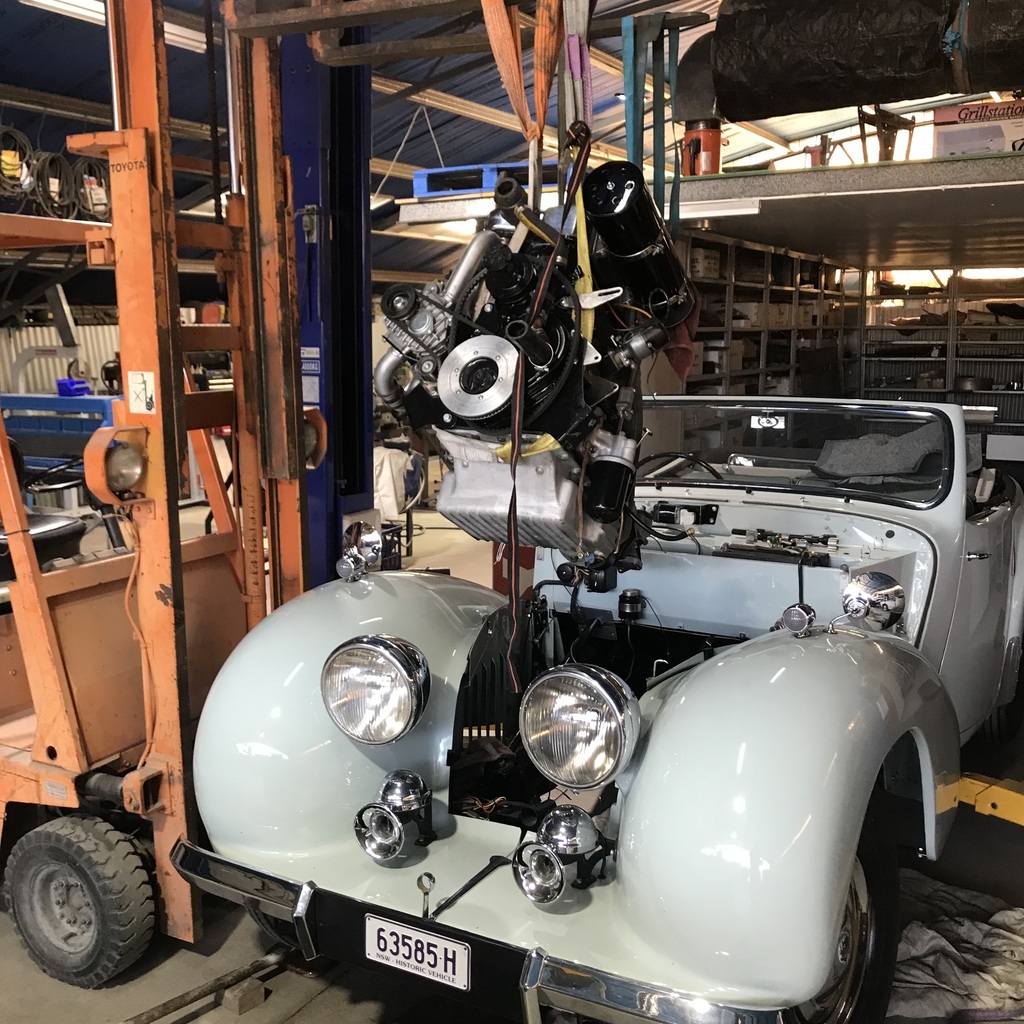 It’s very tight, but doable. Hopefully in reverse as well. I pulled the gearbox off, and can see why I didn’t shout it a new clutch - it all looks like new. Anyway I’ll take it to give him a look at it tomorrow. I measured the runout on the flywheel surface at 0.1mm. While getting the motor out I noticed these unused mounts on the supercharger weren’t helping. 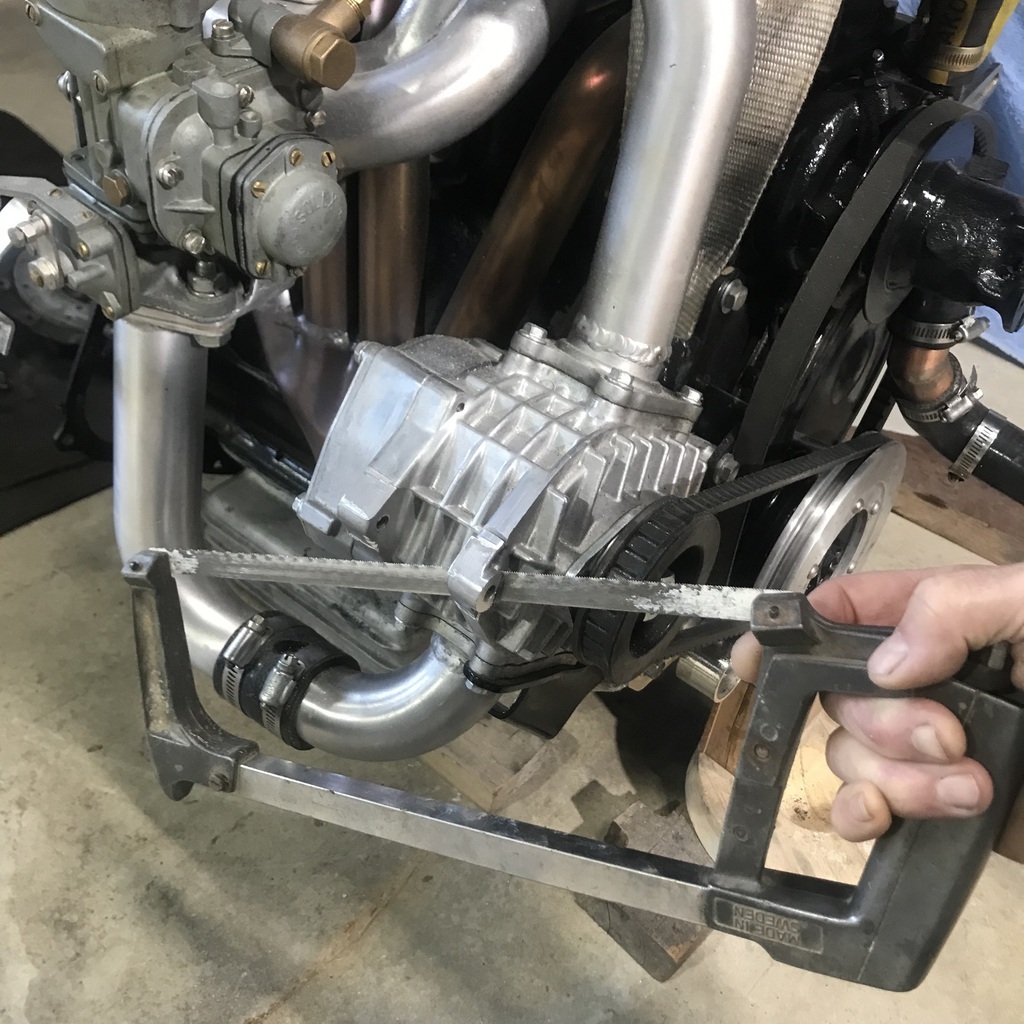 Dressed with a flap disc. 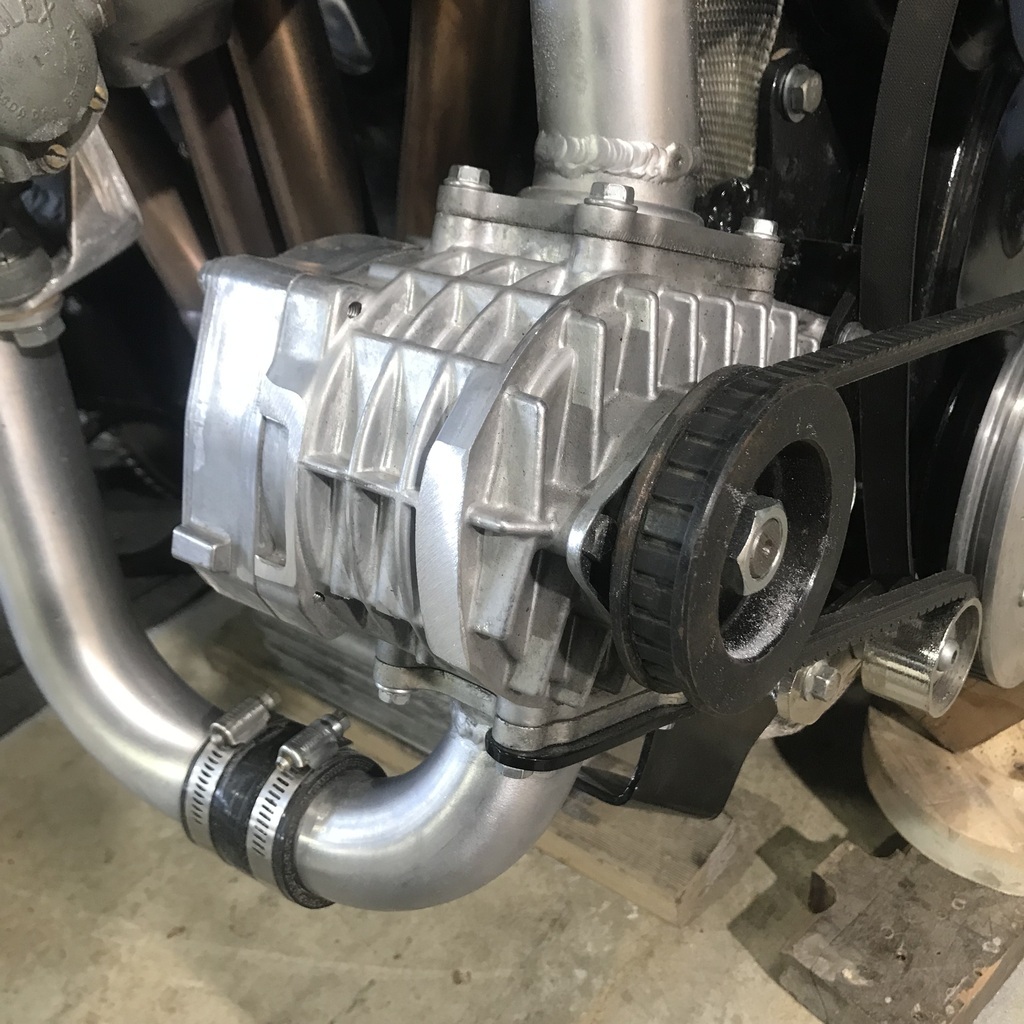 Thanks. |
| |
|
|
|
|
gazzam
Part of things
 
Posts: 738 
|
|
Aug 30, 2024 10:15:17 GMT
|
Took the clutch to town, to see if I might be able to get something locally. But no. All the spare parts places are chain stores and ( mostly ) staffed by children who know almost nothing. Certainly nothing about a car that’s three times their age. But I did unearth the name of a business that might be able to help. They’re about three and a half hours from here, but have the word 'clutch' in their name. And my wife is going past there next week. So the plan is, she’ll drop the clutch friction and pressure plates off and they will advise as to what can be done. Ideally they will say 'give us a reasonable sum of money and we will send it back to you all sorted' We shall see. Before that, I got the last of the battery terminals sorted. Started with one of these. 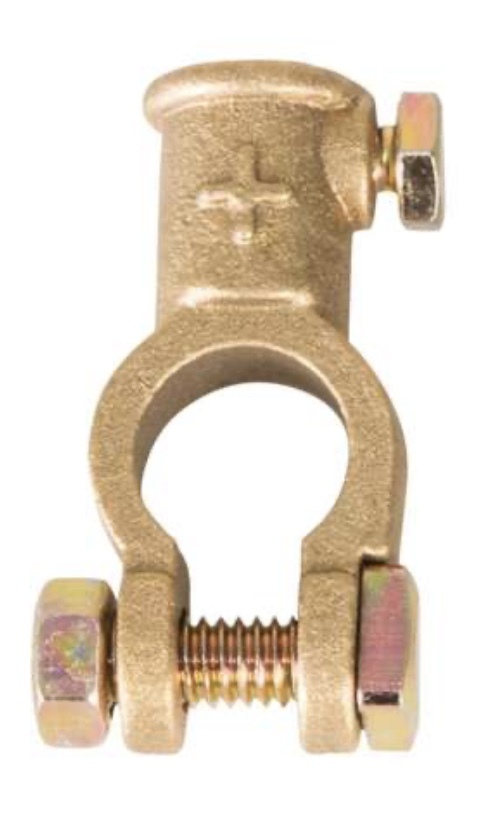 Ground it to a better shape. 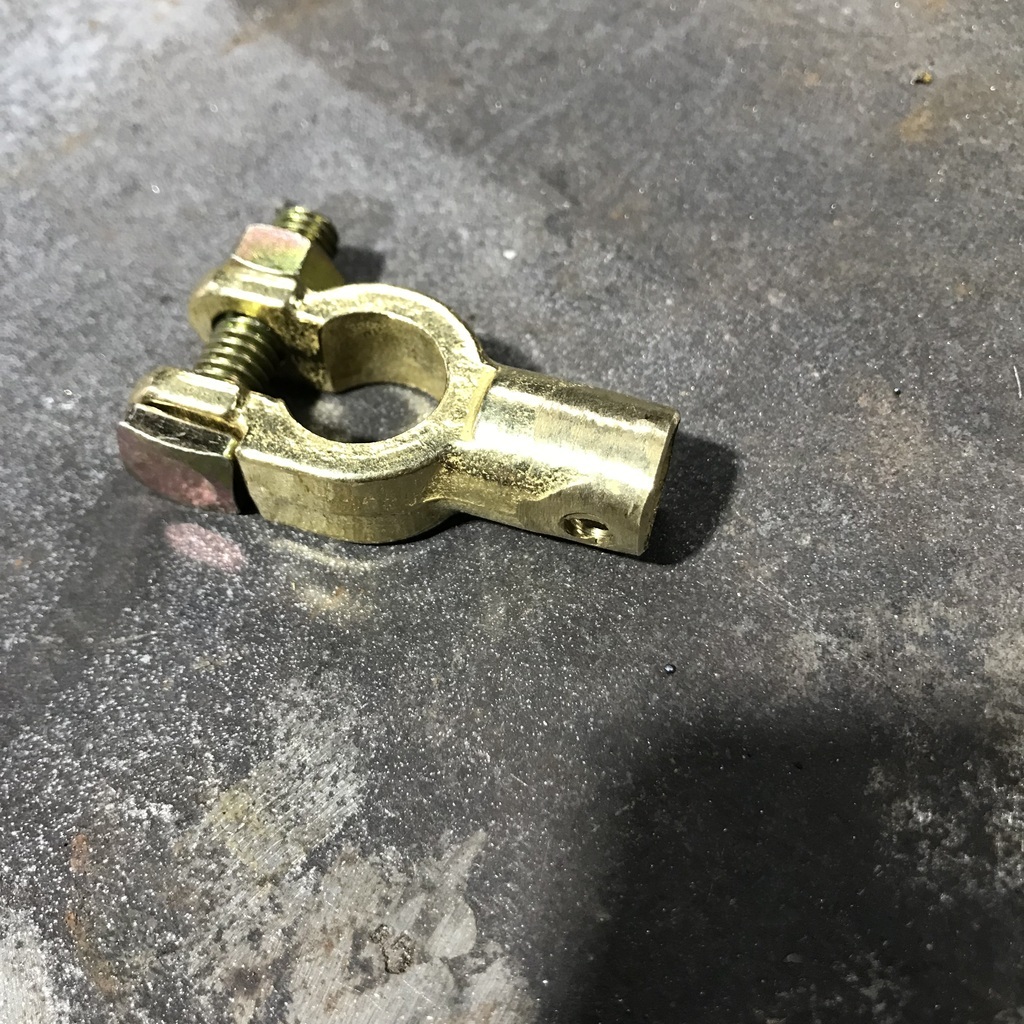 Soldered the old lead into the modded terminal. 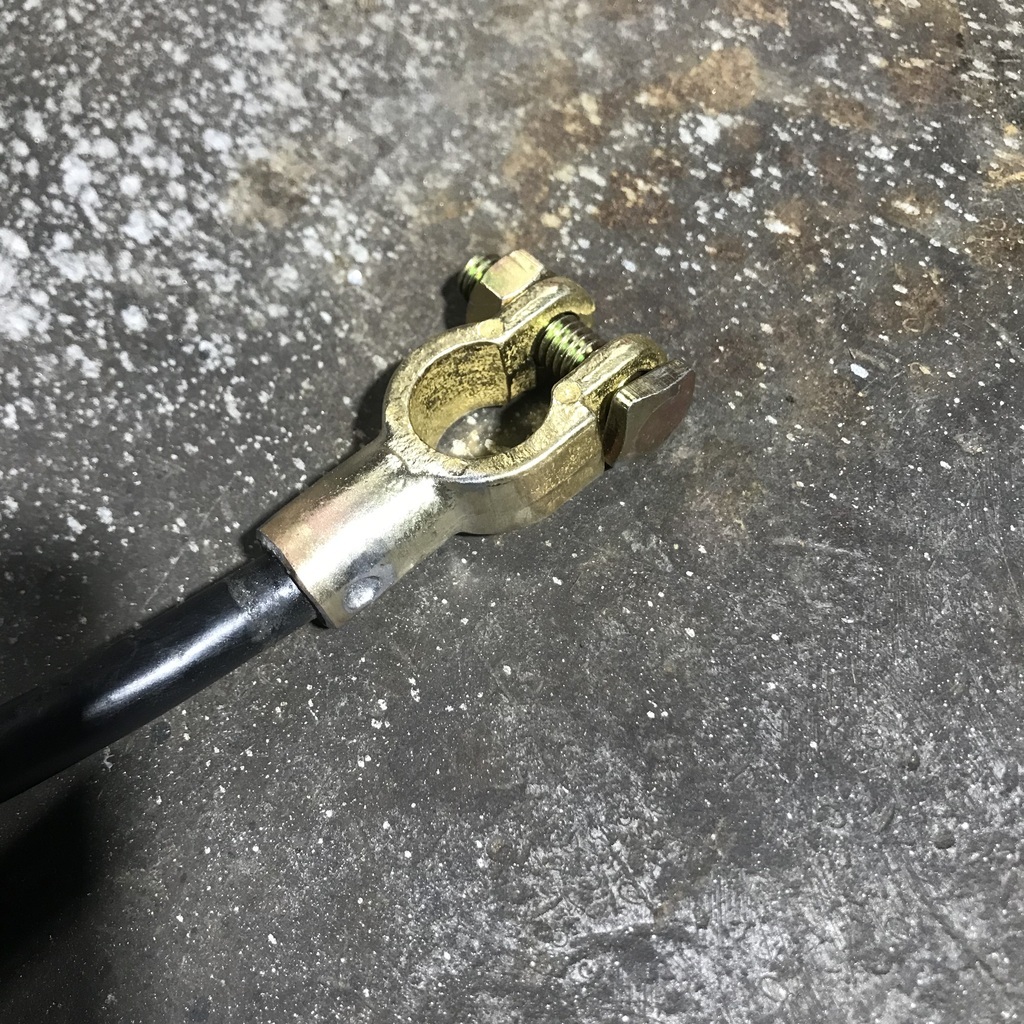 Added some heat shrink. 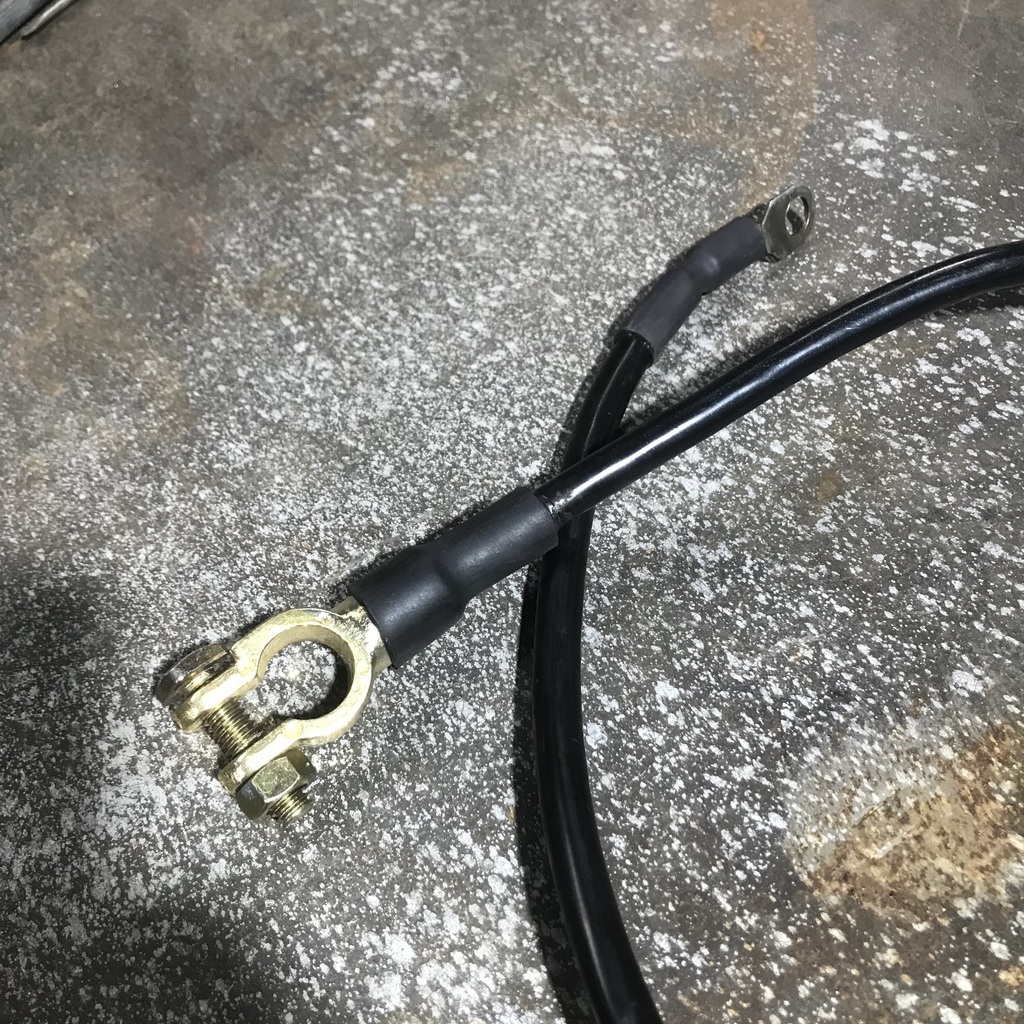 And a before and after. The later shot is one I took when I pulled the engine, just to remind me where the wires go… 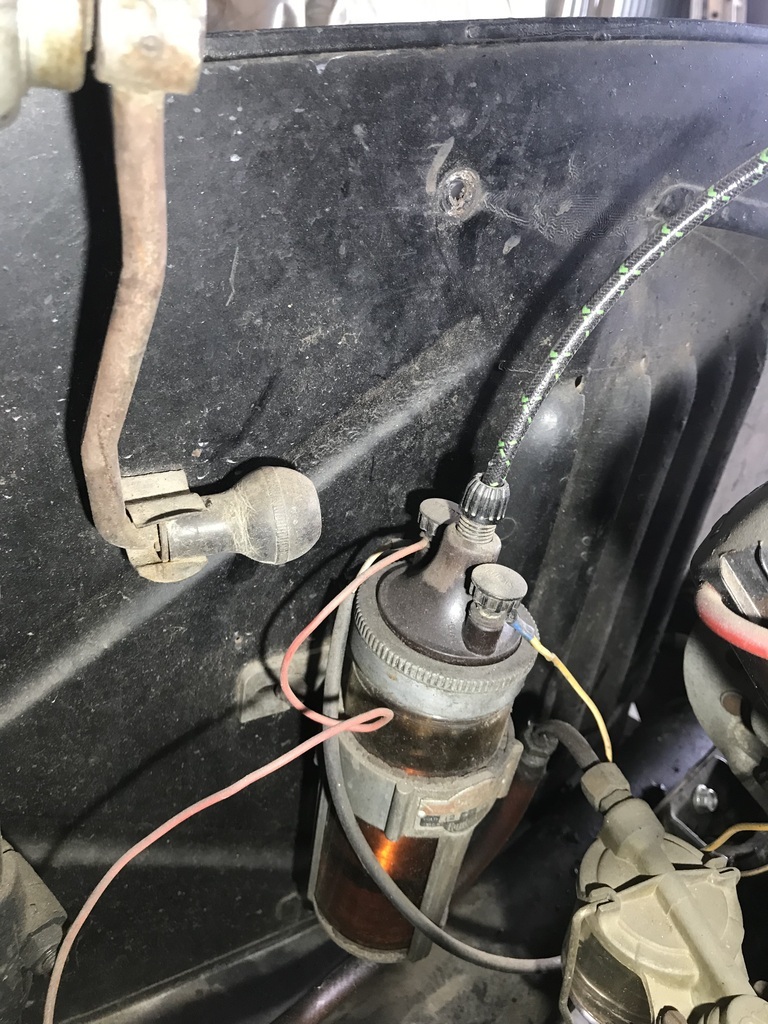 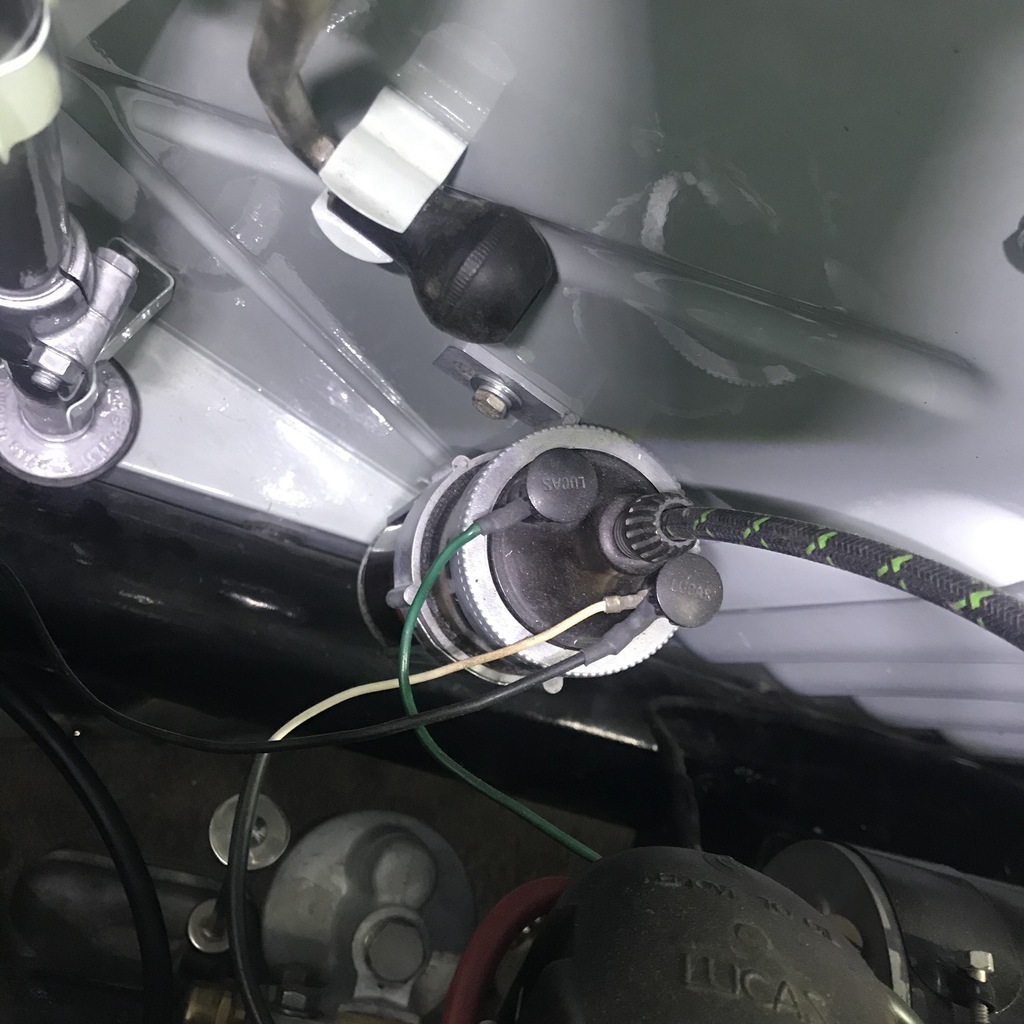 And while I was in town, I picked up some steel and some wire, so I can get stuck in the plasma over the weekend. Thanks. |
| |
|
|
|
|
|
Aug 30, 2024 10:35:58 GMT
|
|
More very neat work!
|
| |
|
|
gazzam
Part of things
 
Posts: 738 
|
|
Sept 1, 2024 10:07:09 GMT
|
Thanks Phil, nice of you to say. I forgot to post a pic of the battery terminal in place. 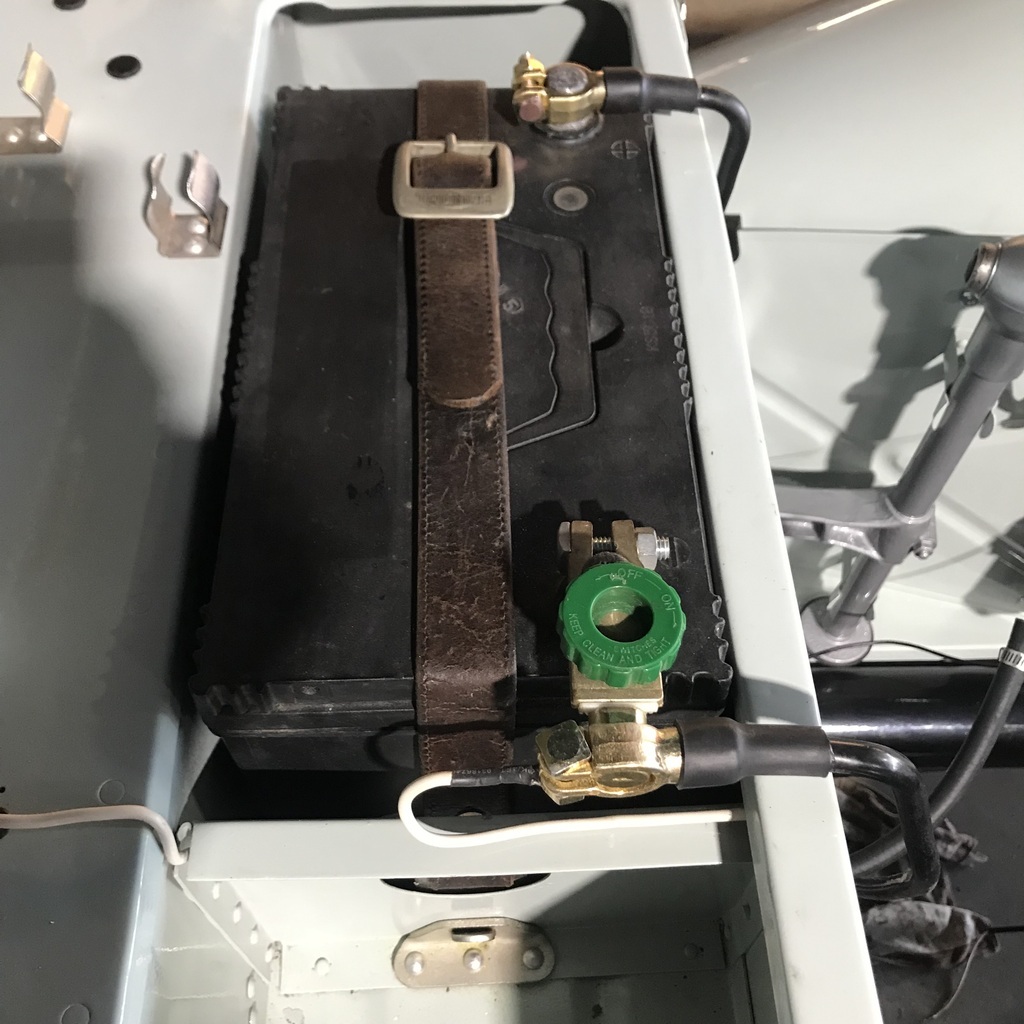 The plasma machine is getting to a very scary stage. It’s almost to the point of having to fire up the computer, and attempt a whole heap of stuff that I’m not comfortable with. What if the computer says 'no'? About the only thing left to do to the table, if I were really keen, is to paint it. I’m not sure that will happen, even if it works. Sparks and dust are a given, so it will probably look secondhand pretty much immediately. The electrical side is almost complete, a few more wires to hook up. The emergency switch for example, isn’t wired yet, but is installed. Wires to motors have to be joined - solder and heat shrink. Have to break in to the trigger on the plasma cutter, but I think I have worked out how. Don’t know if my plasma machine is even suitable yet. Then I just need to double check the wiring diagram and then it’ll be computer time. Which I’m really scared of. But I’m torn, I really want to have this working. Here’s how it stands at the moment. 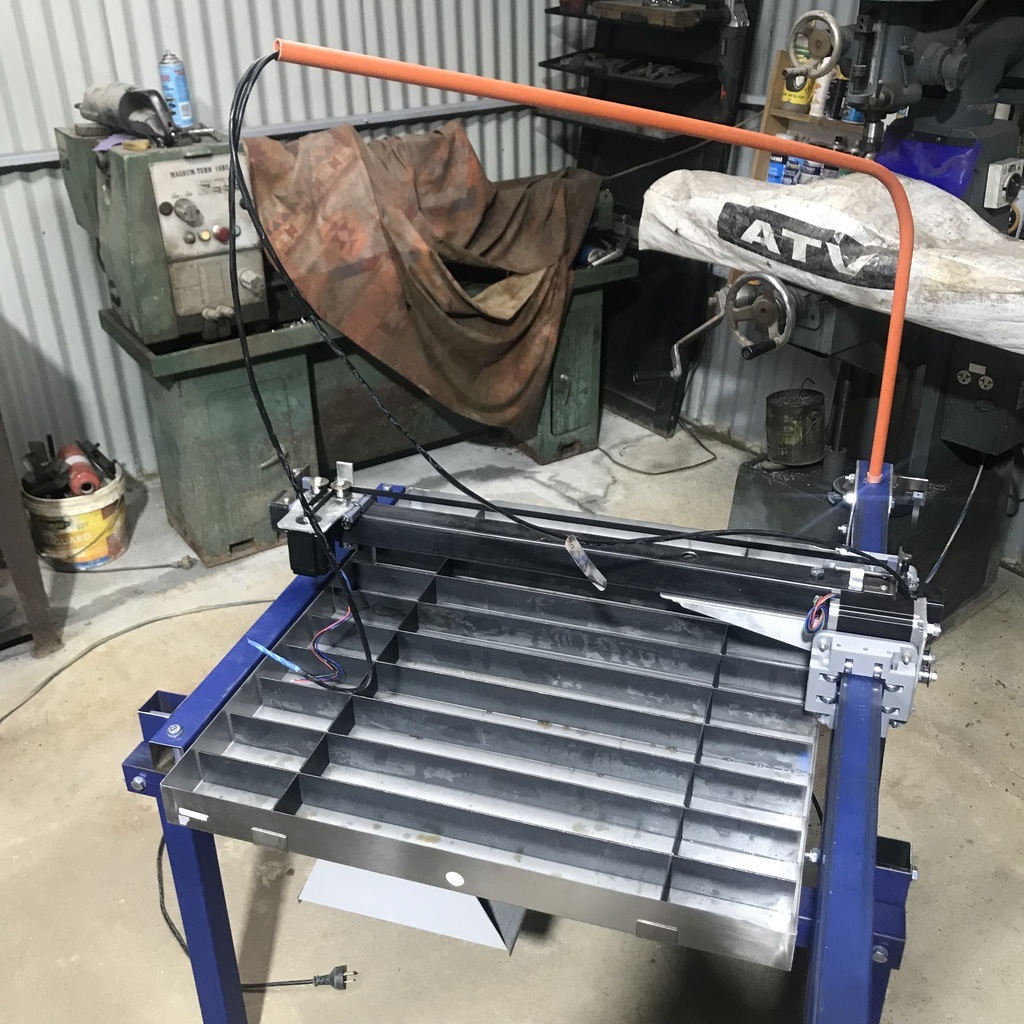 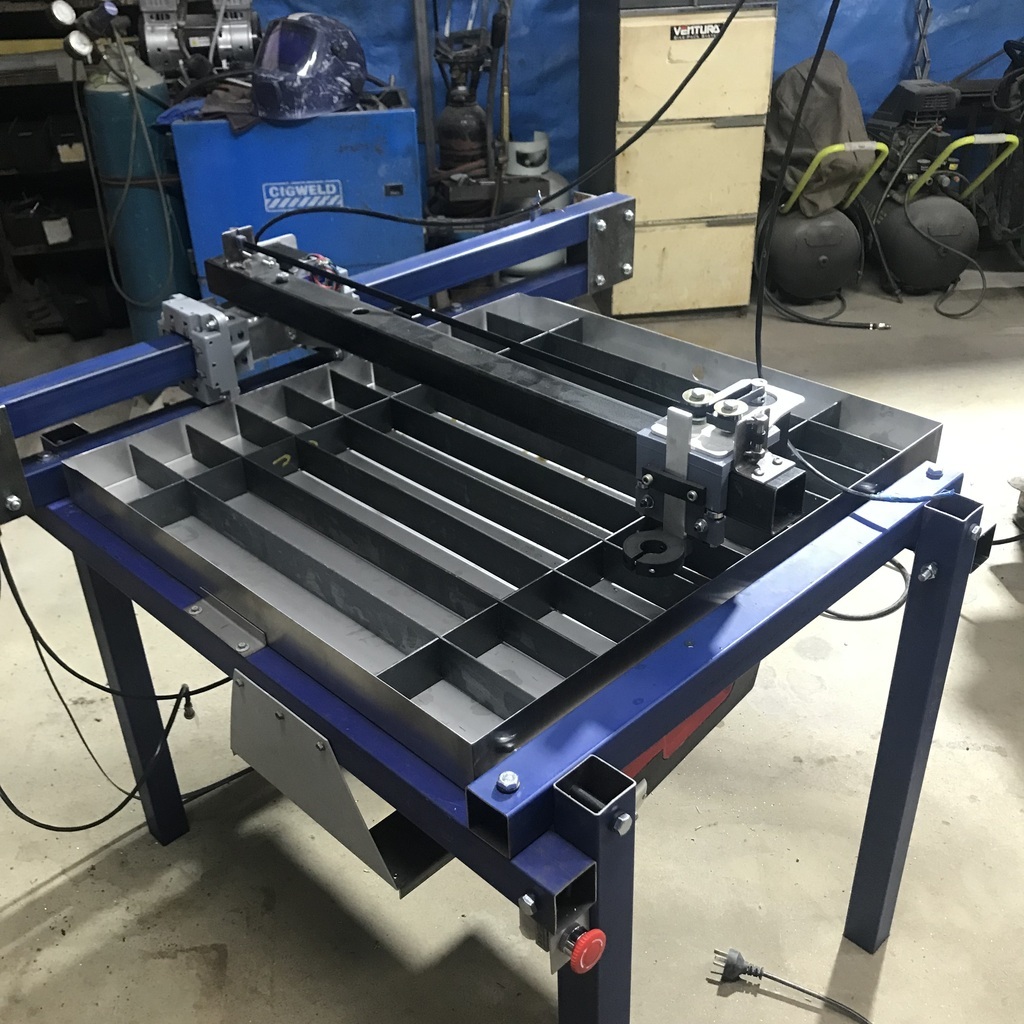 The water tray is complete, as is the cable support. I’m waiting on some plugs for the ends of the square tube. Thanks. |
| |
Last Edit: Sept 1, 2024 11:18:00 GMT by gazzam
|
|
nze12
Part of things
 
Posts: 193
|
|
Sept 1, 2024 10:31:57 GMT
|
|
You only need to worry if it tells you there is a problem with the AE35 unit. 😄
|
| |
1986 BMW E30 refreshed to original spec
1973 BMW E12 520 converting to Motorsport 530
1982 XJS V12 converting to 5 speed manual
Many landscaping projects overriding above!
Cogito cogito ergo cogito sum!
|
|
gazzam
Part of things
 
Posts: 738 
|
|
|
|
You only need to worry if it tells you there is a problem with the AE35 unit. 😄 Electrons are not to be taken lightly. I really don’t know what you mean though, what’s an AE35? Cheers. |
| |
|
|
jimi
Club Retro Rides Member
Posts: 2,220  Member is Online
|
|
Sept 3, 2024 10:15:54 GMT
|
At a guess it's a reference to the AE-35 unit in  |
| |
Last Edit: Sept 3, 2024 10:20:13 GMT by jimi
Black is not a colour ! .... Its the absence of colour
|
|
nze12
Part of things
 
Posts: 193
|
|
Sept 3, 2024 18:23:28 GMT
|
At a guess it's a reference to the AE-35 unit in  Bingo!  |
| |
1986 BMW E30 refreshed to original spec
1973 BMW E12 520 converting to Motorsport 530
1982 XJS V12 converting to 5 speed manual
Many landscaping projects overriding above!
Cogito cogito ergo cogito sum!
|
|
jimi
Club Retro Rides Member
Posts: 2,220  Member is Online
|
|
Sept 3, 2024 20:40:26 GMT
|
nze12Your avatar gives the game away  I am putting myself to the fullest possible use, which is all I think that any conscious entity can ever hope to do. Could very well be said about gazzam 
|
| |
Last Edit: Sept 3, 2024 20:44:52 GMT by jimi
Black is not a colour ! .... Its the absence of colour
|
|
gazzam
Part of things
 
Posts: 738 
|
|
|
|
|
One of my favourite movies and authors, and sad to say, but I missed it entirely.
And high praise indeed, Jimi, if totally undeserved.
I thought there may have be some slender chance that the plasma might have moved today.
But as I should have known, the computer said 'no'.
The record should show that the controller is an ESP32.
And I must say it’s a tiny thing of some beauty.
As I said to the missus, how in the heck do they make that?
Anyway, I got all the wiring done. While double checking the wire list against the wiring diagram, I found a disparity.
Sent an email to the plan supplier with three questions.
They answered two reasonably quickly. The third, still unanswered.
Said they’d corrected a typo. They did, but really, was I the first to notice?
Couldn’t get the software that is supposed to connect to the controller to recognise it.
I should say that this stuff is not in any way stuff that I feel familiar with.
I’m very much the type that, when I finally find a way through some menu or other, ten minutes later I’ve no idea how I did it.
It’s like finding your way through a bog. Once you’ve passed it, your tracks are covered.
And I must say, the instructions, are not great.
Just enough to possibly help someone under the age of twenty.
I sent an email asking about it but no answer, but it is only just over 24 hours.
Anyway I lucked onto a forum post that was exactly what I needed. Also beautifully precisely written - enough so that I joined the forum just so I could give him a like!
That got me connected to the controller, at least when I had it plugged into the PC.
But when I removed the USB, the PC couldn’t find the controller.
Then I realised that the PC didn’t have Bluetooth.
I had assumed it did because of the 3D printer, but I think now that it’s using the wifi through my phone.
So I thought, ok I’ll try wifi.
When that didn’t work, I did a quick trip to town and bought a Bluetooth adapter, but that didn’t work either.
But all this meant I had flashed both wifi and Bluetooth onto the controller. It may not like that.
I’m not going to bother asking the plan people about this, don’t need the disappointment of not getting an answer. I just have a sense it might go in the too hard basket.
I’ve ordered another ESP32 and will see what goes when it arrives. That’s if I can navigate the bog again…
There was no smoke from the controller box, so that’s a plus.
Anyway, I did a bit of fiddling with the Triumph, but I’ll tell that story later, when I have a few pics.
Thanks.
|
| |
|
|
nze12
Part of things
 
Posts: 193
|
|
Sept 4, 2024 17:43:37 GMT
|
|
Well in closing, I would like to offer Clarke's second law as I belive it applies to many threads on this forum (this one to the fore obviously):
The only way of discovering the limits of the possible is to venture a little way past them into the impossible.
|
| |
1986 BMW E30 refreshed to original spec
1973 BMW E12 520 converting to Motorsport 530
1982 XJS V12 converting to 5 speed manual
Many landscaping projects overriding above!
Cogito cogito ergo cogito sum!
|
|
|
|


